
The fabrics used in this post were given to me by Island Batik.
October’s Island Batik Ambassador’s Challenge was to use any paper piecing technique.
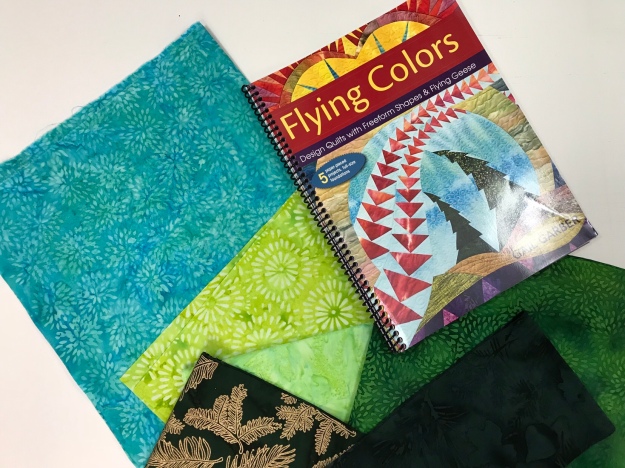
I love Gail Garber and her book Flying Colors. Gail’s projects are awesome and inspiring. She encourages you to create your own design and gives you the tools to do it. I created free form flying geese with this book, but this time I used Gail’s pattern for Tiny Trees. The Tiny Trees block measures 12′ x 12″, with borders it project measures 19″ x 19″.
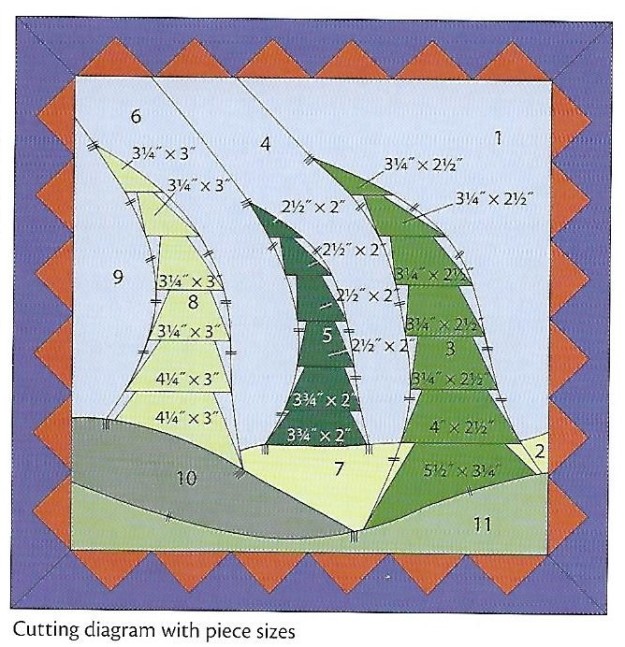
All the components parts are numbered. I began by tracing all the elements in the pattern onto freezer paper, including their assigned number, grainlines and registration marks.


Cut out the pattern pieces adding a generous seam allowance. Press them onto the wrong side of your chosen fabric and cut them out.
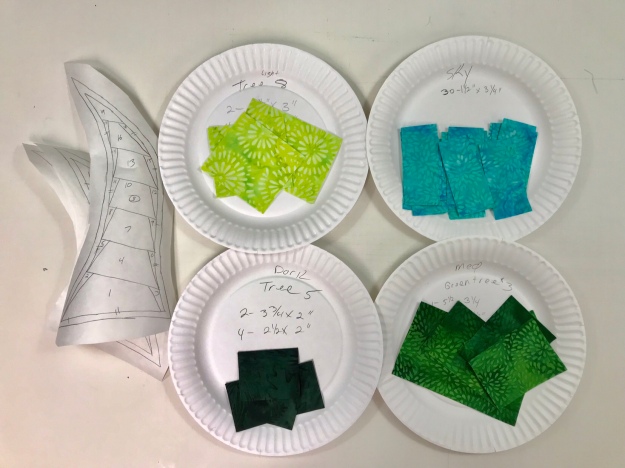
Above shows the tree foundations and fabrics to make them.
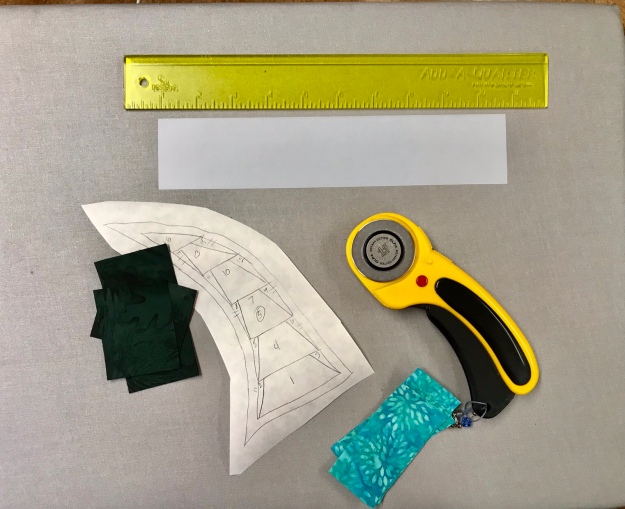
Add A Quarter ruler is absolutely recommended. I use a piece of plastic template material. You can also use a post card.
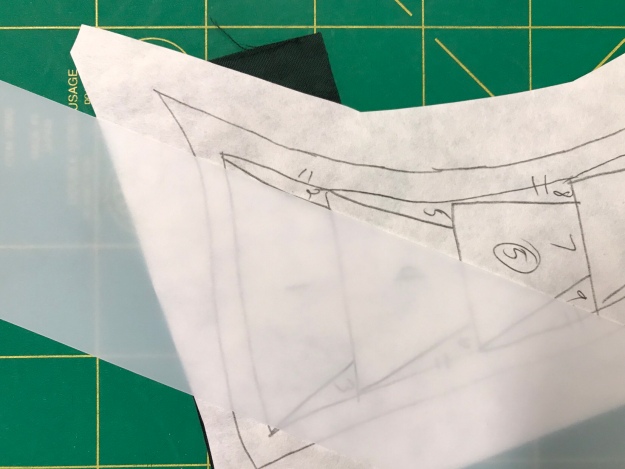
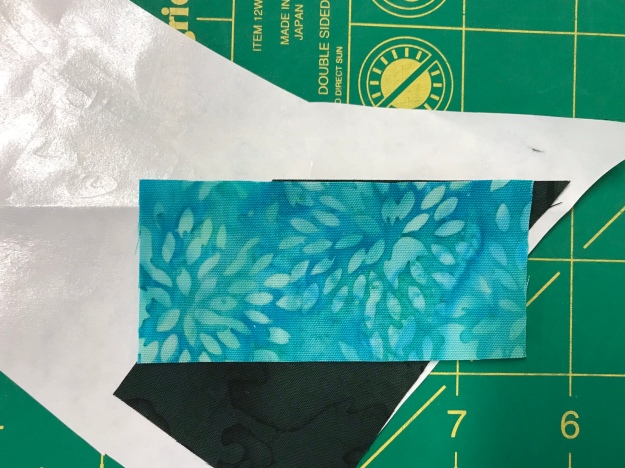
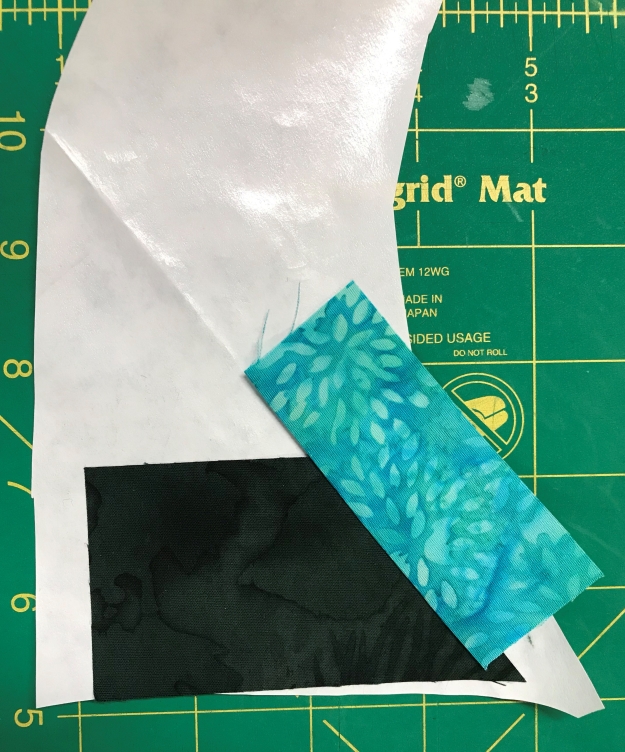
Begin by positioning the wrong side of the fabric to the waxy side of the freezer paper against the portion numbered “1”. Press this in place making sure the fabric has covered the number 1 section. Place the strip, fabric side down on a cutting mat. Align the template material with the line that separates pieces 1 & 2.


Fold the paper over the edge of the plastic and position the “Add A Quarter” ruler against the plastic edge and trim. You have now trimmed the fabric leaving a 1/4″ seam allowance.
 Align fabric piece 2 to the raw edge that has just been trimmed, placing the fabrics right side together.
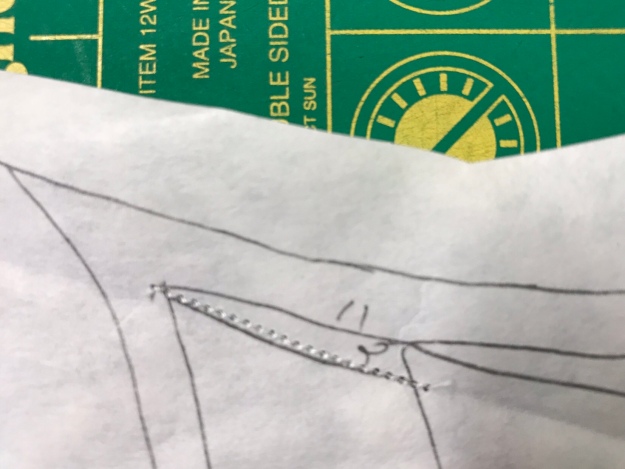
Turn the foundation over so the paper is on top. Stitch using a 1.5 stitch length along the seamline, stitching a couple of stitches beyond the end of the line. A smaller stitch length aids in removing the paper later.
Press.


Prep for piece 3, add fabric, stitch.


Press and trim as before leaving a 1/4″ seam allowance.


Continue up the tree until all pieces are stitched down. I trimmed the excess fabric from the side of mine with very sharp scissors.
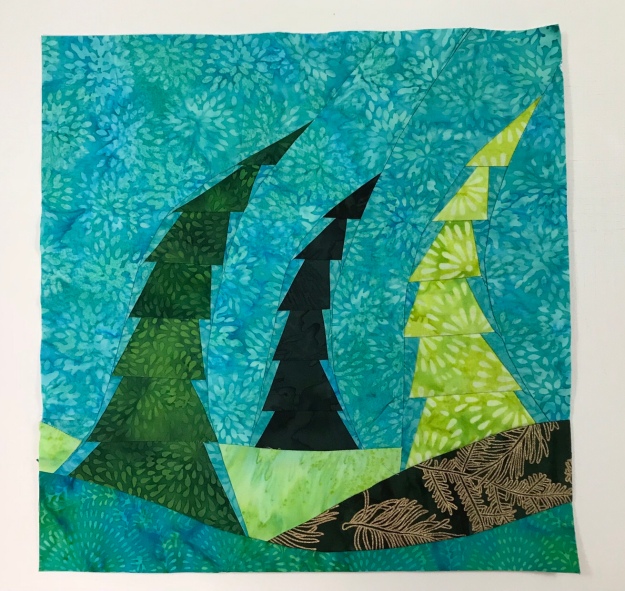
After all the trees, sky and foreground are completed, begin piecing them together in the order they are numbered.
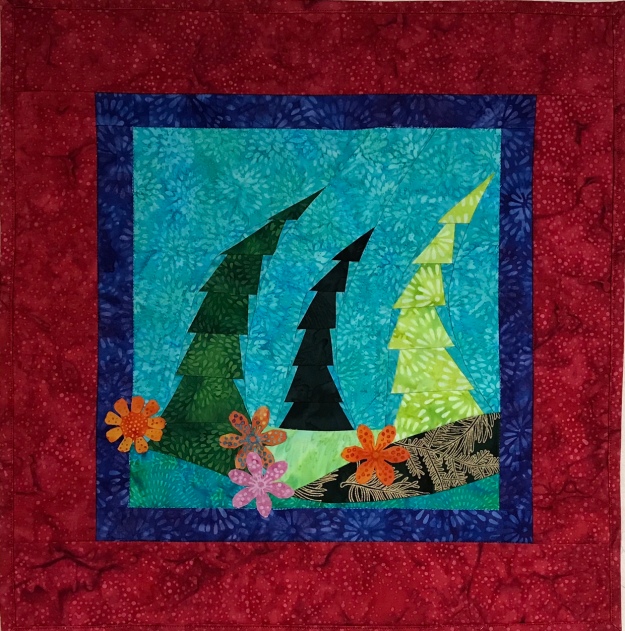
I added a 1″ inner border and 3″ outer border. I quilted the sky following the movement of the trees, and stitched in the ditch around the inner border.
Thank you Island Batik & Aurifil!
#islandbatikfabrics #aurifil #paperpiecing #GailGarber #islandbatikambassador #islandbatik #iheartislandbatik

i love the trees
LikeLike
Thanks Karin, me too.
LikeLike
Such a fun little quilt!
LikeLike
Thank you!
LikeLike
Love, love, love!!! You ROCK!!!
LikeLike
Thanks Jennifer 💕
LikeLike
Really cute!
LikeLike
Thank you Suzy.
LikeLike