
Have you seen some of the wonderfully creative One Block Wonders (OBW) made using precut panels? If you haven’t you should join the Facebook group “One Block Wonder Quilt Forum”! This is my third OBW using panels and I wanted to share how I put them together.
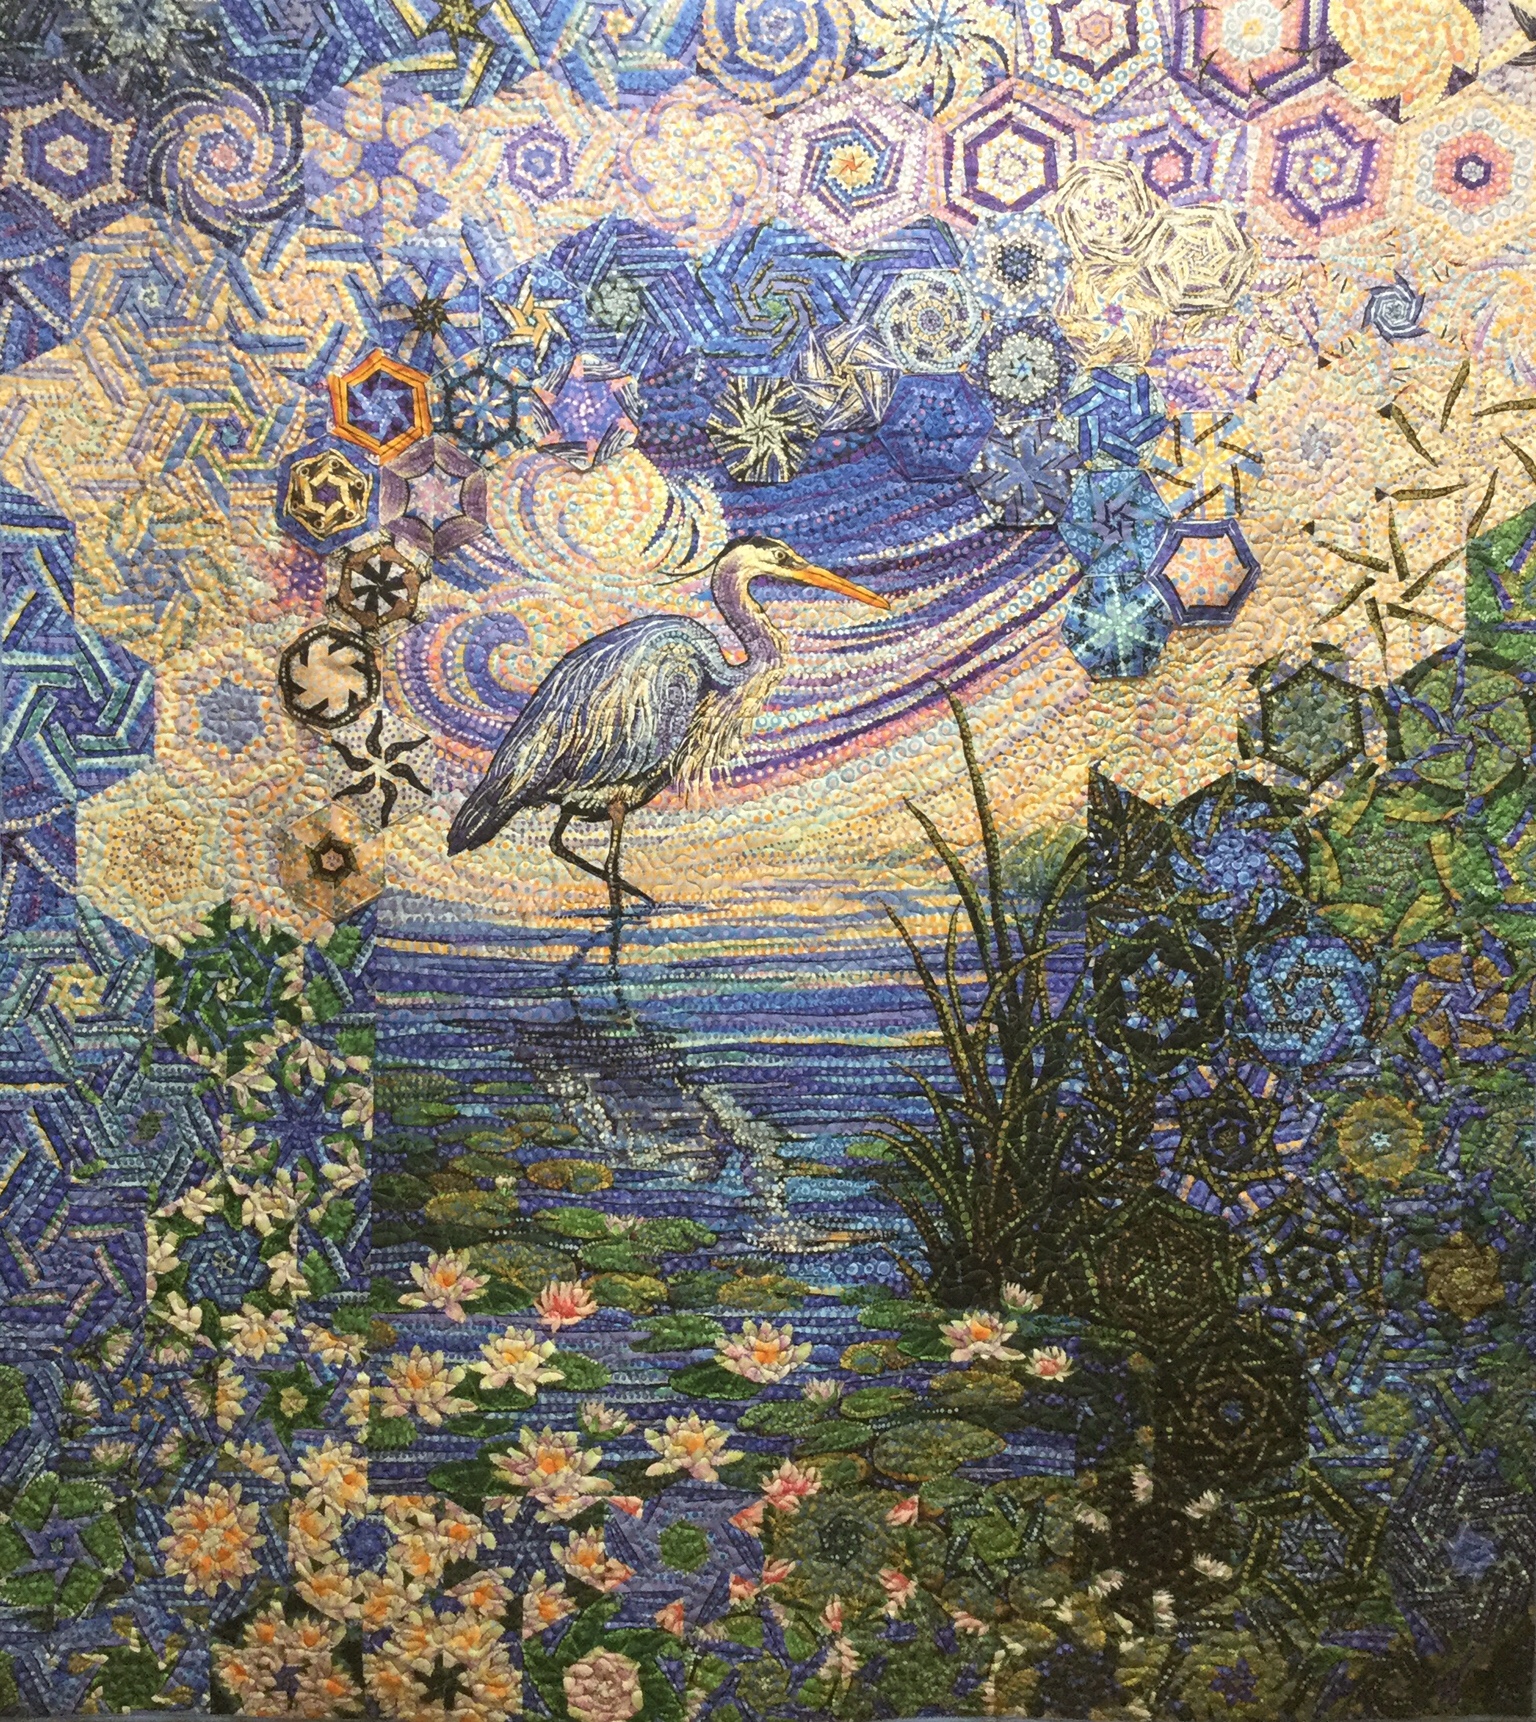
My last OBW using panels “The Heron”, was so much fun I couldn’t wait to make the next one. Start by purchasing 7 Panels. One to be incorporated into the top and 6 to be aligned for making the hexagon blocks.
The process is same whether you are using yardage or panels. The only difference is the repeats are already cut for you. I don’t trim the panels, I just press them and layer them assuring they are all going in the direction. Align them as directed in Maxine Rosenthal’s book One Block Wonders or One Block Wonder Encore.
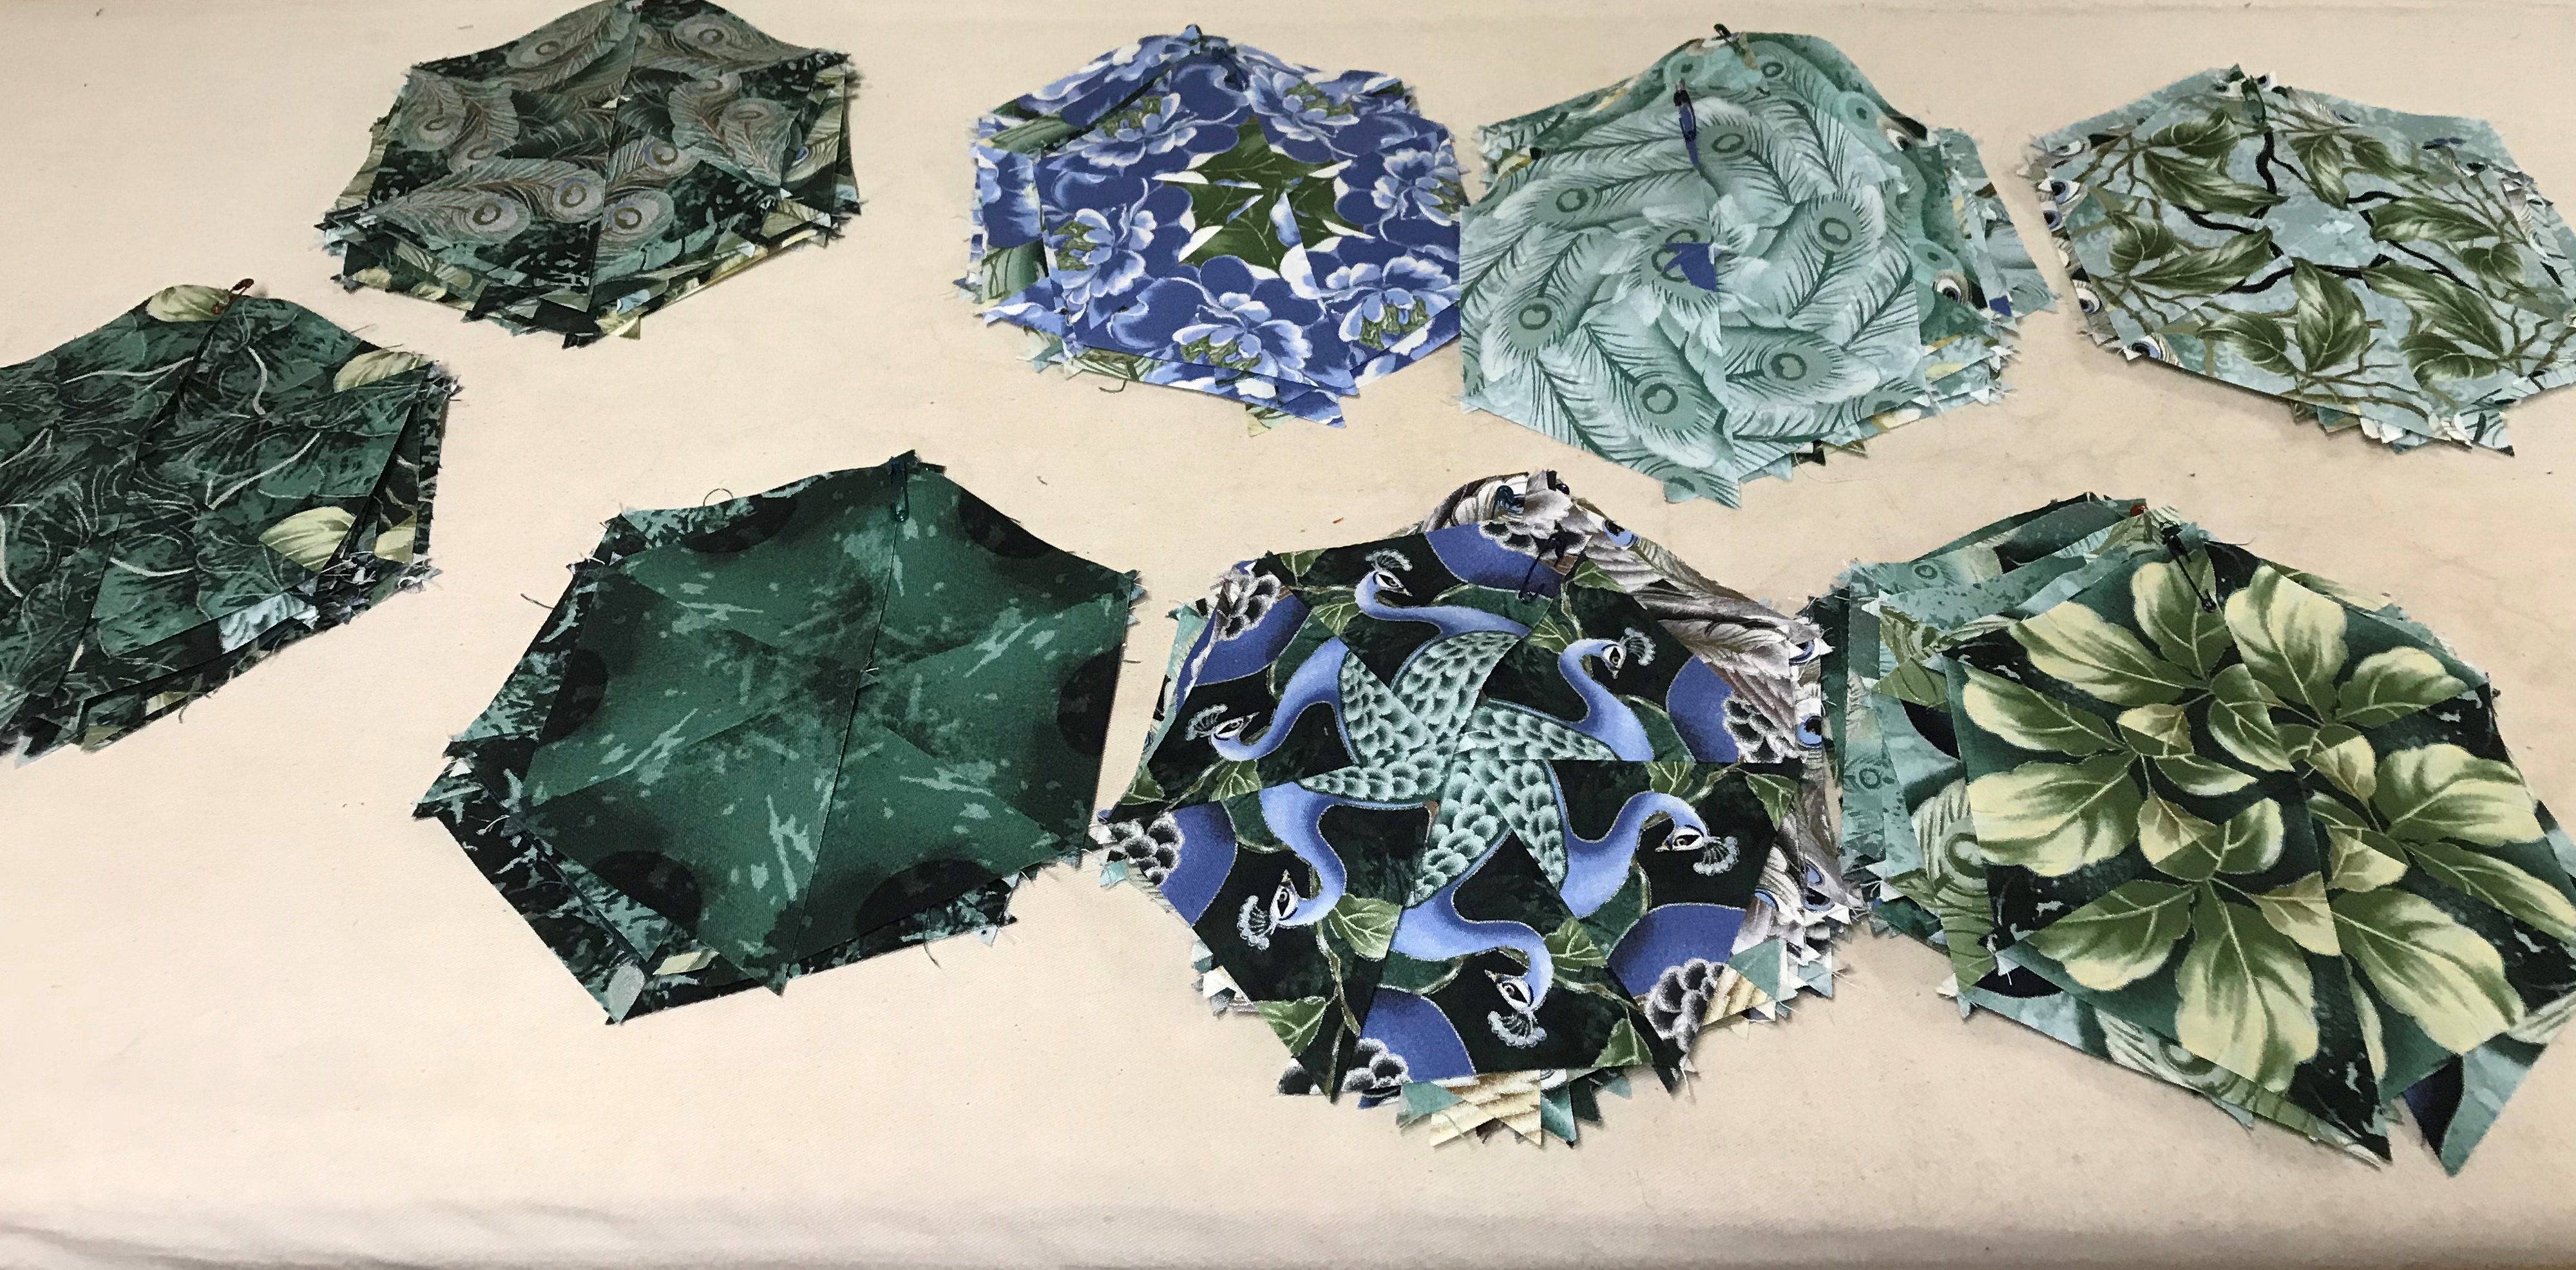
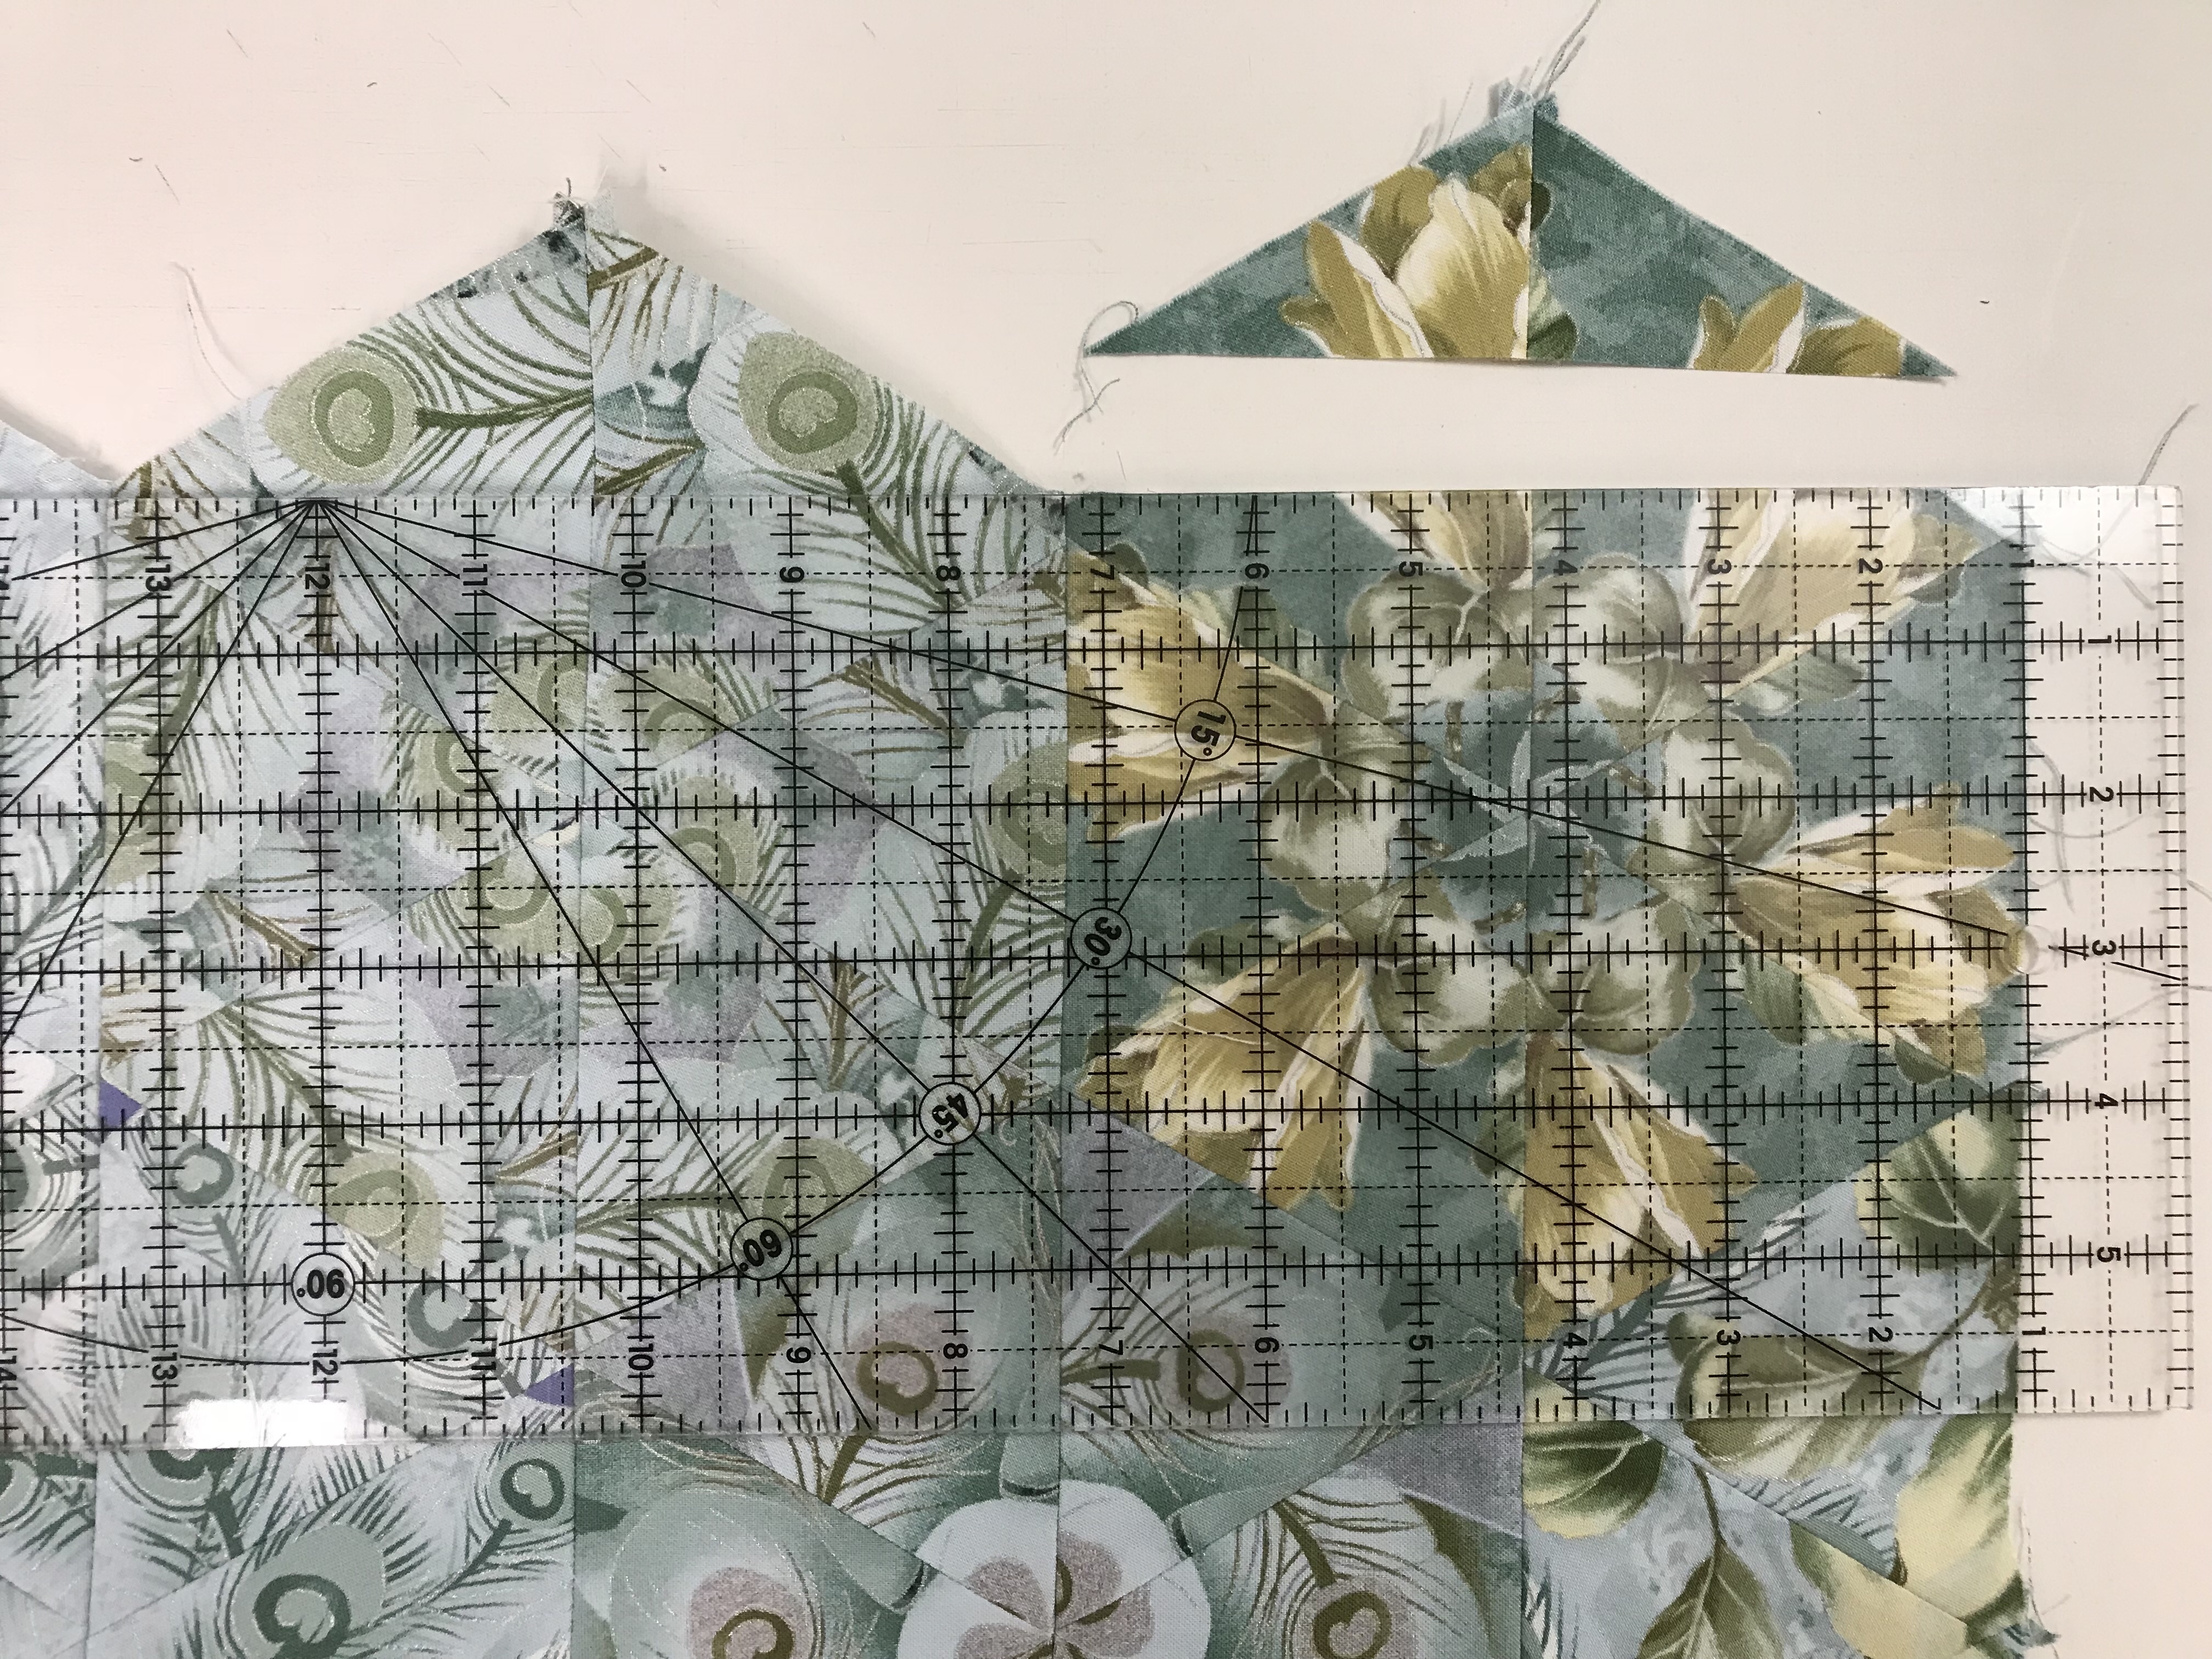
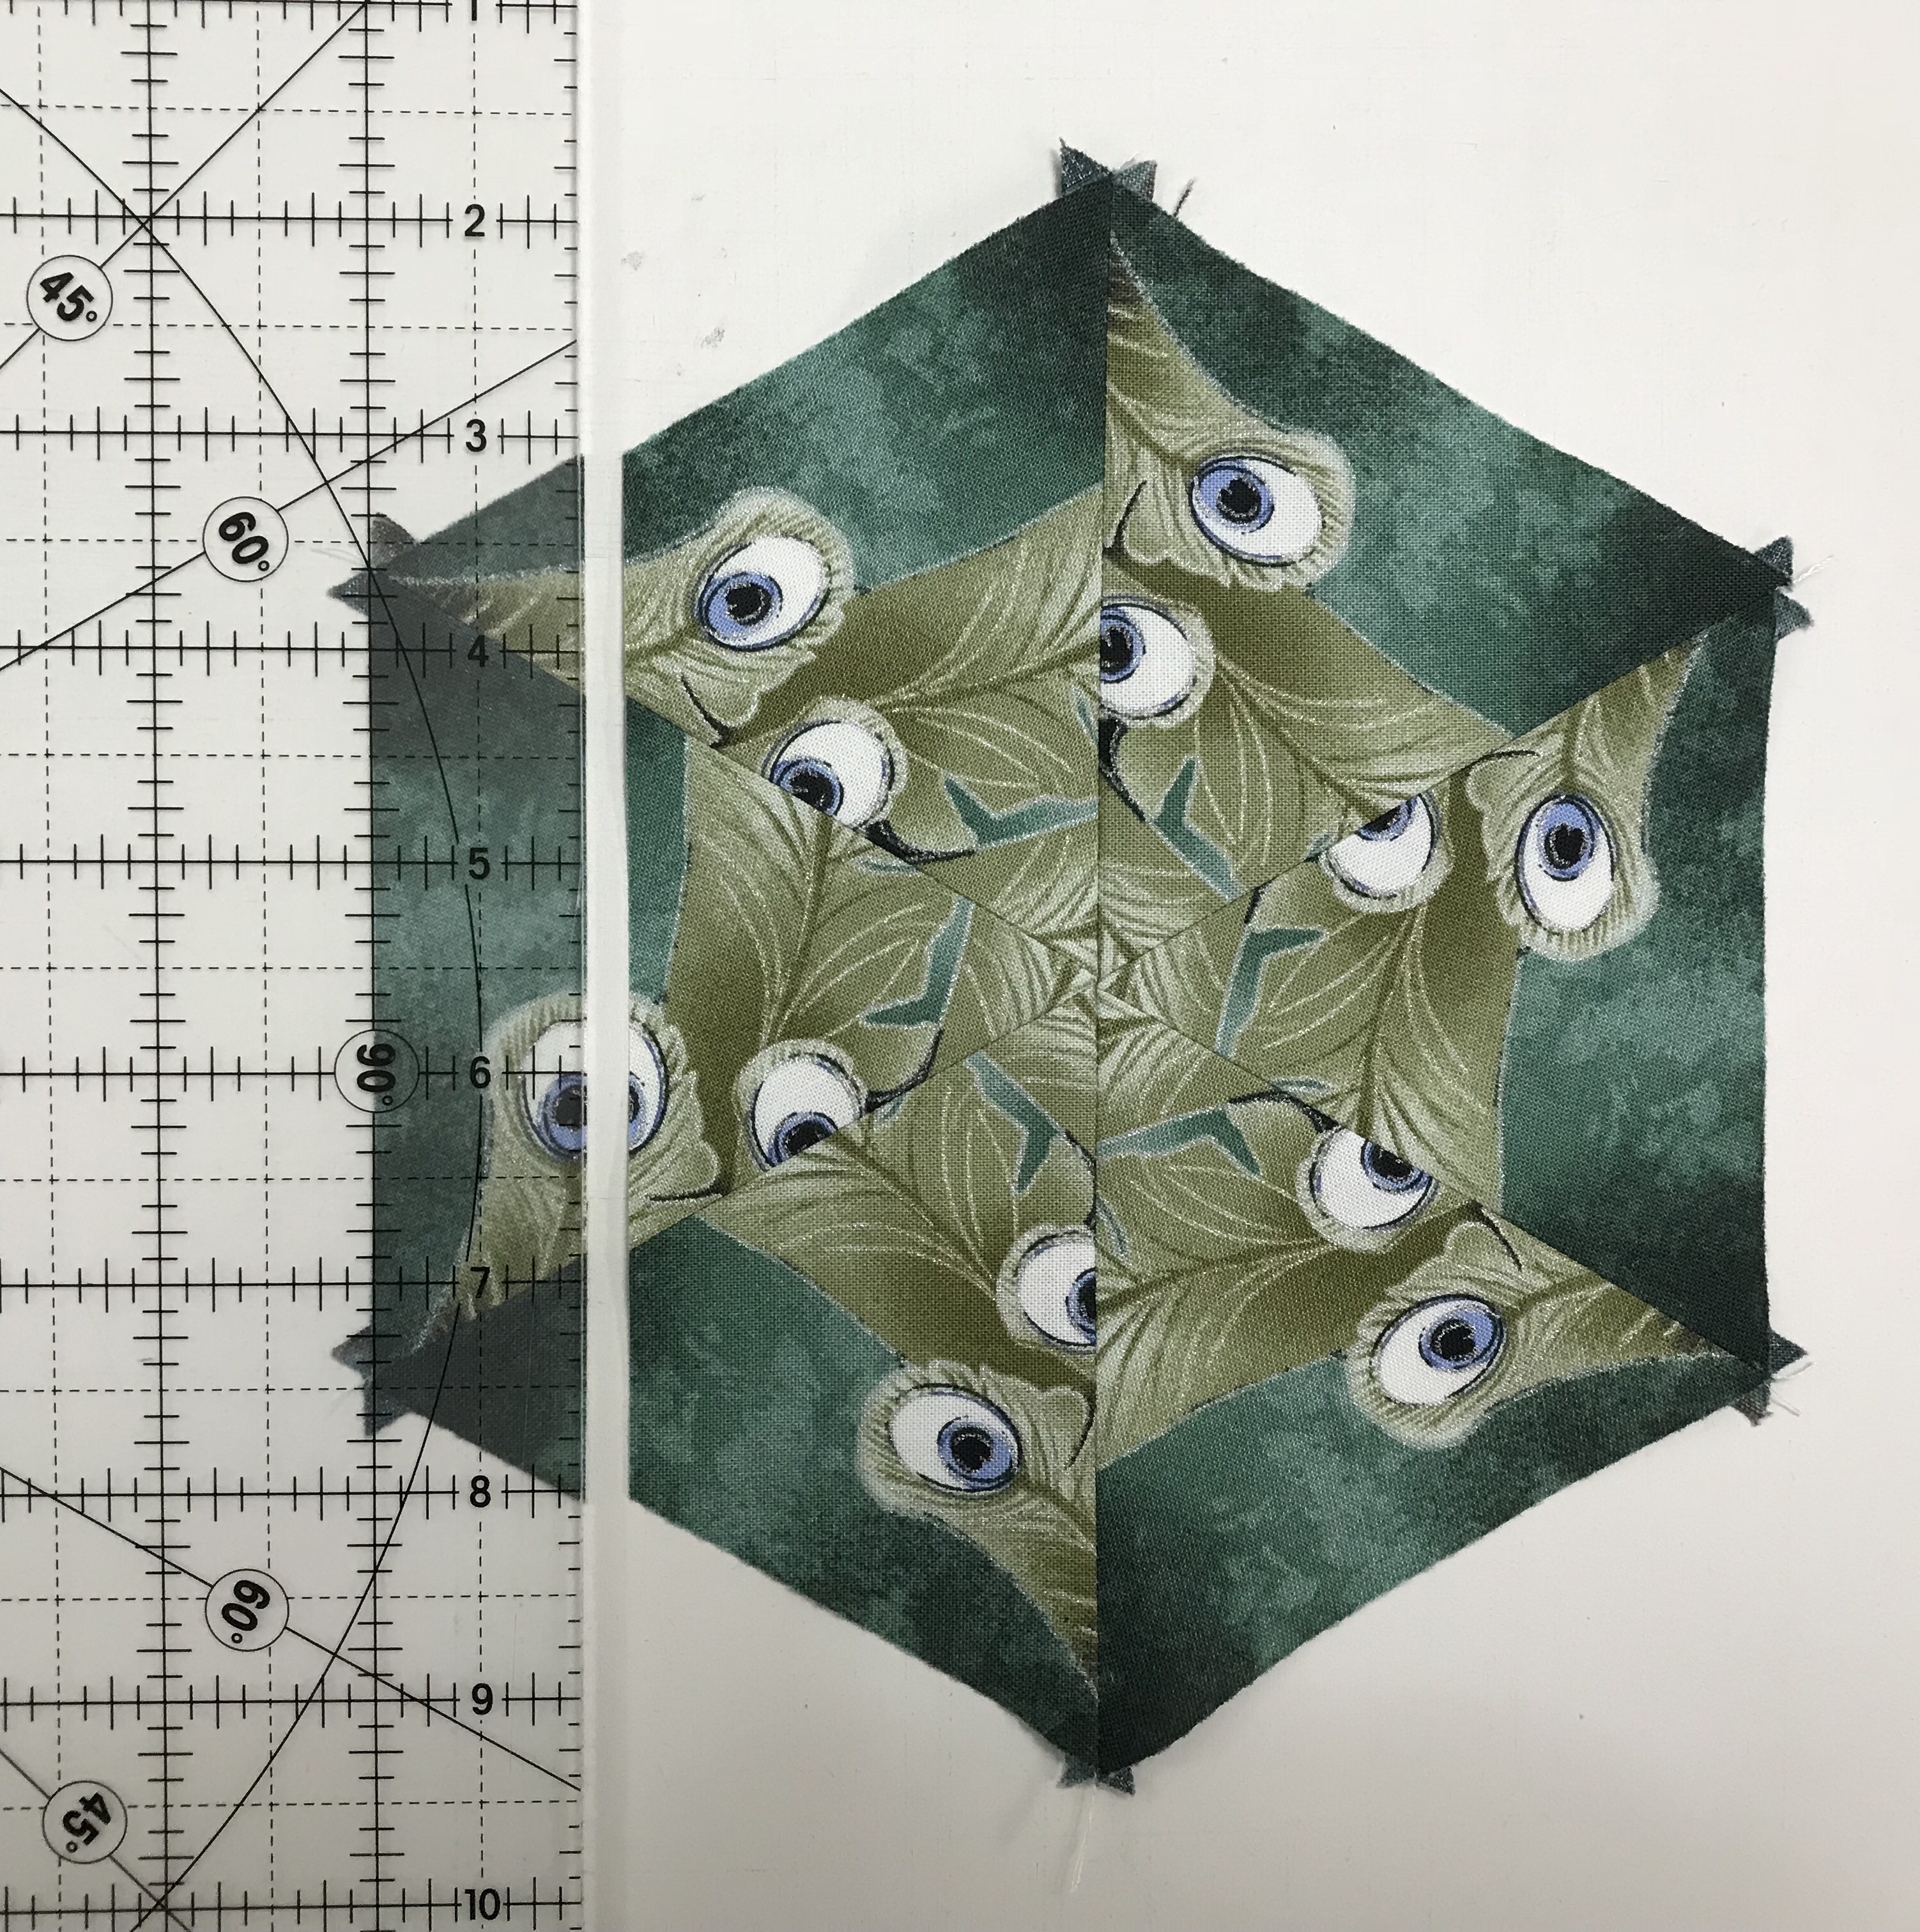
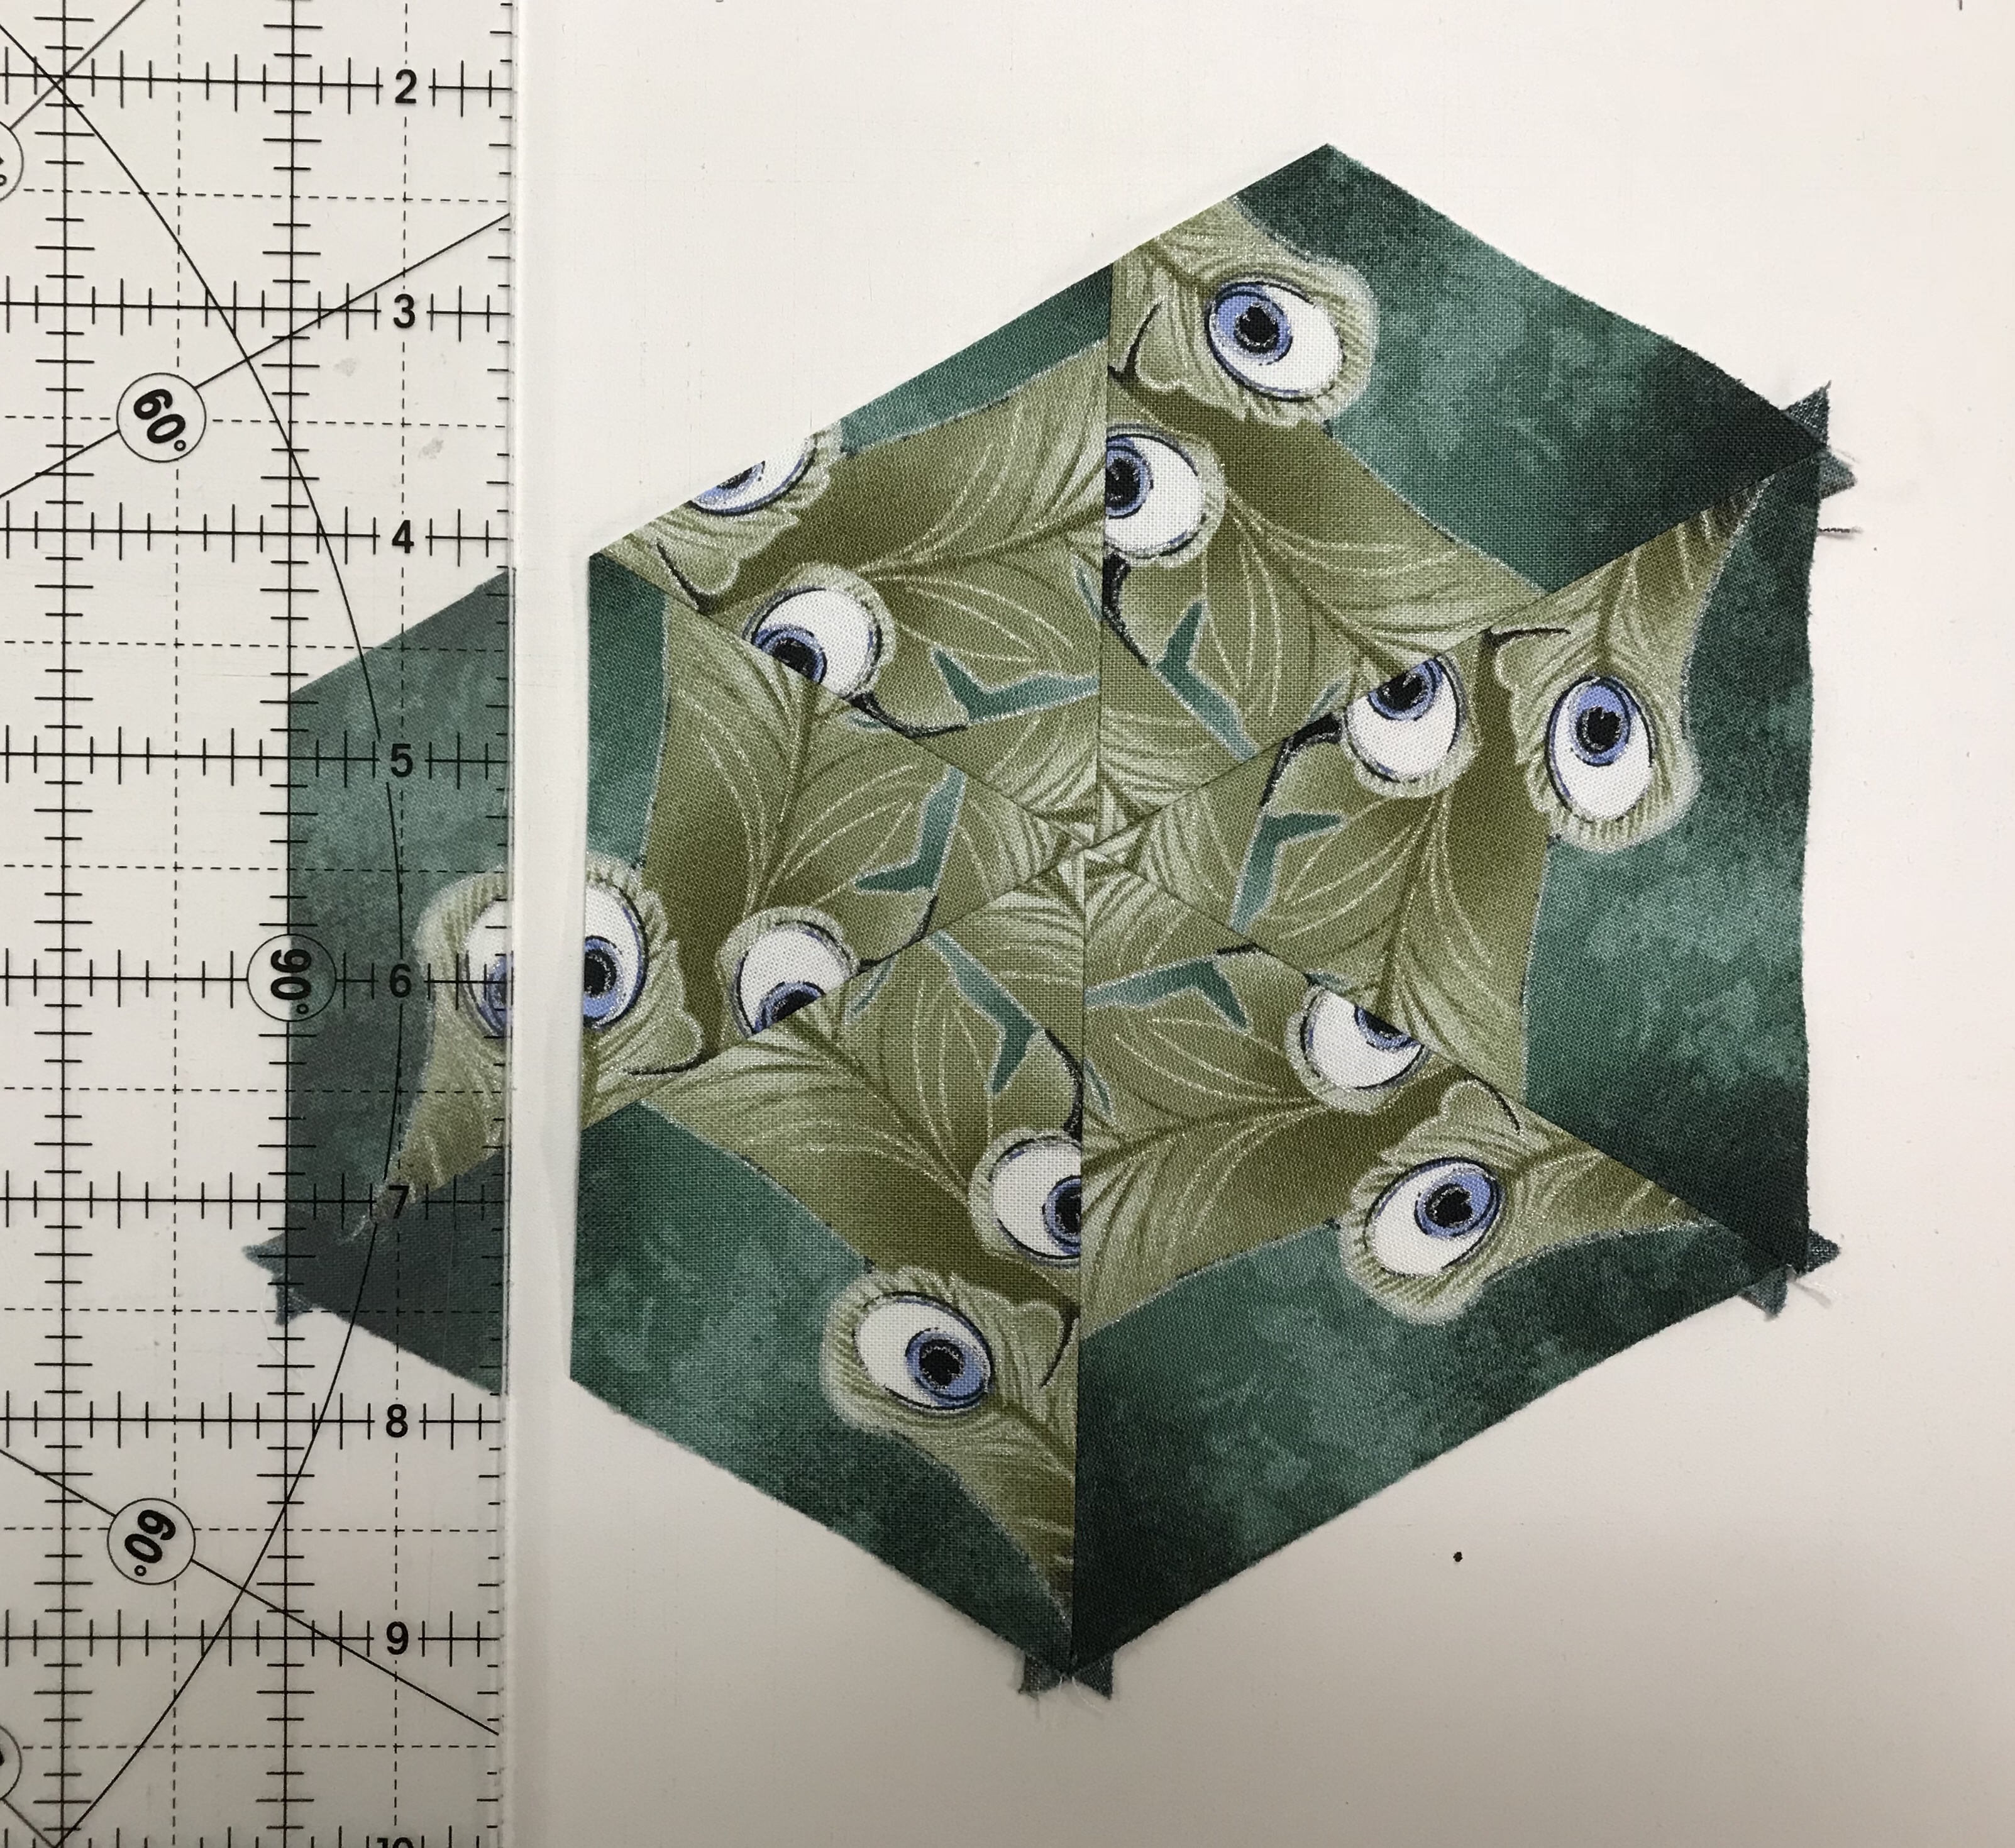
Once the repeats/panels are aligned, trim one long edge so all the layers are ending in the same place. This panel has a good size design, so I cut my strips 3 3/4″ wide by Width of Fabric (WOF). Then using my ruler with a 60 degree line I cut my equilateral triangles and made my blocks. Once the blocks are sorted by predominate color it is time to design.
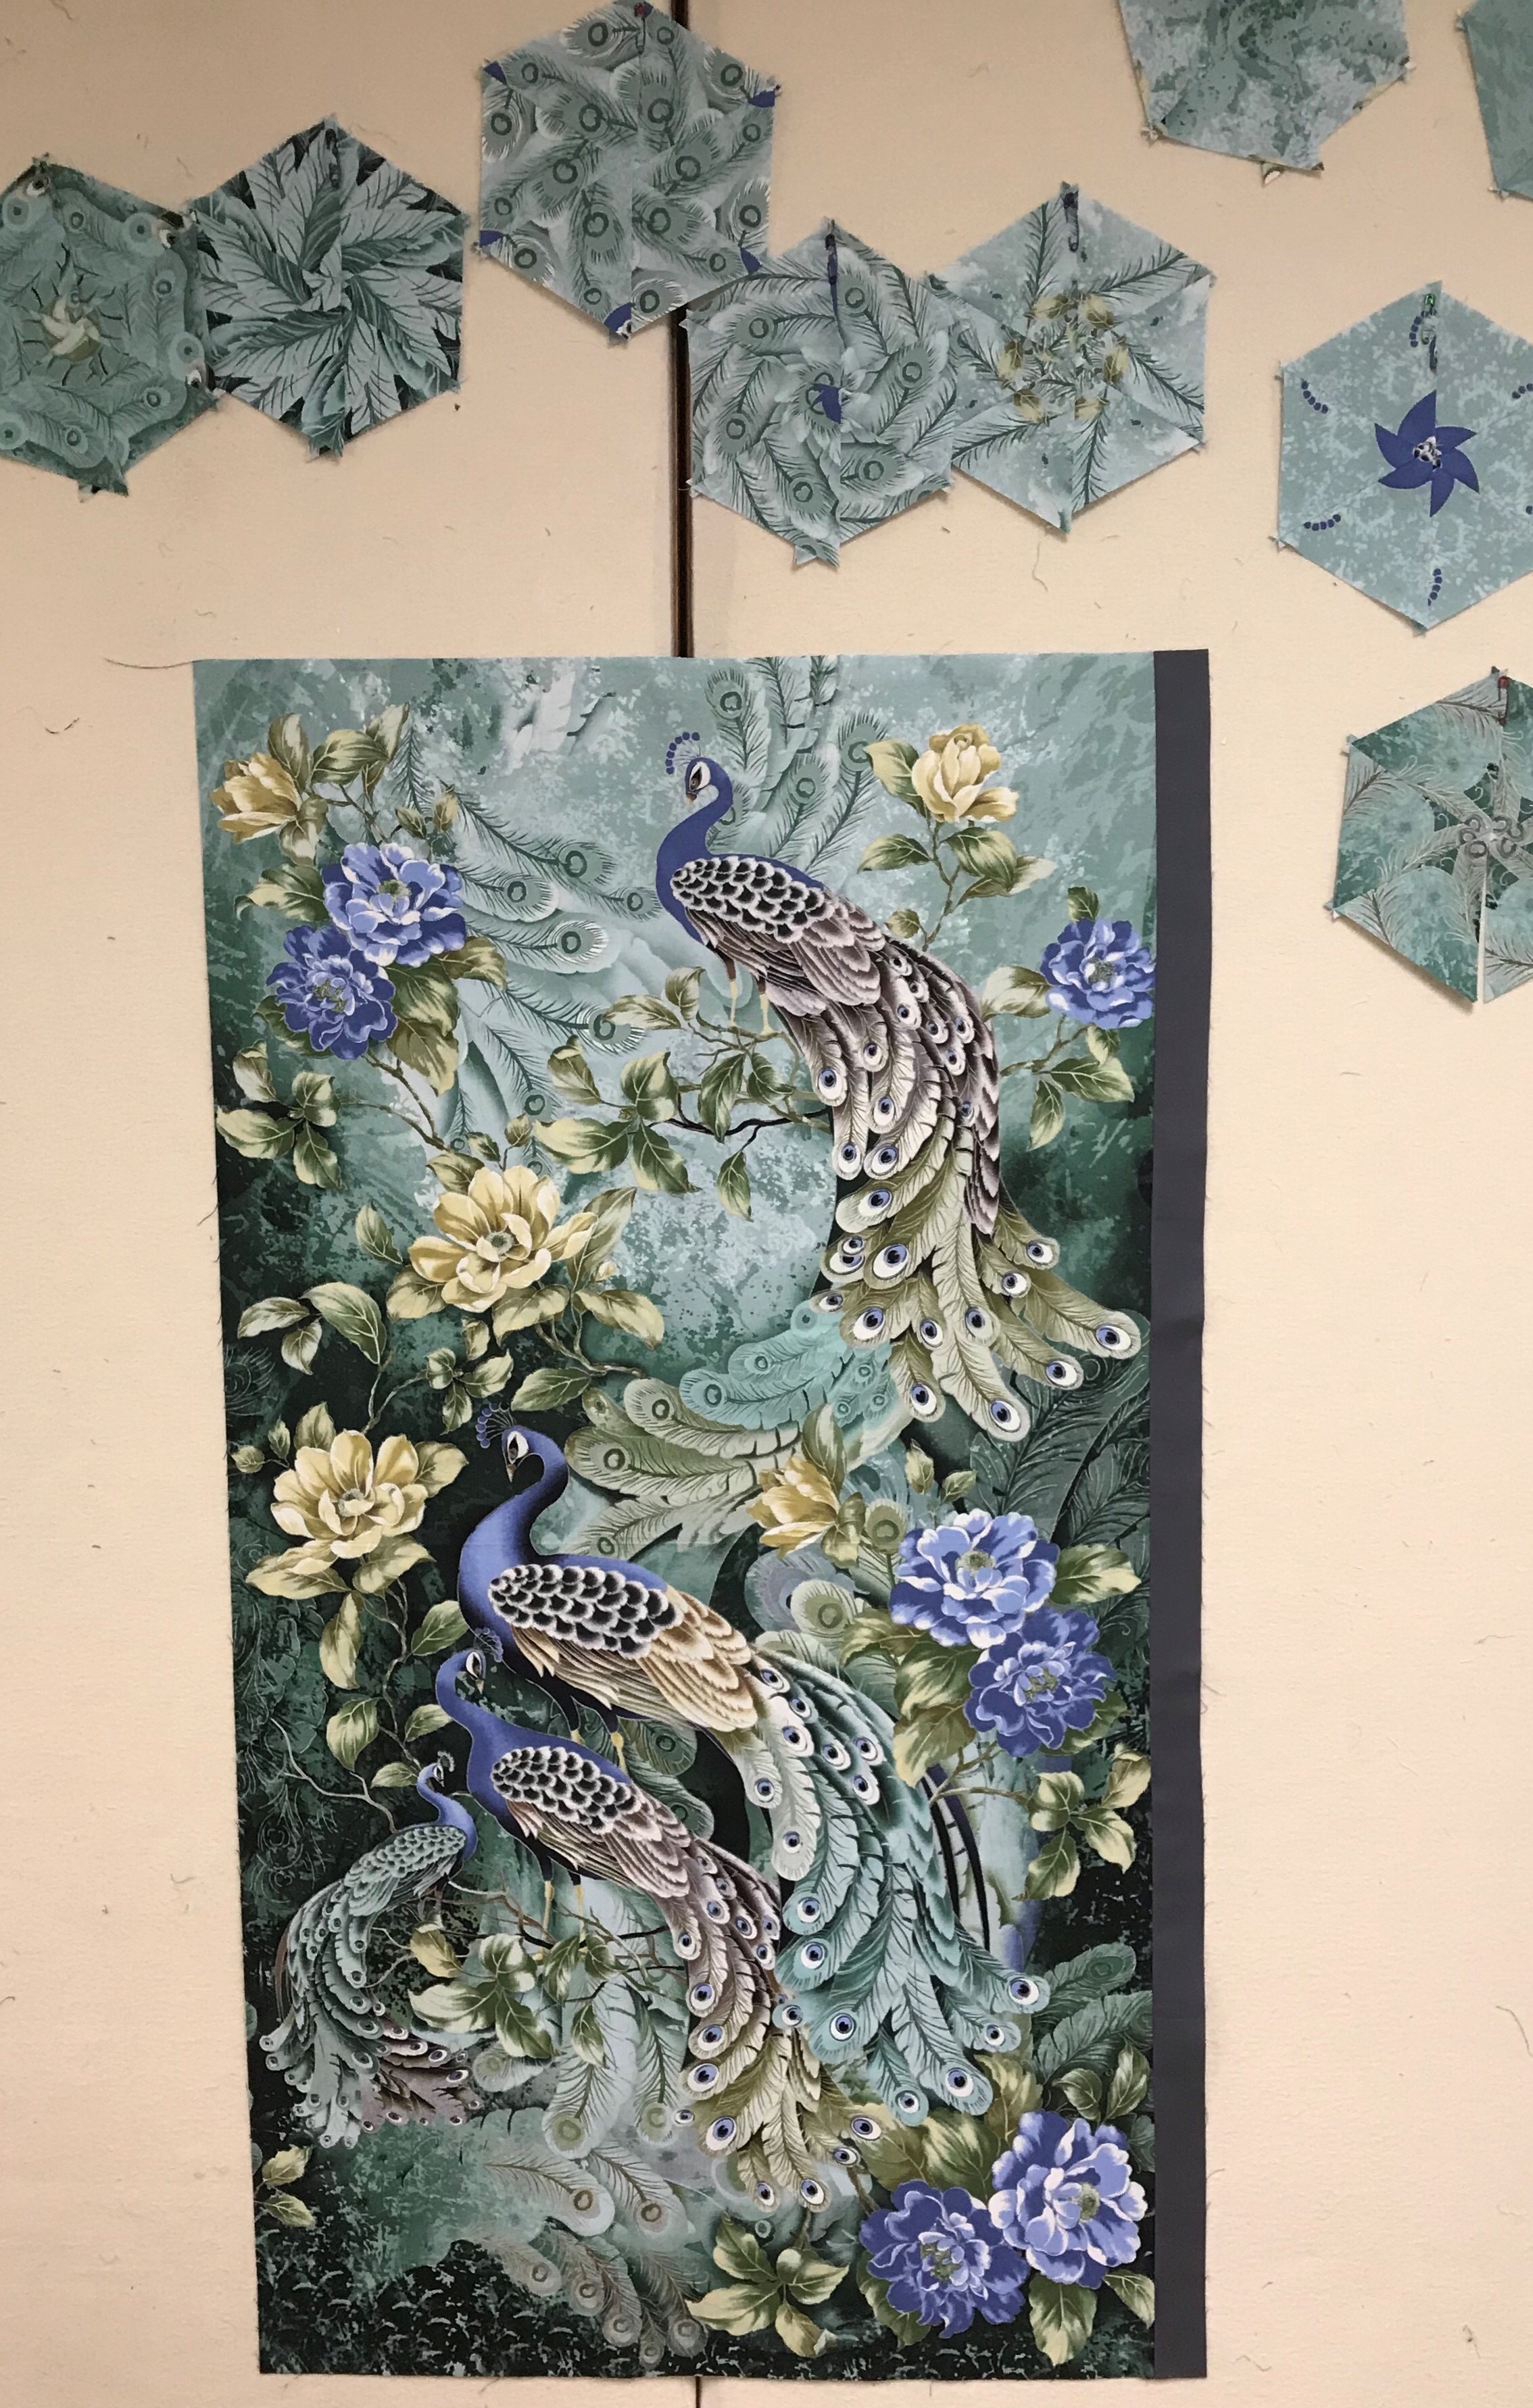
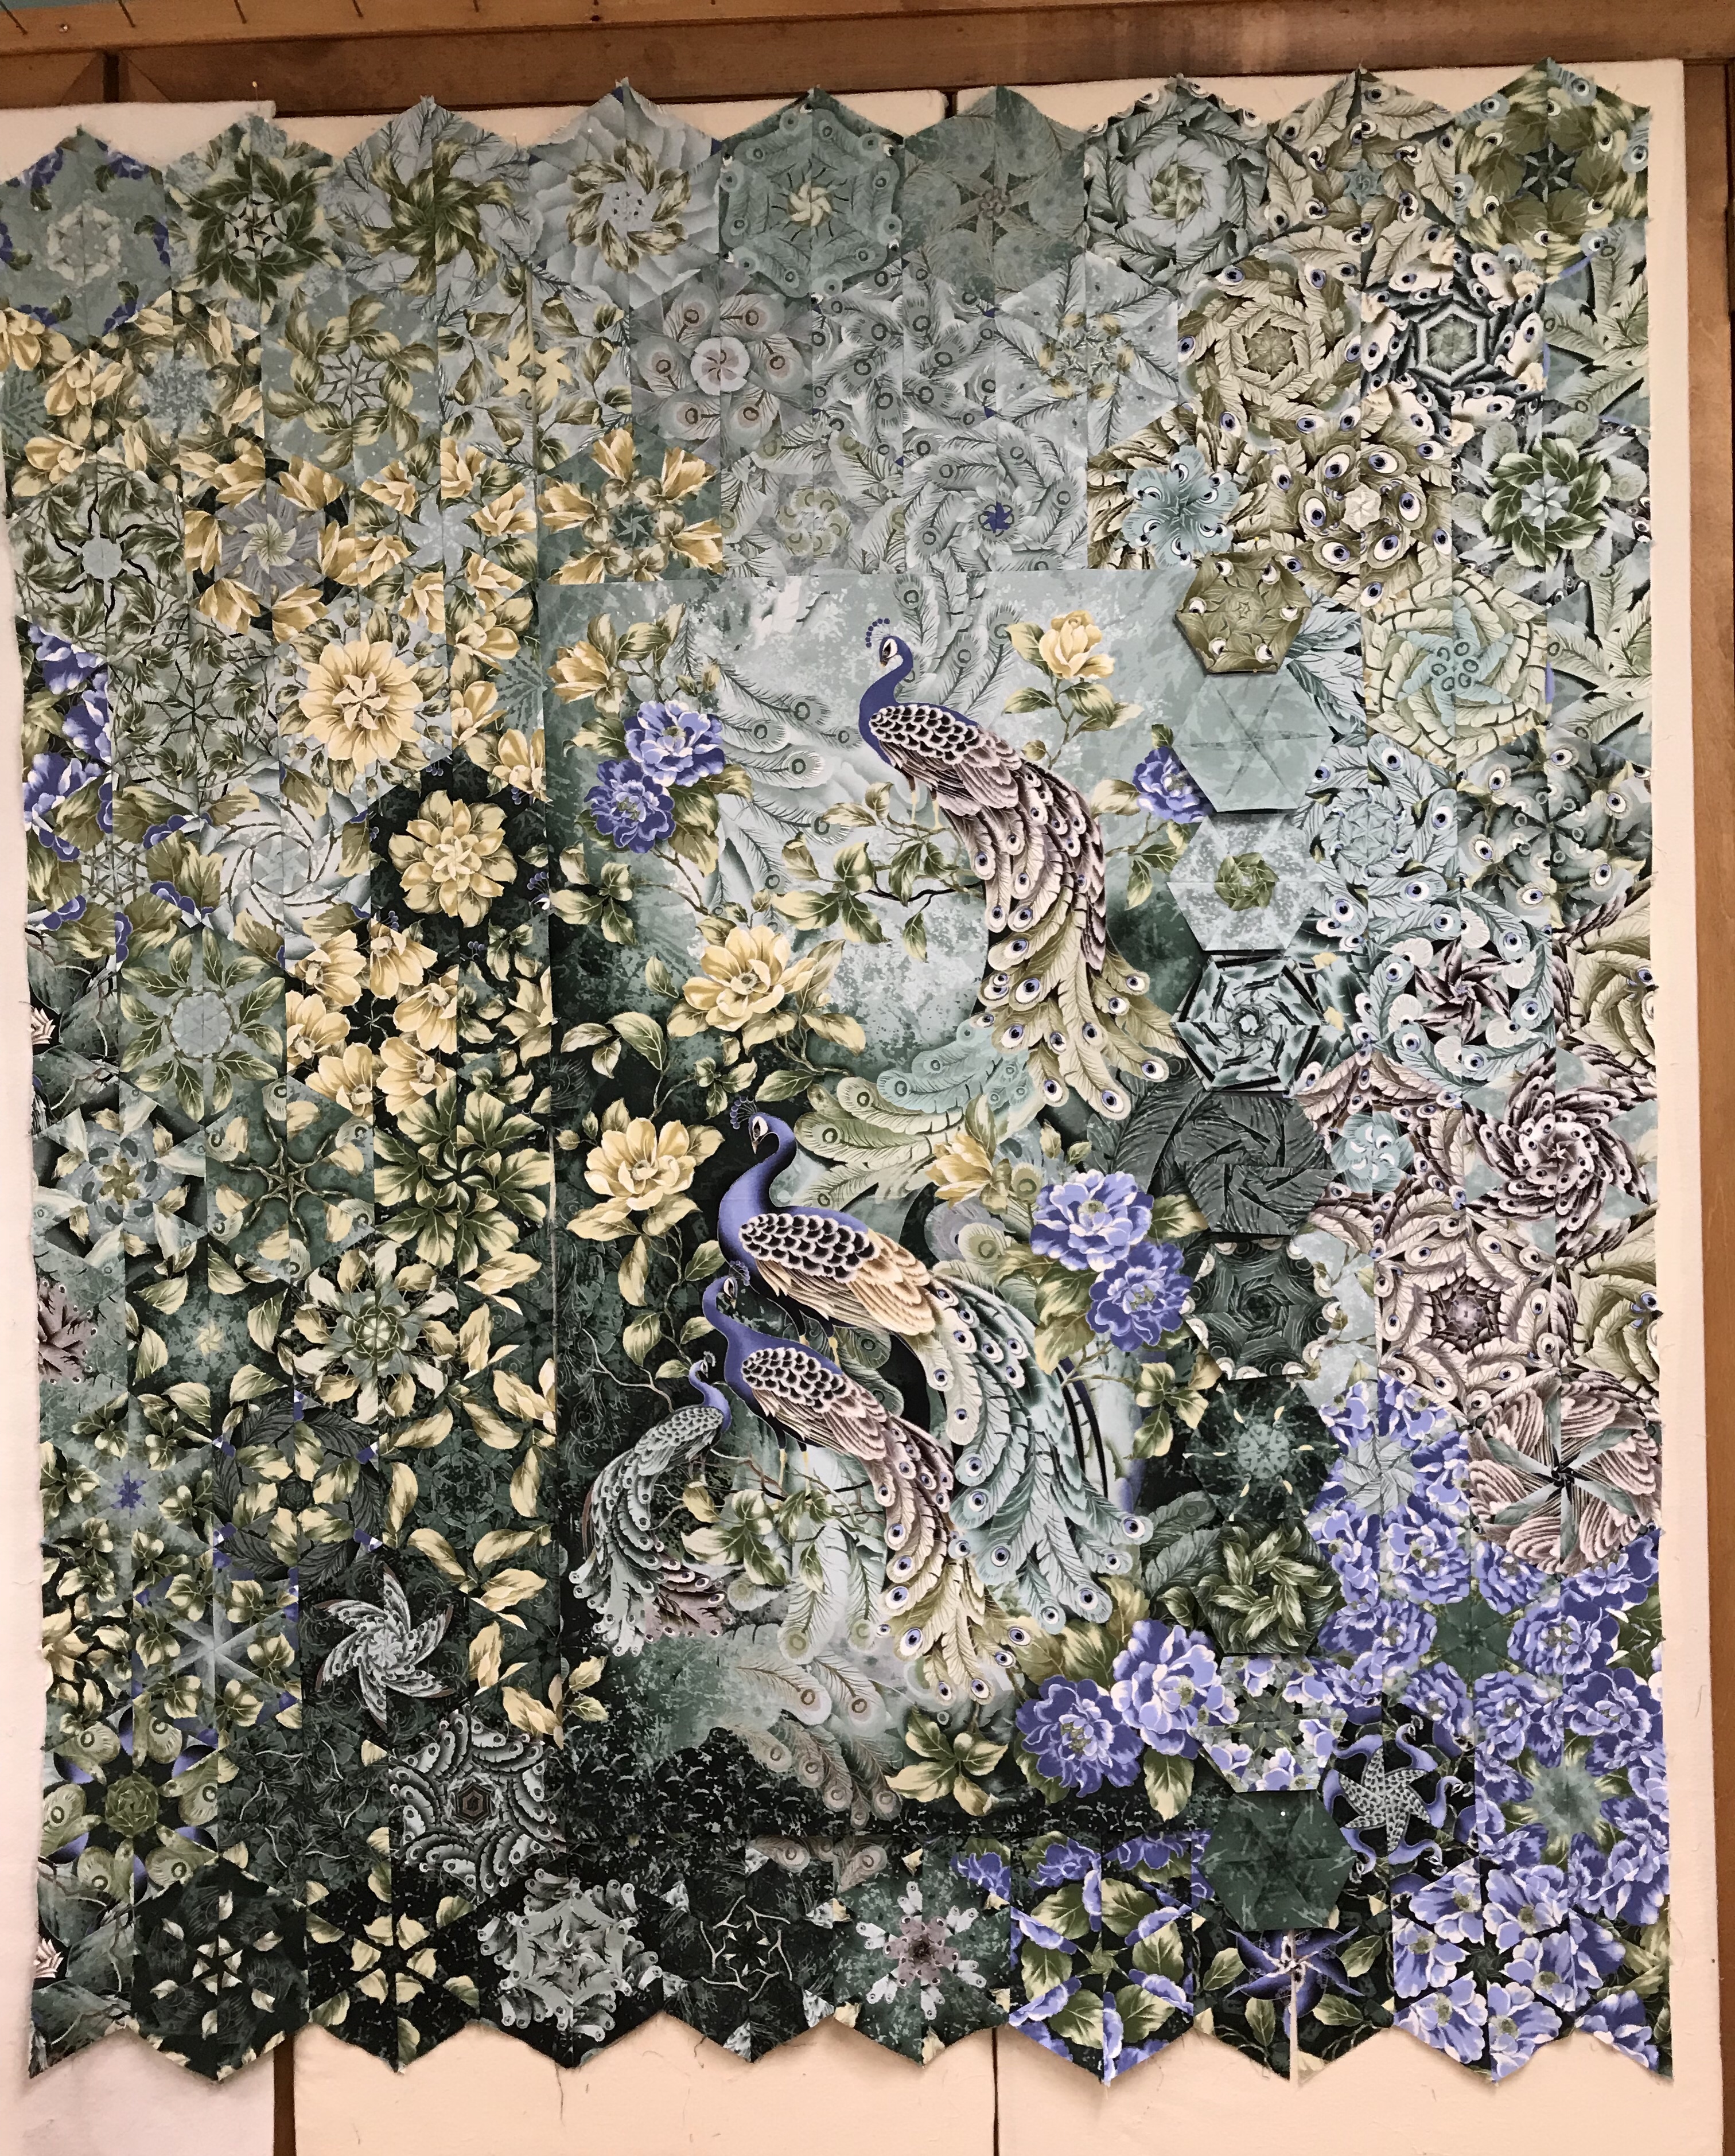
I know that when I cut my strips 3 3/4″ wide, my finished hexagon block will measure 6″ wide. I squared up the panel and measured the width. This panel after squaring up was 23″ wide. This means 3 finished hexagon blocks would measure 18″ and 4 finished hexagon blocks would measure 24″ wide. At this point I had two choices, trim the panel to 18″ wide or add fabric to make the panel 24″ wide. I decided to add fabric that I will hide later. You can decide to center your panel or offset it in any way.

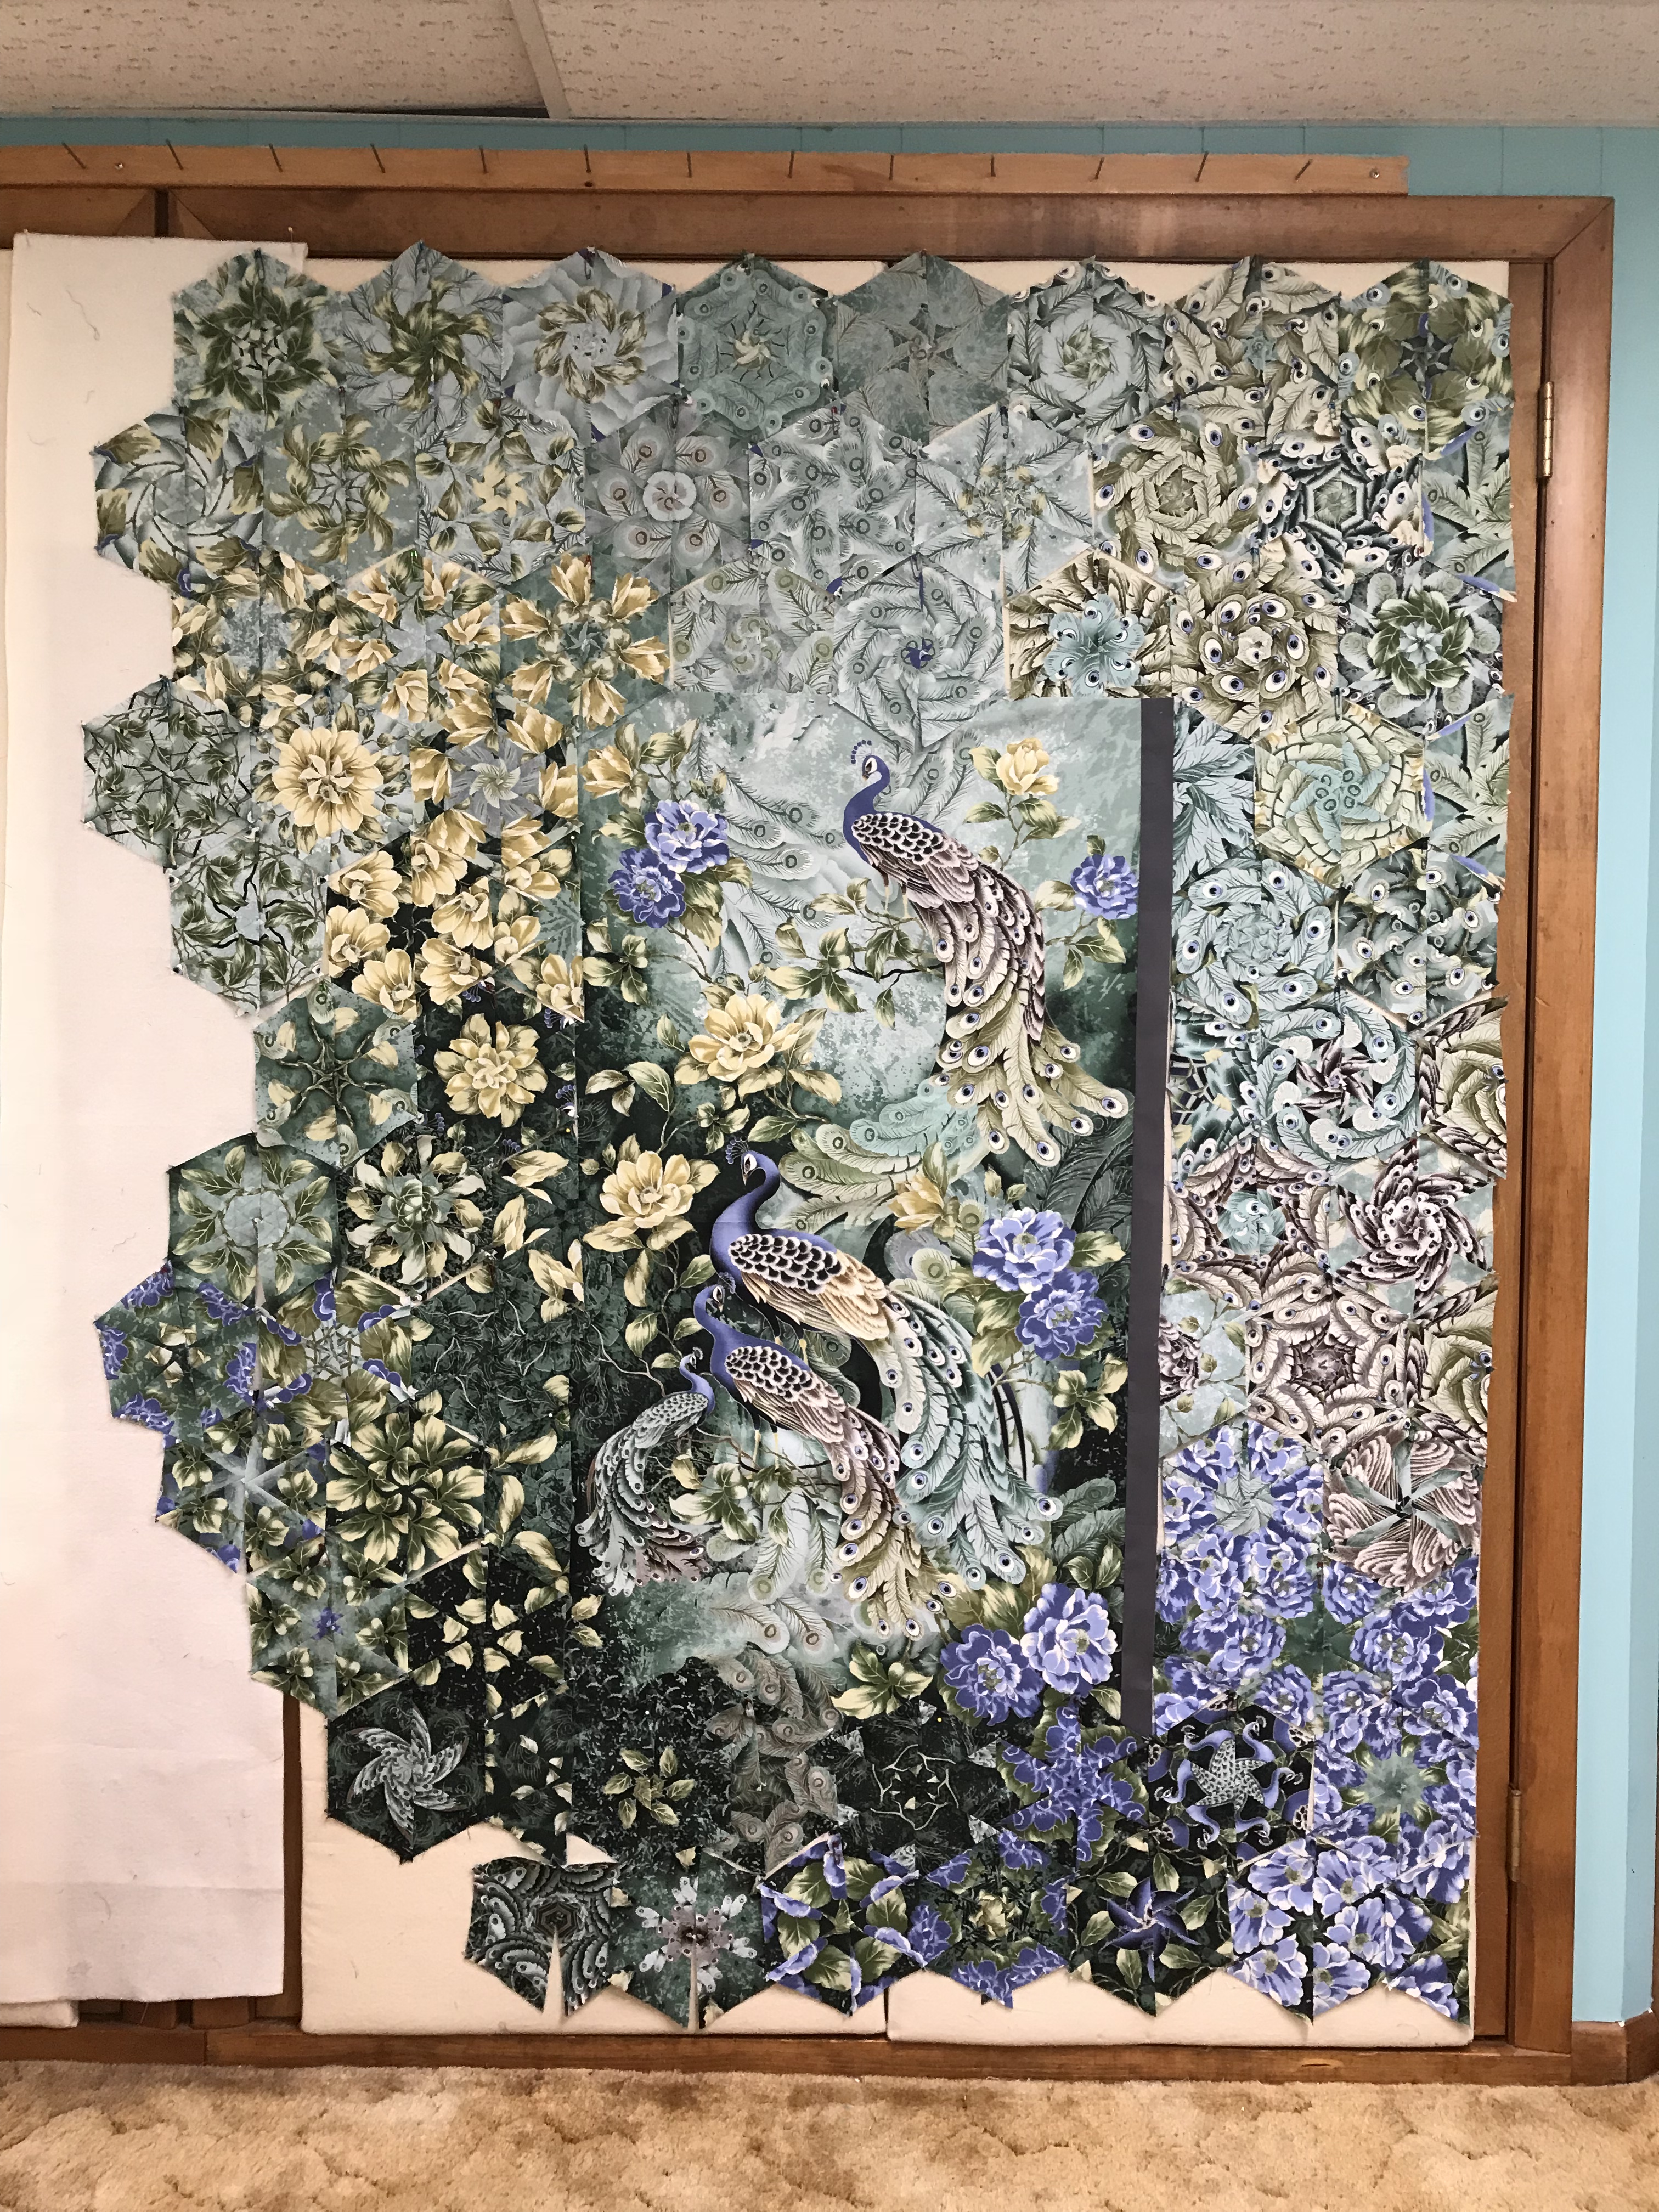
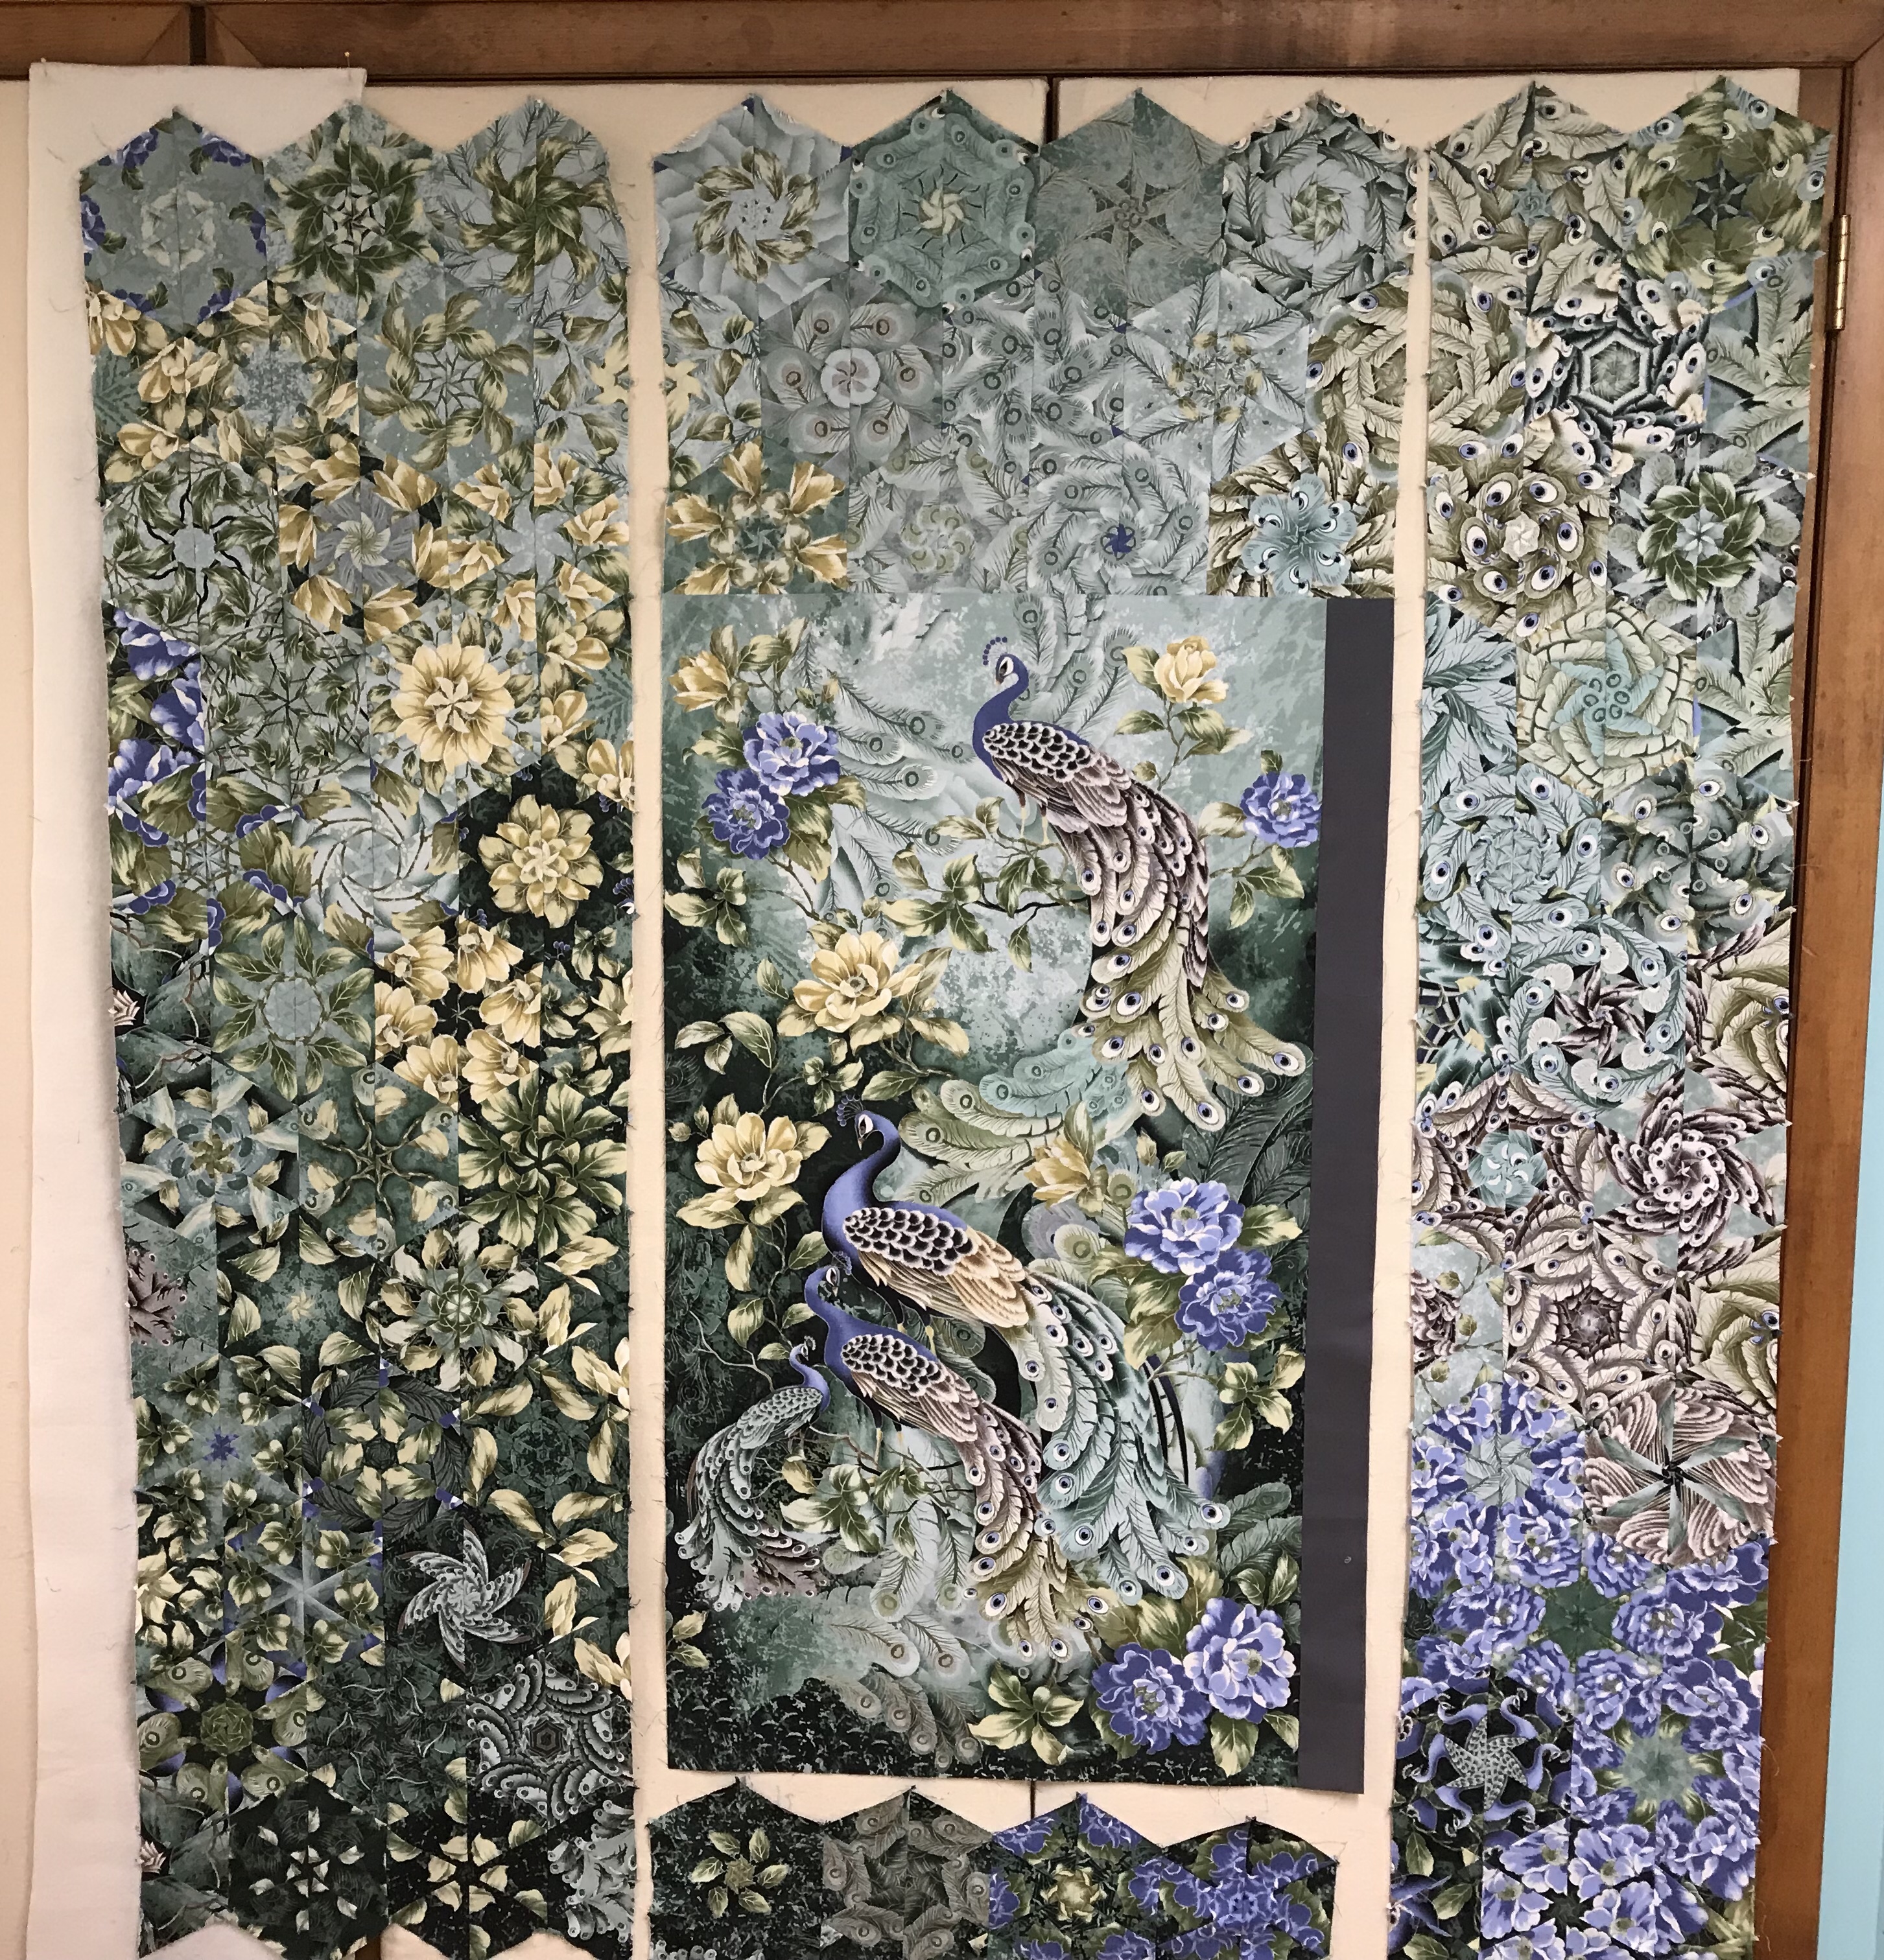
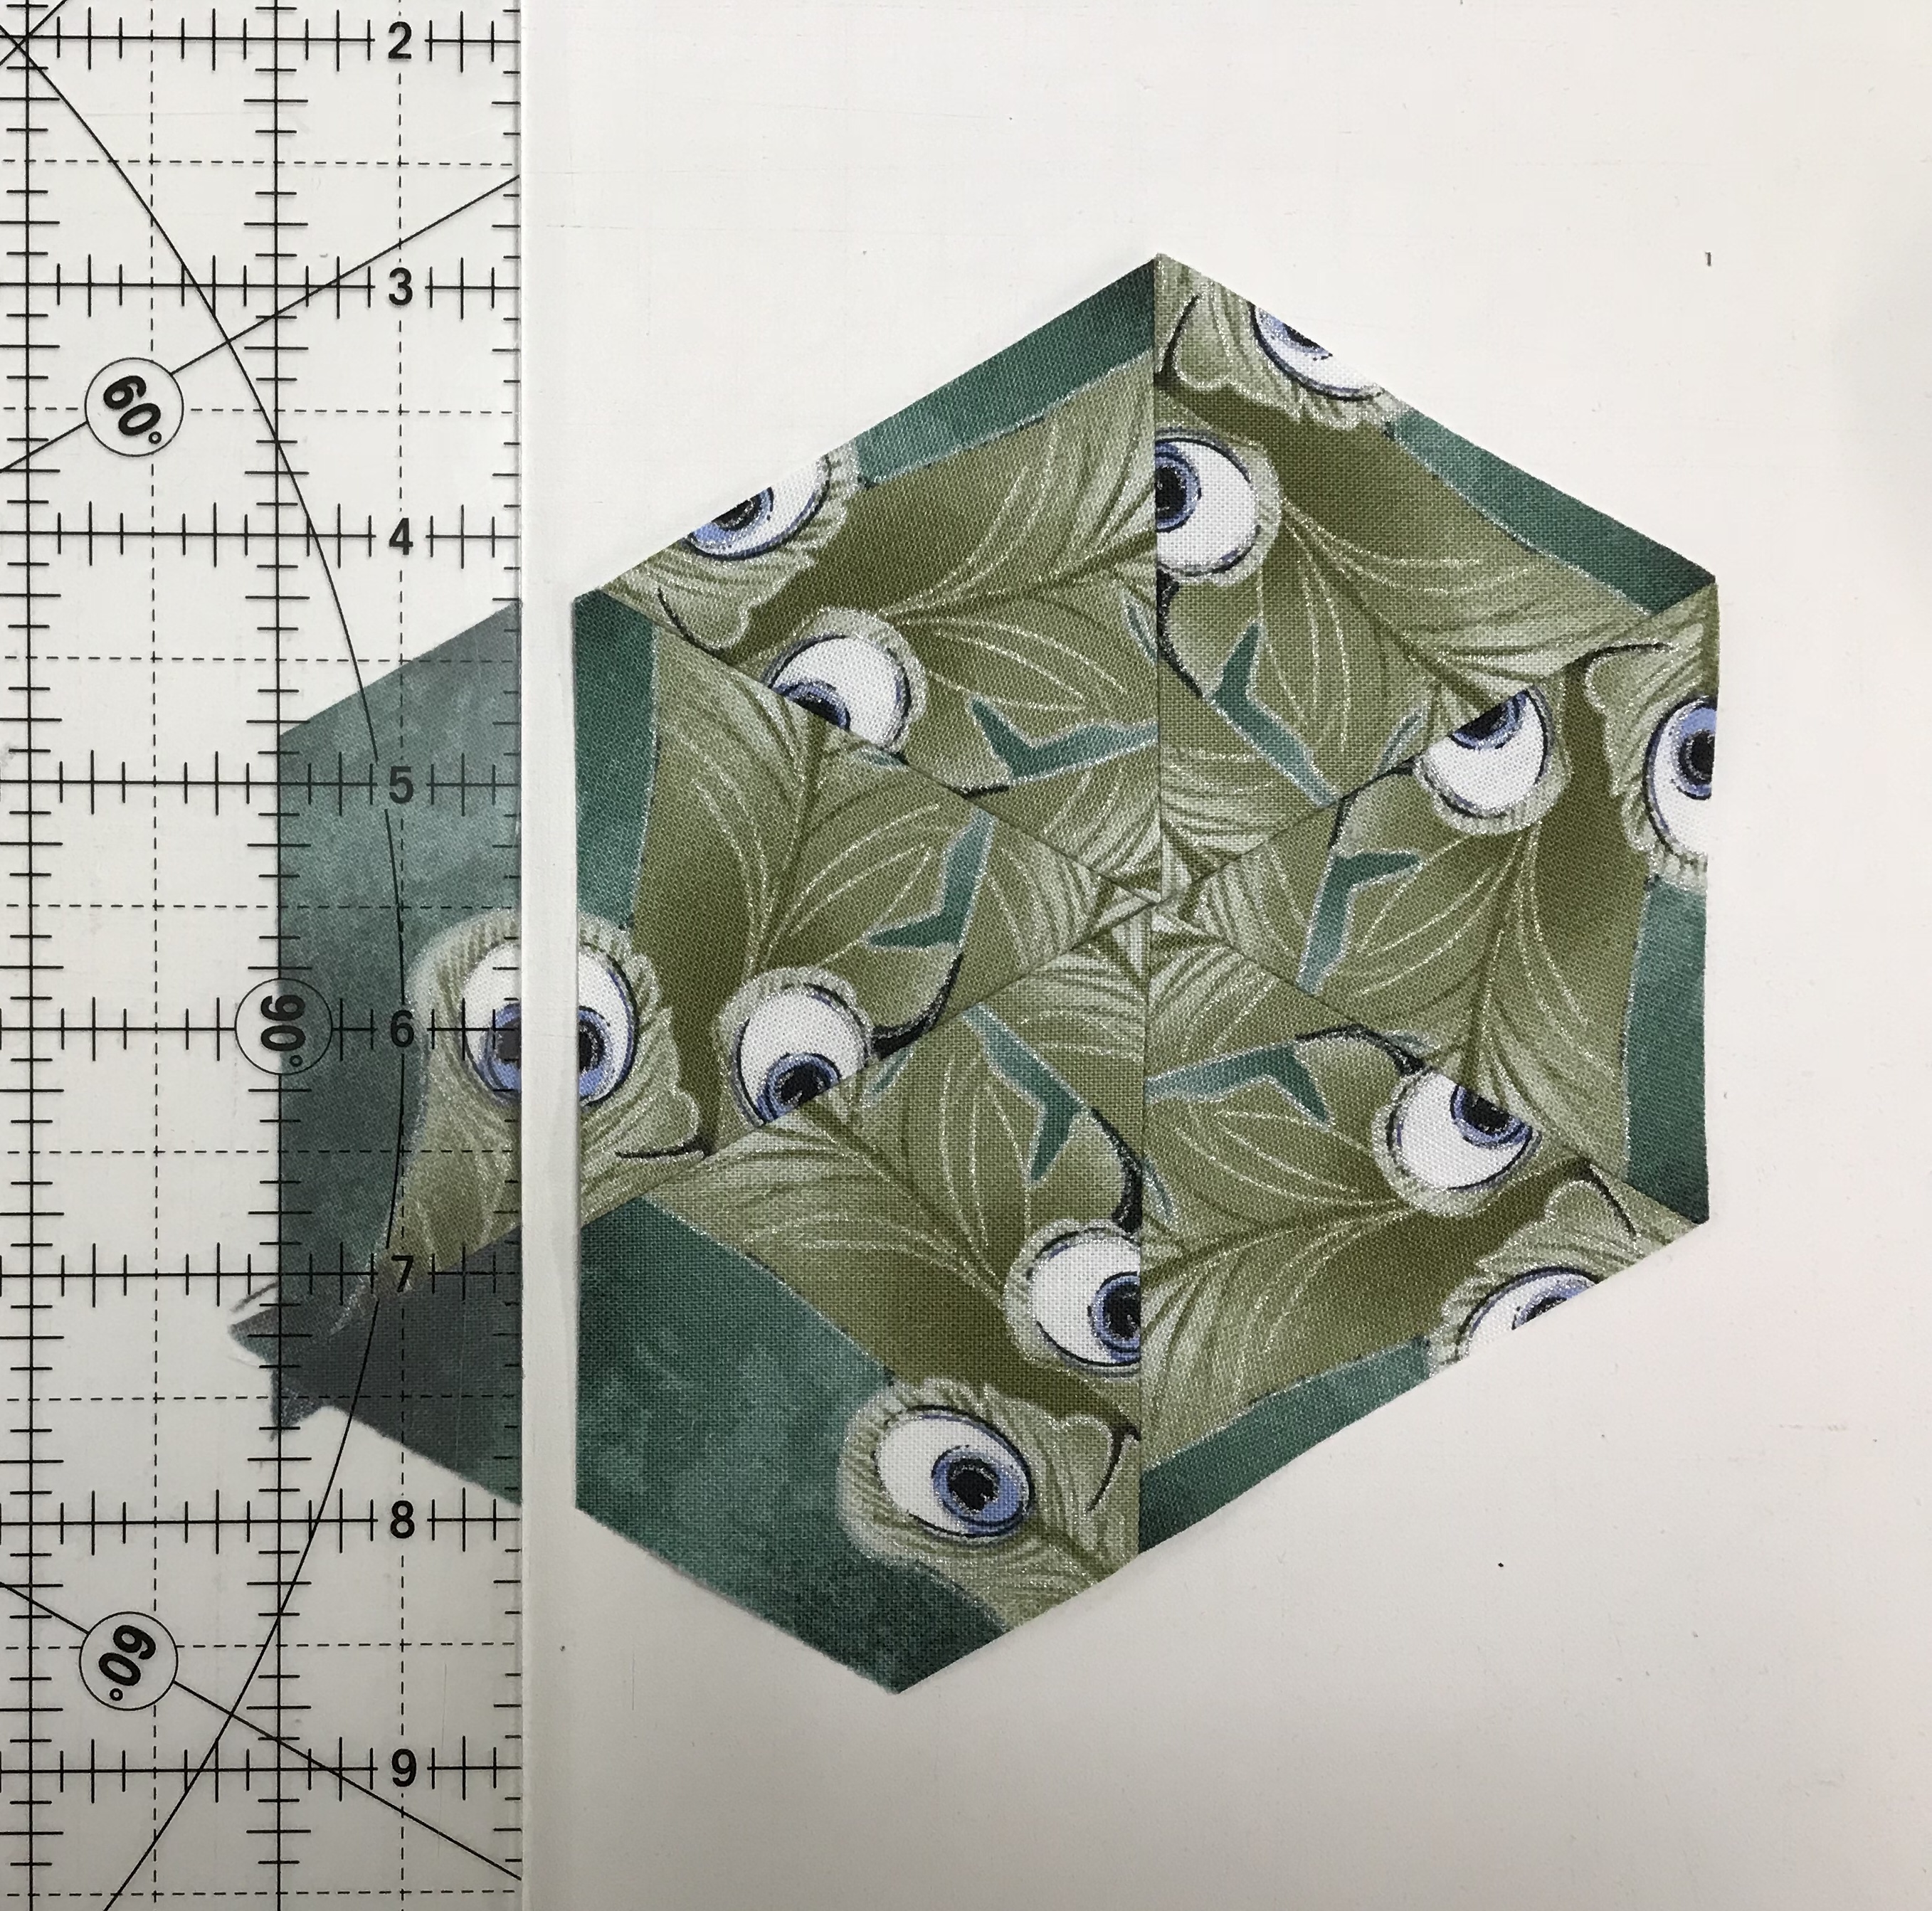
I place the panel on my design wall and start the designing process. I always place my blocks on the design wall so the opening is north and south.
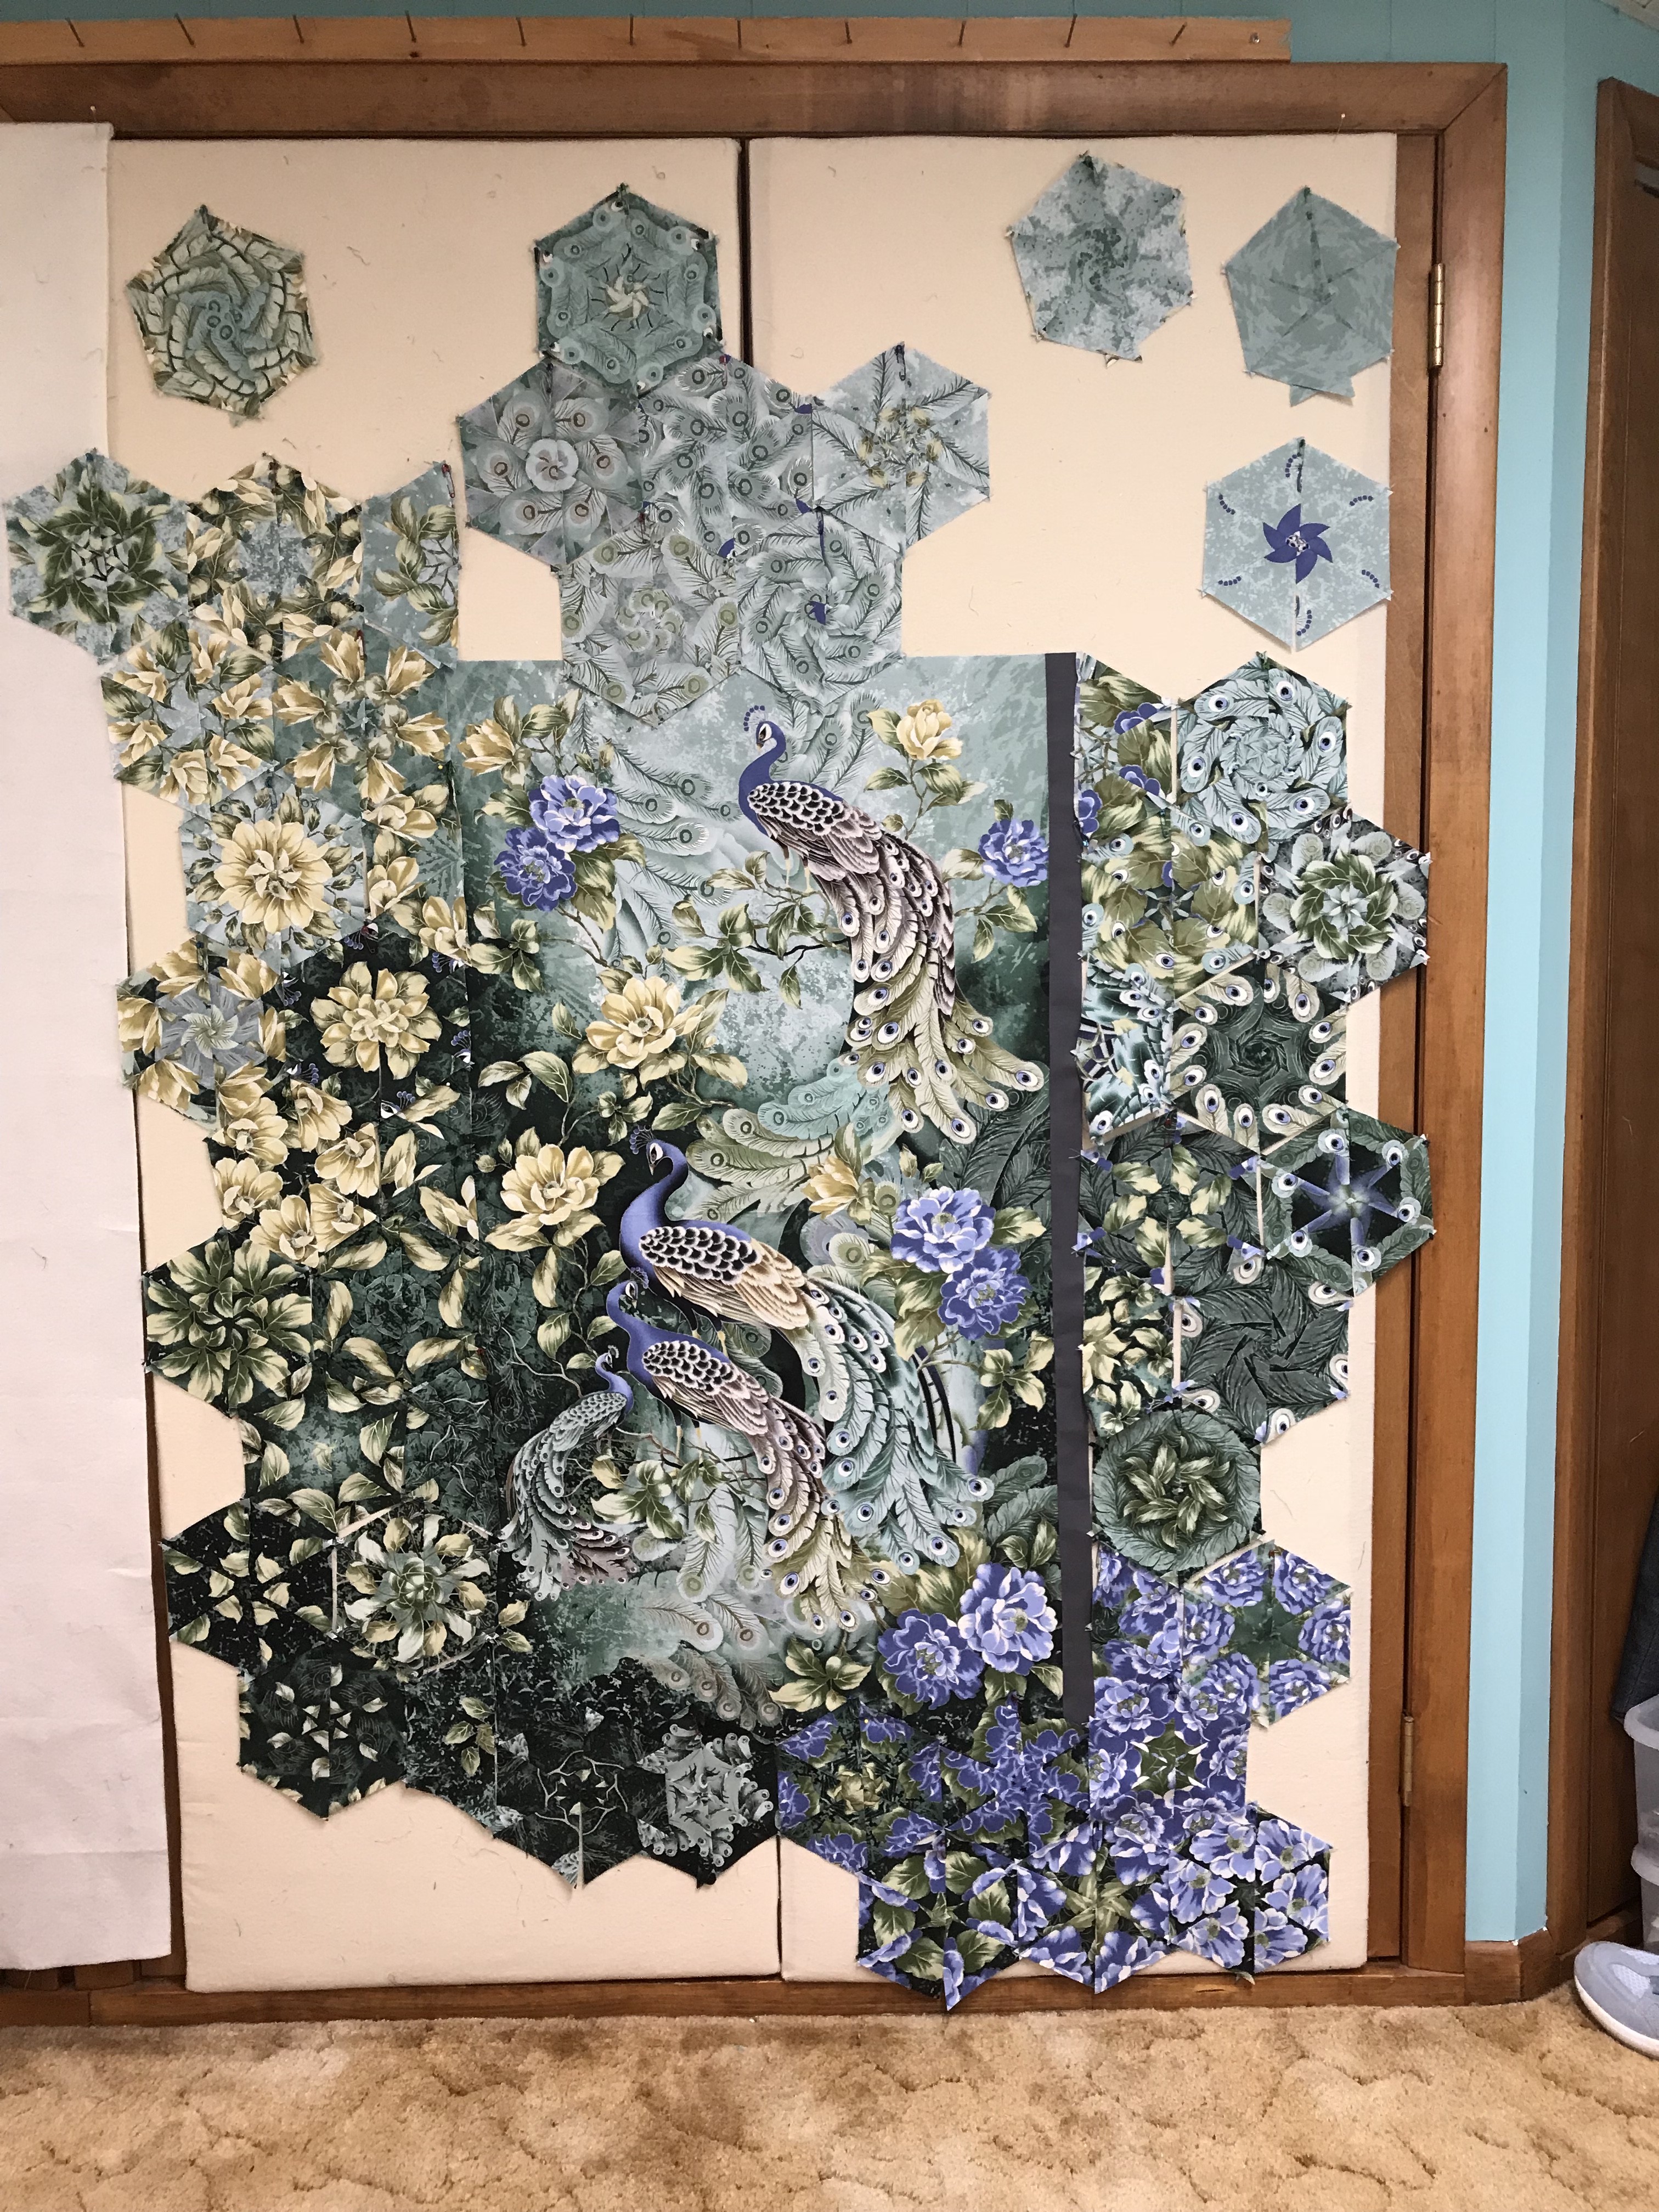
I have established that I will need four blocks wide across the top and the bottom. How deep it goes depends on me. I chose 4 blocks wide and 3 blocks deep on the top, and 4 blocks wide and 2 blocks deep on the bottom.
When placing the blocks on the side of the panel, every other block remains whole, while everything other is a half of a block. I don’t remove the half until I’m sure the block will remain there, I just fold it in half.
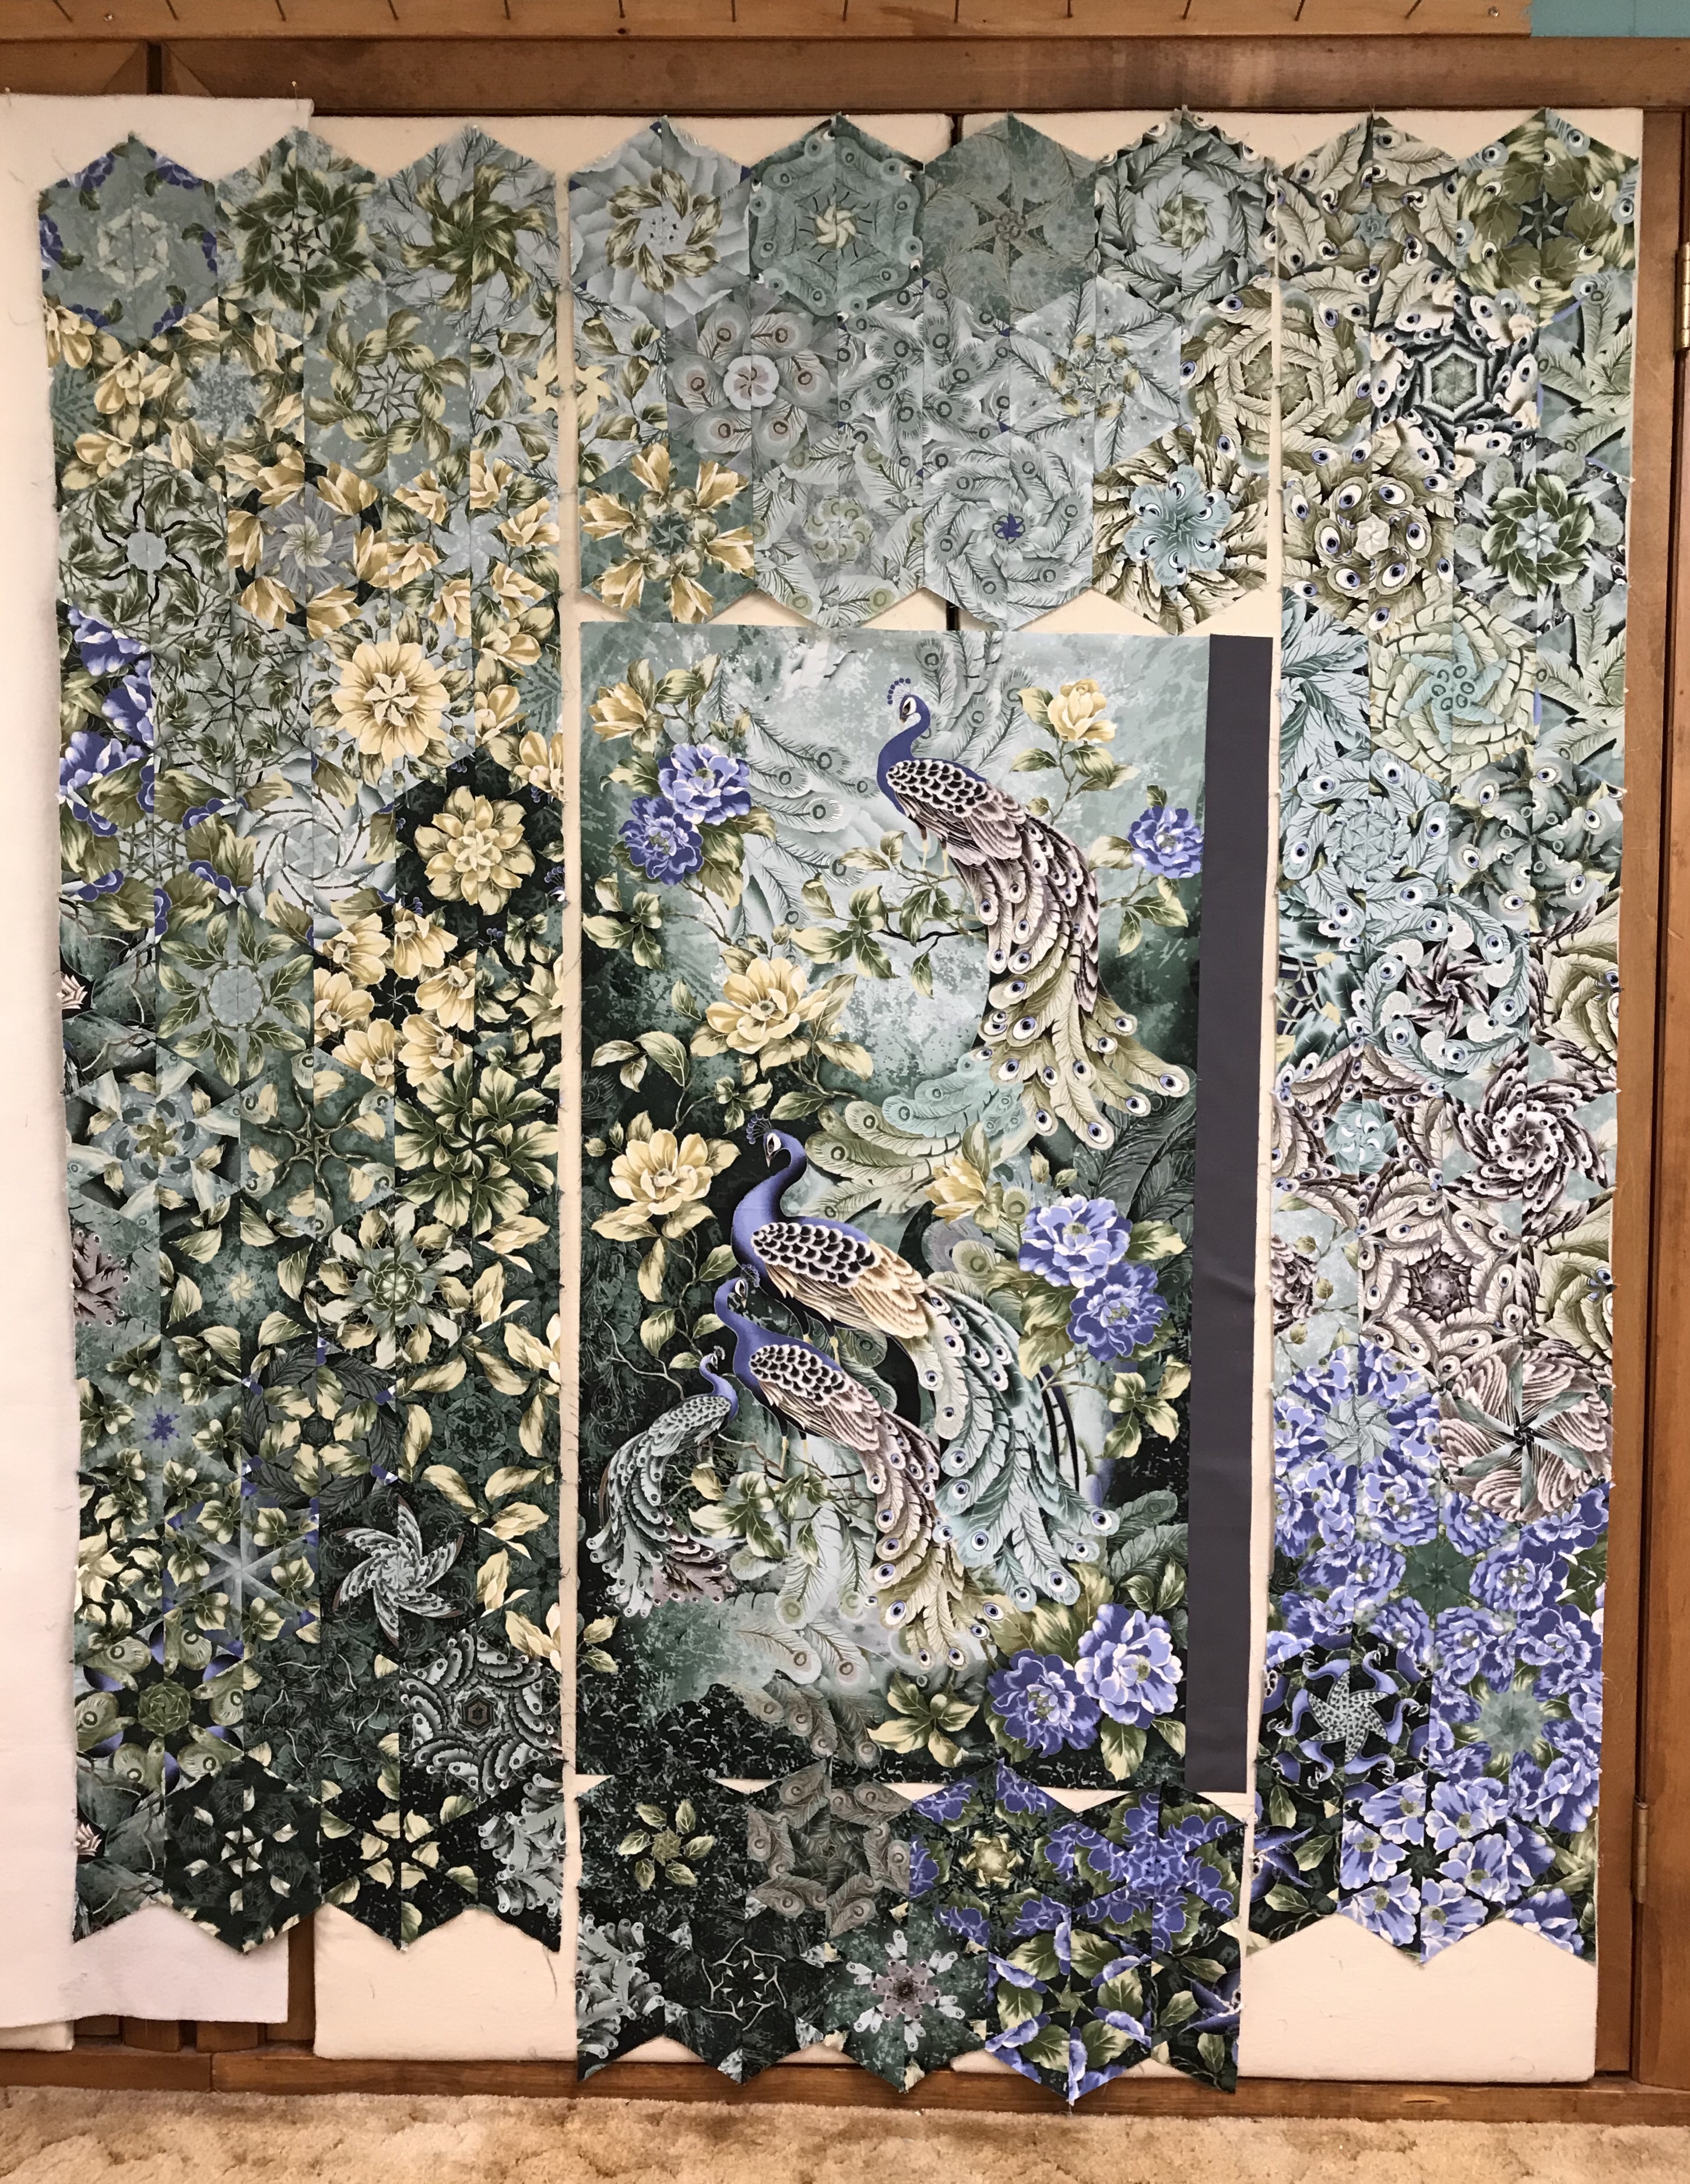
When I am satisfied with the design I number the rows as always and stitch the rows together in four groups: the top, bottom, right side & left side. I think of this as a giant block that has a rectangle in the center and will be constructed using a partial seam.
Decide whether to attach the top or bottom first. I am going to attach the top rows first by trimming the points that will be stitched to the panel, leaving a 1/4″ seam allowance.
Once I have stitched the top rows to the panel I need to choose which side to attach next, matching up dog ears as you would when joining the rows and stitch three quarters of the way down (partial seam).
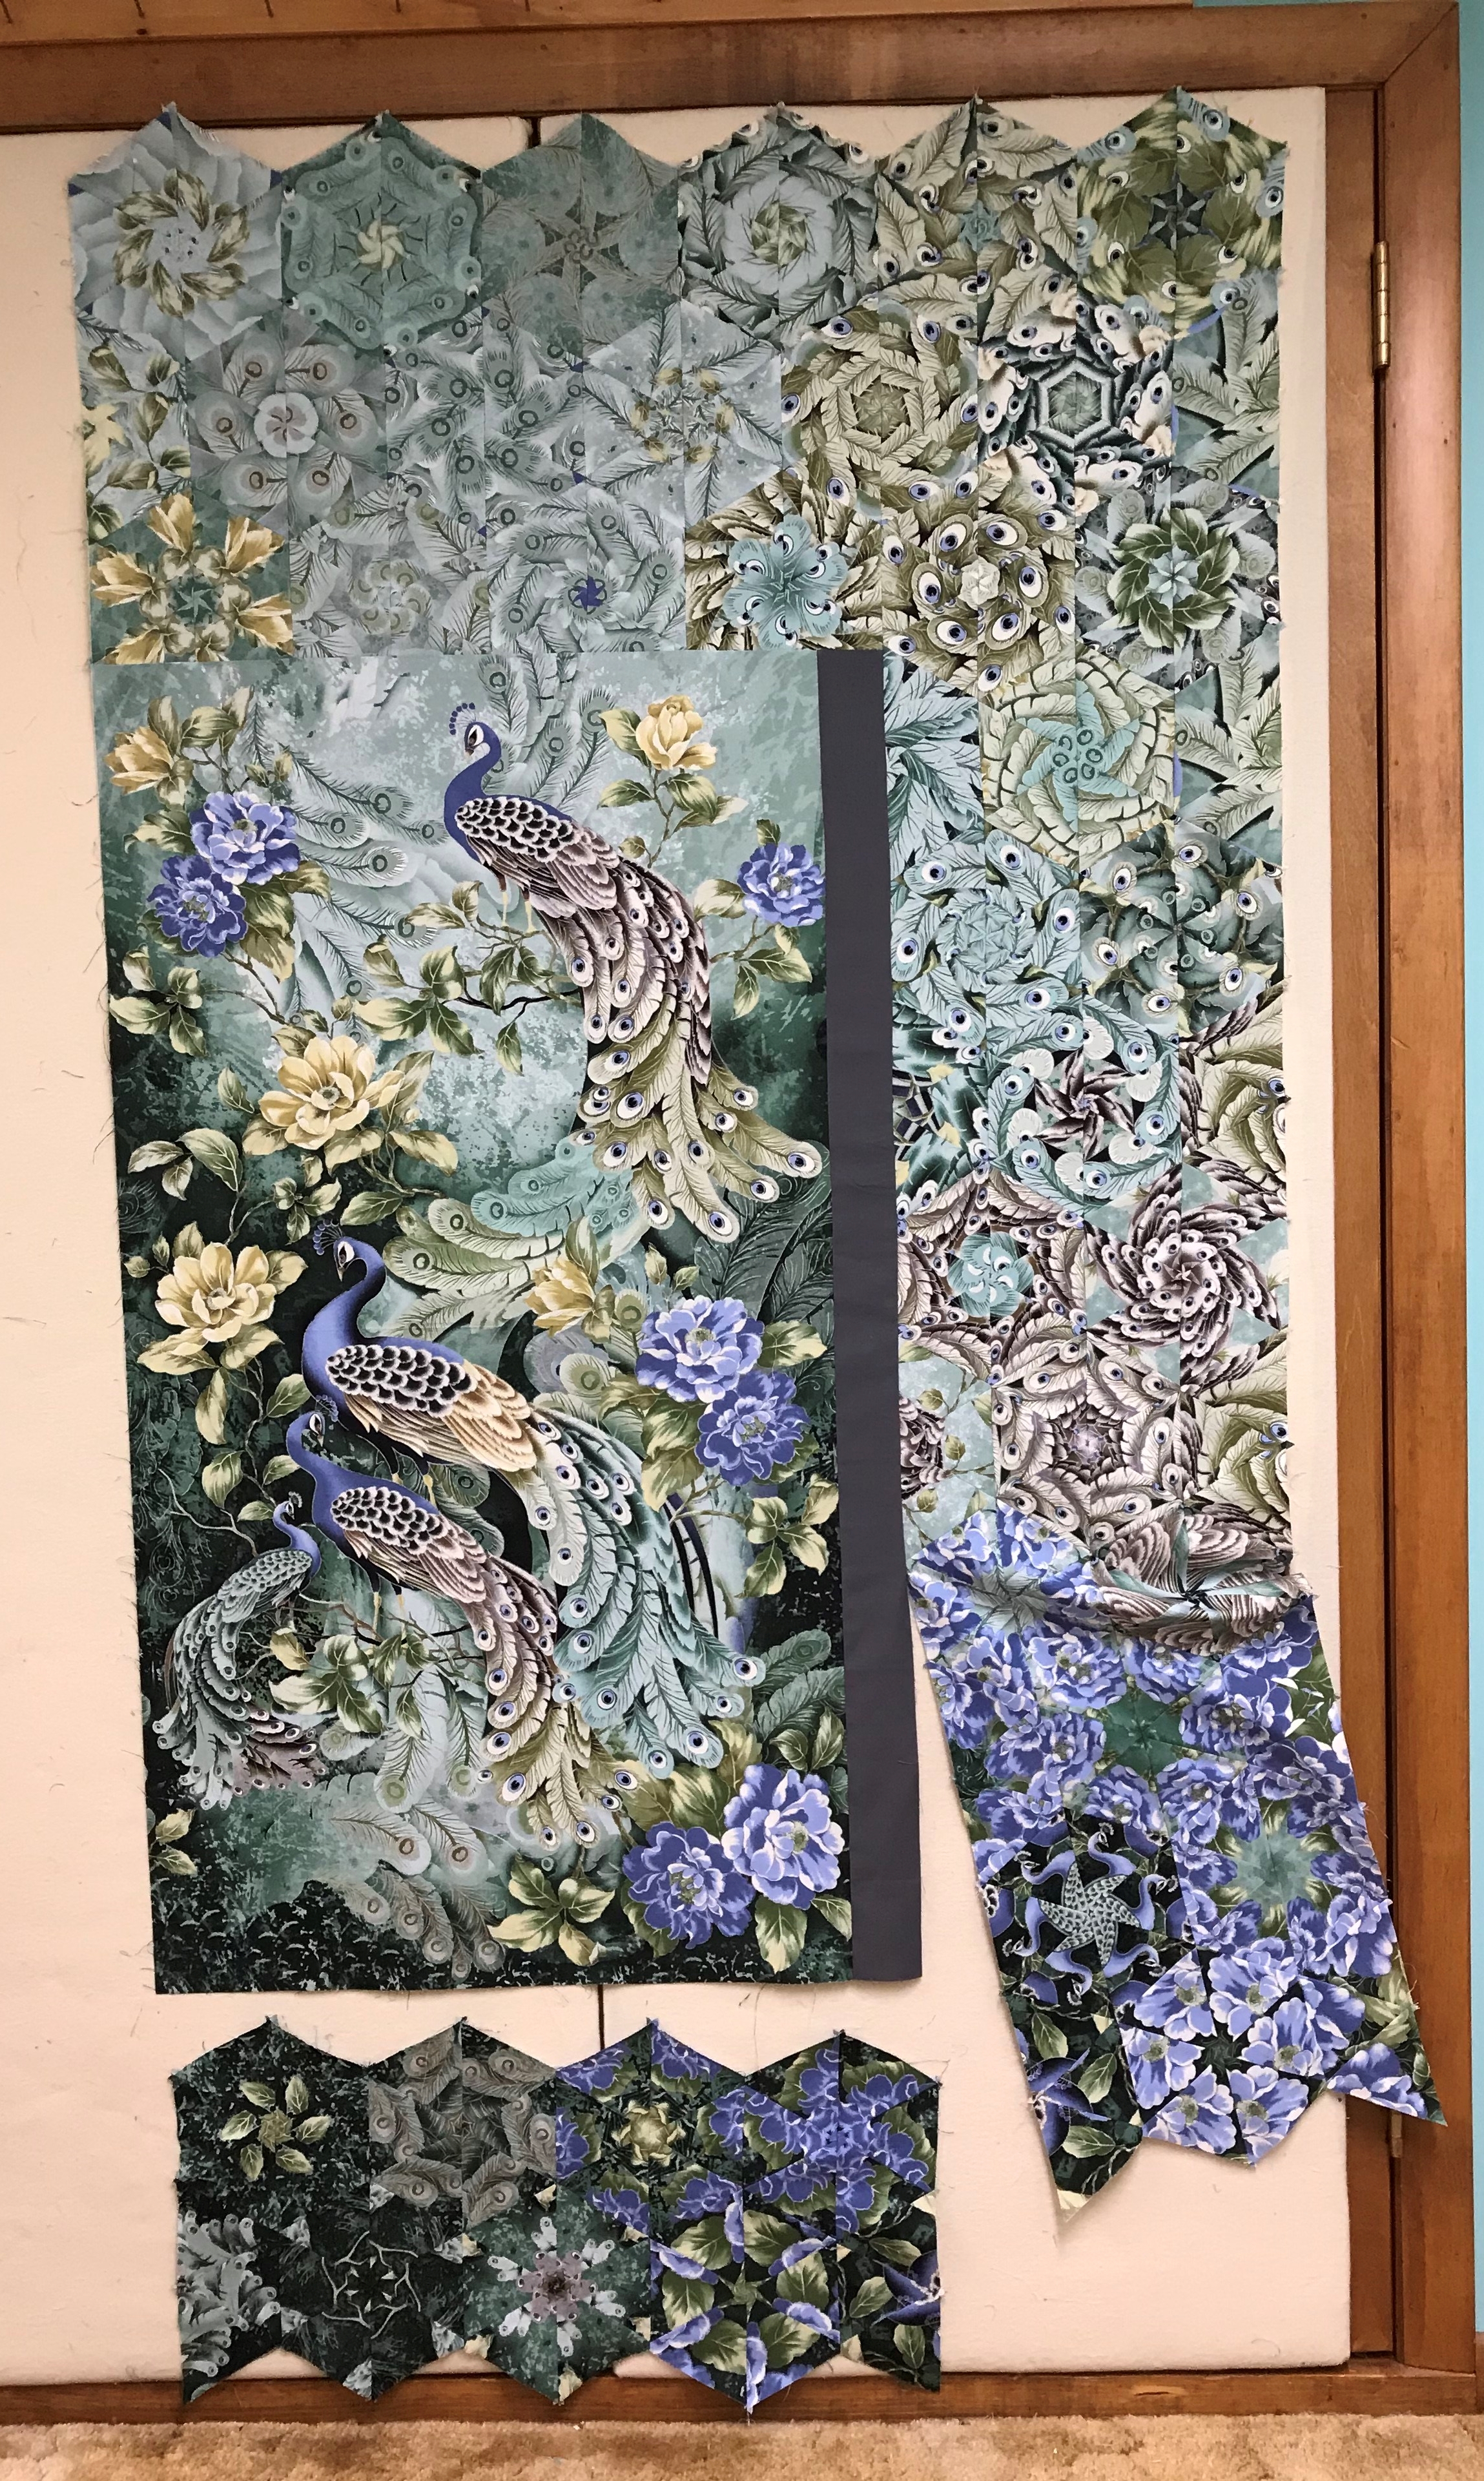
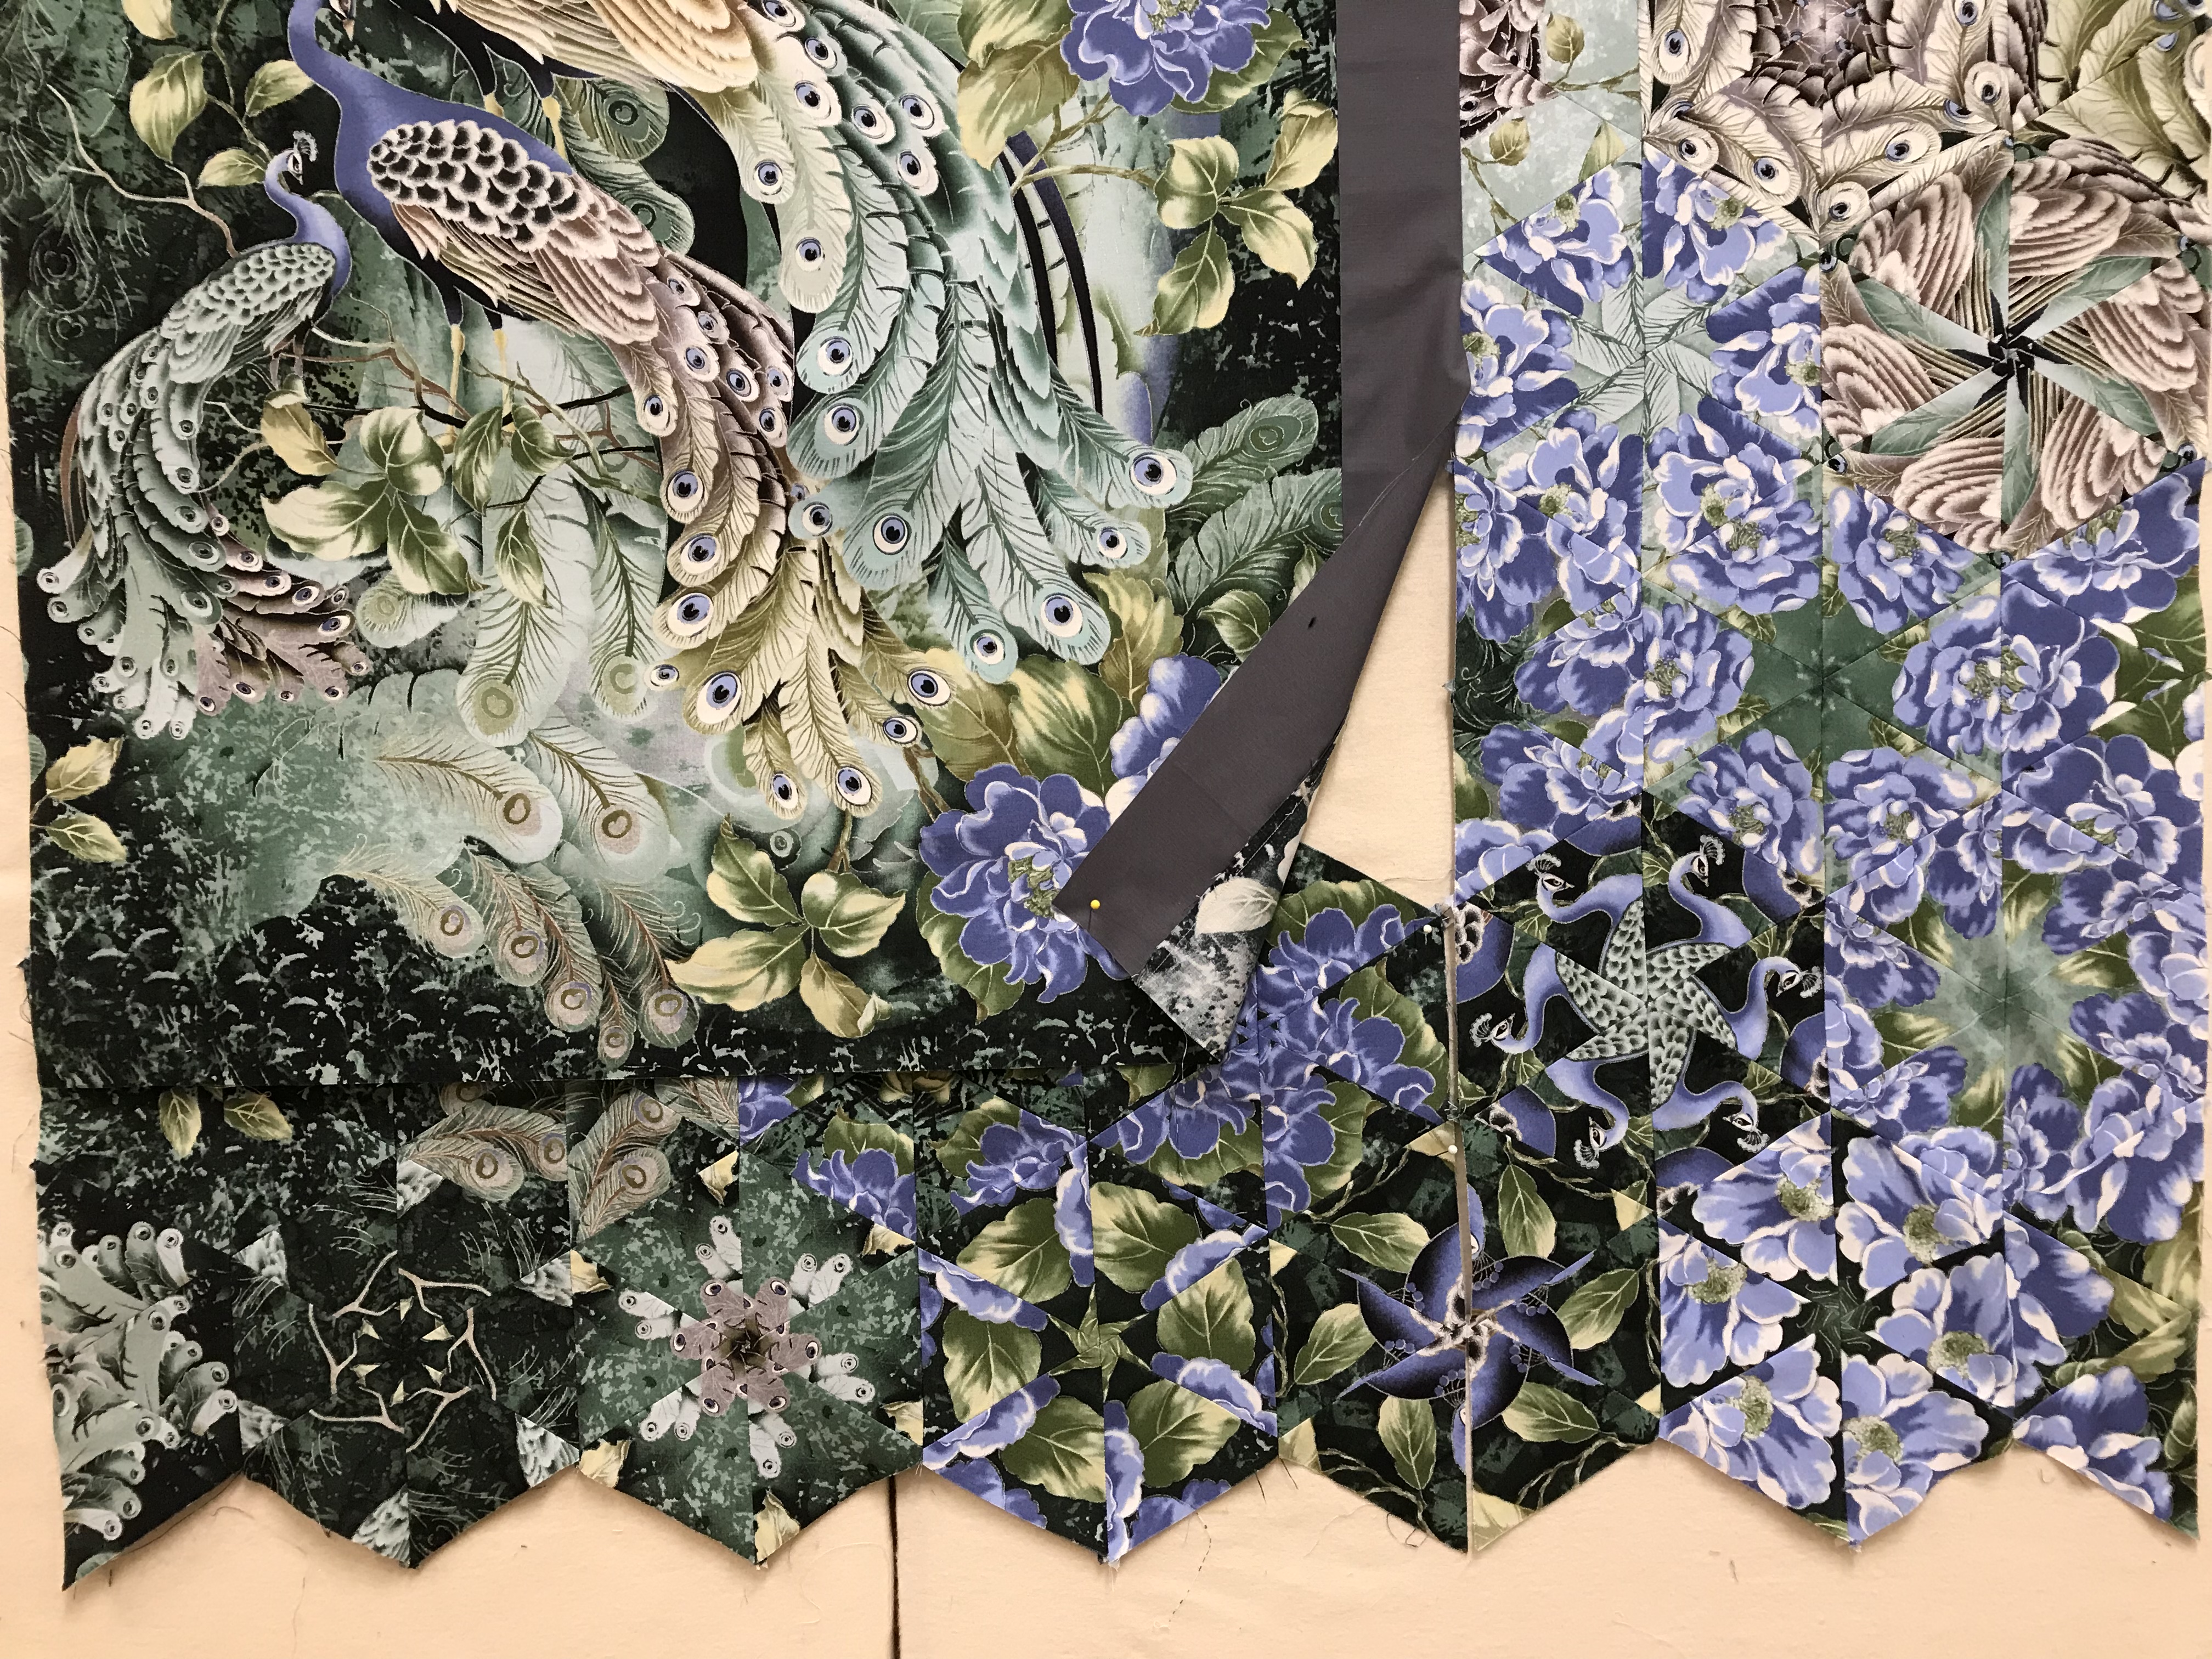
By using a partial seam, it allows you to match up the dog ears of the bottom of the side rows. I will them mark where the panel hits the bottom rows, add a 1/4″ seam allowance and stitch to the bottom and then finish the partial seam.
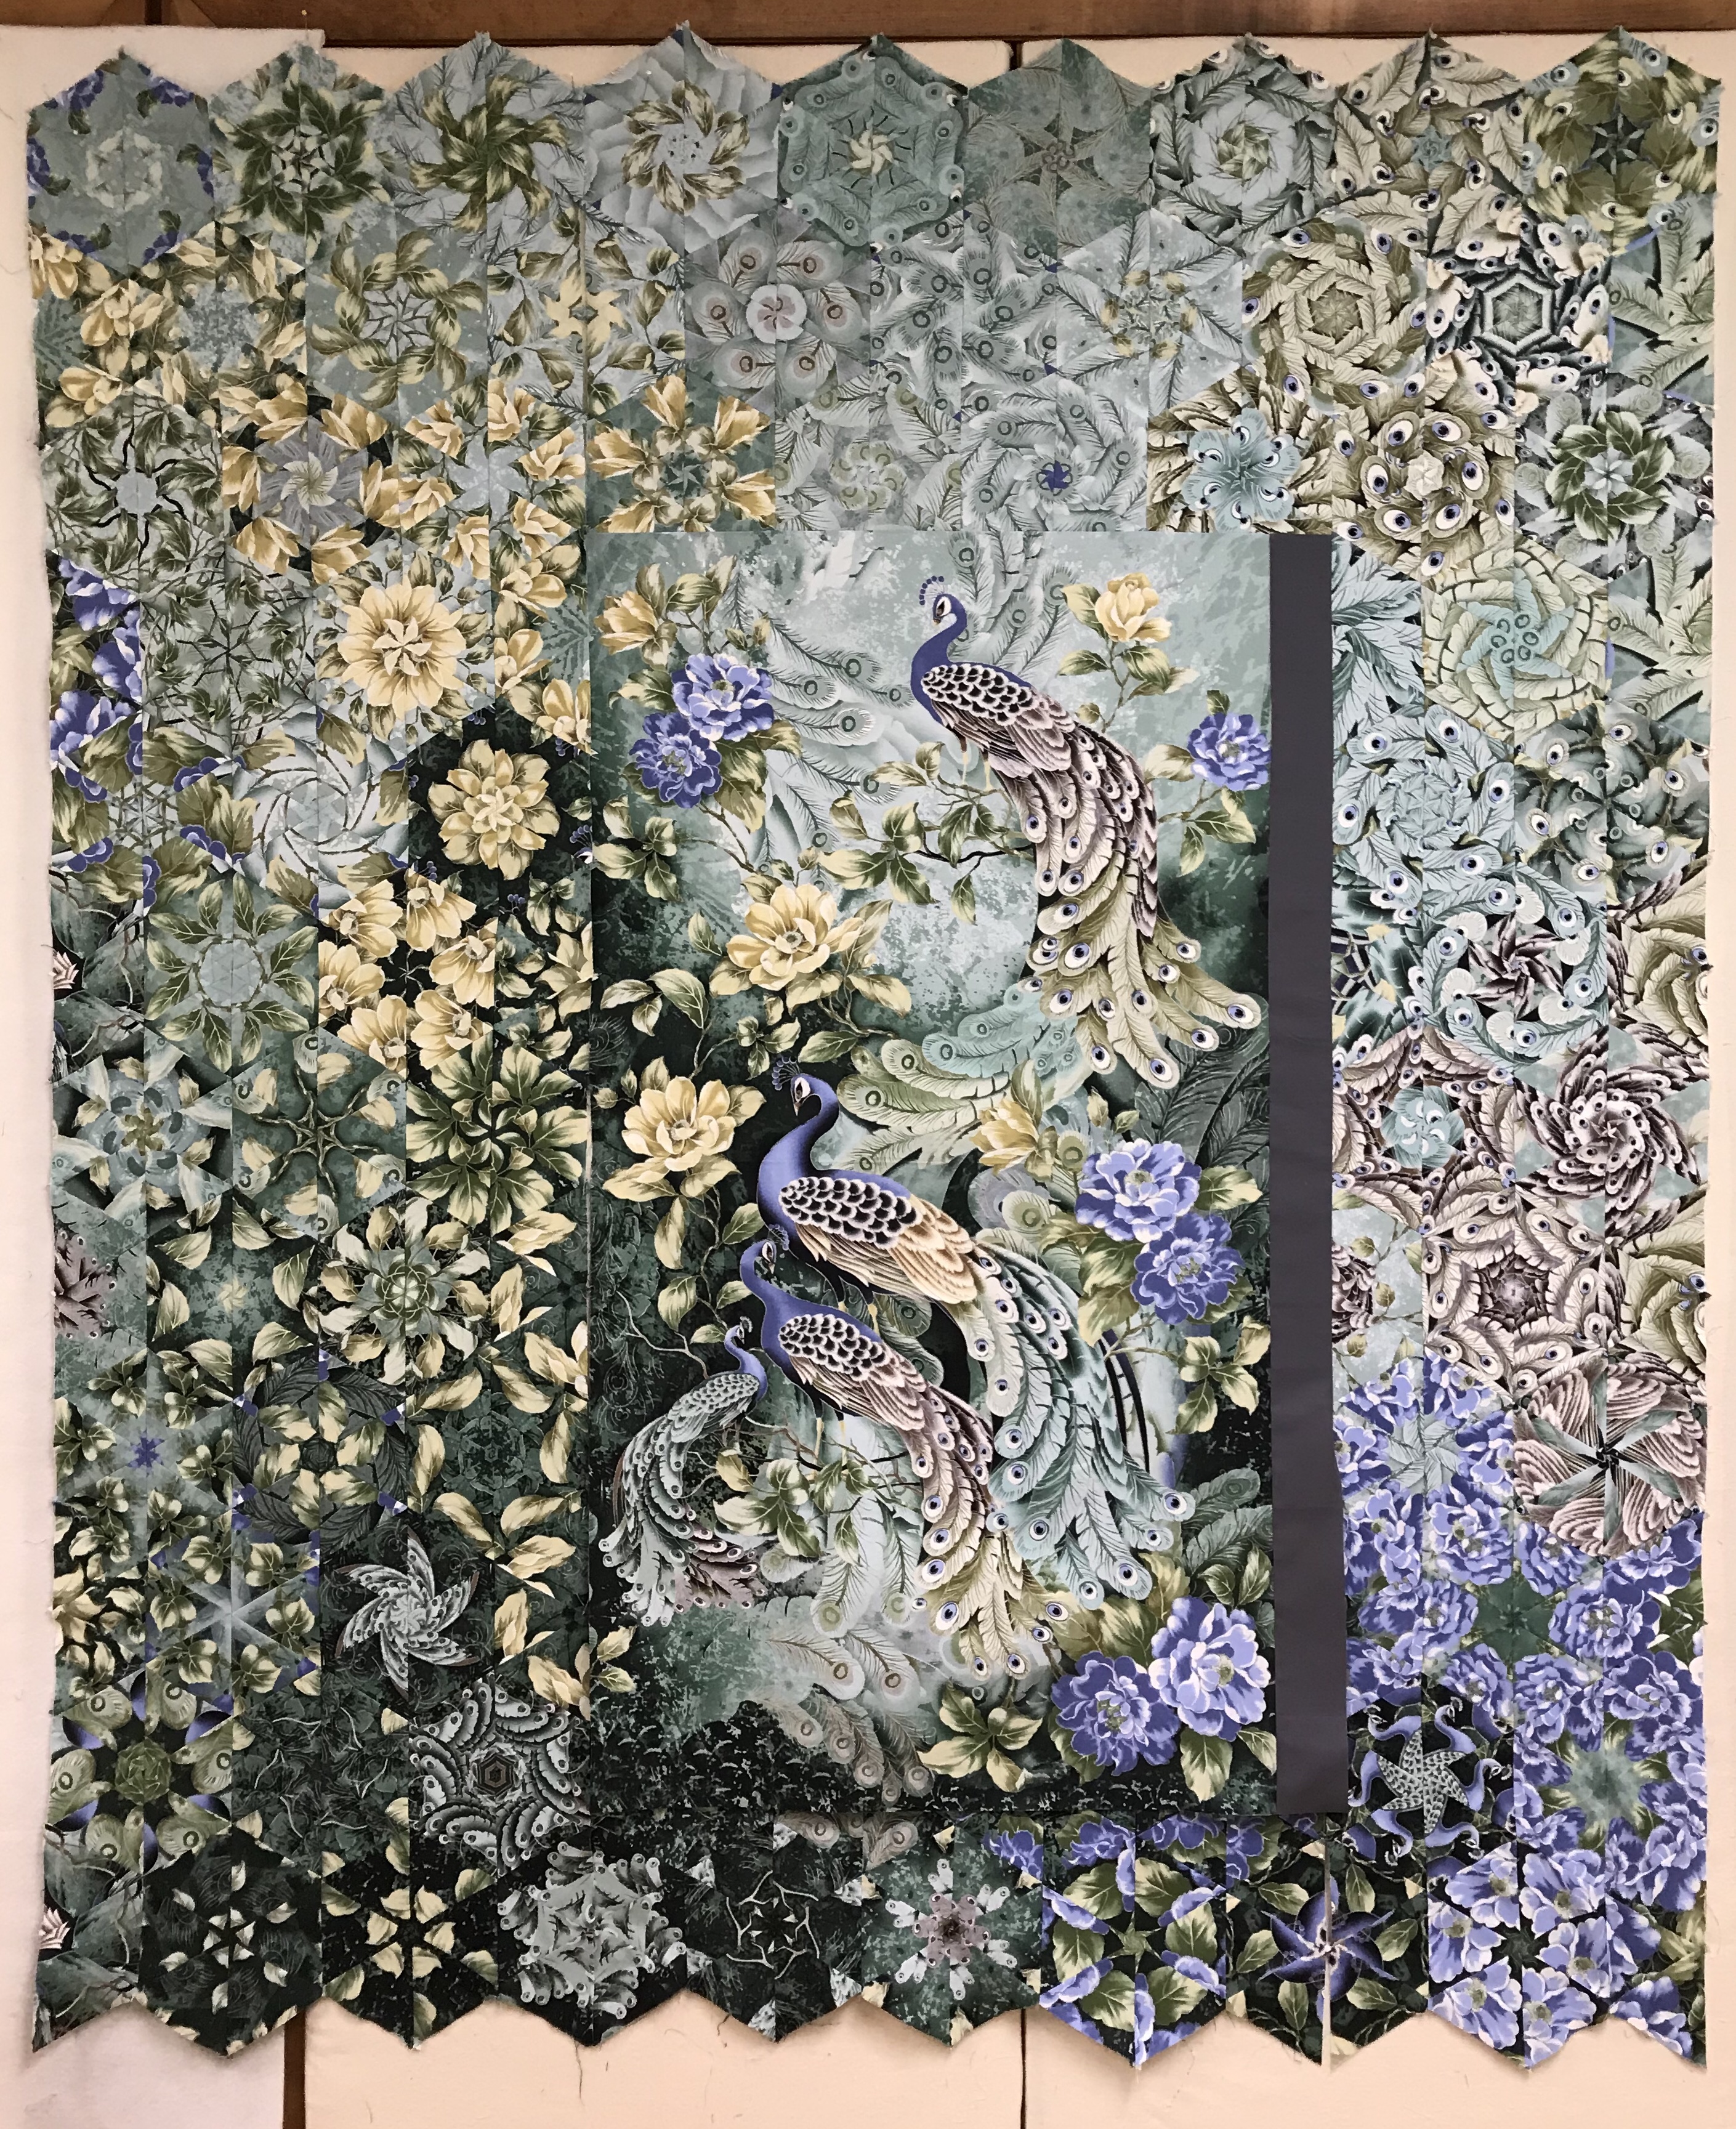
It is now easy to stitch the remaining side rows to the panel matching the dog ears at the top and bottom. I have not finished this top yet as I’m teaching several classes soon and wanted to have a good visual example to show the class.
Now to hide my added fabric.


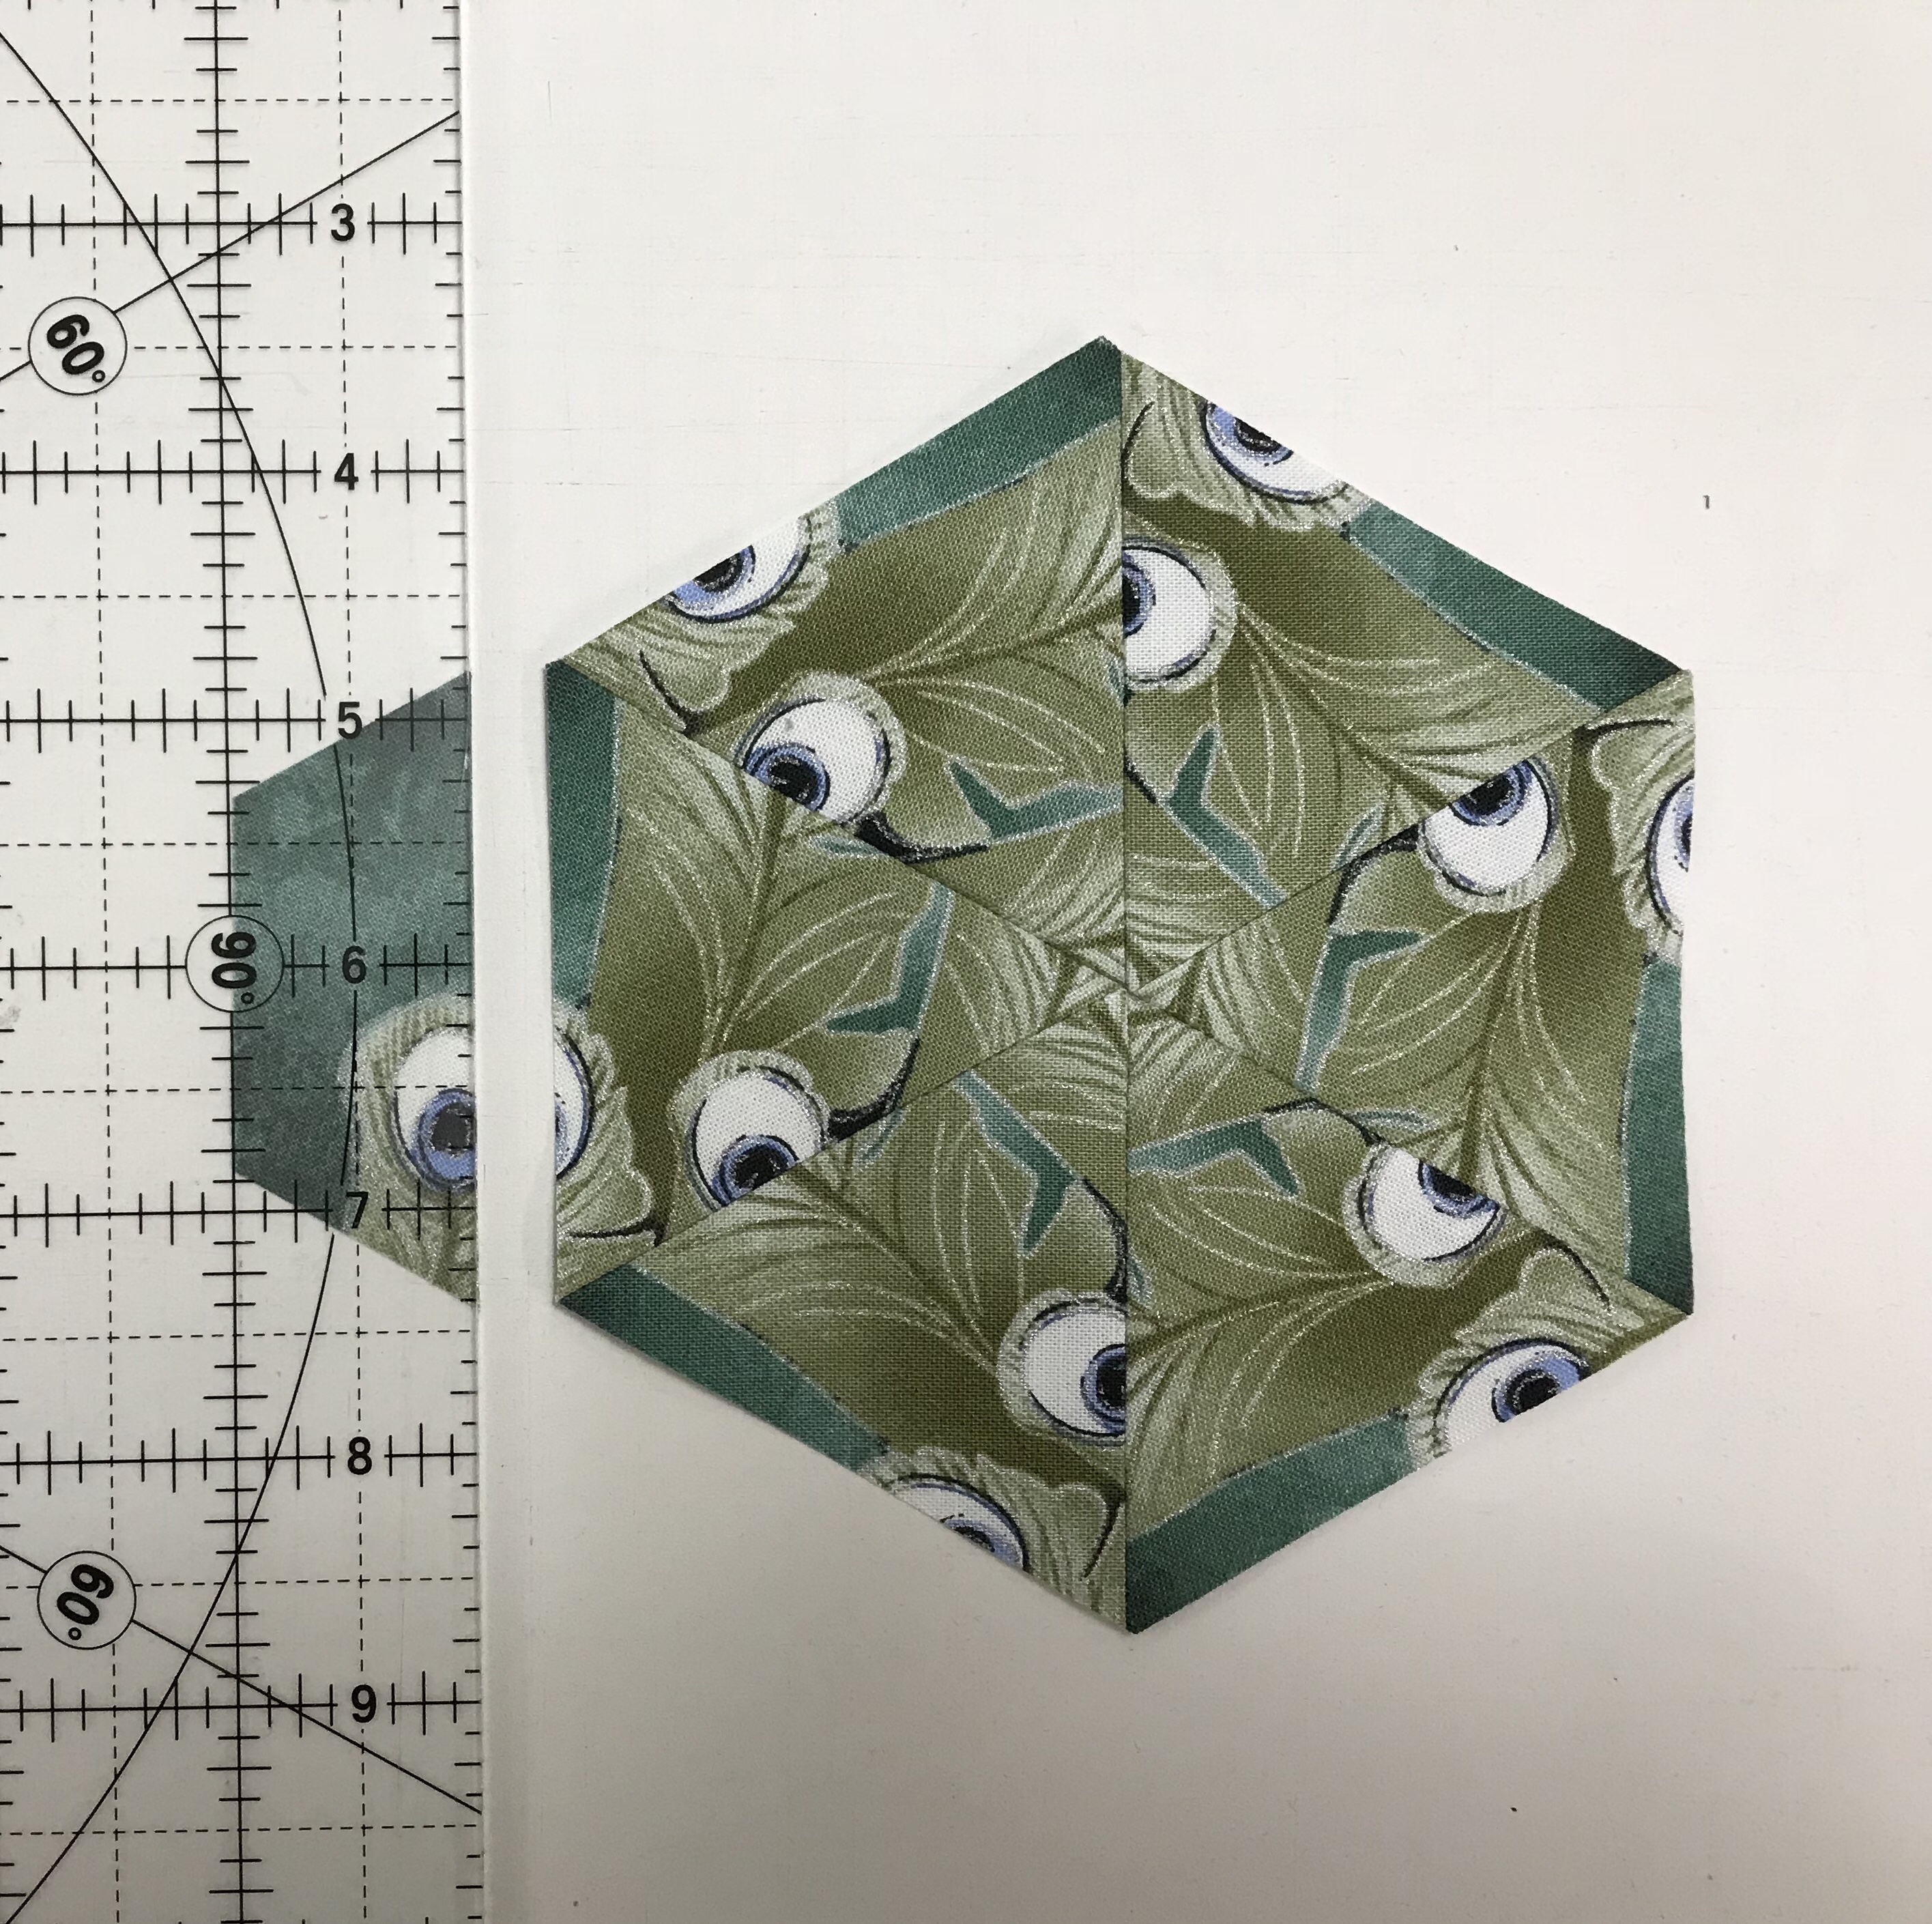
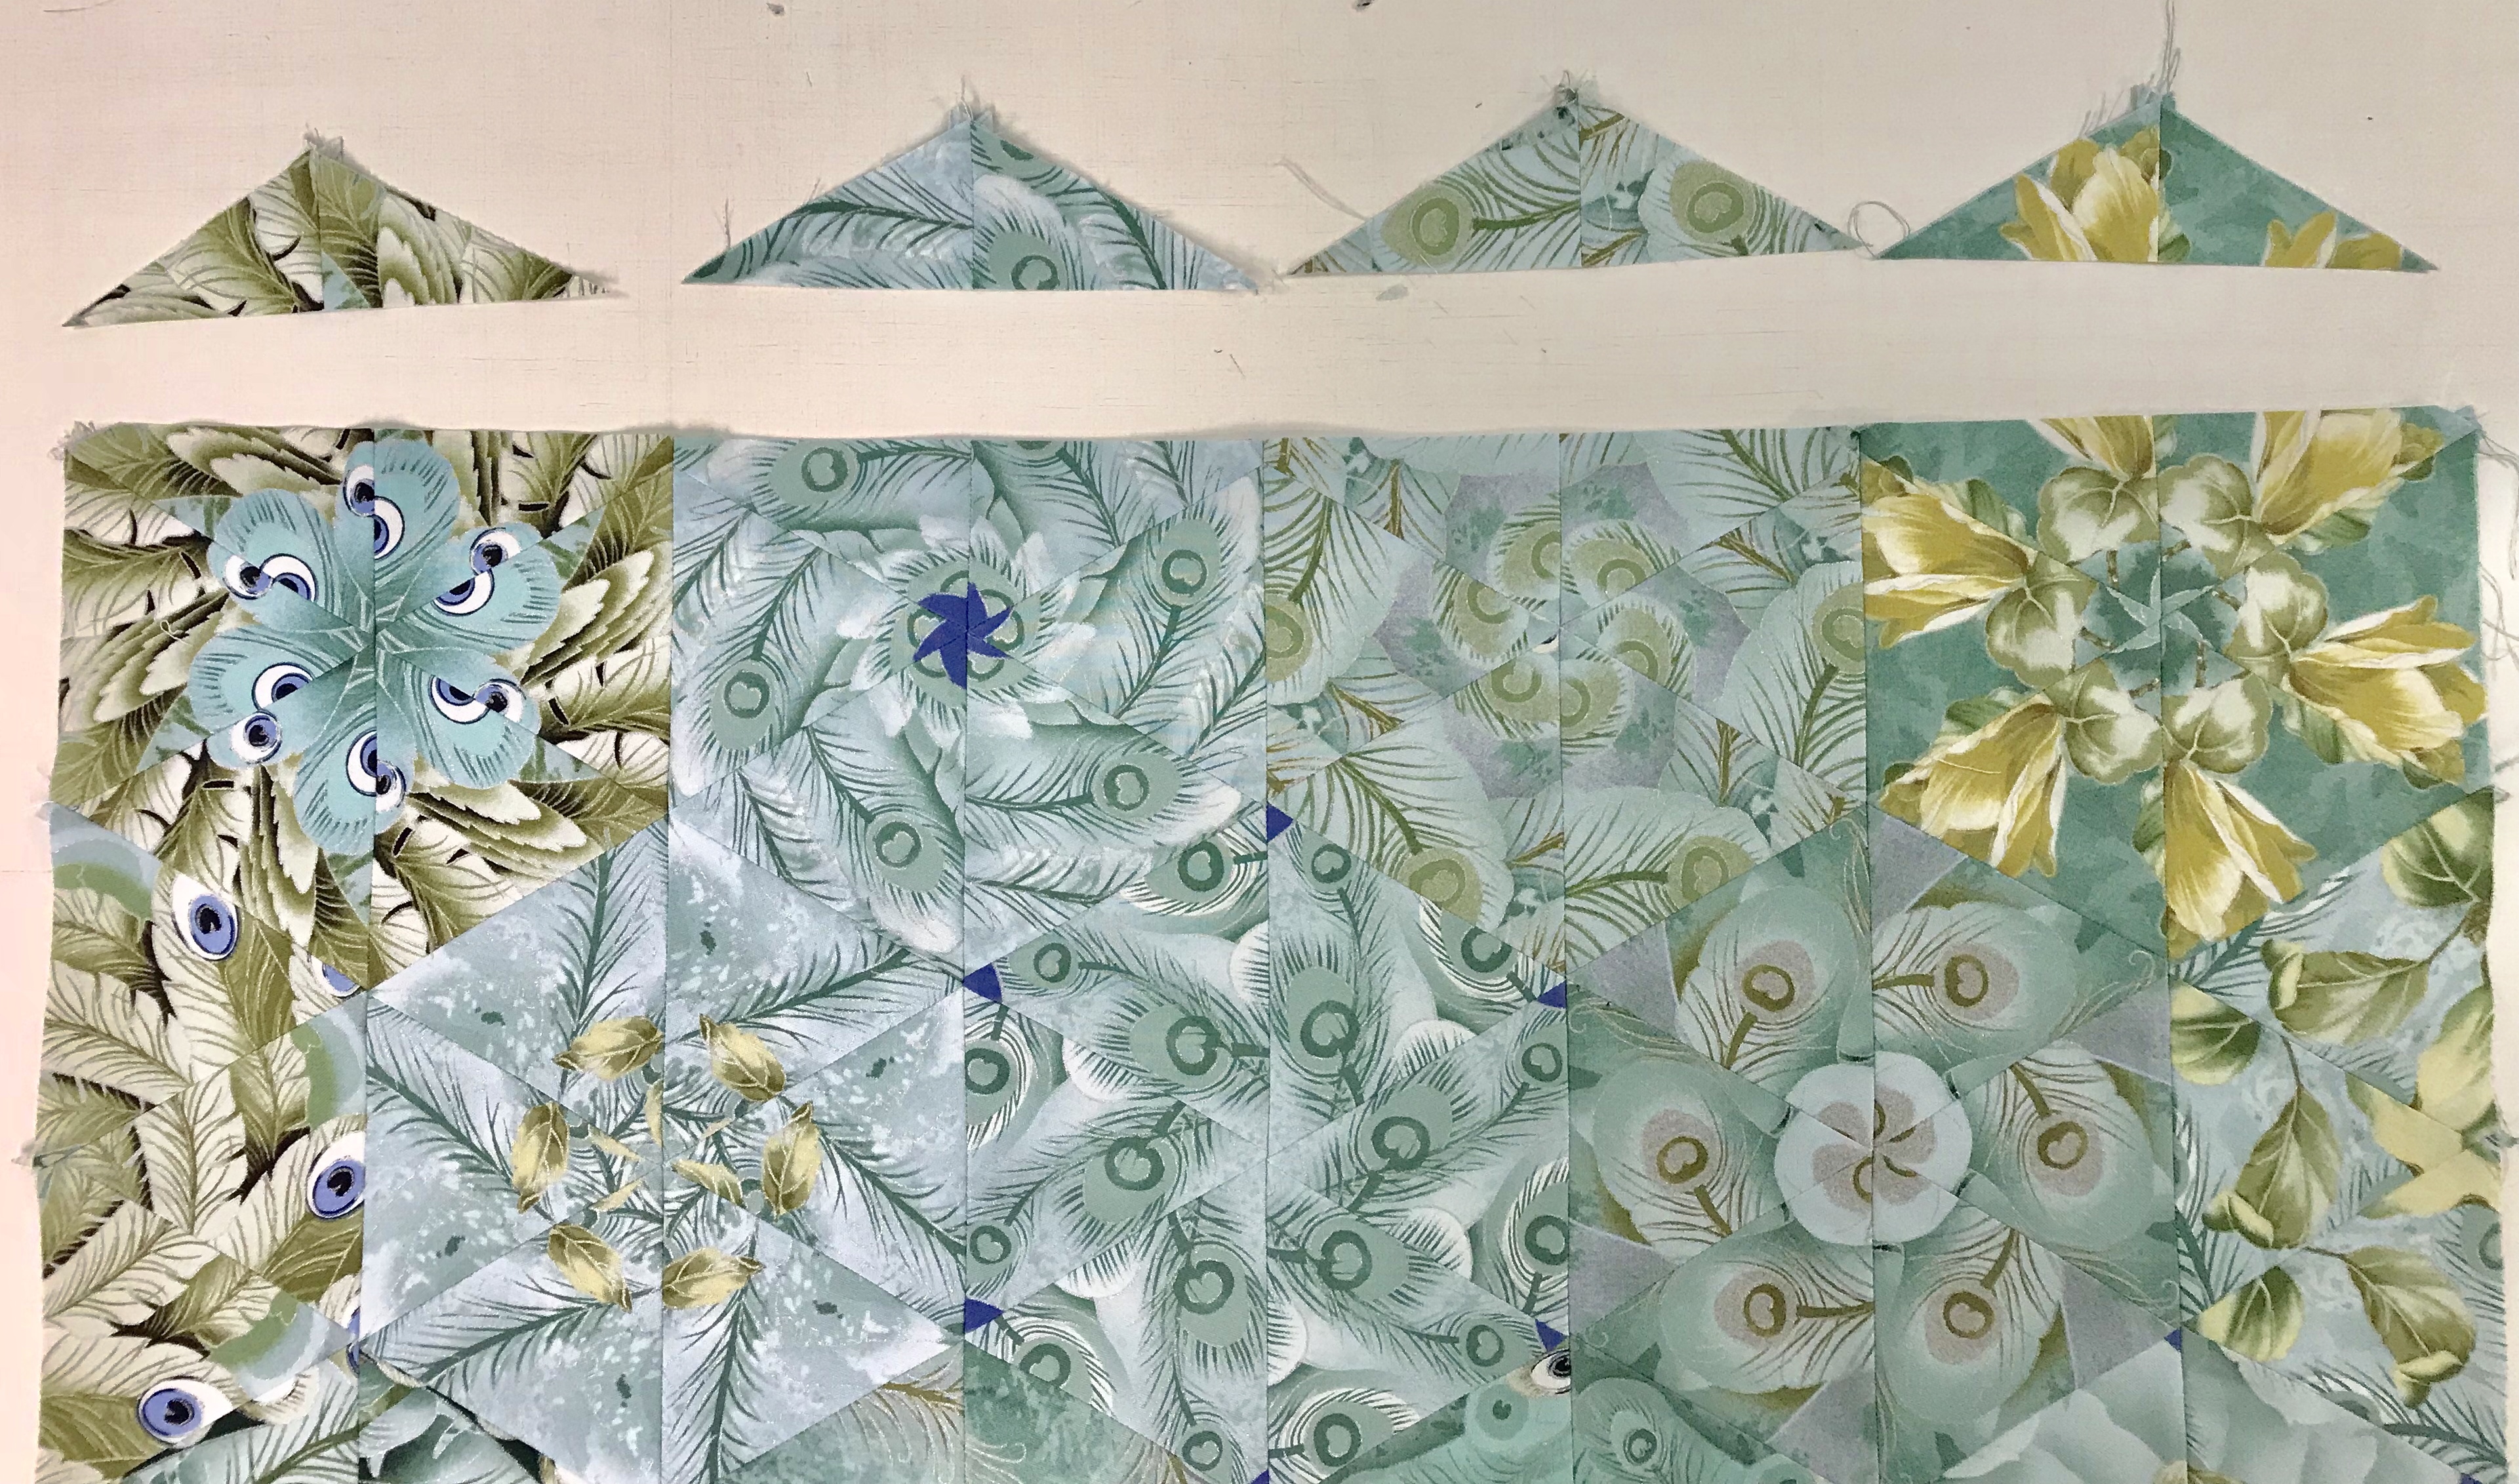
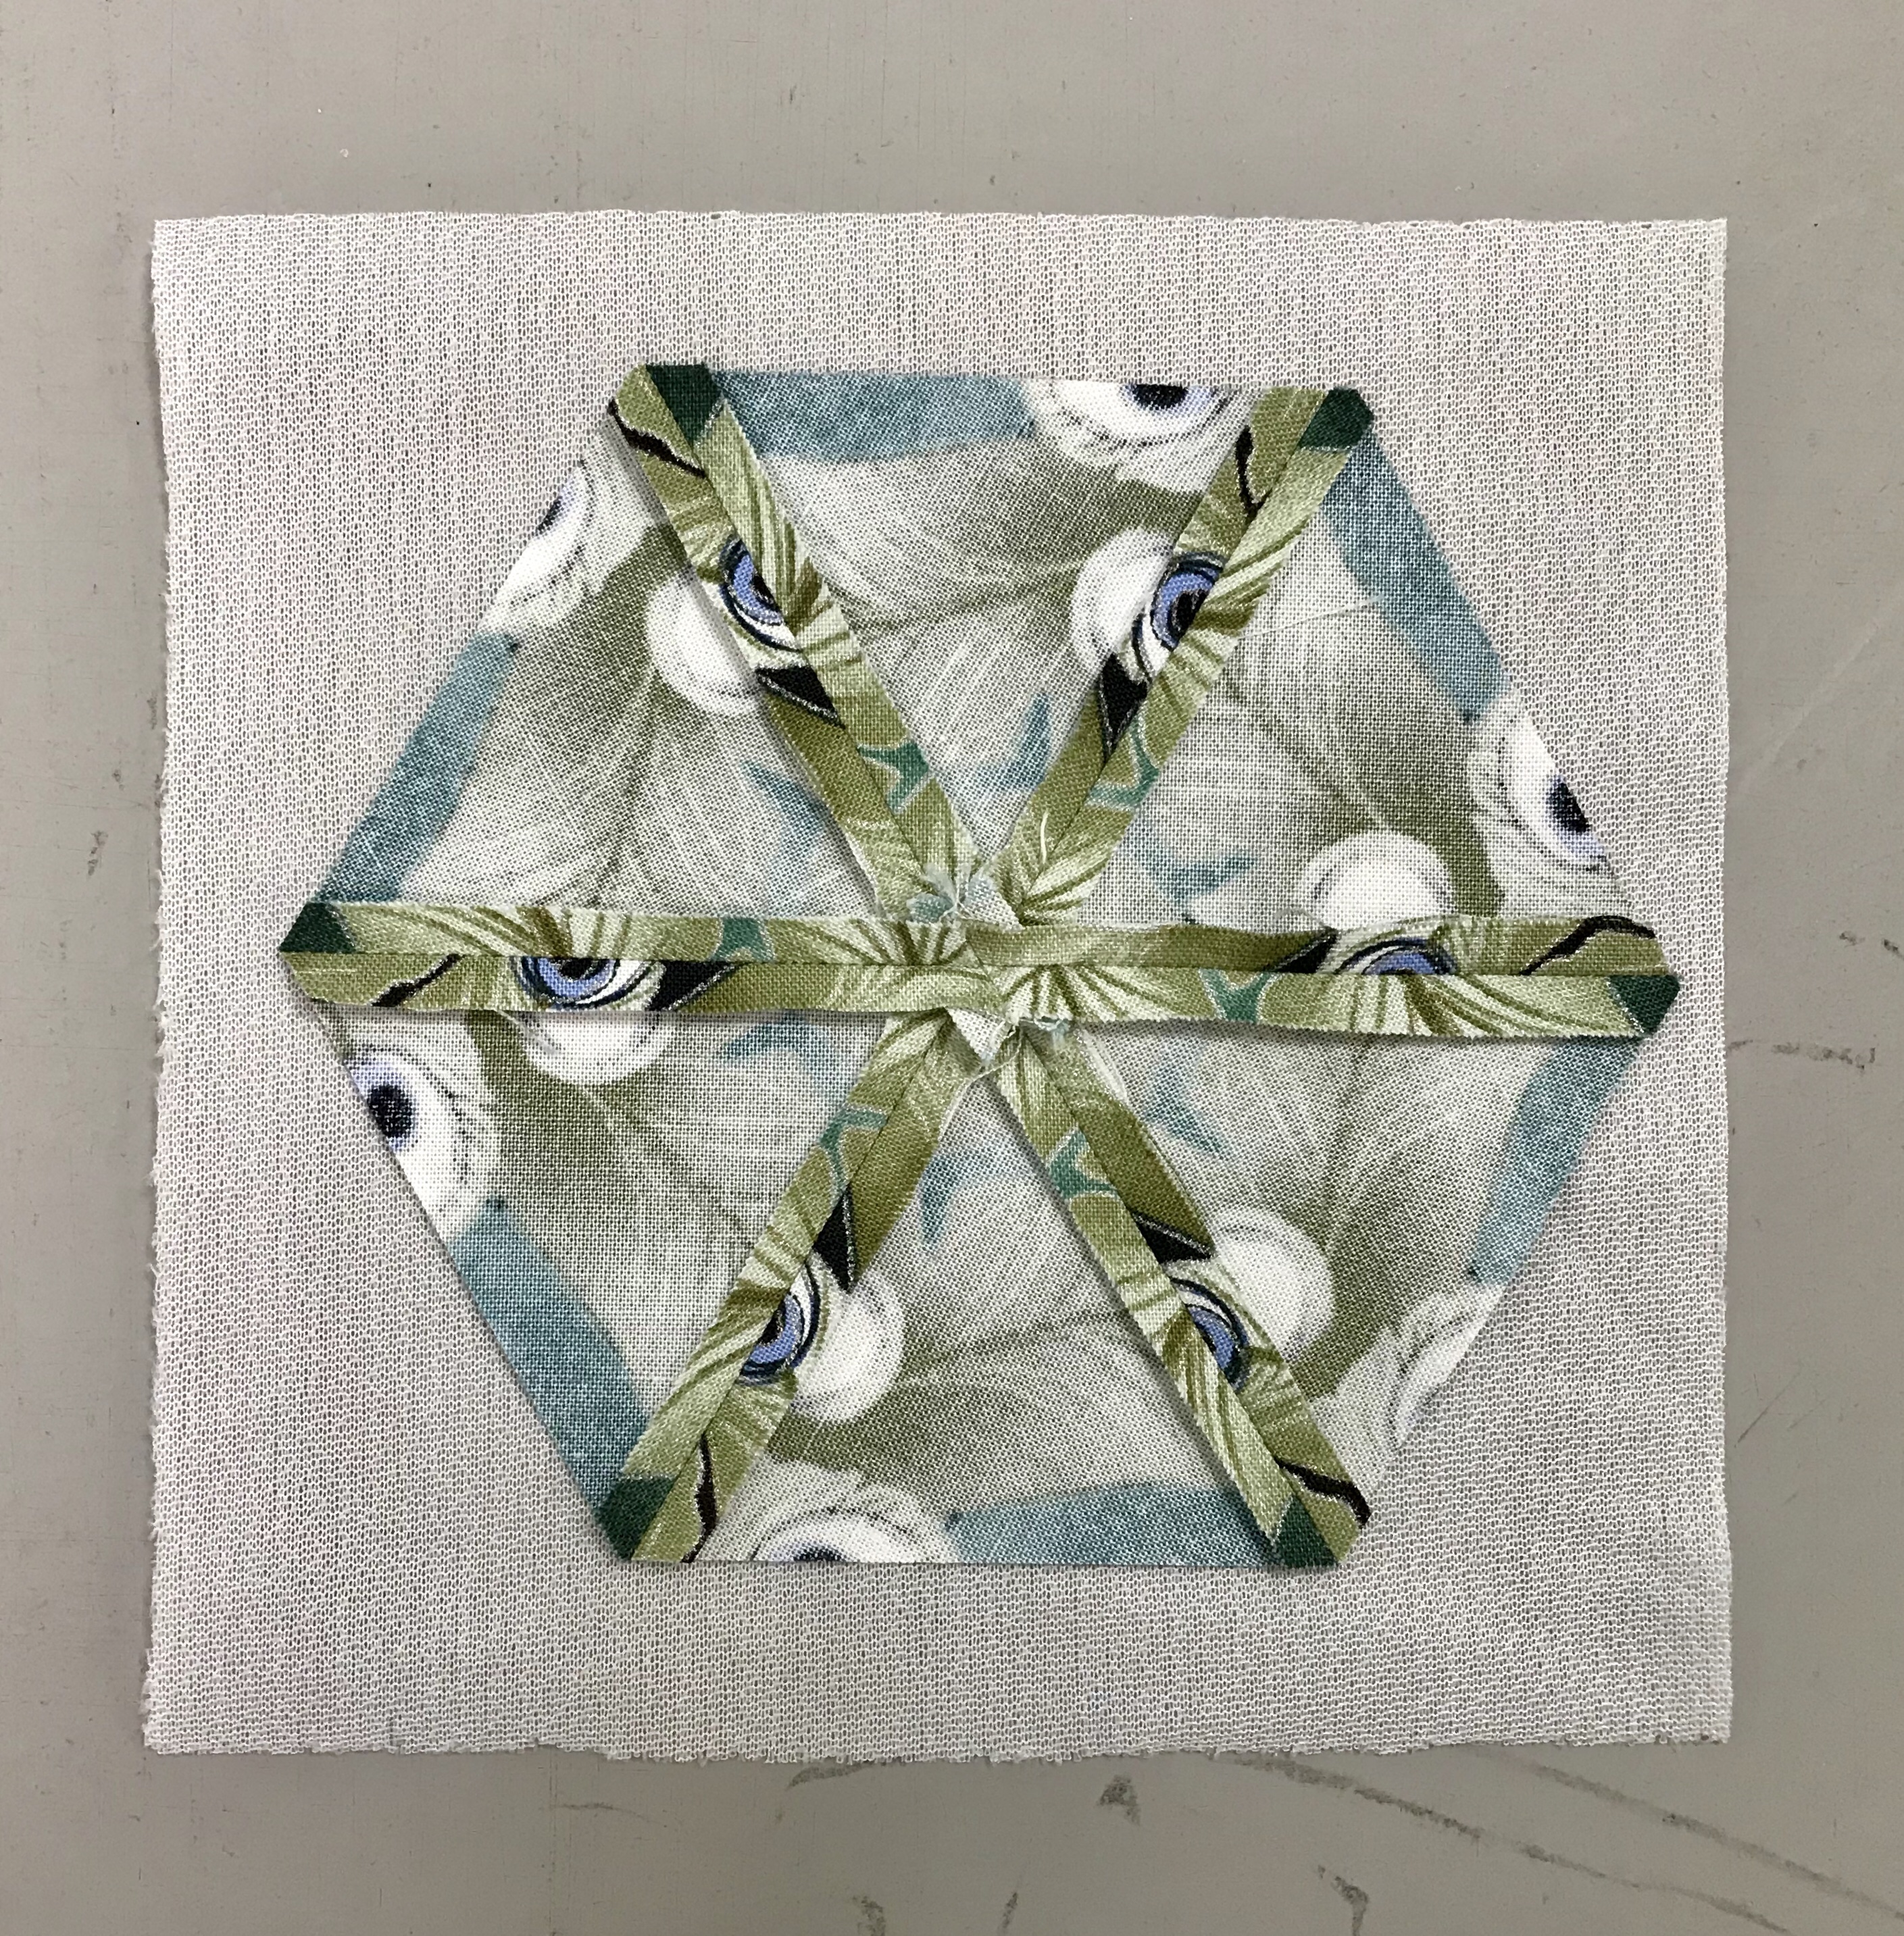
I made sure I had several left over blocks. I stitched the two halves together, pressed the seam open and using my ruler, trimmed 1″ off every side. This reduces my hexagon to about 4″ wide.
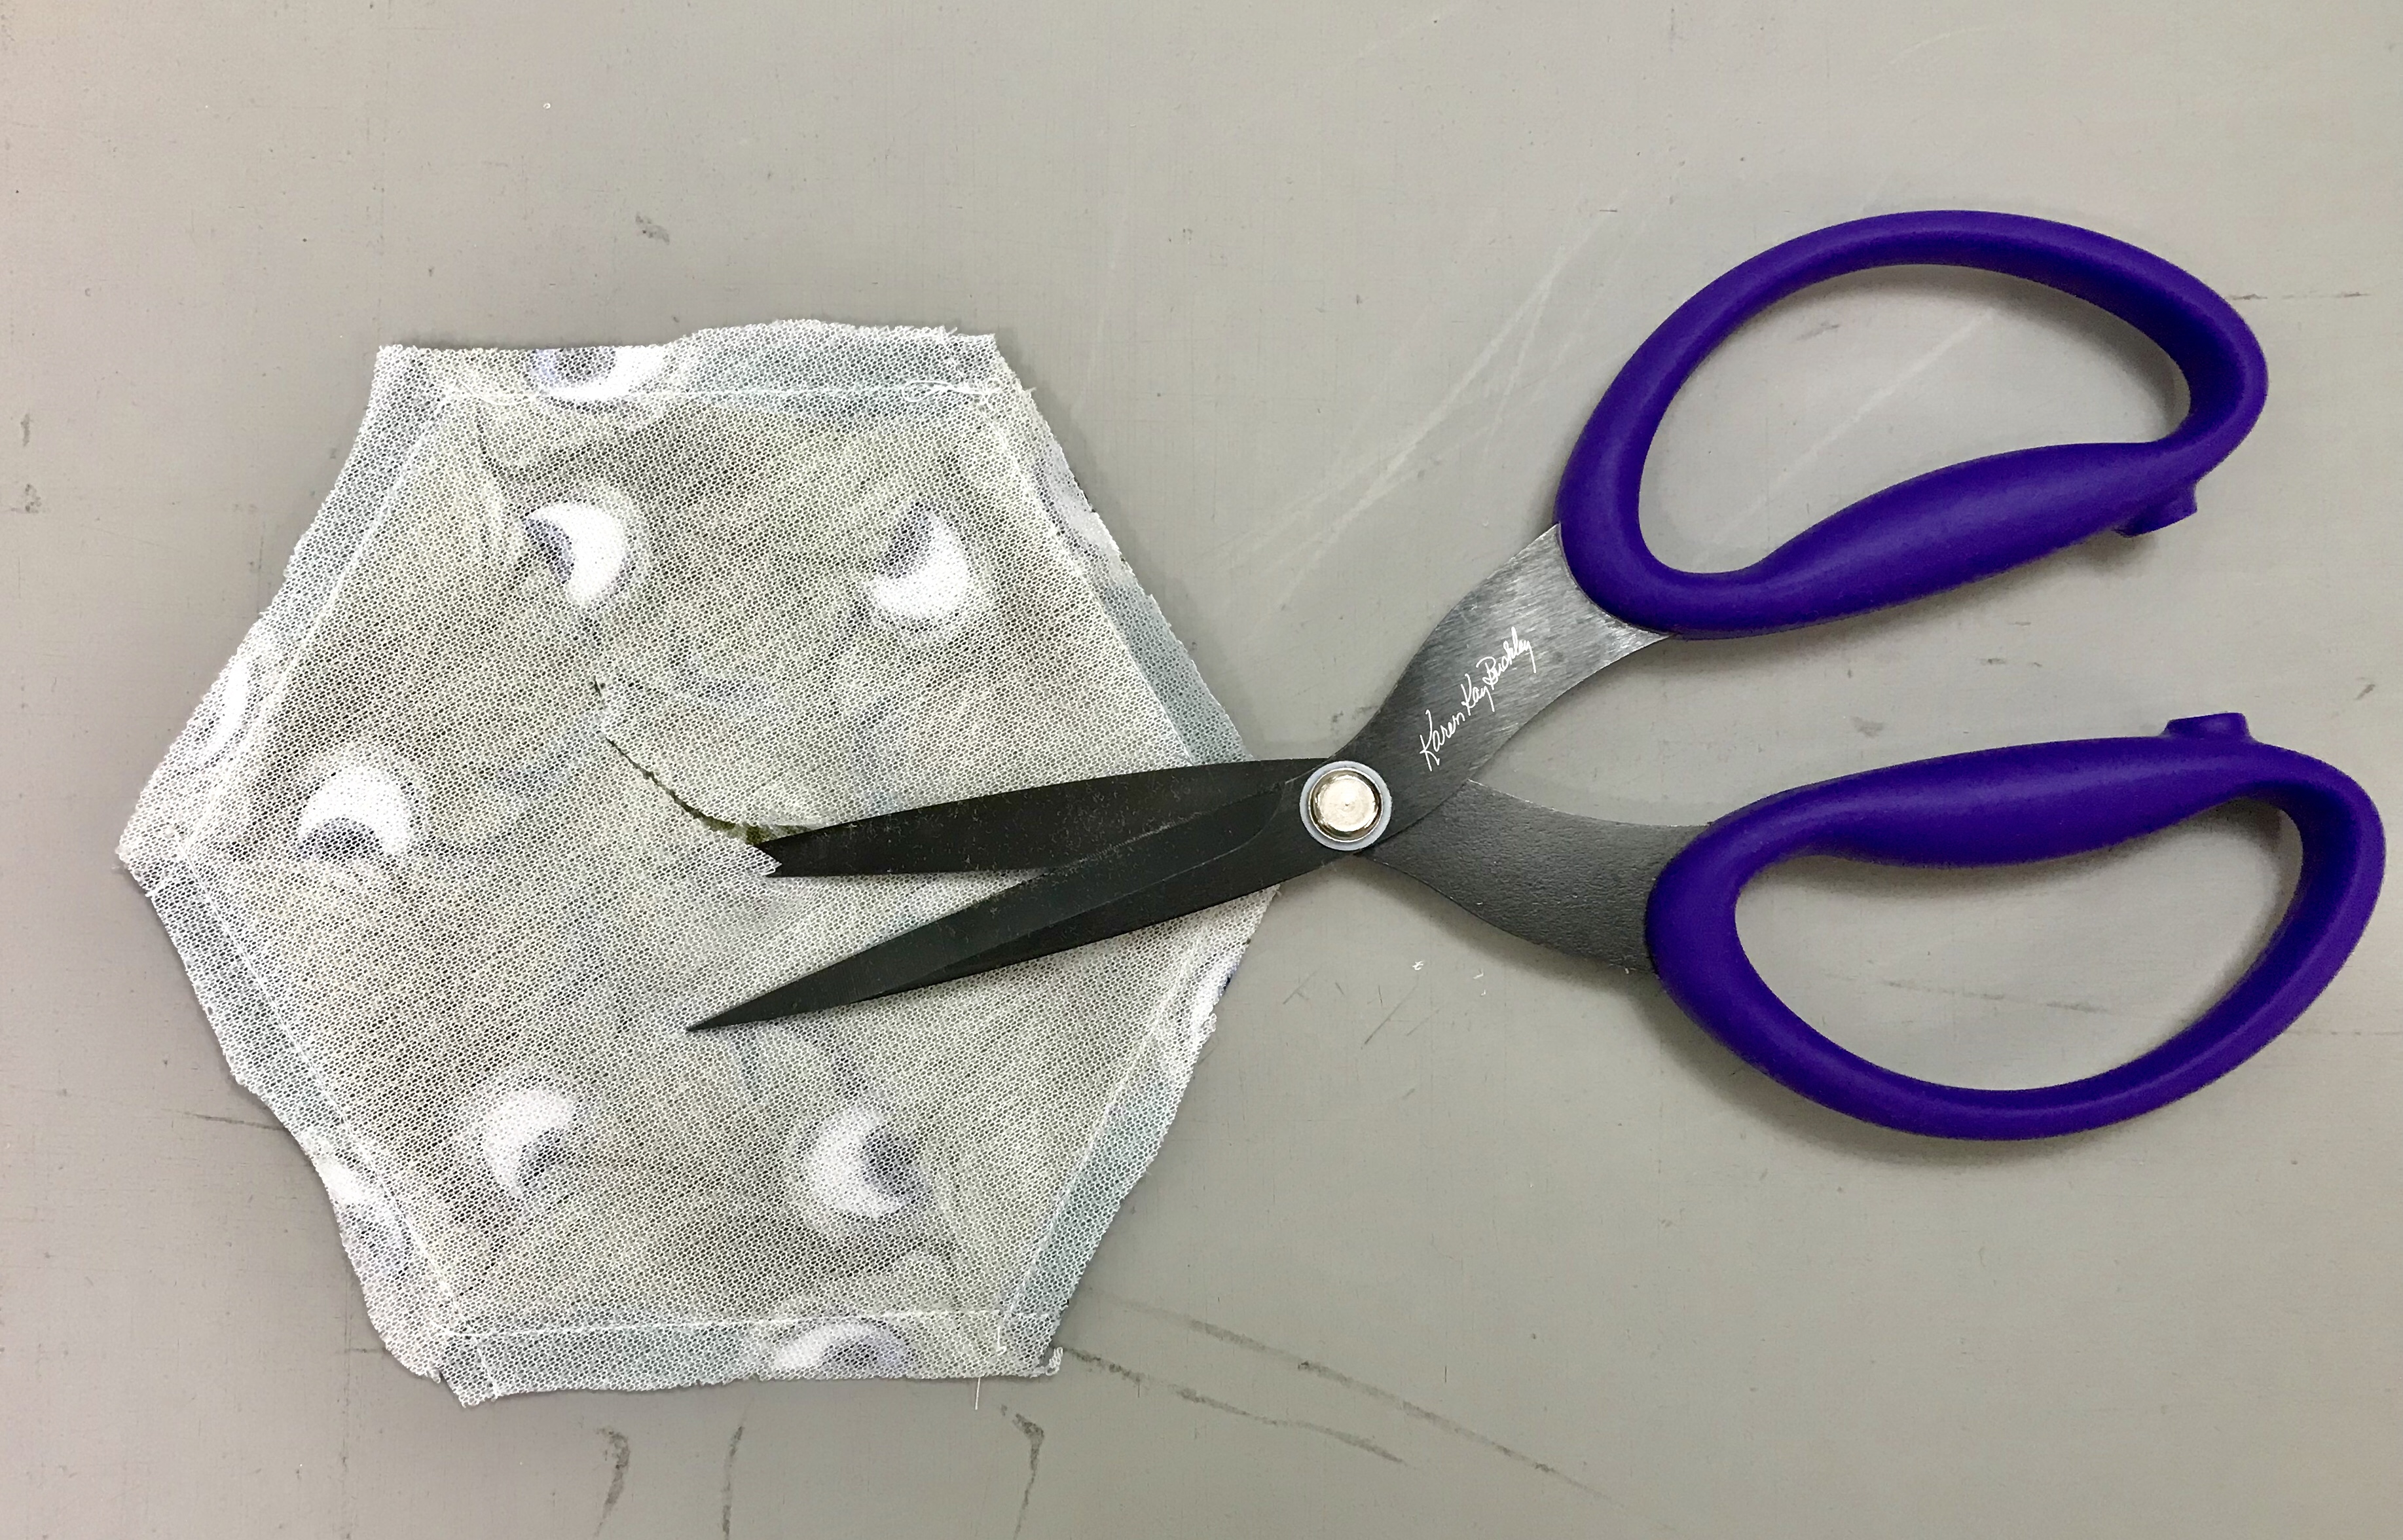
I use a Fusible Knit Interfacing, cut a square slightly larger than the hexagon. Place the bumpy side of the interfacing with the right side of the hexagon. Stitch around the hexagon using a 1/4″ seam allowance. Trim off the excess interfacing and snip a hole about 1″ wide.
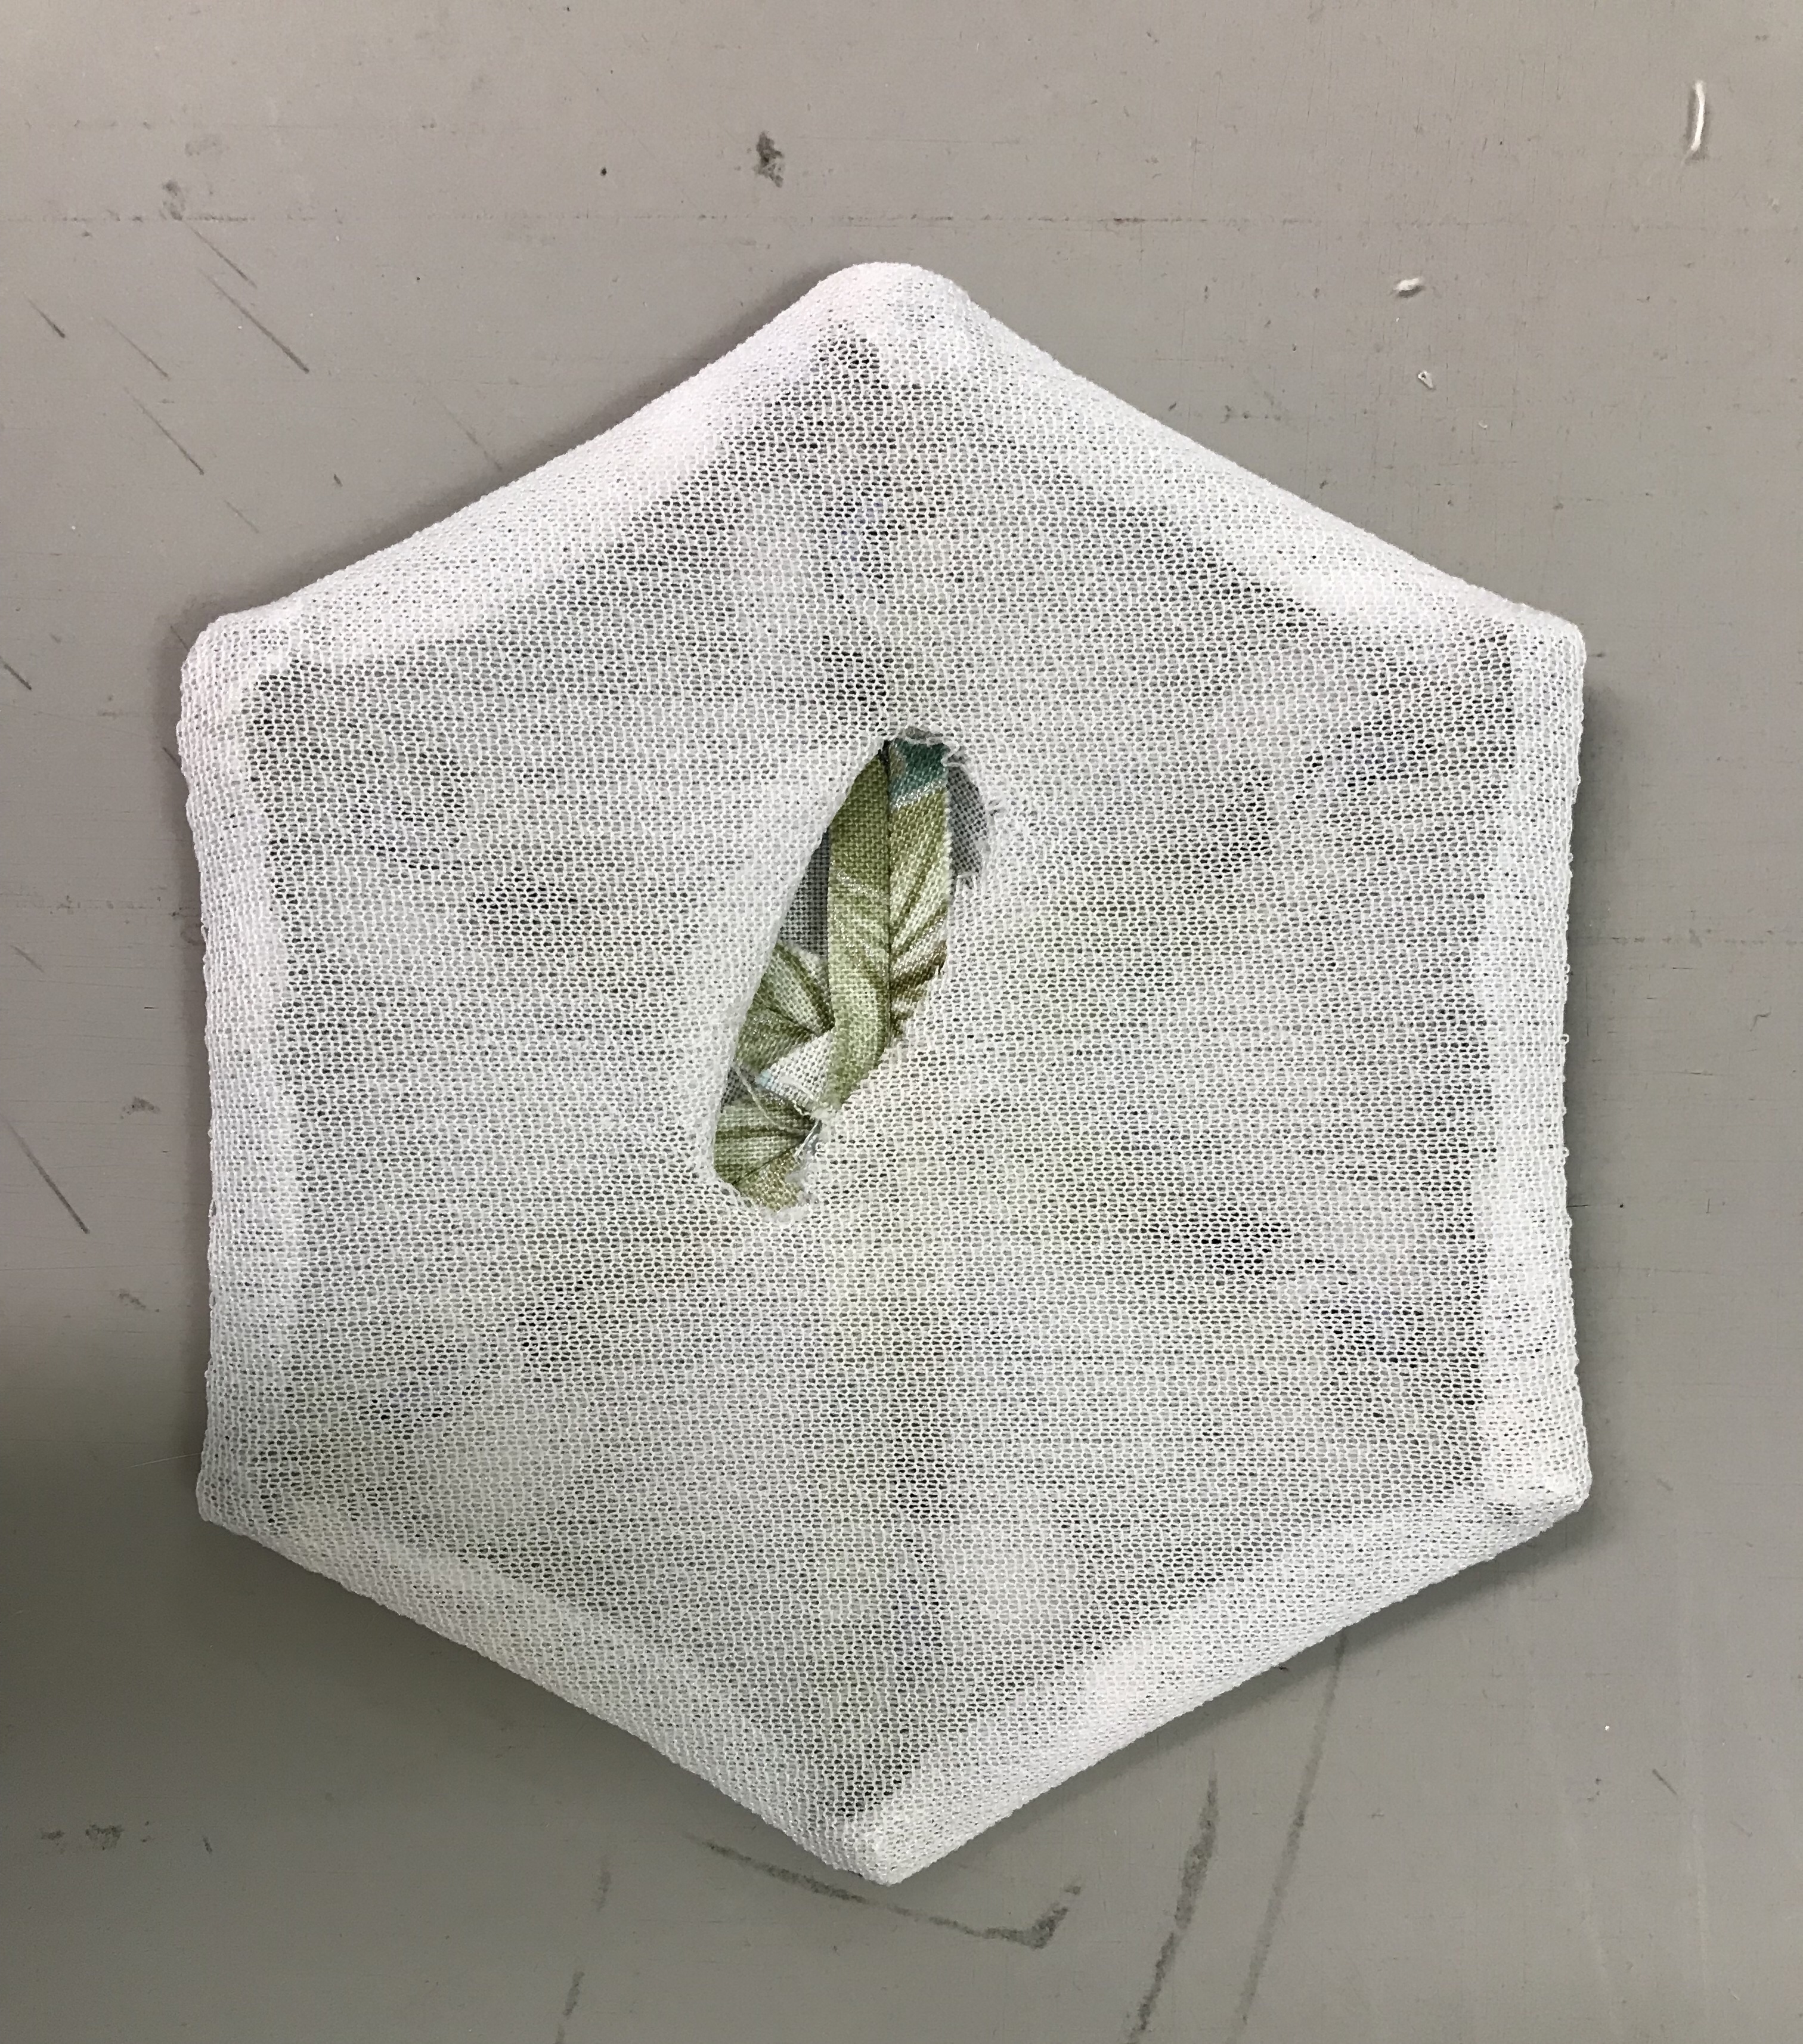
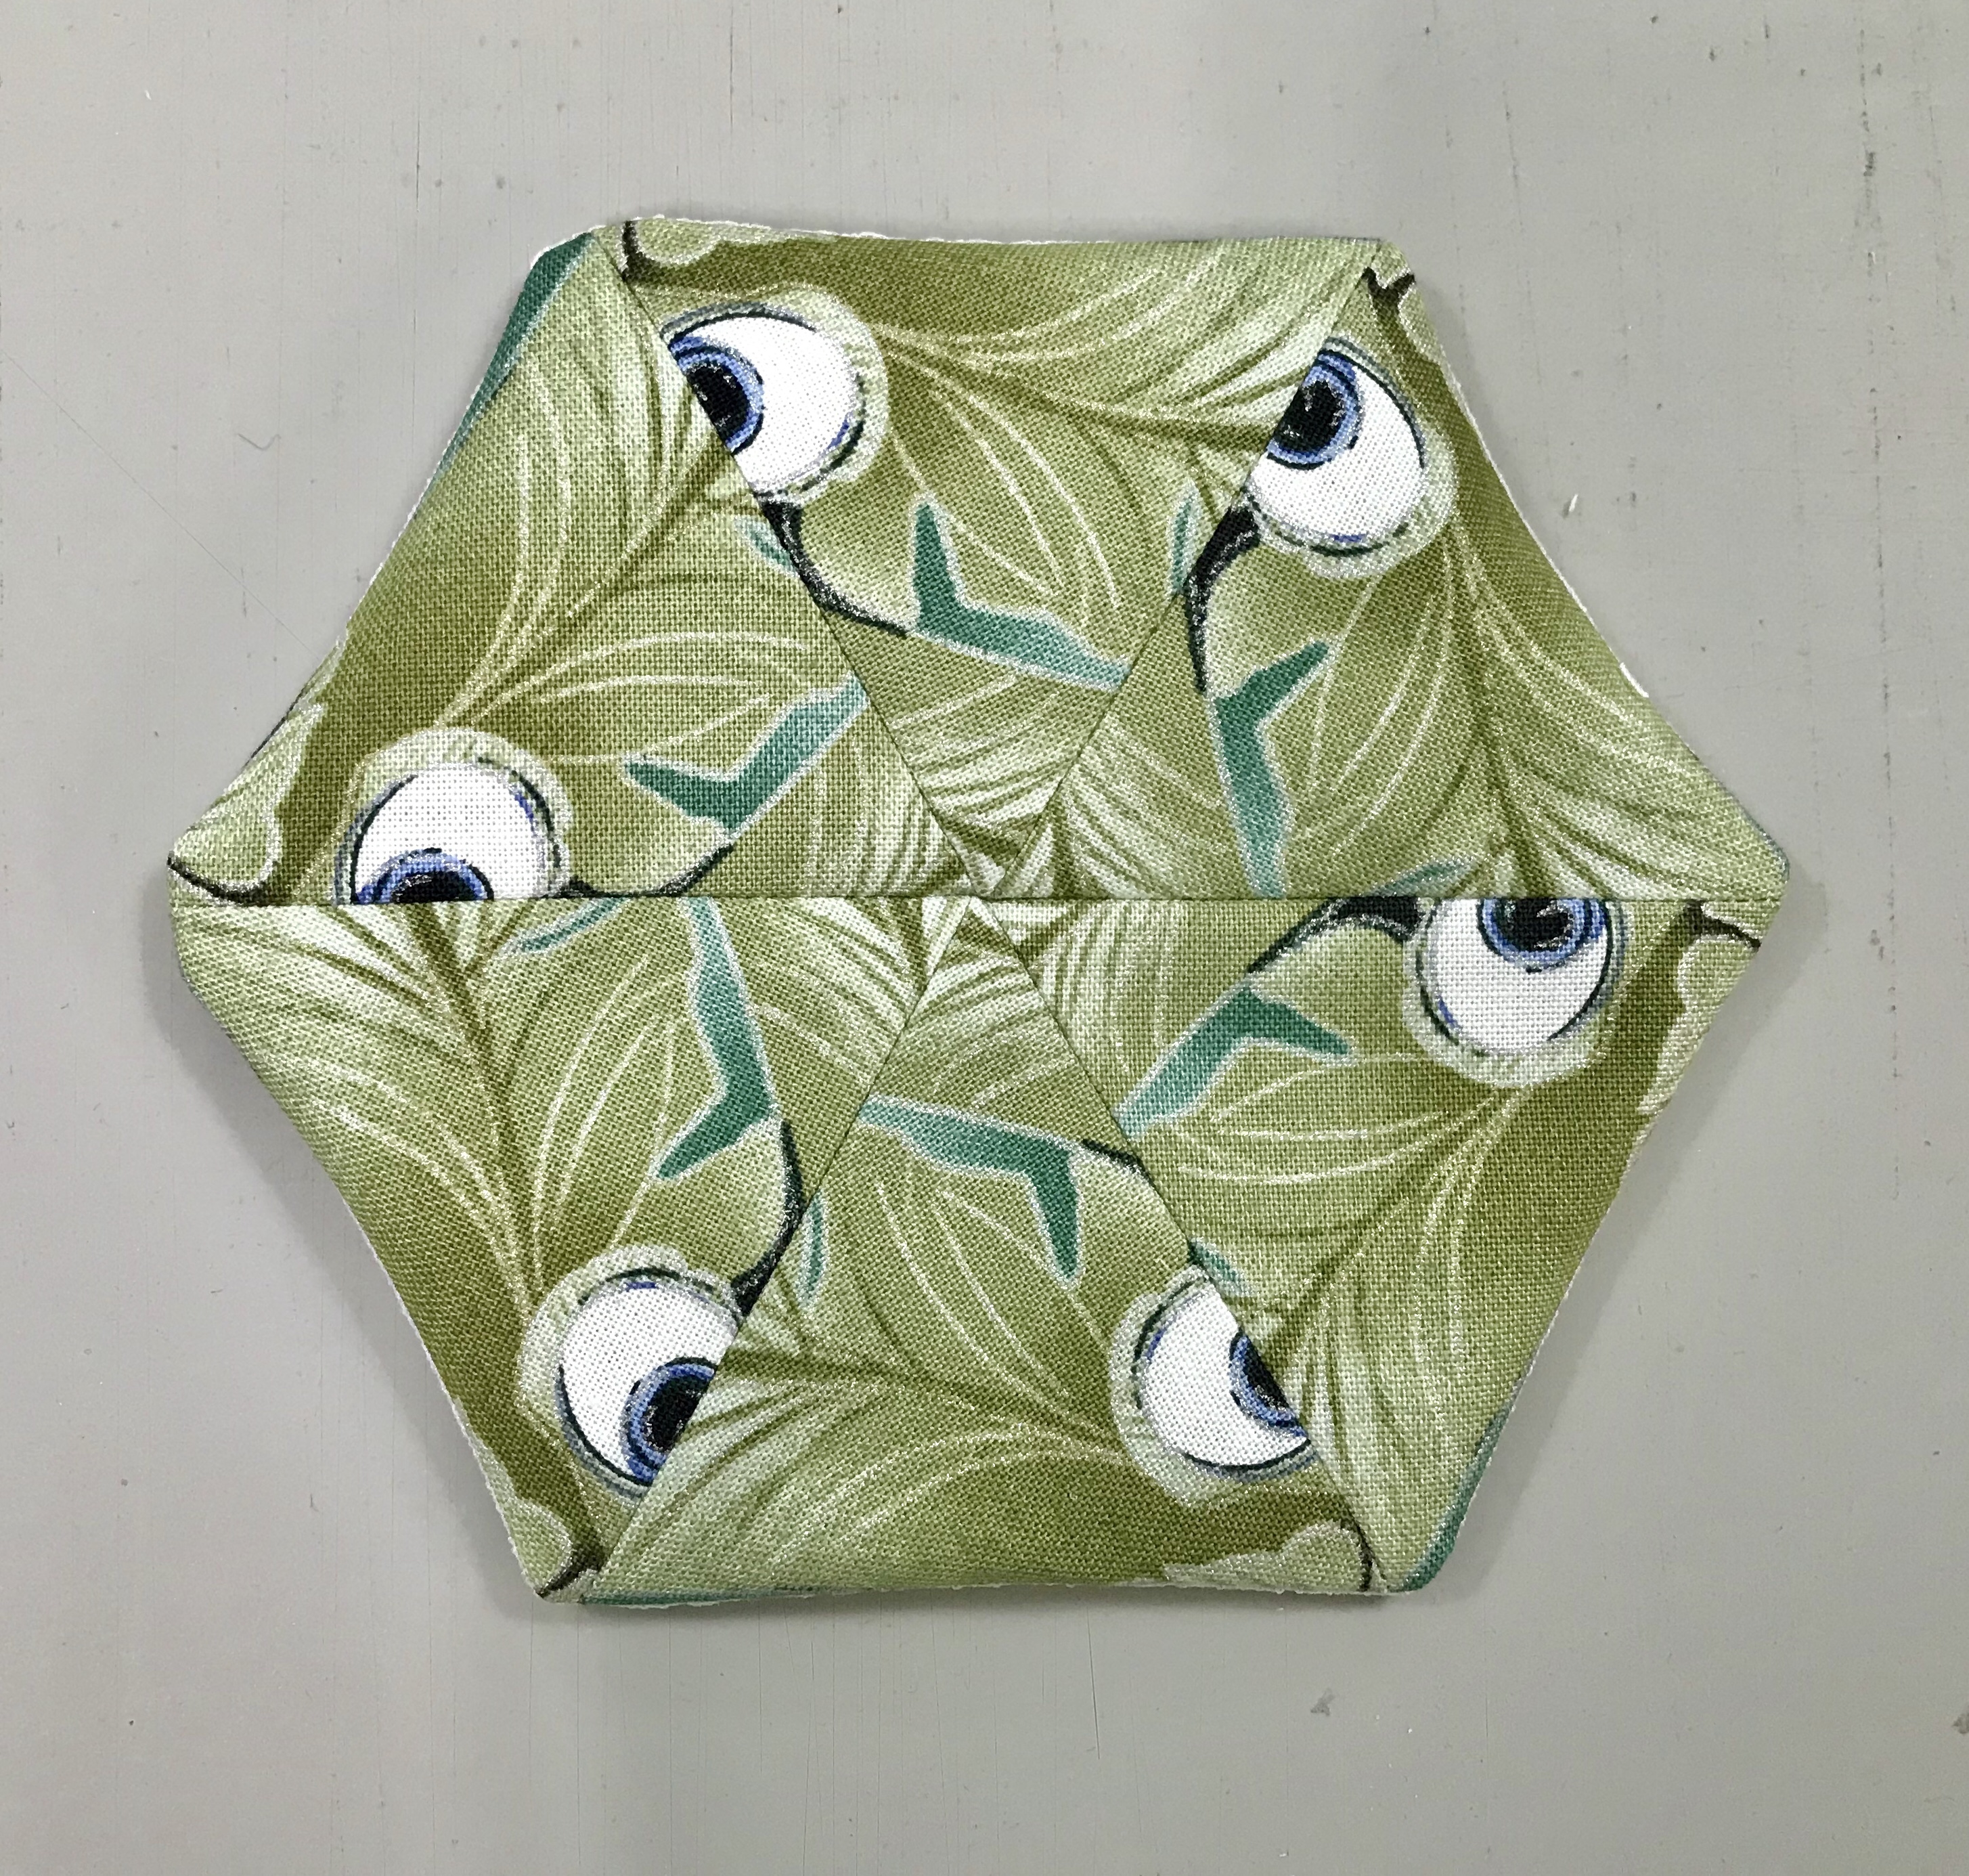
Turn the hexagon right side out. Now the fusible ‘bumpy side is on the outside. Finger press the edges to flatten it out. This is a great way to get a perfect finished edge. Once I have decided where to place my smaller hexagons, I can use my iron and press them in place and finish them by stitching them down.
See how well the small hexagons hide my added fabric? I will post this OBW once I finished it.
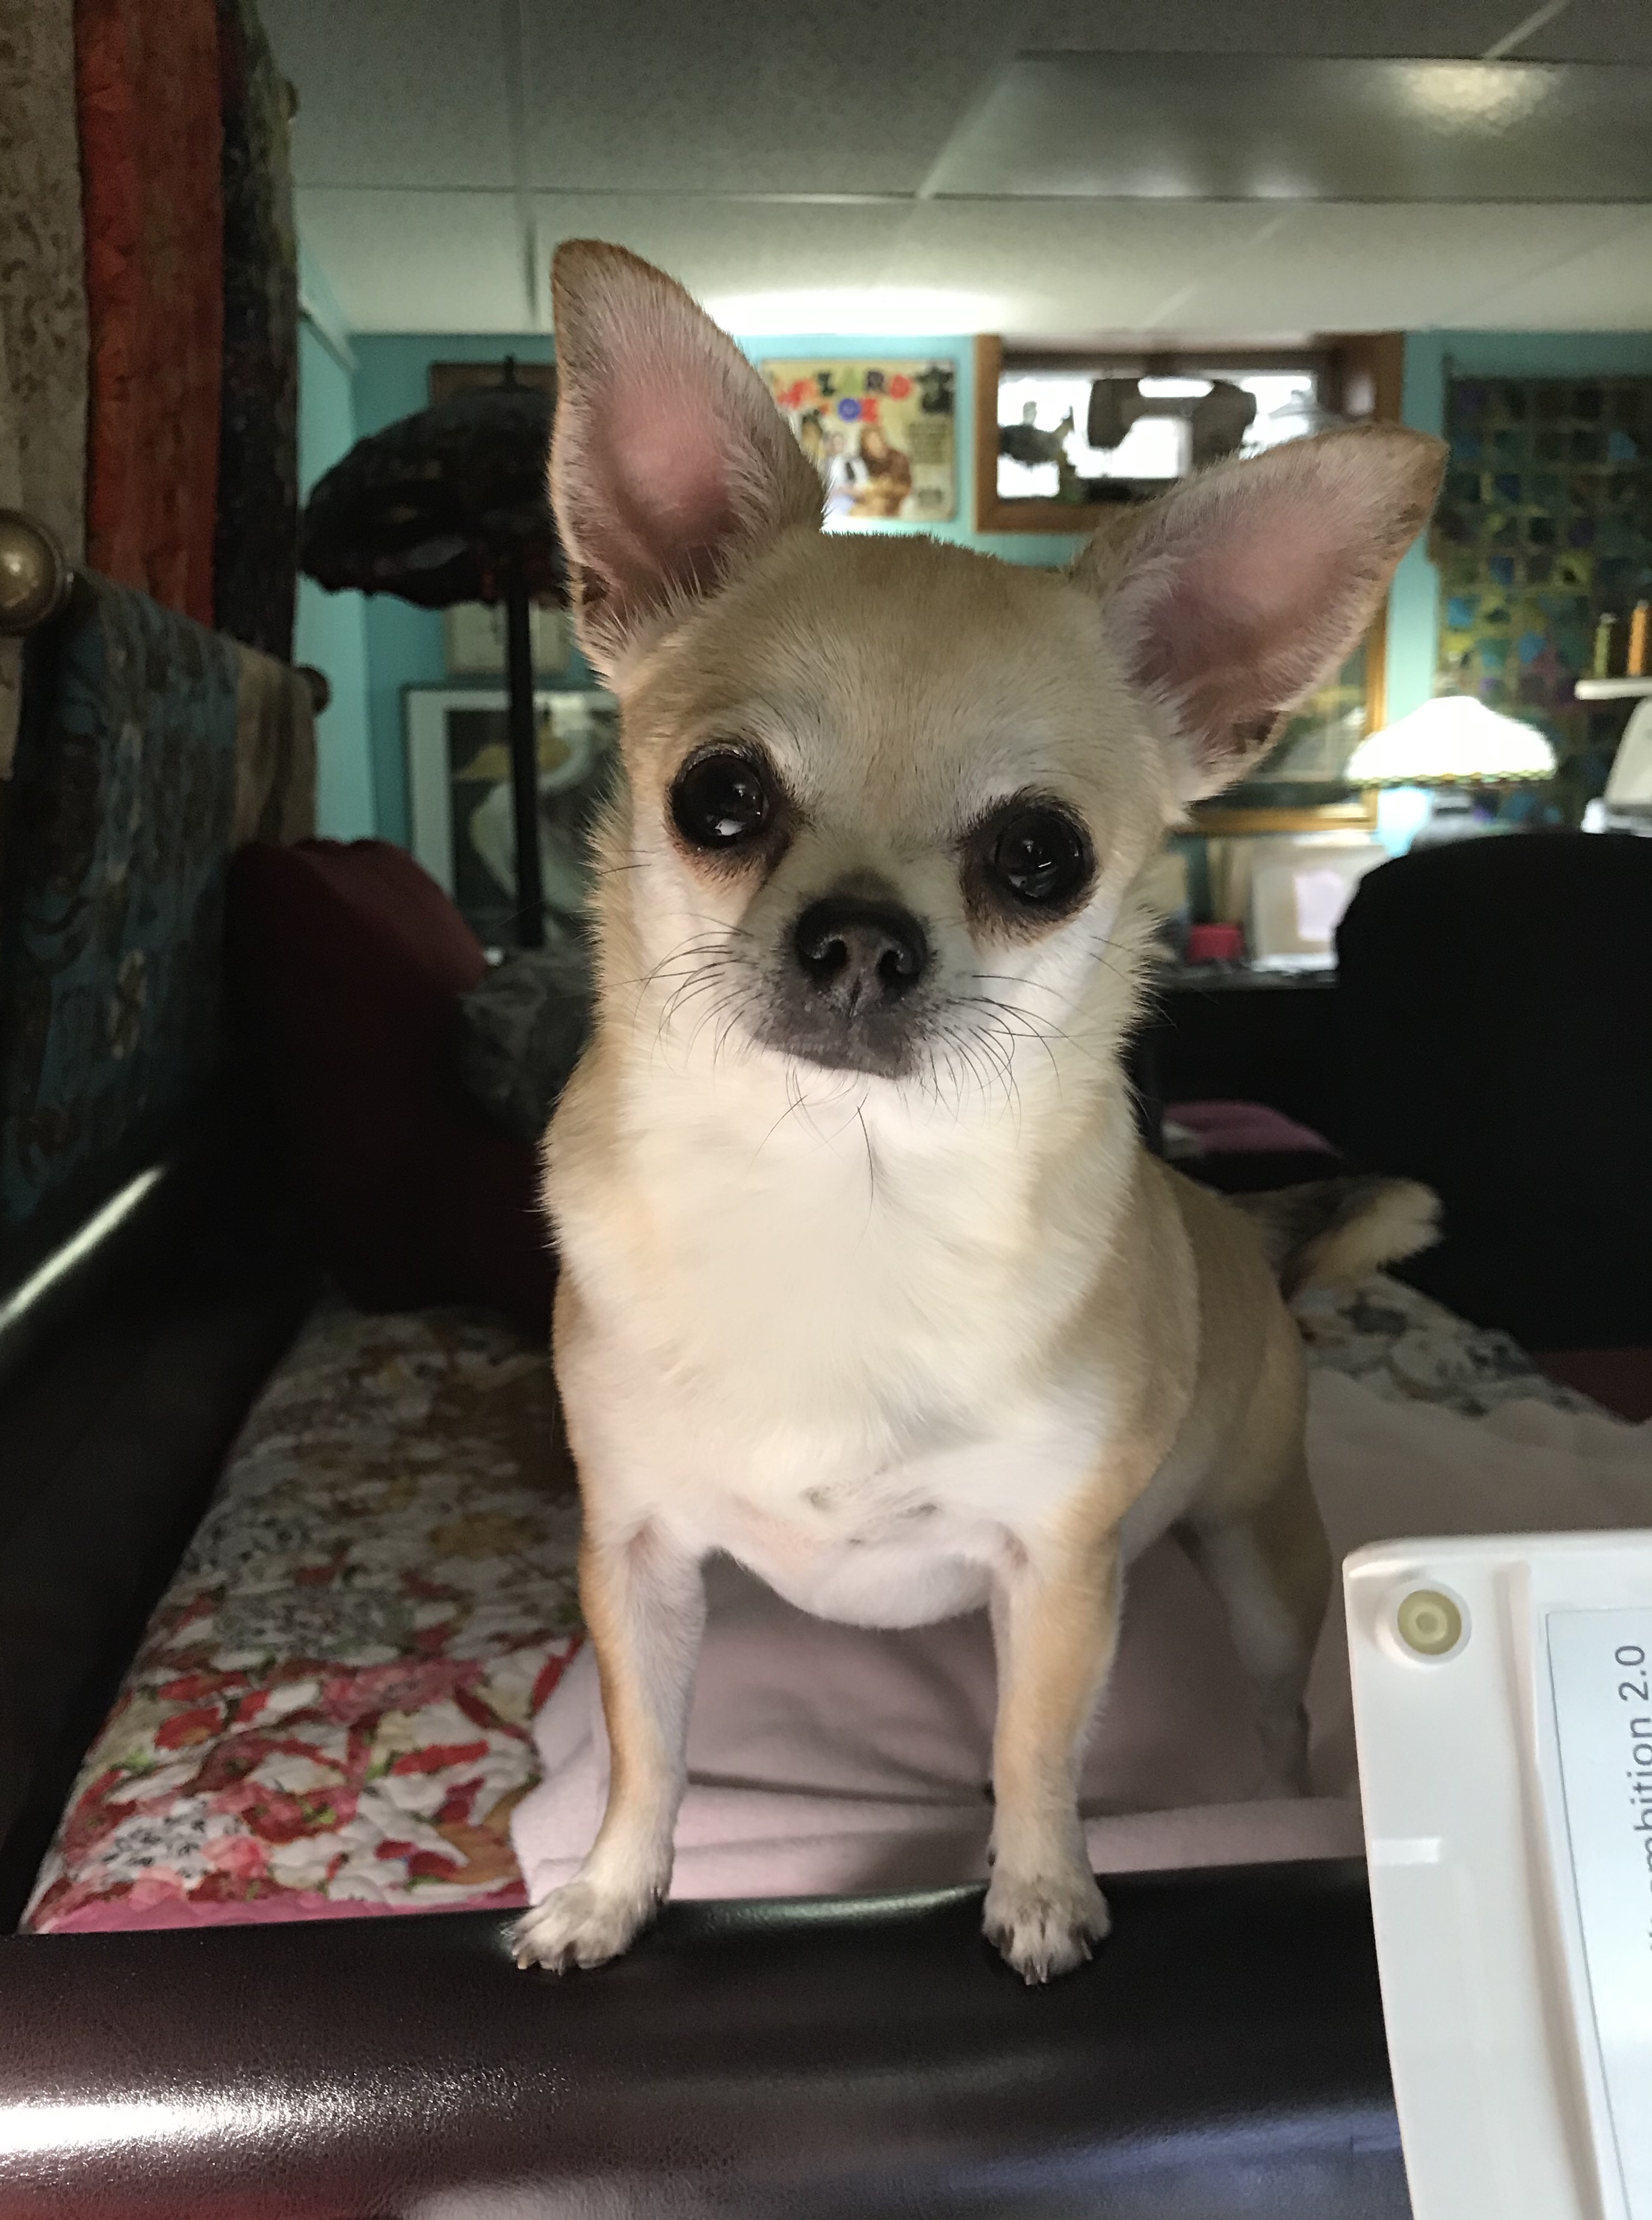
I was closely supervised while making this OBW by my quilting buddy Tucker!

I’ve watched all your videos….phenominal. If you are using a blunt 60degree triangle and want to create another version where the blunt ends are turned does that not present a problem when sewing your strips later?
LikeLike
Hi Sharon, I prefer a pointed tip so I have my dog ears to help joining the rows. My favorite ruler for cutting the triangles is the Olfa Frosted 6” x 12” ruler, it has two 60 degree lines. If you download my supply list under the tab OBW & Star 60 Zoom classes, It has a chart that gives you what strips size yields what finished sized hexie.
LikeLike
Thx for your quick reply…I’m a bit mathematically challenged! If using a blunt triangle and the blunt end is your 1/4 “ seam allowance are you not taking another 1/4” seam when you sew your strips together which makes the hexie even smaller ? Also , I believe you pressed your seams to one side as opposed to open? Stronger seam?
LikeLike
If you cut a 3 3/4” strip, a pointed tip yields a 6” finished hexie. If you use a bunt tip the same strips yields a 6.5” finished hexie. I press all my seams open.
LikeLike
I get it! When you are joining your strips you line the dog ears up but they are NOT part of your seam allowance . Once you have sewn your strips together should you trim the dog ears off?
LikeLike
No, I never trim them off, just press the seams open.
LikeLike
Thank you so much…I did learn from you how to tape my ruler on the 60 degree lines…you made it seem so simple . Your videos are the best online…short and succinct!!
LikeLike
Thank you
LikeLike
I’m on the waiting list for an OBW class. Your blog was listed on the top line of the search results. Lucky for me, this is a well written tutorial. Eventually I will be headed to class with reassurance that I can do this. Thank you and best wishes.
LikeLike
Have fun Jill, let me know if you have any questions.
LikeLike
Jill, I teach OBW Zoom classes
LikeLike
Pingback: 186 Square One – Brenda Dayne
Is it possible to buy these panels? I an from Belgium and I love this one.
LikeLike
What panels are you referring to? I buy panels from quilter.com fabric.com Hancock-Paducah.com myfavoritequiltshop.com
LikeLike
Did you cut the strips across the panel or down the length of the panel.
LikeLike
I cut them lengthwise, but it doesn’t matter. You can choose to cut either way.
LikeLike
Beautiful! I’m working on my first OBW, and my next one will be with panels of bluebonnets that I brought back home with me after enjoying life there for three years…
LikeLike
‘ after enjoying life in Texas for three years’
LikeLike
Thank you Lena, let me know if I can help.
LikeLike
Best OBW tutorial on using panels that I have seen yet. Just starting one and this was soooooo helpful. Thank you.
LikeLike
Thank you so much. Let me know if you have any questions.
LikeLike
Where can I see the finished quilt? I have a OBW with a panel, that is finished at 23″, so having the same sort of issues.
LikeLike
Kim, are you referring to Plume with the peacocks? It is in my OBW Gallery. I have several post on working with panels. If you click on the tab for S180 Tool Instructions & helpful Stuff you can download the posts in a PDF format. I’m told the Northern Lights is very helpful.
LikeLike
Thank you I will save this and read it a couple more times before I start.
LikeLike
Good luck
LikeLike
Thanks that’s super cool I would love to try it
LikeLike
Thank you, it is great fun!
LikeLike
Thanks so much, this is a great tutorial!!!
LikeLike
Thank you Sharene
LikeLike
What size is the finished quilt.
LikeLike
It depends on the size of the panel, what size you choose to cut your strips and if you add borders. The Heron is 60” x 68”. I cut my strips 3 3/4” and did not add borders.
LikeLike
I would like to teach this method to about eight people in a class. May I make enough copies of this blog post? If not, is there a pattern available, or can we pay a fee per copy?
Lynn Rash
LikeLike
You can print out what you need as long as you give me credit.
LikeLike
Thank you so much.
LikeLike
You are welcome
LikeLike
Excellent tutorial,thanks
LikeLike
Thank you Pat!
LikeLike
Thanks Jackie for the fabulous tutorial!
LikeLike
Thank you!
LikeLike