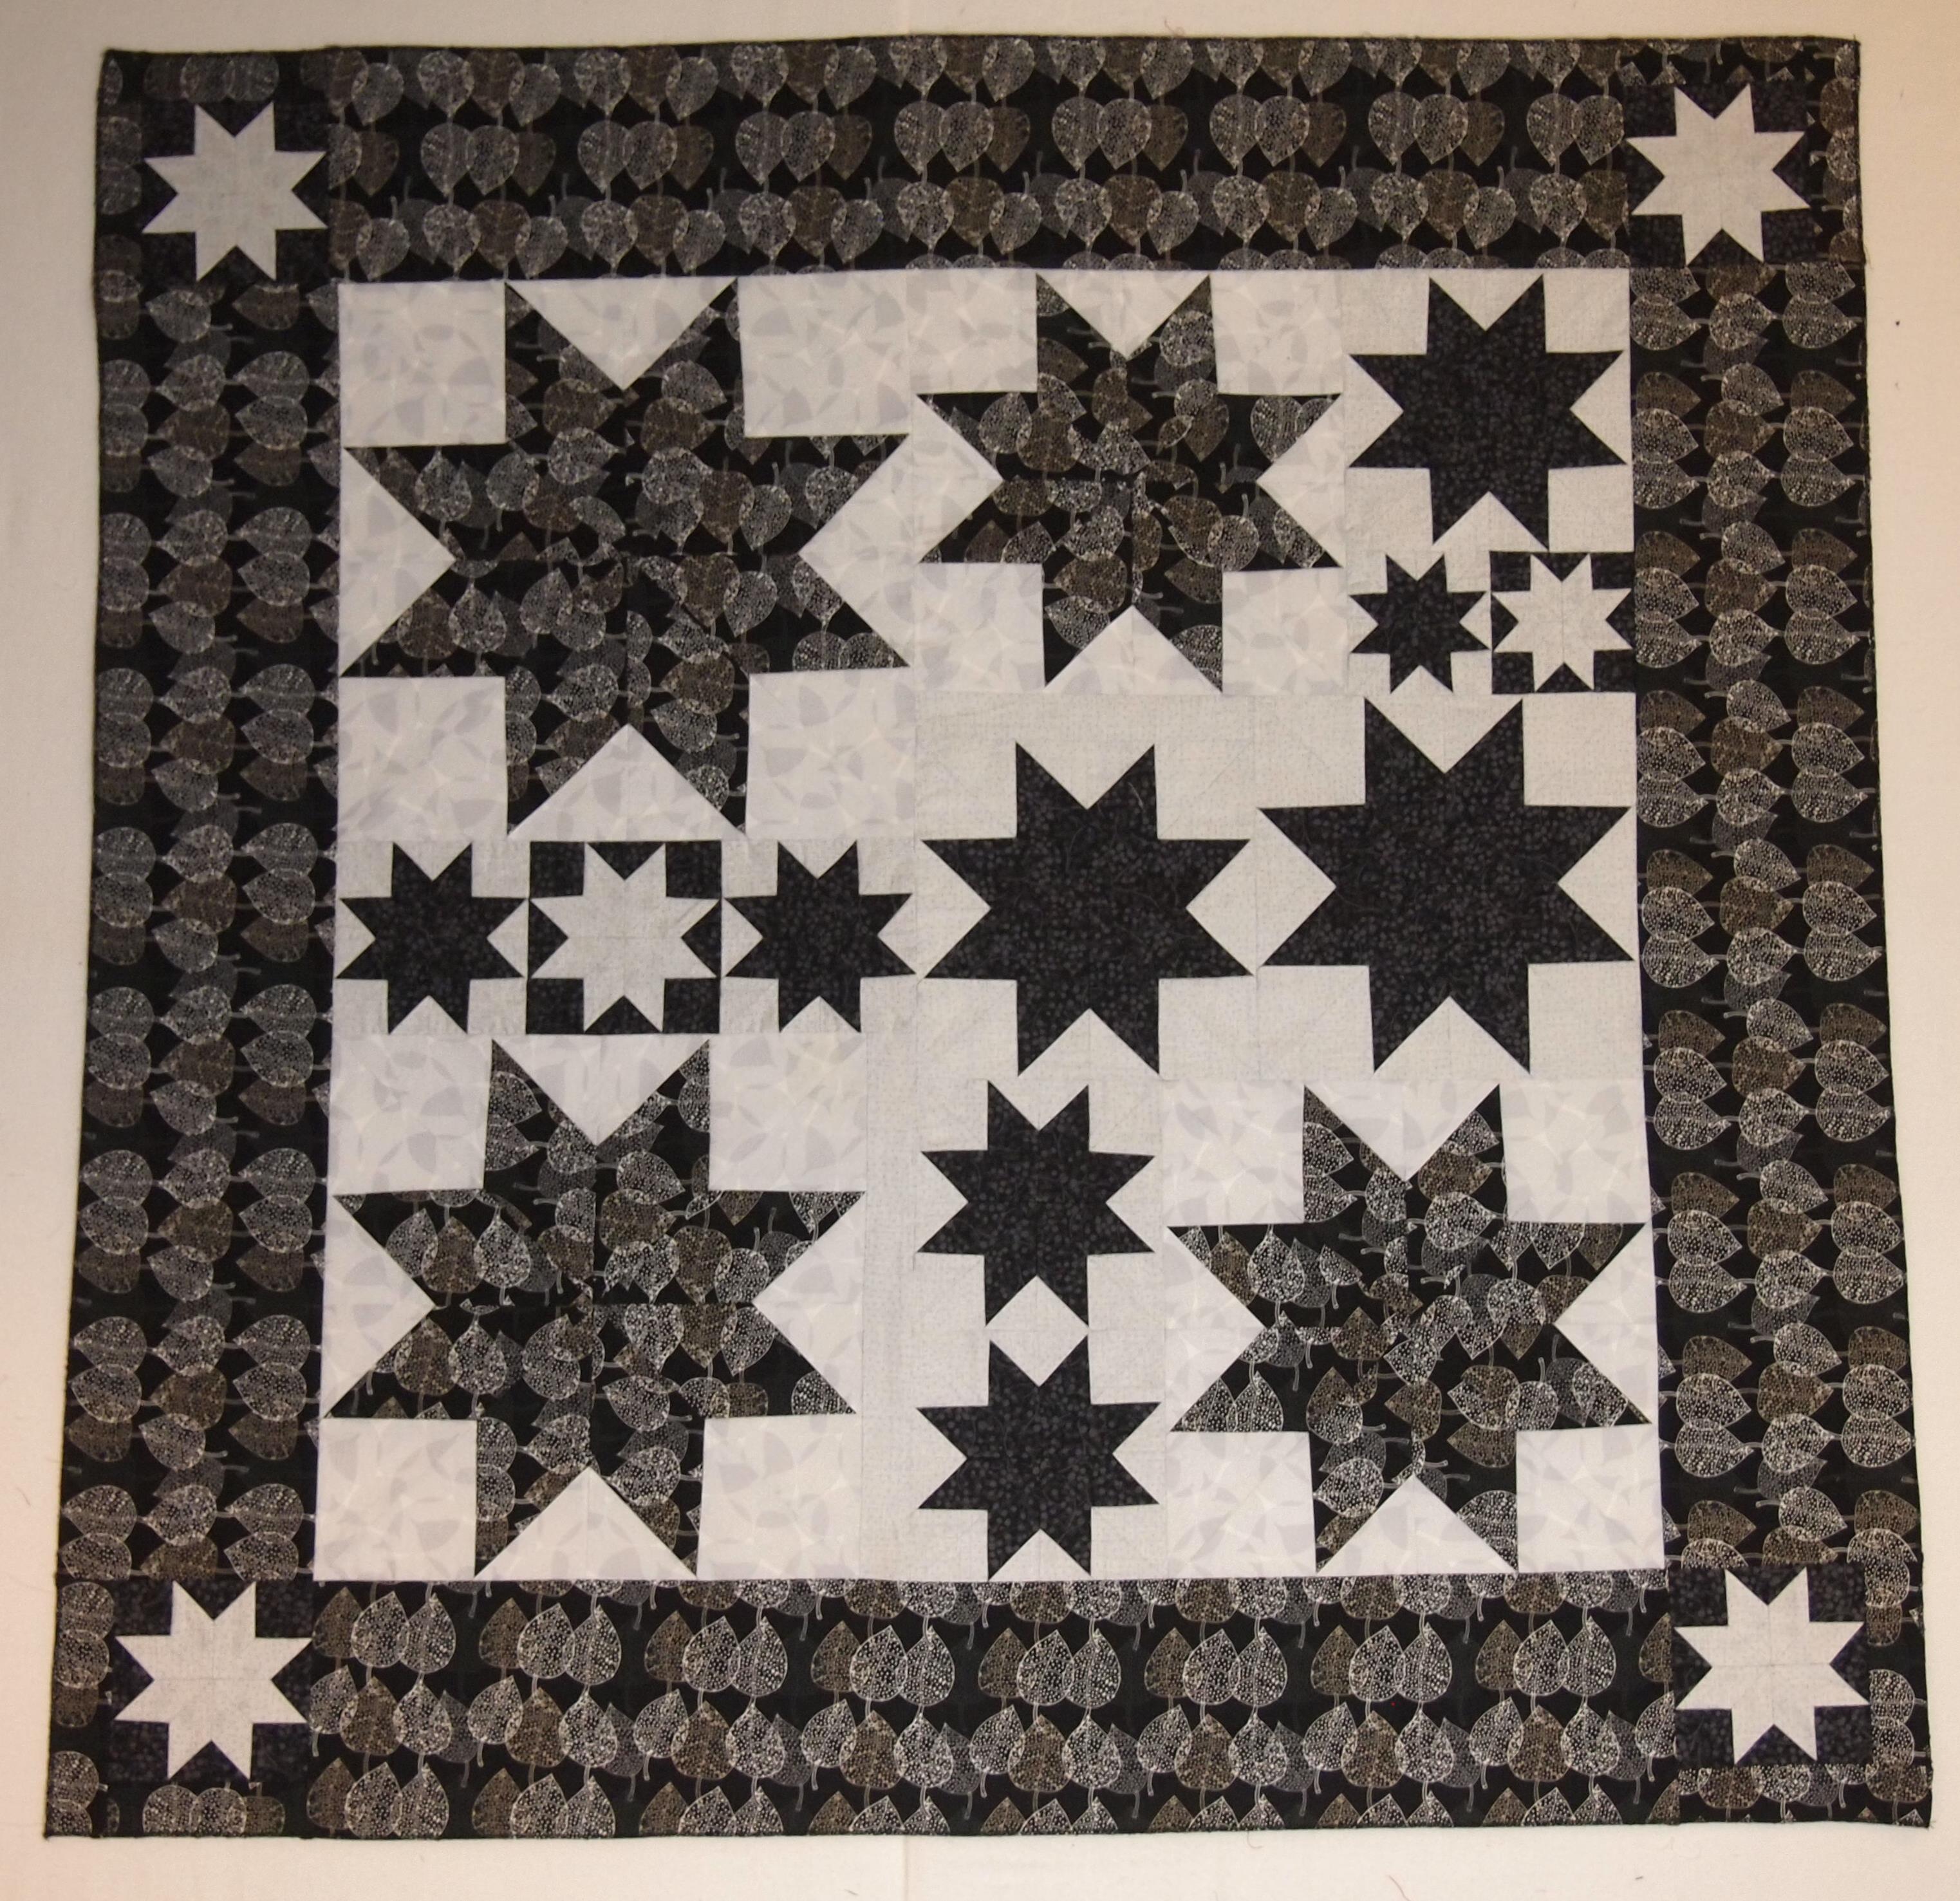
I am getting ready for a Rapid Fire Lemoyne star class using the pattern that comes with the ruler. It is called “Constellation”, you end up making every size Lemoyne star from 3″ to 12″.
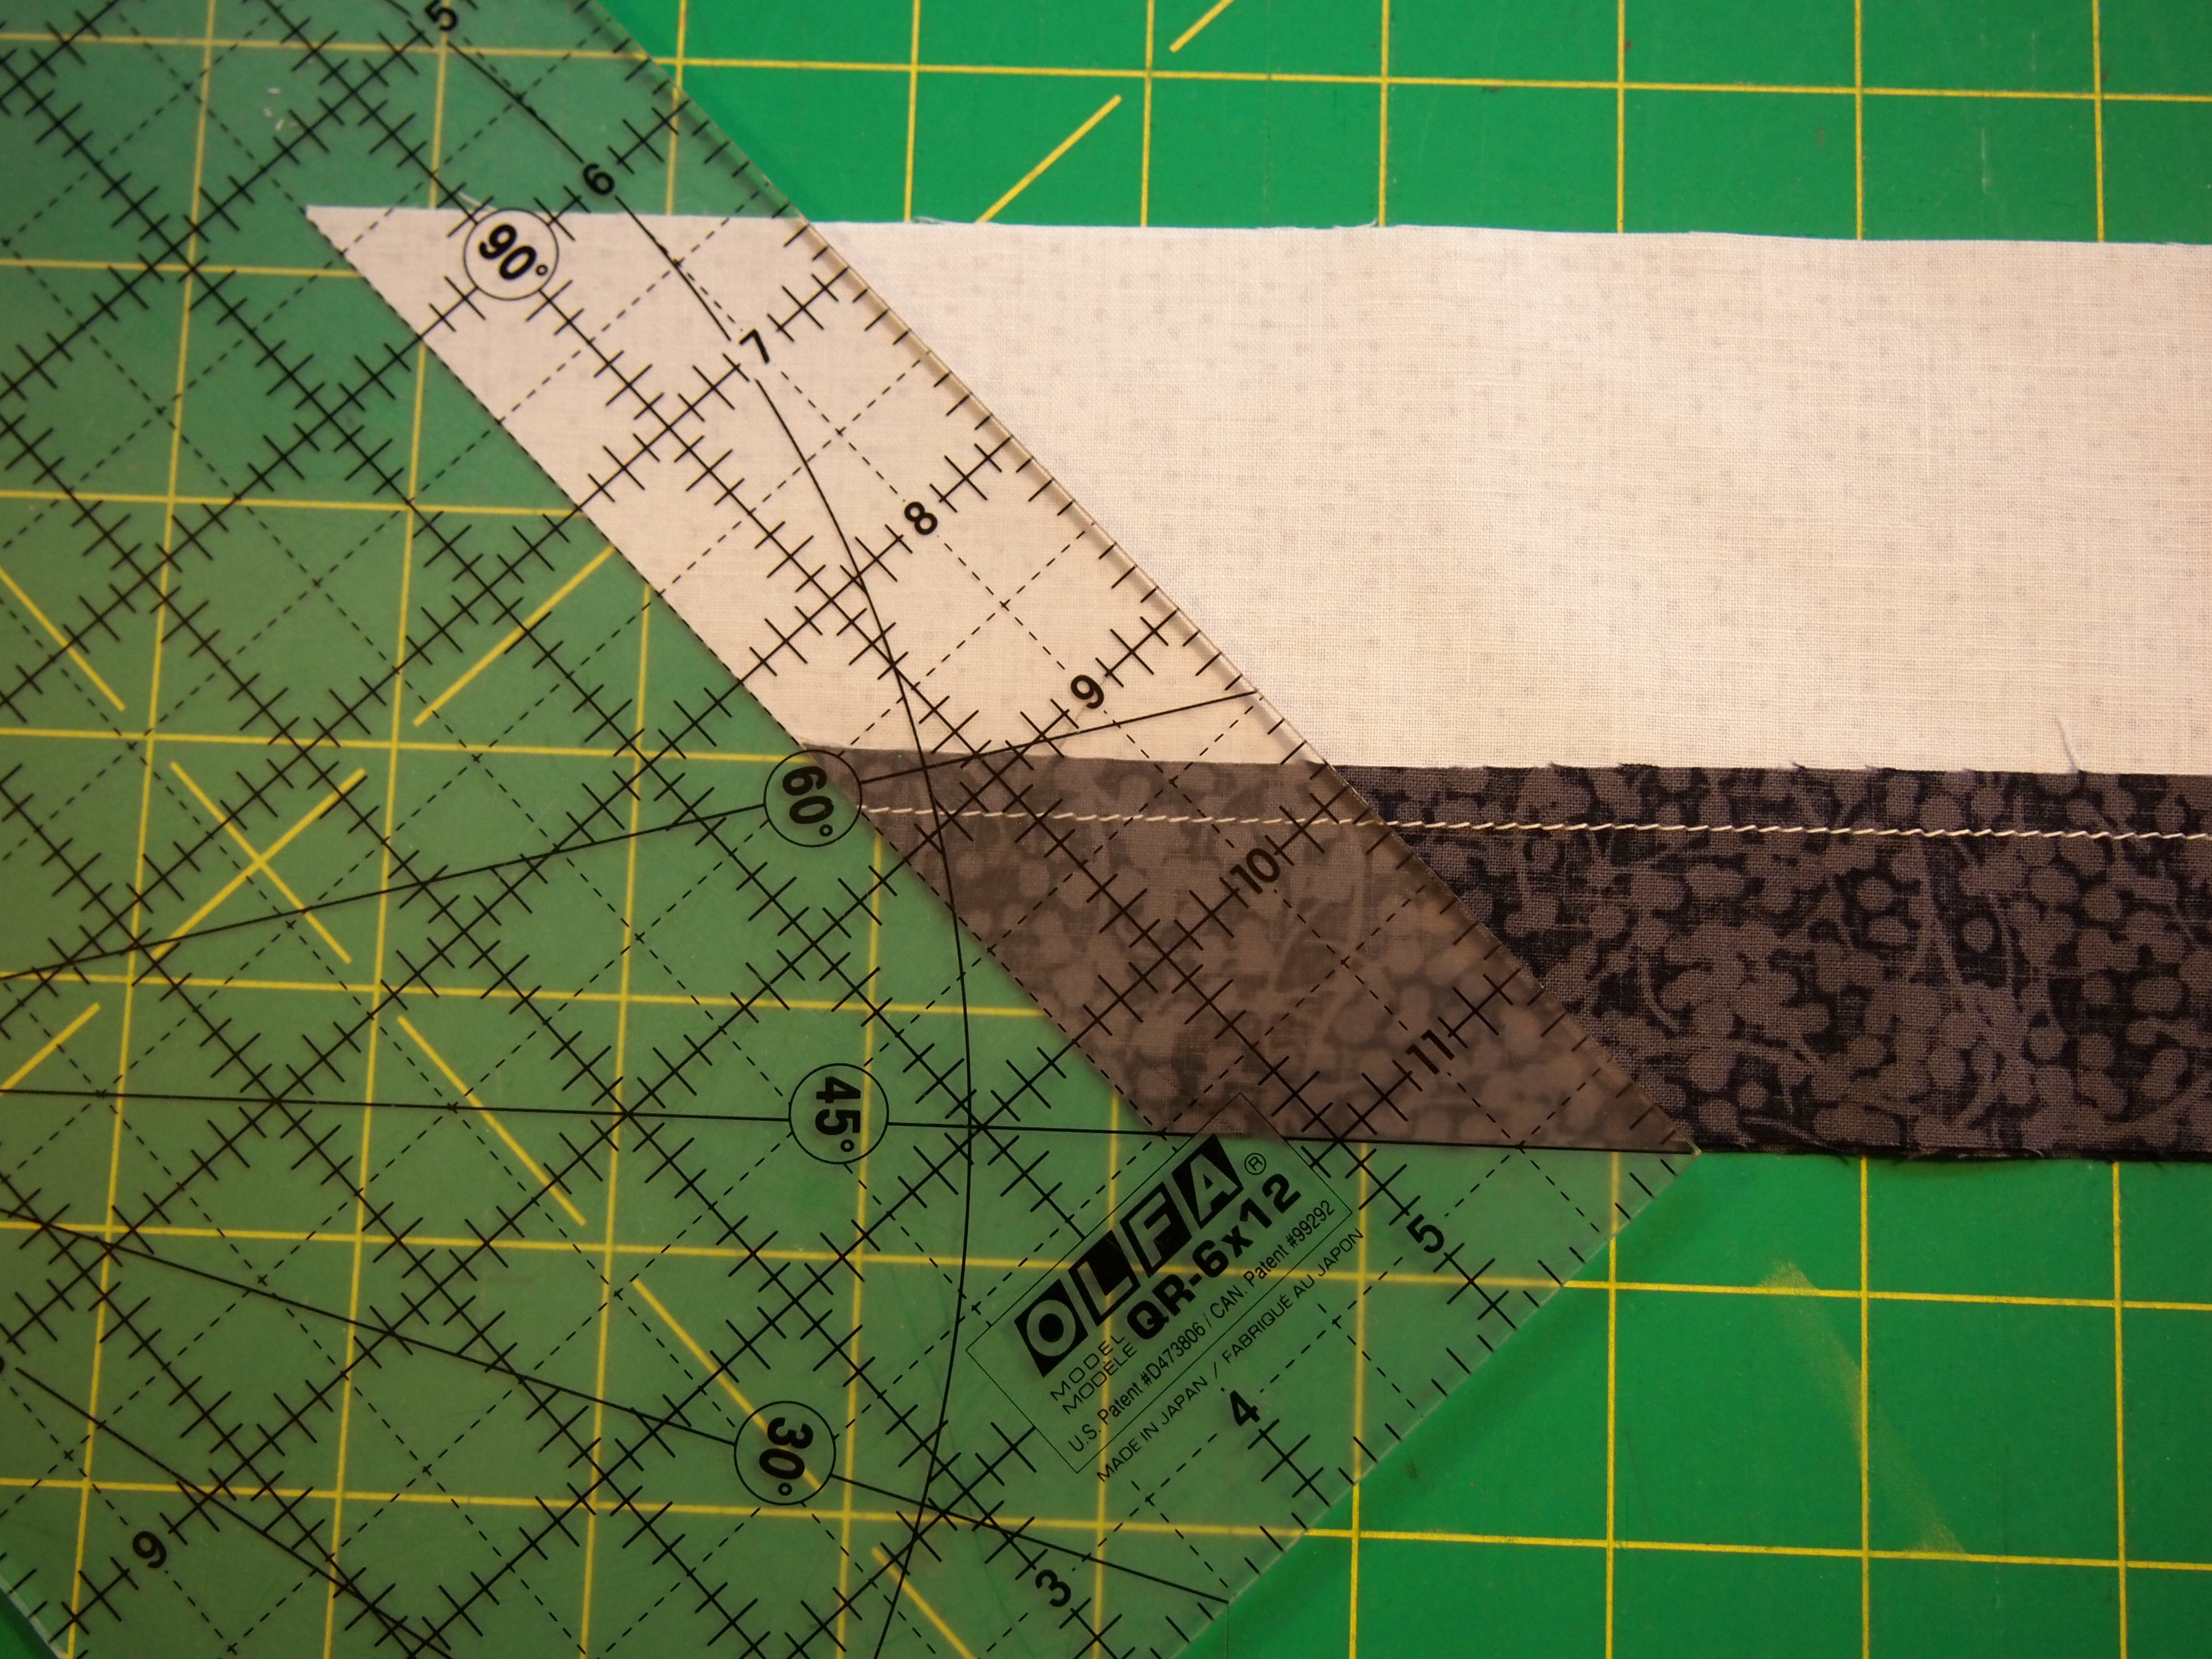
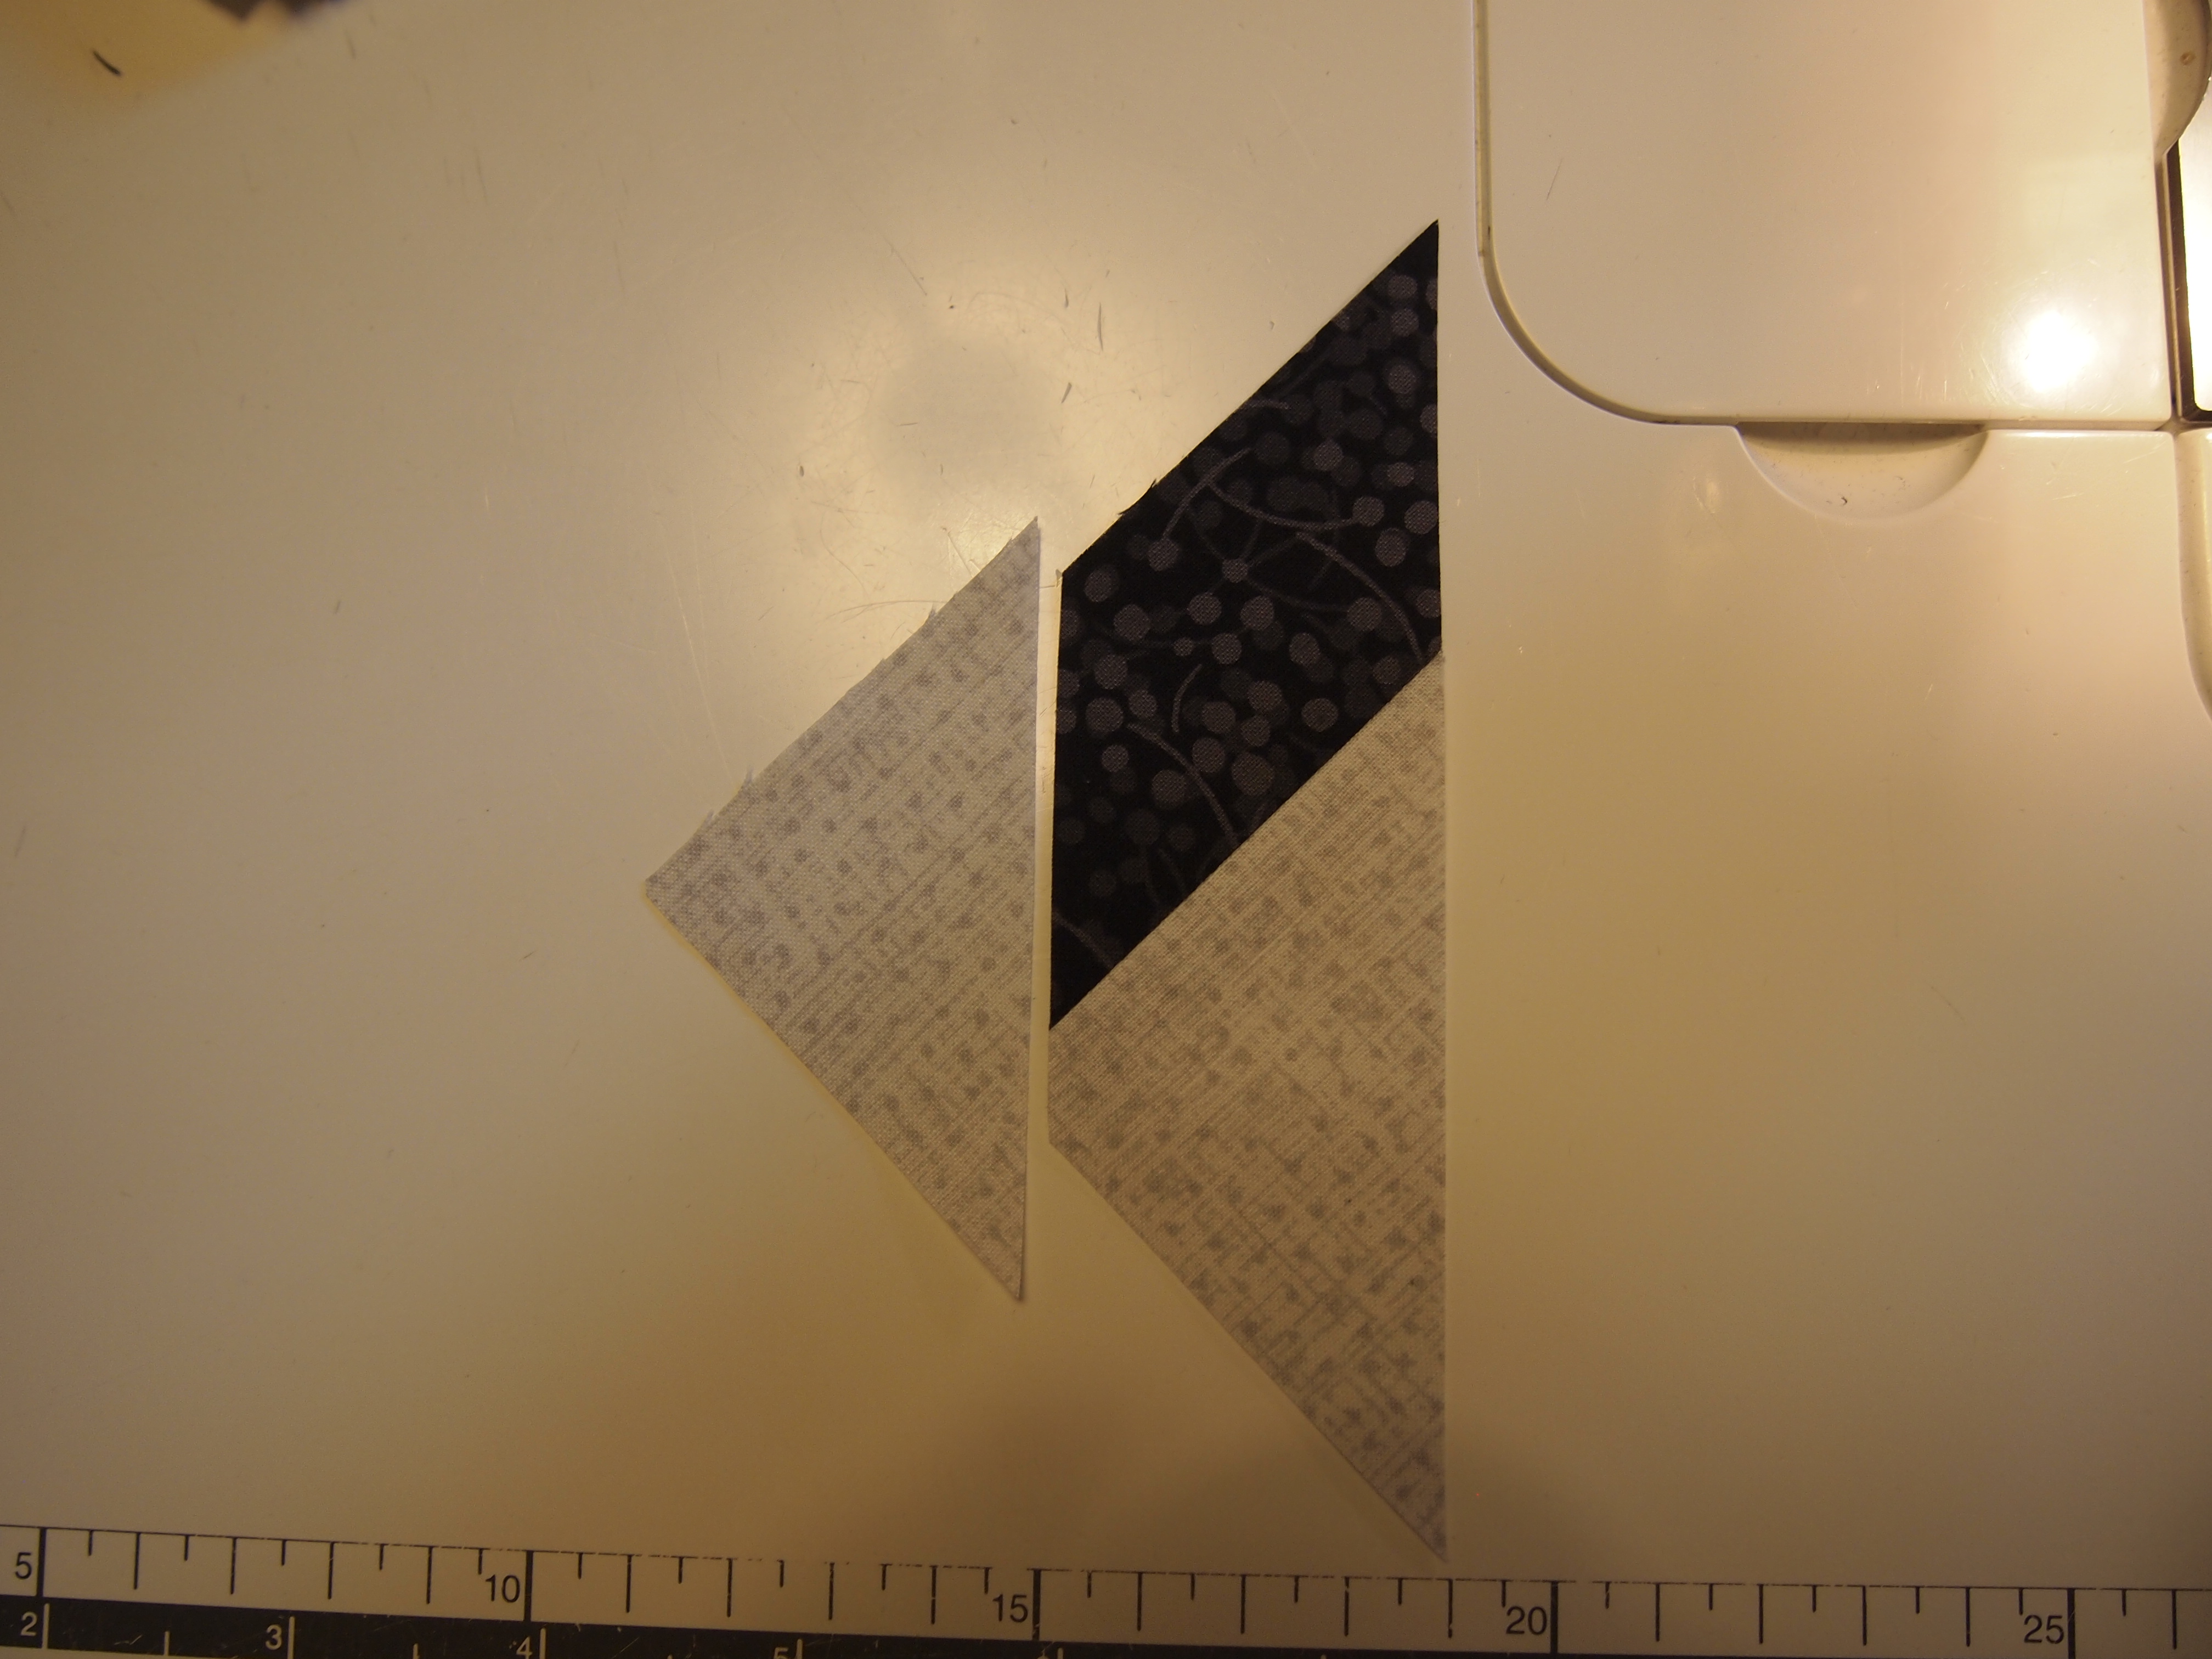
I wanted to share some organizational tips for making this block. Good pressing skills will make this block a breeze. (For complete details check your ruler instructions) We begin by making our 45 degree cuts.
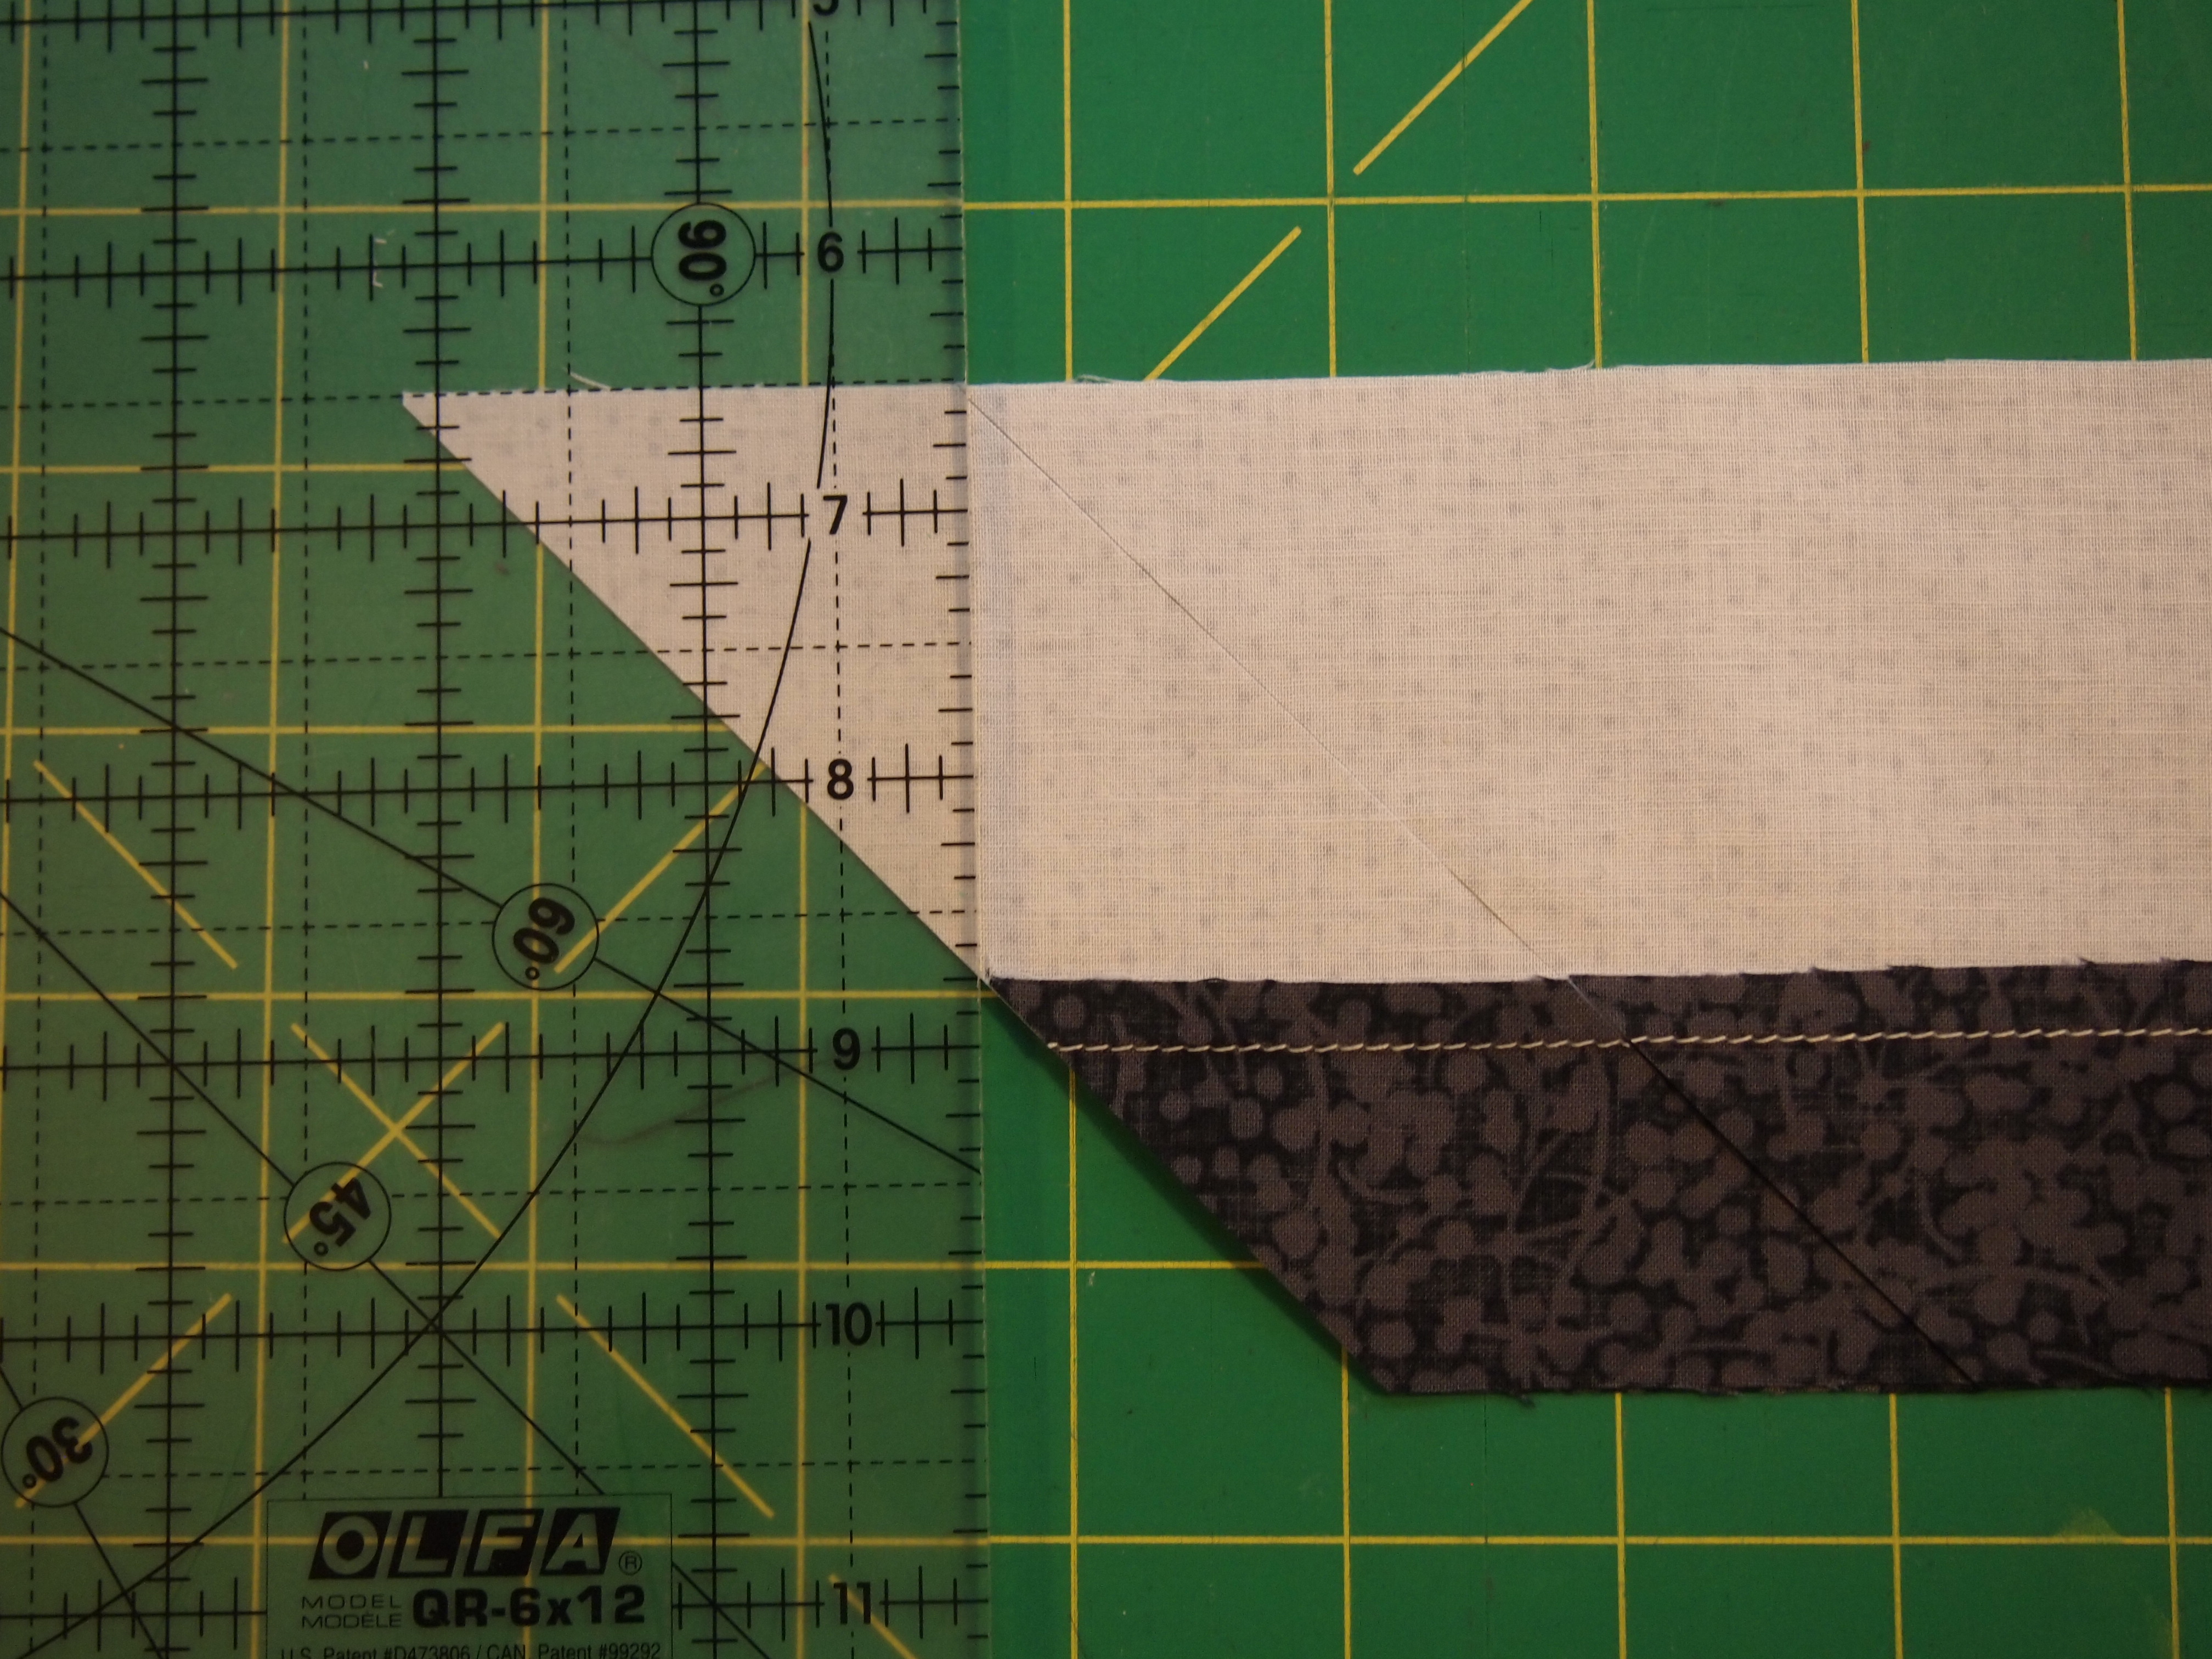
After the first cut, move the ruler to cut the side triangle .
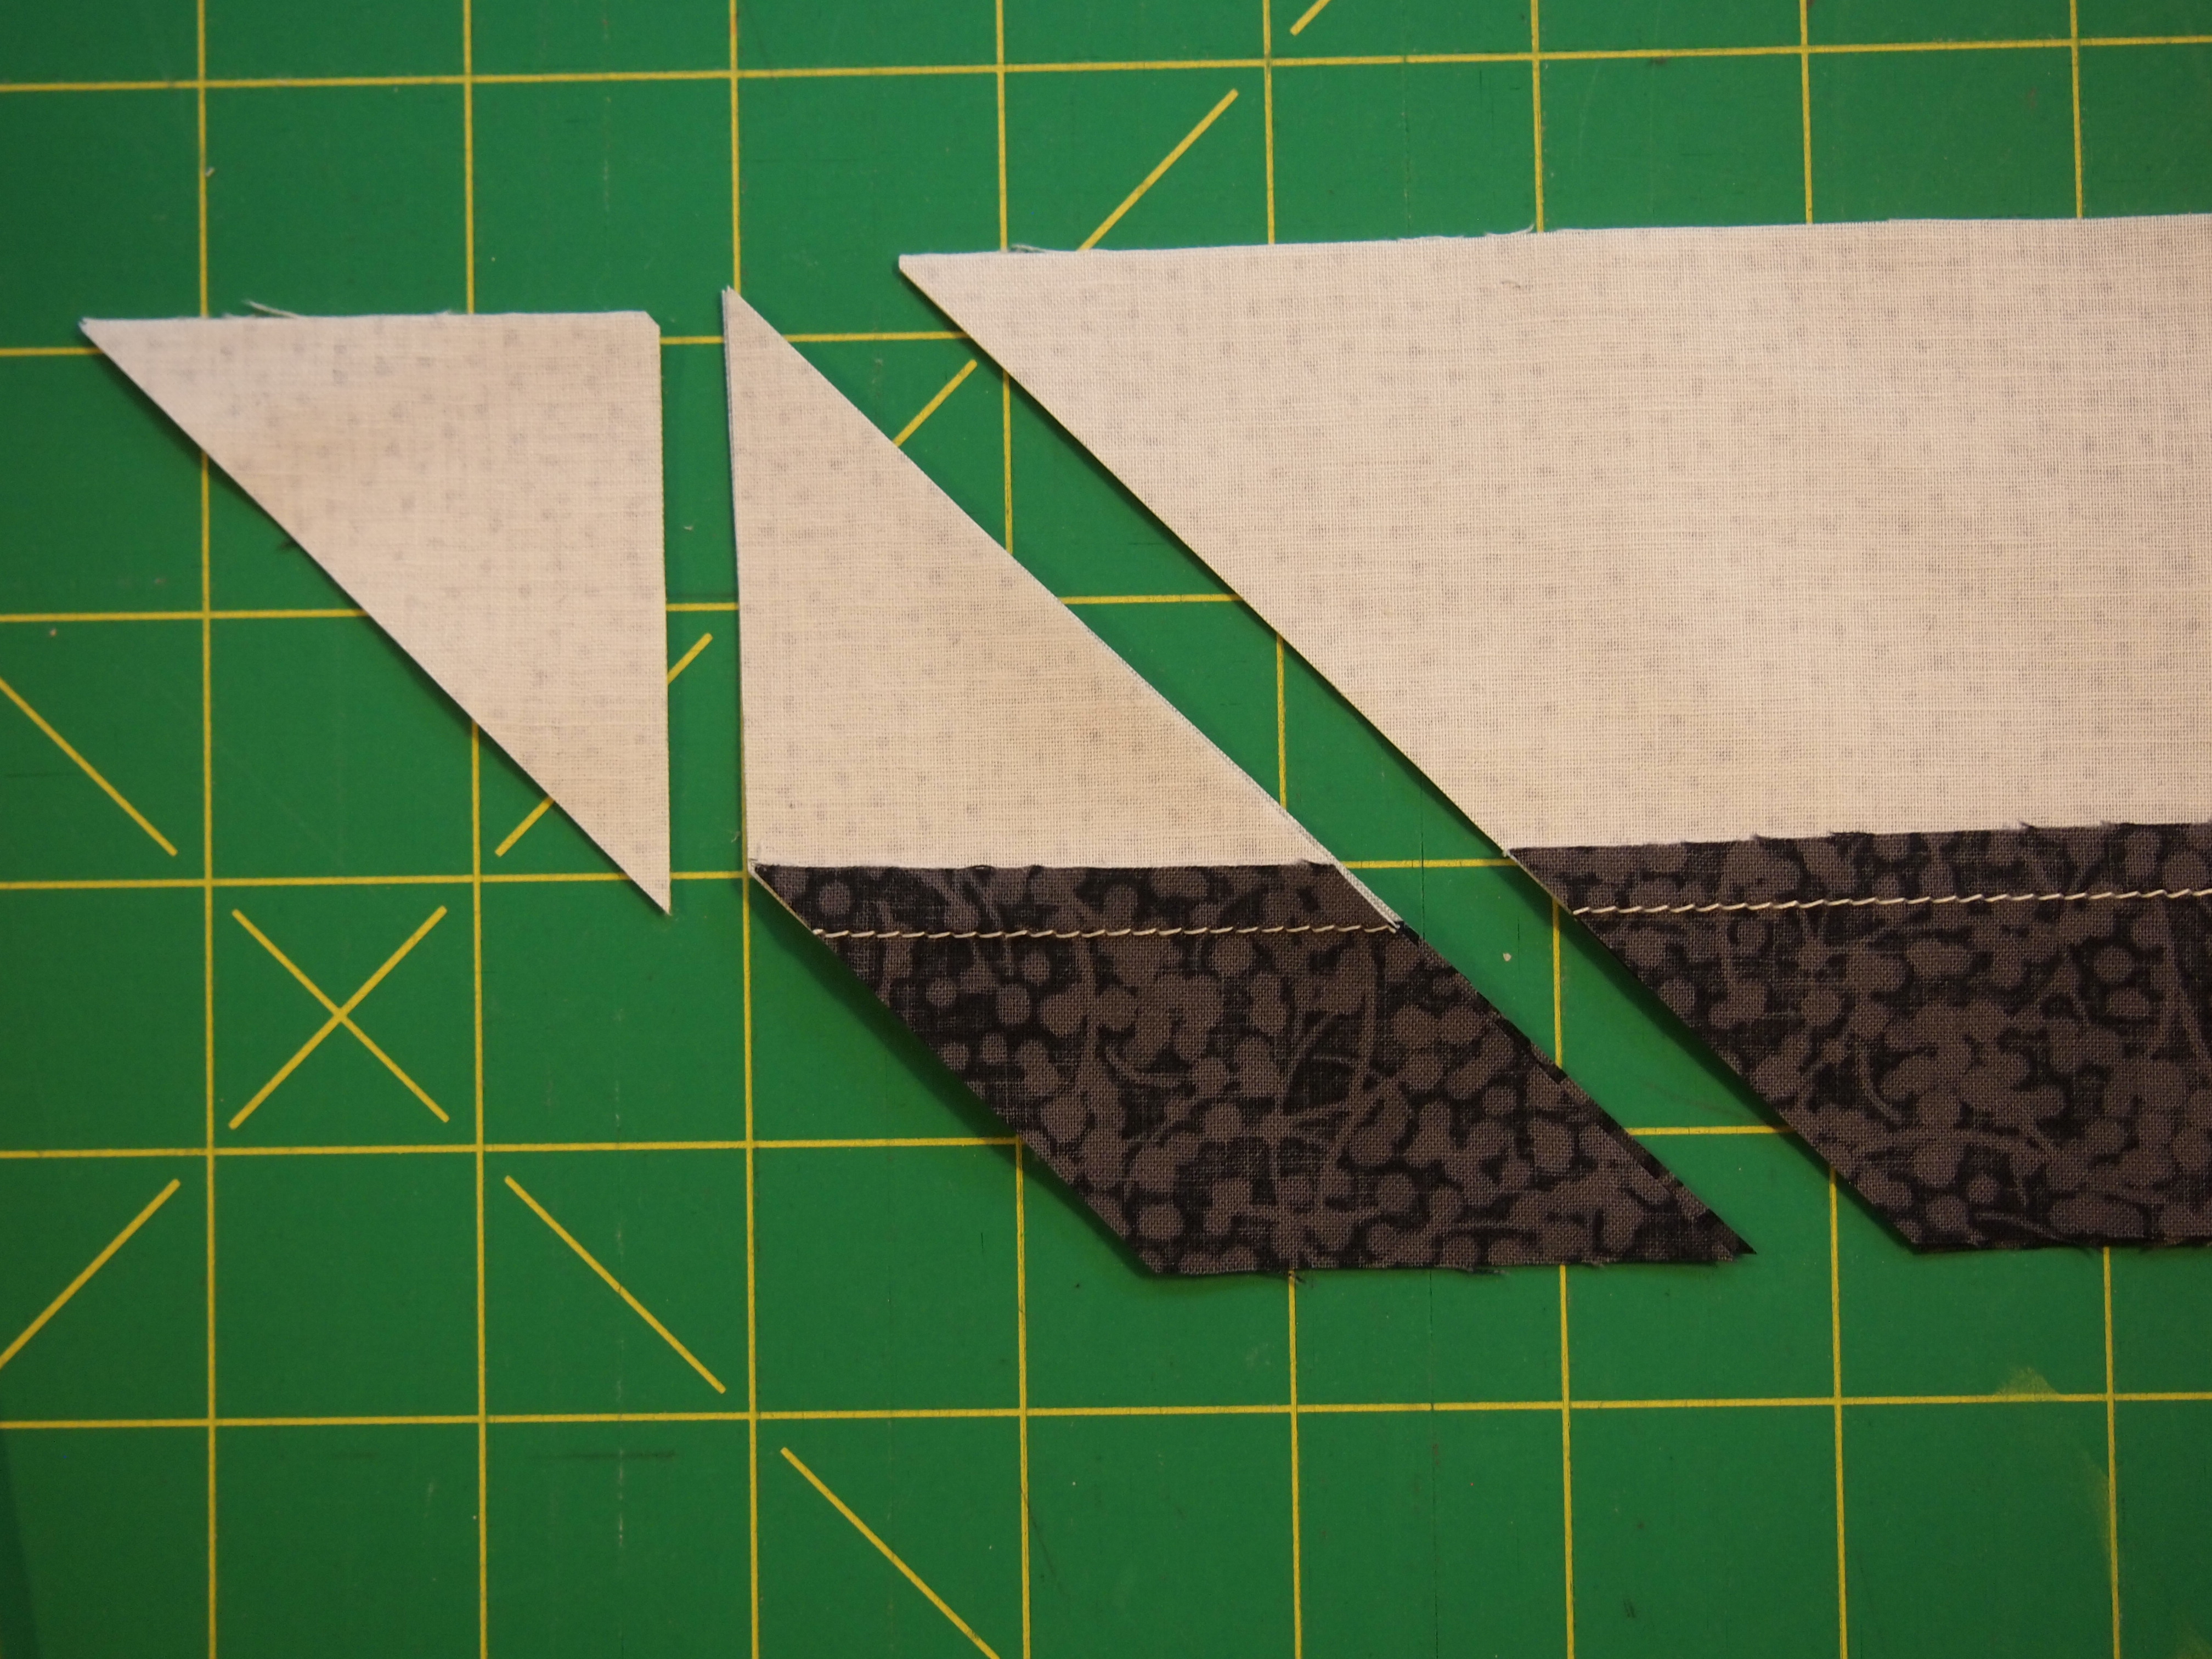
This shows the complete cut.

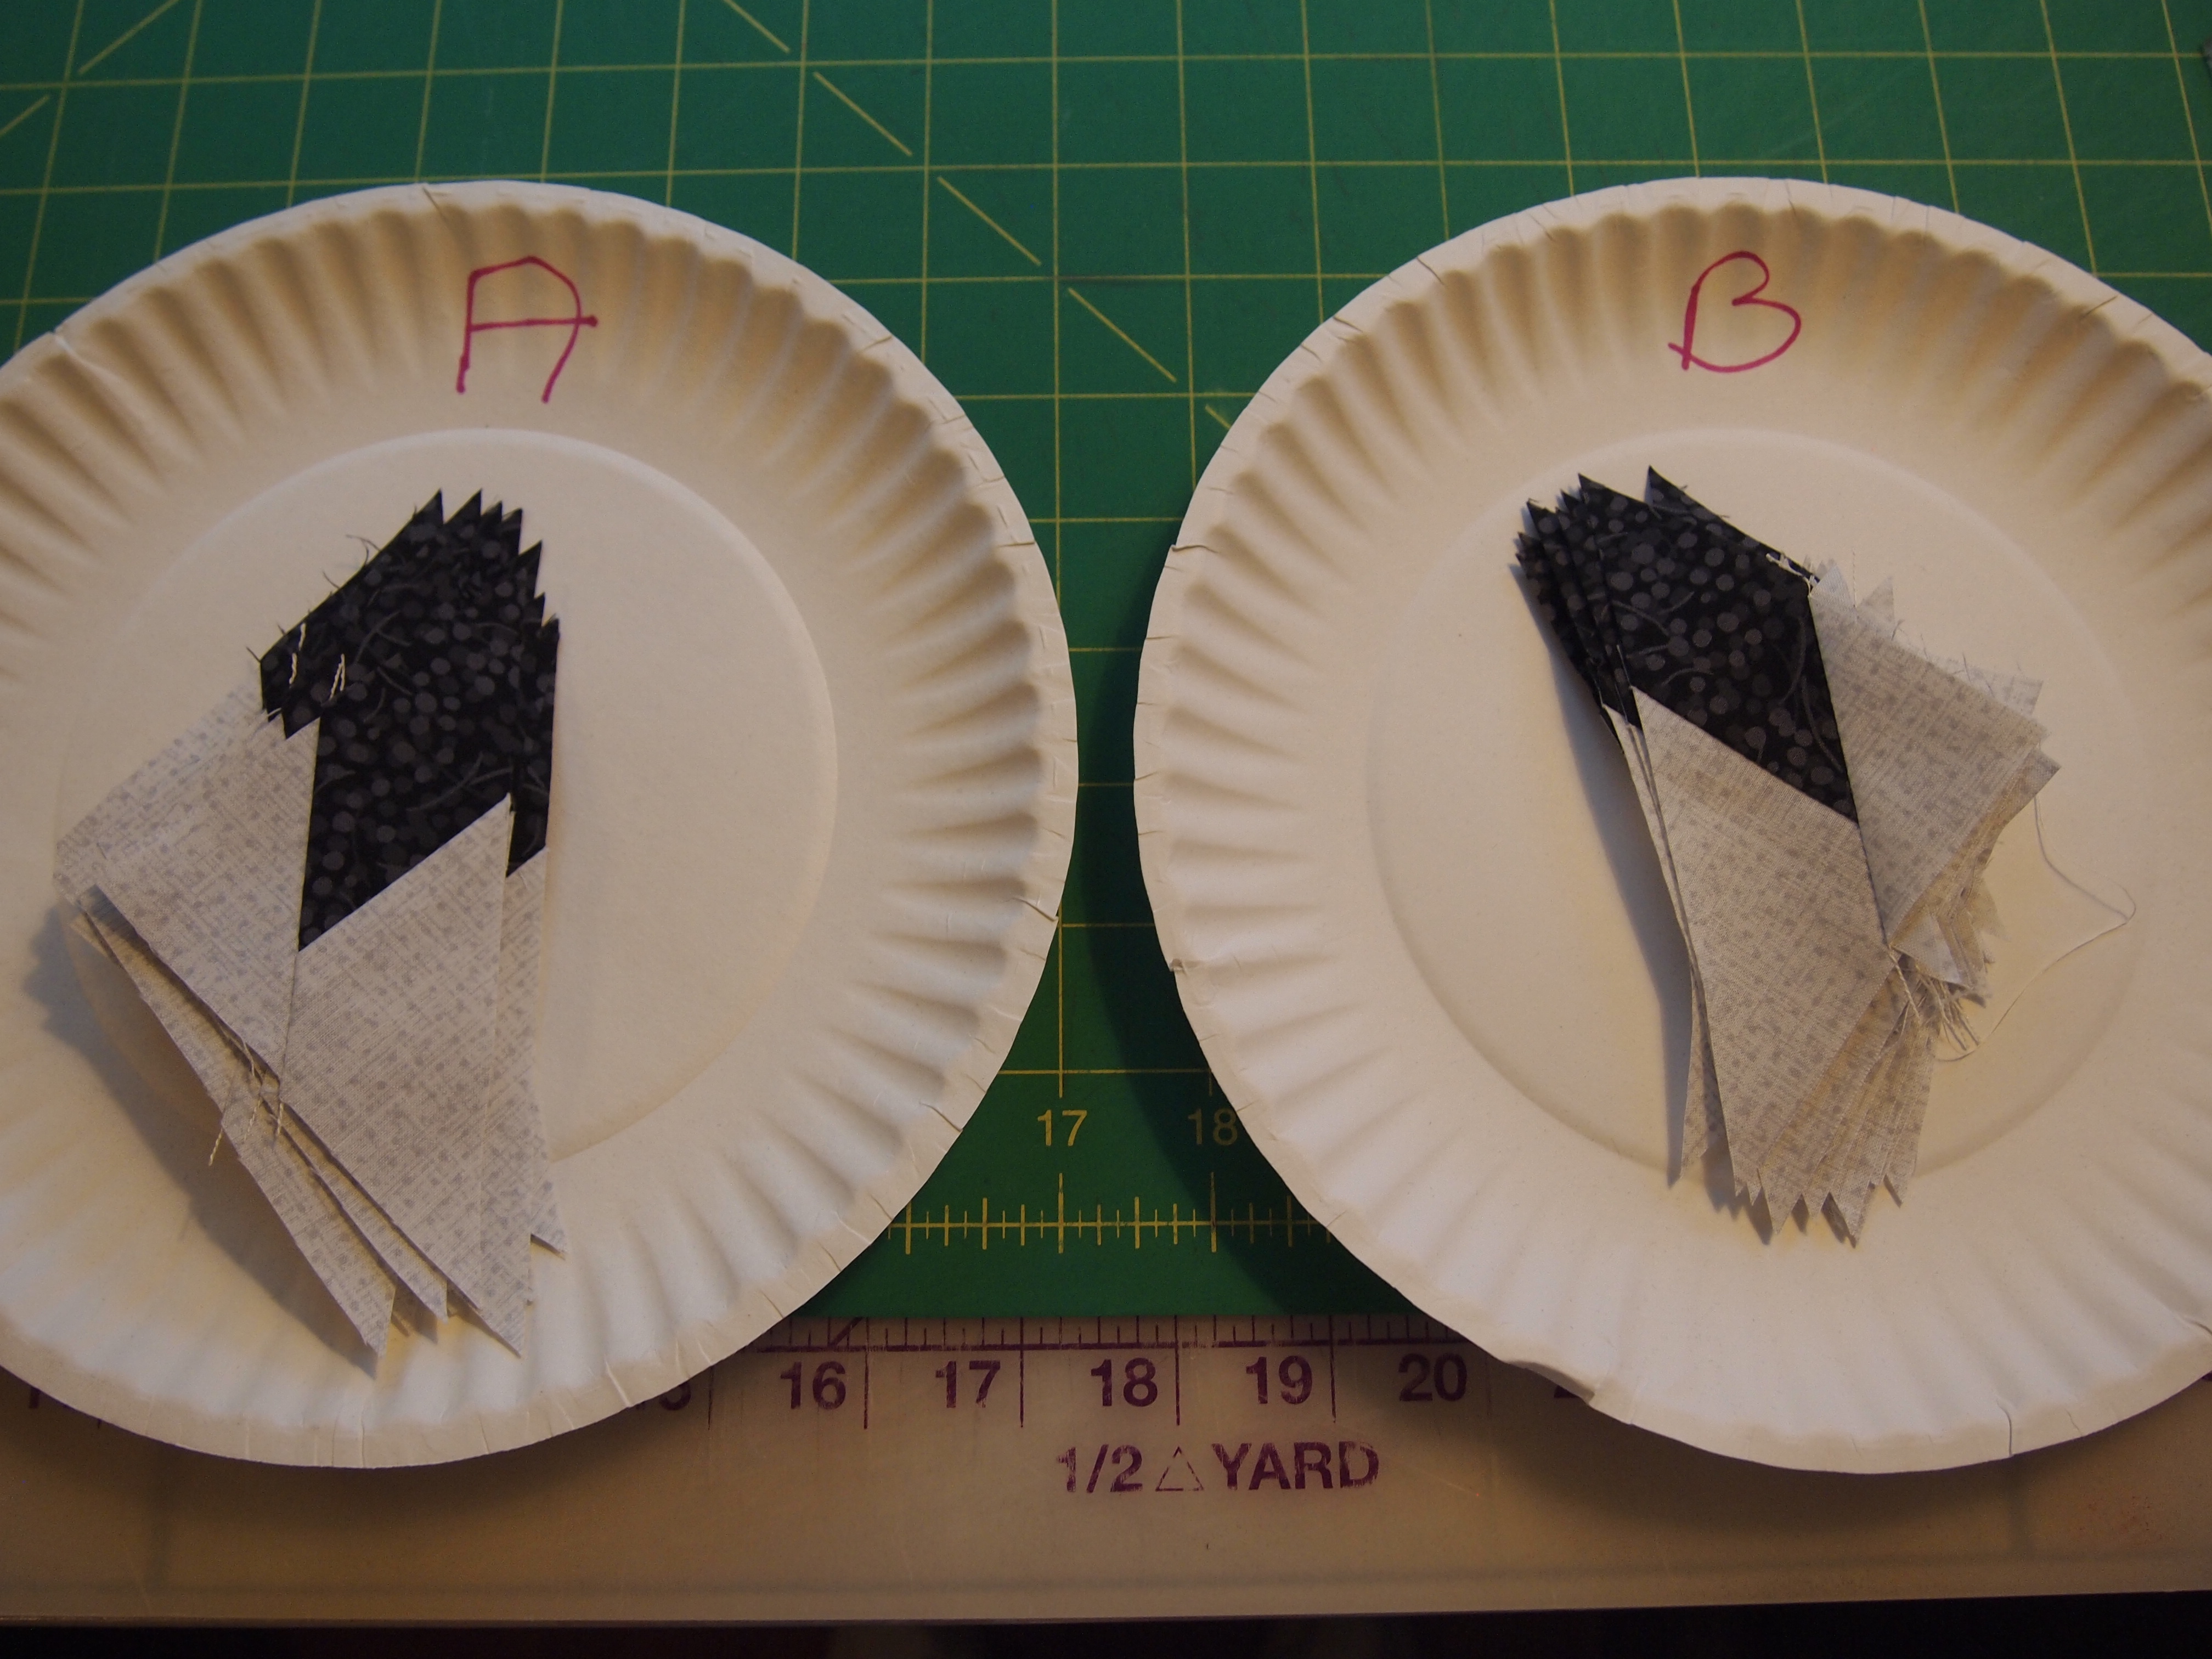
This is what I find very helpful. I take 2 paper plates and mark one “A” and one “B”. If you are right handed then the top strip was “A” and the bottom strip was “B”. Place the “A” units on the plate marked “A” and the “B” units on the plate marked “B”. Continue cutting your pieces and placing them in the appropriately named plate. Stack up the side triangles to be added later.
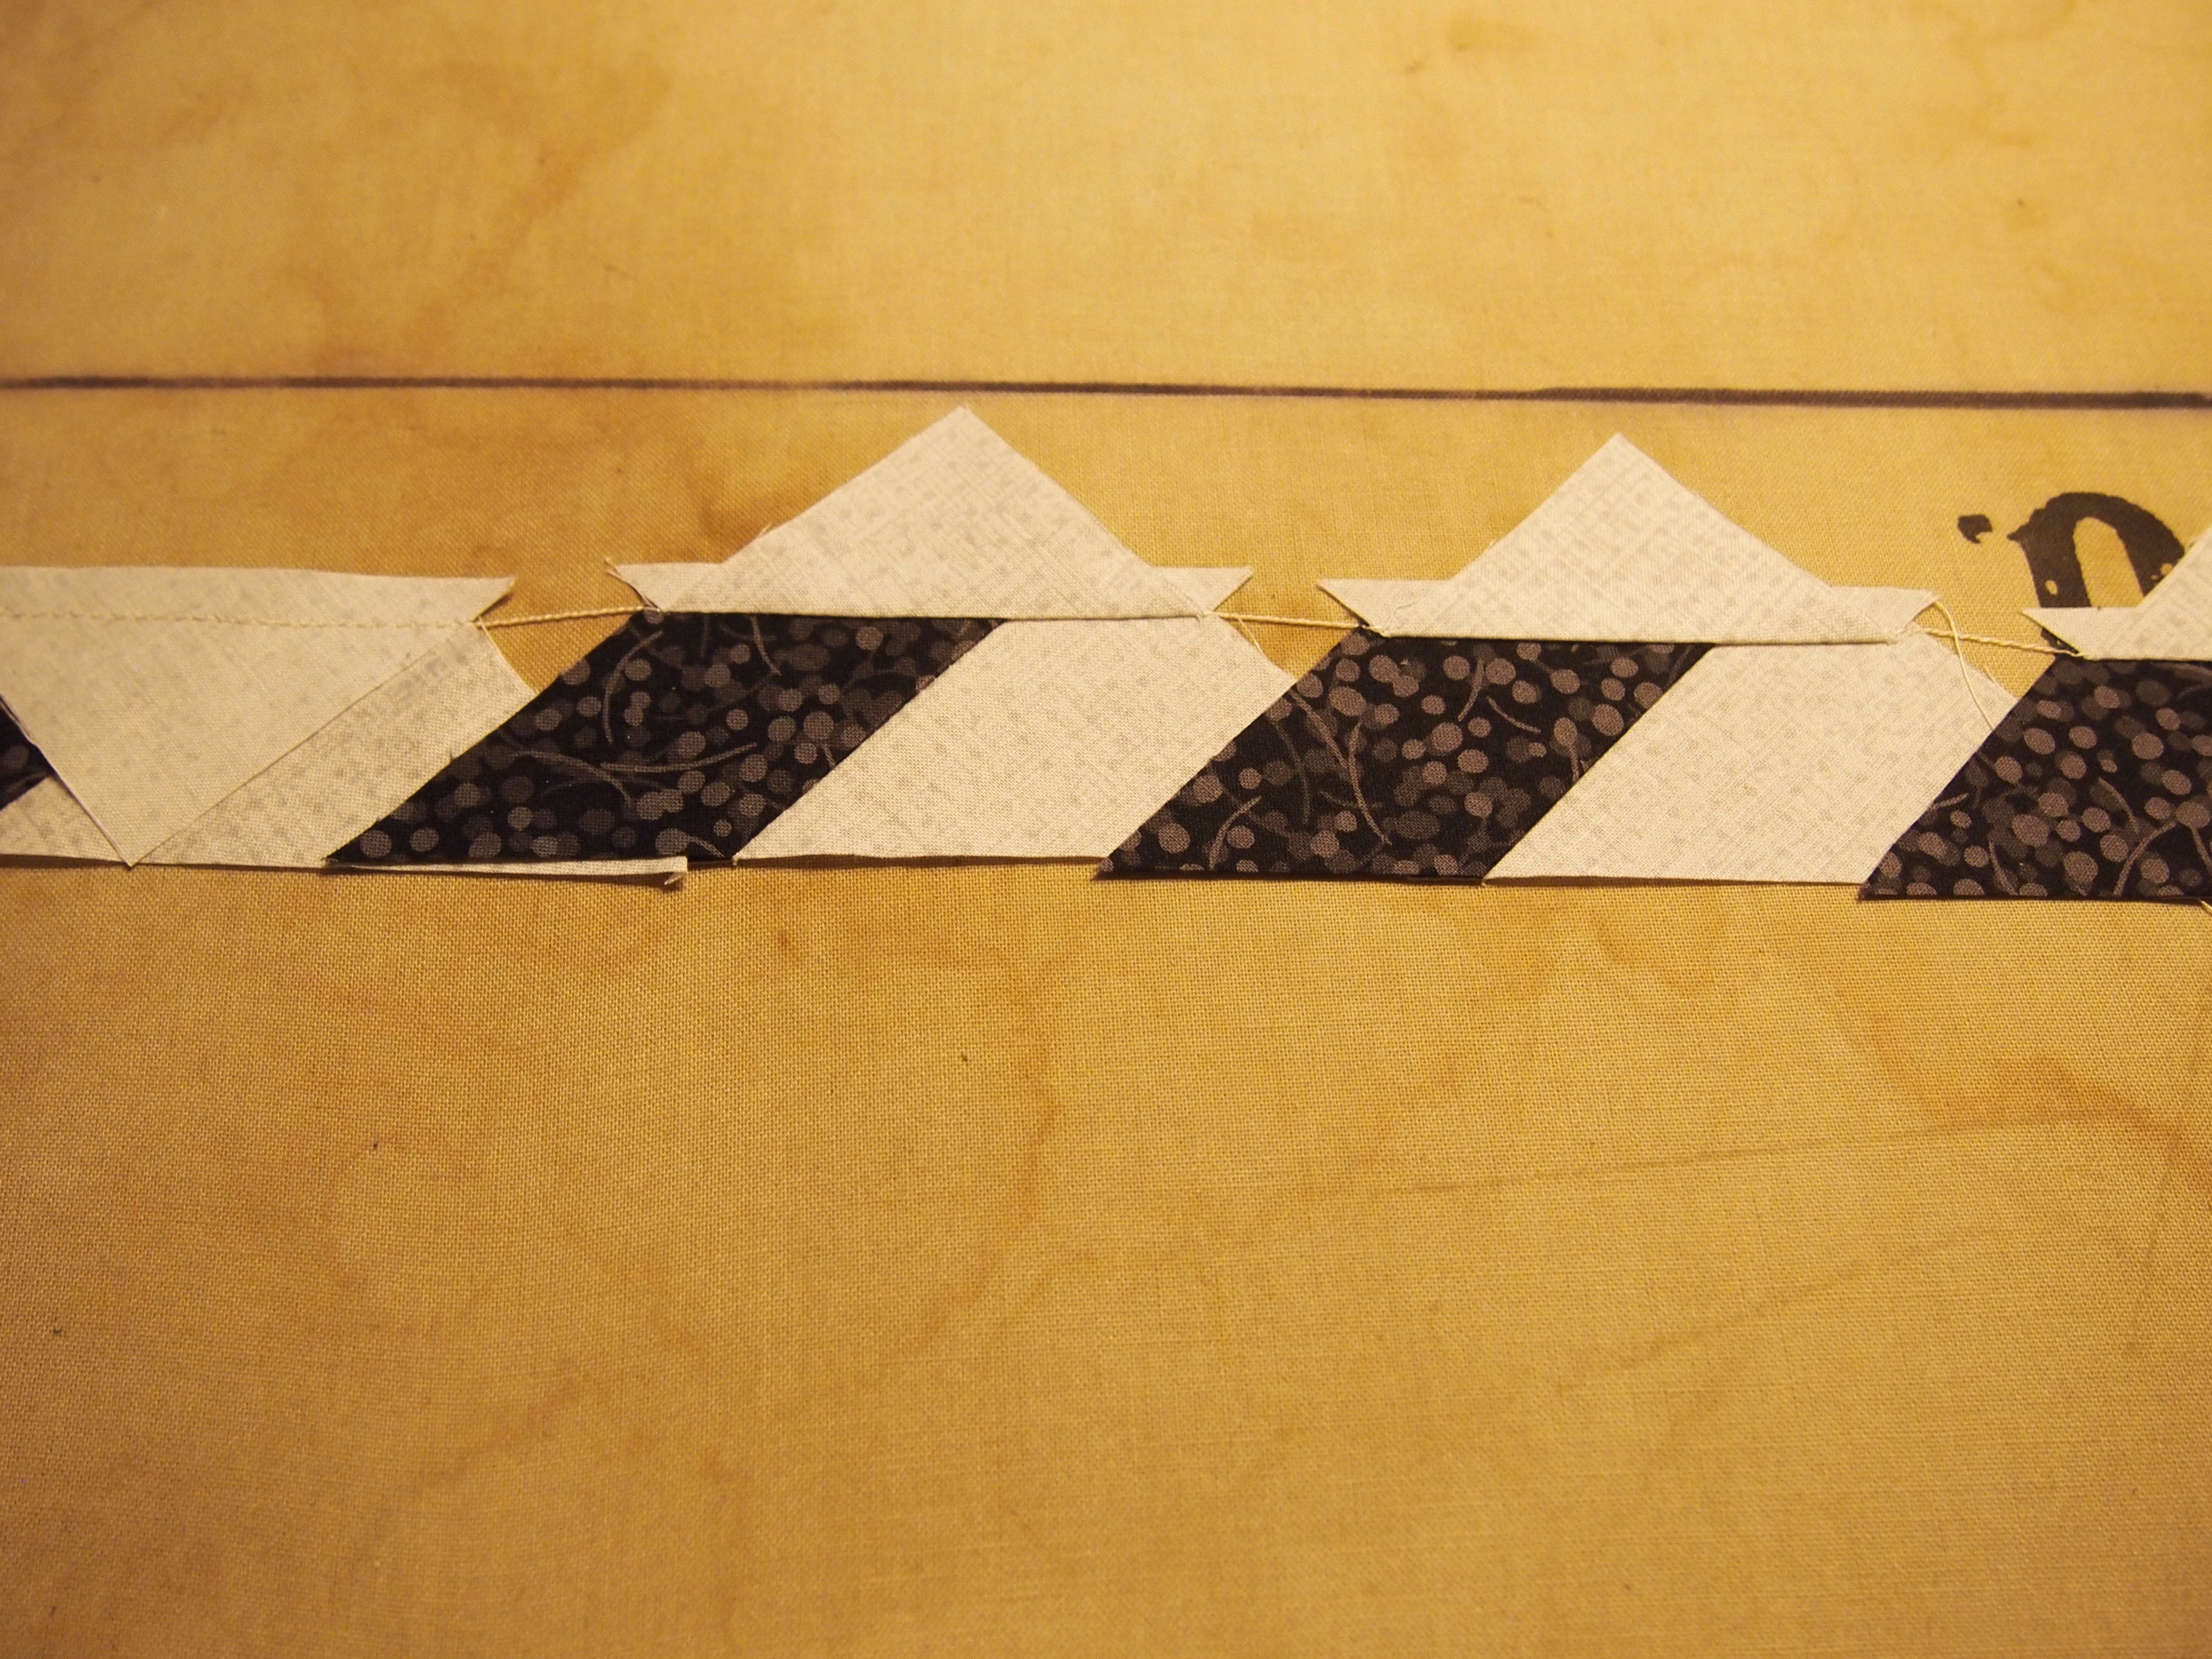
This is where we sew on the side triangles.
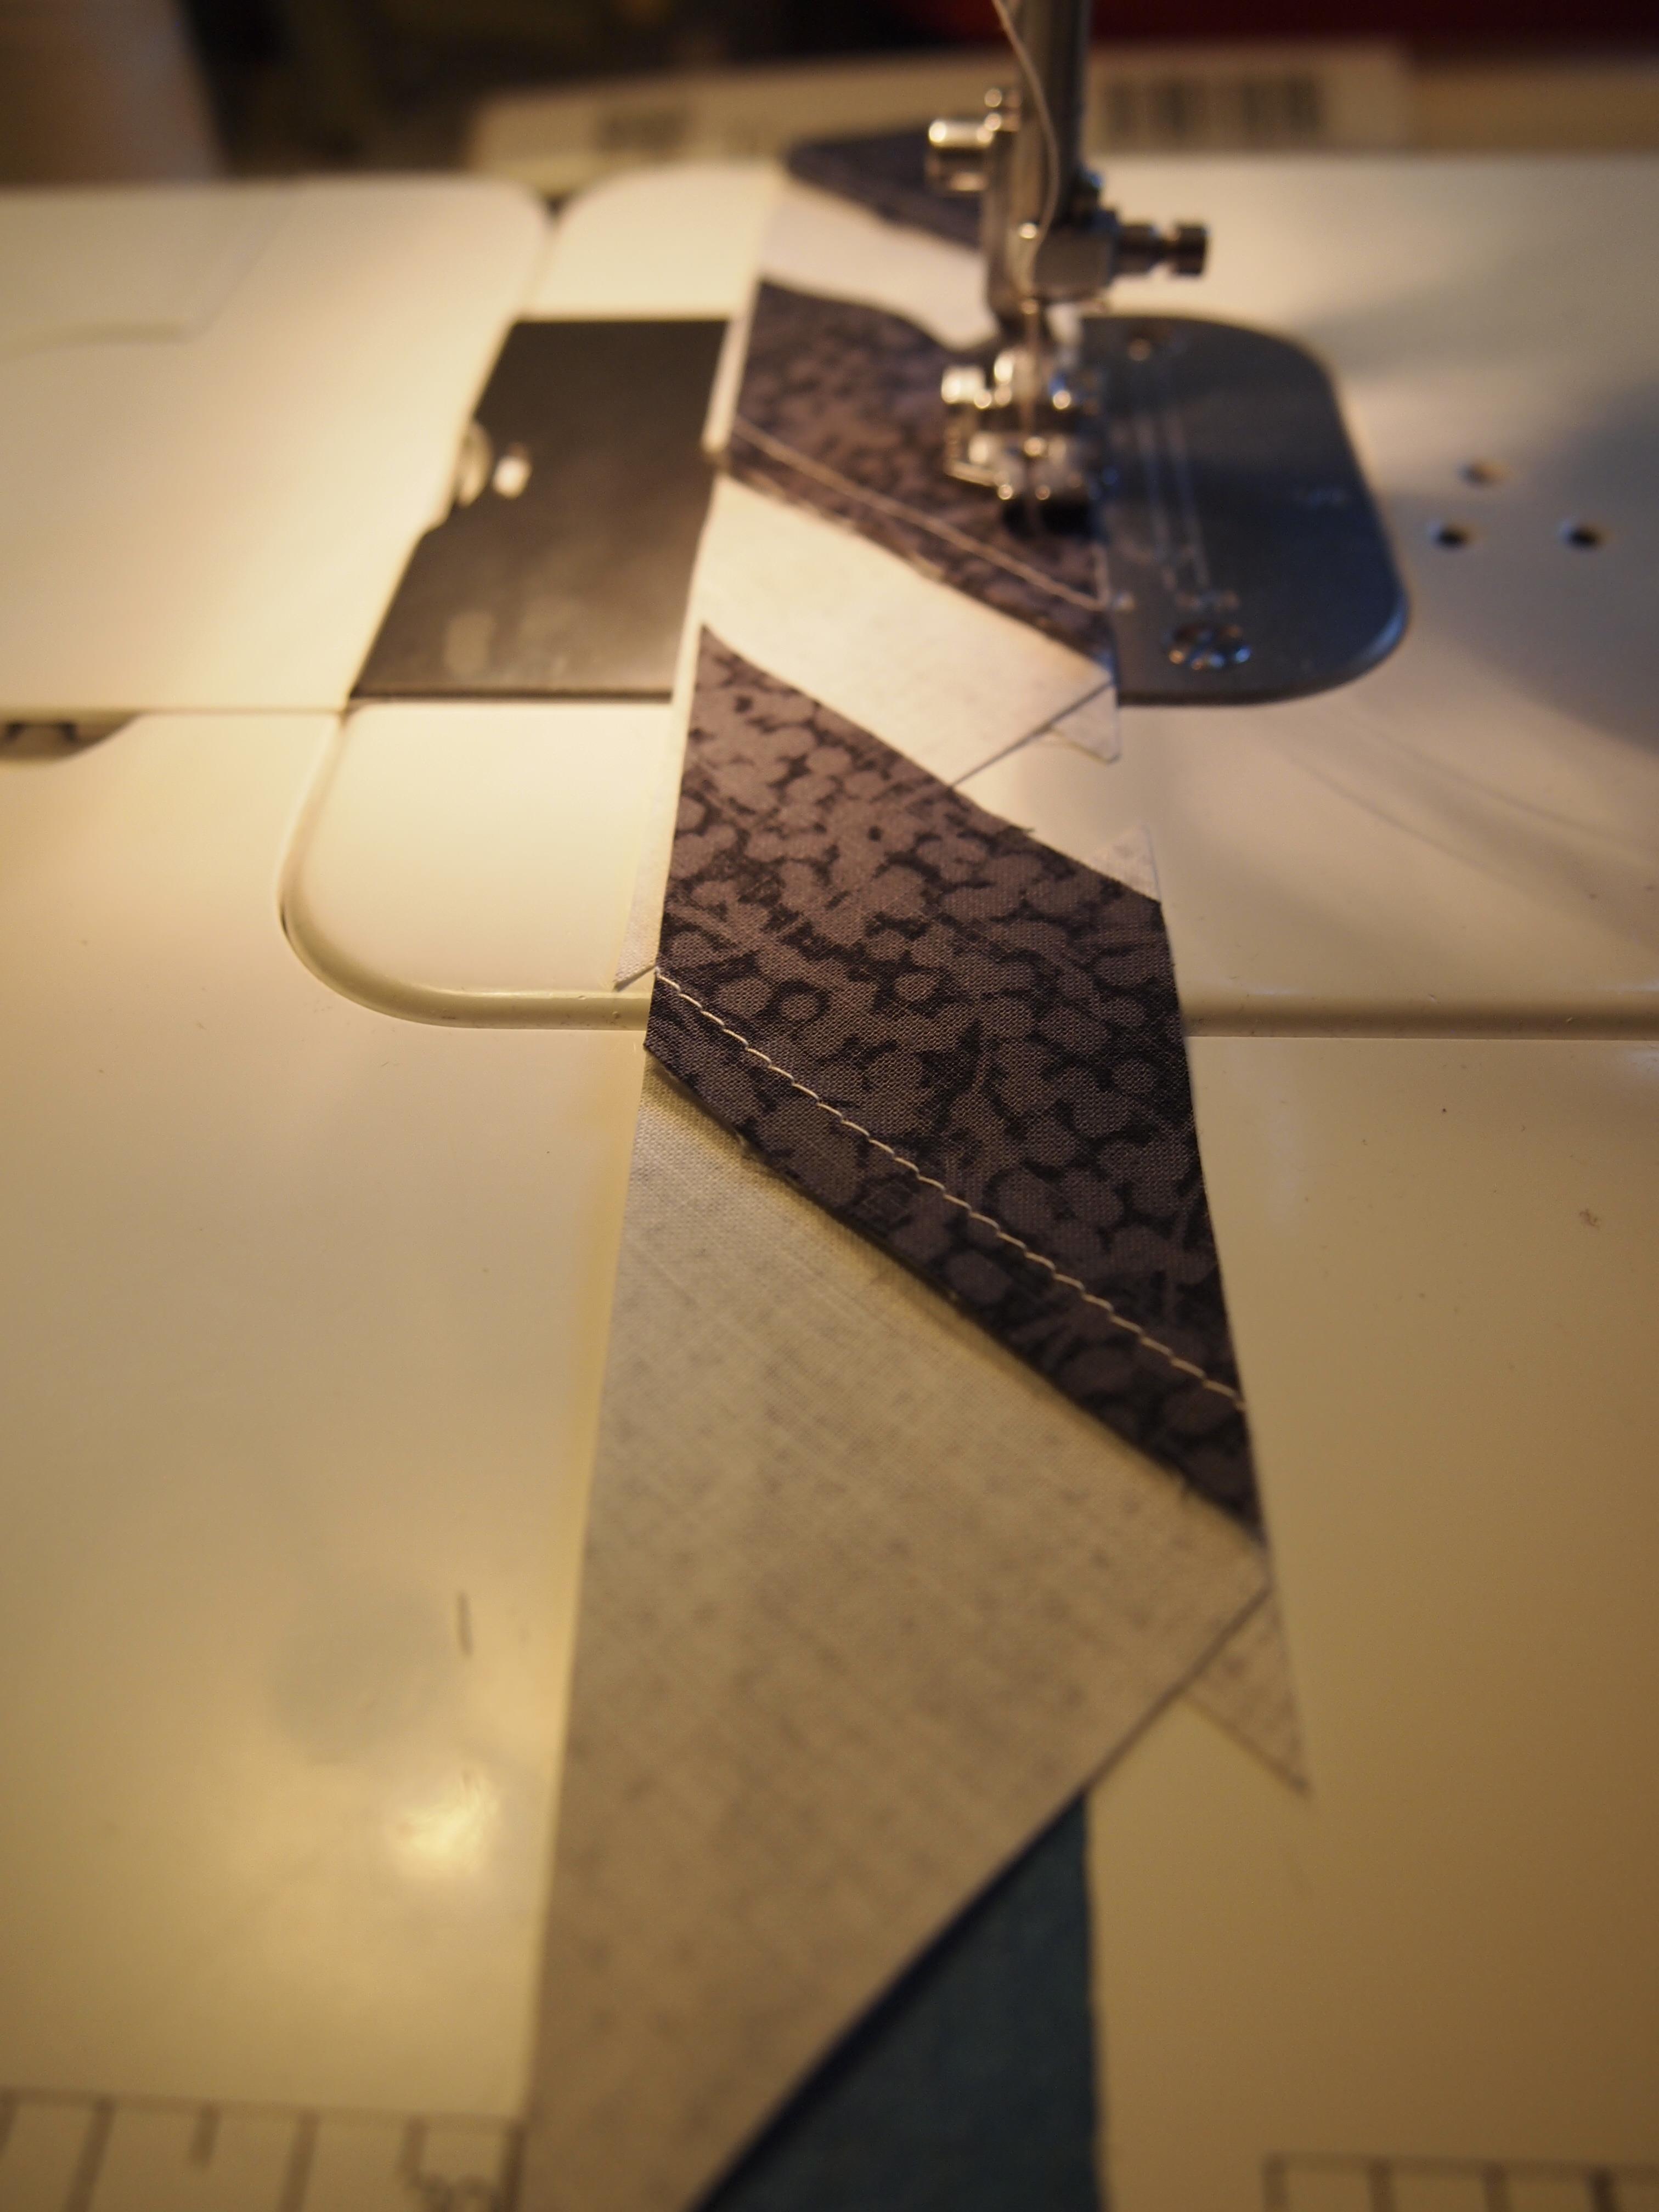
The best way to accomplish this is to take the “A” units and strip piece the side triangles one after the other.
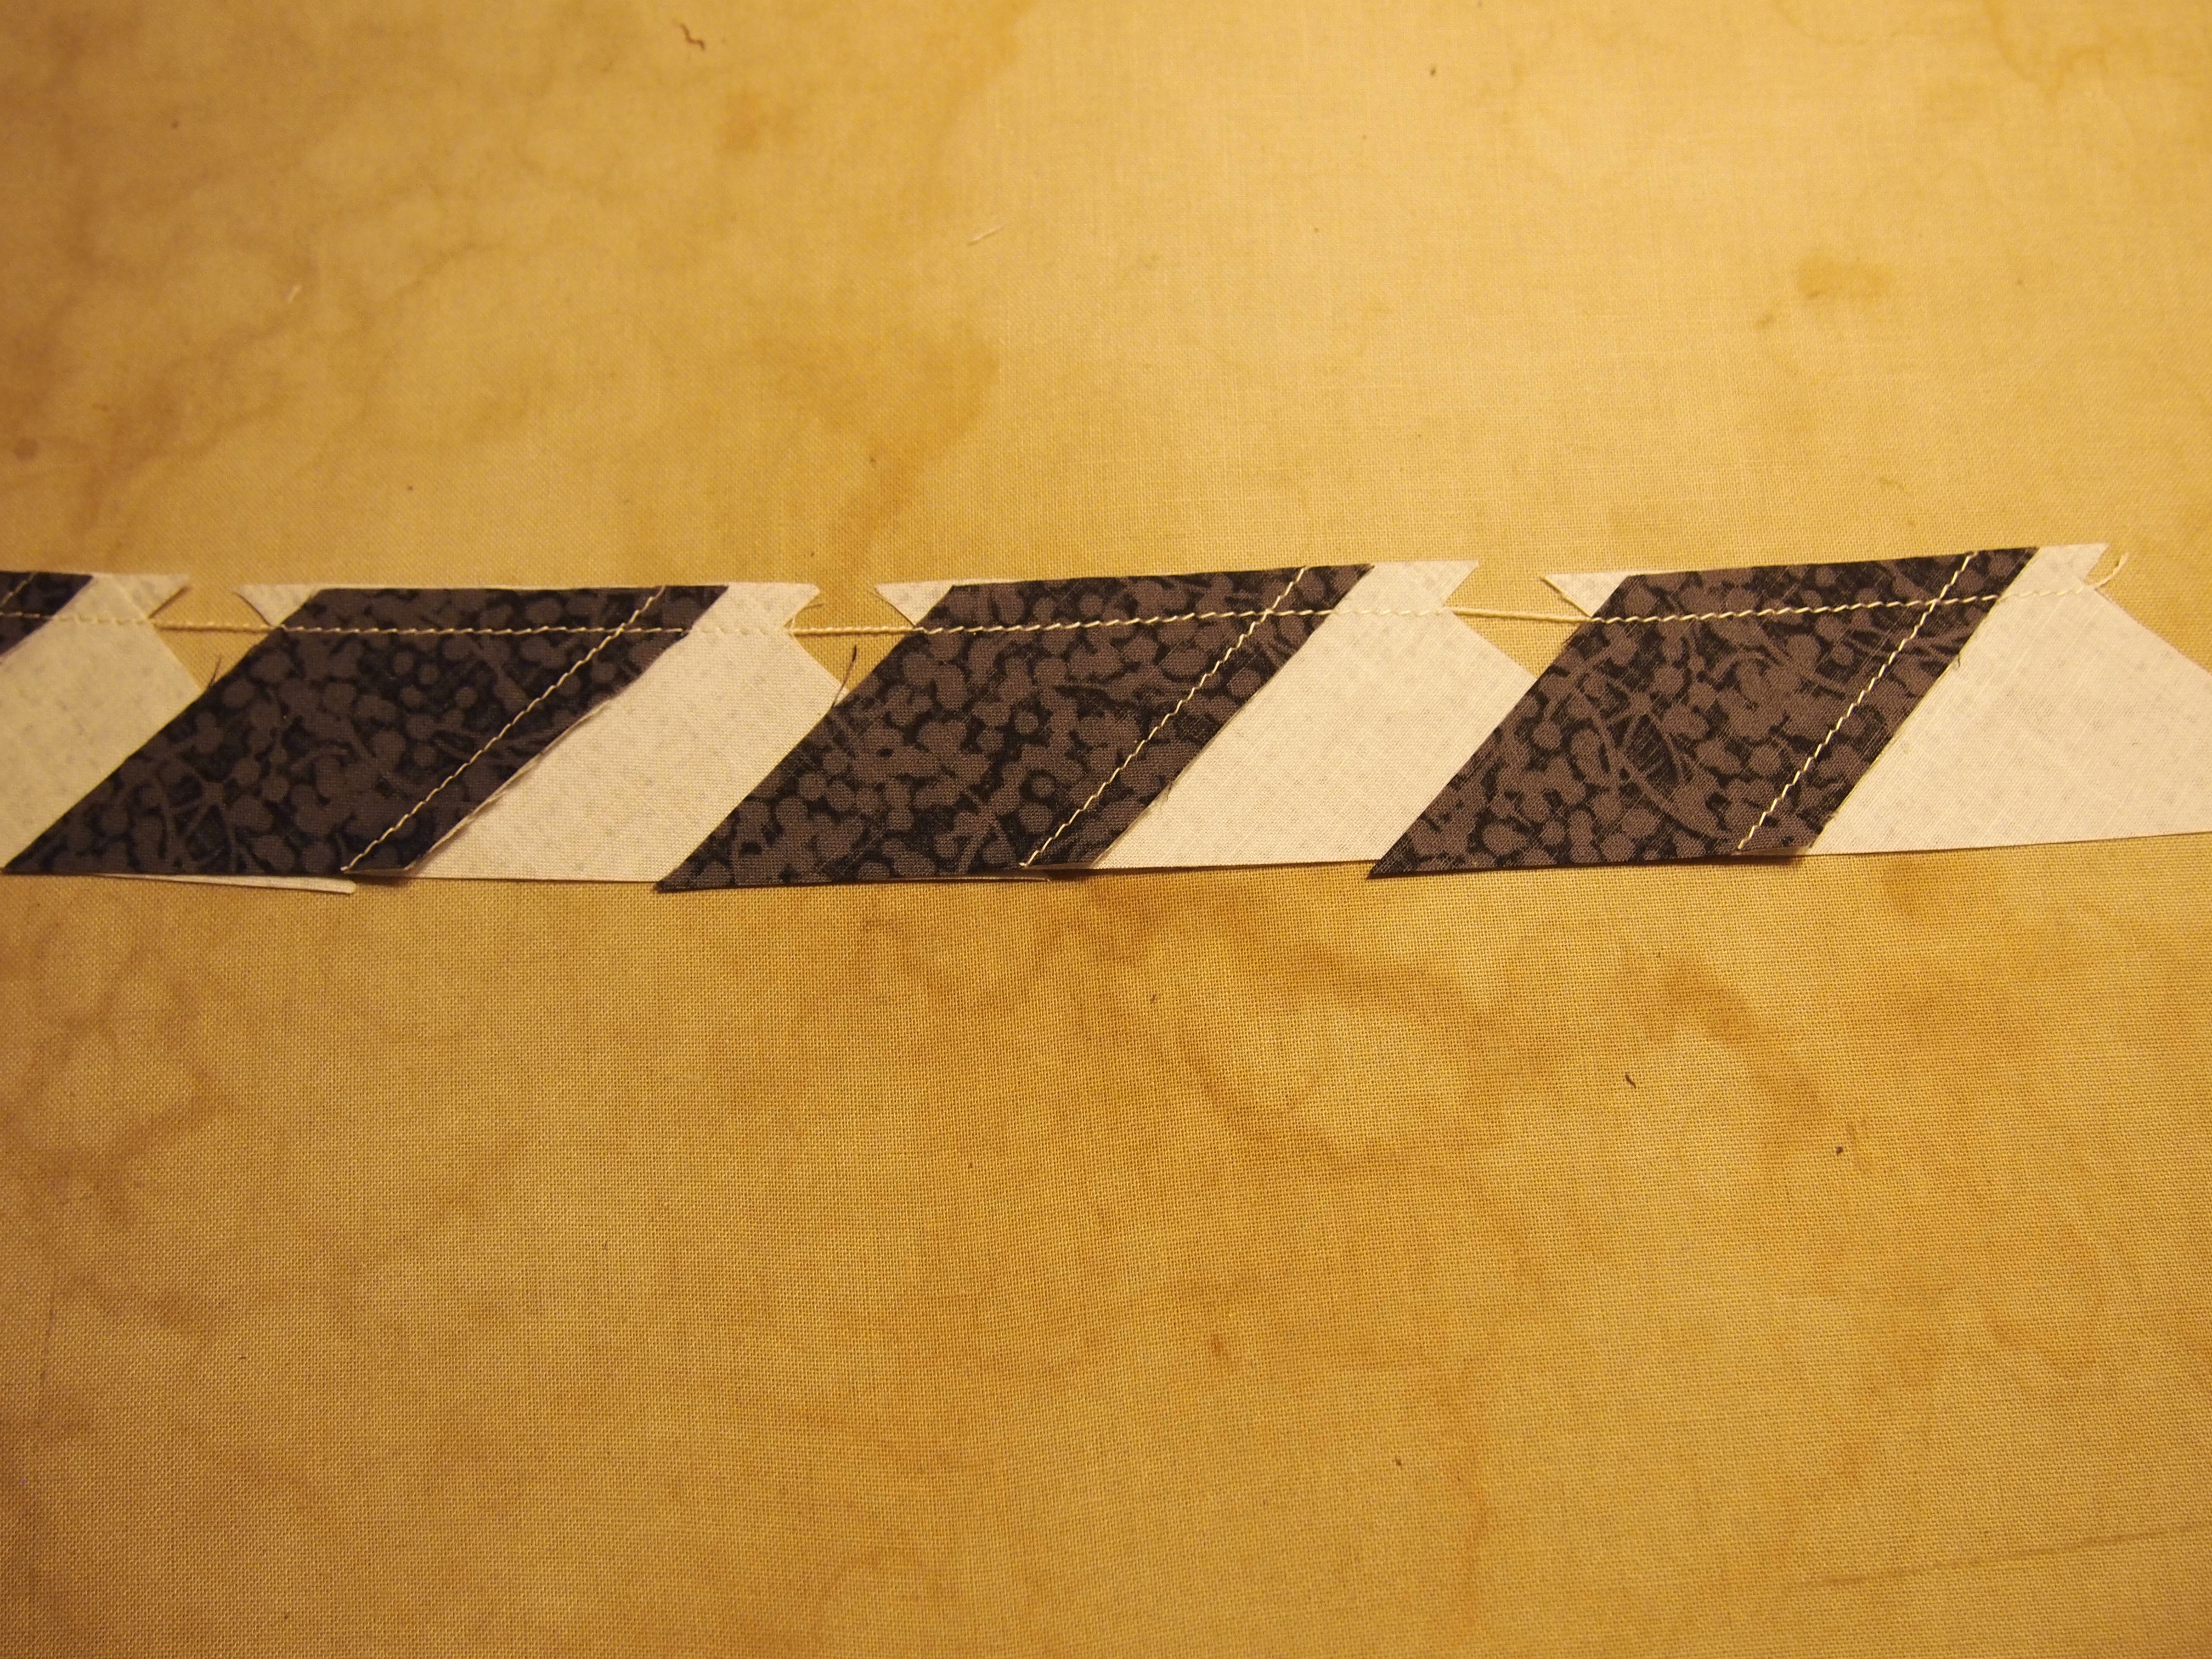
When you are done take the strip pieced units to the ironing board. (I know mine needs to be washed). When pressing, “what you are pressing toward always goes on top”! So, for the “A” units I placed the star point side on top, and set the seams.

Then begin to flip back and press. By strip piecing and taking all the units to the iron you avoid the confusion of what way to press the seams.
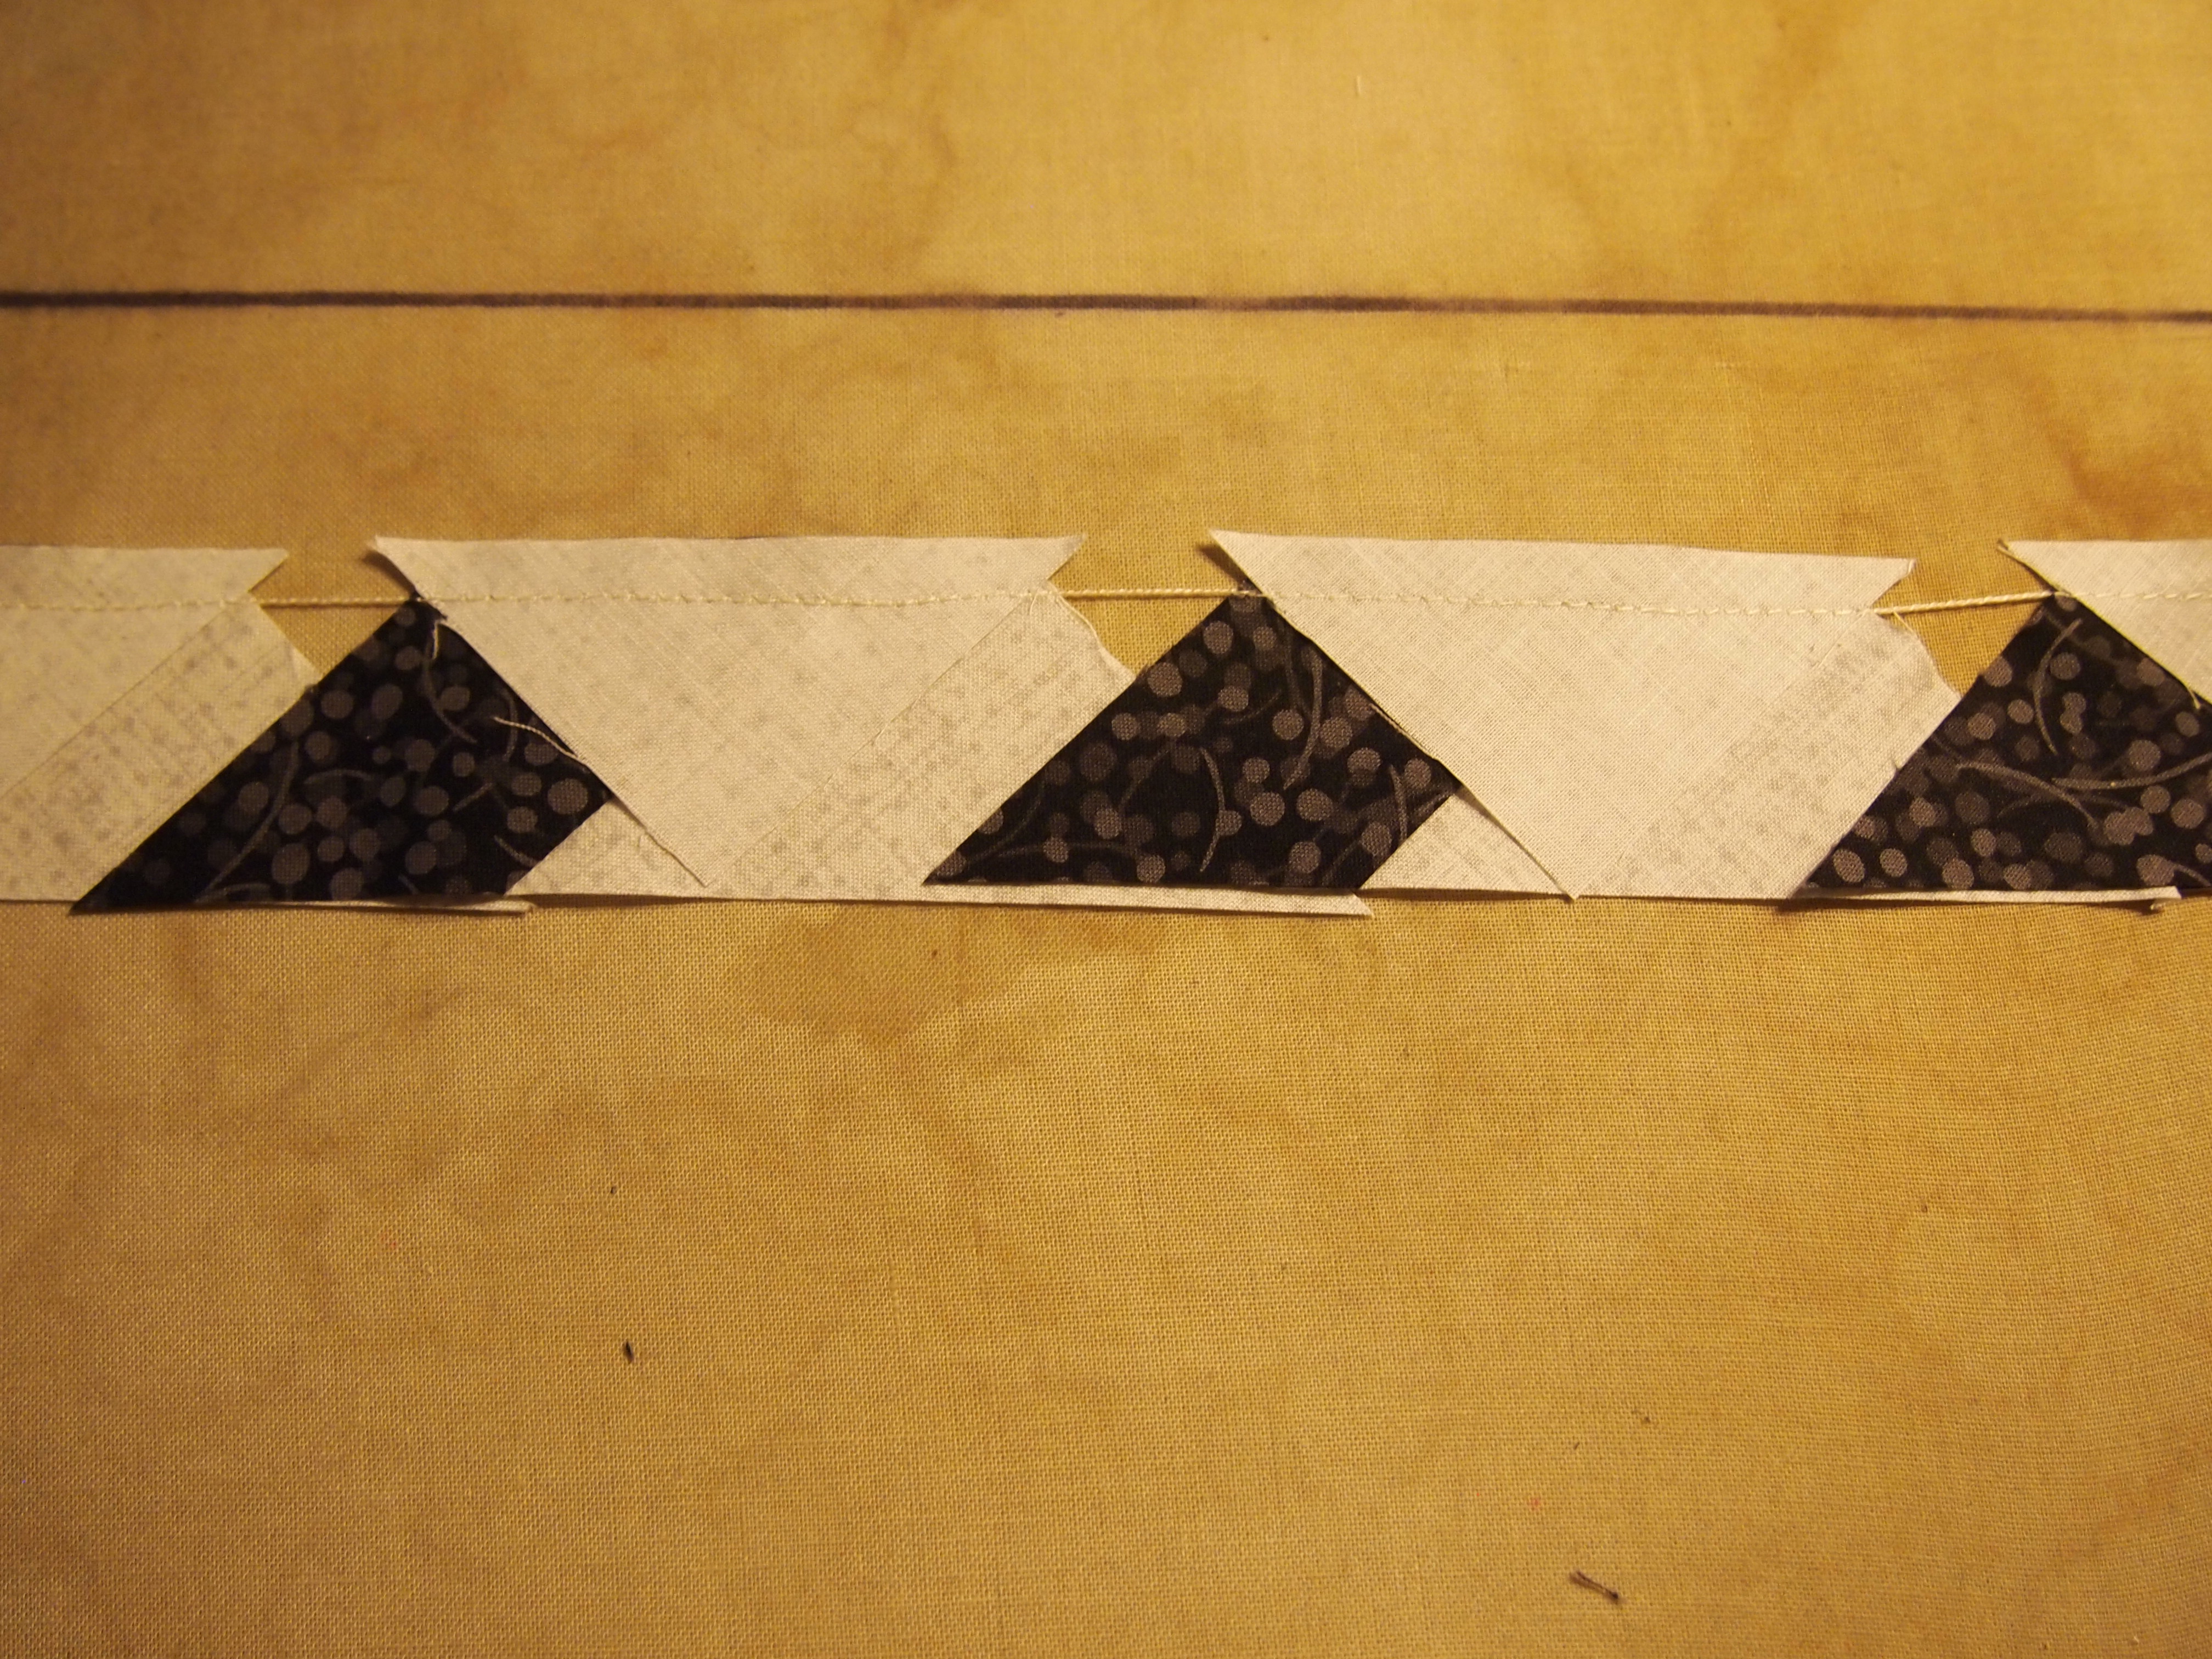
Take the “B” units to the ironing board and set the seams.
For the “B” units we are press toward the side triangle so that goes on top.
We are now ready to trim the units to size.
Quilting is a Pressing Matter
Leave a reply
