Chevron Quilt – More fun with Half Square Triangles

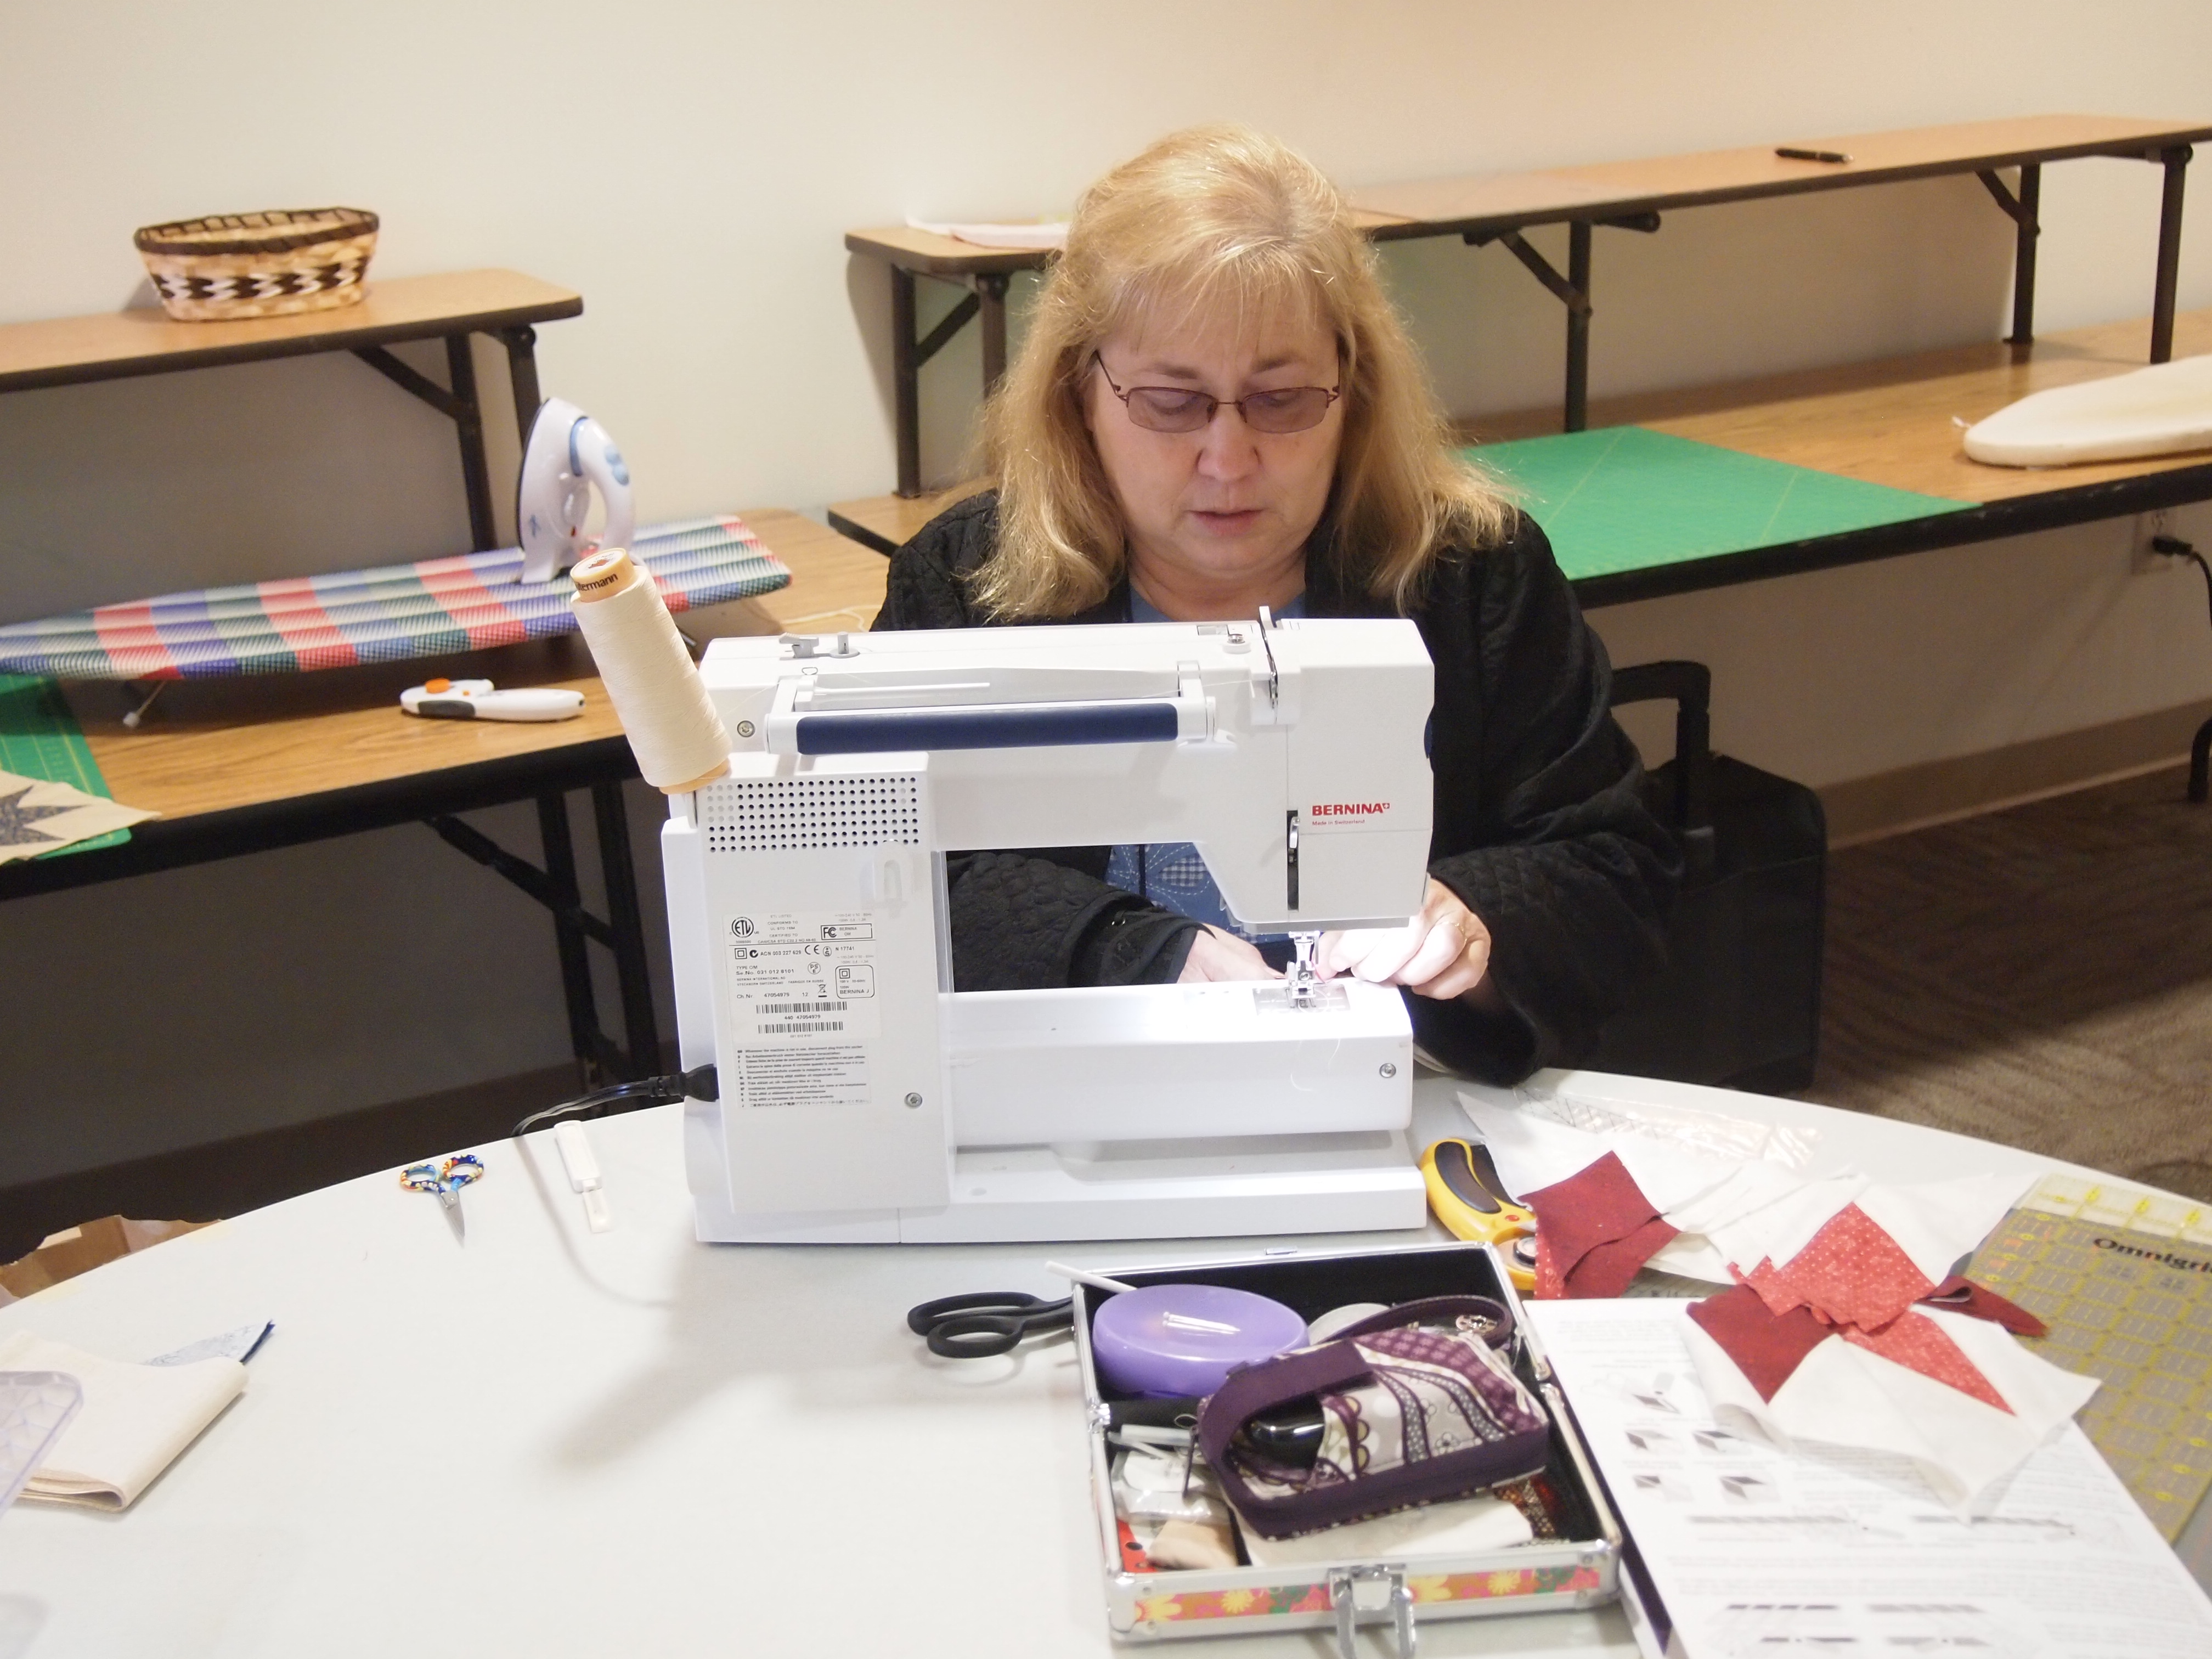
After having fun making the Big Square Quilt with Layer Cakes I wanted to make a Chevron quilt with Layer Cakes or 10″ squares. It looks even better with all blues and whites or reds and whites, but I was working with what I had in my stash. My goal was to provide a decent lesson plan for a beginner quilter. As with the Big Star Quilt, the Chevron quilt can also be made with charm squares.

Chevron Quilt
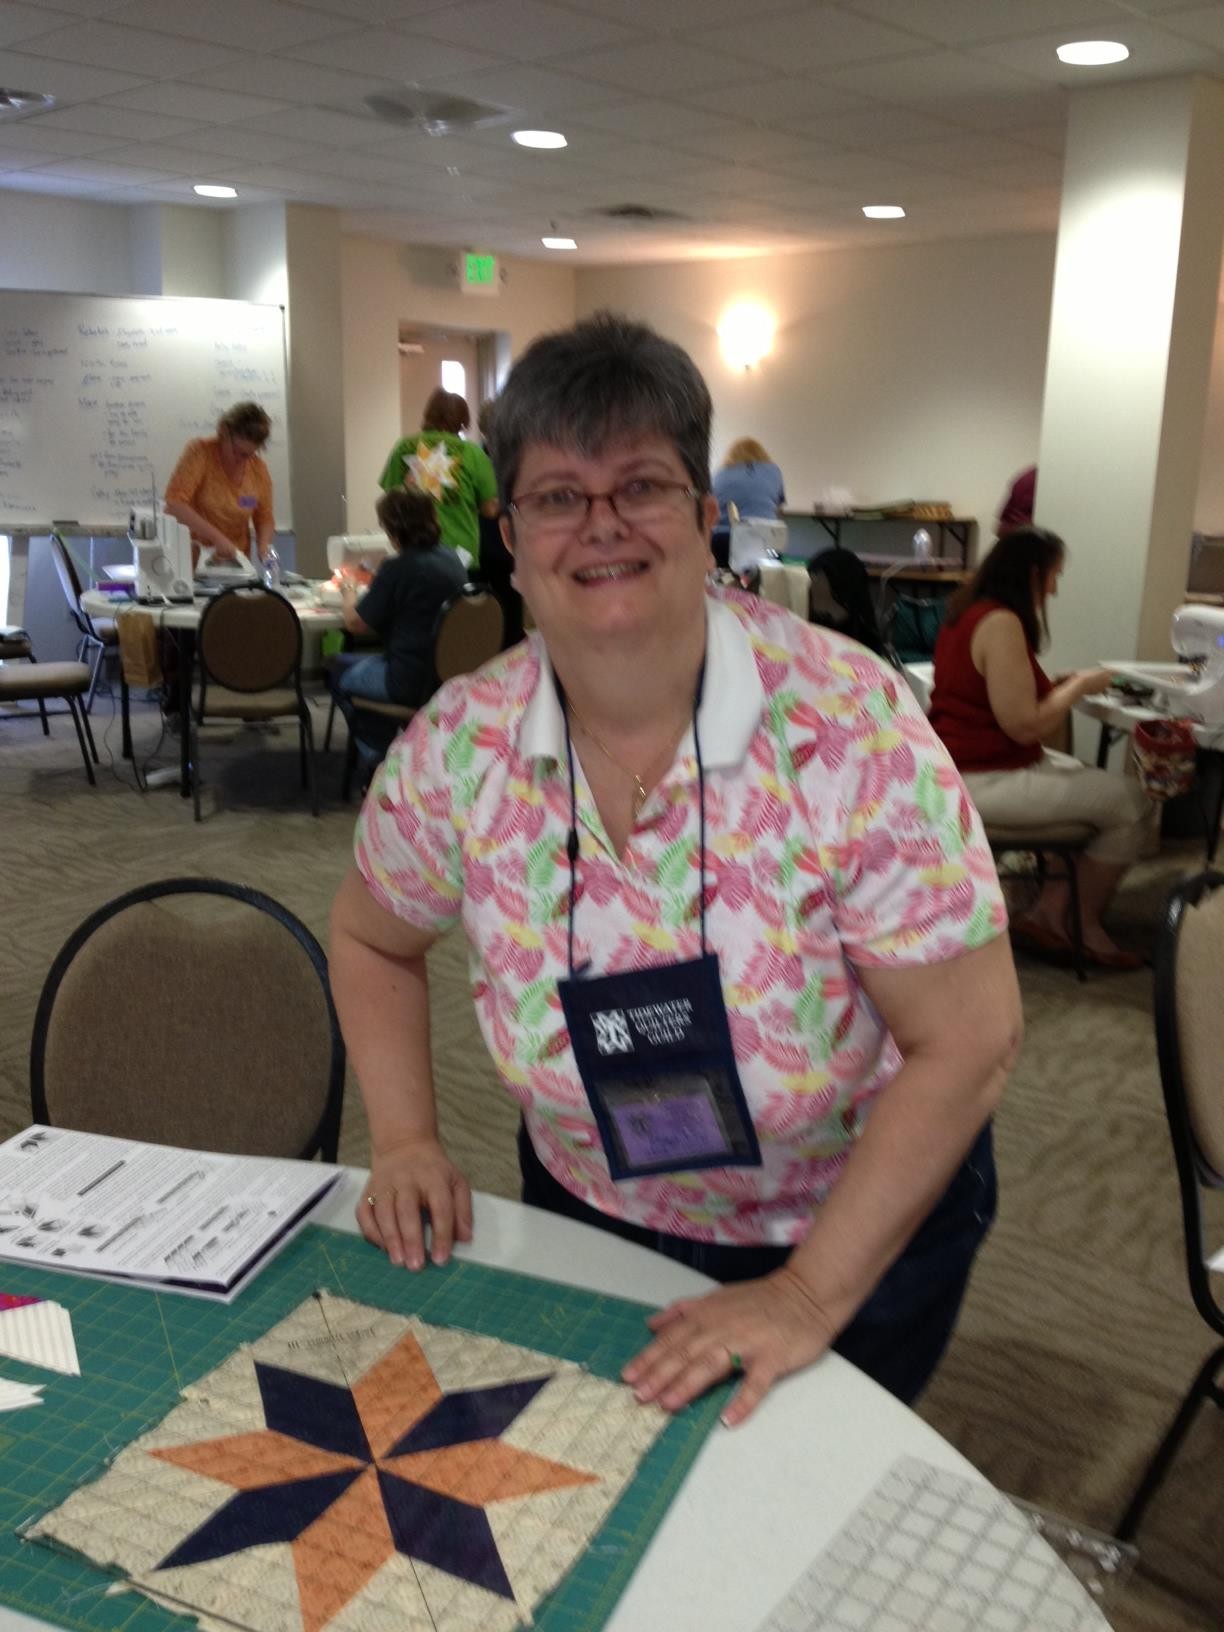
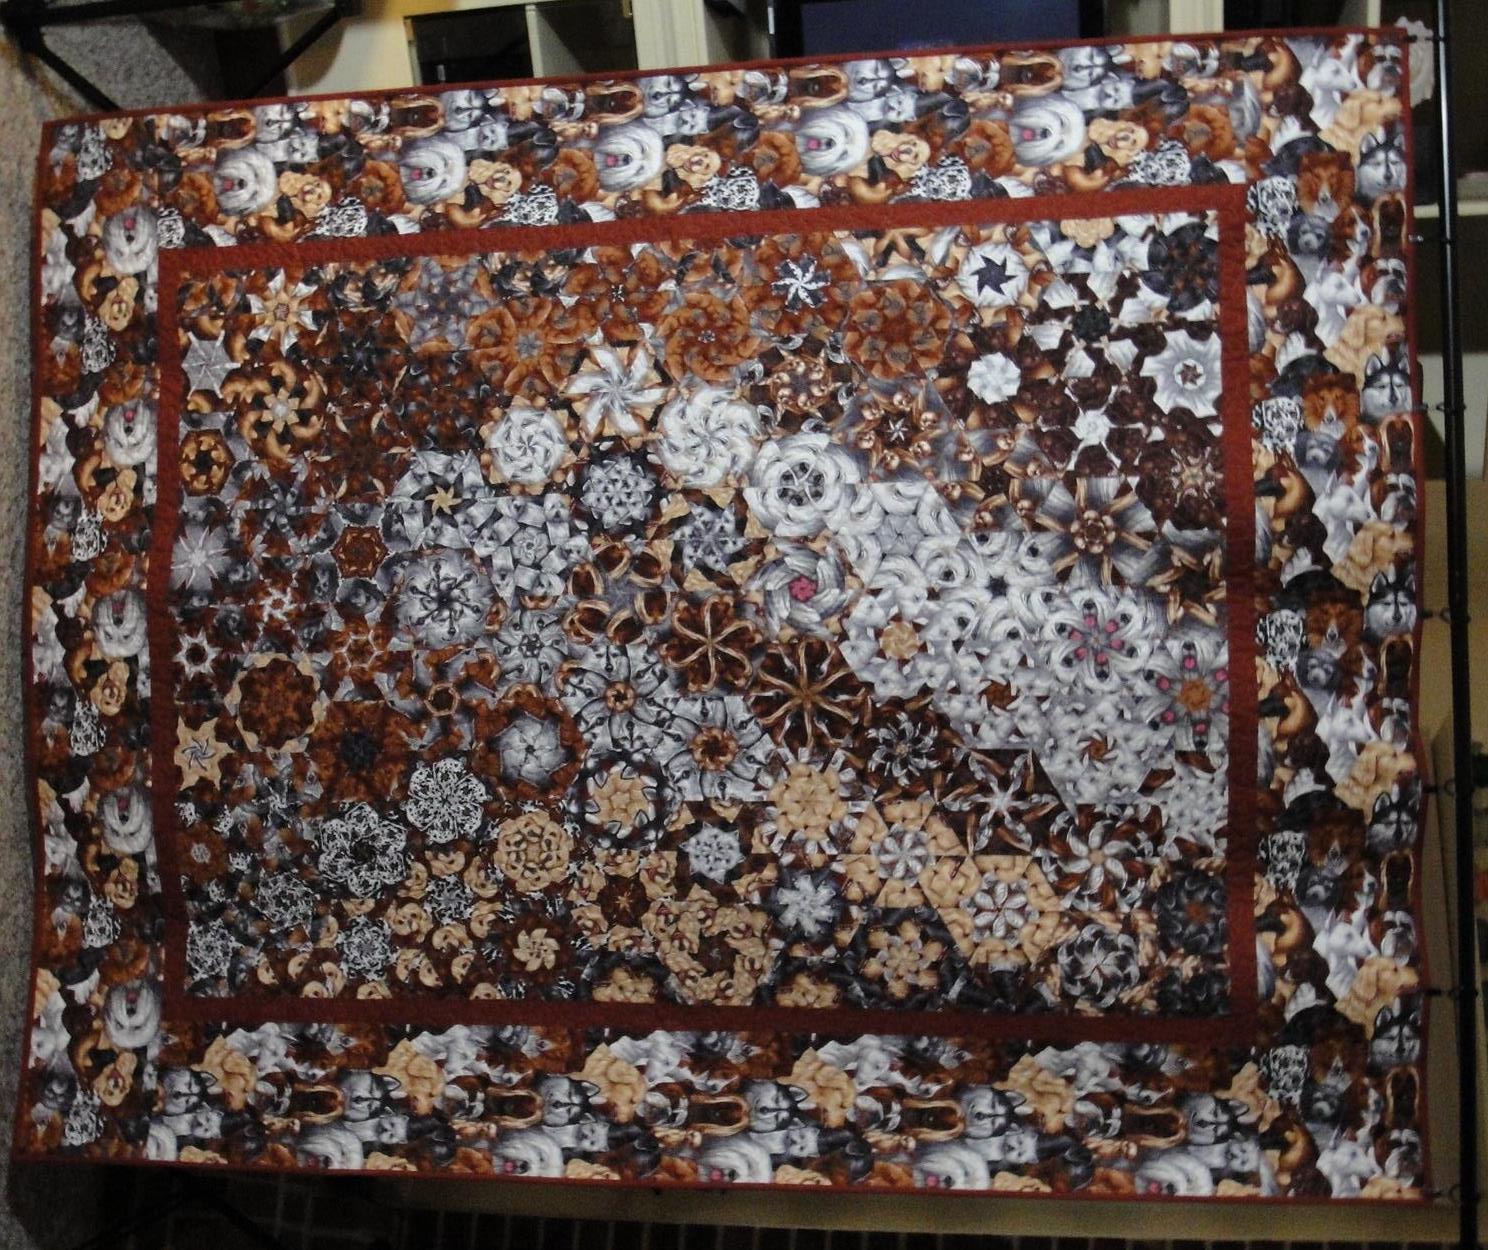
Everytime I look at this quilt it reminds me of the poem about the “Crooked Little Man” (see the label at the end).

OLYMPUS DIGITAL CAMERA
I cut 30 solid color 10” squares to pair with my 30 printed layer cakes.

OLYMPUS DIGITAL CAMERA
With right sides together sew ¼” seam around all 4 sides of your layer cakes.

OLYMPUS DIGITAL CAMERA
First Cut diagonally

OLYMPUS DIGITAL CAMERA
Second Cut diagonally

OLYMPUS DIGITAL CAMERA
You now have 4 half square triangles. Press open toward the dark fabric

OLYMPUS DIGITAL CAMERA
Square up your blocks to 6.5” I love my Tucker Trimmer I for squaring up. Note: I found that my layer cakes were not always square nor a consistent 10” square. So, I felt it was well worth the time it took to square up these blocks. It made the top go together nicely.

OLYMPUS DIGITAL CAMERA
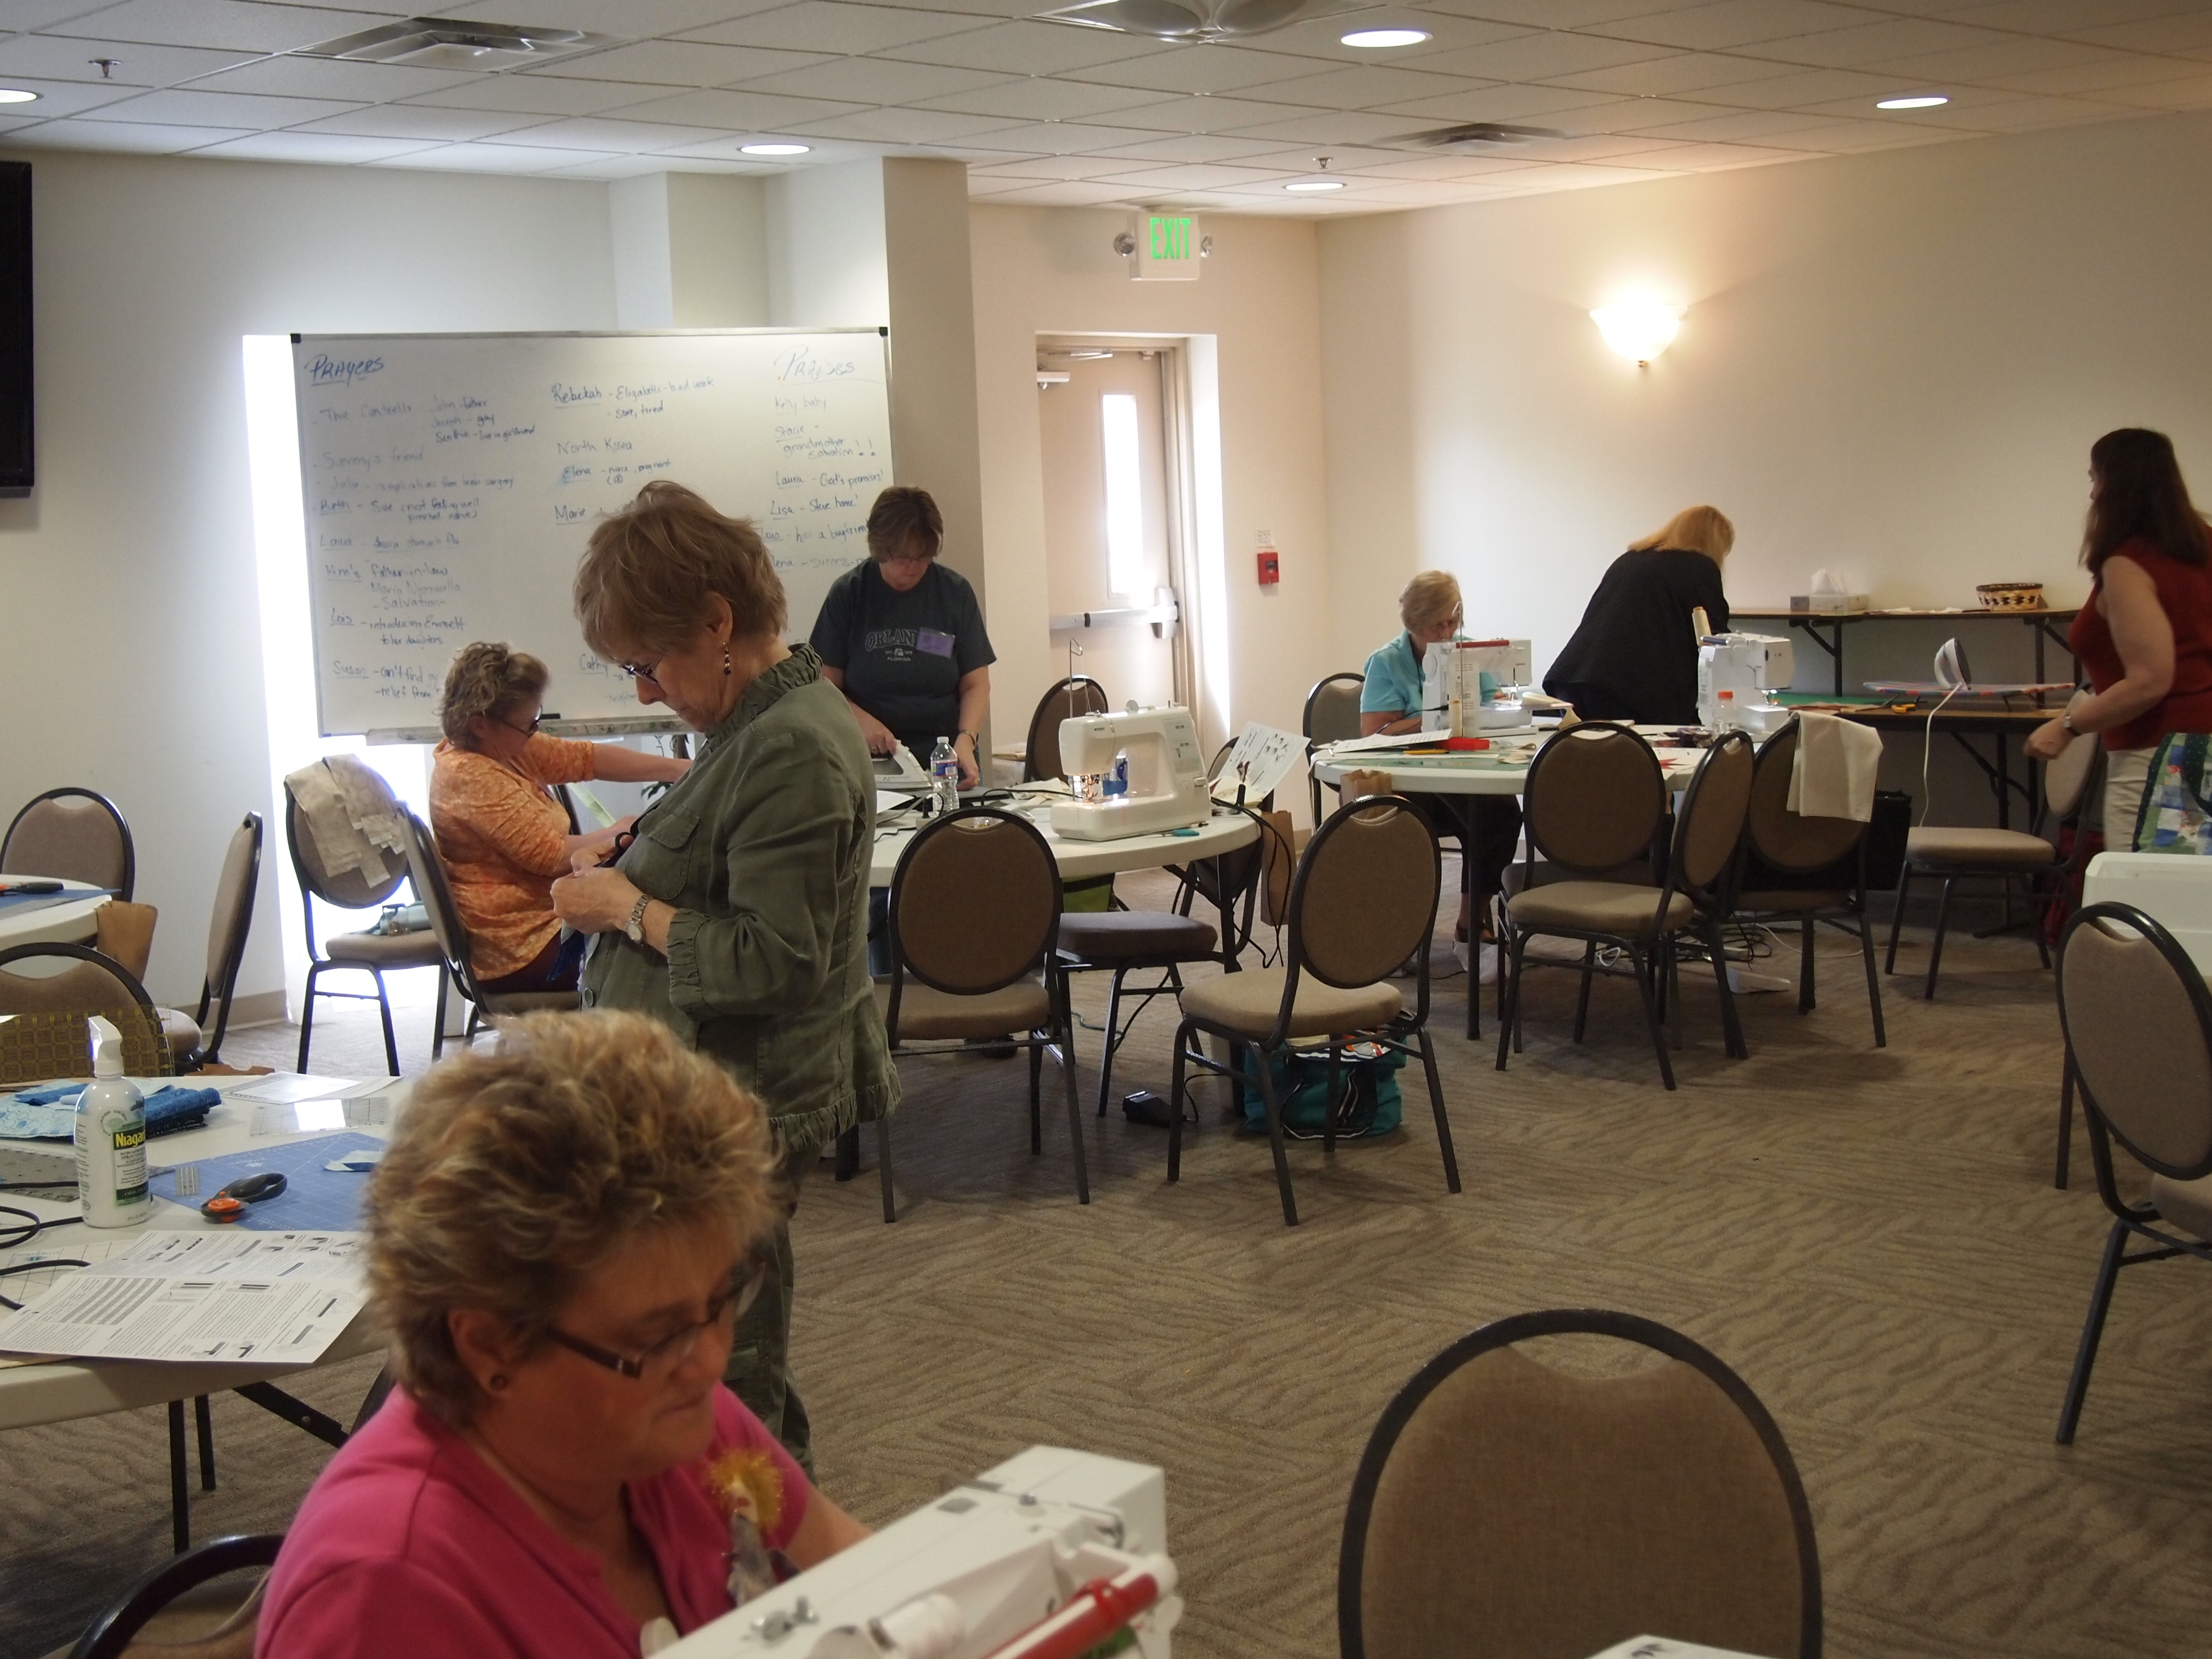
Time to go to the design wall. When laying out your blocks remember to match solid to solid and print to print. I initially had 42 Layer cakes and 42 solid 10” squares. Which meant I had 168 – 6.5” half square triangles (HST) for a 12 by 14 layout. I could not fit them all on my design wall, so I decided to make mine 10 across and 12 down. When the HST were sewn together it measured 62” by 74” before the borders were added.

OLYMPUS DIGITAL CAMERA
Once you get it all laid out, number your rows with row 1 on the left side, so when you join your rows the top gets bigger moving out from the inside of your sewing machine.

OLYMPUS DIGITAL CAMERA

OLYMPUS DIGITAL CAMERA

OLYMPUS DIGITAL CAMERA
Sew your blocks into rows using a ¼” seam allowance. I alternate direction when pressing the seam of the sewn blocks. Row 1 I pressed going down. Row 2 I pressed going up so that when I joined the rows the seams nest nicely. I chose 2.5 strips for my inner border. I like to rip one piece outer borders. So I added 10” wide outer borders. You can always change it up for your quilt, making your borders larger or smaller.

OLYMPUS DIGITAL CAMERA

Rapid Fire Lemoyne Star – Quick & Dirty

I am a self-proclaimed Deb Tucker Groupie! I love the Rapid Fire Lemoyne Star Ruler – NO “Y” SEAMS. This post is not meant to replace Deb Tuckers instructions. It is meant to encourage you try her ruler. The instructions that come with the ruler are very detailed and easy to follow, and also include instructions for Left handed people. You can purchase Deb Tucker products from their web page at
http://www.studio180design.net

Each block requires two background strips and two star point strips. I cut two background strips the width of fabric and mark one “A” and One “B” at the top.
Lemoyne star Cuts

Cut two star point strips. Place a star strip on Strip “A” right sides together down the same distance as the background strip is wide. Do the same with Strip “B” as shown below. Sew both with 1/4″ seam allowance. Notice you are sewing strip “A” on the right side and strip “B” on the left side of the strip.
OLYMPUS DIGITAL CAMERA

OLYMPUS DIGITAL CAMERA

Press star strip “A” toward the background strip. Press star strip “B” toward the star strip.
OLYMPUS DIGITAL CAMERA

Place strip “A” & “B” right sides together with strip “B” on the bottom, nesting the long seams.
OLYMPUS DIGITAL CAMERA

Line the Rapid Fire Lemoyne Star Ruler edge along the stitching line and bumping another ruler against the angled edge. This will give you your 45 degree angle. Cut off the staggered end and discard.
OLYMPUS DIGITAL CAMERA

Continue making cuts the same width as your Star Point Strips. In this picture my star point strips are 3 1/4″ wide, so I continue to cut 3 1/4″ wide units.
OLYMPUS DIGITAL CAMERA

Continue to cut your units.
OLYMPUS DIGITAL CAMERA

Second cuts. Position the ruler edge at the tip of the star strip and trim straight up.
OLYMPUS DIGITAL CAMERA

OLYMPUS DIGITAL CAMERA

This shows the parts placement to 1/4 quarter of your block. With right side together center the triangle you just cut off on the side of the unit and sew together.
OLYMPUS DIGITAL CAMERA

Place the two units in front of you with the star points facing toward you. “A” is on the right and “B” is on the left. Press “A” toward the star point and press “B” toward the background.
OLYMPUS DIGITAL CAMERA

Place the unit right side up pointing the diamond toward 2:00 (for ease in cutting both directions). As you can see in this picture I did not position it correctly. Align the desired block size lines with the sewn seam lines. Trim along both sides of the ruler.
OLYMPUS DIGITAL CAMERA

Place two units together nesting the seam and starting at the star point and sew together.
OLYMPUS DIGITAL CAMERA

Press seam open.
OLYMPUS DIGITAL CAMERA

Join the quarters together and sew, then sew the halfs together. Press seams open.
OLYMPUS DIGITAL CAMERA

Square up using the Tucker Trimmer III
OLYMPUS DIGITAL CAMERA

Lemoyne Star Class at TQG Spring Fling

I just got home from teaching a Rapid Fire Lemoyne Star class at my local quilt guild; the Tidewater Quilters Guild in Virginia. Every year we host a Spring Fling by the guild members for the guild members. It is an all day celebration of classes, food and prizes. We had a blast. I taught the Rapid Fire Lemoyne Star to 17 lovely ladies and 1 brave gentleman. I wore a shirt I made incorporating strips that would be used to make a Lemoyne Star on the front and embroidered directions above each strip: “Strip A, press toward the background, Strip B, press toward the star point. I had a finished lemoyne star on the back. It was a really fun day, with great students who learned a new technique.

TQG Spring Fling

02 Jackie front 2

03 Jackie Back 2

OLYMPUS DIGITAL CAMERA

OLYMPUS DIGITAL CAMERA

OLYMPUS DIGITAL CAMERA

OLYMPUS DIGITAL CAMERA

OLYMPUS DIGITAL CAMERA

OLYMPUS DIGITAL CAMERA

OLYMPUS DIGITAL CAMERA

OLYMPUS DIGITAL CAMERA

OLYMPUS DIGITAL CAMERA

OLYMPUS DIGITAL CAMERA

OLYMPUS DIGITAL CAMERA

OLYMPUS DIGITAL CAMERA

OLYMPUS DIGITAL CAMERA

OLYMPUS DIGITAL CAMERA

OLYMPUS DIGITAL CAMERA

OLYMPUS DIGITAL CAMERA

OLYMPUS DIGITAL CAMERA

OLYMPUS DIGITAL CAMERA

OLYMPUS DIGITAL CAMERA

OLYMPUS DIGITAL CAMERA

Sheryl Sugg 2

Sheryl Sugg 3

OLYMPUS DIGITAL CAMERA

Big Star Block, Part 2

Big Star Block is right – these layer cakes are on steroids! This is a big quilt. But it is an easy quilt. I think it is a good quilt for beginning quilters who want to make a large quilt. These blocks are 24″ x 24″ finished. I was just making a class sample, I should have made fewer blocks. Oh well, too late now. I have put together a lesson plan, I hop it makes sense.

Big Star Quilt Lesson

OLYMPUS DIGITAL CAMERA

Its All About the Shoes

Big Star Block

I was on YouTube looking at quilting tutorials and I saw one being demonstrated by “The Missouri Quilt Company called the Big Star Quilt. I thought it would be a great quilt for beginners to expand their skills. The block is 24″ finished and is made from Layer cakes or 10″ squares. So, I went to my stash. I don’t have a lot of layer cakes so I decided to use some of my Wizard of Oz stash (I only have about 6 tubs of Wizard of Oz fabric stashed away)!

I love their method for half square triangles. Place two layer cakes right side together and sew a 1/4 inch seam around all 4 sides of the square. Then cut diagonally, twice. You now have 4 half square triangles. I am in the process of making a lesson plan for this quilt. I’m making twelve – 24″ blocks with sashing. This quilt will measure about 94″ x 120”. Each block requires 6 layer cakes, 2 light, 2 dark and 2 background, plus four 5″ squares for the snowballs. The only part I hate is squaring up the half square triangles. I had 144 half square triangles, it only took an hour and a half. The quilt will be so much happier because I took the time to square up, and of course using the Tucker Trimmer makes it easier. This quilt can be made in miniature also by using charm square packs.

OLYMPUS DIGITAL CAMERA

OLYMPUS DIGITAL CAMERA

Big Star Block

Soho Sunflowers, Number 51

I have just finished my 51st hexagon quilt. This one is being donated to Quilters Dream Batting, Hopes & Dreams Challenge. Hopes & Dreams raises funds for ALS Reasearch (Lou Gerigs disease). 100% of all funds raised by Quilters Dream Batting goes to ALS Research. If you think you, your Bee or local quilt shop would be interested in donating quilts please go to their website http://quiltersdreambatting.com/HD/ALS.htm for all the details.

Soho Sunflowers OBW

OLYMPUS DIGITAL CAMERA

Eeeeek! An Obituary Quilt?

Every time I mention I’m making an Obituary quilt people shiver. I love my family and my family’s history. Finding obituaries is finding a treasure trove of information. I get really excited when I find information that tells me what they and their lives were like. This is how I remember them, how my children and grandchildren will get to know them.

Remember Me! This was truly a labor of love and a learning experience! I have a tendency to jump into projects feet first and figure out the details along the way. My sister and I had collected so many wonderful obituaries that one day I said “I know, I will make them into a quilt”. I started entering the information into my lettering software and began embroidering them. Some took over 3 hours to embroider. Then I had to figure out how to connect them into a cohesive top. I’m not sure if I was successful or not. I just started playing with them on the design wall, measured the negative space and figured out how to join them. The star blocks are Rapid Fire Lemoyne Stars (my favorite). I know it looks a little weird, but I kind of like the randomness of the top. I had real trouble with the borders. The embroidery shrank up the fabric, so I had to rip out what I could and add fabric to try to square it up. I got one end of the top square but not the other. I couldn’t take off the whole border as part of the embroidery went into the seam. I did not want to start over so I just went with it.

These obituaries start in 1900. That’s amazing, 113 years ago!!!

Obituary Quilt Remember Me

OLYMPUS DIGITAL CAMERA

OLYMPUS DIGITAL CAMERA

Spilling the Beans a Little Early

My wonderful daughter-in-law Pam is having a birthday next week. I’m spilling the beans a littler early. I made her this King size quilt to celebrate her birthday, she loves red! It measures 100 inches by 120 inches, phew, that was work! I always make a gift bag for the quilts I make, but this one is too big to fit in the bag. I love Pam, she makes my son very happy! Now they have a lot to be happy about, they are expecting a daughter in August. I’m so happy for them (& I’m happy for myself, a new grandchild to play with and love)! Happy Birthday Pam! I’ll see you next week!

Pams Bday Quilt 2013

OLYMPUS DIGITAL CAMERA

OLYMPUS DIGITAL CAMERA

More Tales of Hexagon Quilts

I’m waiting for backing fabric to arrive so I can quilt Soho Sunflowers and I’m almost finished with my Obituary Quilt. I thought I would share some tidbits about Hexagon Quilts. The first hexagon quilt below I named “Koi in a Blender” I made for Alex in 2006, I made the second  “Jumping for Joy” out of the same fabric in 2008. What I found interesting is how different they came out. I made the third  “Route 66” in 2006 and again in 2007 for a friend of mine. Again they came out so different.

I taught a hexagon quilt class where two students with the same fabric worked next to each other and their quilts came out completely different. I guess it depends where your repeat starts and what your vision is.

01 2006 Koi in a blender

02 2008 Jumping for Joy

03 2006 Route 66

04 2007 Route 66 2

Teeny Tiny Hexagon Quilt

12 Inch OBW

I wanted to see what would happen if I cut my hexagon quilt strips 1 1/2″ wide. Well, I made a 12 inch hexagon quilt. The process stays the same, but by varying the size of the strips you vary the size of the block. If you have a very large print you can cut your strips wider making a larger block. Some of my students don’t want to make a full size quilt. So they can choose a fabric with a smaller print and cut their strips smaller, such as 2 1/2 inch strips makes a great wall hanging.

Its a dogs life 65x82

With the rest of the fabric I made this quilt. I cut the strips the standard 3 3/4 inches wide. This quilt measures 65″ x 82″. Below is the original fabric I started with.

OLYMPUS DIGITAL CAMERA