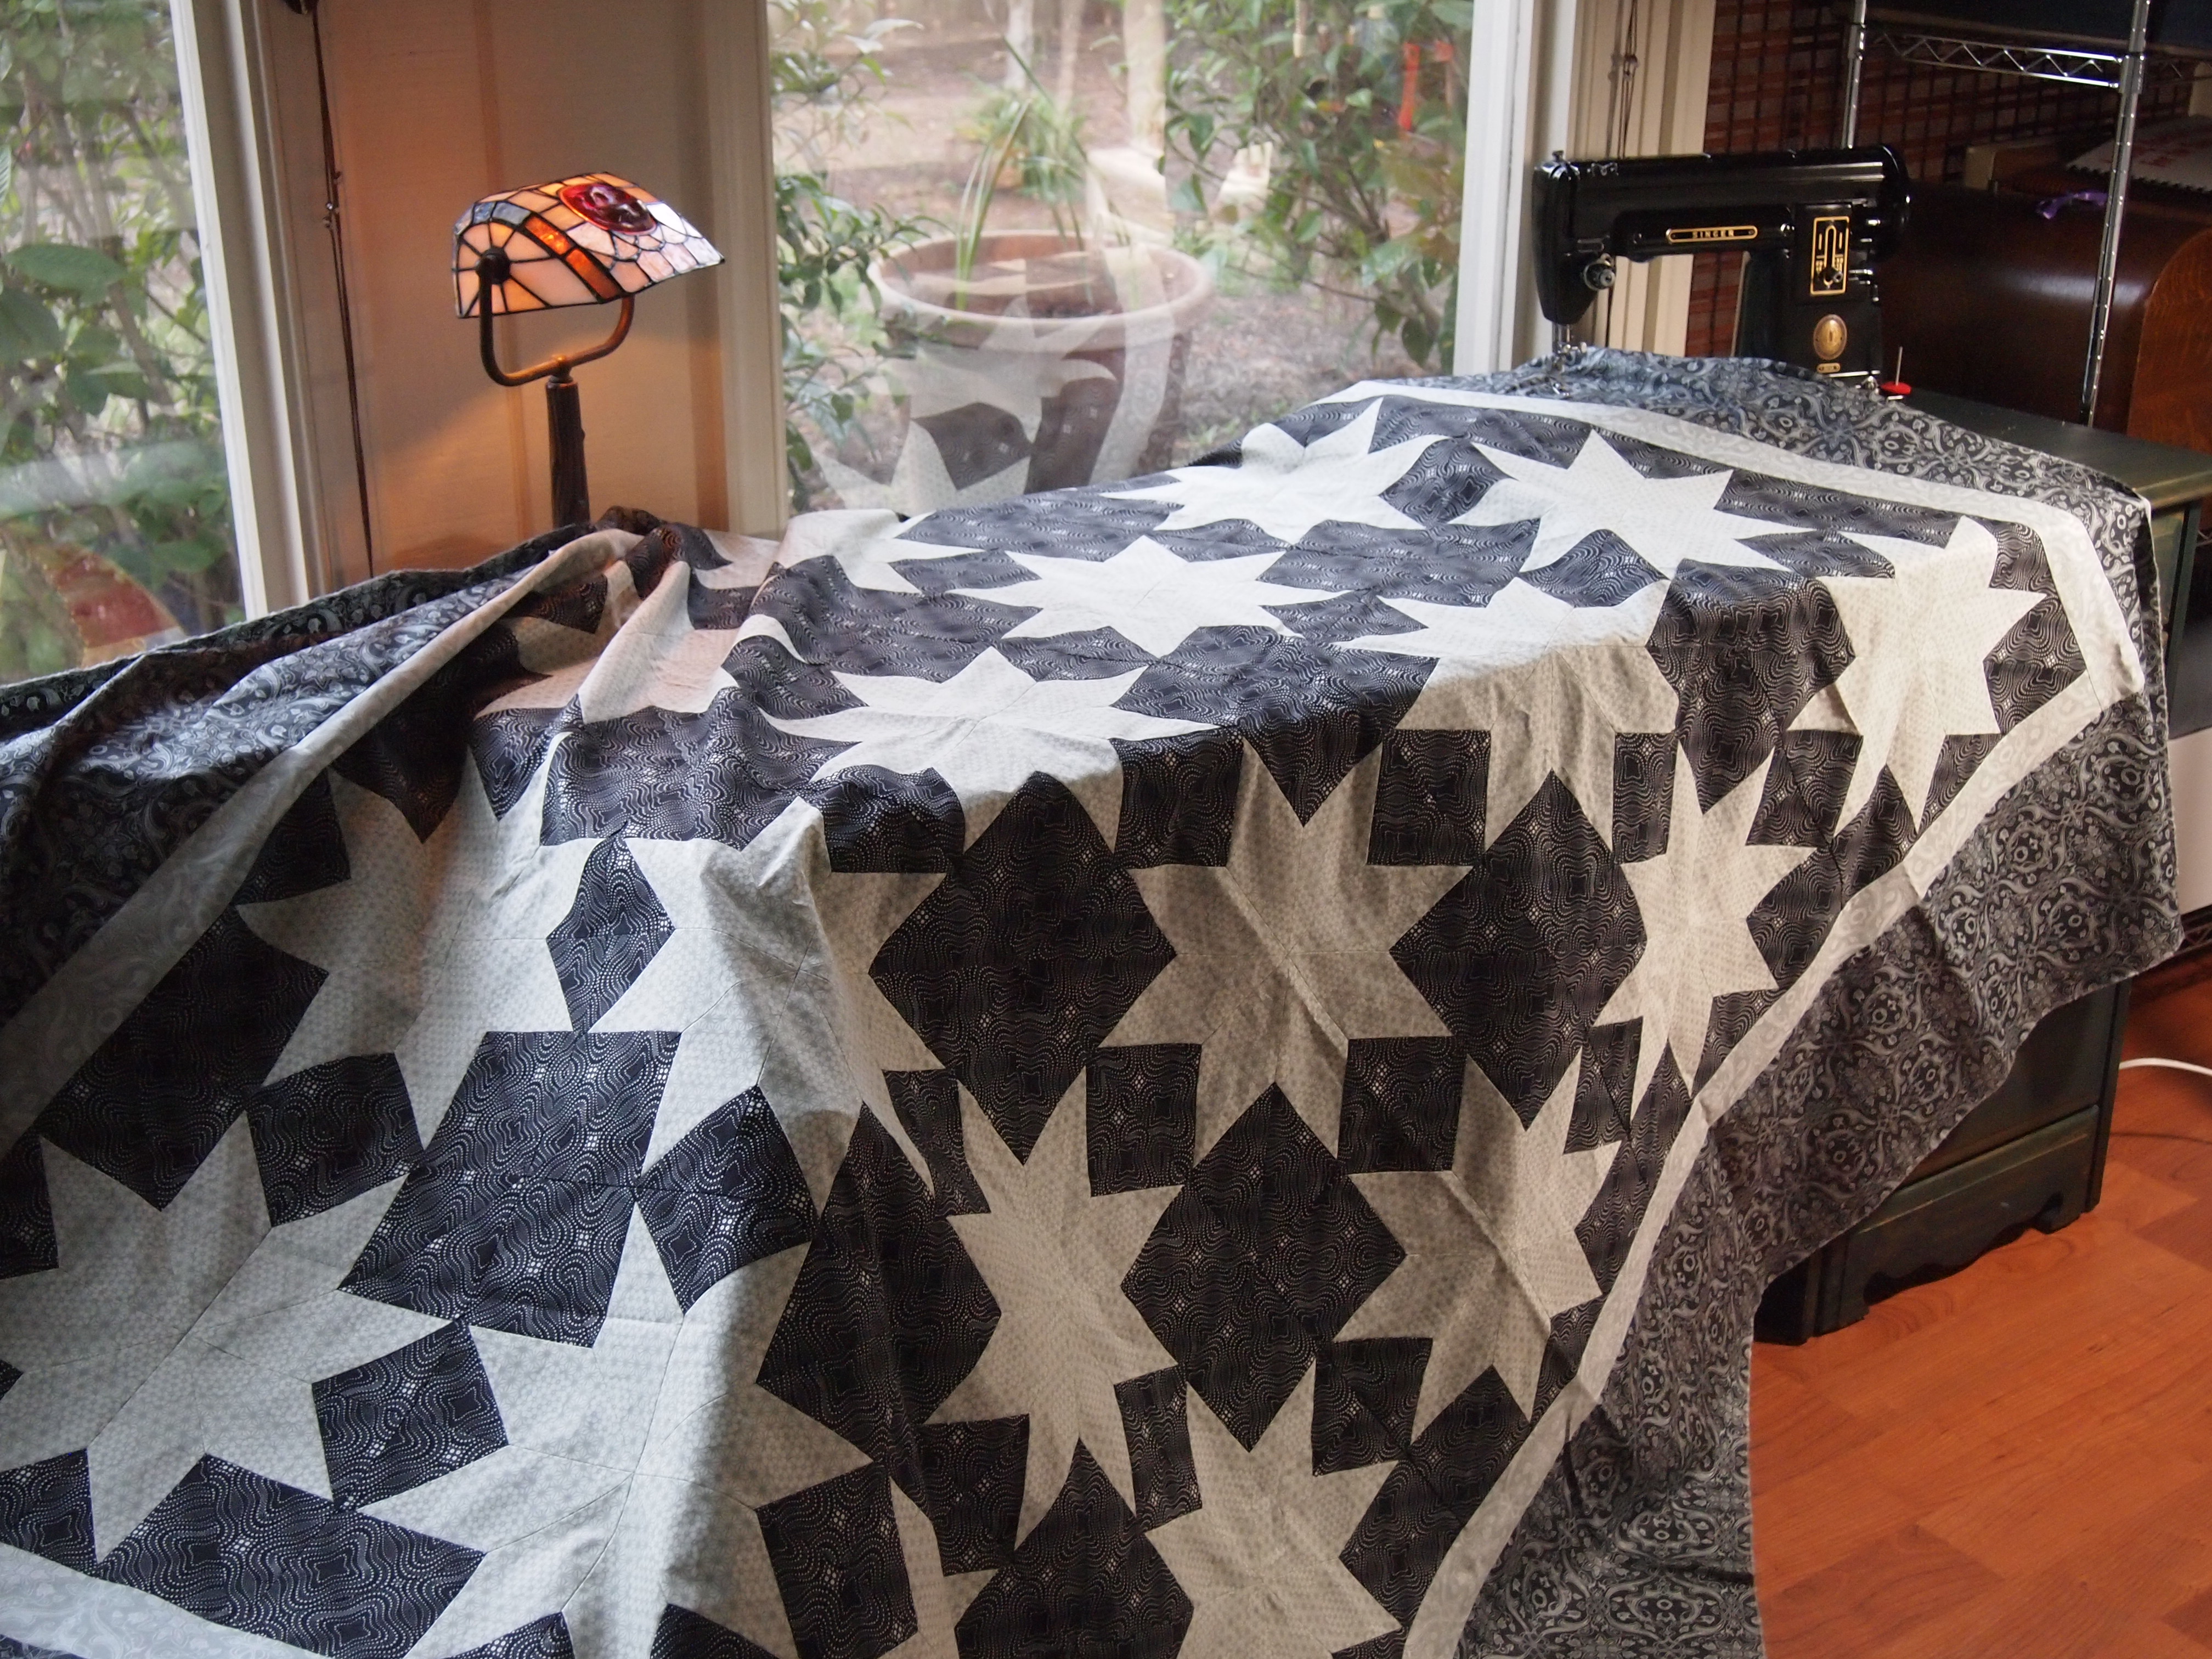
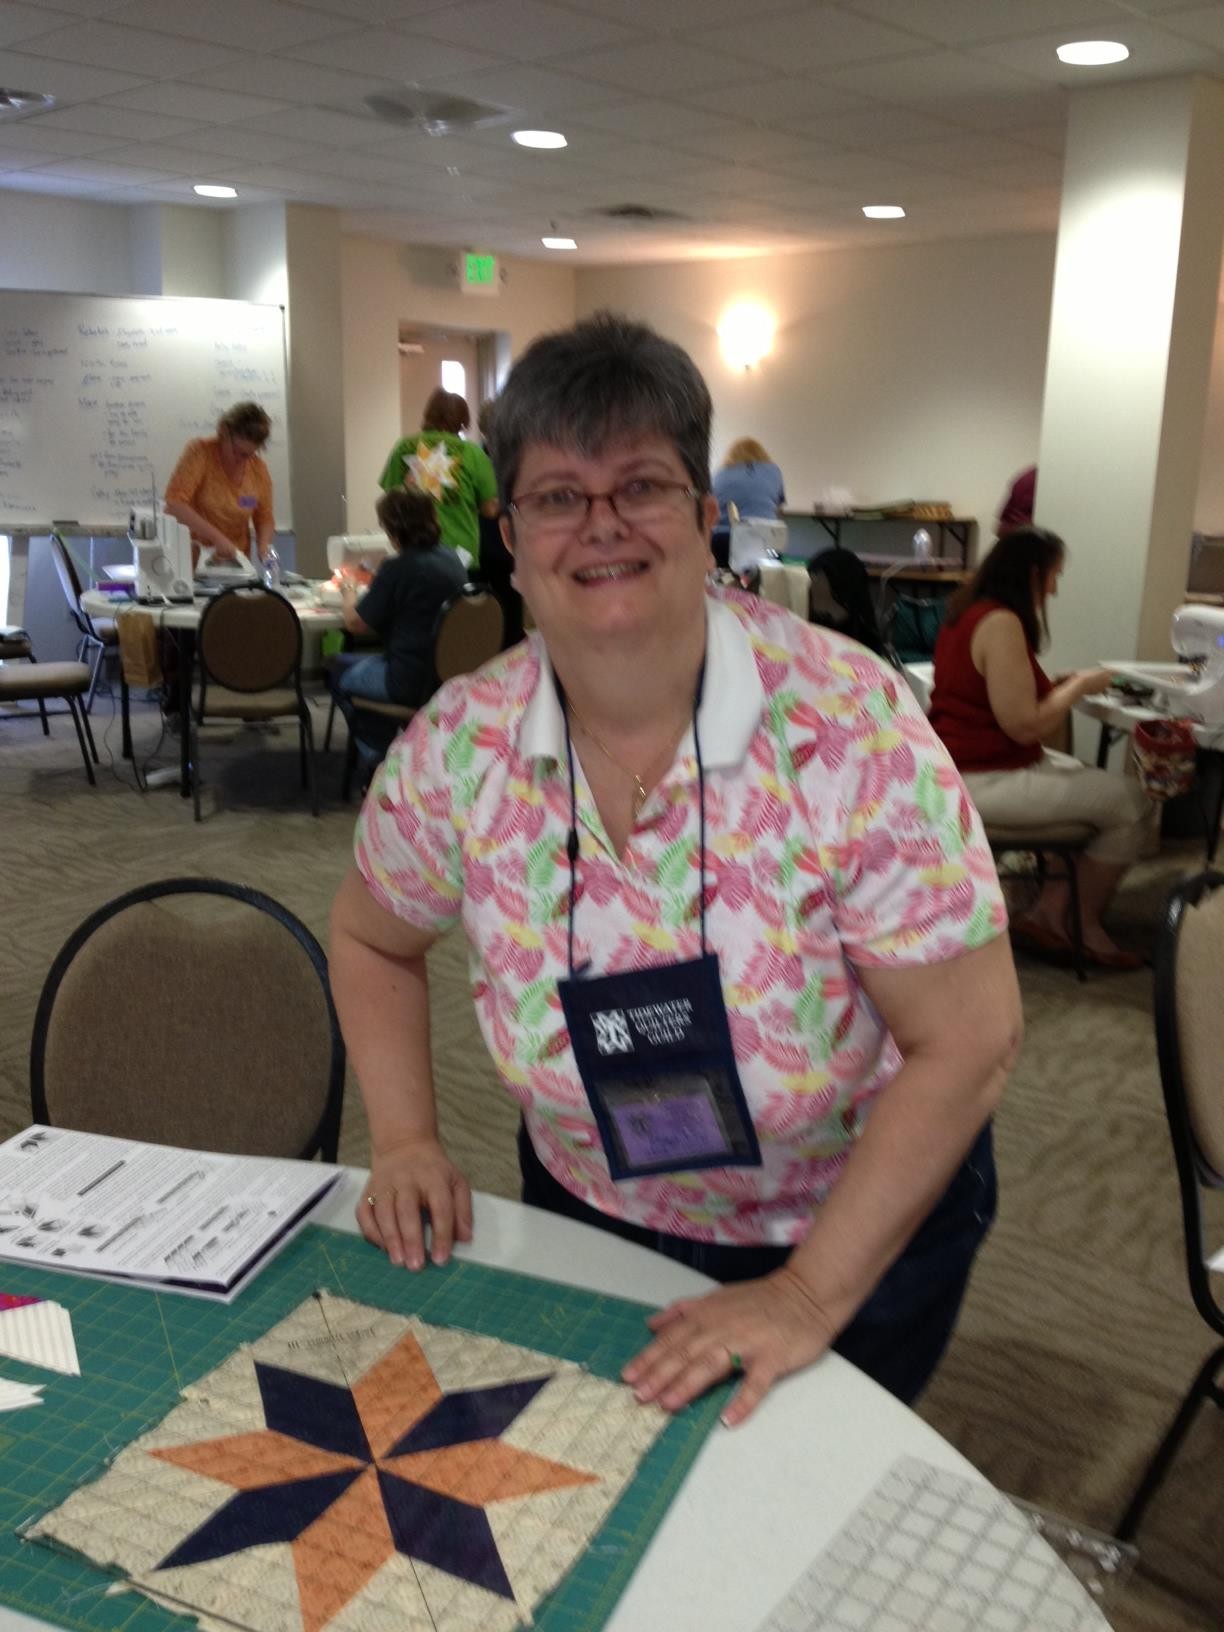
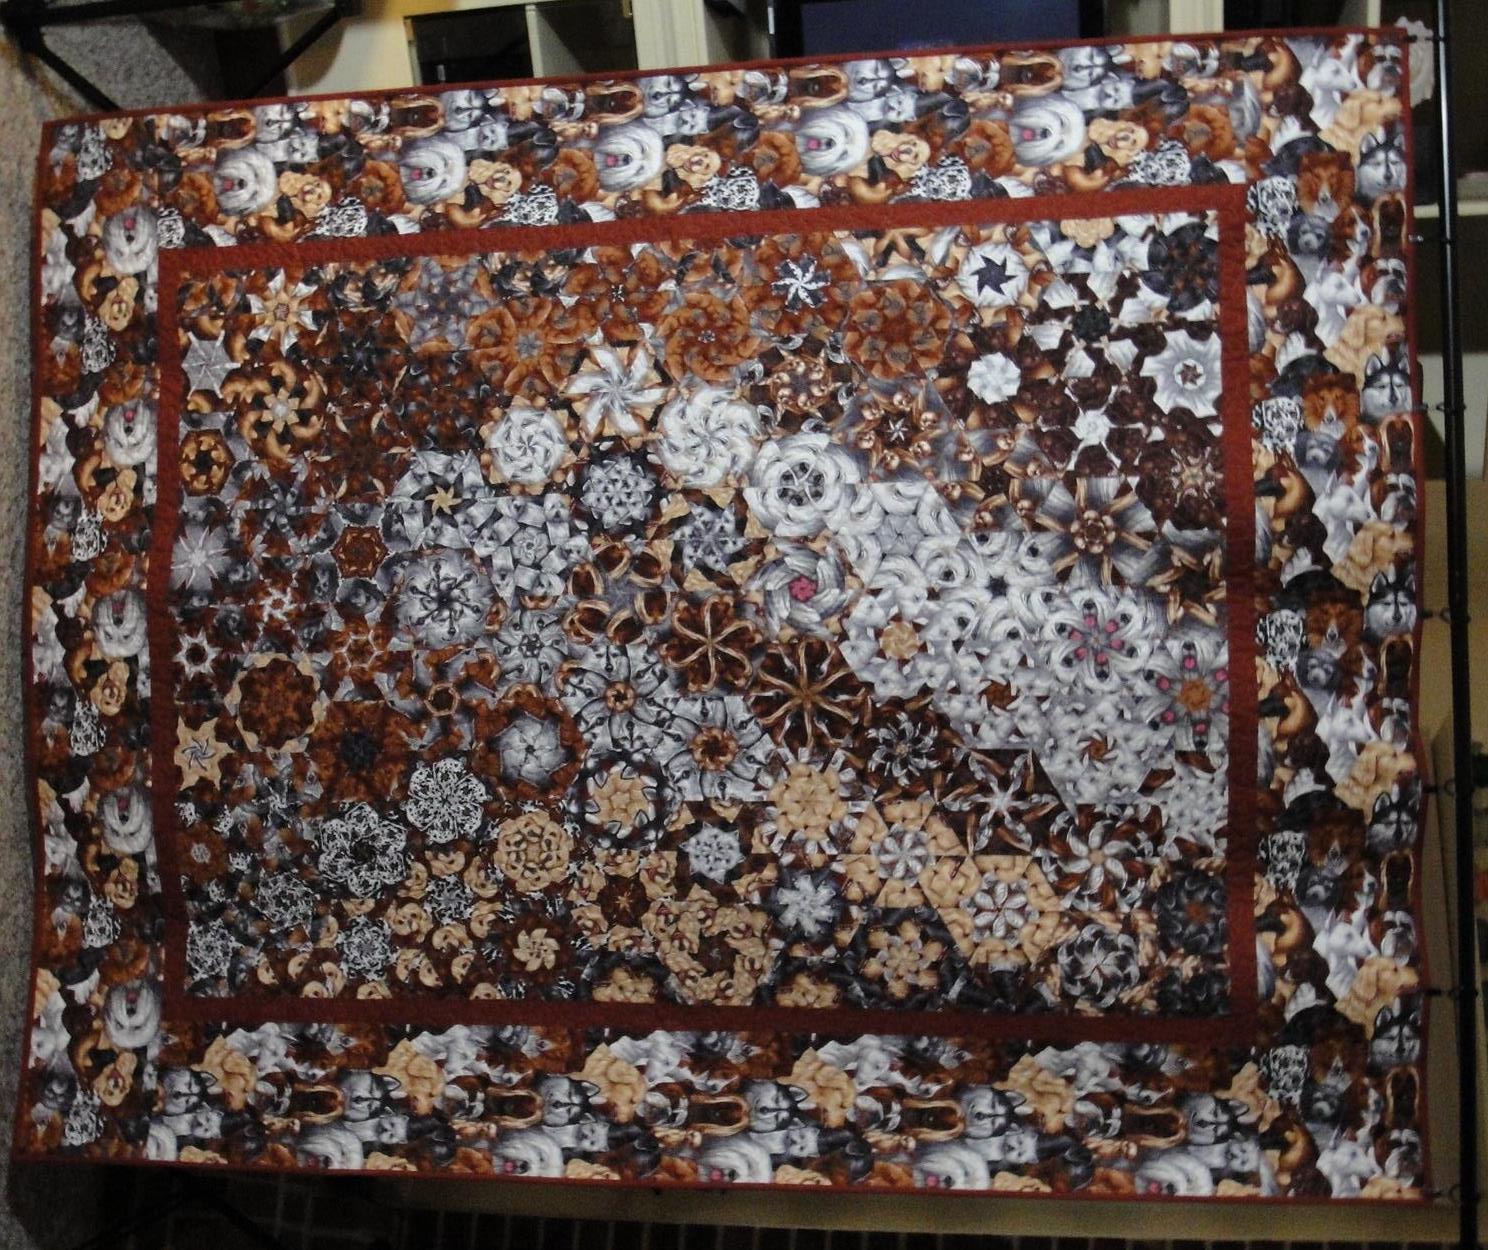
What fabric makes a good Hexagon Quilt? Some say a 24″ repeat is key, but I do not necessarily agree. I made a hexagon quilt from a fabric that had a 24″ repeat, but the print was not that large. Although it was still a pretty quilt, I thought the colors were a little muddy (Natures Chorus). So I say get as big a print as you can find with colors that you like. Keep in mind that once the repeats are layered you will be cutting them into 3 3/4″ strips. If your print is flowers that are only 3″ across, you will not be taking them apart very much and your blocks will end up looking a lot like the original fabric. Whereas if the print is 6″ you will have a better chance of your blocks looking nothing like the original fabric.
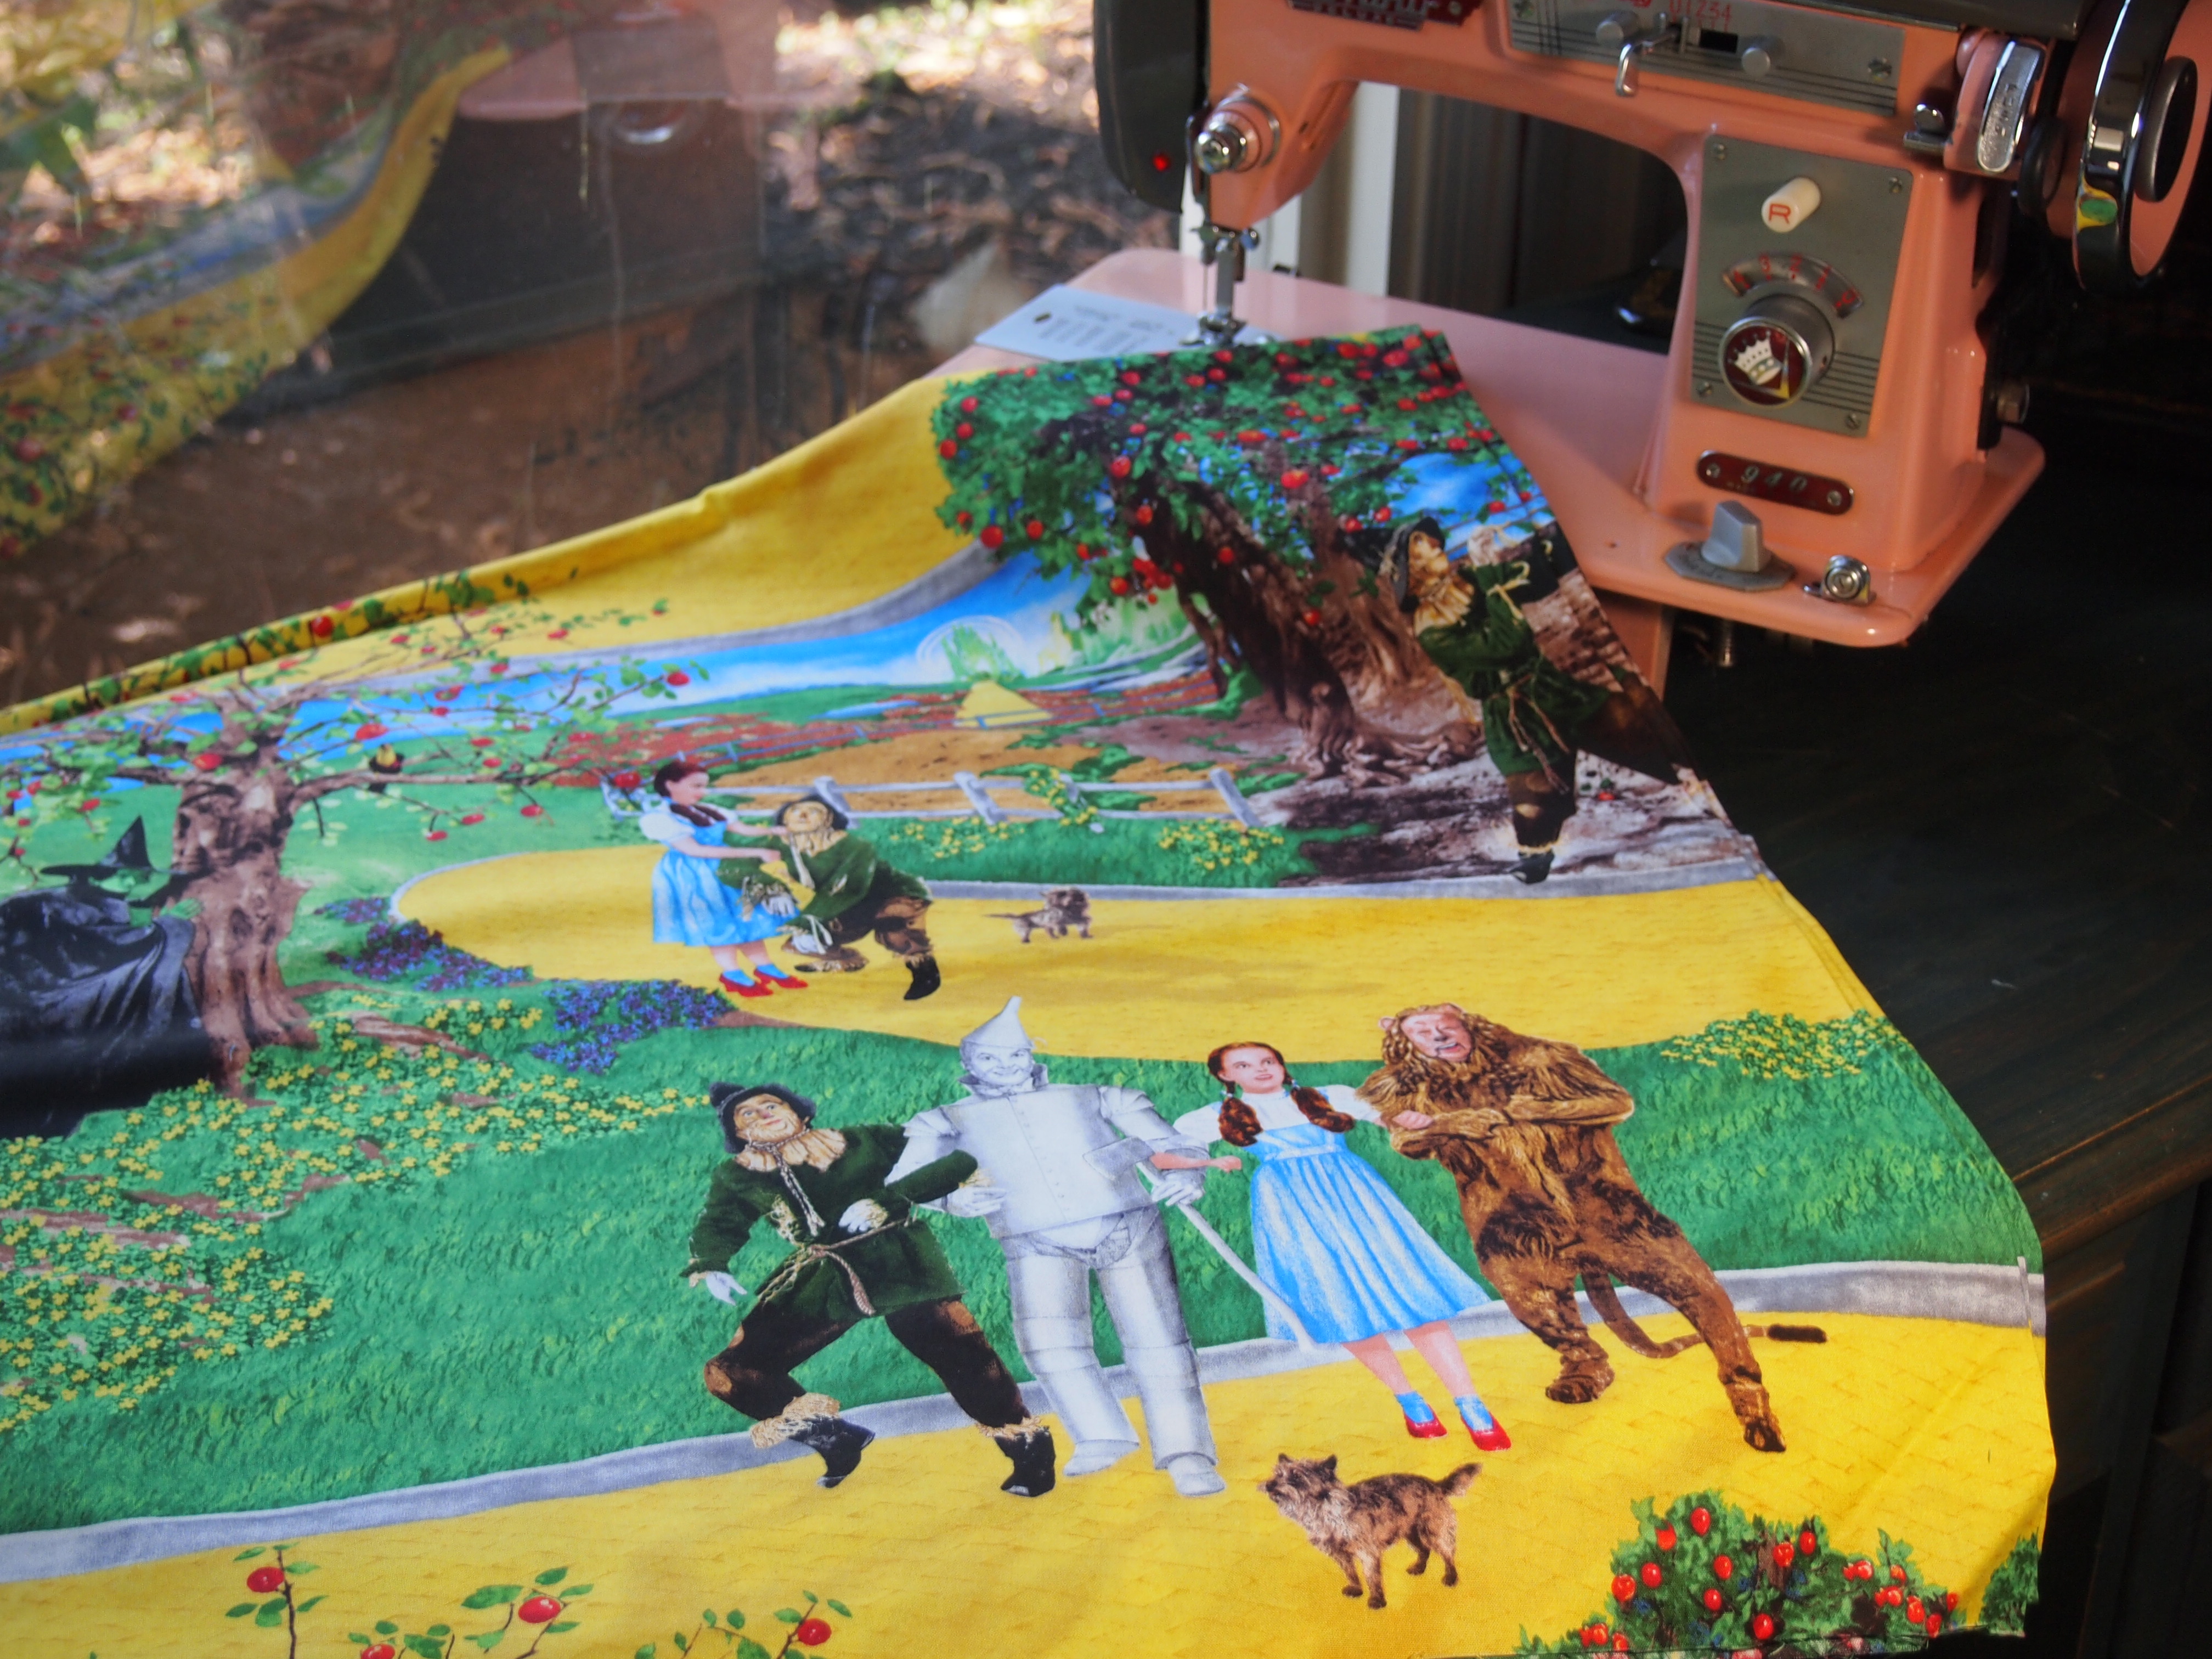
I ignore the print itself and go for something large with colors I like, then I know I will have fun. When I made “Inside the Twister” from the Wizard of Oz fabric in sepia tones, it was only a 12″ repeat. I could have cut 6 repeats of a fabric 12″ each, but because the print was big enough, I chose a design element that was easily identifiable and when it came up again at 12″ – I skipped it and went to the next one. Now I had a 24″ repeat. When you do this you may have blocks that repeat themselves, but remember you have 3 design choices with each block.
To make a good lap-size, twin, or full size quilt, 4 1/4 yards for your blocks. 6 repeats of fabric at 24” each, is exactly 4 yards (24 x 6 = 144; 144/36 = 4). I ALWAYS BUY at least 6 Yards so I have the option of a 9 OR 10 inch outer border with the original fabric.) It is fun to see a slice of the original fabric along with the quilt. DO NOT PRE-WASH THE FABRIC!!!!
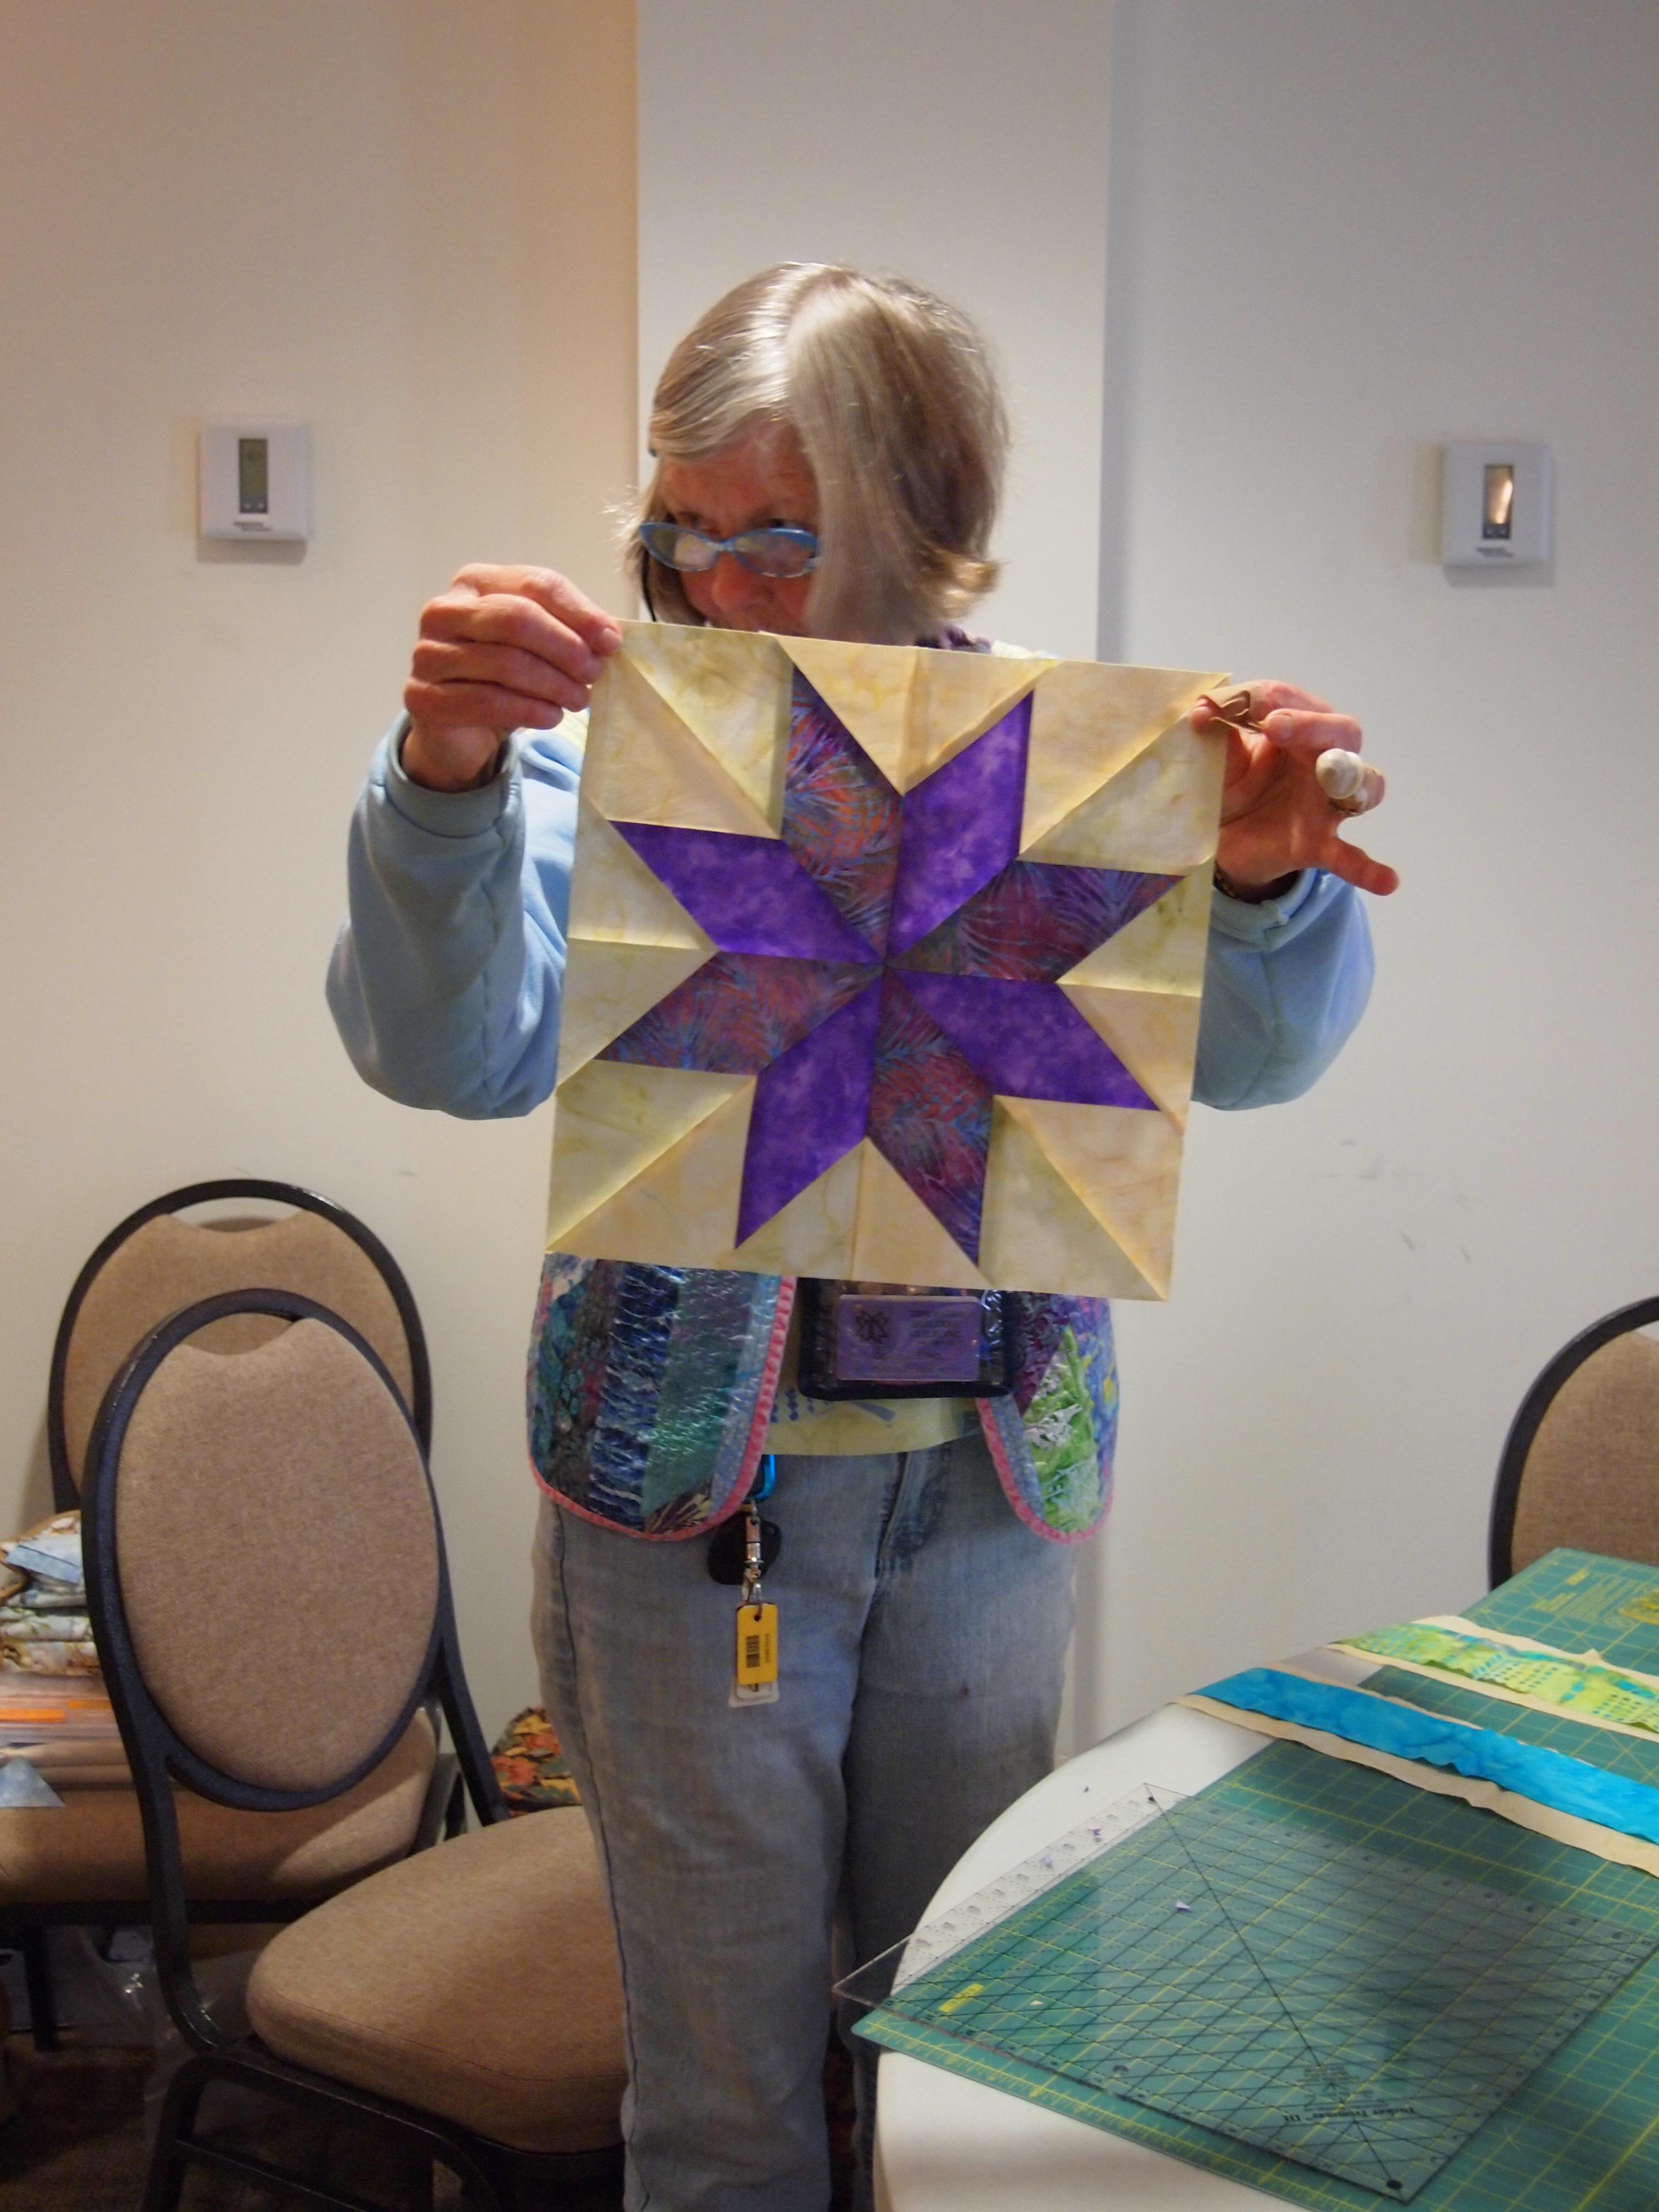
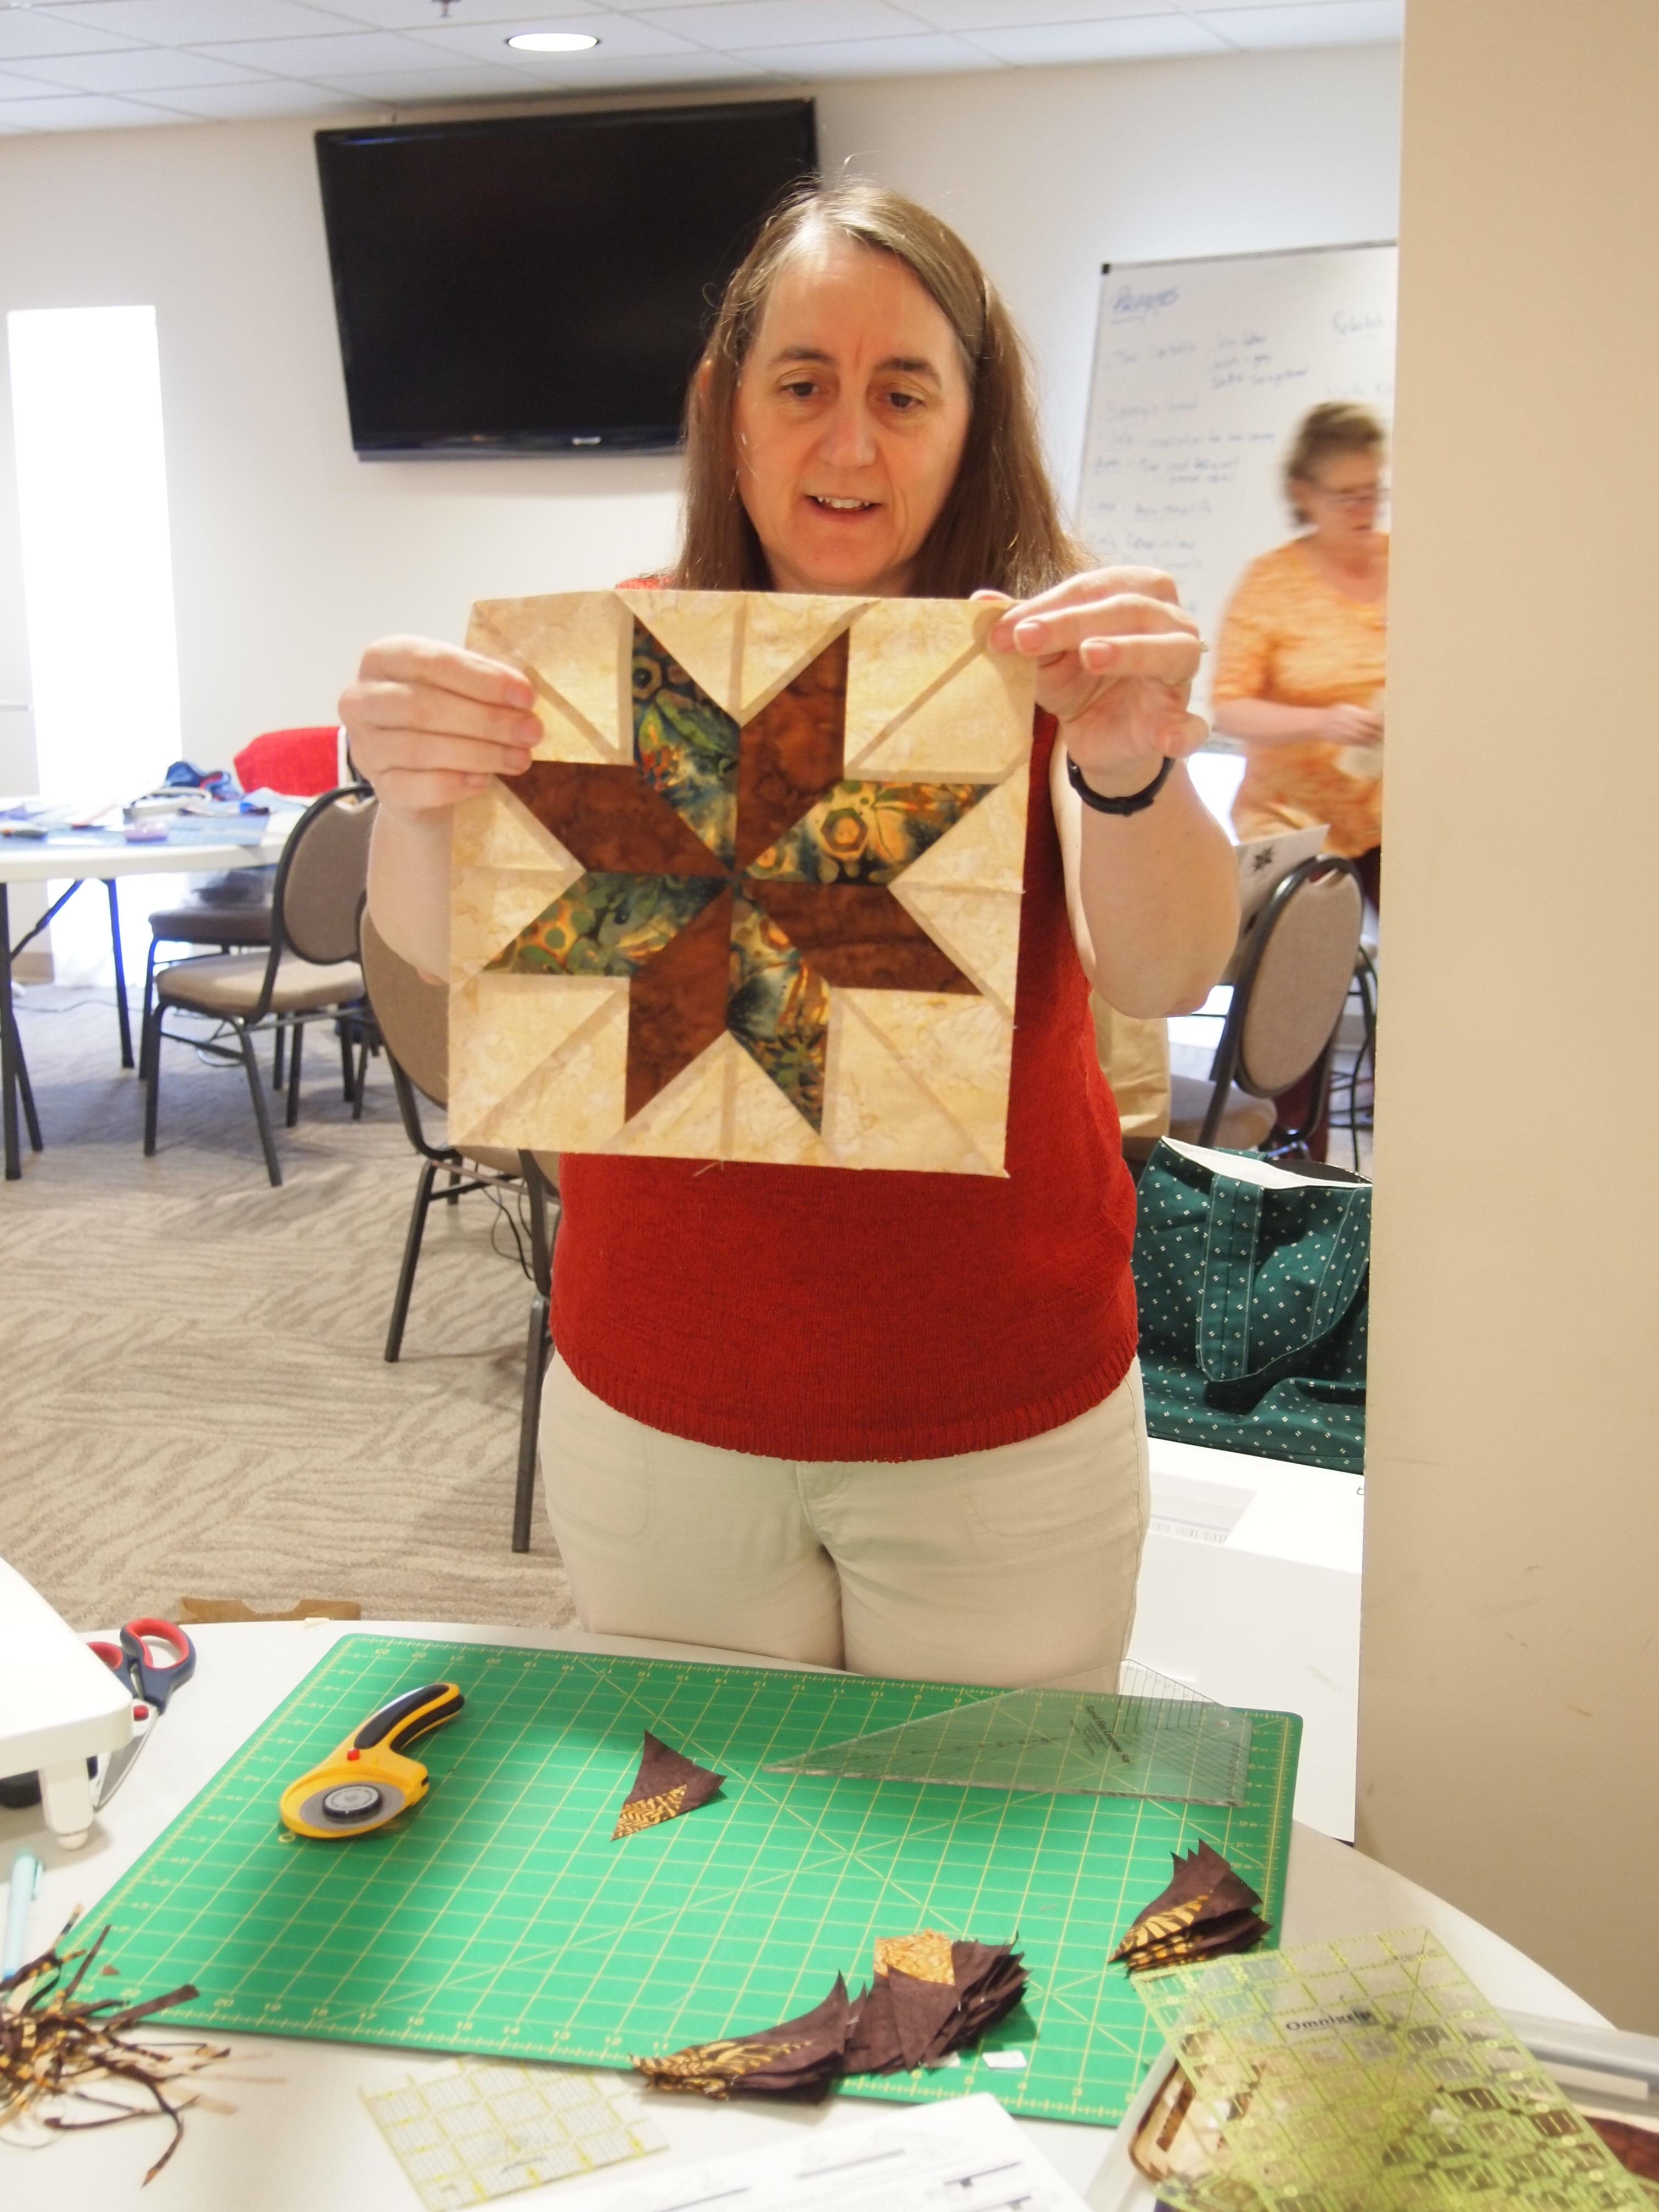
Below are some of my hexagon quilts waiting to be born. I still have another 20 or so 6 yard pieces I didn’t show you.

Just Lion Around by Alexander Henry

New York City at Night

Red Sunflowers
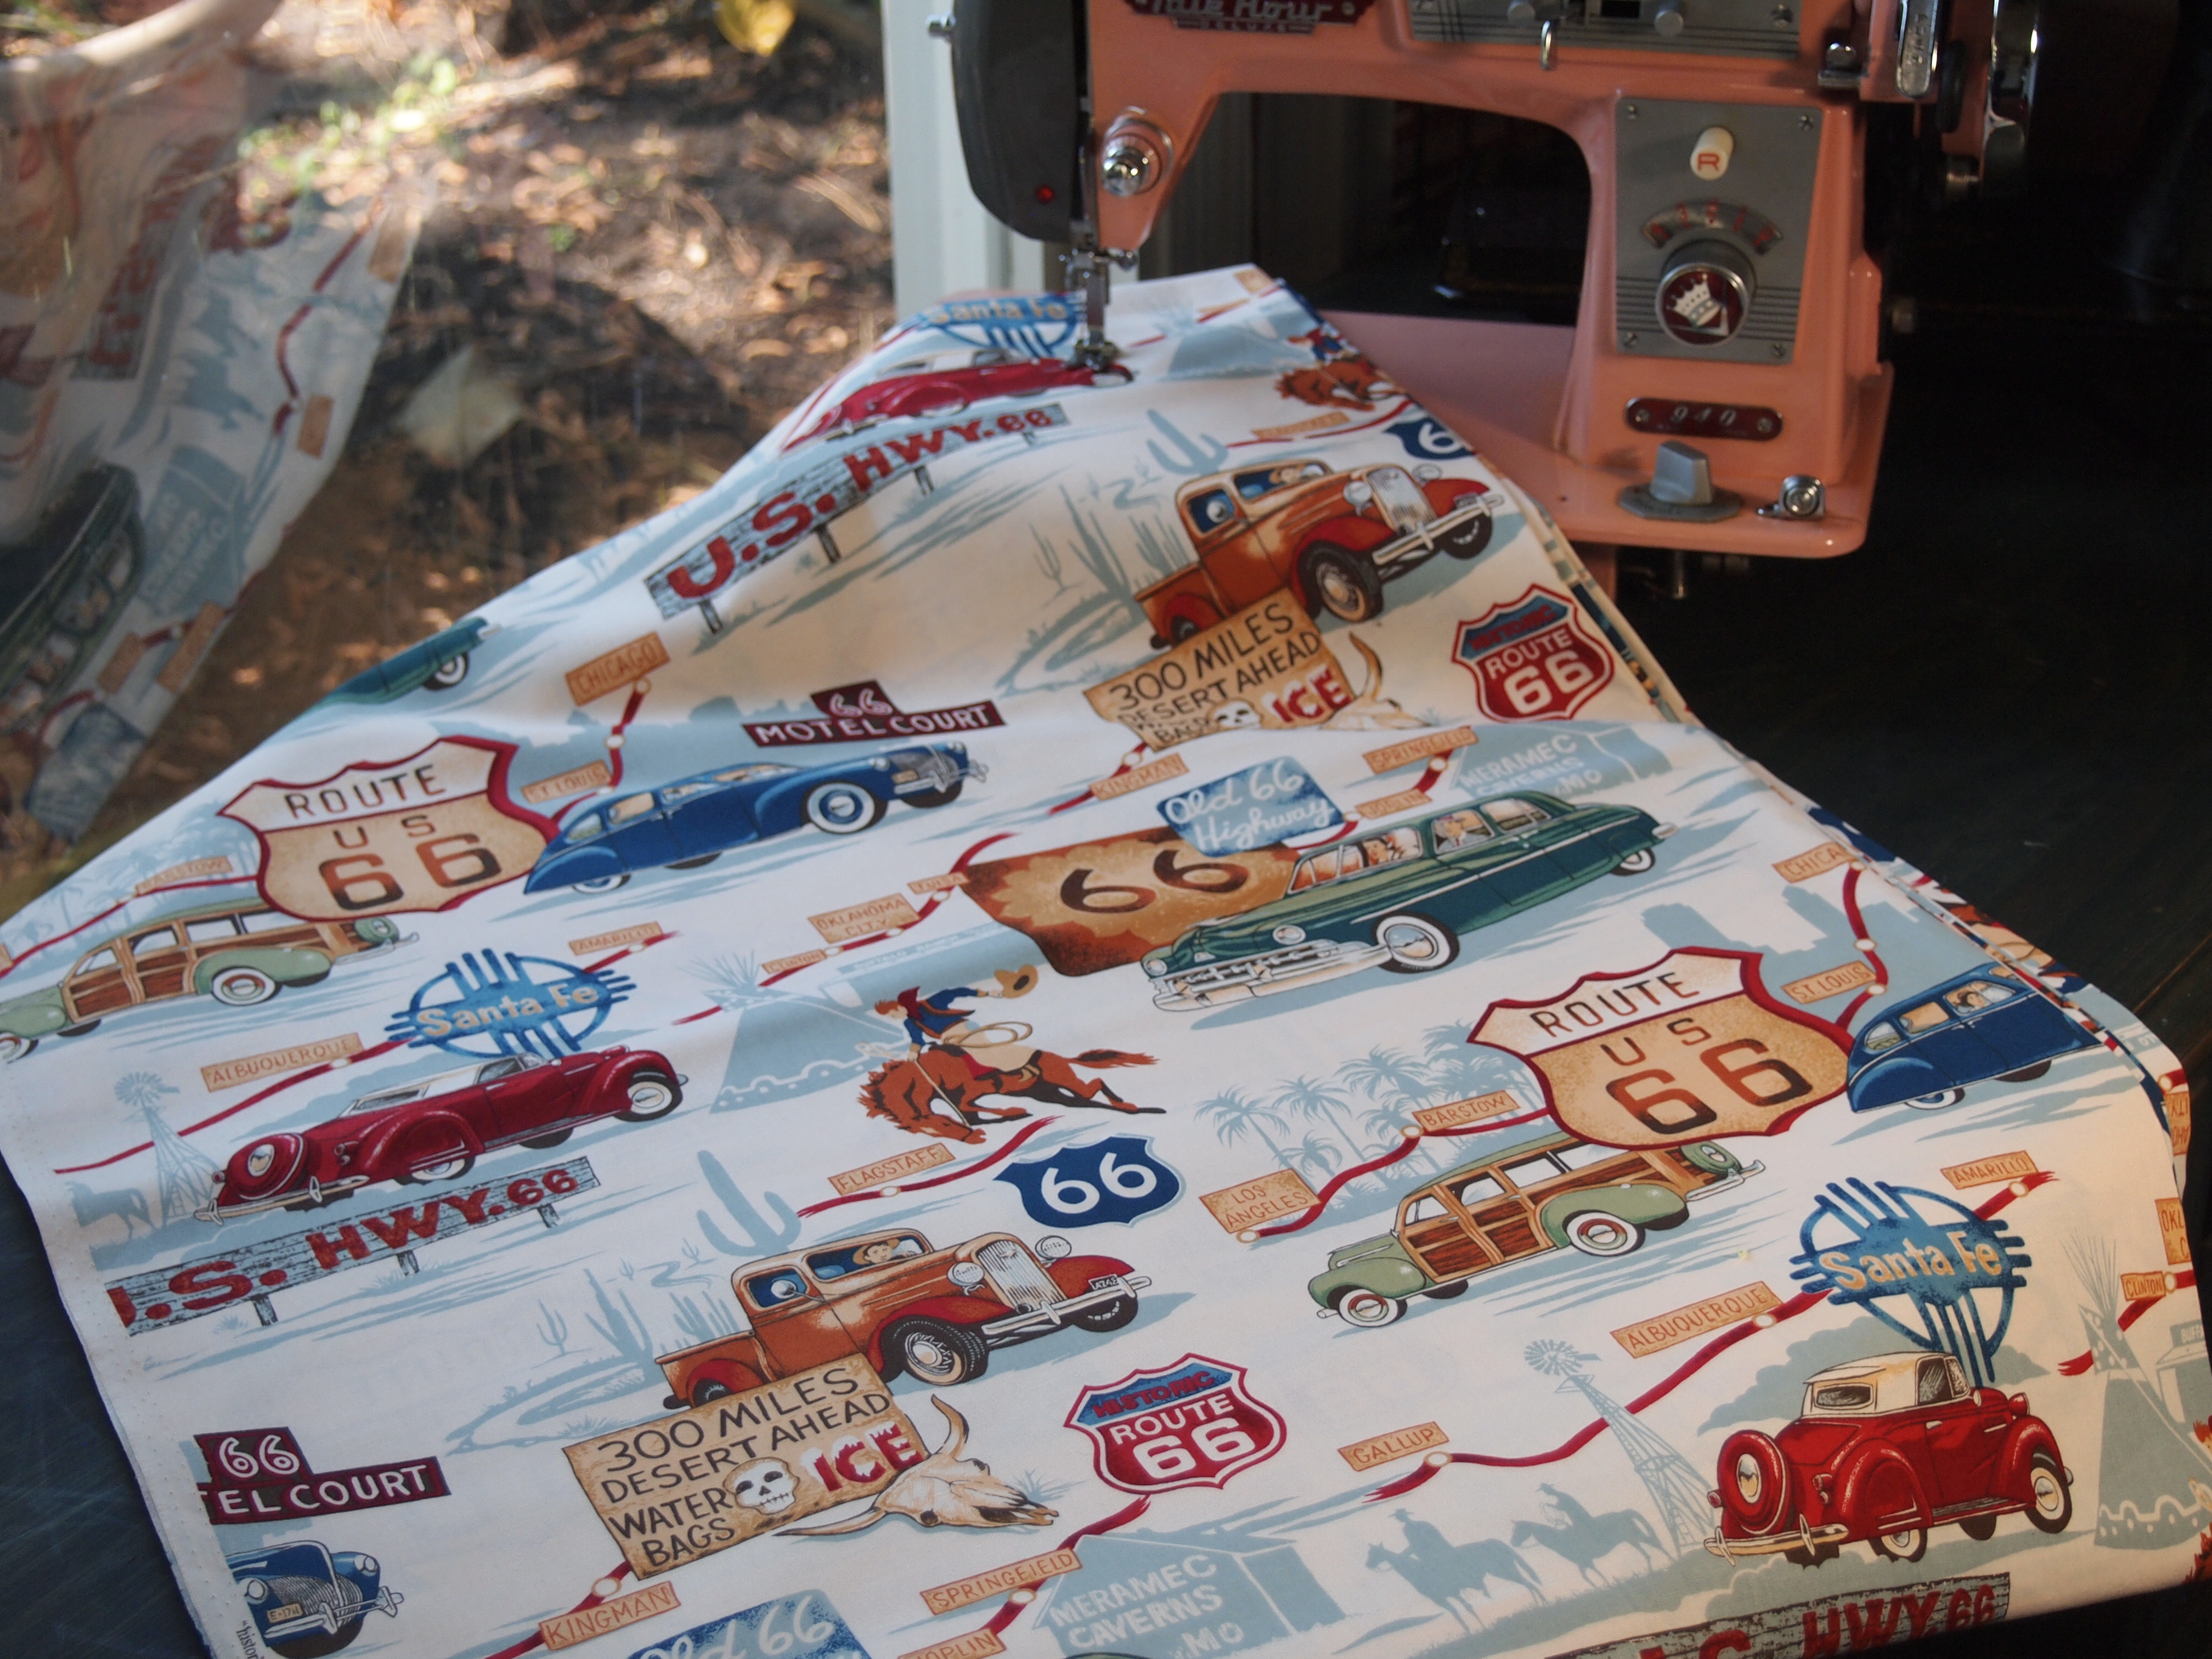
Route 66
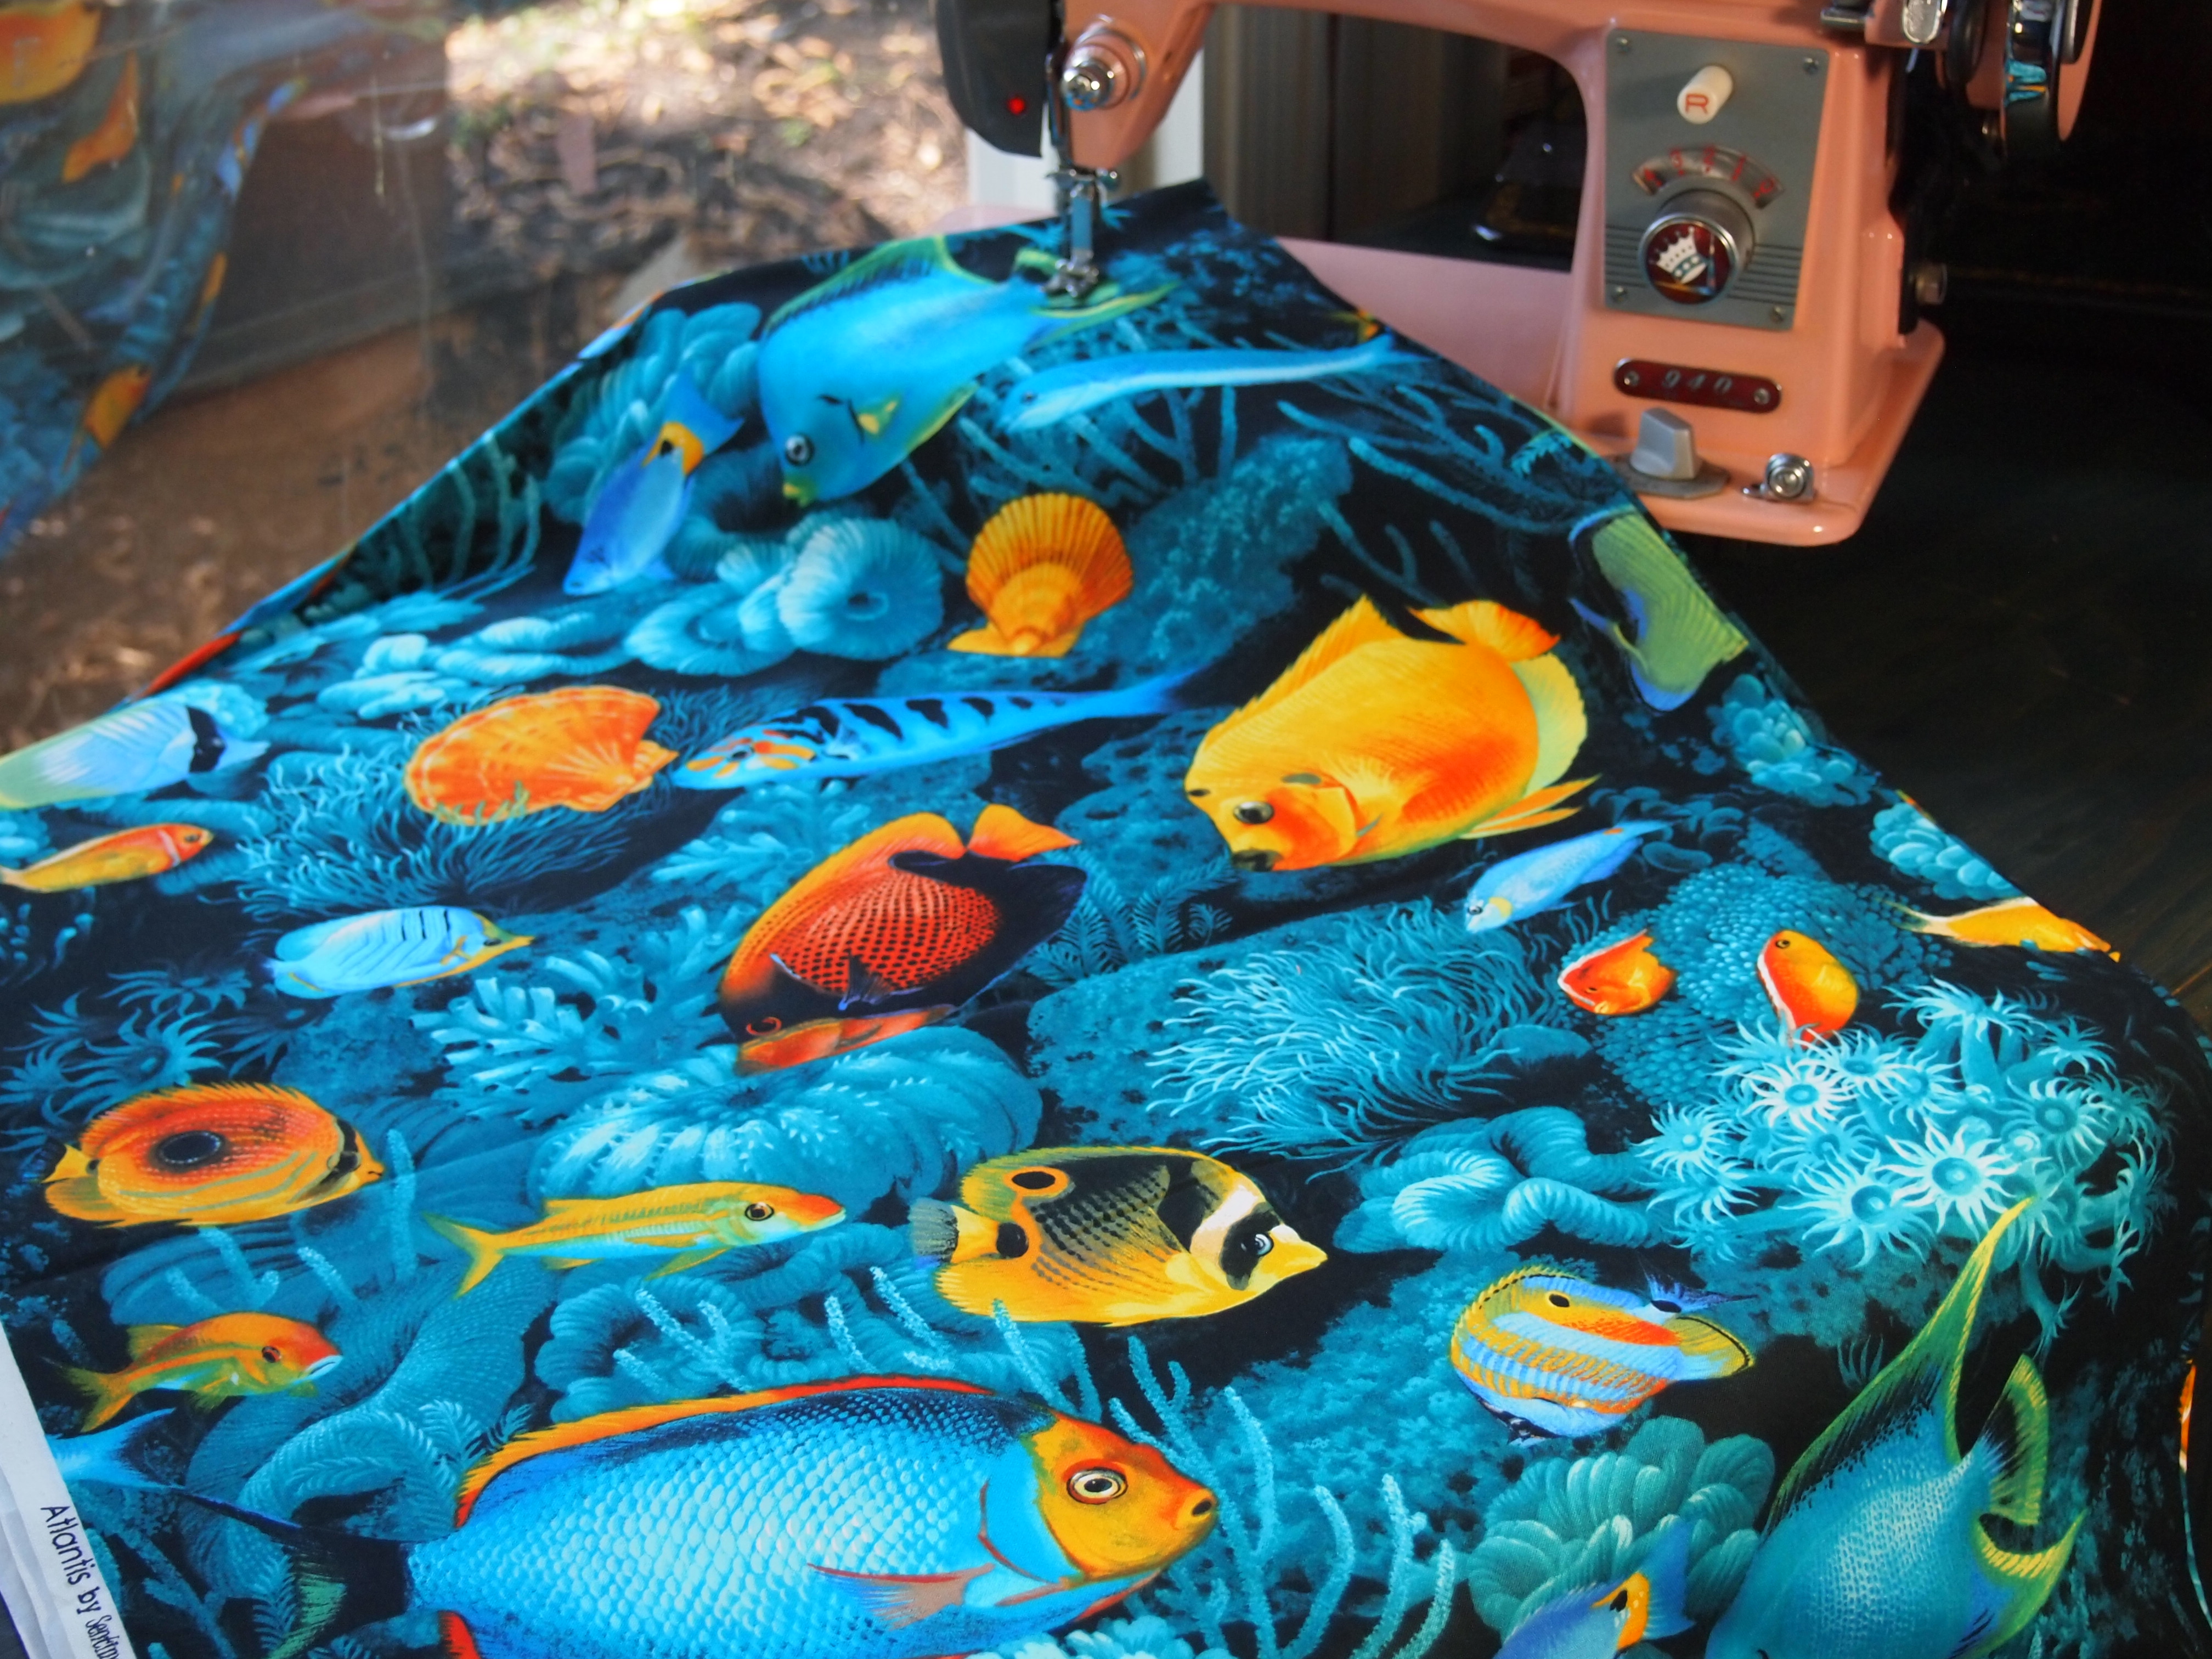
Ocean Fish

UPS Men
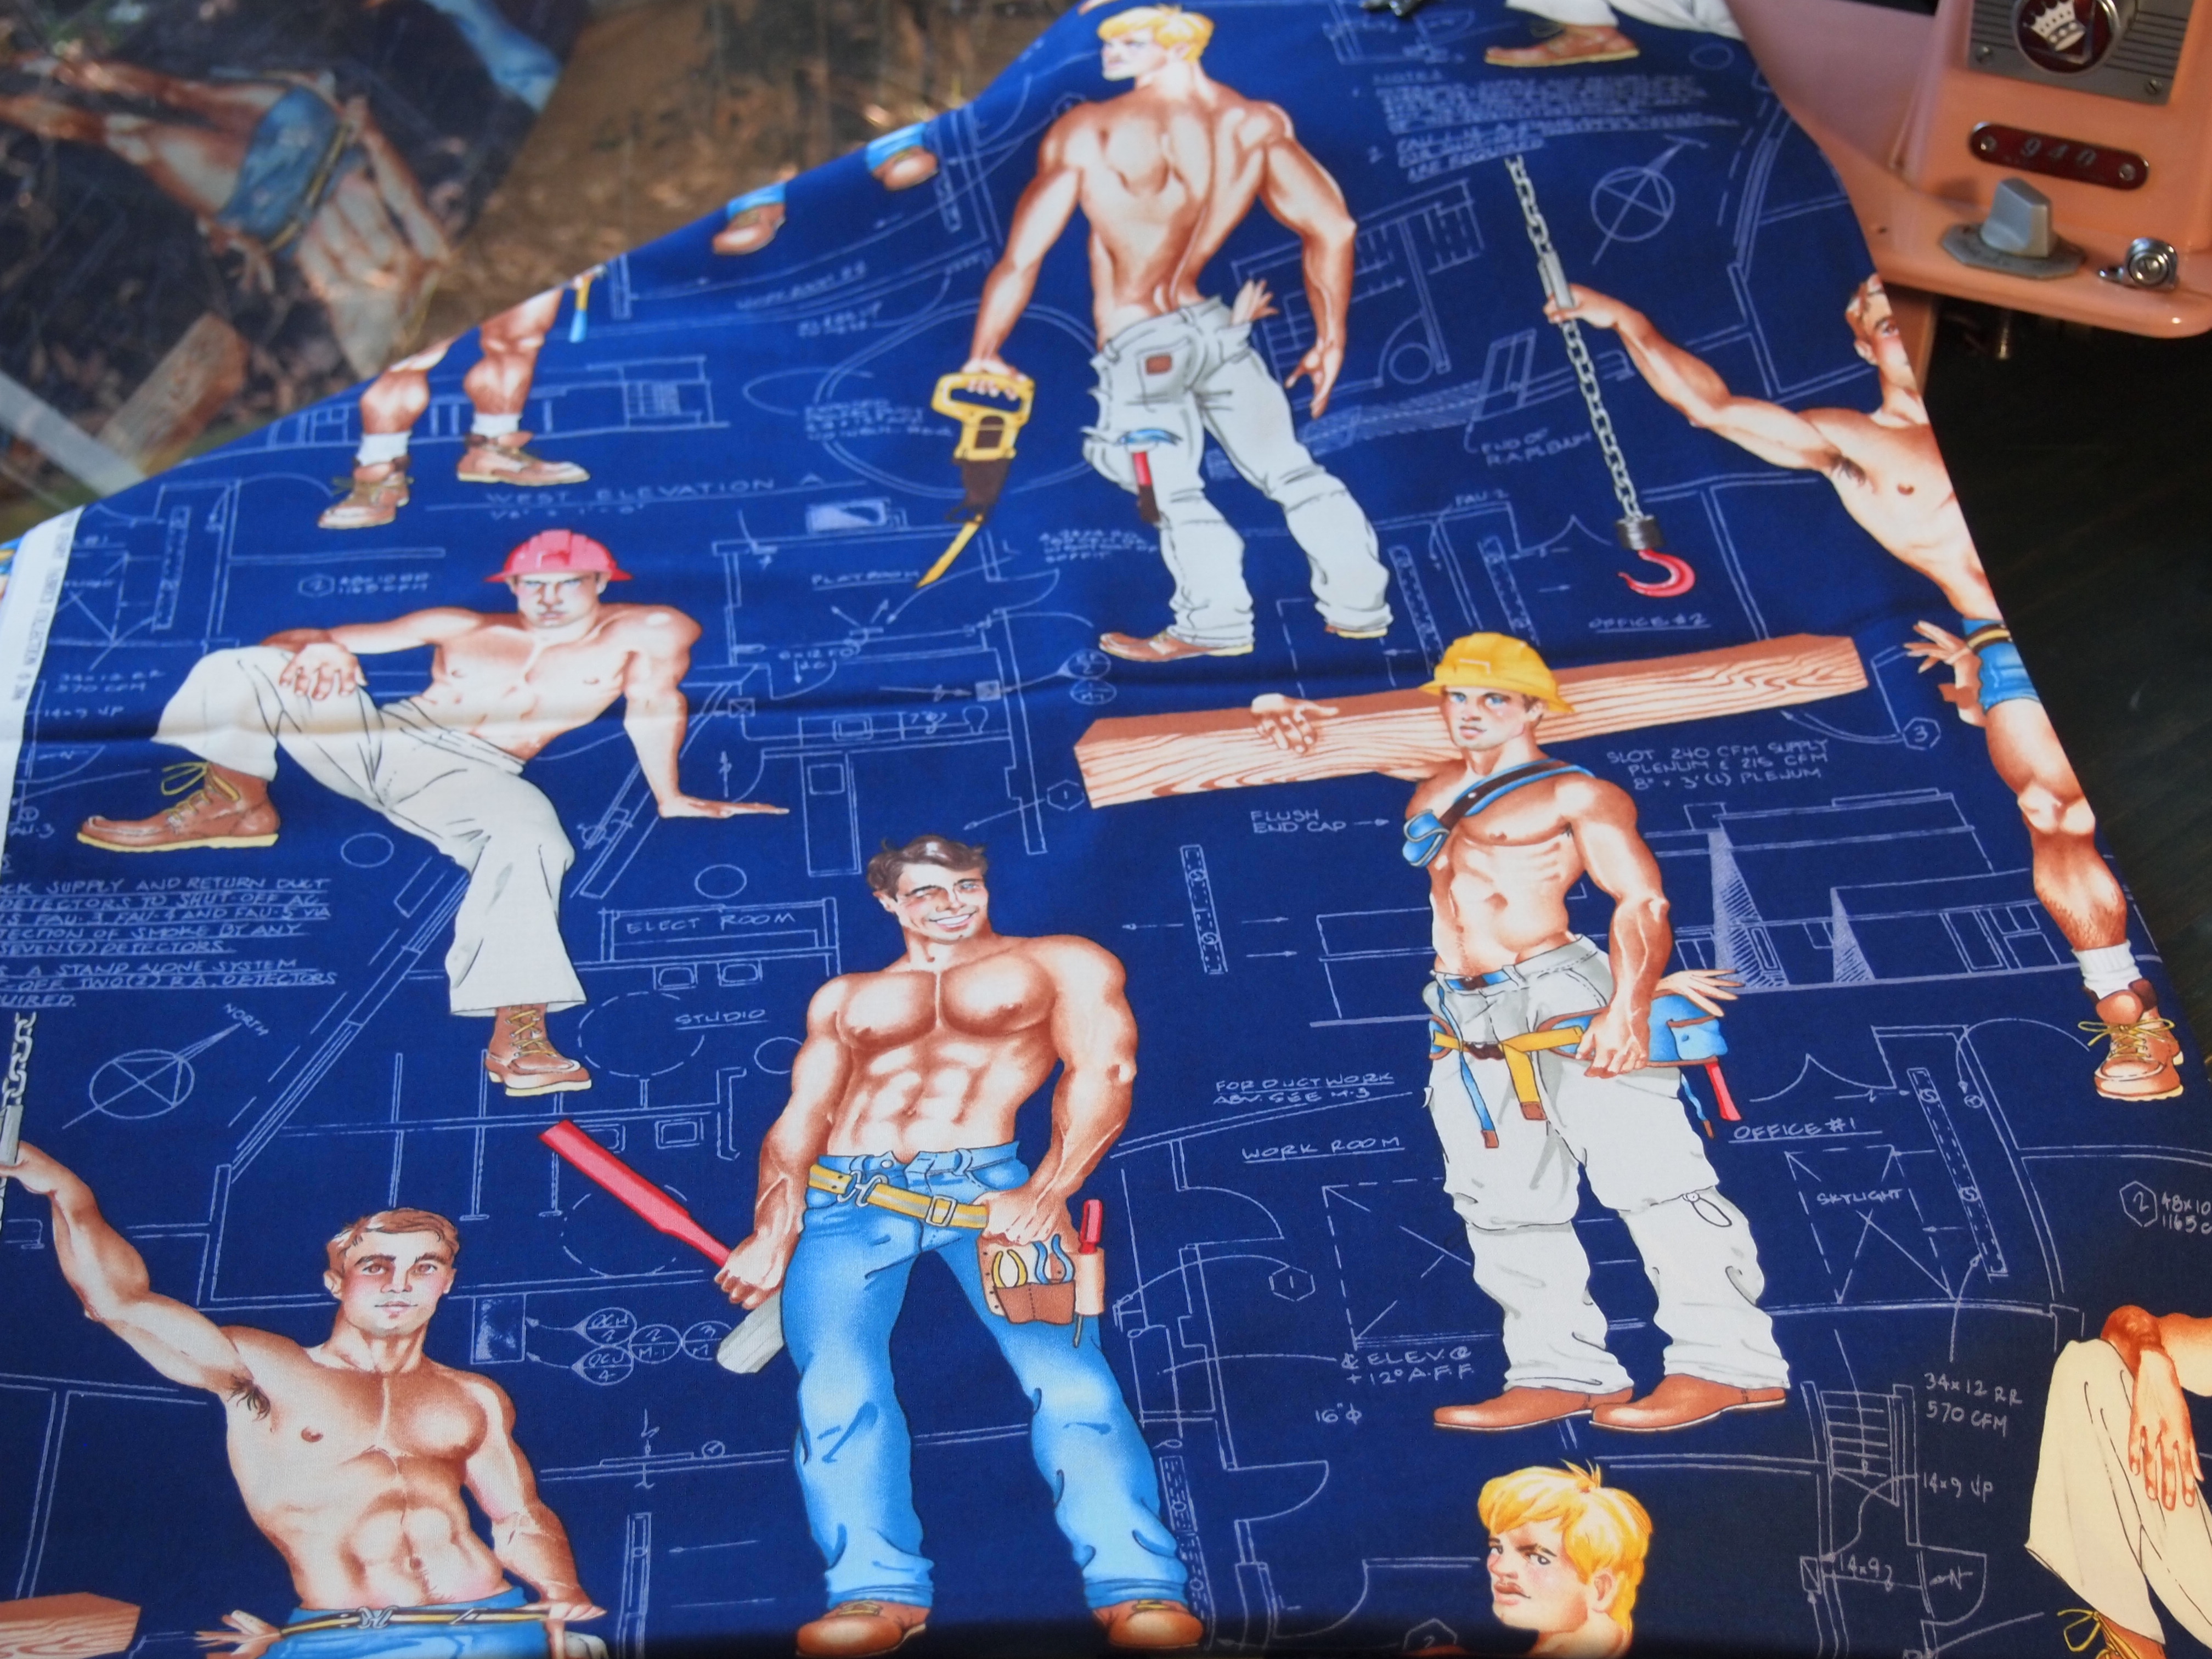
Construction Hunks (I love cutting up people)

New York, New York

Under the Rainbow, I used this fabric for “Inside the Twister” it had a 12″ repeat
Over the Rainbow
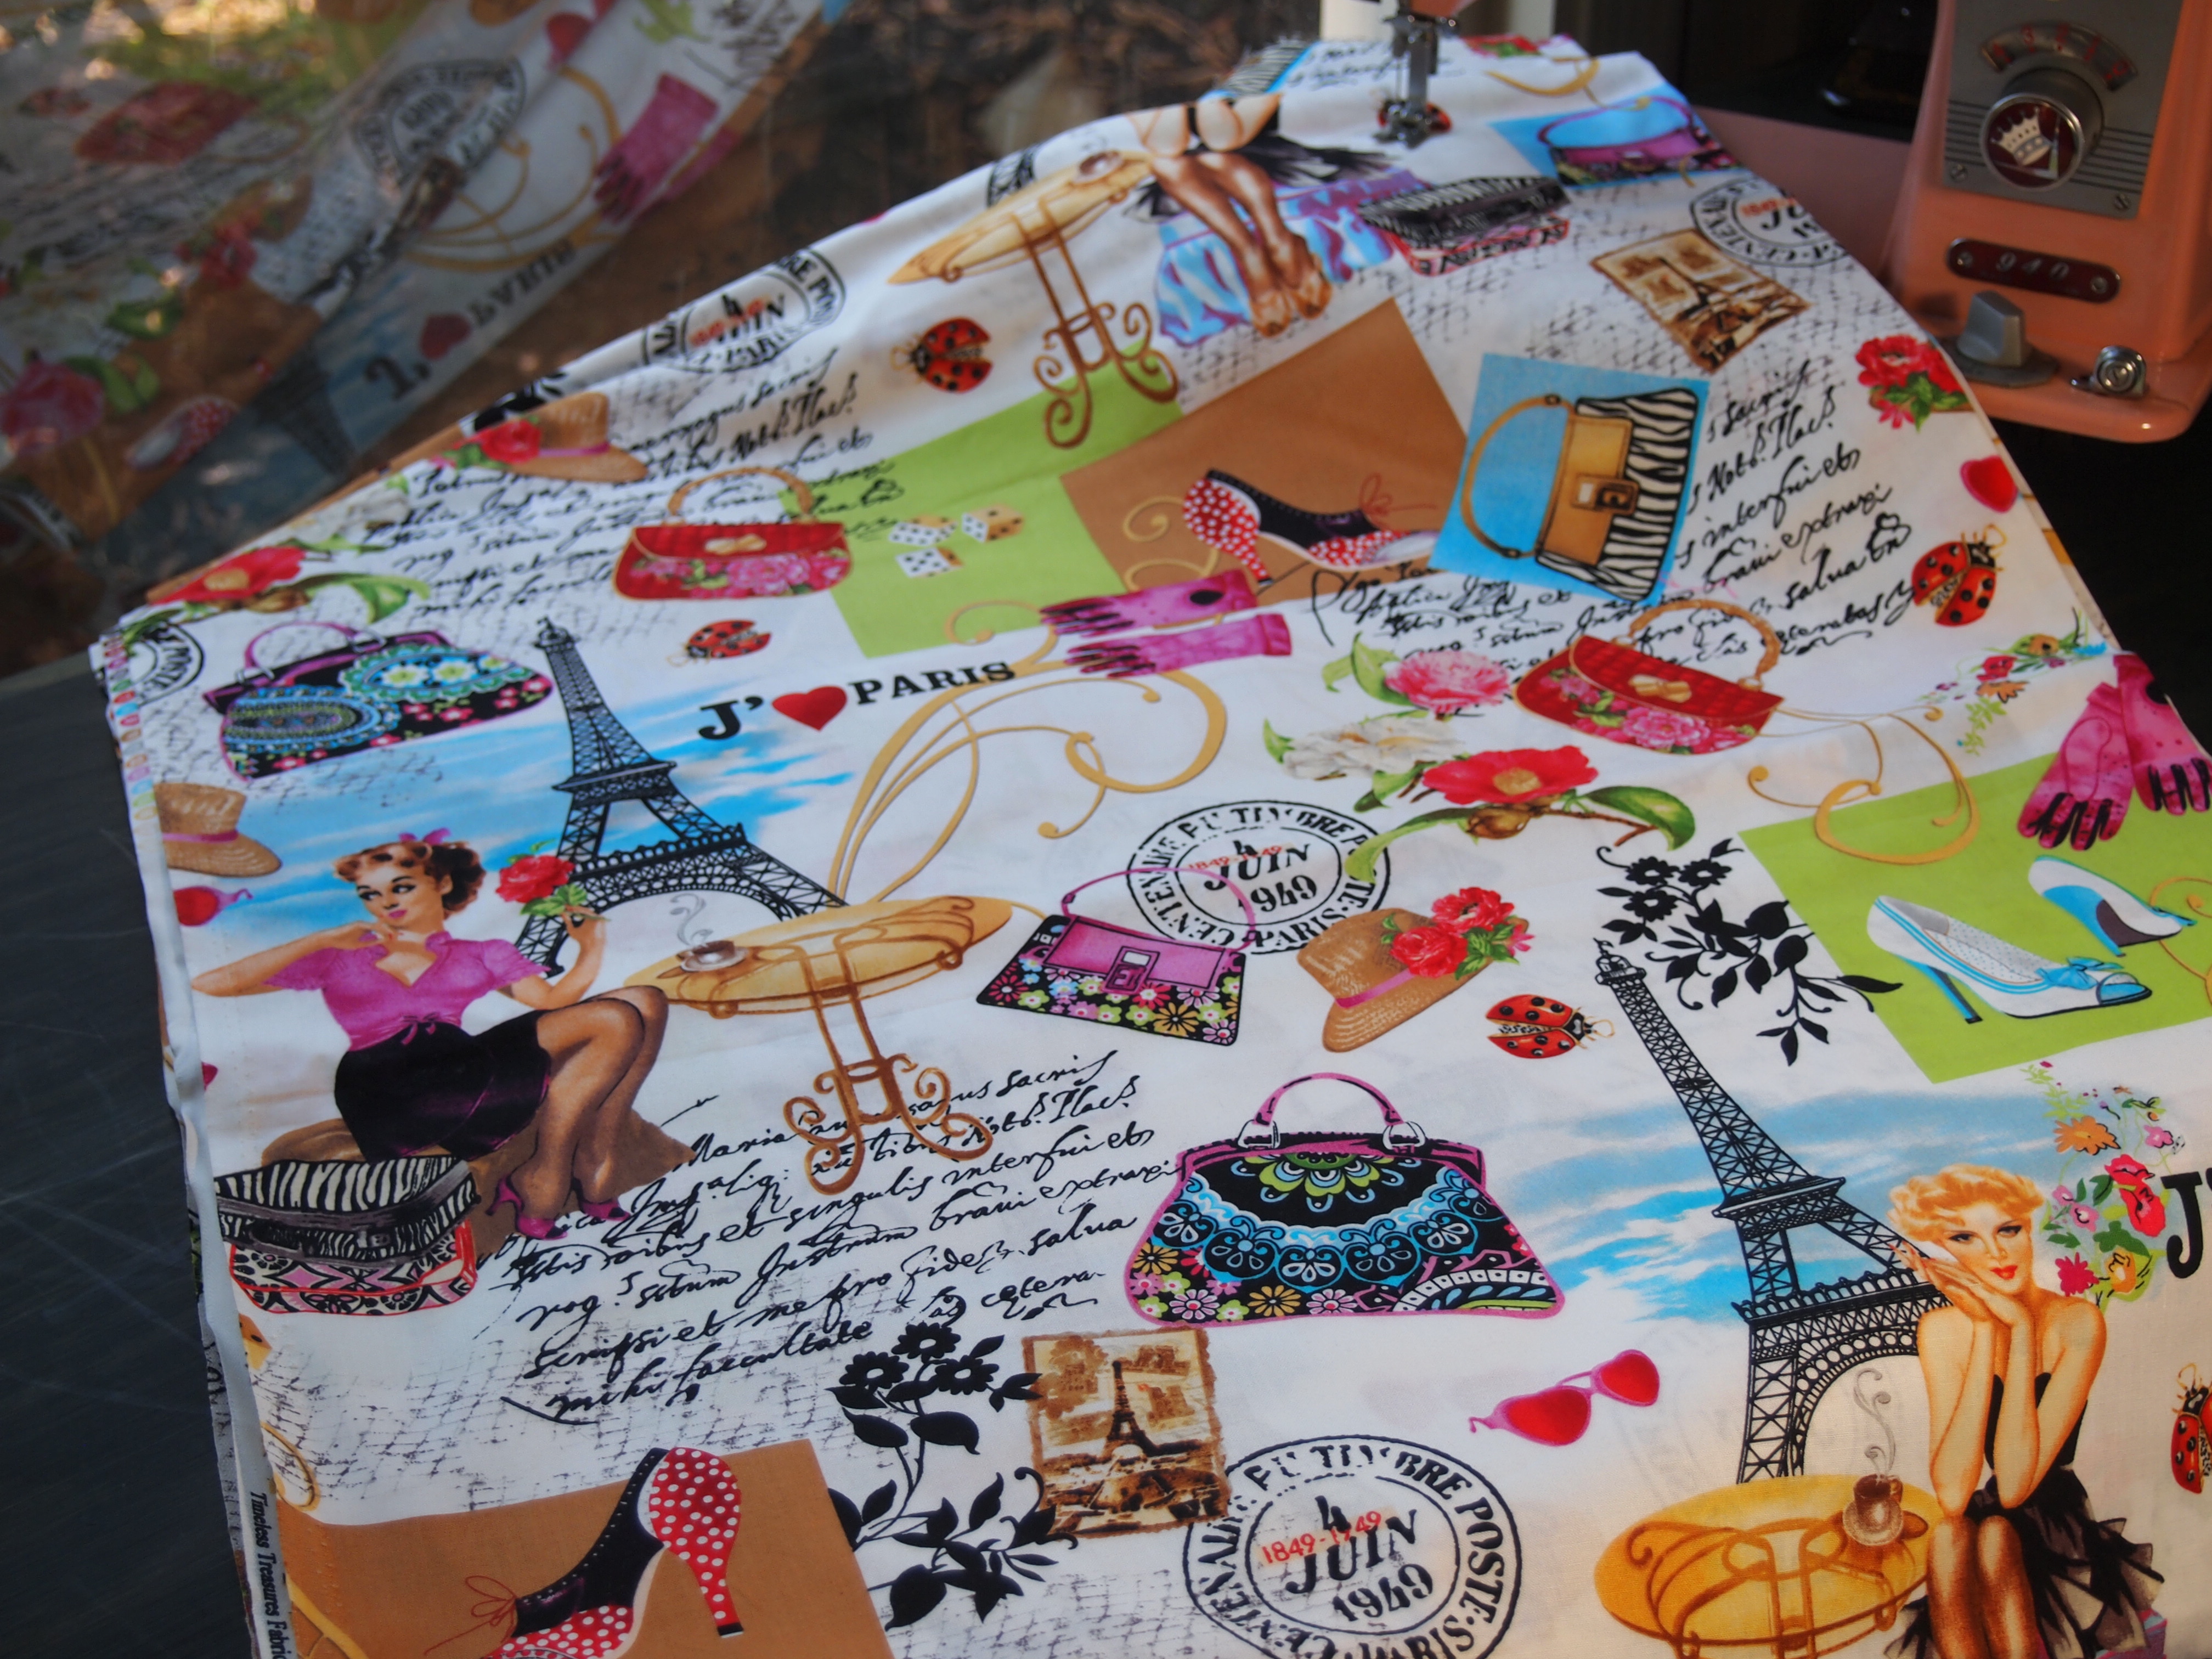
Paris Pin Ups
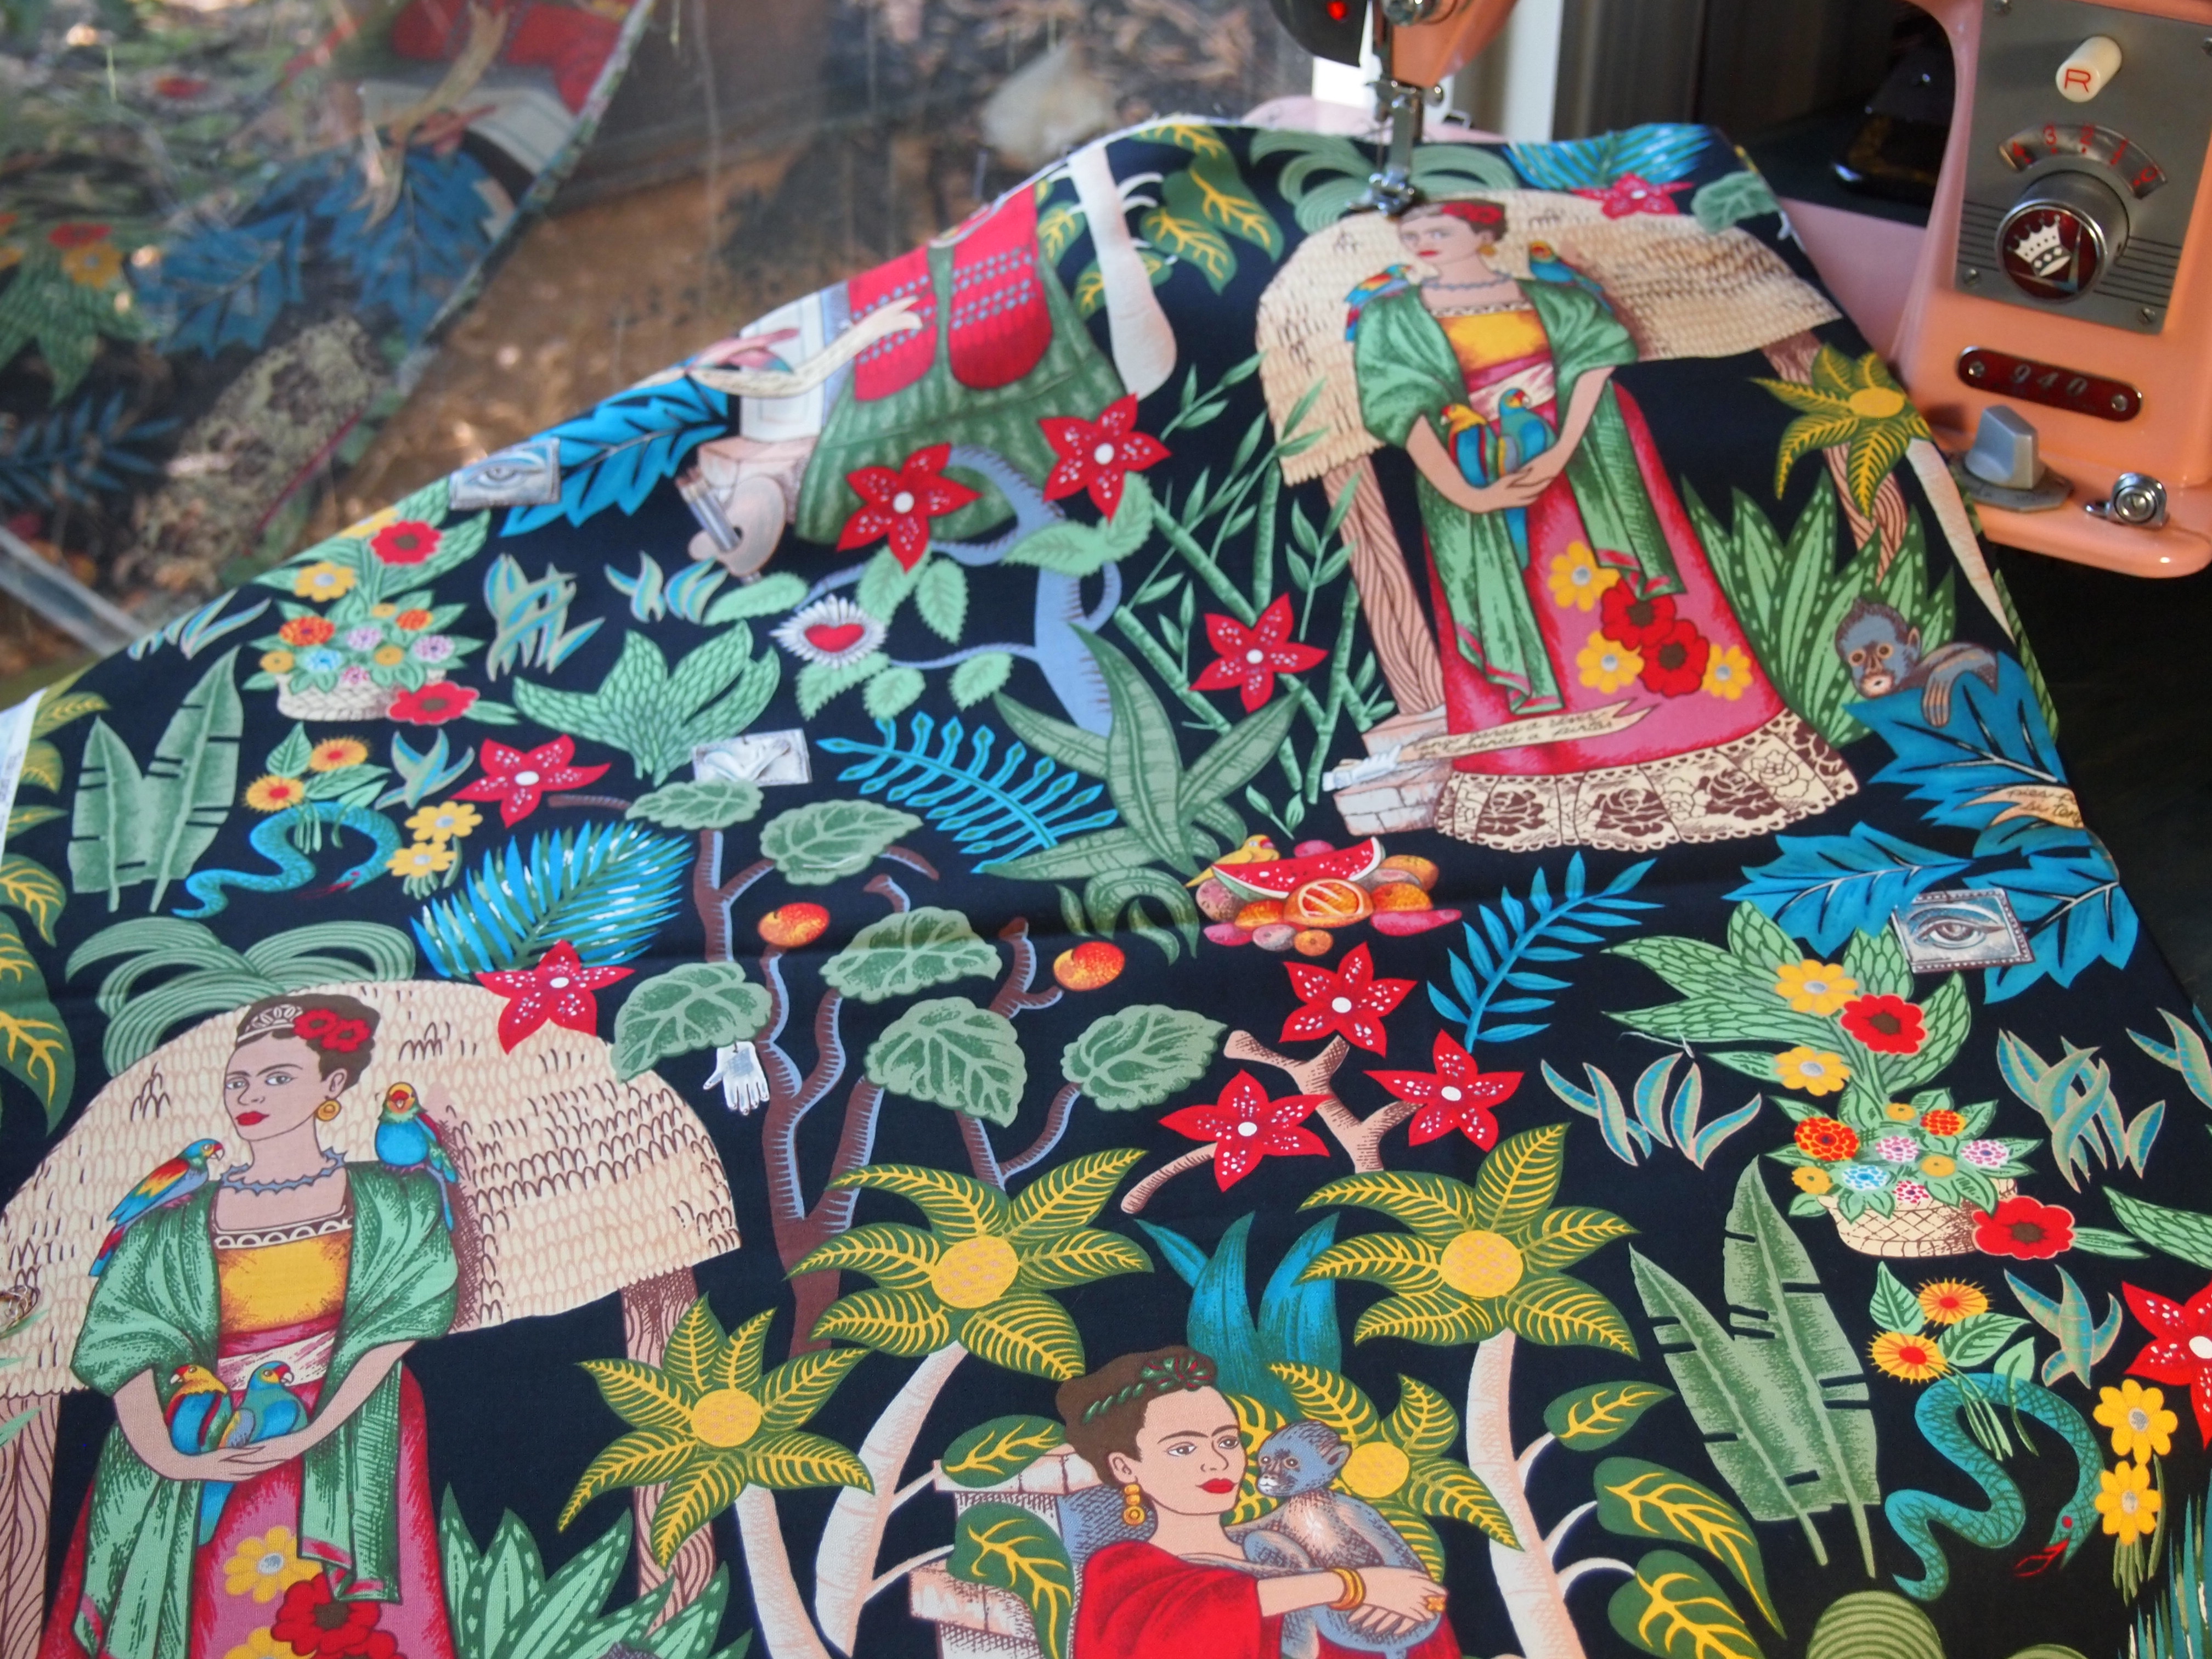
Frida’s Garden

Georgia O’Keefe
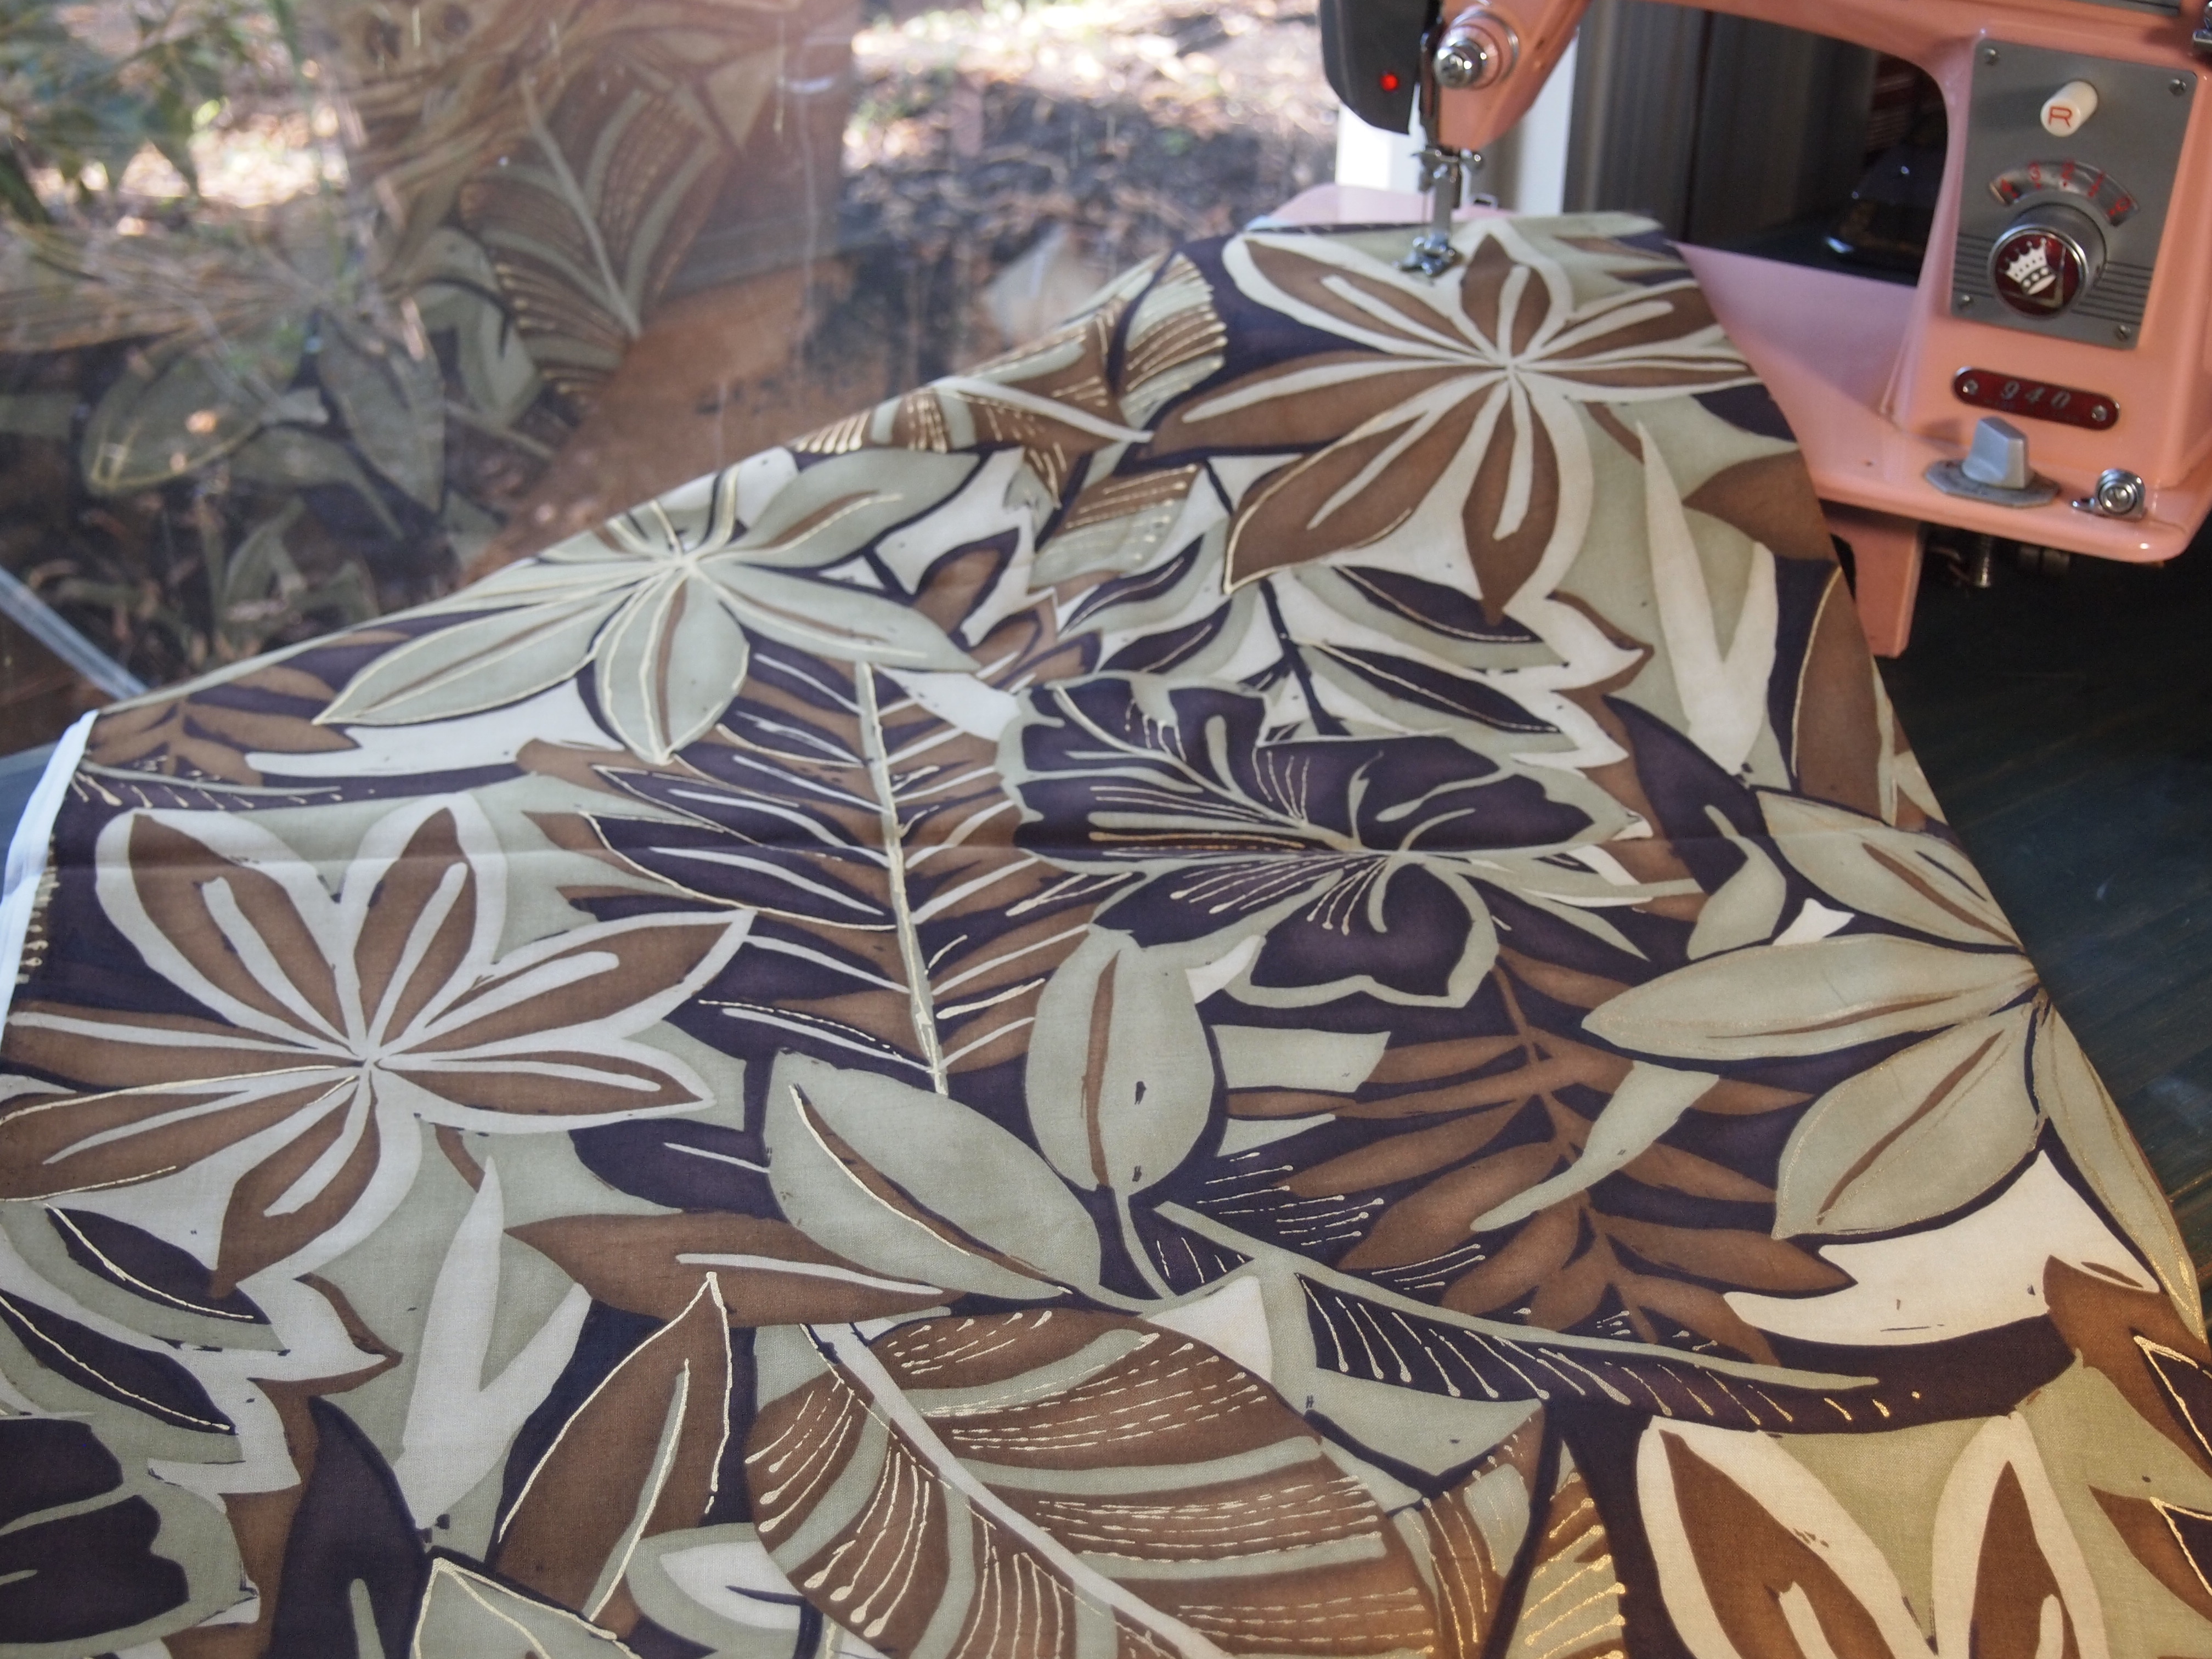
Large Leaves by Alexander Henry

Parrots in the Jungle

Kaffe Fasset same fabric 3 color ways

English country Side by Sue Beevers