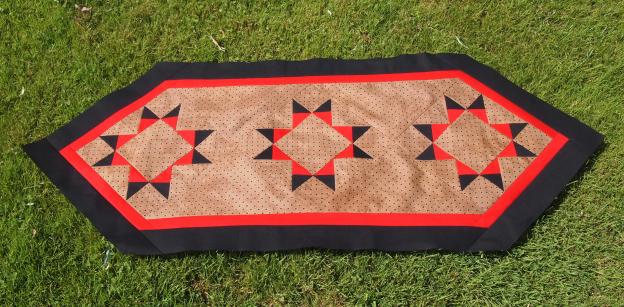
I was going through some magazines from last year and saw a quilt made by Catherine Hughes that had a block in it that contained different kind of Flying Geese units, the background of the geese were half square triangles. I decided to Tuckerize it, which meant I would use my favorite Studio 180 Design Tools.
I decided to make a 10″ finished size block containing a 5 1/2″ center square. The Studio 180 Design method of making flying geese using the Wing Clipper 1 uses one large square and four small squares. For this project the small squares would be half square triangles instead of just squares. The cut size of the flying geese would be 3″ by 5 1/2″. To determine what my large square and small squares should be I checked the chart that comes with the Wing Clipper 1. I cut the large square 6 1/2″. The cut size of the small squares should be 3 1/2″. Now I went to the chart that comes with my Tucker Trimmer I. For half square triangles that finish 3″ the cut size is 3 1/2″ which meant my starter squares should be 4″. Whew that was a mouthful! For 3 blocks I cut 6 red – 4″ squares and 6 black – 4″squares.

On the back of the red squares use your Magic Wand and draw diagonal lines on either side.

Place 1 red square on each black square.
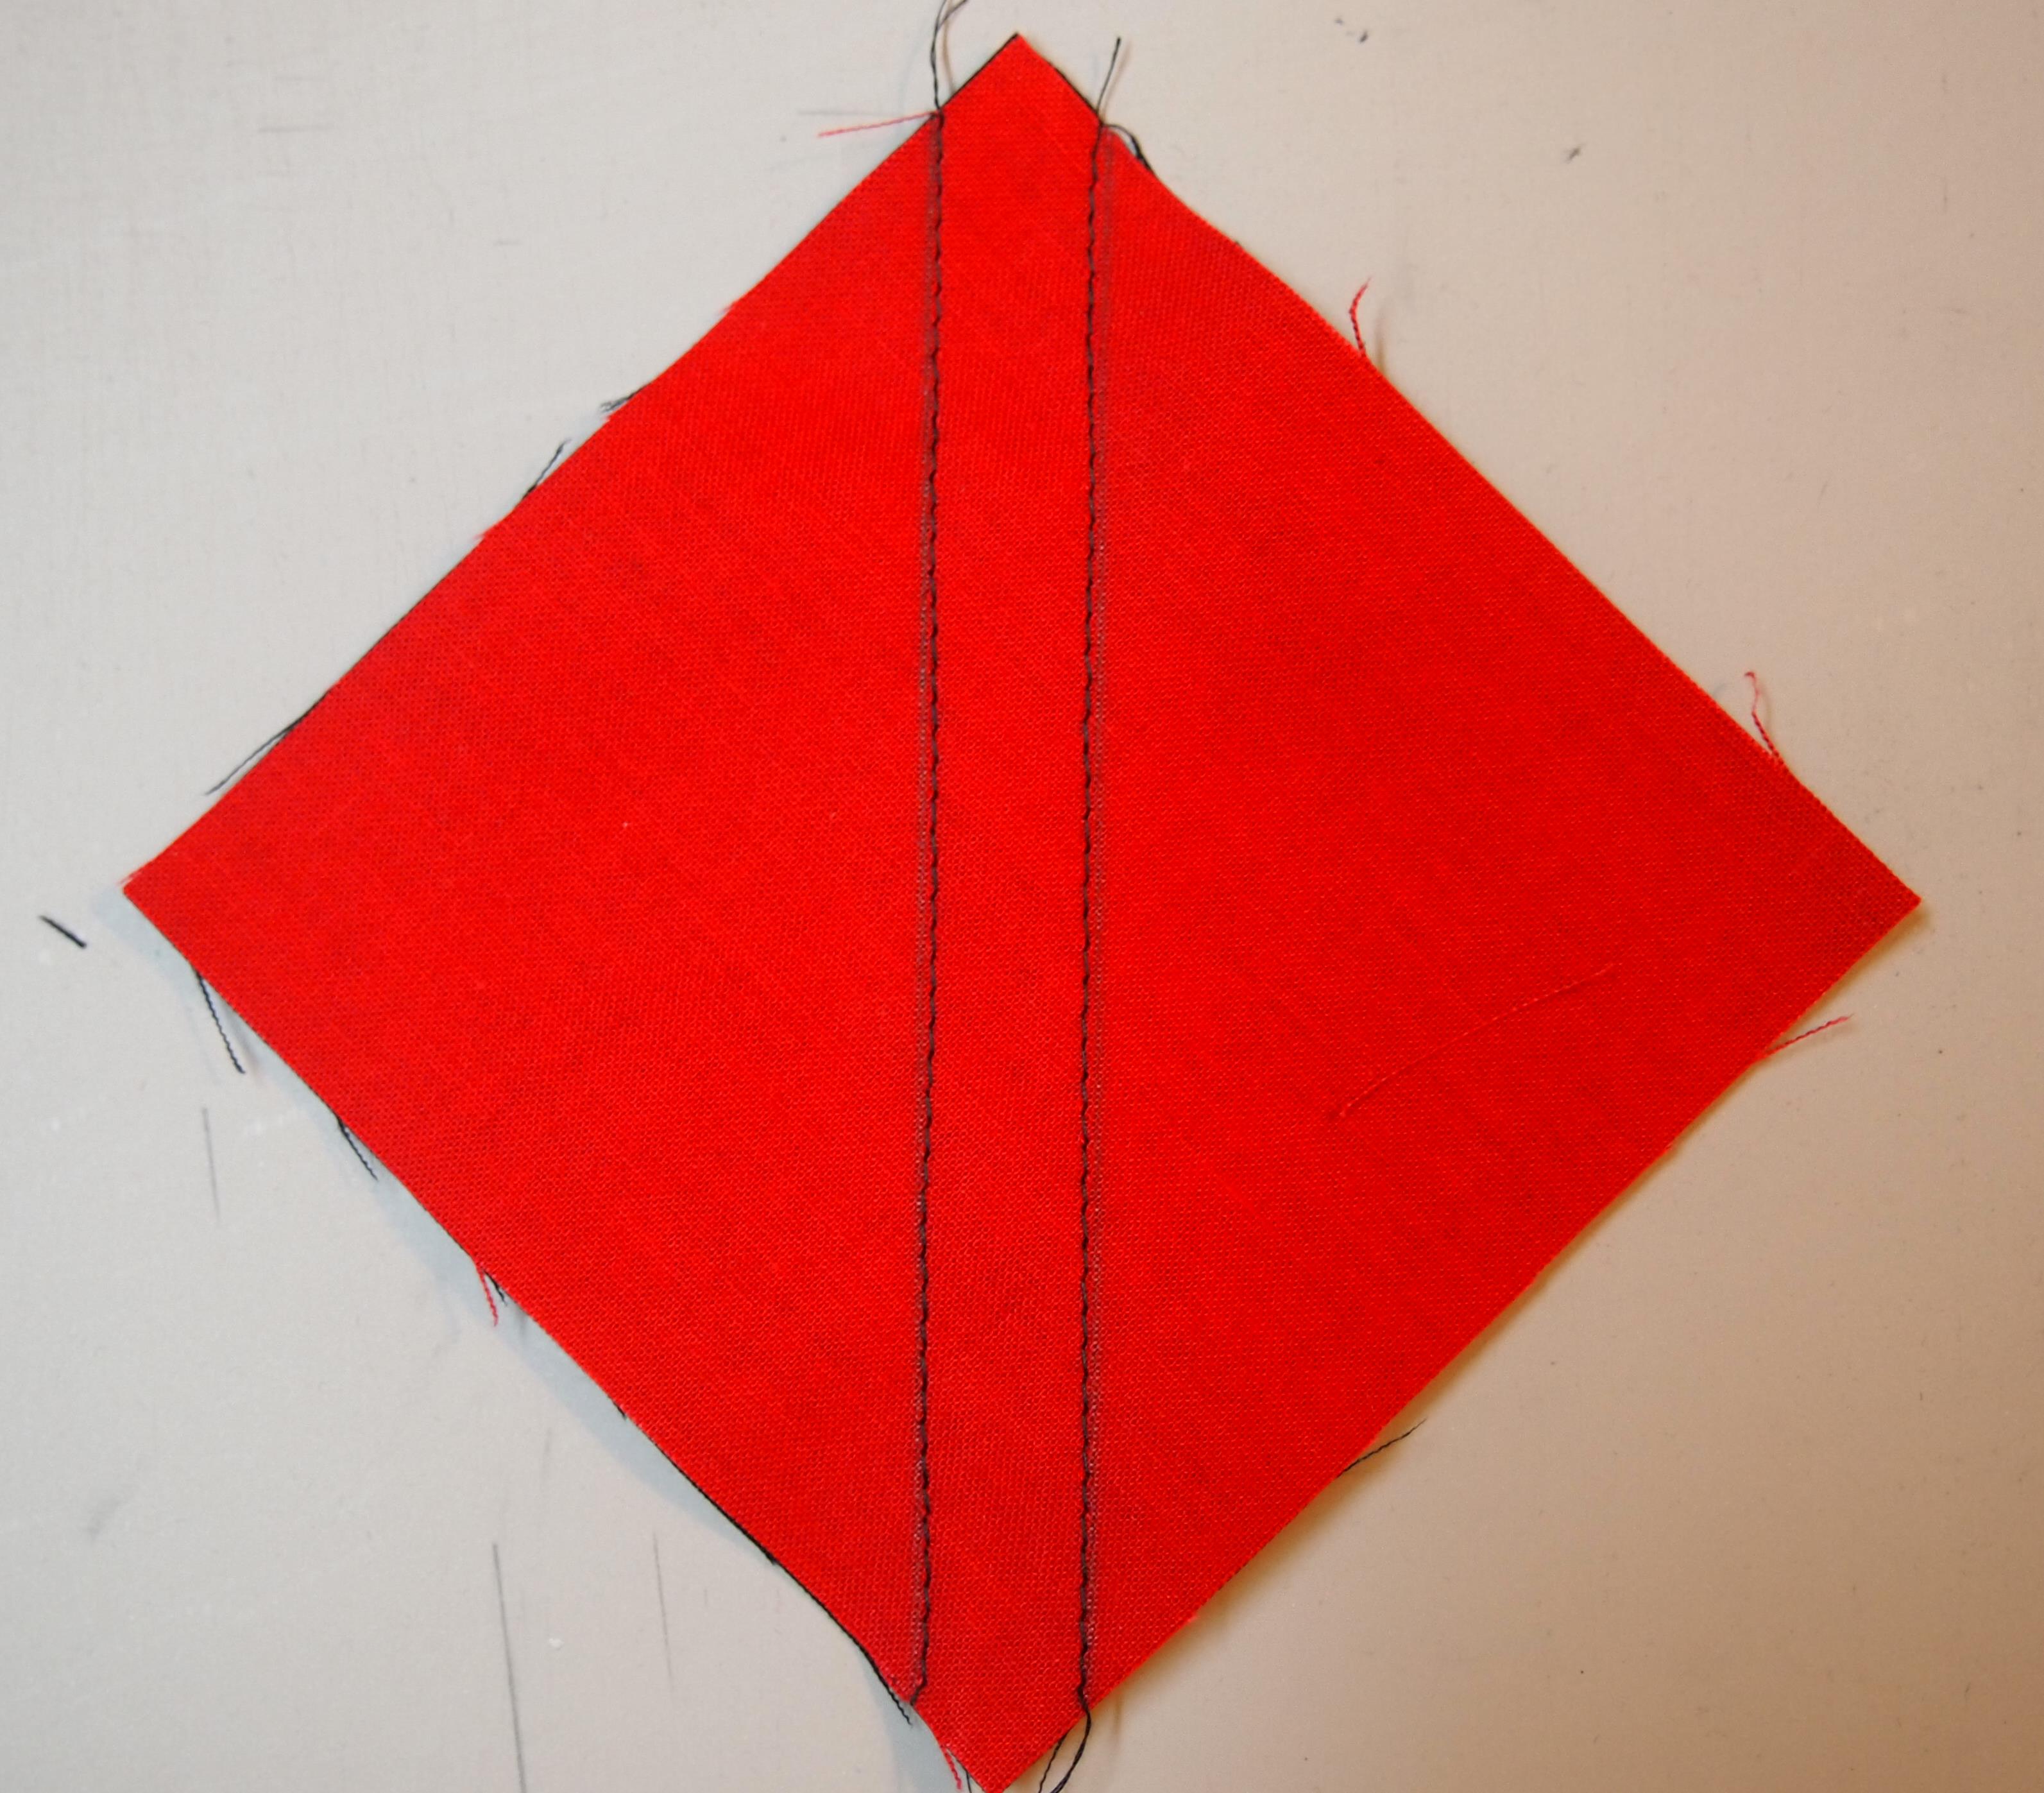
Sew on the lines.

Cut apart between the sewn lines.

Press toward the dark.

Square up to 3 1/2″ using your Tucker Trimmer I.

Using your Magic Wand draw diagonal lines on the wrong side of the half square triangles.

Place a 6 1/2″ square right side up and position 2 half square triangles wrong sides together as shown nudging the half squares triangles in from the corners about a 1/16″.

Sew on the drawn lines and cut apart.
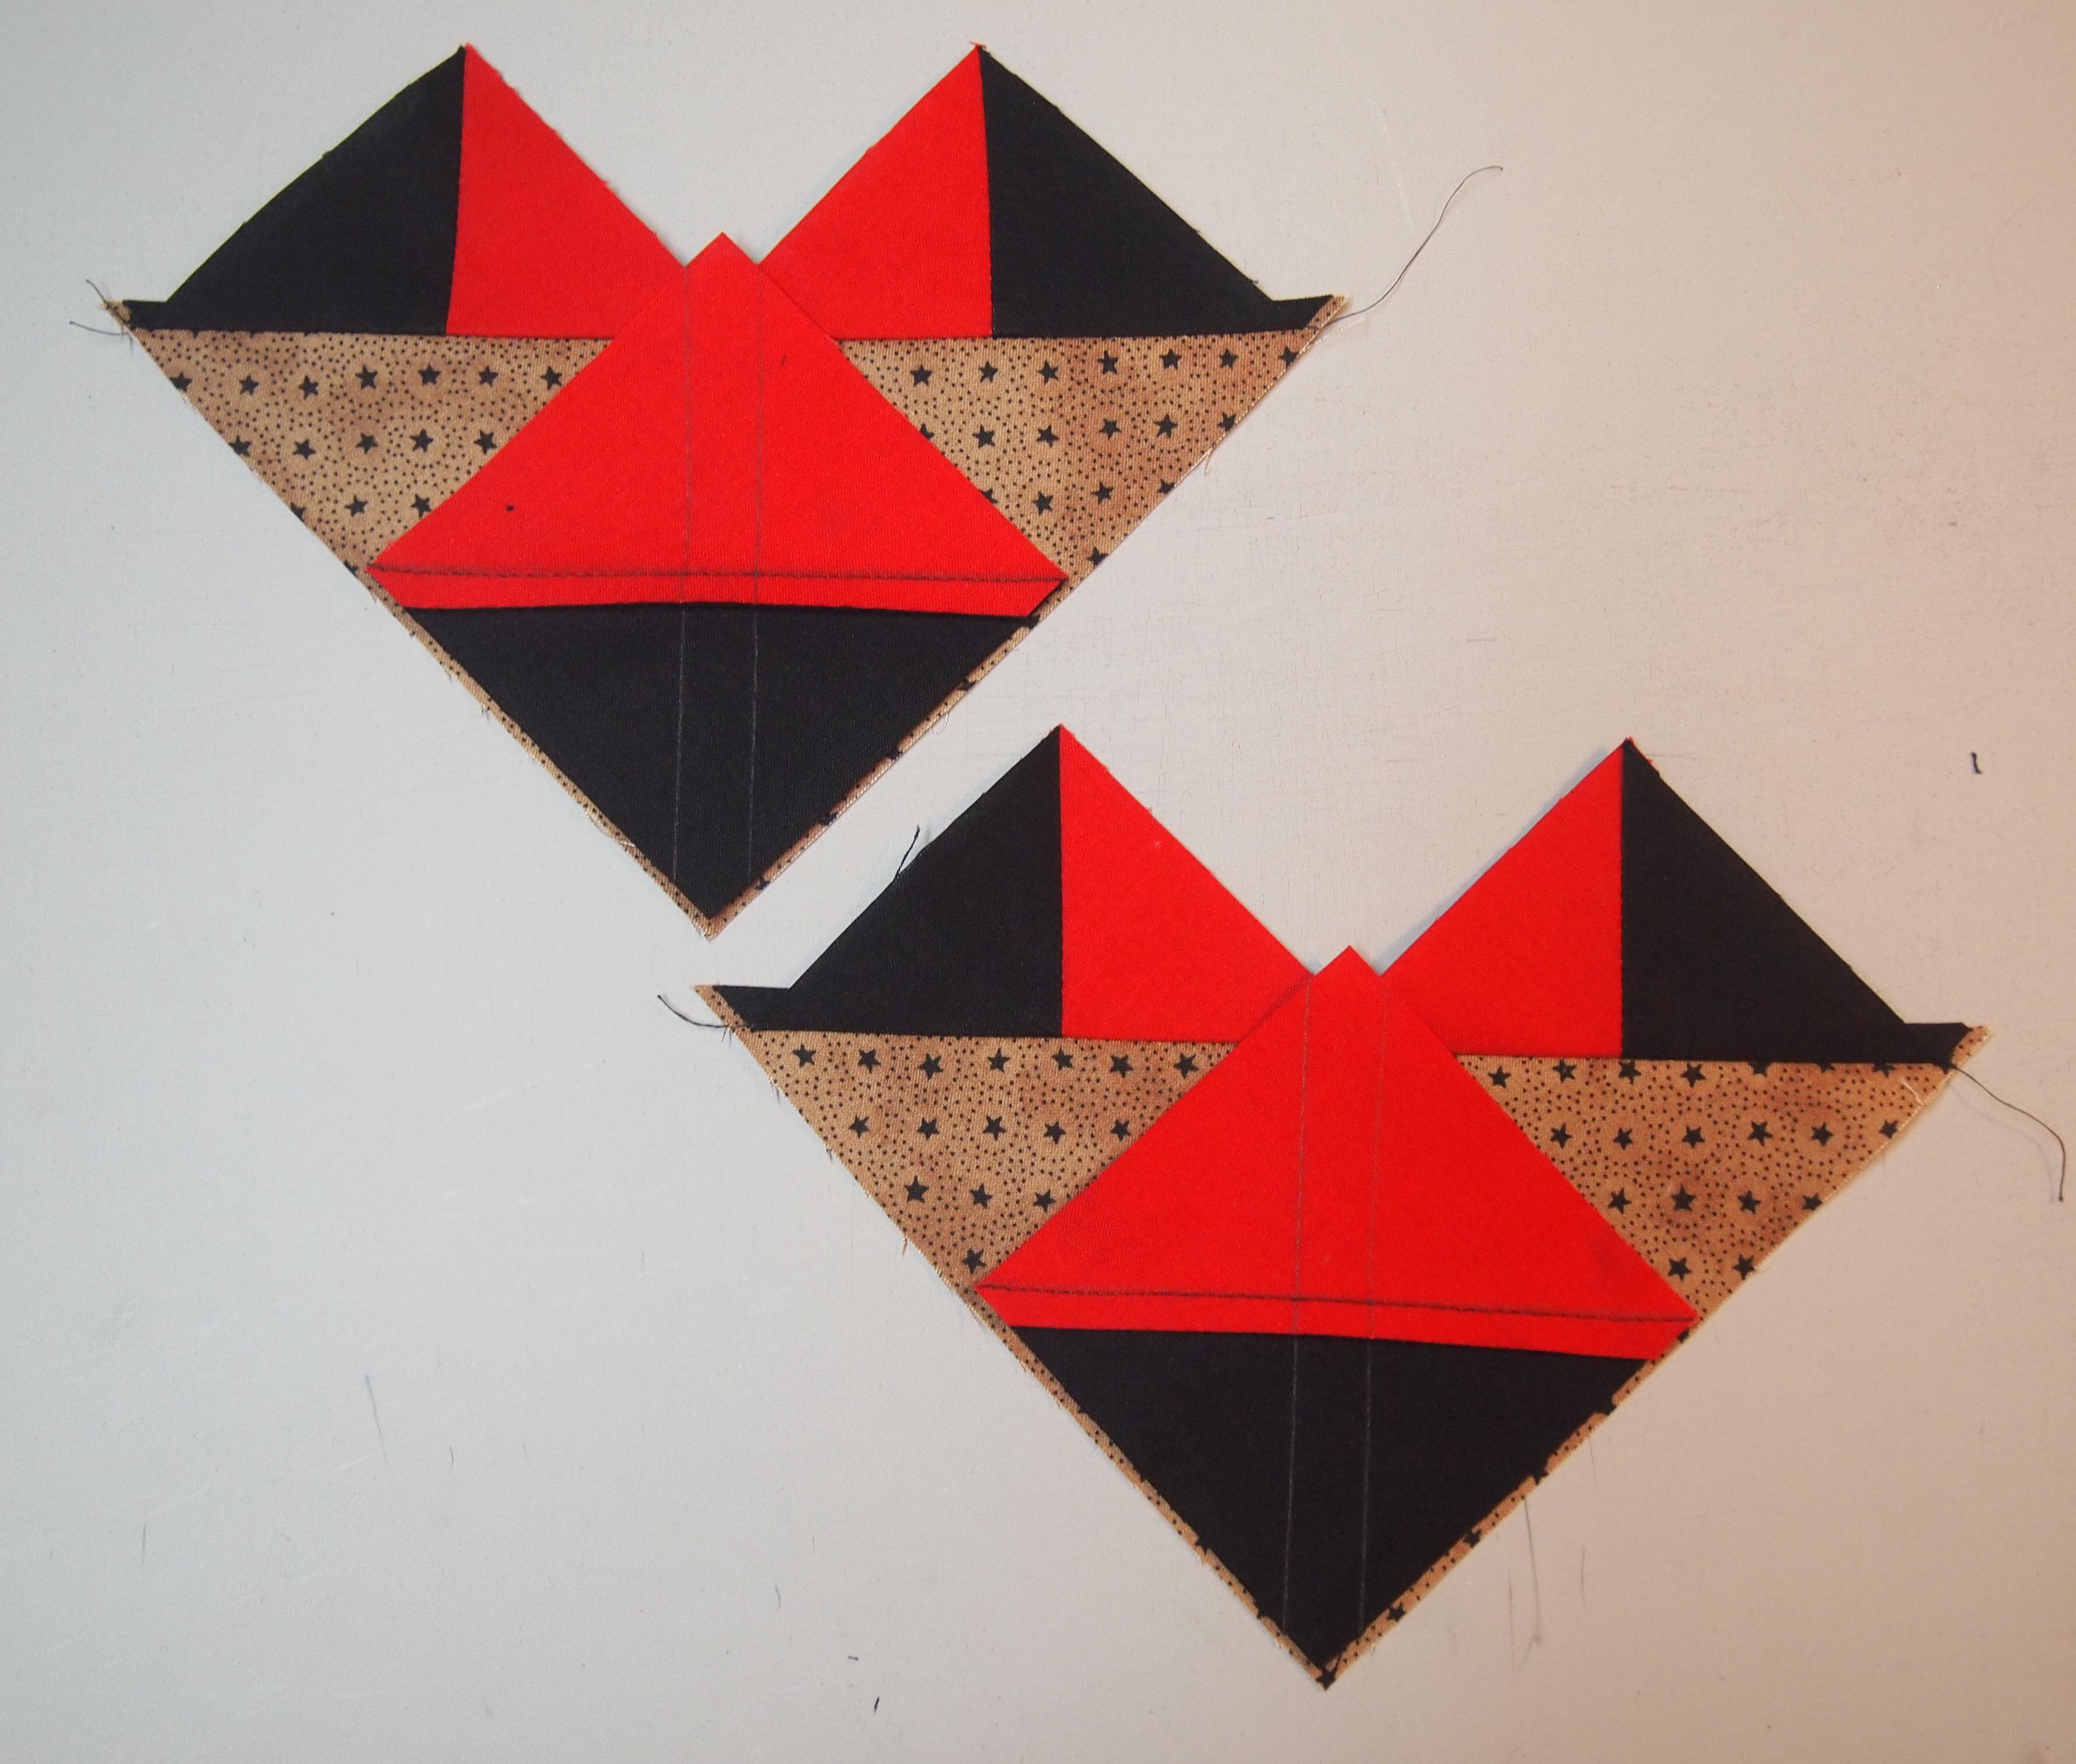
Press toward the small triangles. Position another half square triangle as shown again nudging away from the corner 1/16′.

Sew on the lines and cut apart.

Press toward the small triangle.

First trim.

Rotate unit, second trim.
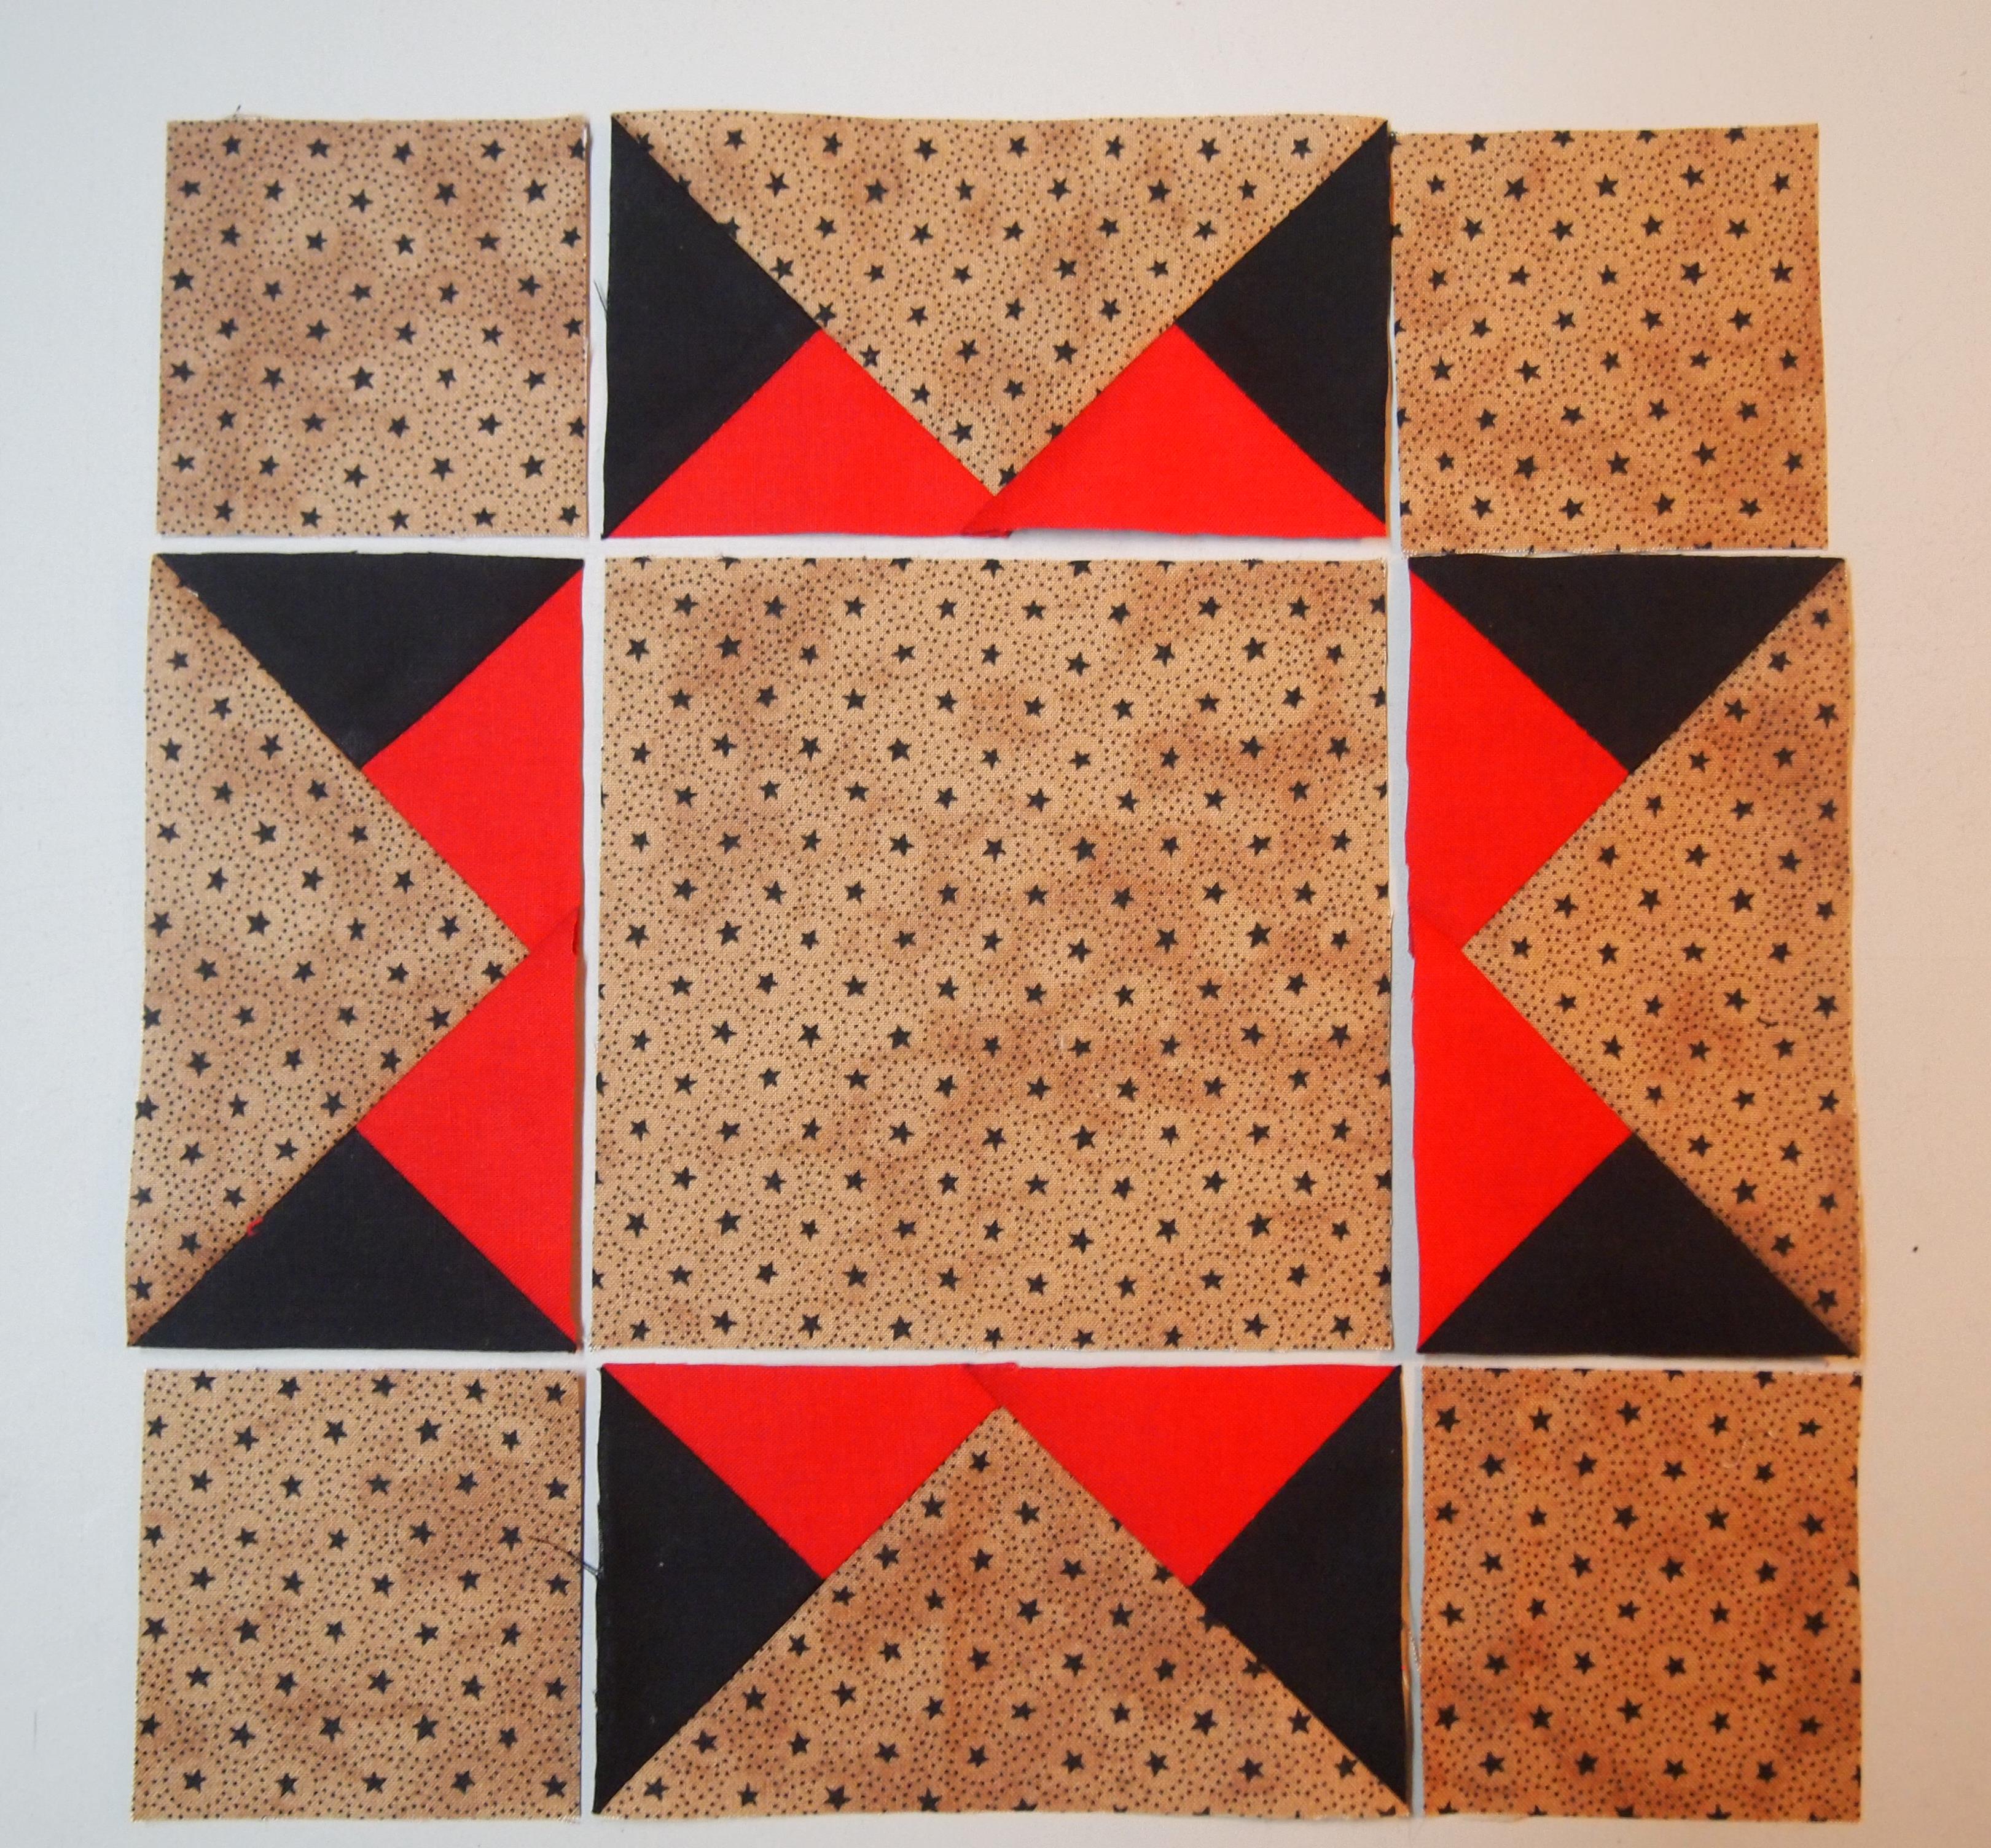
Block layout. Cut 3″ squares for the block corners.
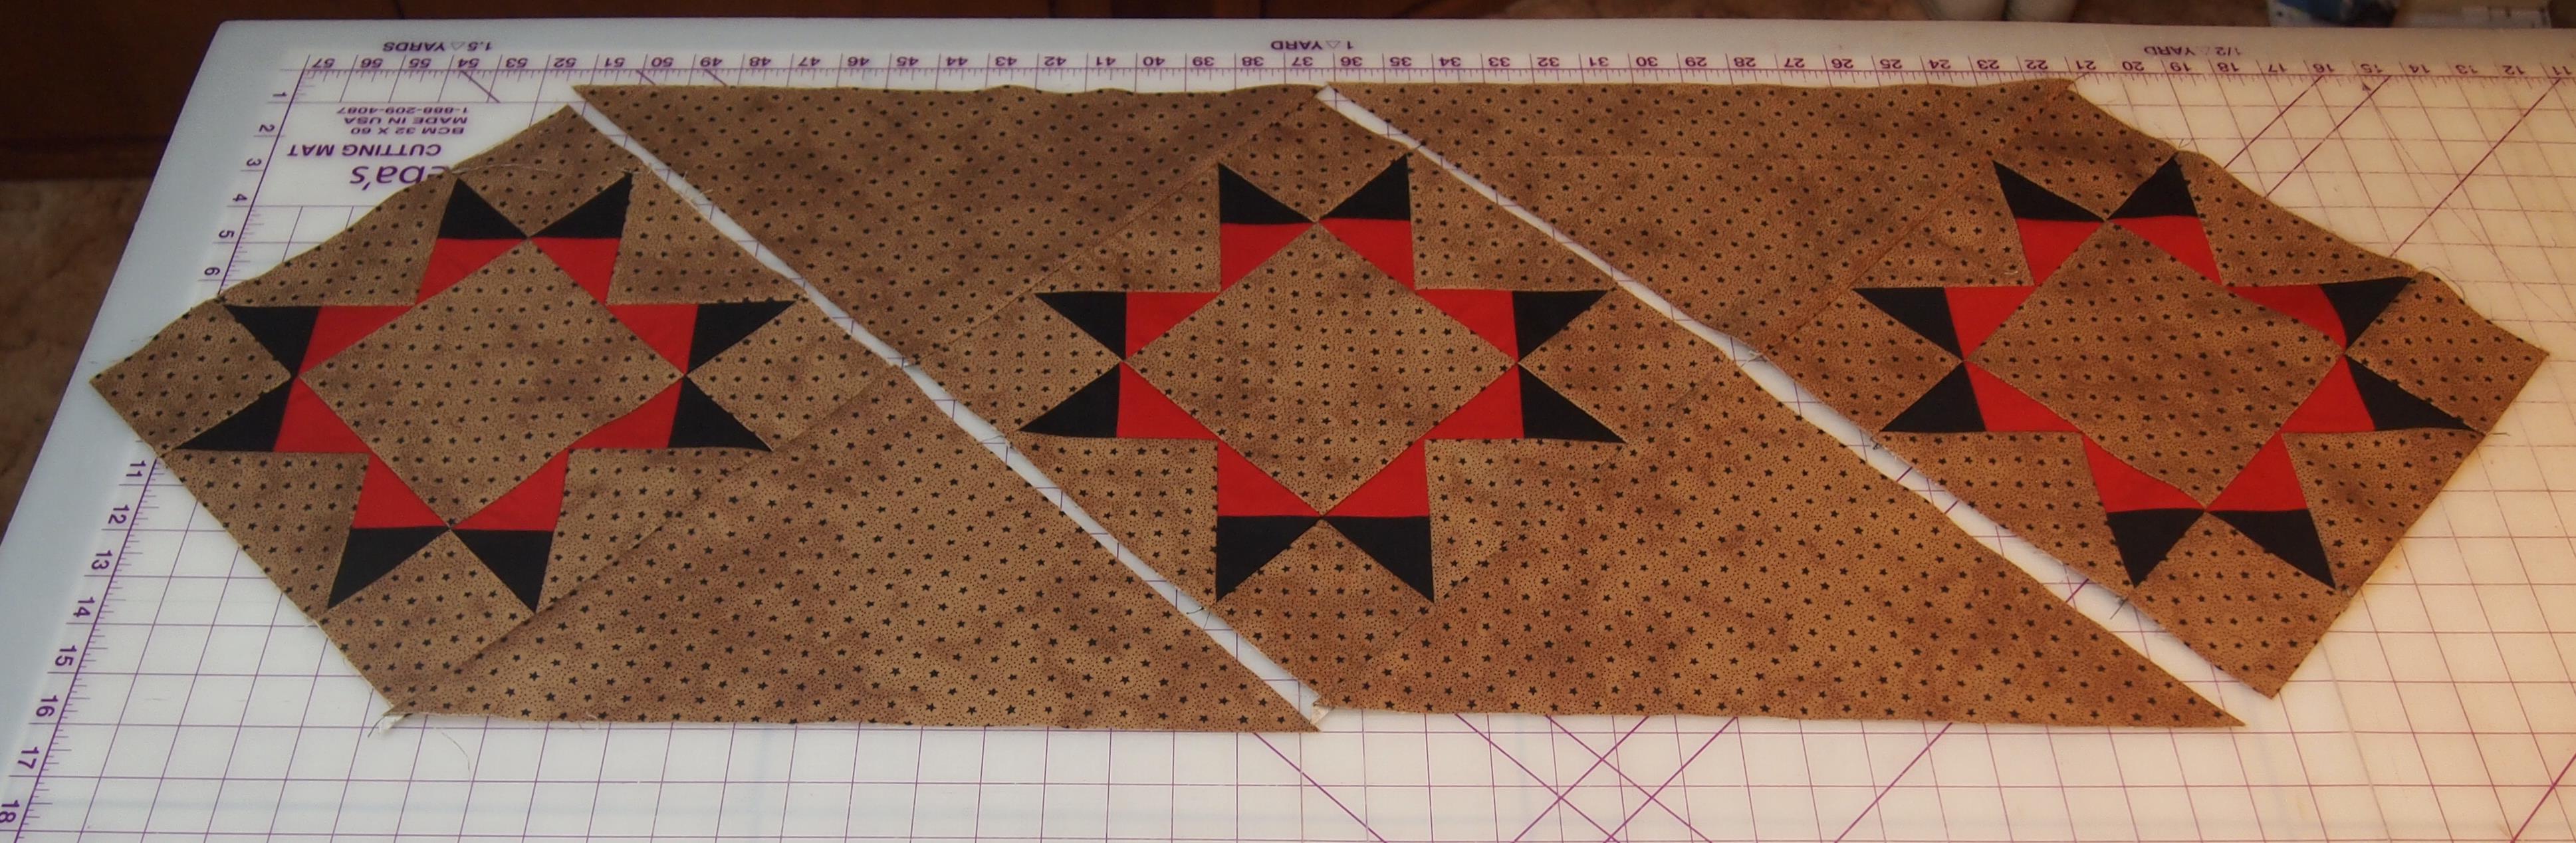
Repeat process to make 3 blocks. Cut one 15 1/2″ square and cut diagonally twice to make the side triangles. Sew the side triangles to blocks as shown.

I cut 4 – 1 1/2″ red strips for the inner border and 4 – 2 1/2″ black strips for the outer border.

Excellent tutorial! It is very beautiful and I love its colors.
LikeLike
Thank you so much!
LikeLike
That’s really cool and different! Thank you!
LikeLike
Thanks, I agree, it is cool and different!
LikeLike
Very nice tutorial! Love all your photos, and the finished tablerunner is beautiful! 😊
Jane
LikeLike
Thanks Jane!
LikeLike