Category Archives: Block Detective

No Pattern??? No Problem !

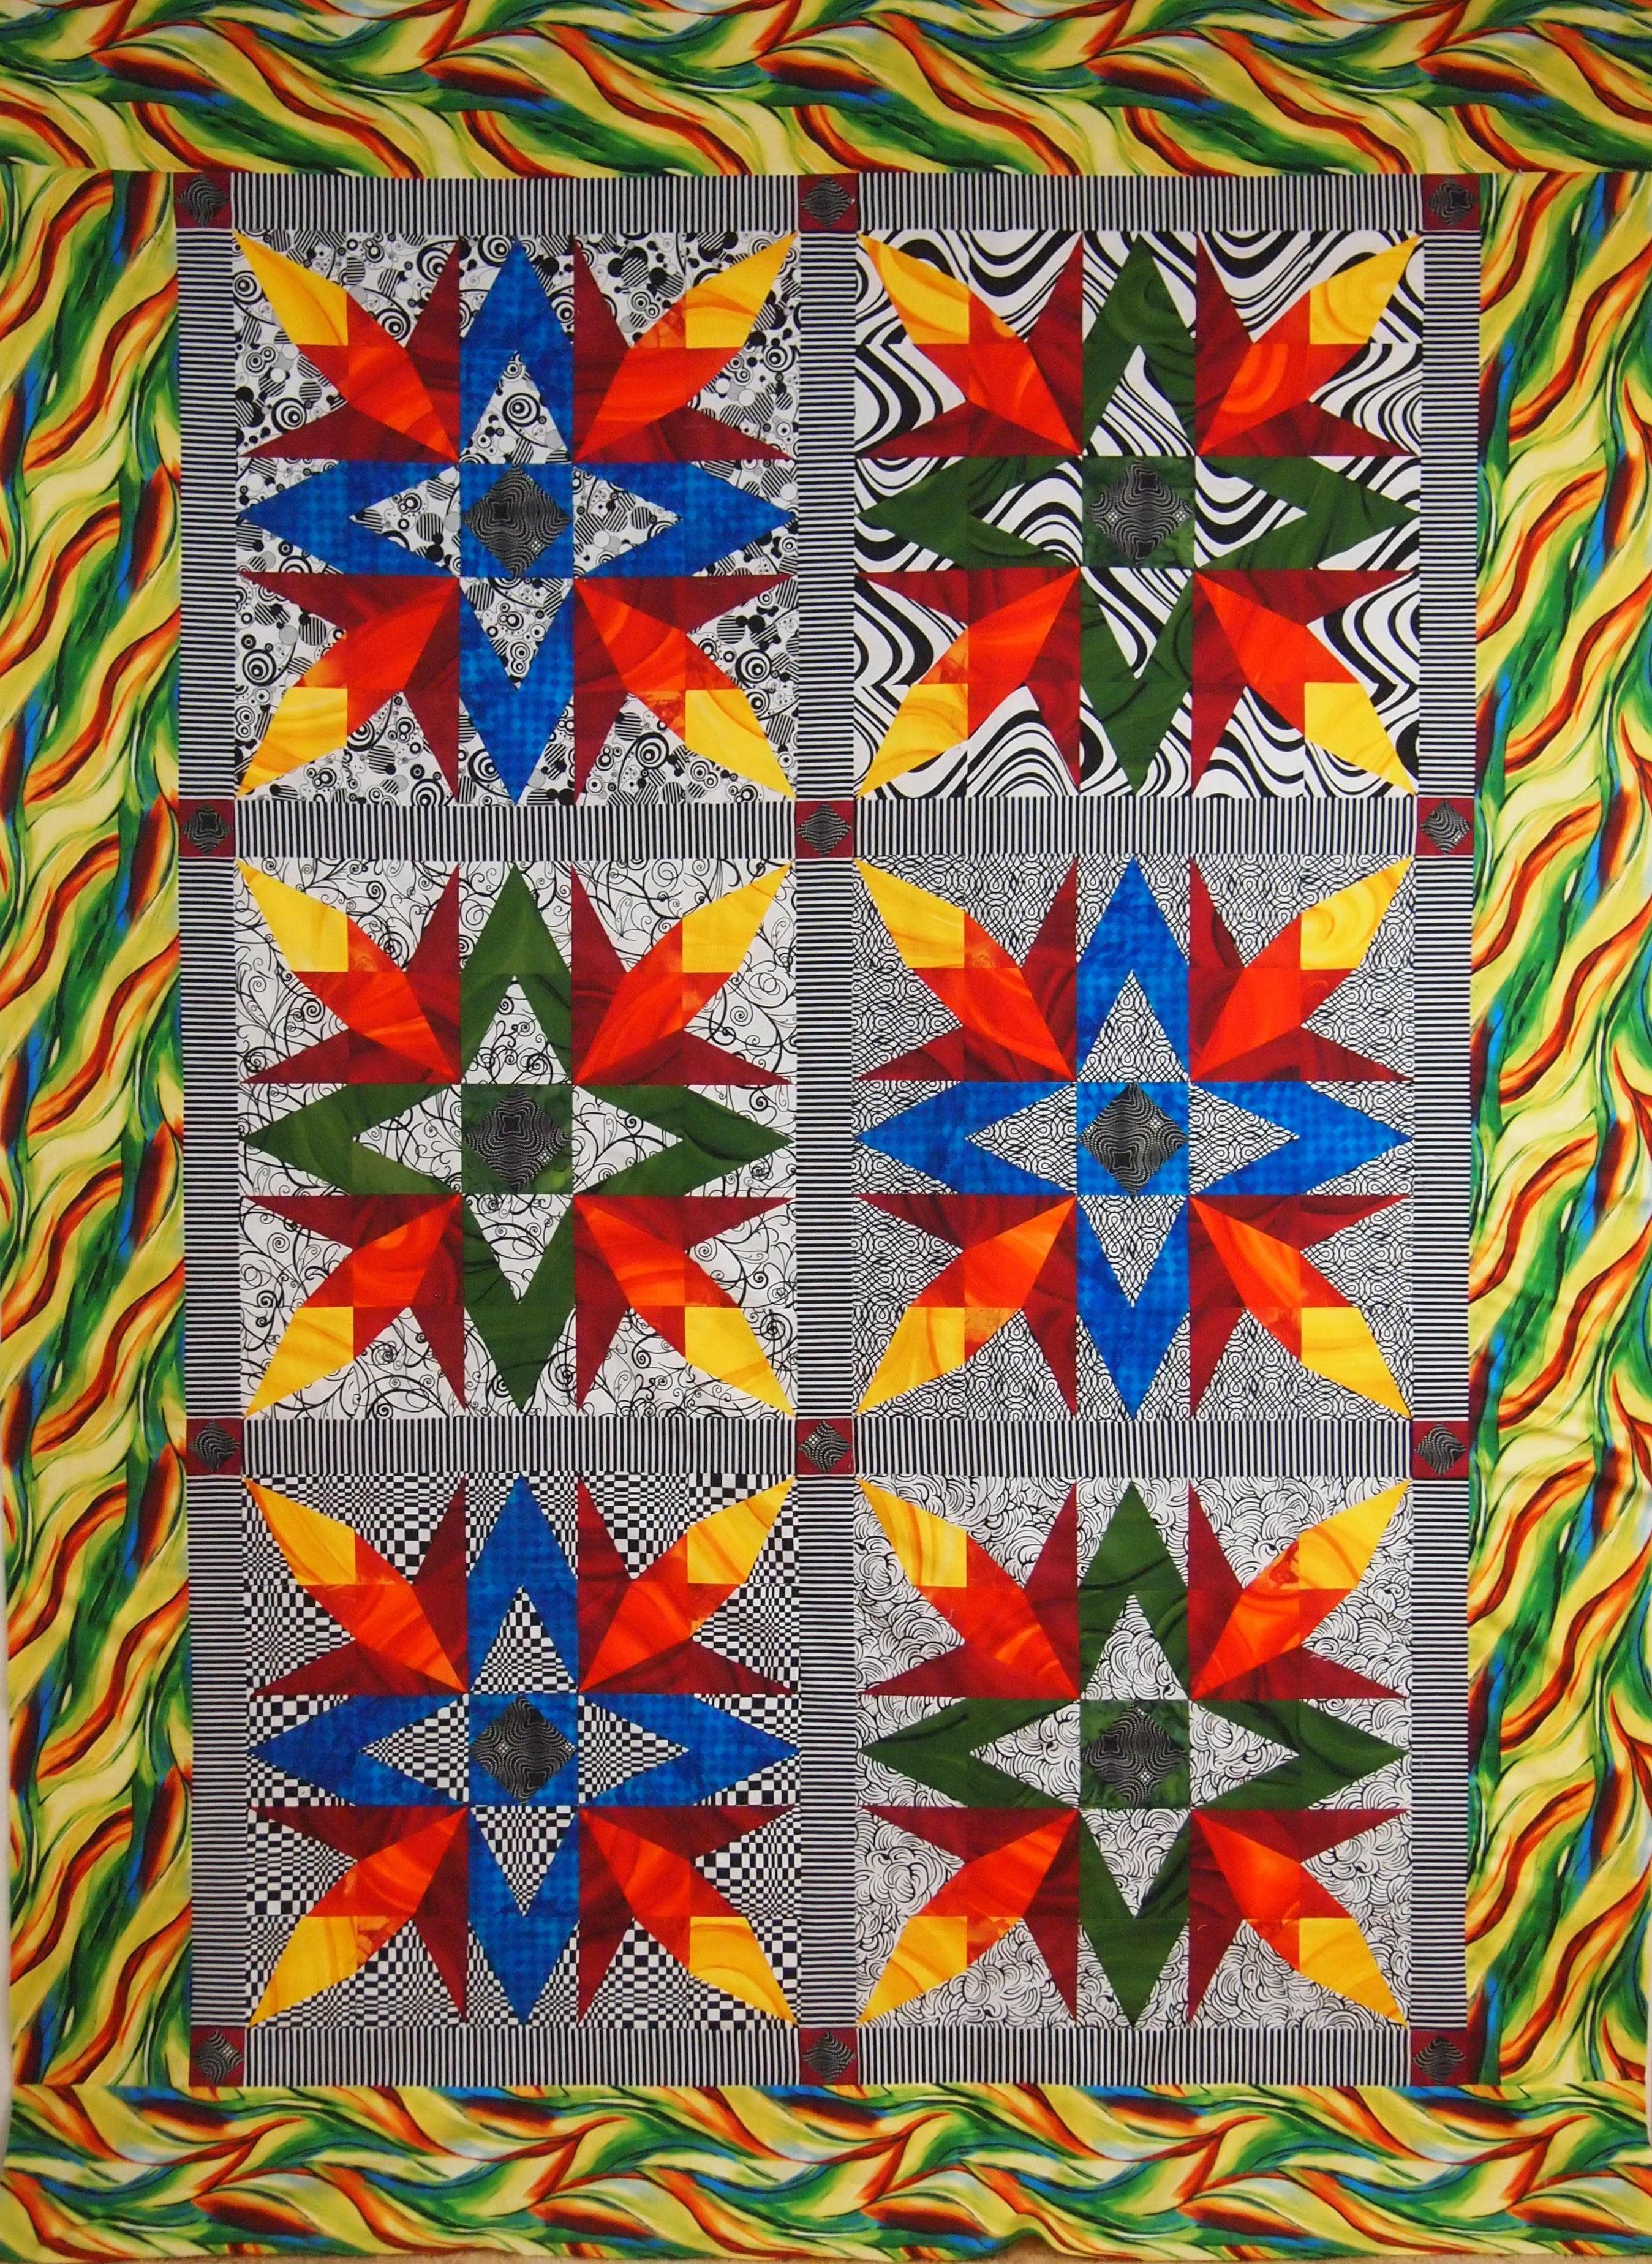
Did you ever see a picture of quilt that you really wanted to make but couldn’t find the pattern? If you can identify the units that make up the block, you don’t really need the pattern. Last year I blogged about being a “Block Detective”.  I saw this quilt in a book By Doreen Speckmann.  I loved it and wanted to make it, but not with the paper templates that the author suggested.

OLYMPUS DIGITAL CAMERA

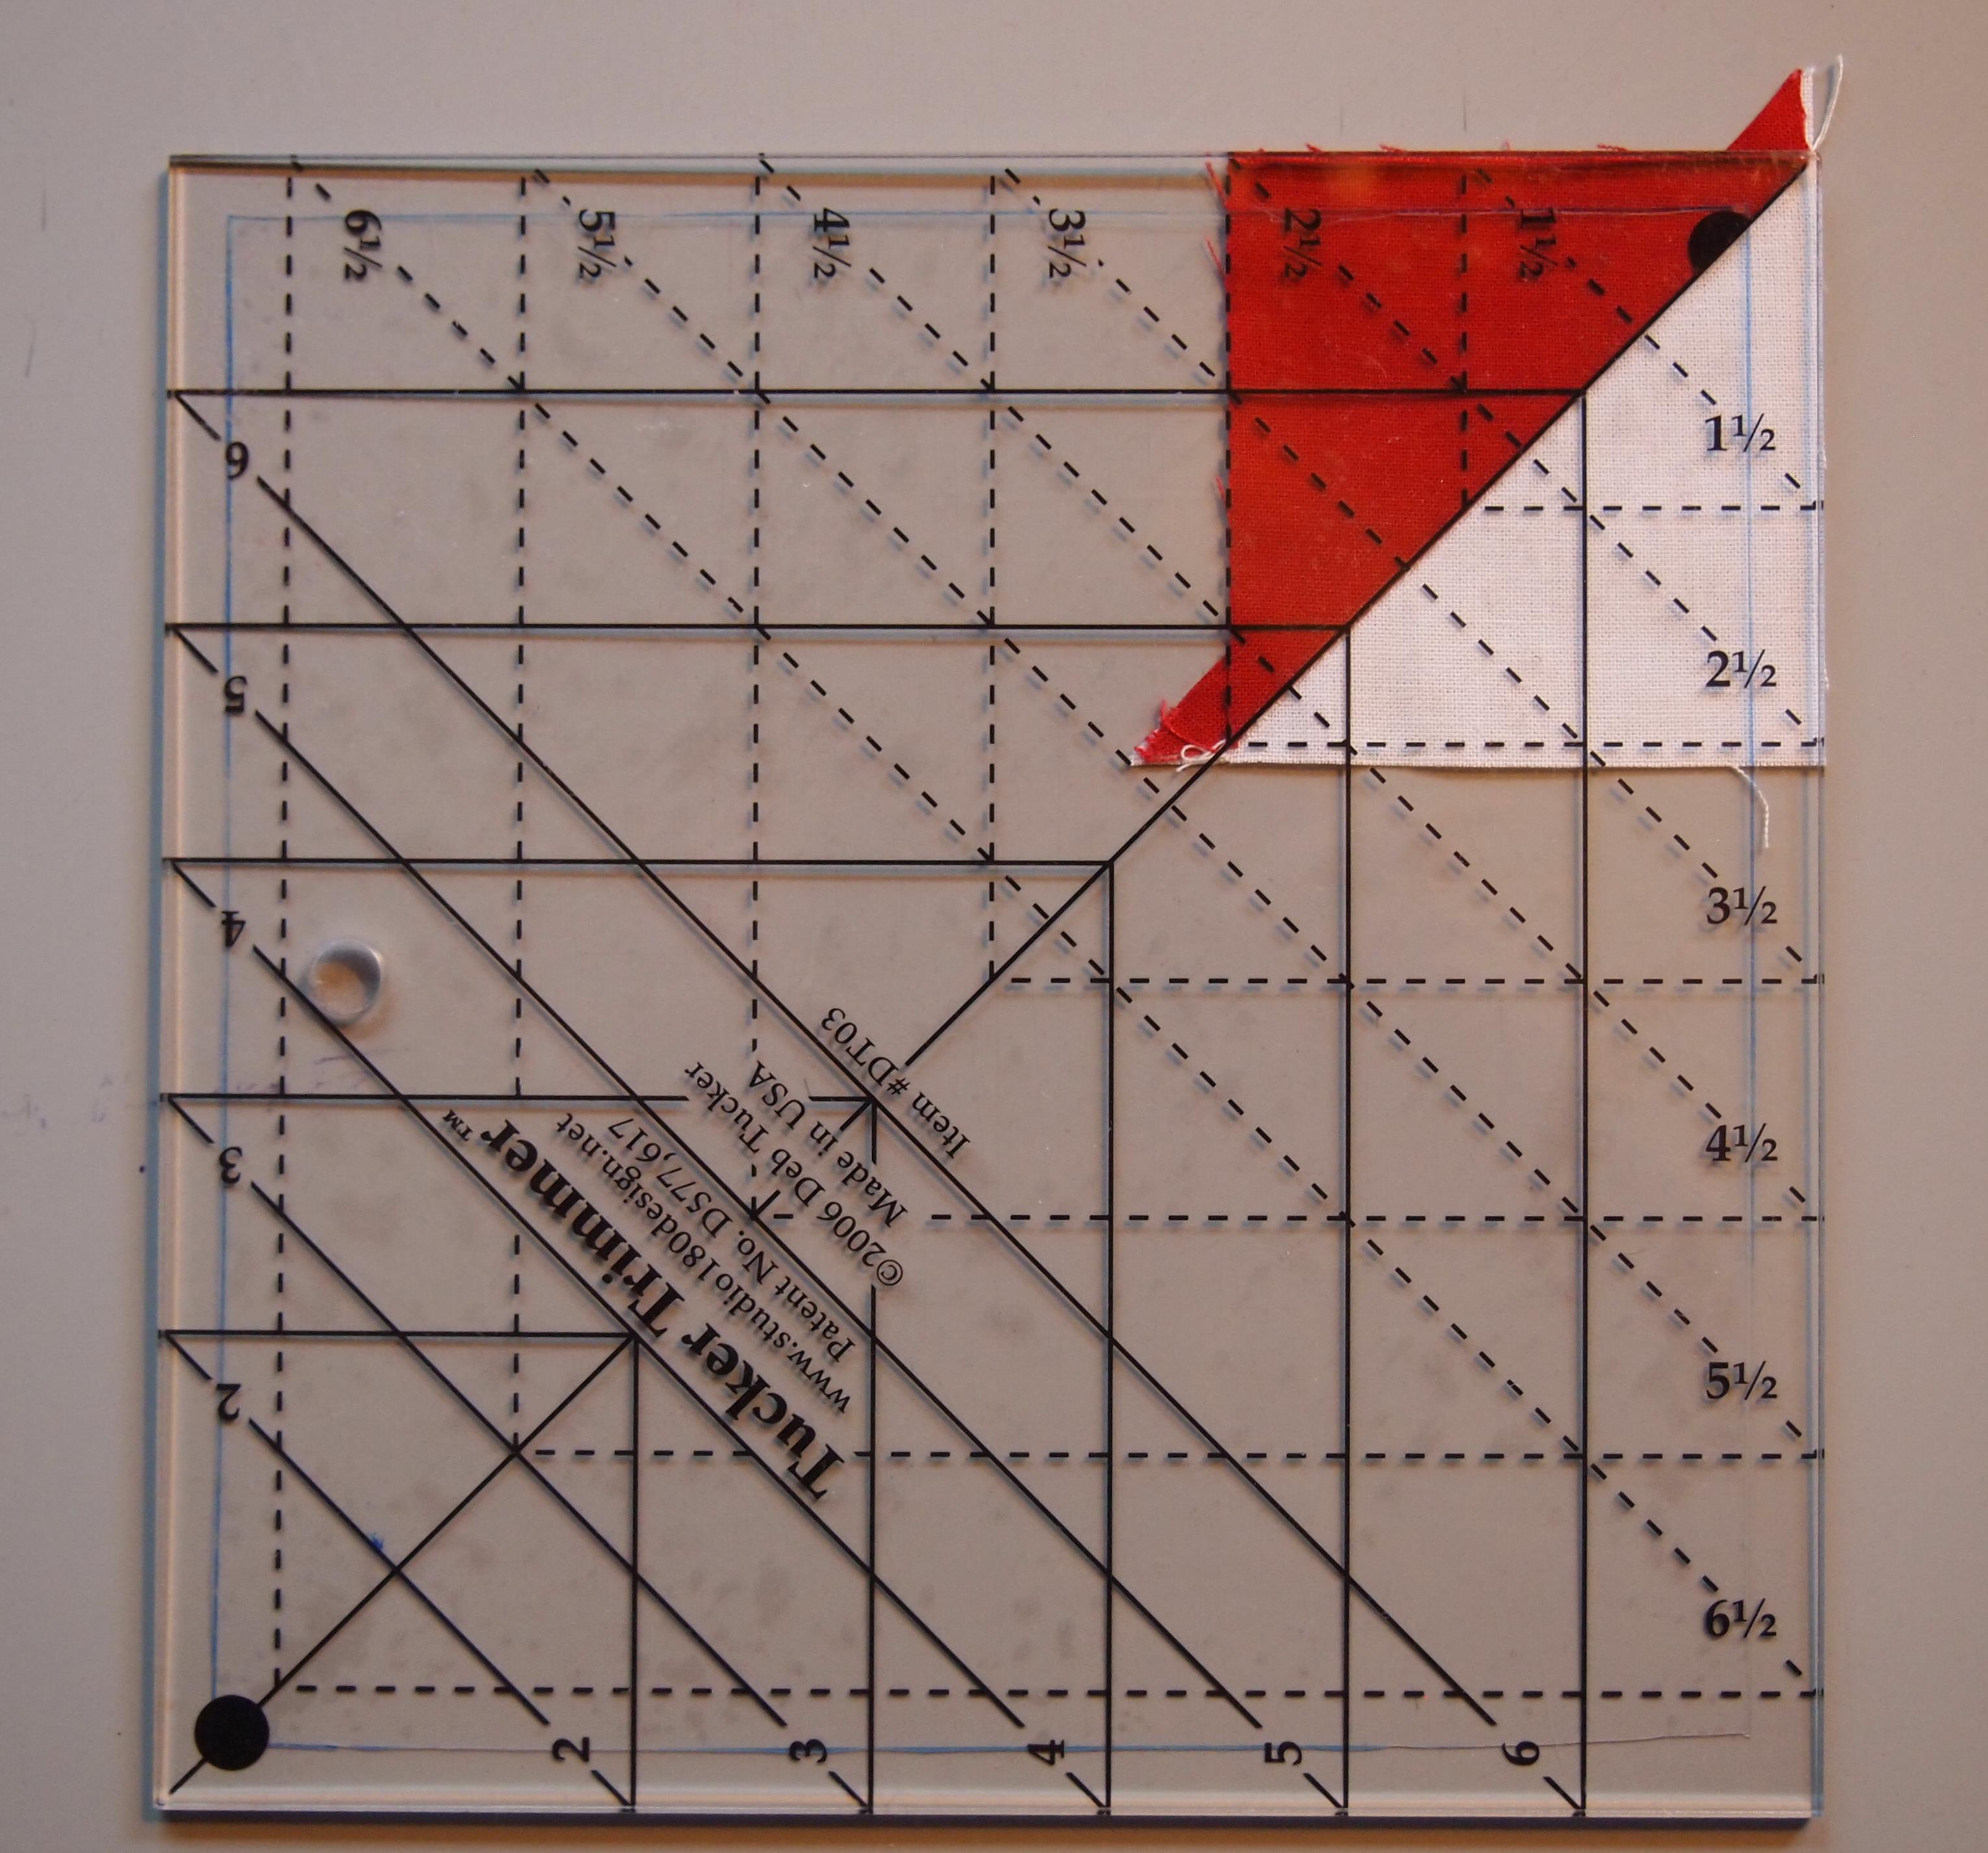
So, being a Certified Deb Tucker “Block Detective” I decided to try it out by making a block with 2″ finished units.  I loved the bright colors against black & white backgrounds.

OLYMPUS DIGITAL CAMERA

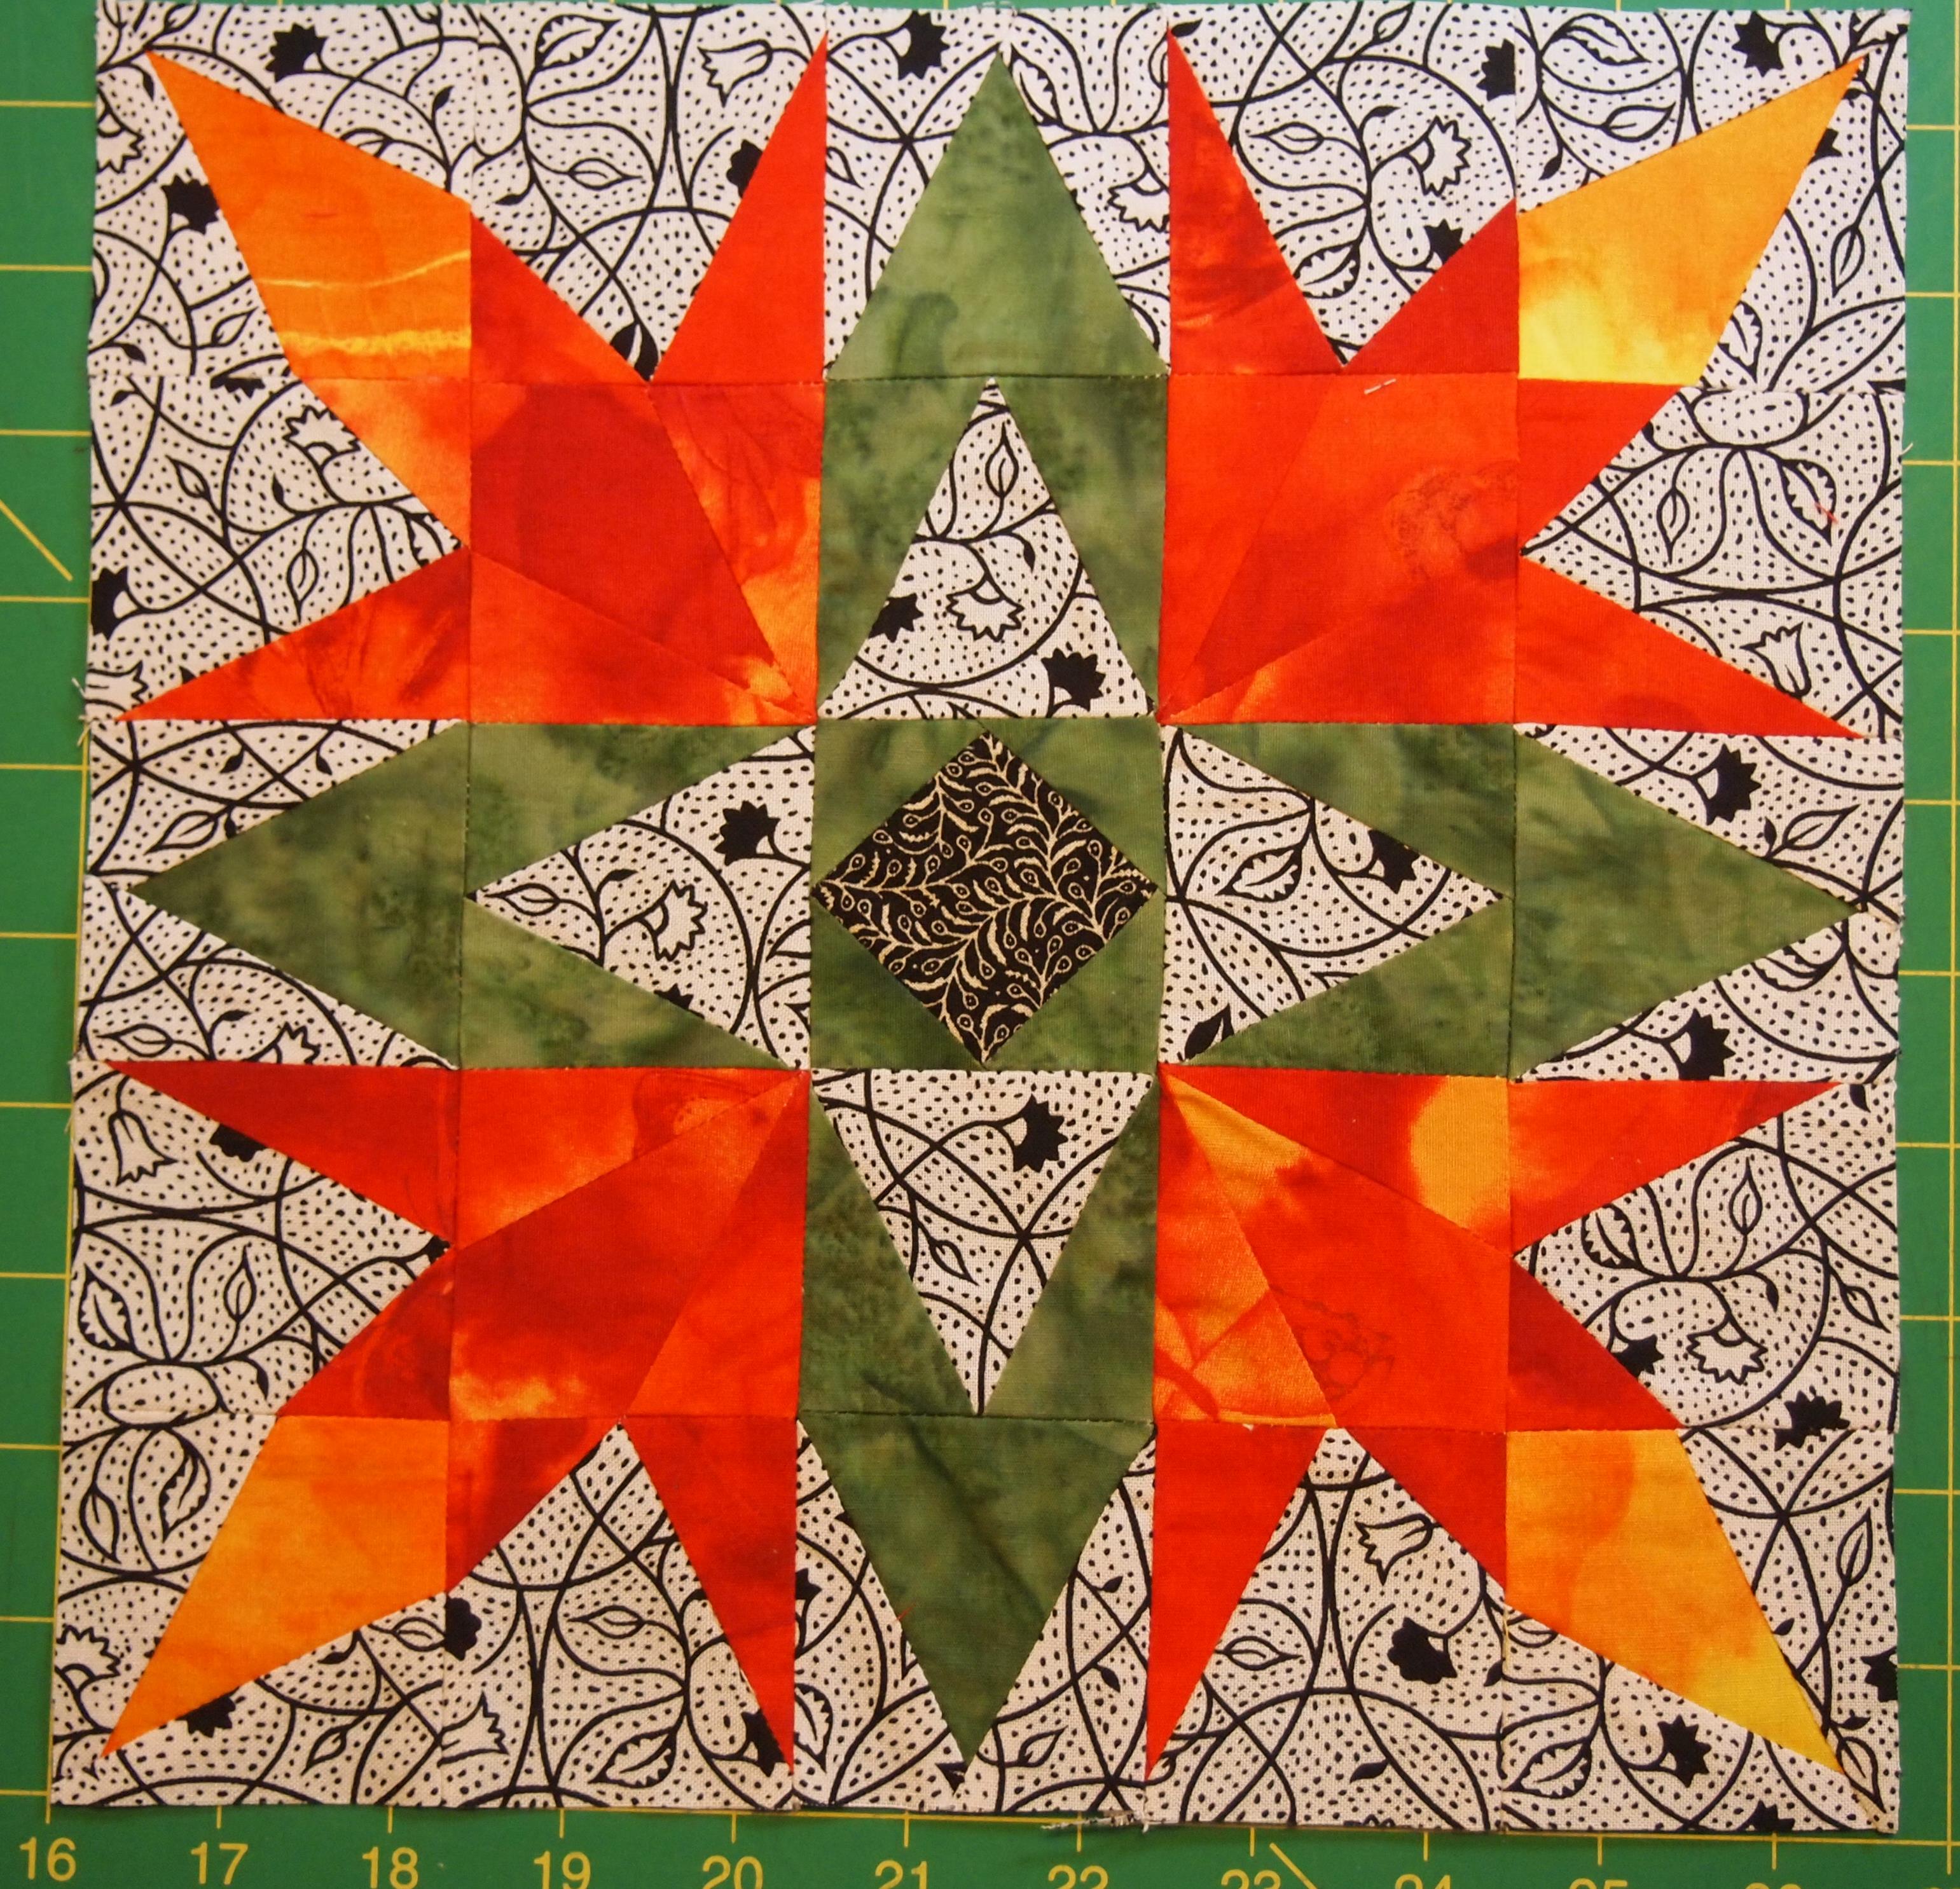
Now the search was on for fabric to make a whole quilt this time.  I found the outer border fabric first and then pulled the colors for the block from that.  I decided to make six 20″ finished blocks containing twenty-five 4″ finished units.

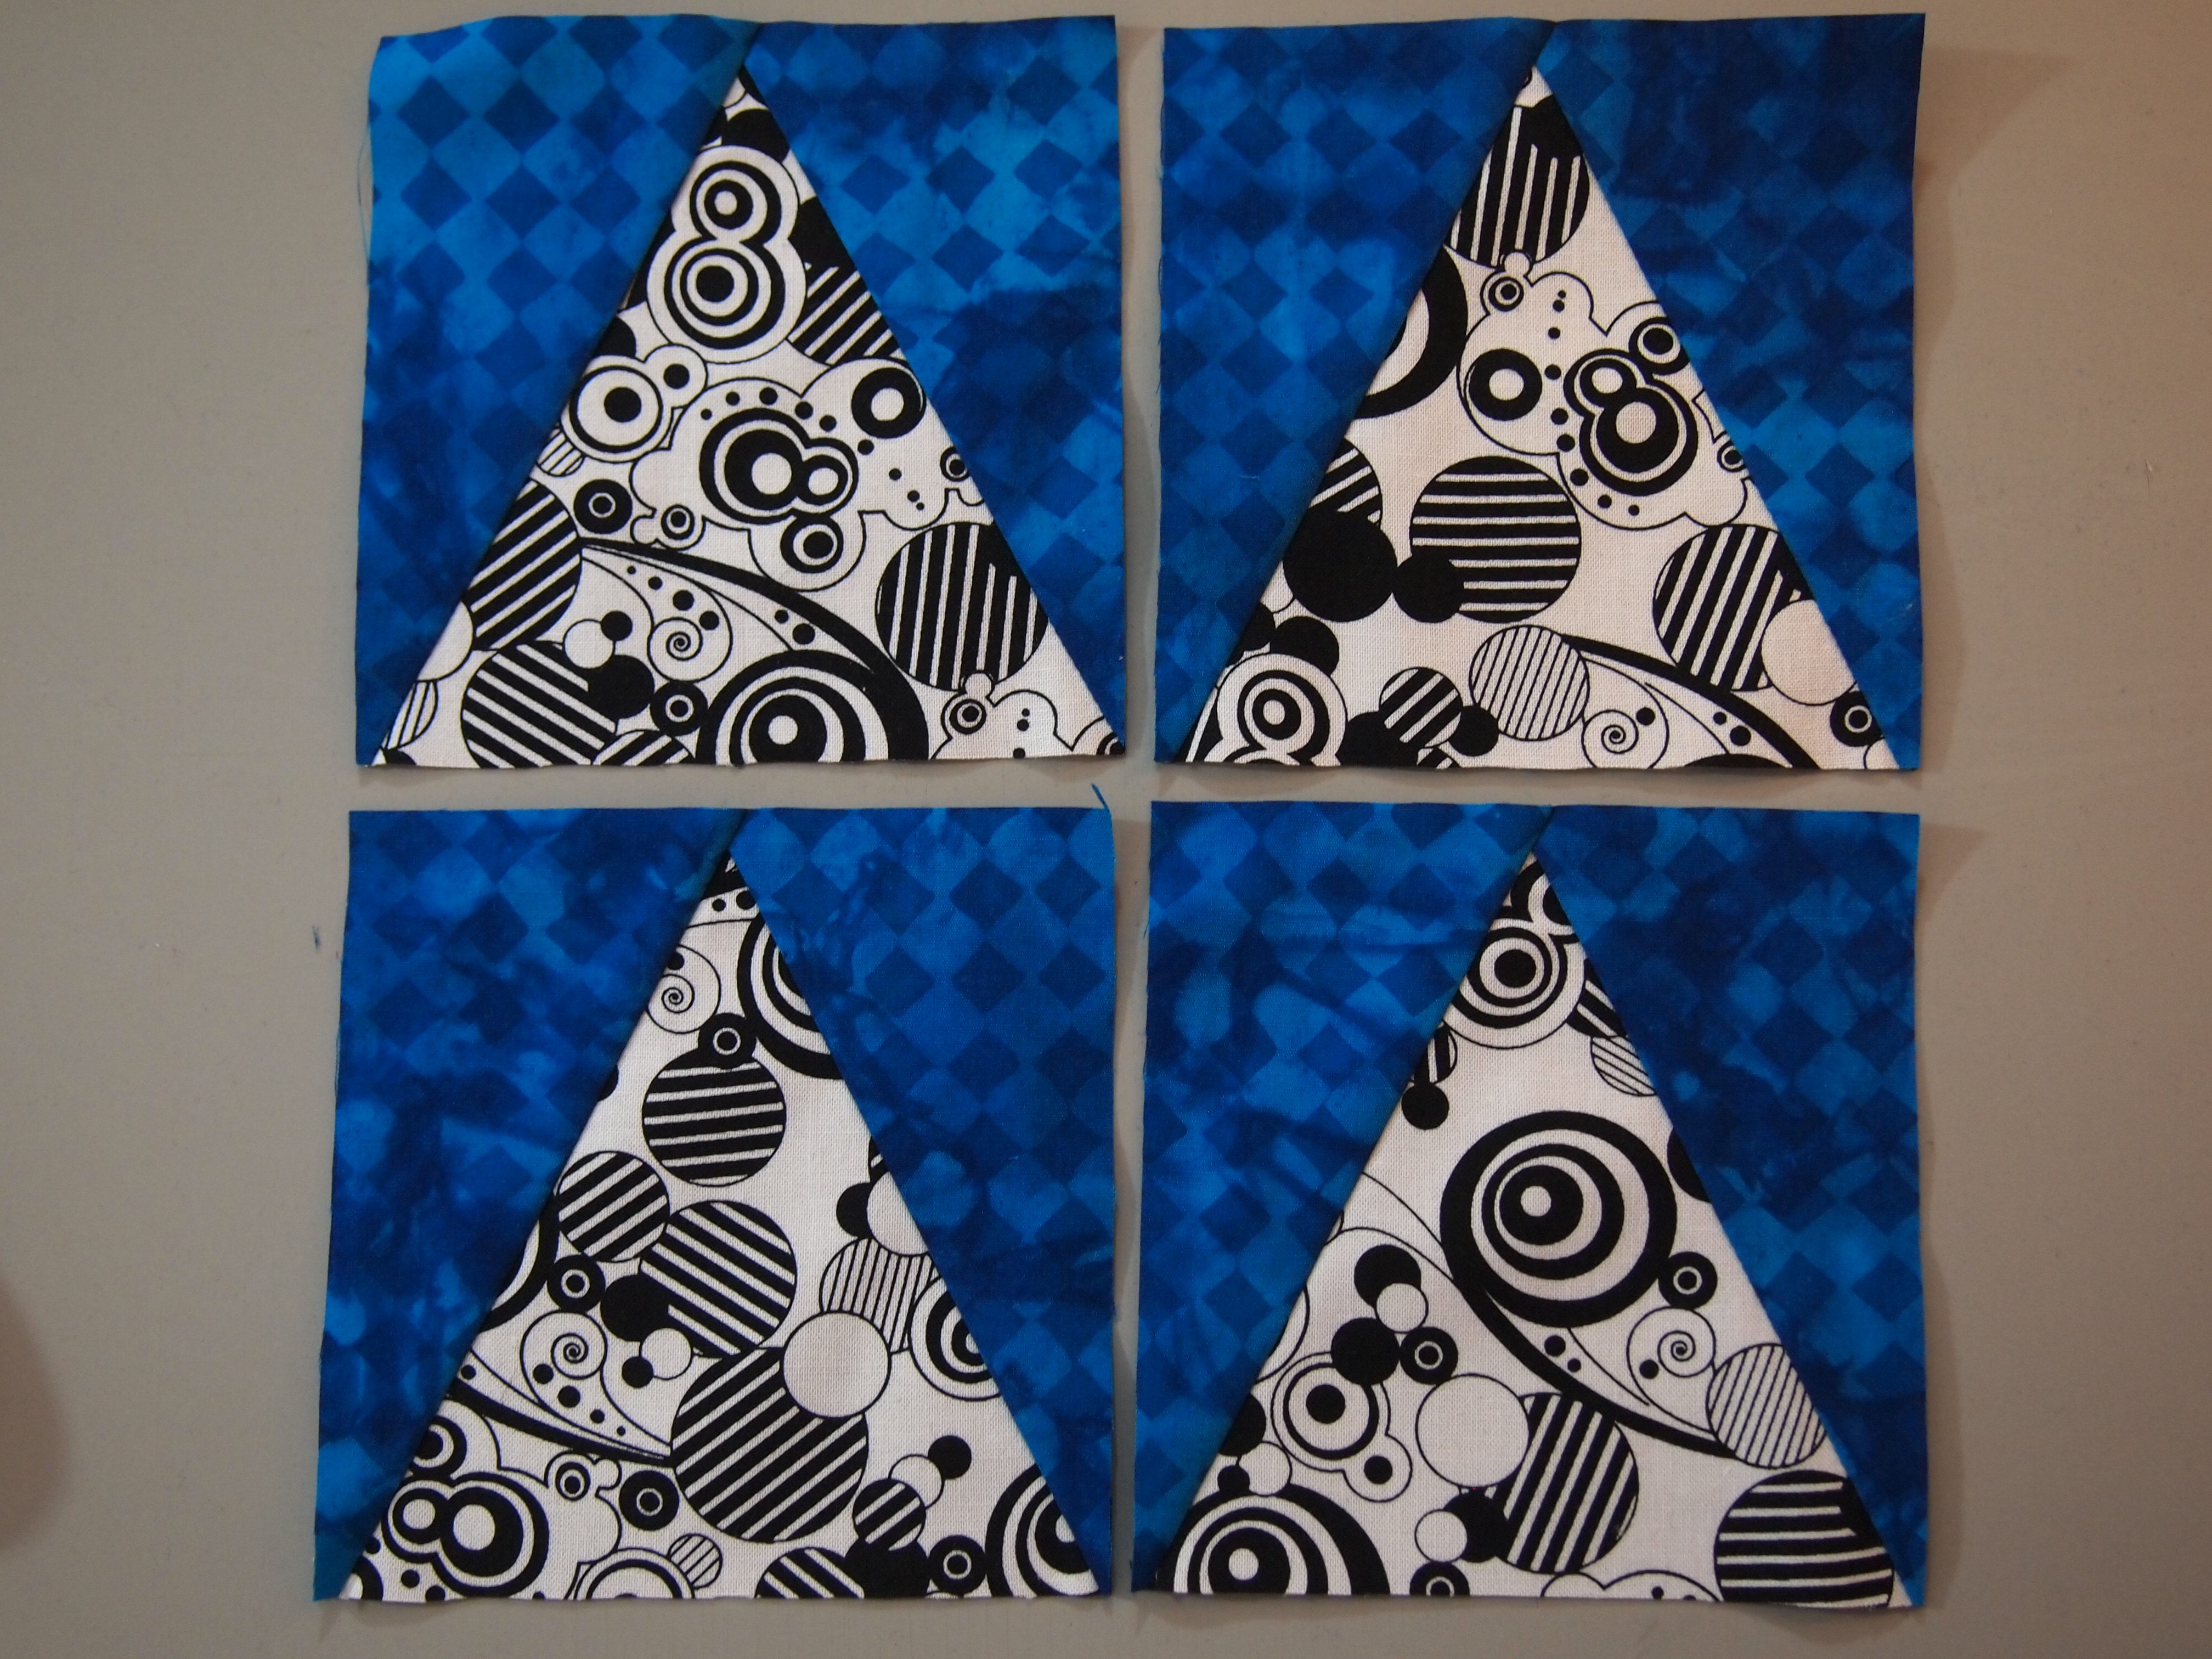
I initially chose yellow, orange, red and green fabric but later added a blue fabric .   I also needed 6 different black & white prints for the block background.

OLYMPUS DIGITAL CAMERA

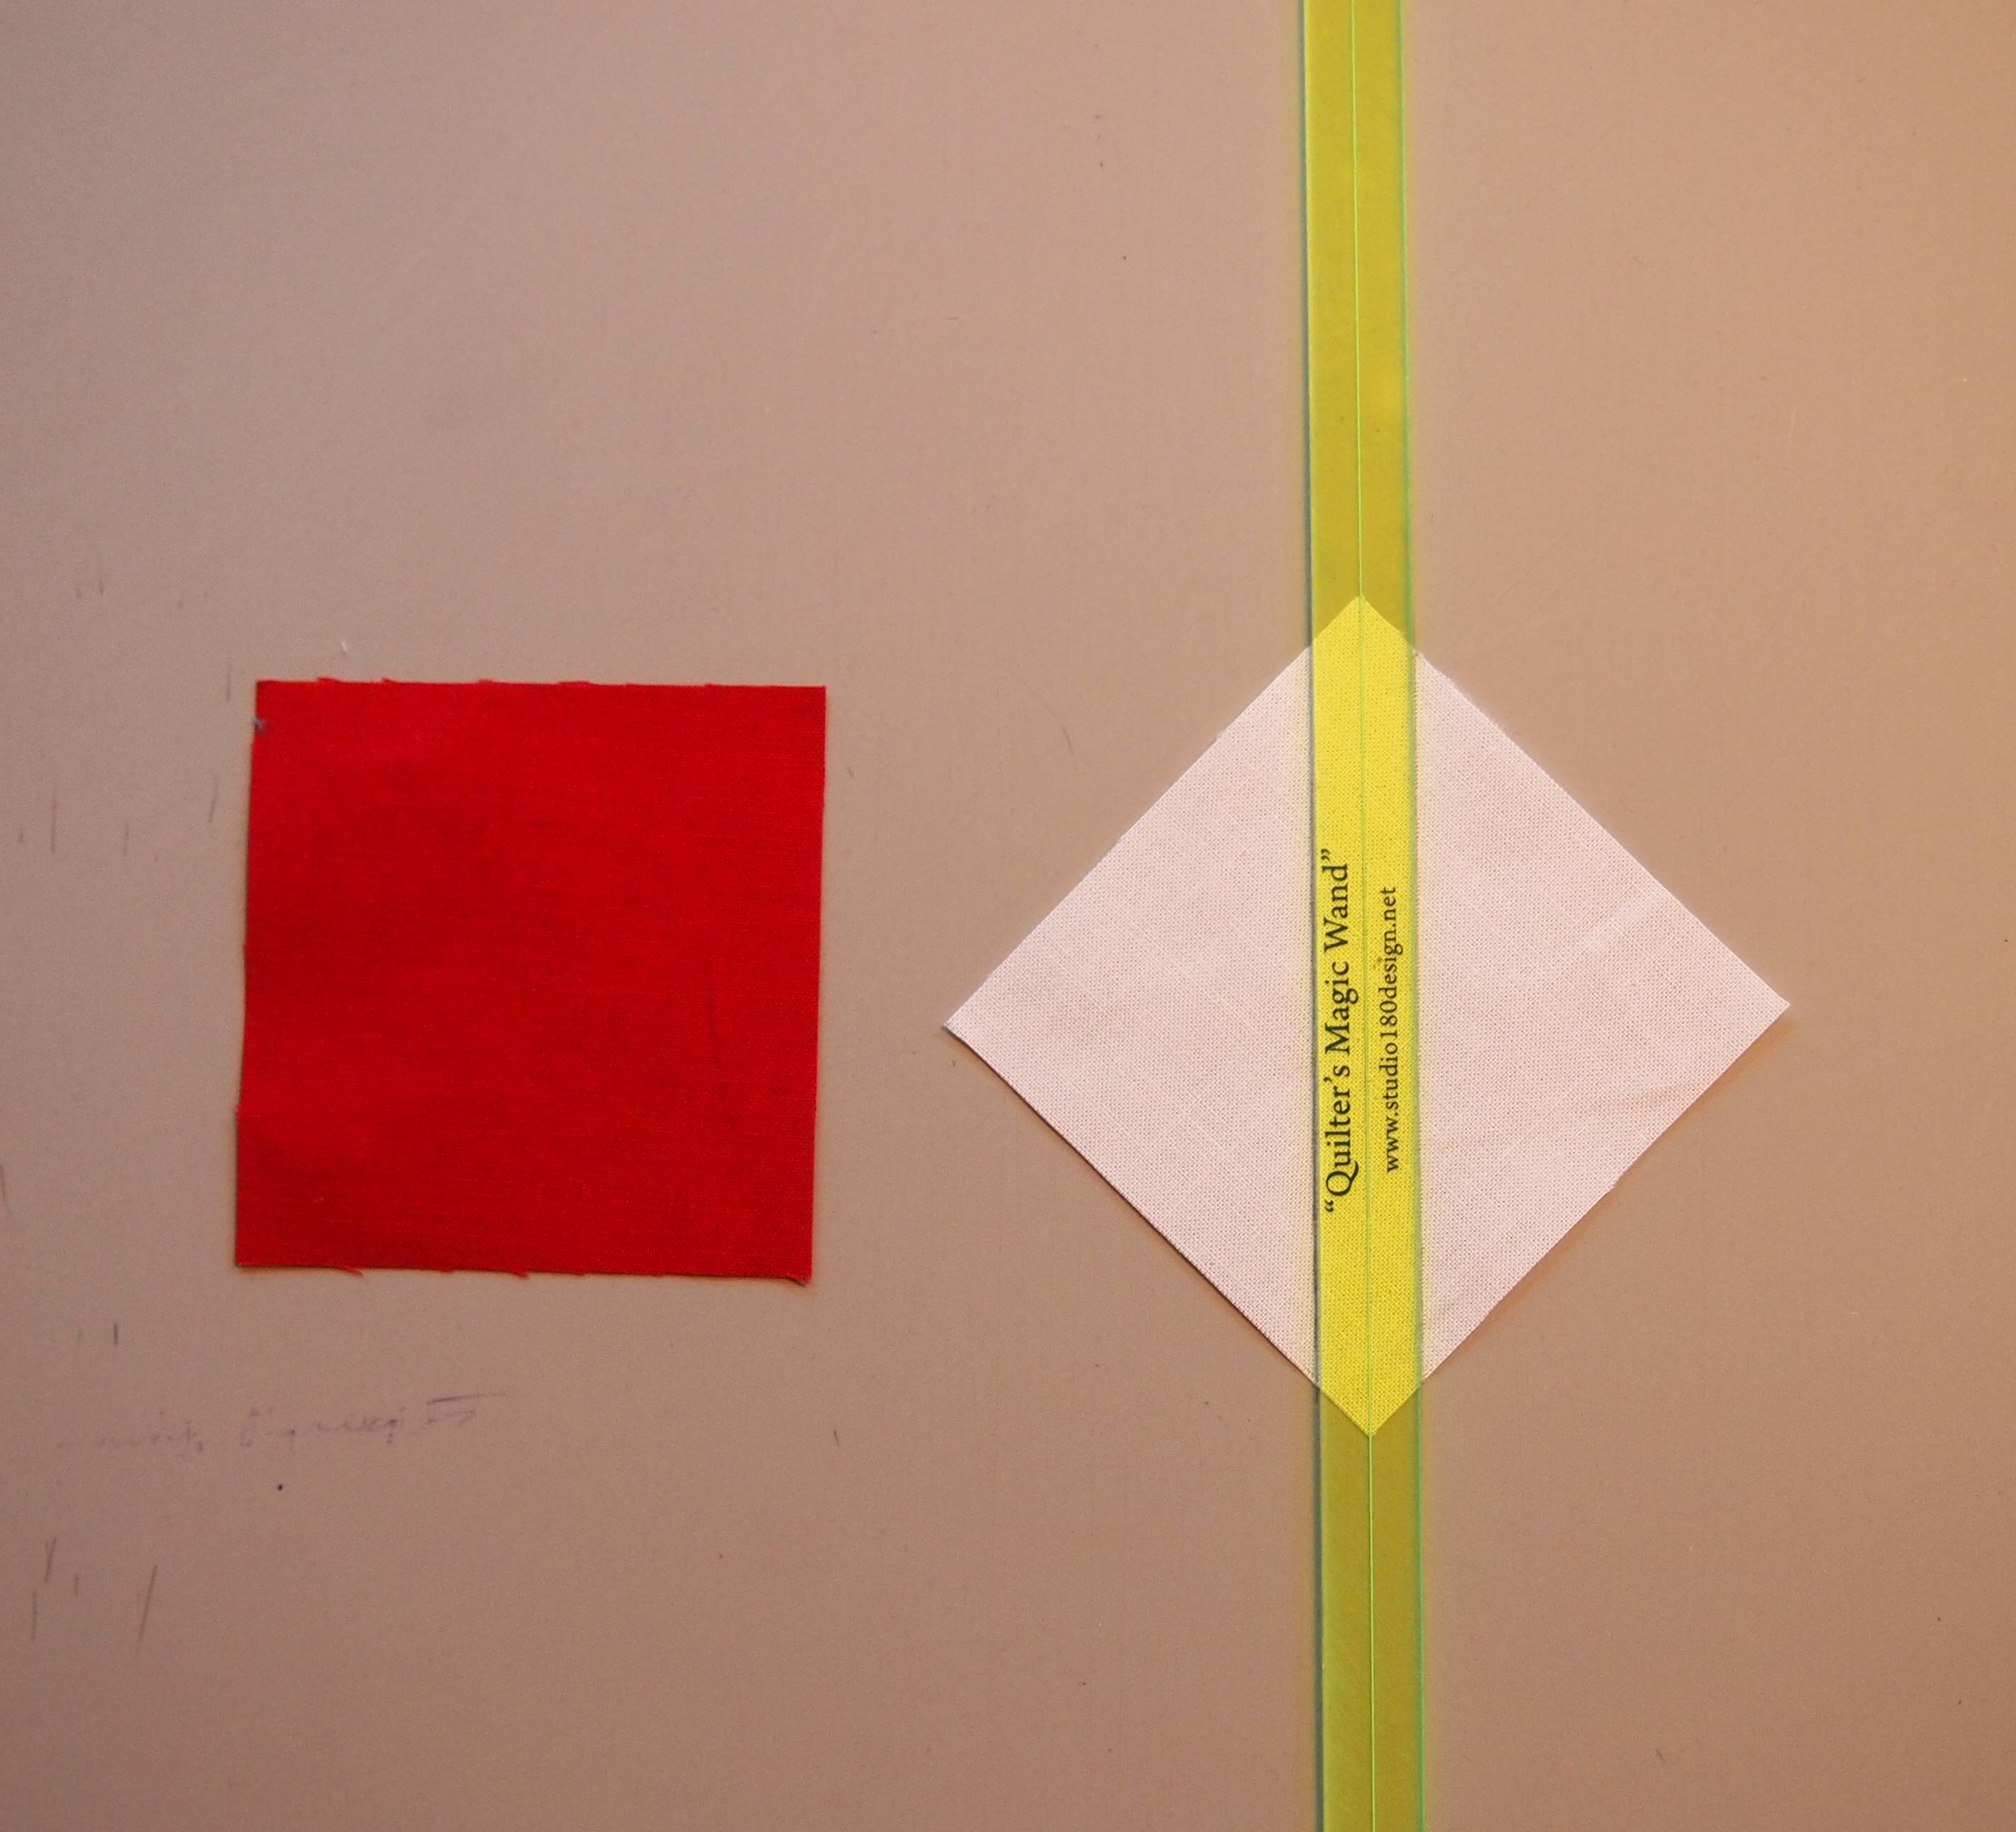
The tools required were Studio 180 Design V Block, Squared 2 & Corner Beam Rulers and the Technique Sheet for making Sidekicks and High/Low units and don’t forget your Magic Wand!

OLYMPUS DIGITAL CAMERA

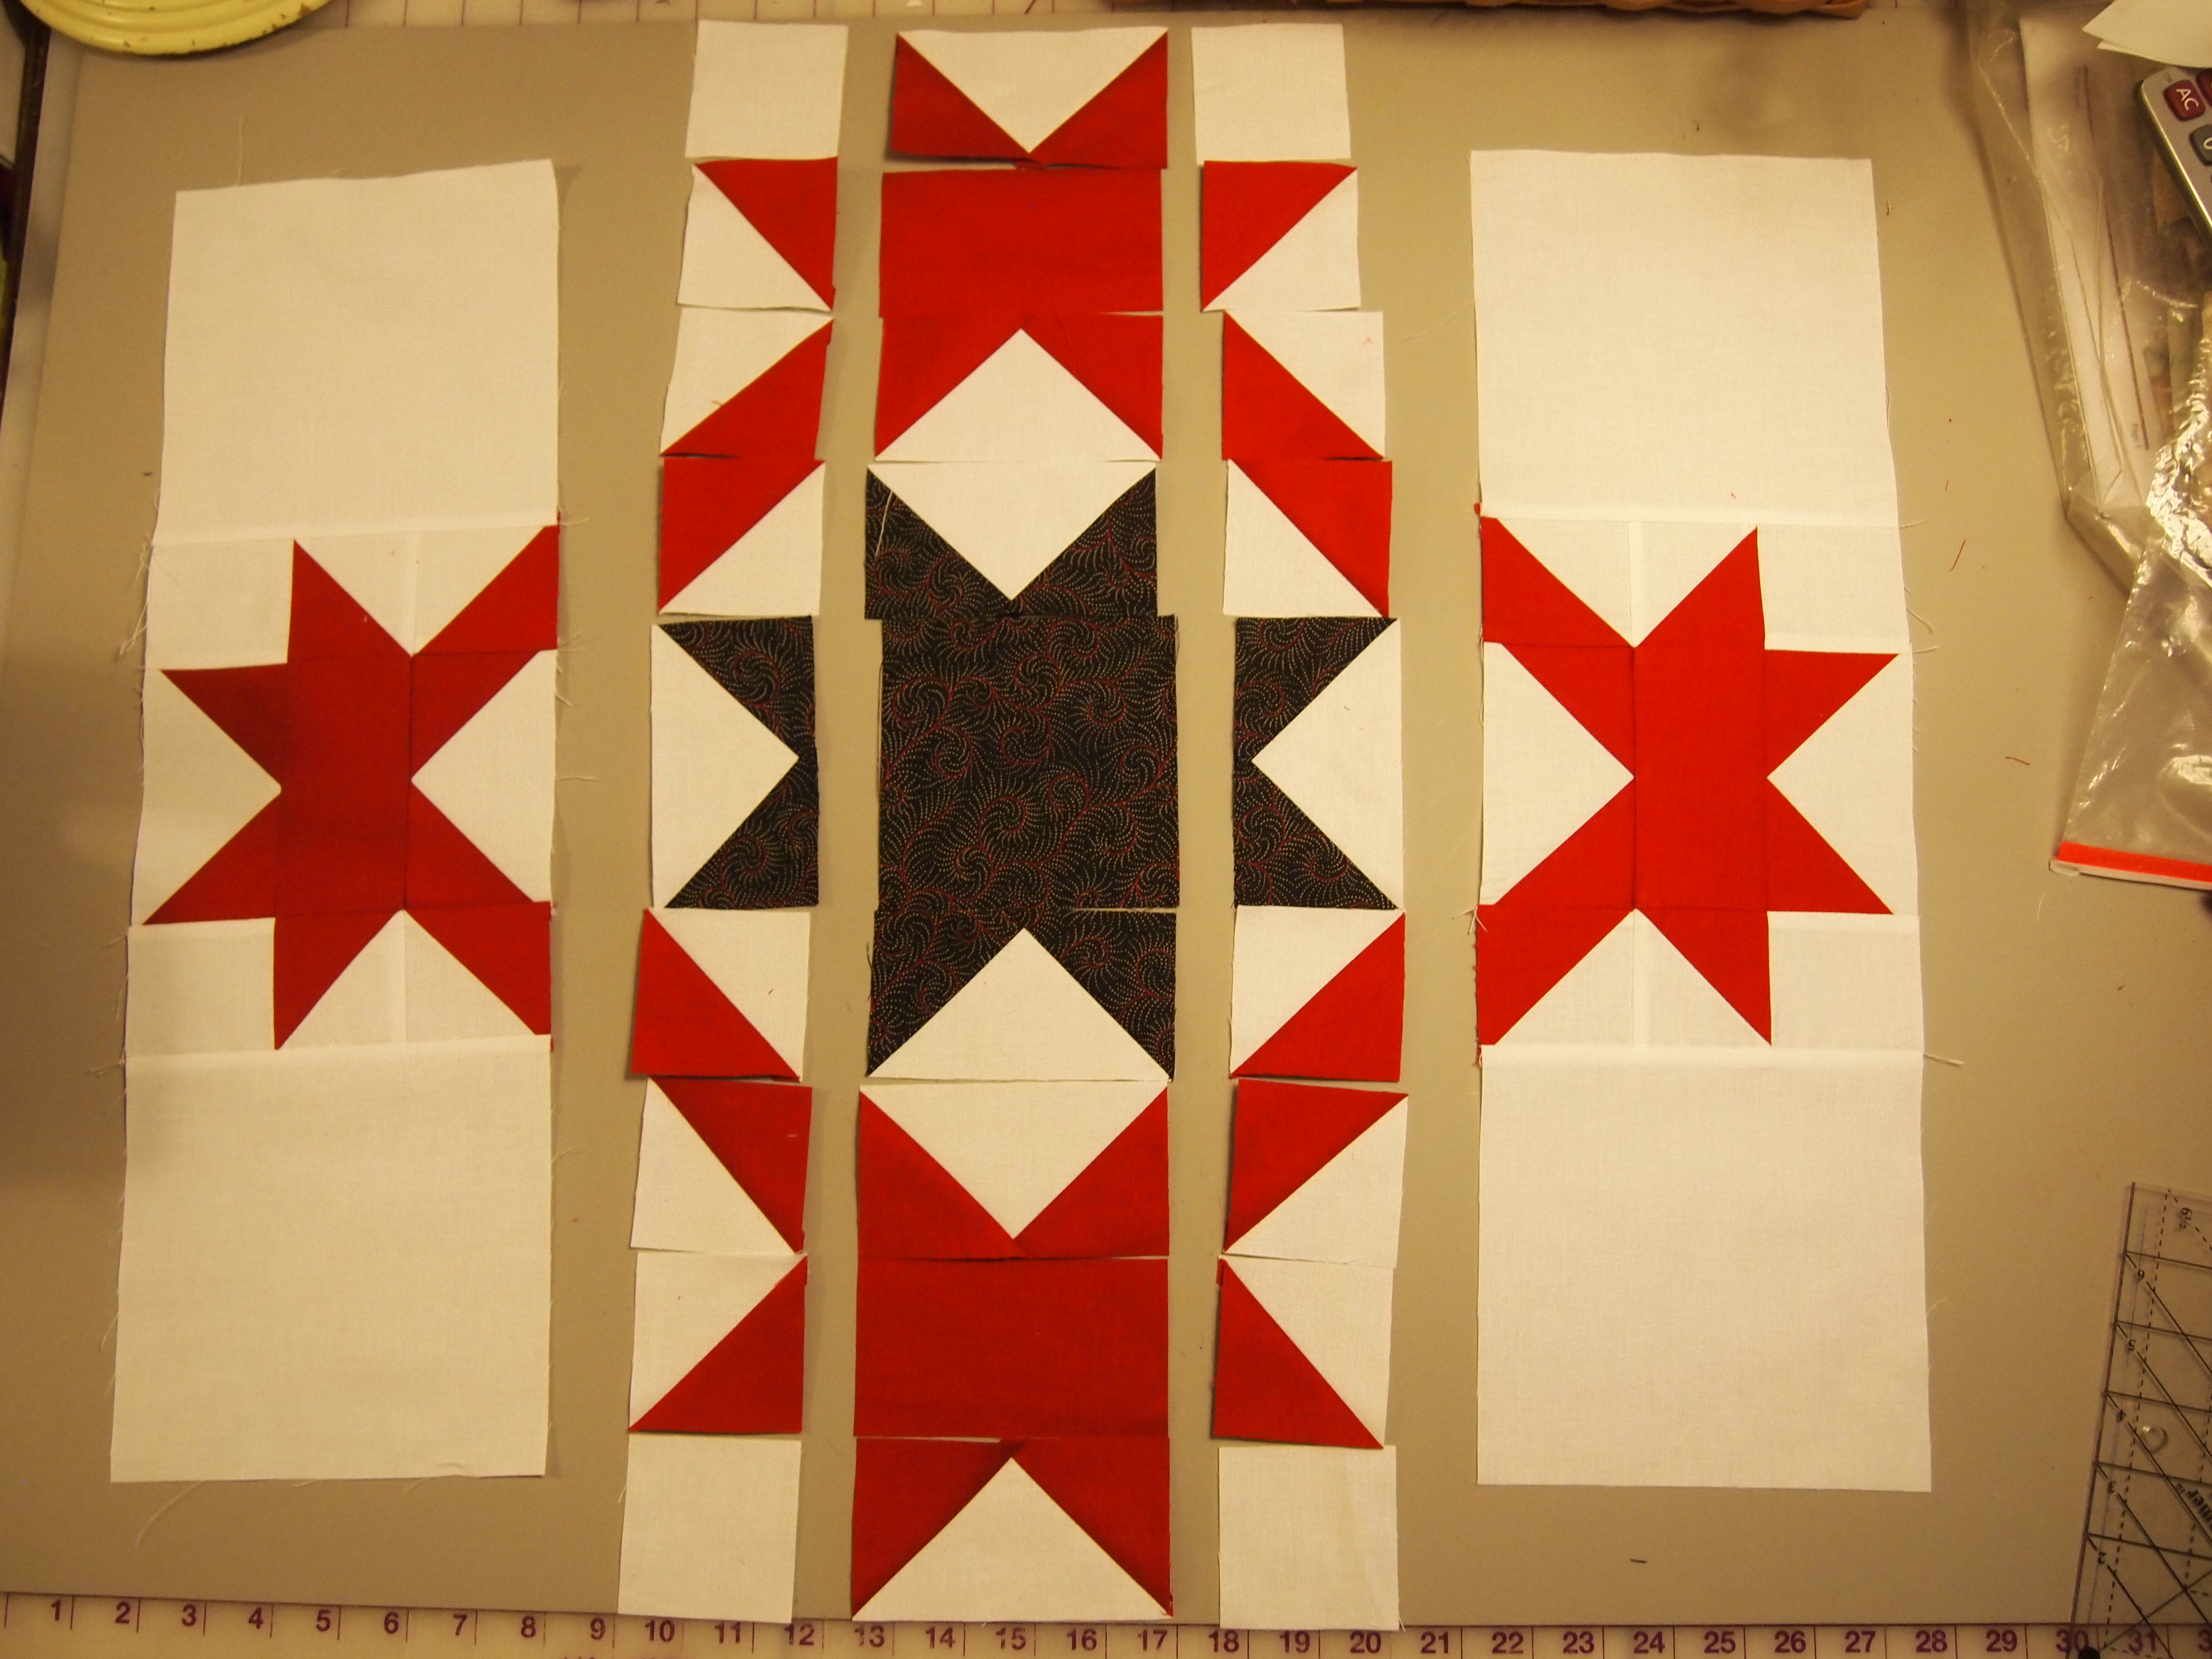
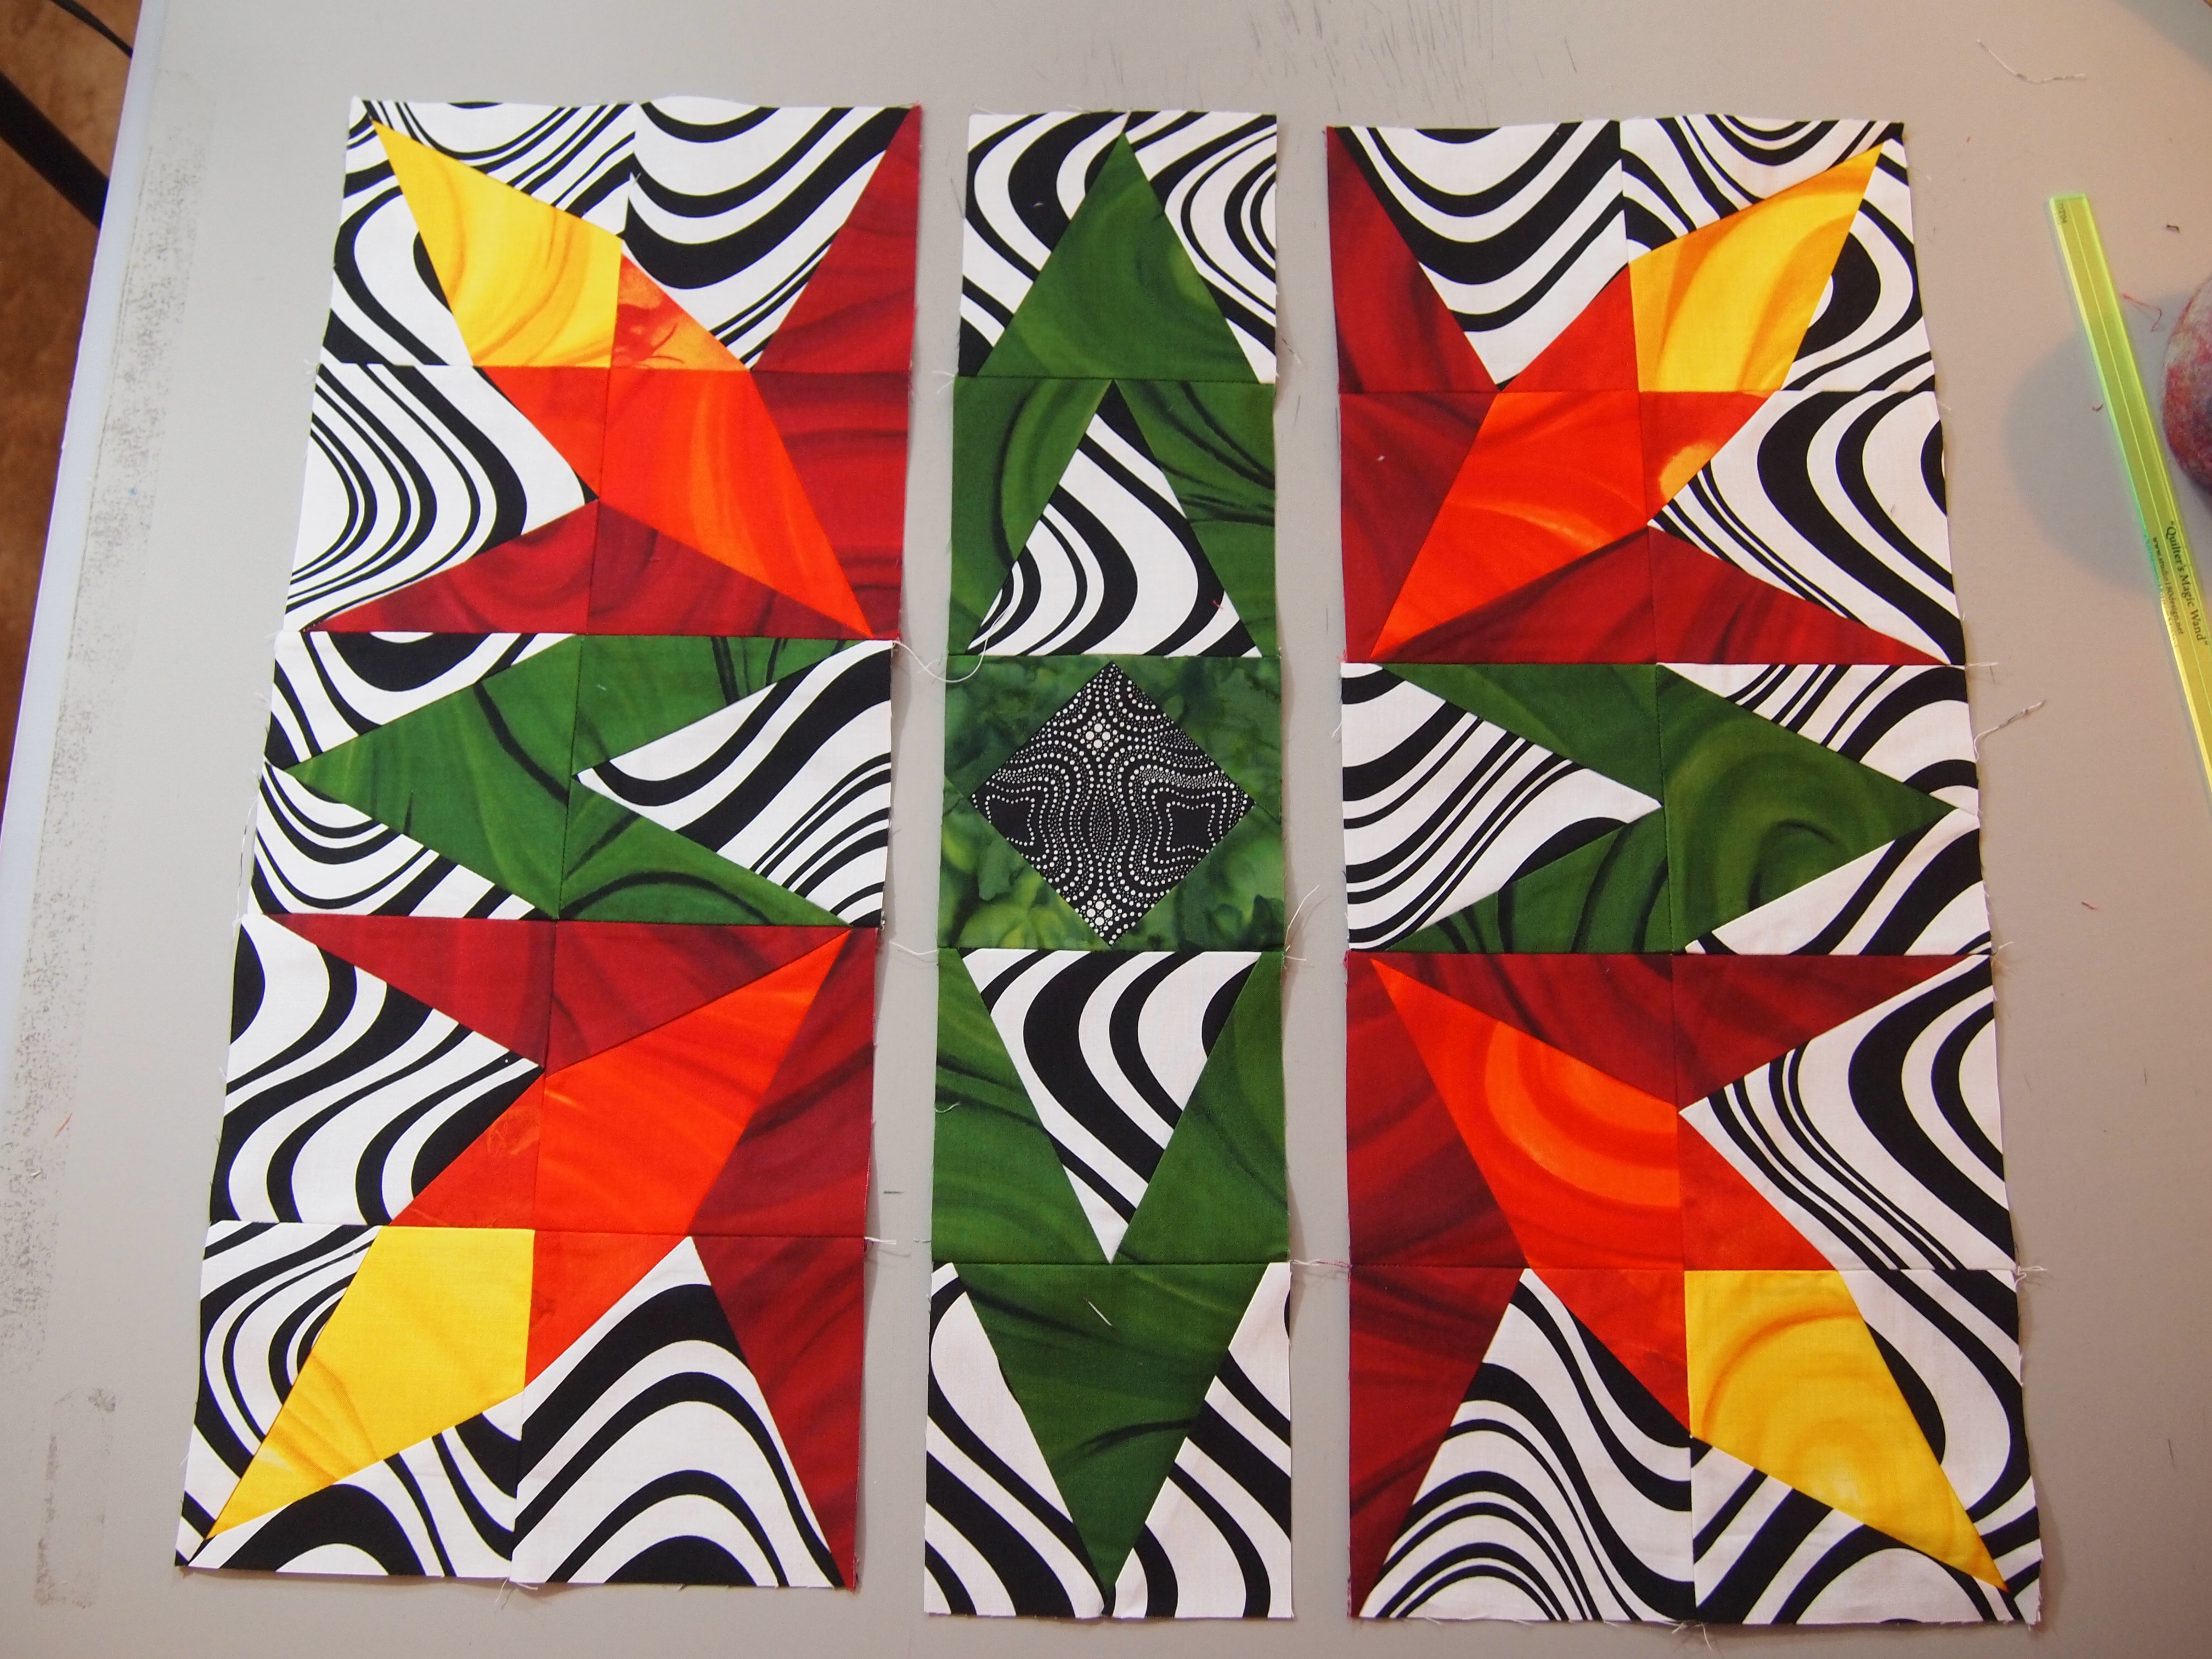
Each Block contains 4 V Blocks with black & white side triangles,

OLYMPUS DIGITAL CAMERA

and 4 V Blocks with black & white center triangles.

OLYMPUS DIGITAL CAMERA

Each Block contains 4 Corner Beam Units with yellow center beams,

OLYMPUS DIGITAL CAMERA

and 4  orange and red Corner Beam units.

OLYMPUS DIGITAL CAMERA

The center of each block contains 1 Squared 2 unit.

OLYMPUS DIGITAL CAMERA

There are 2 High/Low Left & 2 High/Low Right Units in each block.

OLYMPUS DIGITAL CAMERA

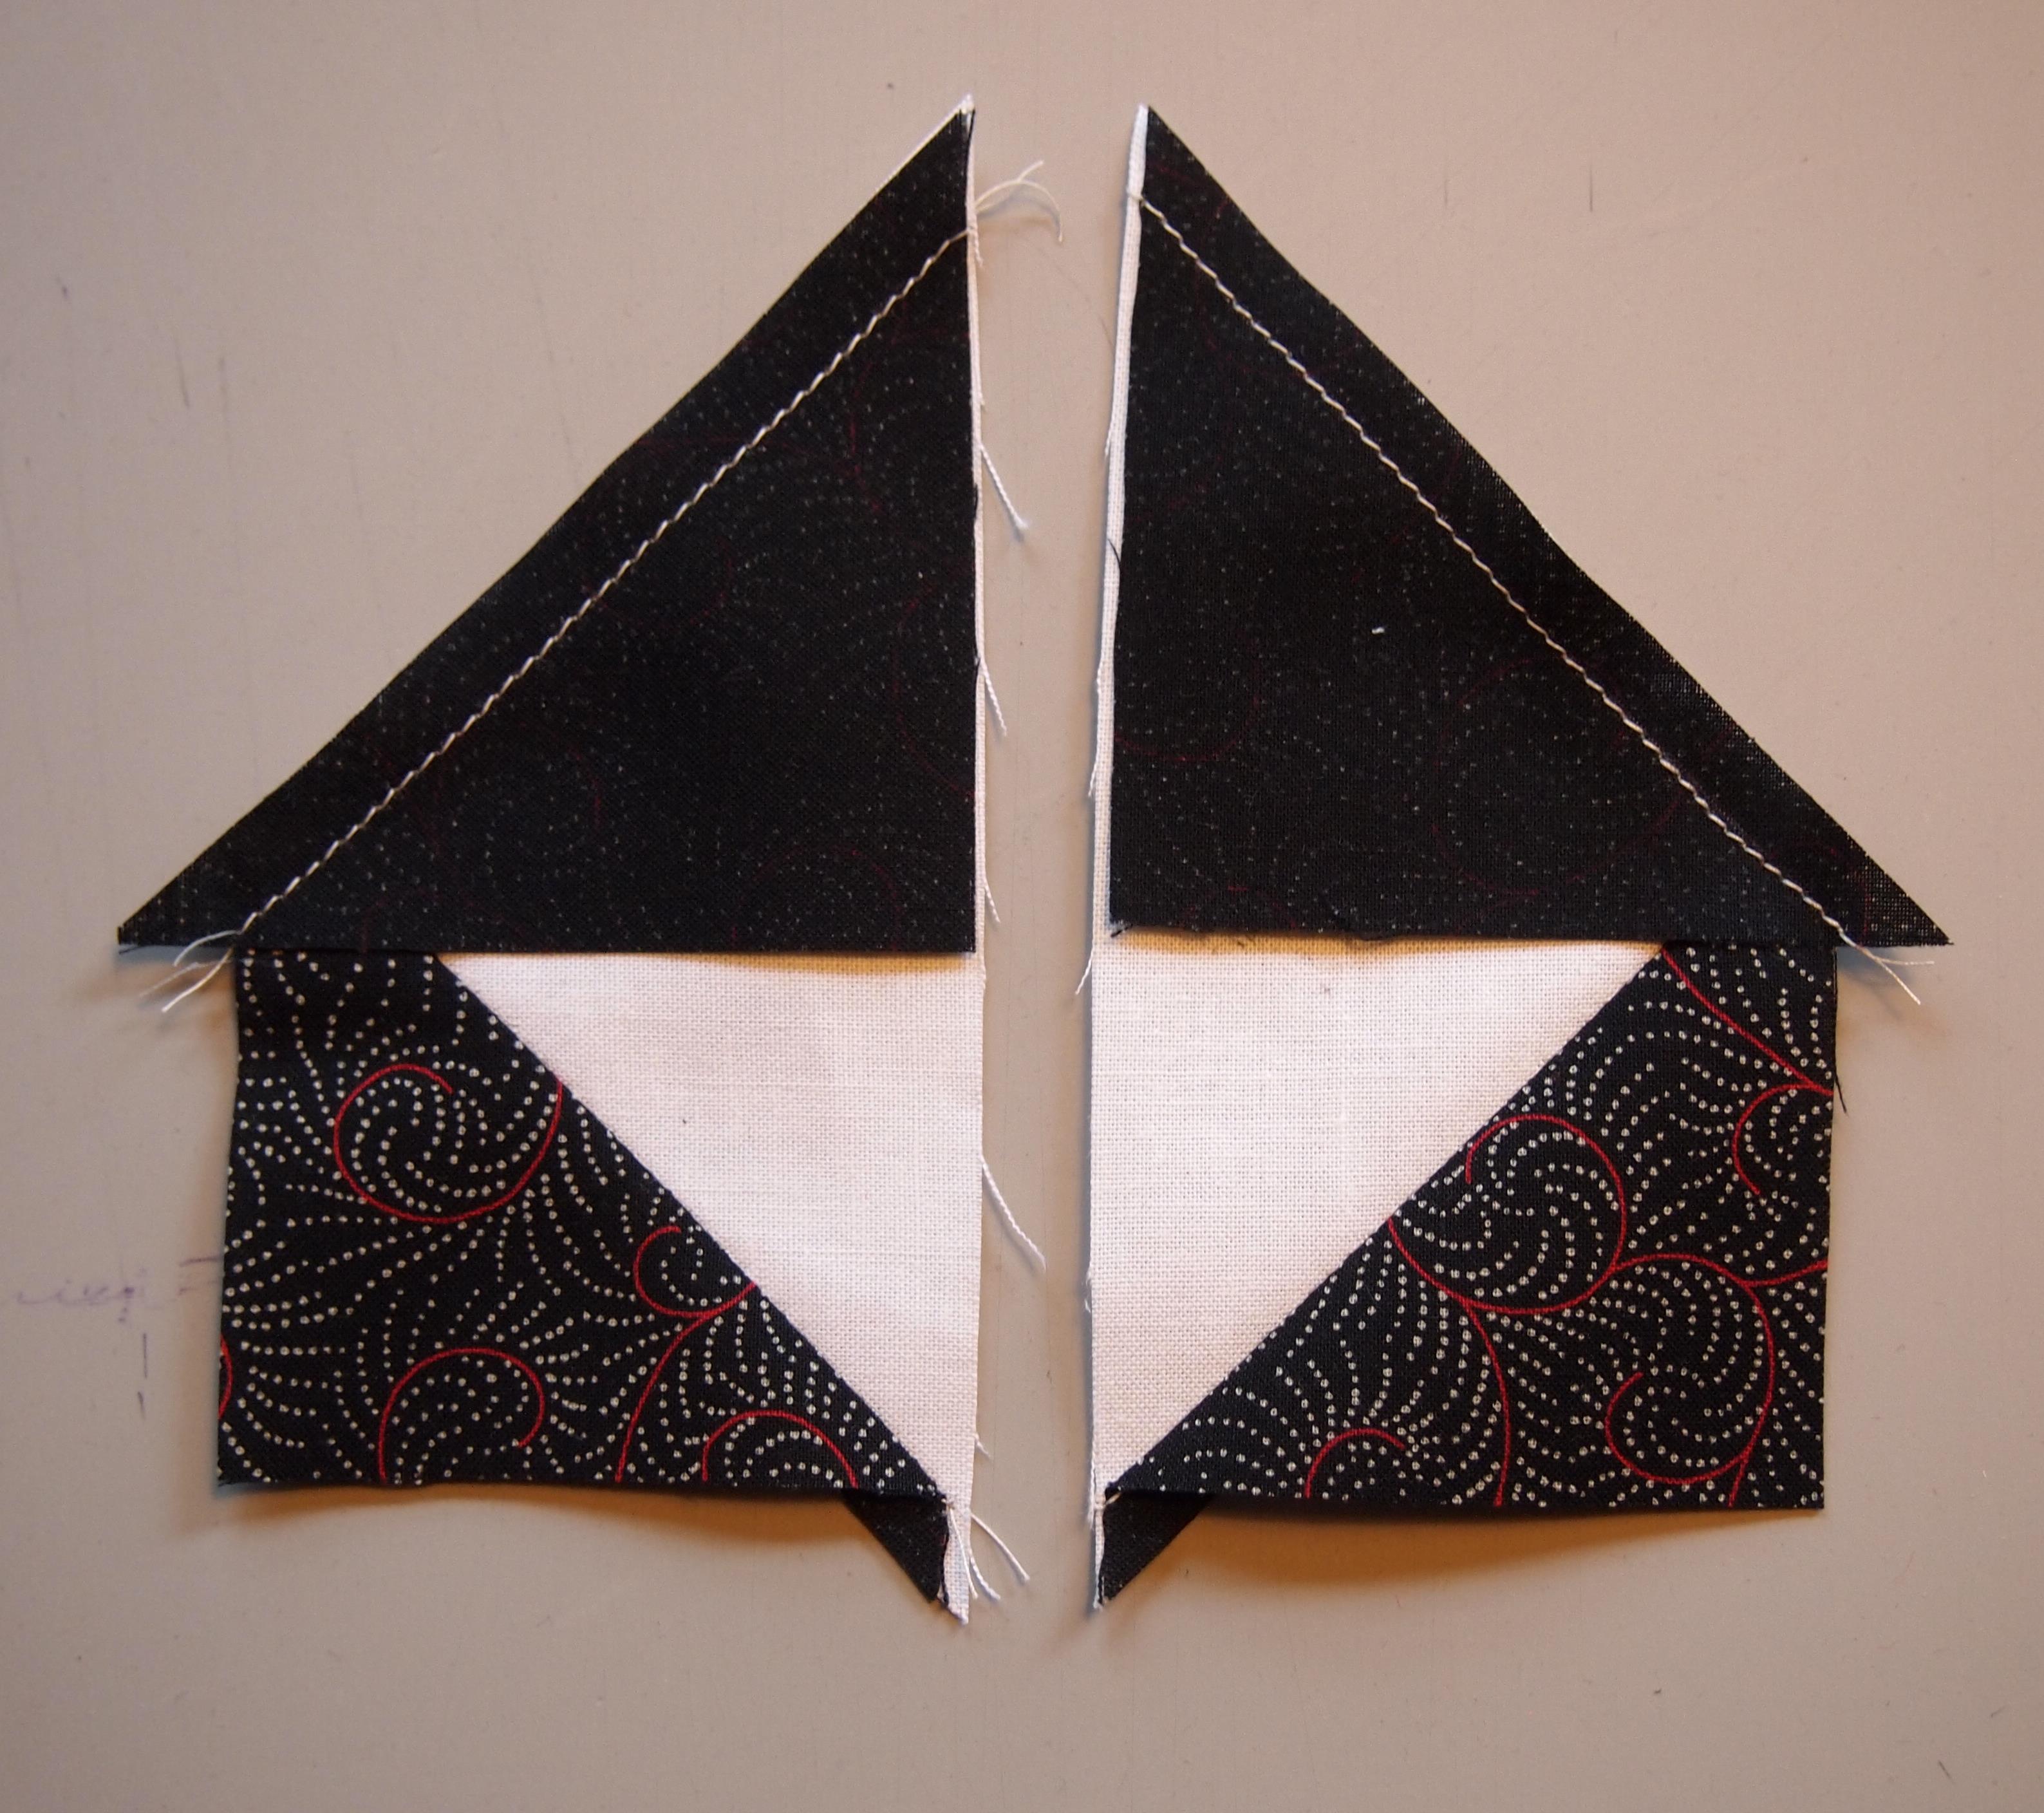
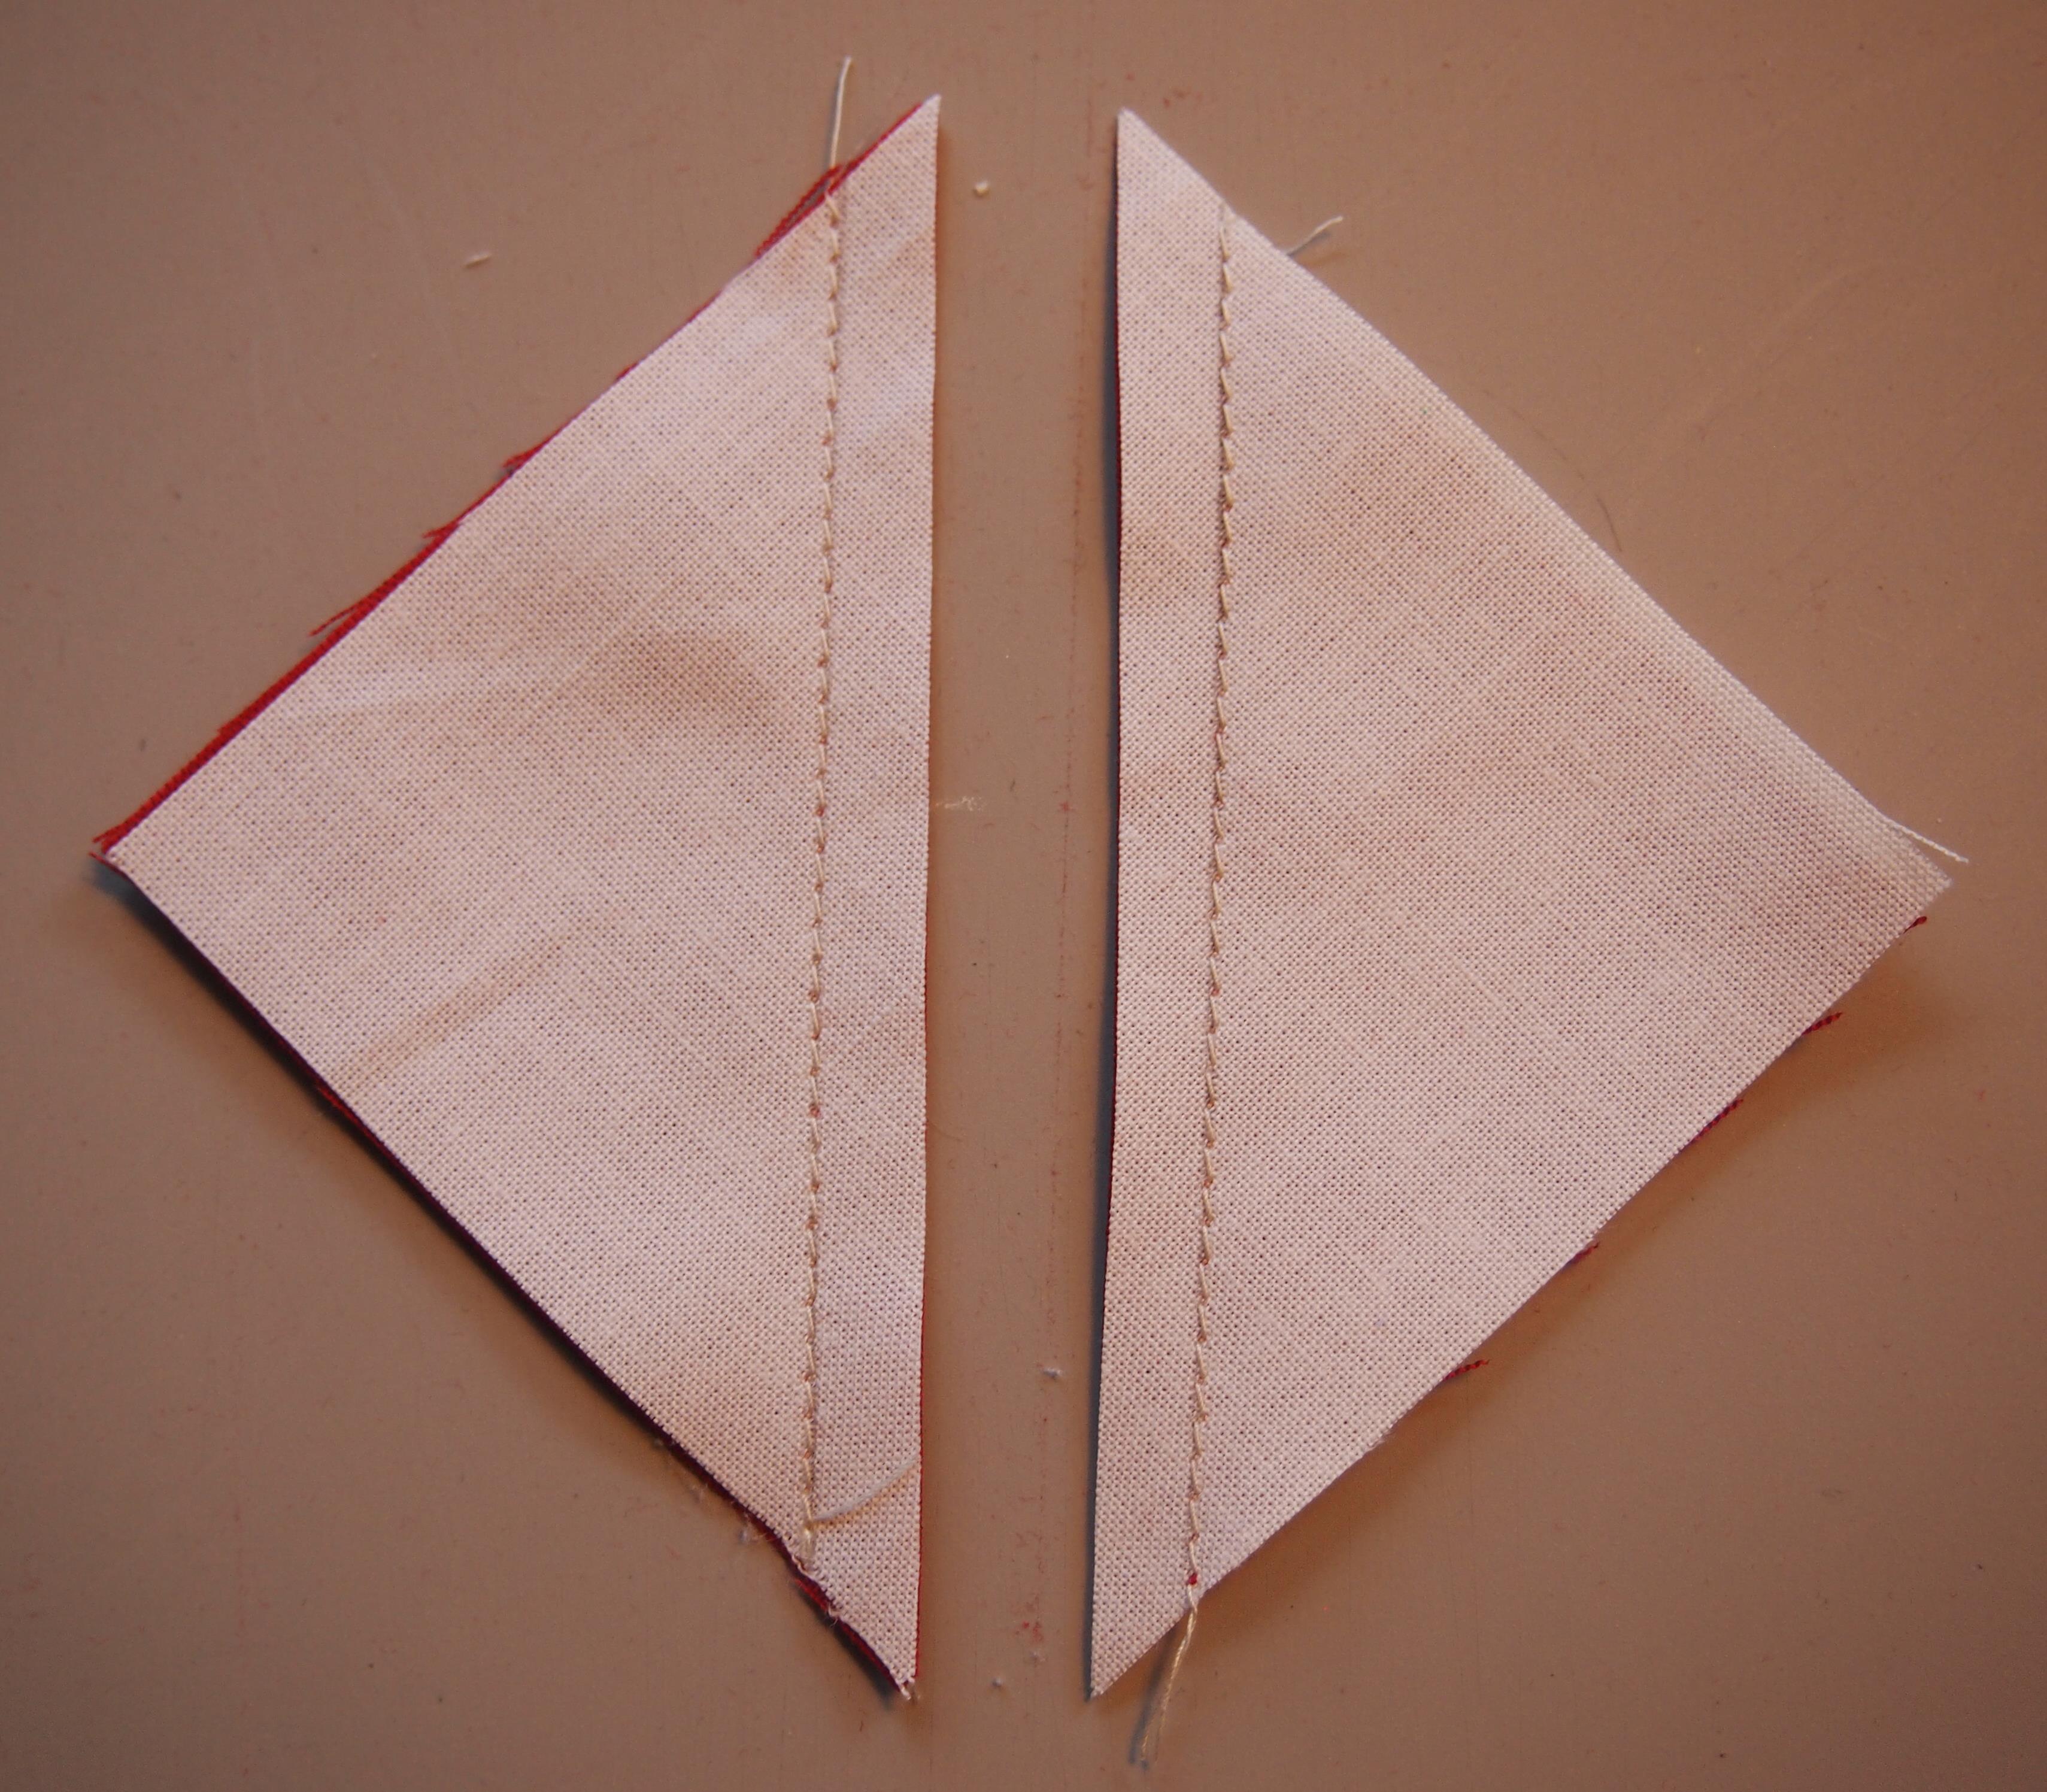
I cut all my pieces first then laid them out one block at a time.  I constructed the corner flowers as shown below.

OLYMPUS DIGITAL CAMERA

I press the seams as instructed for each of the units, but when I joined the units into the block I pressed my seams open.

OLYMPUS DIGITAL CAMERA

Join the units into rows.

OLYMPUS DIGITAL CAMERA

Then join the rows to form the block.

OLYMPUS DIGITAL CAMERA

OLYMPUS DIGITAL CAMERA

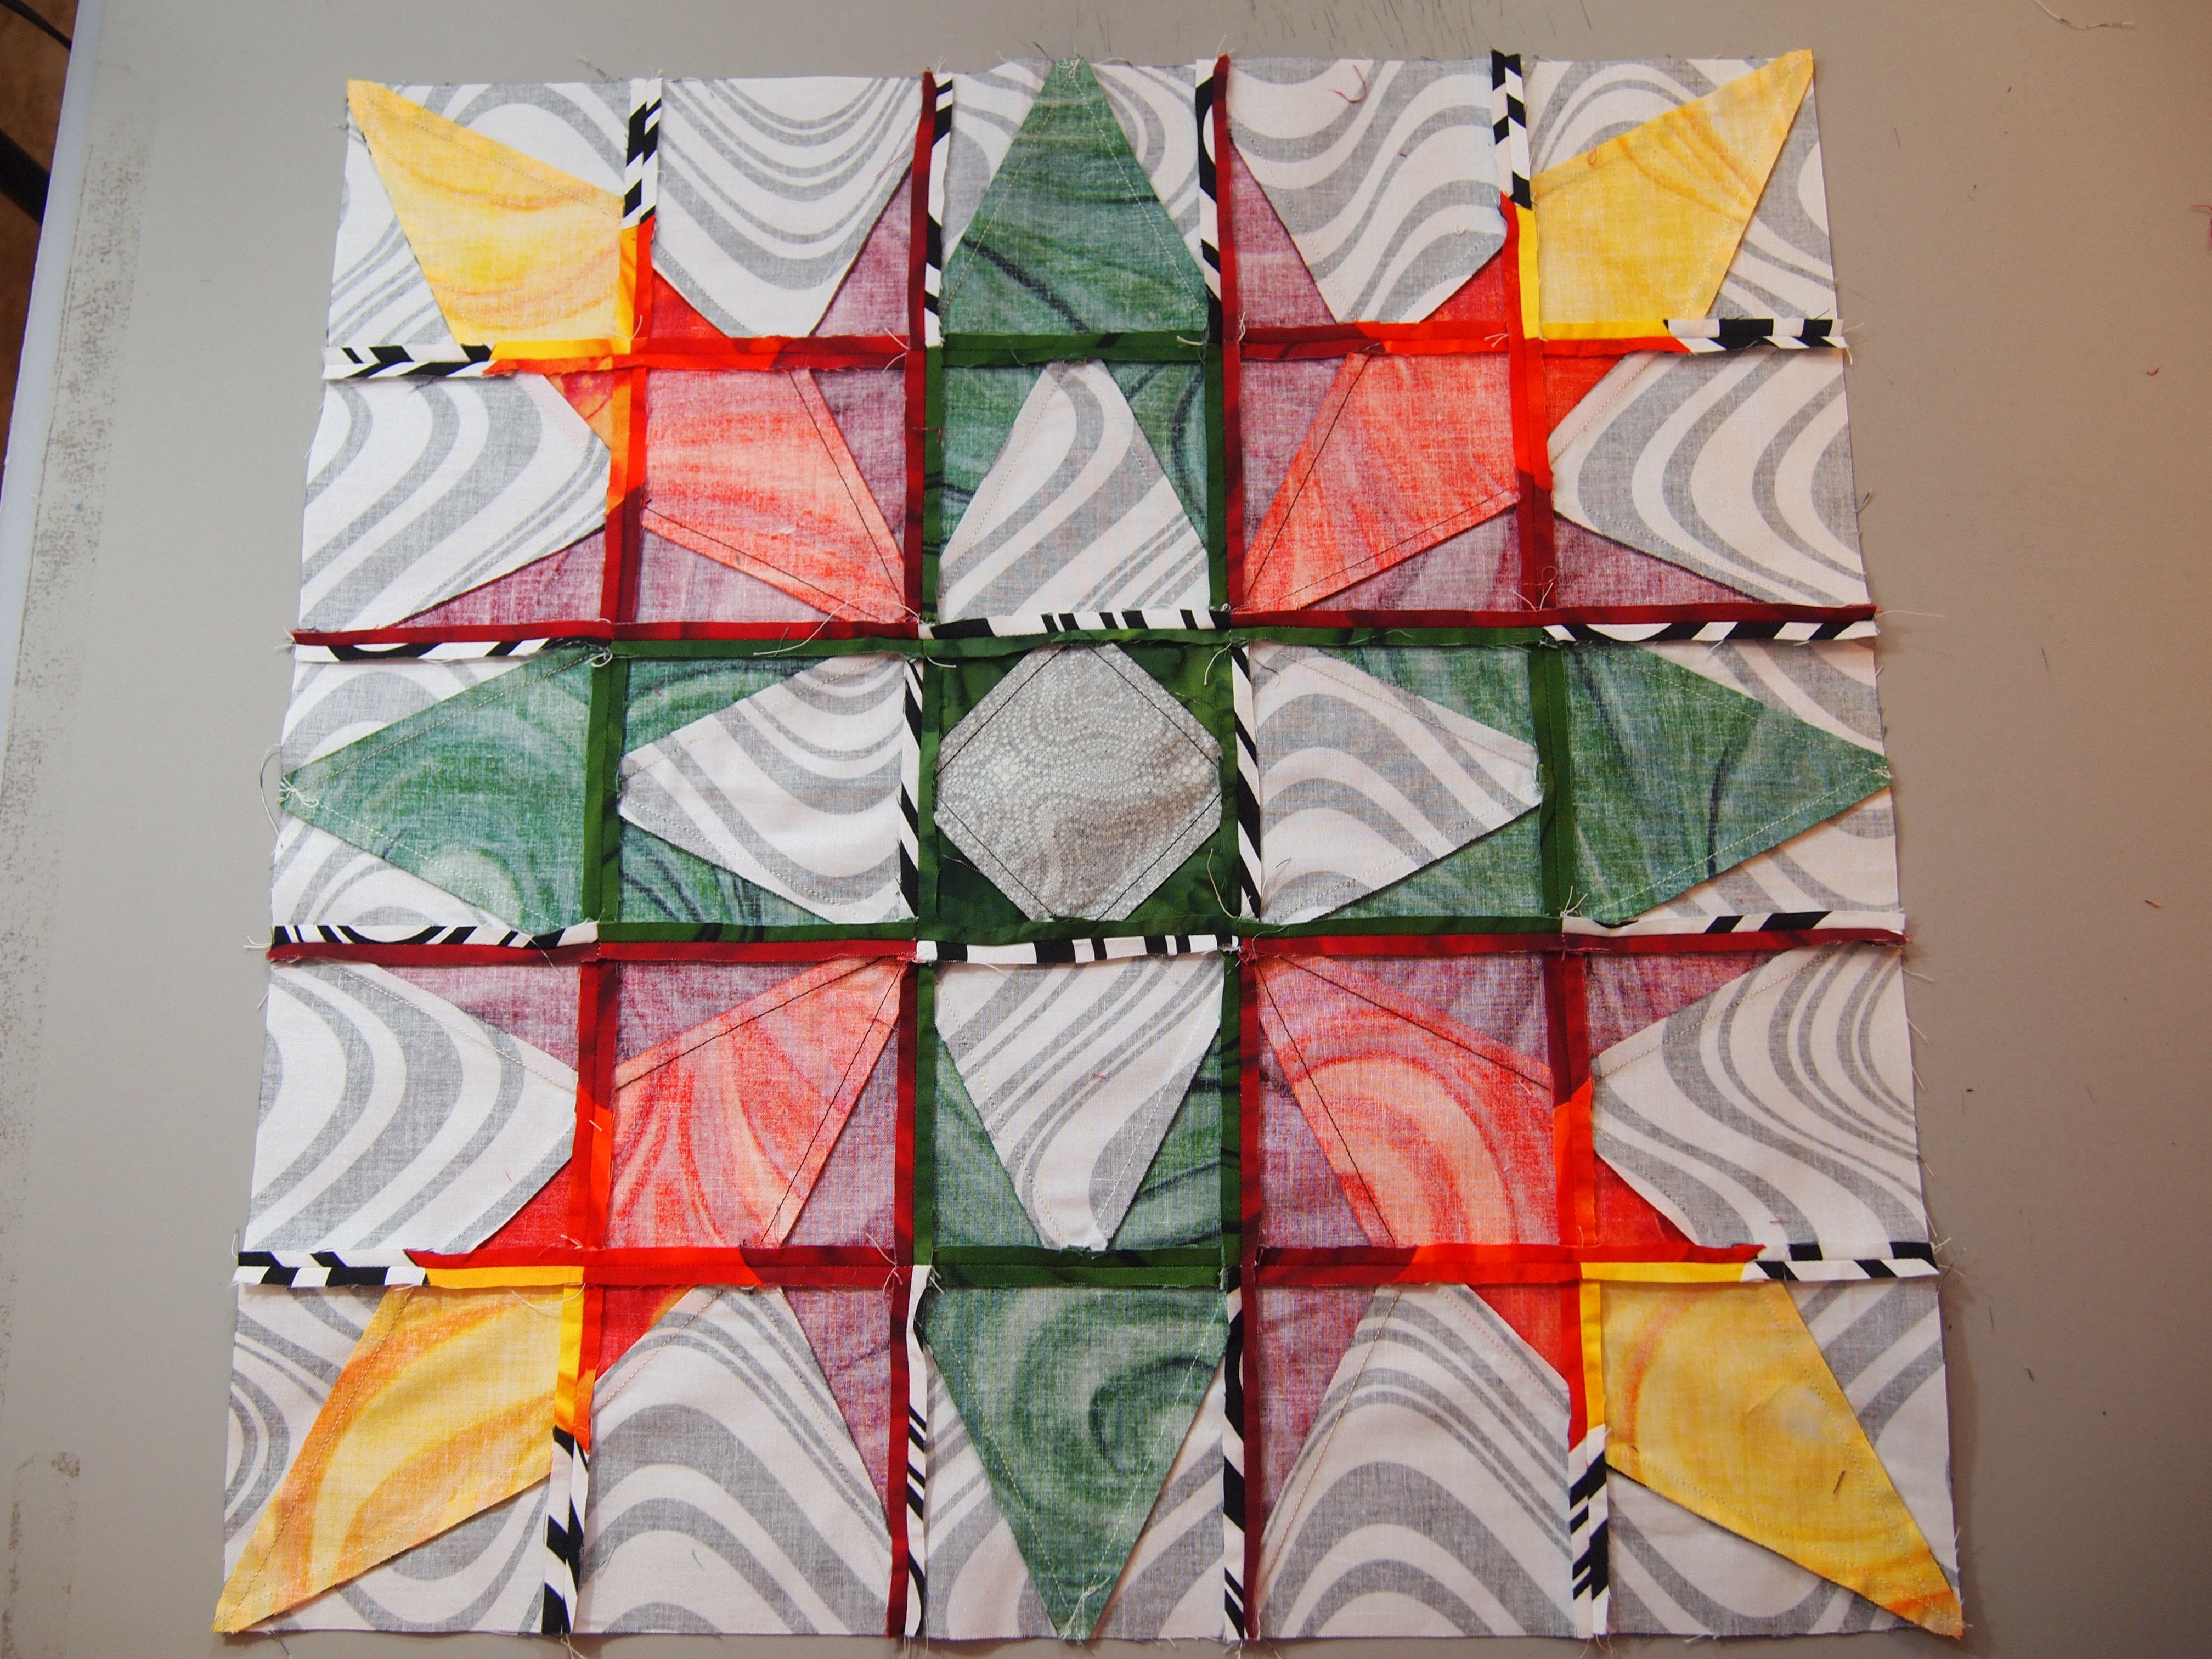
These are some wild colors.  This quilt was fun to make.  So next time you want to play “Block Detective” get out your graph paper and Studio 180 Design tools and discover what you can do!  If you have any questions don’t hesitate to contact me.

OLYMPUS DIGITAL CAMERA

Are You A Block Detective

I love to figure out how a block was made. I saw this quilt online and thought “I bet I can make this quilt without a pattern”.
02 Idea Quilt

So I drew the block on graph paper so I could identify each unit. With the tools from Studio 180 Design you can make just about any block in any size, easily. For this block I would use the Studio 180 Design Wing Clipper I & the Tucker trimmer I.

Draft

To make a 20” finished block I determined that each square on the graph paper would represent a 2” square. I chose a black print for the center star, white background and red for the surrounding units.

Black Center Star:
The center square would measure 4” finished so I cut one 4 ½” square.  I would need 4 flying geese units.

All I had to do was check the chart in the Wing Clipper tool instructions. It lists finished sizes for flying geese units and then tells you what size to cut your fabric to achieve the results you want. I needed a finished size of 2” by 4” so I cut one 5 ½” square and four 3” squares. From this I would get 4 flying geese.

Using my Magic Wand trace a line on either side of all the 3” squares.

Magic Wand

Place two 3” squares diagonally on the white 5 ½” square as shown.

OLYMPUS DIGITAL CAMERA

Sew on the lines, cut apart and press toward the small triangles. (See Wing Clipper instructions for complete info)
OLYMPUS DIGITAL CAMERA

Place another square on the unit, sew on the lines.
OLYMPUS DIGITAL CAMERA

Cut apart. Press toward the small triangle.

OLYMPUS DIGITAL CAMERA

OLYMPUS DIGITAL CAMERA
Square up using your Wing Clipper.

Red Fabric:
I needed eight 2” by 4” finished flying geese units, so I cut two 5 ½” (white) squares and eight 3” (red) squares to produce 8 flying geese as before.

Cut four 2” by 4” red rectangles.

I needed 20 red and white Half Square Triangles (HST).  Once again I consulted the chart on my Tucker Trimmer instructions.  To end up with twenty 2 ½” unfinished HST, I cut 10 red 3″ squares and 10 white 3” squares.

Using my Magic Wand I traced a line on either side of the white squares.
OLYMPUS DIGITAL CAMERA

Place one red and white square together and sew on each line.

OLYMPUS DIGITAL CAMERA

Trim in half diagonally press toward the dark.

OLYMPUS DIGITAL CAMERA

Square up using your Tucker Trimmer.

OLYMPUS DIGITAL CAMERA

White Fabric:

Cut four 6 ½” squares for the corners and

Cut eight 2 ½” squares for either side of the red flying geese.

OLYMPUS DIGITAL CAMERA

Layout your completed units

OLYMPUS DIGITAL CAMERA

I started on the right side and sewed the above units into rows.

OLYMPUS DIGITAL CAMERA

Join the rows into a block.

OLYMPUS DIGITAL CAMERA

Add the 6 1/2″ corner blocks. Repeat on the left side.

OLYMPUS DIGITAL CAMERA

As shown above, I divided the block into 4 sections. Above I sewed the right and then the left sections together.    Next I joined the units right of the center and left of the center into rows and then joined the center units together.  Finally I joined the four sections together for the finished block.  You can decide how big to make your own blocks and how many blocks to make.

OLYMPUS DIGITAL CAMERA