Tag Archives: Corner Beam

Journeys Month 12 – Quilt Assembly

Welcome, Welcome, Welcome to Stitchin Heaven’s Journey’s BOM – Month 12! This has been a spectacular year. You all have worked so hard. Thank you to Deb Luttrell, Founder of Stitchin Heaven, Deb Tucker, Creative Kingpin of Studio 180 Design, Marie Bostwick New York Times best selling author and Jason Yenter Fabric Designer & President of In the Beginning Fabrics for making this all possible. Now to assemble your quilts!

Note: WOF stands for width of fabric. This month you will assemble your quilt top and add the borders.

Gather the following pieces:

4 Corner Sections from Month 6

Block K from Month 7

4 Middle Edge Sections from Month 9

4 Pieced Border sections from Month 11

Finishing Instructions

Step 1 – Lay out the Corner Sections, Middle Edge Sections, and Block K as shown in the diagram on page 35.

Step 2 – Stitch the sections together into rows, press the seams open. Stitch the rows together to create the quilt center.

Step 3 – Attach the 72½” Print 11 inner border strips. Find the center of the quilt and the center of the 72½” border strip. Match the center points with right sides together, pin. Match both ends of the strip with the ends of the quilt and pin in place. Ease the quilt top to match the border strip and add more pins between the others to hold the border in place as you stitch. Attach the other 72½” border to the opposite side in the same manner and press toward the inner border strip.

Step 4 – Repeat step 3 for the 75½” Print 11 border strips.

Step 5 – Attach the 75½” Print 6 middle border strips. Using two of the border strips, stitch them to the quilt in the same manner as in step 3. Press toward Print 6.

Step 6 – Stitch a Print 4 middle border corner stone to each end of the remining 2”x 75½” Print 6 borders. Press toward the middle border.

Step 7 – Attach the remining two middle border strips to the quilt as described in step 3. Make sure to nest the seams. Press toward the middle border.

Step 8 – Add the pieced borders. Start with the borders that do not have the N Units on the ends. Orient the pieced borders so that the Corner Pops are against the middle border and the points of the V Blocks are pointing away from the quilt center. Refer to the diagram. Find the center of the quilt top and the center of the pieced border. Match the centers and pin. Match each end and pin. Ease the border to match the quilt top and add more pins between the others to hold the border in place as you stitch. Stitch in place. Press toward the middle border.

Step 9 – Repeat step 8 for the other pieced borders with the N Units attached to the ends. After you have matched the centers and the ends, make sure that you nest the Corner Beam seam with the seam attaching the pieced border.

Note: We recommend that you wait to cut your outer borders to length until you can measure your quilt top. To determine your specific border length, measure the longest side of your quilt in three different places. If those measurements are different, add the three measurements together and divide by three. That will be the length that you need to cut your first two borders. Once the first two borders are attached to the quilt repeat the process for the remaining two sides.

Step 10 – Add the outer borders. Find the center of the quilt and the center of the 90½” outer border strip. Match the center points with right sides together, pin, match either end of the strip with the ends of the quilt, and pin in place. Add more pins between the others, about every 4”, to hold the border in place as you stitch. Attach the other 90½” border to the opposite side in the same manner and press toward the outer border strip.

Step 11 – Repeat step 10 for the 102½” outer border strips.

Step 12 – Finish with Batting, Backing, Quilting, and Binding! Layer quilt top with batting and backing. Baste and quilt. Bind and Enjoy!

Journeys

Thank you all so much for joining us on this Journey! Congratulations on a job well done!

Journeys Month 9 – Corner Beam

Welcome to Stitchin Heaven‘s Journeys BOM Month 9. You all have worked so hard. This month you will learn to use your Corner Beam tool. Sue Tucker & Naz are my helpers for Month 9.

You will be working with Print 1, 4 and 11 this month.

Cutting the Center Beams

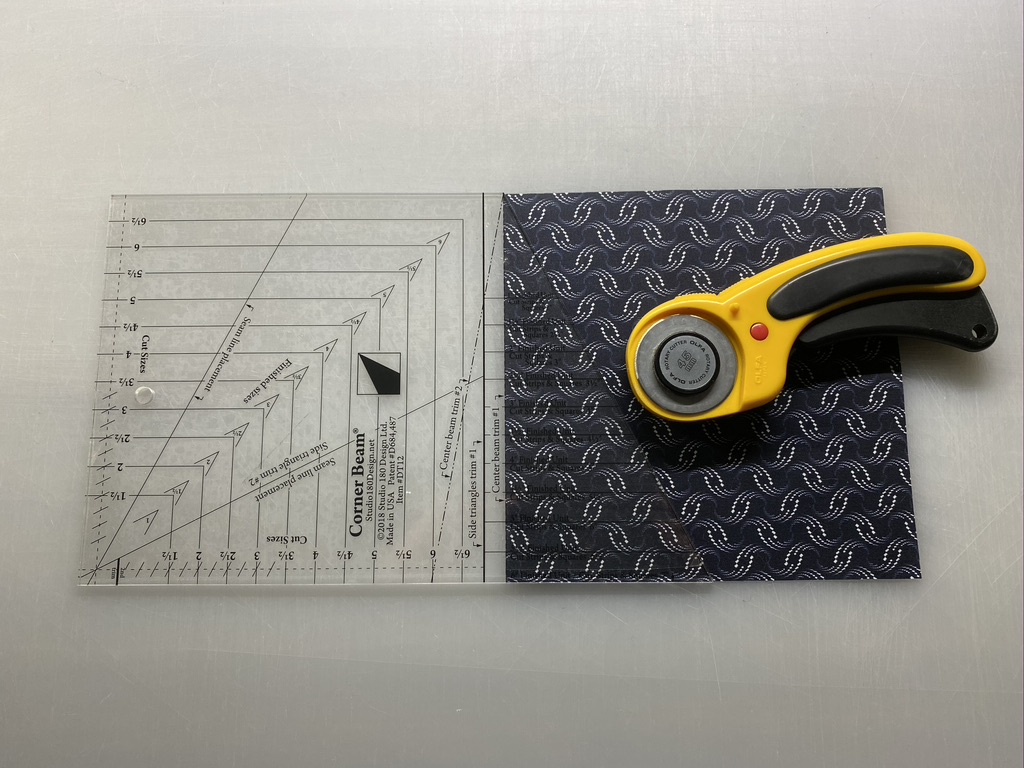
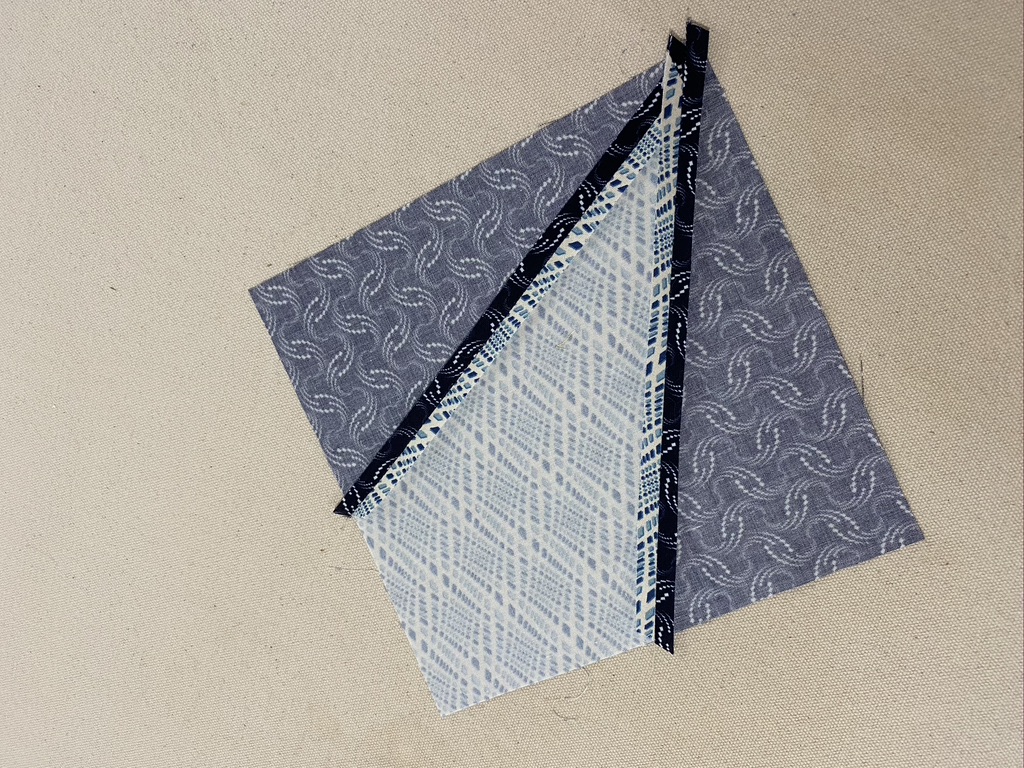
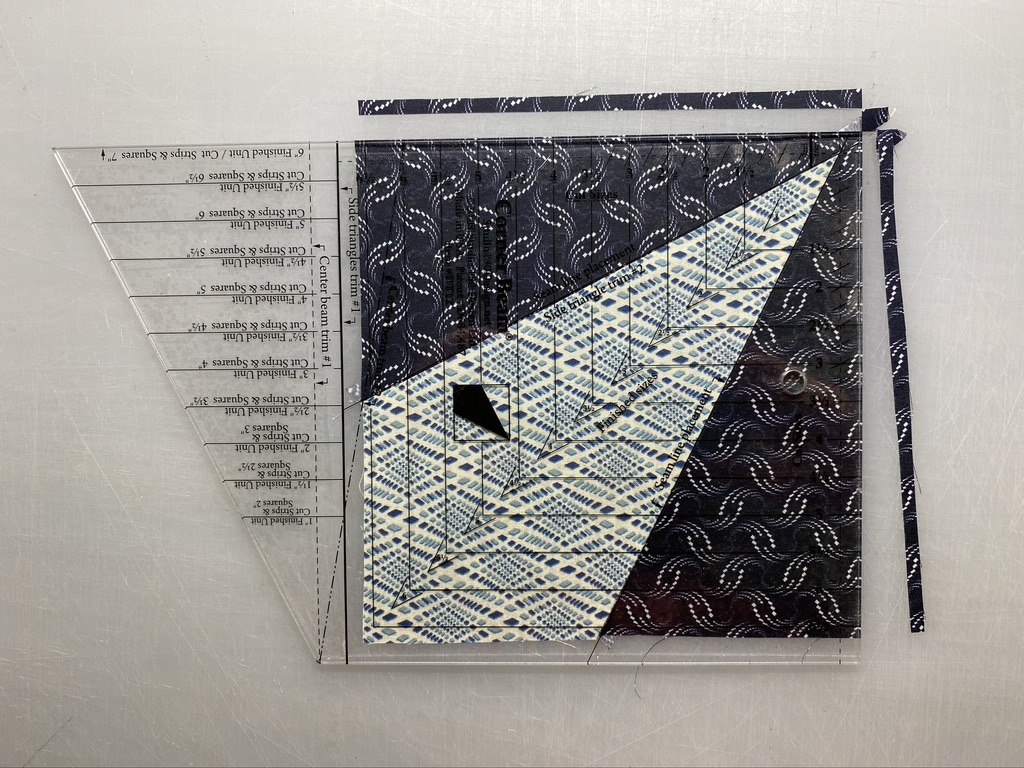
Step 1 – Stack the 7” center beam squares up to 4 layers deep. Align the Center Beam Trim #1 line on your Corner Beam® tool and the 6” finished unit line (bottom edge of tool) with the raw edges of your stack of squares. Cut along the angled edge.

Step 1

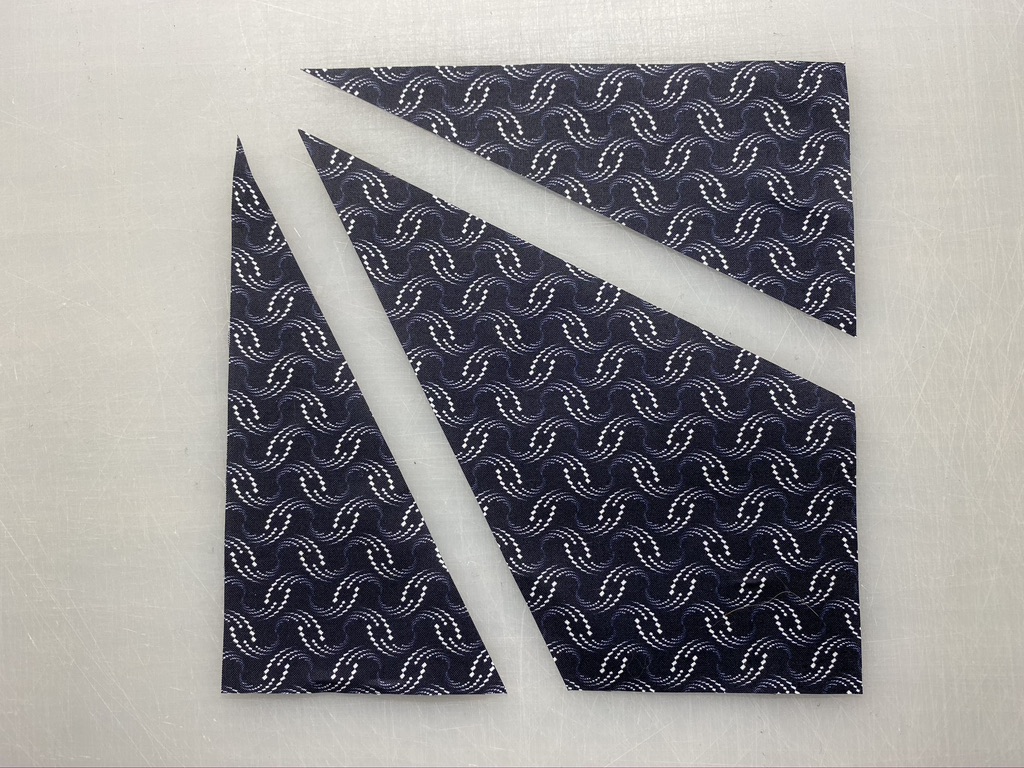
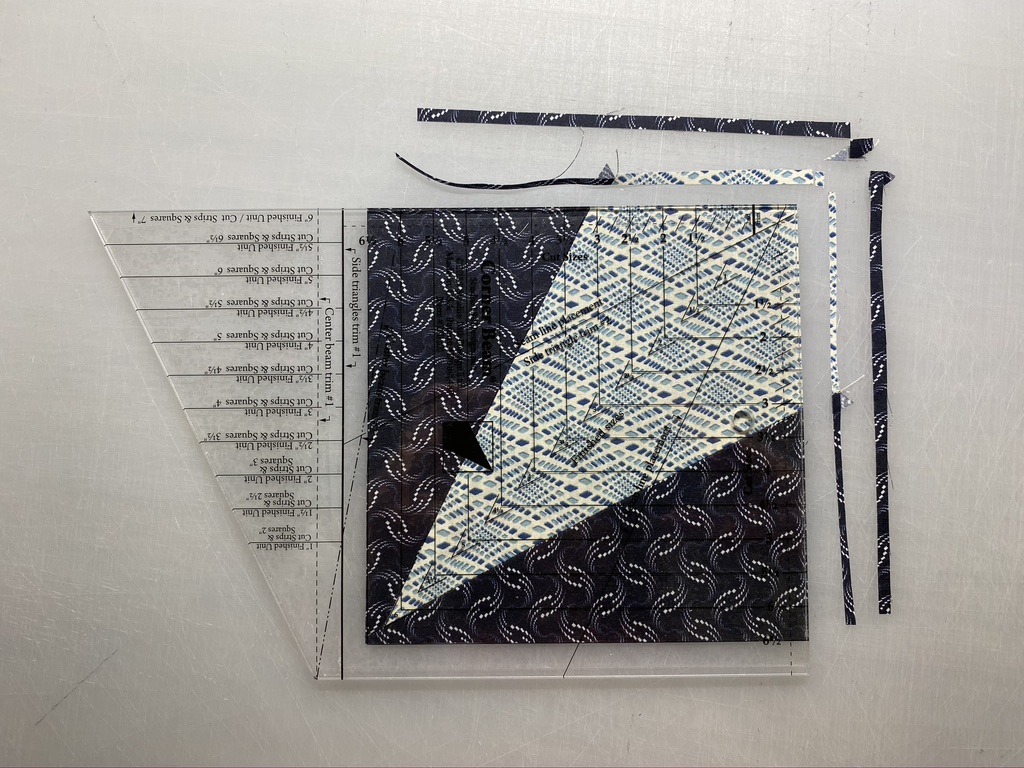
Step 2 – Rotate and cut again. Lift and reposition the Corner Beam® tool, aligning the dashed line labeled Center Beam Trim #2 with the previously trimmed angled edge. Cut again. Do this for all your center beam squares.

Step 2
Step 2

Cutting the Side Triangles

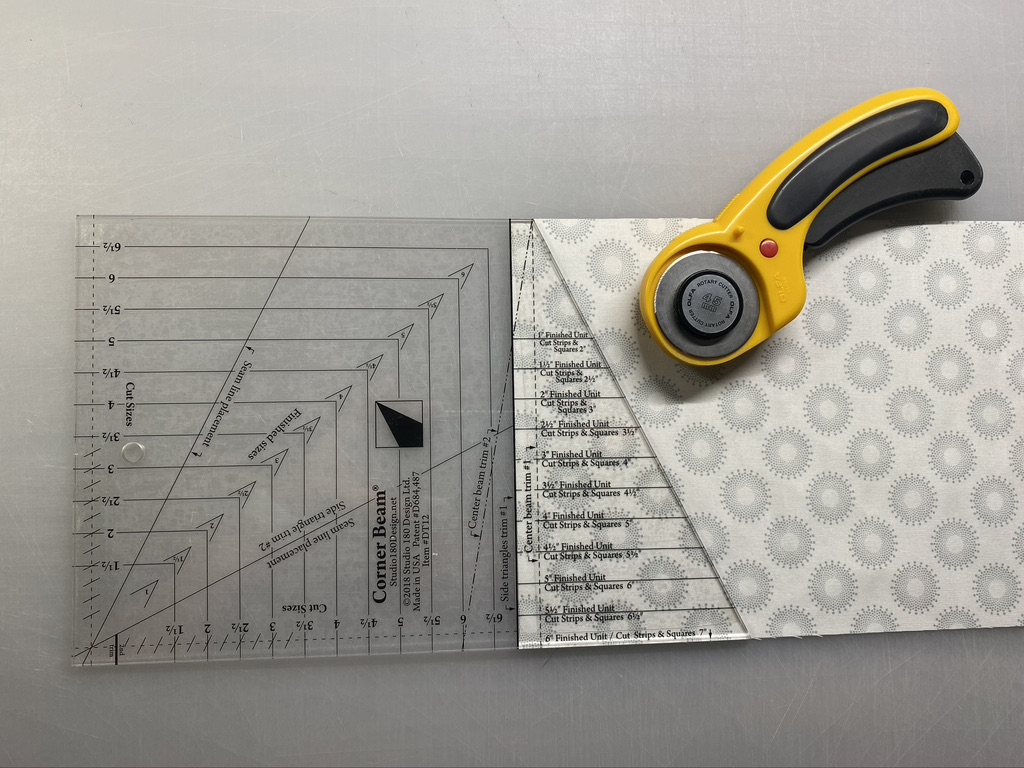
Step 3 – Fold the side triangle strip right or wrong sides together in order to yield mirror images. Trim the selvages and position the Side Triangles Trim #1 line on your strips, lining up the 6” finished unit line (bottom of the tool) with the bottom raw edge of the strip. Cut along the angled edge.

Step 3

Step 4 – Rotate the Corner Beam® tool and position the Side Triangles Trim #2 line on the edge of the strip you just cut, making sure the bottom of your strip is lined up along the second trim line. Cut along the edge. Continue cutting until you have 8 pairs of side triangles from Print 11 and 4 pairs of side triangles from Print 1.

Step 4

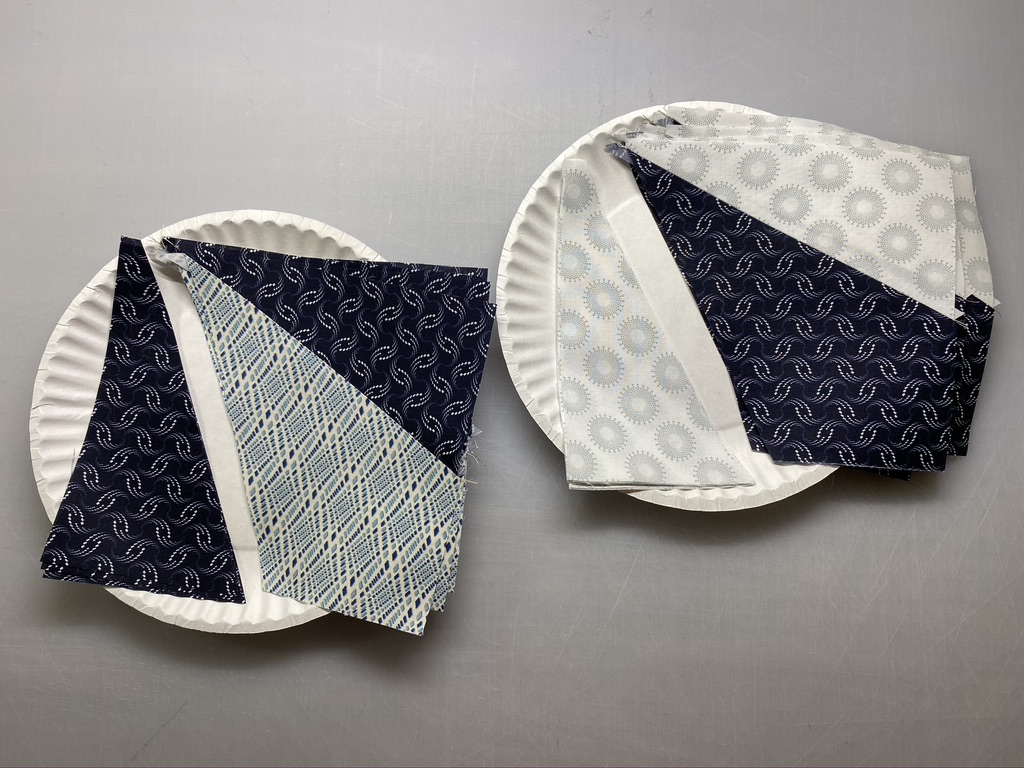
Step 5 – Lay out and organize your pieces into the correct positions as shown to ensure you sew the proper sides together.

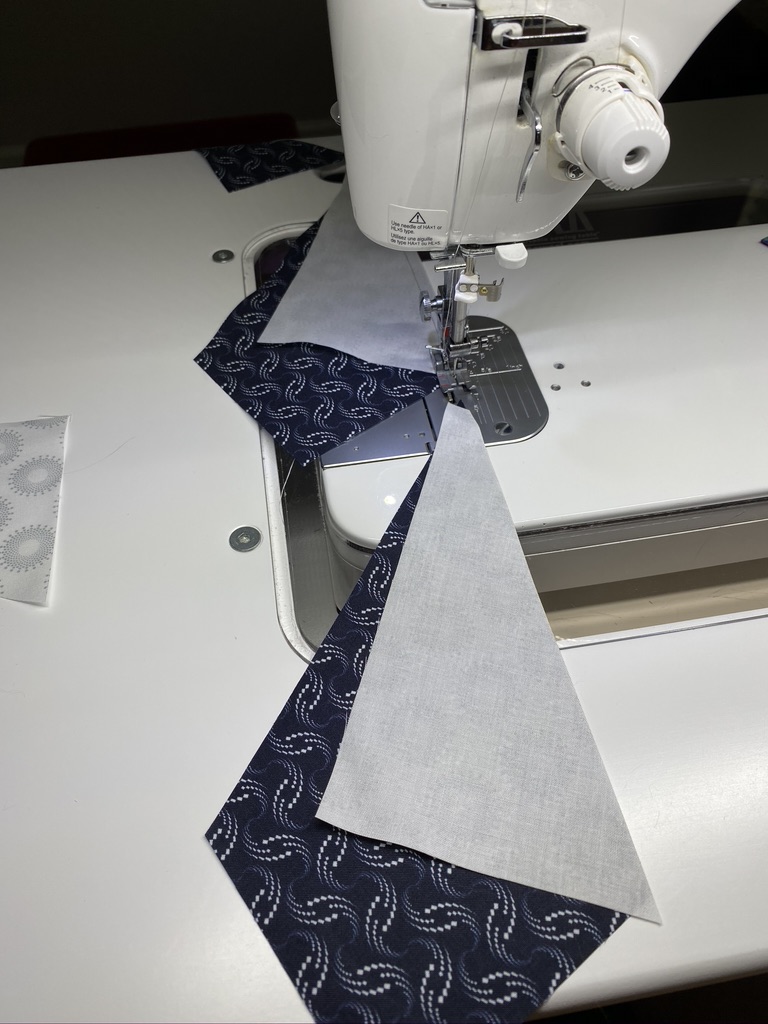
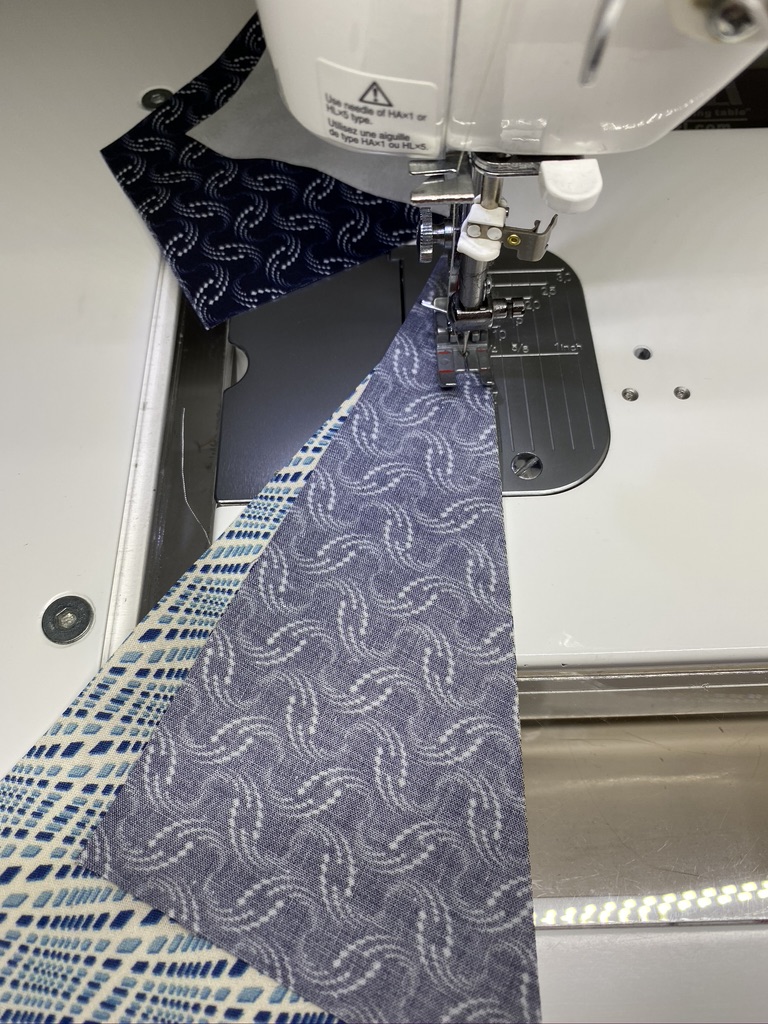
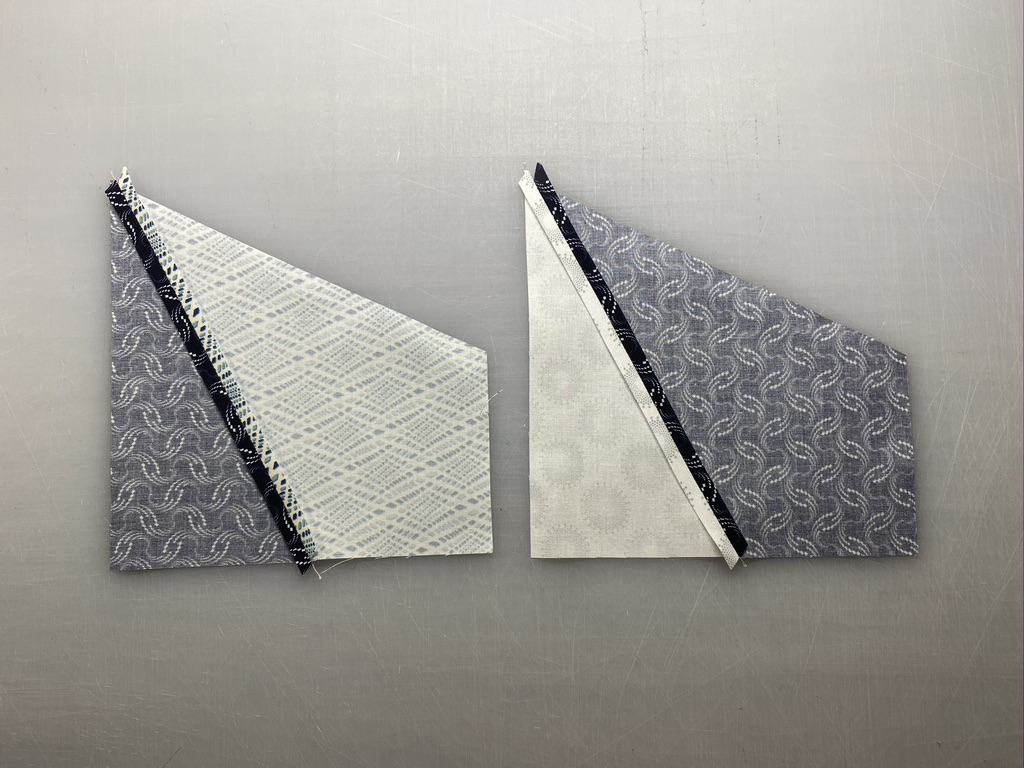
Step 6 – Stitch the first side triangle to each center beam, making sure you sew the correct triangle edge to the center beam. Press the seams open.

Press seams open

Step 7 – Stitch the second side triangle to the other side of each center beam. Press each seam open

Step 8 – Position the trim down area of your Corner Beam® tool on your unit. Carefully line up the diagonal seam guidelines on the Corner Beam® tool with the diagonal seams of your unit. Trim.

Step 8

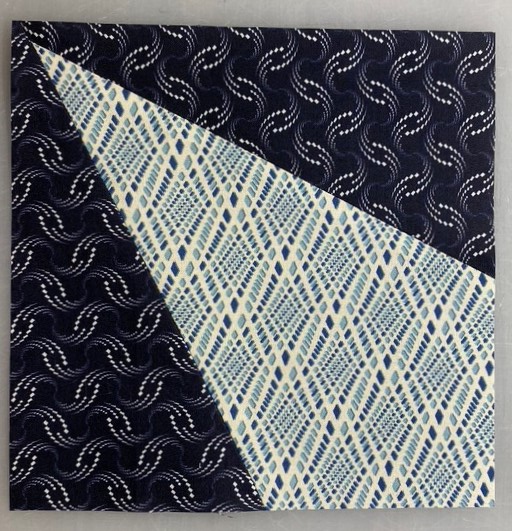
Step 9 – Rotate your unit. Align the cleanup lines for the 6½” cut size with the cut edges, the V shaped guideline with the seam intersection, and the tick marks with the seams at the wide end of the beam. Trim. Repeat for all units. Label as indicated in the Unit Summary.

Step 9

Assemble 4 Middle Edge Sections

It is time to assemble the four Middle Edge Sections of your quilt. To do this you will need the following:

8 Units A from Month 1
8 Units B from Month 2
8 Units D from Month 2
16 Units H from Month 5
16 Units L from Month 8
8 Units M from Month 9

Step 10 – Lay out the units as shown to create the Middle Edge Section.

Step 11 – Stitch the units together into rows. Press the seams open between the units.

Step 12 – Stitch the rows together into the Middle Edge Section. Press the seams open between rows.

Step 13 – Repeat steps 10-12 to make a total of 4 Middle Edge Sections.

Steps 10 – 12
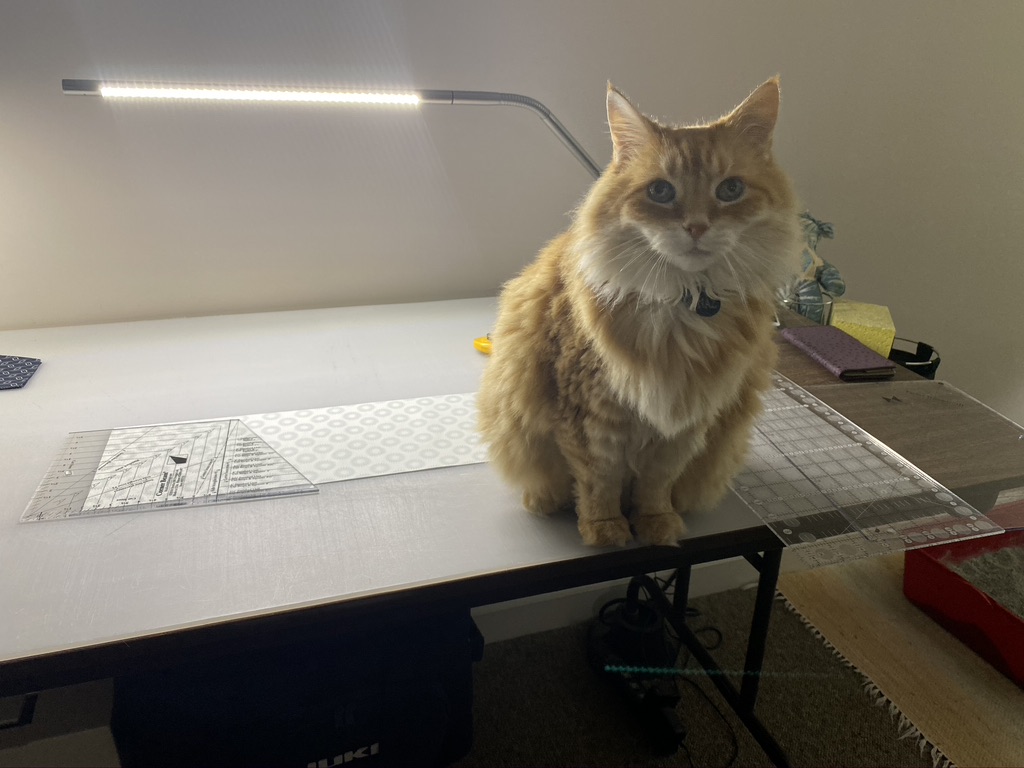
Naz carefully supervised Journey’s Month 9

Make 4 Middle Edge Sections. Congratulations on work well done!

Rockets Red Glare

The fabrics used to make this quilt were given to me by Northcott Fabrics.

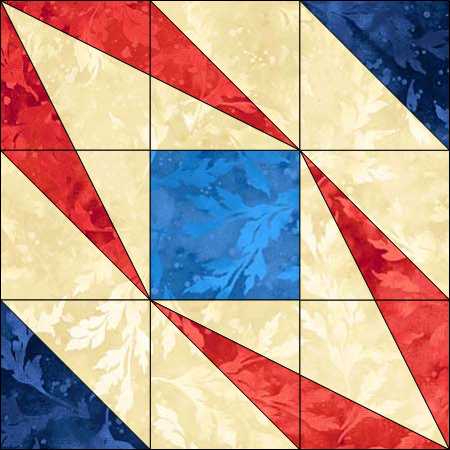
What I love about EQ8 is once you have drawn a block, you can easily rotate it, edit and change the color.  Rockets Red Glare came about as I was playing with Studio 180 Design’s BlockBuster 12 Double Trek .  This block is made with the Corner Beam , Tucker Trimmer I tools and the Sliver Technique Sheet.

This is the Original BlockBuster 12 Double Trek Block and the quilt layout I first came up with.  It seemed there was too much empty space.

Double Trek Block

I added a Half Square Triangle in two corners of the block.

Doublr Trek 2

I think that made a great difference.  I downloaded Northcott Essence Fabric into my EQ8 software to see how it would look…very patriotic, hence the name “Rockets Red Glare”.

img_3043

Northcott fabrics as always represent high quality.  The fabrics I chose to complete my quilt are from the Essence line and are absolutely beautiful.

If you want to try your own version of this quilt click here for the Rockets Red Glare Supply List

Have a great Summer and go quilt something!

Island Batik Getaway Blog Hop

The fabrics shown in this post were given to me by Island Batik
Deb Tucker’s Twilight Chic by Island Batik

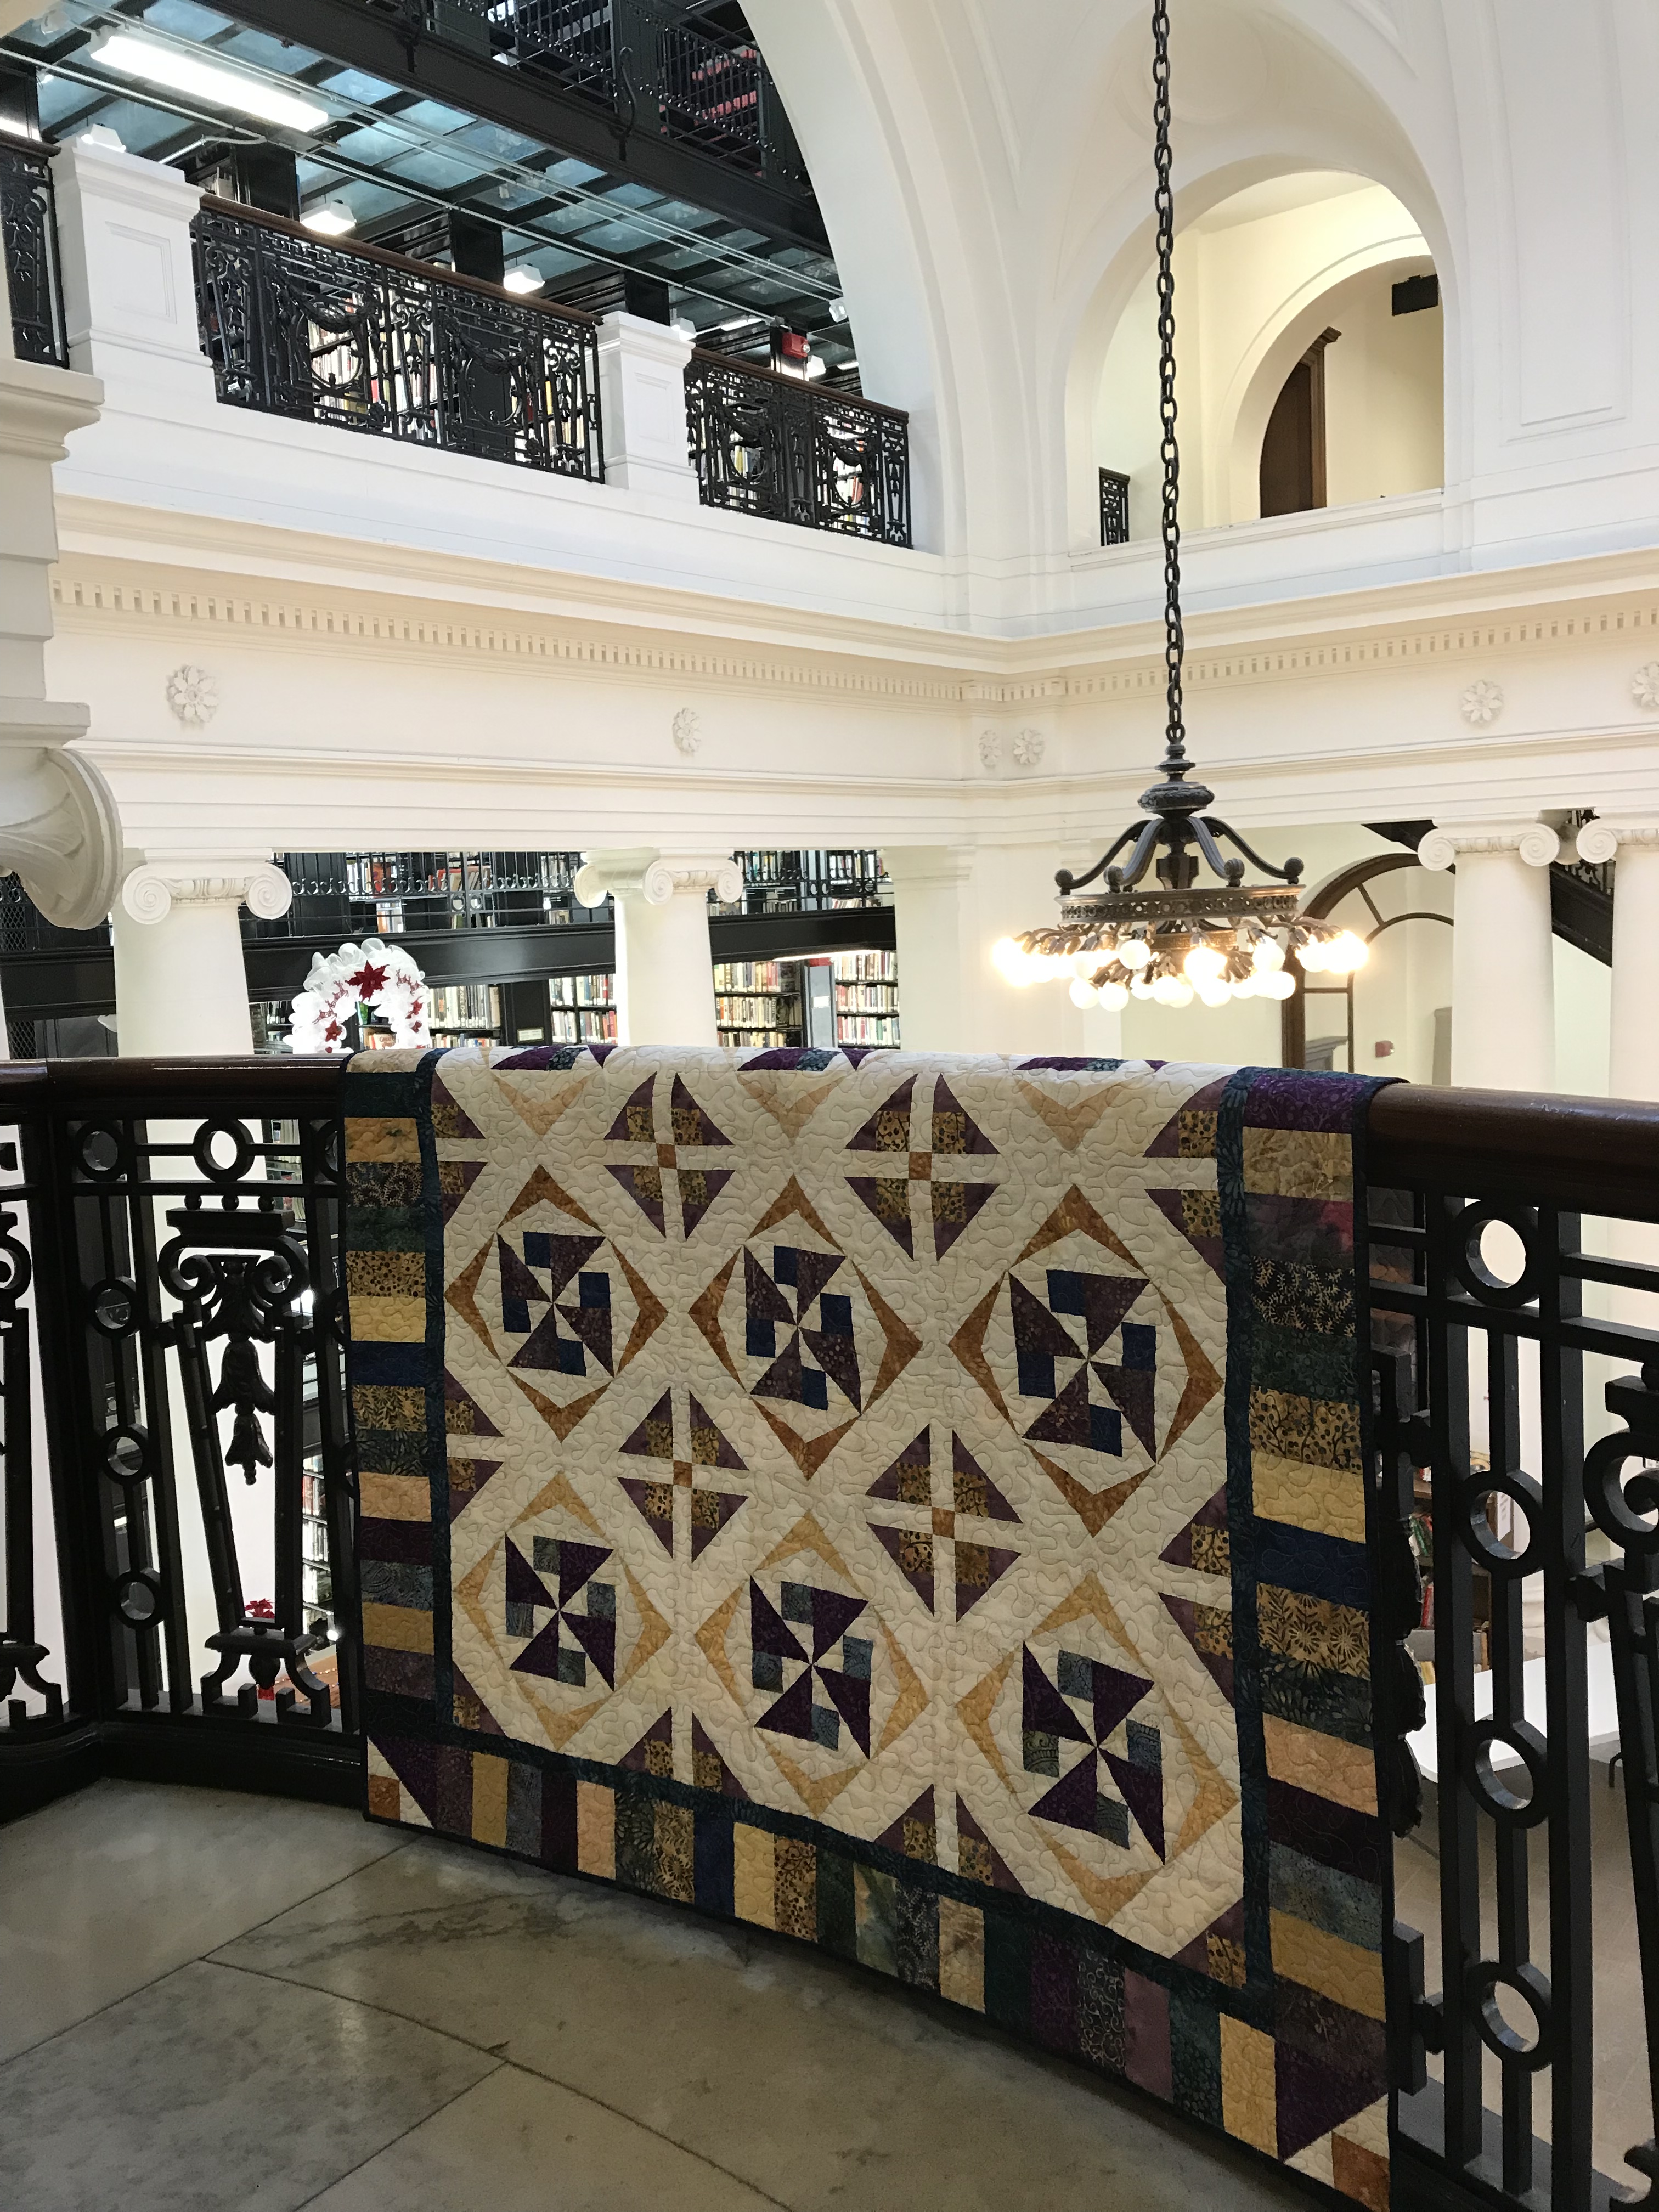
Well, if you can’t getaway, go to the library for a good book! The Utica, NY Public Library opened in 1904. I love the inside of this Library.

Shaded Chic

The upper floors of the Utica Library are made of thick glass. I used to love coming here as a child.

In every box of fabric we Island Batik Ambassador’s receive, there is a secret bundle of the newly released batiks. I was lucky enough to be assigned Twilight Chic by Deb Tucker for Studio 180 Design. This is my third quilt from the Twilight Chic line.

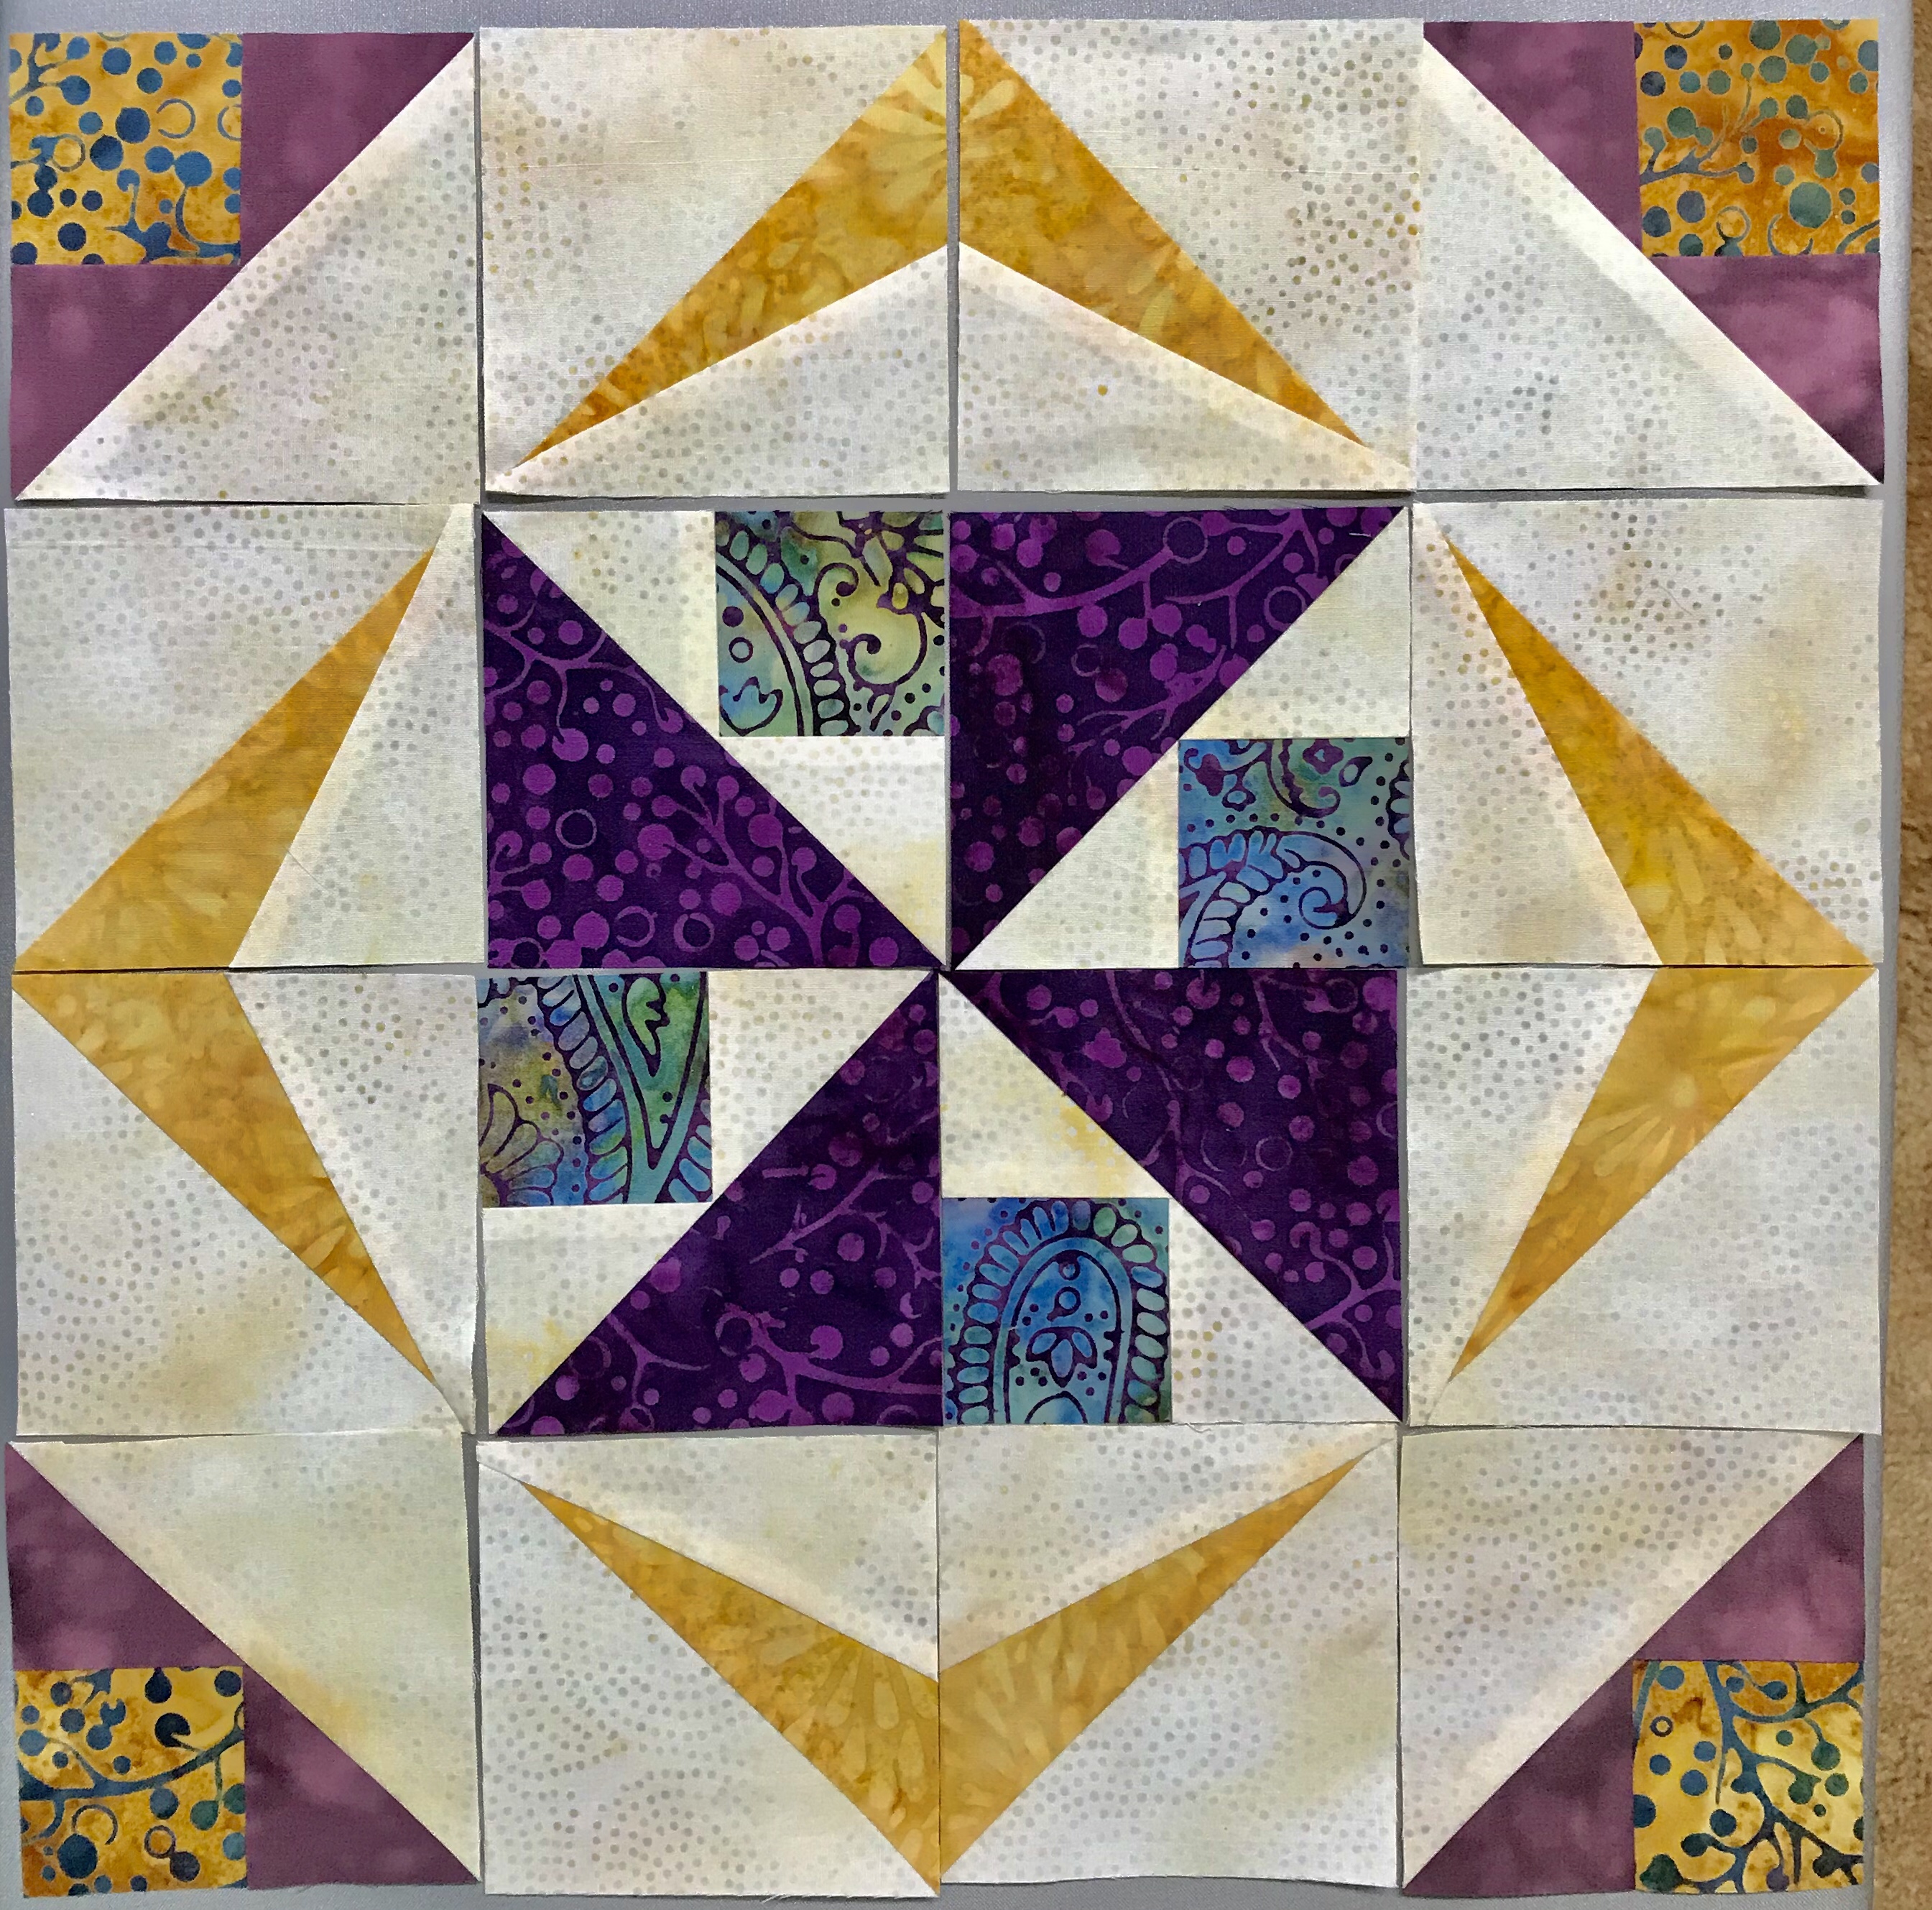
Shaded Chic is based on BlockBuster # 35 Hidden Blossoms.

Shaded four & Mirror Image Sliver Units

Each block has 8 Shaded Four Patch units and 8 Sliver units.

This block is made using Studio 180 Design’s Tucker Trimmer I & Corner Beam tools with the Shaded Four Patch & Sliver Technique Sheets.

Shaded Chic Block
Shaded Chic

Shaded Chic consists of nine 12″ blocks and measures 50″ x 50″.

Be sure to visit Island Batik to enter their give away of 20 fat quarter bundle. 


Here is the list of all the ambassadors for this month-long hop!

WEEK 1

Monday, January 7 – Crystal Ball

Maryellen McAuliffeMary Mack’s Blog

Sandra Walker- mmm! quilts

Tuesday, January 8  – Ditty

Stephanie JacobsonSteph Jacobson Designs

Michelle RobertsCreative Blonde

Wednesday, January 9 – Elk Lodge

Connie CampbellFree Motion by the River

Anna BranchArk Angel Creations

Thursday, January 10 – Feline Fine

Bea LeeBea Quilter

Sharon ParcelYellow Cat Designs

Friday, January 11 – Flea Market

Geraldine WilkinsLiving Water Quilter

Jessica CaldwellDesert Bloom Quilting

WEEK 2

Monday, January 14 – Fortune Teller

Sarah GoerSarah Goer Quilts

Sherry ShishPowered by Quilting

Jennifer FultonThe Inquiring Quilter

Tuesday, January 15  – Gypsy Rose

Jen StrauserDizzy Quilter

Janet YamamotoWhispers of Yore

Wednesday, January 16 – Paisley Park

Dione Gardner-StephenClever Chameleon

Nancy ScottMasterpiece Quilting

Thursday, January 17 – Soul Song

Carole Lyles ShawCarol Lyles Shaw

Toby LischkoGateway Quilts & Stuff  

Friday, January 18 – Twilight Chic

Jackie OBrienIf These Threads Could Talk

Tina DillardQuilting Affection

WEEK 3

Monday, January 21 – Winter Park

Jennifer ThomasCurlicue Creations

Anita SkjellangerQuilt In a Not Shell

Tuesday, January 22  – Bazaar

Karen OvertonThe Quilt Rambler

Alison VermilyaLittle Bunny Quilts

Turid BakkenDen syende Himmel

Wednesday, January 23 – Blossom

Karen NearySew Karen-ly Created

Leanne ParsonsDevoted Quilter

Thursday, January 24 – Boho

Laura PilandSlice of Pi Quilts

Suzy WebsterAdventurous Applique and Quilting

Myra BarnesBusy Hands Quilts

Friday, January 25 – Brookview

Vicki SchlimmerVicki’s Crafts and Quilting

Amy WarnerSew Incredibly Crazy

WEEK 4

Monday, January 28 – French Blue

Pamela BoatrightPamelaQuilts

Joyce MullisHearts Creations

Tuesday, January 29  – Midsummer Night

Kathleen McCormickKathleen McMusing

Connie KauffmanKauffman Designs

Wednesday, January 30 – Oh Deer

Jen ShafferPatterns by Jen

Jeanette JonesInchworm Fabrics

Thursday, January 31 – Snow Berry  

Sally MannkeSally Manke Fiber Artist

Joan KawanoMoosestash Quilting

Friday, February 1-  Candy Cane Lane and Icicle

Terri Vanden Bosch Icicle – Meanderings along Lizard Creek

Anne Wiens- Icicle – Sweetgrass Creative Designs

Mania Hatziioannidi Candy Cane Lane- Mania For Quilts

Barbara Gaddy – Candy Cane Lane  –Bejeweled Quilts by Barb

# Islandbatikgetawaybloghop  #islandbatik #twilightchic #debtucker #studio180design #bestofbali

The Great Outdoors Blog Hop

The products in this post were given to me by Island Batik.

img_6392

Back in February when I received my Island Batik Ambassador Box 1 it contained a secret bundle that could not be shared until now!  Through out the month of August “The great Outdoors Blog Hop” is featuring Island Batik Ambassador’s creations using fabrics that were introduced at the 2018 Spring Market.  Go to Island Batik for links to all the Ambassador Blog Sites.

I was given fabric from the “Spring Blossom” line:

This slideshow requires JavaScript.

I managed to use 20 different fabrics from this gorgeous line in my quilt as shown above.

img_1343

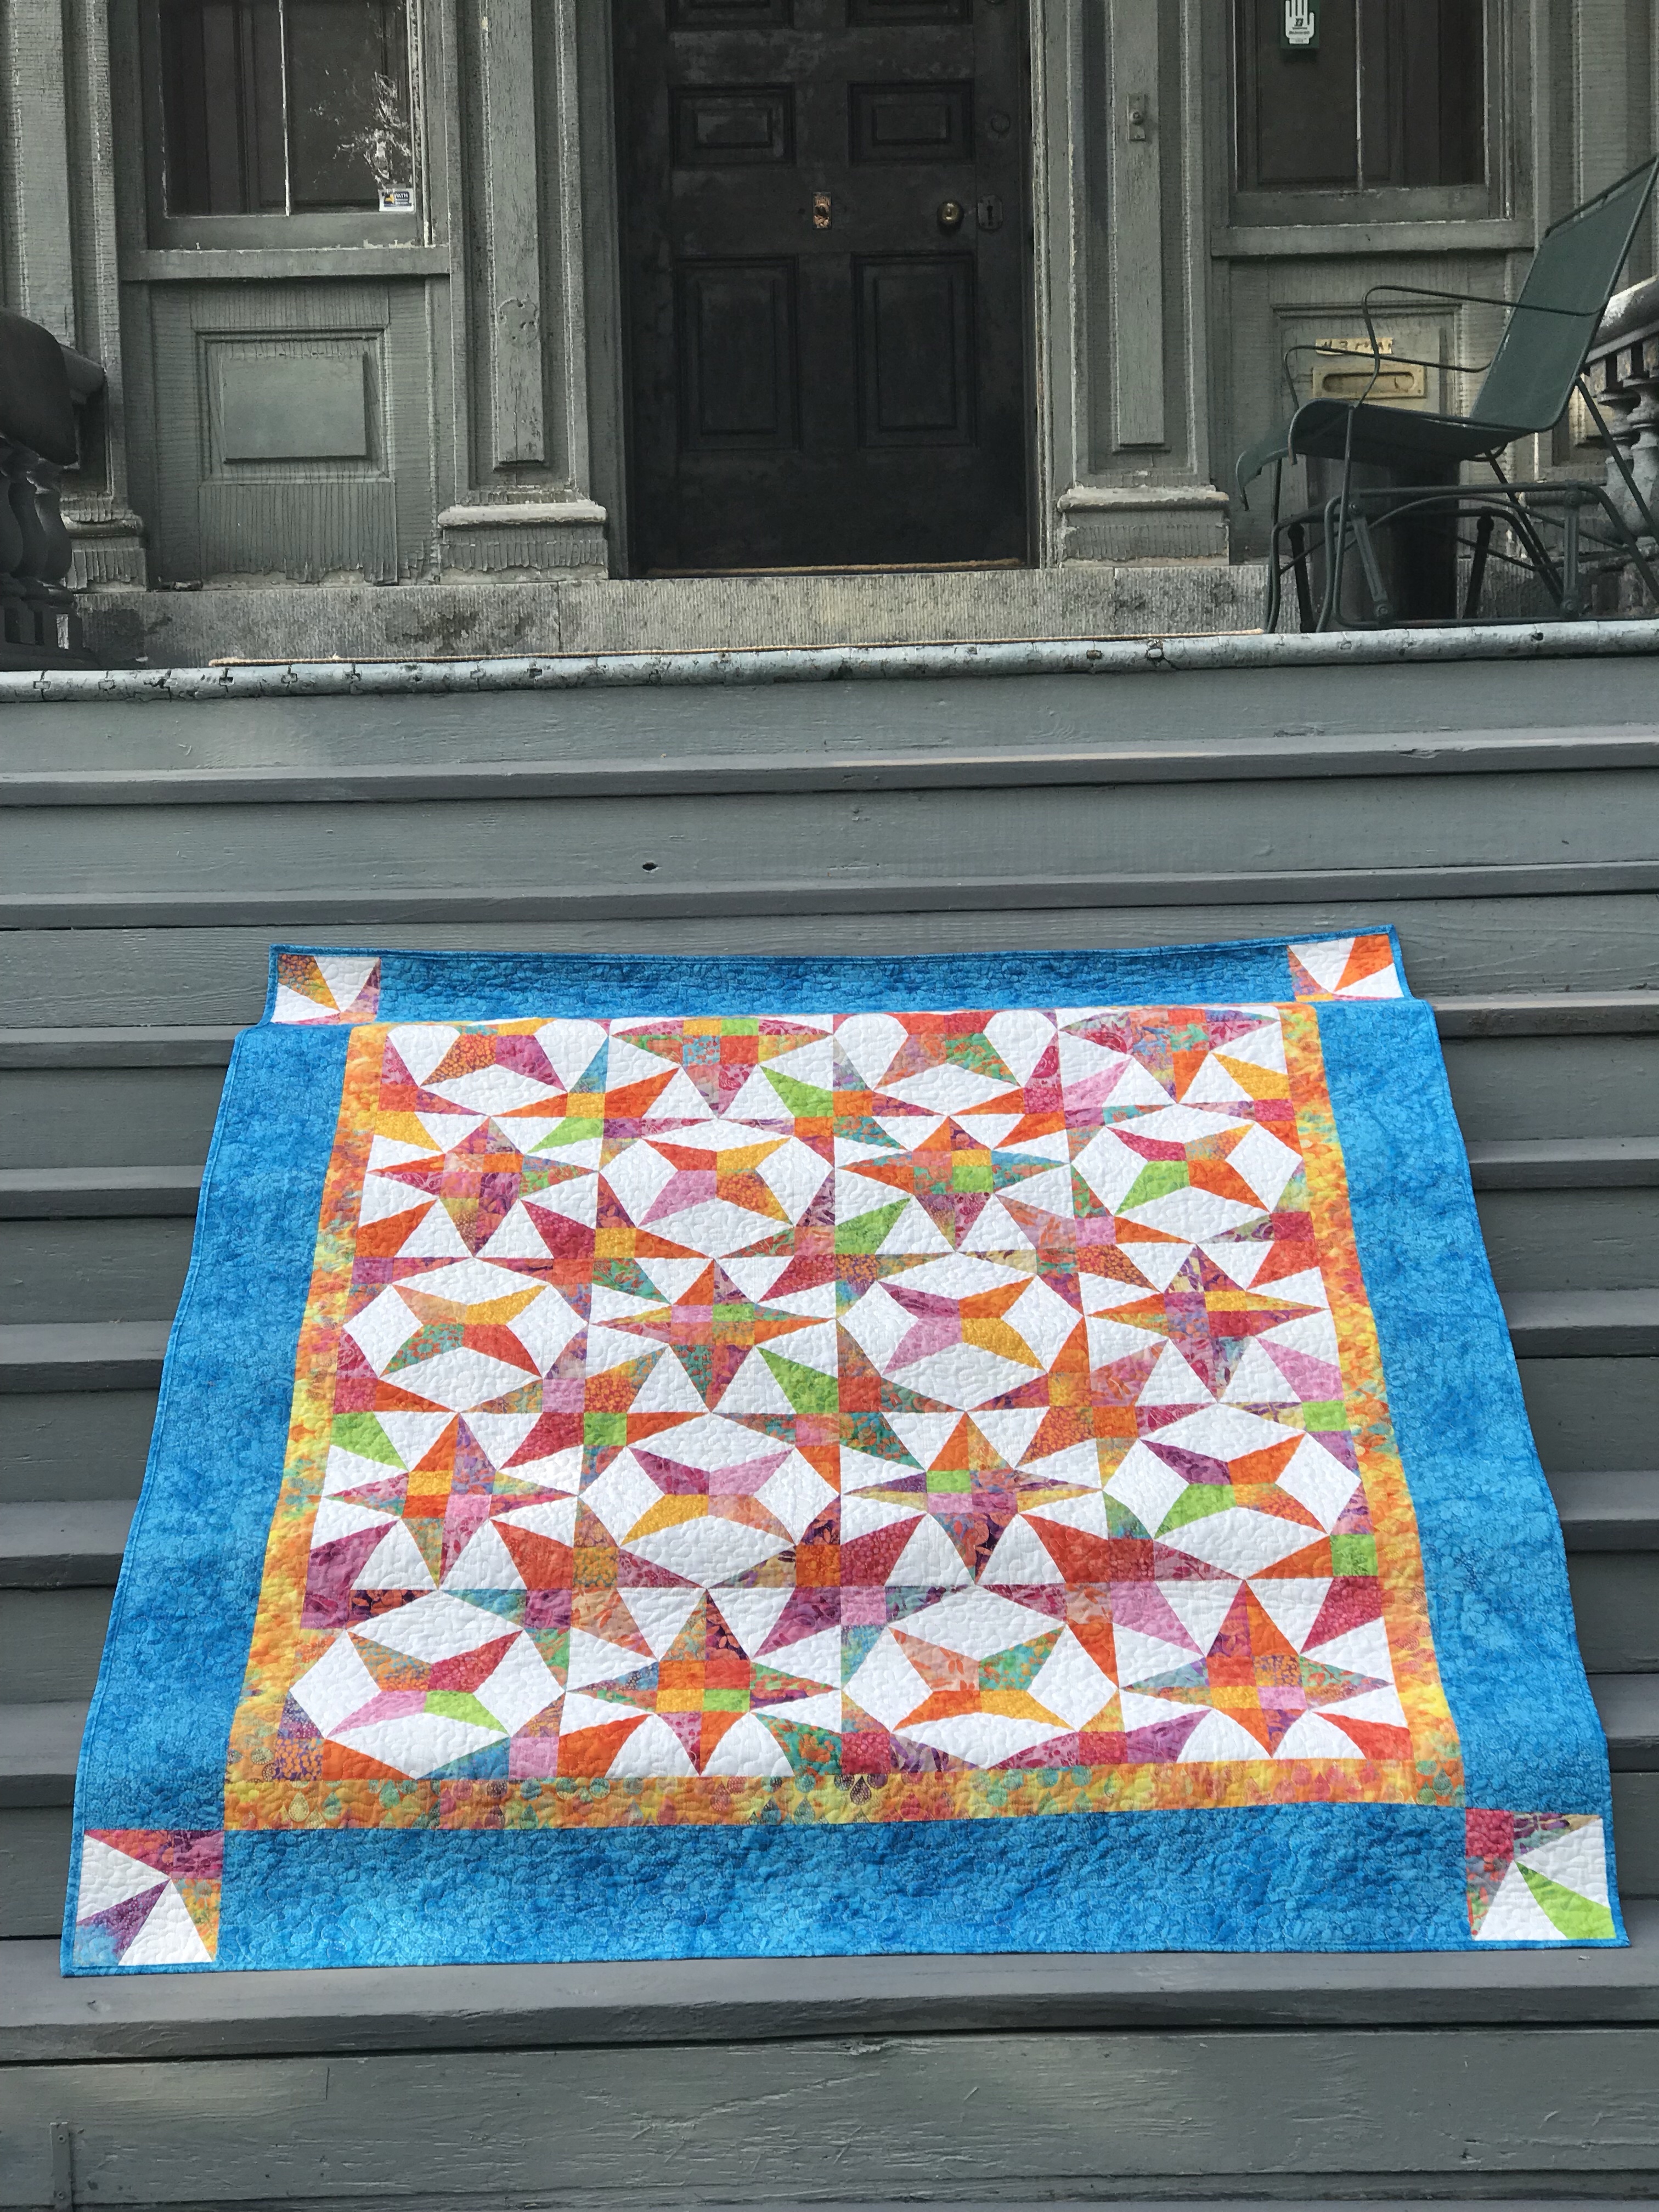
I named my quilt “Firefly”.  It is my original design, and uses Studio 180 Design Split Rects & Corner Beam tools.  It measures 66″ x 78″.  It is designed using one 6″ finished block.

img_6373

Each block contains 1 – 4″ finished Corner Beam unit, 2 mirror image 2″ x 4″ finished  Split Rects units & a 2″ finished square.

img_6367img_6368

I chose 7 different fabrics for the Split rects units and 10 more fabrics for the Corner Beam units and squares.

img_1378

I got one star block by place the corner beam units in the center and a 2nd star block by placing the 2″ squares in the center which created the “Firefly” in the center, how cool is this?  I had so much fun making this quilt.

This slideshow requires JavaScript.

To celebrate the great out door places in Utica, NY, my sister Mary & I went all over taking pictures of my travelling quilt.  We went to the historical Utica Train Station, Forest Hills Cemetery (the tree was up the hill from John Quincy Adams granddaughter’s grave), Rutger Park 1 & 3, Franklin Square, Liberty Bell Corner, Bagg Square & Utica Bread (fabulous bakery) and then upstairs to Jay Groah Realtor Group (his office has the coolest 70″s vibe), we finished up at the Eagle with a beautiful view of Utica.

GIVEAWAY:  Please leave a comment about this post and I will choose a winner to receive this Island Batik Spoolin Around Charm Pack!  (Giveaway is US Only and ends September 5, 2018.  Please leave your email in the comment.)

#greatoutdoorsbloghop #islandbatik #islandbatikambassador

Perfectly Paperless Piecing

Not that I have anything against paper piecing, but…if I can get the same results without having to paper piece, I’m all for it!  Earlier this year Deb Tucker introduced her new tool “The Large Square Squared” and it is teriffic!  It operates like the original  Square Squared, but the original was limited to 6 sizes whereas the large Square Squared gives you high precision for 12 different size units from 1″ to 12″.  As always it offers minimal waste and right & left handed instructions.  With it’s improved guidelines it takes two tools, Part A and Part B to accomplish all this.

image

But wait, there’s more!  Deb has a new pattern about to be released called Peach Melba. It is a Studio 180 Design companion pattern for the Large Square Squared tool that makes a beautiful pineapple block.

I only have one block done so far. But with this great Kaffe Fassett fabric I can’t wait to finish it.  This is a 12″ finished block.  The Large Square Squared tool made the process easy.  I would never have guessed I could make a pineapple quilt so perfect with out paper piecing!  The pattern gives you the choice of Lap, Twin or Queen size quilts.
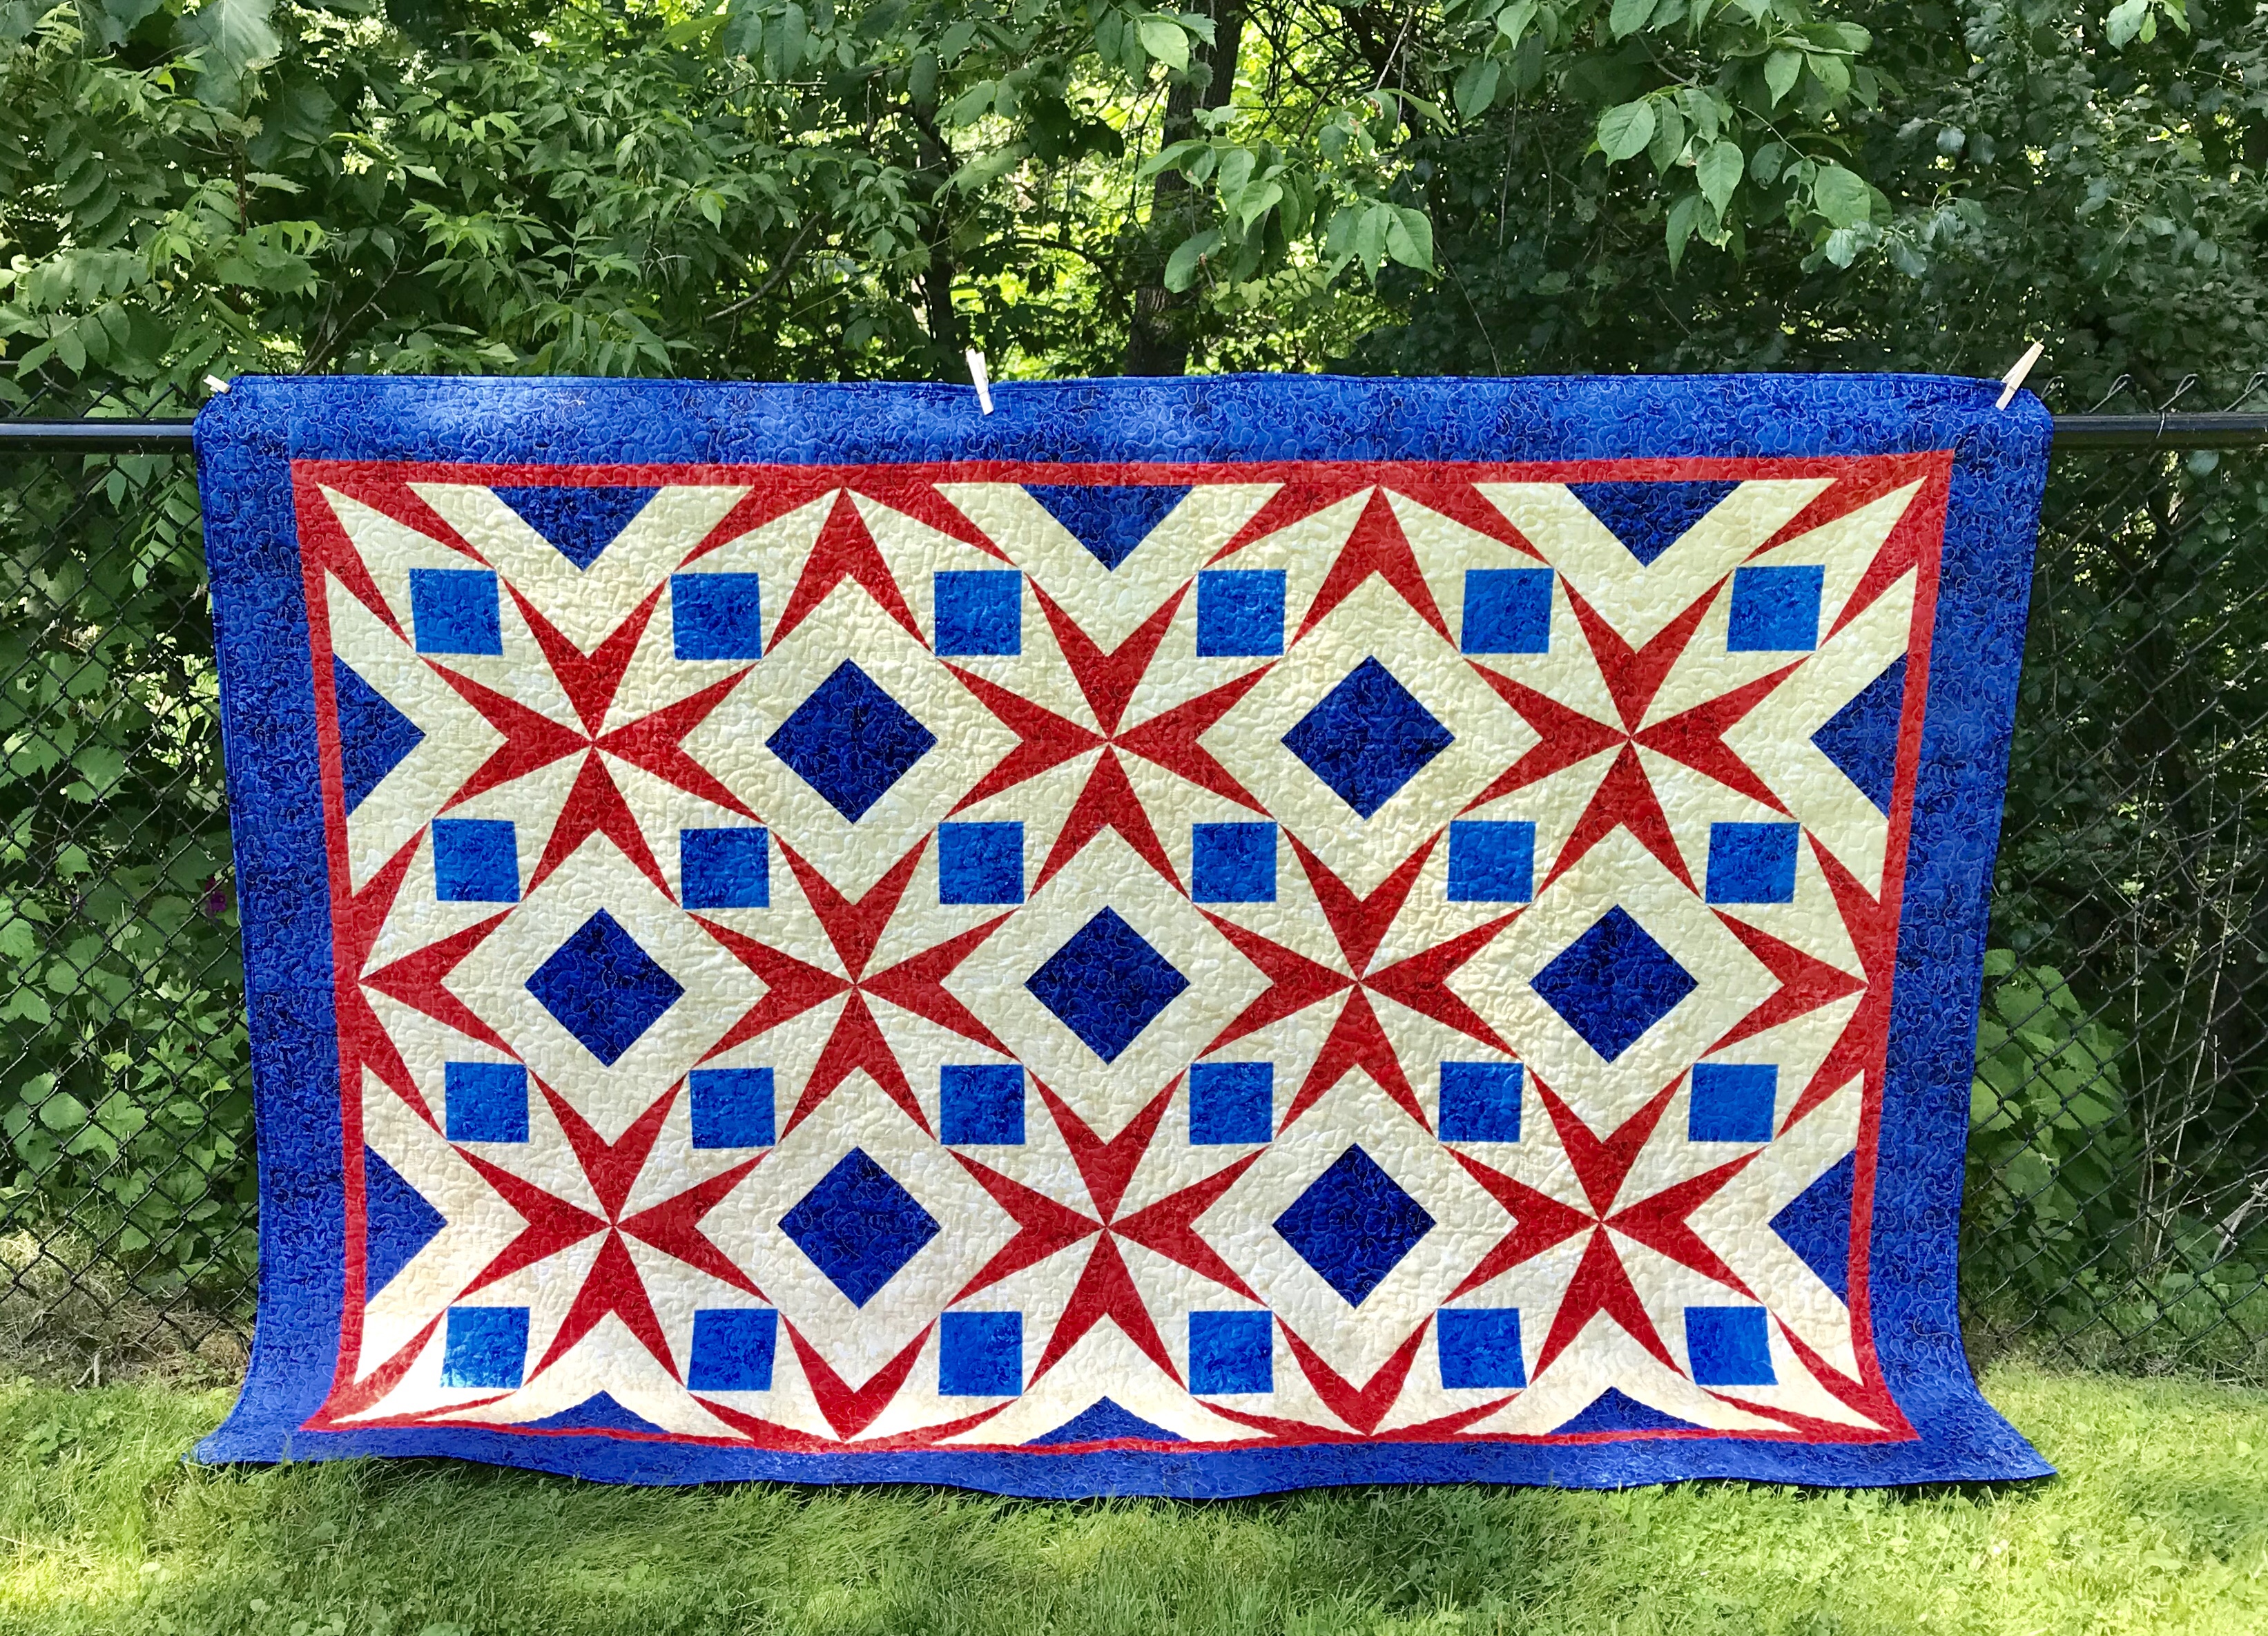
I did finish “Filigree” another Studio 180 Design companion pattern for the Large Square Squared & Corner Beam tool.  It was design by fellow Certified Instructor Sarah Furrer.  This pattern also gives you the choice of Lap, Twin or Queen size quilts.

OLYMPUS DIGITAL CAMERA

Filigree

I made the Lap size, 54″ x 70″.  I love this pattern.  It is a great way to get to know your new Large Square Squared tool.

There are only two blocks. The first is the Snail Tail that uses the Large Square Squared tool, the second uses the Corner Beam tool.

image

See why I call it perfectly paperless piecing?  What a beautiful back of a block!  Both Peach Melba & Filigree are not yet released, so be sure to sign up for the Studio 180 Design Newsletter at www.studio180design.net so you get news first.

Fellow Studio 180 Design Certified Instructor, Michelle Hiatt has also just released a new companion pattern for the Large Square Squared and Diamond Rects tools called Jenn’s Journey!

jenns-journey

You can find Jenn’s Journey at many local quilt shops or go to Michelle’s Etsy shop “Sew On the Go“.

image

I have my fabric picked out and ready to cut for Jenn’s Journey!

Summer Solstice

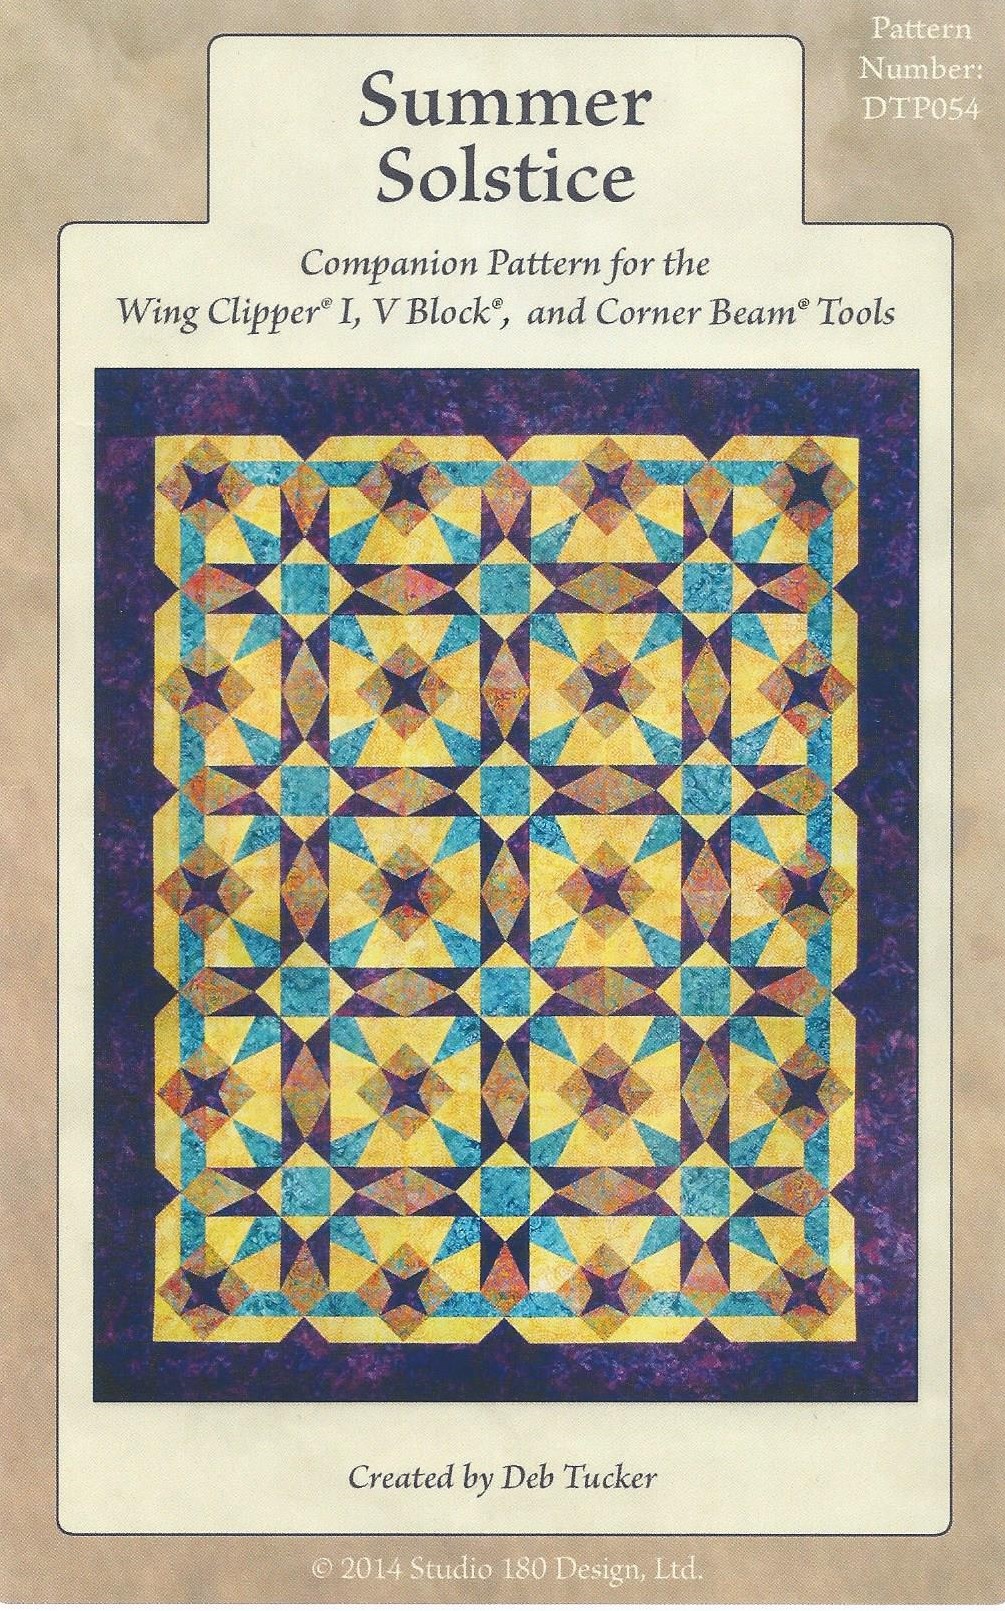
Summer Solstice…that would be what Deb Tucker named her pattern:

Summer Solstice

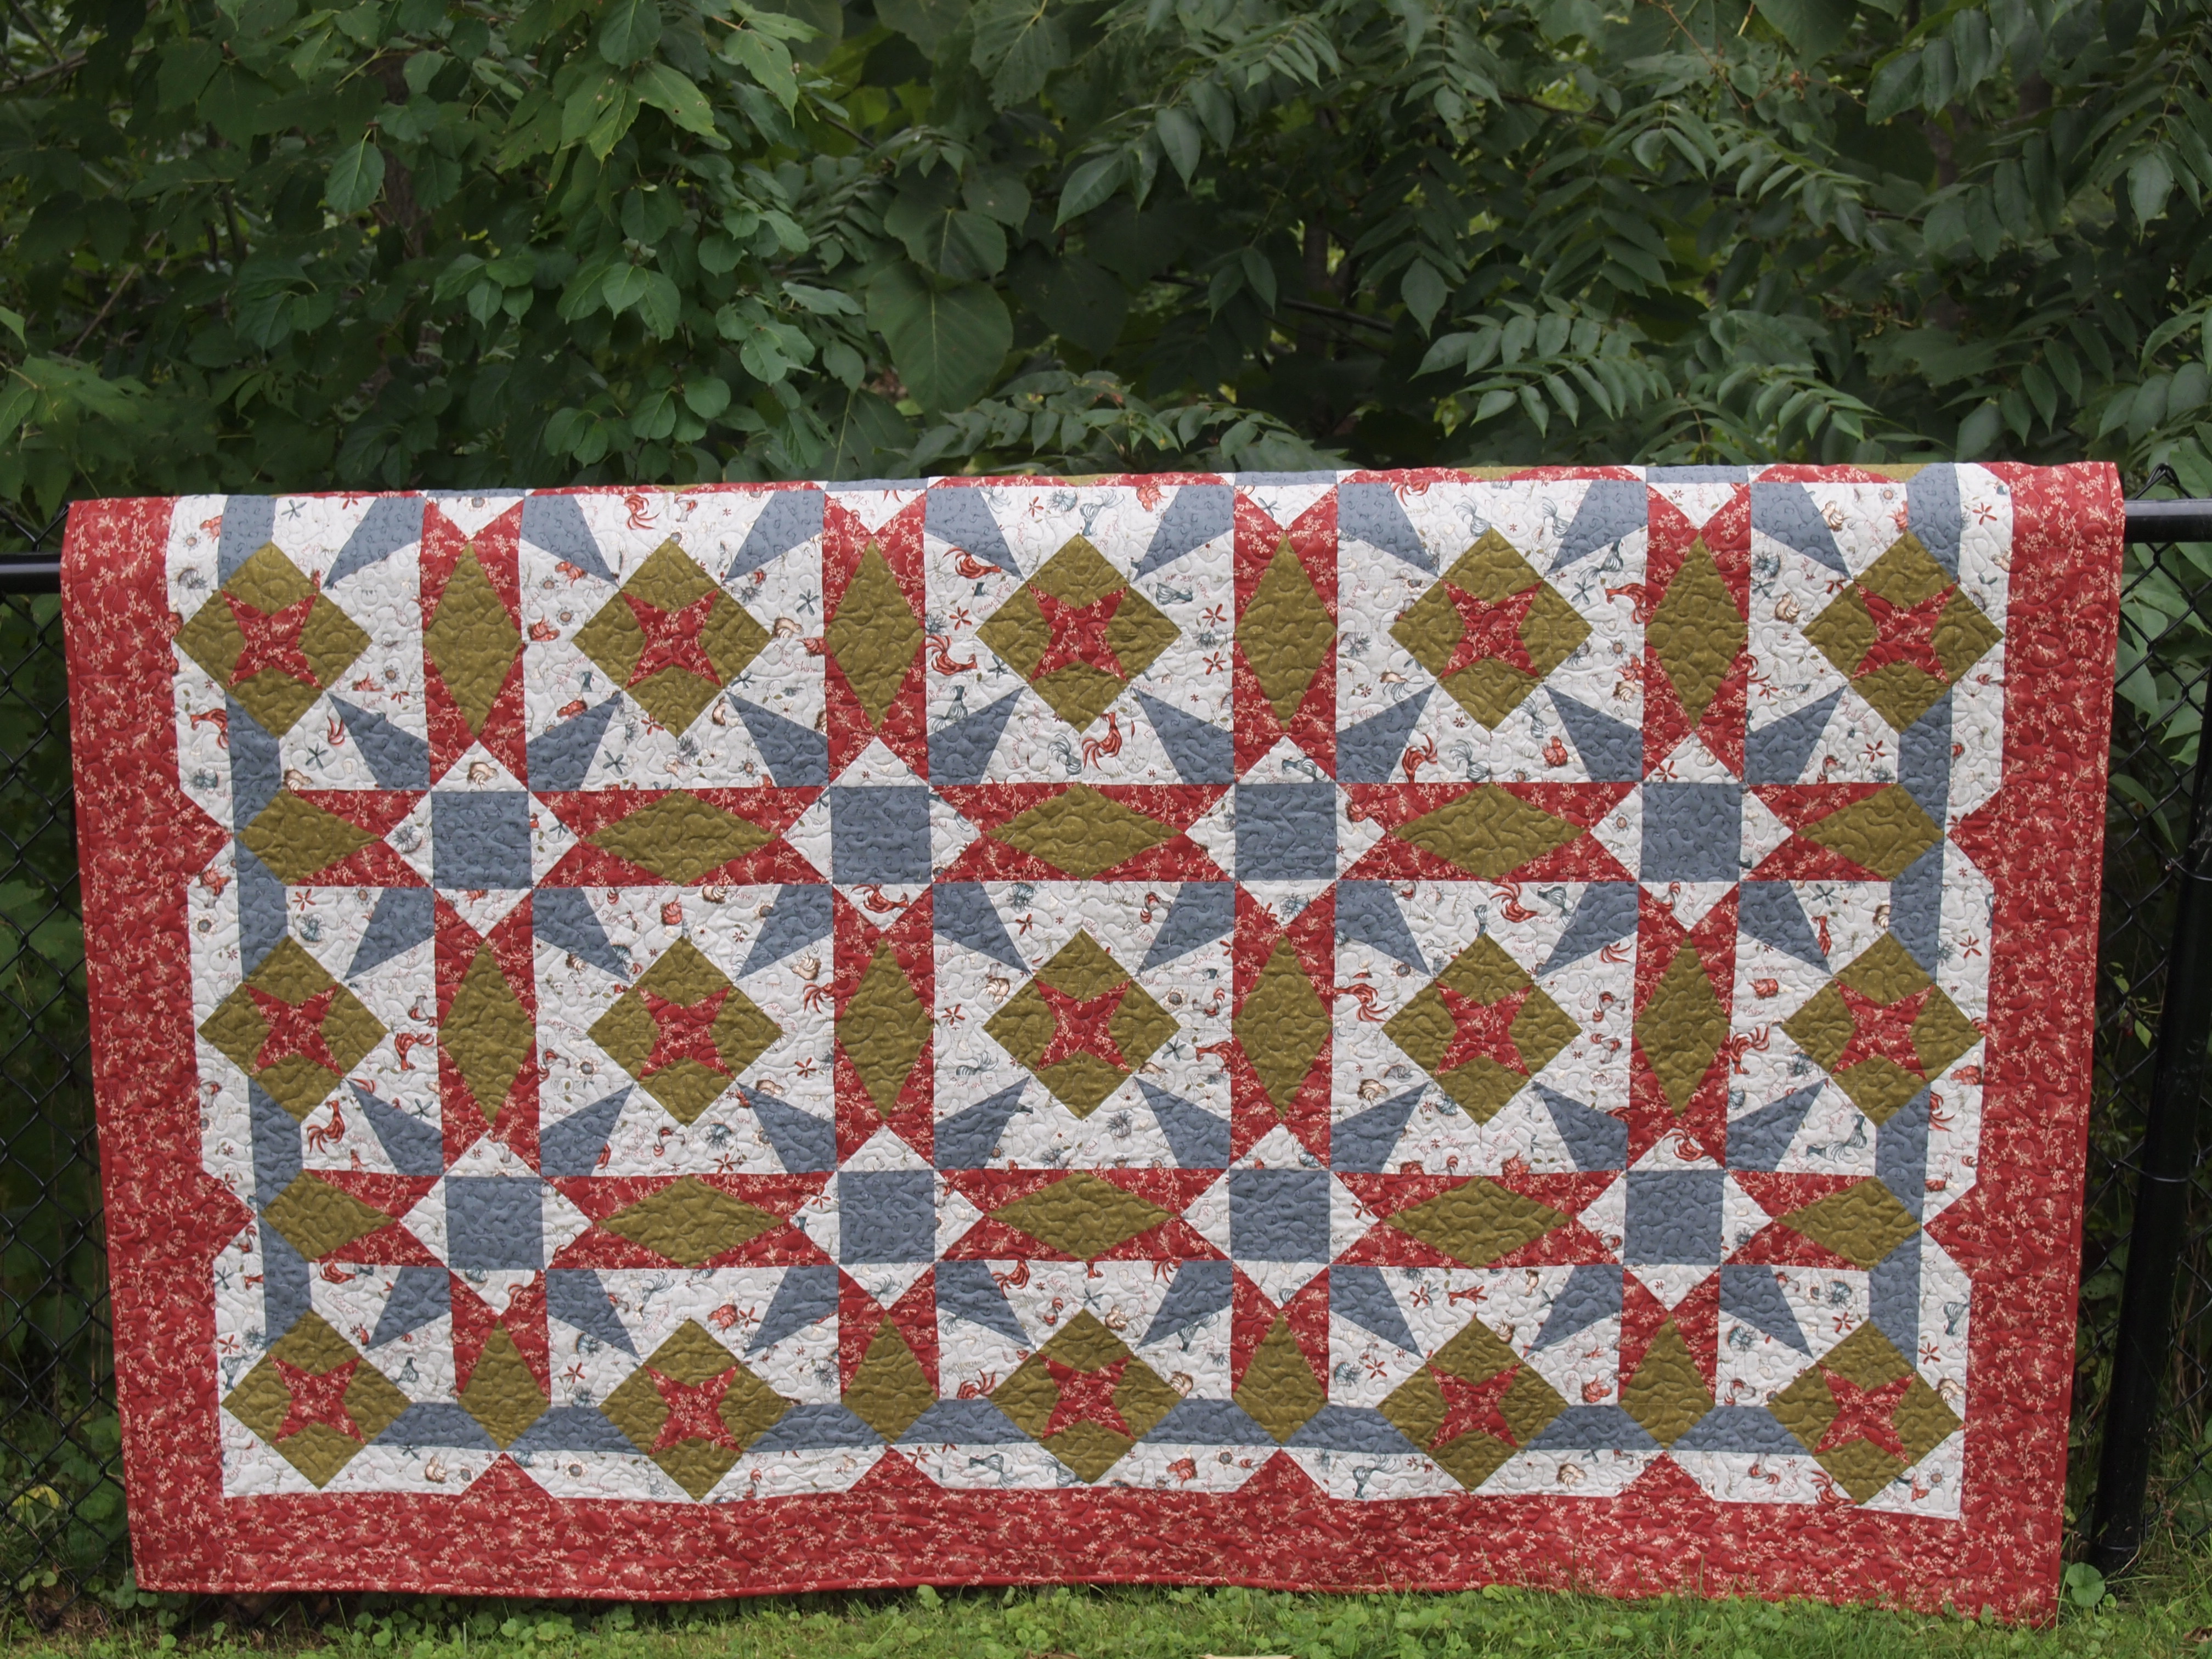
The bright colors she chose are gorgeous.  I chose warm country colors:

OLYMPUS DIGITAL CAMERA

Rise & Shine, Summer’s Over!

My light background fabric has chickens on it, hence the name Rise & Shine.  This beautiful quilt finishes at 64″ by 80″.

OLYMPUS DIGITAL CAMERA

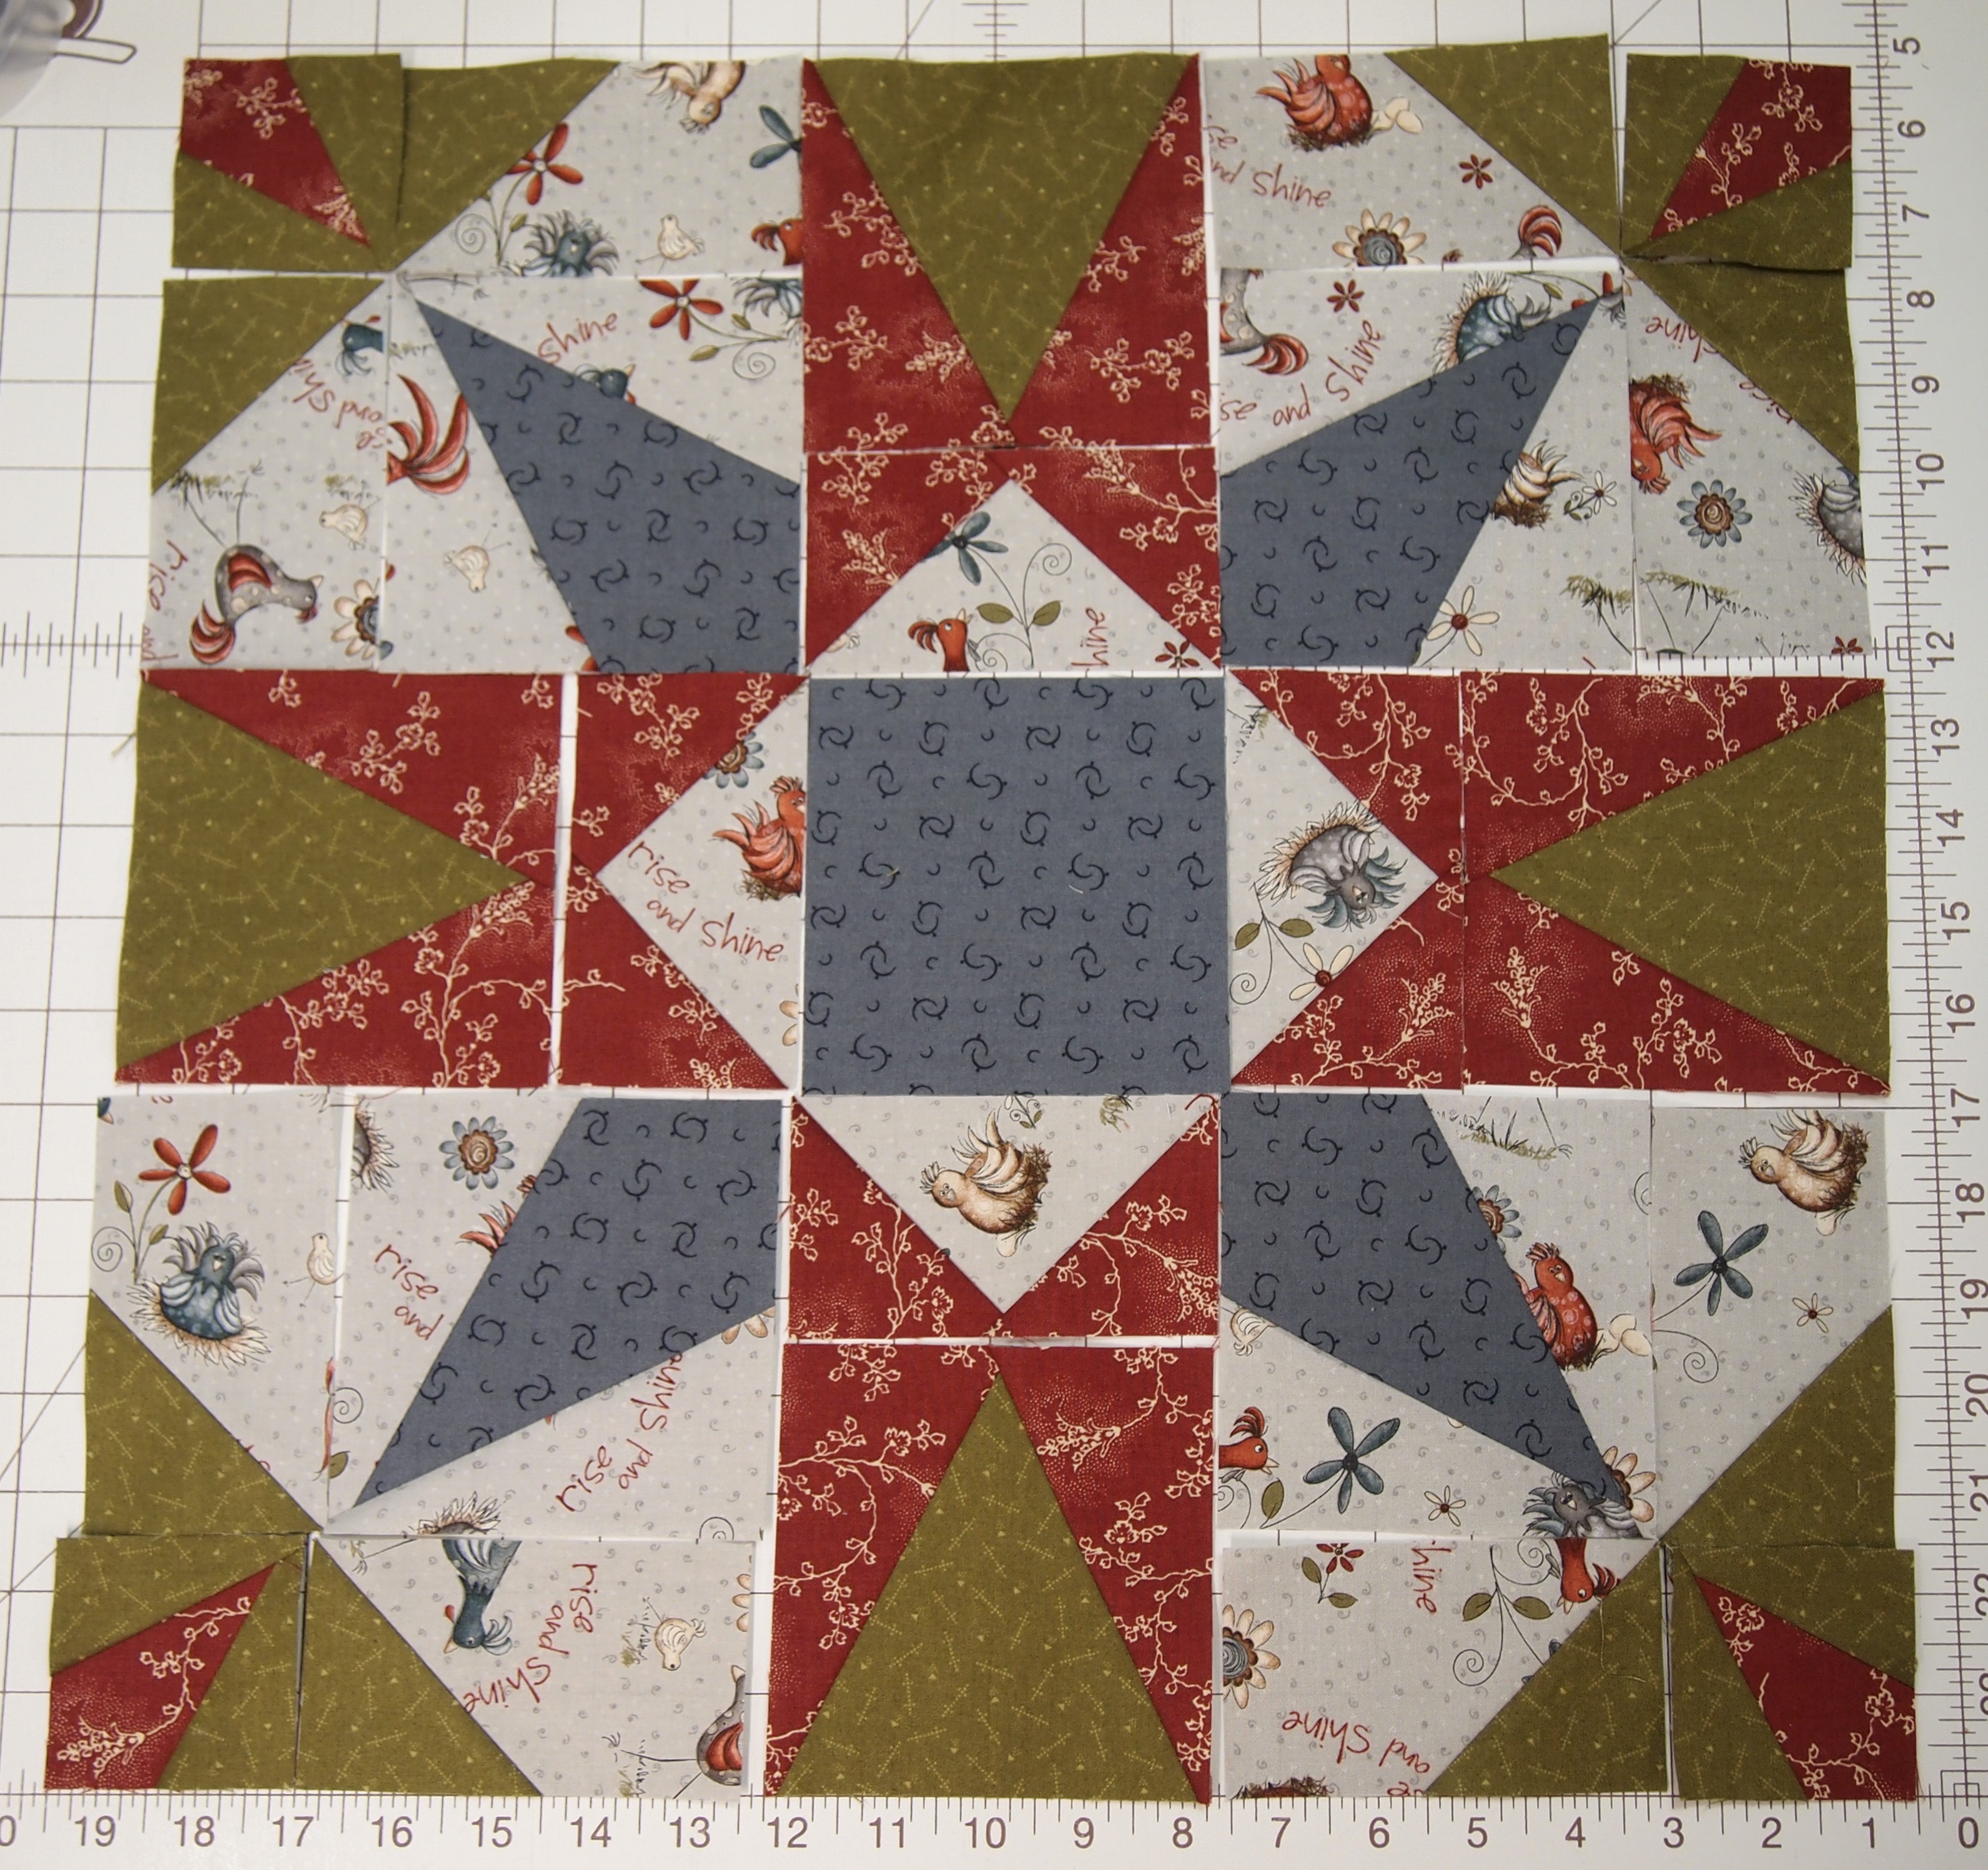
Summer Solstice Block

This is a companion pattern for Studio 180 Design’s Wing Clipper I,  V Block & Corner Beam tools.  This block has 25 units in it, but Deb’s tools make it a breeze.

OLYMPUS DIGITAL CAMERA

Summer Solstice Block

One of 12 finished blocks that make up this great quilt.


Northern Neighbors

Deb Tucker’s Northern Neighbors pattern features intricate maple leaves and flying geese.  The pattern makes two sizes: Twin (70″ x 95″) & King (104″ x 104″).  I bought the fabric for this quilt over a year ago and had the units cut and ready to sew together into blocks but I became overcome by events!  It was my goal to “get her done” before the year end and I did!

OLYMPUS DIGITAL CAMERA

Northern Neighbors Maple Leaf

This is my favorite leaf block.

OLYMPUS DIGITAL CAMERA

Deconstructed Maple Leaf

The leaf block is made using Studio 180 Design Wing Clipper 1 for flying geese, Corner Beam and Split Rects tools for great leaf point definition.

OLYMPUS DIGITAL CAMERA

One Block

I made the twin size, so I made 6 of these blocks.

OLYMPUS DIGITAL CAMERA

Northern Neighbors

It really is a beautiful quilt.

OLYMPUS DIGITAL CAMERA

Northern Neighbors Label

Can’t wait to see what next year brings.

How Many Geese in that Formation?

I’m getting ready for some upcoming trunk shows and decided to make some Studio 180 Design Tool samples.  There are 8 Fundamental Tools (not counting Tucker Trimmer 2 & Wing Clipper 2).  The Tucker Trimmer 1 makes Half Square Triangles, Quarter Square Triangles & Combination Units in 11 sizes from 1 inch to 6 inches.

OLYMPUS DIGITAL CAMERA

Above are Quarter Square Triangles in 11 sizes.

OLYMPUS DIGITAL CAMERA

The Wing Clipper 1 makes Flying Geese in 10 sizes from 1 inch to 10 inches.

OLYMPUS DIGITAL CAMERA

The Square Squared Tool makes 6 sizes from 1 inch to 6 inches.

OLYMPUS DIGITAL CAMERA

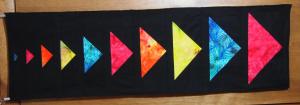
The Corner Beam Tool makes 11 sizes from 1 1/2 inches to 6 1/2 inches

OLYMPUS DIGITAL CAMERA

The V Block Tool makes 11 sizes from 1 1/2 inches to 6 1/2 inches

OLYMPUS DIGITAL CAMERA

The Split Rects Tool makes 8 sizes from 1 inch to 8 inches.

OLYMPUS DIGITAL CAMERA

The Diamond Rects Tool makes 5 sizes from 2 1/2 inches wide to 10 1/2 inches wide.

With the Corner Pop Tool you can choose from any of the 22 size options and remove a corner from a base shape such as a square, rectangle, pieced unit or block and leave the necessary 1/4″ seam allowance in tact.

OLYMPUS DIGITAL CAMERA

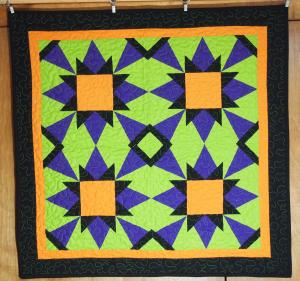
The block above is made from V Block and Corner Beam Units.

OLYMPUS DIGITAL CAMERA

I made 4 of the blocks but this time I popped of corners of the V Block & Corner Beam units before I put the blocks together, making this very interesting wall hanging.

Next I need to make samples for the Rapid Fire Hunters Stars and Lemoyne Star Tools.  Happy quilting!

OLYMPUS DIGITAL CAMERA

Michelle Hiatt is “Sew On The Go”

“Sew On The Go” that’s what I say about my friend and fellow Studio 180 Design Certified Instructor Michelle Hiatt.  Michelle is not only an excellent quilt teacher, she is a very talented quilt designer.  Michelle’s designs are featured in Fons & Porter’s Love of Quilting Magazine, Quilter’s Newsletter & Modern Quilting Unlimited Magazine.  Michelle teaches throughout the northeast, including at American Quilt Society’s Quilt Weeks across the country.  Her quilts have been exhibited in several national quilt shows and have received numerous awards.  Most recently, Winter Jewels (patterned as Loco for Lemoyne Stars), took two 1st place, a 3rd place and viewer’s choice at national quilt shows.

Image processed by CodeCarvings Piczard ### FREE Community Edition ### on 2014-02-02 01:26:03Z | http://piczard.com | http://codecarvings.com

Winter Jewels by Michelle Hiatt

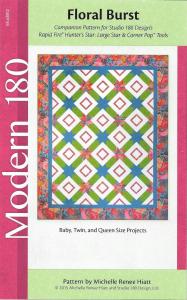
I’m so excited to share 4 of Michelle’s newest patterns for Modern 180 and Studio 180 Design.  Below is “Floral Burst” companion pattern for Studio 180 Design’s Rapid Hunter Star & Corner Pop Tools.  It is amazing to see how just popping a corner of the hunter star block and inserting a pop of color adds so much.

FLORAL BURST

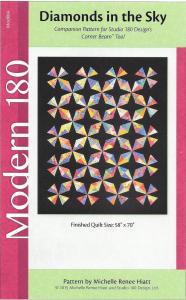
Next is “Diamonds in the Sky” companion pattern for the Studio 180 Design’s Corner Beam Tool.  I love the Corner Beam tool and this pattern looks like fun.

DIAMONDS IN THE SKY

Below is “Finley’s Fence” companion pattern to Studio 180 Design’s Tucker Trimmer I and Corner Pop tools.  This would make a great baby quilt.

FINLEYS FENCE

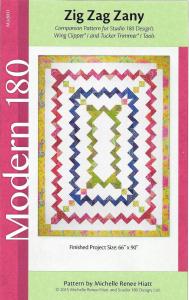
Last but not least is “Zig Zag Zany” companion pattern for Studio 180 Design’s Wing Clipper I and Tucker Trimmer I Tools. It is so much fun to see the many different ways to use flying Geese!

ZIG ZAG ZANY

I purchased all 4 and can’t wait to make them.  Look for these patterns soon at Studio 180 Design and at Michelle’s Etsy Shop Sew On The Go.  You can reach Michelle through her website Sew on the Go.