This assignment started with acceptance to Deb Tucker Teacher Certification starting September 16th. There are 9 rulers. I had only used 2. We were asked to bring completed projects or at least blocks made with each ruler. I decided to make a project with the 6 rulers I had not used so I would feel comfortable with each one and then I would also have a class sample for each ruler. In the last 3 weeks I have completed 6 projects finishing up with the hunter star ruler.
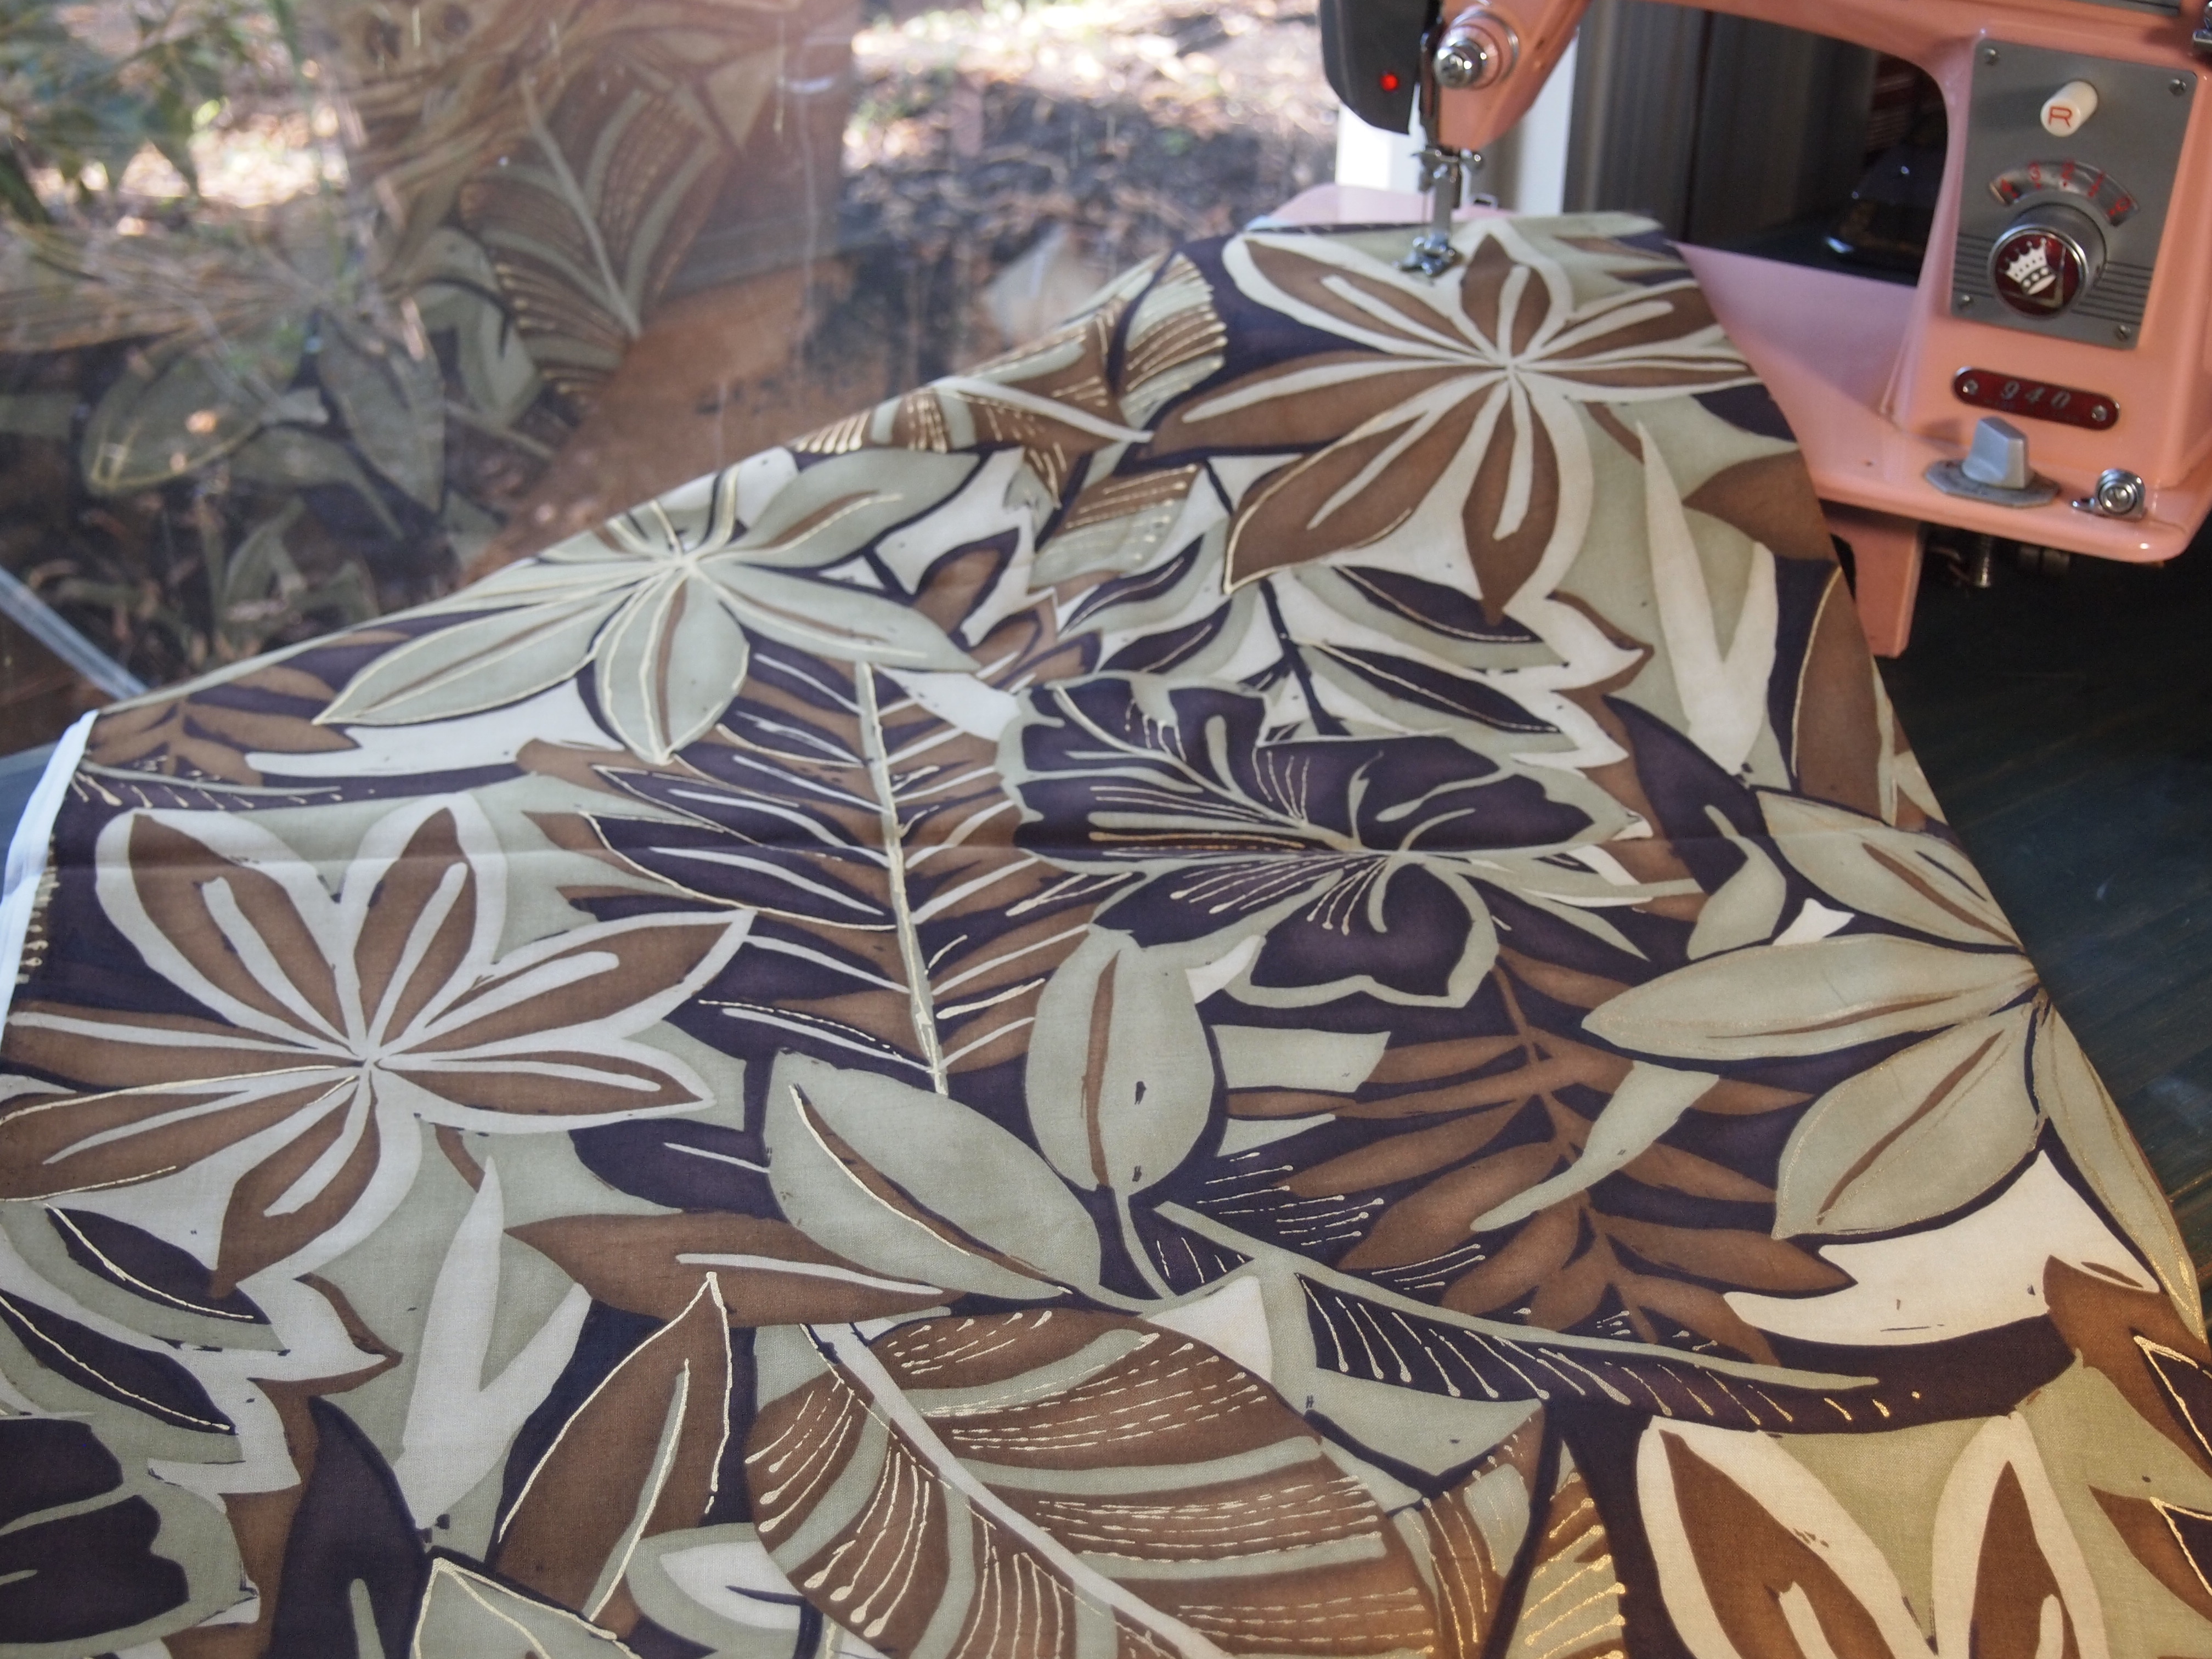
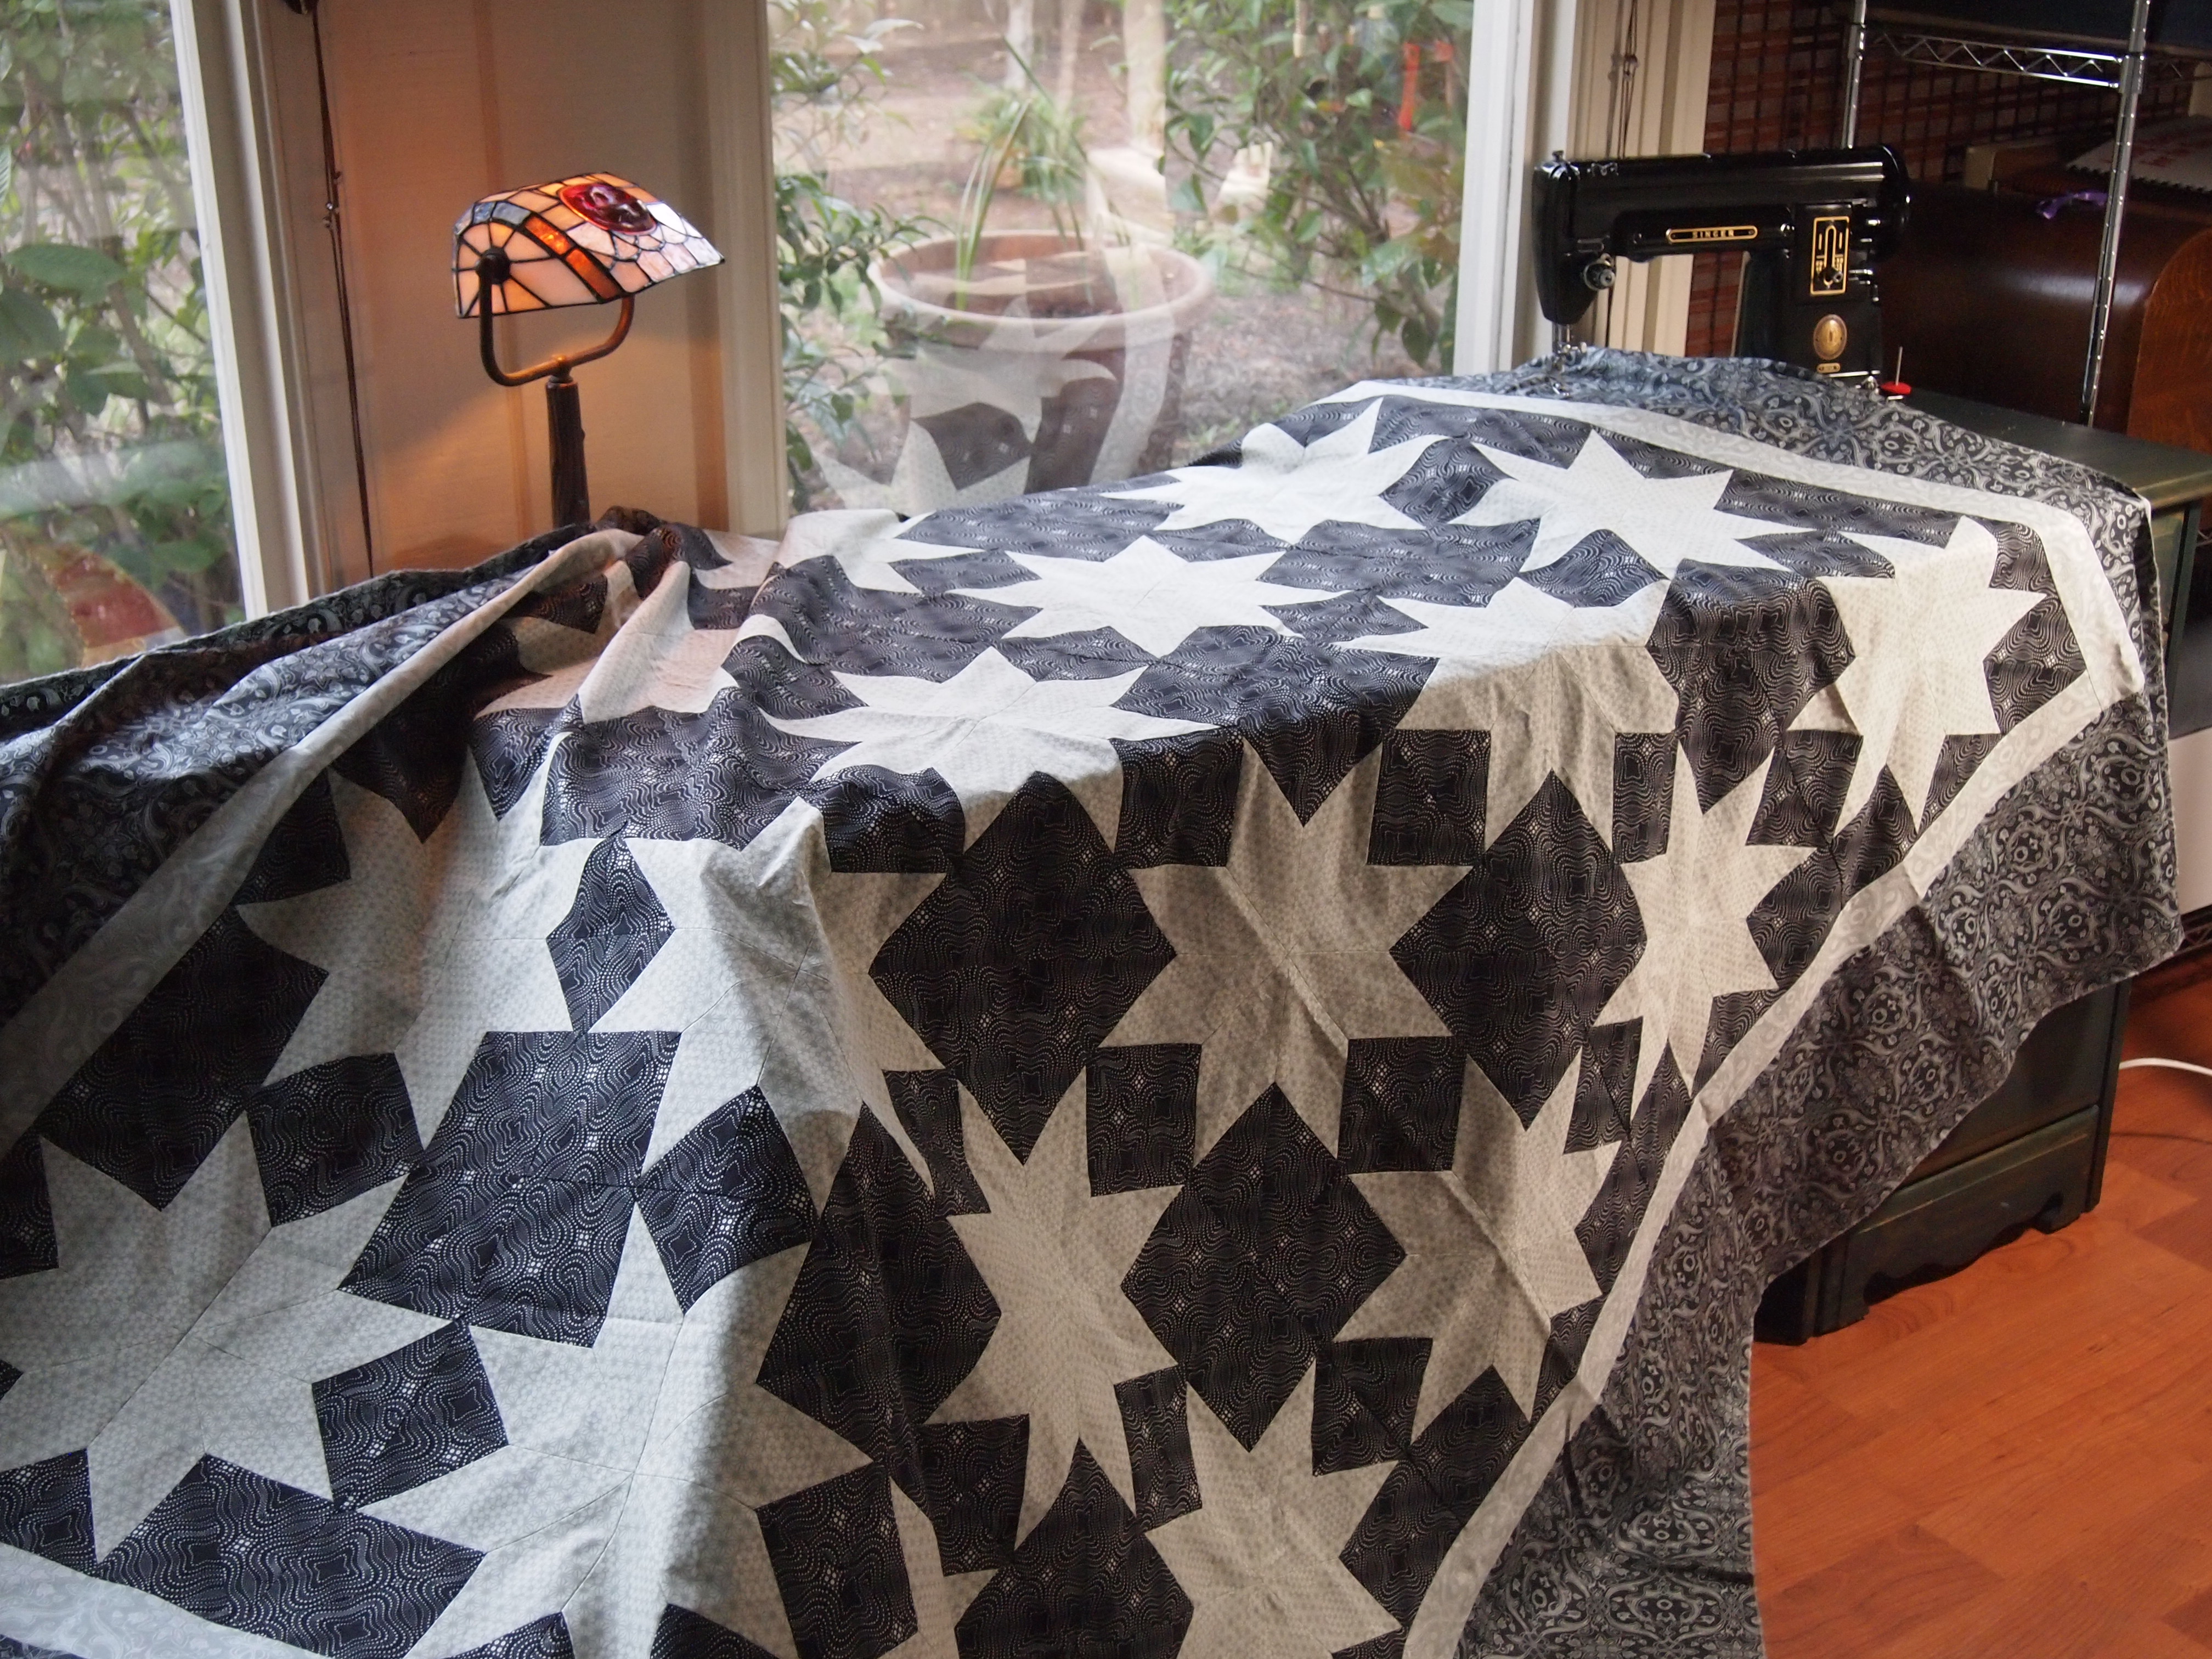
I used Deb Tucker’s pattern called “Star Crossed Love” measuring 74″ by 92″ and required 25 fat quarters. I really loved this pattern. It was so well done, great detail and pictures for every step! Deb used a variety of brights in her quilt.
I had a fat quarter bundle called Sturbridge Village Calico. It had 25 fat quarters in it, I took it as a sign! I hoped it wasn’t too dark. It sure is scrappy, but I like it!

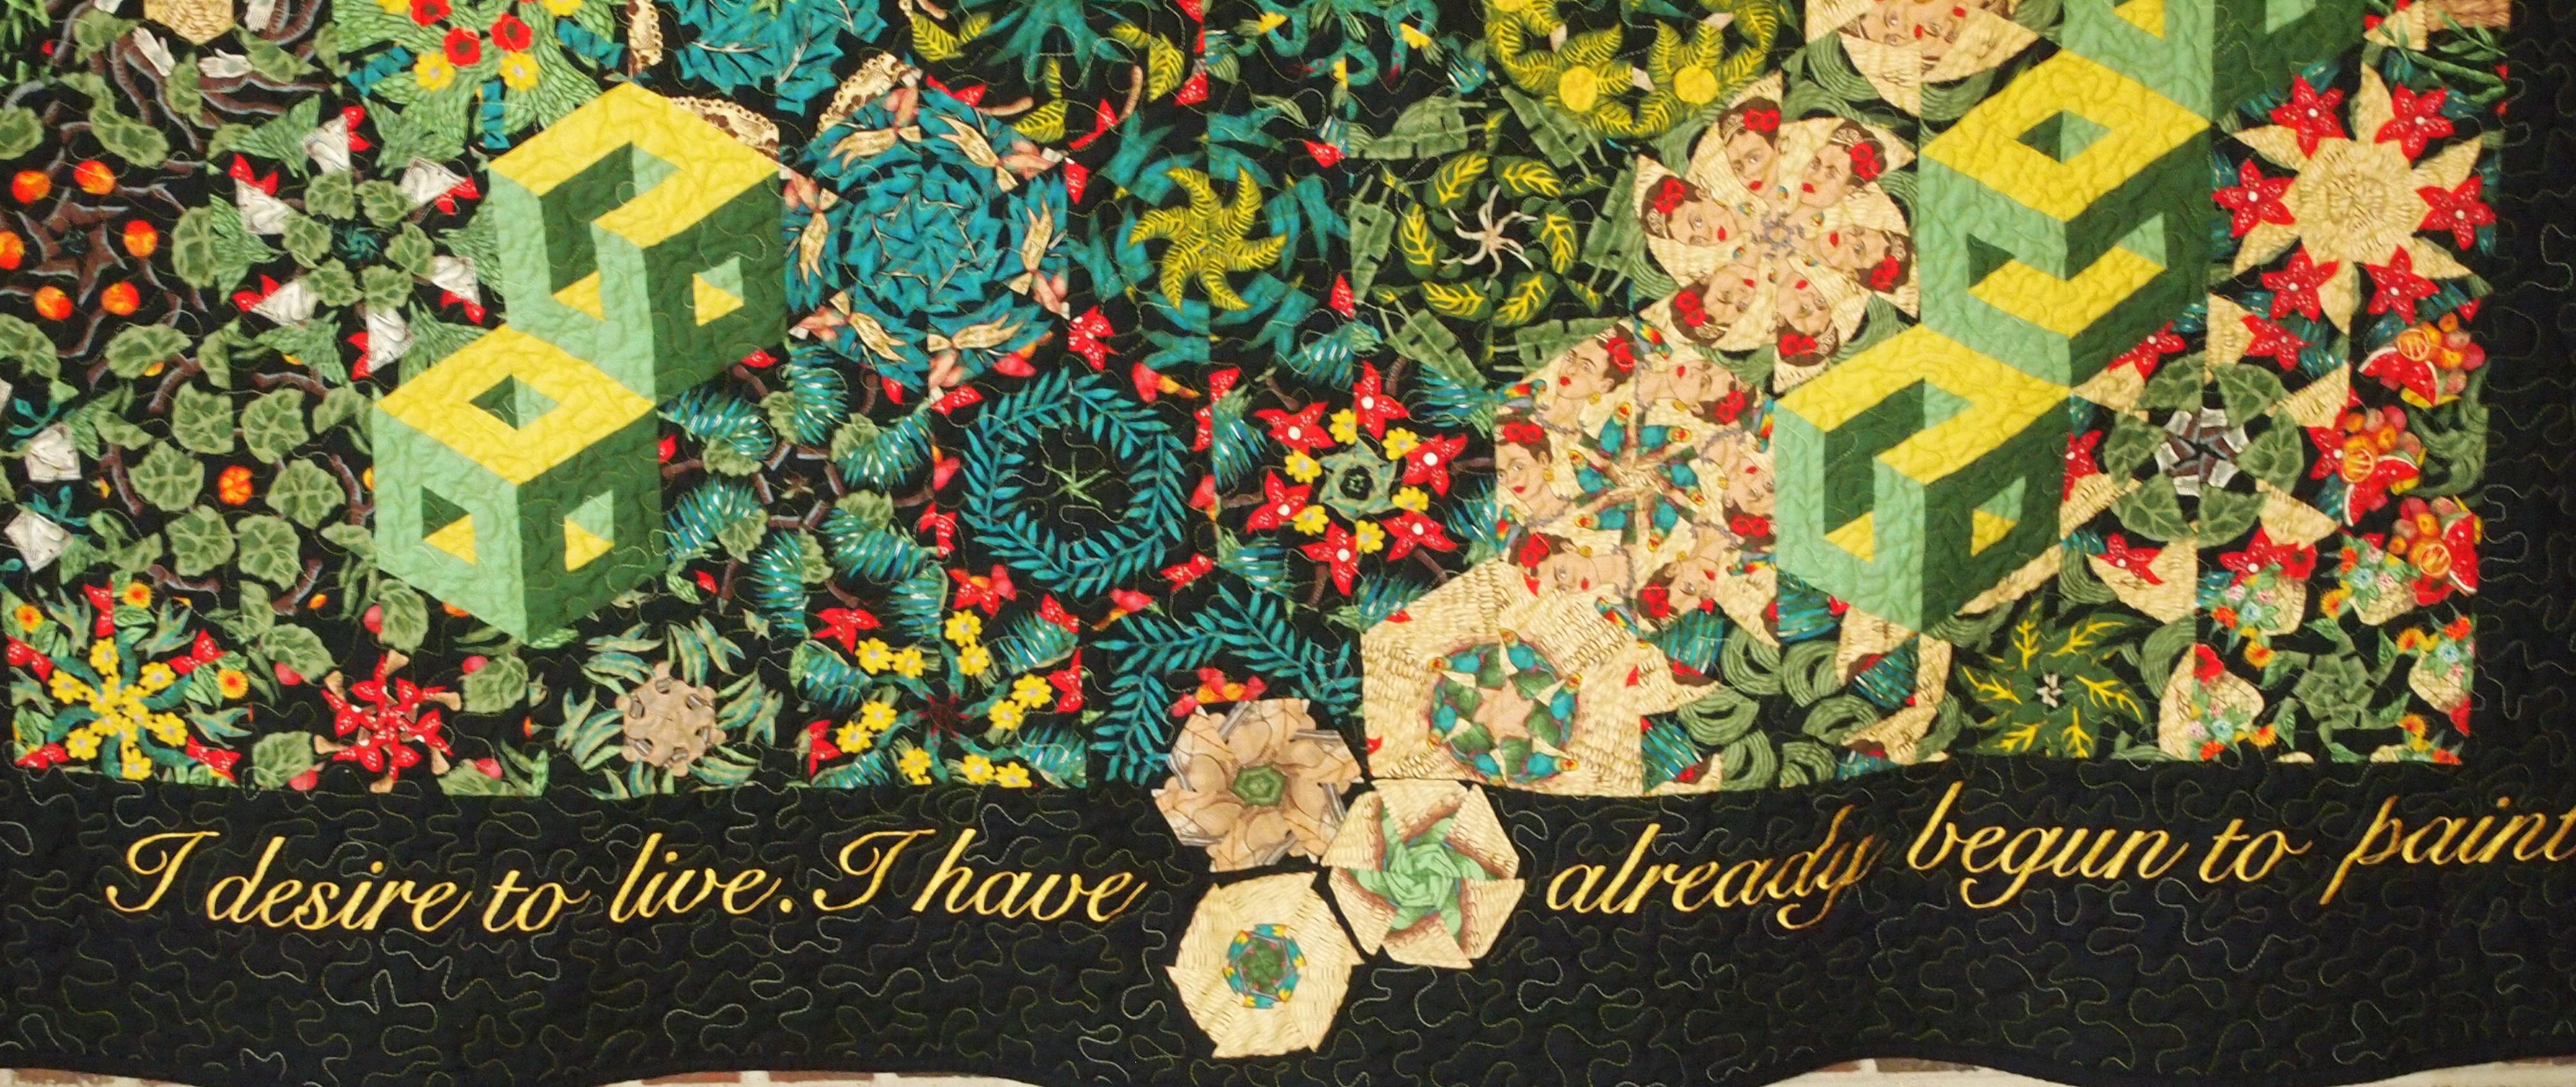
I am naming my quilt “Adirondack Nights”.

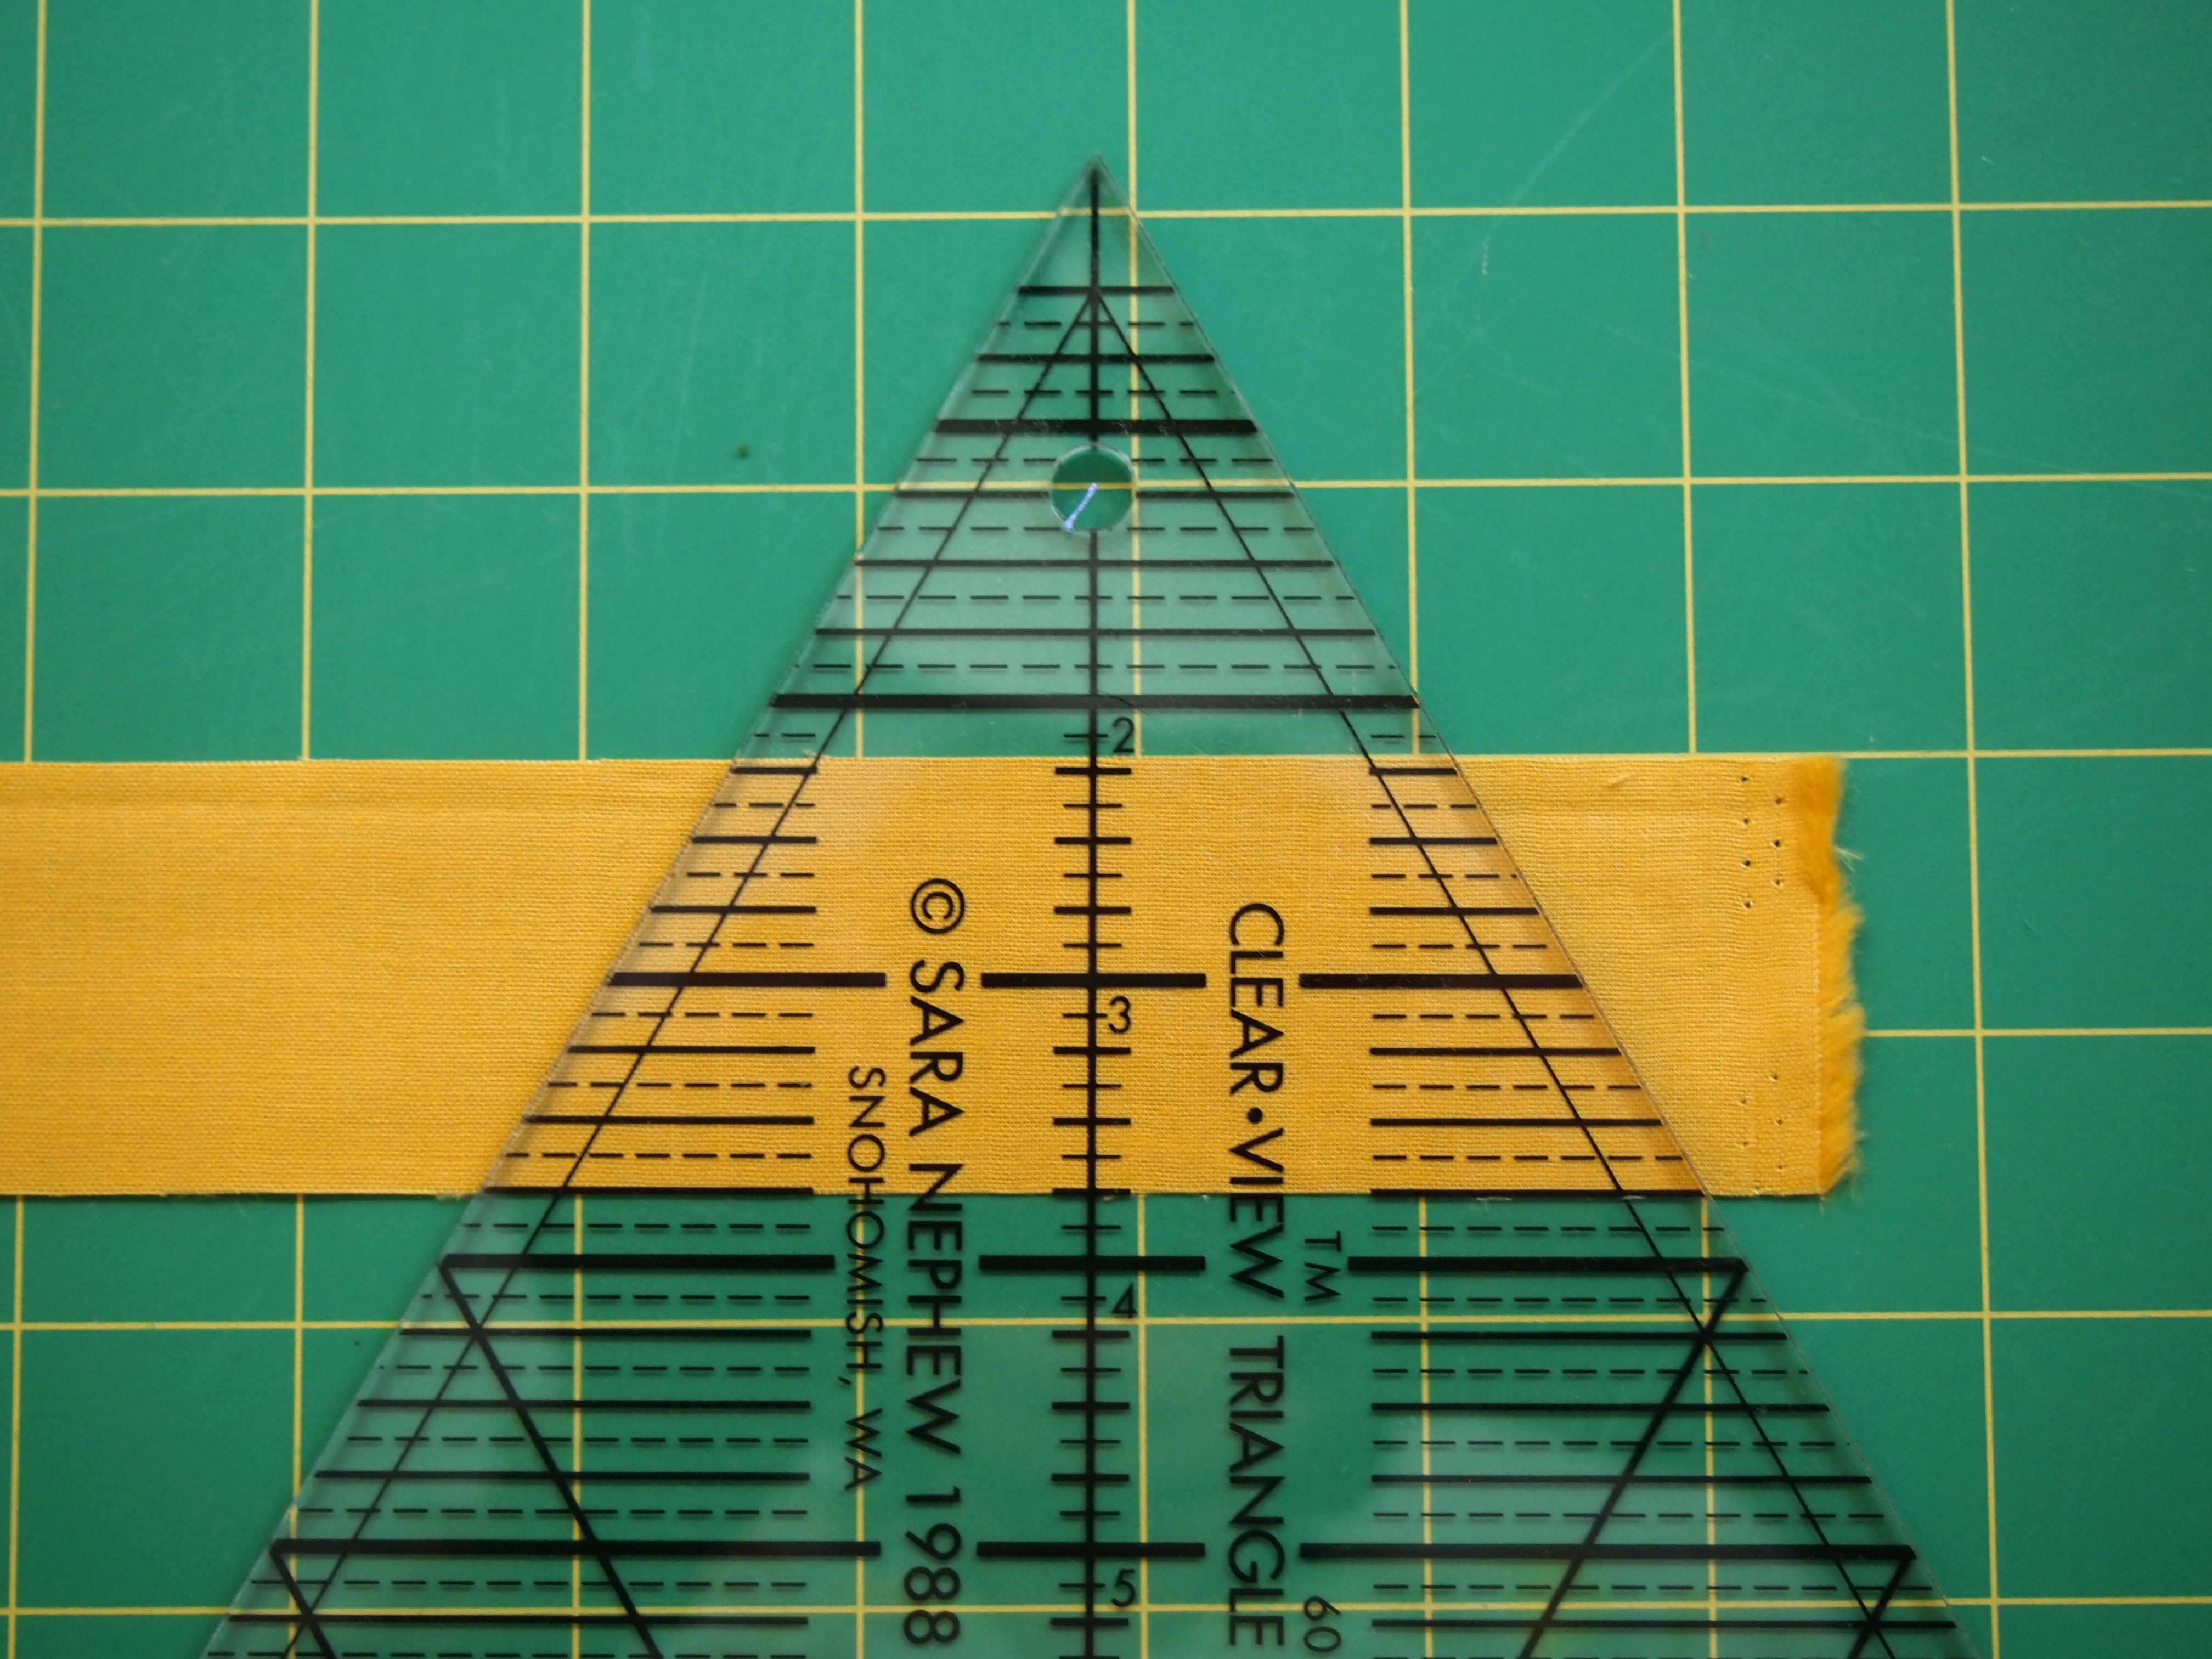
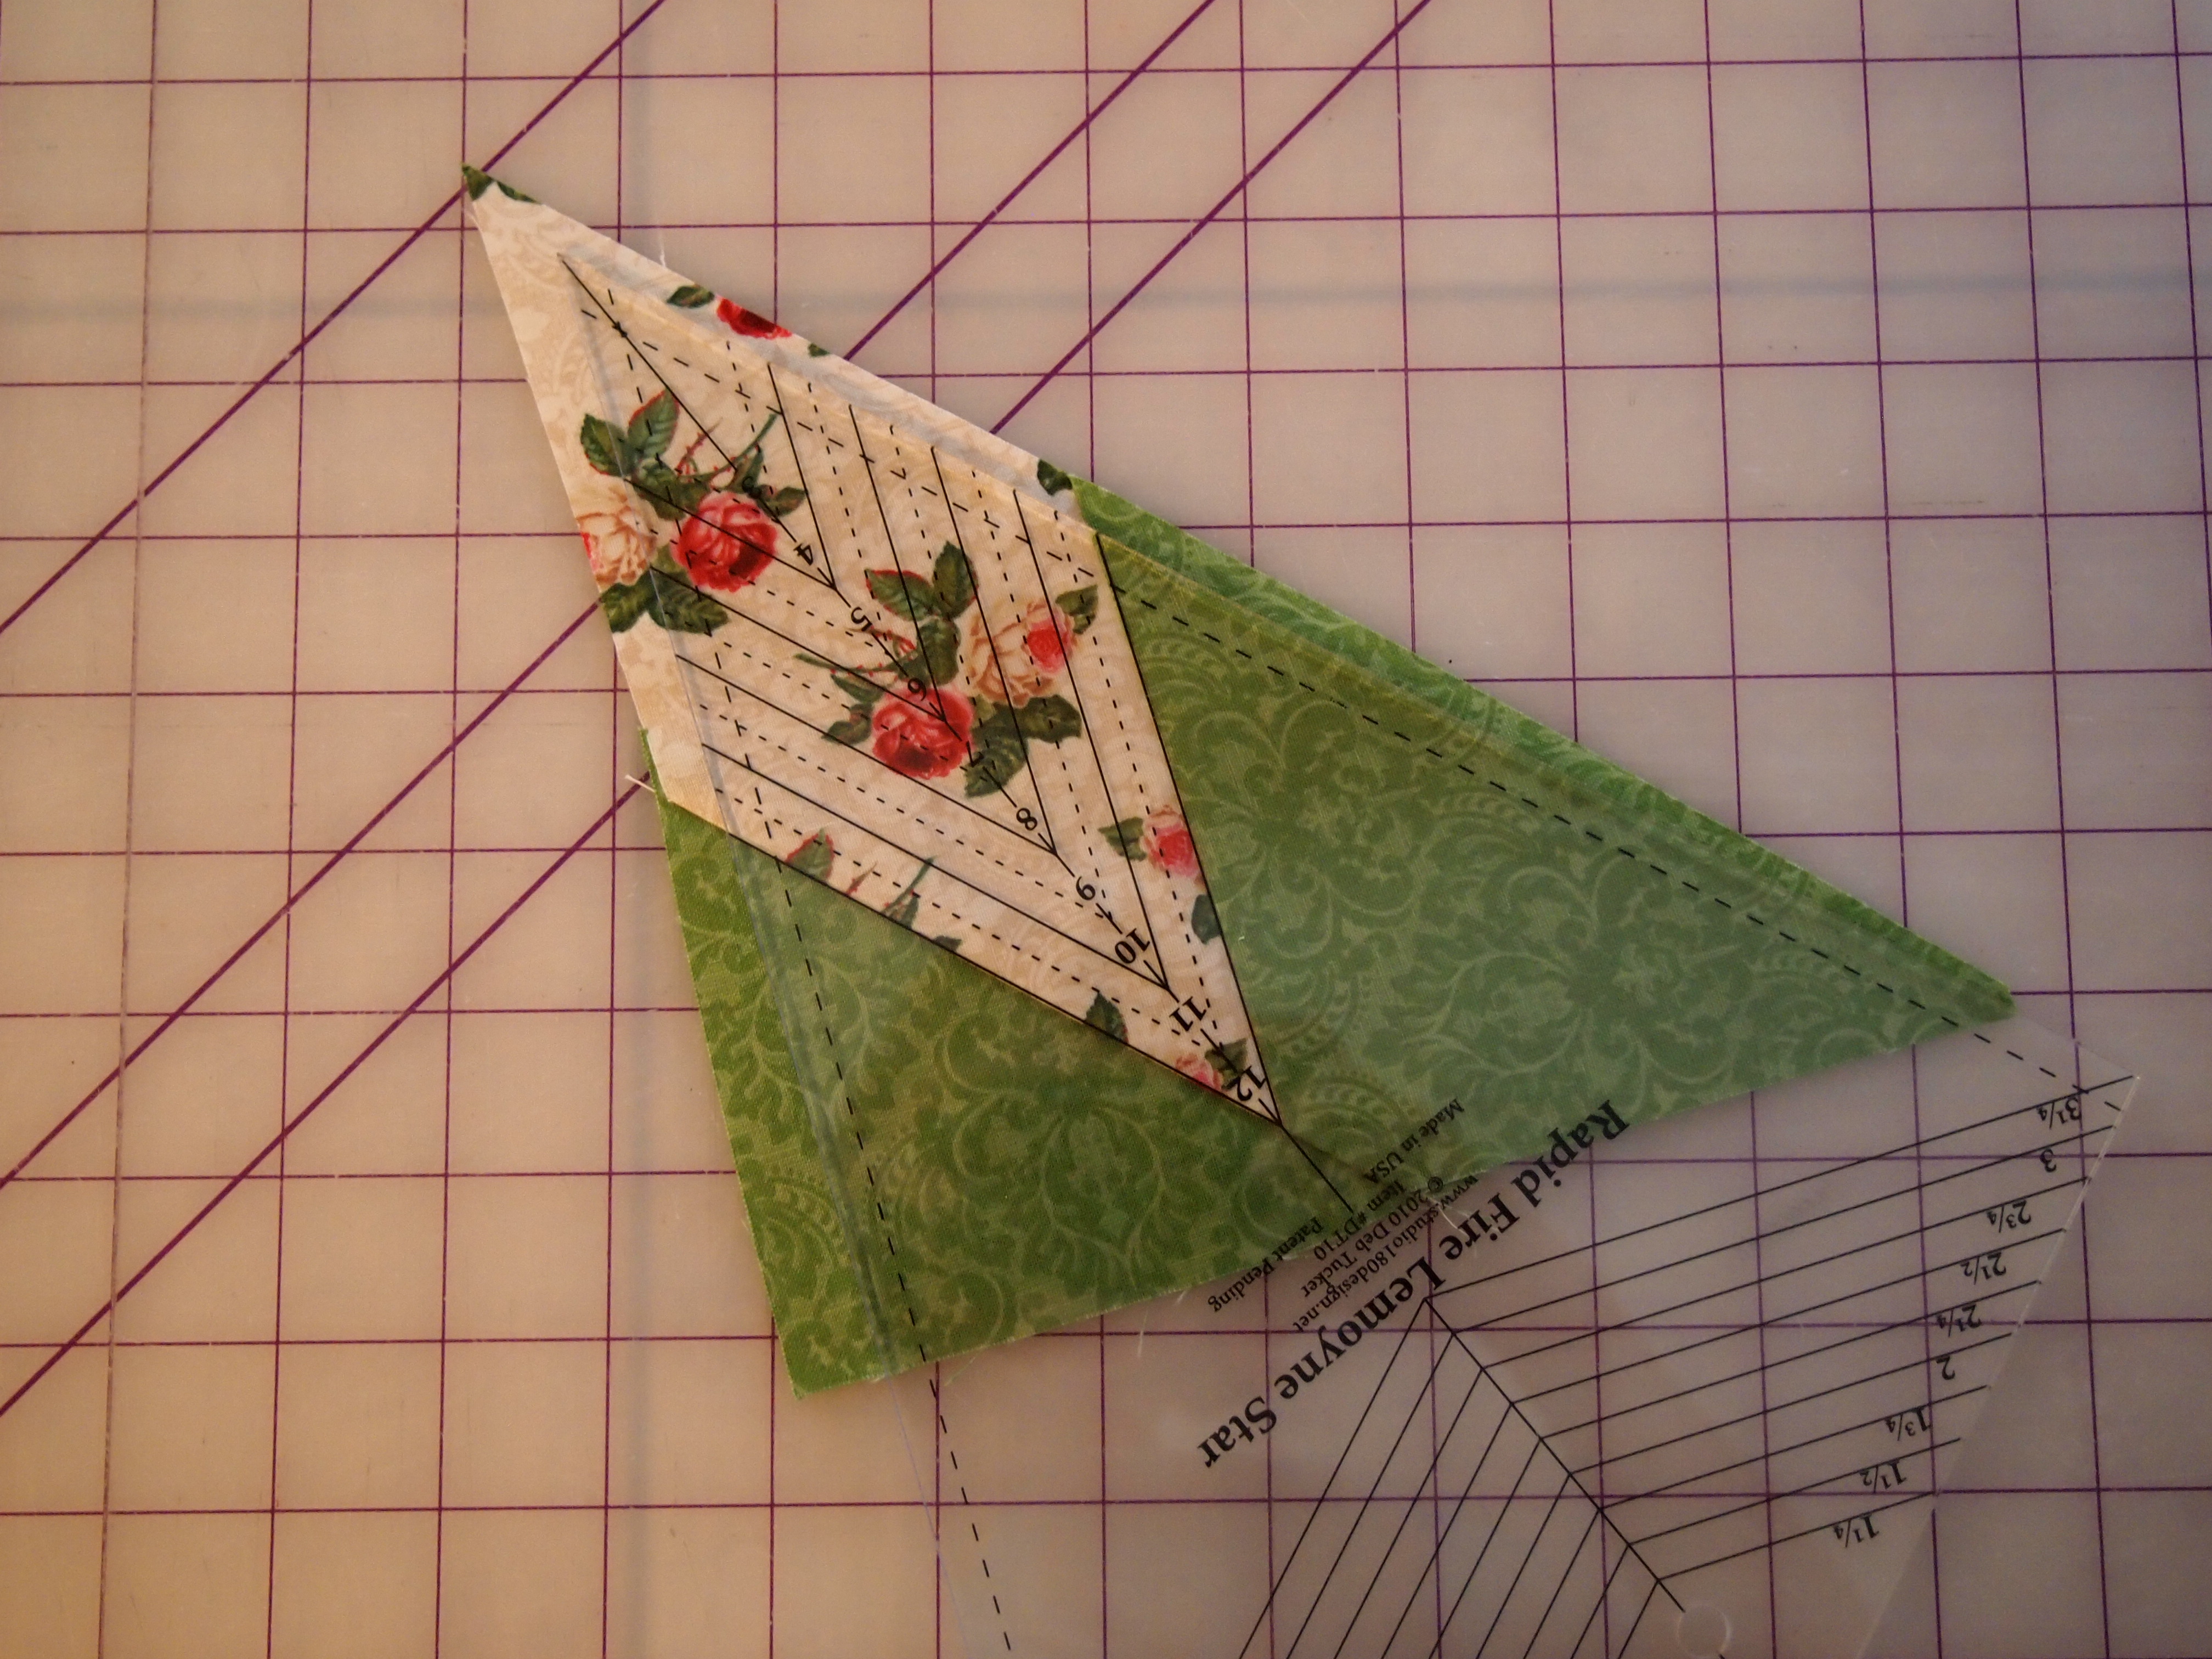
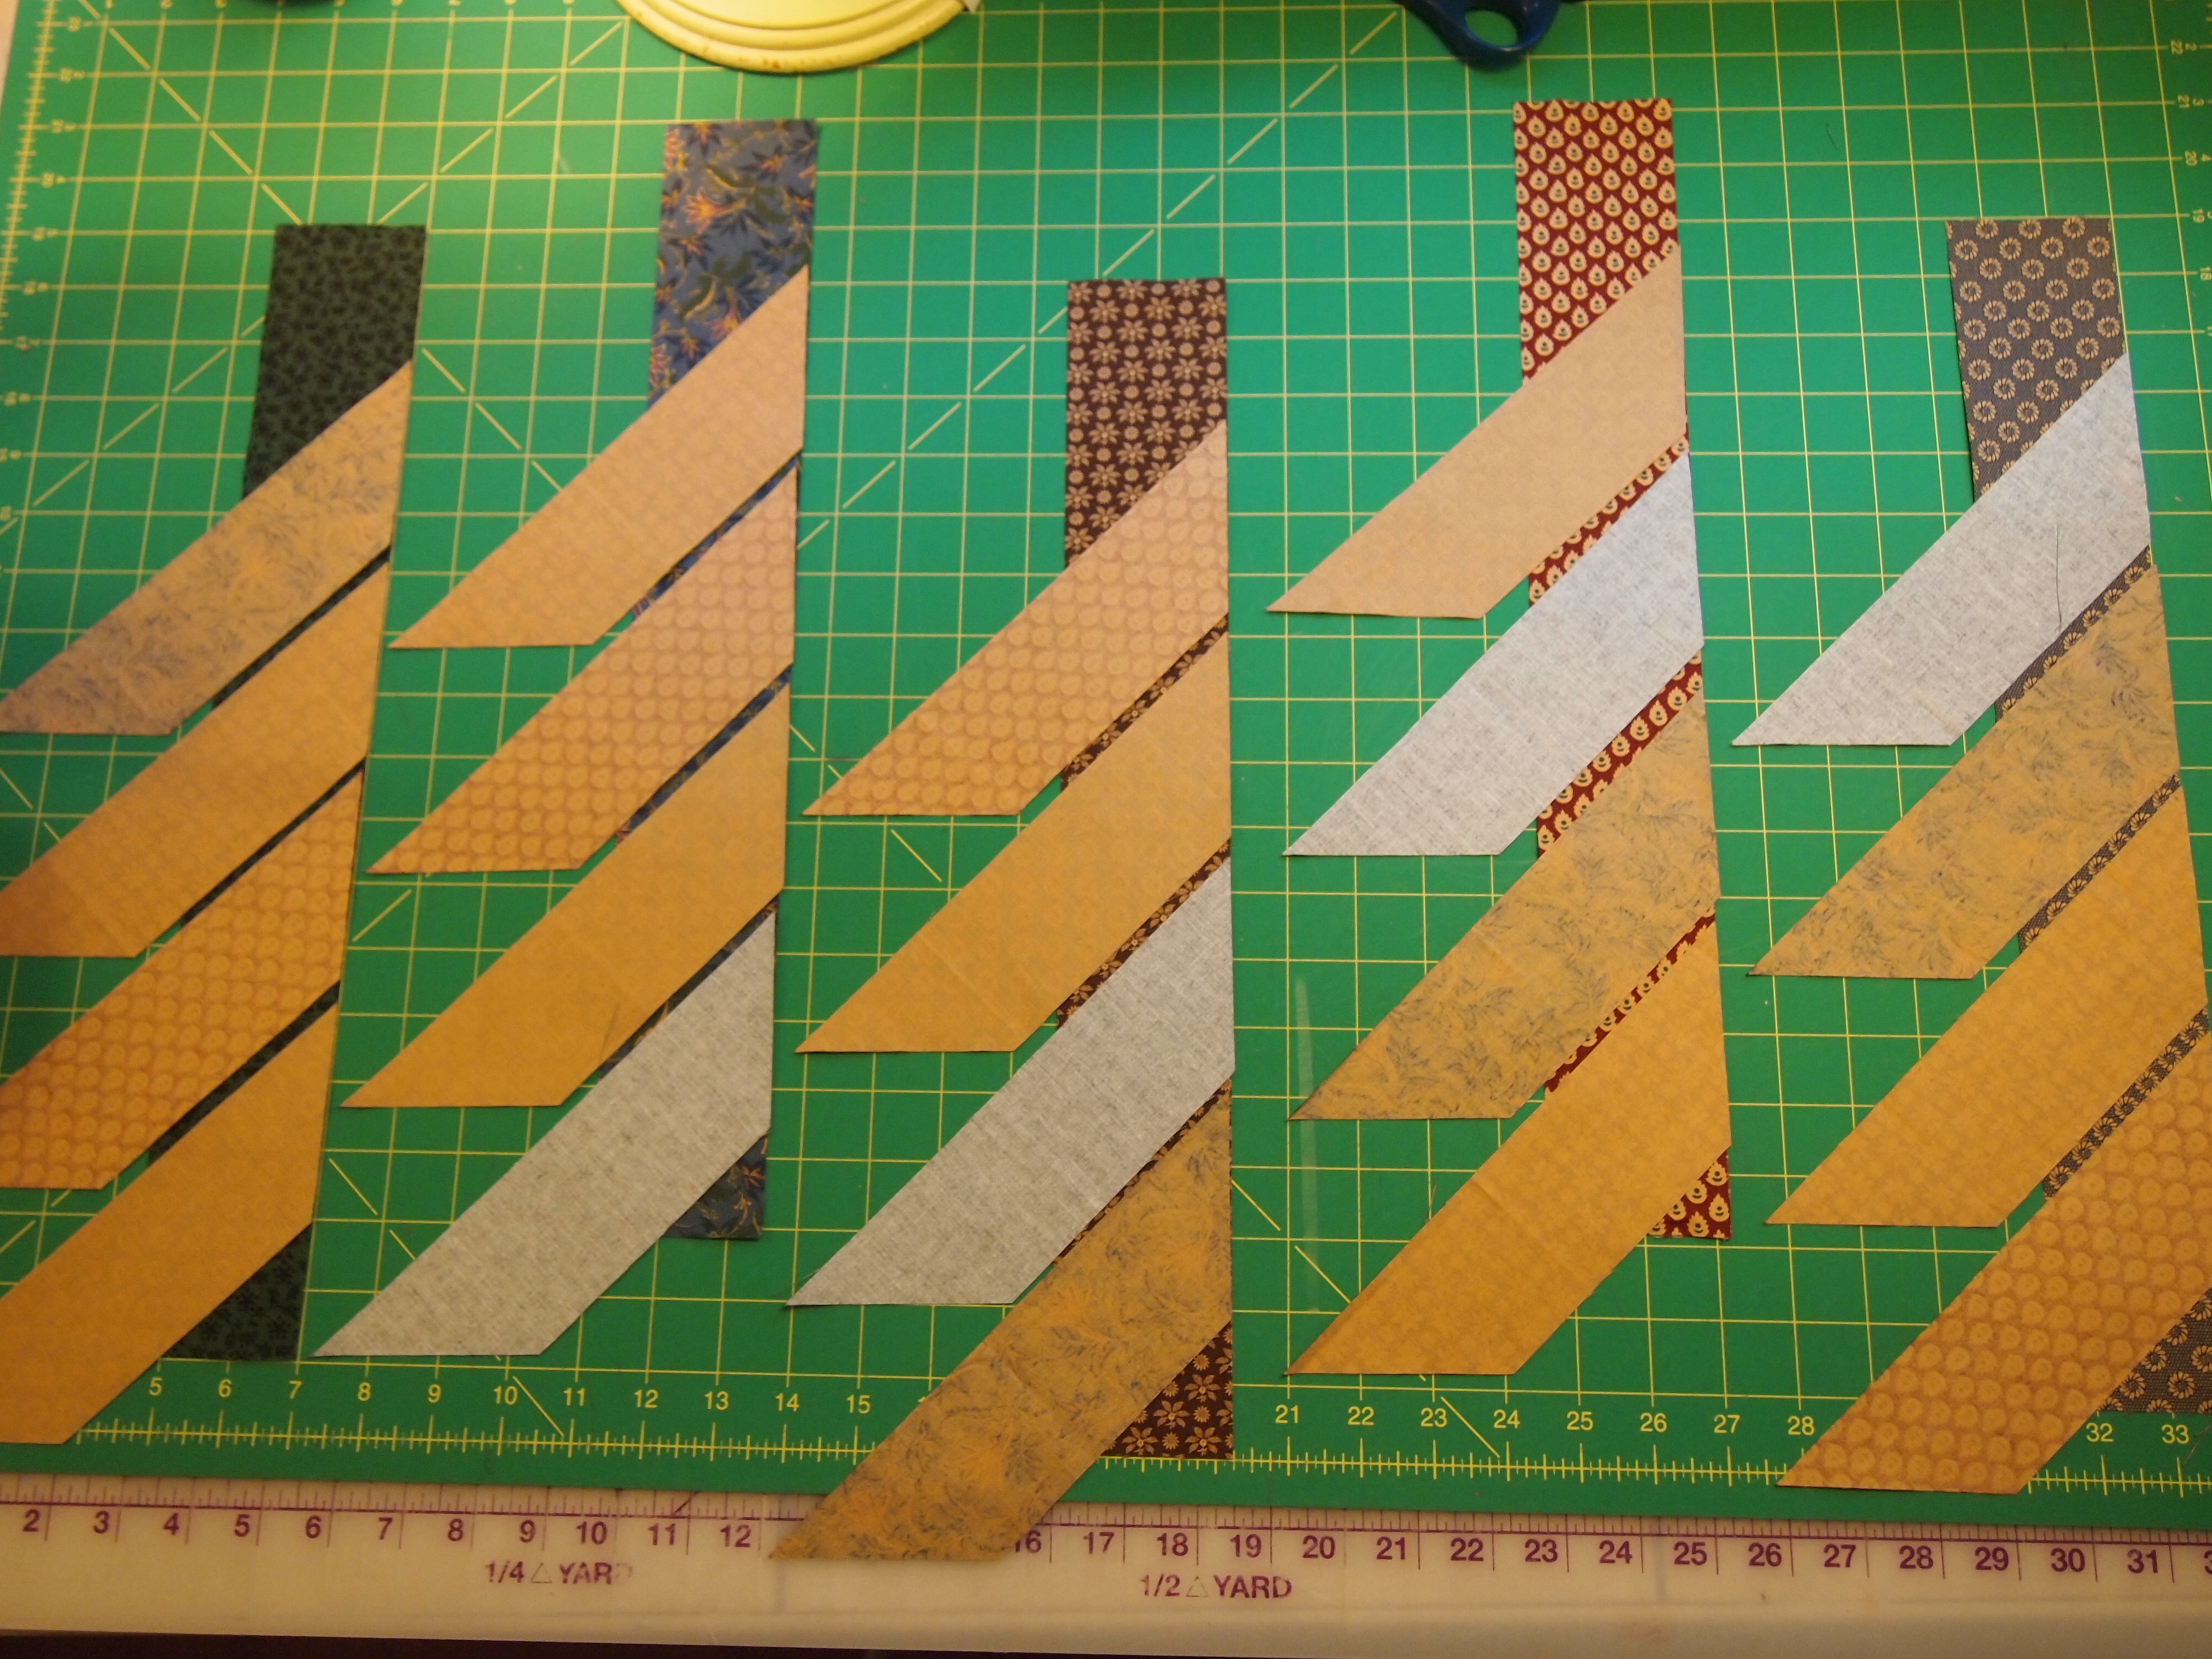
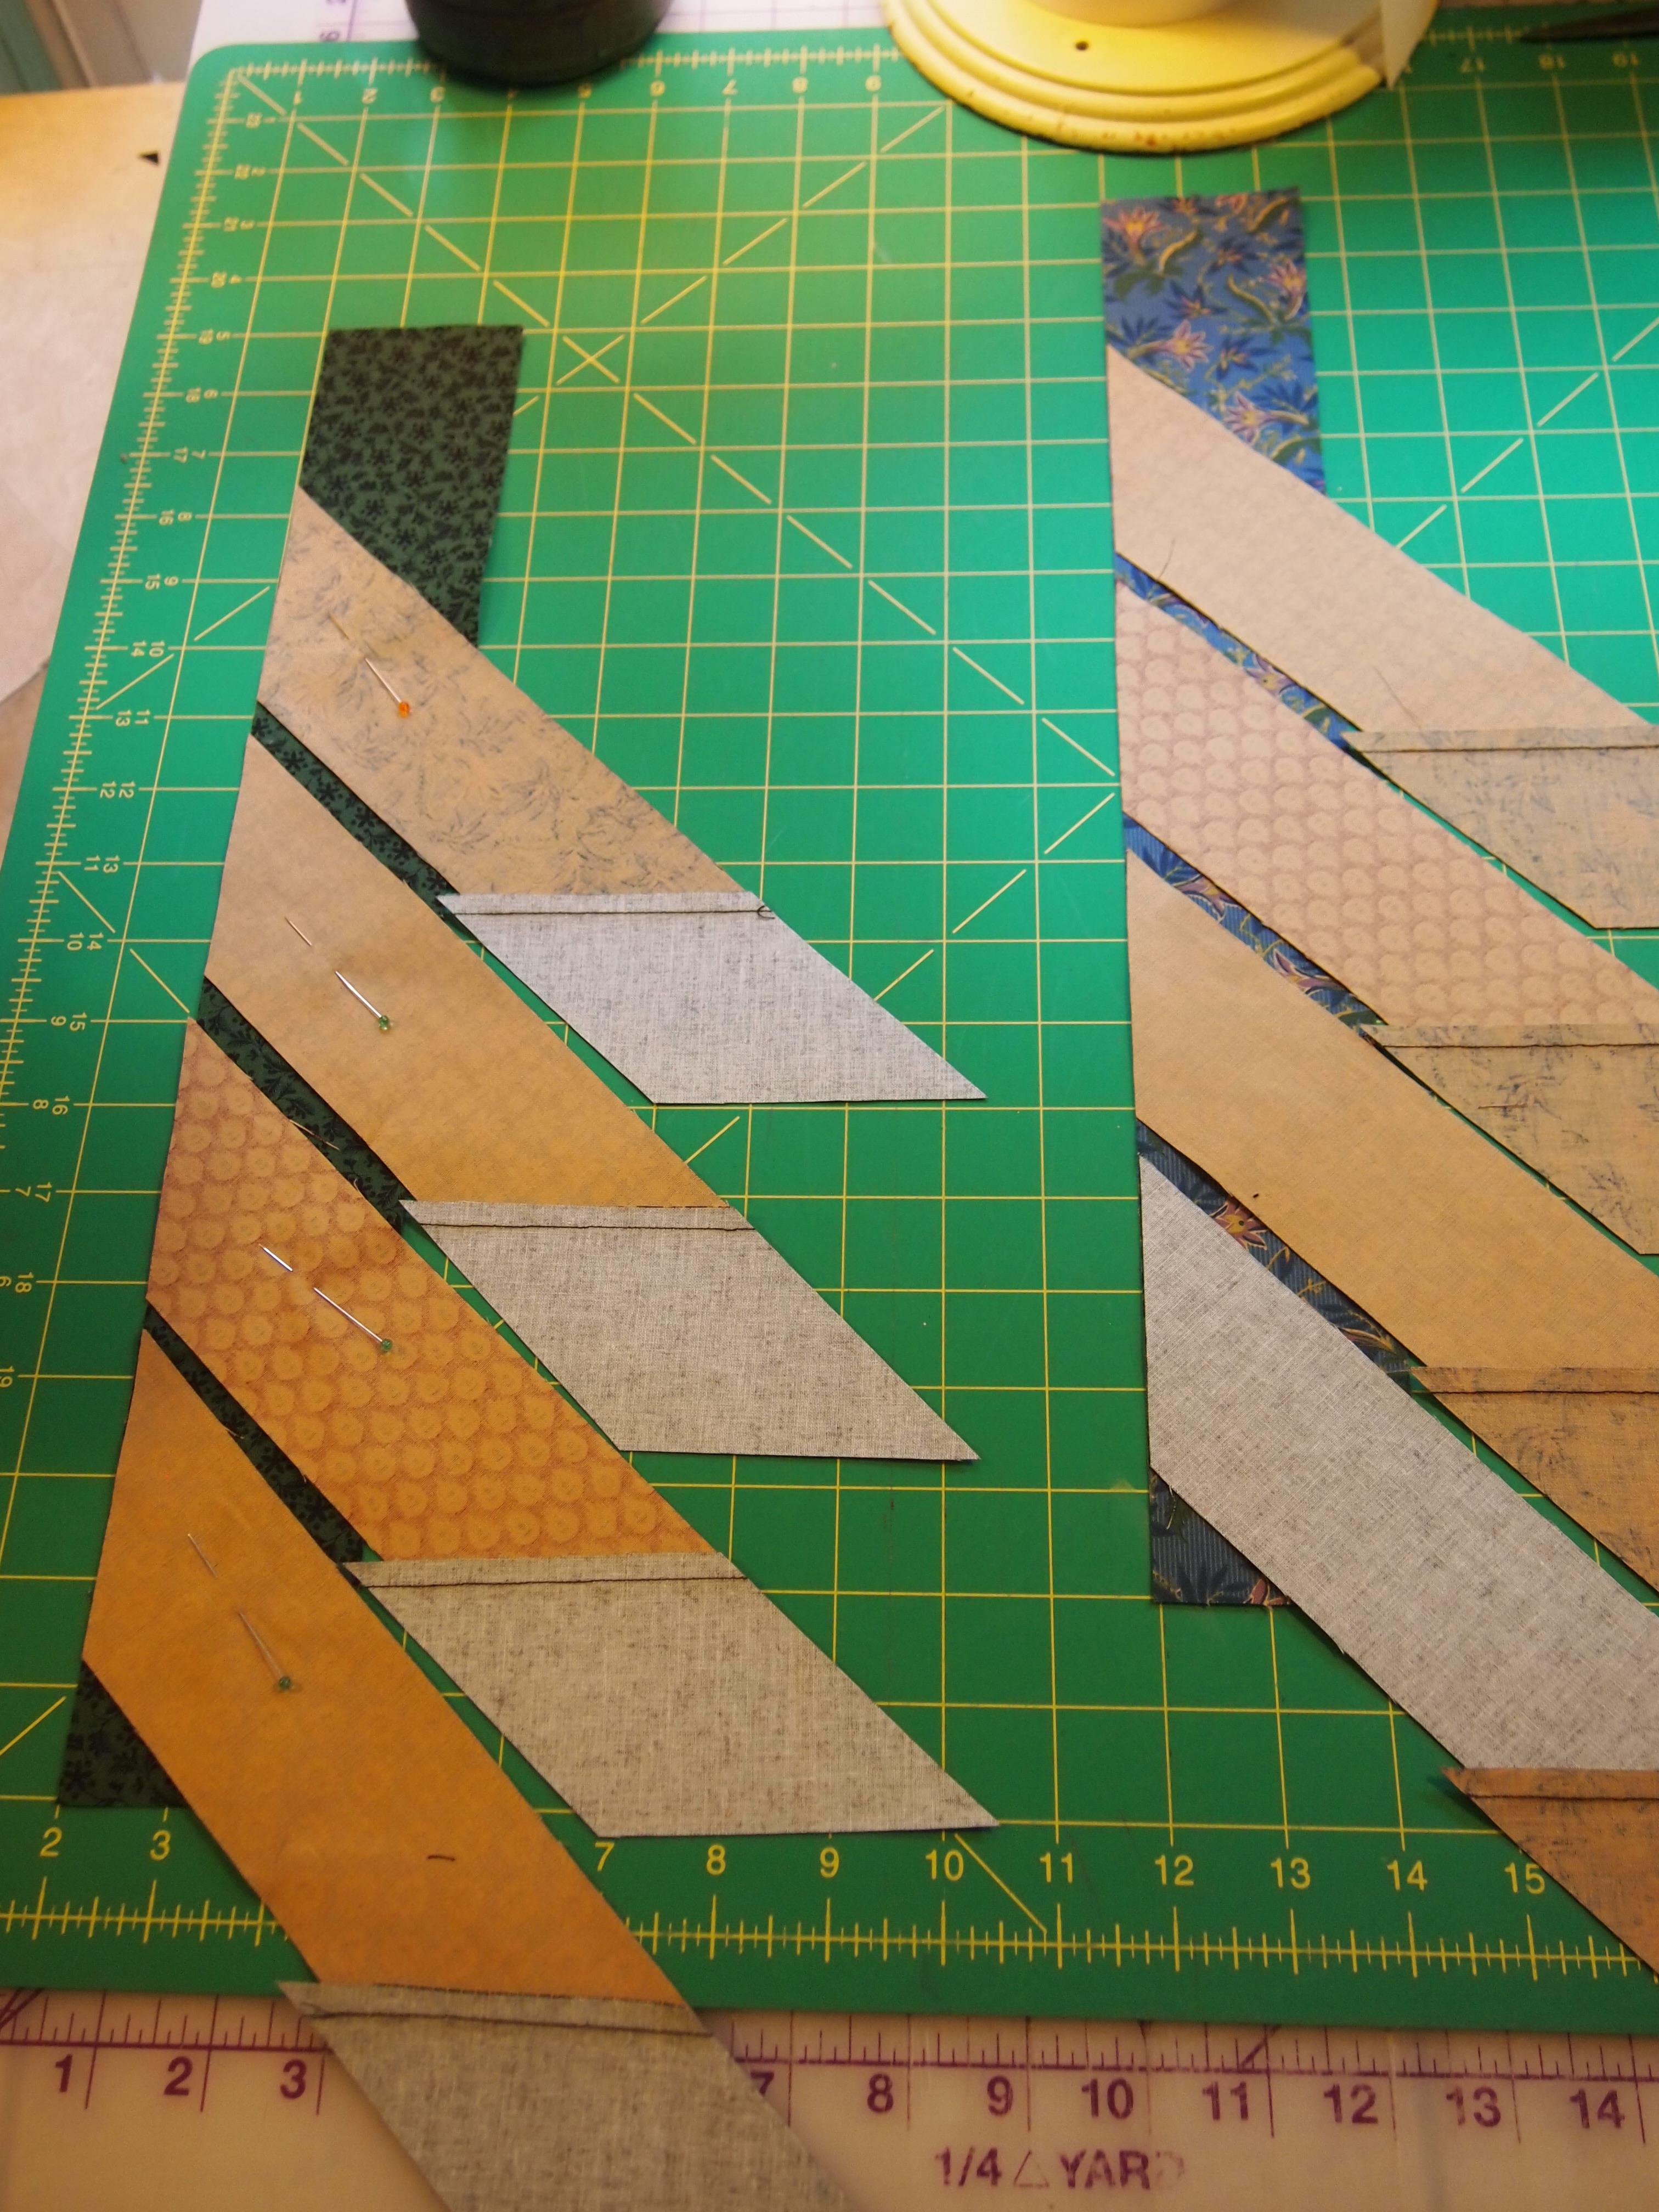
Deb gives wonderful direction on how to cut up the fat quarters to obtain the trapezoids, diamonds and triangles.
Sew the trapezoids to the strips to make diamonds

Press toward the trapezoids.

Trim into diamond using the hunter star ruler.
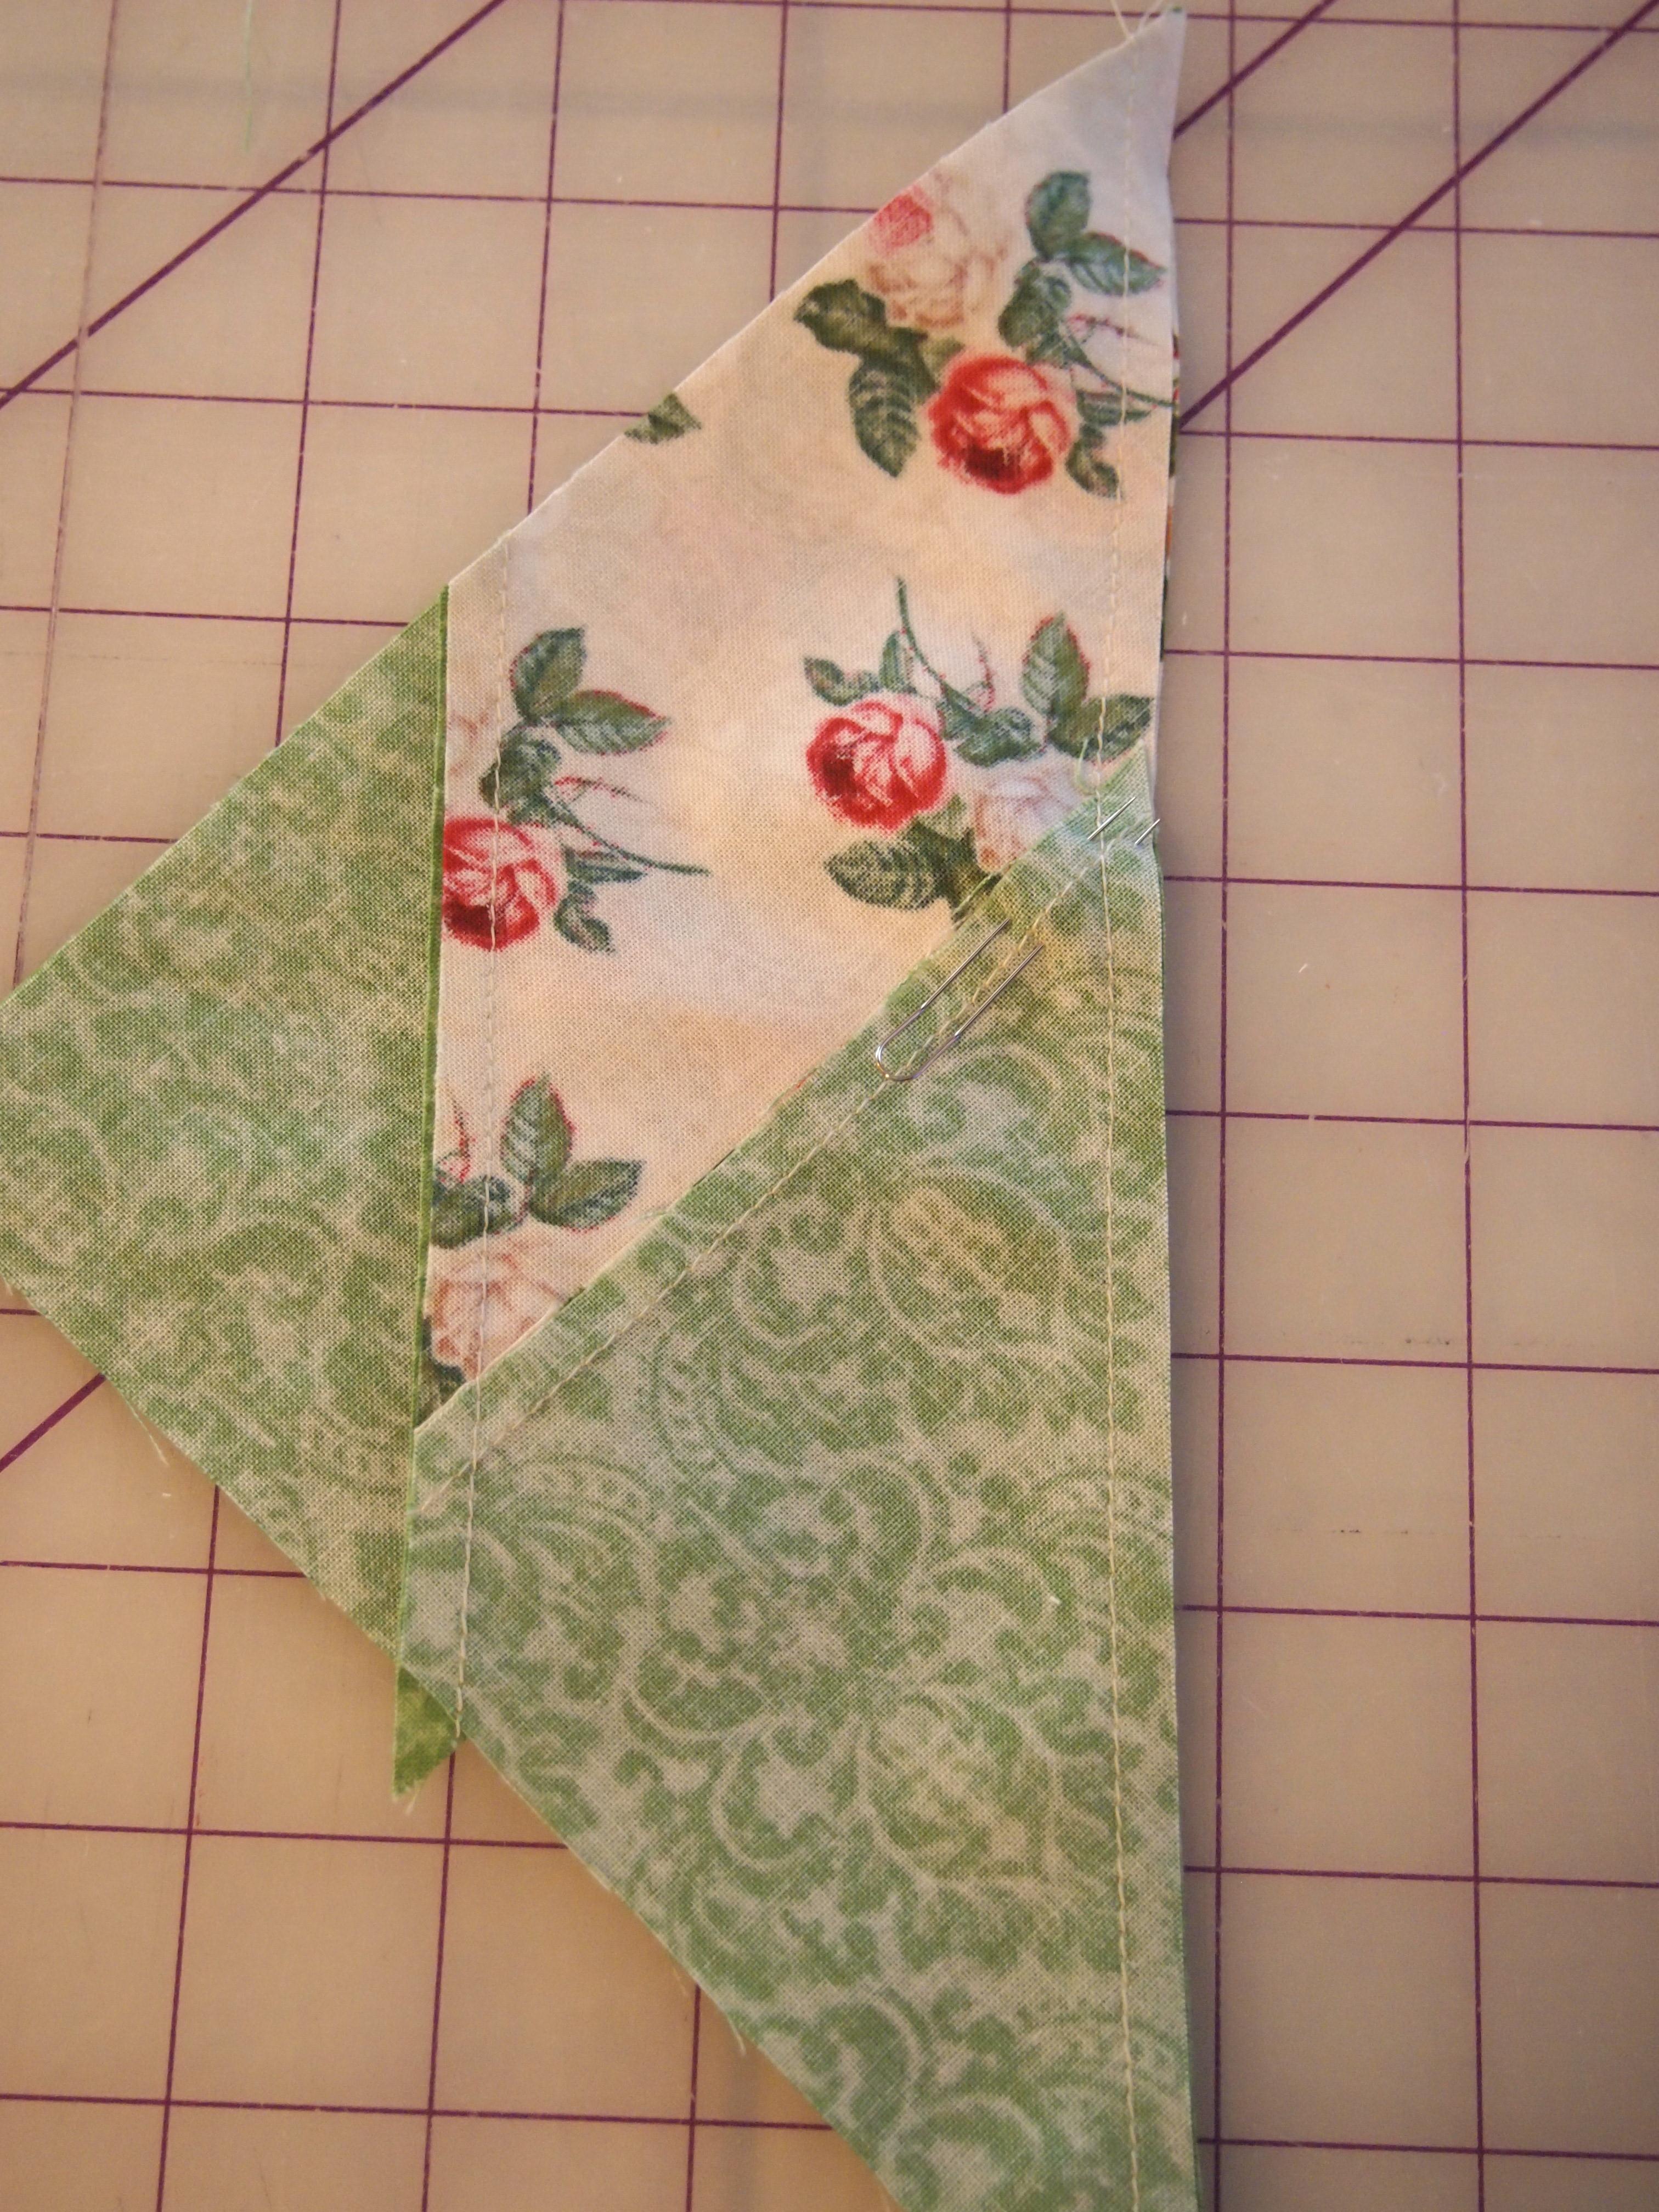
Sew trapezoids to the second strip.

Press toward the strip.

Trim into diamonds.

Trim off the excess fabric.

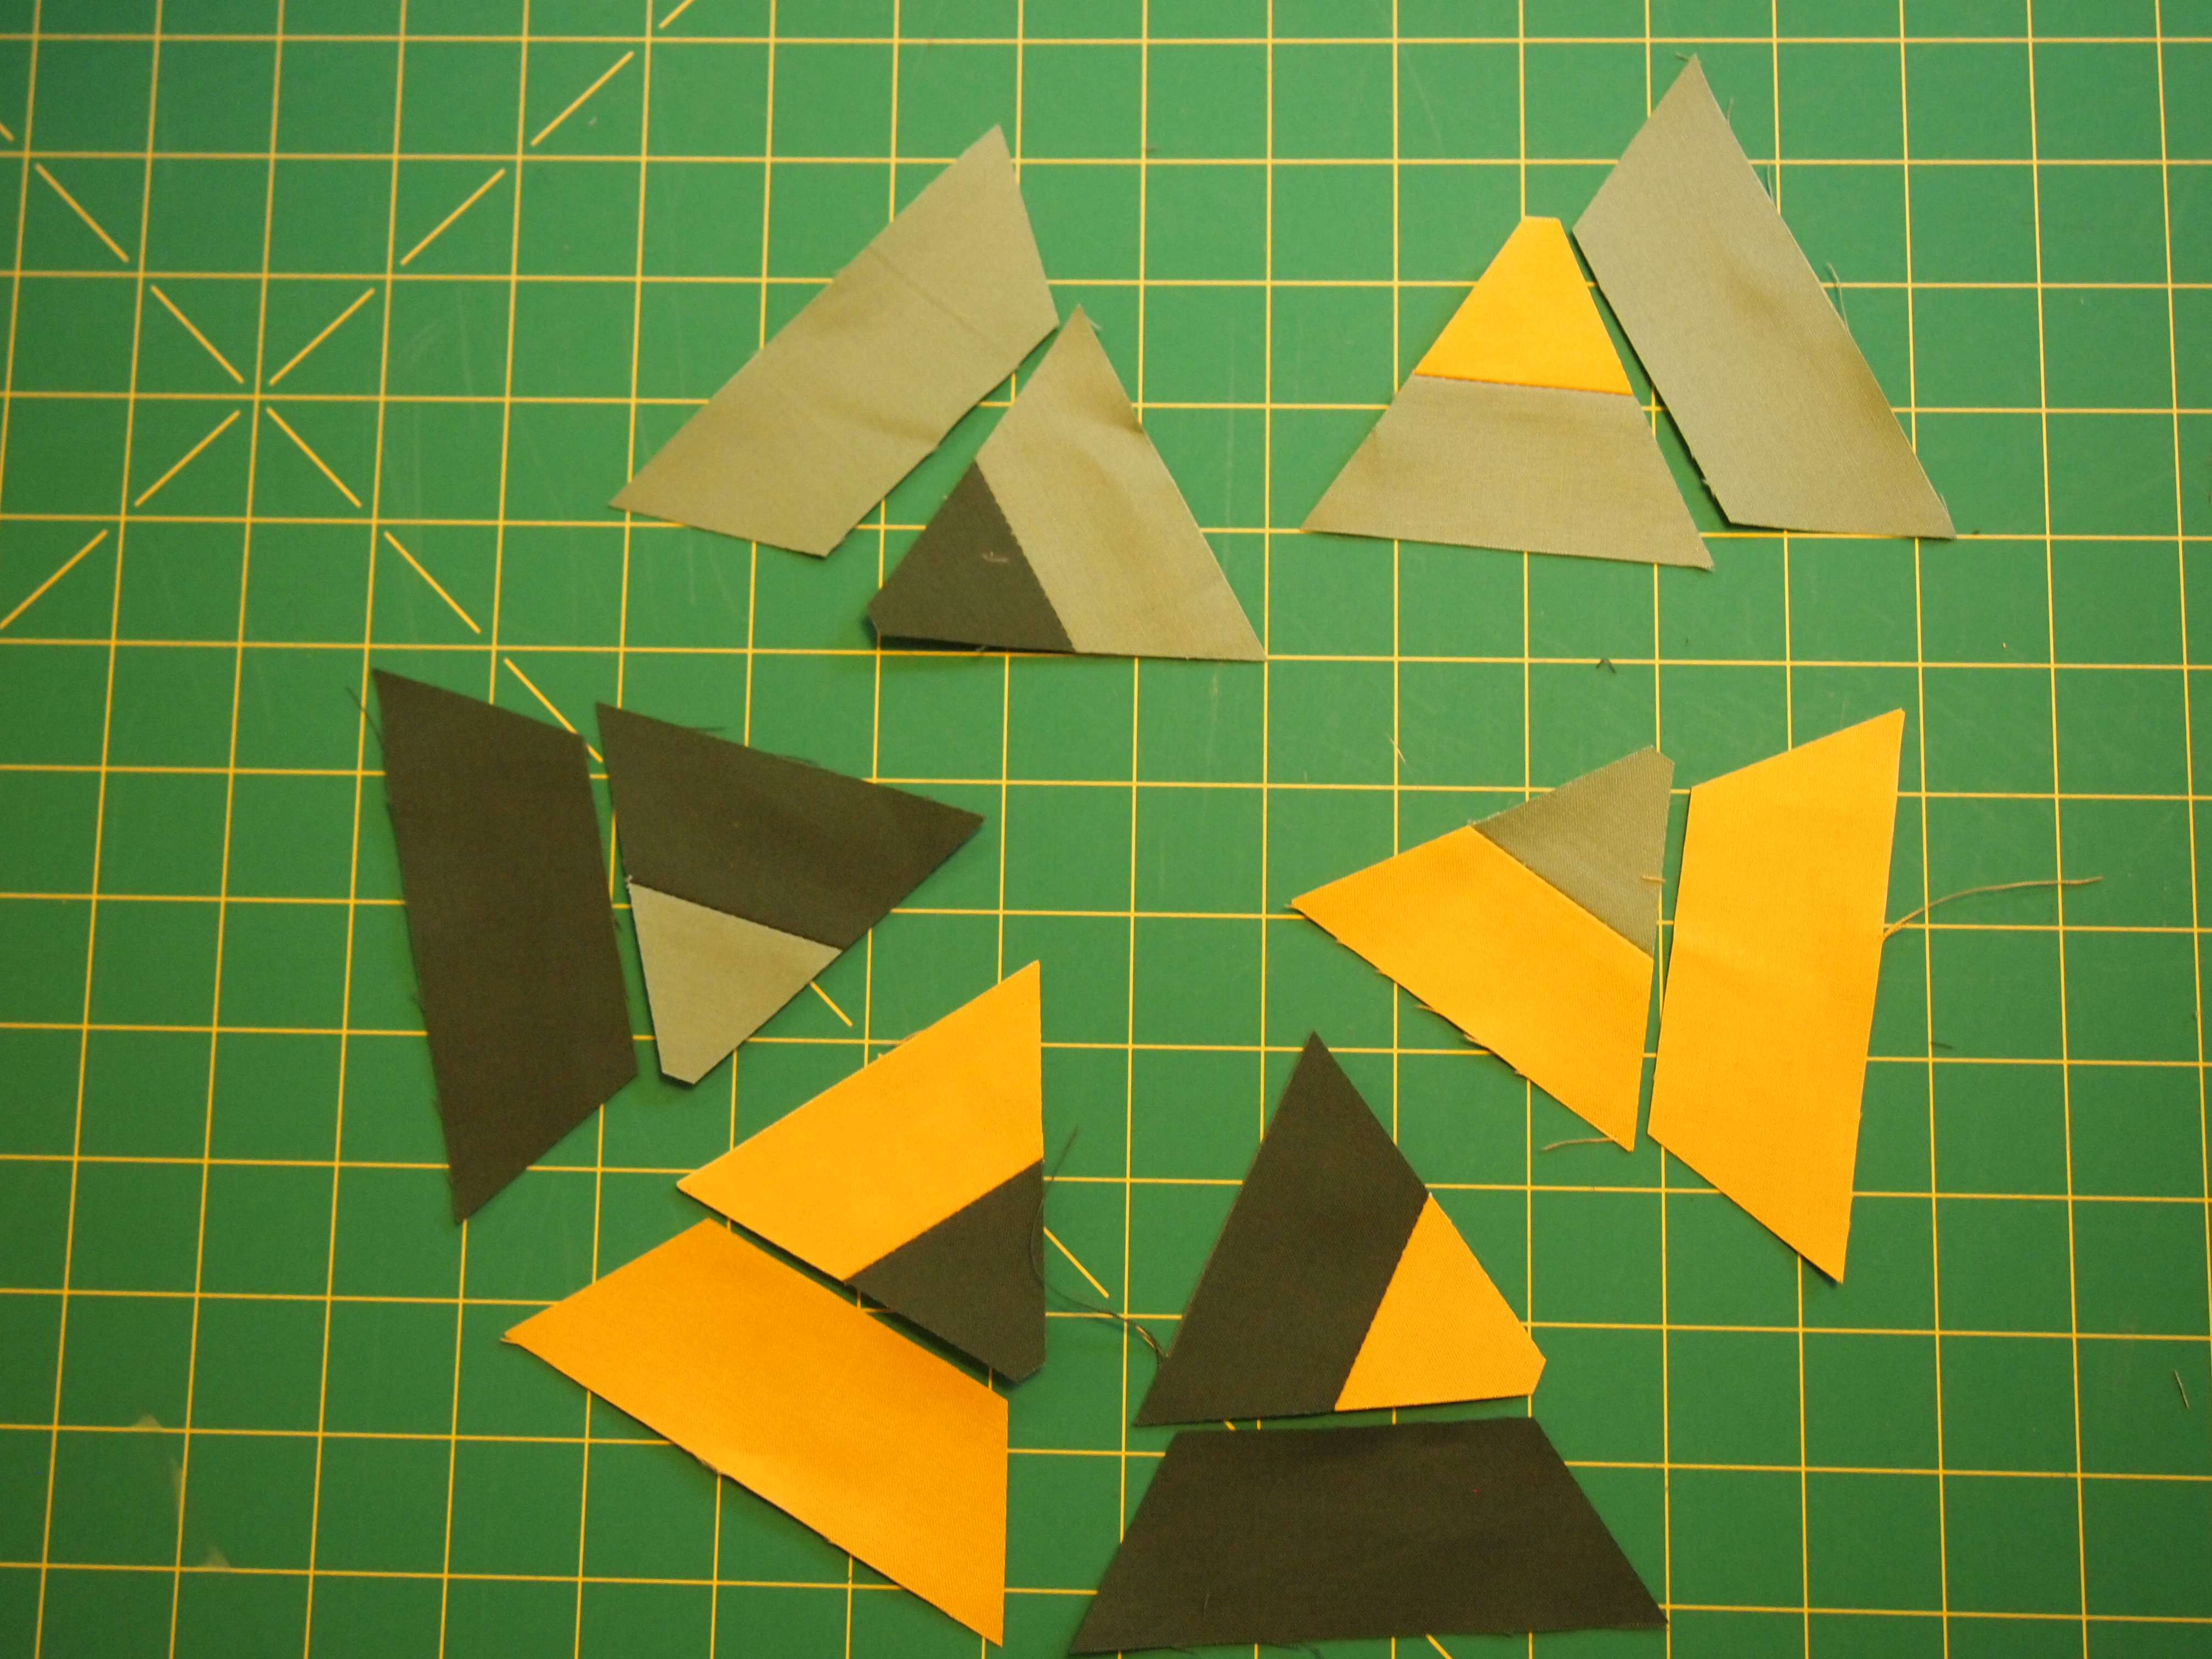
Sort strips by trapezoid color.

Match trapezoid to same color triangle.

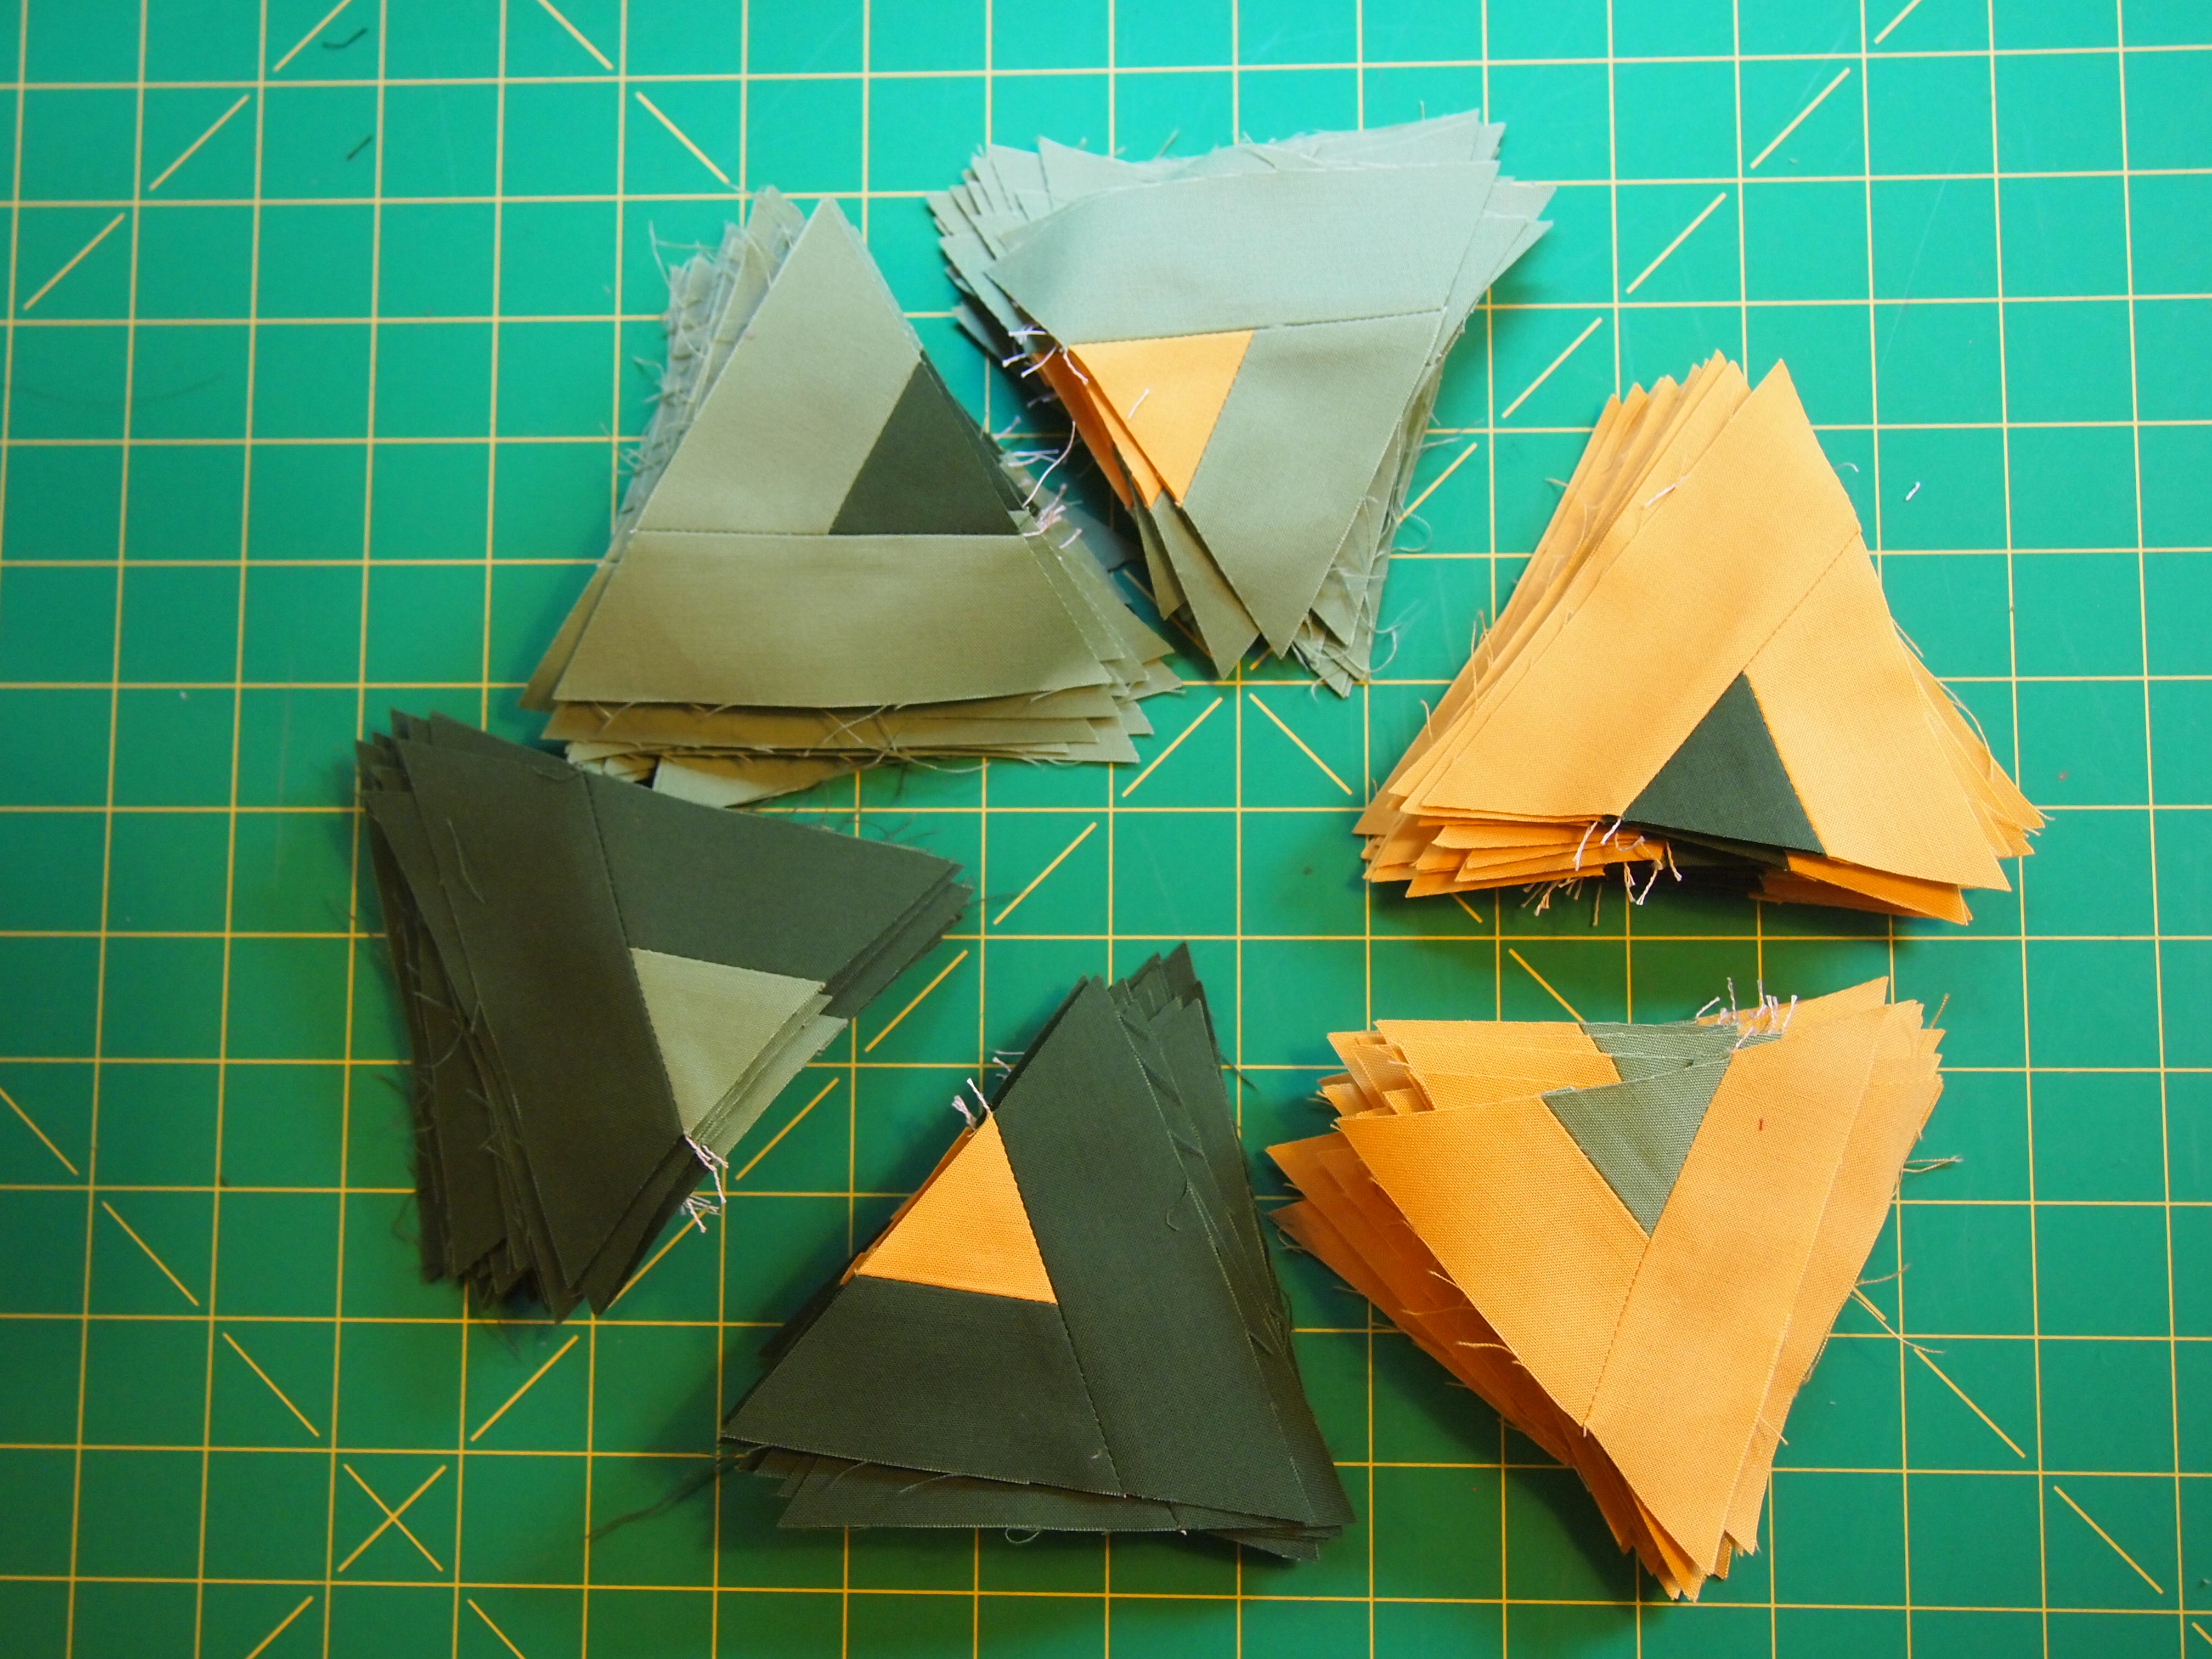
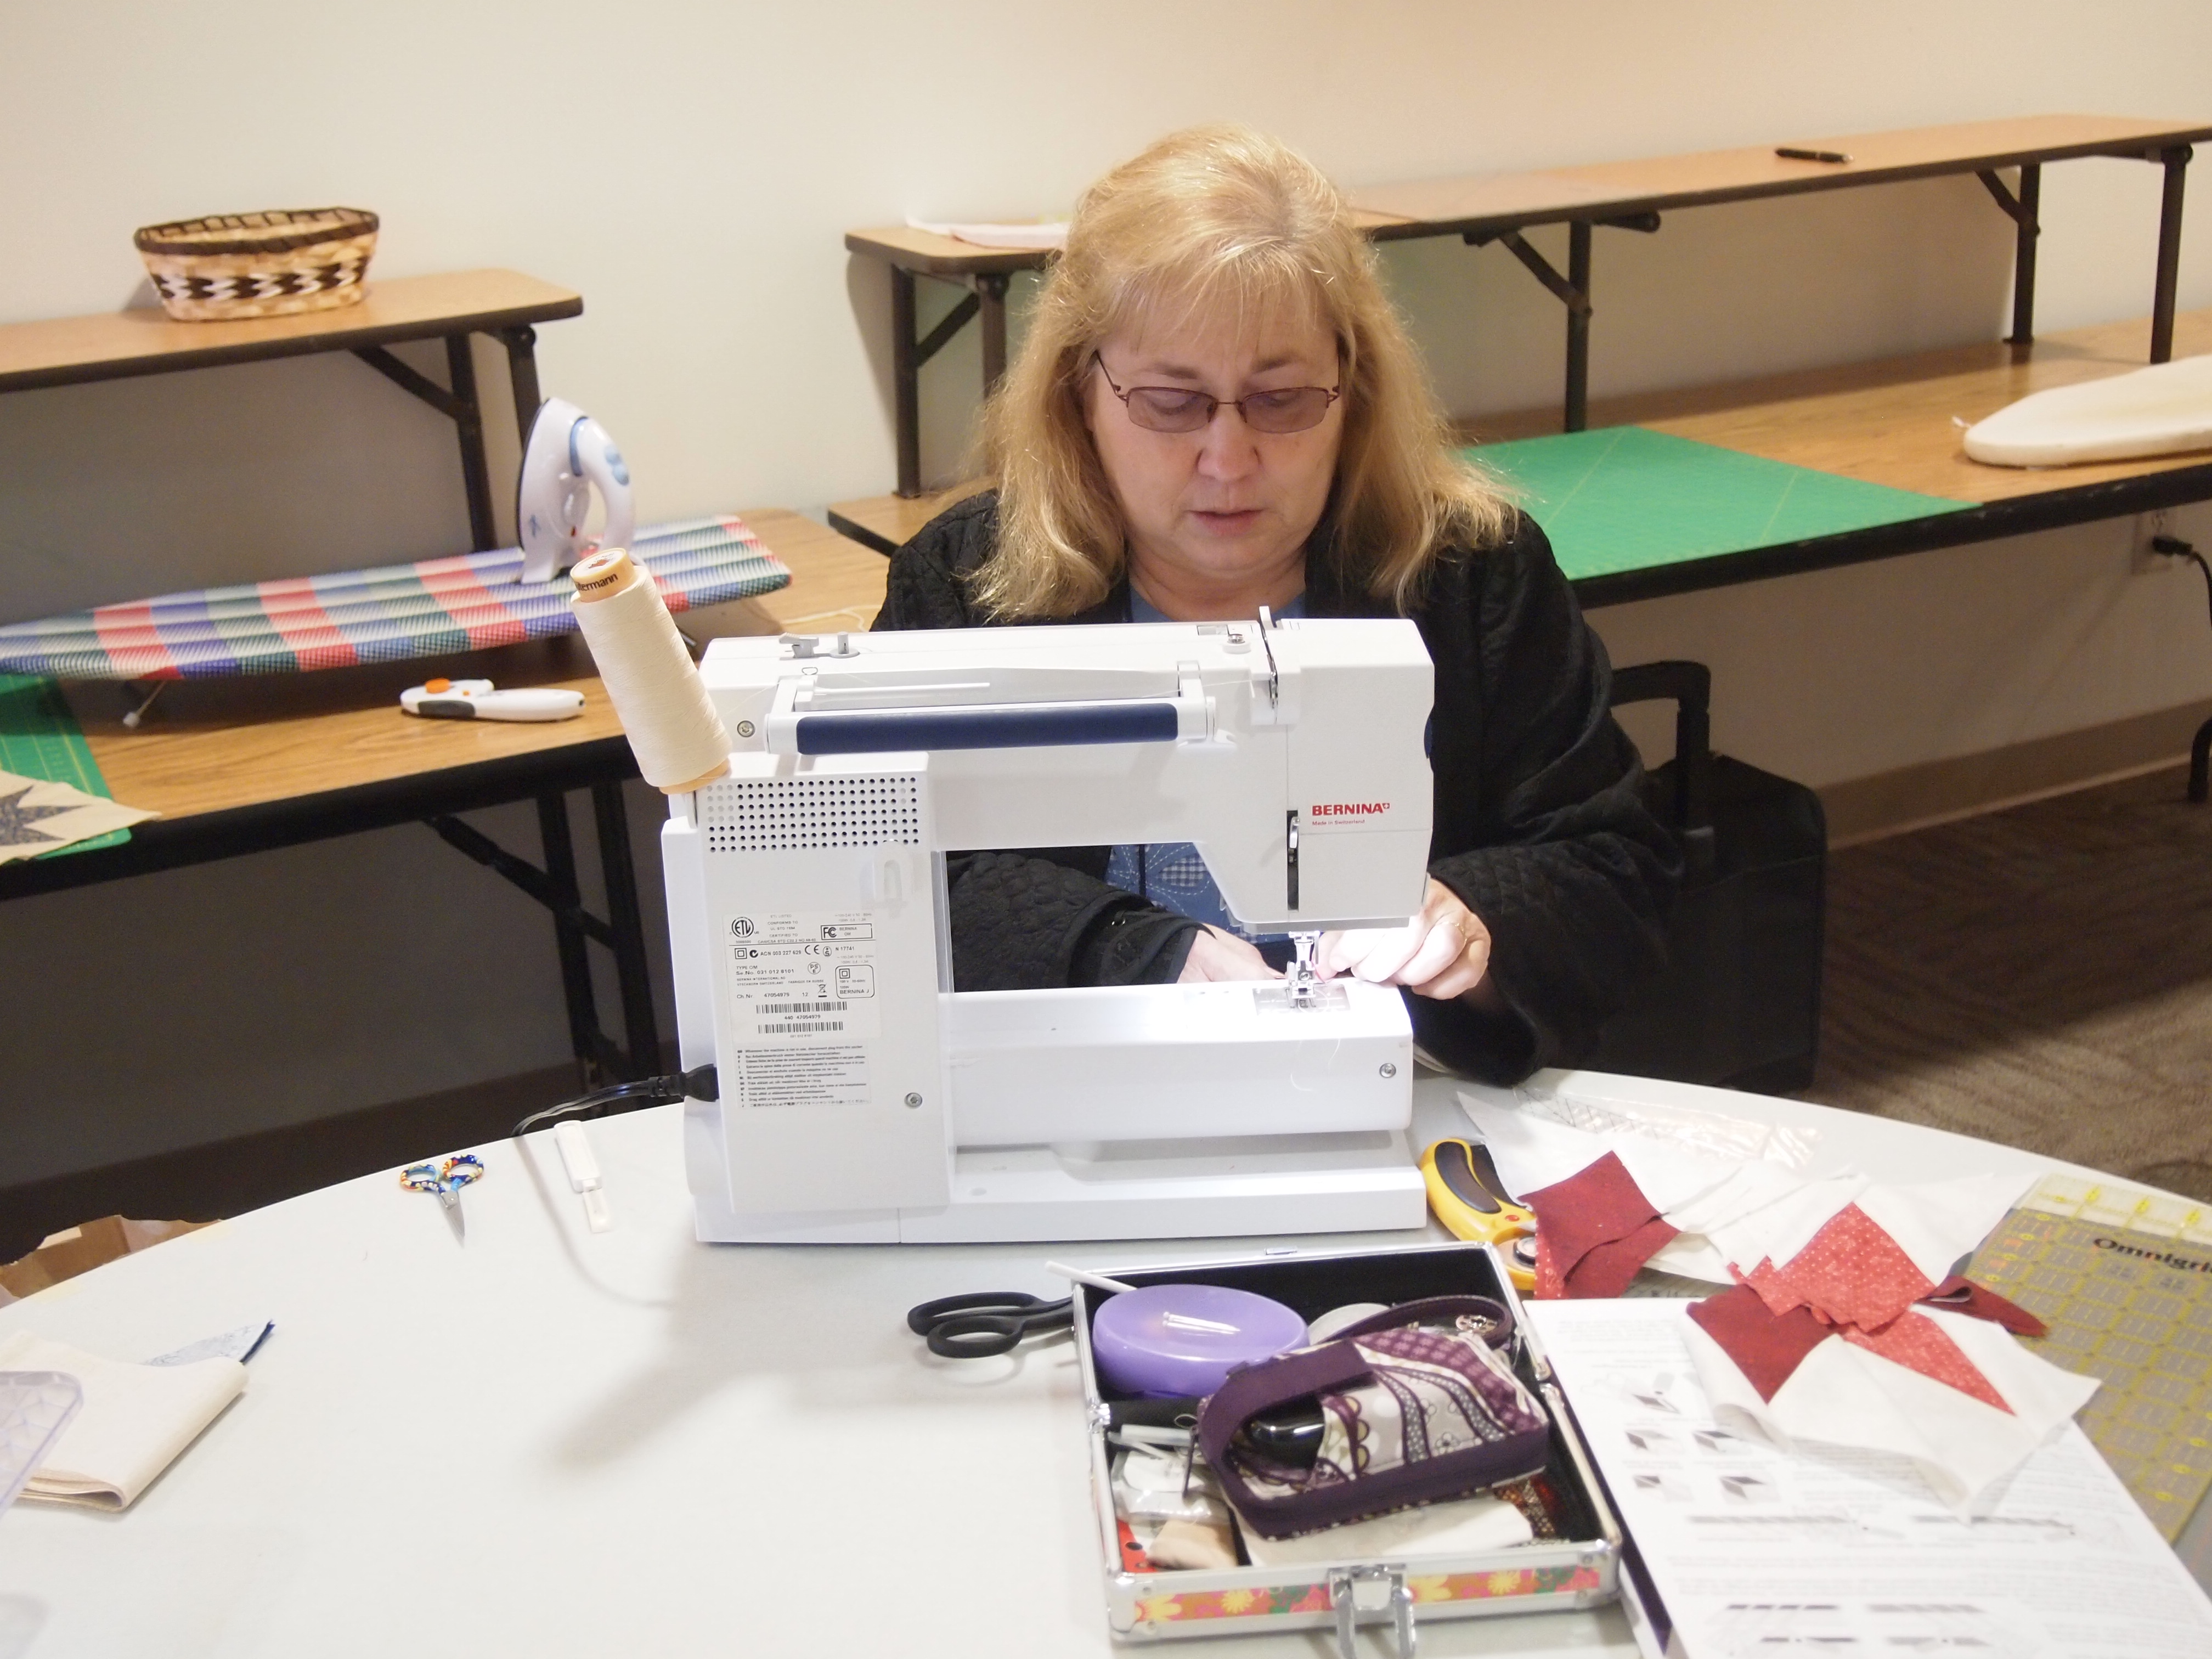
Sew trapezoids to triangles.
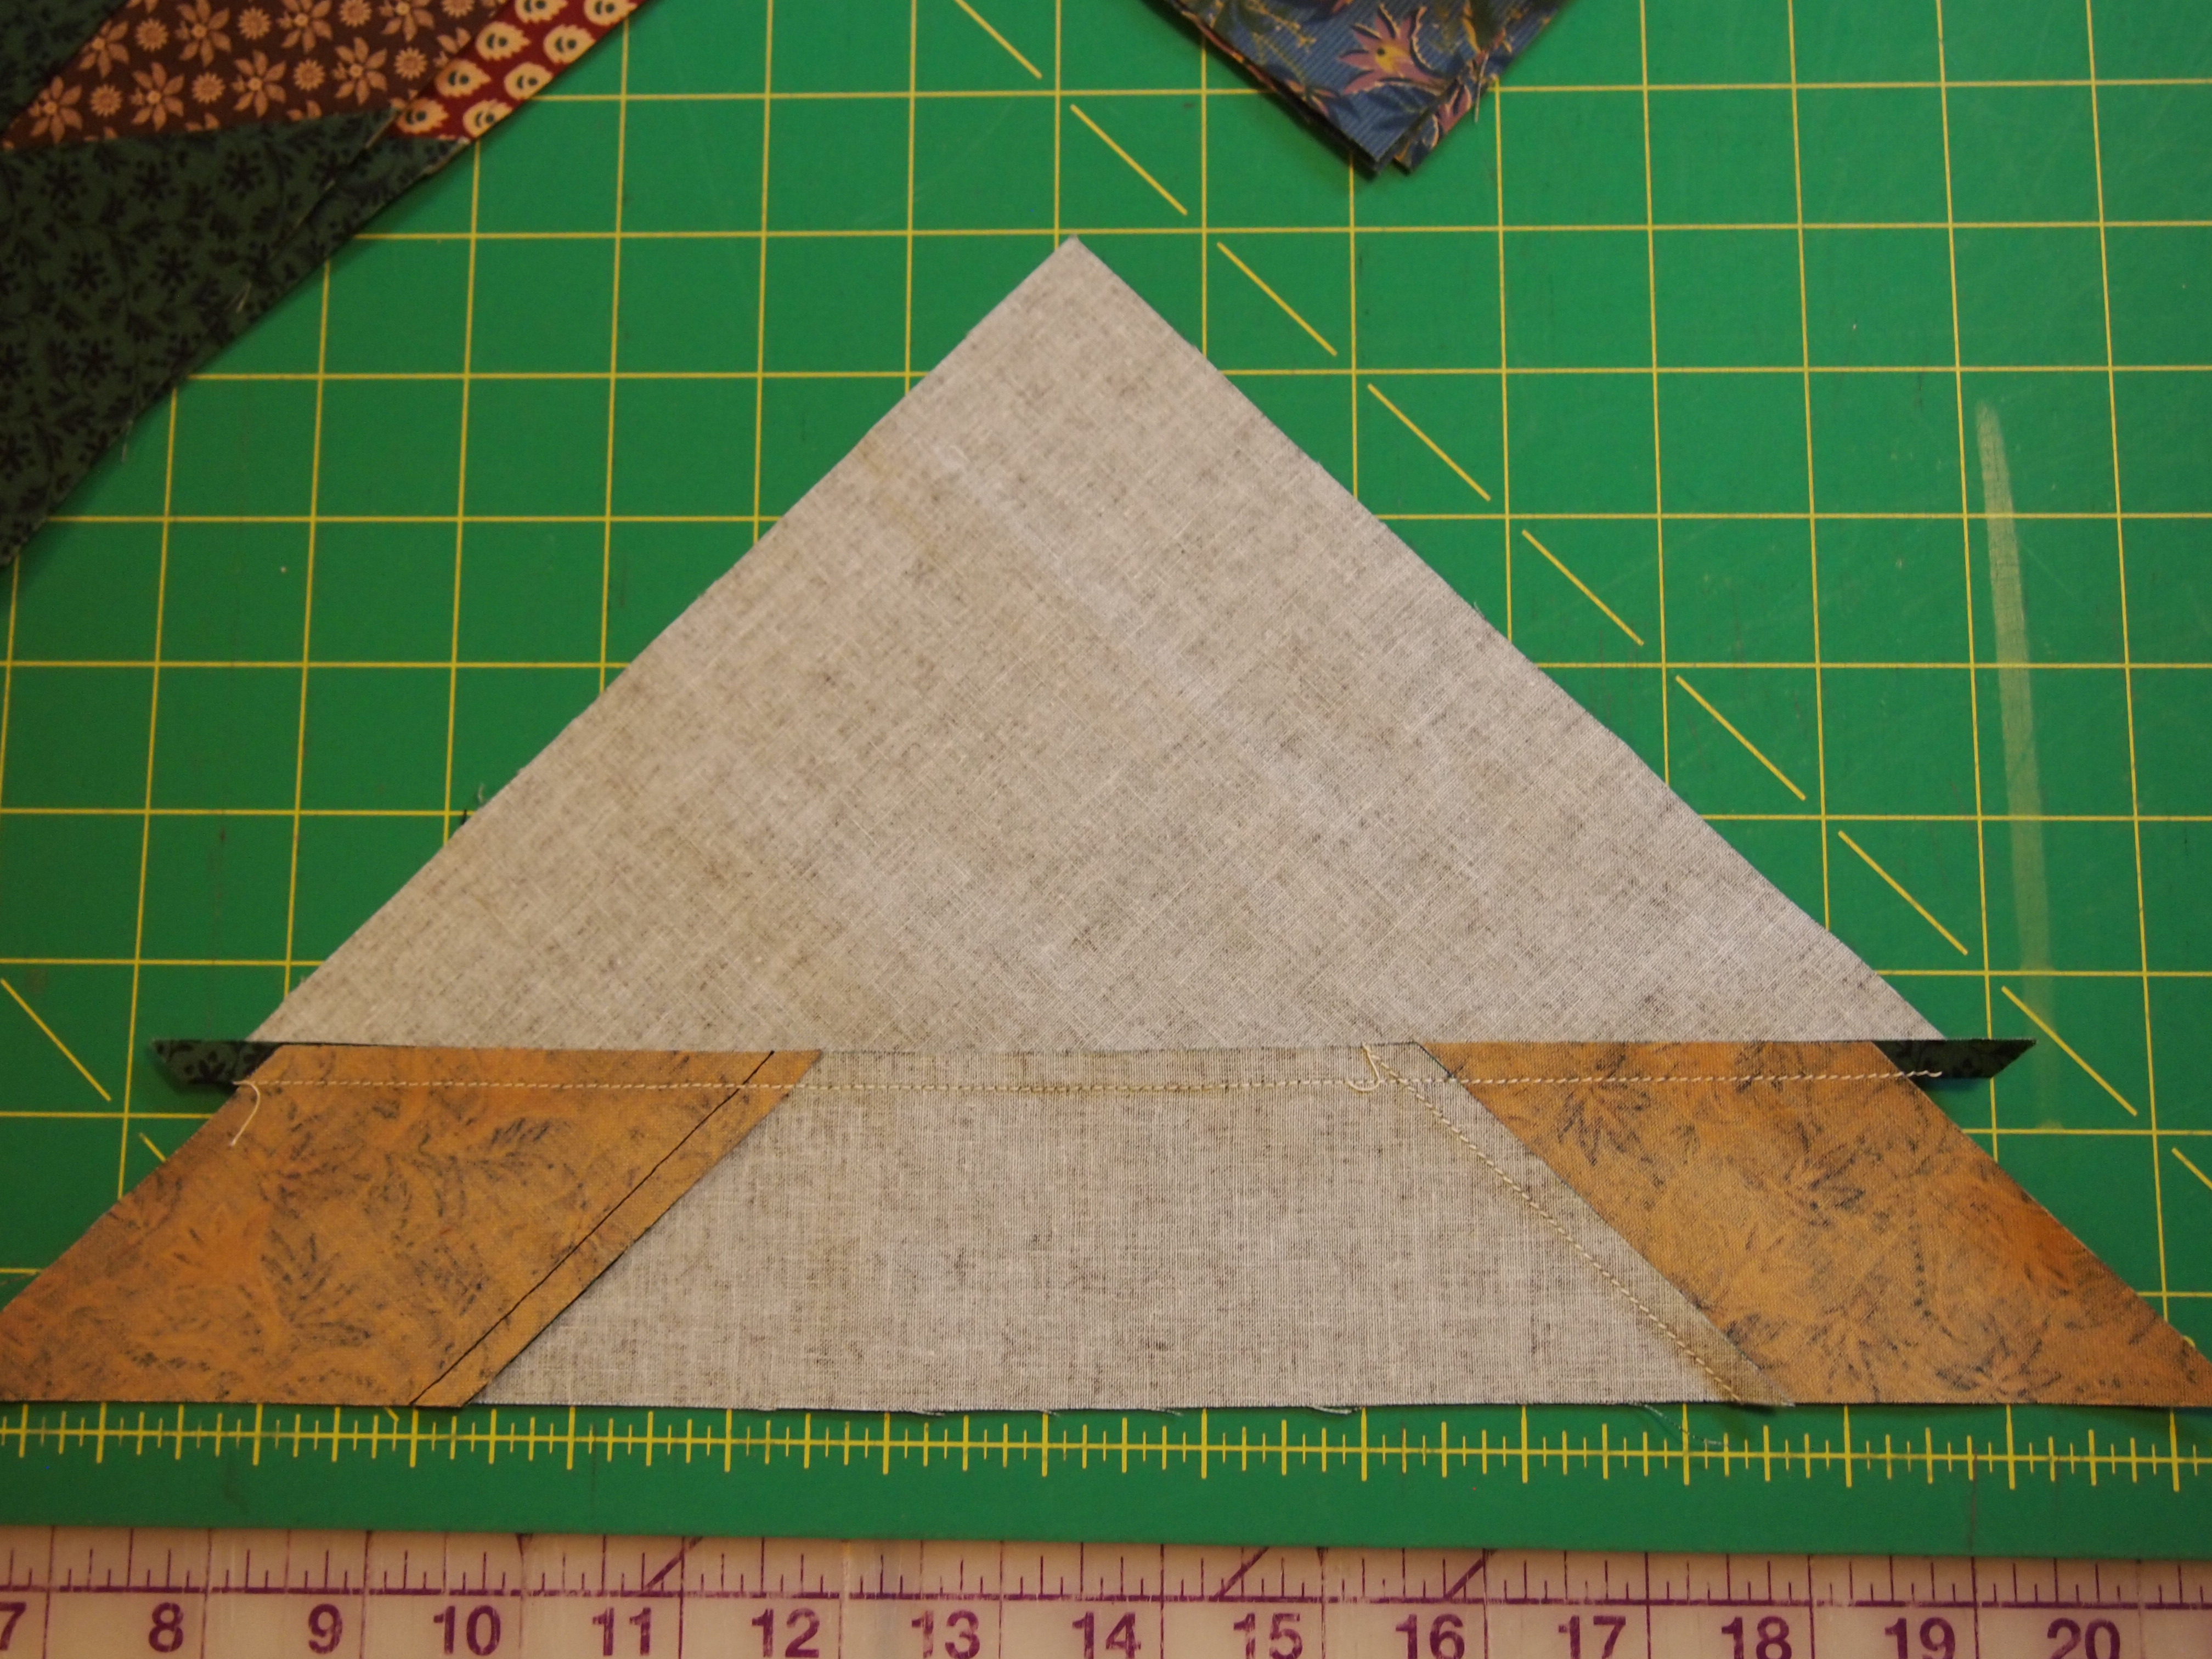
Press toward the triangle.

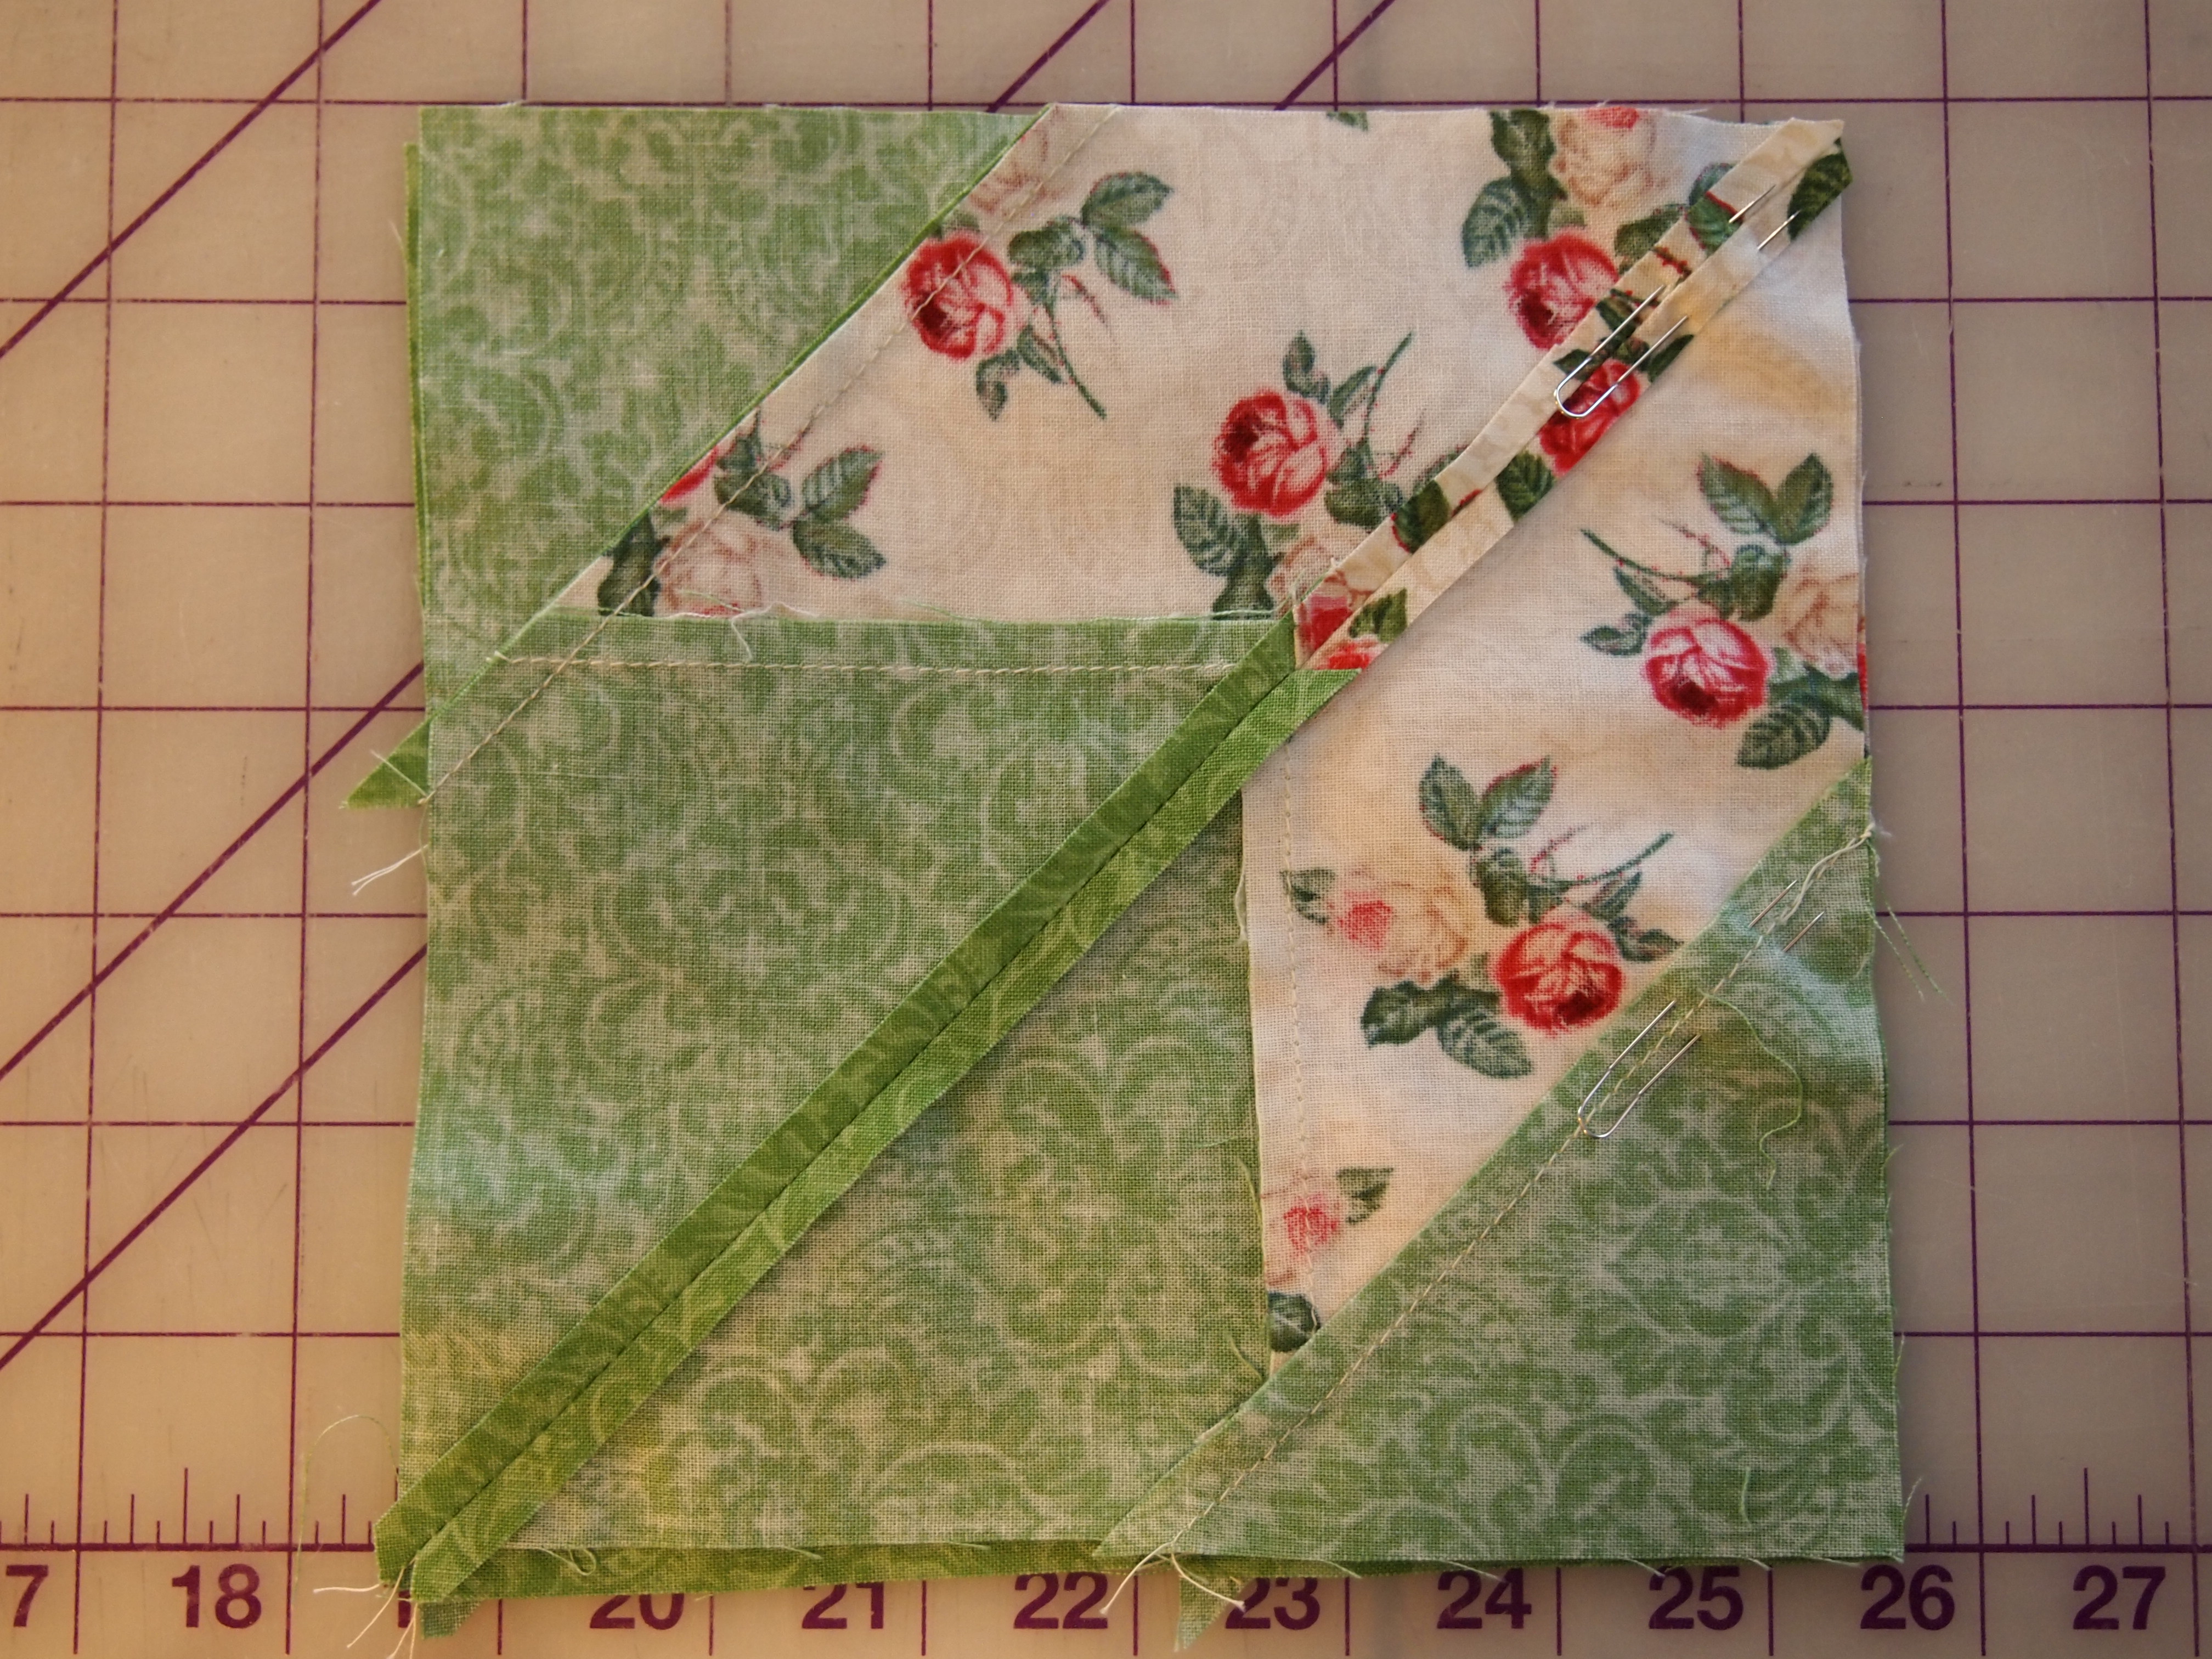
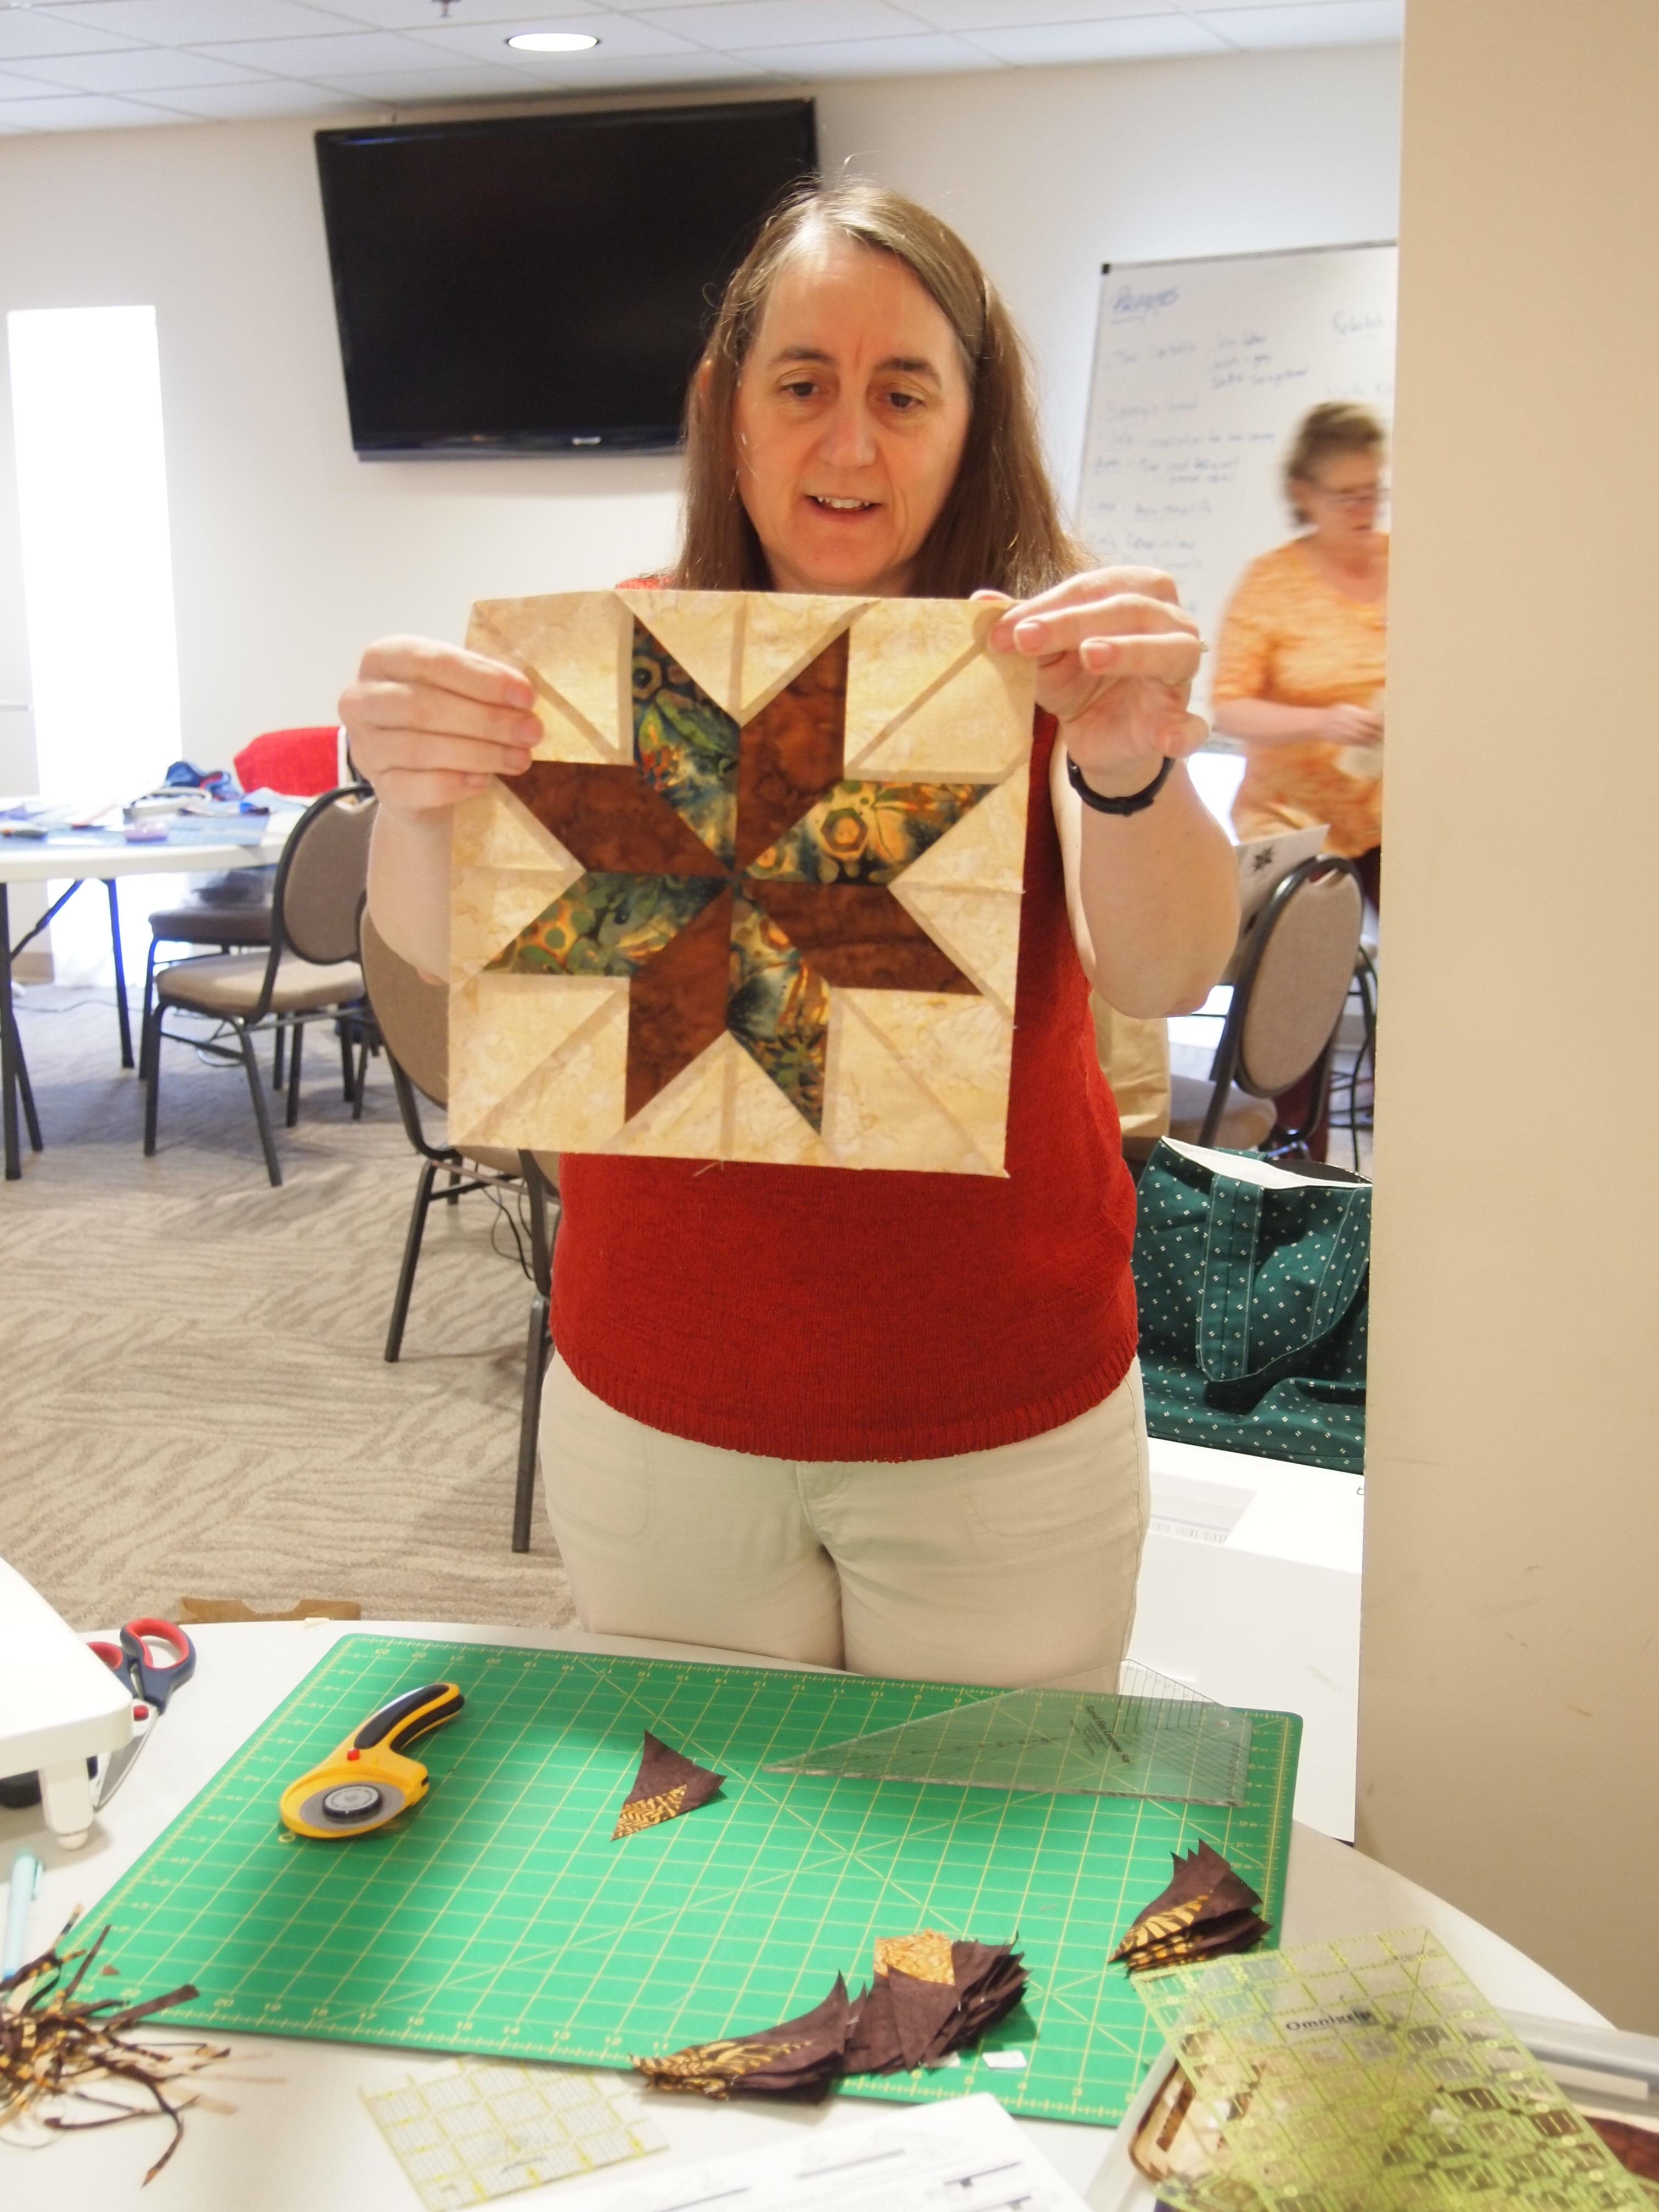
Choose two completed triangles, sew together, press center seam open.
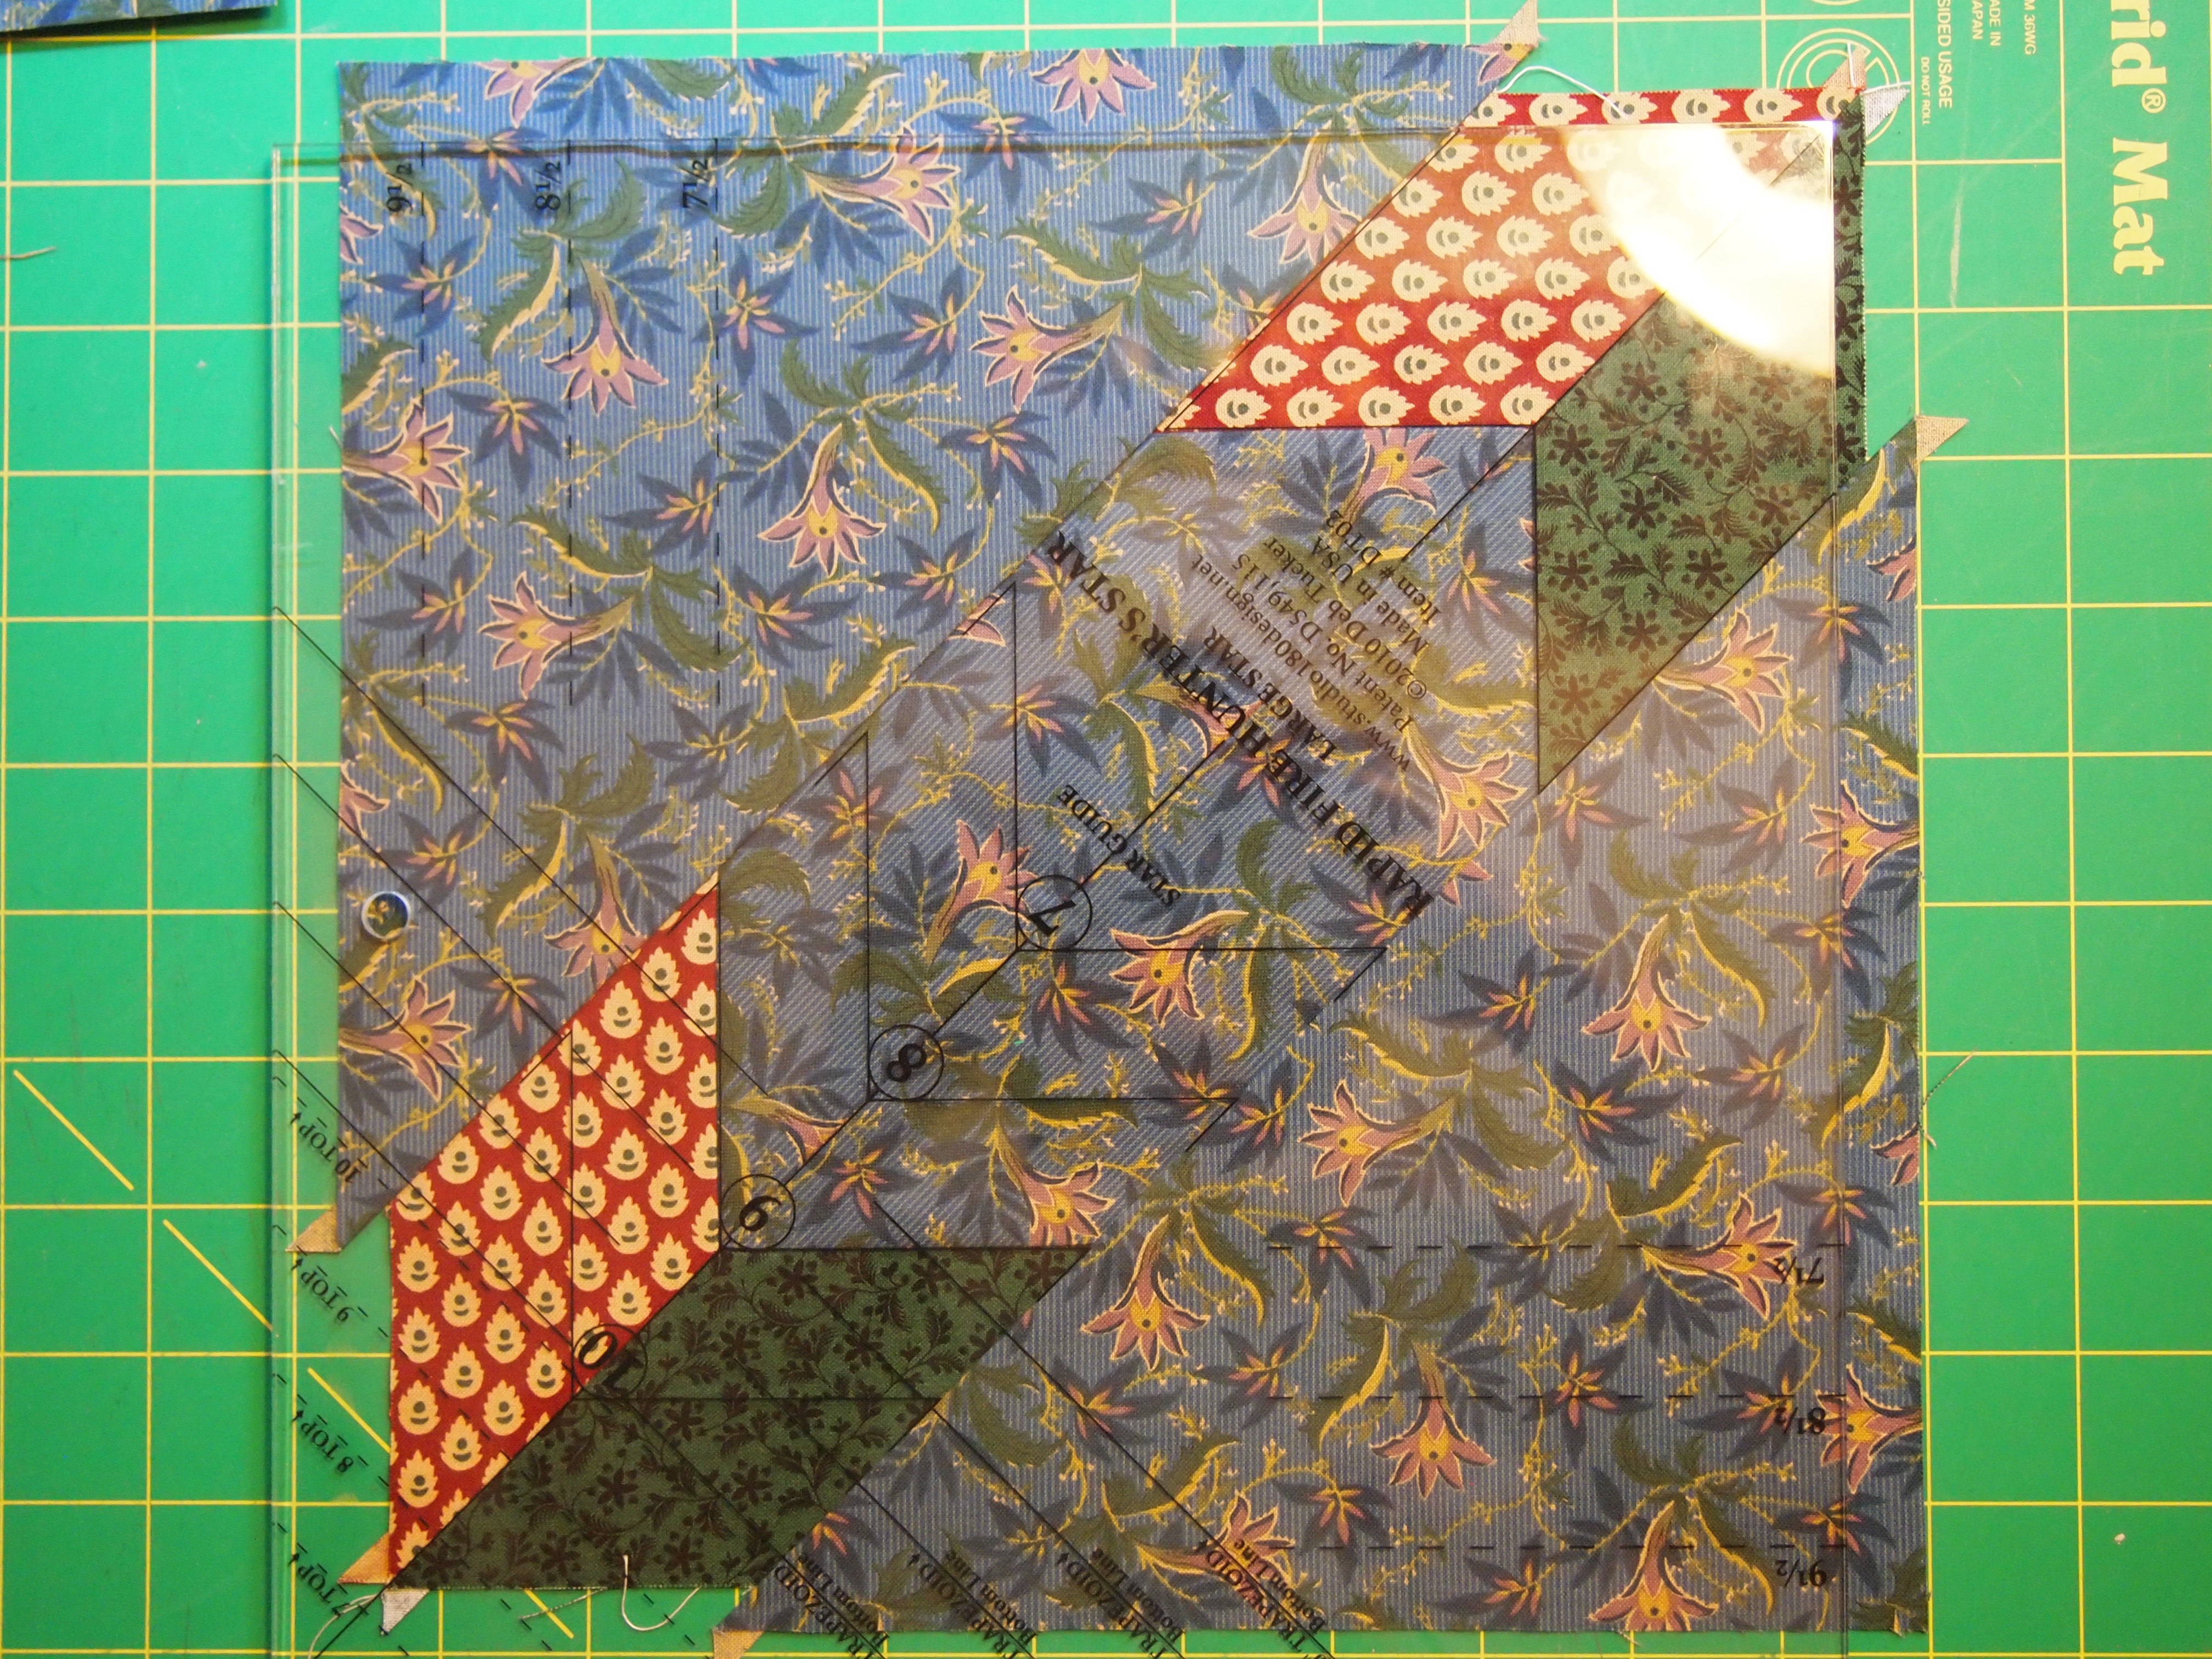
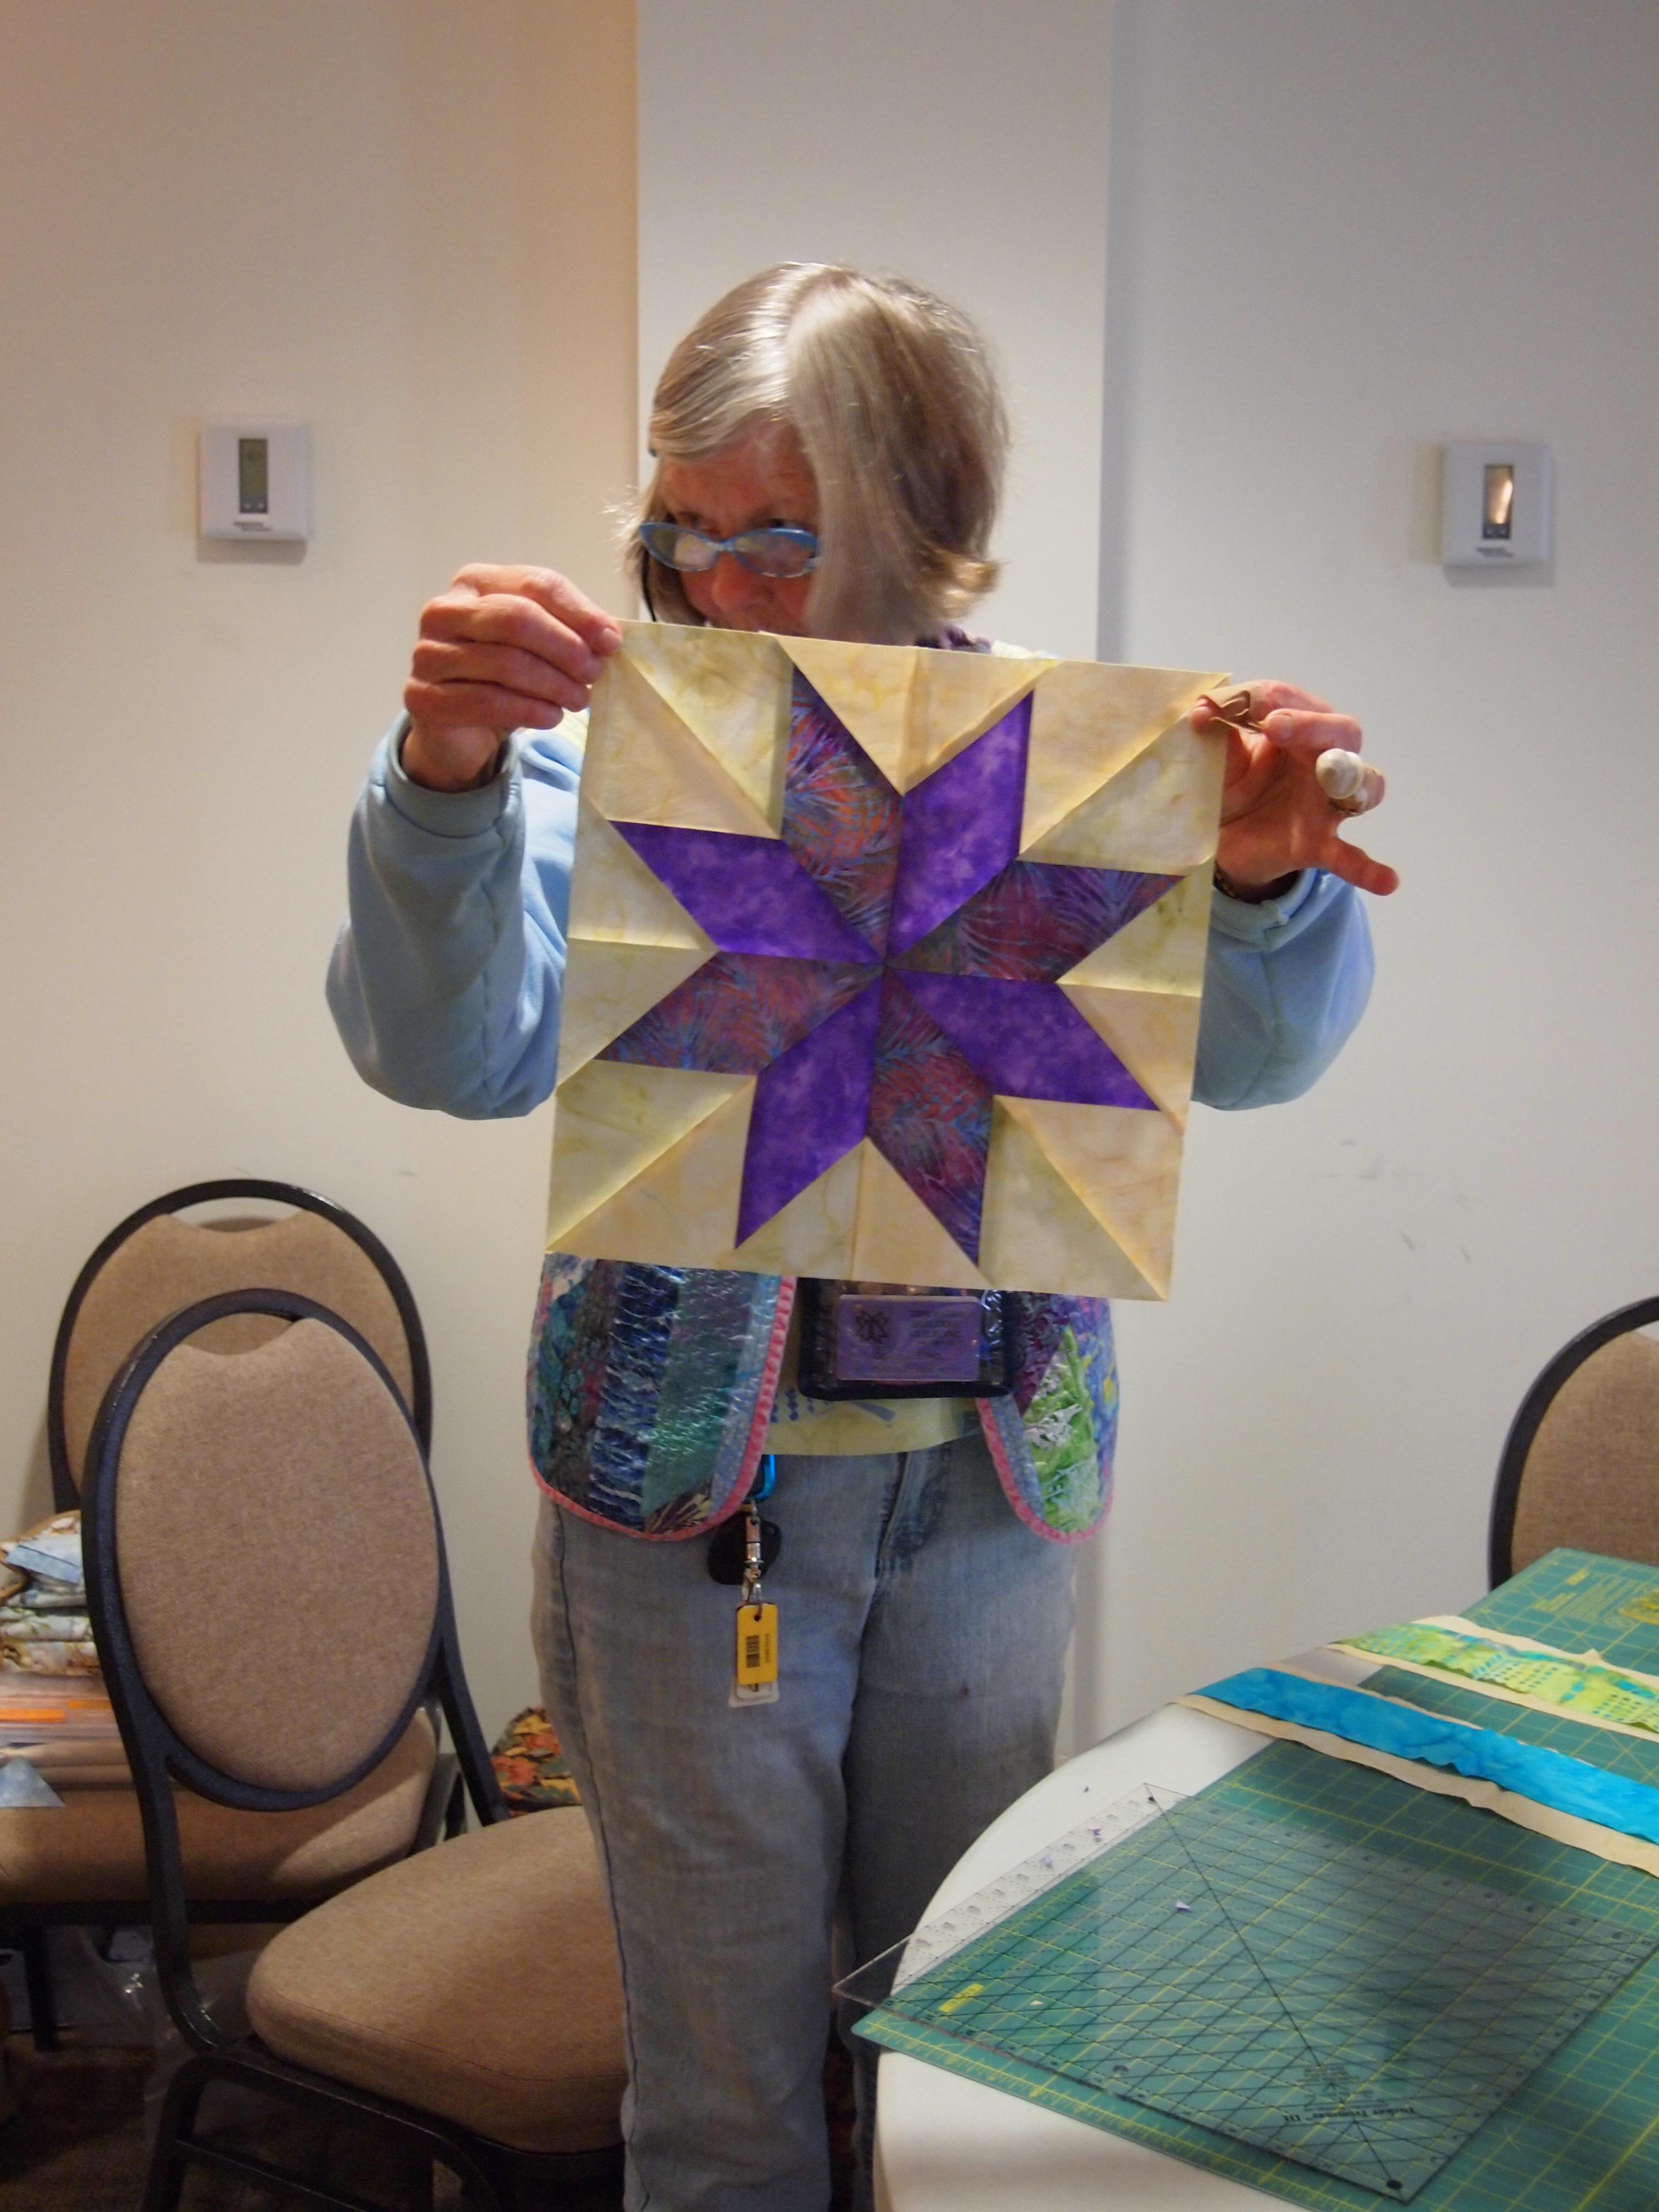
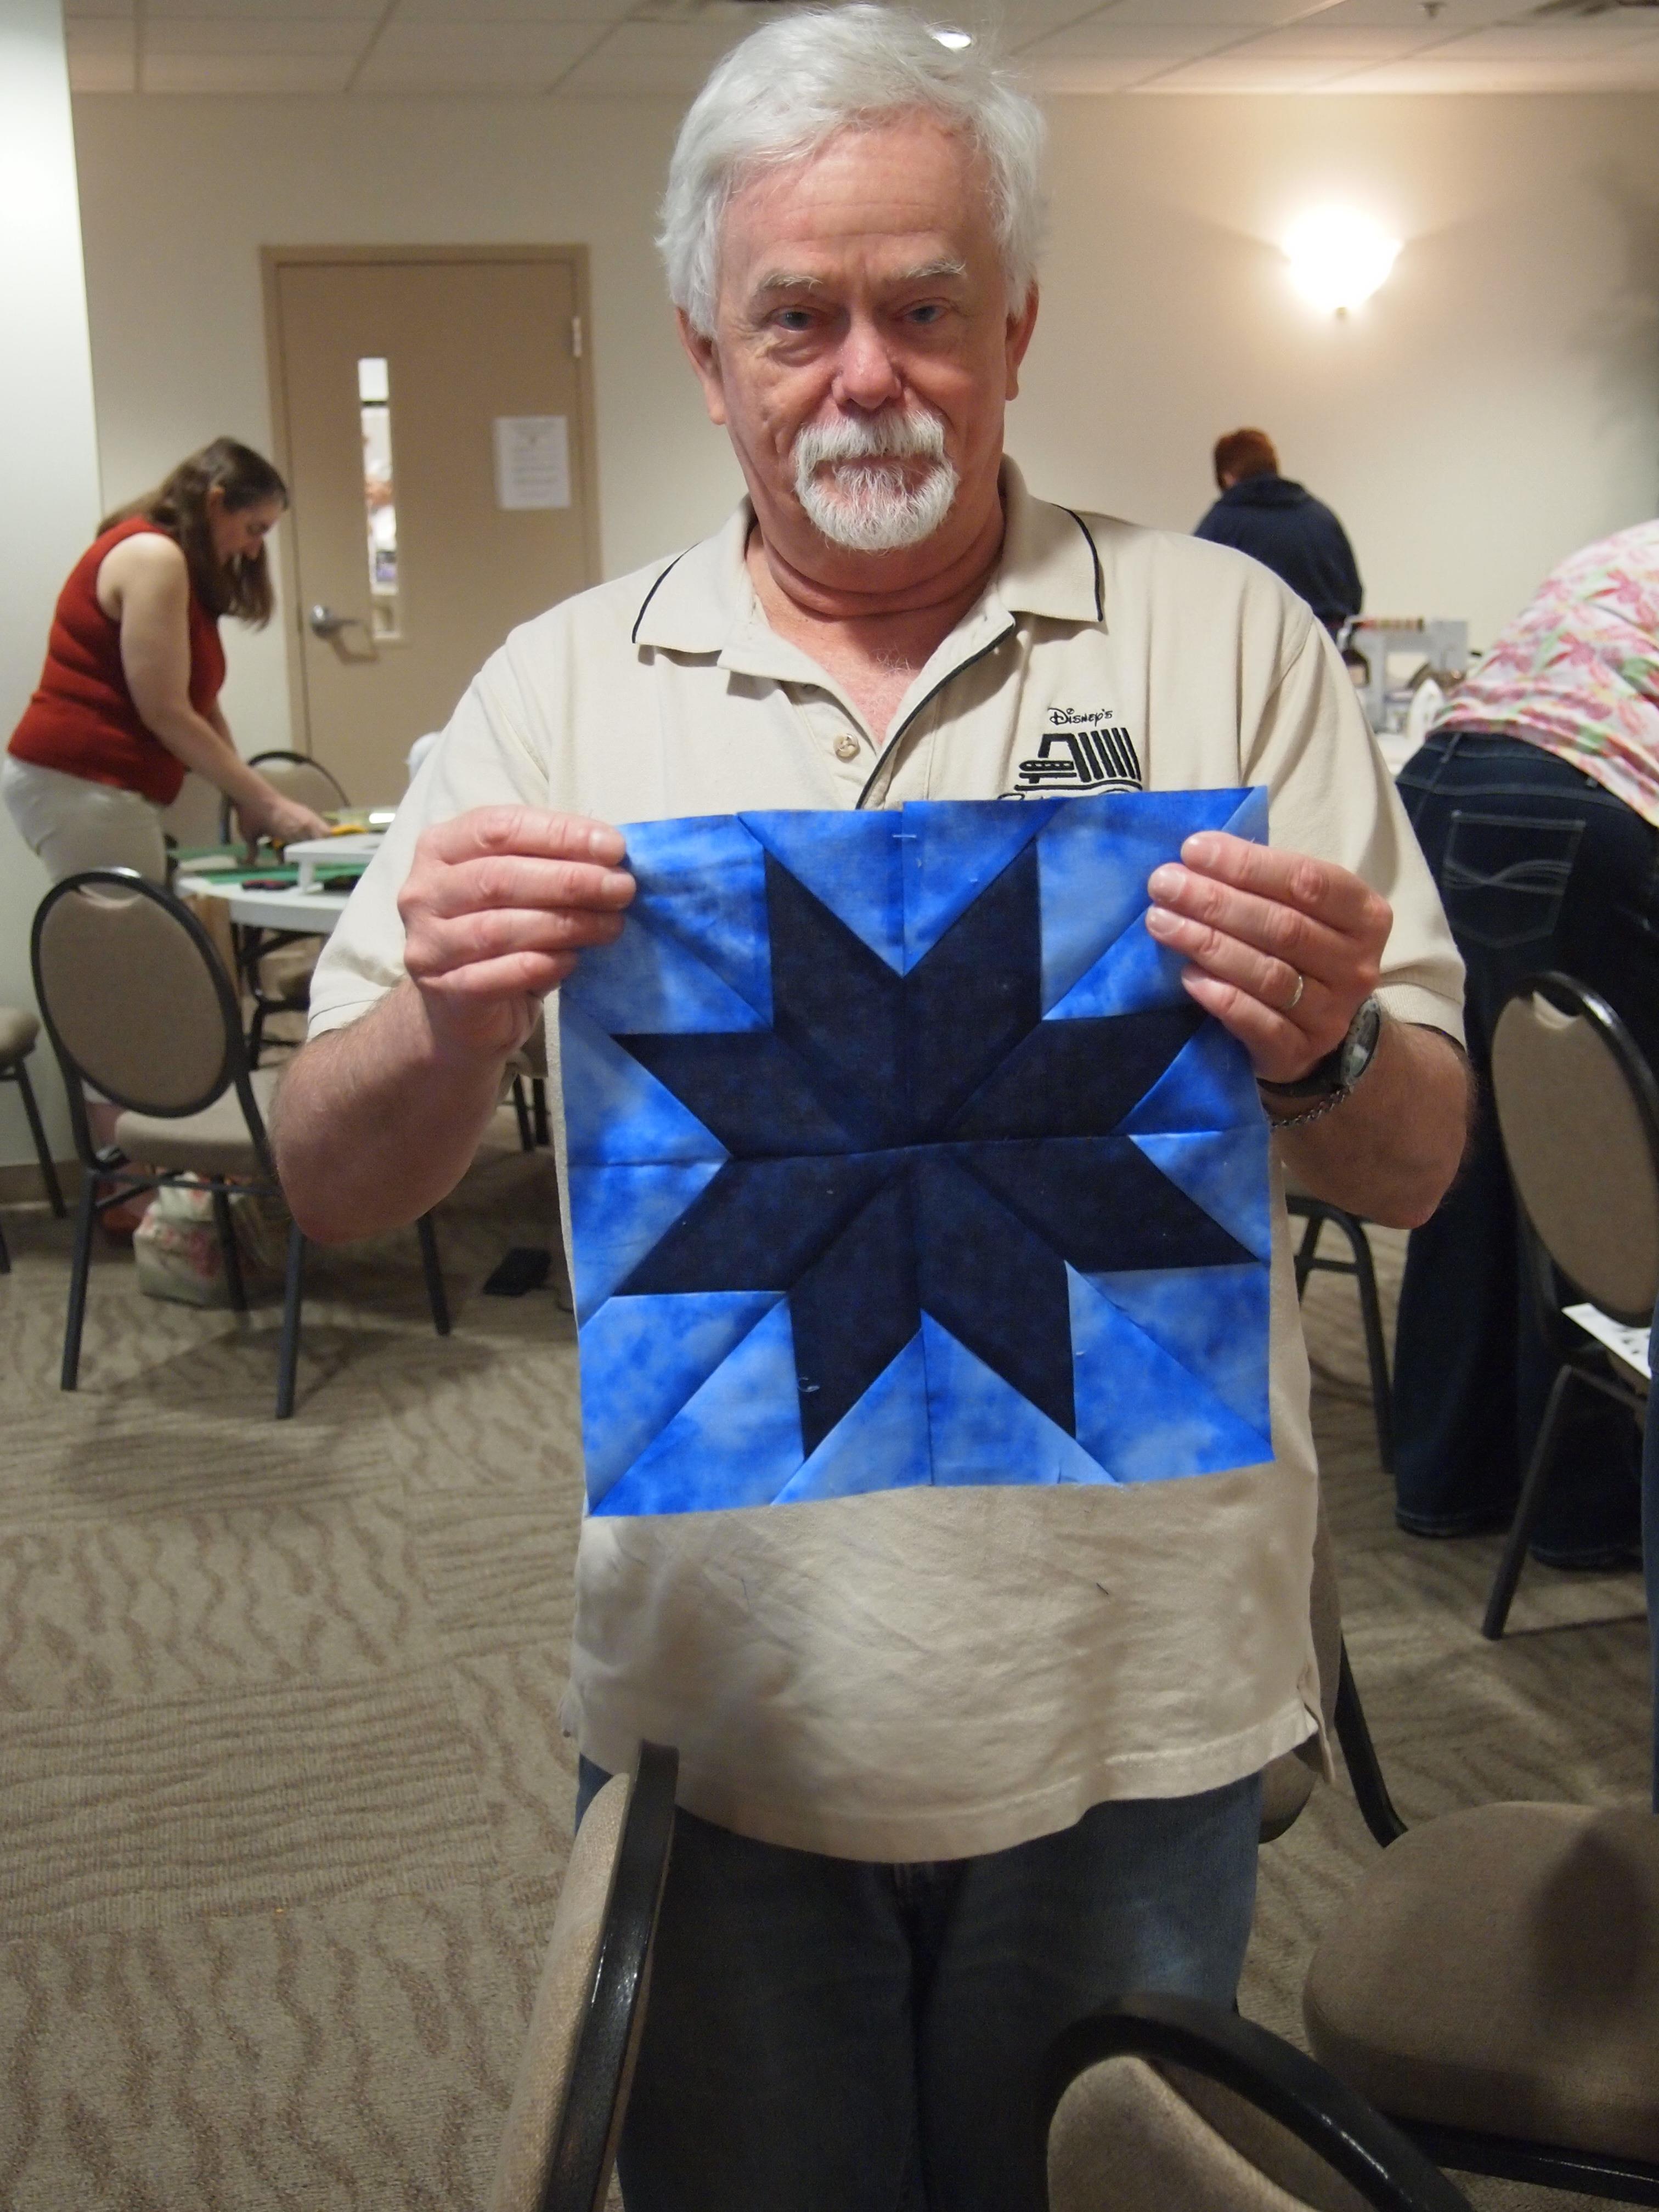
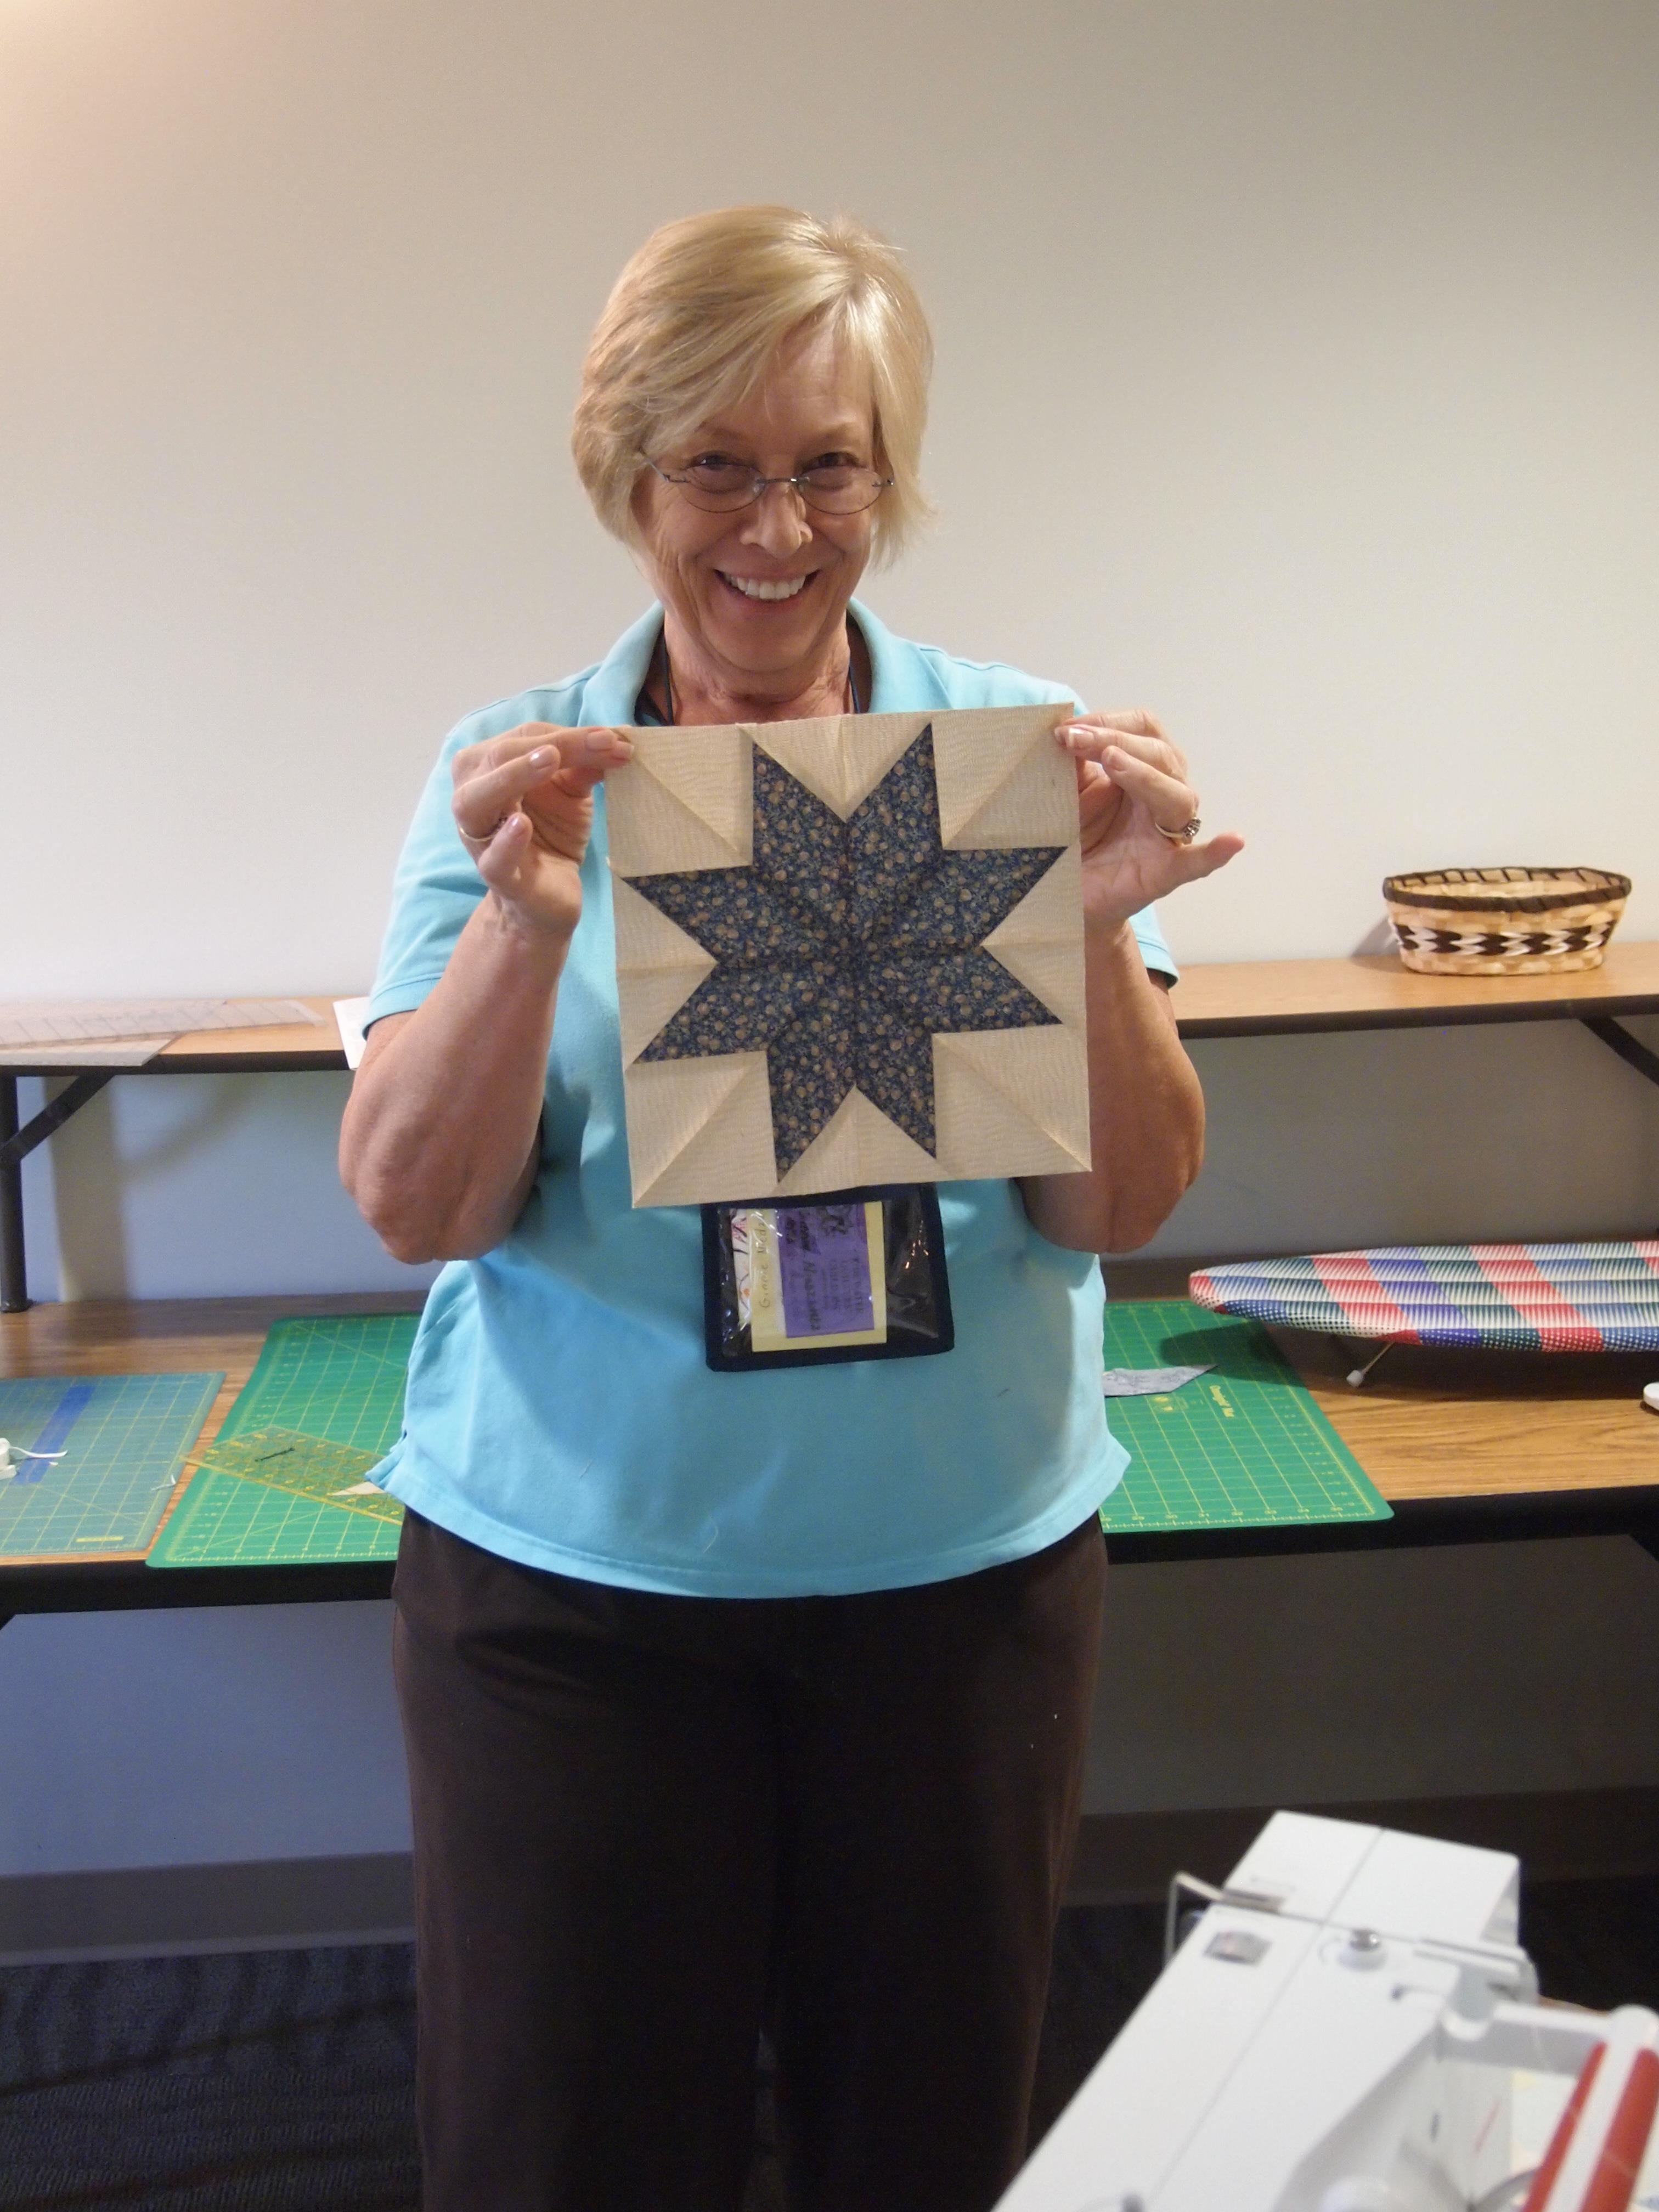
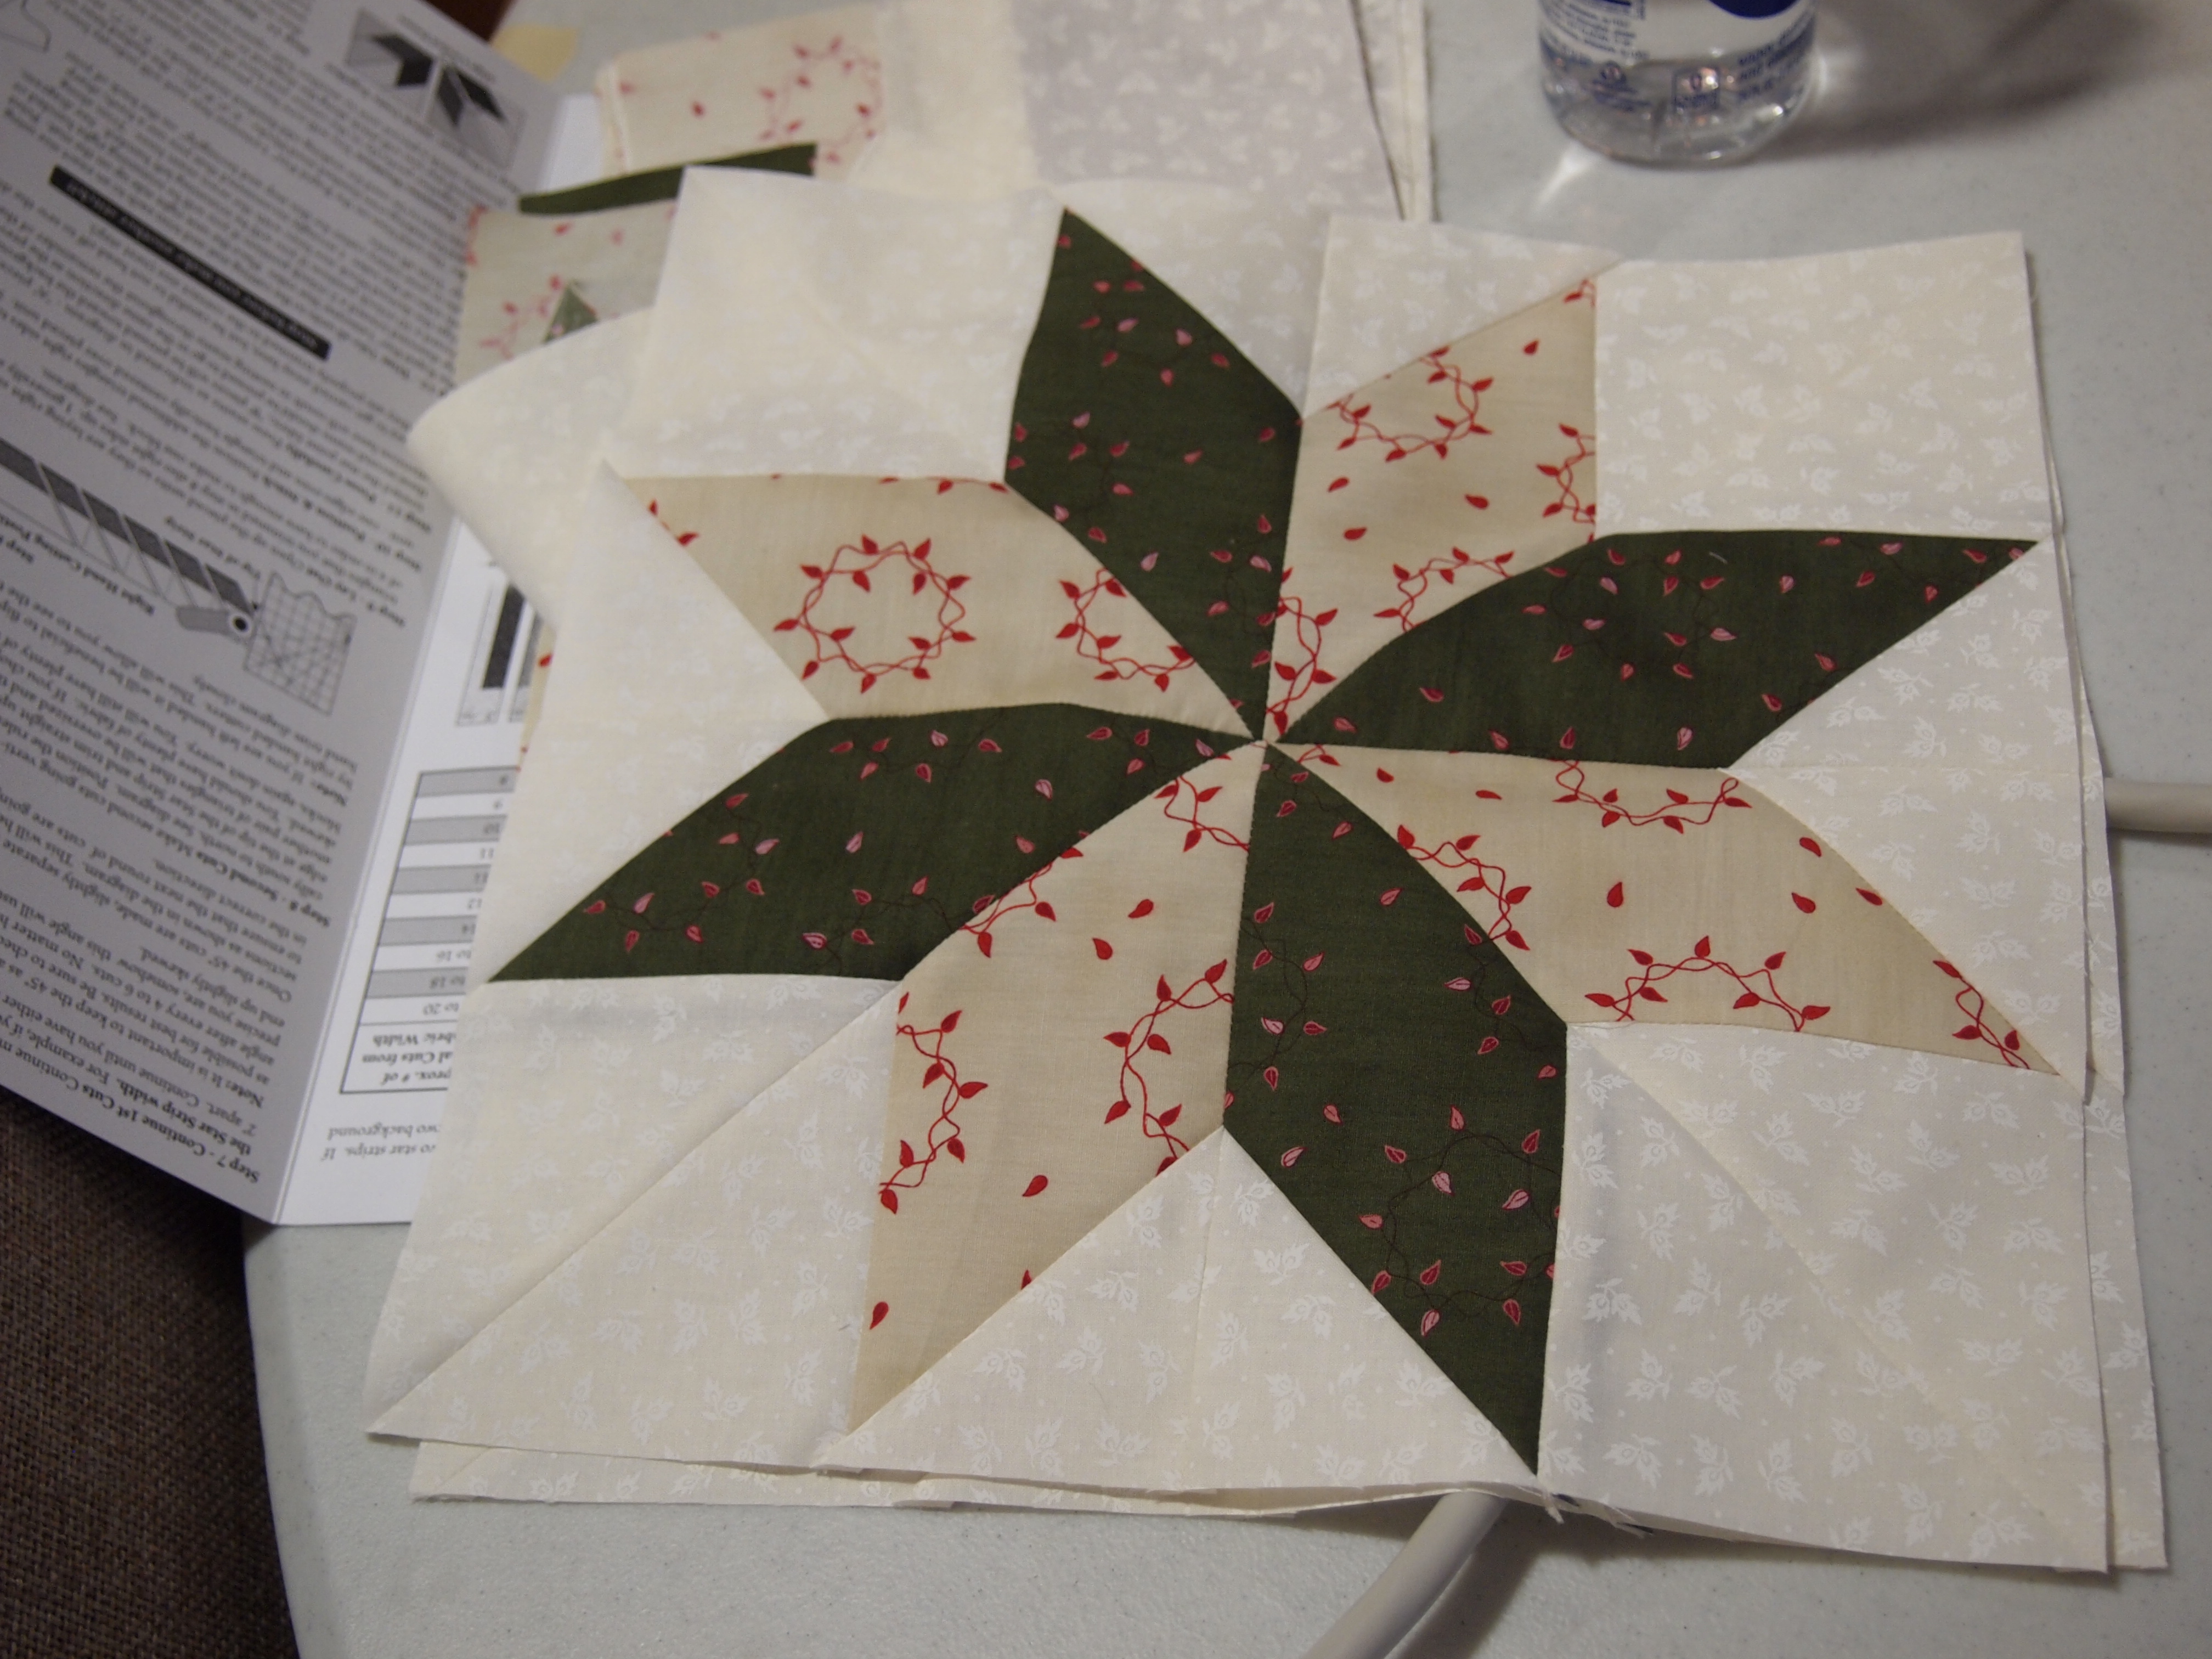
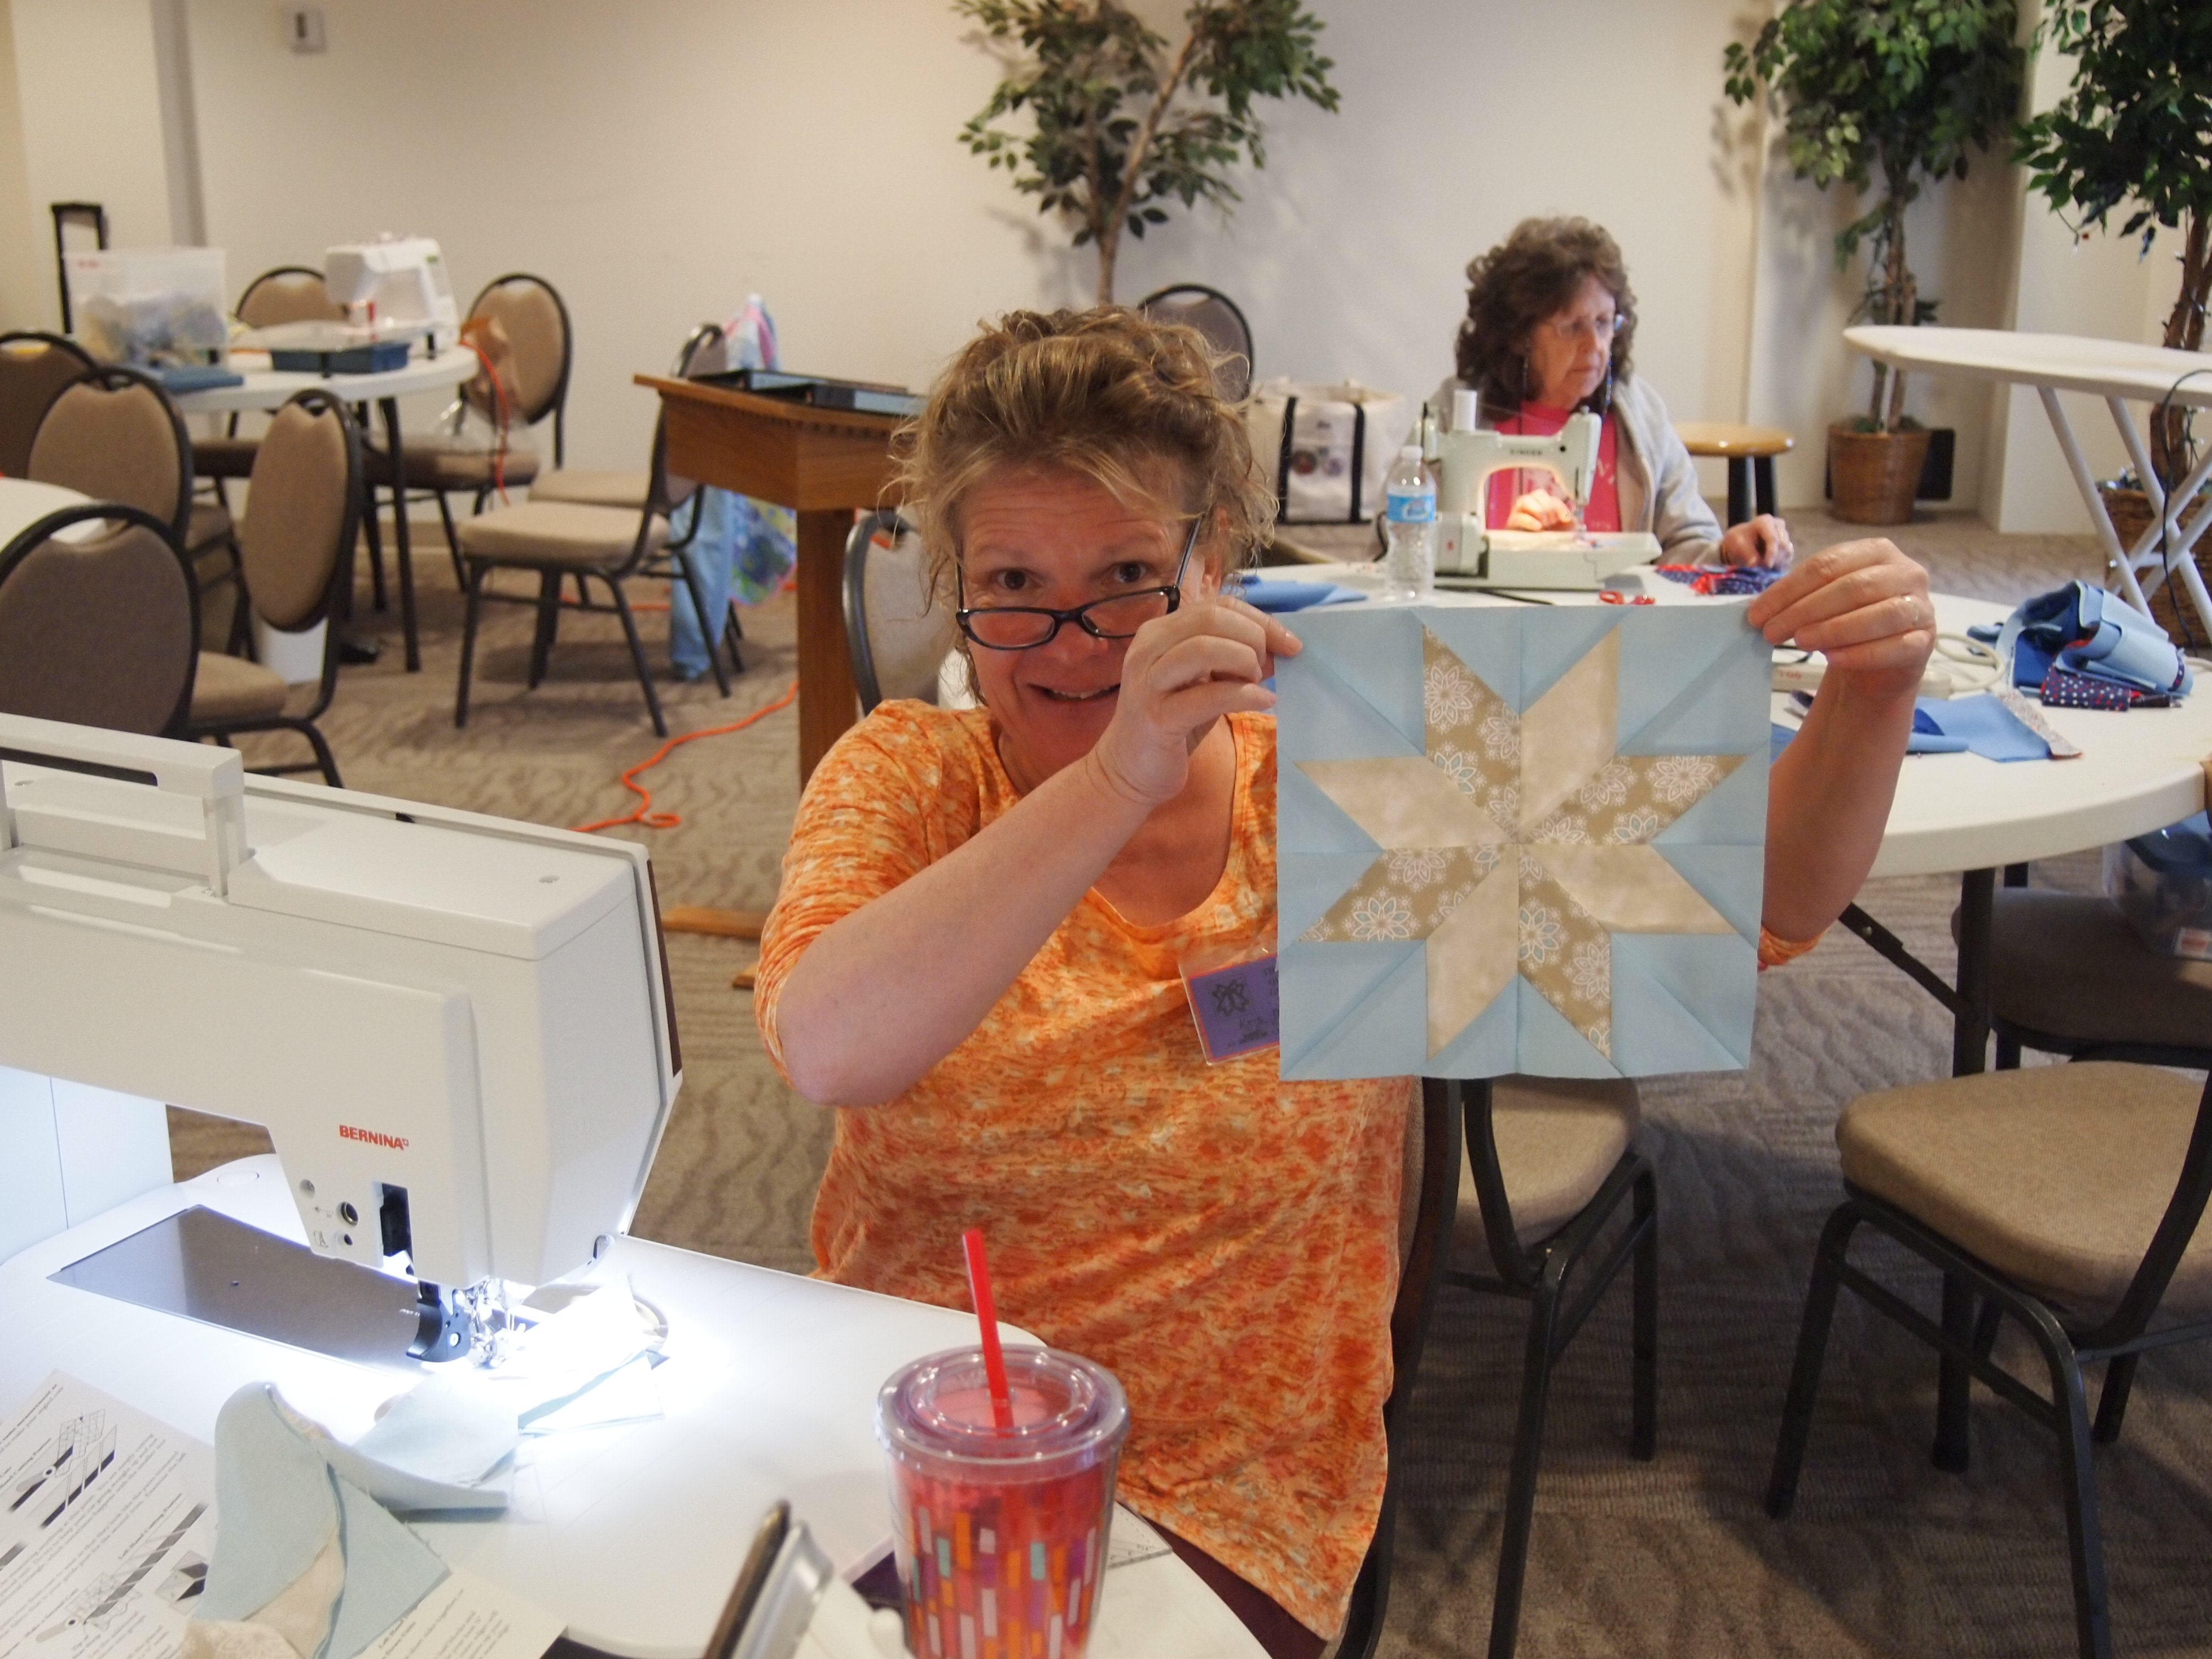
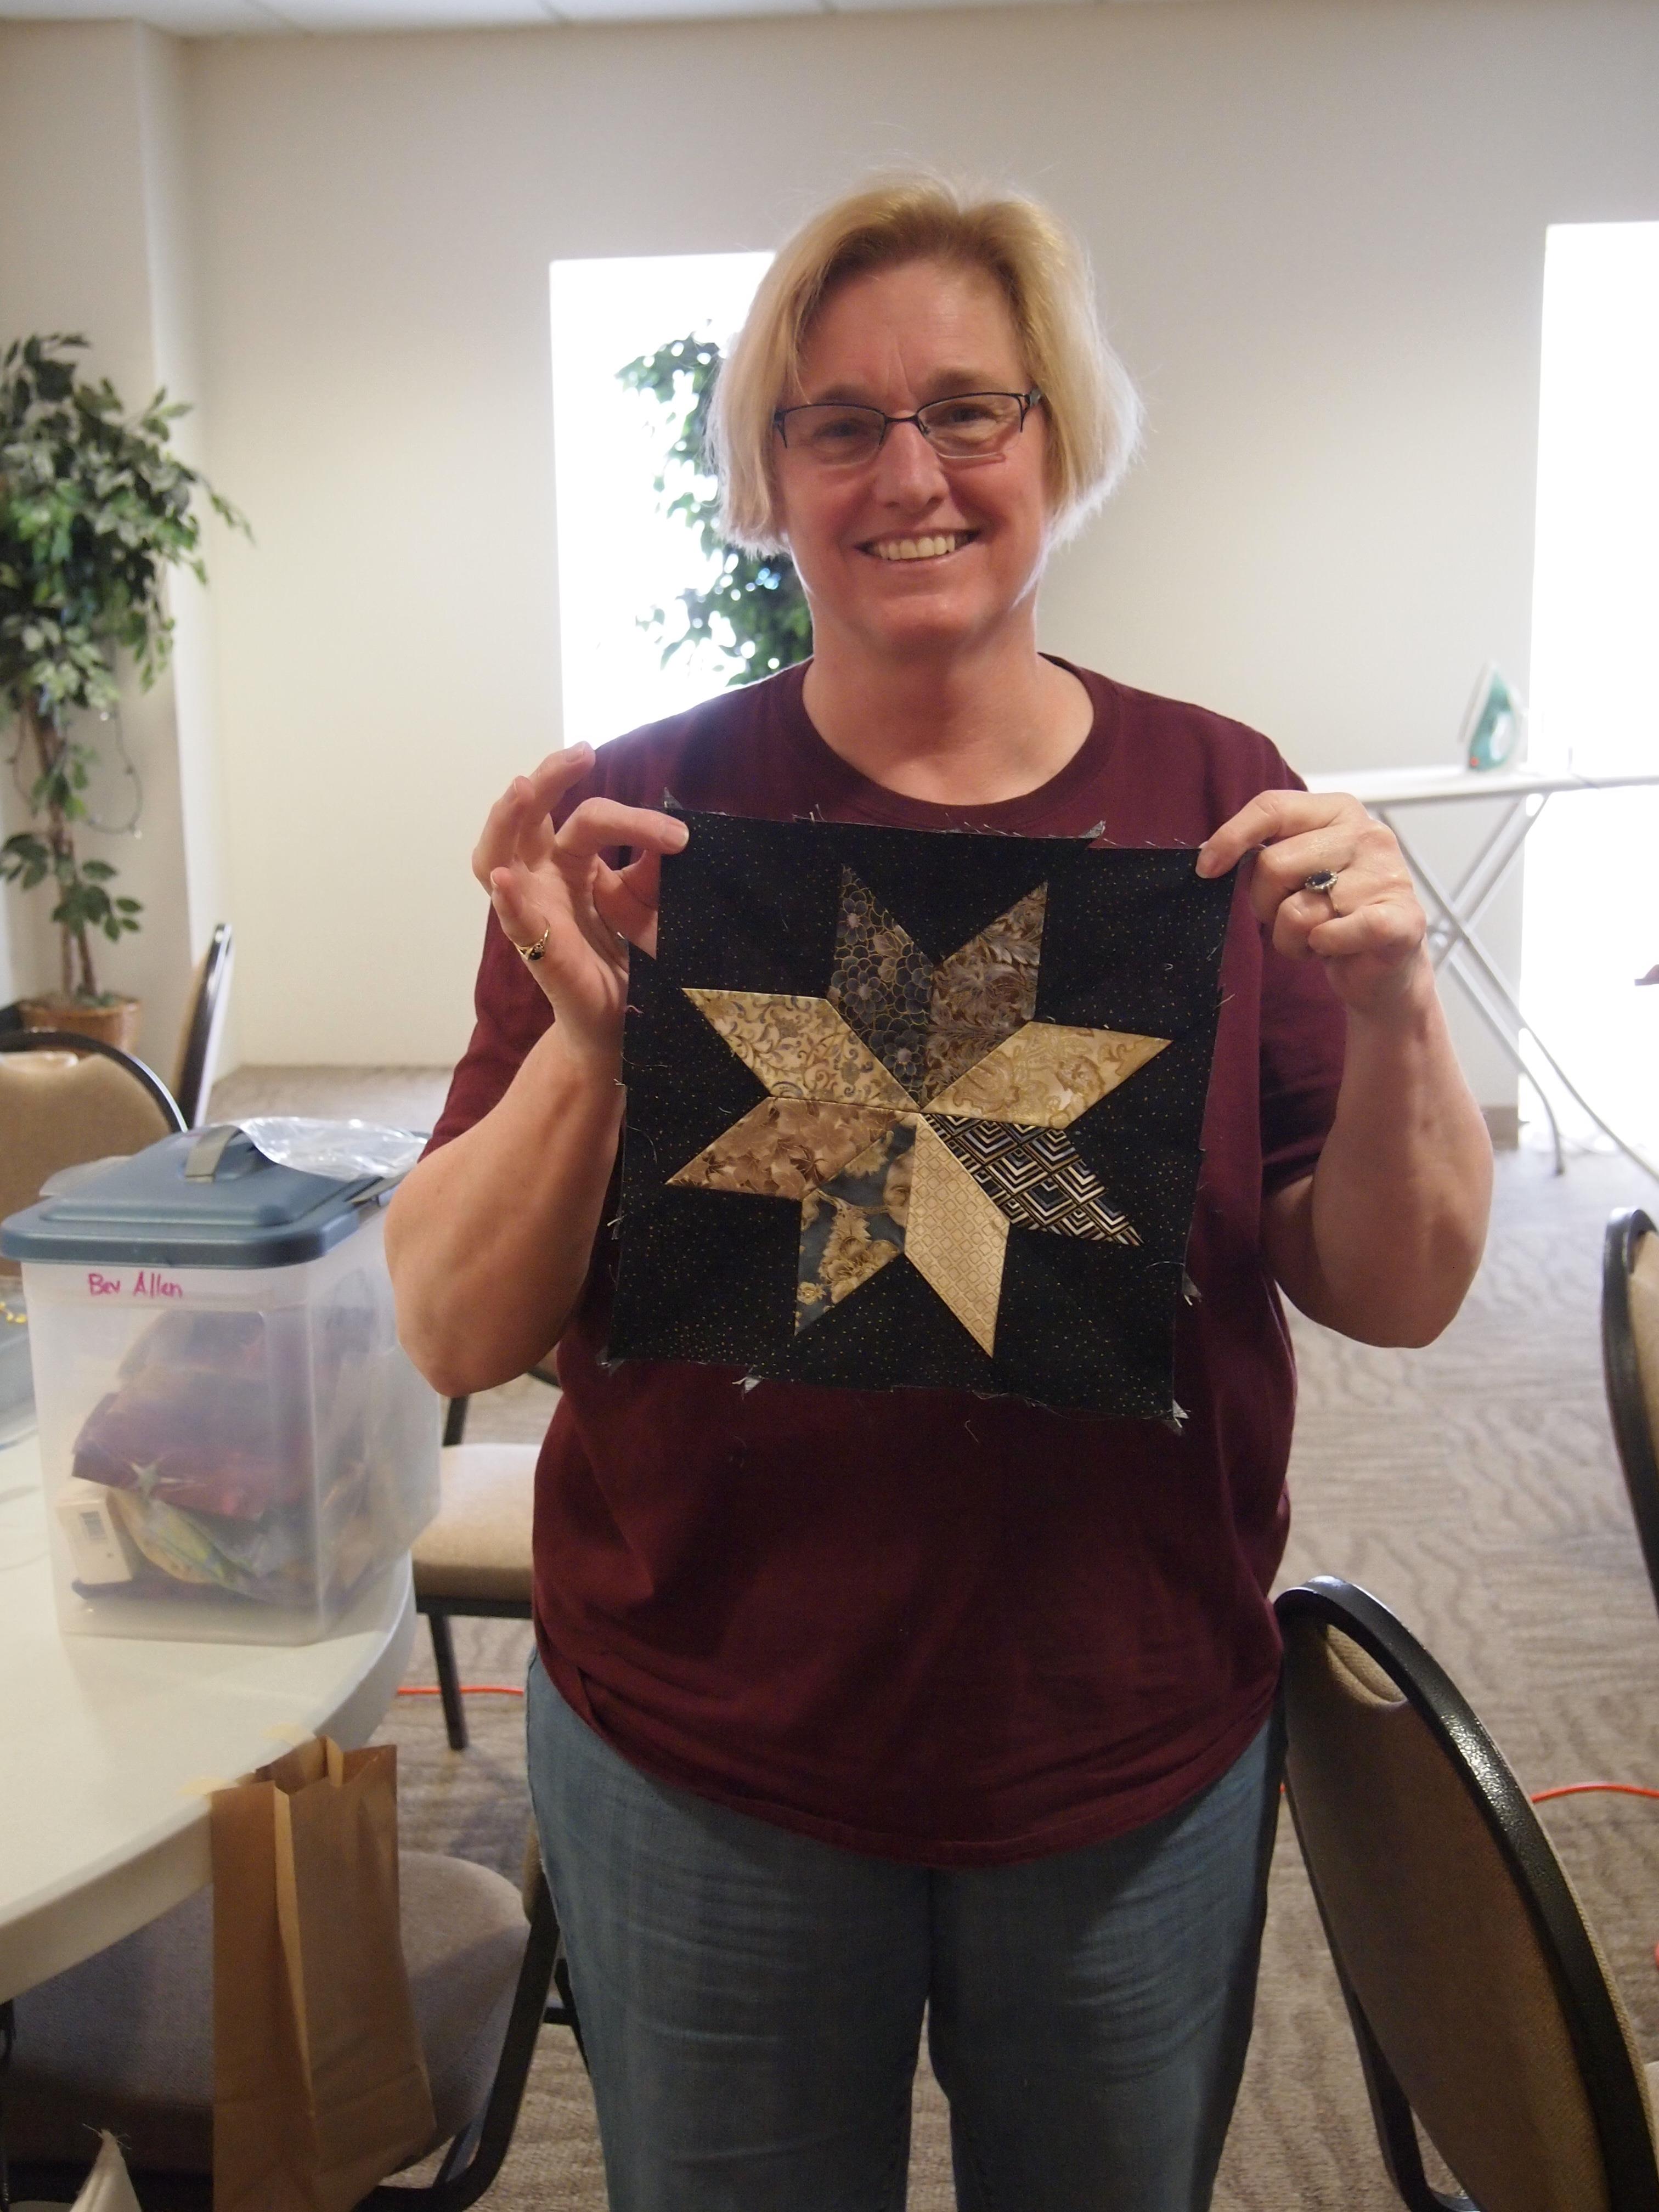
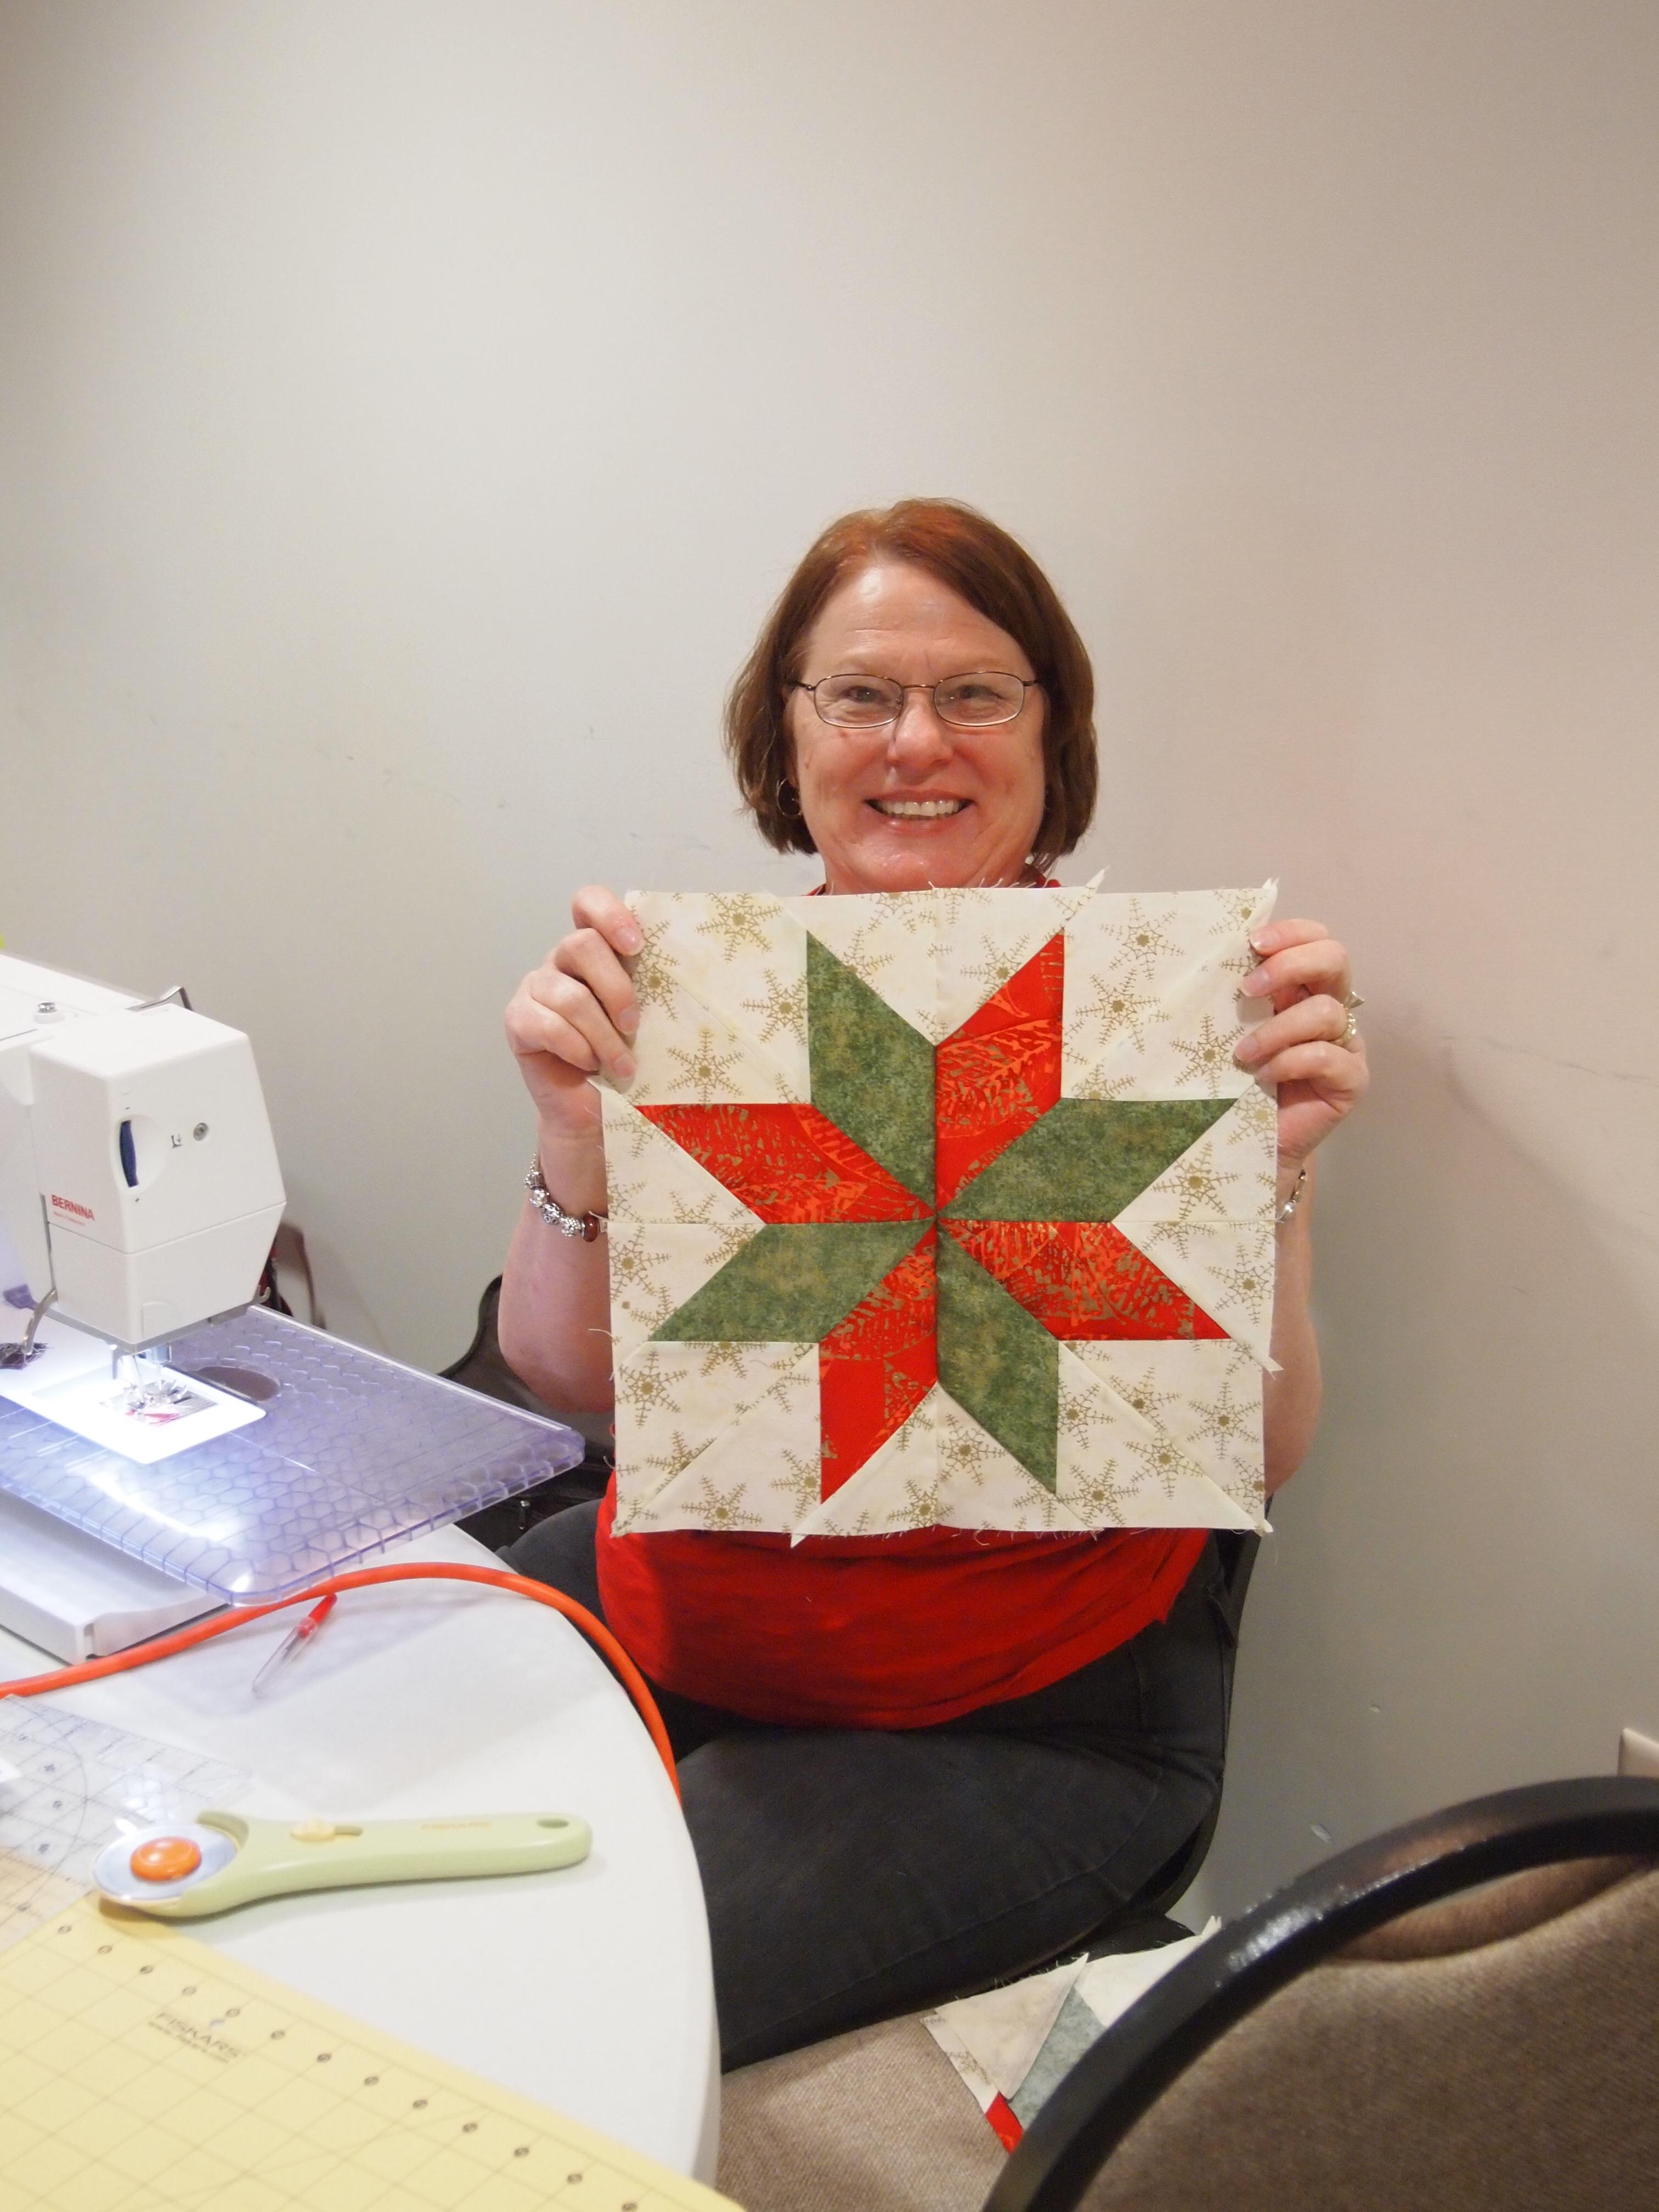
Square up the block using the hunter star ruler.

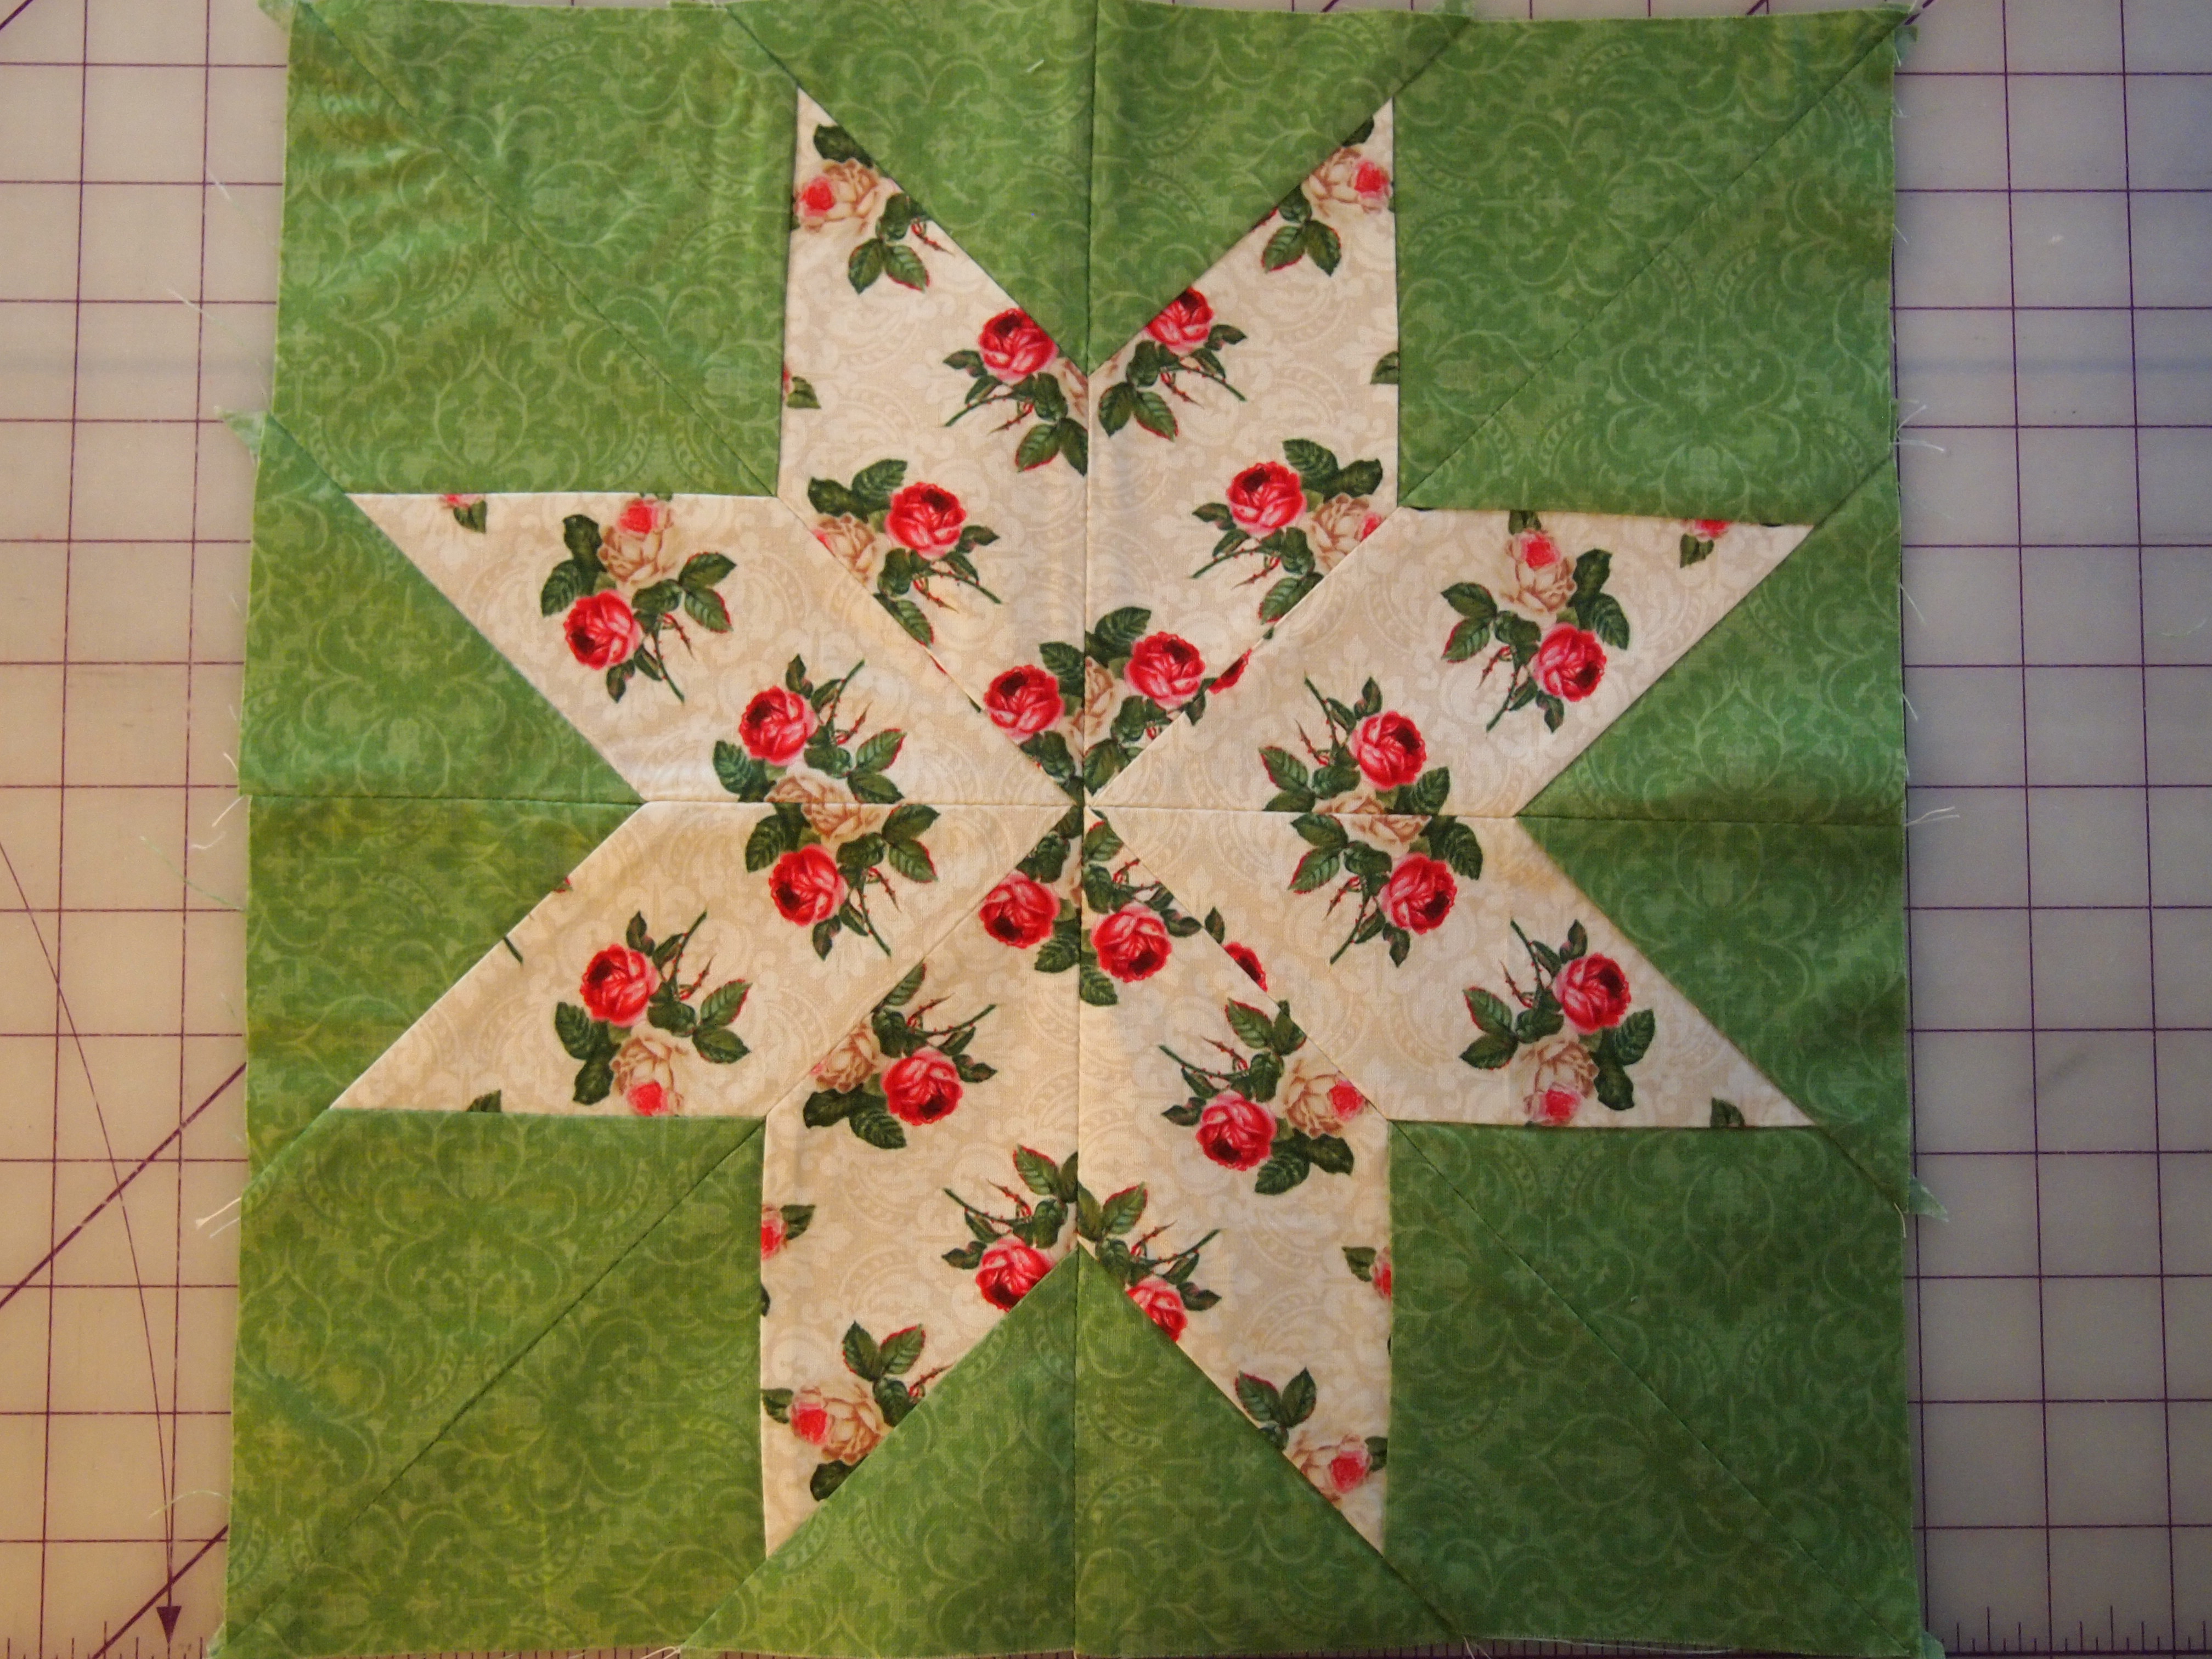
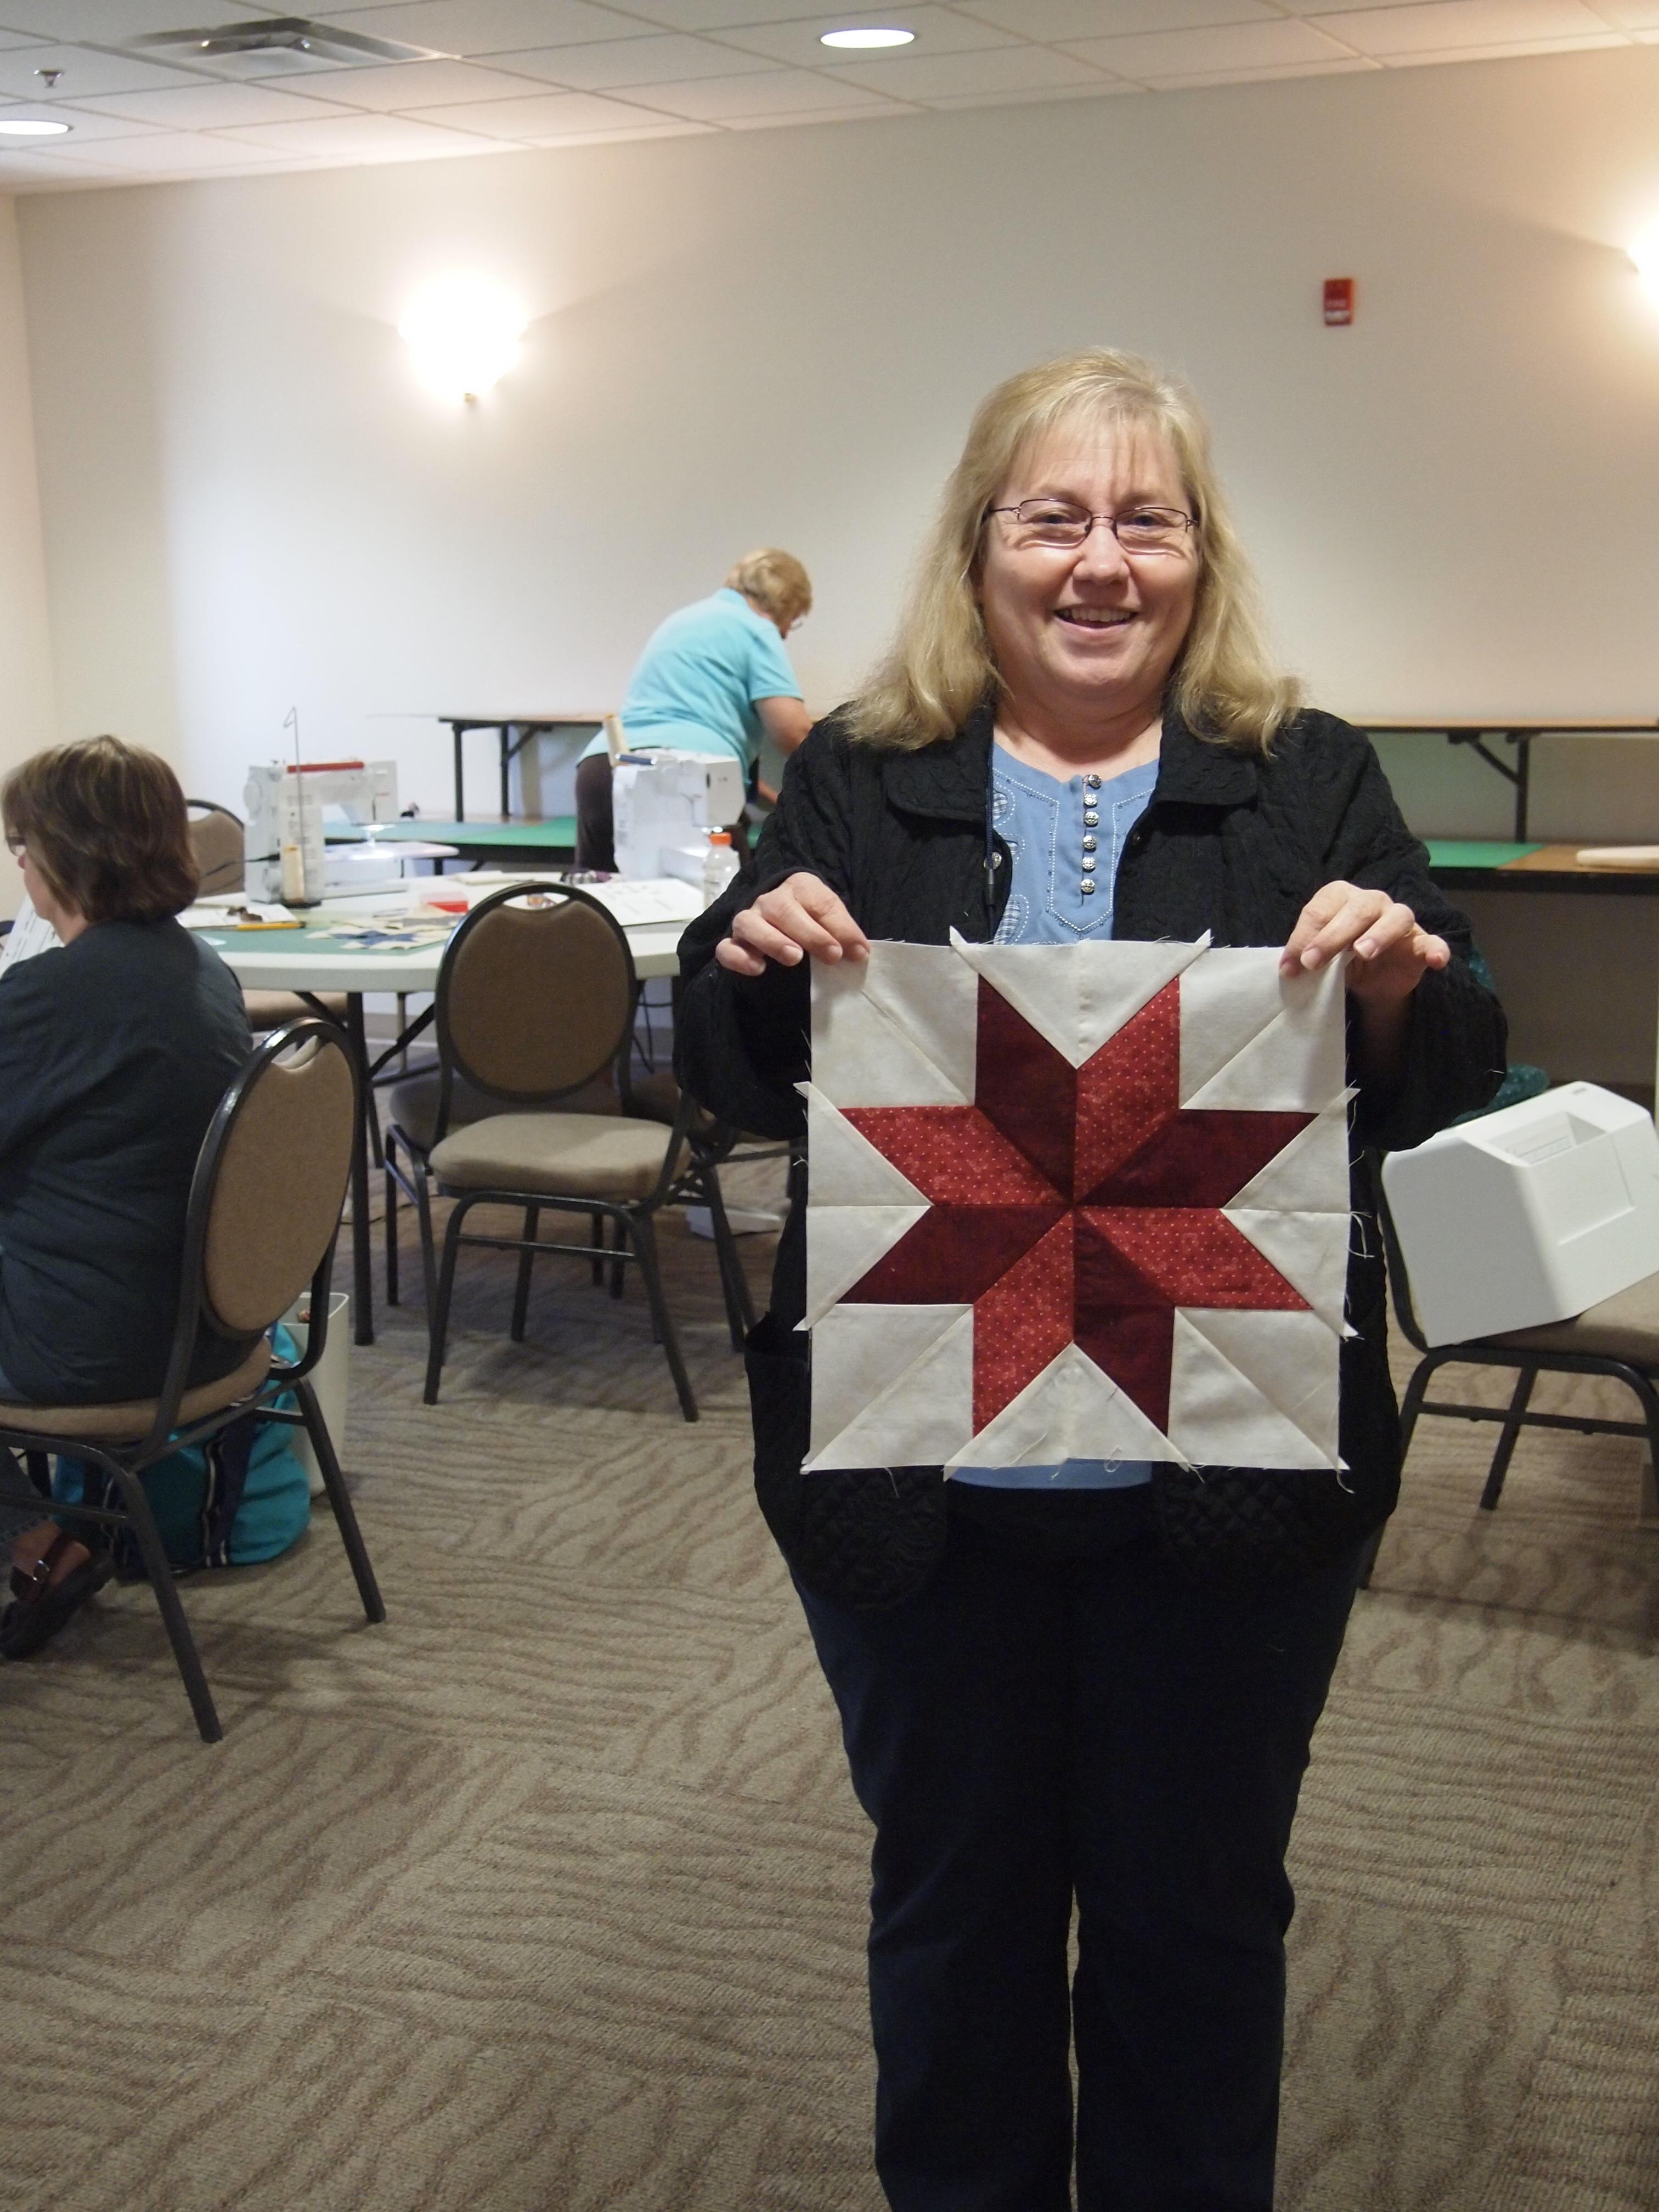
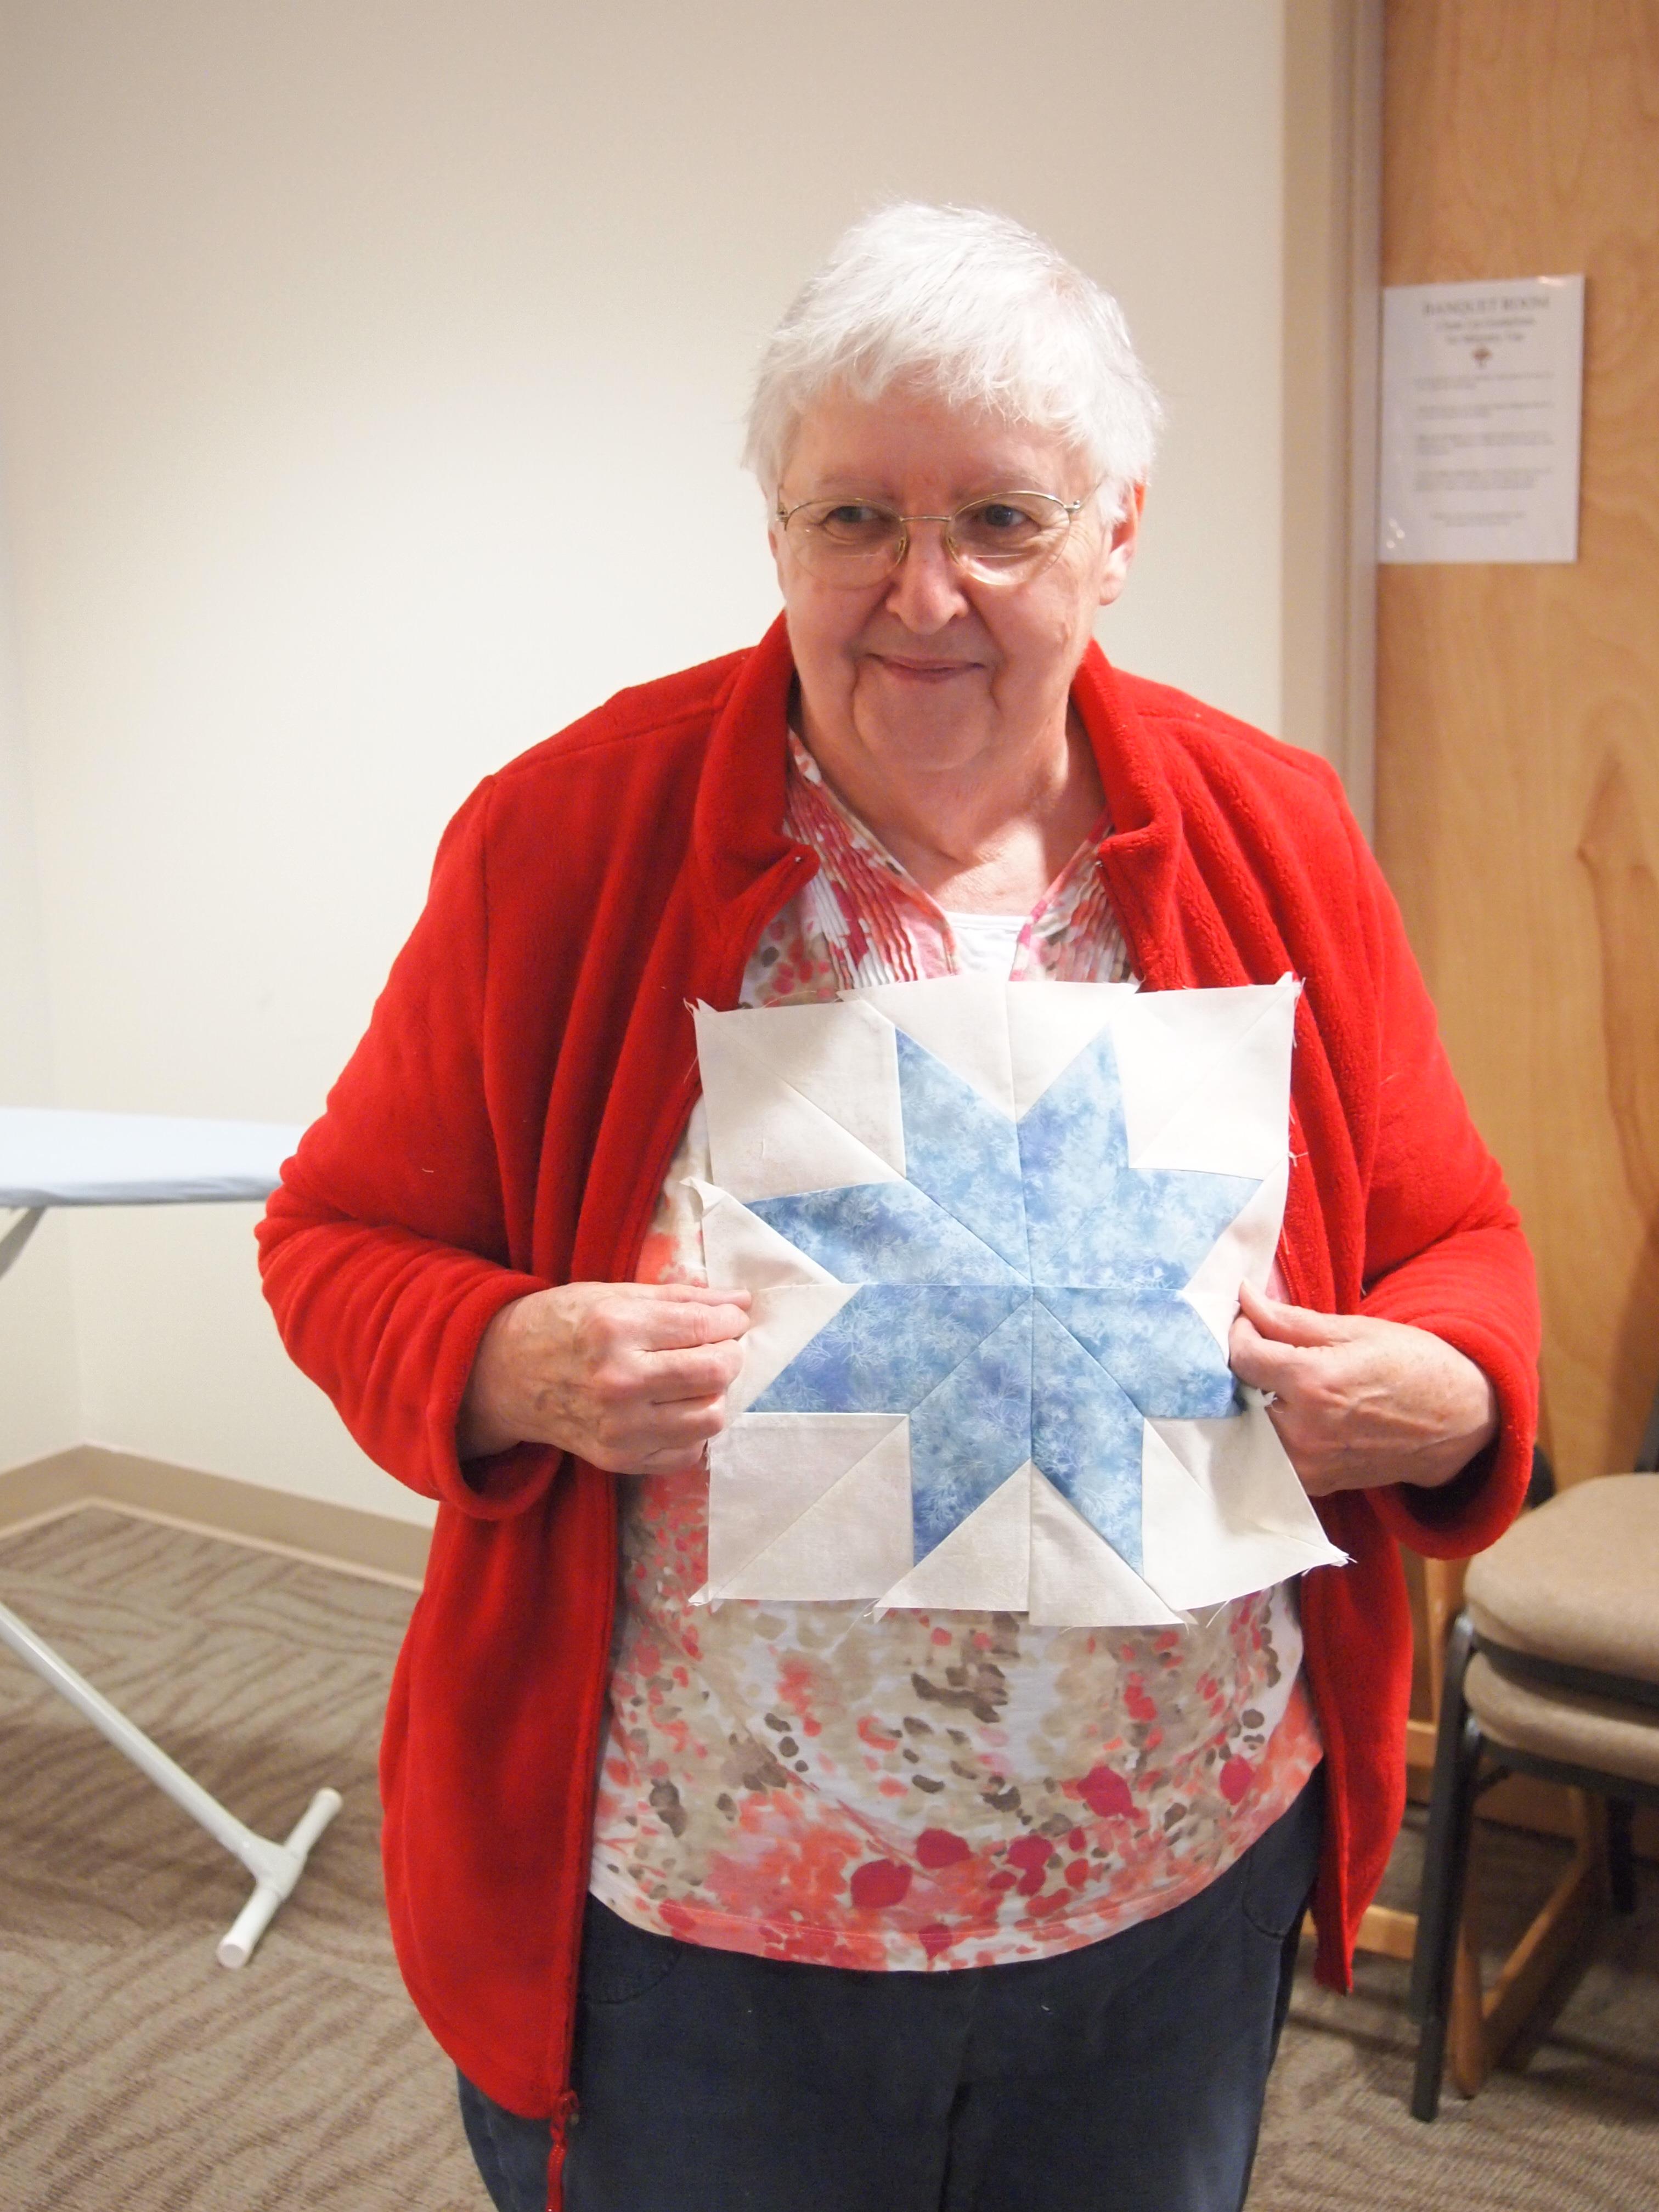
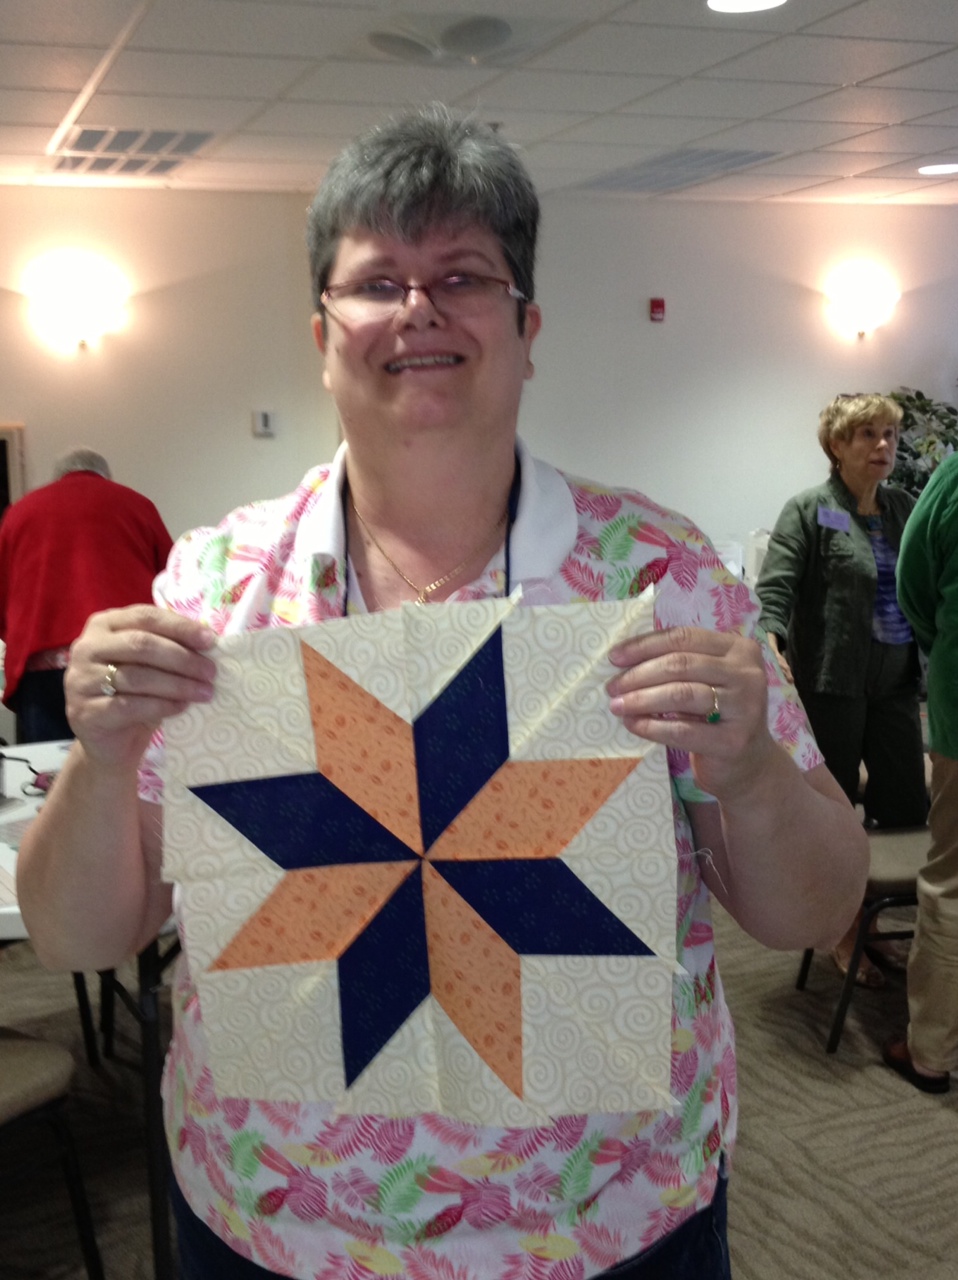
Finished block.