Monthly Archives: April 2014

I Am No Longer a Wool Virgin

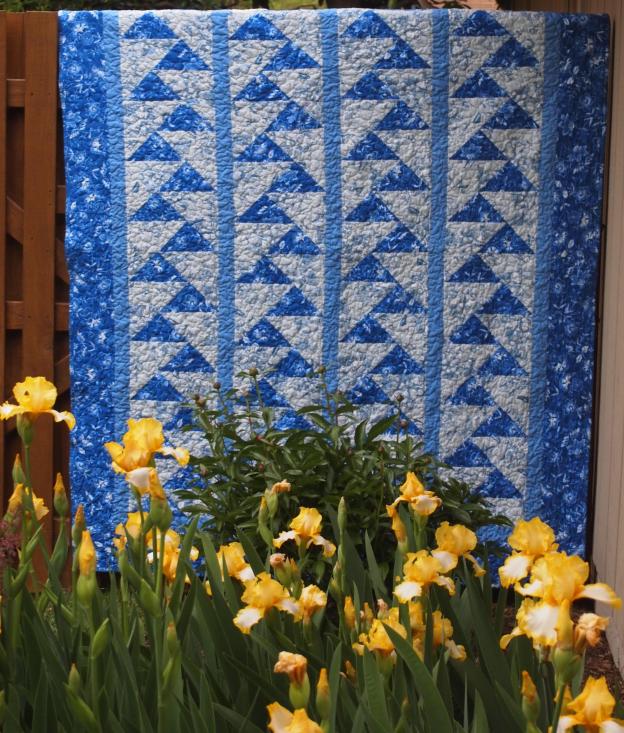
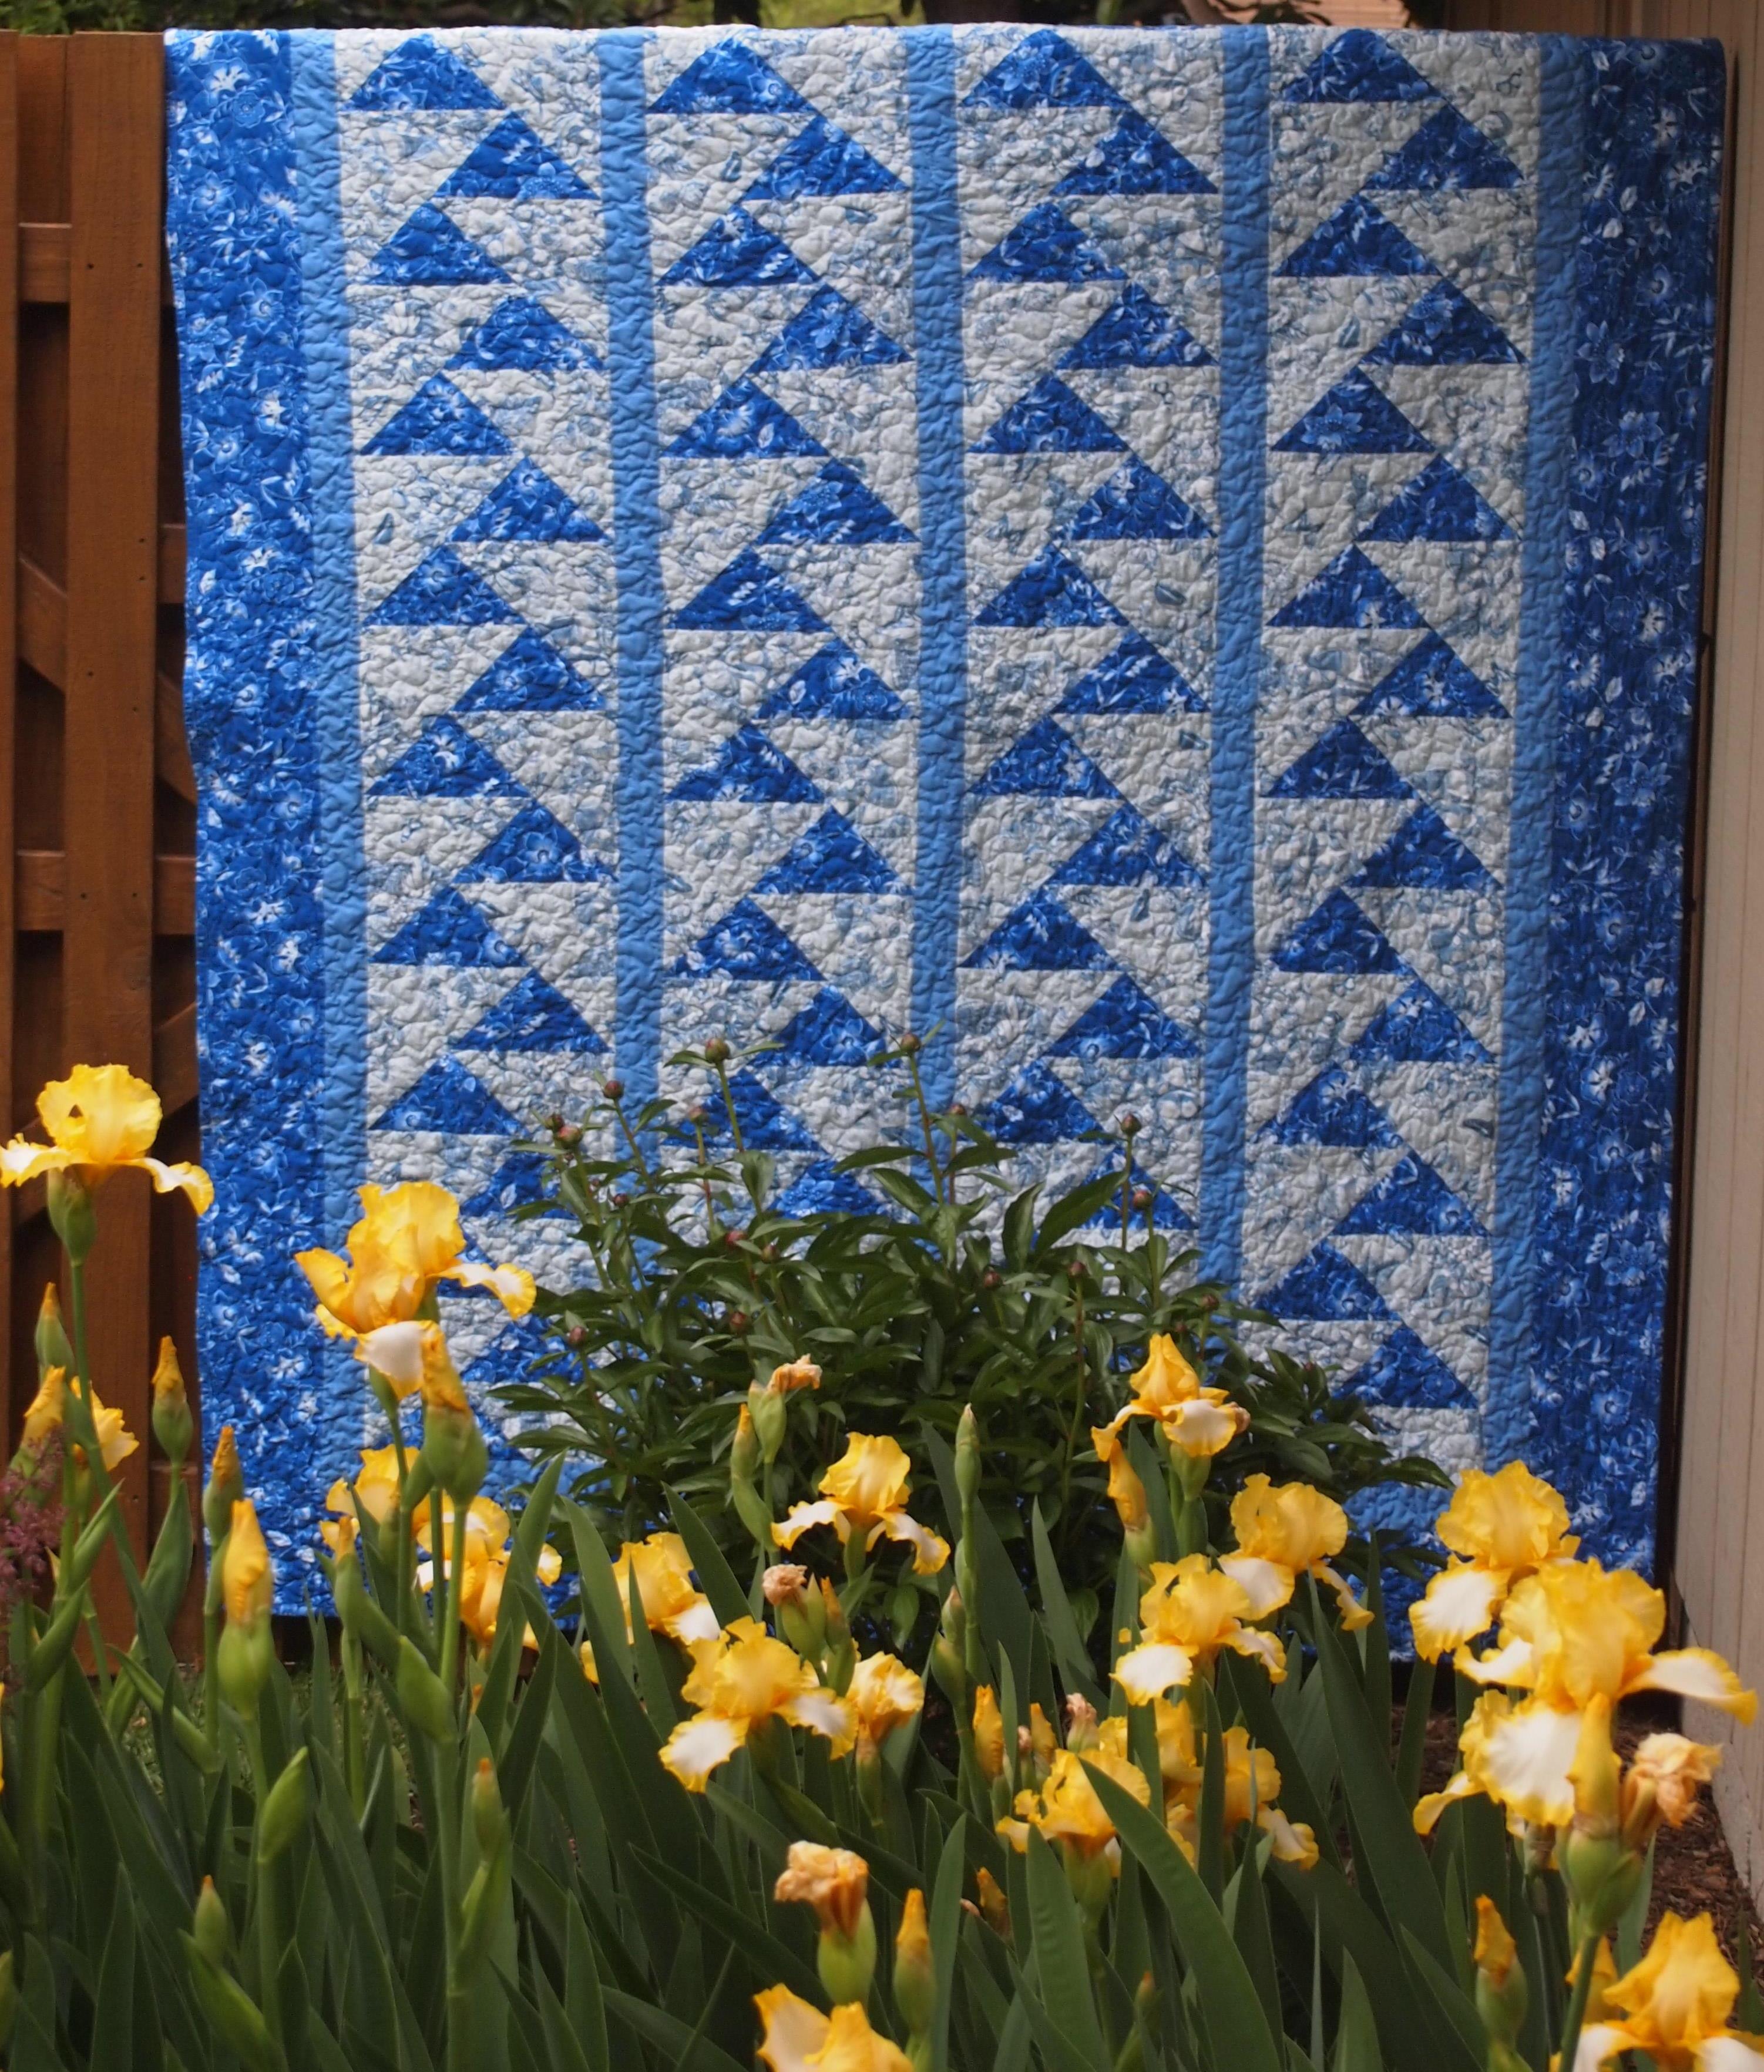
If you have ever wanted to make migrating geese, I am here to tell you they are not difficult. You do not need a special tool. This process is a Precision Technique so be sure to use your best skills when cutting, marking, stitching & pressing.  Deb Tucker has a Technique sheet that shows you a quick easy and fun way to make these migrating geese in 7 different sizes.
Blue Geese

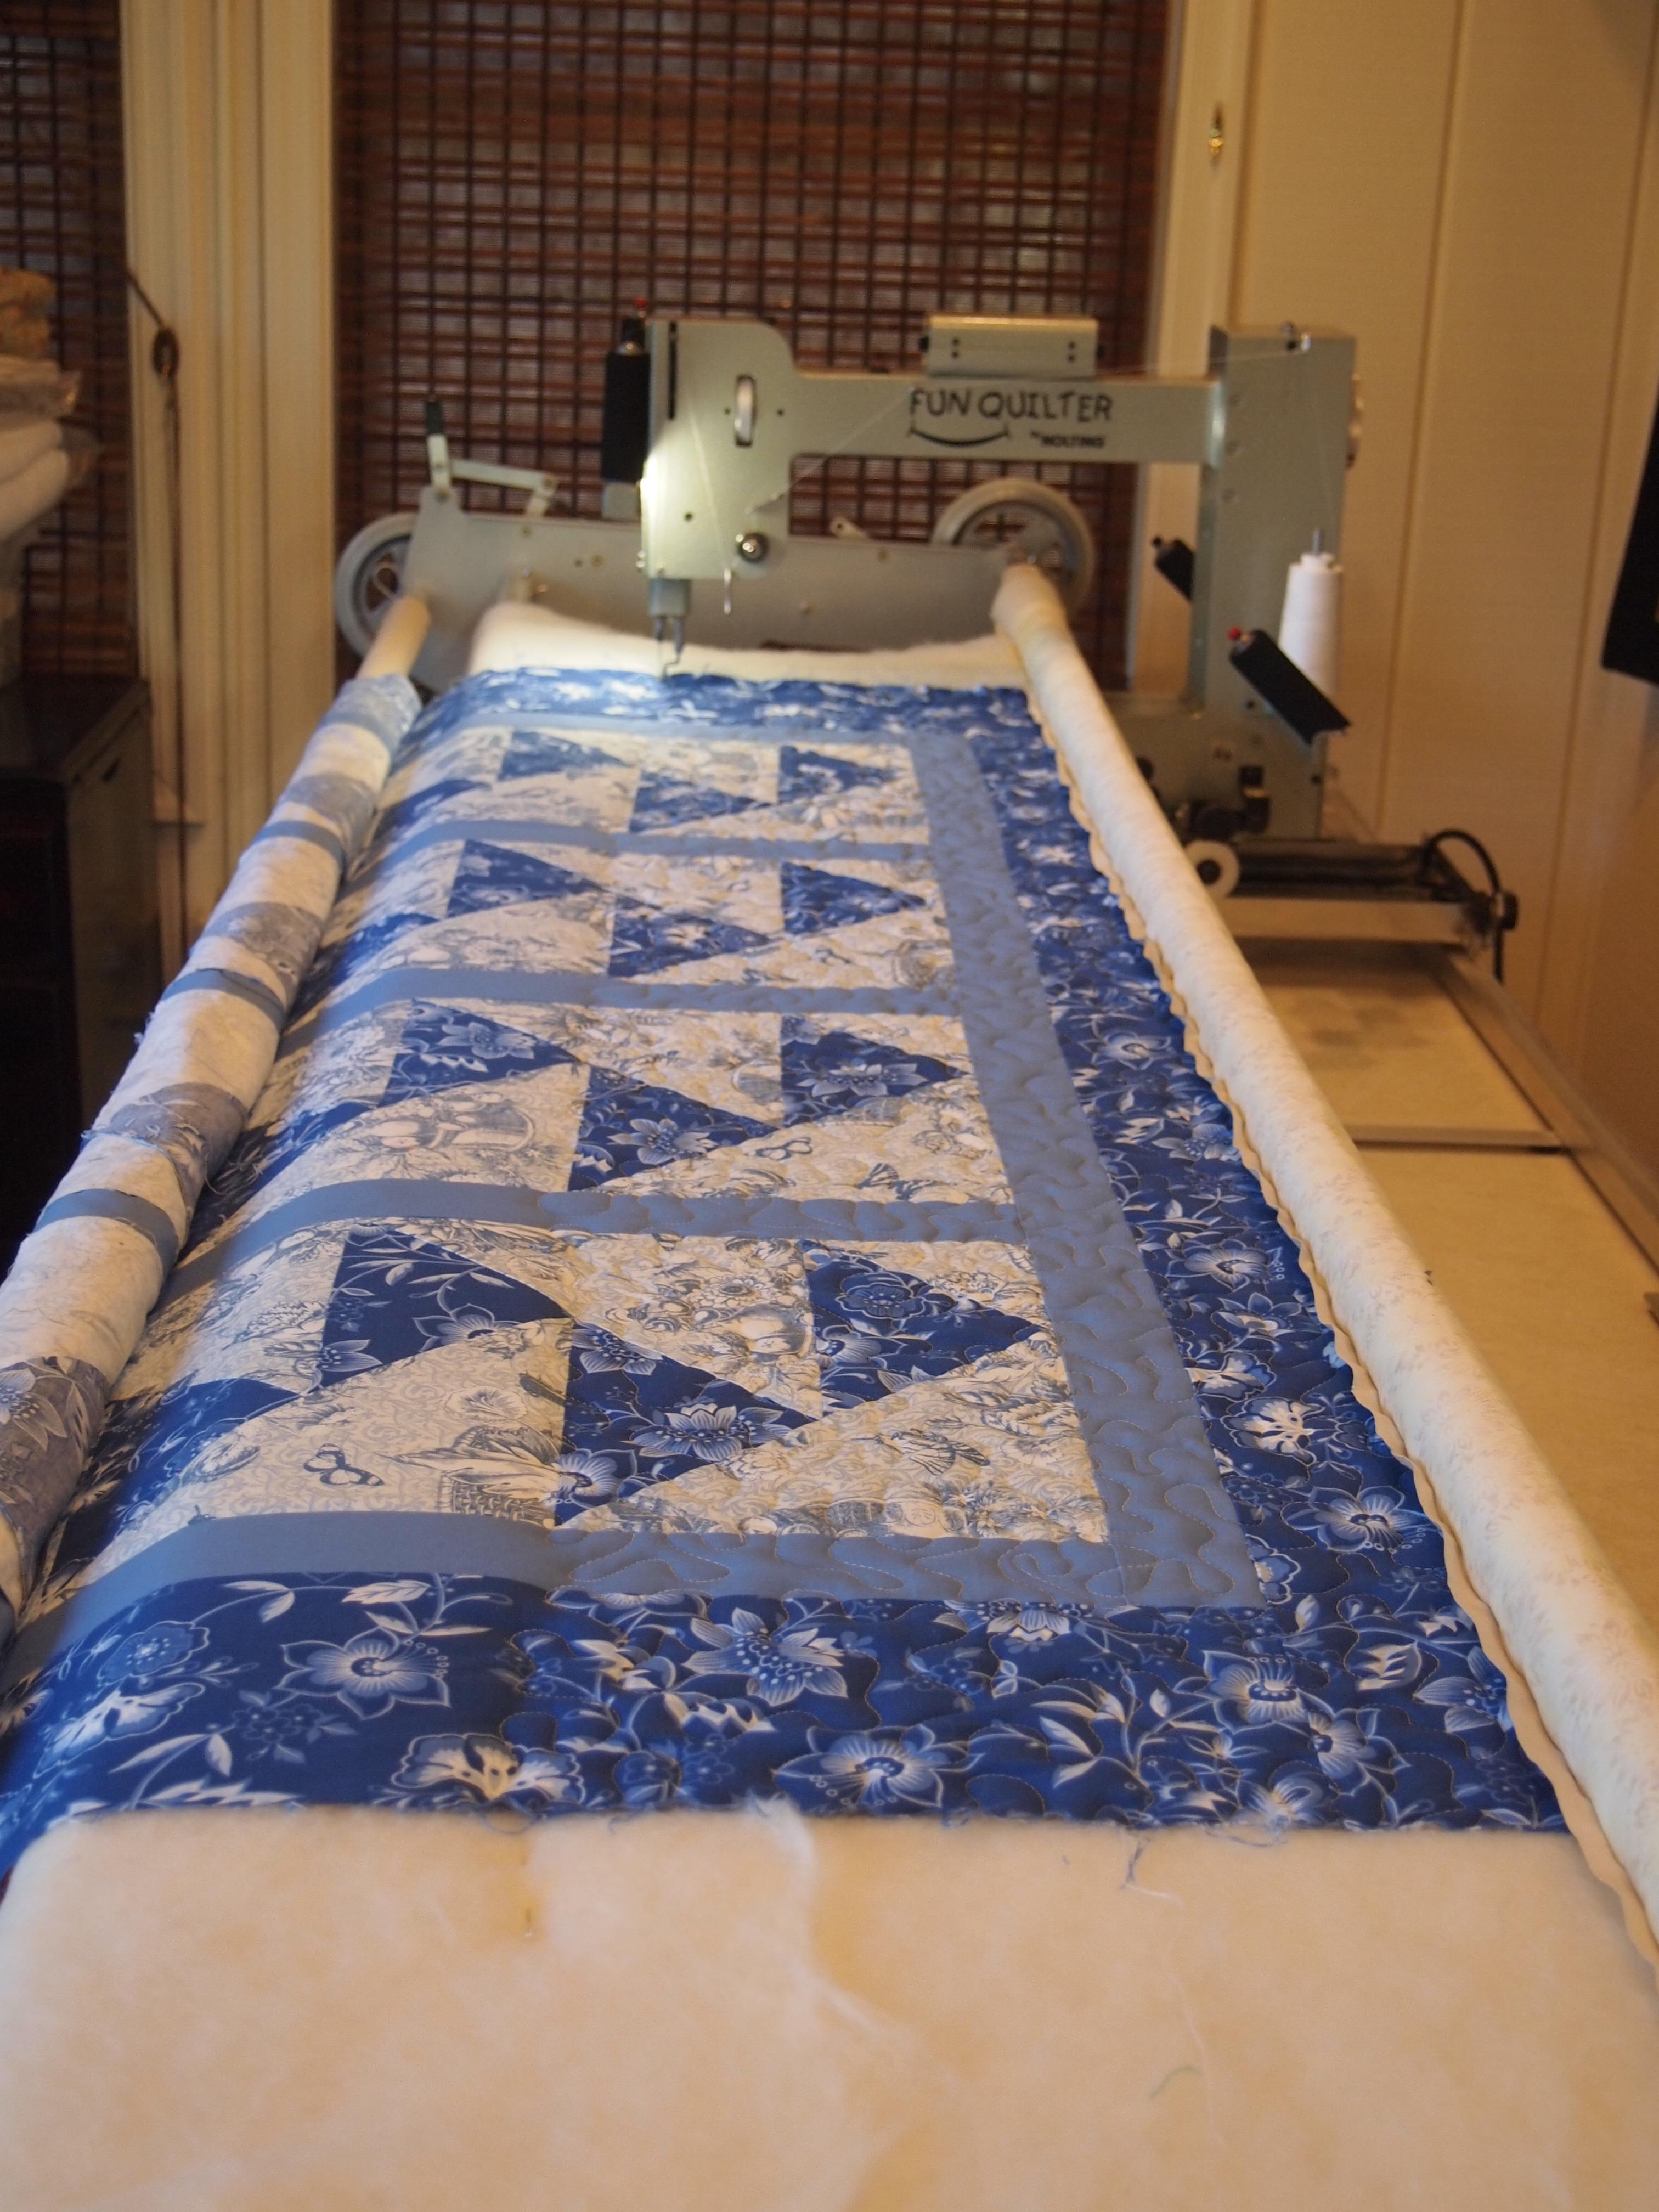
I decided to try (for the first time) Dream Wool by Quilters Dream Batting.  Dream wool is made in the USA, from a blend of fine domestic and Merino wool.  Dream Wool contains no scrim or resins, it is carded, crosslapped and thermally boned for uniformity and strength.  It was like quilting on air

Blue Goose

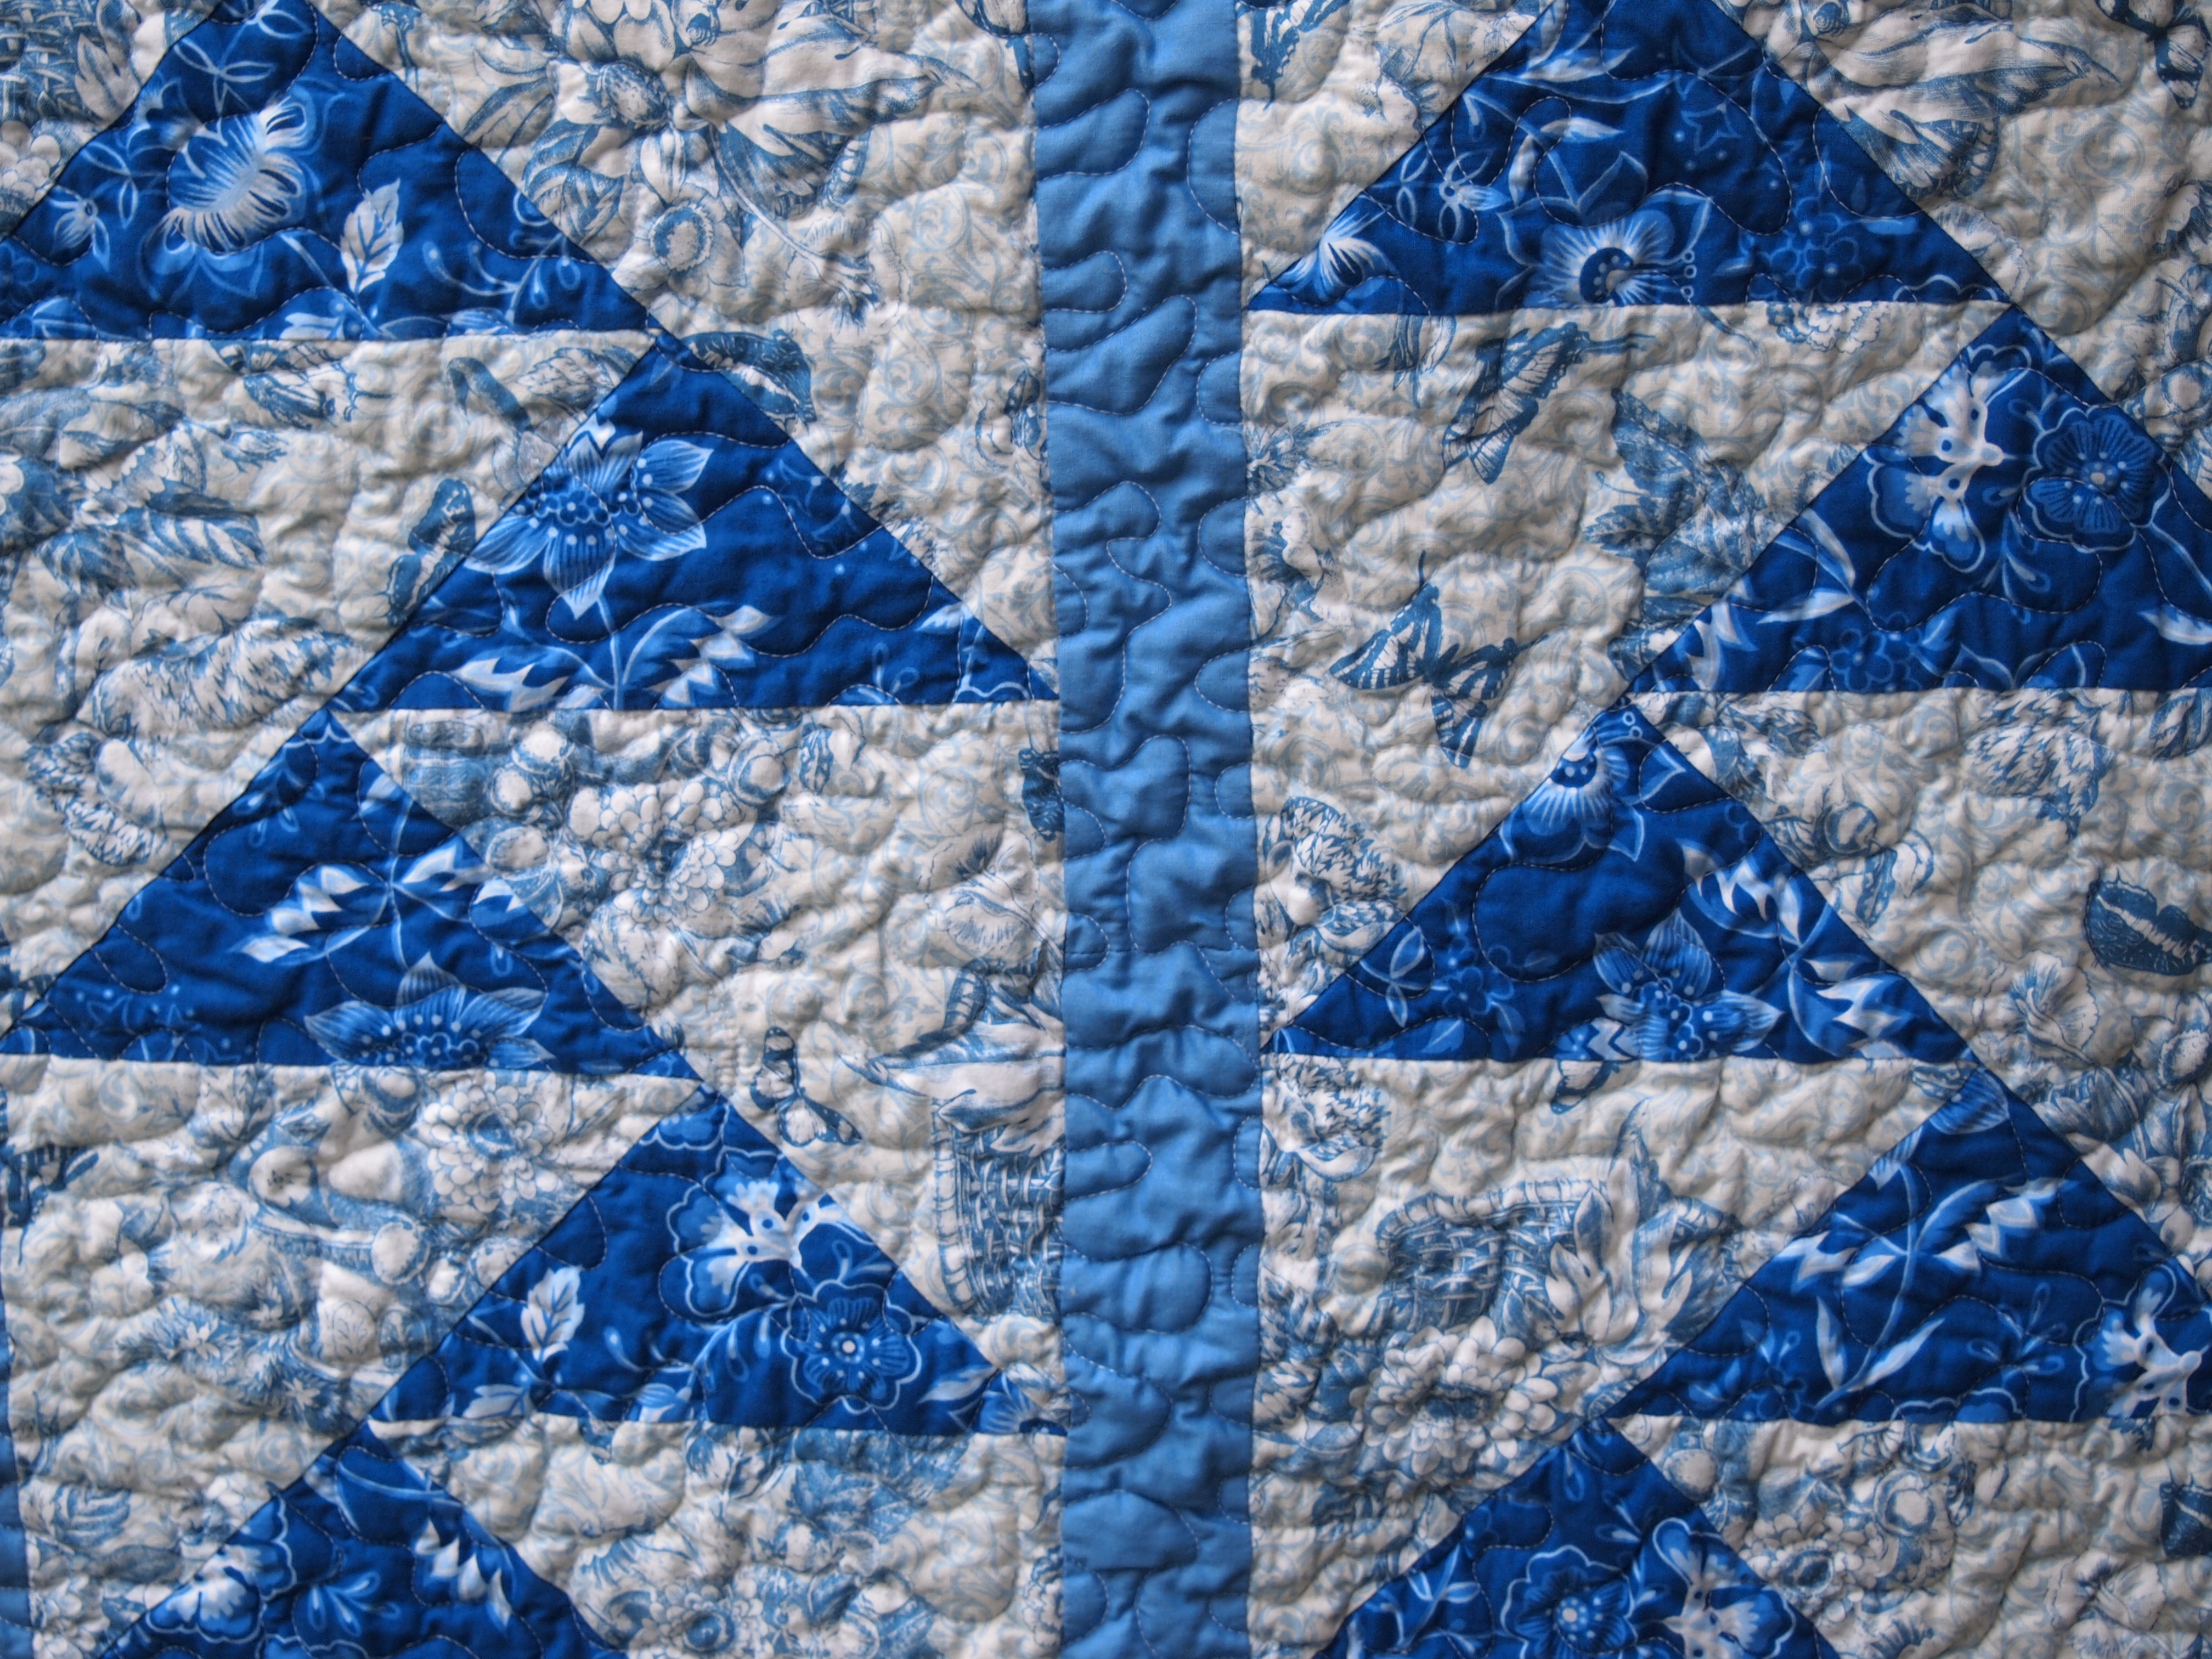
Quilts made with Dream Wool may be machine washed and dried with little shrinkage using cool water and a cool dryer.  Of course I did not follow these instructions because that is how I roll.  I did wash it in cold water, but I dried it normally, as I would any quilt.  It did shrink, but not dis-similar to a quilt with 100% cotton batting.

OLYMPUS DIGITAL CAMERA

I love this process for making Migrating Geese and encourage you to try it.


Victorious

I just finished quilting and binding my Studio 180 design pattern “Victorious”  I’m on my quest to branch out and try other battings.  Of course my preference is any batting by Quilters Dream.  This time I used the “Blend”, 70% cotton & 30% polyester, needle punched onto an ultra light scrim base.  It was created especially for machine quilters.

Victorious

It was very nice to work with.  It didn’t stretch out of shape at all.  It stitched beautifully.  It held its shape throughout the washing and drying process.

OLYMPUS DIGITAL CAMERA

Victorious is a beautiful traditional quilt pattern that uses the Deb Tucker V Block tool and the Squared2 tool for units in four corners of the border.  The V Block tool was also used to create the diamond shapes in the border.  Although, now Deb has created the Diamond Rects tool that could also be used to create the border units.

Dreaming of the Orient, (Batting that is)

I’m a cotton girl. I’ve always used 100% cotton batting. But, this year this Batt Girl is breaking out of her Batt Cave! Today I quilted my Studio 180 Design quilt “Wish Upon”, but I used Dream Orient by Quilters Dream Batting. This batting is made of bamboo, silk, tencel and cotton. When I opened the package the first I noticed was how luxuriously soft it was. It seemed a little thicker than Dream Cotton Select.  It was wonderful to touch.
Wish Upon

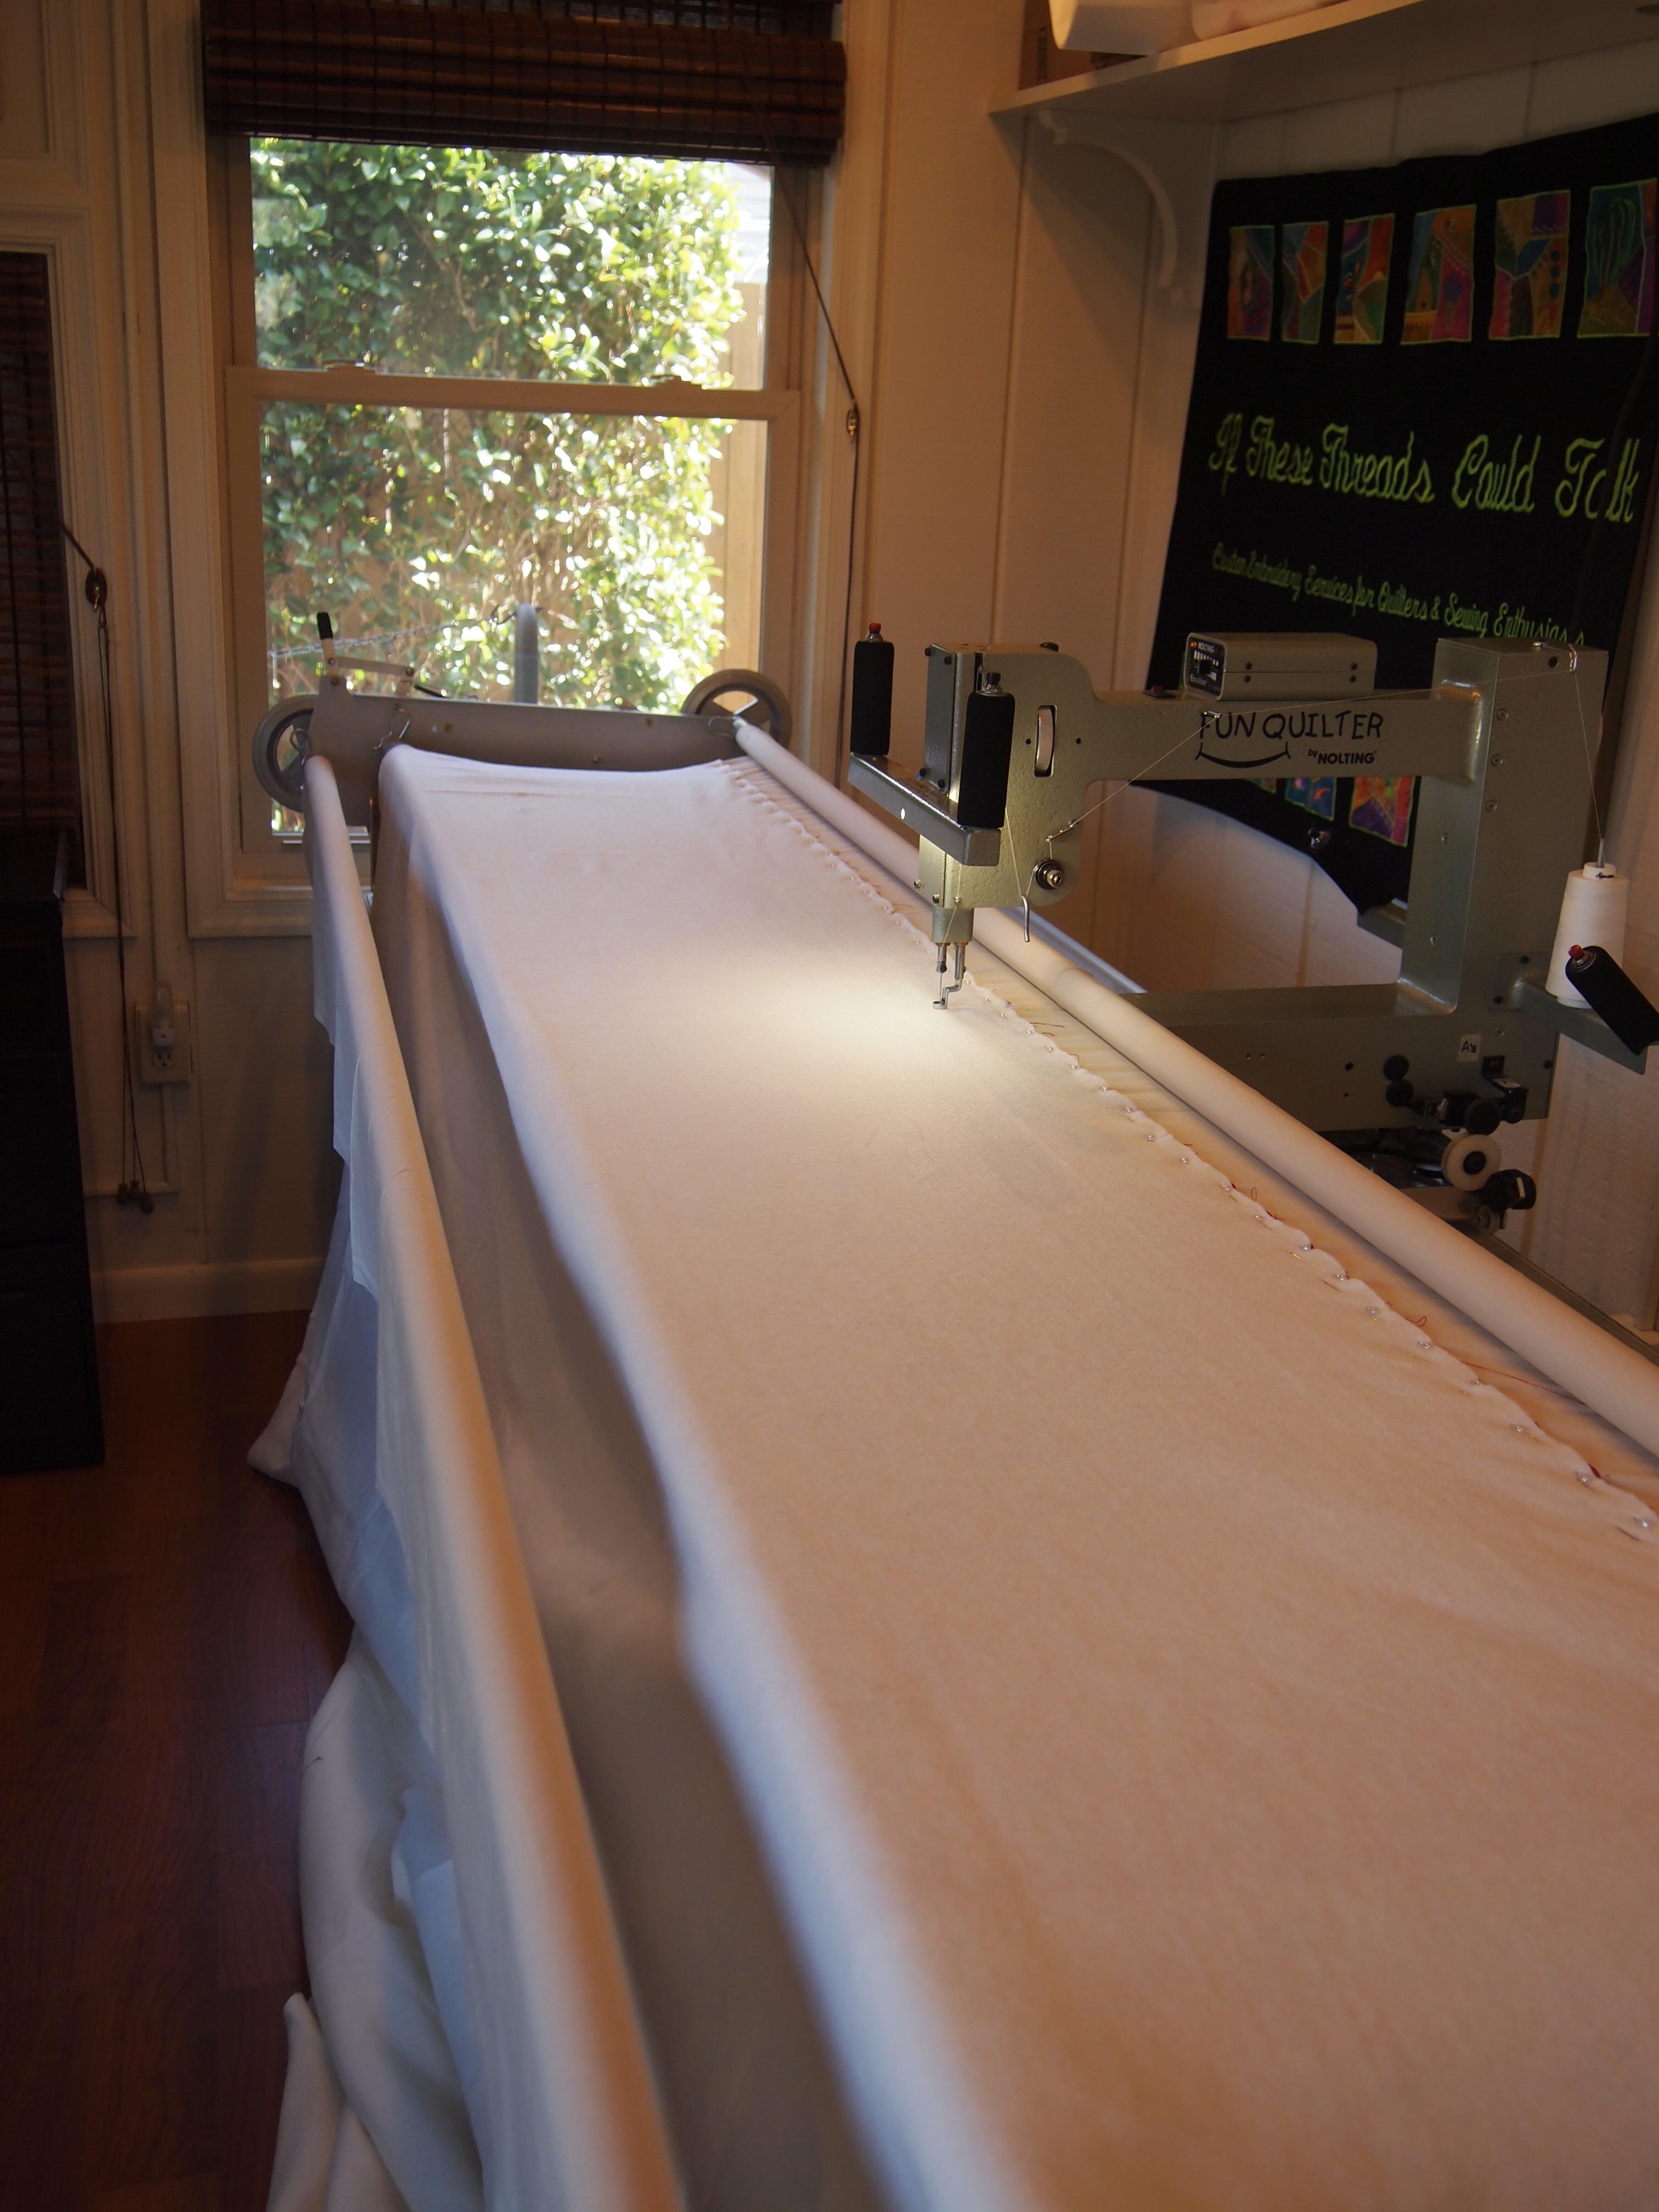
I have a small house. I was determined to find a way to get a long arm.  I bought a queen size “John Watts” quilt frame from Australia.  It only weighs 50 pounds, so when I wasn’t using it, it hung on the wall of the garage.  I bought a Nolting “Fun Quilter”  It weighs 40 pounds.  It has a 17″ throat and has a speed and stitch control.  After 7 years of lugging the frame in and out of the house, my husband finished the back pork so I could leave it up full time.

OLYMPUS DIGITAL CAMERA

For today’s adventure, I have loaded the backing.

OLYMPUS DIGITAL CAMERA

I then loaded the Dream Orient.  It handled really nicely, didn’t stretch out of shape at all.  It feels great.
OLYMPUS DIGITAL CAMERA

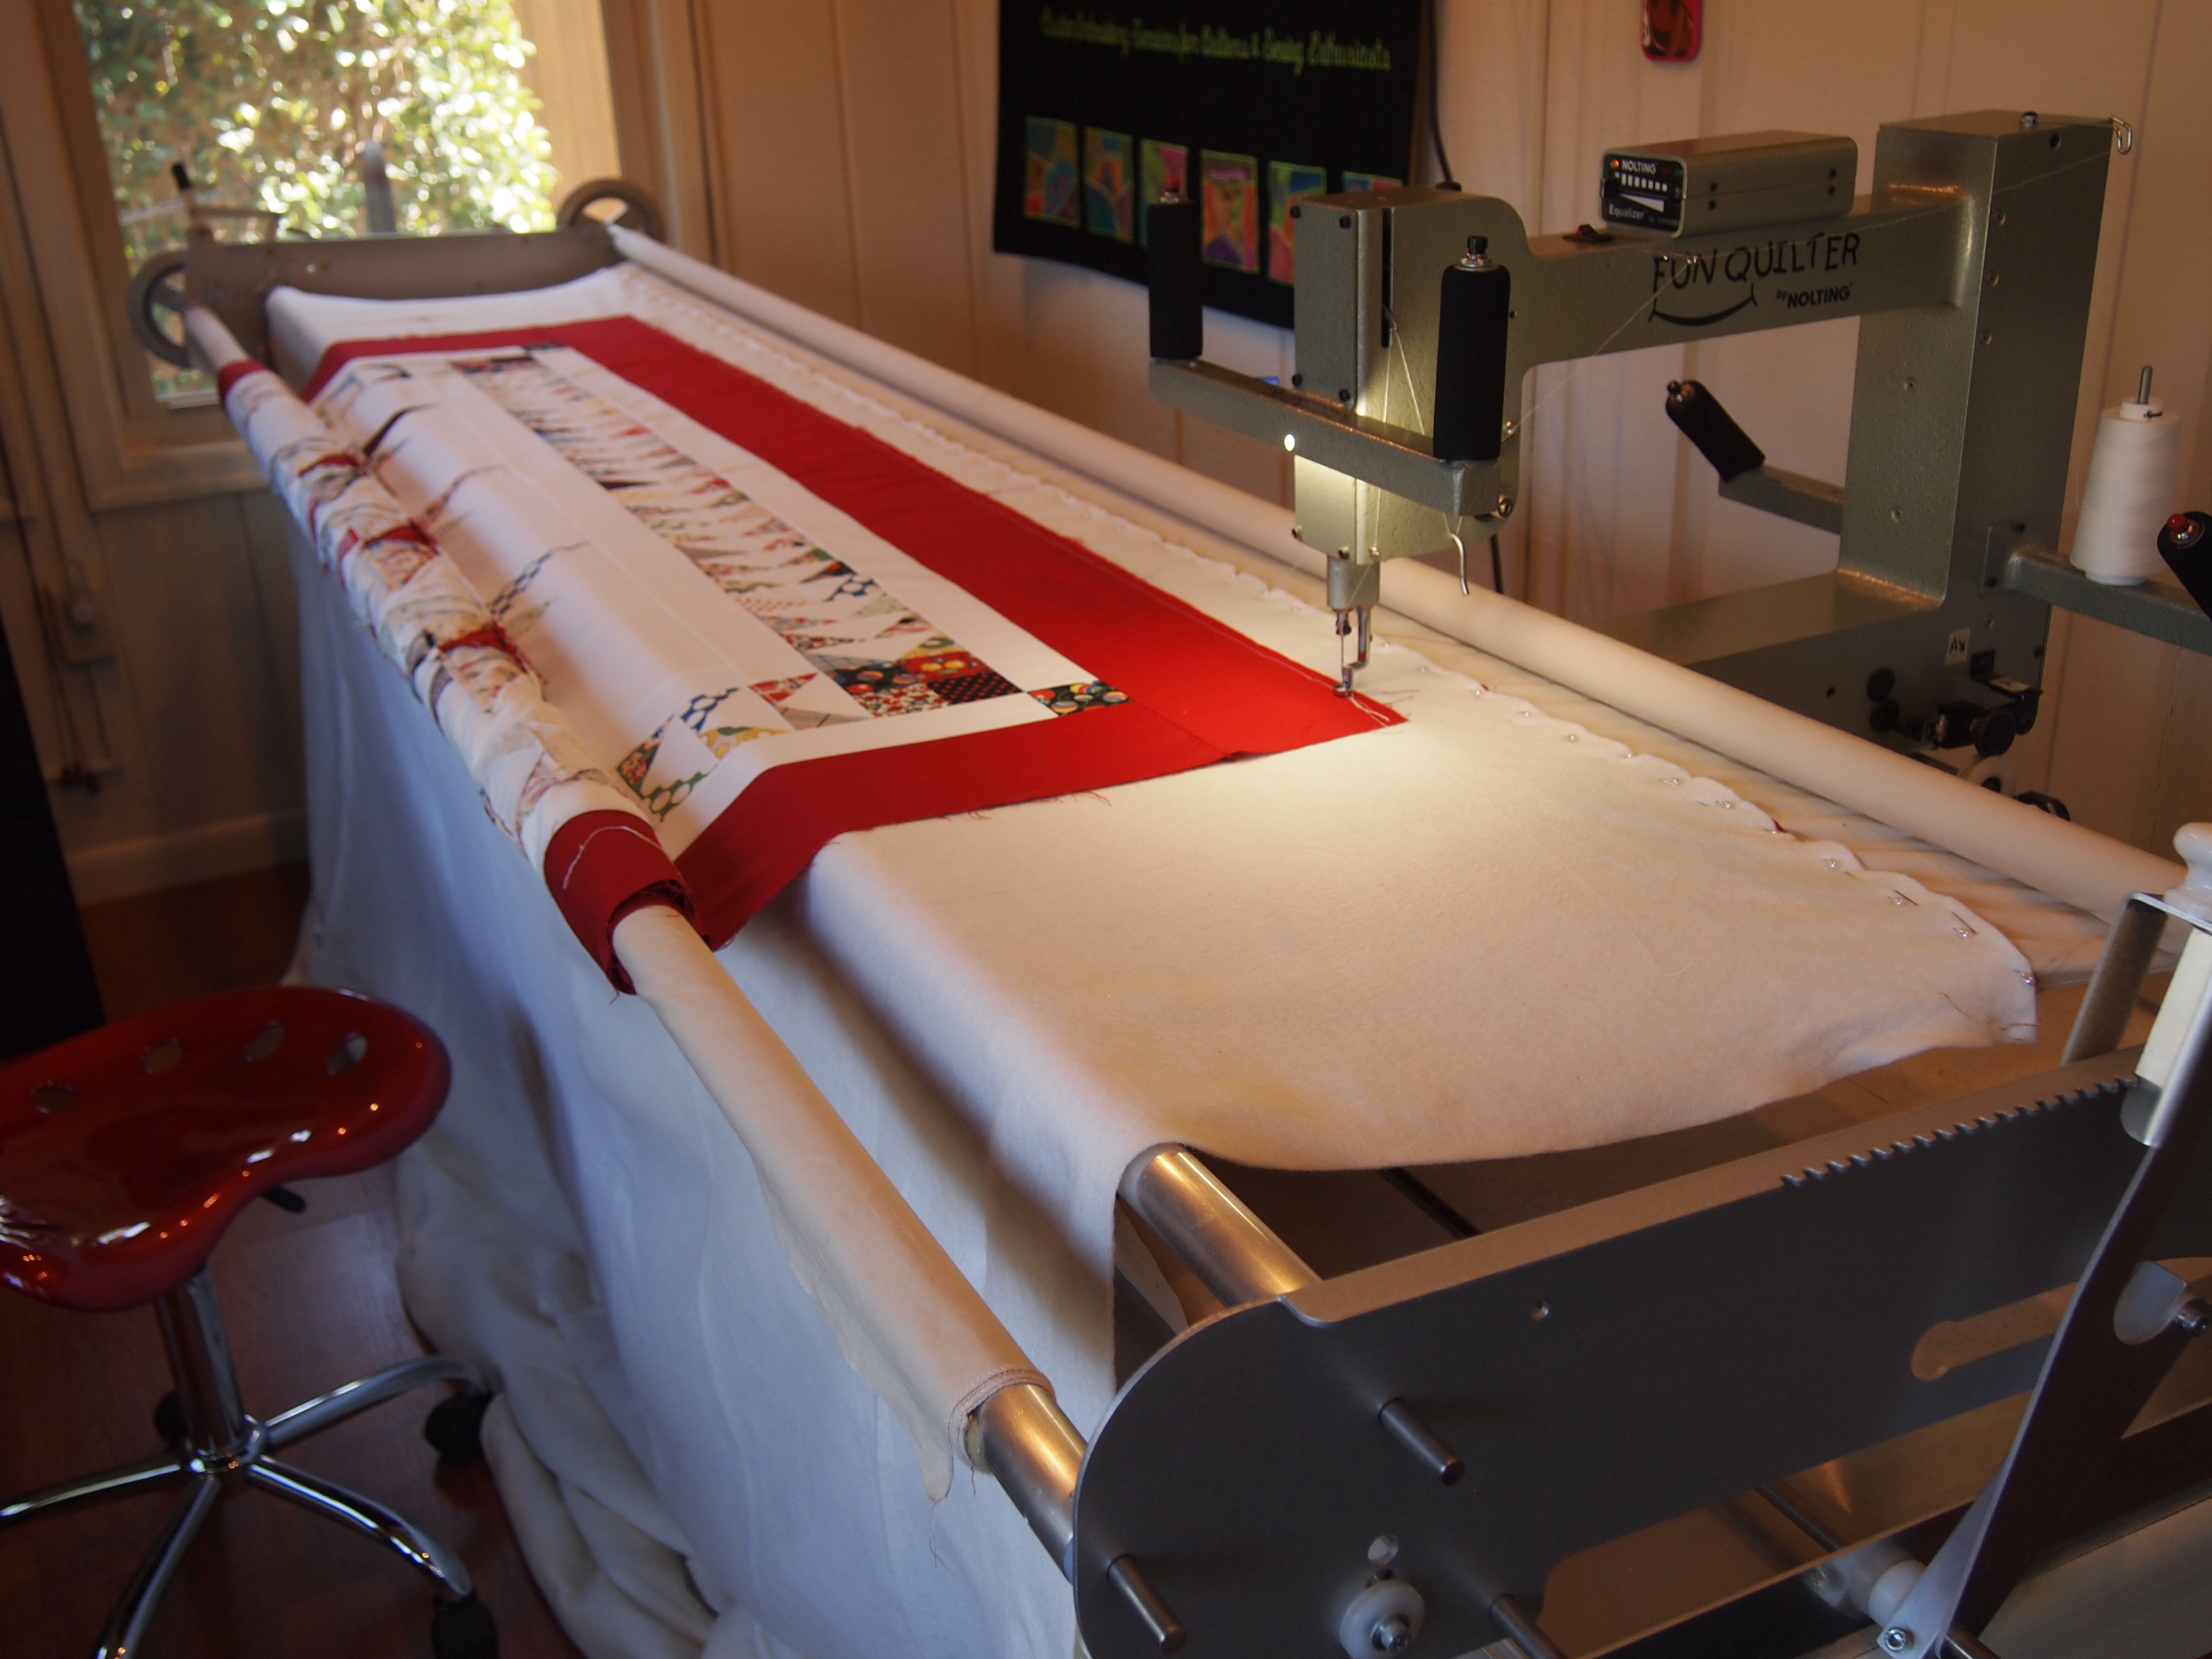
I have the top loaded.  See my tractor seat stool?  It is great for rolling back and forth while I pin the backing etc. to the leaders.
OLYMPUS DIGITAL CAMERA

I am now ready to quilt.  Like butta, I tell ya, smooooth!
OLYMPUS DIGITAL CAMERA

Last row done.  It looks wonderful.  I’m off to trim off the excess batting and sew the binding on.  There was so much red in this quilt that when I washed it I put in 10 color catchers (they came out pink, so I’m glad I did).  I washed the quilt in cold water and dried it normally.  When I pulled it out the dryer, I noticed immediately how soft it was.  They say quilts quilted with Dream Orient drape beautifully, and they are right!  I am definitely using Dream Orient again.
Wish Upon

This pattern is by Deb Tucker.  We just had a Studio 180 Design Certified Instructor Reunion.  Deb gave this to us as a mystery, but she will making the pattern available sometime this summer.  It uses the Split Rects Tool and the Wing Clipper I and the Tucker Trimmer I.  I love this quilt.

Do You Ever Pop Off?

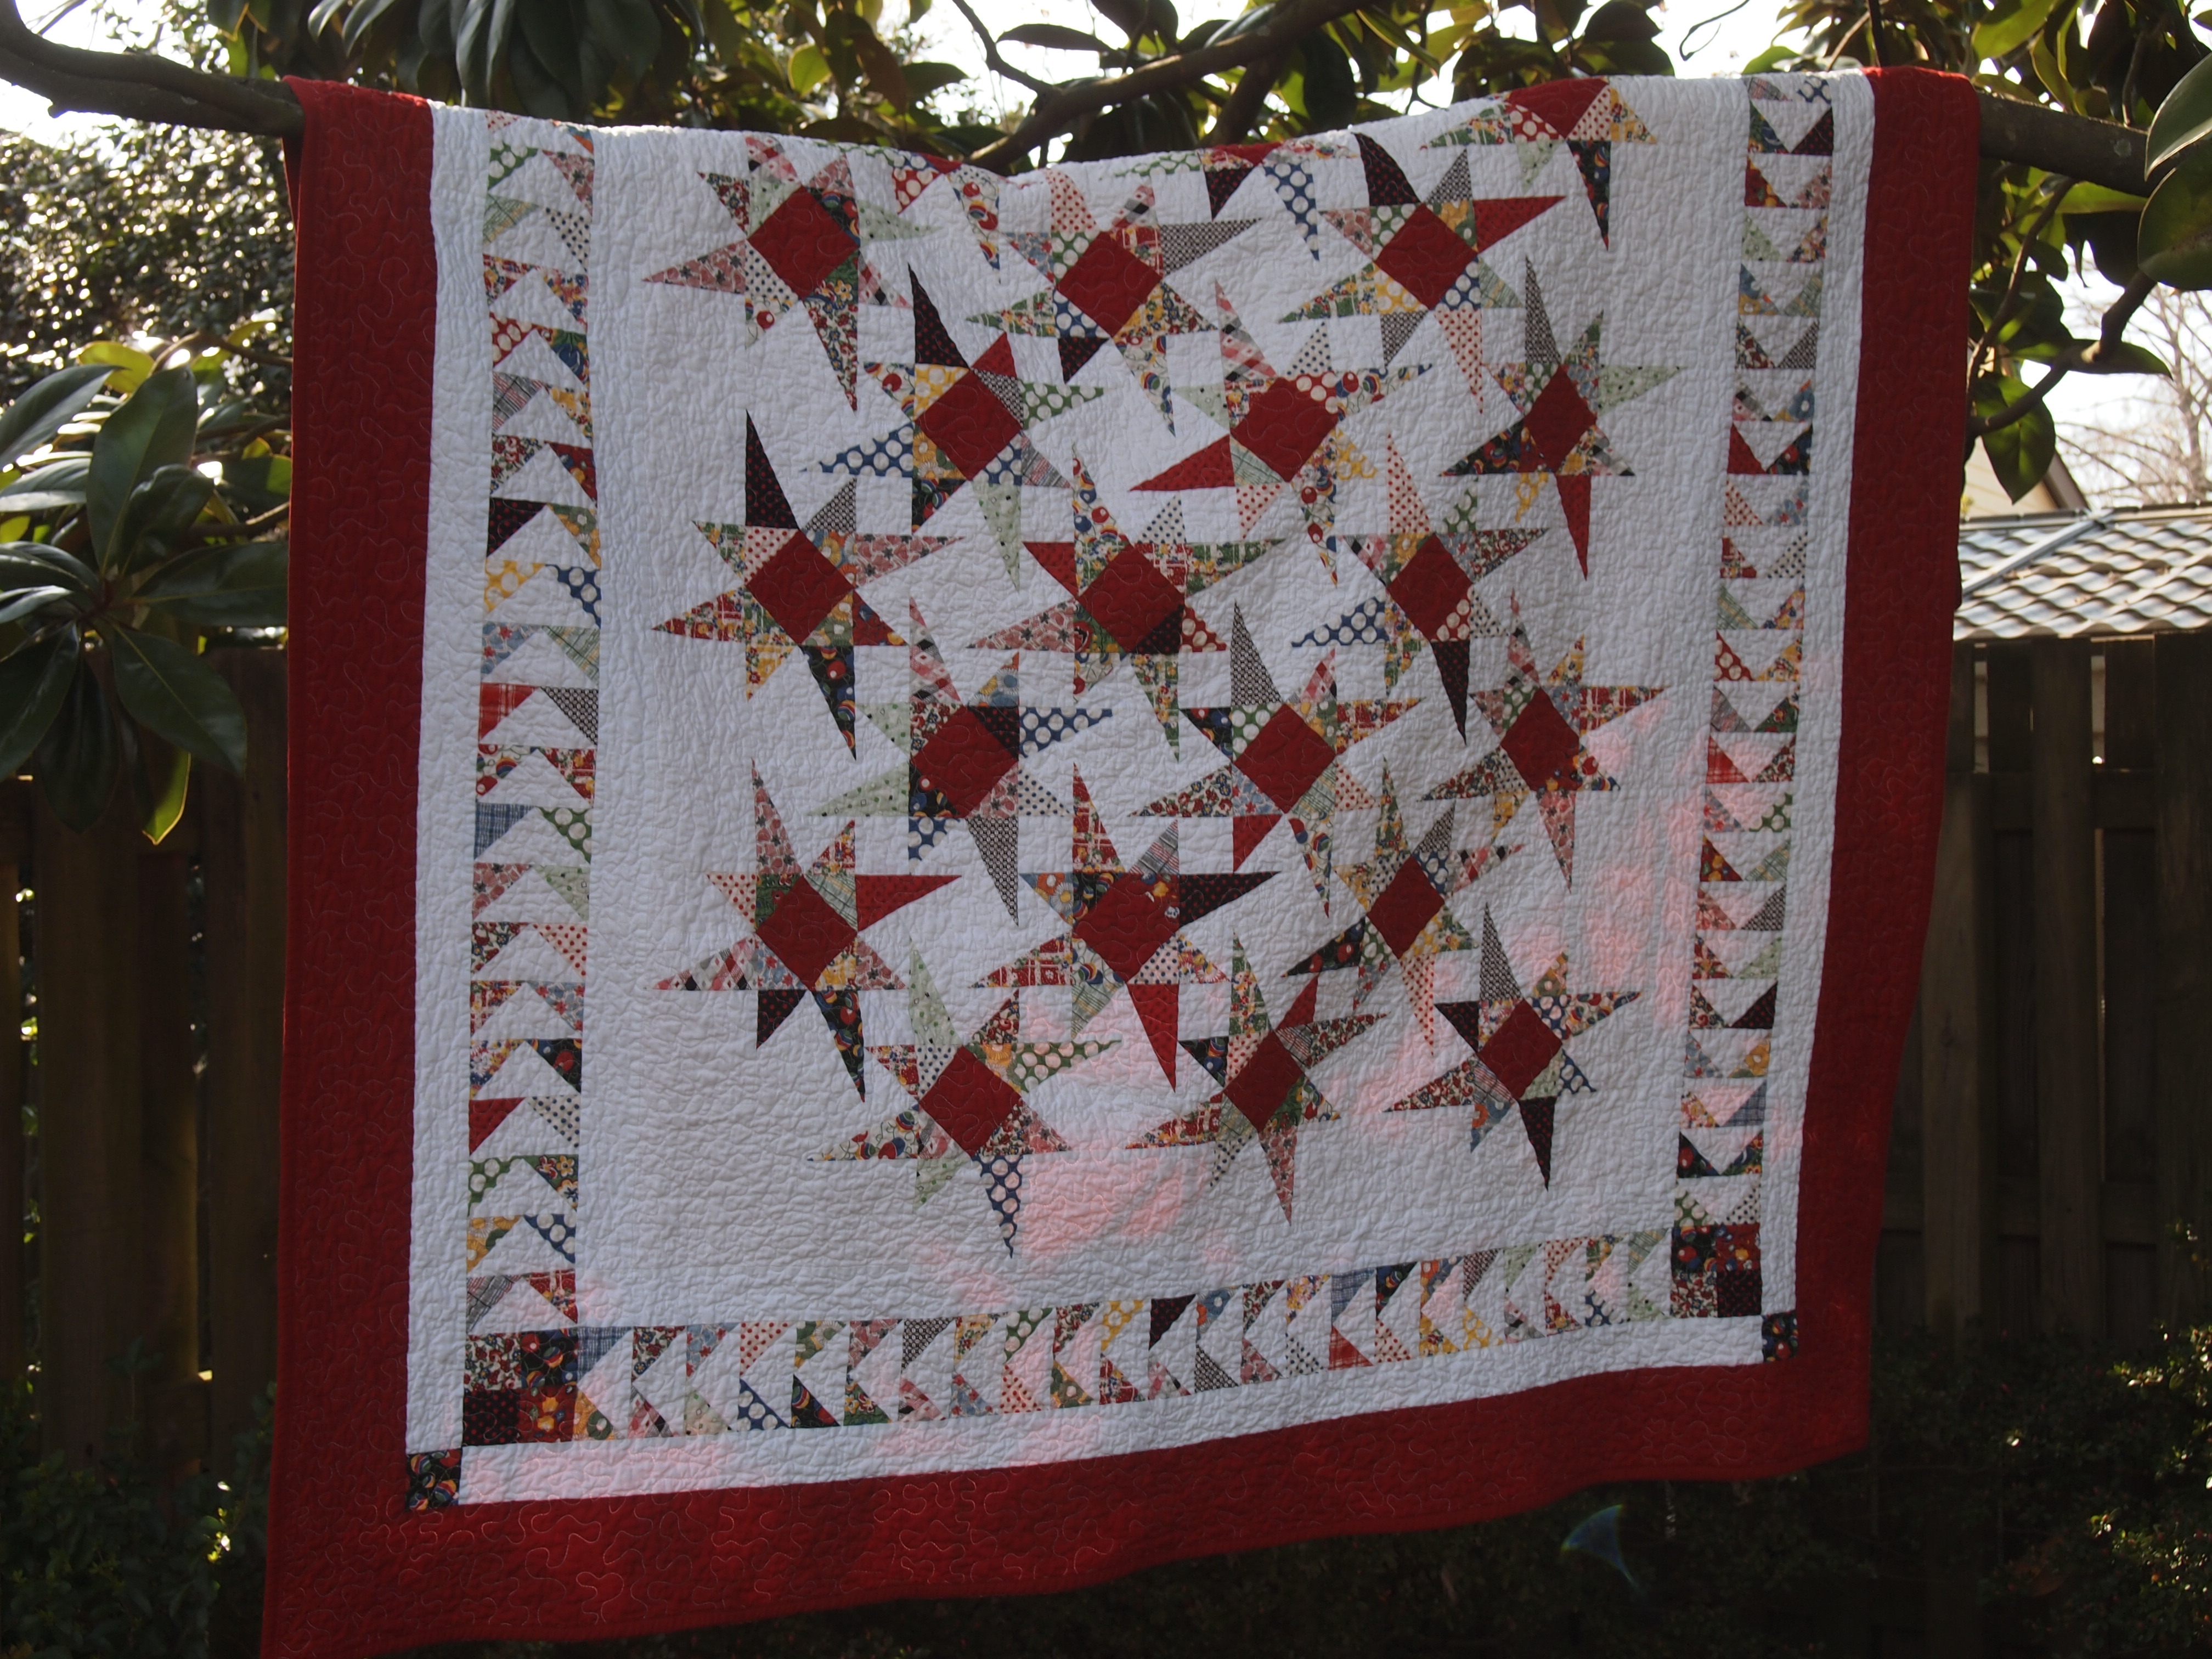
….Corners that is. Deb Tucker is at it again, and is about to release a new Studio 180 Design Tool. At the certified teacher reunion we were given the chance to play with the “Corner Pop”. We were given permission to blog about it but I can’t show a picture of the ruler until it is released, hopefully by Spring Market in May.

Corner Pop

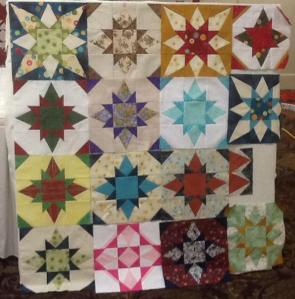
Above are blocks made using the Corner Pop ruler, made by Deb Tucker.  This ruler makes it so easy to pop off a corner without having to draw any lines.
02 Corner pop student samples

Above are blocks made using the Corner Pop ruler by the certified instructors.
03 Corner pop 2 jacks

I made the block above using the V Block, Corner Beam and Corner Pop rulers.
04 Michelle H block

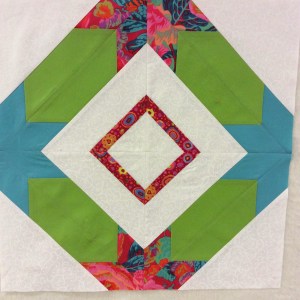
Above is a Hunter Star with the corners popped off and a strip added before sewing the popped off corner back on.  This was made by Michelle Hiatt of “Sew on the Go“.  I love what she did.

Below I will describe how to use the Corner Pop ruler:
OLYMPUS DIGITAL CAMERA

To begin, I made four 4.5″ unfinished V Blocks.
OLYMPUS DIGITAL CAMERA

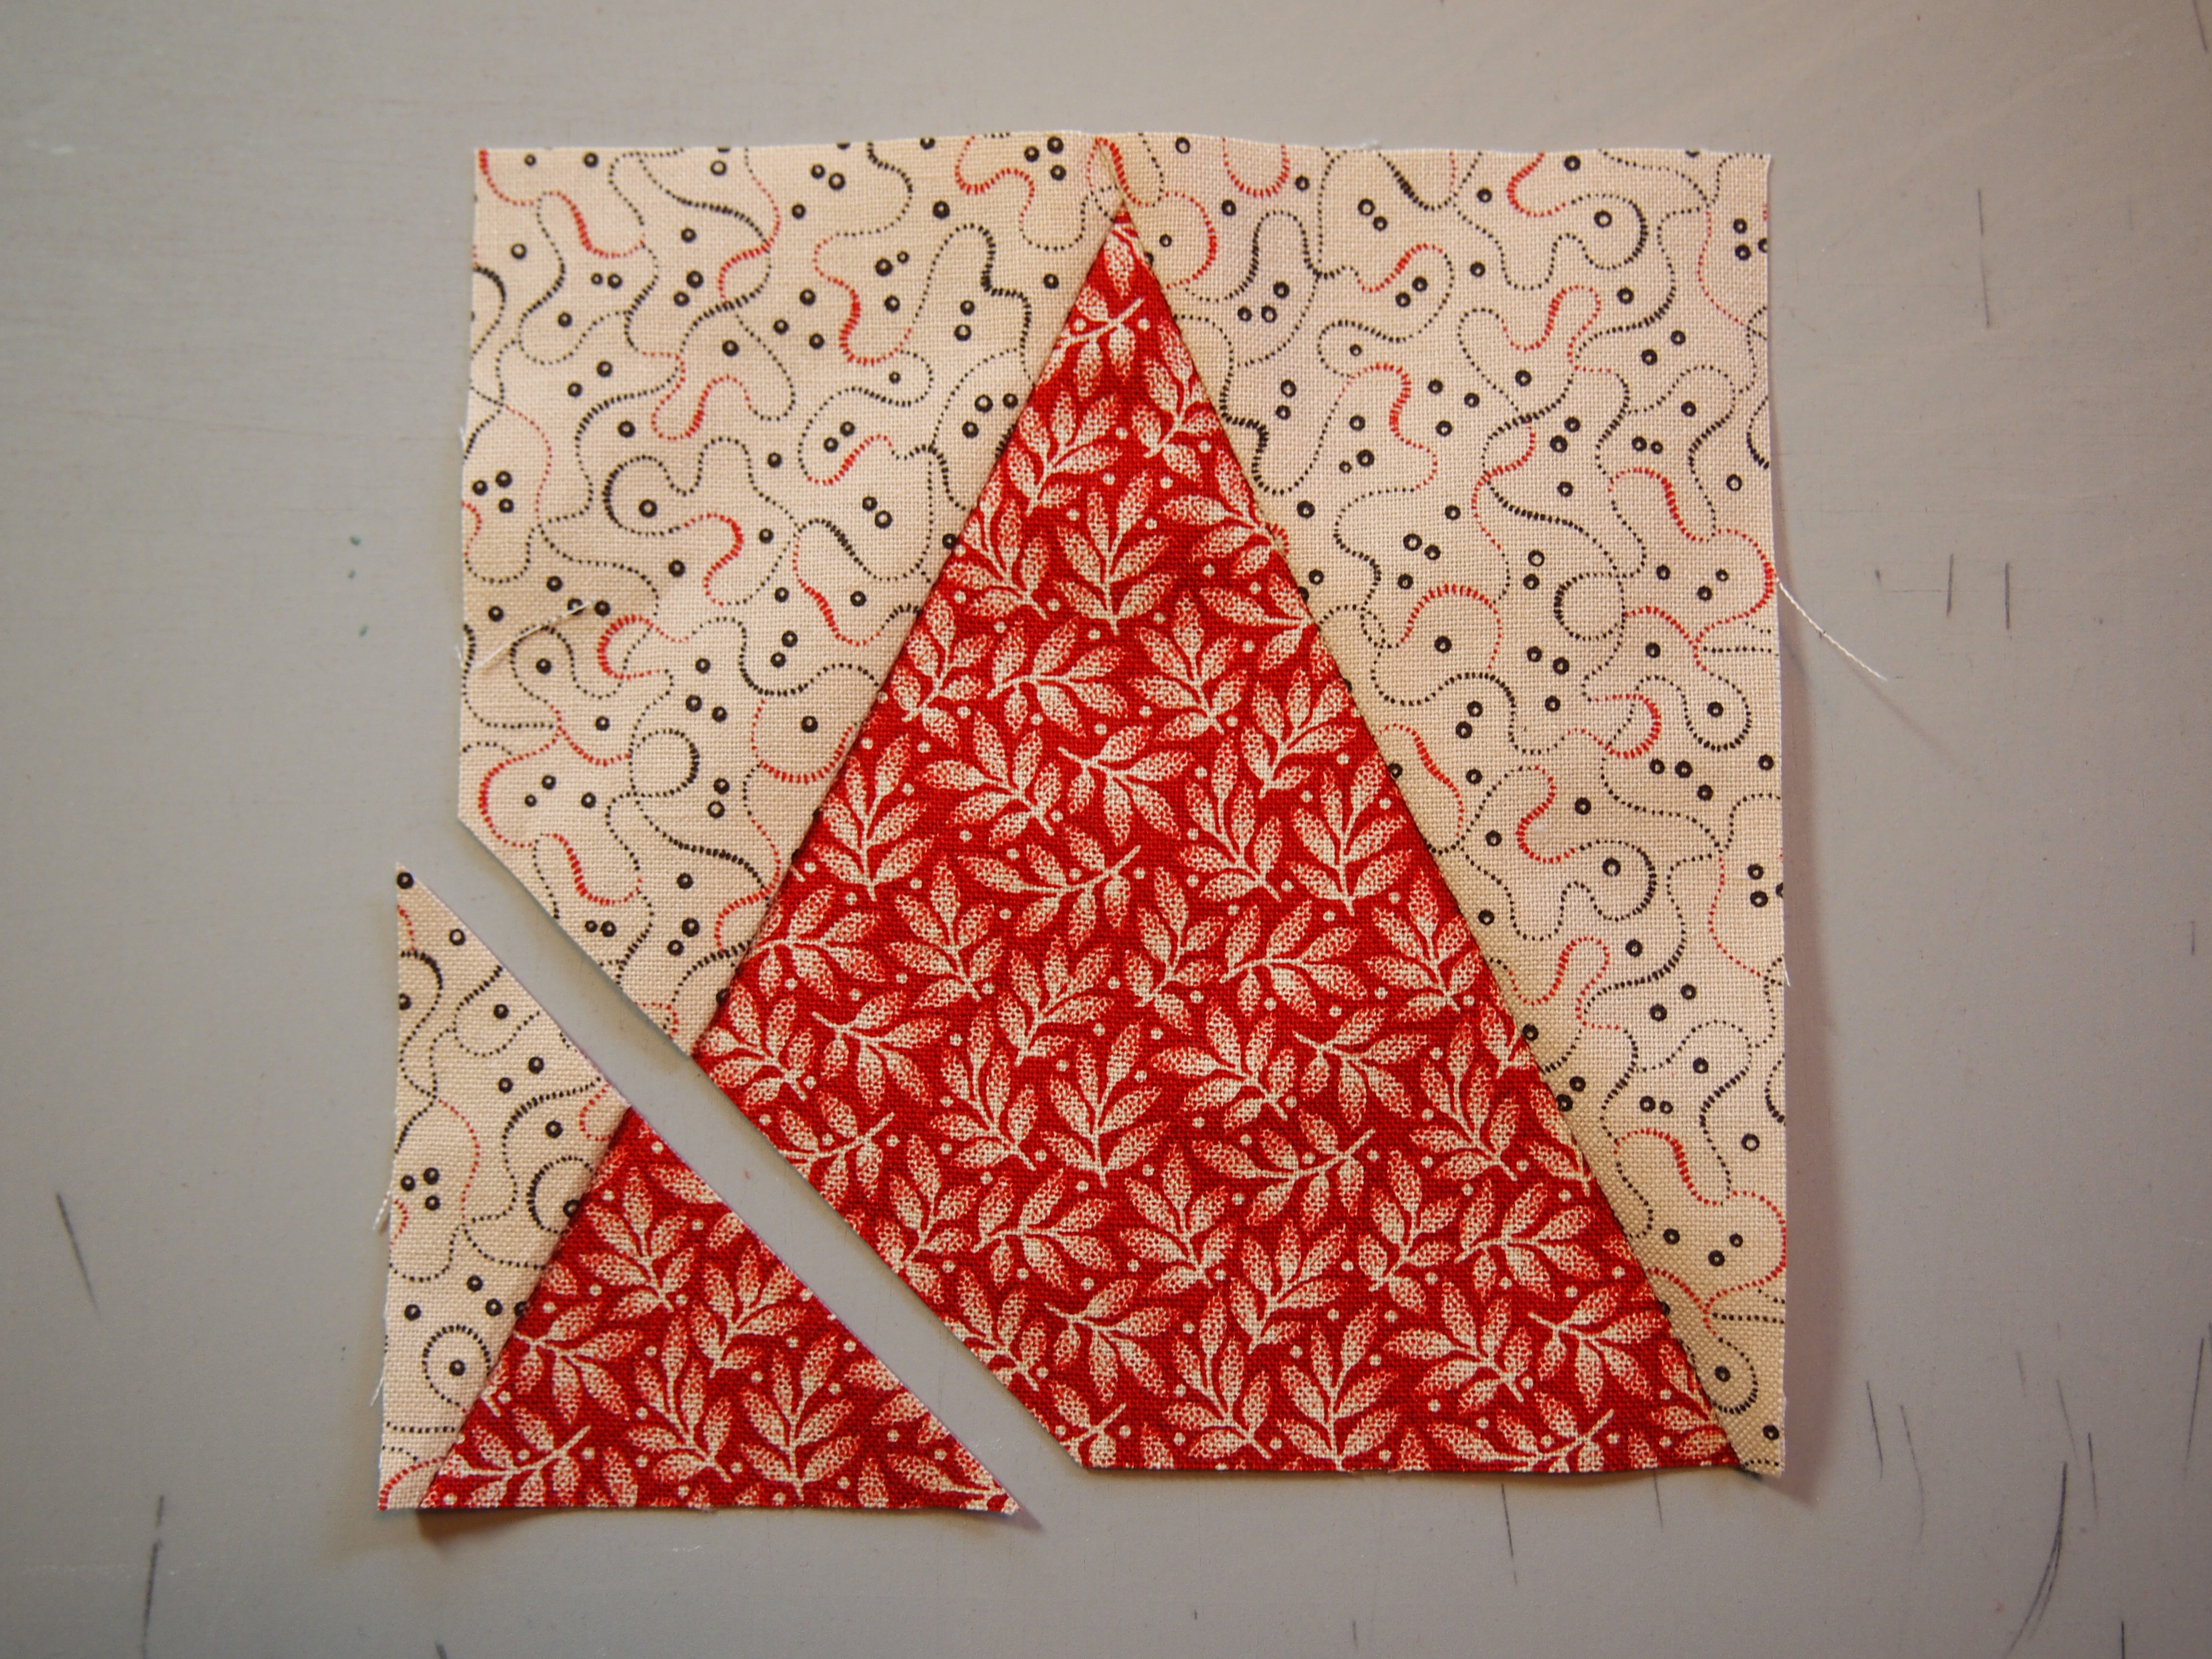
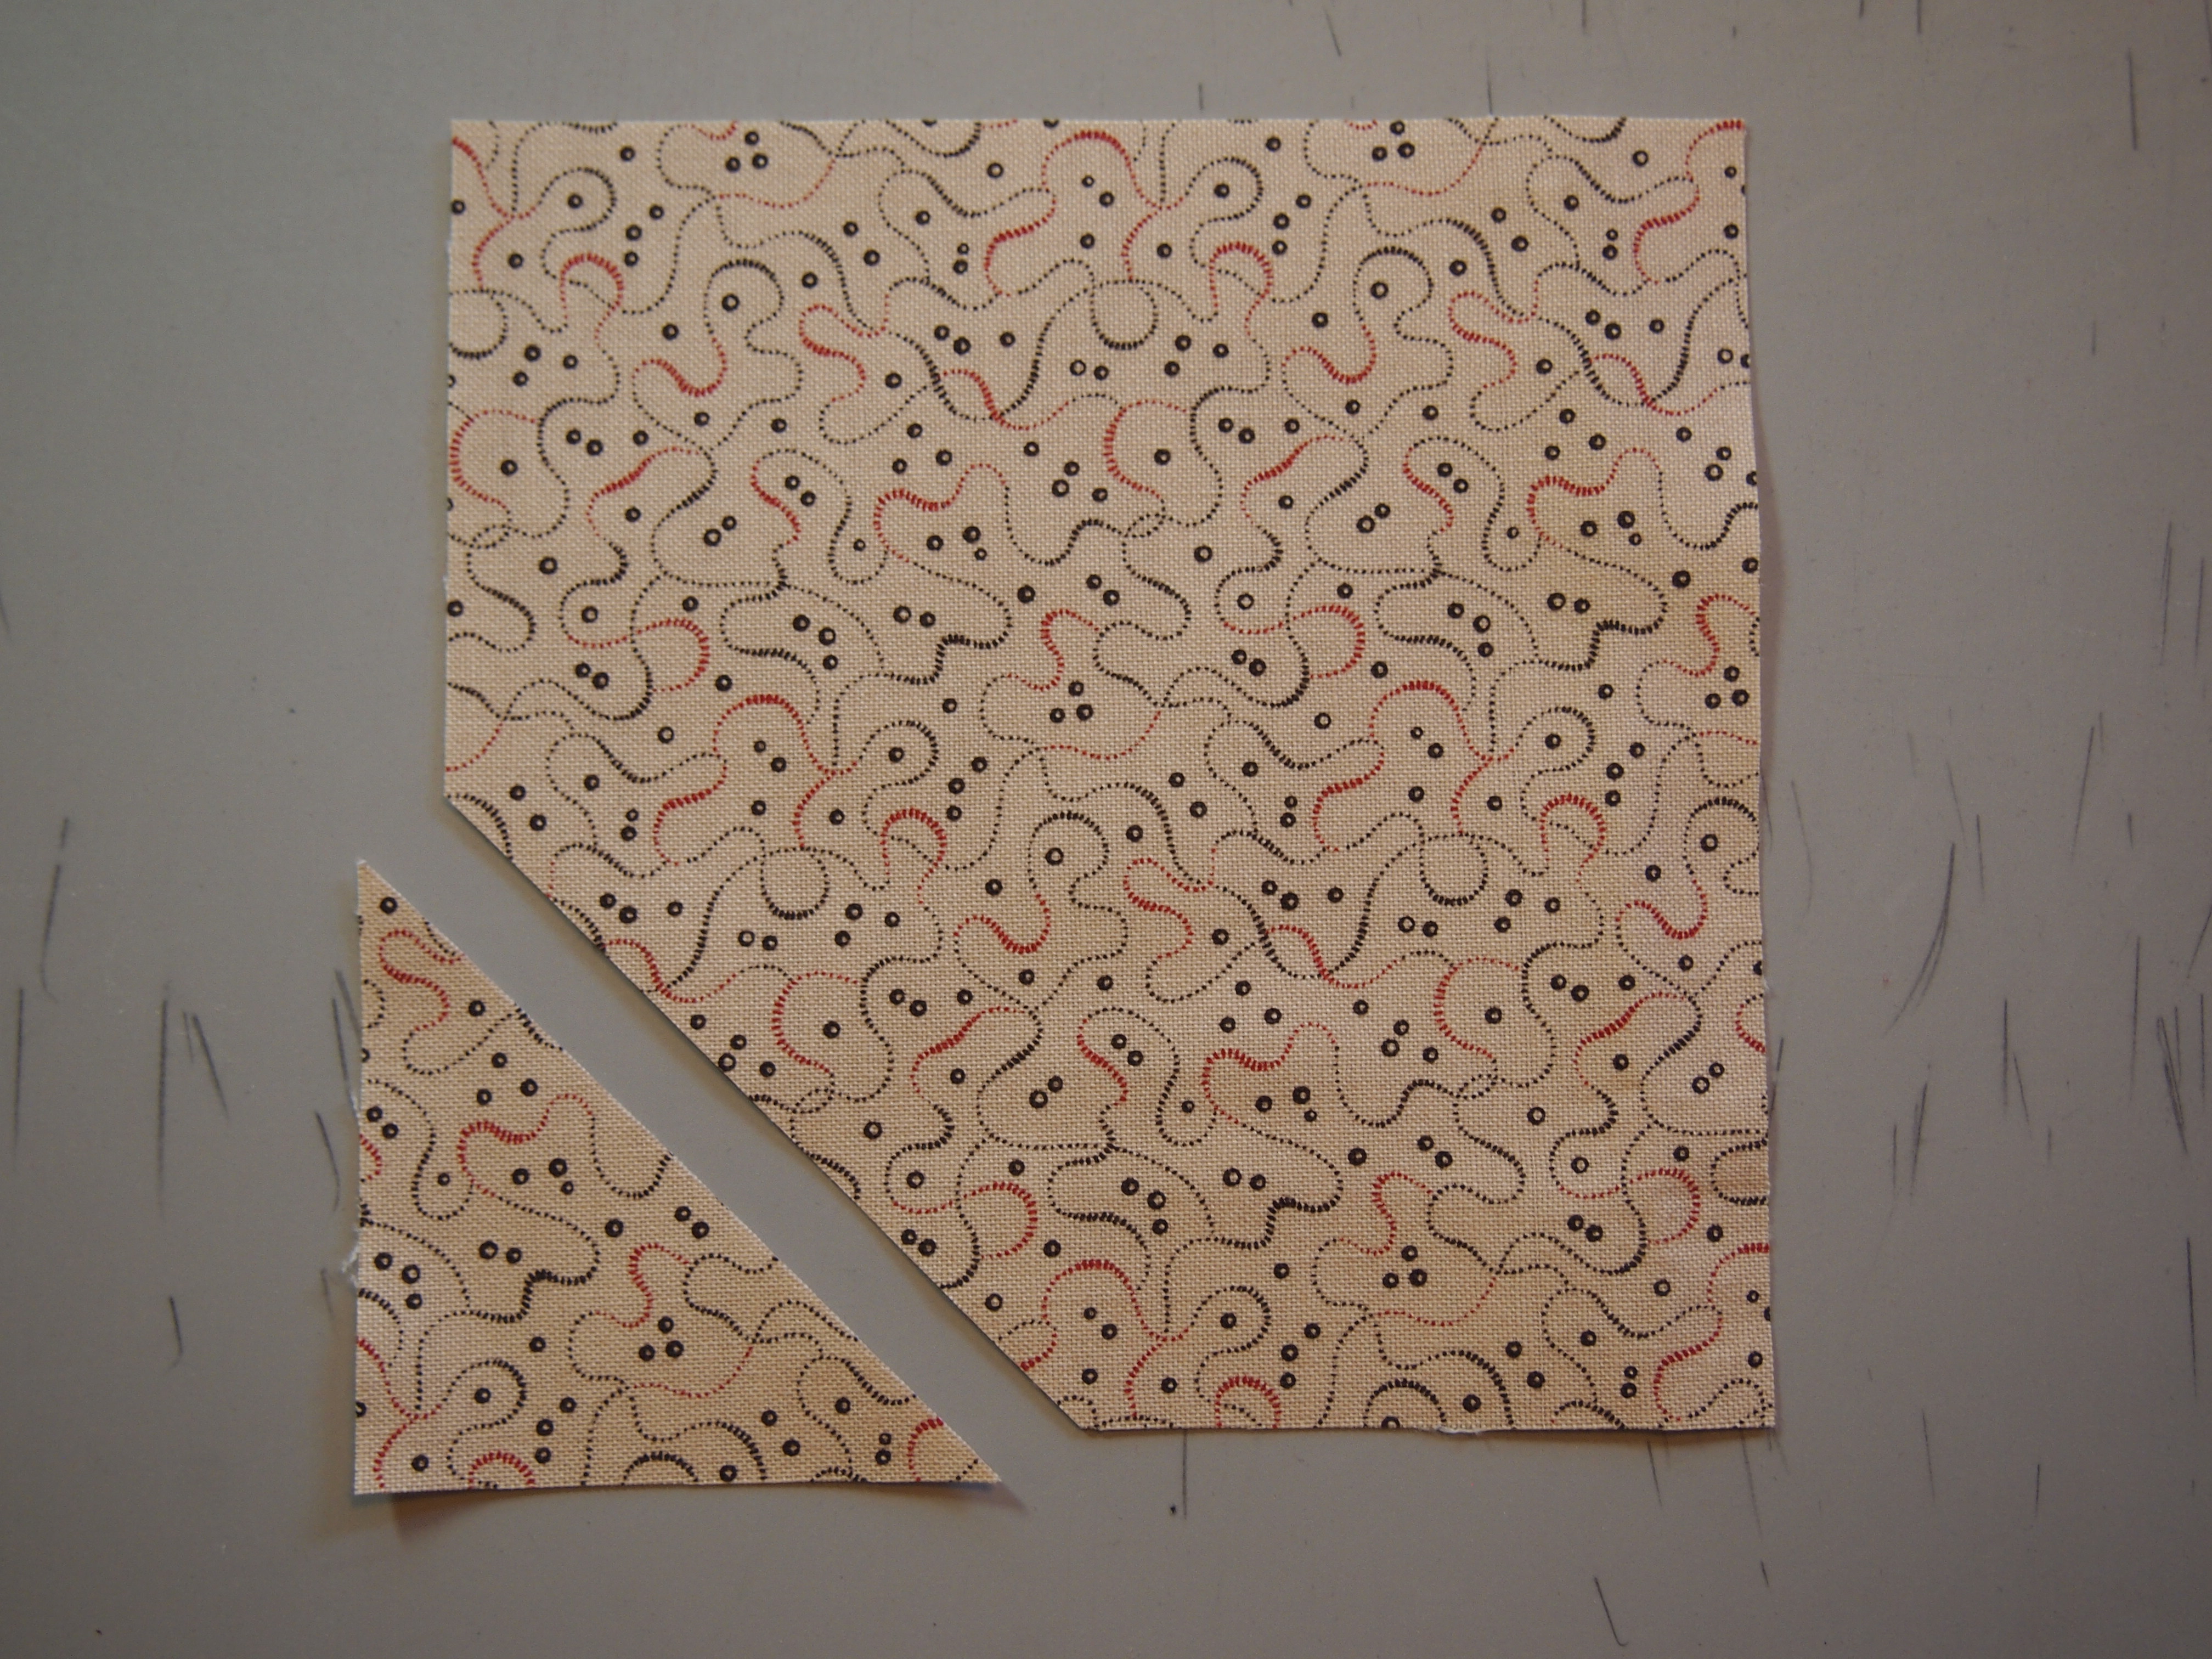
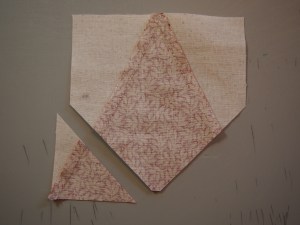
The Corner Pop ruler has measurements for popping off the corner in 1/2″  increments from 1″ to 6″, and 1/2″ increments from 3/4″ to 5 3/4″.  It is also used for trimming down.  To determine how much to pop off divide the “Finished” size of your unit in half.  My V Blocks will finish at 4″, so I place the 2″ line placement on my unit and popped off the corner.
OLYMPUS DIGITAL CAMERA

I then flip the V Block unit over and pop off the second corner.
OLYMPUS DIGITAL CAMERA

What ever size you pop off add 1  1/4″ to that.  I popped off 2″ so 2 + 1  1/4″= 3 1/4″.  I cut four 3 1/4″ squares.
OLYMPUS DIGITAL CAMERA

Cut each square in half diagonally.
OLYMPUS DIGITAL CAMERA

Center a triangle on one side of the Corner Popped  V block and stitch.
OLYMPUS DIGITAL CAMERA

Press toward the triangle.
OLYMPUS DIGITAL CAMERA

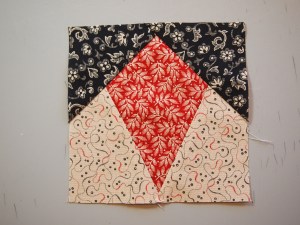
Center the 2nd triangle on the other side and stitch.
OLYMPUS DIGITAL CAMERA

Press toward the triangle and trim down using the measurements on the Corner Pop Ruler.
OLYMPUS DIGITAL CAMERA

I cut four 4 1/2″ squares and popped off the corner to make snowball units.
OLYMPUS DIGITAL CAMERA

I cut four more 3 1/4″ squares and cut in half diagonally, and stitched the triangle on the popped off side.
OLYMPUS DIGITAL CAMERA

Press toward the triangle and trim down.
OLYMPUS DIGITAL CAMERA

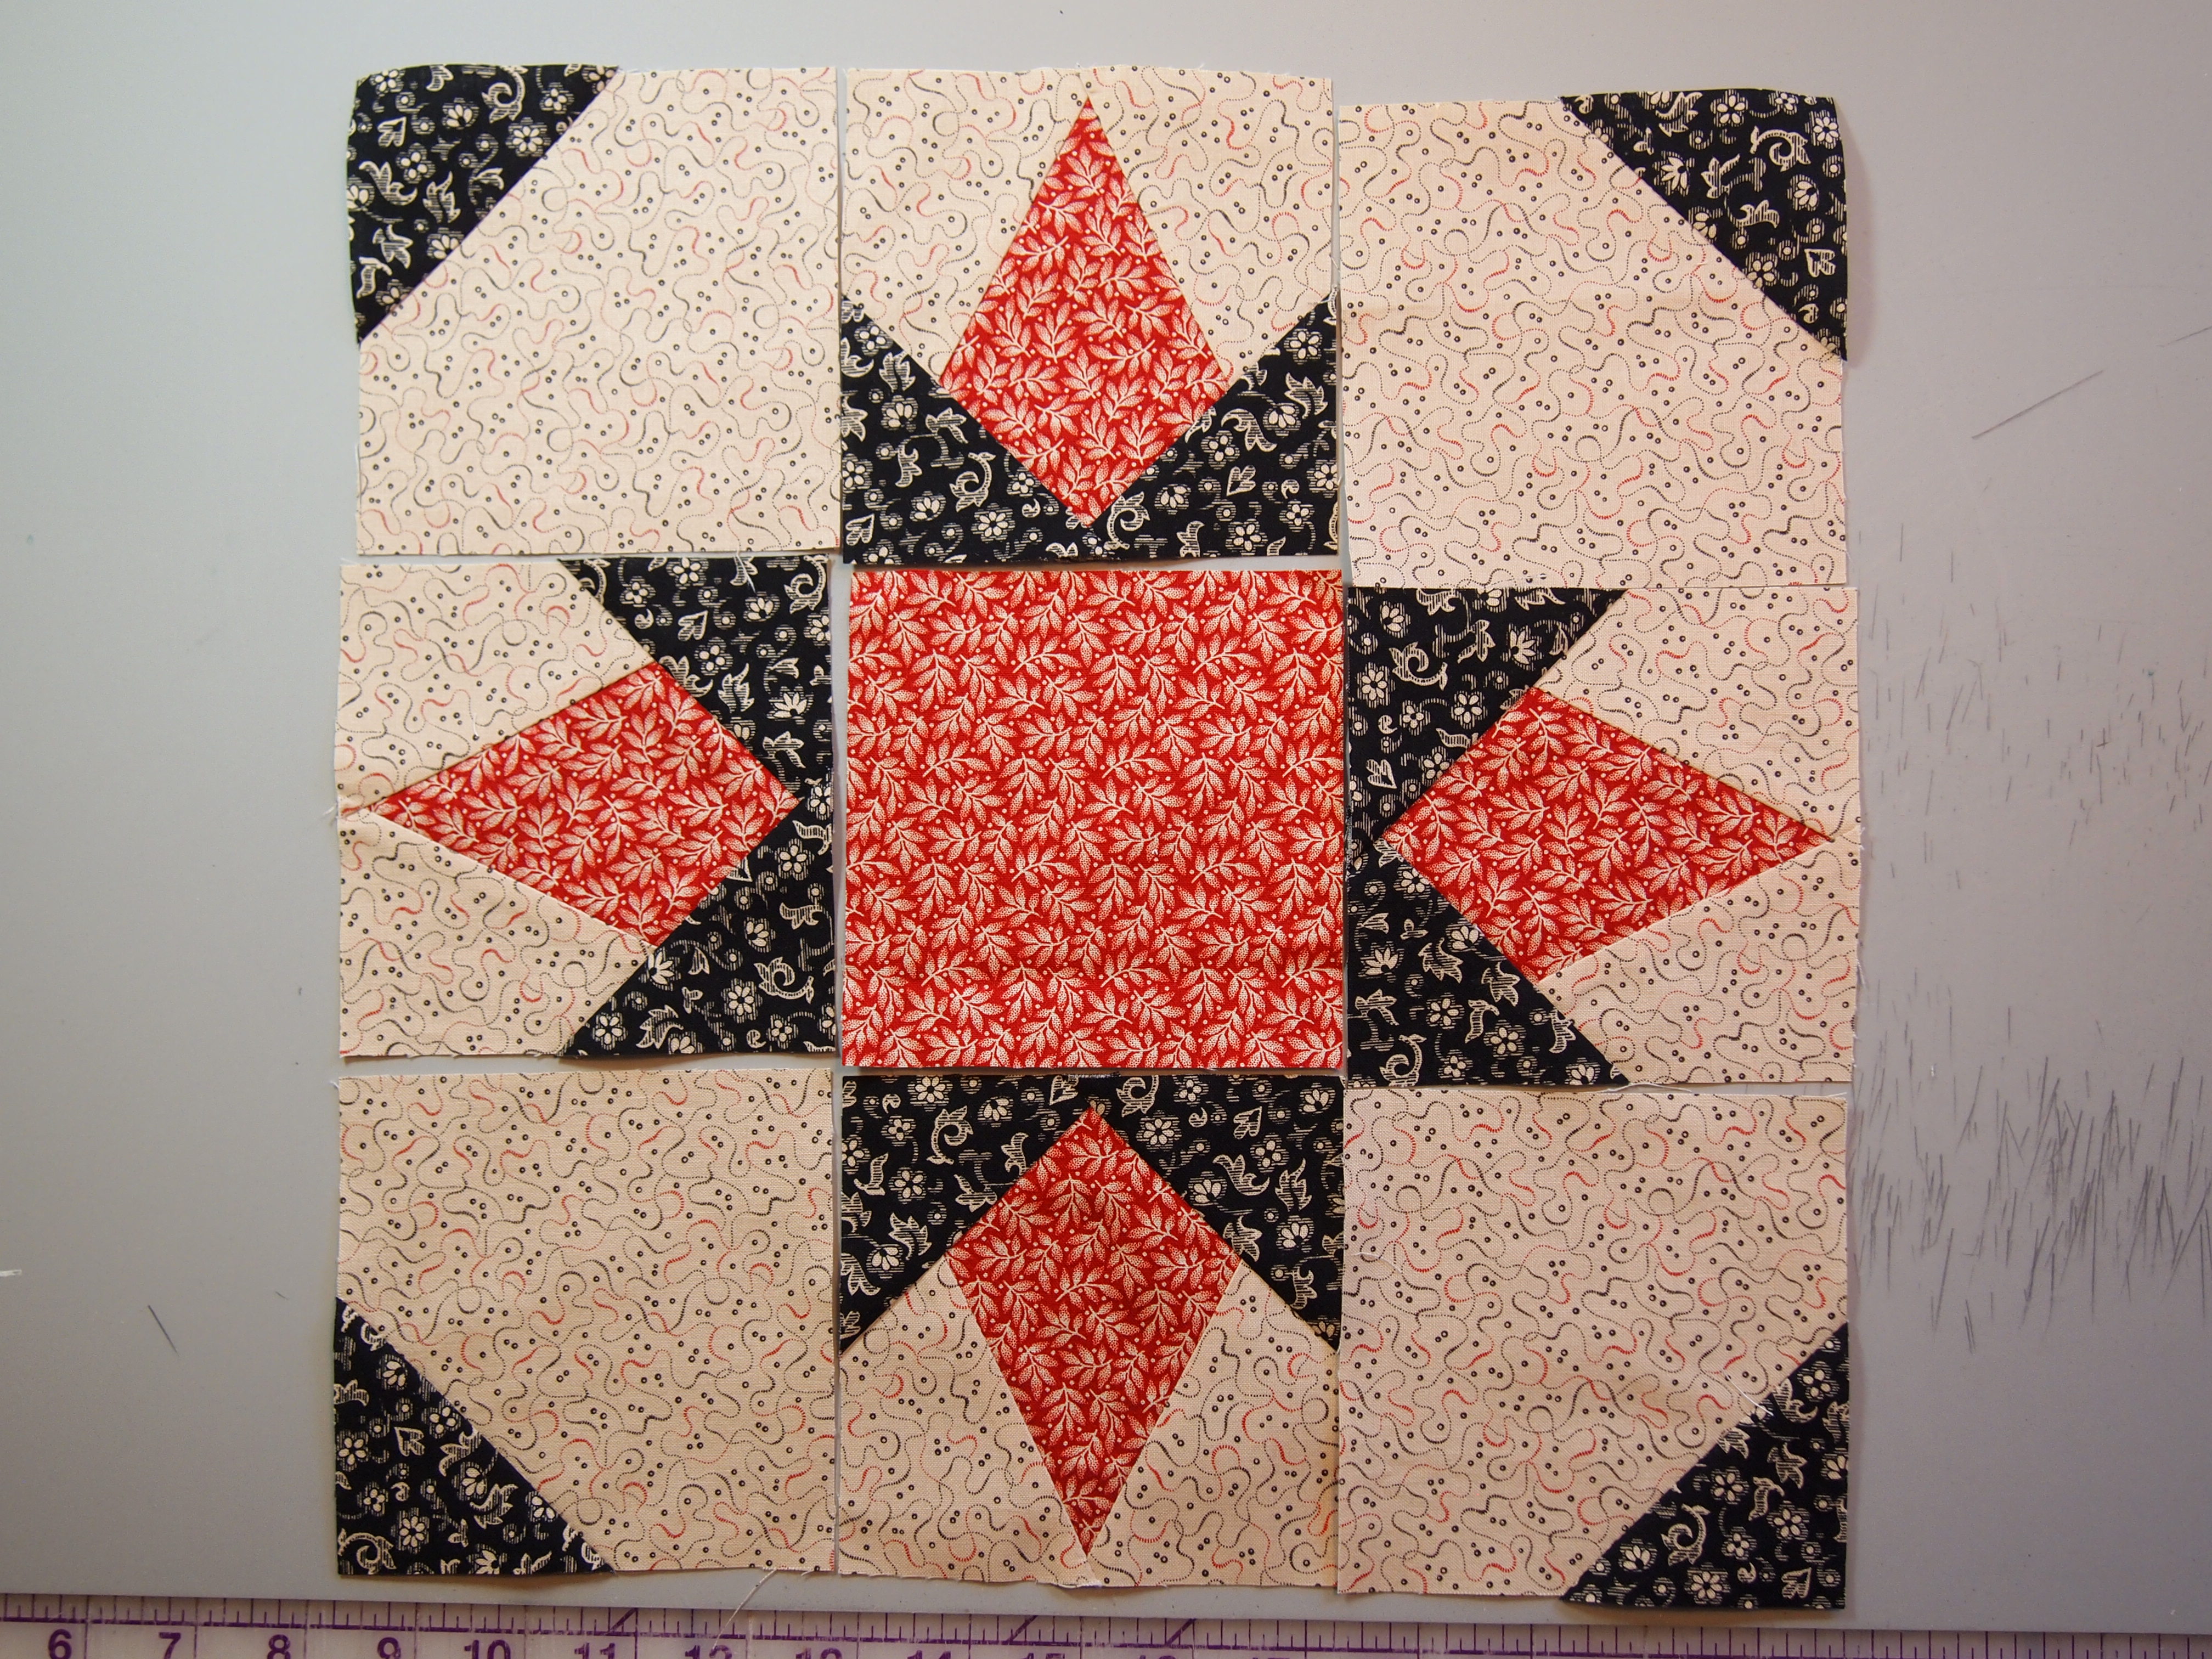
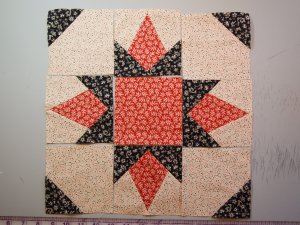
I cut a 4 1/2″ center block and laid out my units.
OLYMPUS DIGITAL CAMERA

Above is the finished block with the corners popped off the V Blocks and Snowball units WITHOUT DRAWING ANY LINES!

This tool can open up very creative ways to make intricate blocks easily.  Woo Hoo!