Tag Archives: Split Rects

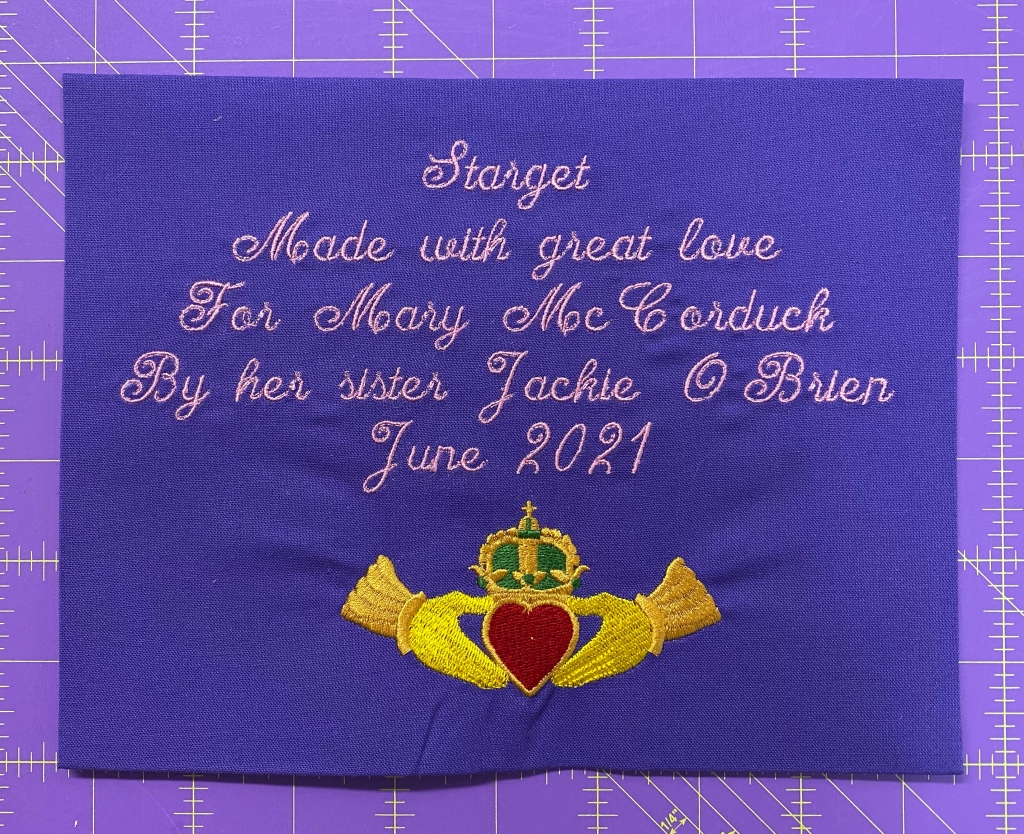
Starget

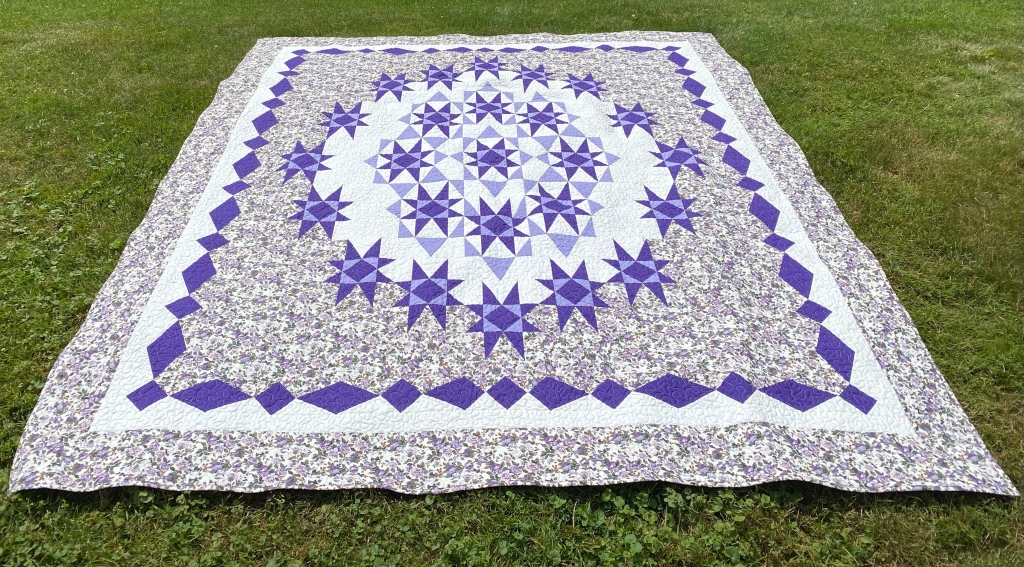
I just finished Studio 180 Design pattern “Starget” by Deb Tucker. This quilt finishes at 88″ x 104″. It requires V Block, Square/Squared, Wing Clipper I & Split Rects tools.

I made this quilt for my sister Mary. She came with me to every doctors appointment and every cancer treatment for nine months. Mary had to wait in the car during these (winter) appointments because of COVID restrictions. She loves this pattern and I was so happy to make it for her.

Vivi”s Flowers

The beautiful fabrics featured in this post were given to me by Island Batik.

The Island Batik Ambassadors assignment for September is “Childs Play”, make a quilt inspired/designed for a child.

Included in Island Batik Ambassador’s Box 2, I was given a gorgeous fat quarter bundle from the Enchanted Forest line. These fabrics are so beautiful and the name “Enchanted Forest” reminds me of being a child at my grandparents house. My sister Mary and I would go through the backyard, past the little league field, playground and into the woods. For my sister and I, those woods were magical. We imagined we could find a fairy floating by around every tree & magical creatures of all sorts living in our Enchanted Forest along the Saquoit Creek. The many shades of green in the variety of trees and moss were amazing. In the Spring, we couldn’t wait to go hunting for violets, and would come home with beautiful bouquets for our Grandma Bessie.

I pin orphan blocks to the ceiling in my quilt studio. As I was contemplating what to make I spotted a favorite block. For me the creative process usually begins with EQ8, so off I went to see what I would come up with.

I love the flower affect that is created by using Shaded Four Patch & Split Rects units. I decided on a 10″ finished block using 4″ finished Shaded Four Patch units & 2″ X 4″ finished Split Rects Units.

I used all the fabulous fabrics in the fat quarter bundle and made each flower unique. Vivi’s Flowers was constructed with Aurifil Thread and completed with Hobbs Tuscany Silk Blend Batting. This quilt was made for my friend Cher Green’s beautiful Granddaughter Vivi. I named this quilt “Vivi’s Flowers”. It measures 46″ X 58″. If you would like a supply list for this quilt you may download it here:

#islandbatikambassador #islandbatik #iloveislandbatik #quilting #sewingforkids #kidsquilts #quiltingproject #hobbsbatting #doyoueq #aurifil #aurifilthread #juki #olfacreates

The Great Outdoors Blog Hop

The products in this post were given to me by Island Batik.

img_6392

Back in February when I received my Island Batik Ambassador Box 1 it contained a secret bundle that could not be shared until now!  Through out the month of August “The great Outdoors Blog Hop” is featuring Island Batik Ambassador’s creations using fabrics that were introduced at the 2018 Spring Market.  Go to Island Batik for links to all the Ambassador Blog Sites.

I was given fabric from the “Spring Blossom” line:

This slideshow requires JavaScript.

I managed to use 20 different fabrics from this gorgeous line in my quilt as shown above.

img_1343

I named my quilt “Firefly”.  It is my original design, and uses Studio 180 Design Split Rects & Corner Beam tools.  It measures 66″ x 78″.  It is designed using one 6″ finished block.

img_6373

Each block contains 1 – 4″ finished Corner Beam unit, 2 mirror image 2″ x 4″ finished  Split Rects units & a 2″ finished square.

img_6367img_6368

I chose 7 different fabrics for the Split rects units and 10 more fabrics for the Corner Beam units and squares.

img_1378

I got one star block by place the corner beam units in the center and a 2nd star block by placing the 2″ squares in the center which created the “Firefly” in the center, how cool is this?  I had so much fun making this quilt.

This slideshow requires JavaScript.

To celebrate the great out door places in Utica, NY, my sister Mary & I went all over taking pictures of my travelling quilt.  We went to the historical Utica Train Station, Forest Hills Cemetery (the tree was up the hill from John Quincy Adams granddaughter’s grave), Rutger Park 1 & 3, Franklin Square, Liberty Bell Corner, Bagg Square & Utica Bread (fabulous bakery) and then upstairs to Jay Groah Realtor Group (his office has the coolest 70″s vibe), we finished up at the Eagle with a beautiful view of Utica.

GIVEAWAY:  Please leave a comment about this post and I will choose a winner to receive this Island Batik Spoolin Around Charm Pack!  (Giveaway is US Only and ends September 5, 2018.  Please leave your email in the comment.)

#greatoutdoorsbloghop #islandbatik #islandbatikambassador

Blast From The Past

The fabrics featured in this post were given to me by Island Batik. 

Modern Batik Challenge 39

The Island Batik Ambassador’s challenge for June is “Modern Batik”.  Lord have mercy!  I had no idea what to do.  I love all types of quilts.  For some reason I wondered……what colors were popular in 1953?  A search on Pinterest revealed an O’Brien Paints Color Card from 1953!  It must be a sign!

I racked my brain.  I had these really cool precut rolls of 5″ WOF strips I’d received in my box “O” fabric from Island Batik.

Last year I was constantly looking for quilt blocks containing Shaded Four Patch units. This year it seems to be Split Rects units that have my mind whirling.

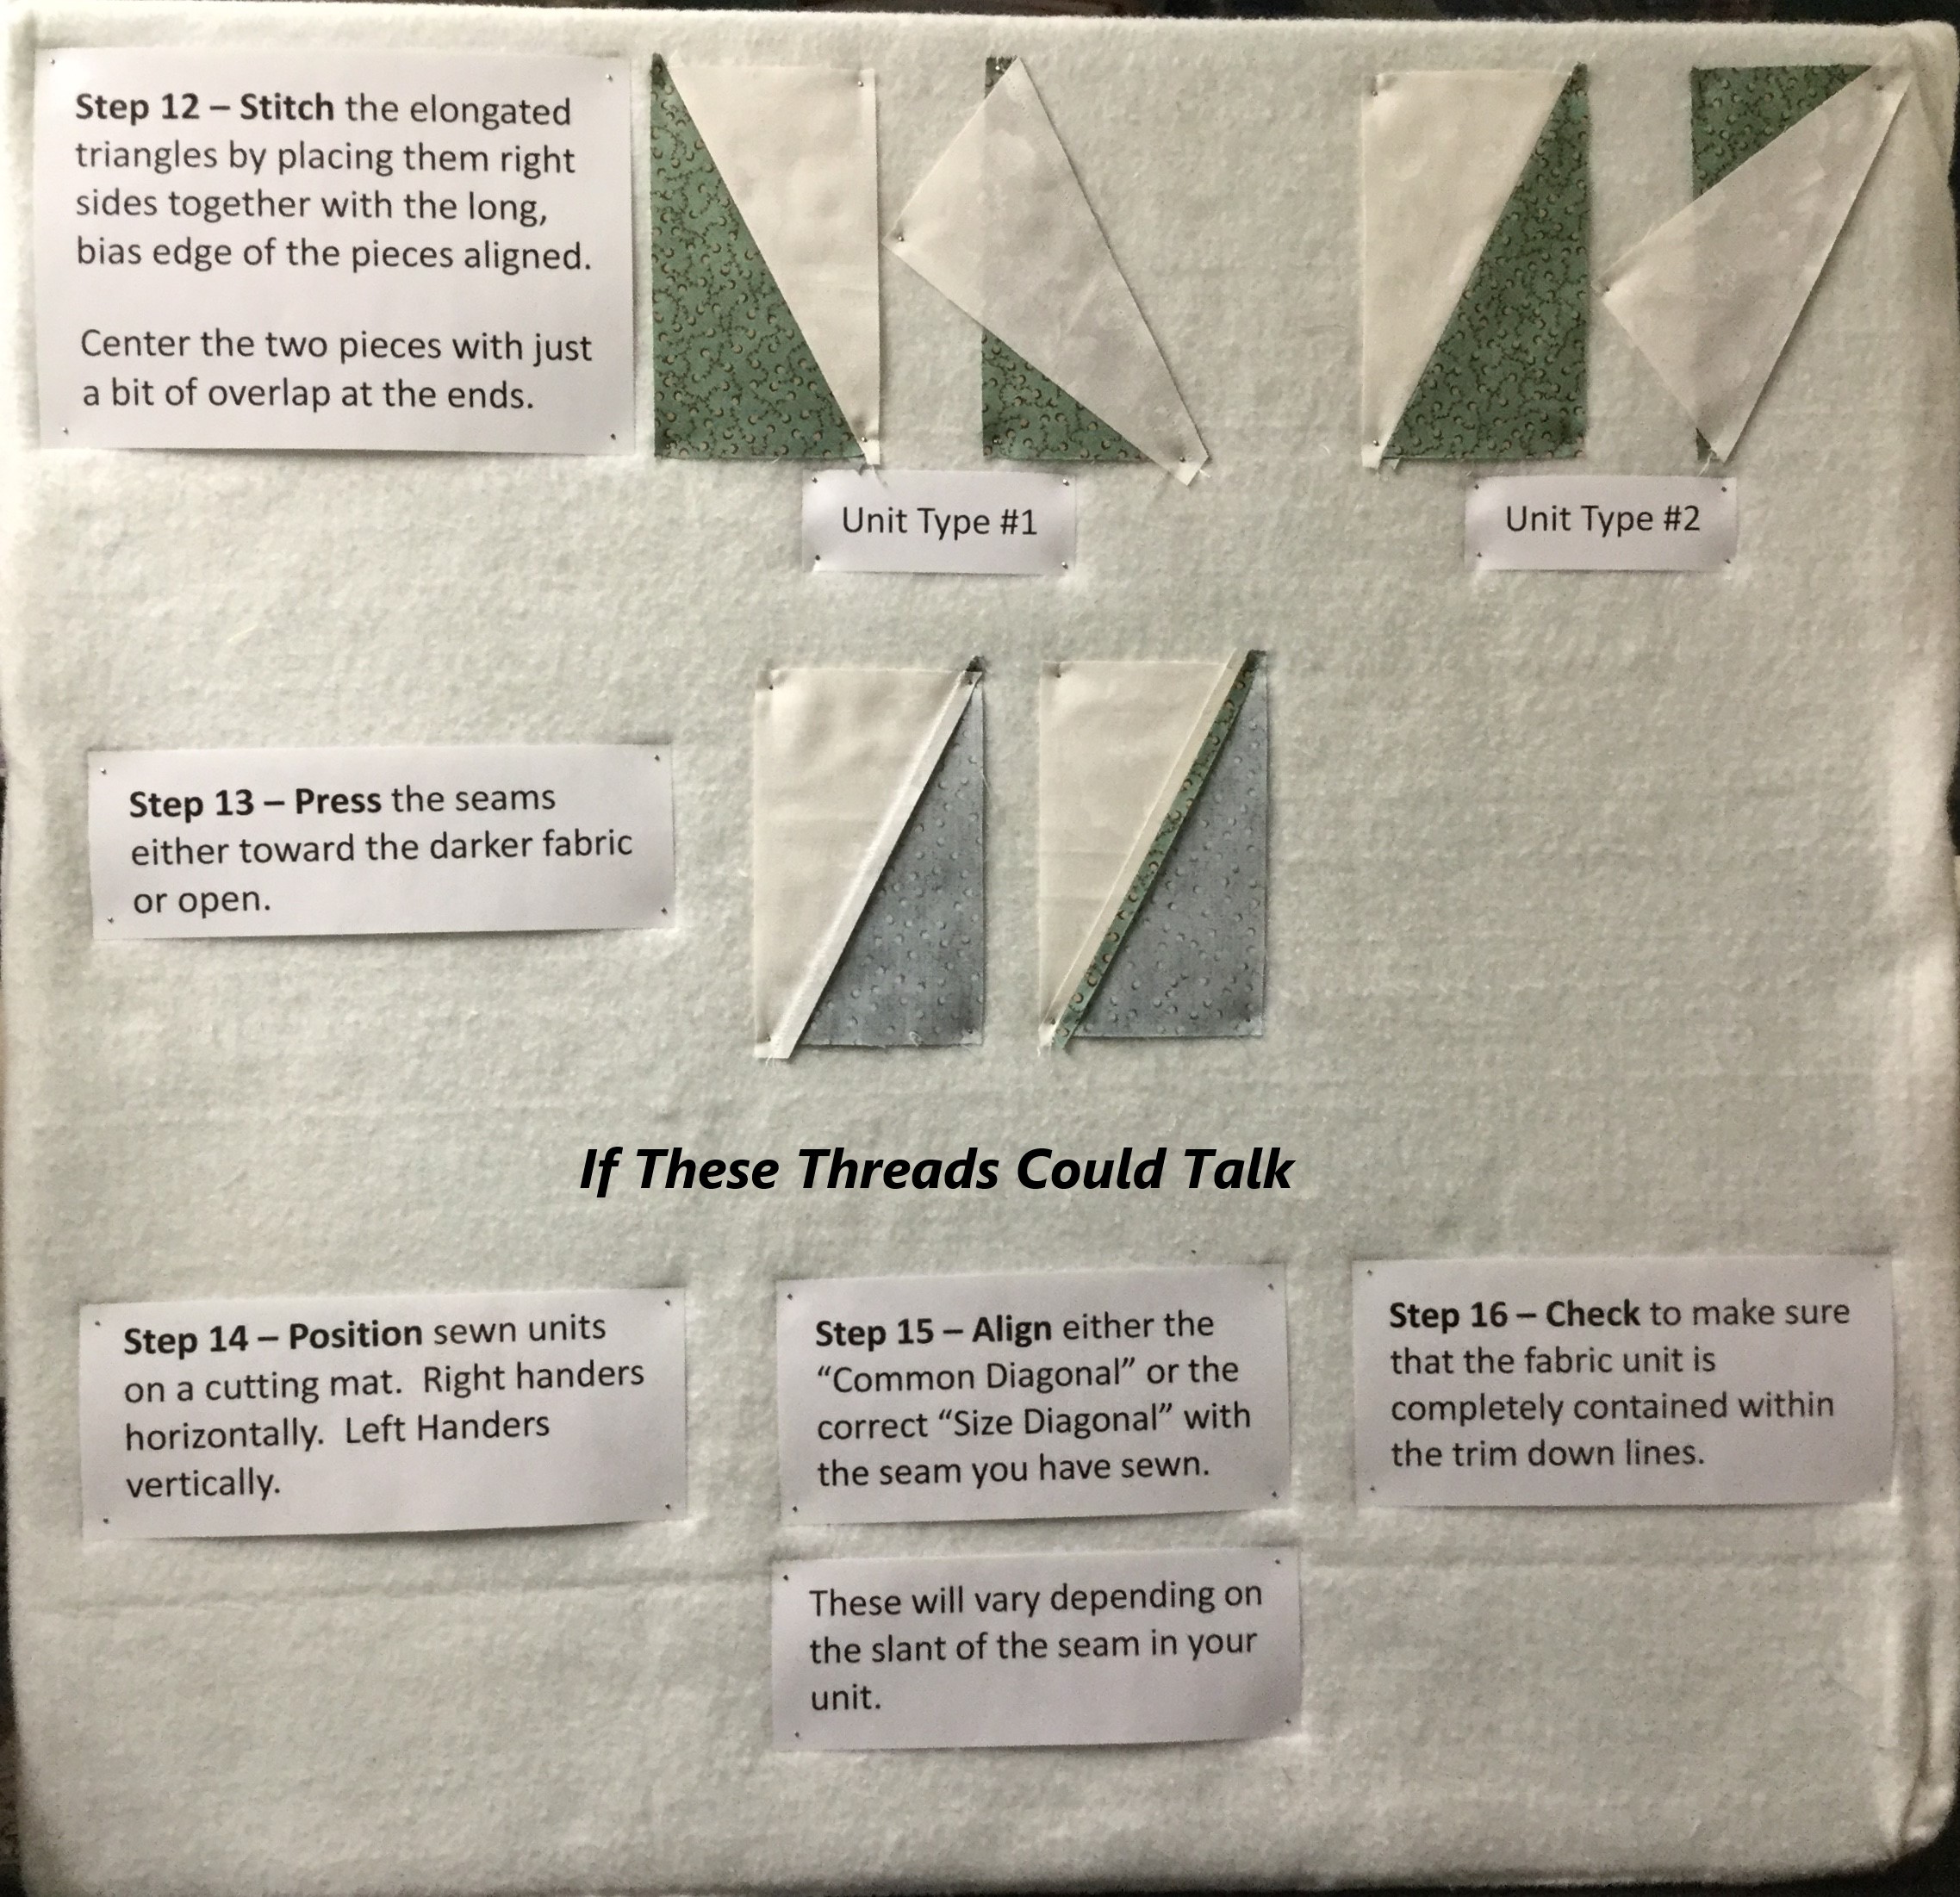
2 TU SR Unit Types

3 TU SR 5 thru 8

5 TU SR 12 thru 16

The above photo’s are my teaching step outs that explain the process of making Spilt Rects Units in case you weren’t sure what I was talking about.

img_6178

I chose 8 – 5″ WOF strips of color & cut 8 – 5″ strips of neutral.  Each strip yielded 12 pair mirror image elongated triangles for a total of 192 – 2″ x 4″ finished Split Rects Units that I will put together to make a multi-faceted Diamond unit.

I Combined the Split Rects units to make multifaceted diamonds.

img_1210

img_6180

I was very closely supervised during this part.

I had an idea of what I wanted, but wasn’t sure how to get there.  I had 48 diamond units but needed to add something more.  I decided on Rapid Fire Lemoyne Stars.

img_6193

I went to Island Batik stash and used 2 1/2″ strips from Spoolin’ Around.  These beautiful pieces of batik have been hand dyed by skilled fabric artists in the garden village of Sanur, Bali.

img_6210

This is what I came up with.  Is it modern?  The challenge description was “must incorporate ONE of the characteristics of modern quilts as defined by the Modern Quilt Guild:  the use of bold colors & prints, high contrast & graphic areas of solid color, improvisational piecing, minimalism, expansive negative space, alternate grid work”.

I may have hit one or two points!  But if you look to the past for inspiration what can you expect!  “Blast From The Past” measures 42′ x 62″.

img_6206

img_6211

As always, my quilts are lovingly pieced with Aurifil thread!

#islandbatik #debtucker #studio180design #aurifilthread

Celebrating GALentine’s Day

300px - I'm-an-Island-Batik-Ambassador - Blue-Ribbon

First things first… I am an Island Batik Ambassador!!!  I am so excited to have been accepted as apart of this talented group of quilters.  Island Batik Company has been around for over 15 years providing quality products and outstanding customer service.

Island Batik Ambassador’s are from all over the world.  As an Island Batik Ambassador, I will be sharing their fabric lines and projects to help inspire you.  Every month there will be something new to share.

I am one of those people who can’t stand to be late.  Even when I try to not to be the first person at the party, I’m always on time!  The 2017 Island Batik Ambassador’s just ended their year with the Four Season Blog Hop January 31st.  The boxes filled with Island Batik goodies for the 2018 Ambassador’s have been mailed.  Unfortunately mine will be delivered while I’m away at a quilting retreat.  I can’t stand to be late so I pulled out some Island Batik fabric from my stash to share my GALentine’s Day project with you.

If you were a Parks & Recreation’s fan you’ll remember when Leslie Knope created “Galentine”s Day” as a celebration of our best gal pal’s and lady friends!  So this February 13th (that’s right, the day before Valentines Day) let’s celebrate our fellow females who encourage and inspire us.

I heart you.

img_5696

I am also a Studio 180 Design Certified Instructor, so the way I roll is with Deb Tucker Tools!  This Mug Rug was made with Deb’s Split Rects & Corner Pop Tools.

img_5657

I started by choosing my Island Batik fabrics from the Drizzle Collection and my favorite thread from Aurifil.  I made this Mug Rug by making two  3″ x 6″ finished mirror image Split Rects units.  First thing was to check the size chart in my Split Rects instructions.  I had fat quarters of dark purple & light purple, and yardage of my background  fabric.  The tool instructions will tell you that for 3″x 6″ finished units you will need 7″ wide strips of each color.  I cut a 7″ strip from each of my purple fat quarters, and a 7″ WOF strip from my background fabric.

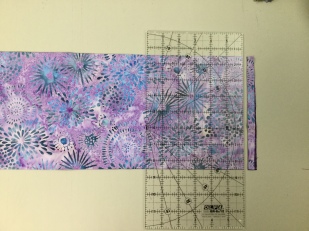
For Mirror Image units I placed my purple 7″ strips right sides together and trimmed off the selvages.

Right handers place strips horizontally on the cutting mat and position the tool on the strip with the broad black line against the trimmed end of the strips and the desired finished size guide line along the raw edge of the strips. Trim along the slanted edge of the tool.  You will now have mirror image elongated triangles. (See tool instructions for left handed cutting.)

Repeat the process and cut two mirror image elongated triangles from your background fabric.  Place the background triangles with purple triangles as shown above.

img_5665

Stitch the elongated triangles by placing them right sides together with the long, bias edge of the pieces aligned.  Because they are oversized there is no need to fuss, just center the two pieces with just a bit of overlap at the ends and stitch.  I press the seams open, but you can press to the dark if you are morally opposed to pressing the seams open.

First trim, for right handers, position the unit horizontally on the cutting mat (see tool instructions for left handed trimming).  Align either the “Common Diagonal” or the correct “Size Diagonal” with the seam you have sewn (this will vary depending on the slant of your unit).  The photo above has the common diagonal lined up with the sewn seam.  Check to make sure that the unit is completely contained within the trim down lines for 3″x6″ unit.  Trim up the right side and across the top.  Lift the tool and rotate the unit.  Reposition the tool over the unit.  Align the cut size measurement with the trimmed corner and the same Common Diagonal line used the first time.  Trim the two remaining edges.

For the second Split Rects unit you will use the “Size Diagonal” line (this will vary depending on the slant of your unit) positioned over the sewn seam making sure the unit is completely contained within the 3″x6″ trim down lines.  Trim up the right side and across the top.  Lift the tool, rotate the unit.  Align the cut size measurement with the trimmed corner and the same Size Diagonal line used the first time.  Trim the two remaining edges.

img_5670

You now have two perfectly trimmed mirror image Split Rects Units.  For the top of our heart I used Deb Tucker’s Corner Pop tool.

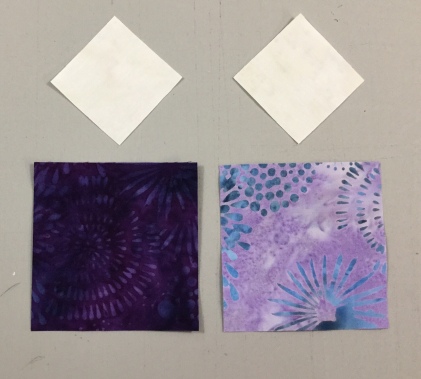
Cut two 3 1/2″ squares, one from the dark purple & one from the light purple fabric.  Cut two 2″ squares from the background fabric, and then cut them once diagonally ( the size of the replacement triangle squares varies per cut away size & is found in the chart in the tool instructions).

img_5673

With the  Corner Poop tool you can choose from 22 size options and remove a 90 degree corner from your base unit while leaving the 1/4″ seam allowance.  For this project I popped off a 3/4″ corner from the dark purple  3 1/2″ square.  Place the 3/4″ ruler lines over the corner you wish to remove as shown above and trim.

Center the replacement triangles right sides together with the base shape and stitch.  Press toward the small triangle.

img_5679

Locate the Trim Down Section on your Corner Pop tool and find the diagonal line that corresponds to the Cut Away Size, which is 3/4″.  Trim away the excess replacement triangle fabric, returning your base square to its original size.

Repeat the process and pop off one more corner as shown above.  Center & stitch the replacement triangle, press toward the replacement triangle.

As before, locate the Trim Down Section on your Corner Pop tool and find the diagonal line that corresponds to the Cut Away Size, which is 3/4″.  Trim away the excess replacement triangle fabric.  Your unit should look like the one above.  Repeat this whole process and pop off the corners of the light purple 3 1/2″ square.

img_5685

You should end up with the four units above.

Stitch the light purple heart top to the dark purple split rects unit and Stitch the dark purple heart top to the light purple split rects unit.  Press one seam towards the split rects unit and press the other towards the heart top.  Re-Press one seam of the heart top unit that was pressed toward the split rects so the seams will nest when the unit halves are sewn together.

I pressed the center seam open to avoid bulk.

Measure your heart.  Mine measures 6 1/2″x 9 1/2″.  I cut two strips 1 1/2″x 9 1/2″ and sewed them on either side.  Measure your heart gain.  I needed 2 strips 1 1/2″ x 8 1/2″ and stitched them on the top and bottom of my heart.

img_1013

My mug rug top measures 8 1/2″ by 11 1/2″  so I cut a piece of scrap batting & backing one inch larger, 9 1/2″ by 12 1/2″.  Using my walking foot I quilted the 3 layers using a simple cross hatch design with Ivory Aurifil thread.

img_5696

I finished it with 2 1/4″ binding cut from my left over fat quarter.

Tucker tried her best to keep me from finishing my GALentine’s Day Mug Rug, but I am pleased with the finished product.

#islandbatikambassador #islandbatik #iheartislandbatik #happygalentinesday #happyvalentiesday #galentinesday #valentinesday  #thebestfrombali
Northern Neighbors

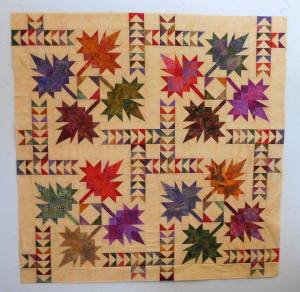
Deb Tucker’s Northern Neighbors pattern features intricate maple leaves and flying geese.  The pattern makes two sizes: Twin (70″ x 95″) & King (104″ x 104″).  I bought the fabric for this quilt over a year ago and had the units cut and ready to sew together into blocks but I became overcome by events!  It was my goal to “get her done” before the year end and I did!

OLYMPUS DIGITAL CAMERA

Northern Neighbors Maple Leaf

This is my favorite leaf block.

OLYMPUS DIGITAL CAMERA

Deconstructed Maple Leaf

The leaf block is made using Studio 180 Design Wing Clipper 1 for flying geese, Corner Beam and Split Rects tools for great leaf point definition.

OLYMPUS DIGITAL CAMERA

One Block

I made the twin size, so I made 6 of these blocks.

OLYMPUS DIGITAL CAMERA

Northern Neighbors

It really is a beautiful quilt.

OLYMPUS DIGITAL CAMERA

Northern Neighbors Label

Can’t wait to see what next year brings.

How Many Geese in that Formation?

I’m getting ready for some upcoming trunk shows and decided to make some Studio 180 Design Tool samples.  There are 8 Fundamental Tools (not counting Tucker Trimmer 2 & Wing Clipper 2).  The Tucker Trimmer 1 makes Half Square Triangles, Quarter Square Triangles & Combination Units in 11 sizes from 1 inch to 6 inches.

OLYMPUS DIGITAL CAMERA

Above are Quarter Square Triangles in 11 sizes.

OLYMPUS DIGITAL CAMERA

The Wing Clipper 1 makes Flying Geese in 10 sizes from 1 inch to 10 inches.

OLYMPUS DIGITAL CAMERA

The Square Squared Tool makes 6 sizes from 1 inch to 6 inches.

OLYMPUS DIGITAL CAMERA

The Corner Beam Tool makes 11 sizes from 1 1/2 inches to 6 1/2 inches

OLYMPUS DIGITAL CAMERA

The V Block Tool makes 11 sizes from 1 1/2 inches to 6 1/2 inches

OLYMPUS DIGITAL CAMERA

The Split Rects Tool makes 8 sizes from 1 inch to 8 inches.

OLYMPUS DIGITAL CAMERA

The Diamond Rects Tool makes 5 sizes from 2 1/2 inches wide to 10 1/2 inches wide.

With the Corner Pop Tool you can choose from any of the 22 size options and remove a corner from a base shape such as a square, rectangle, pieced unit or block and leave the necessary 1/4″ seam allowance in tact.

OLYMPUS DIGITAL CAMERA

The block above is made from V Block and Corner Beam Units.

OLYMPUS DIGITAL CAMERA

I made 4 of the blocks but this time I popped of corners of the V Block & Corner Beam units before I put the blocks together, making this very interesting wall hanging.

Next I need to make samples for the Rapid Fire Hunters Stars and Lemoyne Star Tools.  Happy quilting!

OLYMPUS DIGITAL CAMERA

Dreaming of the Orient, (Batting that is)

I’m a cotton girl. I’ve always used 100% cotton batting. But, this year this Batt Girl is breaking out of her Batt Cave! Today I quilted my Studio 180 Design quilt “Wish Upon”, but I used Dream Orient by Quilters Dream Batting. This batting is made of bamboo, silk, tencel and cotton. When I opened the package the first I noticed was how luxuriously soft it was. It seemed a little thicker than Dream Cotton Select.  It was wonderful to touch.
Wish Upon

I have a small house. I was determined to find a way to get a long arm.  I bought a queen size “John Watts” quilt frame from Australia.  It only weighs 50 pounds, so when I wasn’t using it, it hung on the wall of the garage.  I bought a Nolting “Fun Quilter”  It weighs 40 pounds.  It has a 17″ throat and has a speed and stitch control.  After 7 years of lugging the frame in and out of the house, my husband finished the back pork so I could leave it up full time.

OLYMPUS DIGITAL CAMERA

For today’s adventure, I have loaded the backing.

OLYMPUS DIGITAL CAMERA

I then loaded the Dream Orient.  It handled really nicely, didn’t stretch out of shape at all.  It feels great.
OLYMPUS DIGITAL CAMERA

I have the top loaded.  See my tractor seat stool?  It is great for rolling back and forth while I pin the backing etc. to the leaders.
OLYMPUS DIGITAL CAMERA

I am now ready to quilt.  Like butta, I tell ya, smooooth!
OLYMPUS DIGITAL CAMERA

Last row done.  It looks wonderful.  I’m off to trim off the excess batting and sew the binding on.  There was so much red in this quilt that when I washed it I put in 10 color catchers (they came out pink, so I’m glad I did).  I washed the quilt in cold water and dried it normally.  When I pulled it out the dryer, I noticed immediately how soft it was.  They say quilts quilted with Dream Orient drape beautifully, and they are right!  I am definitely using Dream Orient again.
Wish Upon

This pattern is by Deb Tucker.  We just had a Studio 180 Design Certified Instructor Reunion.  Deb gave this to us as a mystery, but she will making the pattern available sometime this summer.  It uses the Split Rects Tool and the Wing Clipper I and the Tucker Trimmer I.  I love this quilt.

Northern Neighbors

Northern Neighbors
This is Deb Tucker’s new pattern she is calling Northern Neighbors. She has not decided how to finish the border yet. But it is stunning! We just had our Studio 180 Design Certified Instructor’s reunion and we got the chance to work on this pattern. Deb hopes to release it in May 2014.  This pattern uses Studio 180 Design Split Rects, Wing Clipper I, Corner Beam.  The diamond in a square block can also be made with Deb’s new tool called “Corner Pop”, more on that new tool later.

OLYMPUS DIGITAL CAMERA
Above are some of the instructor’s version of Northern Neighbors.

OLYMPUS DIGITAL CAMERA
These are Dan’s blocks. Dan and his wife own “Threads Galore Quilt Shop, in Rangeley Maine.

OLYMPUS DIGITAL CAMERA
This is Phyllis’ version using Kansas Troubles.

05 Donna NN
Donna’s are so beautiful using batiks.  I’m working on mine, I am using reds and white.  I’ll share when I get it put together.

Don’t Call Me Frank!

Interlocking Stars
This is my finished mystery given to the Studio 180 Design Certified Instructor’s. It will be released as a pattern early summer 2014. I’ve a bad cold and have been taking a lot of NyQuil. They have been teasing me that I will have to go Betty Ford to get of NyQuil. Needless to say, I made some mistakes because of NyQuil Residue. I had to do a lot of un-sewing. I jokingly called my quilt “Frank” because he had been taken apart and sew back together so many times he had scars!

We used Split Rects, Wing Clipper I, and the Tucker Trimmer I. This is a fun quilt to make!