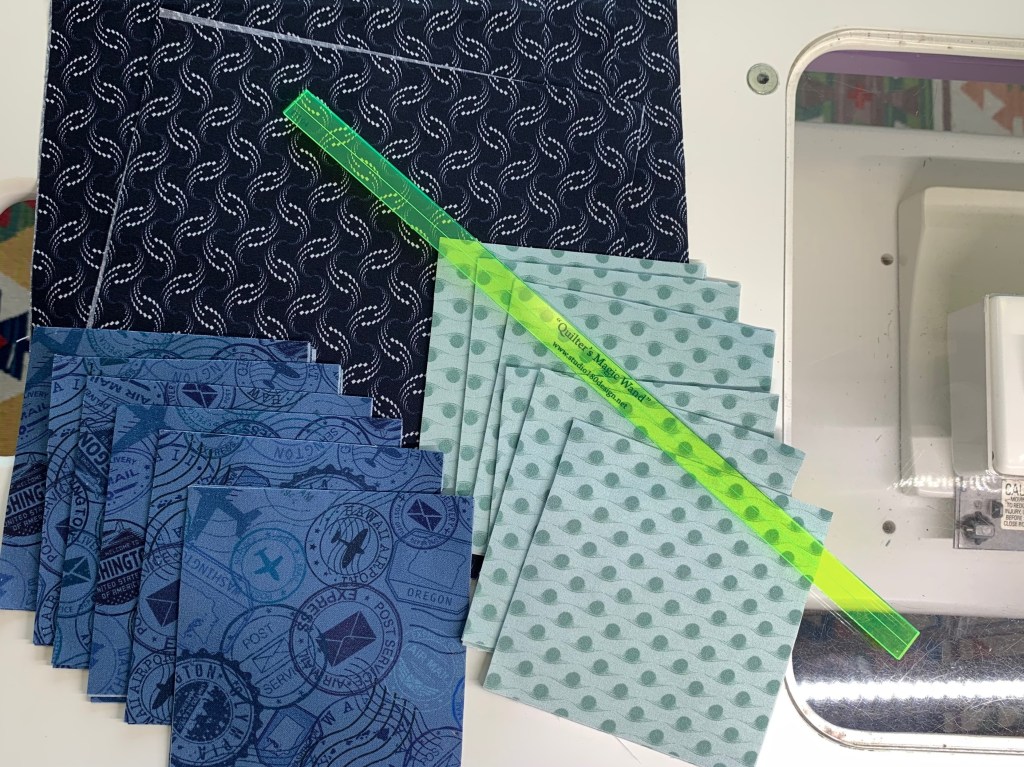
Welcome to Stitchin Heaven’s Journeys BOM Month 3. This month you will be learning to make flying geese the Deb Tucker way, using your Wing Clipper I. My helper this month is Deb Tucker herself! As always use your best cutting, stitching and pressing skills. We will be using prints 1, 2 & 5. Carefully cut your starter squares and let’s go!
Piecing Instructions Flying Geese Construction
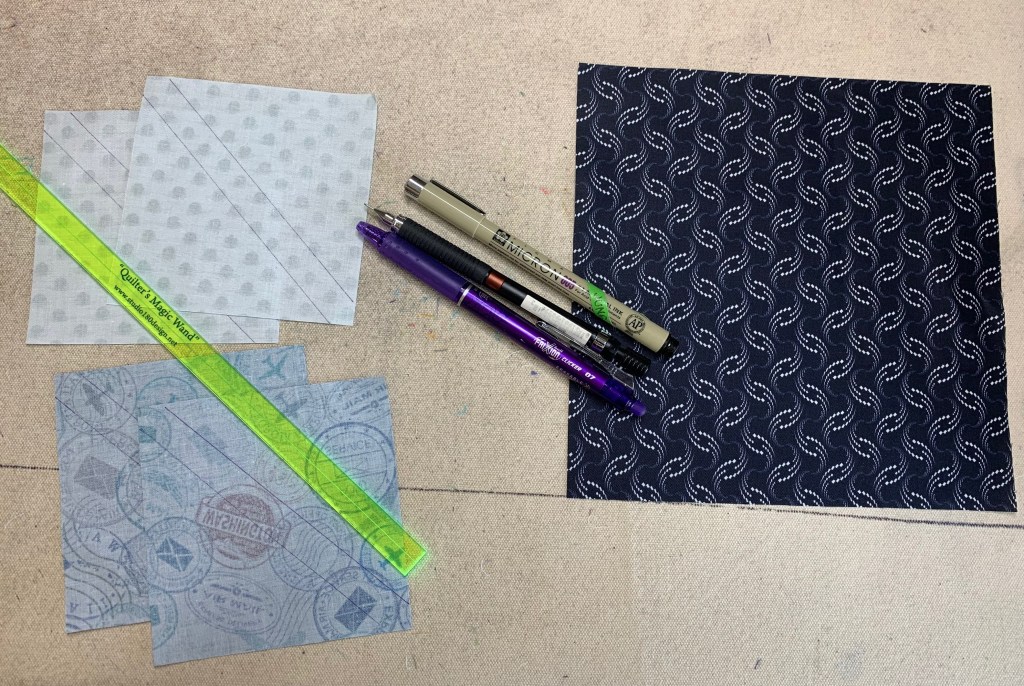
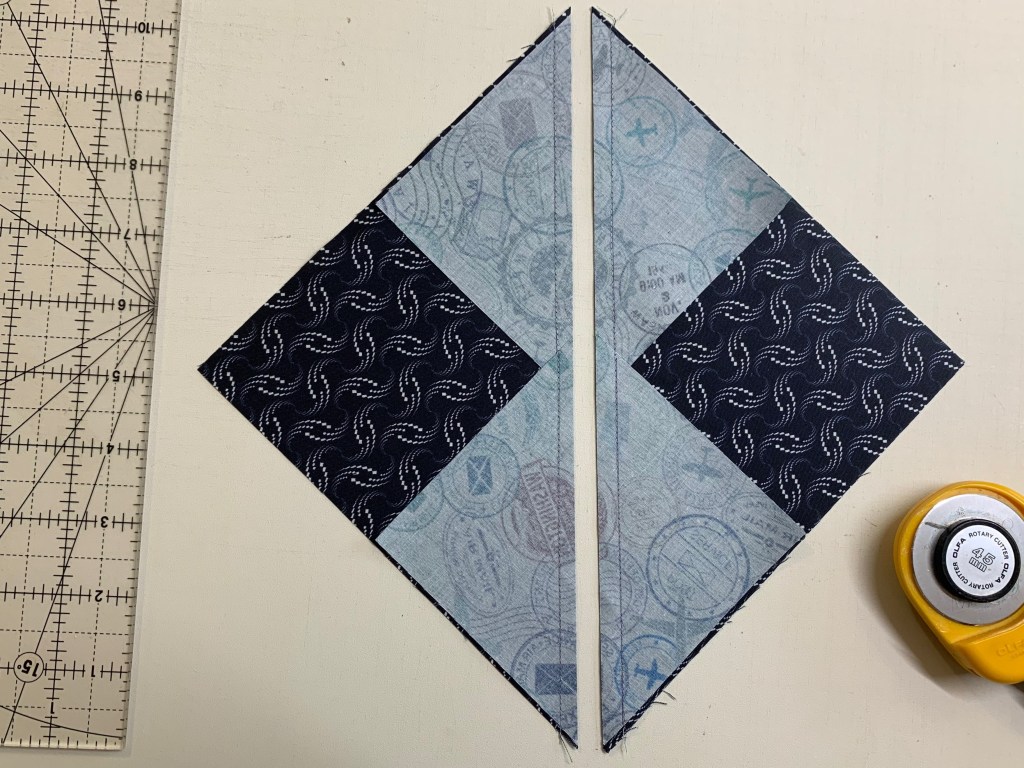
Step 1 – Mark Squares. Begin with one large Print 1 square and two Print 2 and two Print 5 small squares. On the wrong side of each small square, mark two stitching lines ¼” on either side of the center diagonal. I like to use my Quilter’s Magic Wand™ for this task.
Step 2 – Position the two Print 2 small squares in opposite diagonal corners of the large square, right sides together. Nudge the small squares in toward the center a few threads from the edge of the large square and align the drawn lines.


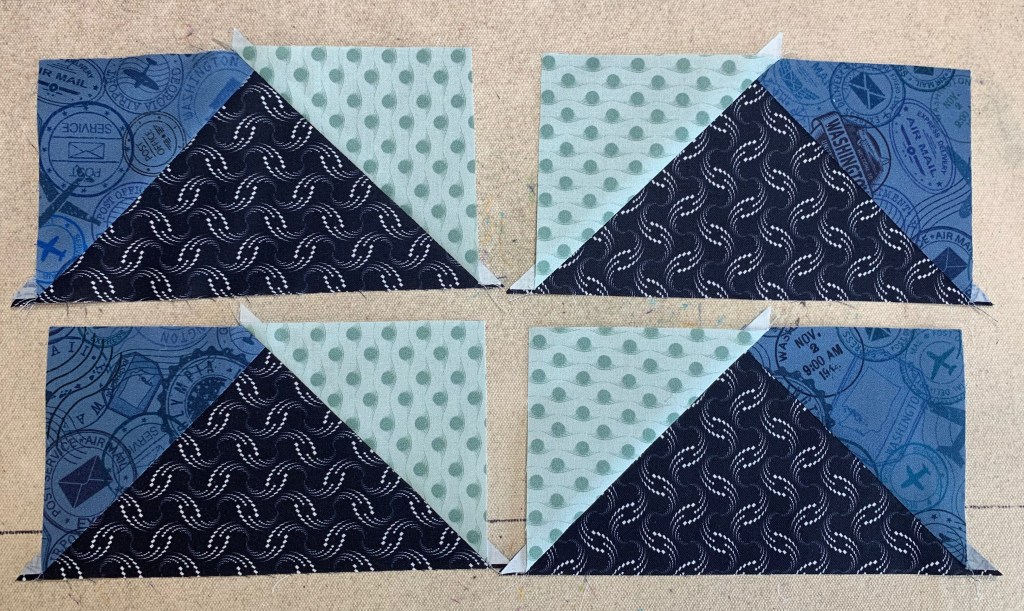
Step 3 – Stitch on the two marked lines, then cut between the stitching lines along the center diagonal of the squares. Press your seams toward the small triangles.

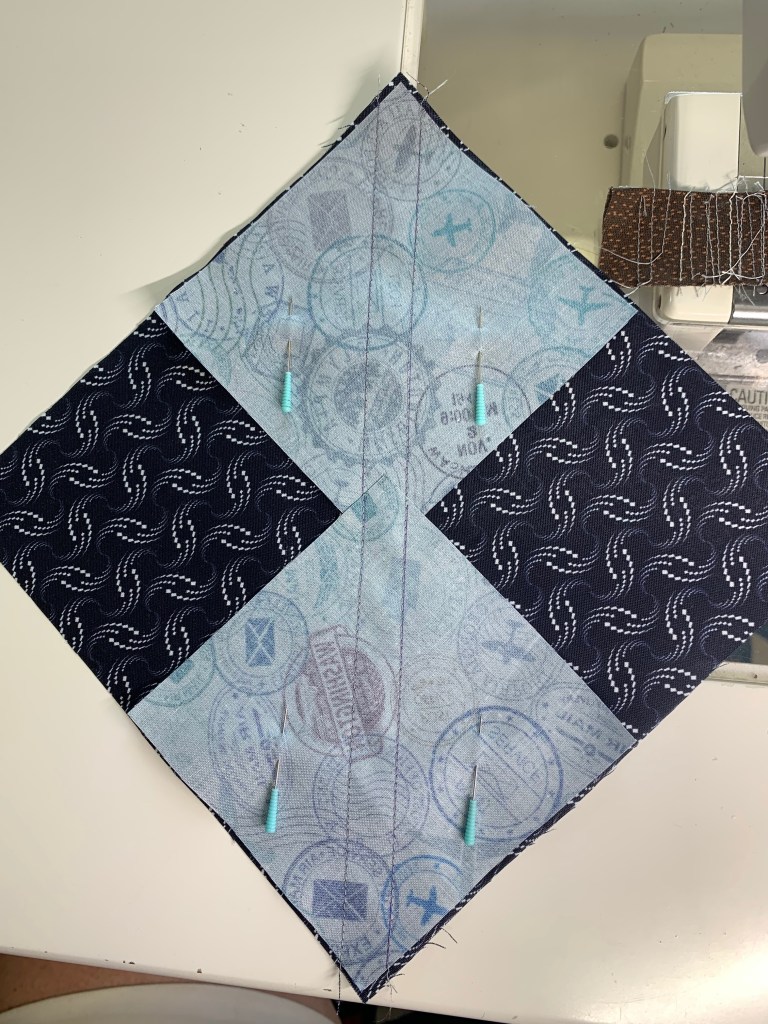

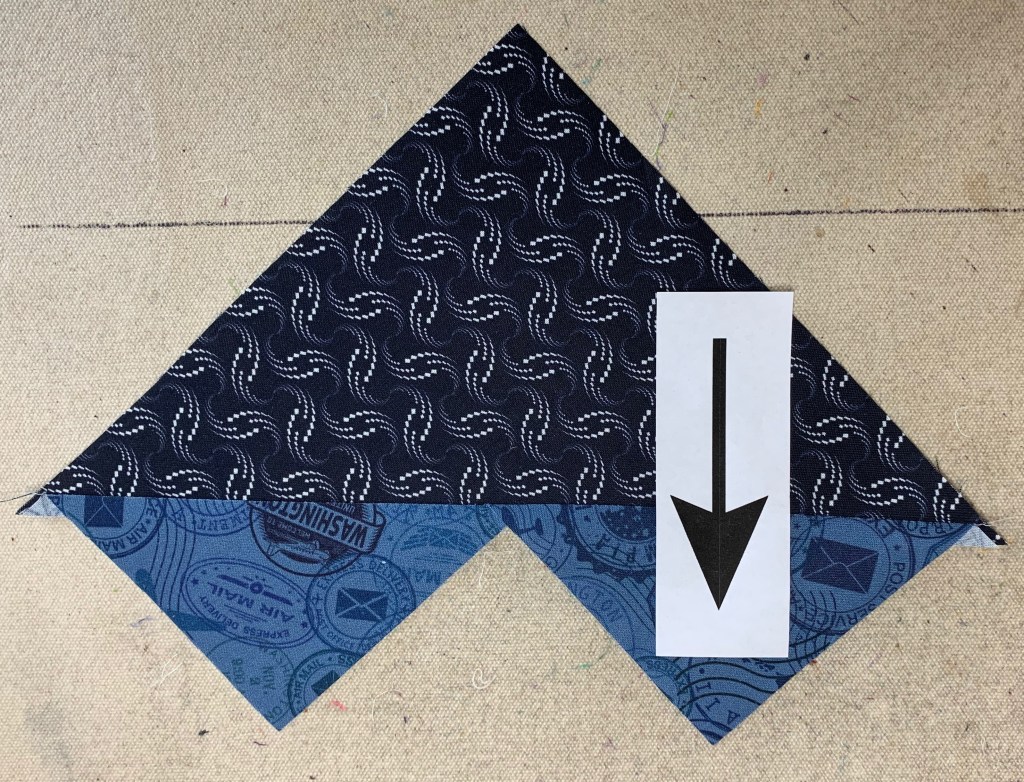
Step 4 – Position two Print 5 small squares, one in each corner of your heart shaped units. Nudge these squares a few threads in from the edge of the large triangle.

Step 5 – Stitch along the two marked lines.
Step 6 – Cut between the stitched lines along the center diagonal of the small squares and press toward the small triangle.
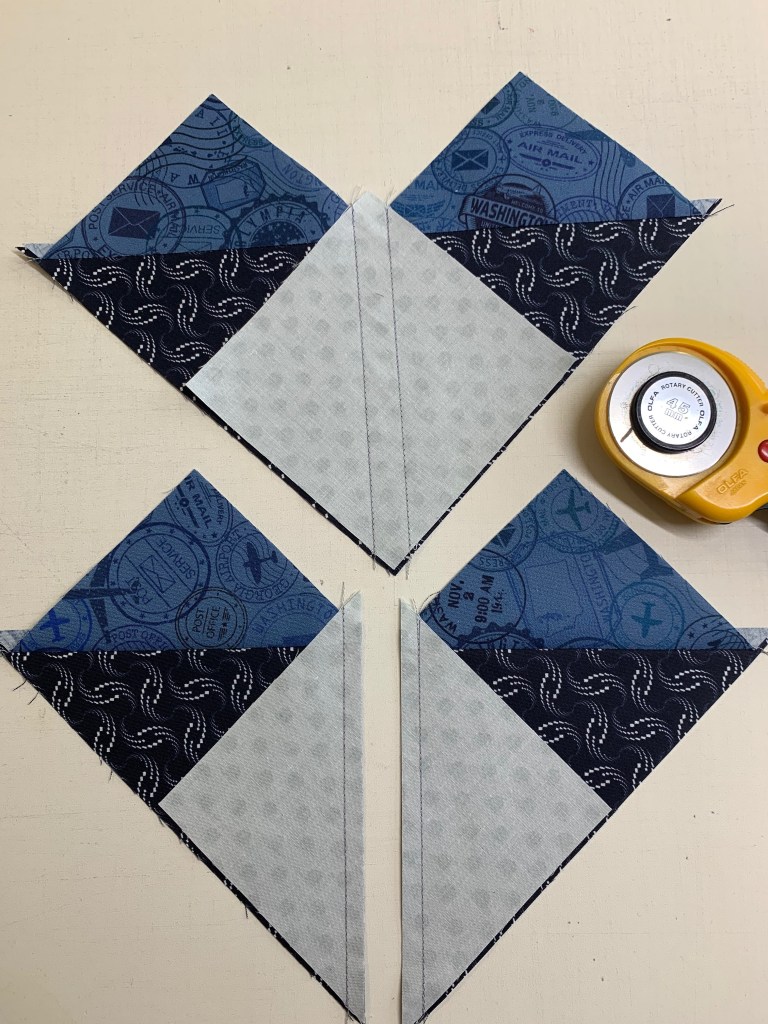
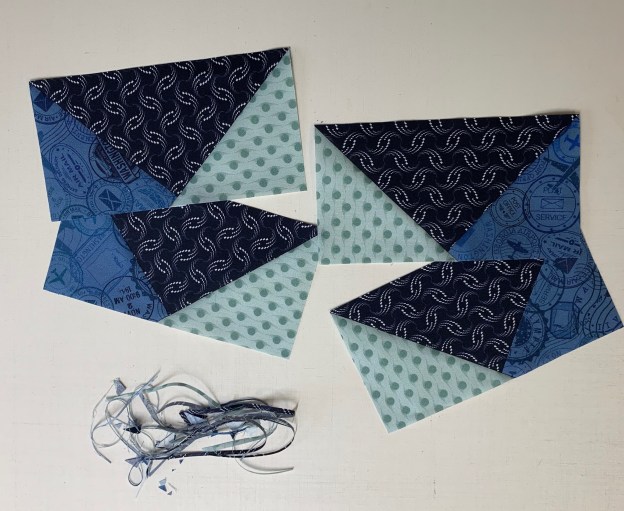
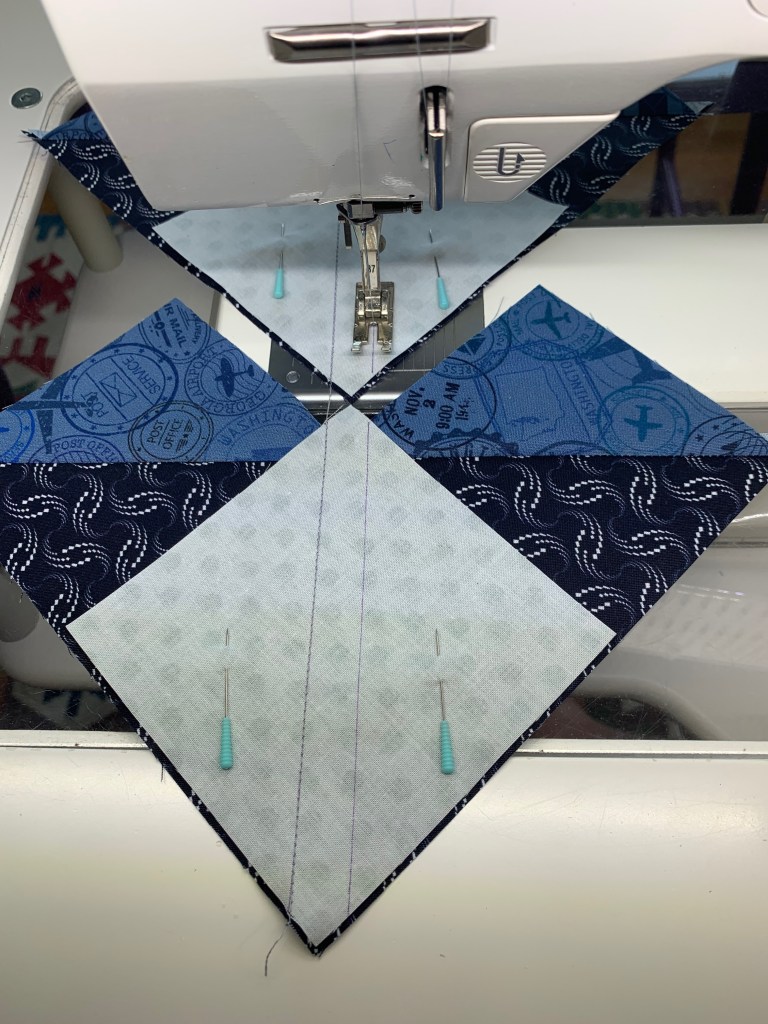
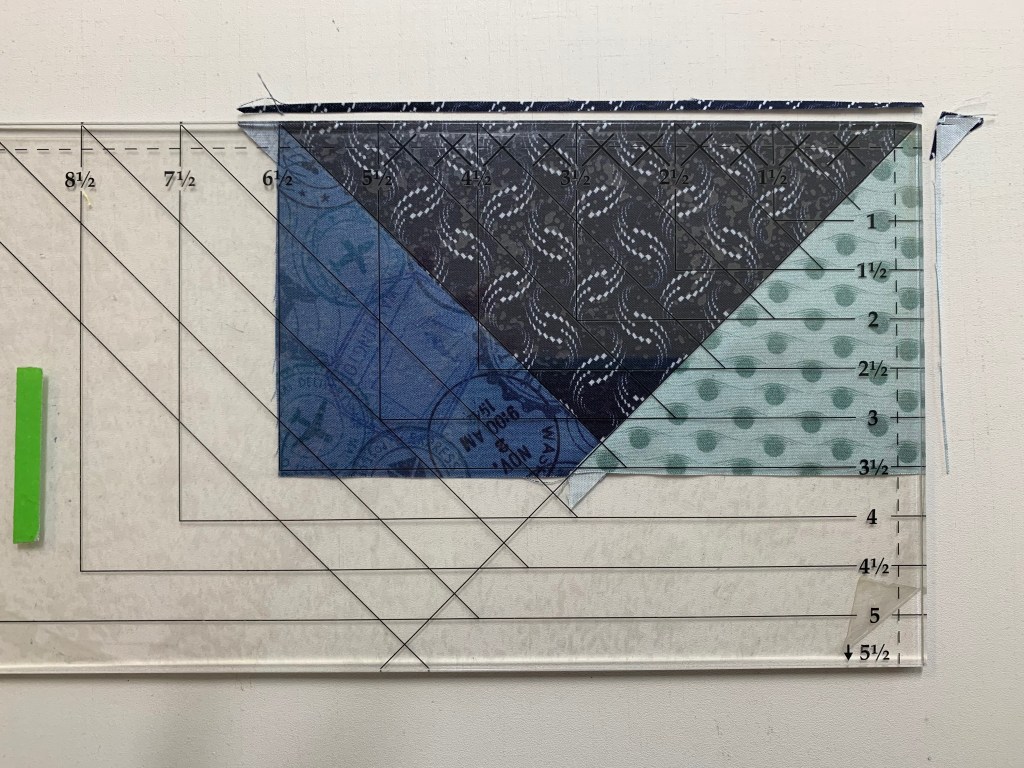
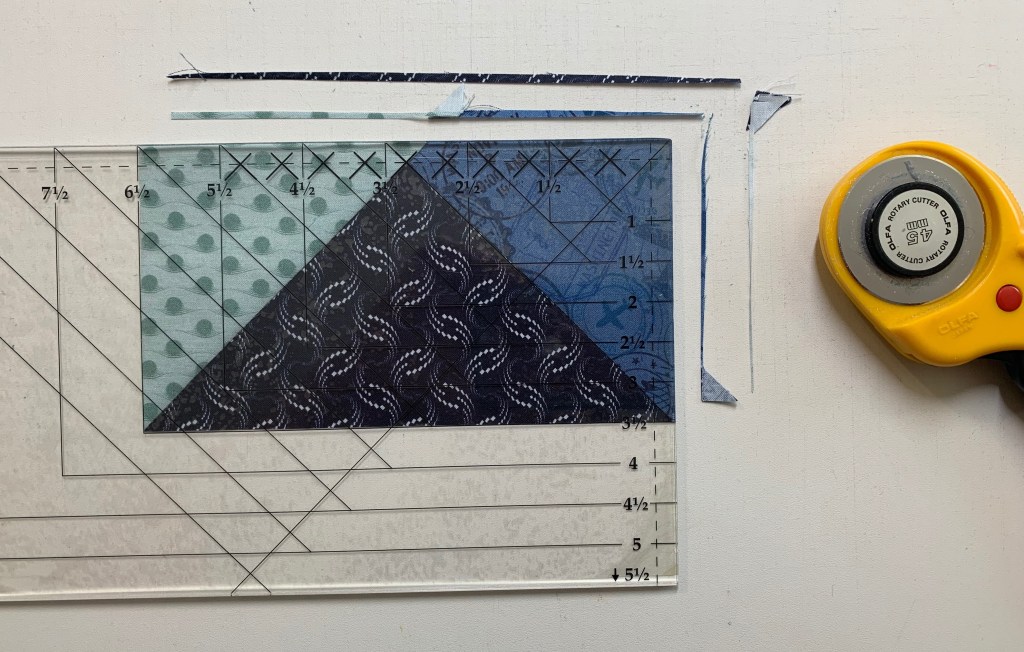
Step 7 – Position your Wing Clipper® I tool over your unit, aligning the correct diagonal guidelines of the ruler with the seams of your unit and trim two sides. Rotate the unit 180° and align the 3½”x 6½” horizontal and vertical guide lines with the edges of the unit. Align the “X” on the Wing Clipper® I with the seam intersection of your unit and trim again. Repeat for the remaining units. You will end up with 24 geese that have print 2 on the left, label these as Unit E, and 24 geese that have print 2 on the right, label these as Unit F.

Congratulations! You have now learned to make flying geese using the Wing Clipper I.
