
Welcome to Stitchin Heaven’s Journeys Block of the Month 8 – Uneven Chains 2. I know you all worked so hard last month on your Liberty Stars. You learned how to make Uneven Chains in month 1, so this month should be a breeze. We will again be using the Four Patch Square Up tool.

Print 6 
Print 10 
Print 11
This month we will be using prints 6, 10 & 11
Piecing Instructions
Step 1 – Stitch your strips together into Strip Set A, Strip Set B, and Strip Sets C. Position two strips right sides together and align the long edges. Stitch with your best ¼” seam.
Step 2 – Press your strip sets. In all strip sets, press toward Print 6. A helpful pressing tip: whatever you are pressing toward goes on top.

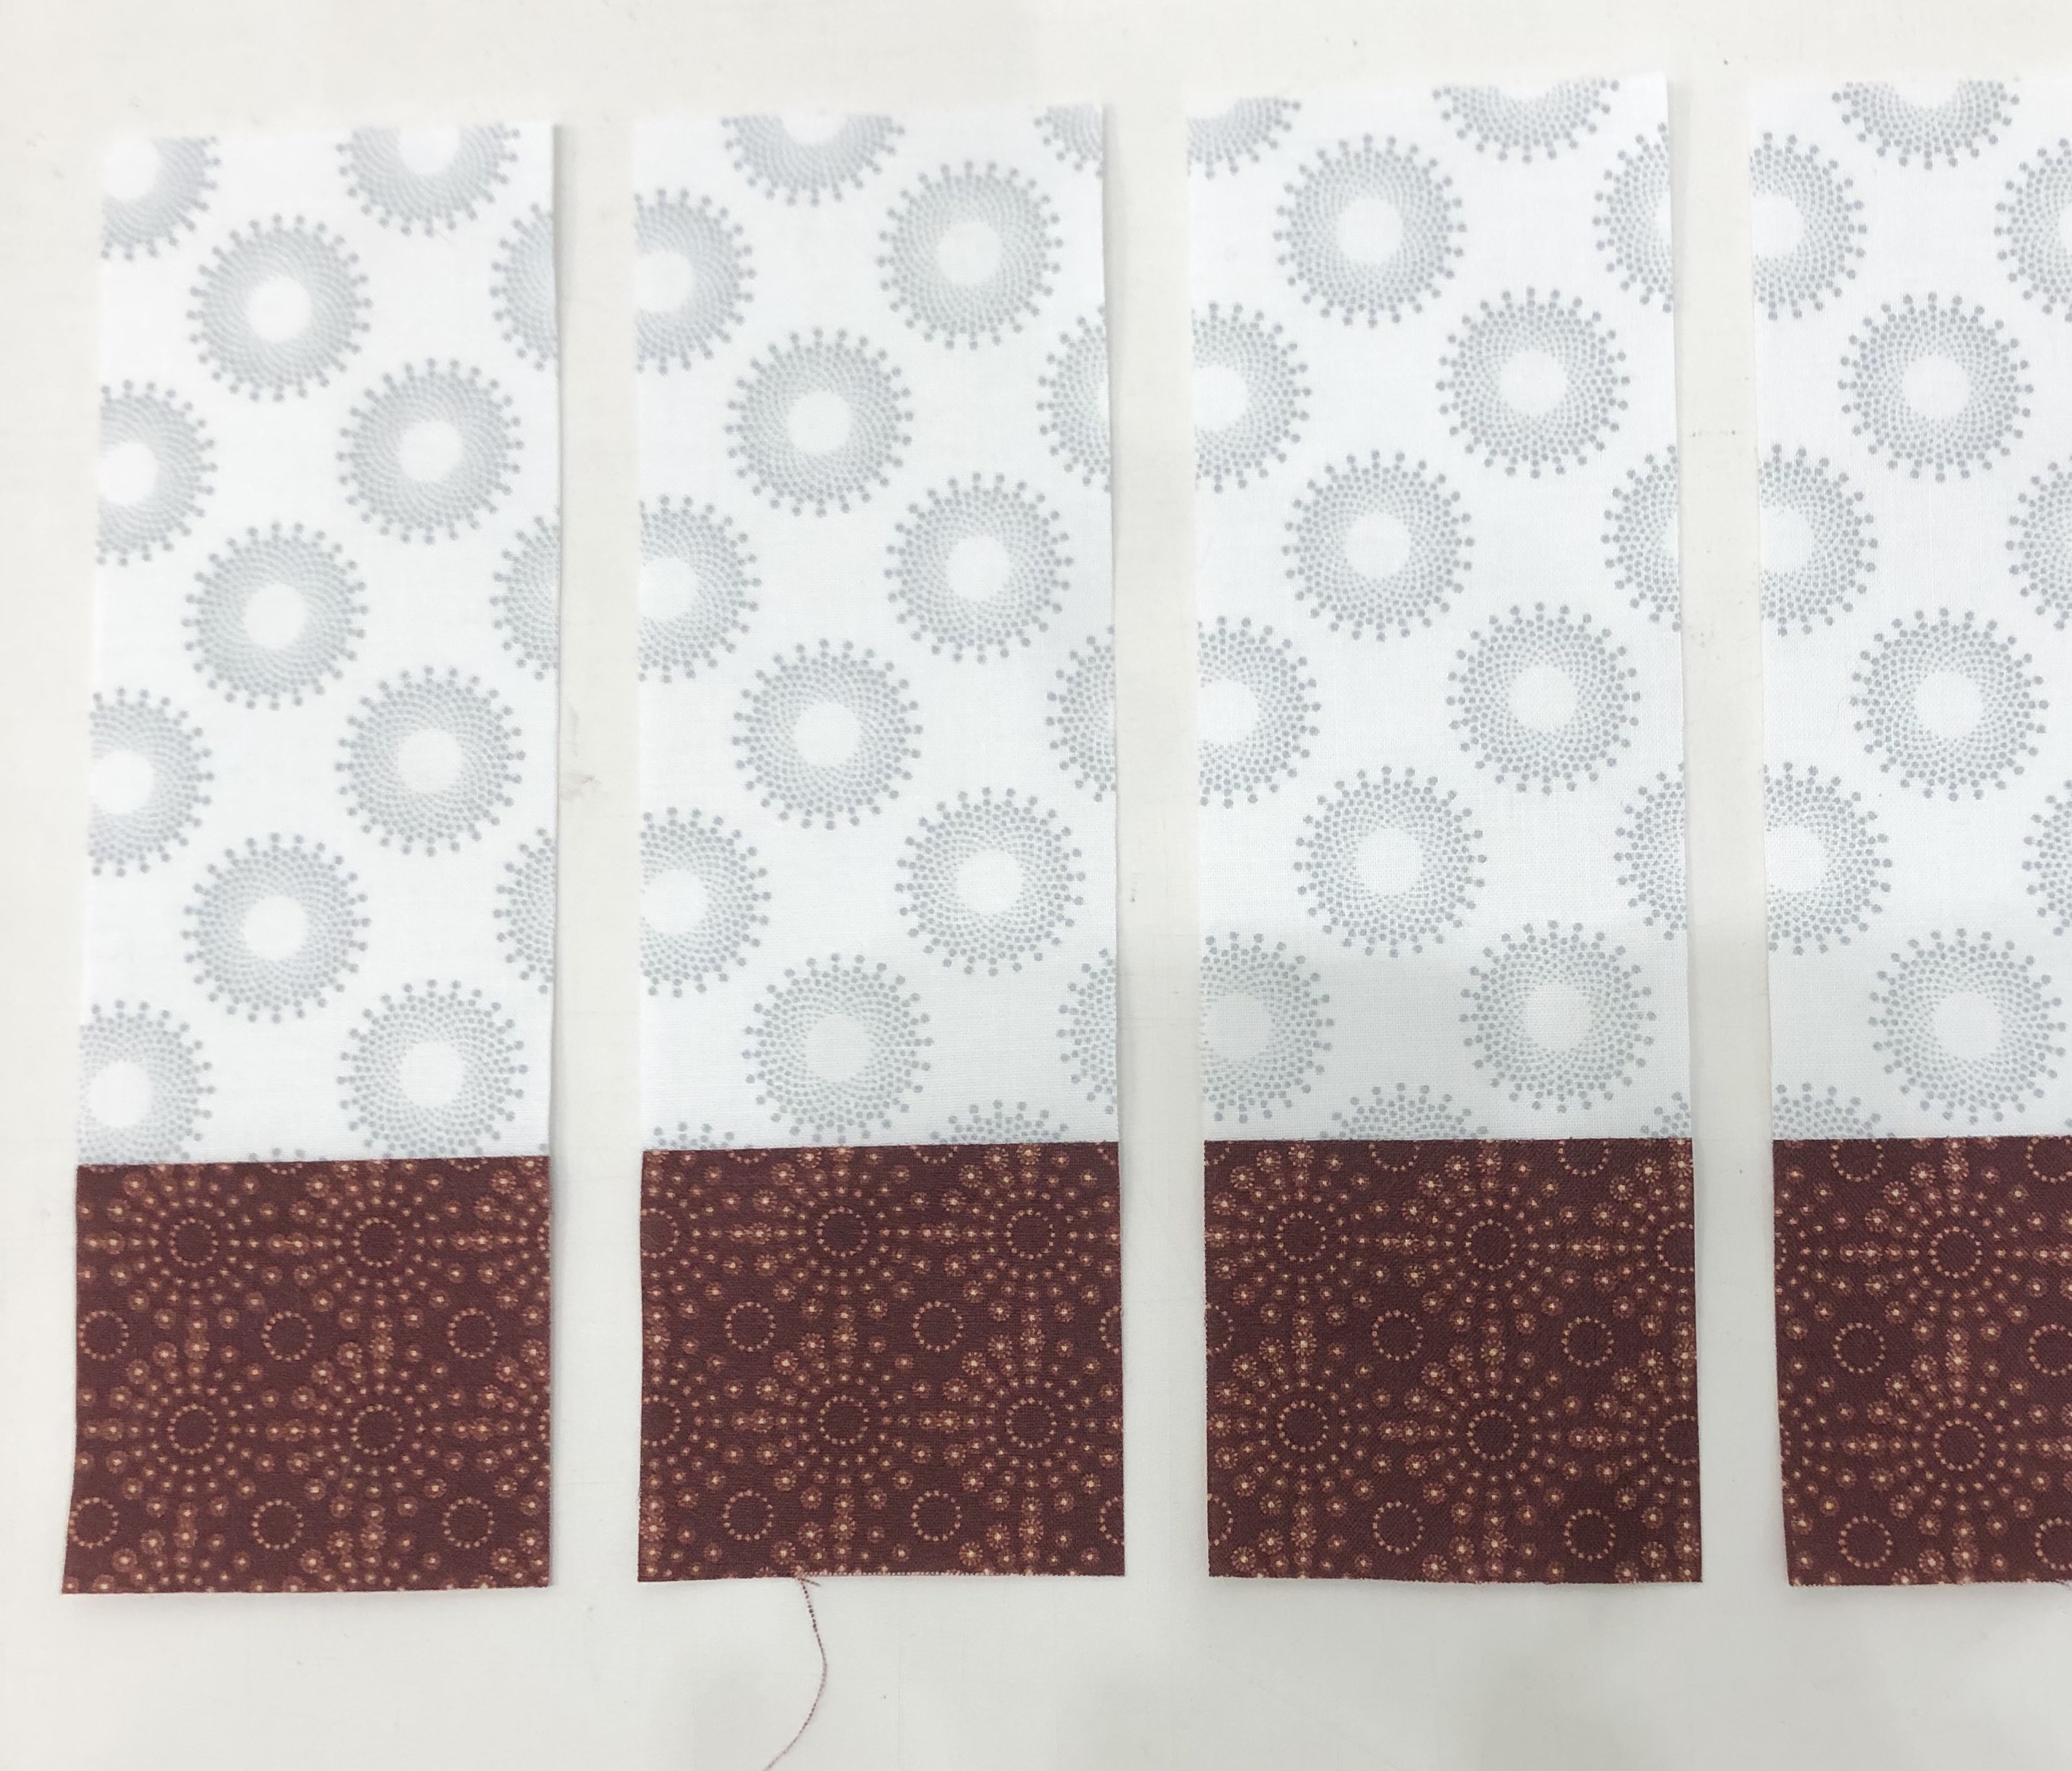
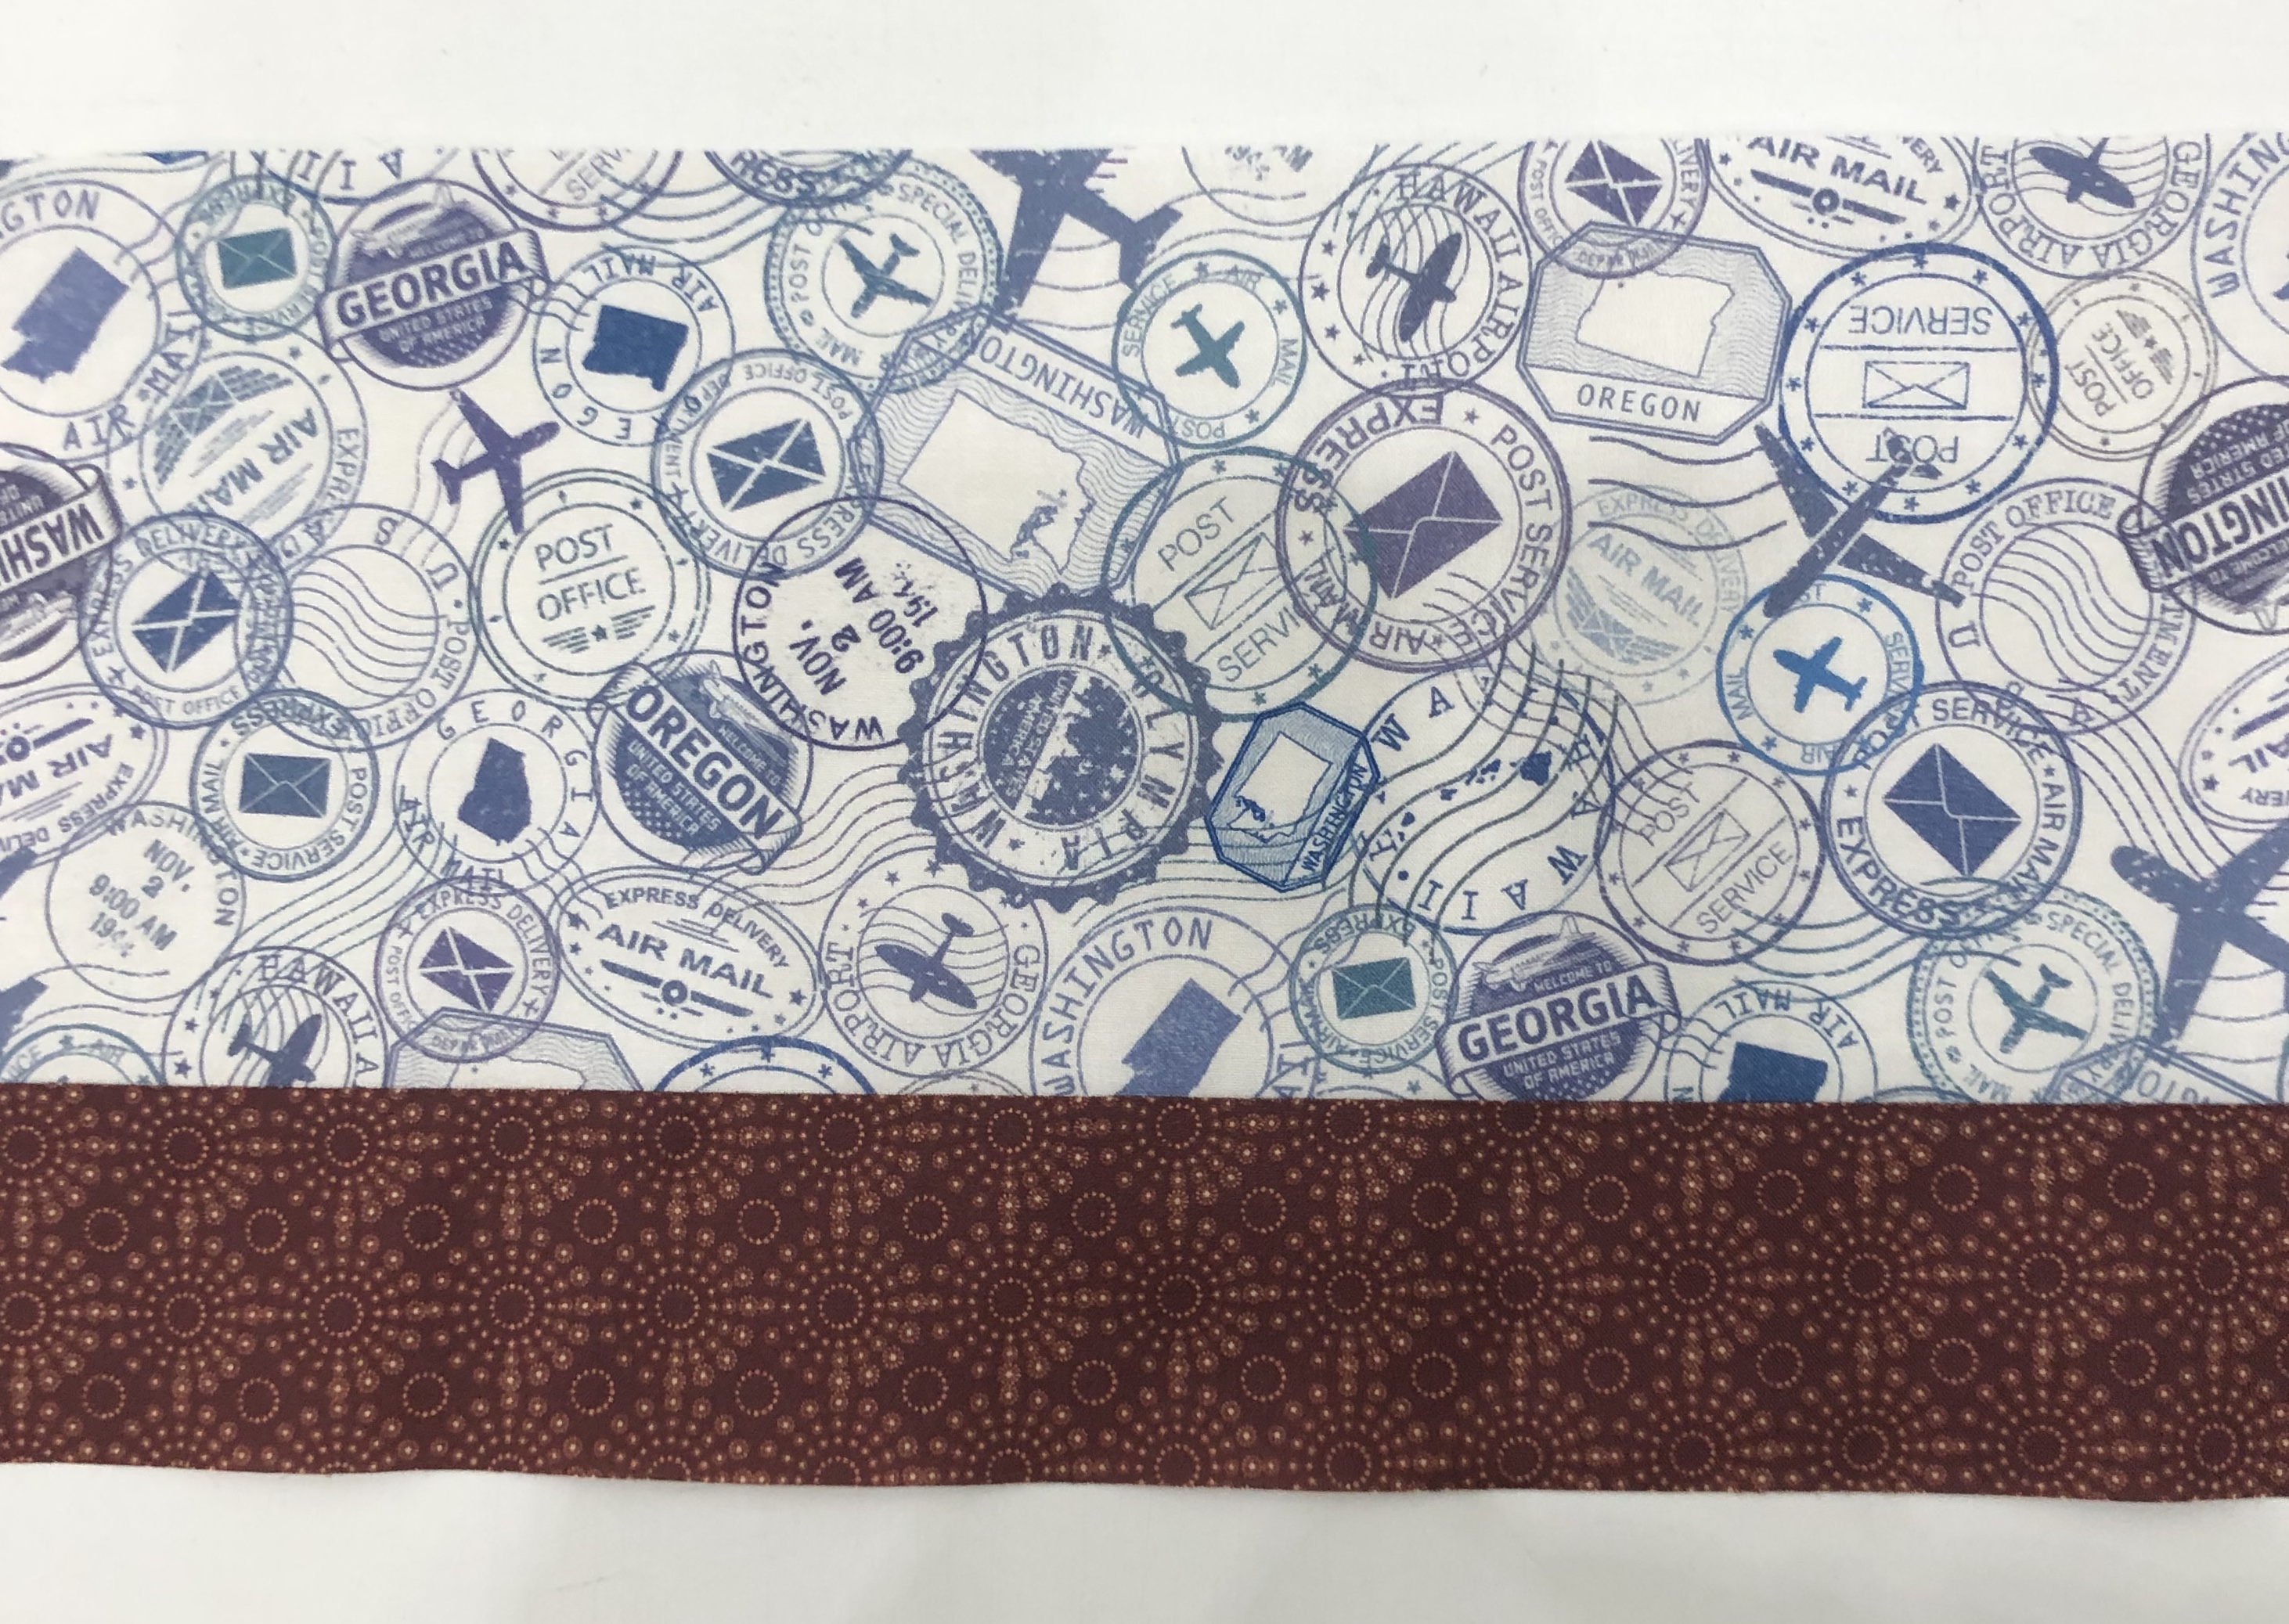


Step 3 – Sub-cut the strip sets using the information in the diagrams above. Make sure to use the correct sub-cut size for the strip set you are working with and cut the correct number of pieces needed.
Step 4 – Lay out the pieces from Strip Set A, Strip Set B, and Strip Sets C as shown. Stitch an A piece to one side of the C piece and Stitch a B piece to the other side. Make sure you sew the correct piece on each side so that it looks like the diagram.
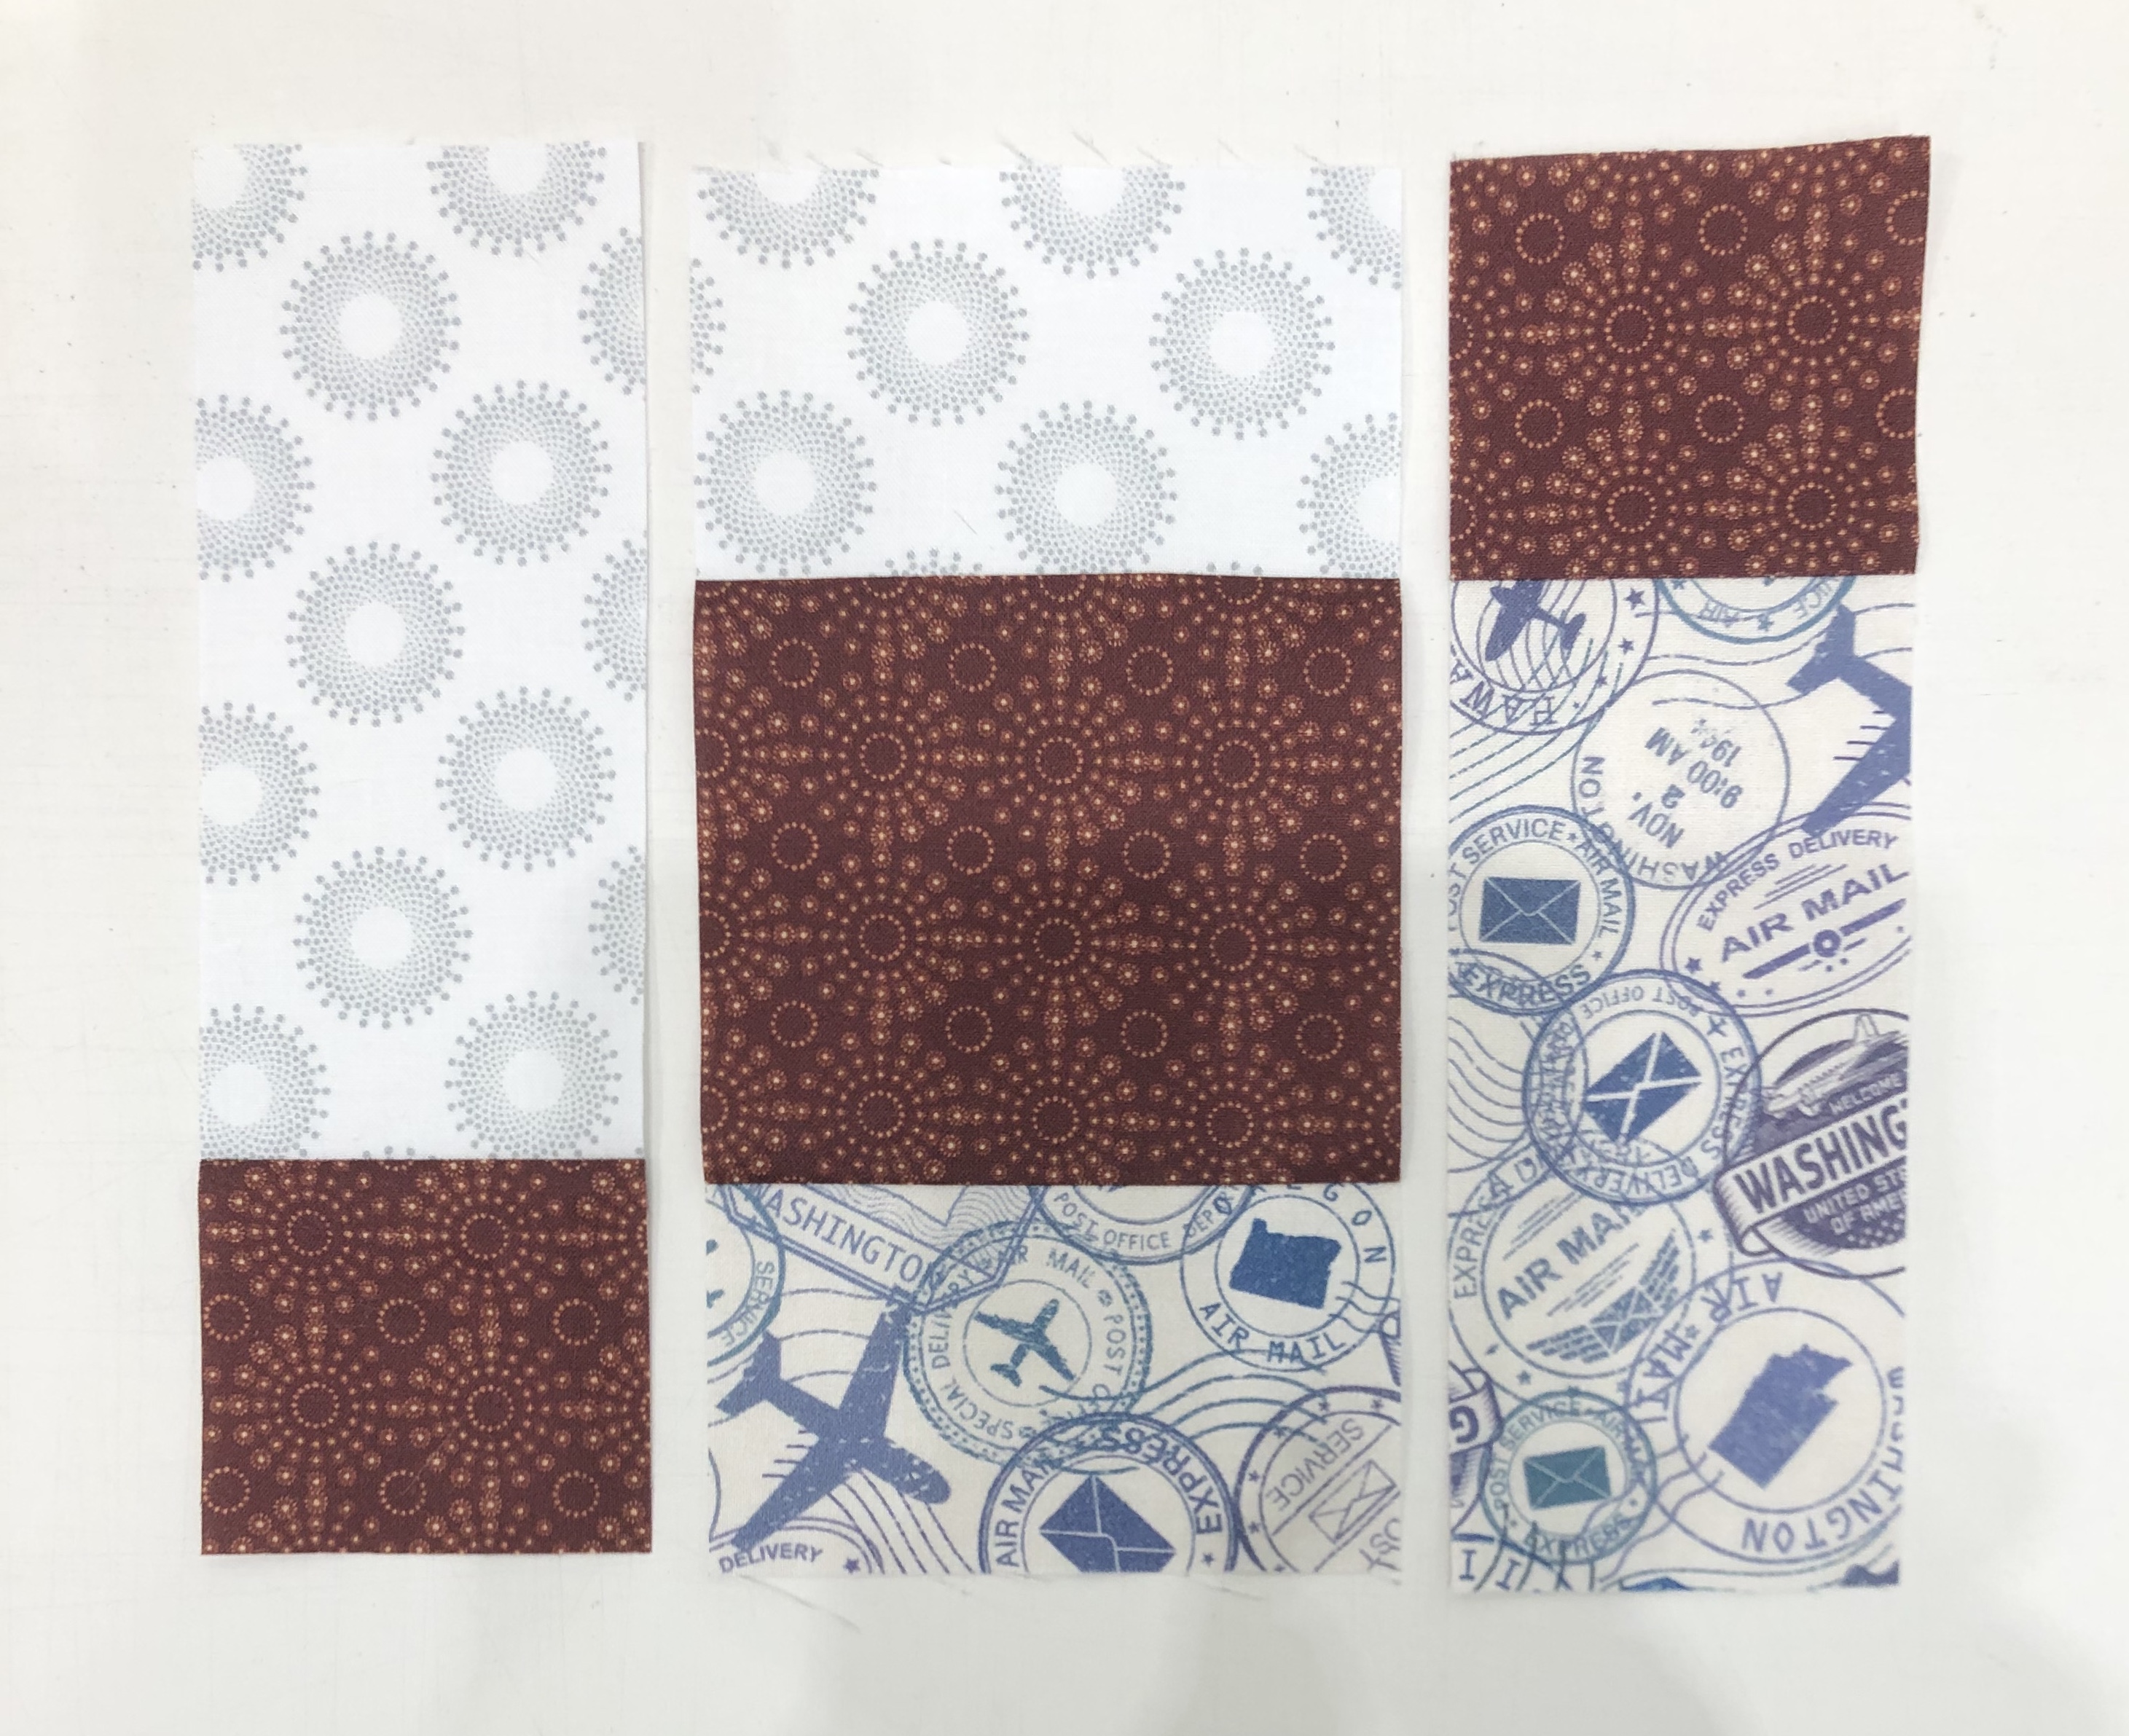


Step 5 – Press the unit so that the seams spin. To spin the seam, lay the last sewn seam east to west on the mat, remove the two or three threads in the center on both sides that run north to south, and press so all the seams go in the same direction.

Step 6 – Trim the unit to size. Position the unit as shown on your cutting mat and locate the circle for the 3” finished size on your Four Patch Square up® tool. The finished sizes are located above the words Finished Size Four Patches – Center. Position the circle over the seam intersection between the small and large square as shown. Make sure that the dashed lines radiating from the circle align with your seams.


Trim the first two sides of the unit.
Step 7 – Rotate the unit 180 degrees. Align the 3” finished size circle over the other intersection of the small square and the large square as shown. Make sure that the dashed lines align with your seams and that the 6½” cut size clean up lines align with the outside trimmed edges. Trim the remaining two sides. Once all 16 units are made, label them Unit L.


Congratulations, you’ve completed month 8 and I’ll bet you are even more comfortable using the Four Patch Square Up tool.
Remember, you can go back and search for any of the Journey’s posts, they are never deleted and I’m always available for questions.
