Welcome to Stitchin Heaven‘s Journeys BOM Month 9. You all have worked so hard. This month you will learn to use your Corner Beam tool. Sue Tucker & Naz are my helpers for Month 9.

Print 1 
Print 4 
Print 11
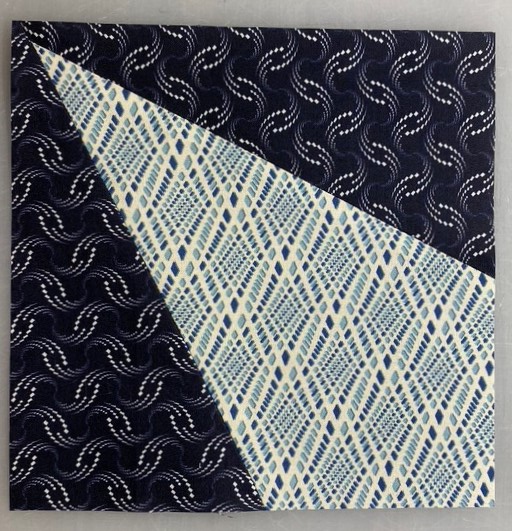
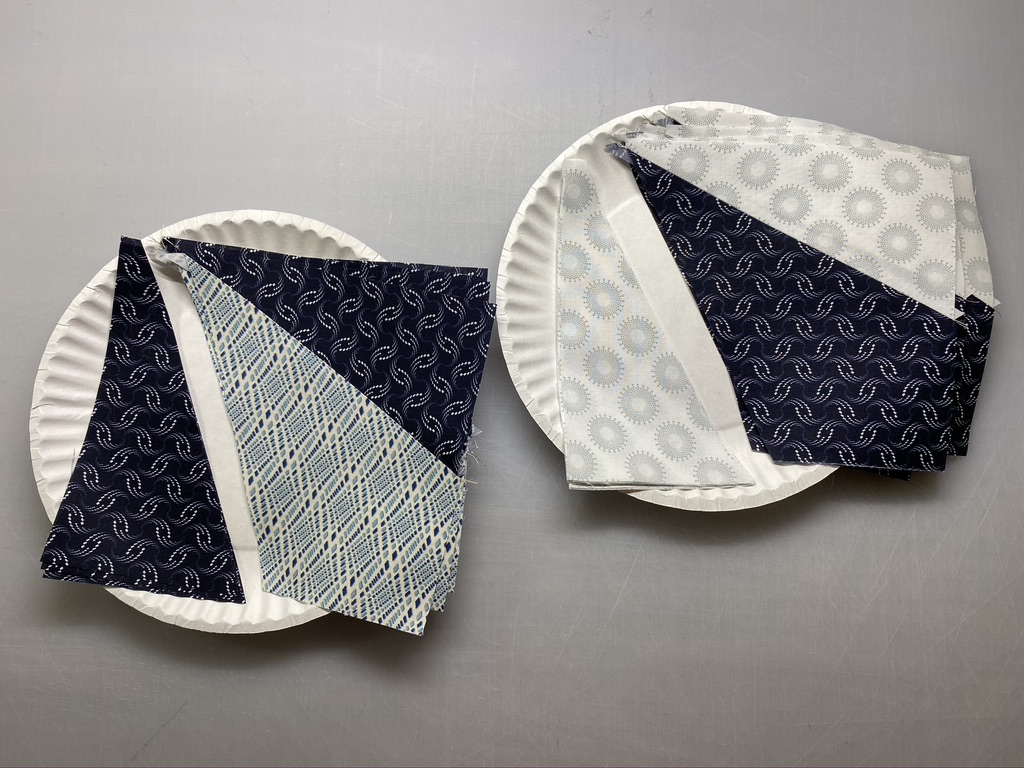
You will be working with Print 1, 4 and 11 this month.
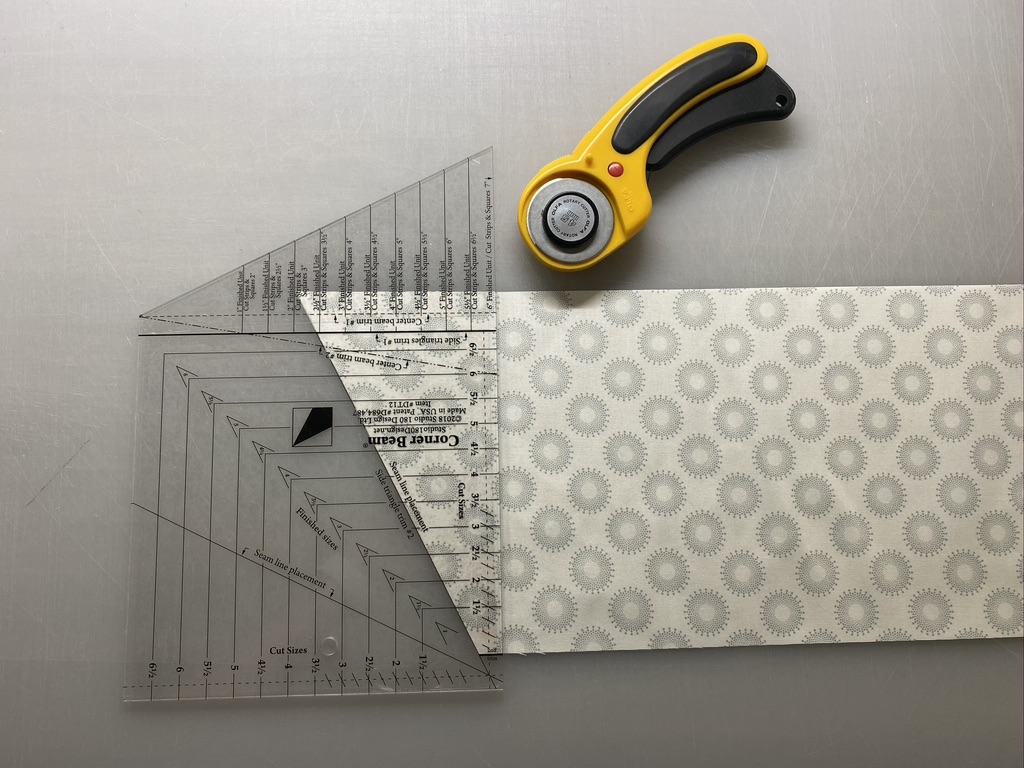
Cutting the Center Beams
Step 1 – Stack the 7” center beam squares up to 4 layers deep. Align the Center Beam Trim #1 line on your Corner Beam® tool and the 6” finished unit line (bottom edge of tool) with the raw edges of your stack of squares. Cut along the angled edge.
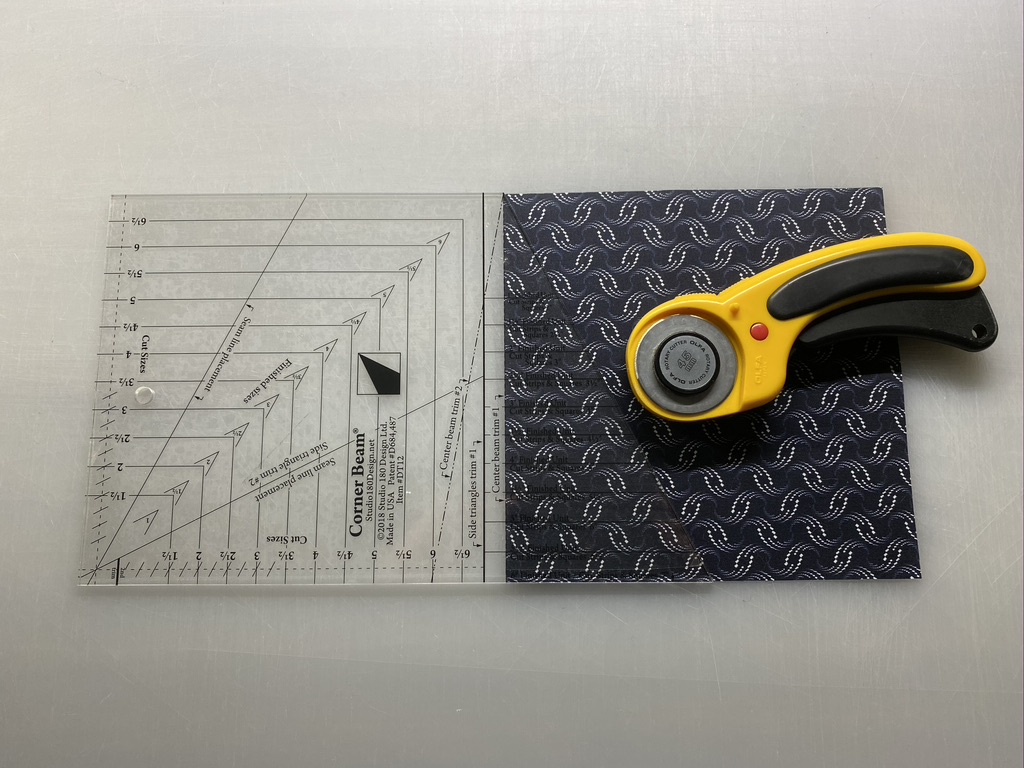
Step 1

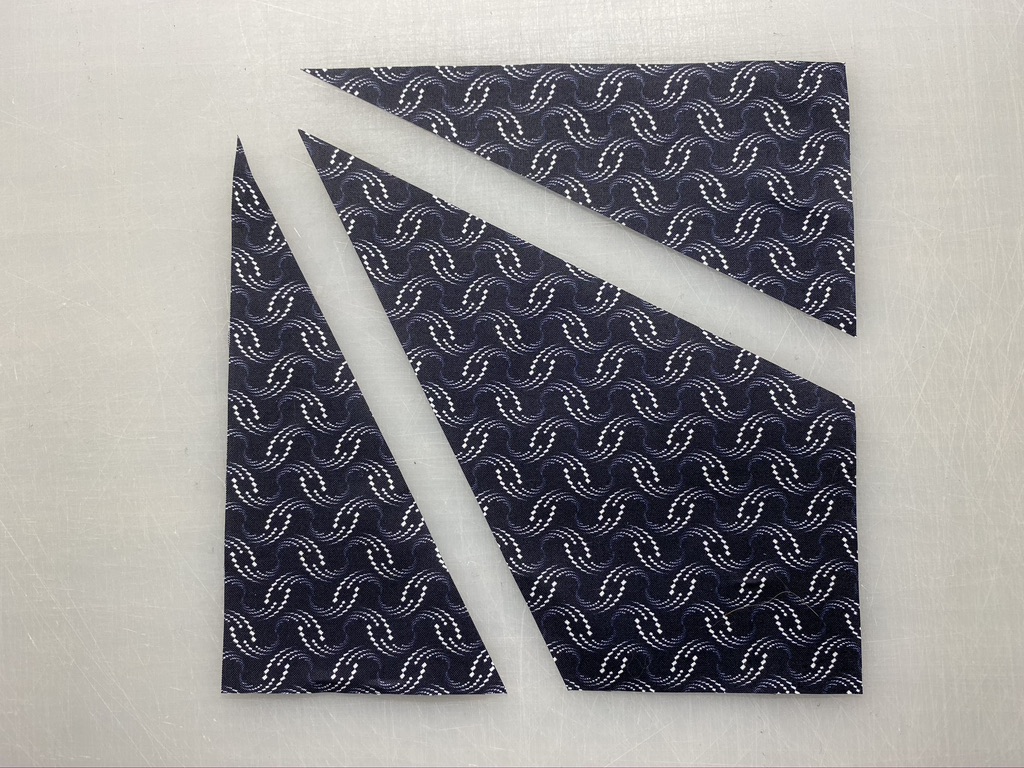
Step 2 – Rotate and cut again. Lift and reposition the Corner Beam® tool, aligning the dashed line labeled Center Beam Trim #2 with the previously trimmed angled edge. Cut again. Do this for all your center beam squares.


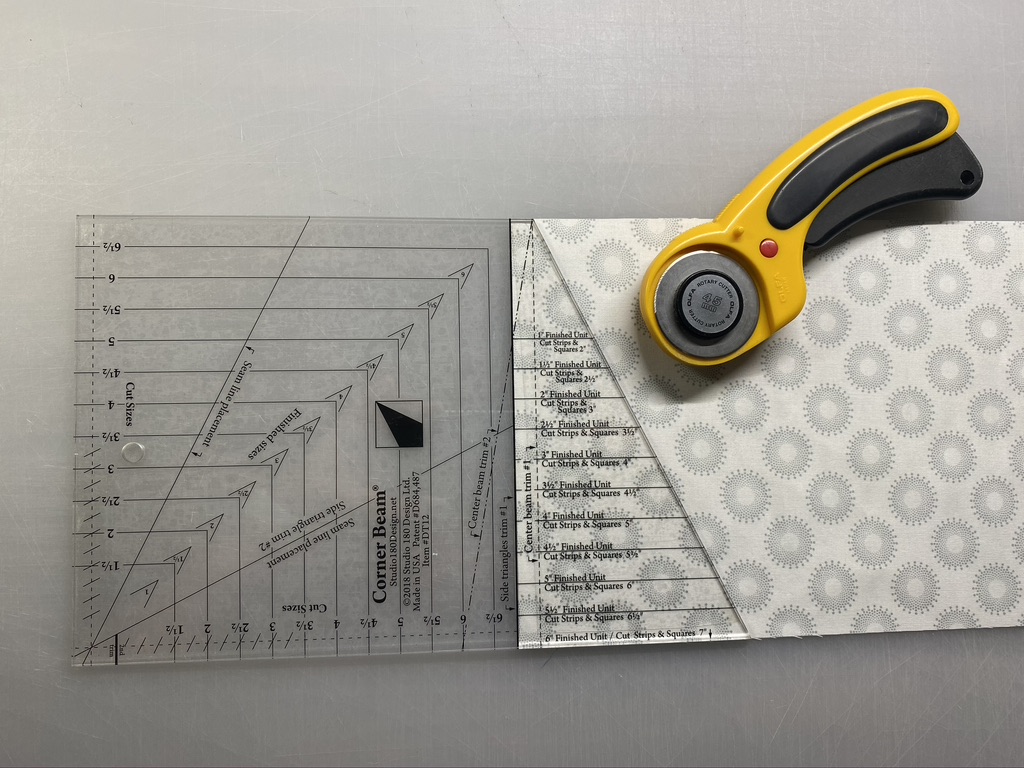
Cutting the Side Triangles
Step 3 – Fold the side triangle strip right or wrong sides together in order to yield mirror images. Trim the selvages and position the Side Triangles Trim #1 line on your strips, lining up the 6” finished unit line (bottom of the tool) with the bottom raw edge of the strip. Cut along the angled edge.
Step 4 – Rotate the Corner Beam® tool and position the Side Triangles Trim #2 line on the edge of the strip you just cut, making sure the bottom of your strip is lined up along the second trim line. Cut along the edge. Continue cutting until you have 8 pairs of side triangles from Print 11 and 4 pairs of side triangles from Print 1.
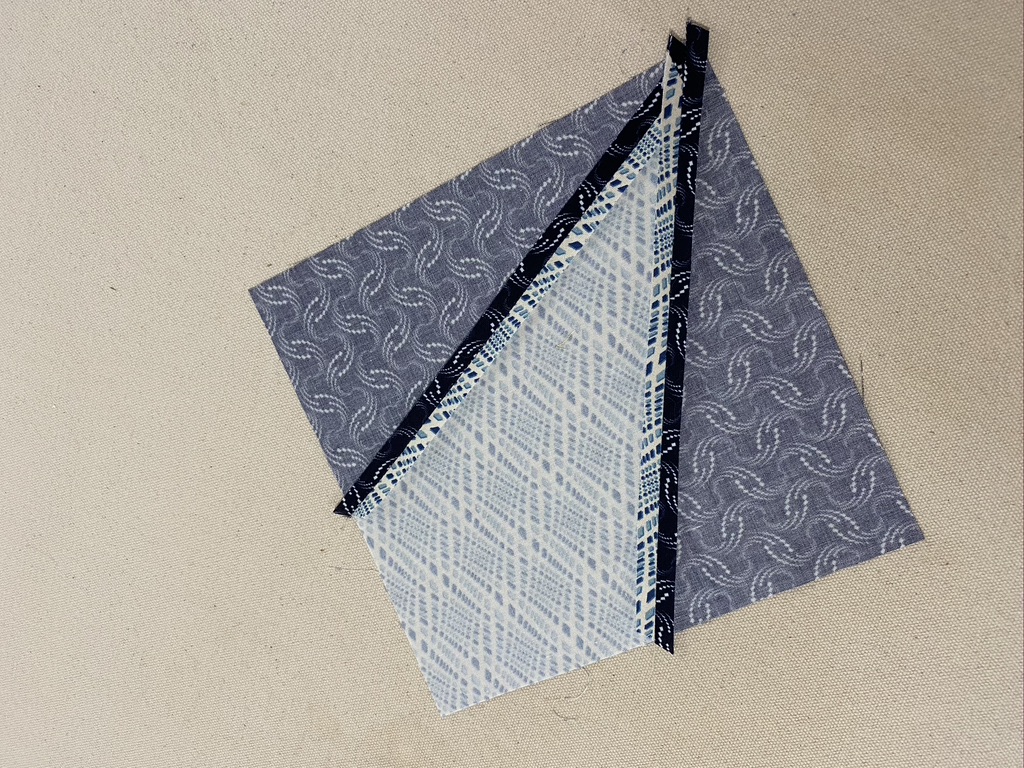
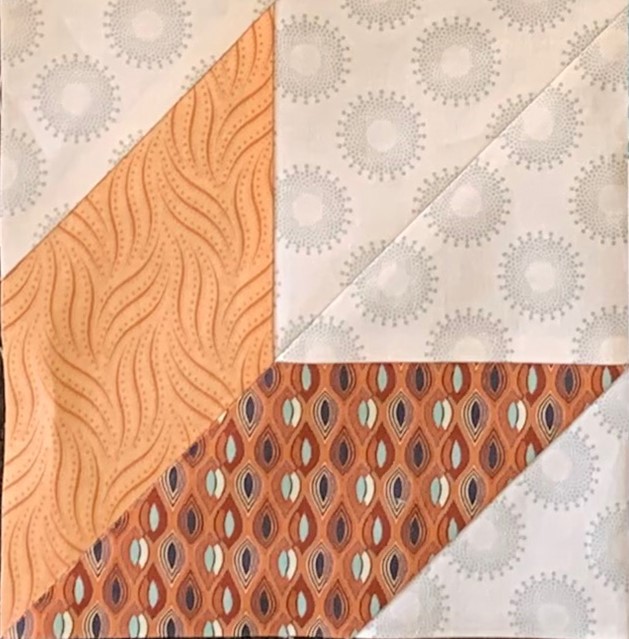
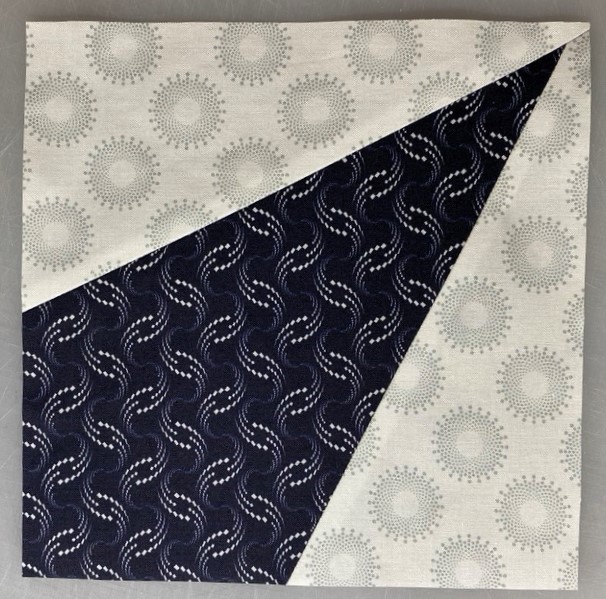
Step 5 – Lay out and organize your pieces into the correct positions as shown to ensure you sew the proper sides together.


Step 6 – Stitch the first side triangle to each center beam, making sure you sew the correct triangle edge to the center beam. Press the seams open.
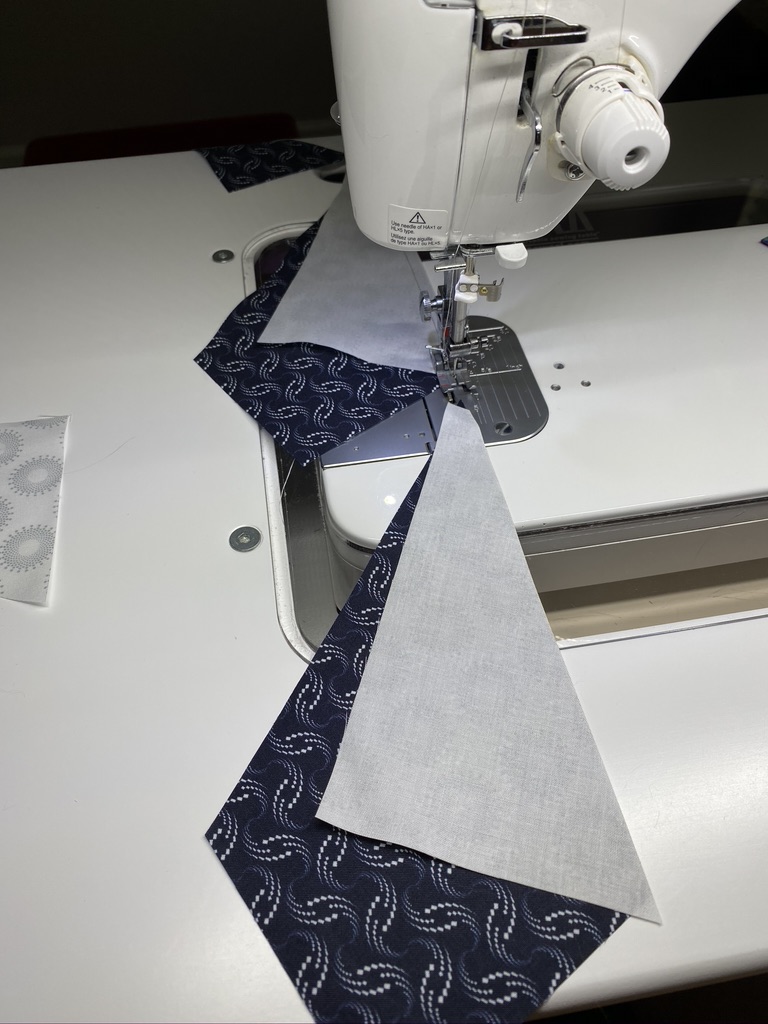
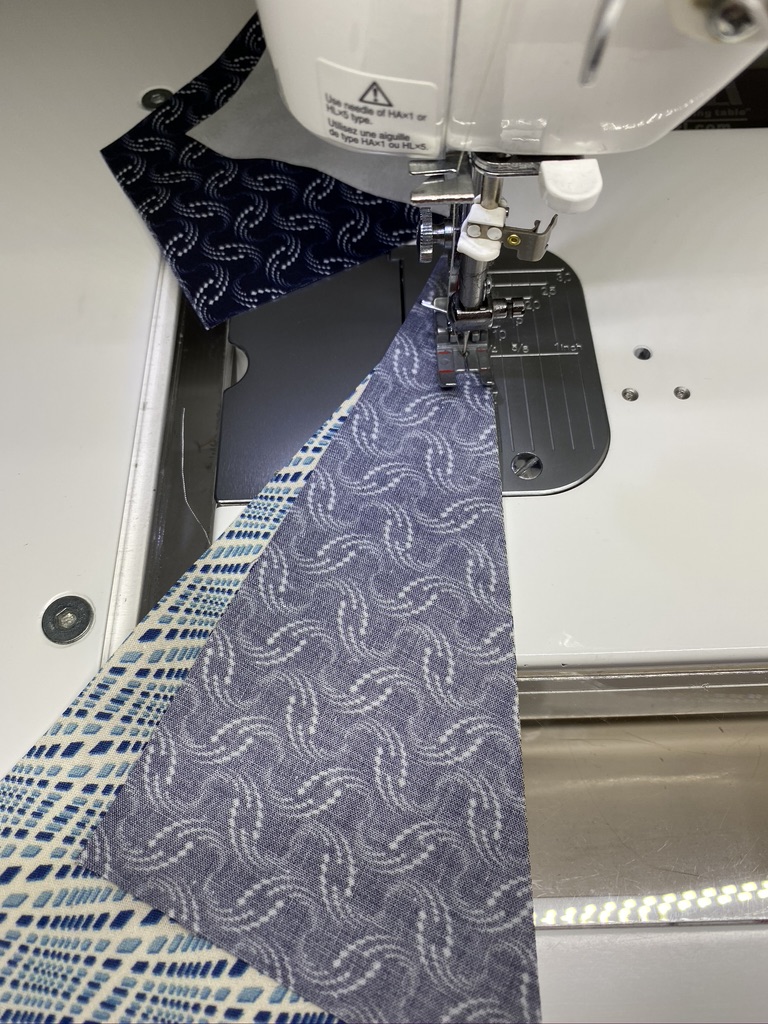
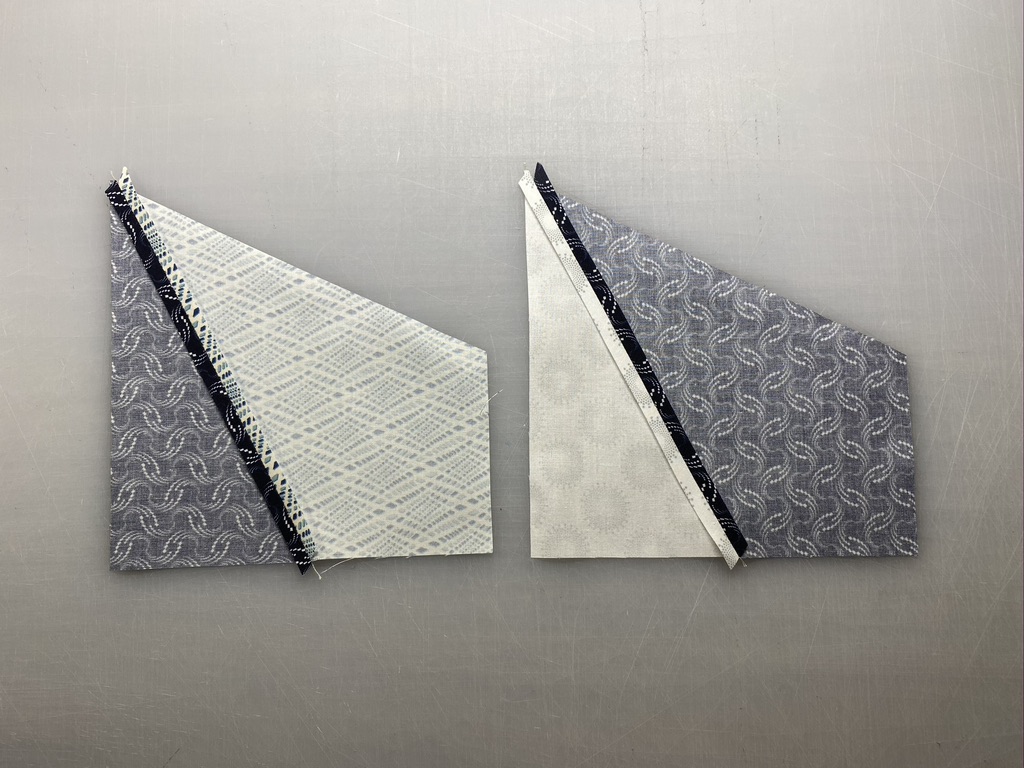
Step 7 – Stitch the second side triangle to the other side of each center beam. Press each seam open
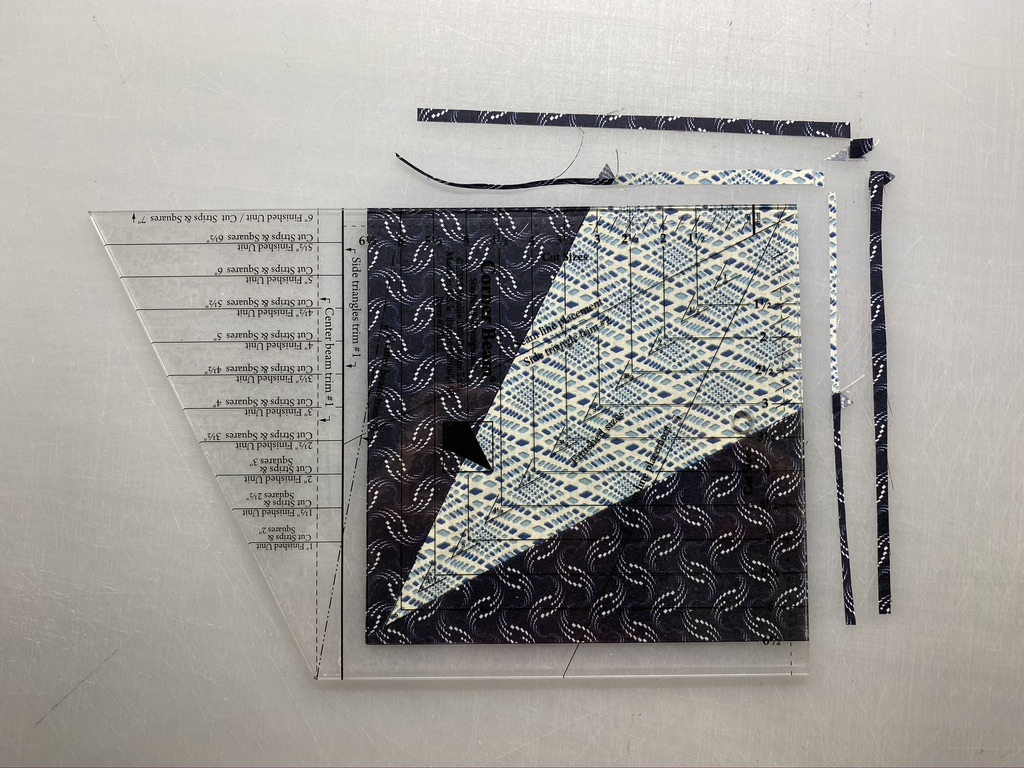
Step 8 – Position the trim down area of your Corner Beam® tool on your unit. Carefully line up the diagonal seam guidelines on the Corner Beam® tool with the diagonal seams of your unit. Trim.

Step 9 – Rotate your unit. Align the cleanup lines for the 6½” cut size with the cut edges, the V shaped guideline with the seam intersection, and the tick marks with the seams at the wide end of the beam. Trim. Repeat for all units. Label as indicated in the Unit Summary.
Assemble 4 Middle Edge Sections
It is time to assemble the four Middle Edge Sections of your quilt. To do this you will need the following:
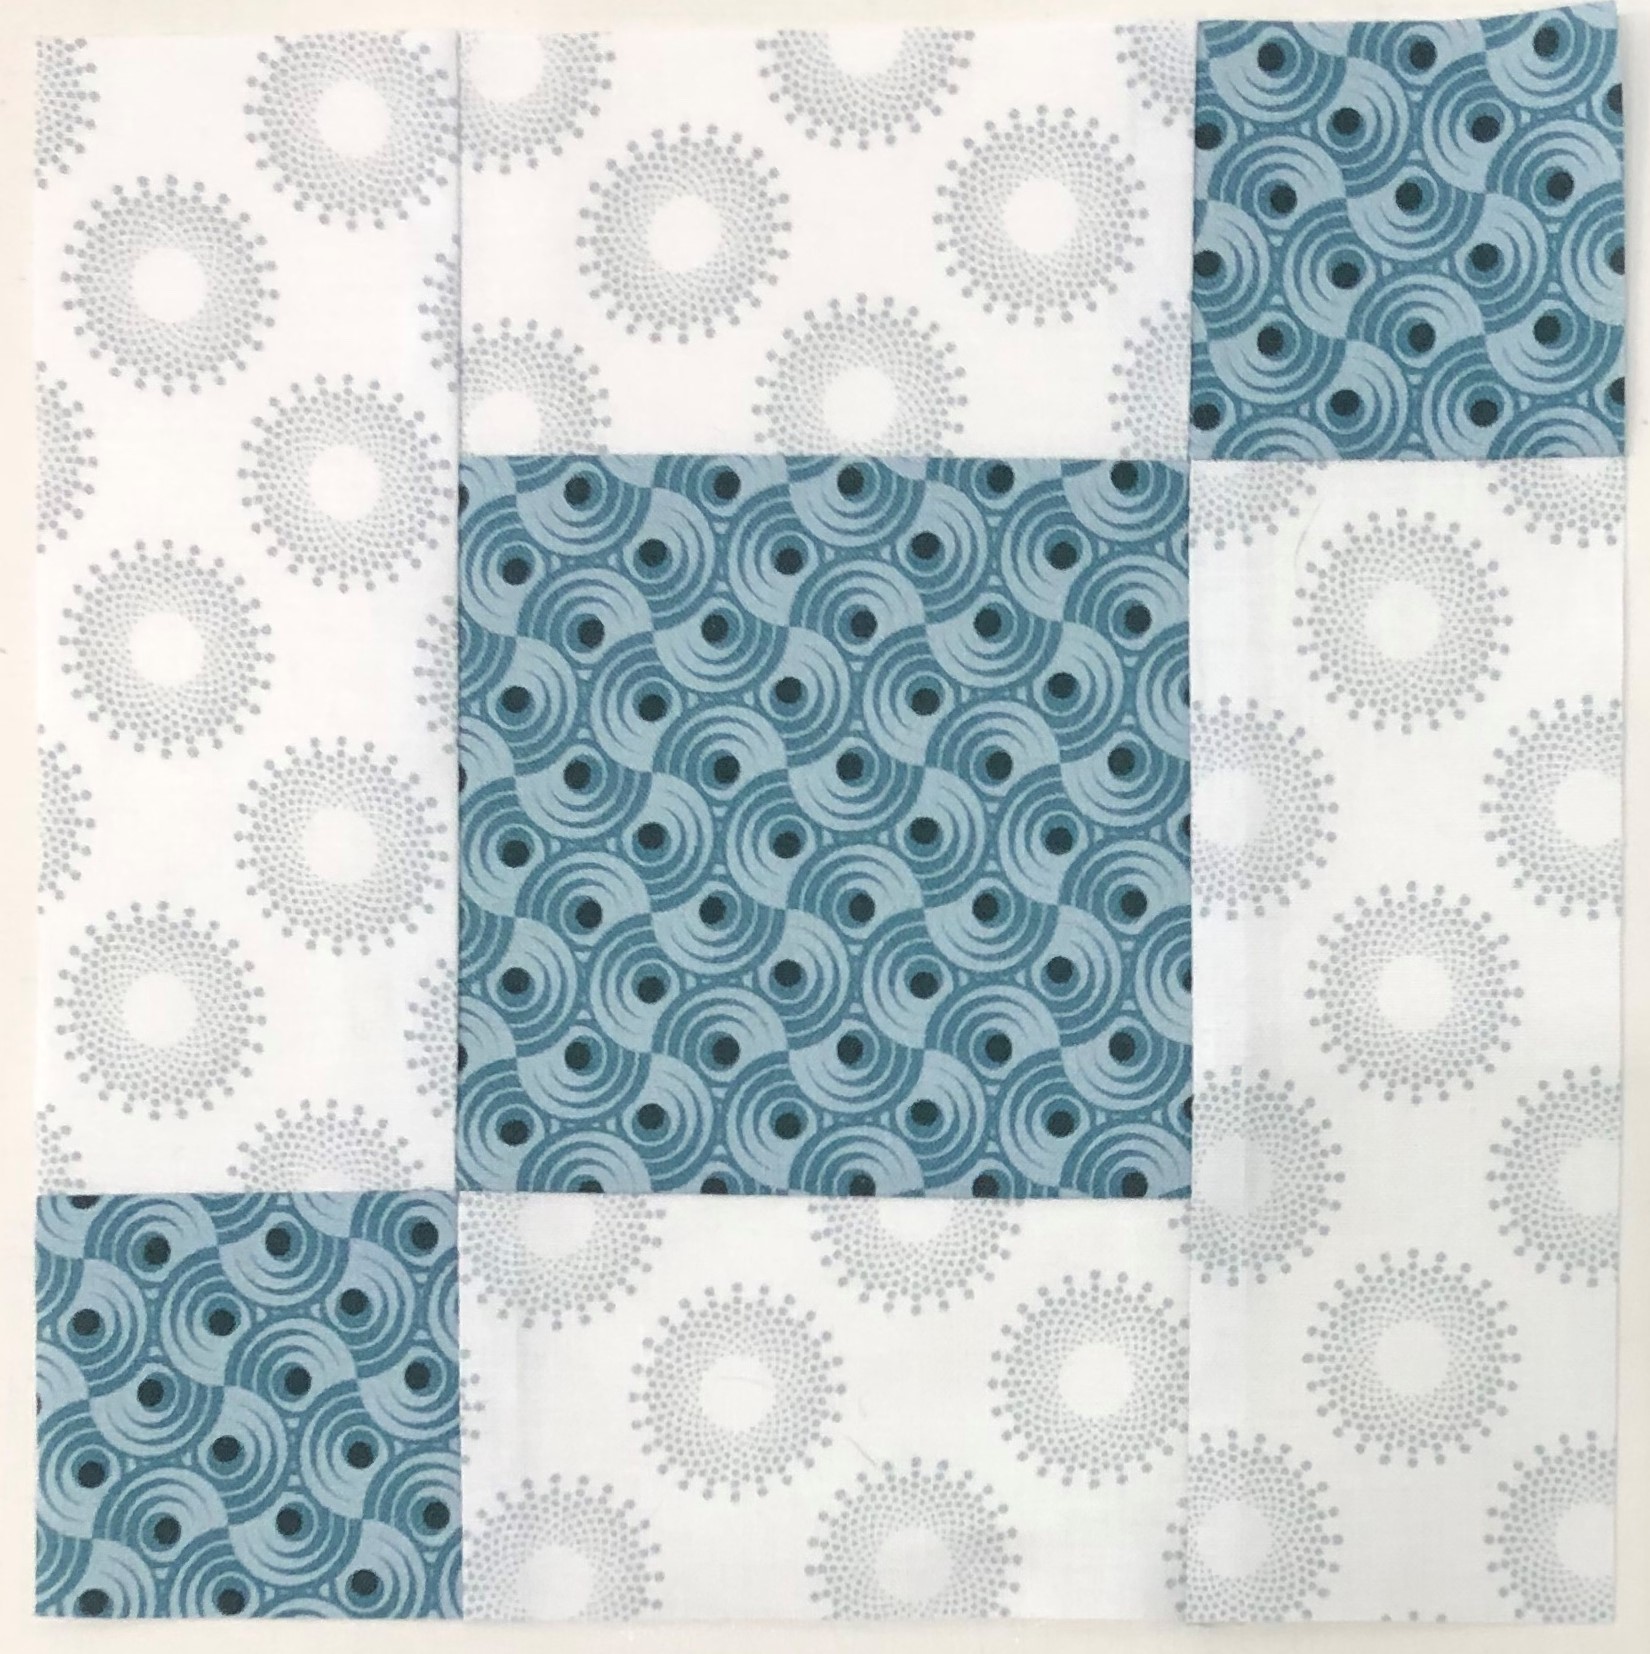


Step 10 – Lay out the units as shown to create the Middle Edge Section.
Step 11 – Stitch the units together into rows. Press the seams open between the units.
Step 12 – Stitch the rows together into the Middle Edge Section. Press the seams open between rows.
Step 13 – Repeat steps 10-12 to make a total of 4 Middle Edge Sections.


Make 4 Middle Edge Sections. Congratulations on work well done!

Thank you for shharing this
LikeLike
You are welcome
LikeLike
Lovely. Thanks, Jackie.
“All we have to decide is what to do with the time that is given us.” – J.R.R. Tolkien, The Fellowship of the Ring
Sent from my iPhone
>
LikeLike
Thank you Marlene
LikeLike