Welcome everyone to Stitchin Heavens Journey Month 11 BOM – Victory Block: Part 2. Time fly’s when you are having fun! This month you are learning to use Studio 180 Design Corner Pop tool.

You will be popping off the corners of the of 52 Victory blocks from Month 10 and adding Print 3 to the corners.
Piecing Instructions
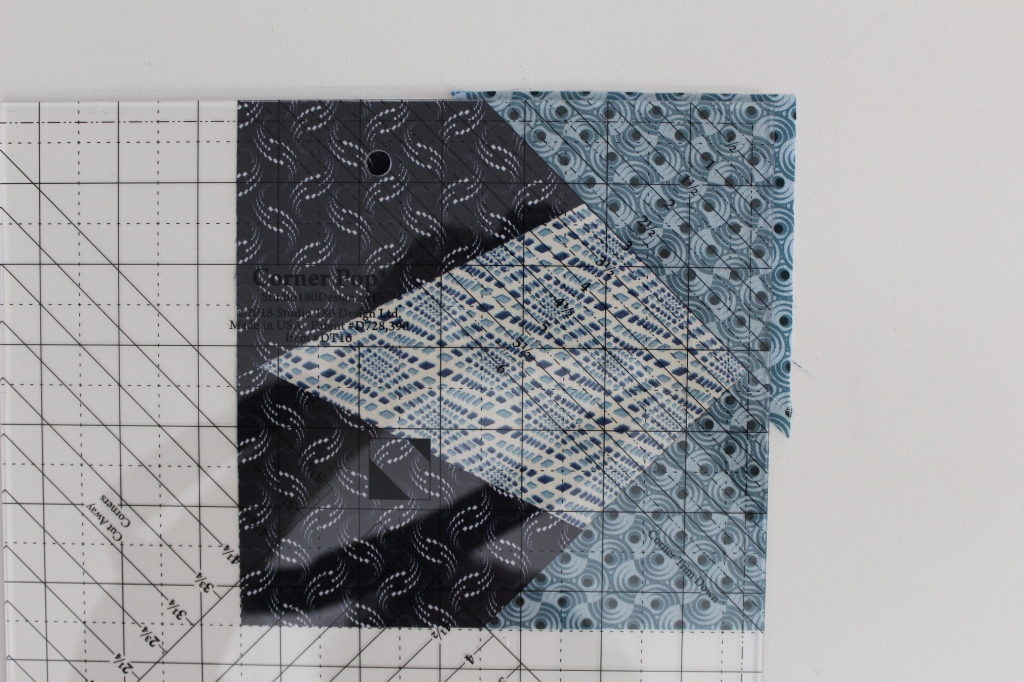
Step 1 – Position a Unit P from month 10 right side up with the point away from you on the cutting mat. On your Corner Pop® tool, find the 3” Cut Away Corners line. Position the 3” Cut Away lines of the tool over one of the corners that has a seam going into the corner as shown.
Step 2 – Cut away the corner. Repeat on the same corner for all 52 units.


Step 3 – Center one 4¼” Print 3 replacement triangle with its long side on the trimmed corner of each V Block unit. Stitch using an accurate ¼” seam. Press the seam toward the replacement triangle.


Step 4 – Position the 3” Corner Trim Down line of the tool over the seam. Align the diagonal guideline with the seam and the edges of the unit with the edges of the tool. Trim the Corner. Repeat for all P units.


Step 5 – Cut away the second corner of all 52 units. Position the 3” Cut Away lines on the tool over the second corner that has a seam going into the corner as shown.


Step 6 – Repeat steps 3 & 4 for all units so that you have 52 Victory Blocks. This time around, in step 3, press the seam away from the replacement triangle toward the V Block unit.

Step 7 – Lay out your Victory Block units as shown to make 4 pieced border sections. Each border section has 13 Victory Block units.

Step 8 – Stitch the units together into the 4 pieced border sections needed. Press the seams between the units open.
Step 9 – Set two border sections aside. With the remining two borders, add a Unit N from month 9 to each end of the border section as shown.

Step 10 – Press the seams open. Set the final two borders aside to use next month to finish your quilt top.
Congratulations, you all have done so well in months 1 – 11. Next month is our final post. I can’t wait to see your completed Journey quilts!

This creates such an interesting block. Though I have the CB tool, I just used it this weekend to serve as a cornerstone for borders (corner blocks for a split rects border). I got up close and personal with that tool making about 200 split rectangles! All of my blocks finished perfectly which is why I love investing in these tools. 100% success rate for a perfectly trimmed/balanced block that allows enough forgiveness, but not too much where it is wasteful of fabric.
LikeLike
Thank you Leisa, I agree Deb Tucker’s tools are the very best!
LikeLike
I agree Leisa, Deb Tucker rulers are the best.
LikeLike
Pingback: Journeys Month 11 – Victory Block: Part 2 – SHONSE