Terri and I did a thing! Terri Butler is my friend and fellow Studio 180 Design Certified Instructor. While we were at H&H Americas in Chicago we had an idea.

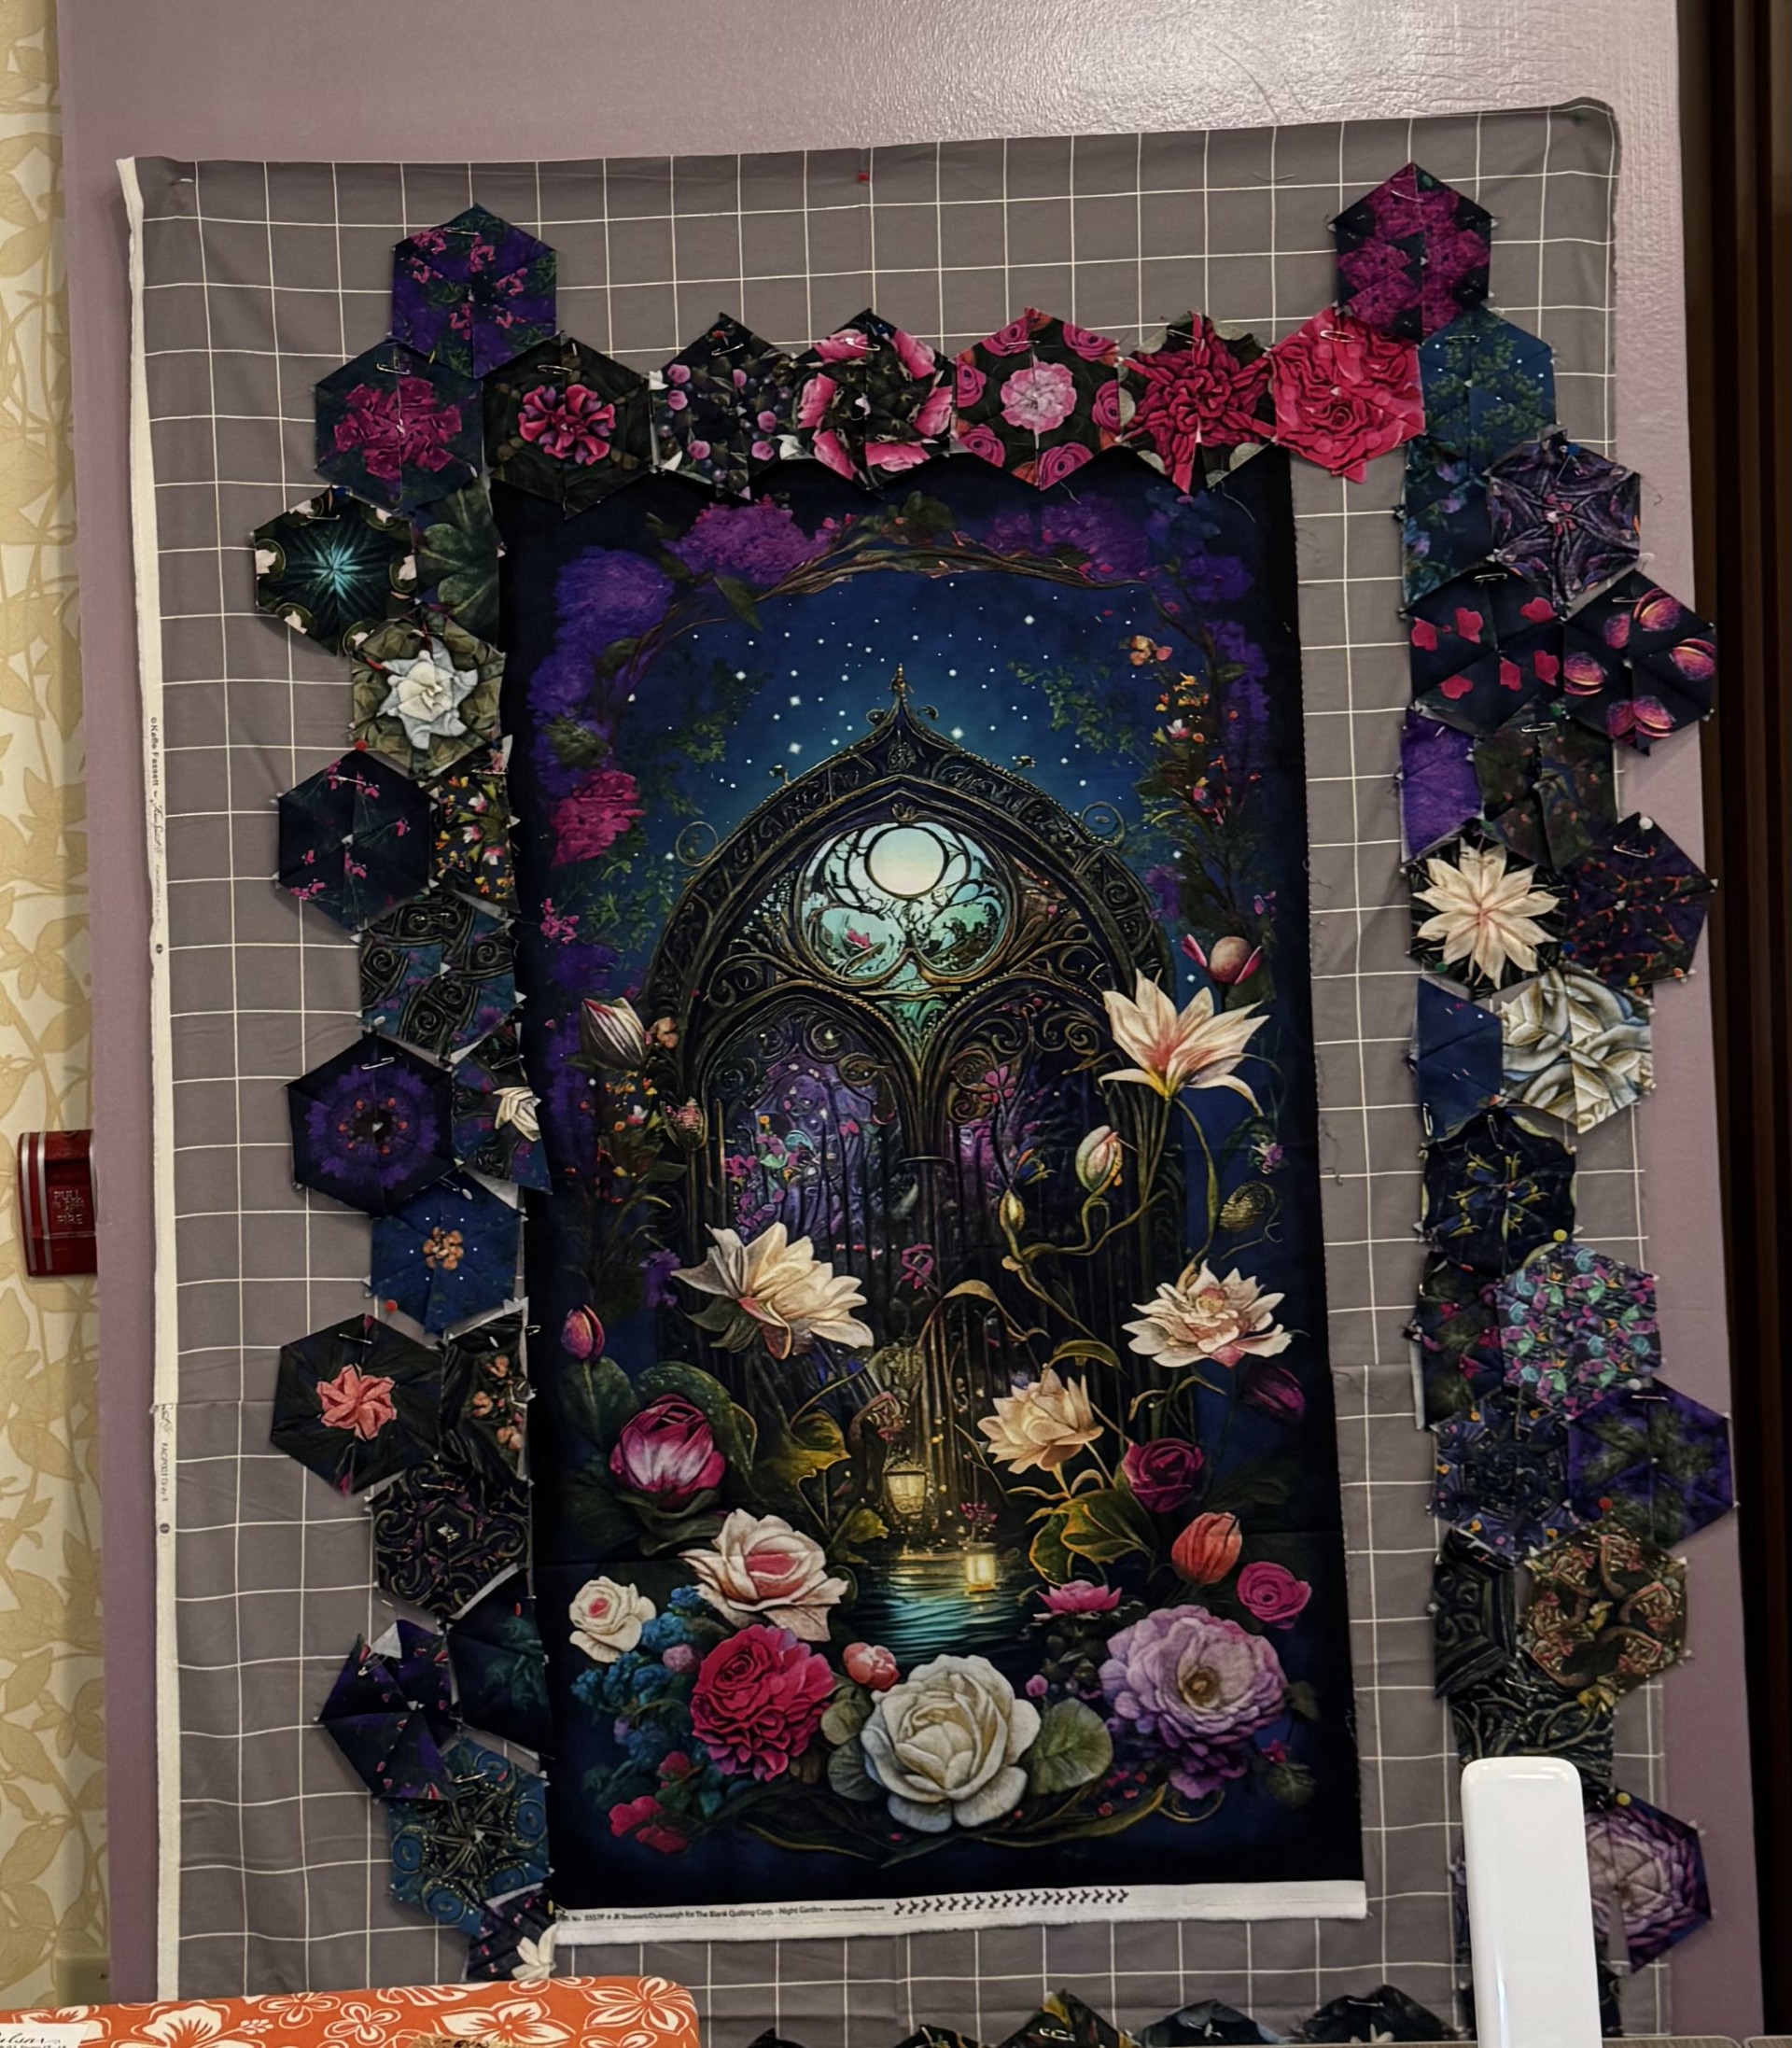
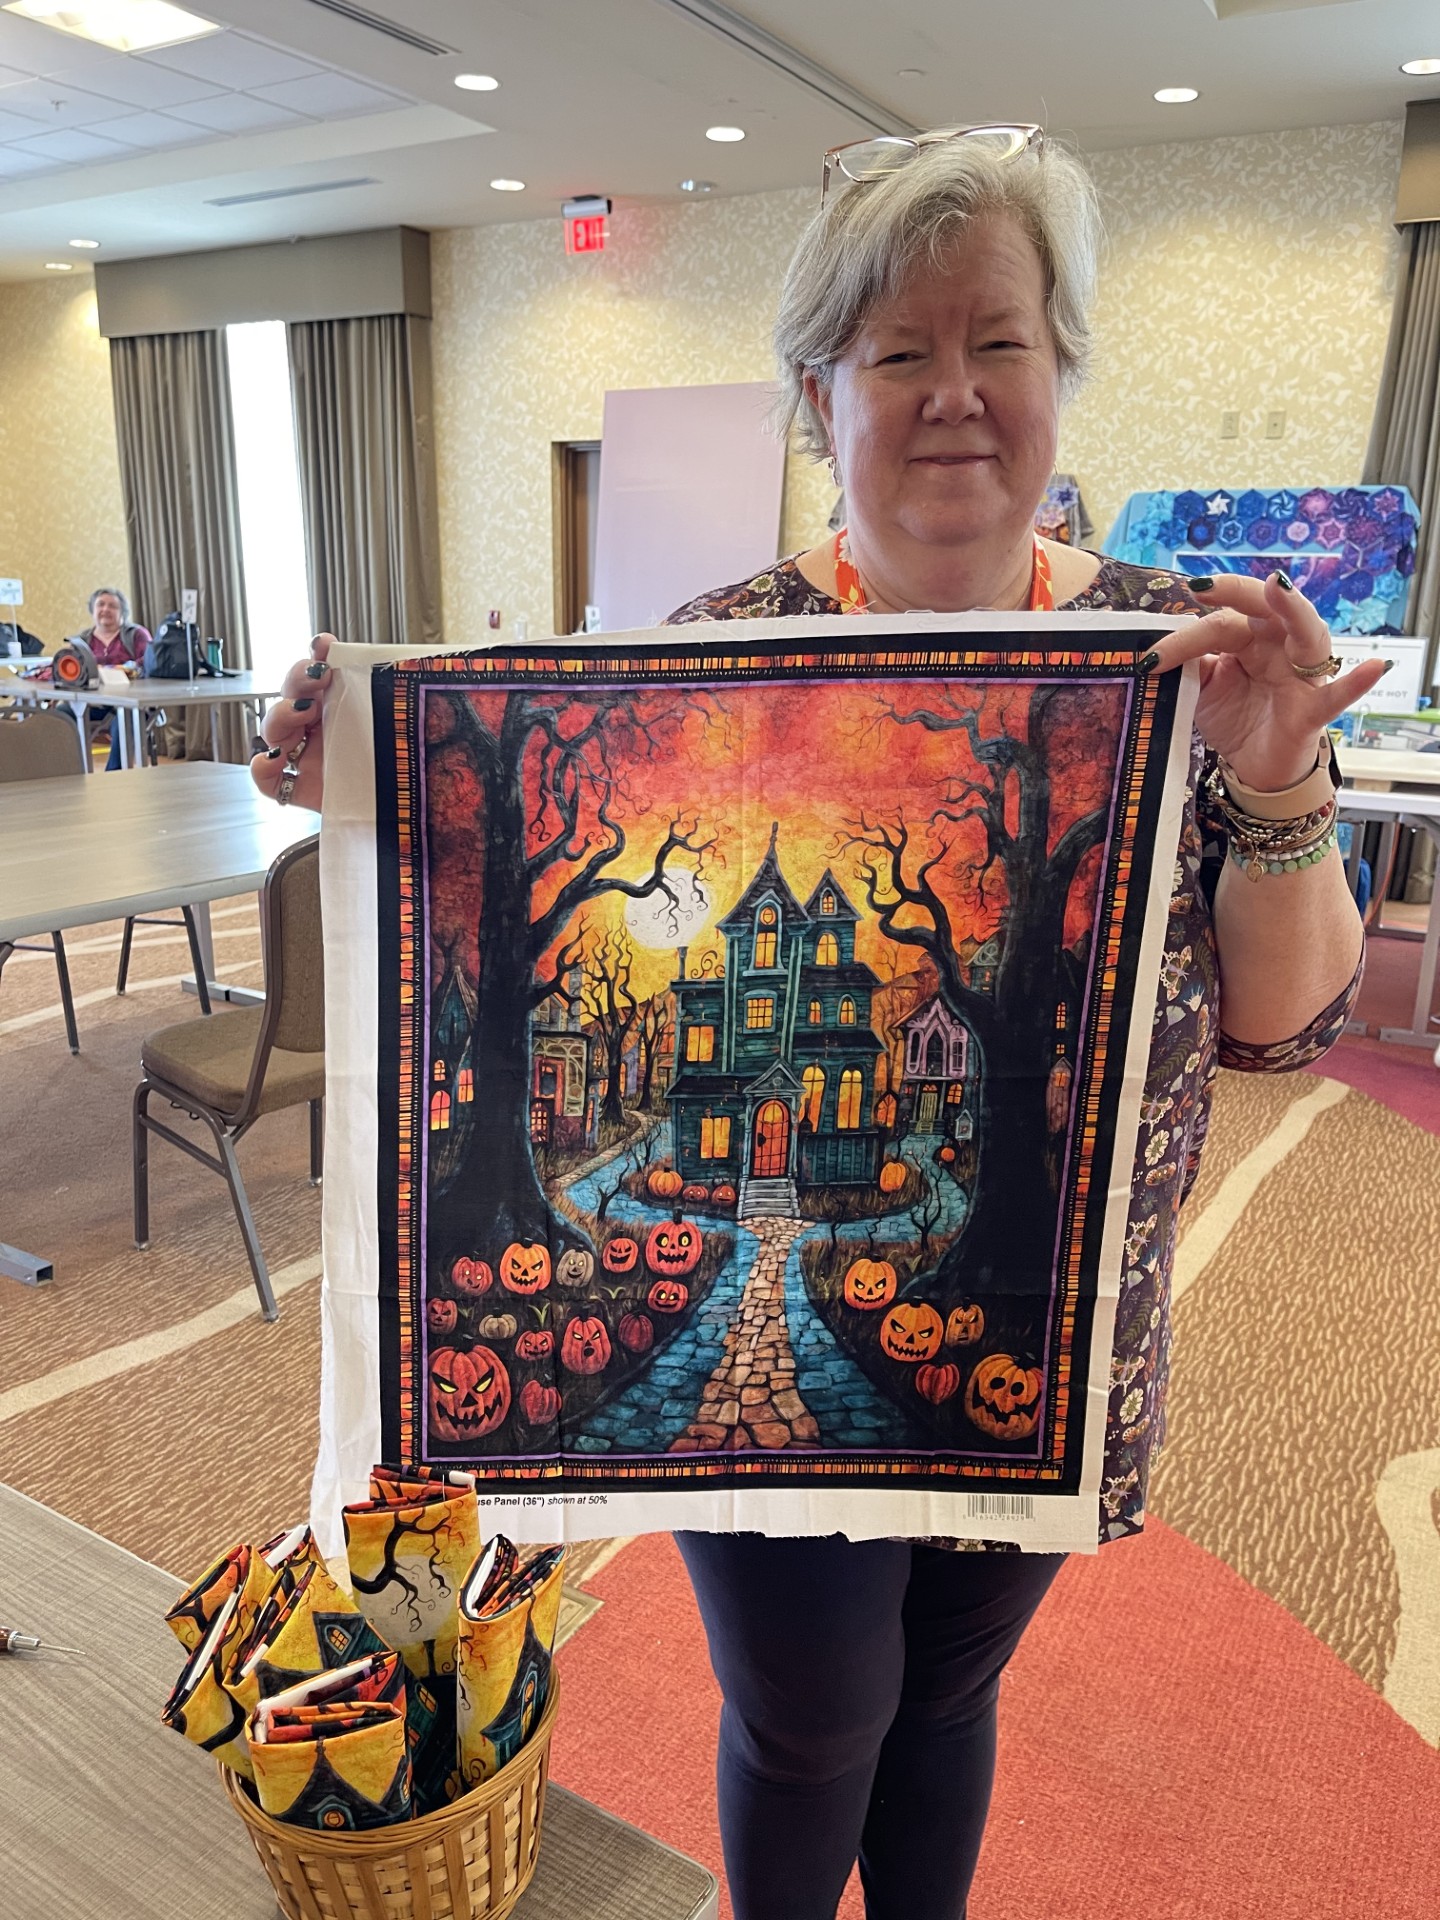
These two panels were created by Frond Design for Northcott Fabrics. Terri had it on her design wall and I have had them in my OBW stash for a couple of years. The normal thing would be to stitch the halves together and design around them. Why be normal? We decided to do what we do best. A One Block Wonder coat and quilt out of the same panels!
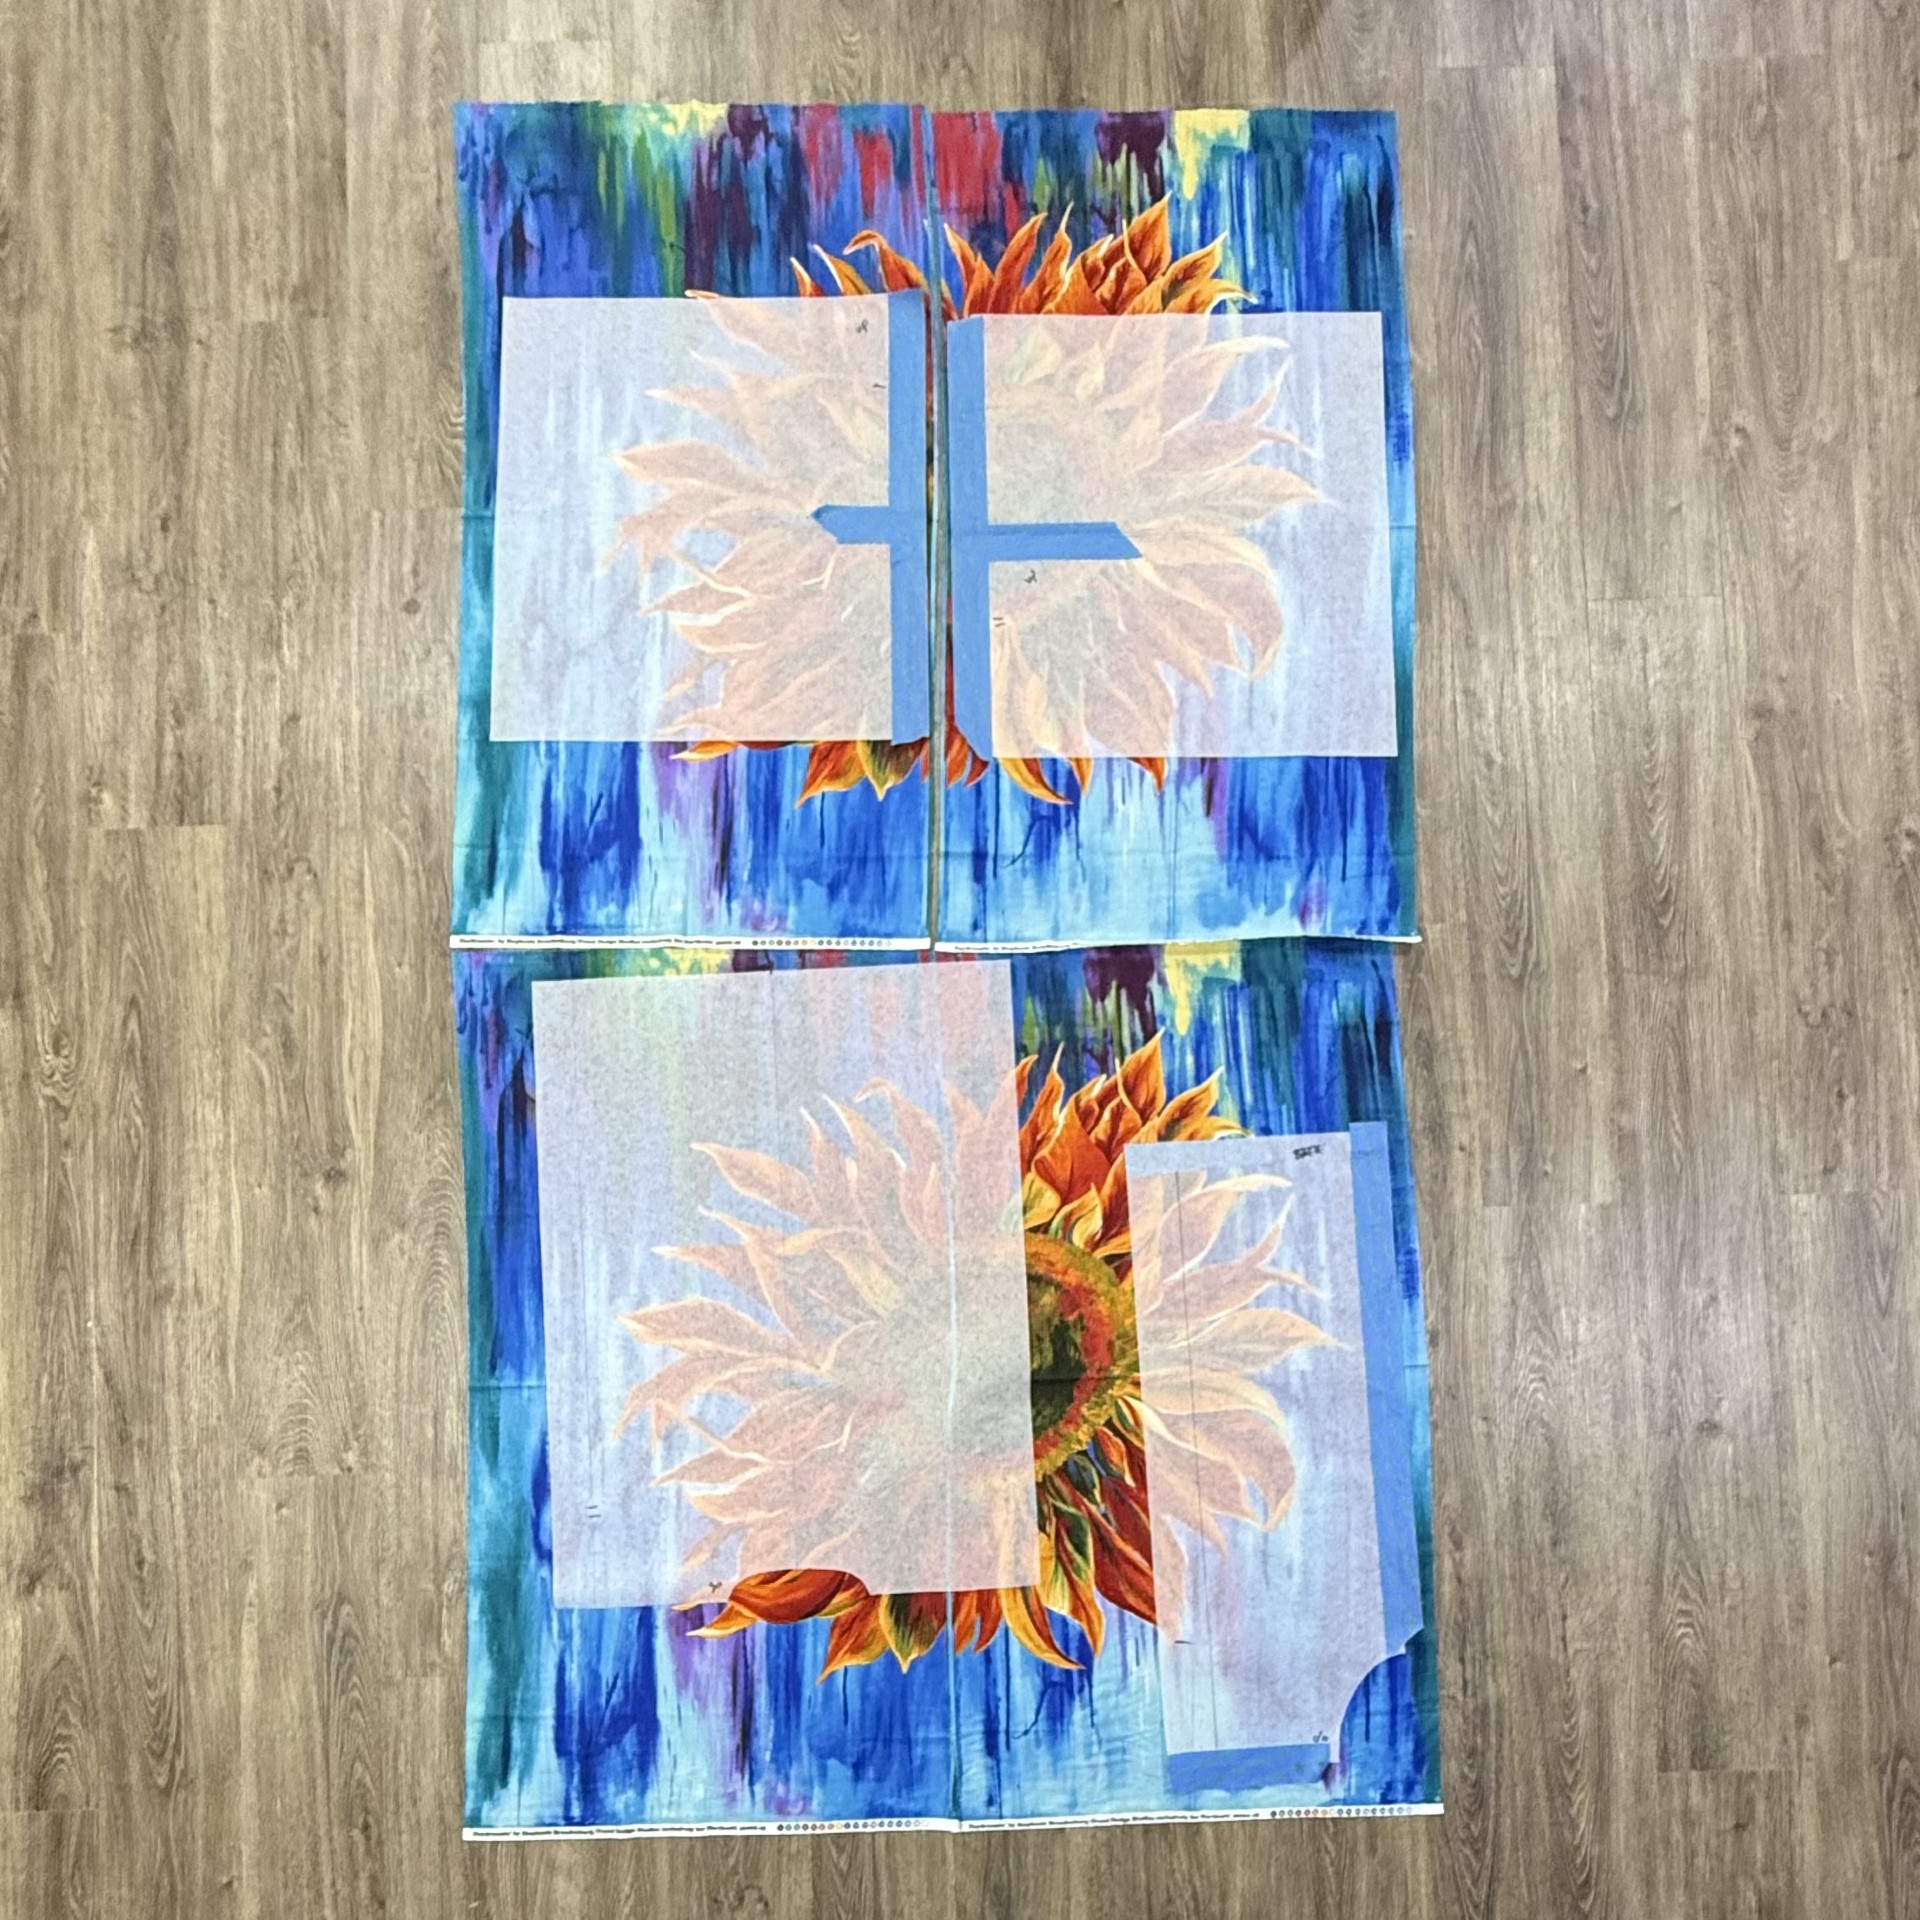
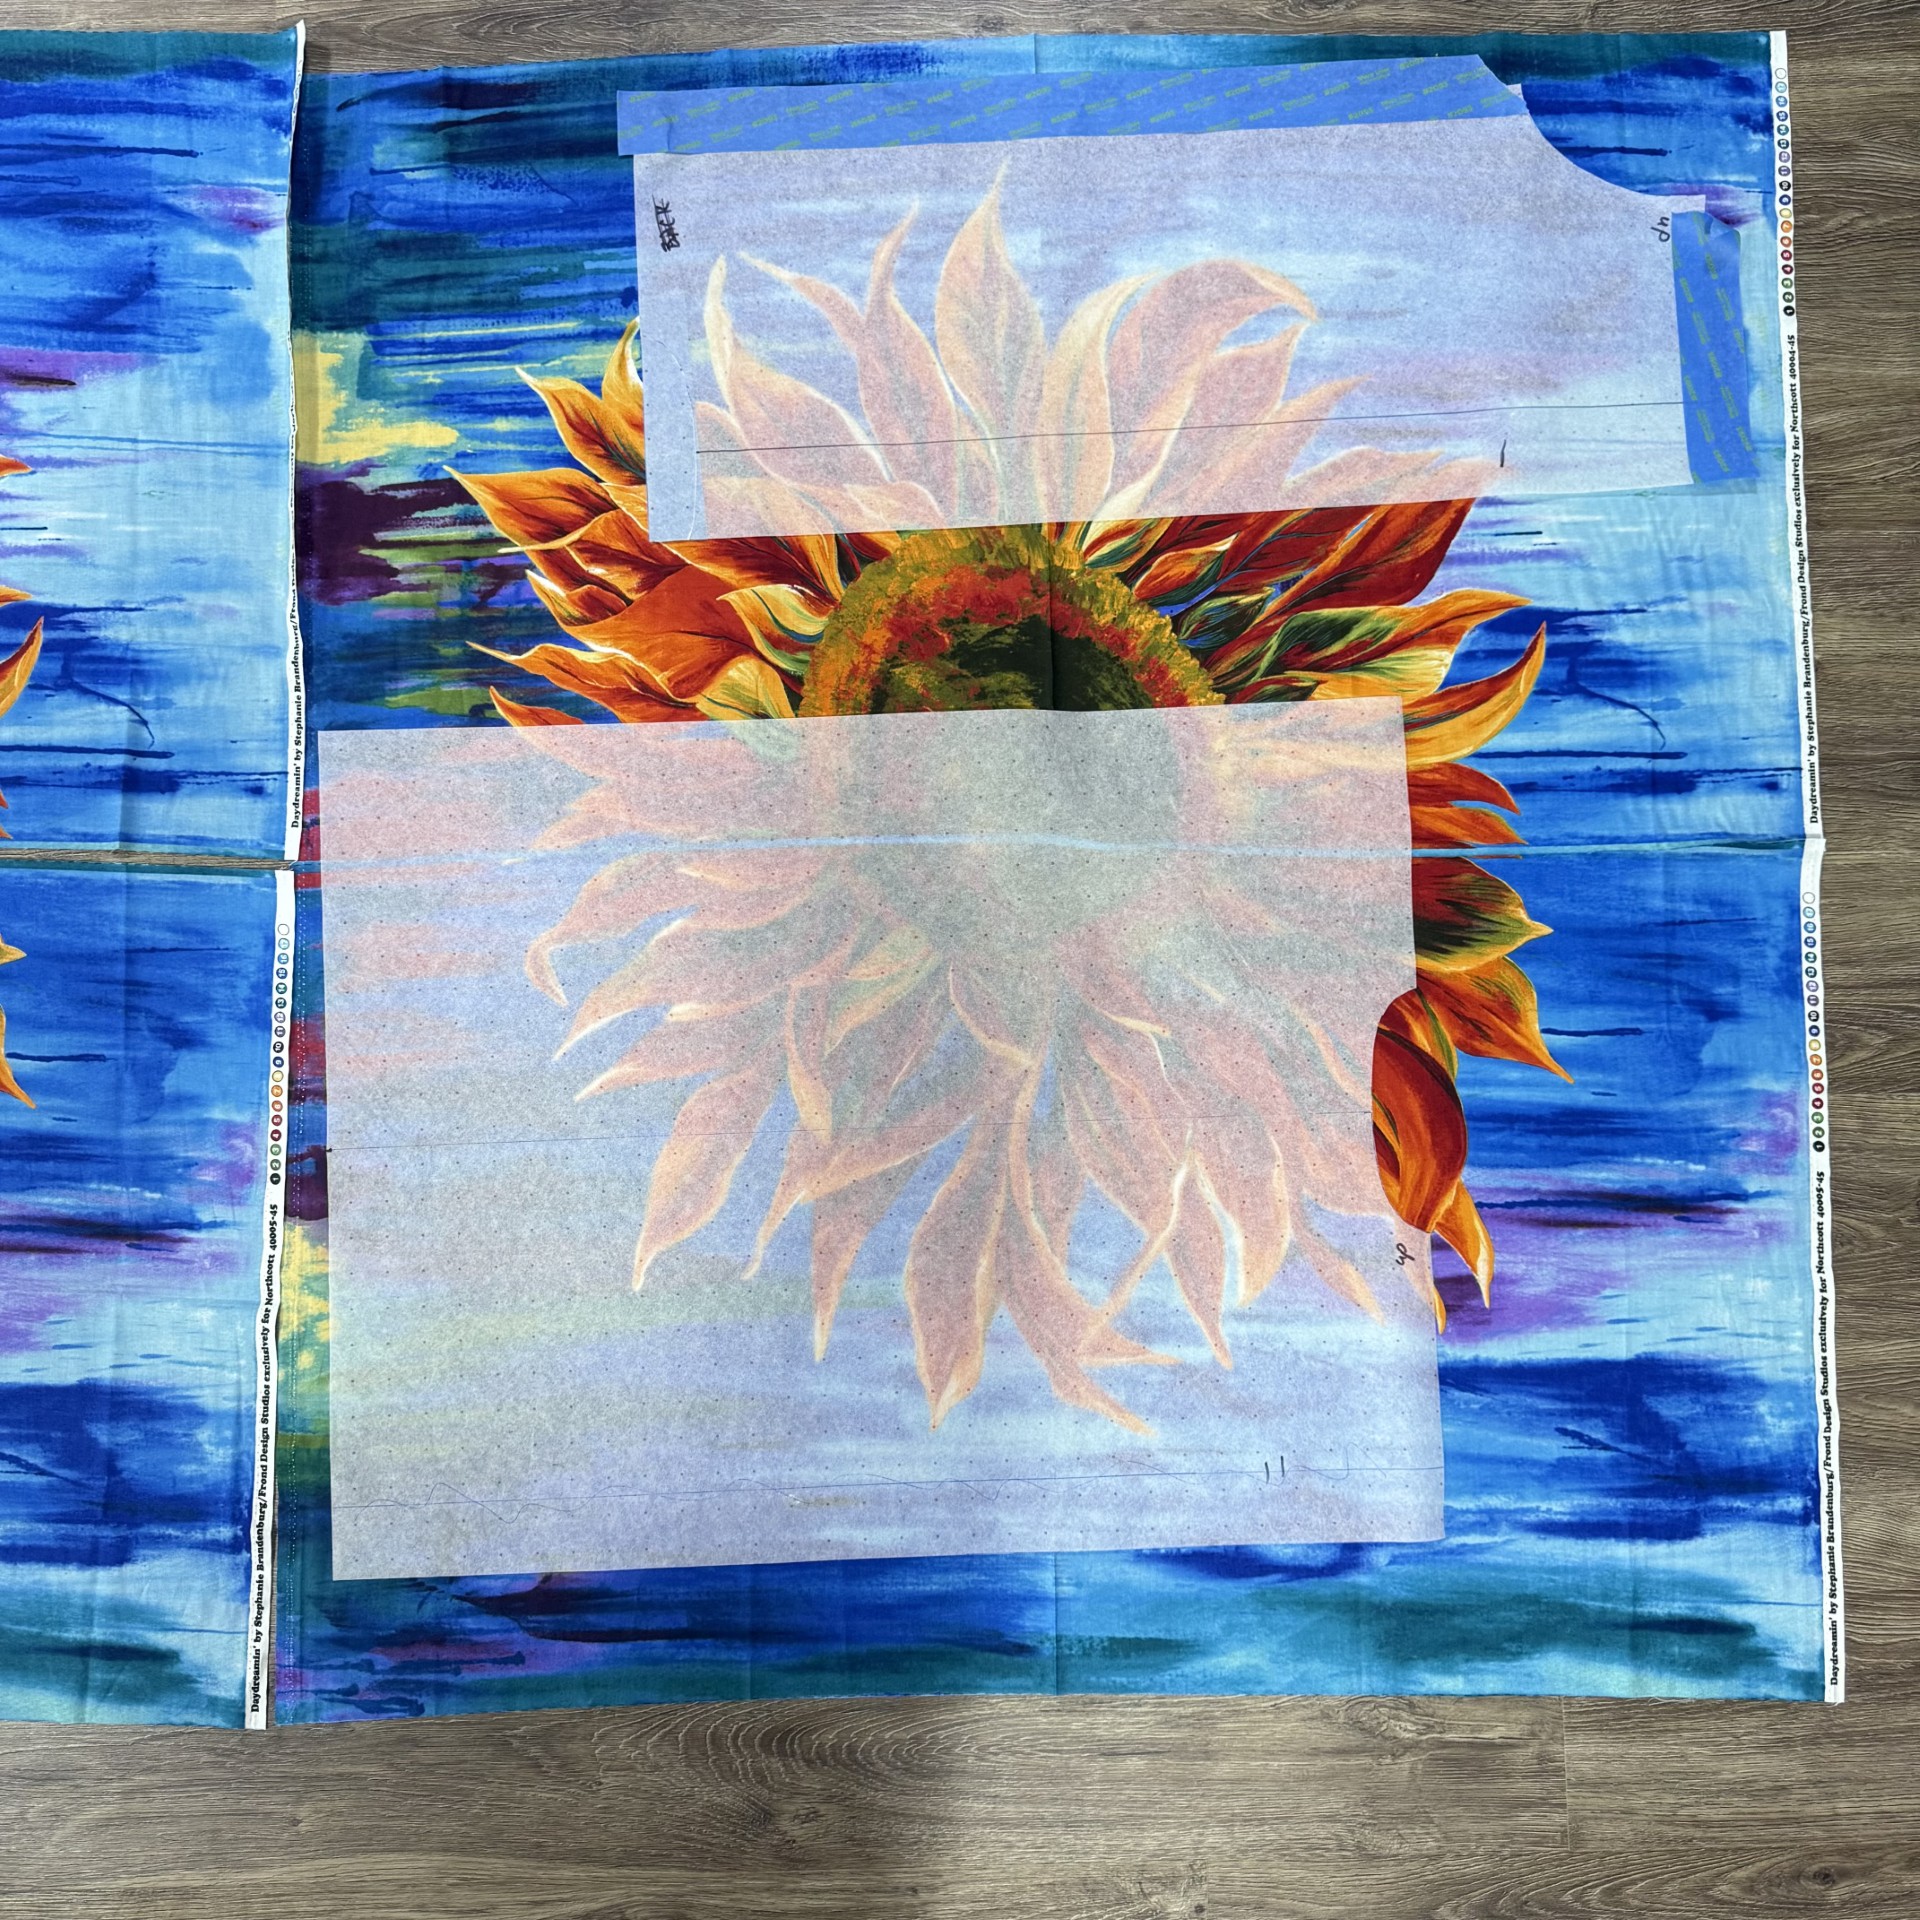
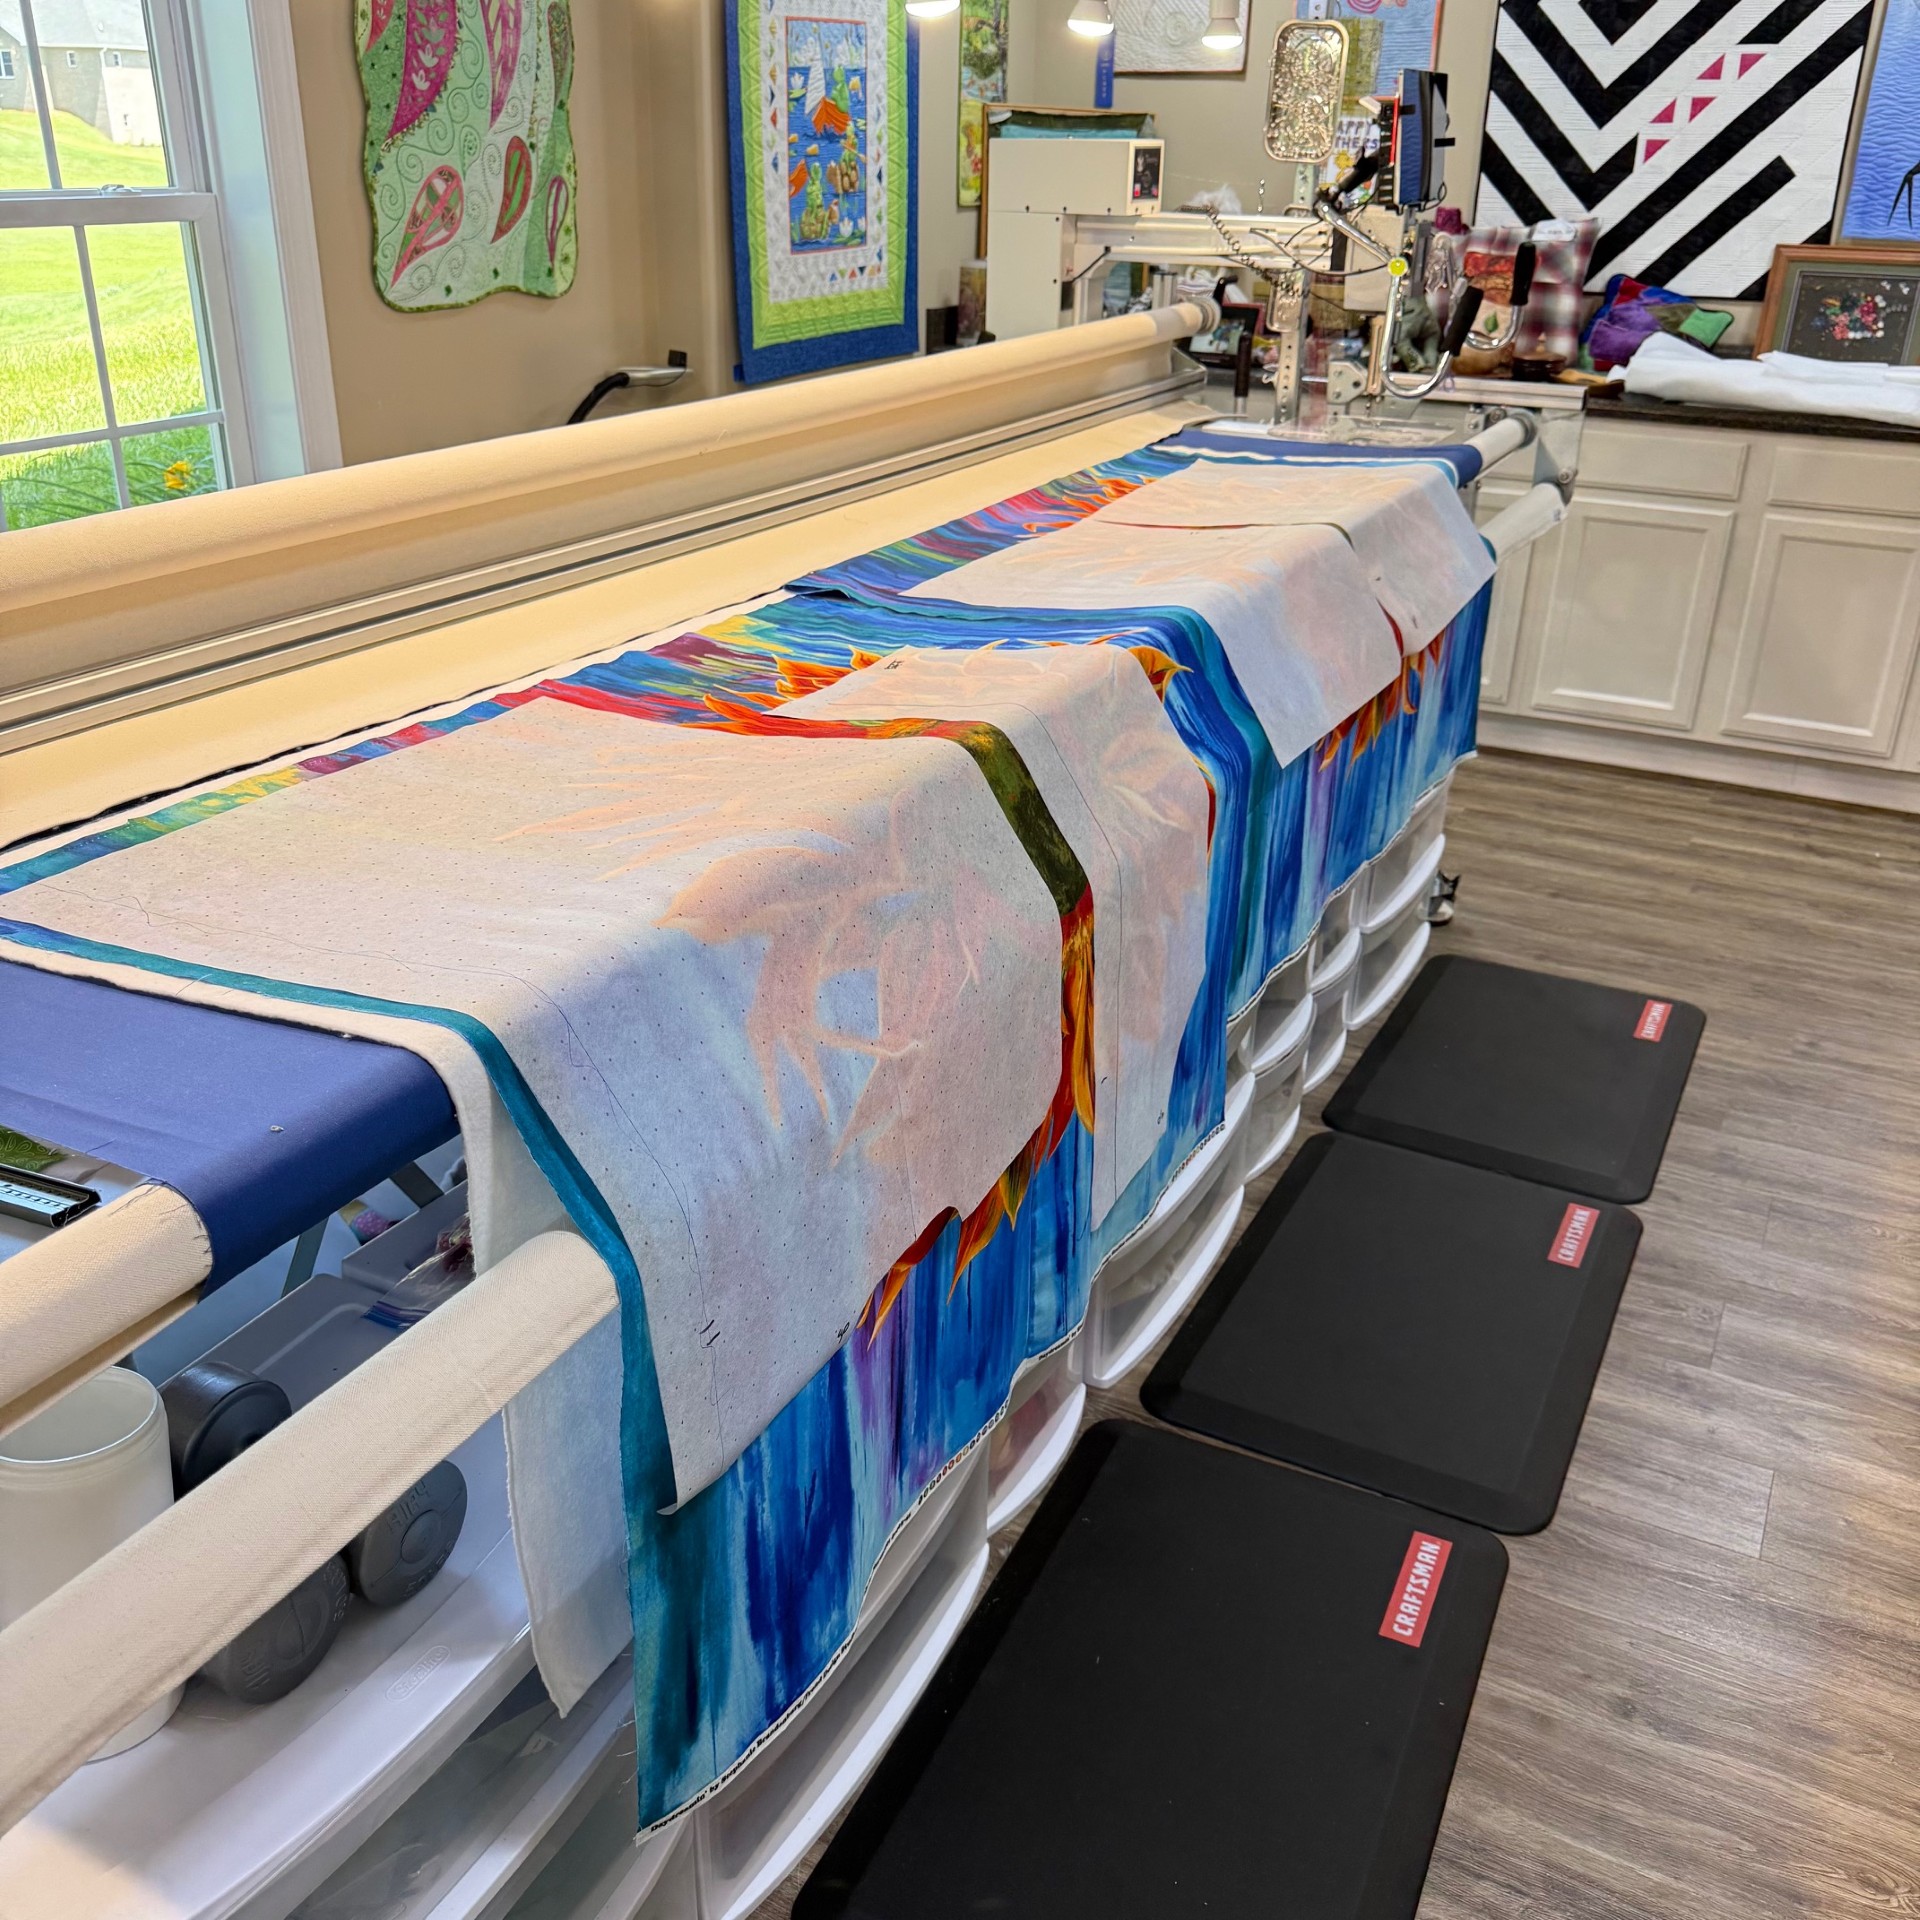
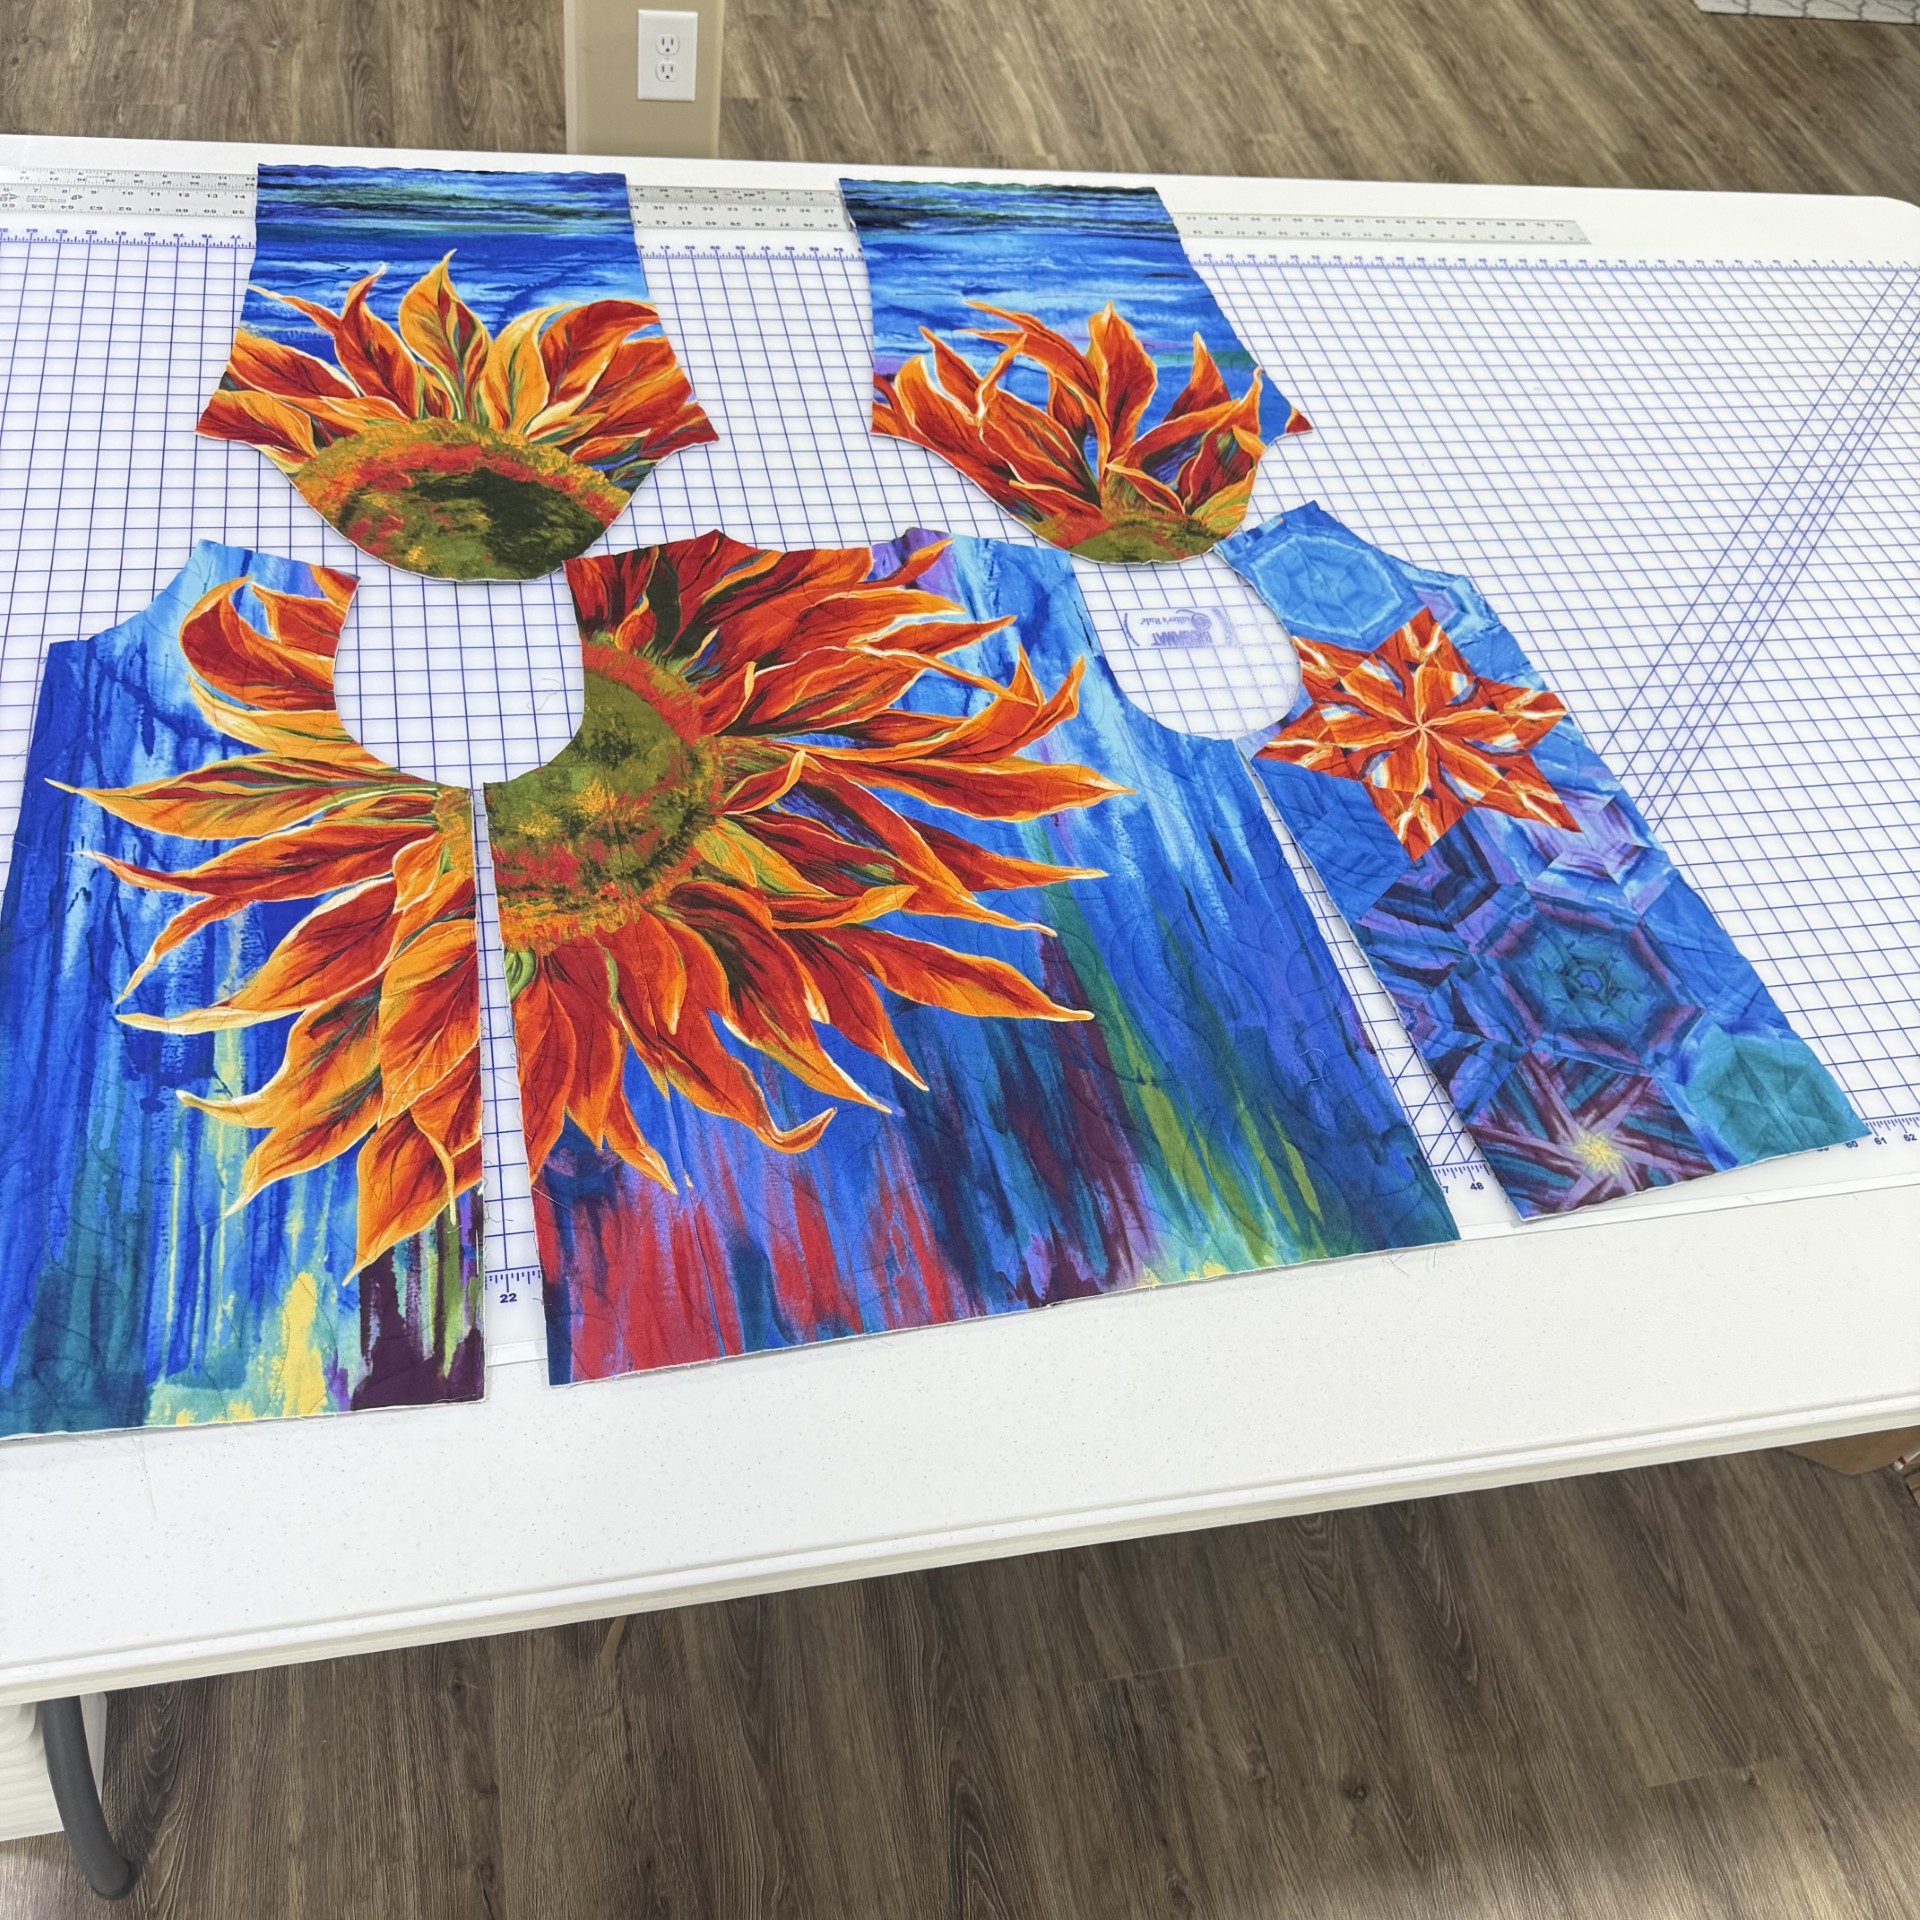
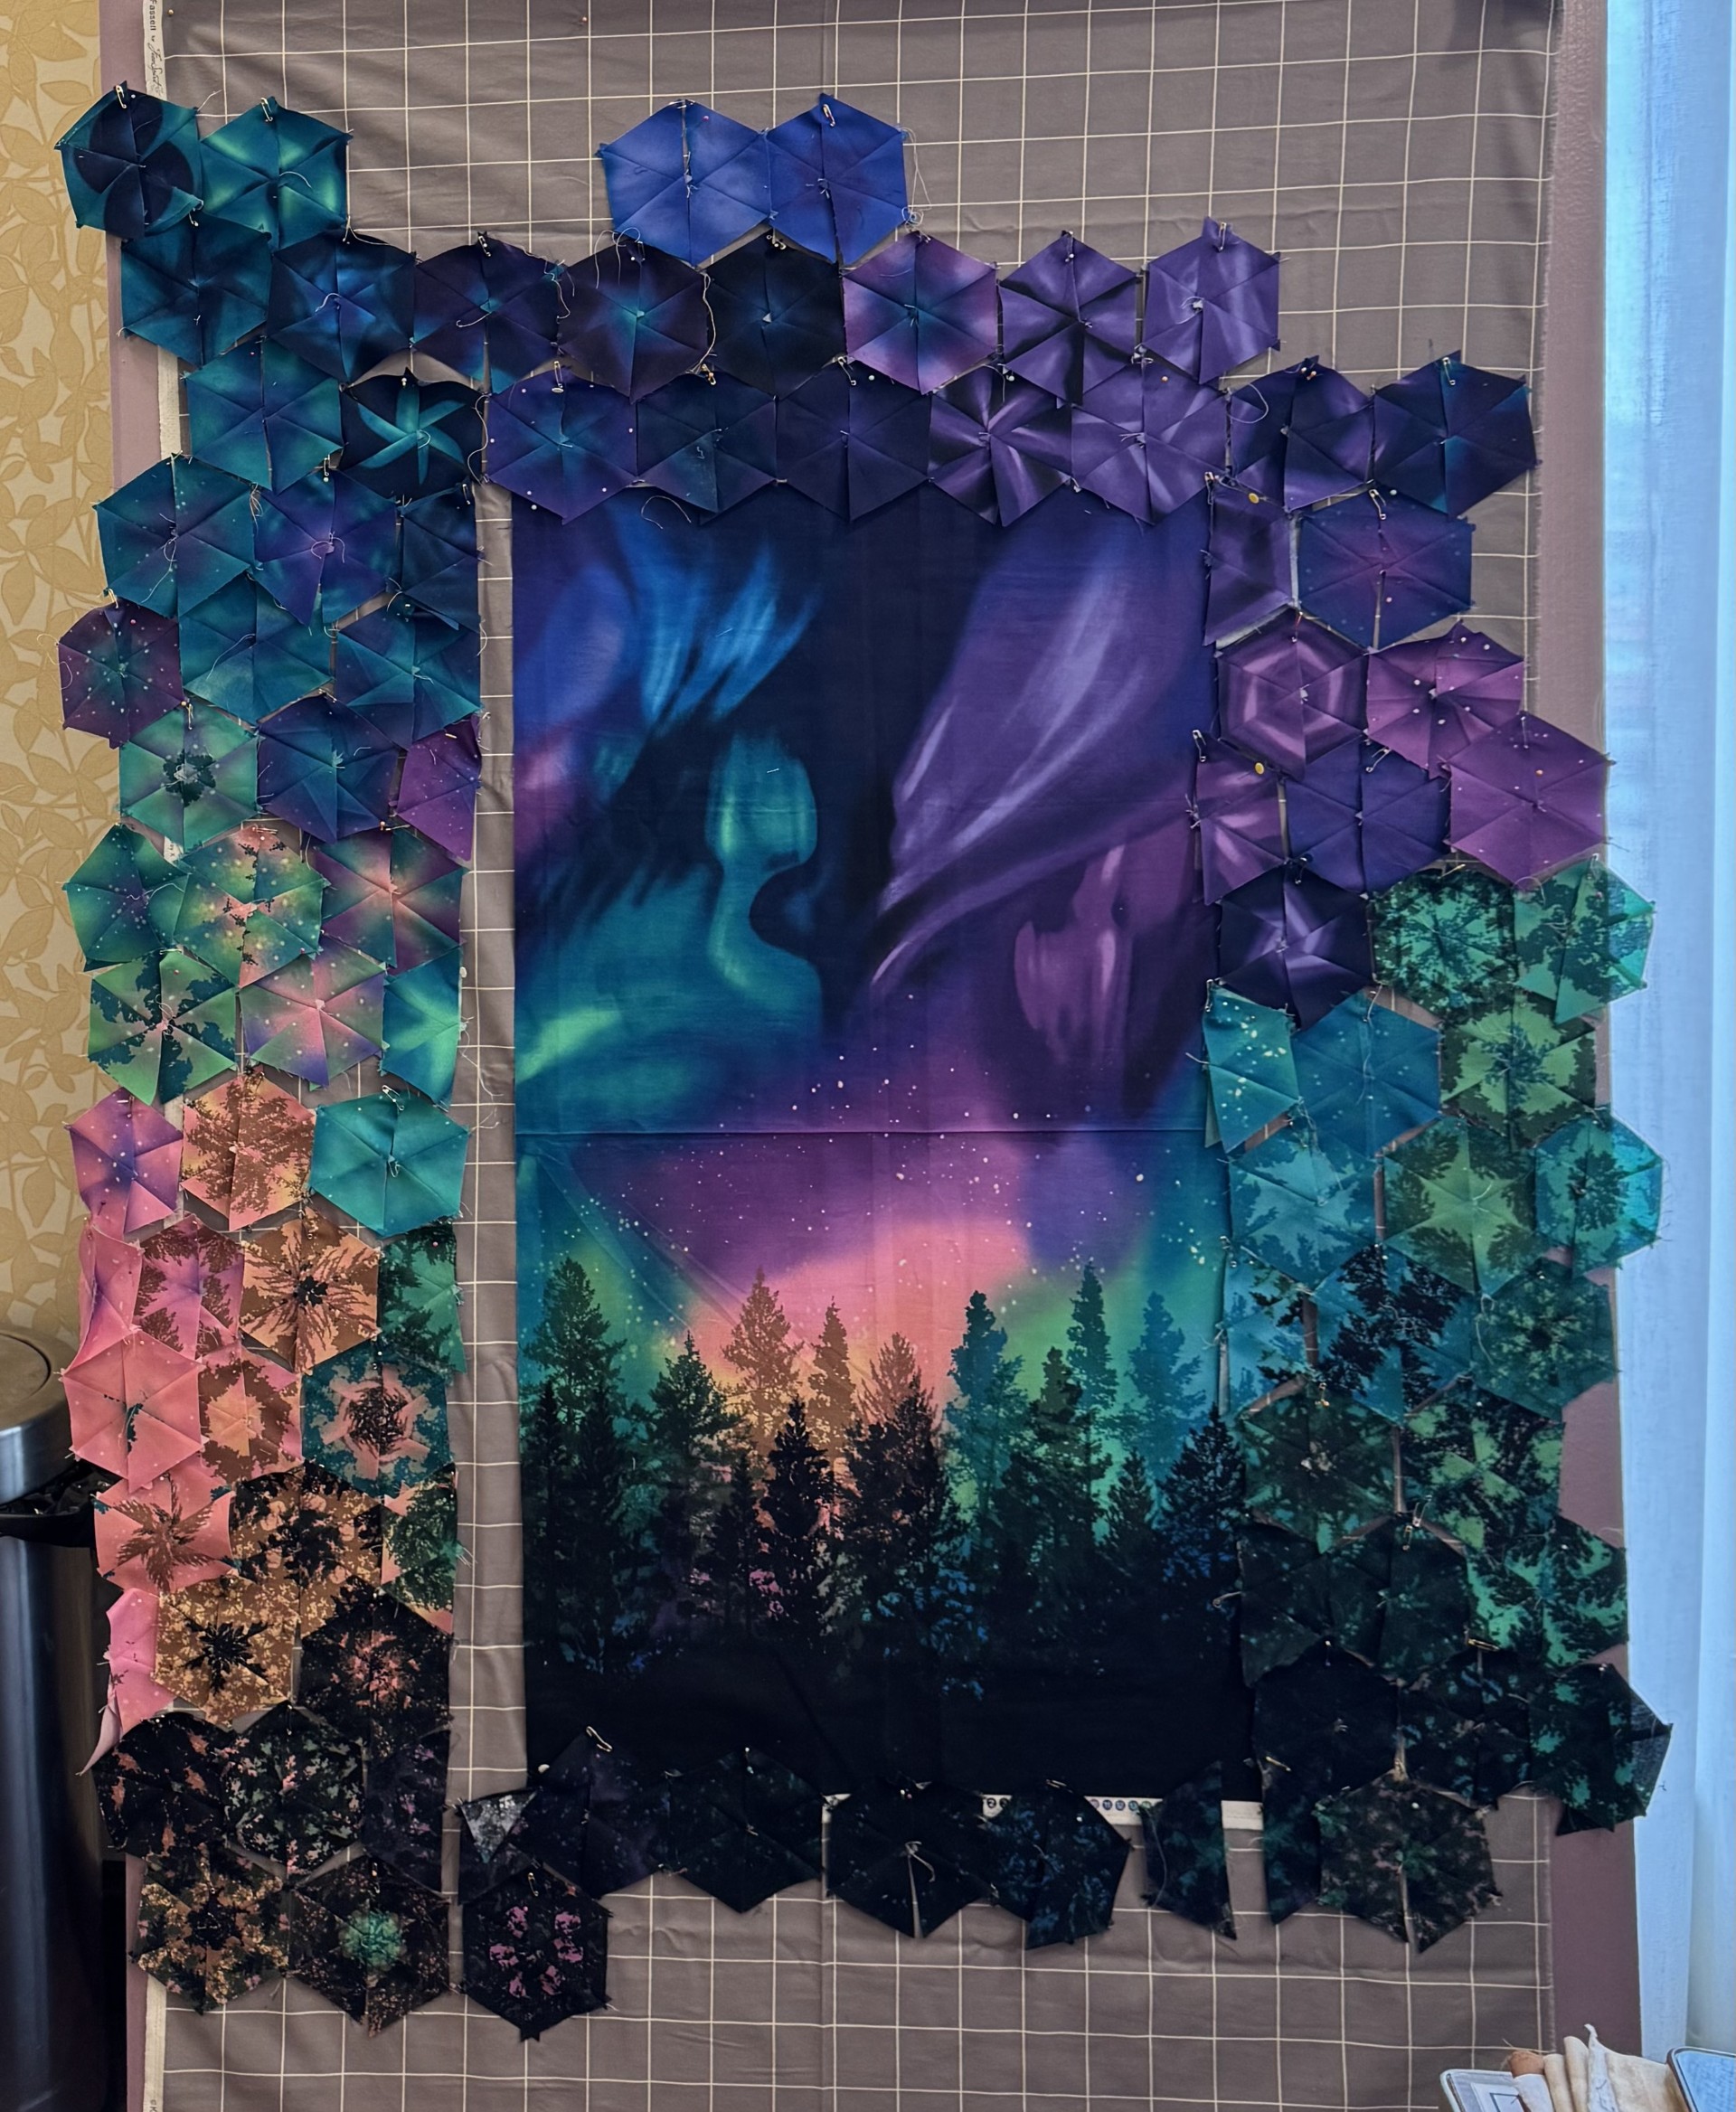
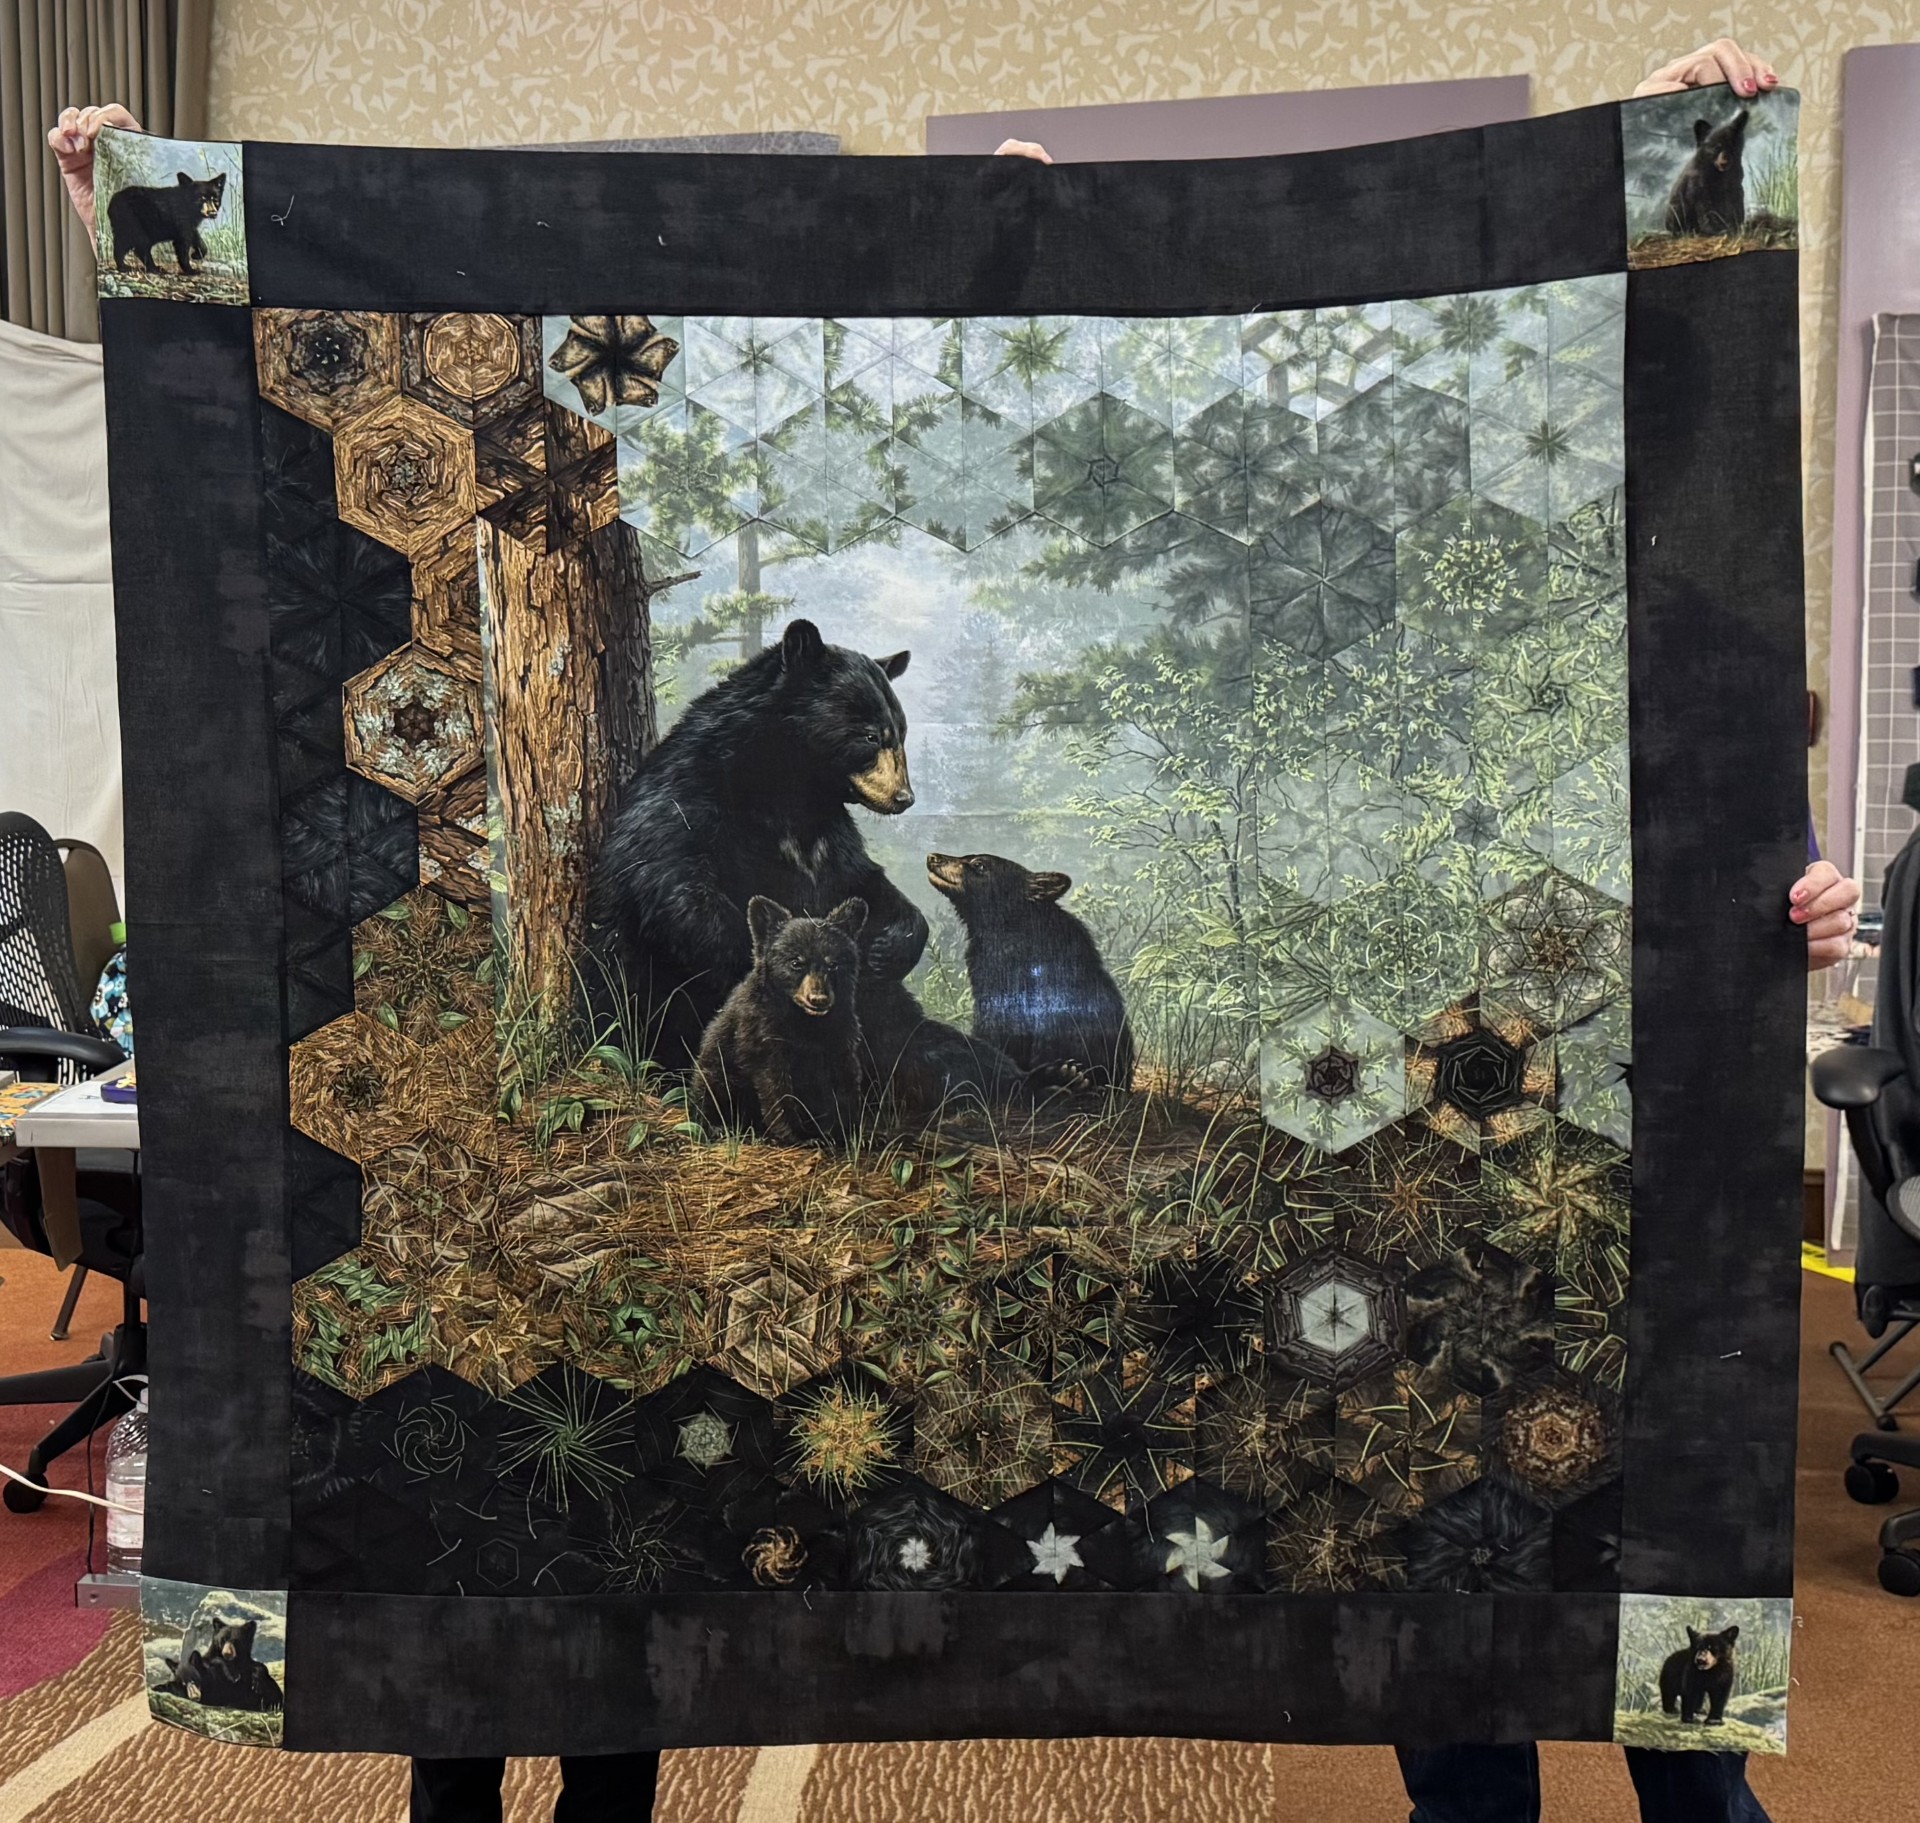
Terri chose the layout, quilted the individual sections and cut out the coat pieces.
Terri did such a great job with her interpretation of Daydreamin, I just love it. You can follow Terri at Mama Said Sew. Terri is a great pattern designer.
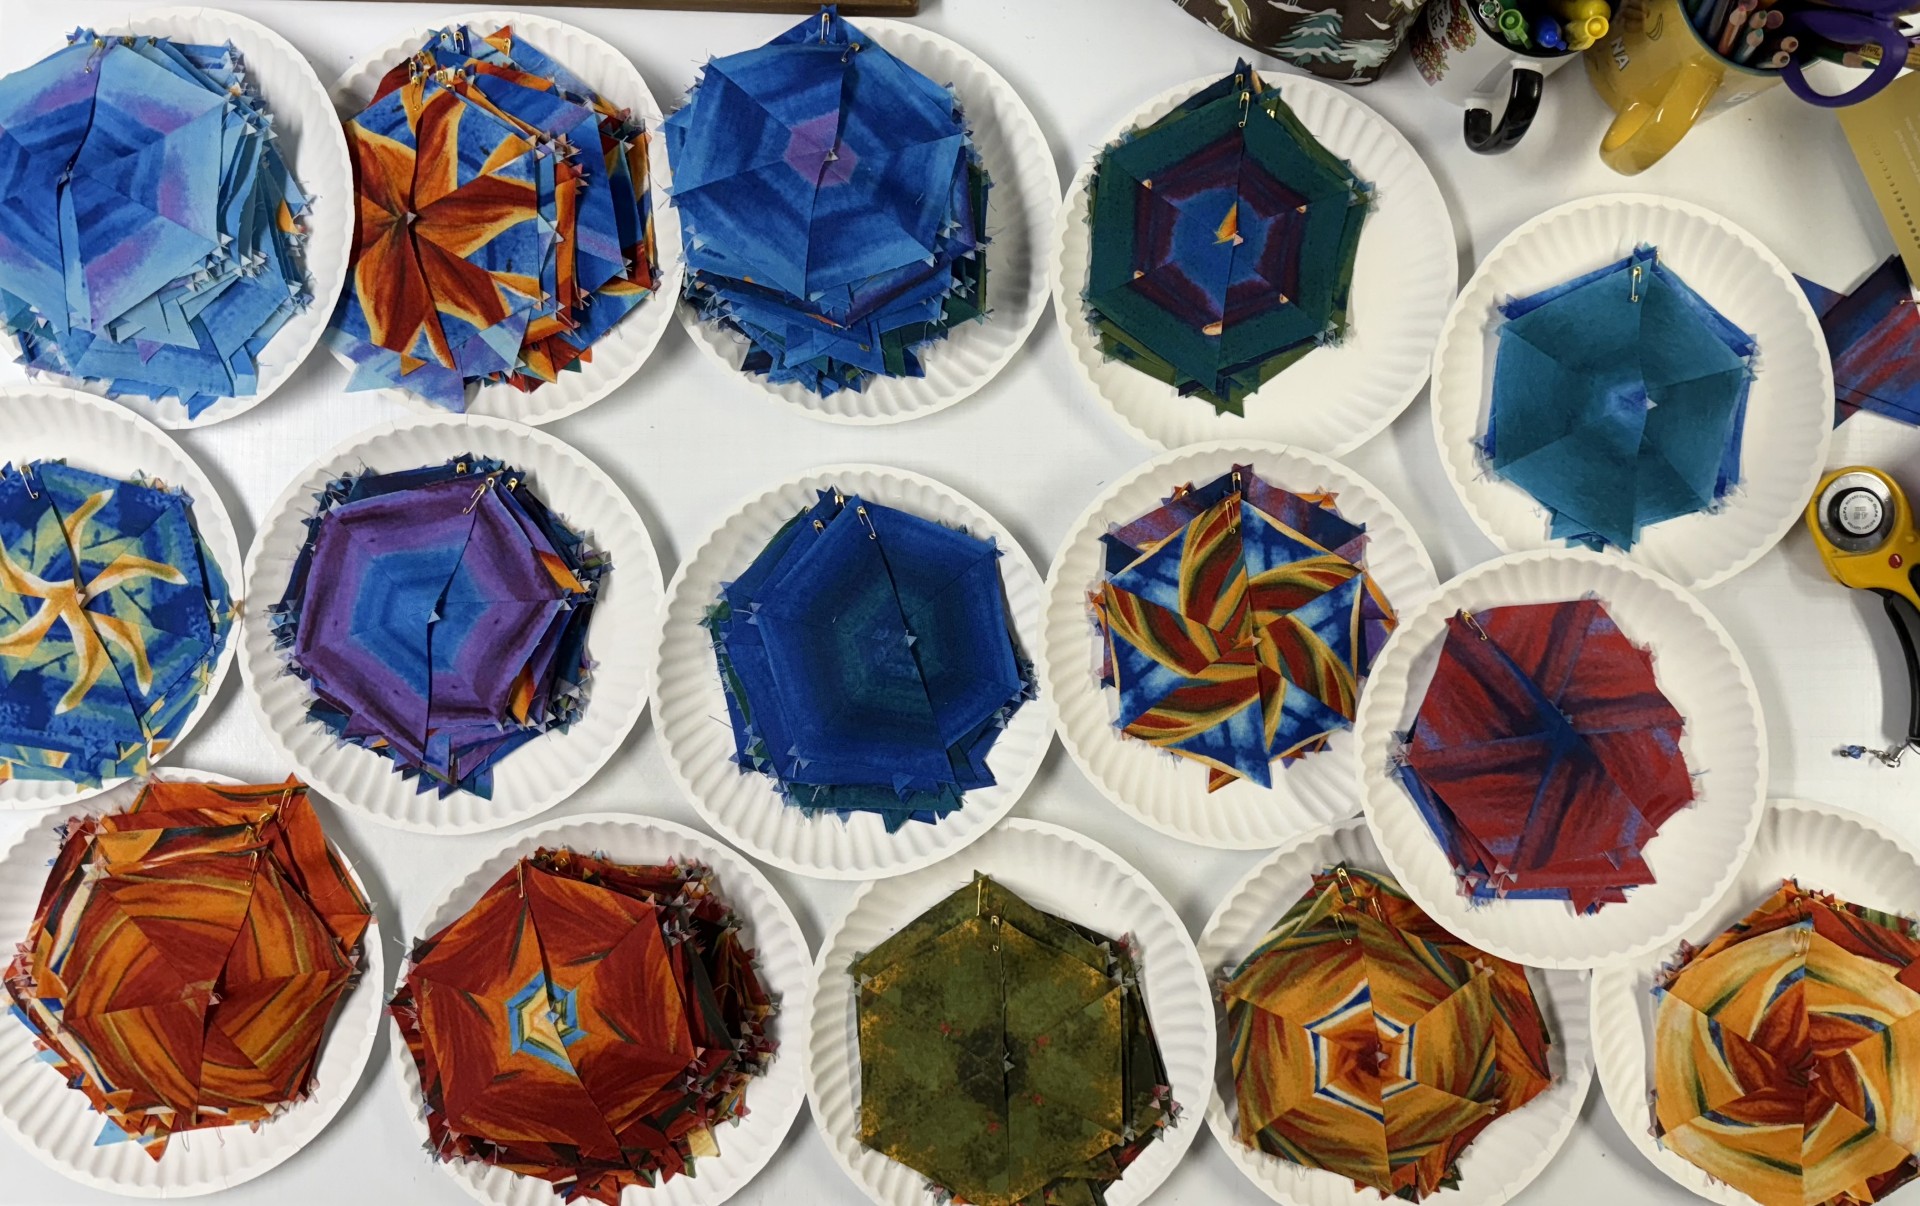
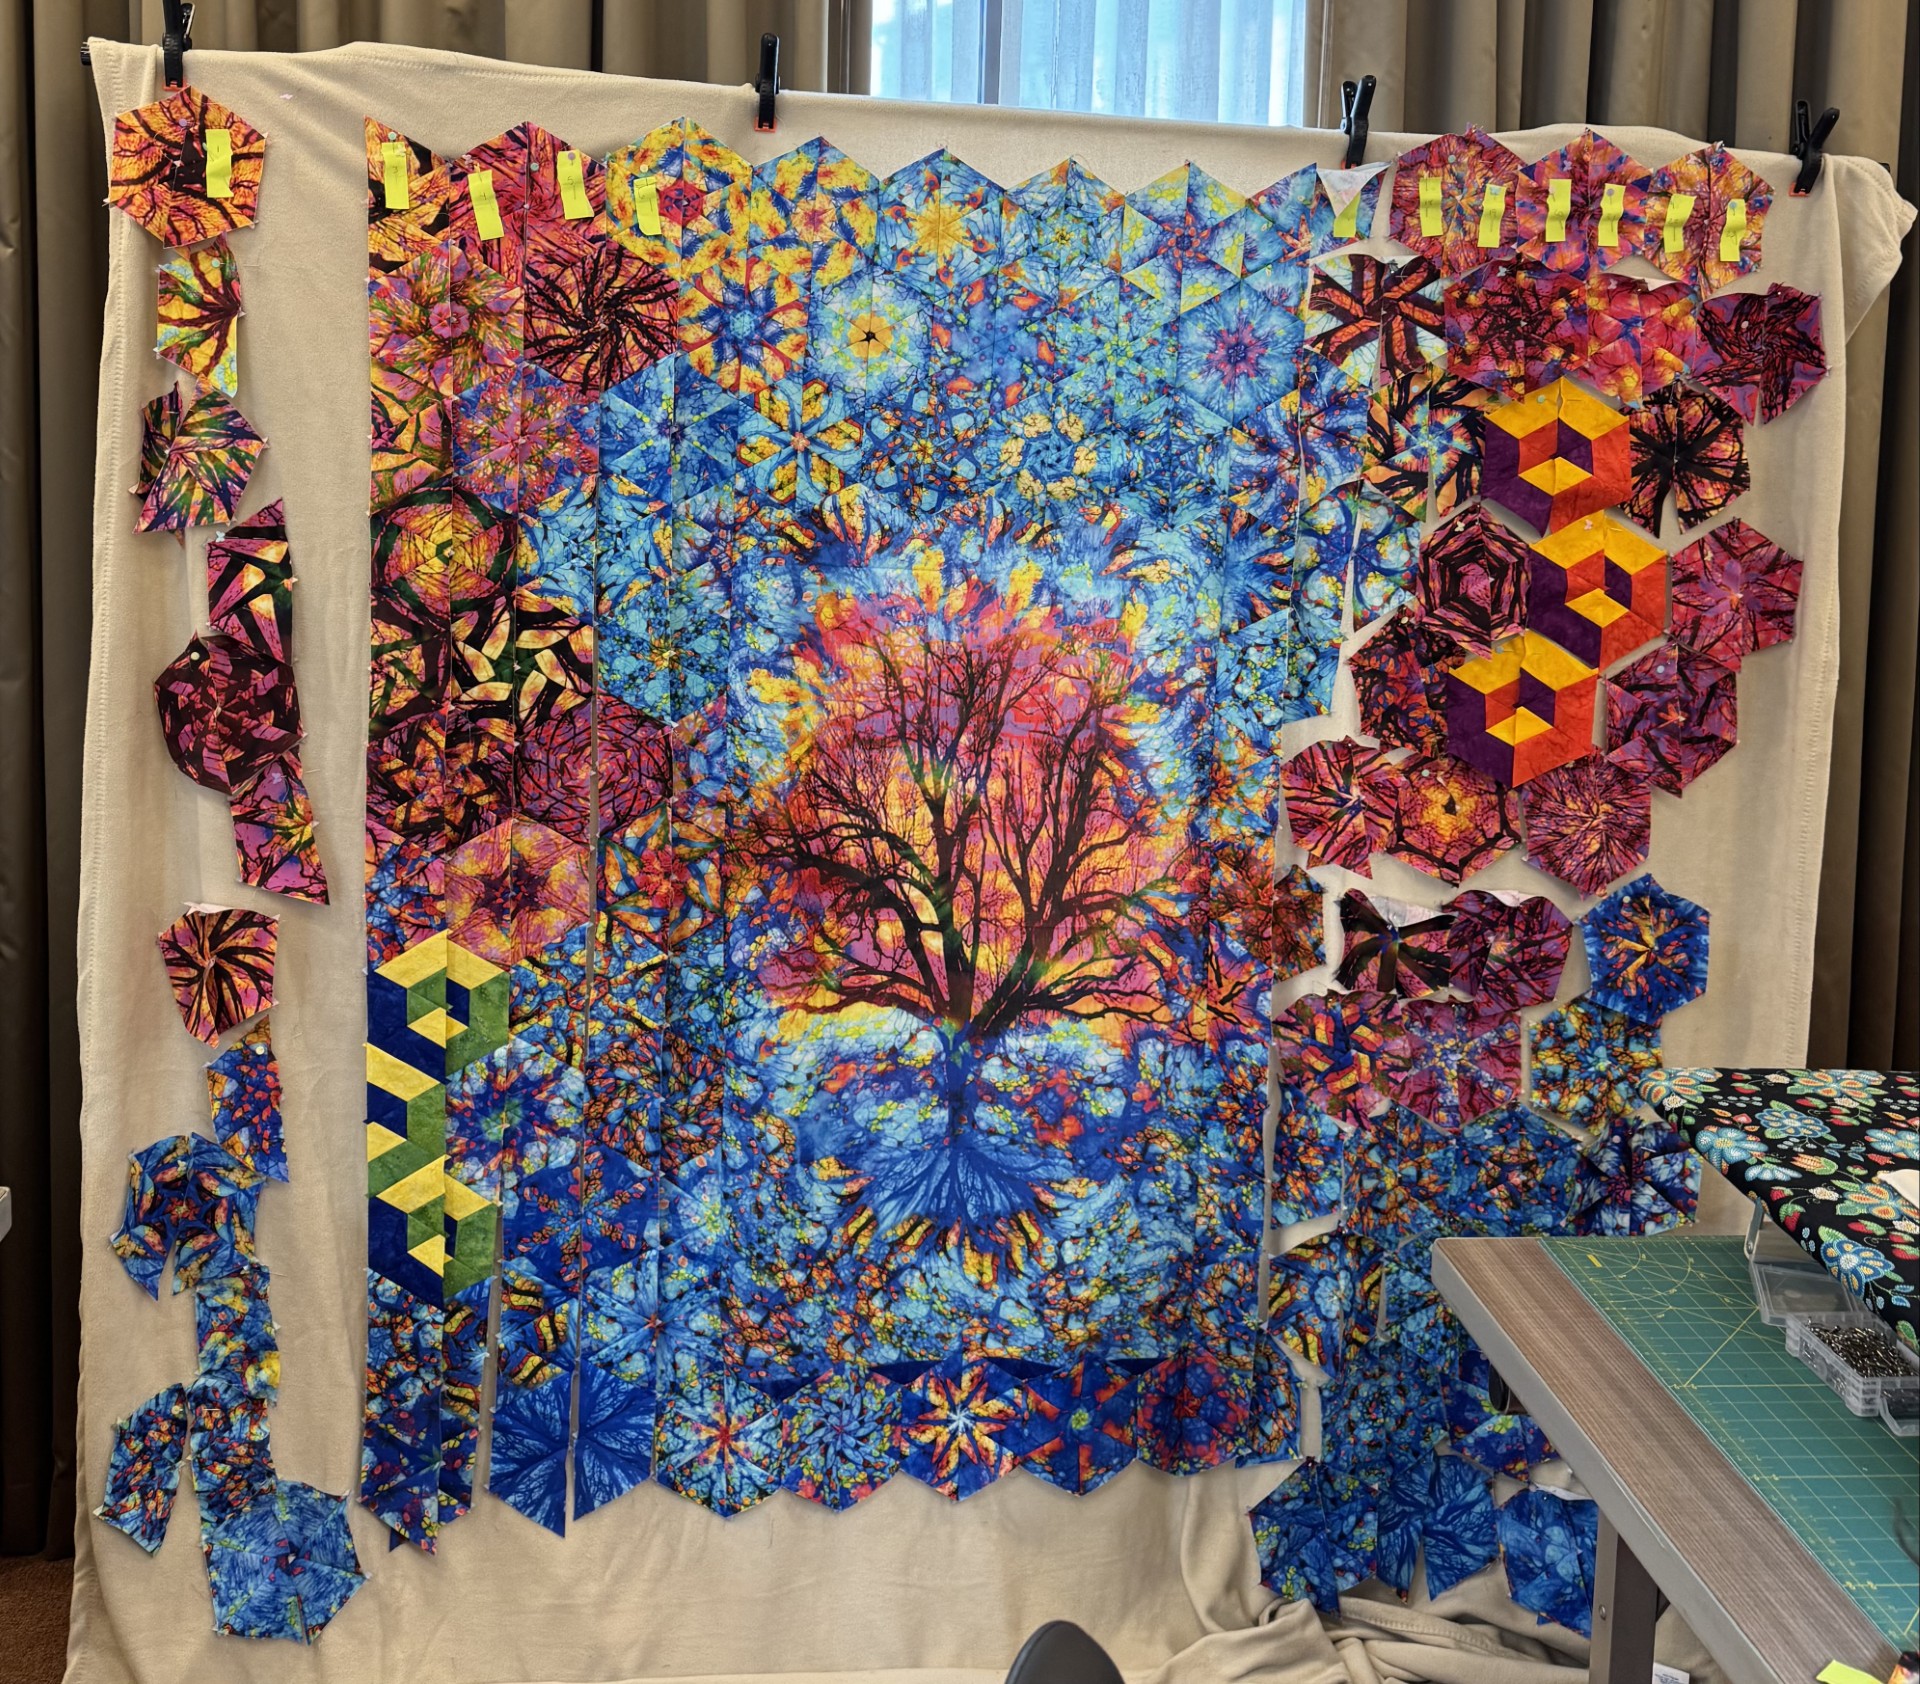
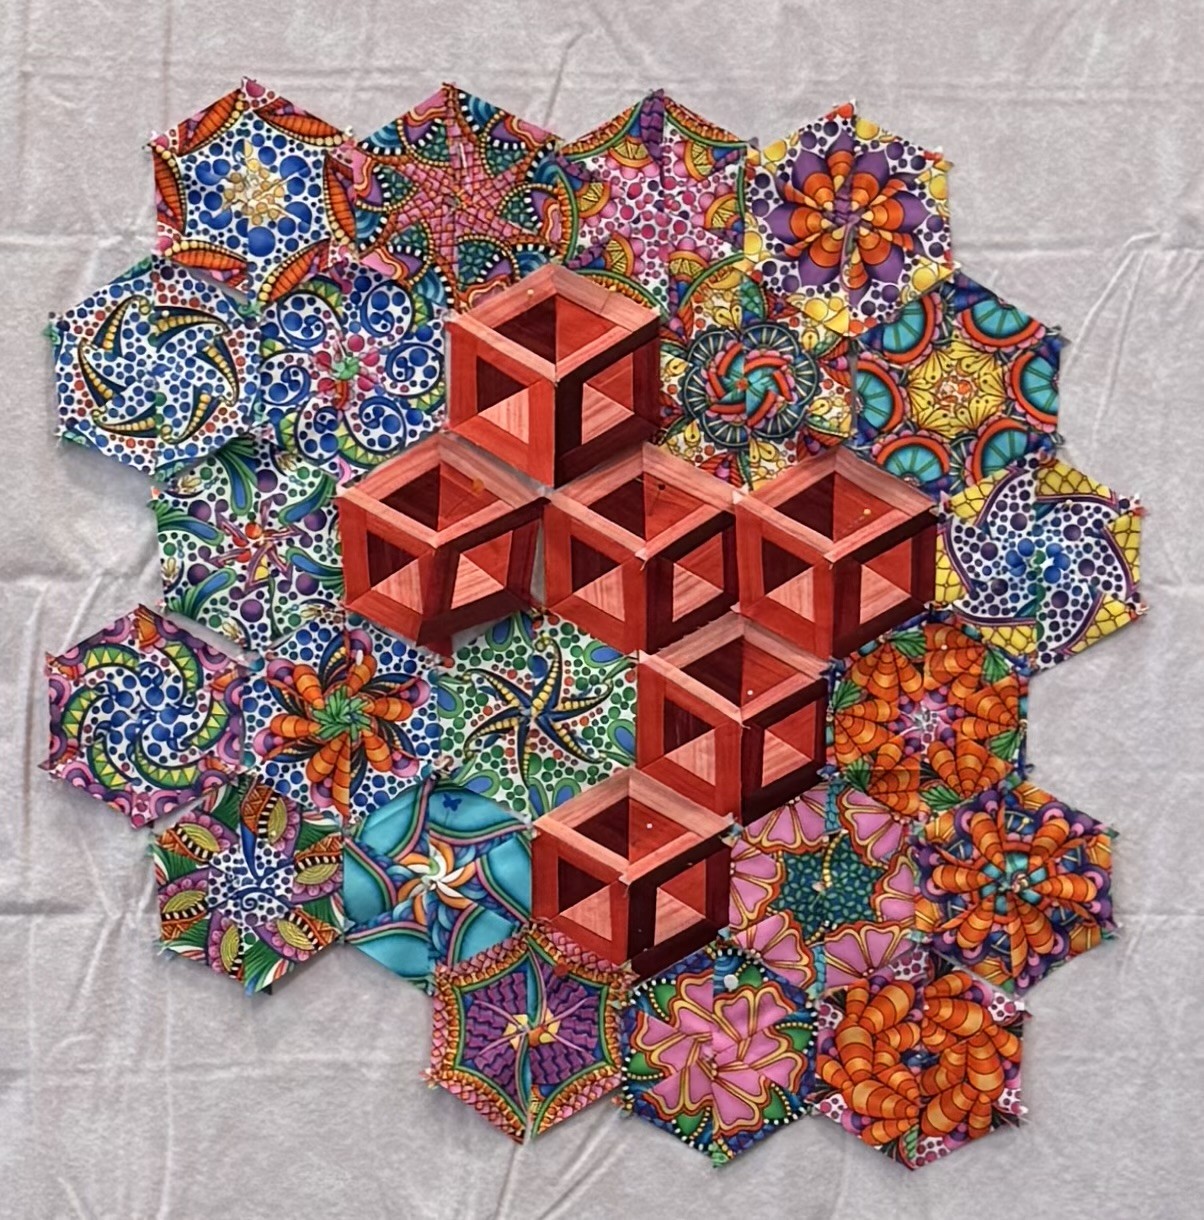
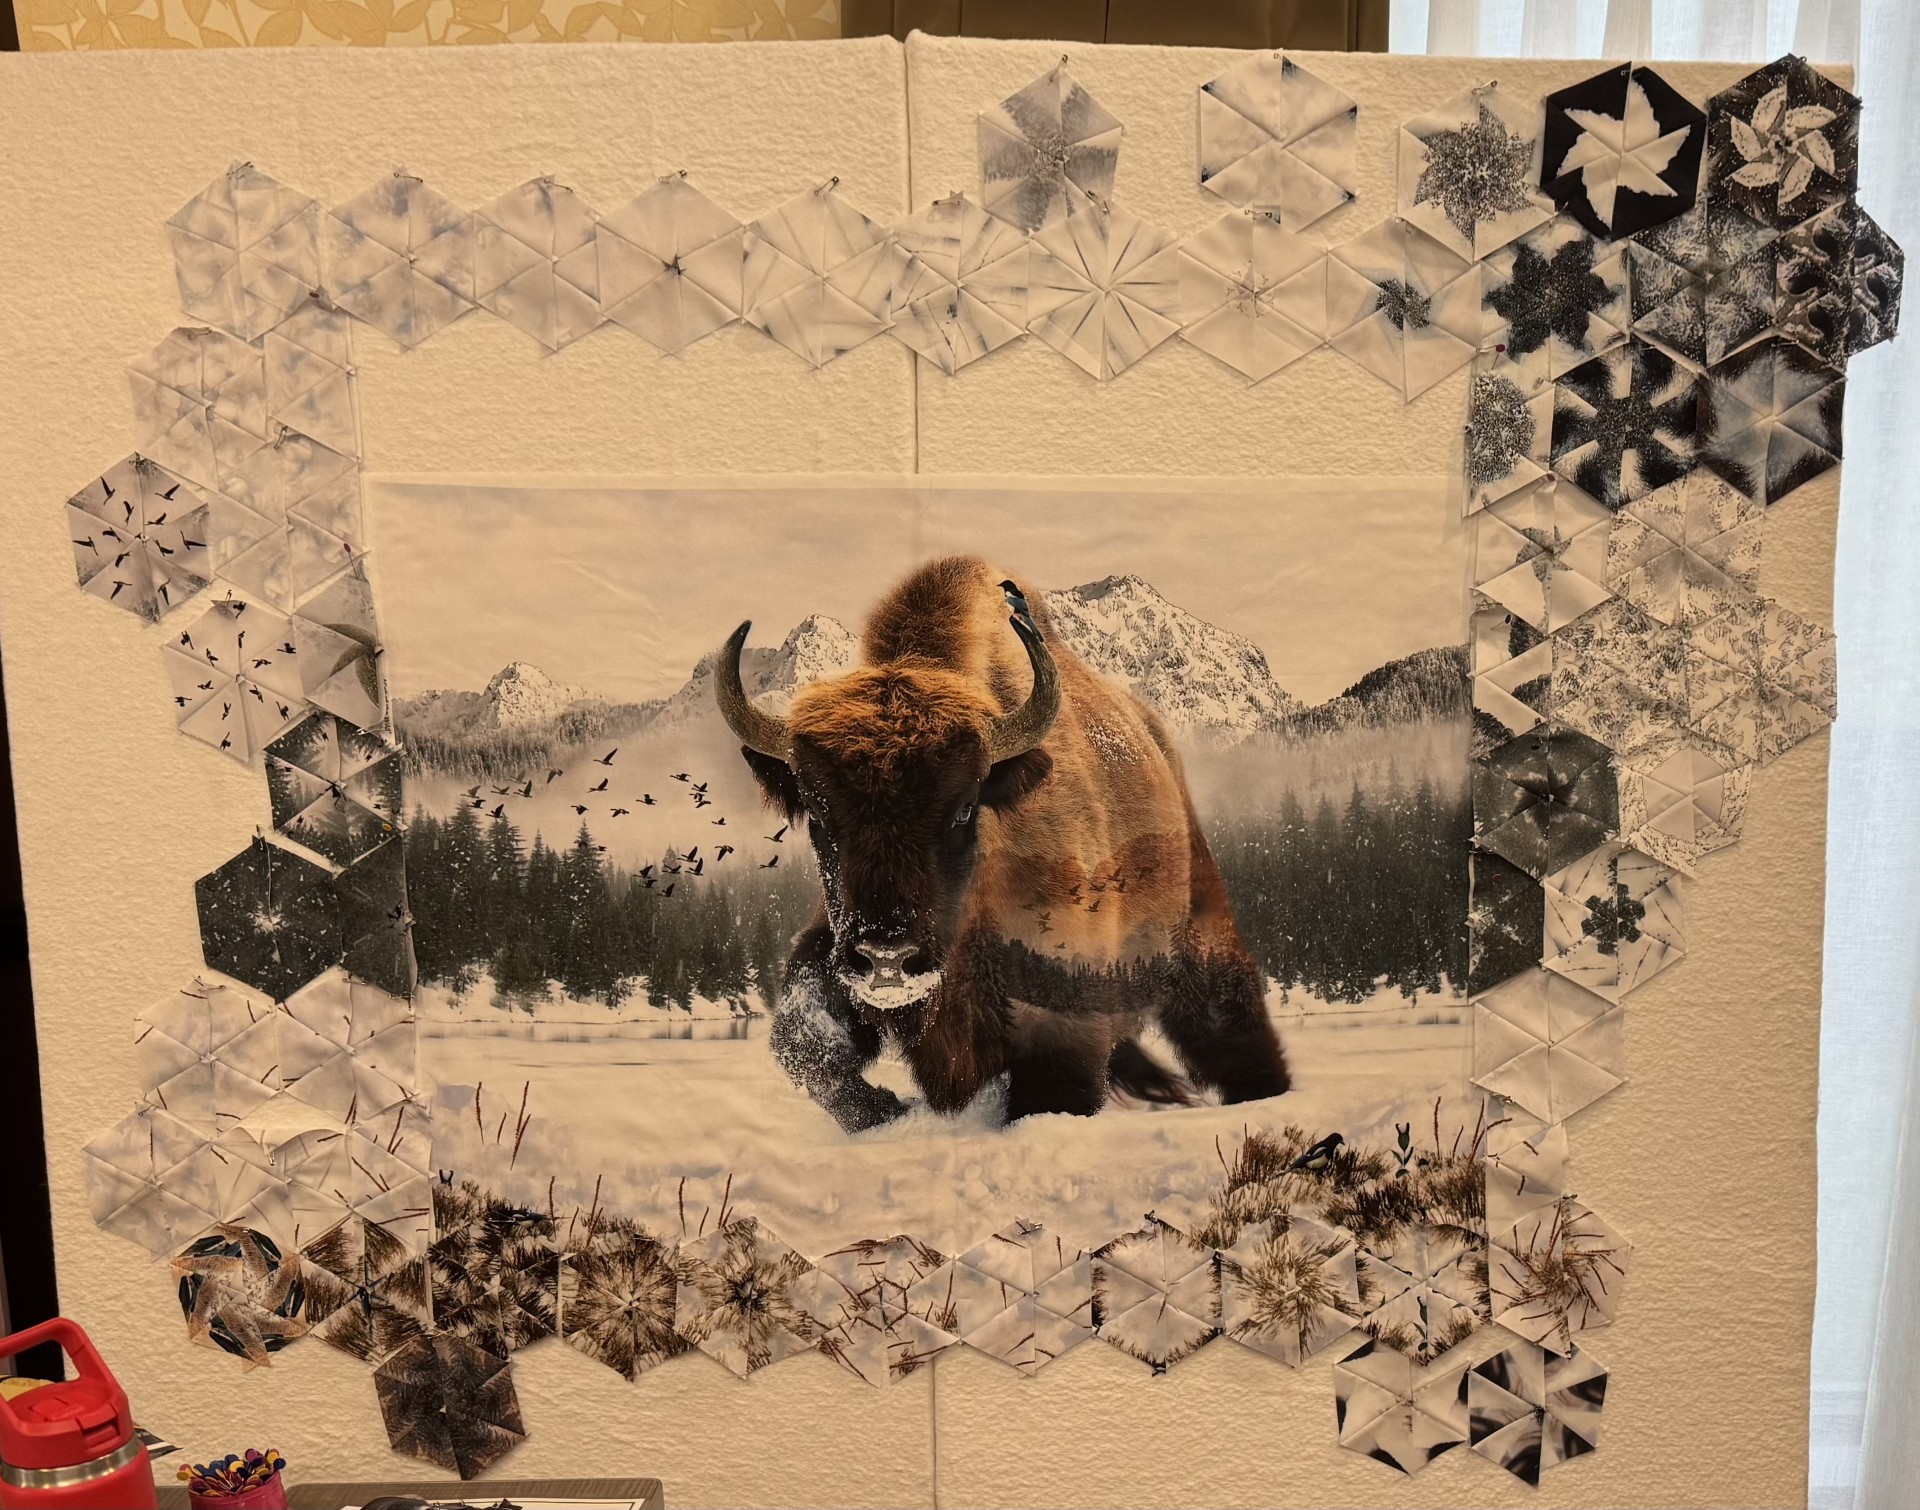
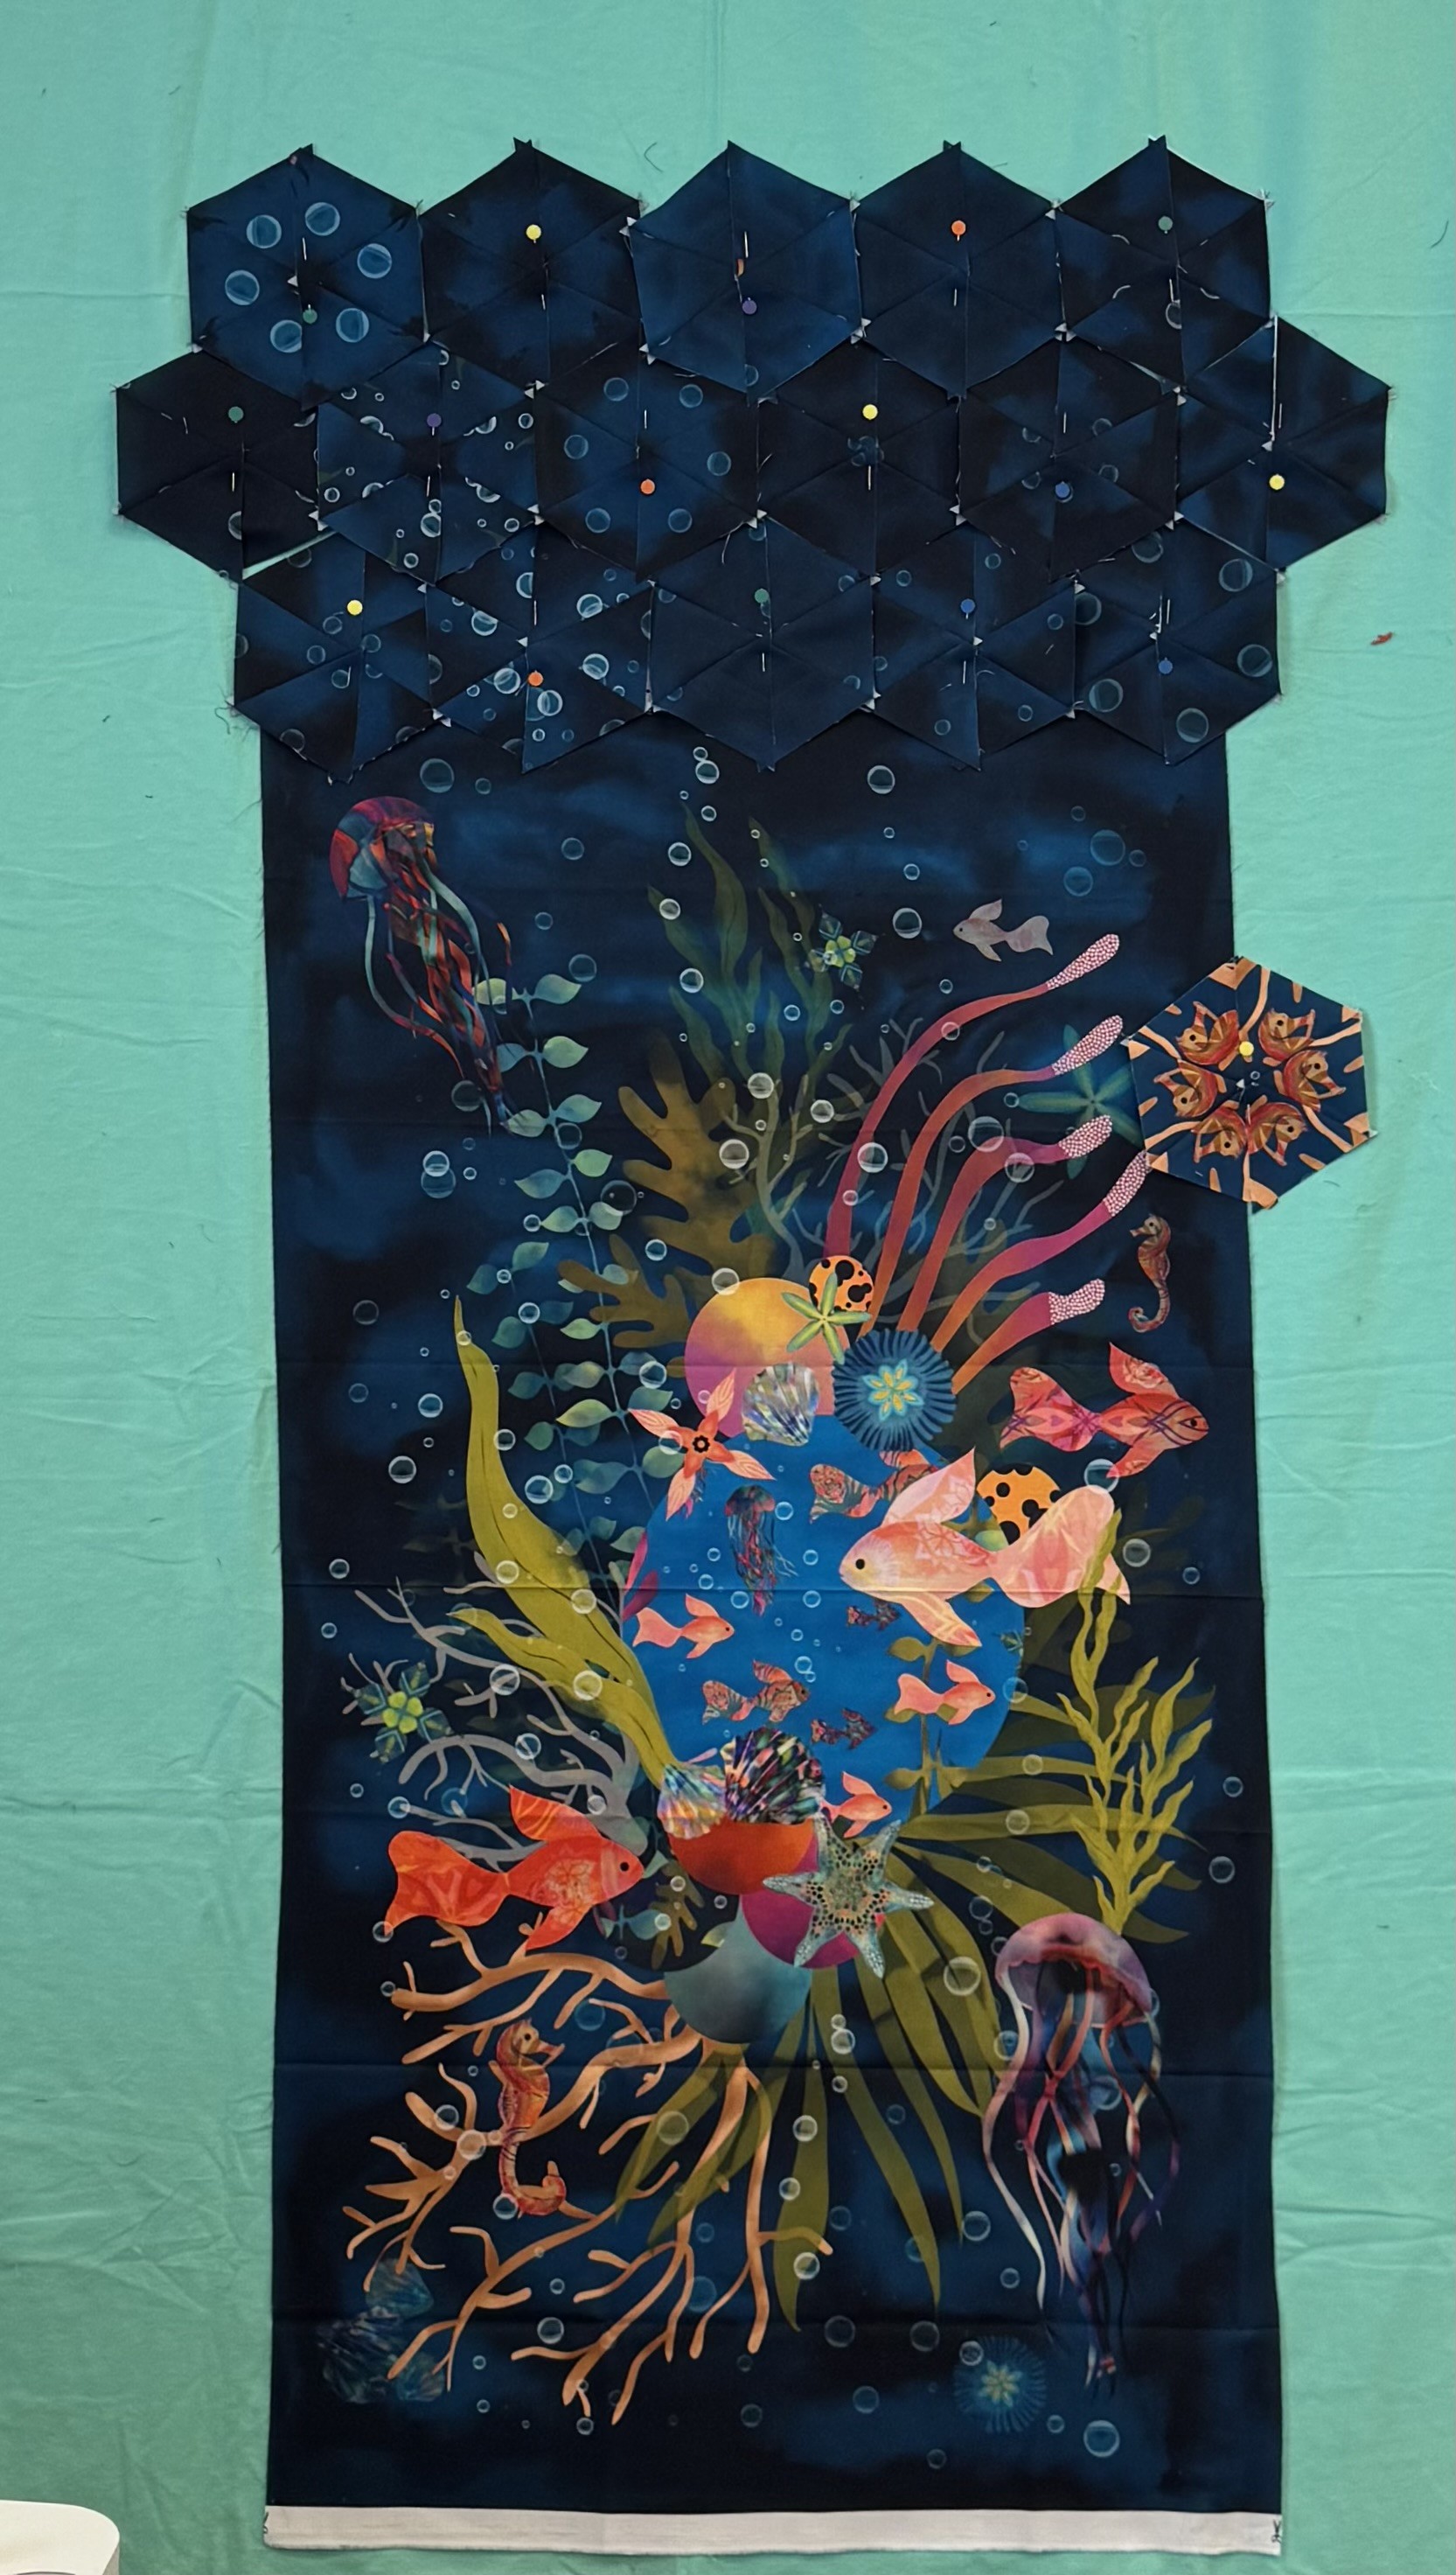
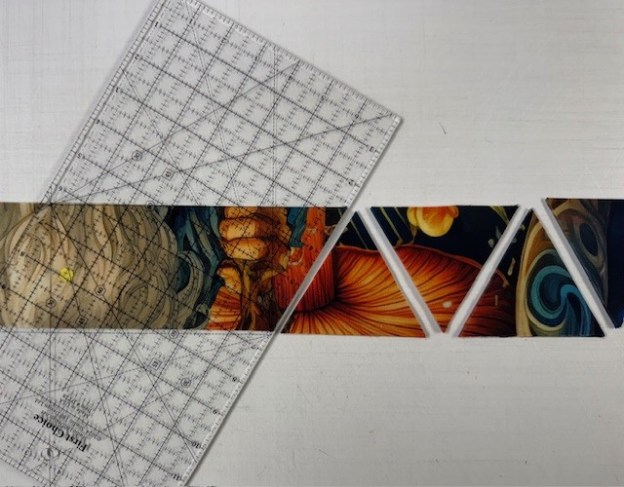
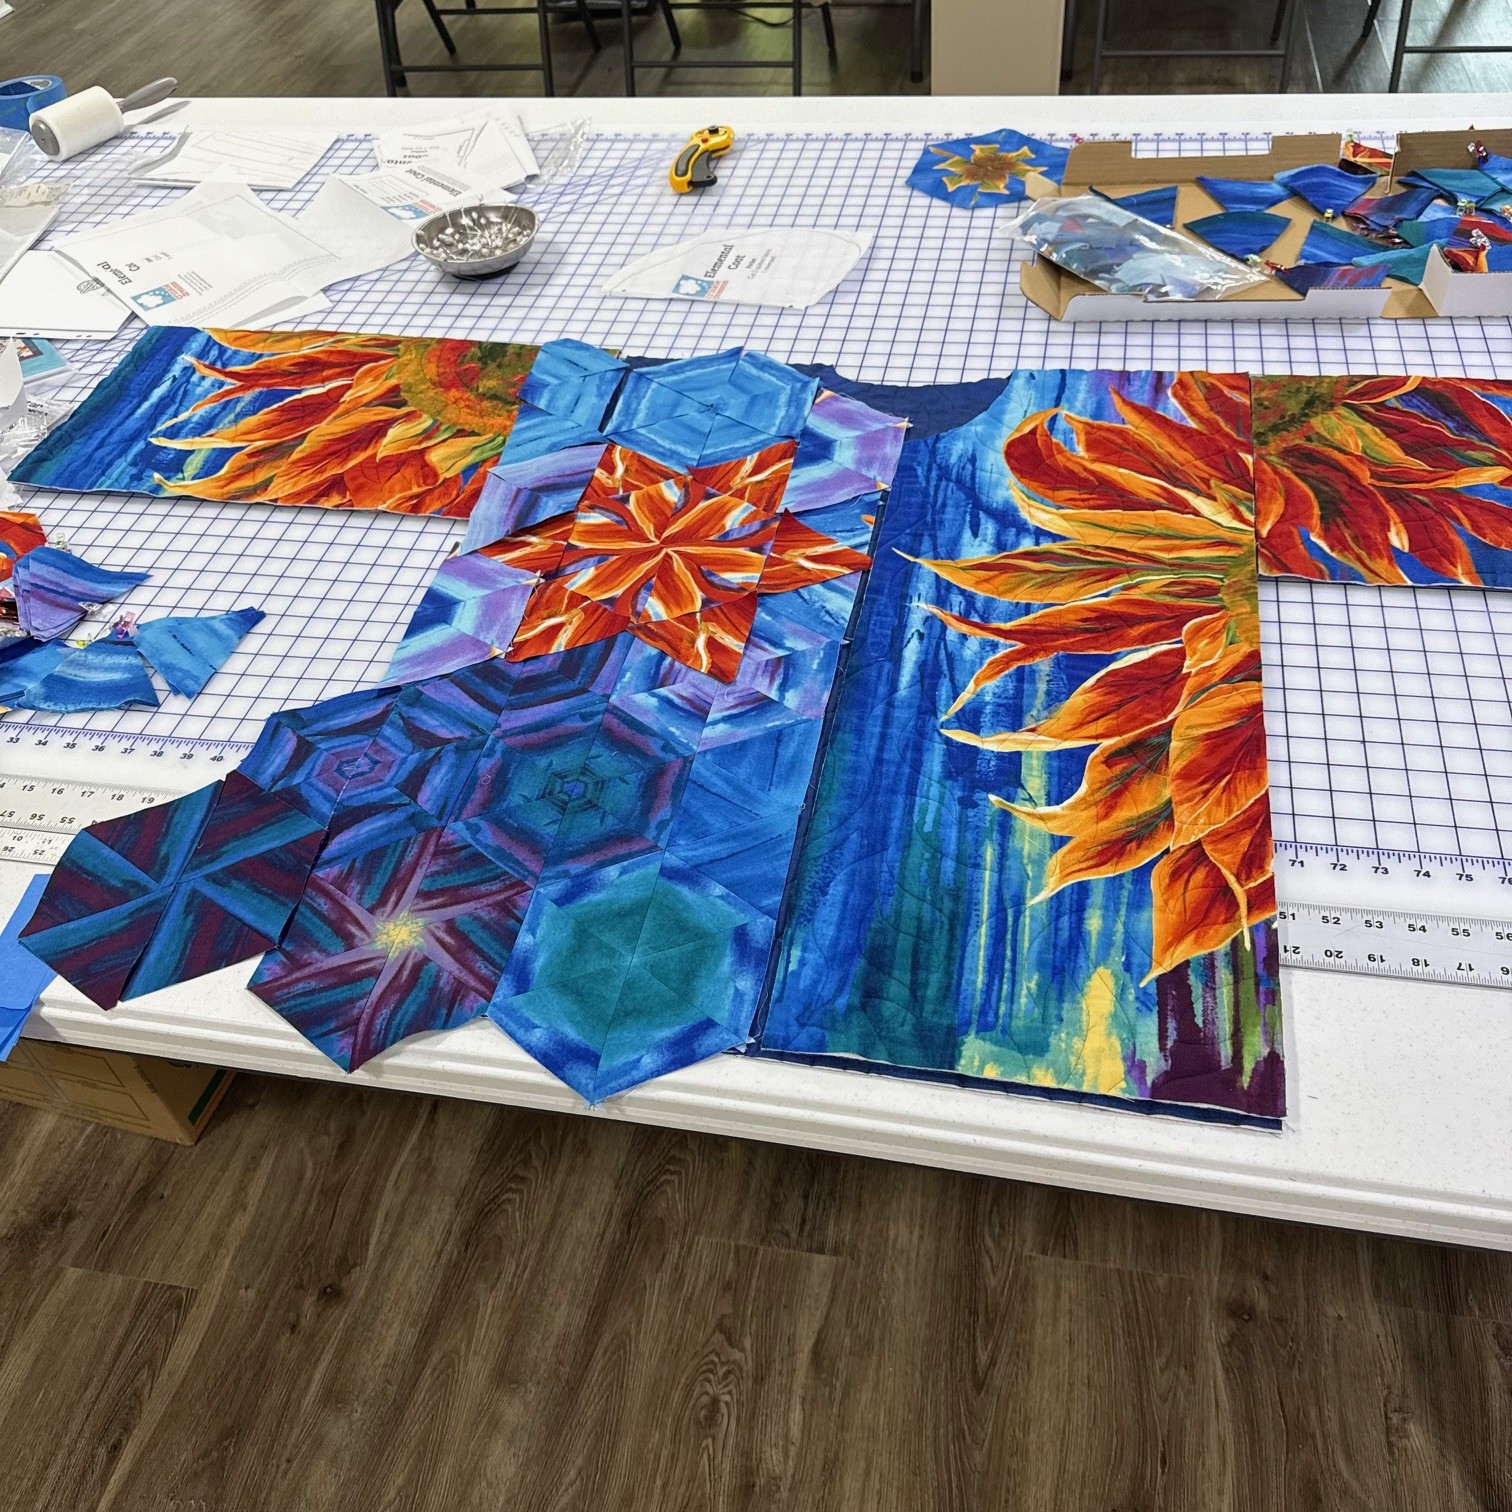
After aligning the 2 sets of panels, I cut 3.25″ strips that yielded 294 – 5″ finished hexies.

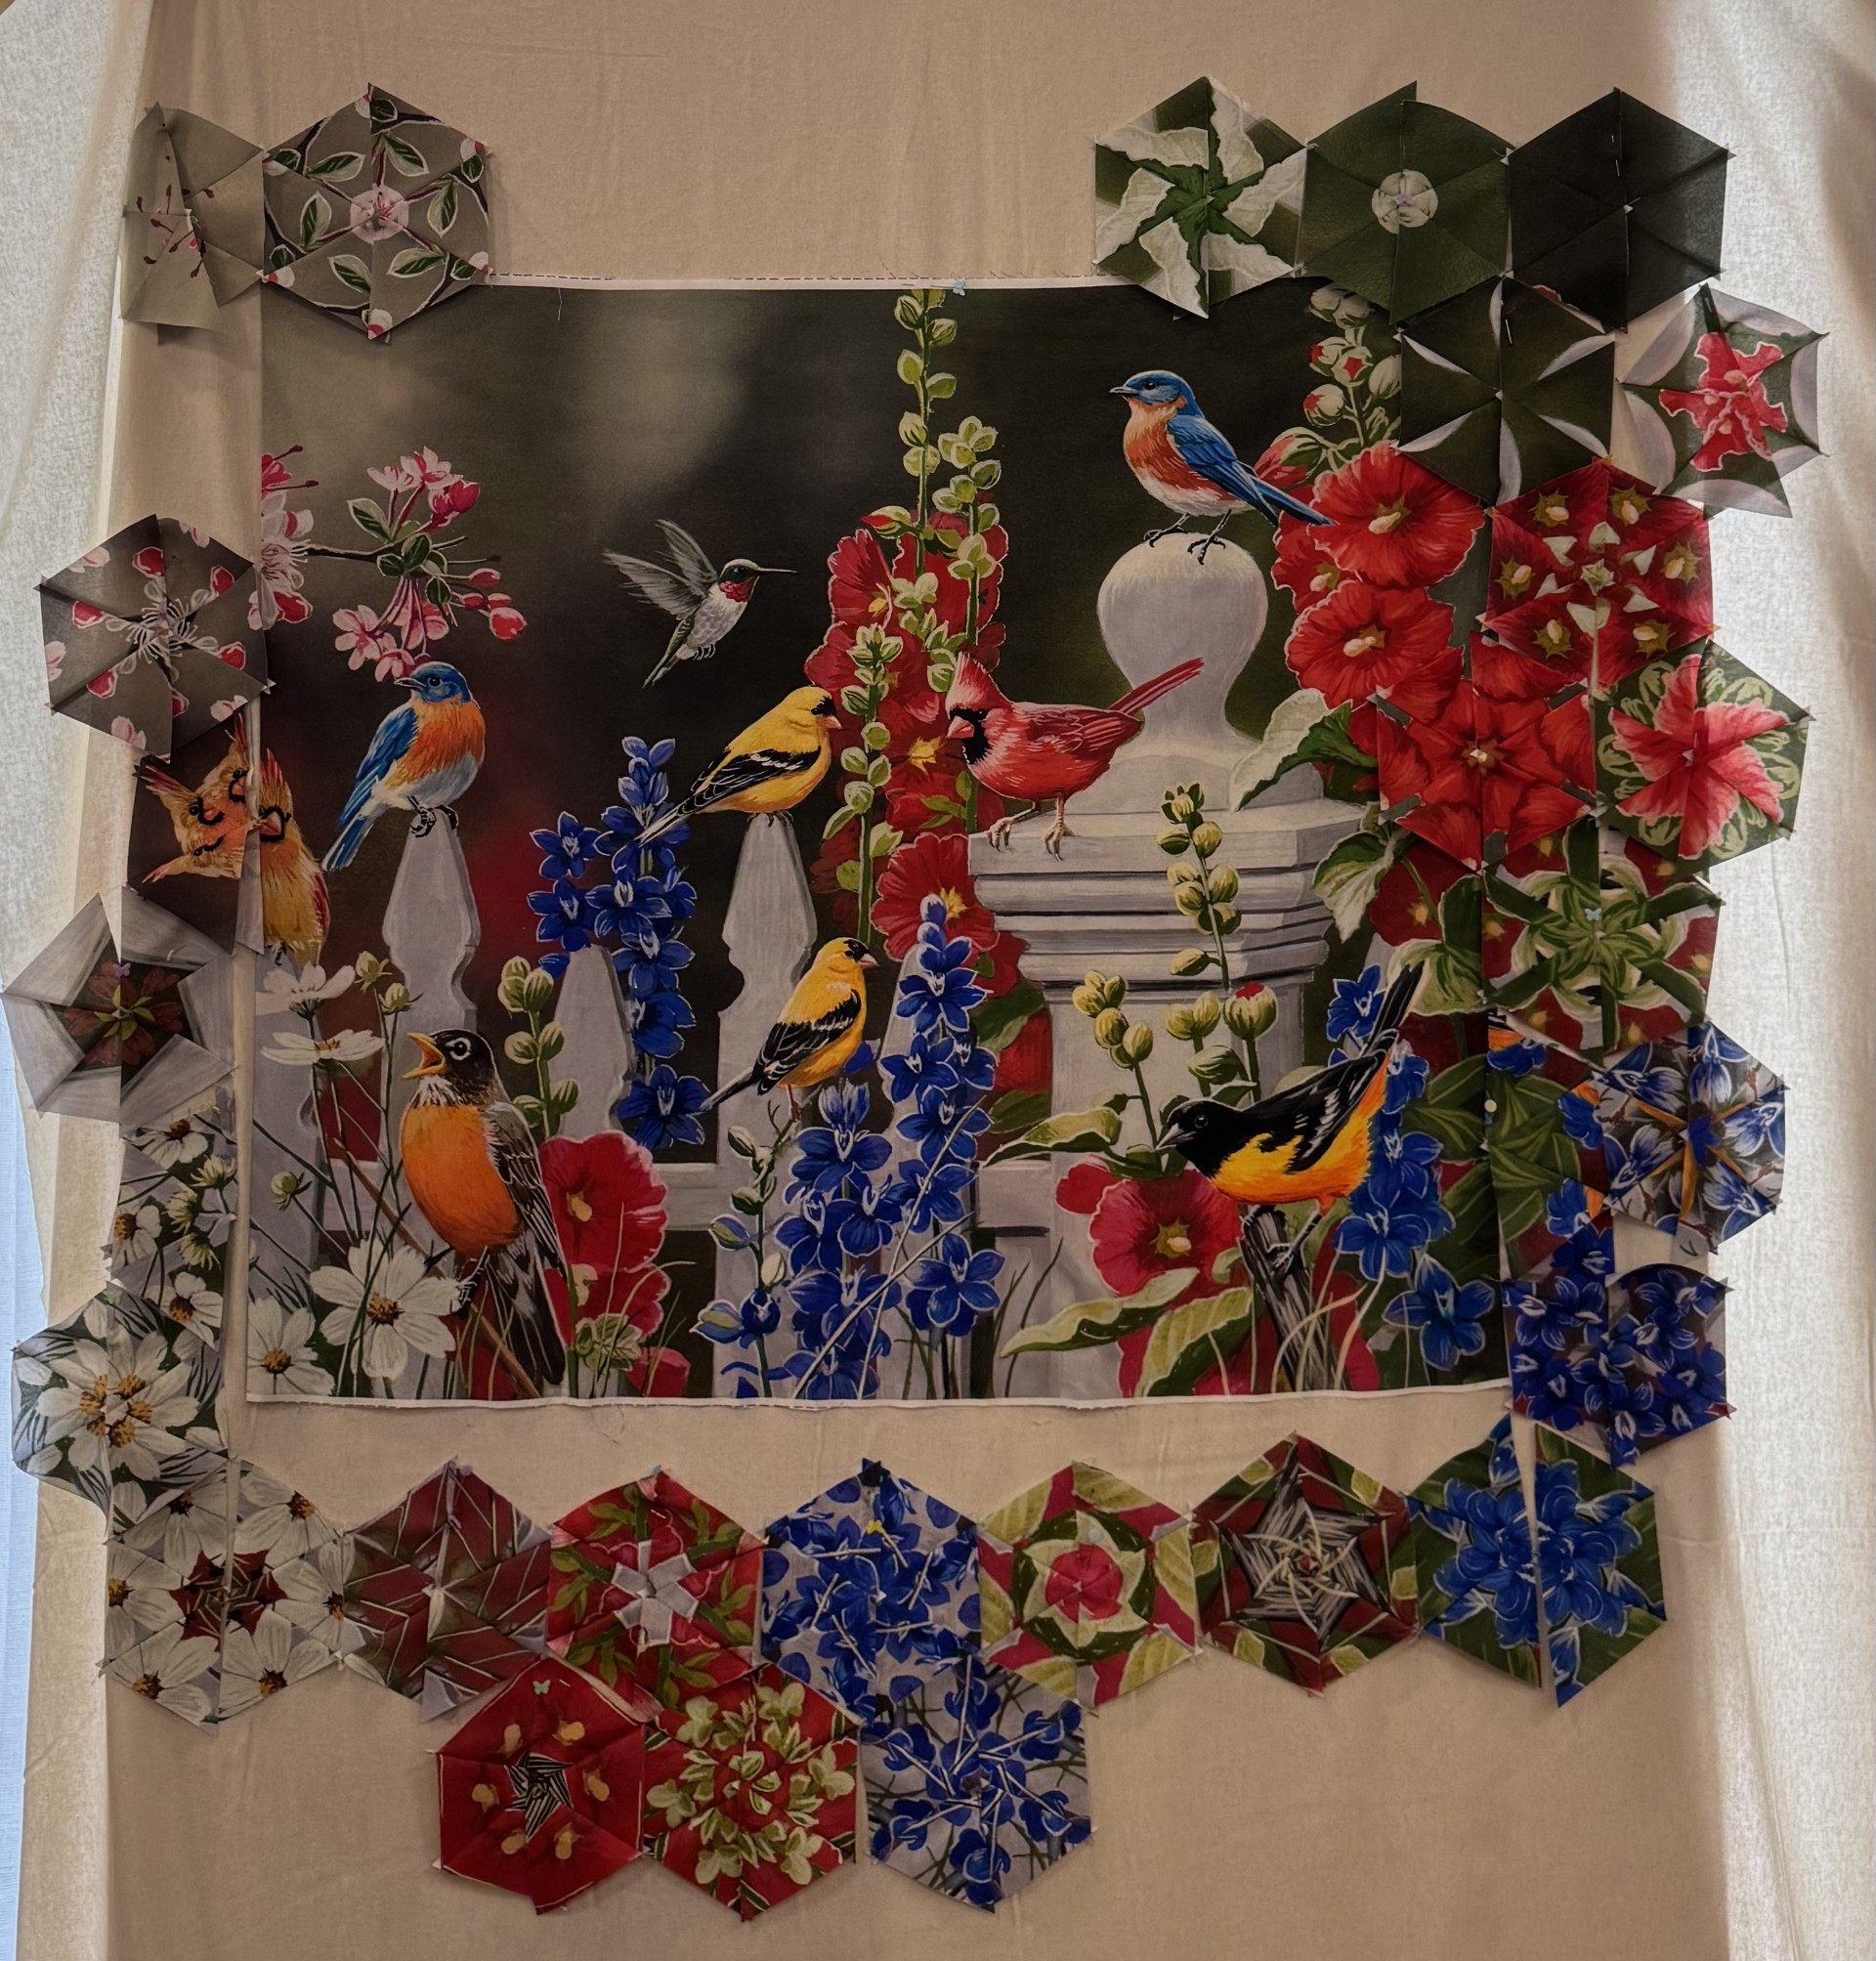
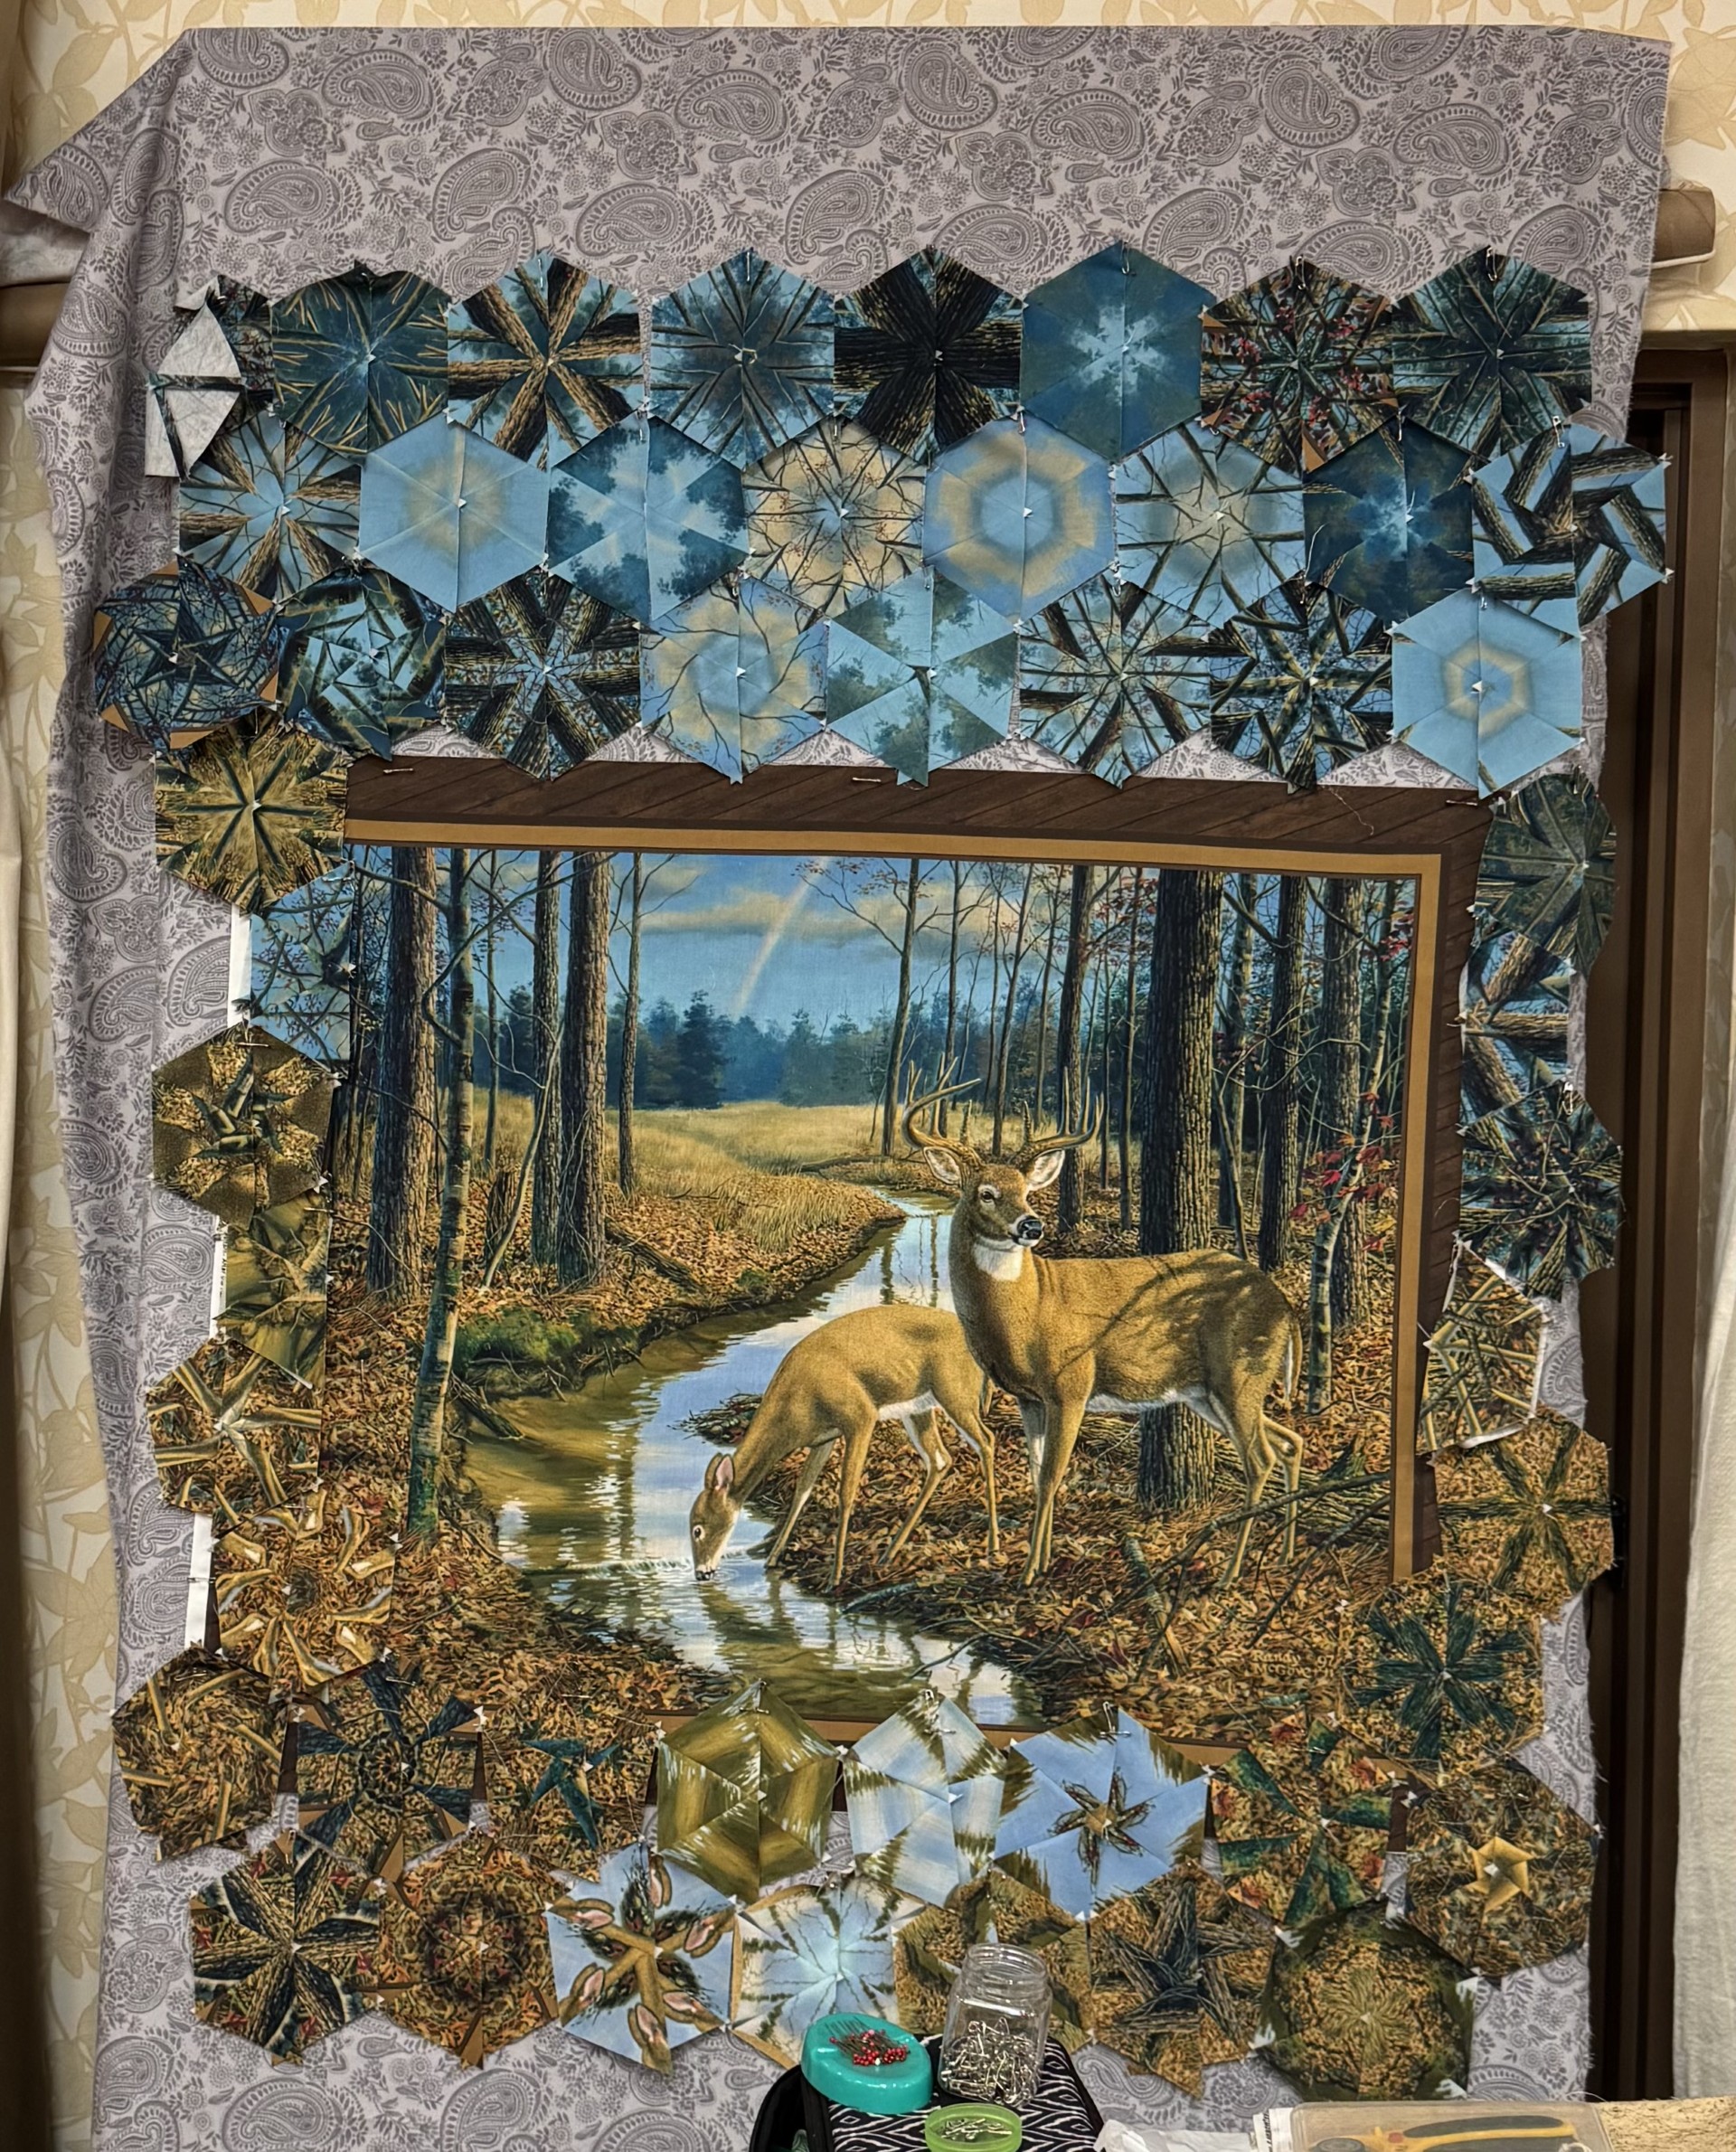
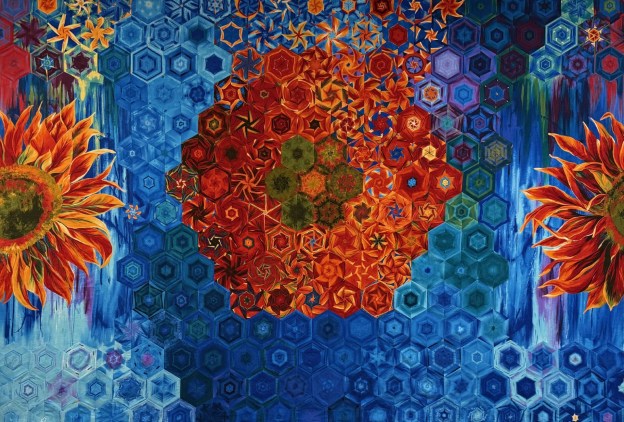
I didn’t want to just design what was expected. The words that kept creeping into my mind were mutual attraction, cross pollination. I decided to create a flower in the center that came from a seed dropped by a bird. My design wall is 106″ wide by 72″ tall. That’s why my OBW’s look like murals. I filled my design wall and still had 63 hexies left over.

Daydreamin measures 97″x 65″. The colors are just mesmerizing. We will share photo’s of the quilt and coat together soon.
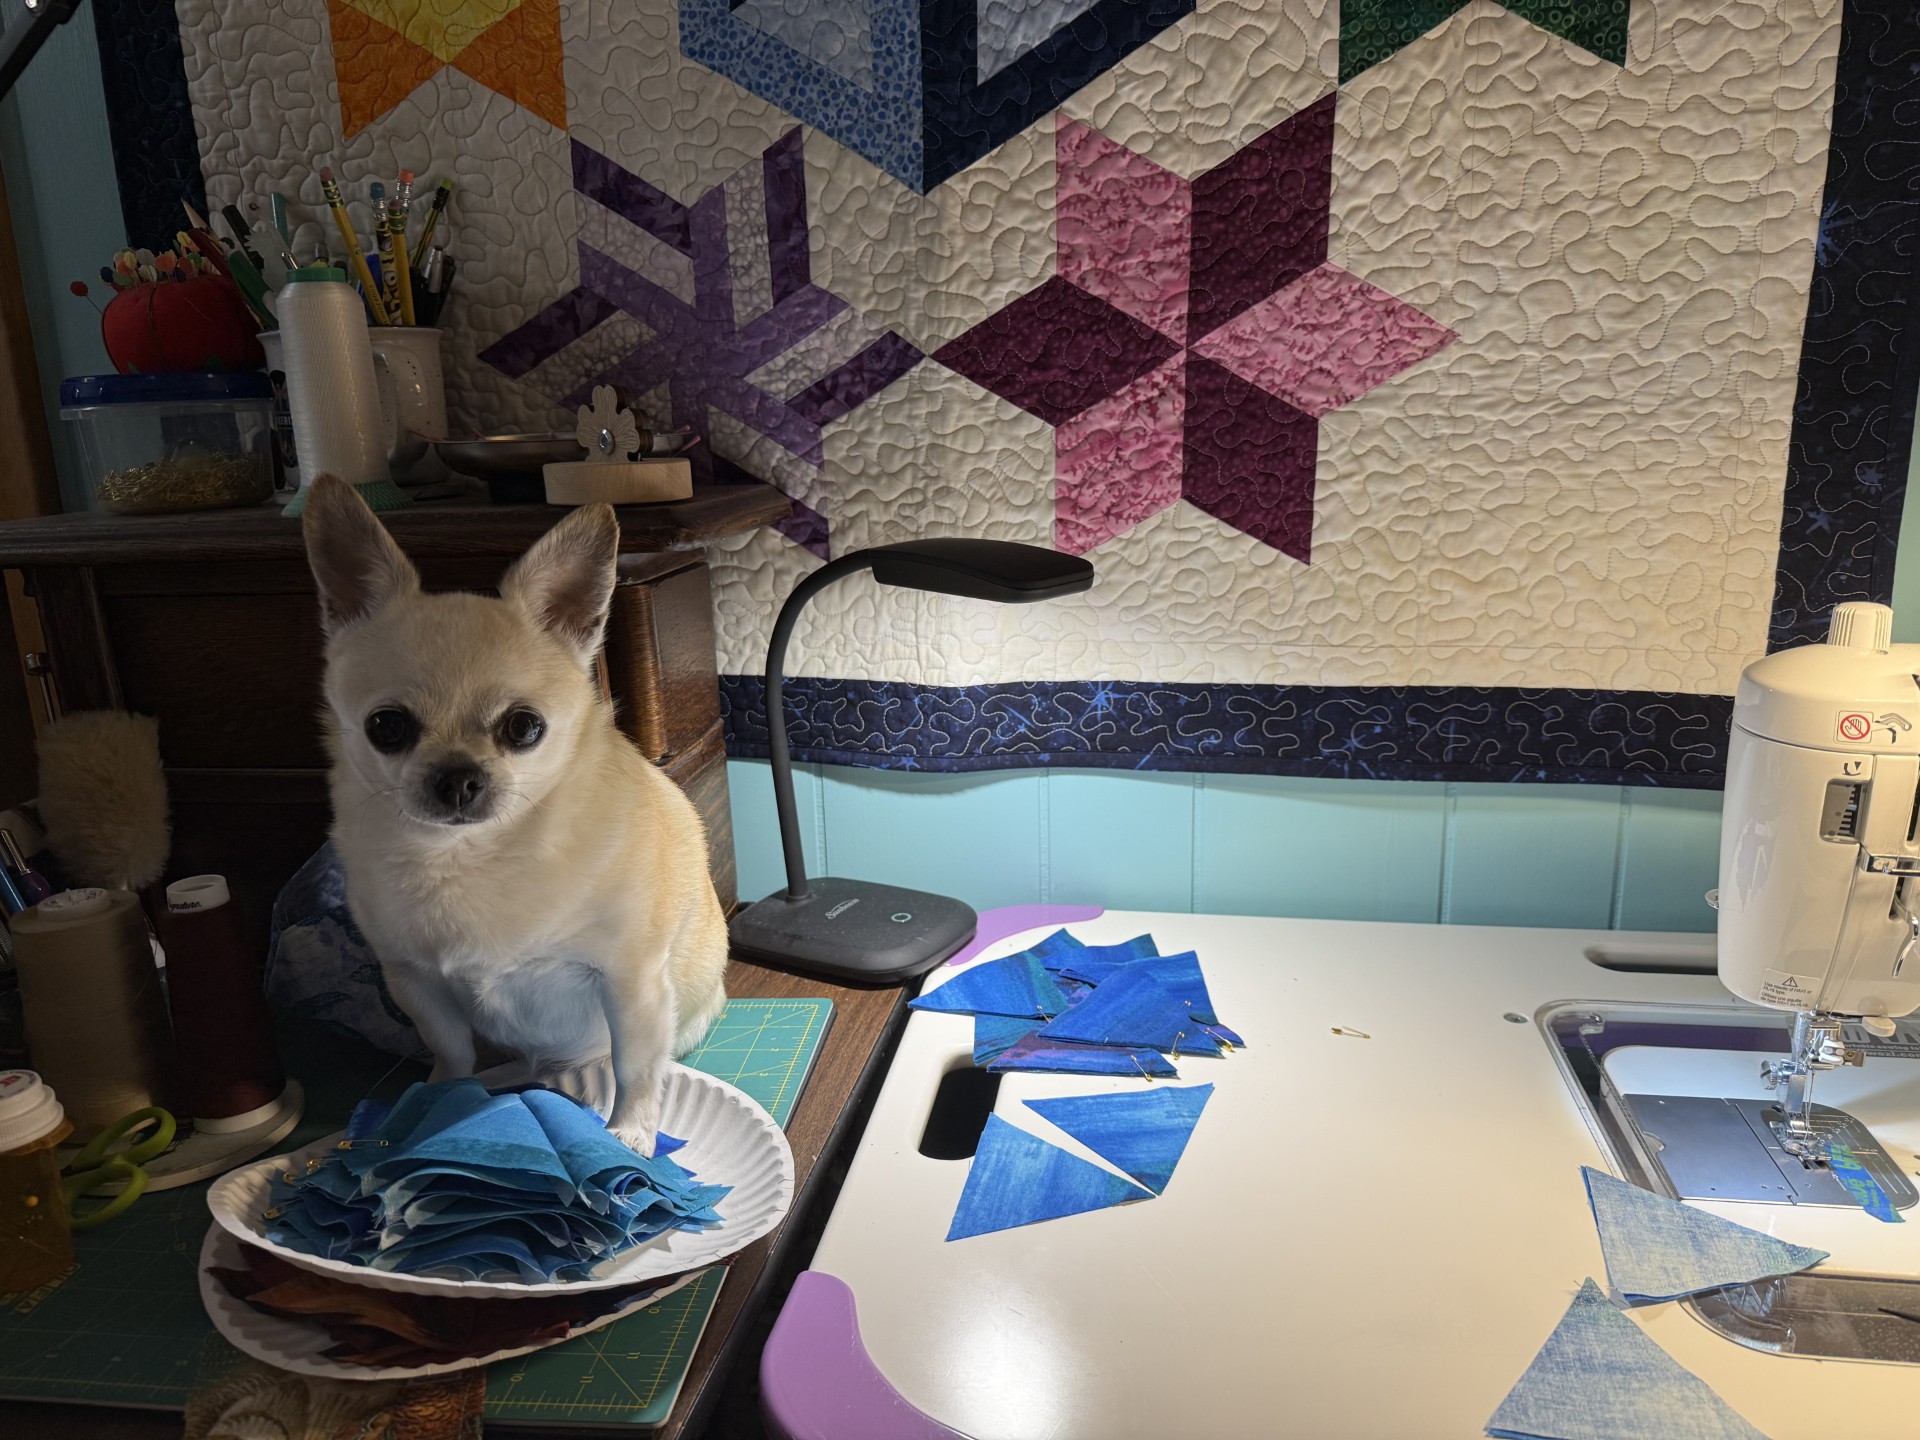
No hexies were harmed during the construction of this One Block Wonder. The Supervisor was on the job.
#FirstChoiceRulers #Star60Tool