It’s a wrap! Wowza, what a great One Block Wonder Workshop we had with Amy’s Quilt Room in Uniontown PA! So much so, we have scheduled back-to-back 3-day workshops starting July 31st – August 6th, 2025. Check with Amy’s Quilt Room for details and reservations.


We started with a trunk show. My fellow Studio 180 design Certified Instructor, Carolyn Ratola made her version of Creepin it Real by QT fabrics. It is always so much fun to see how different they come out.


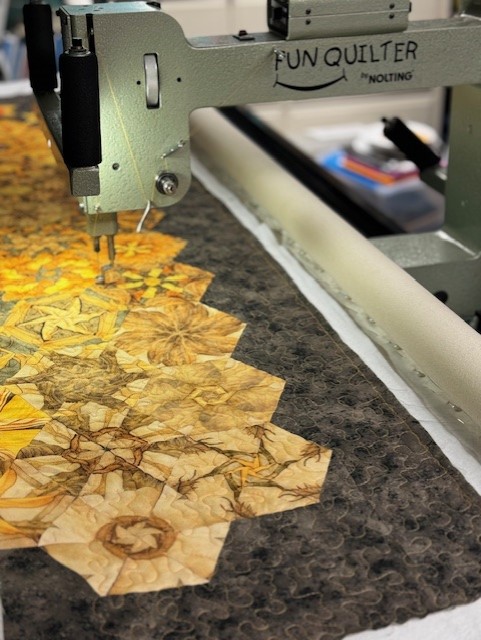
Getting started. We had a great space at the Hilton Garden Inn in Uniontown.

We got to visit Amy’s Quilt Room. Amy’s quilt shop is sooo wonderful. She has the best selection of Island Batik’s. It is so special when 4 Studio 180 Design Certified Instructors get to spend time together! From left to right; Amy Constible of Amy’s Quilt Room, Carolyn Rotola of CaTs Quilting in South Carolina, Jackie OBrien of If These Threads Could Talk, Whitesboro NY and Tina Dillard of Quilting Affections, Waldorf MD.


Tina’s winter scene is so beautiful. I love her star made from Quad units. She has a frozen lake down in the bottom left corner.

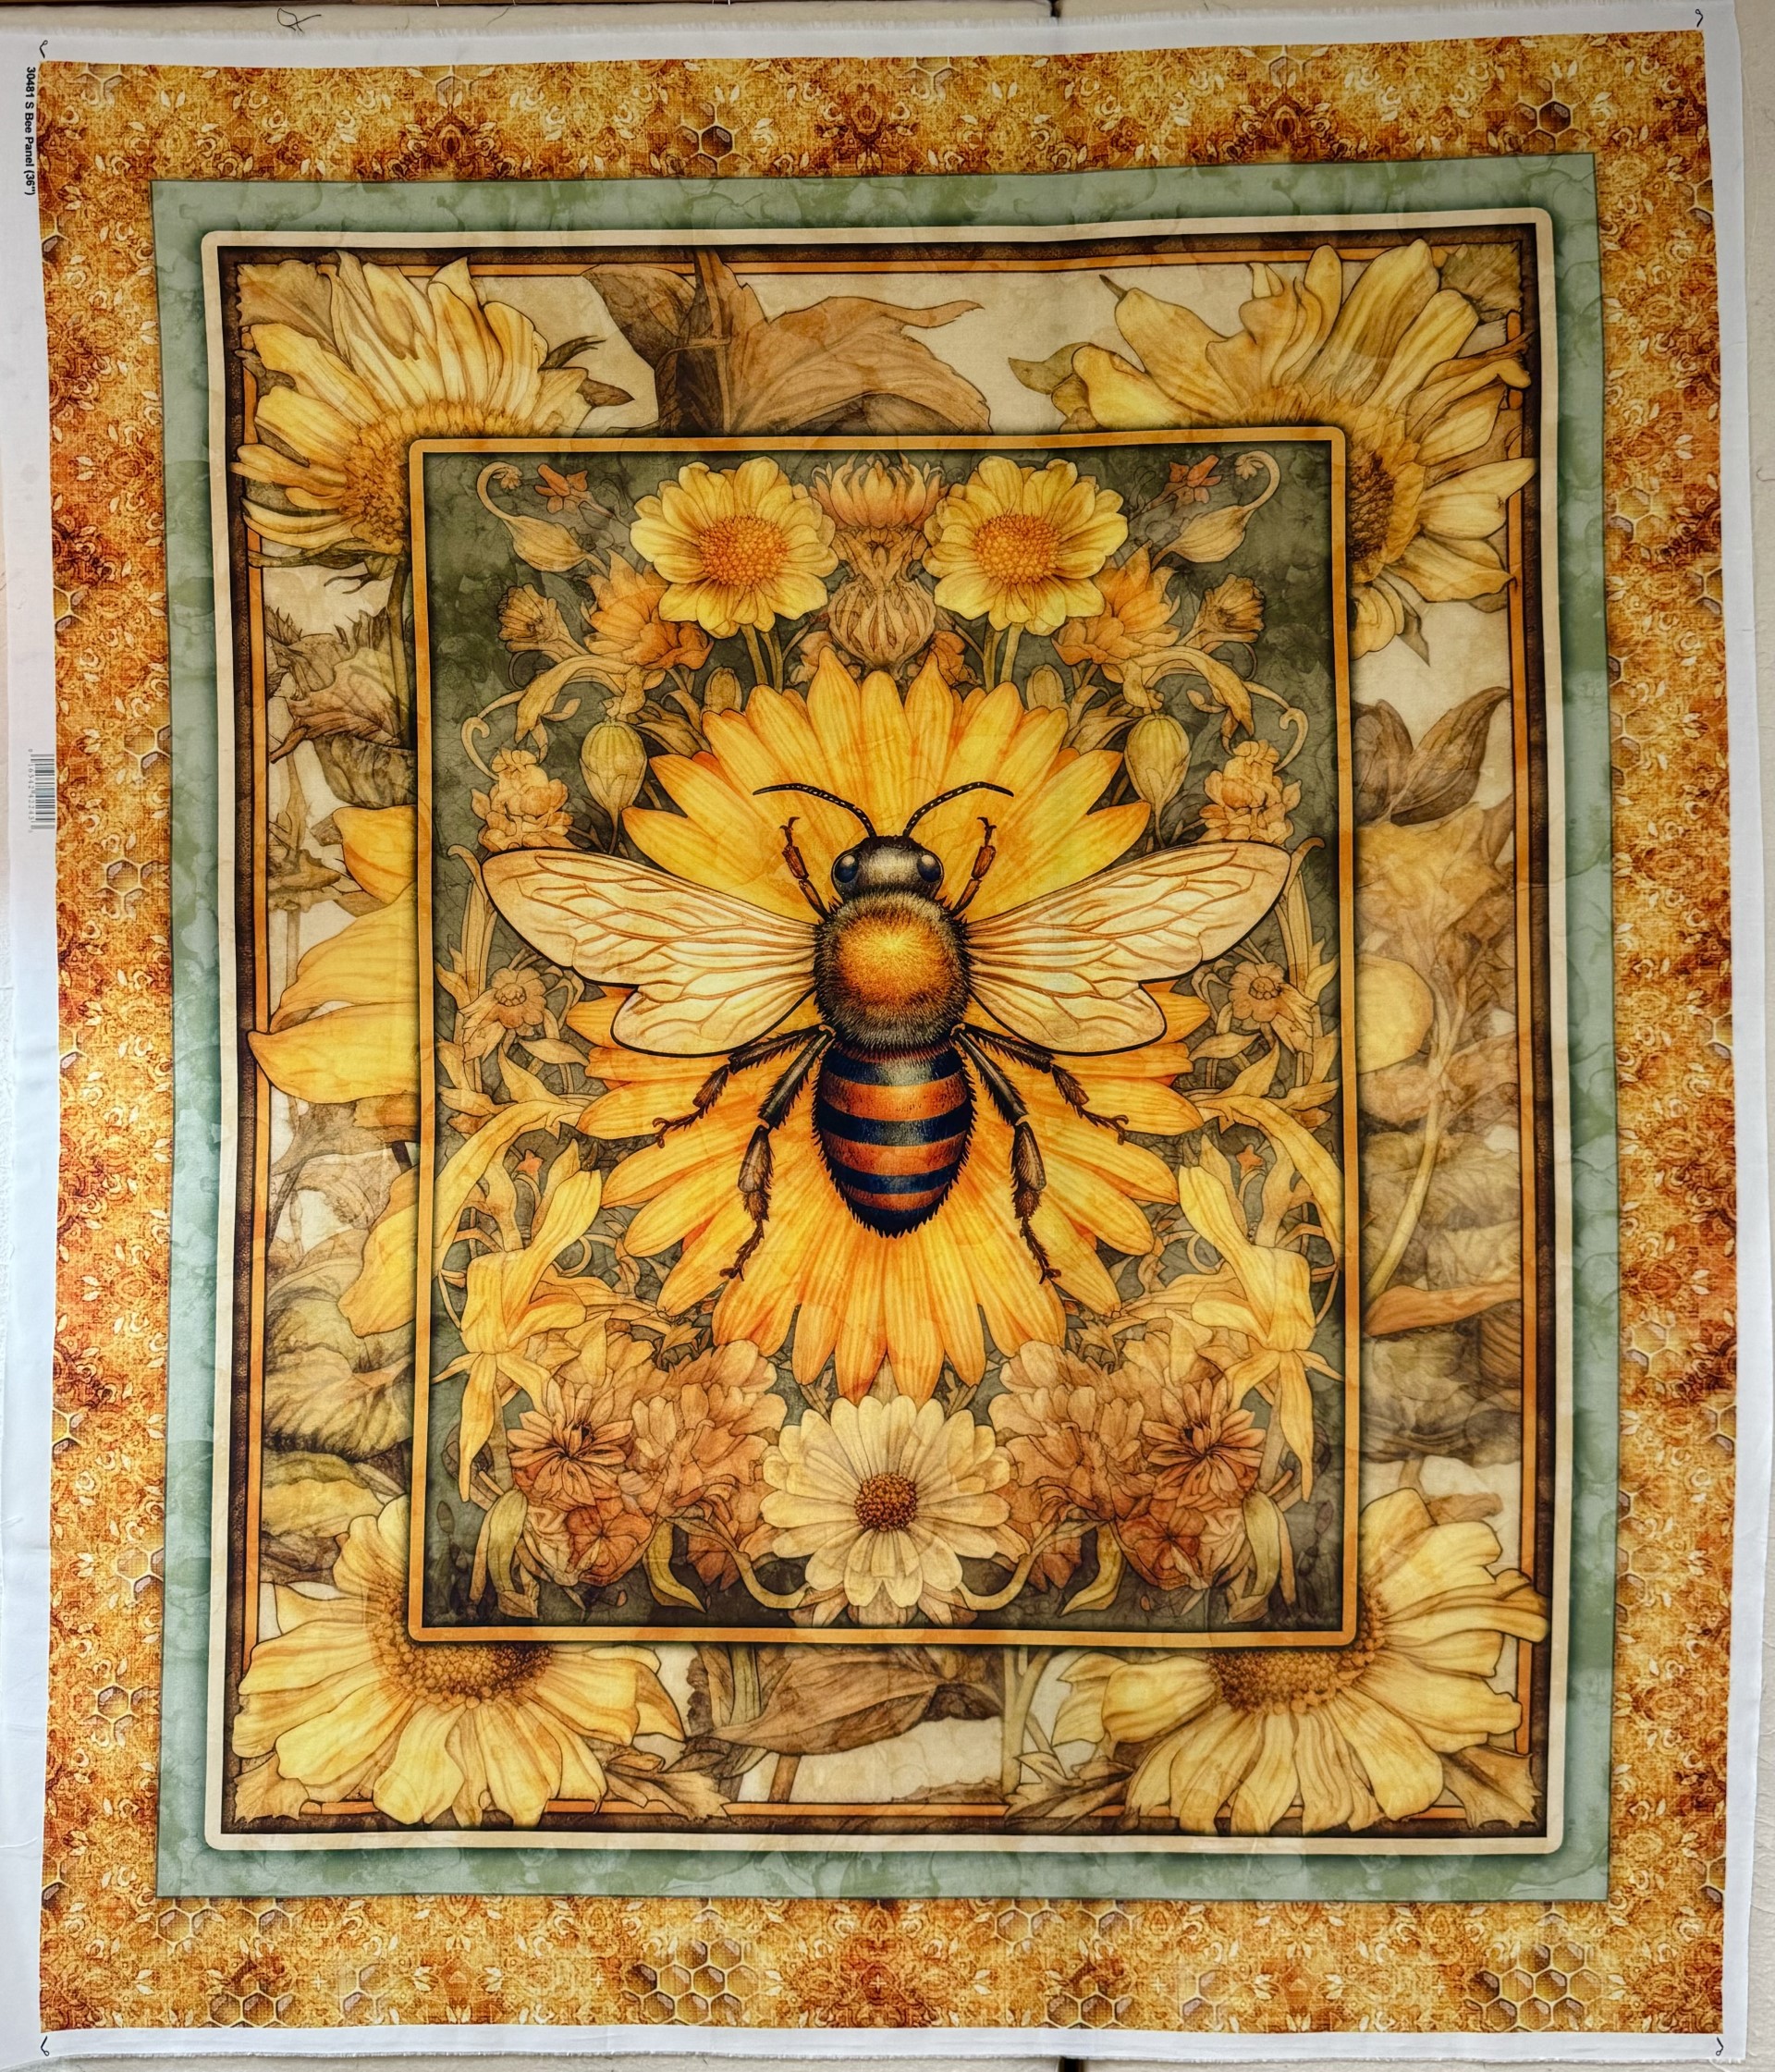
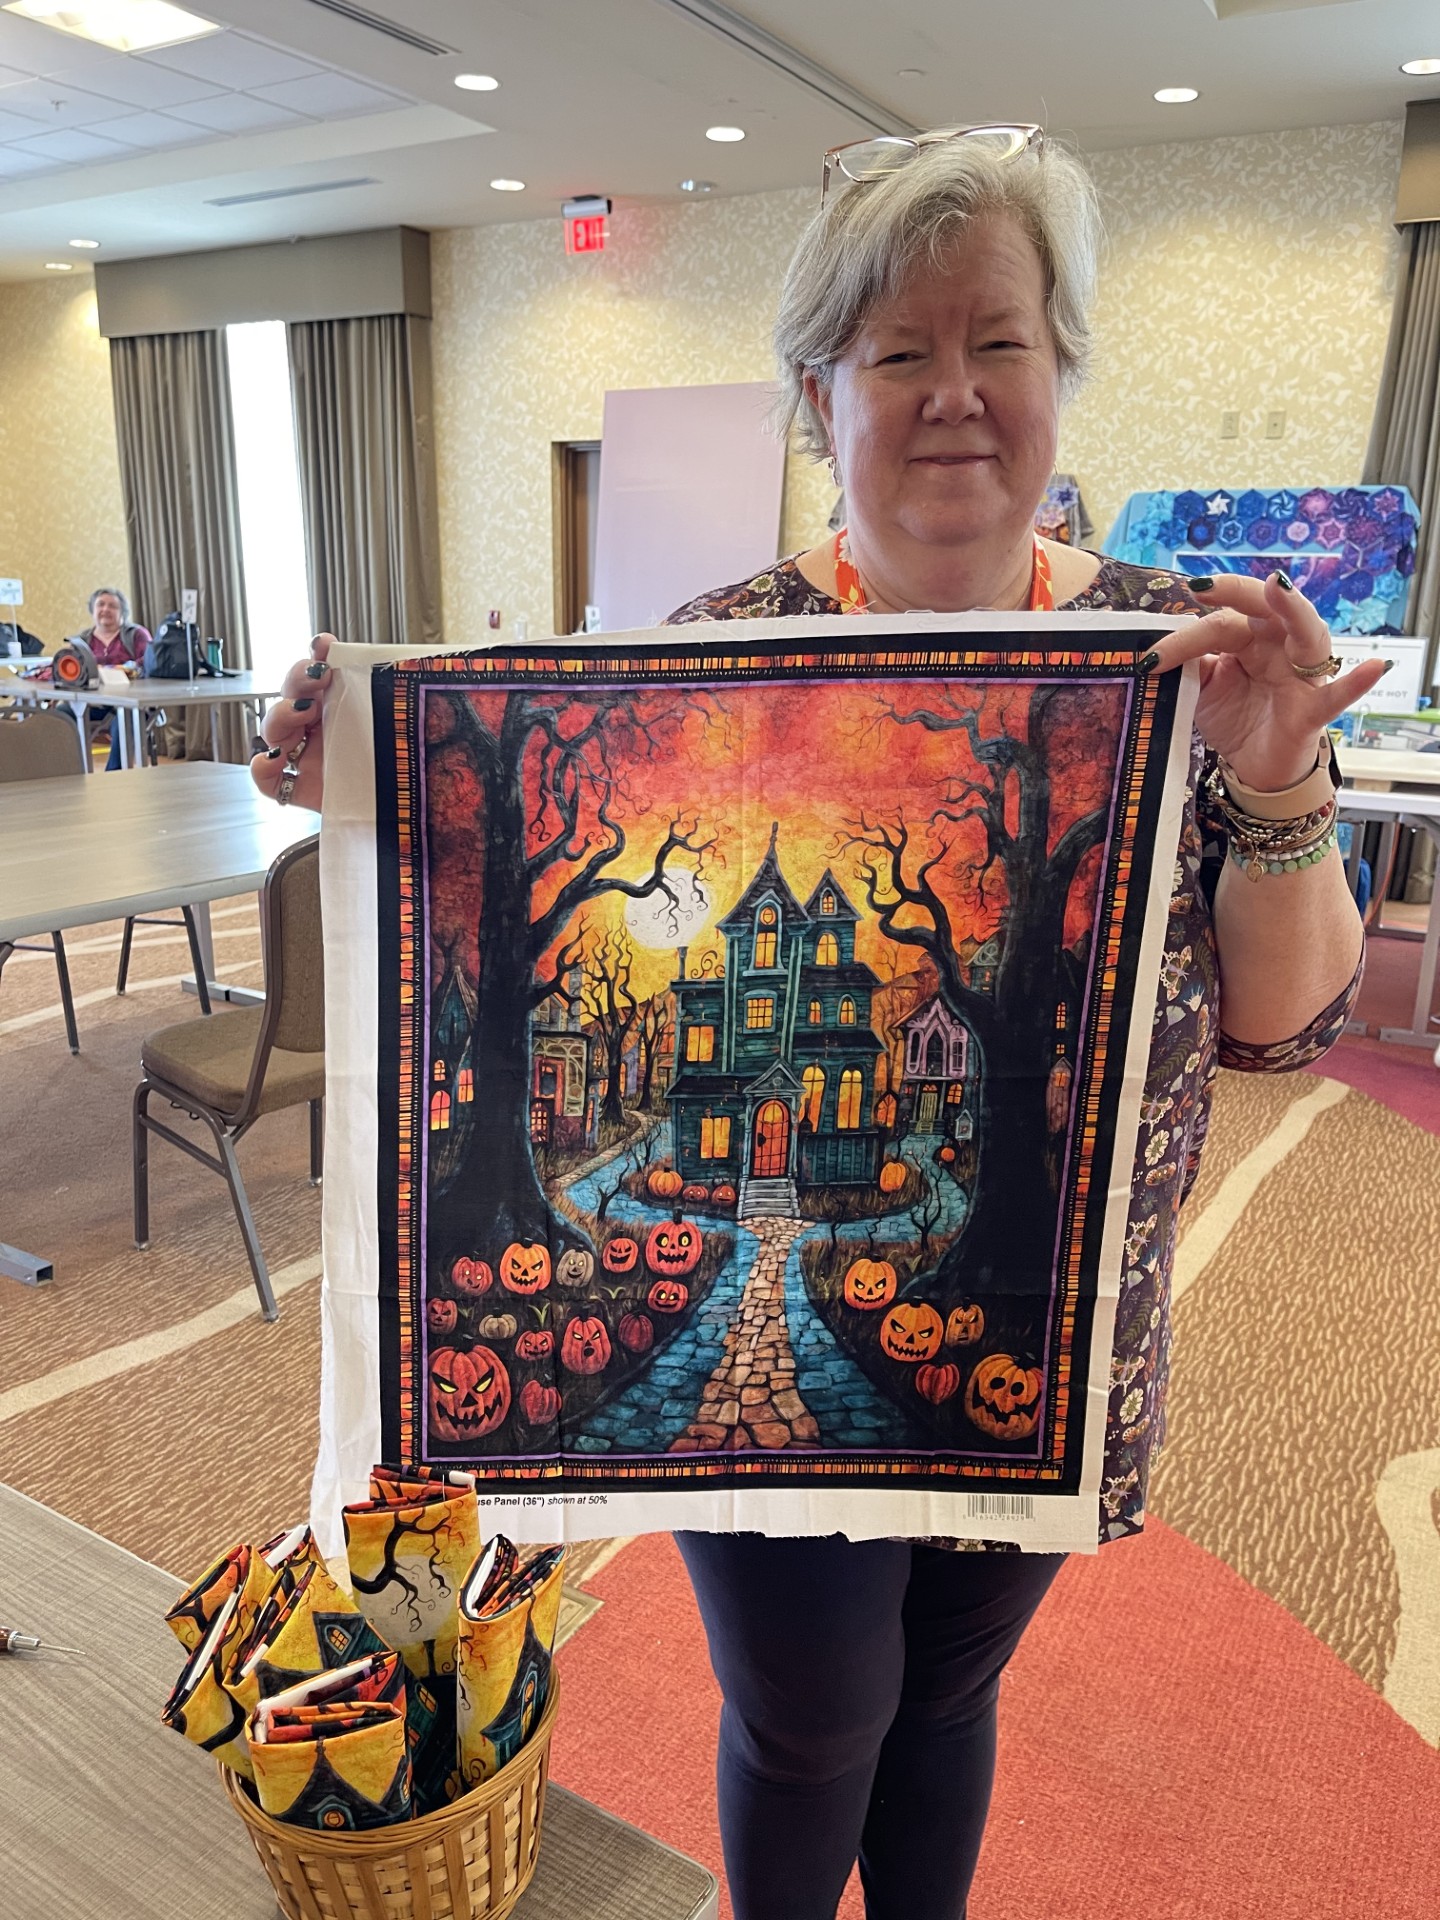
This panel was a challenge. But as you can see, Karen knocked it out of the park!

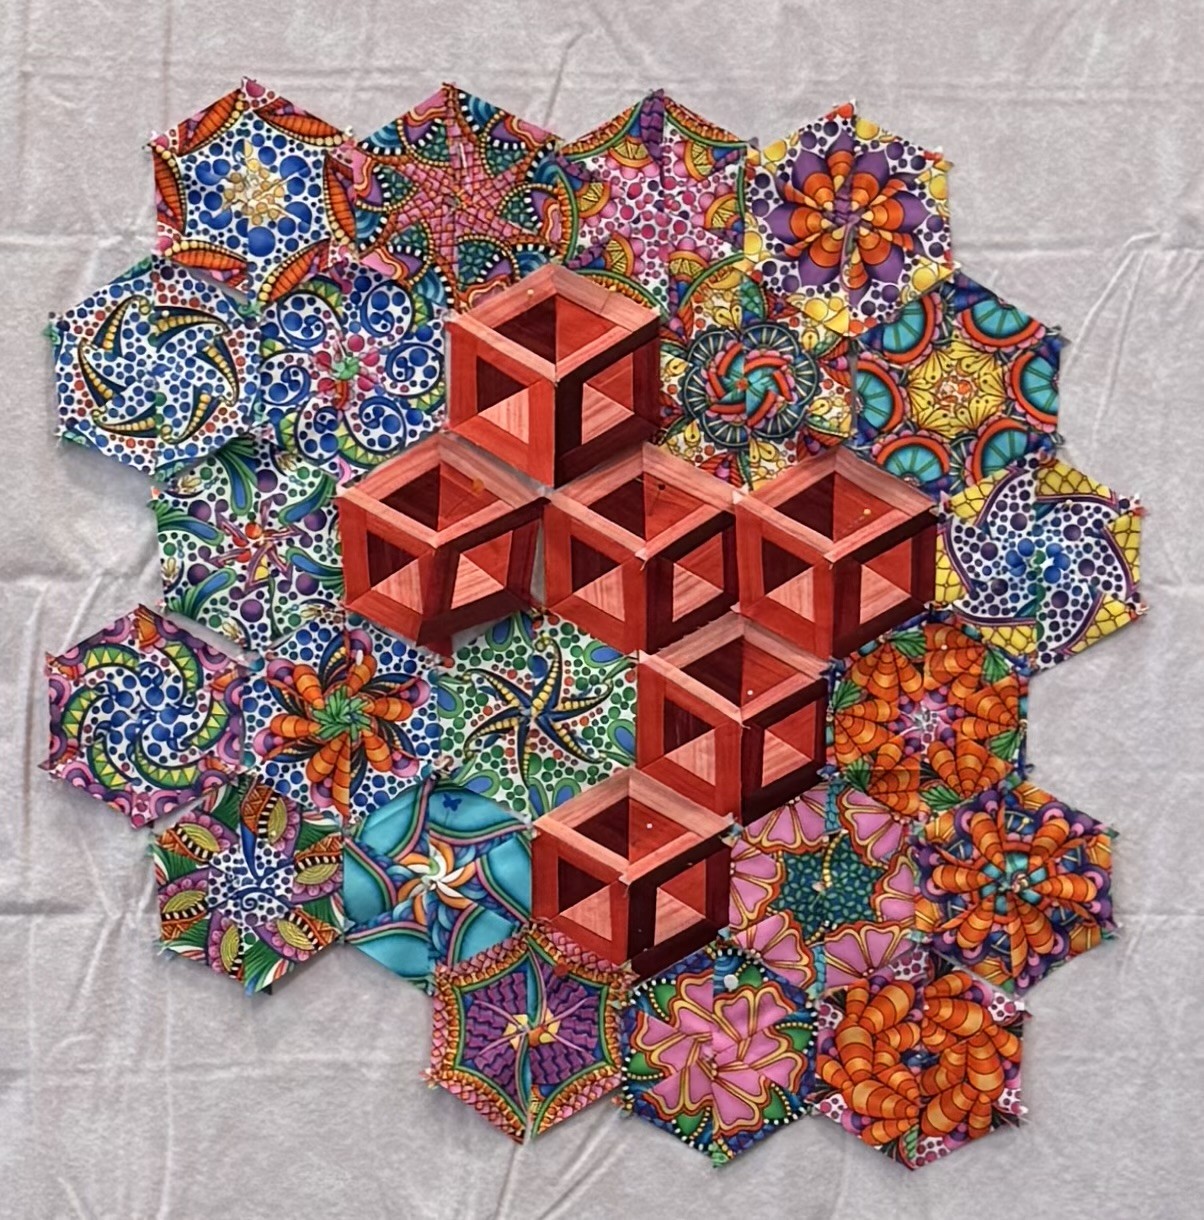
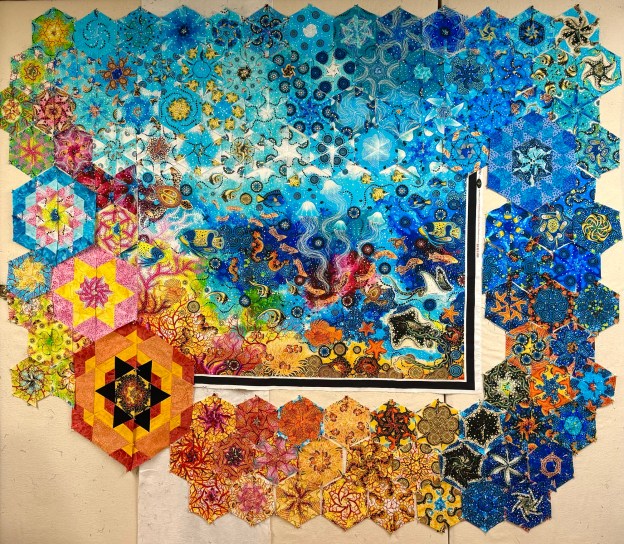
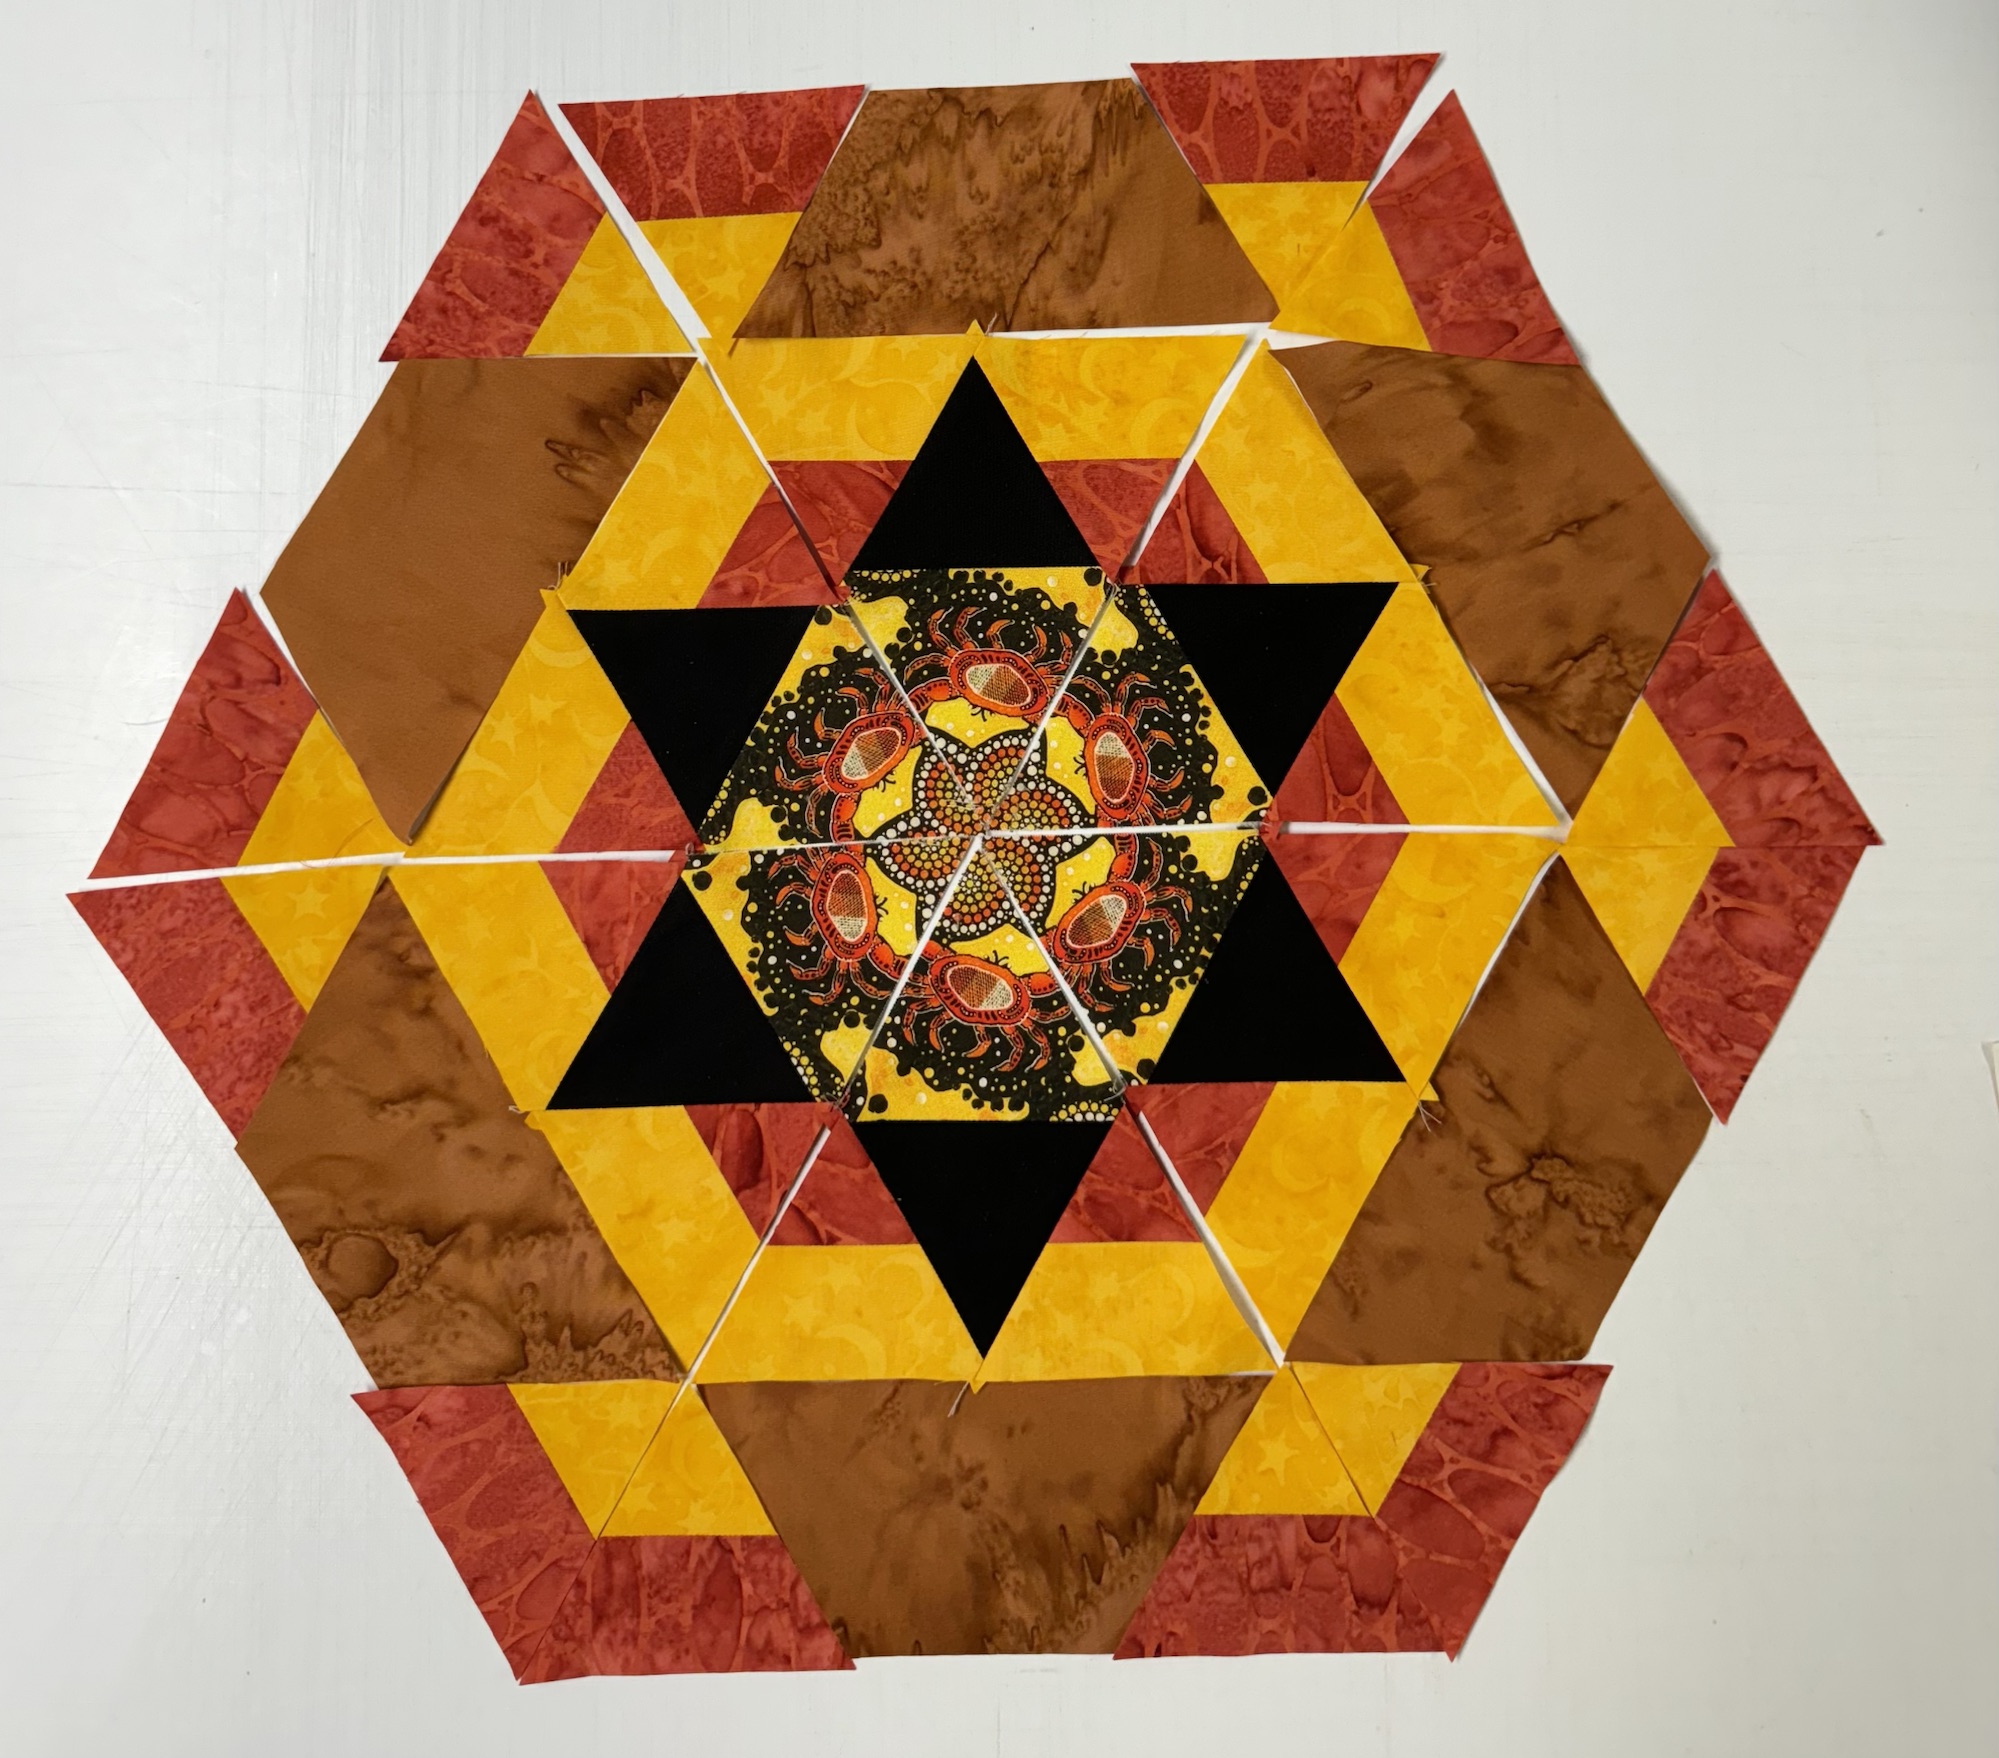
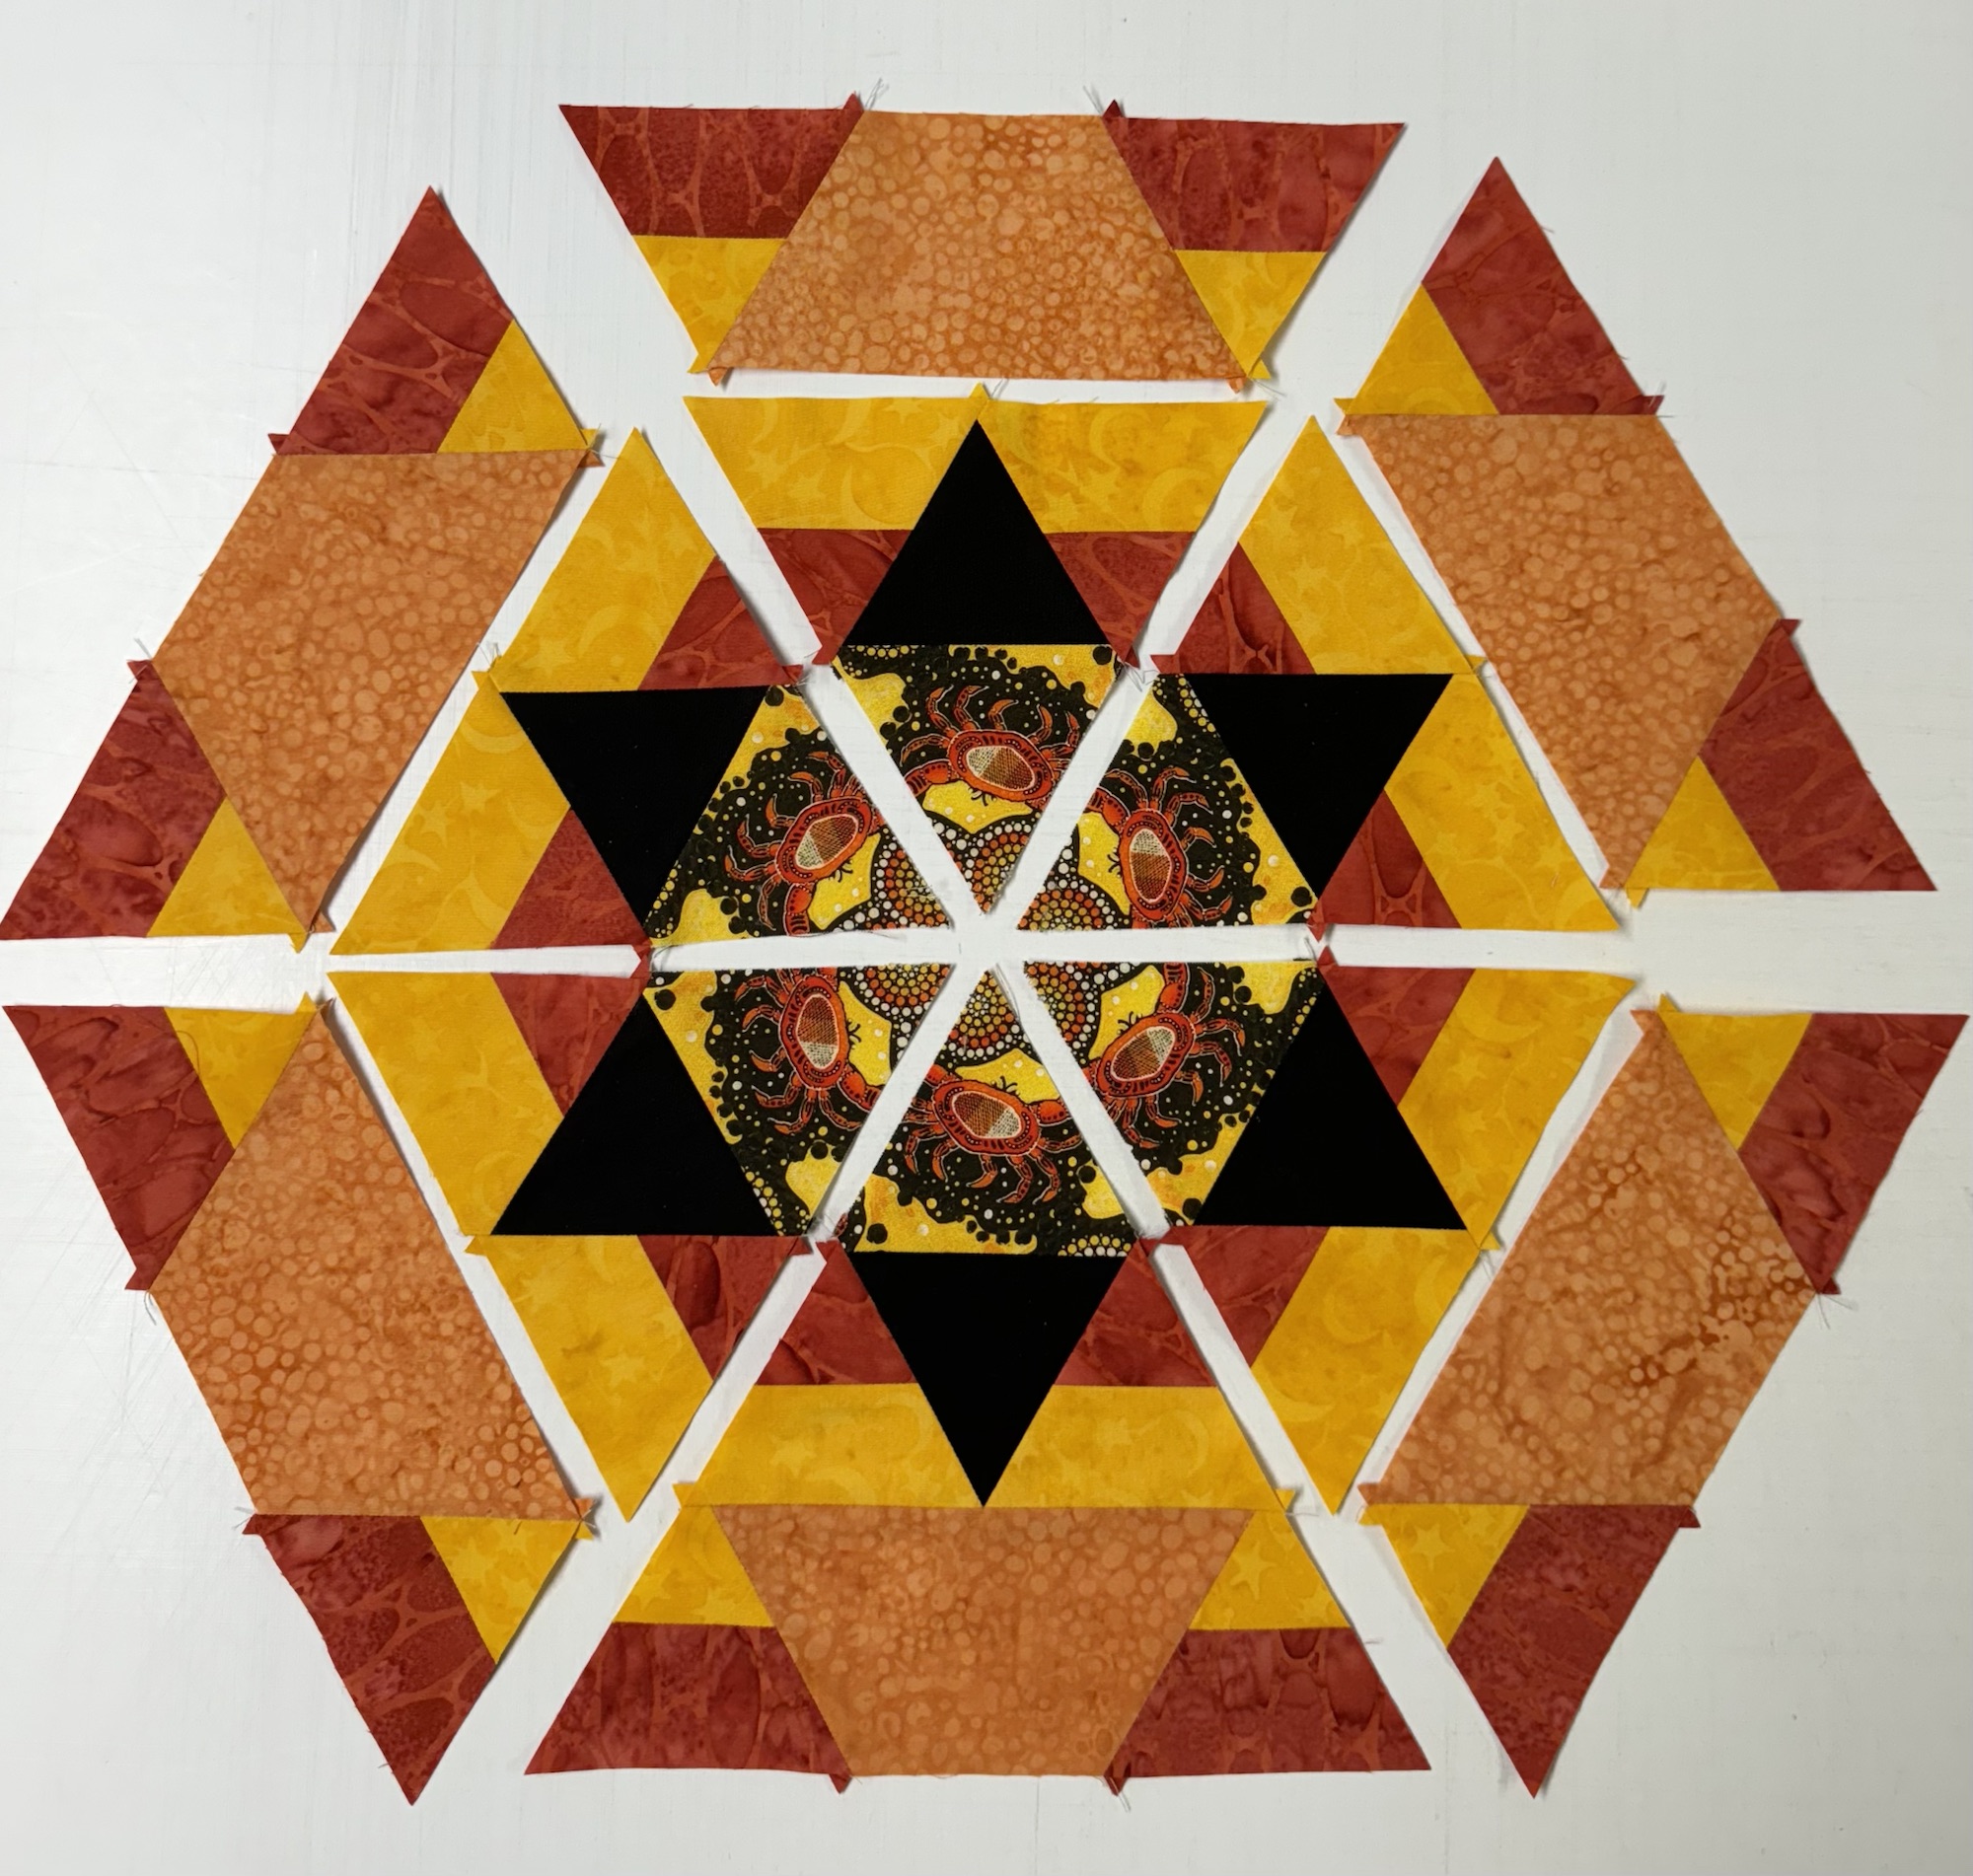
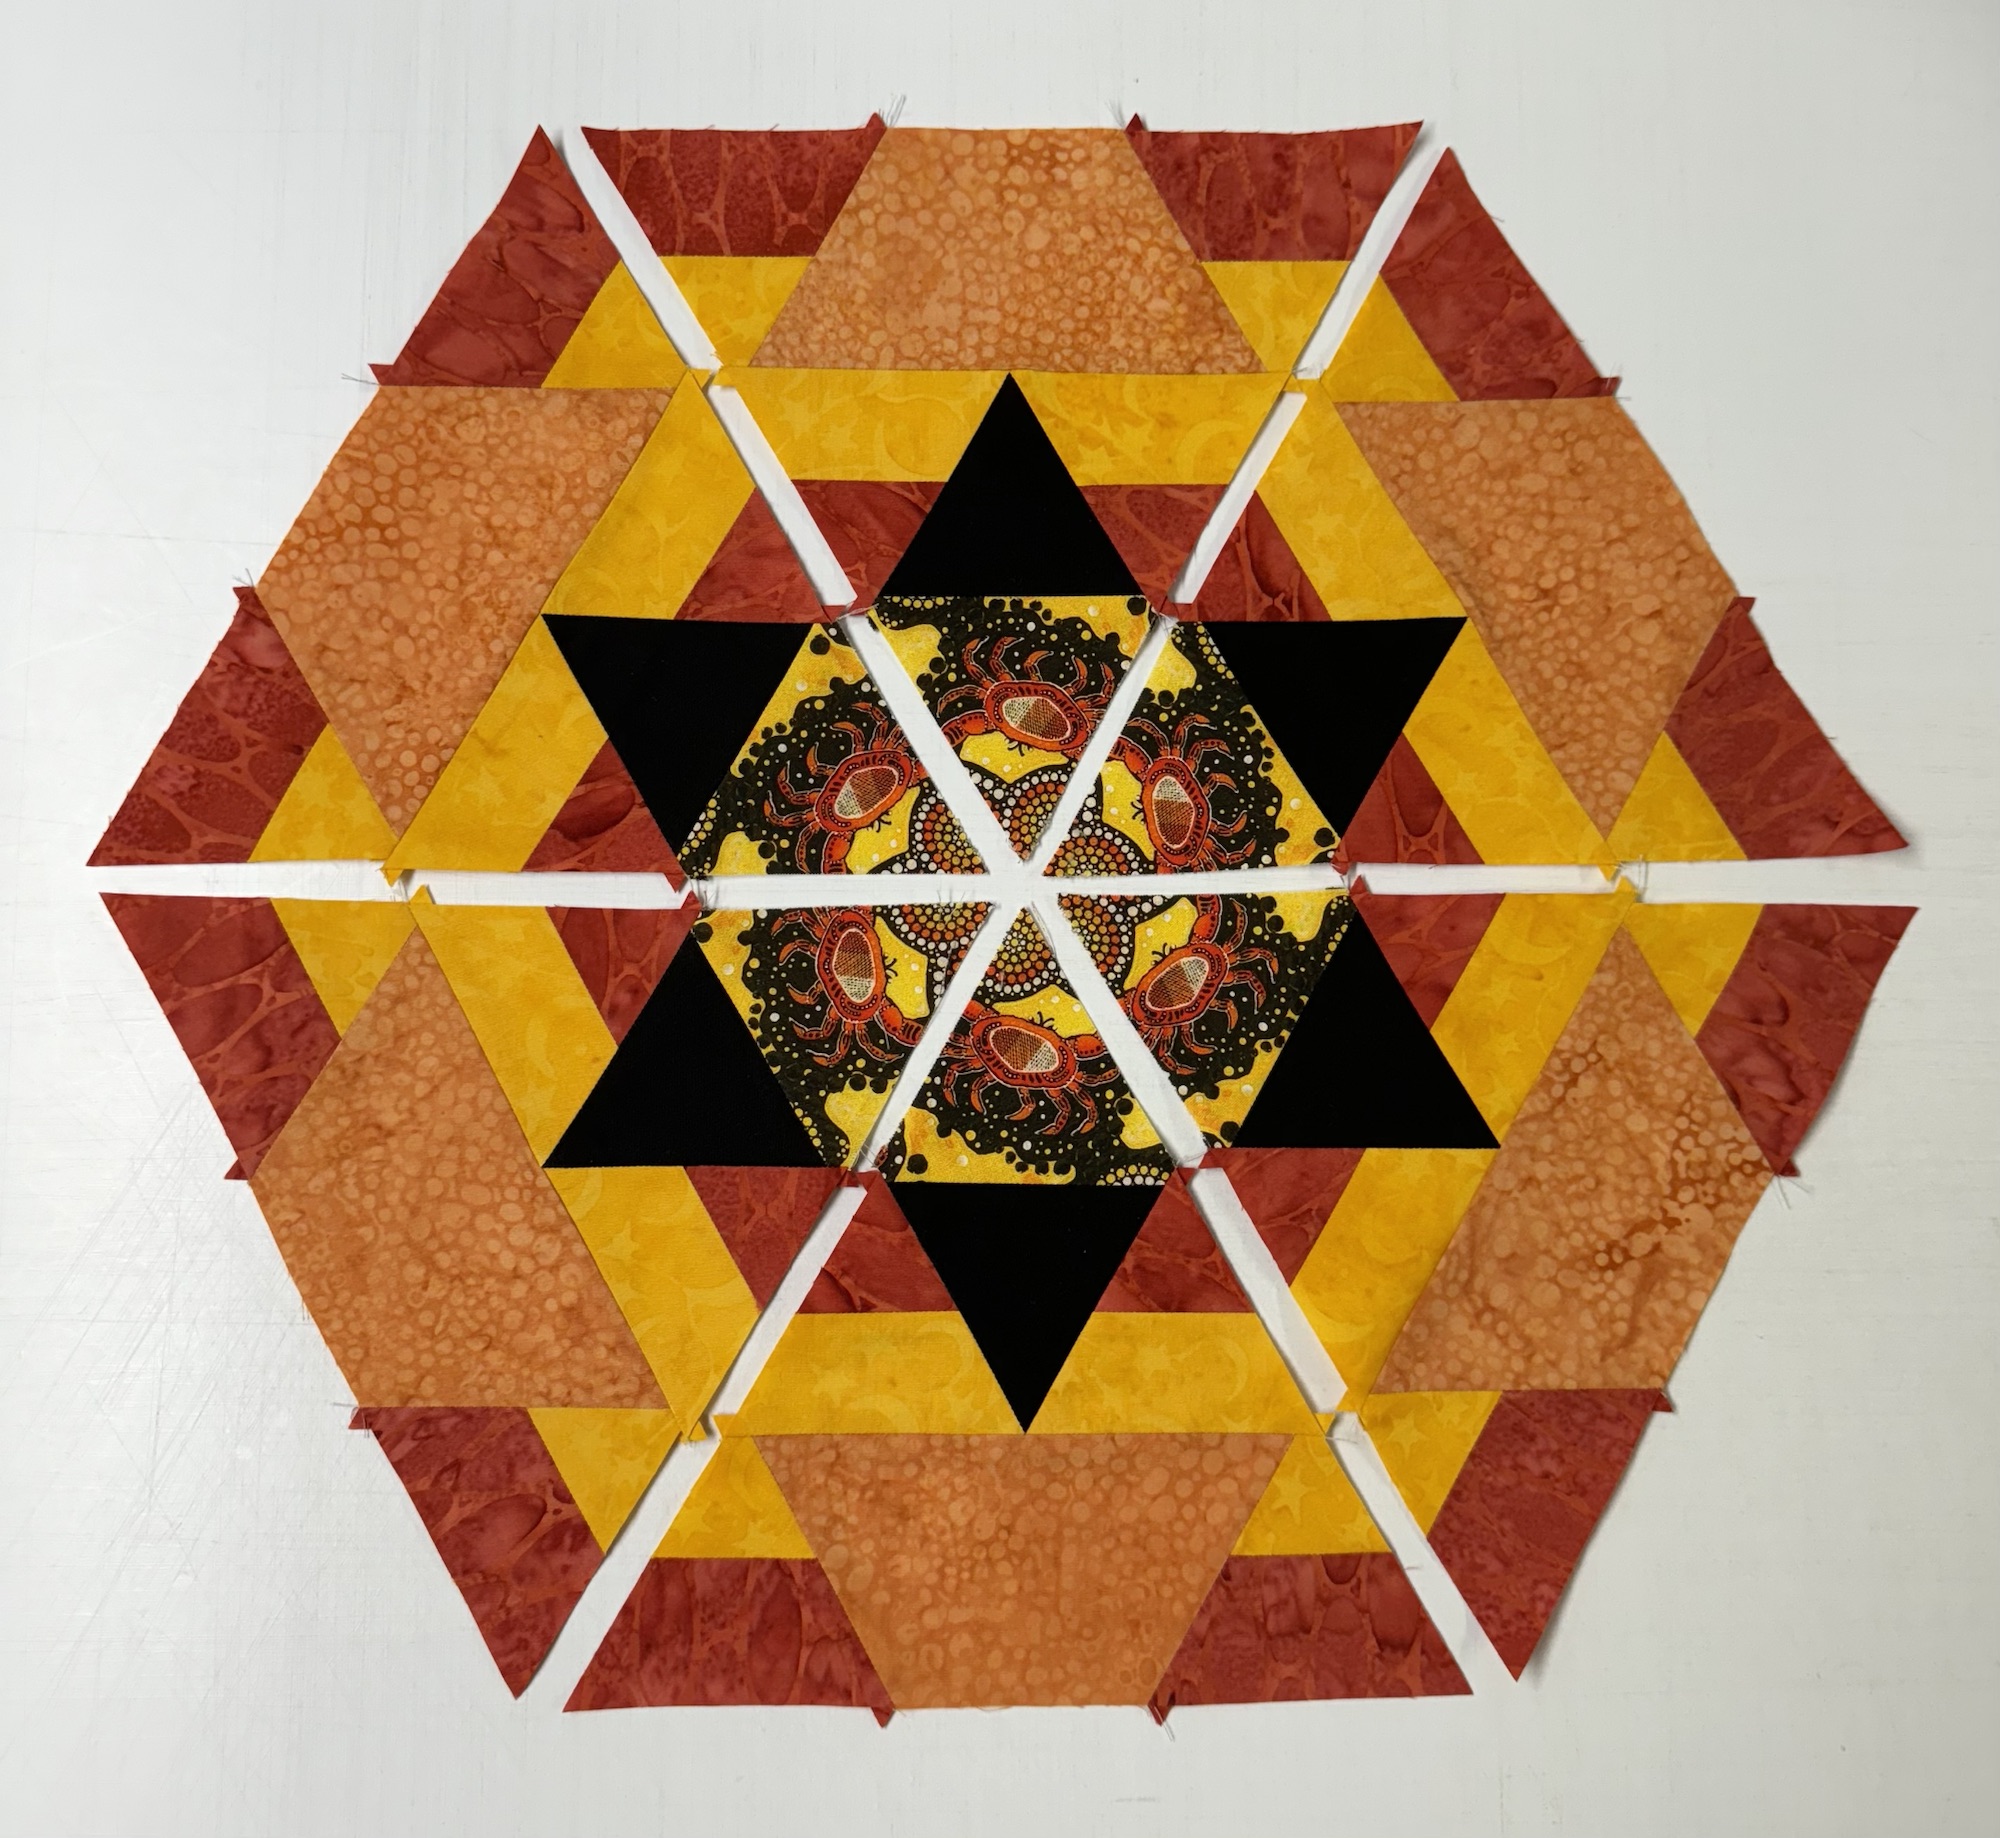
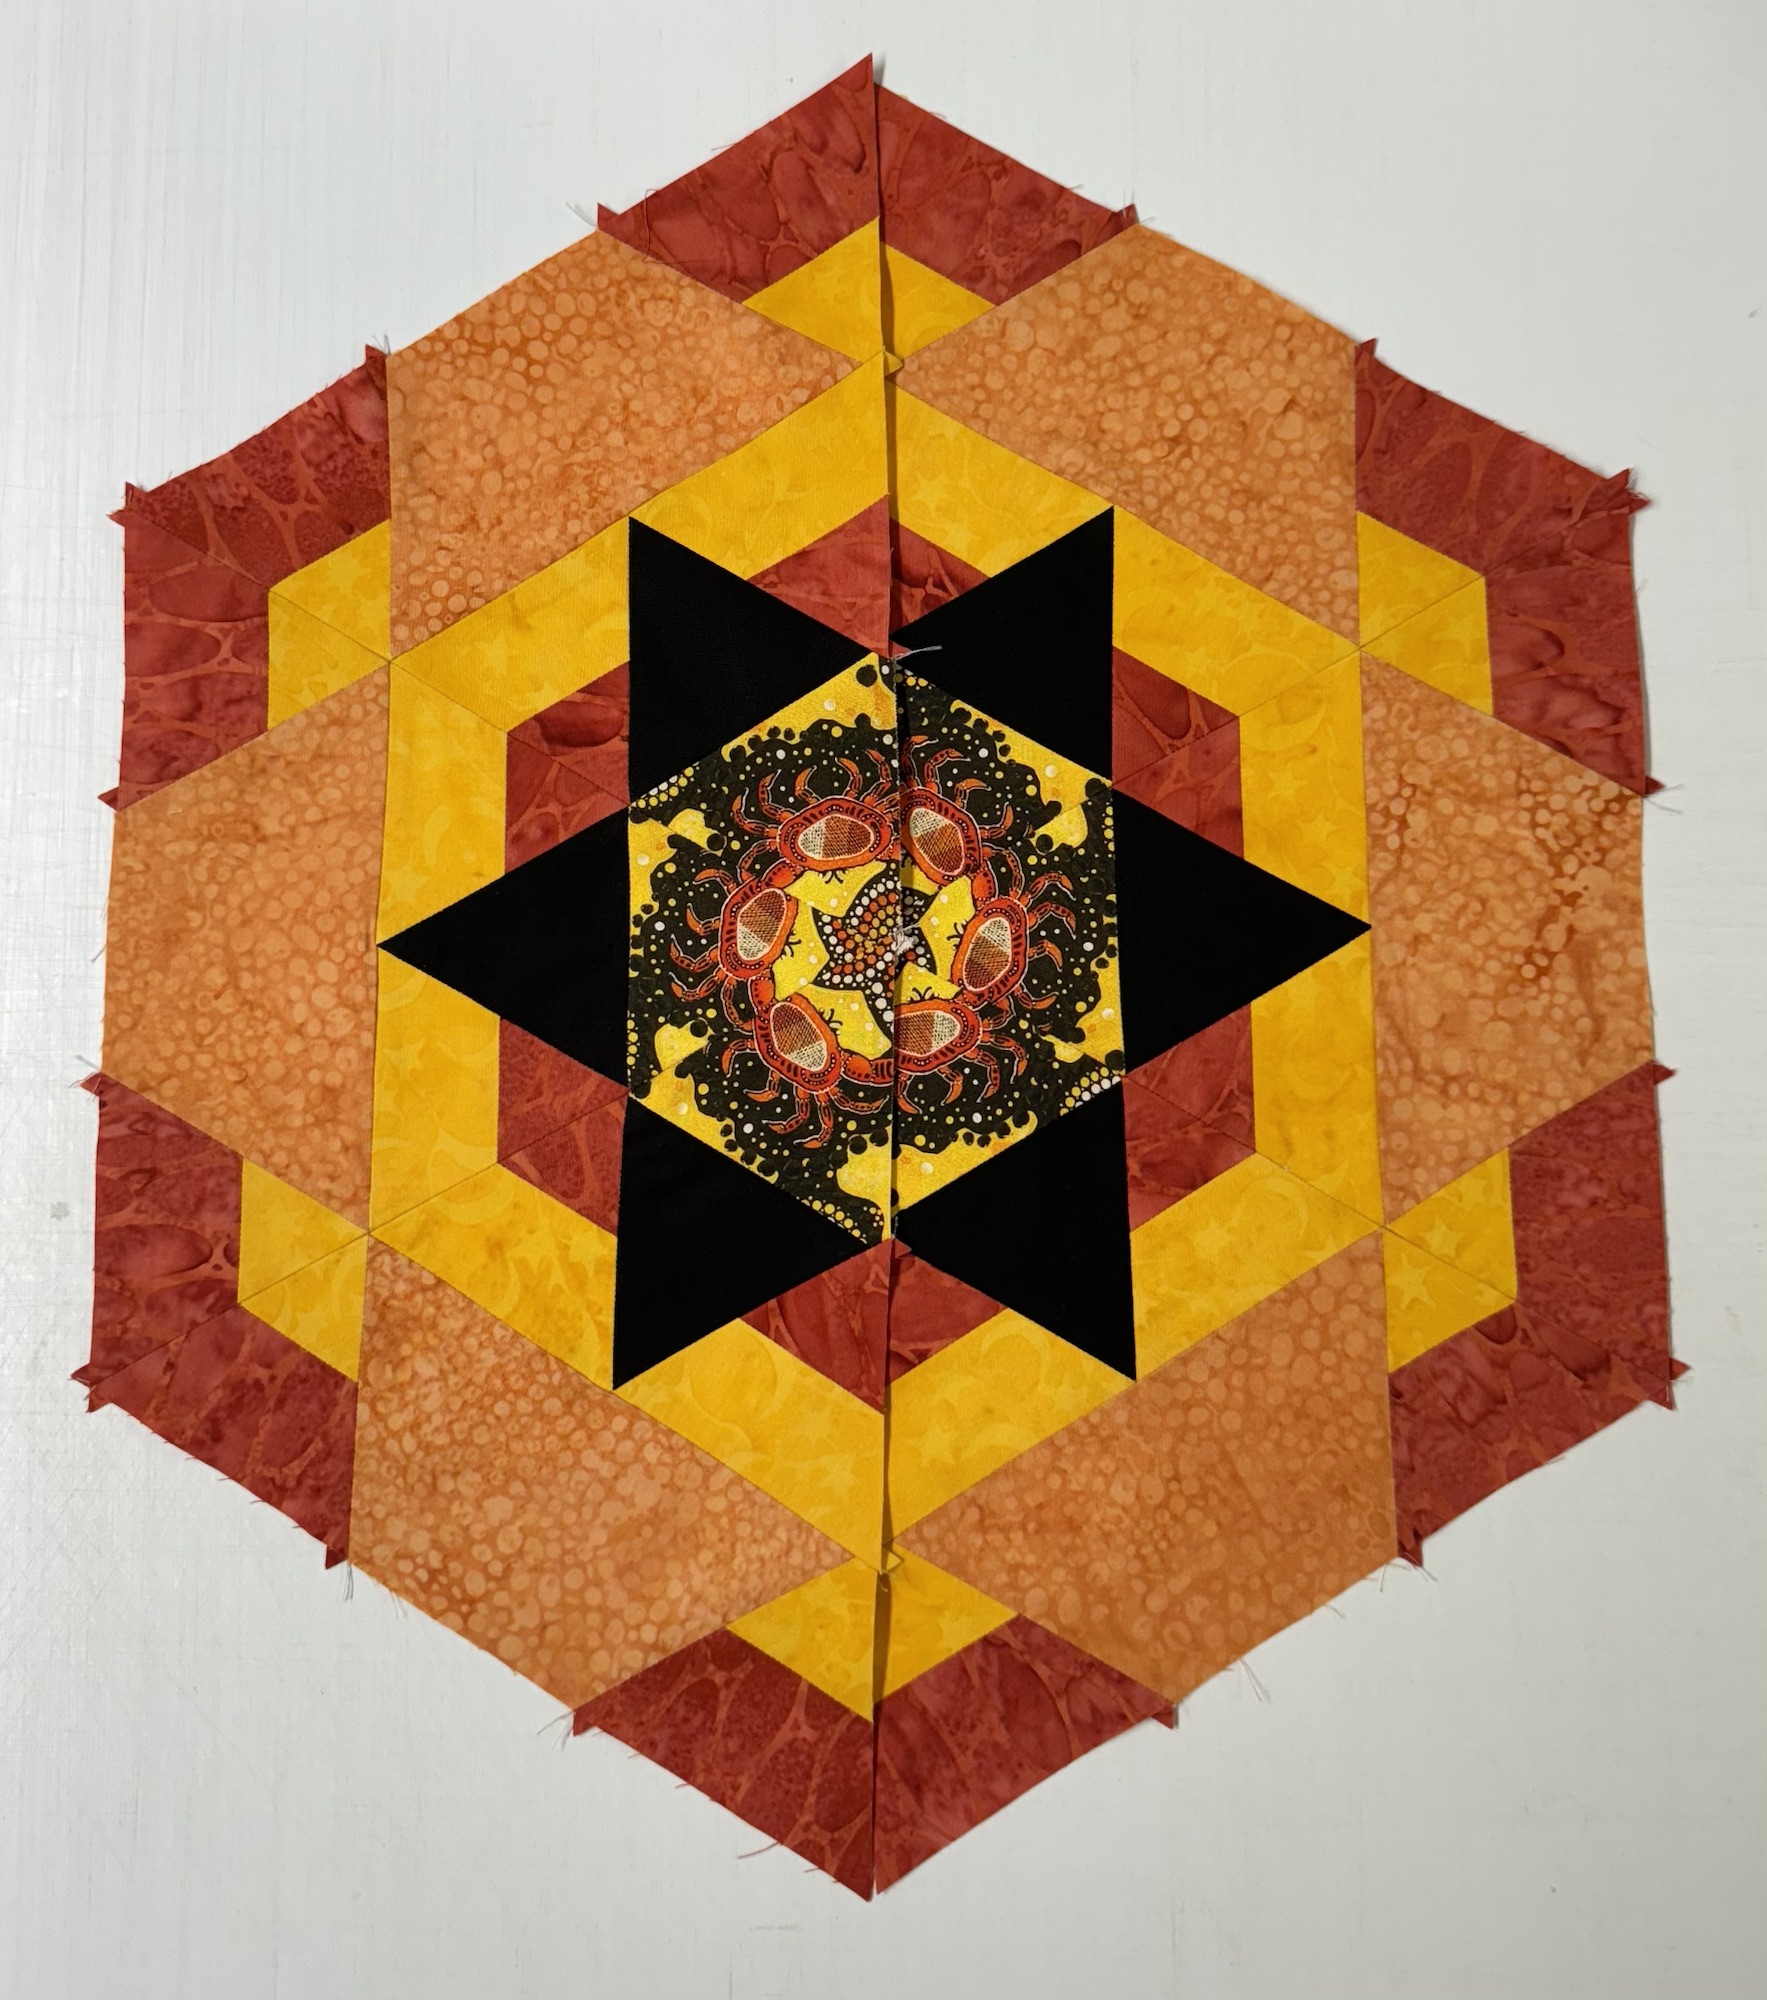
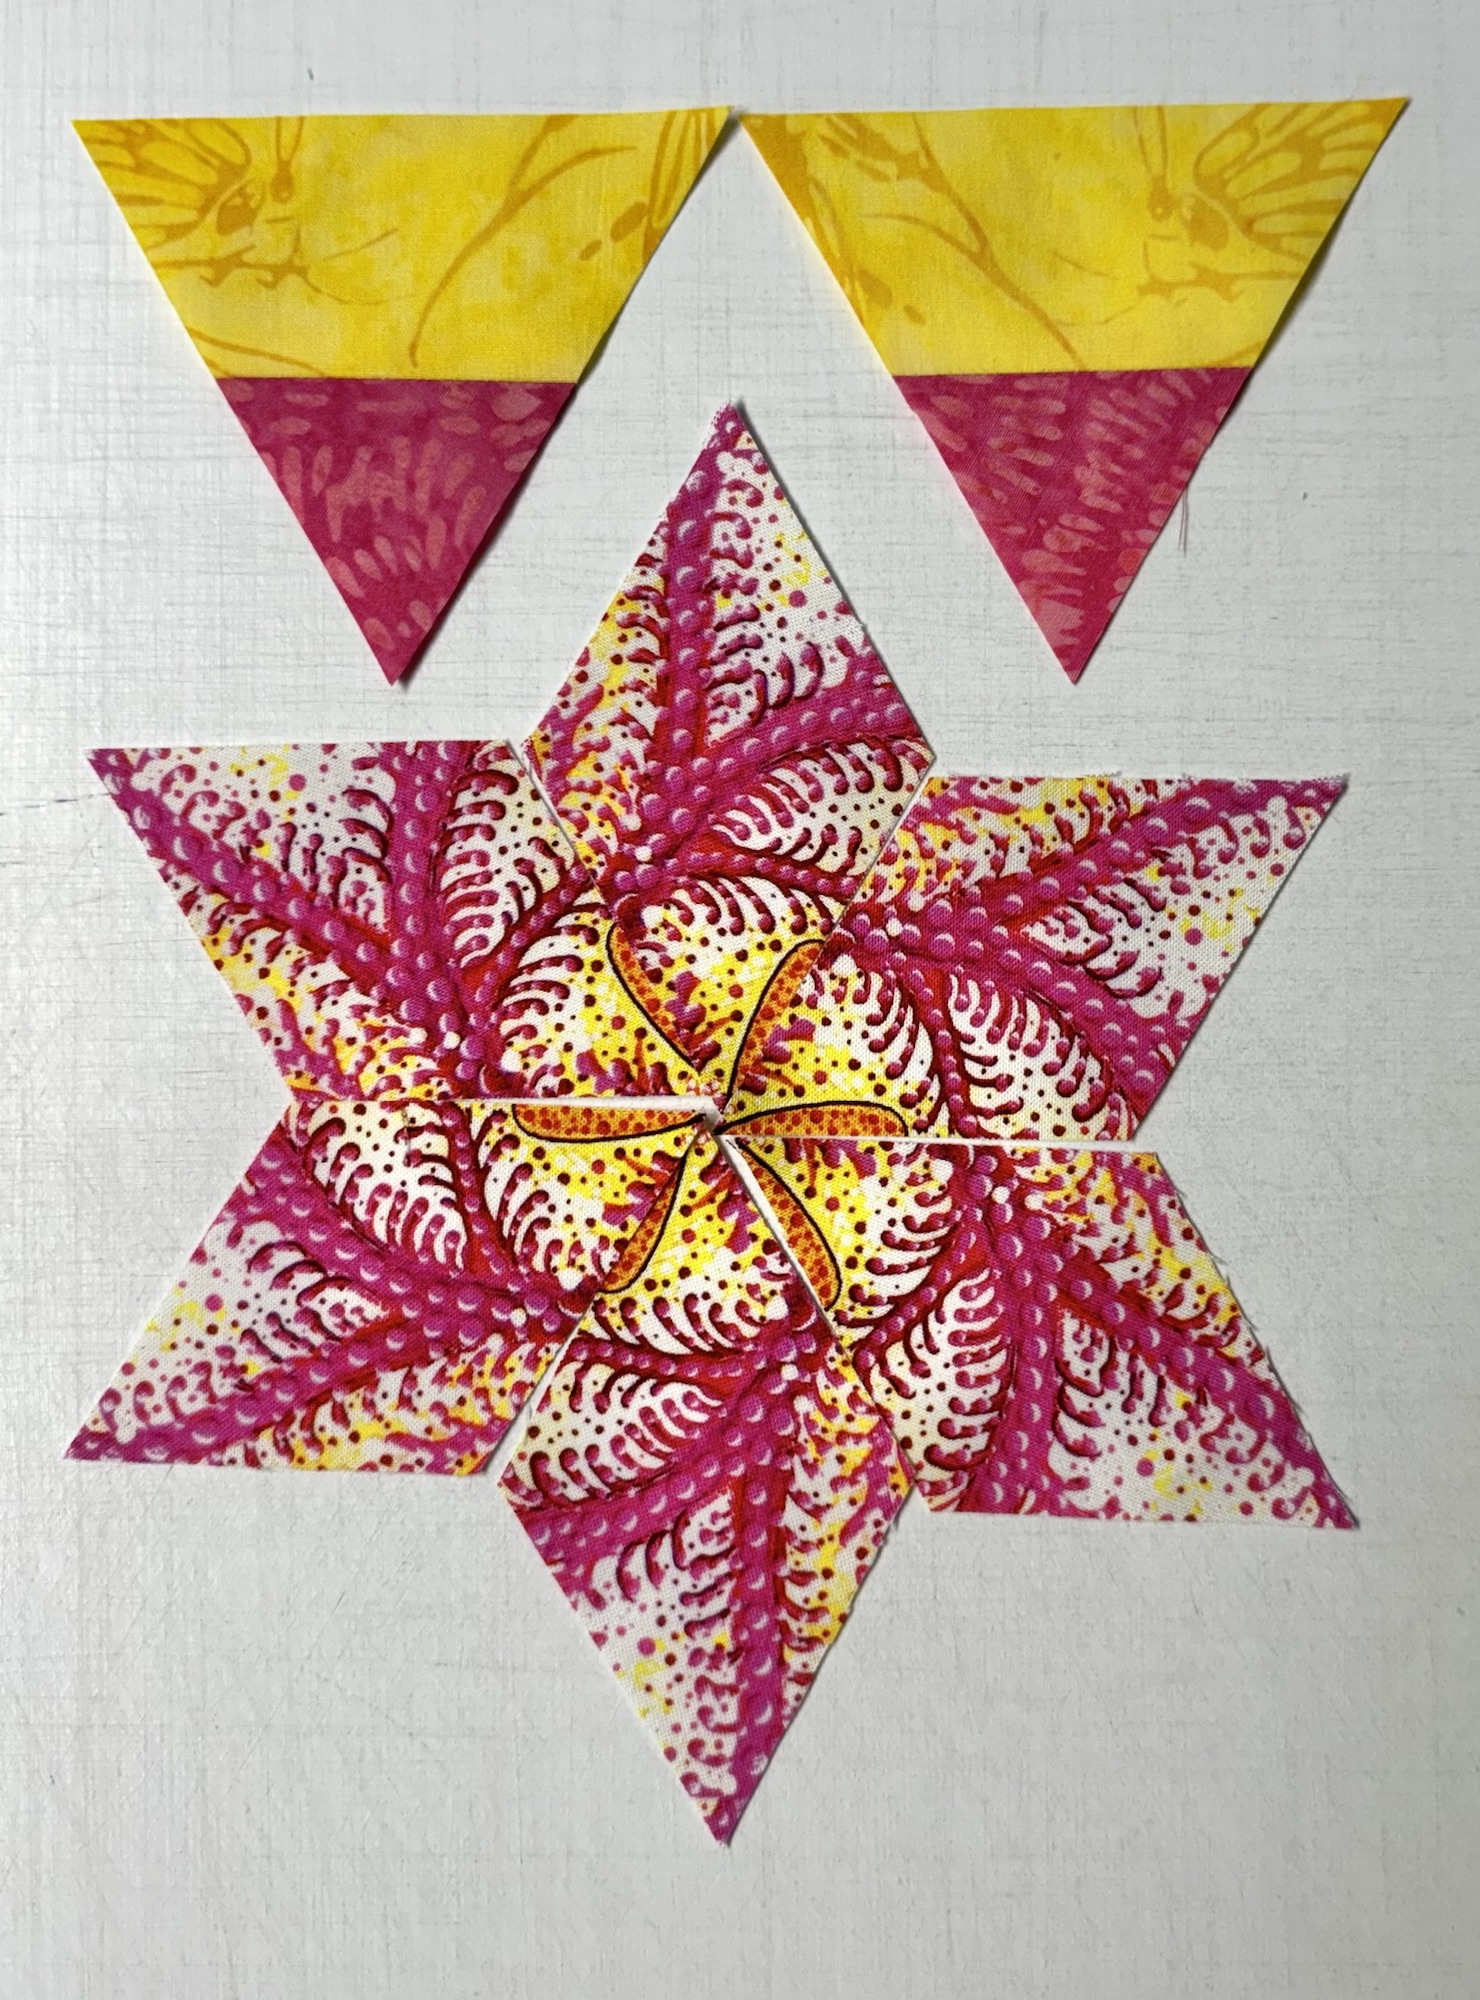
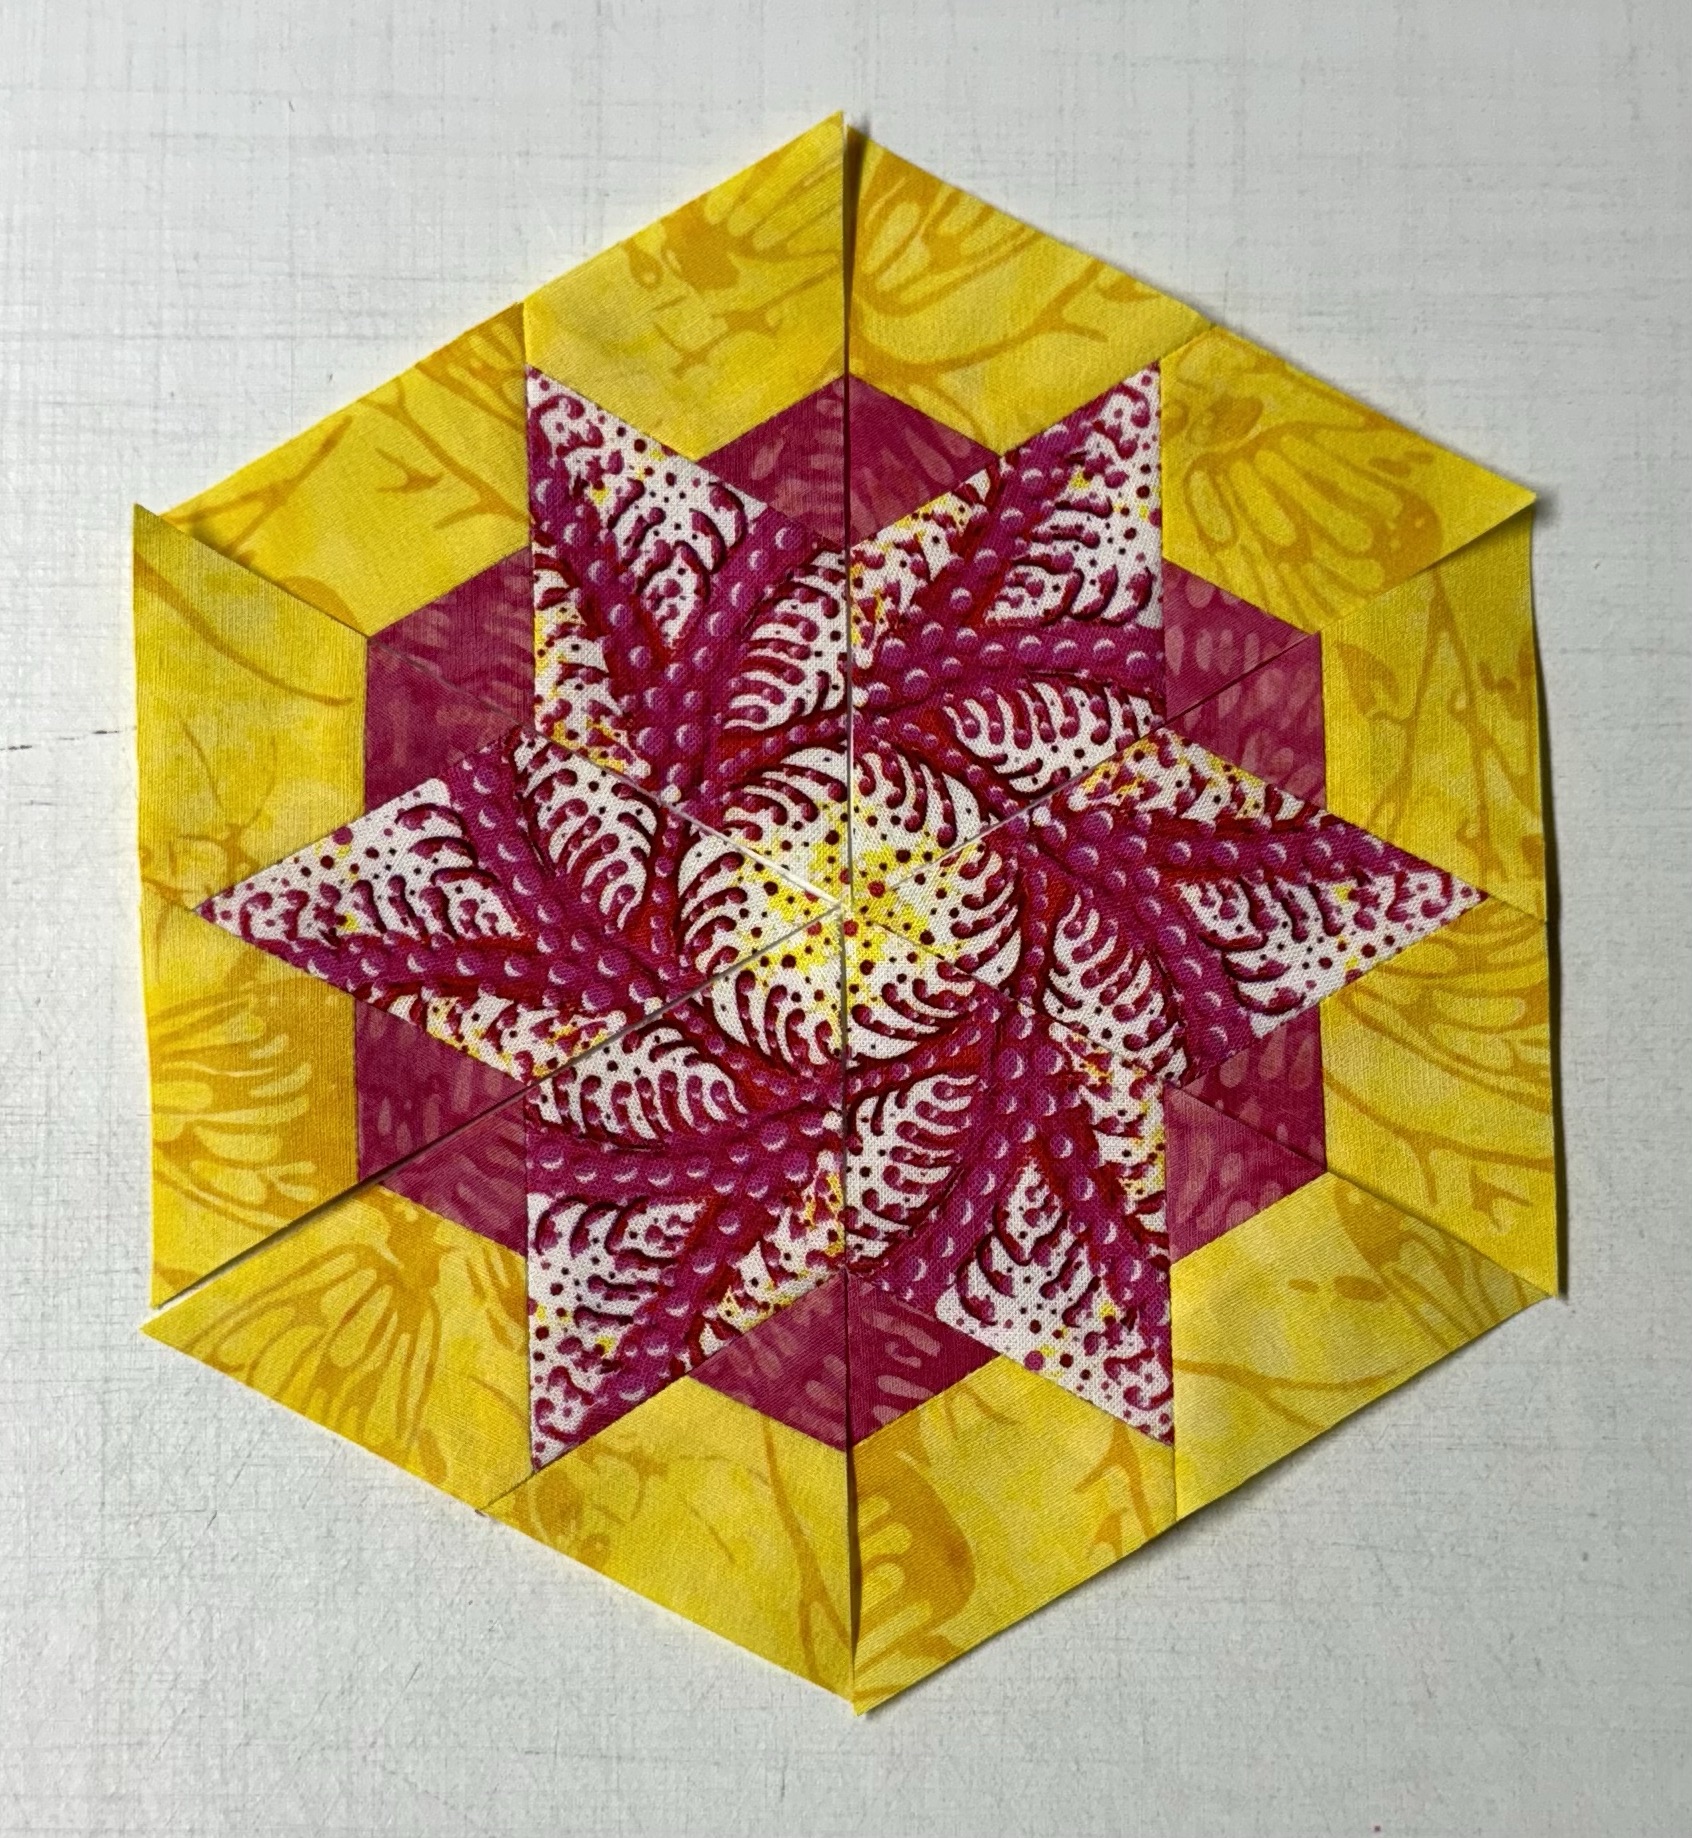
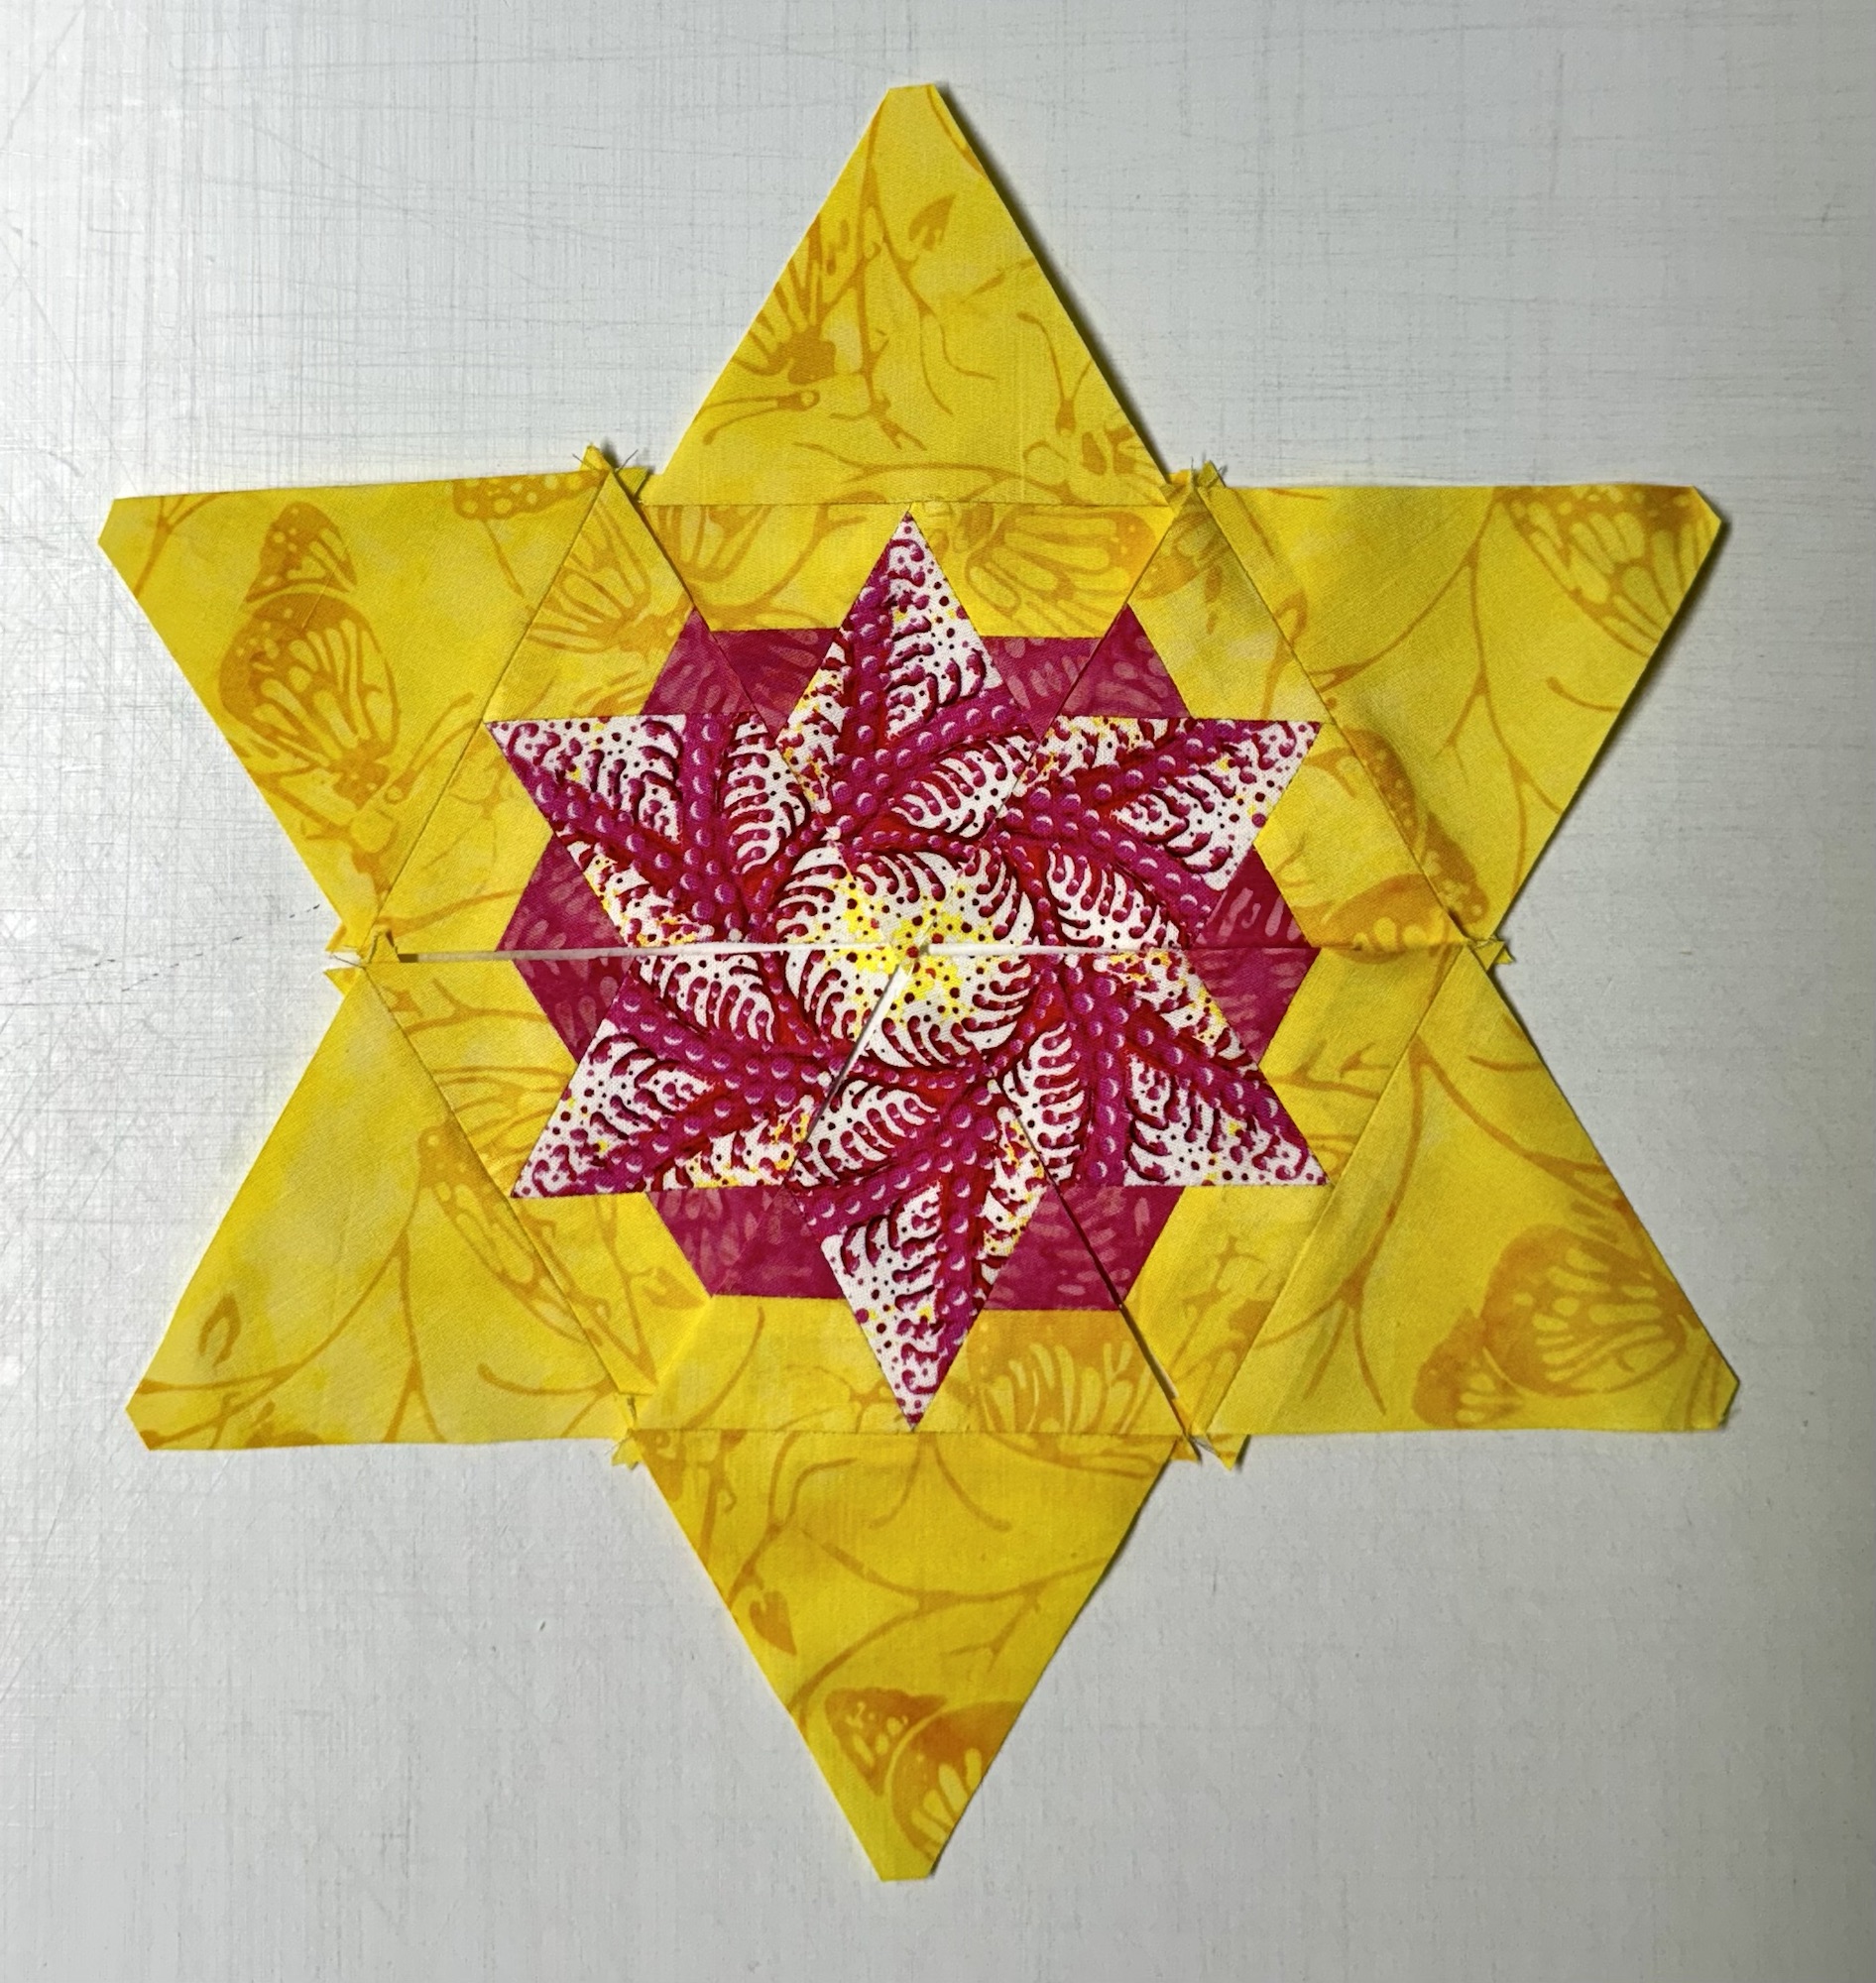
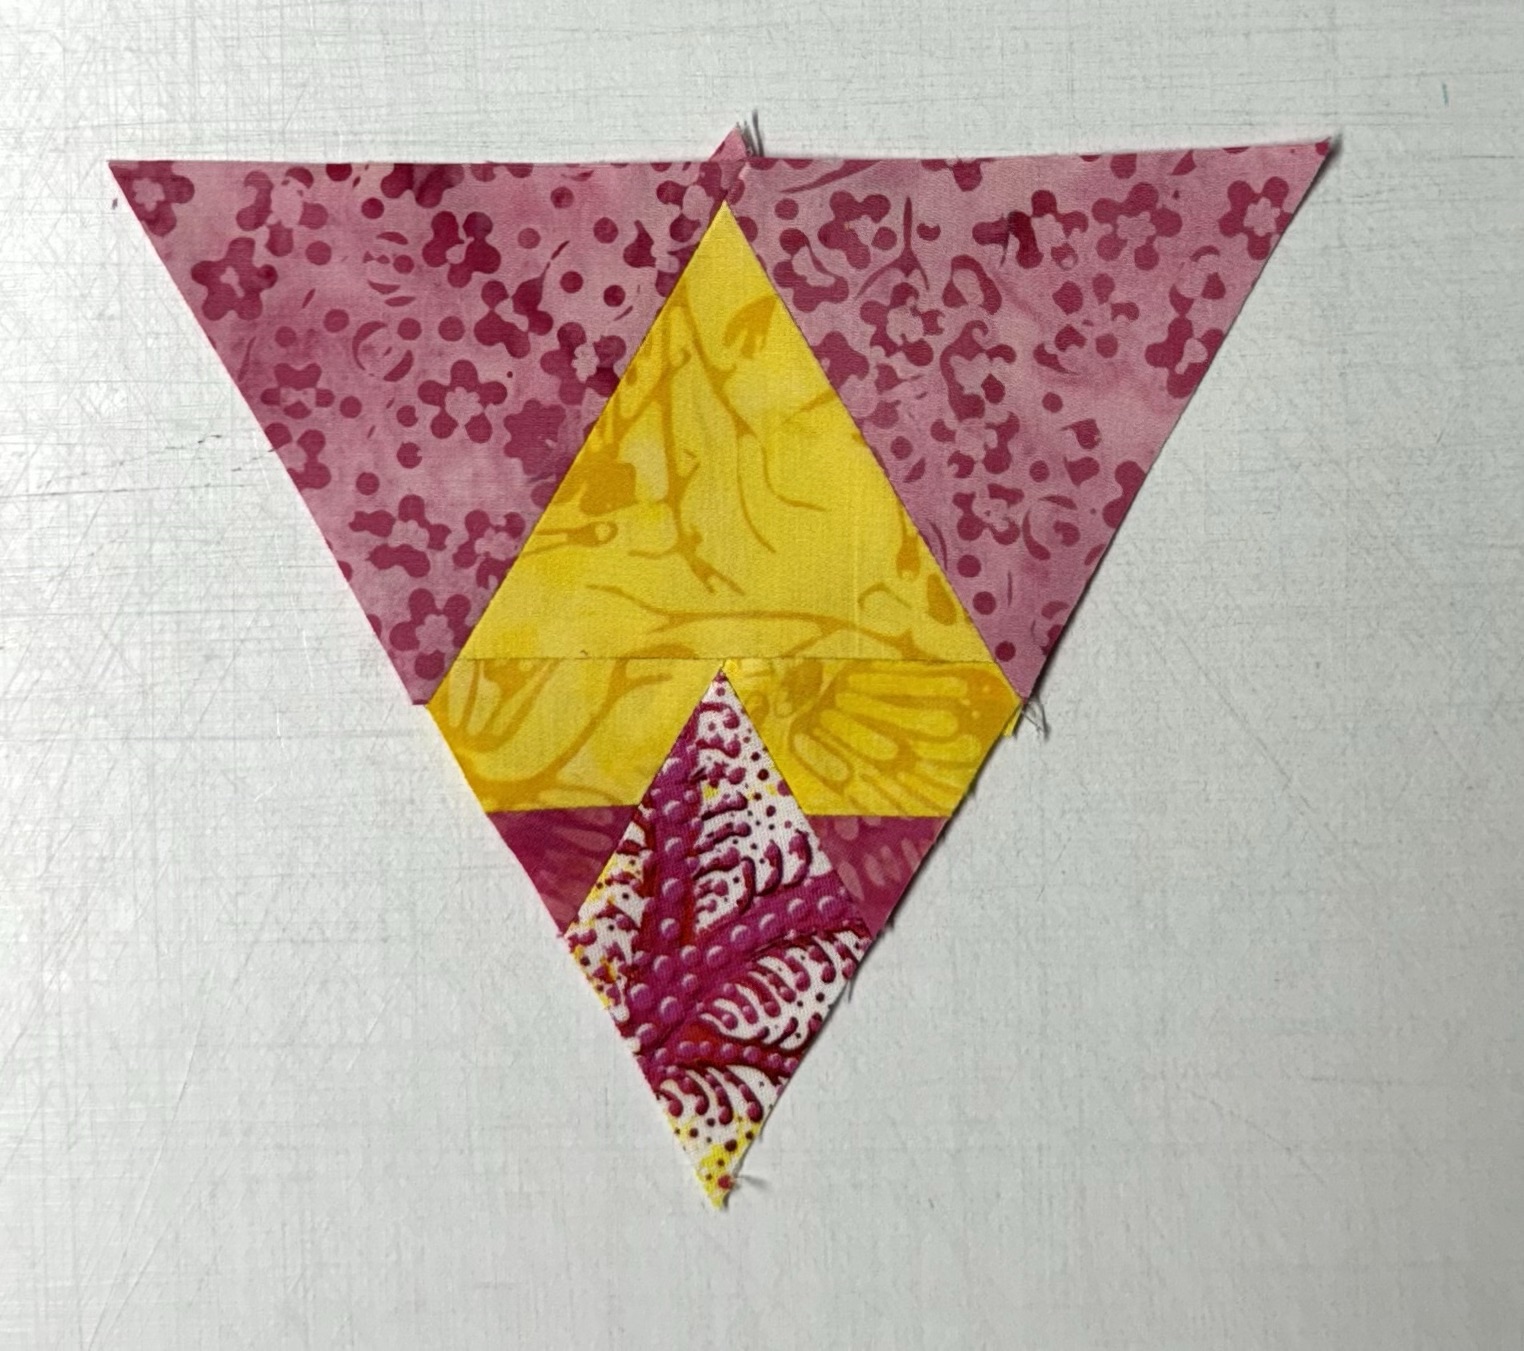
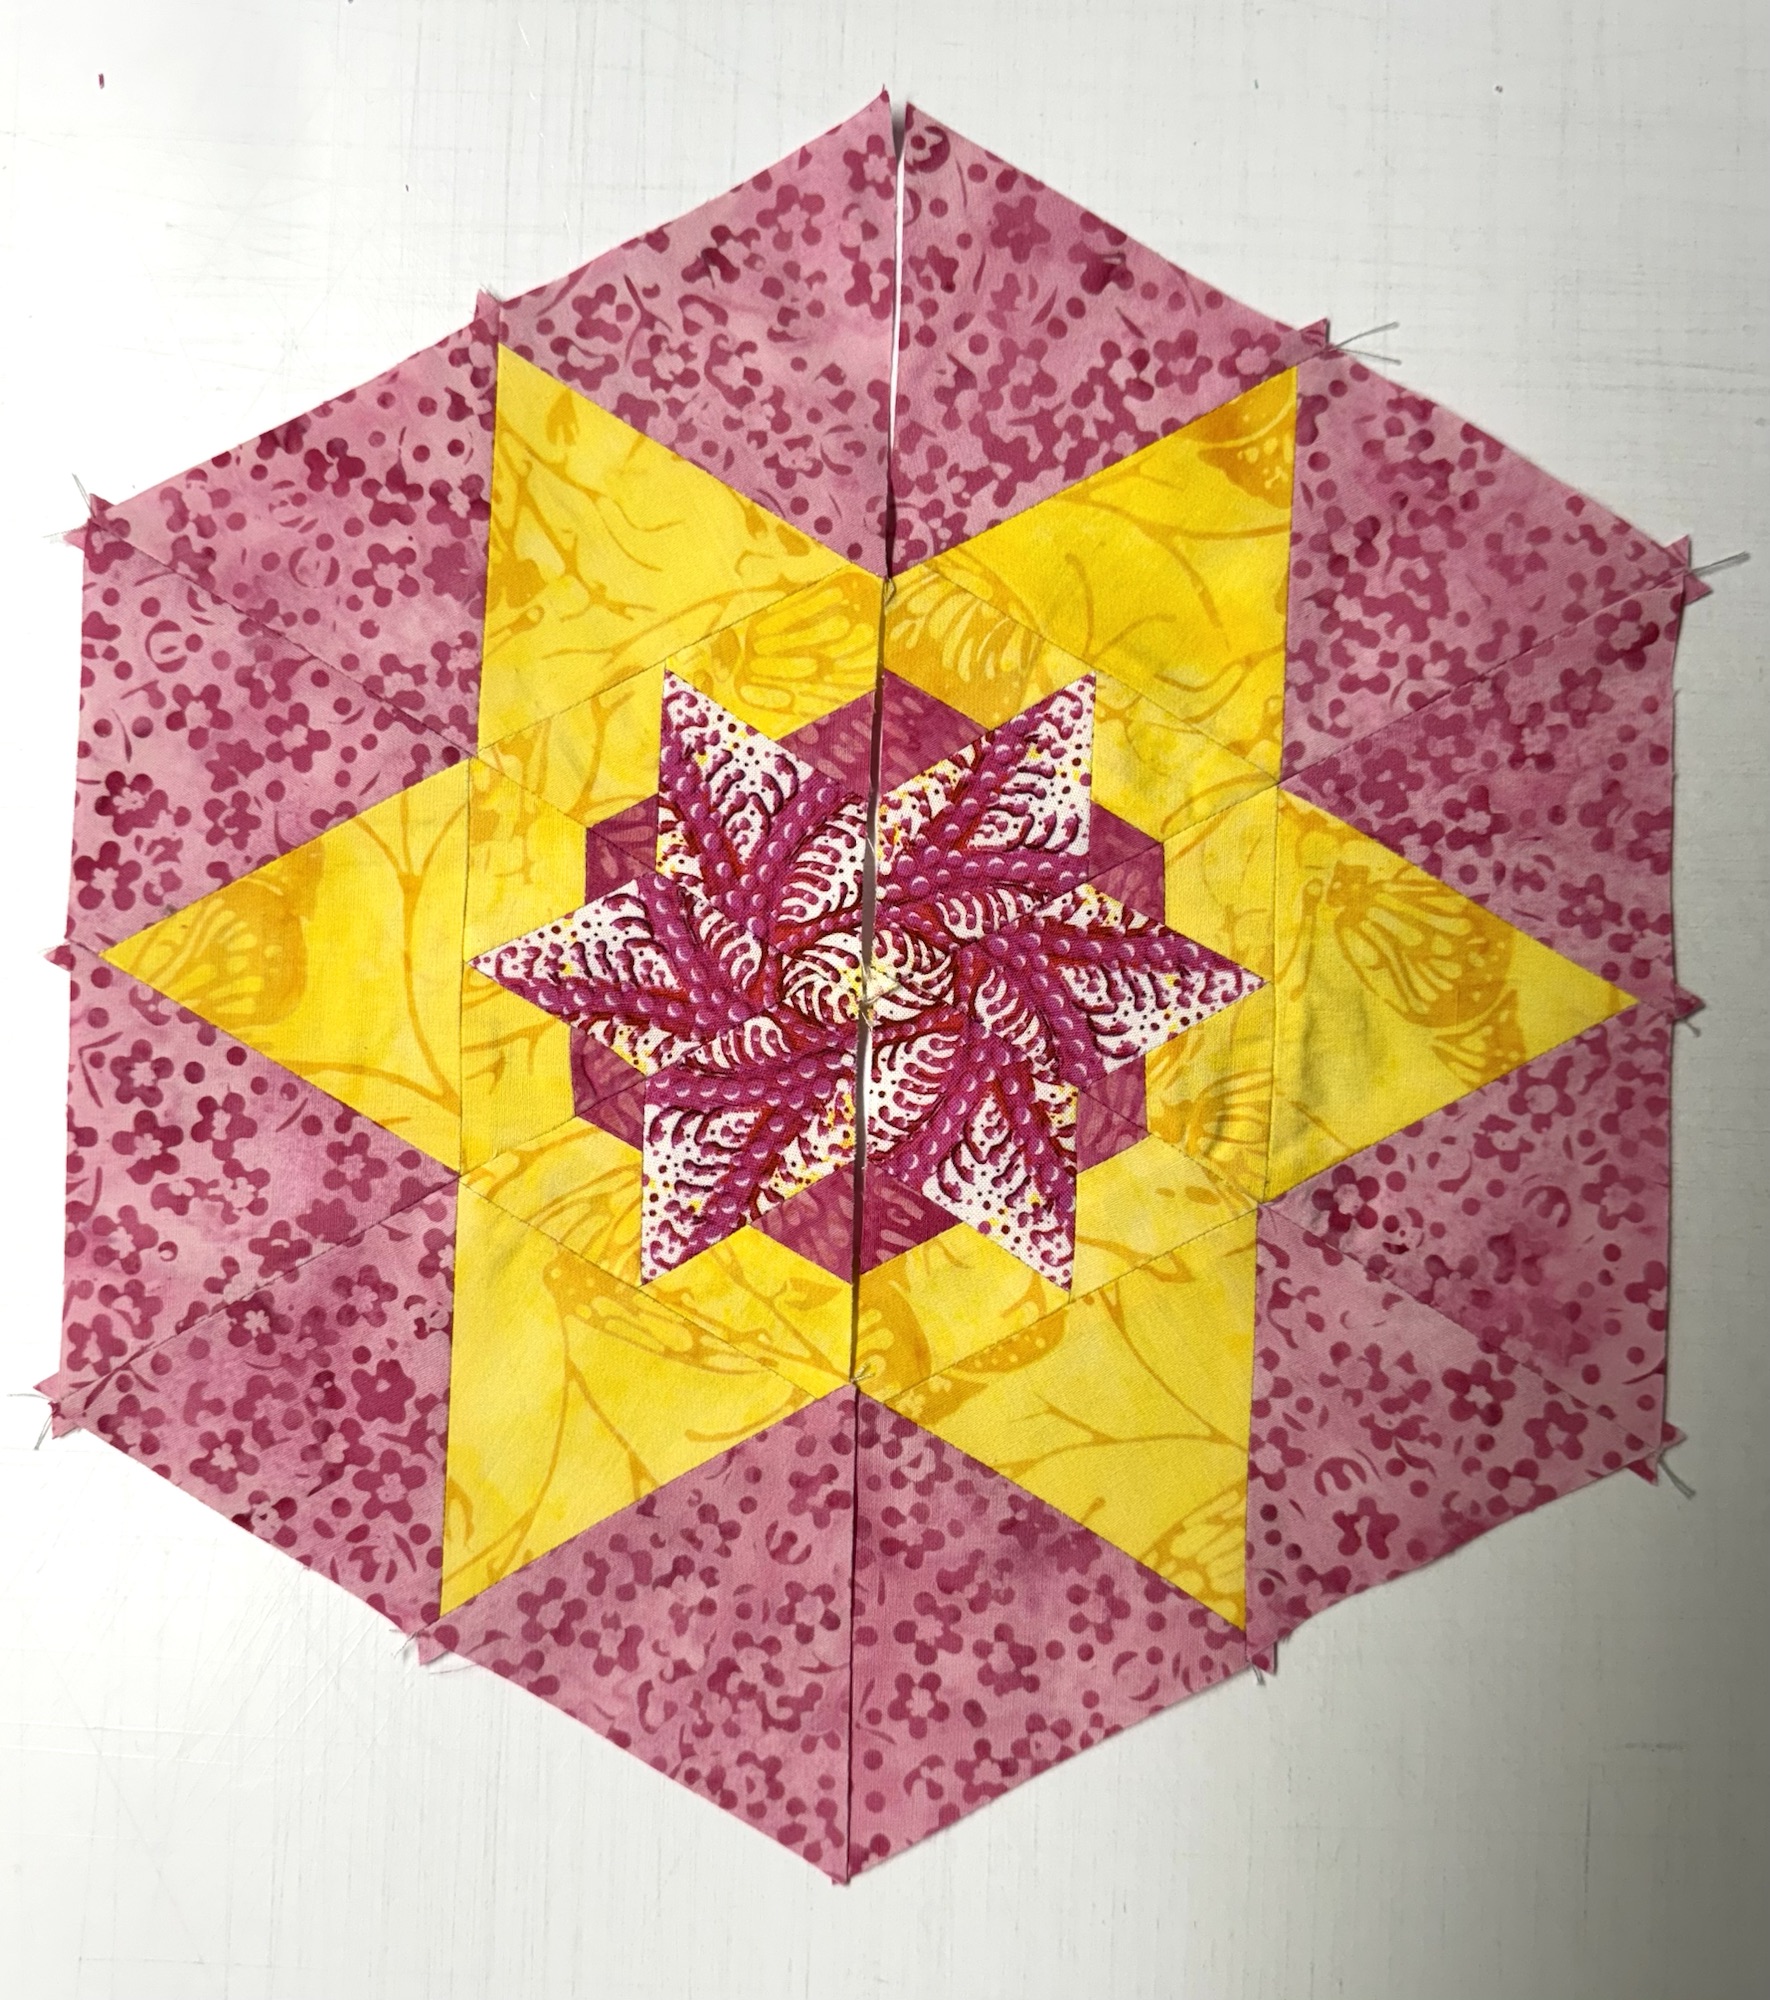
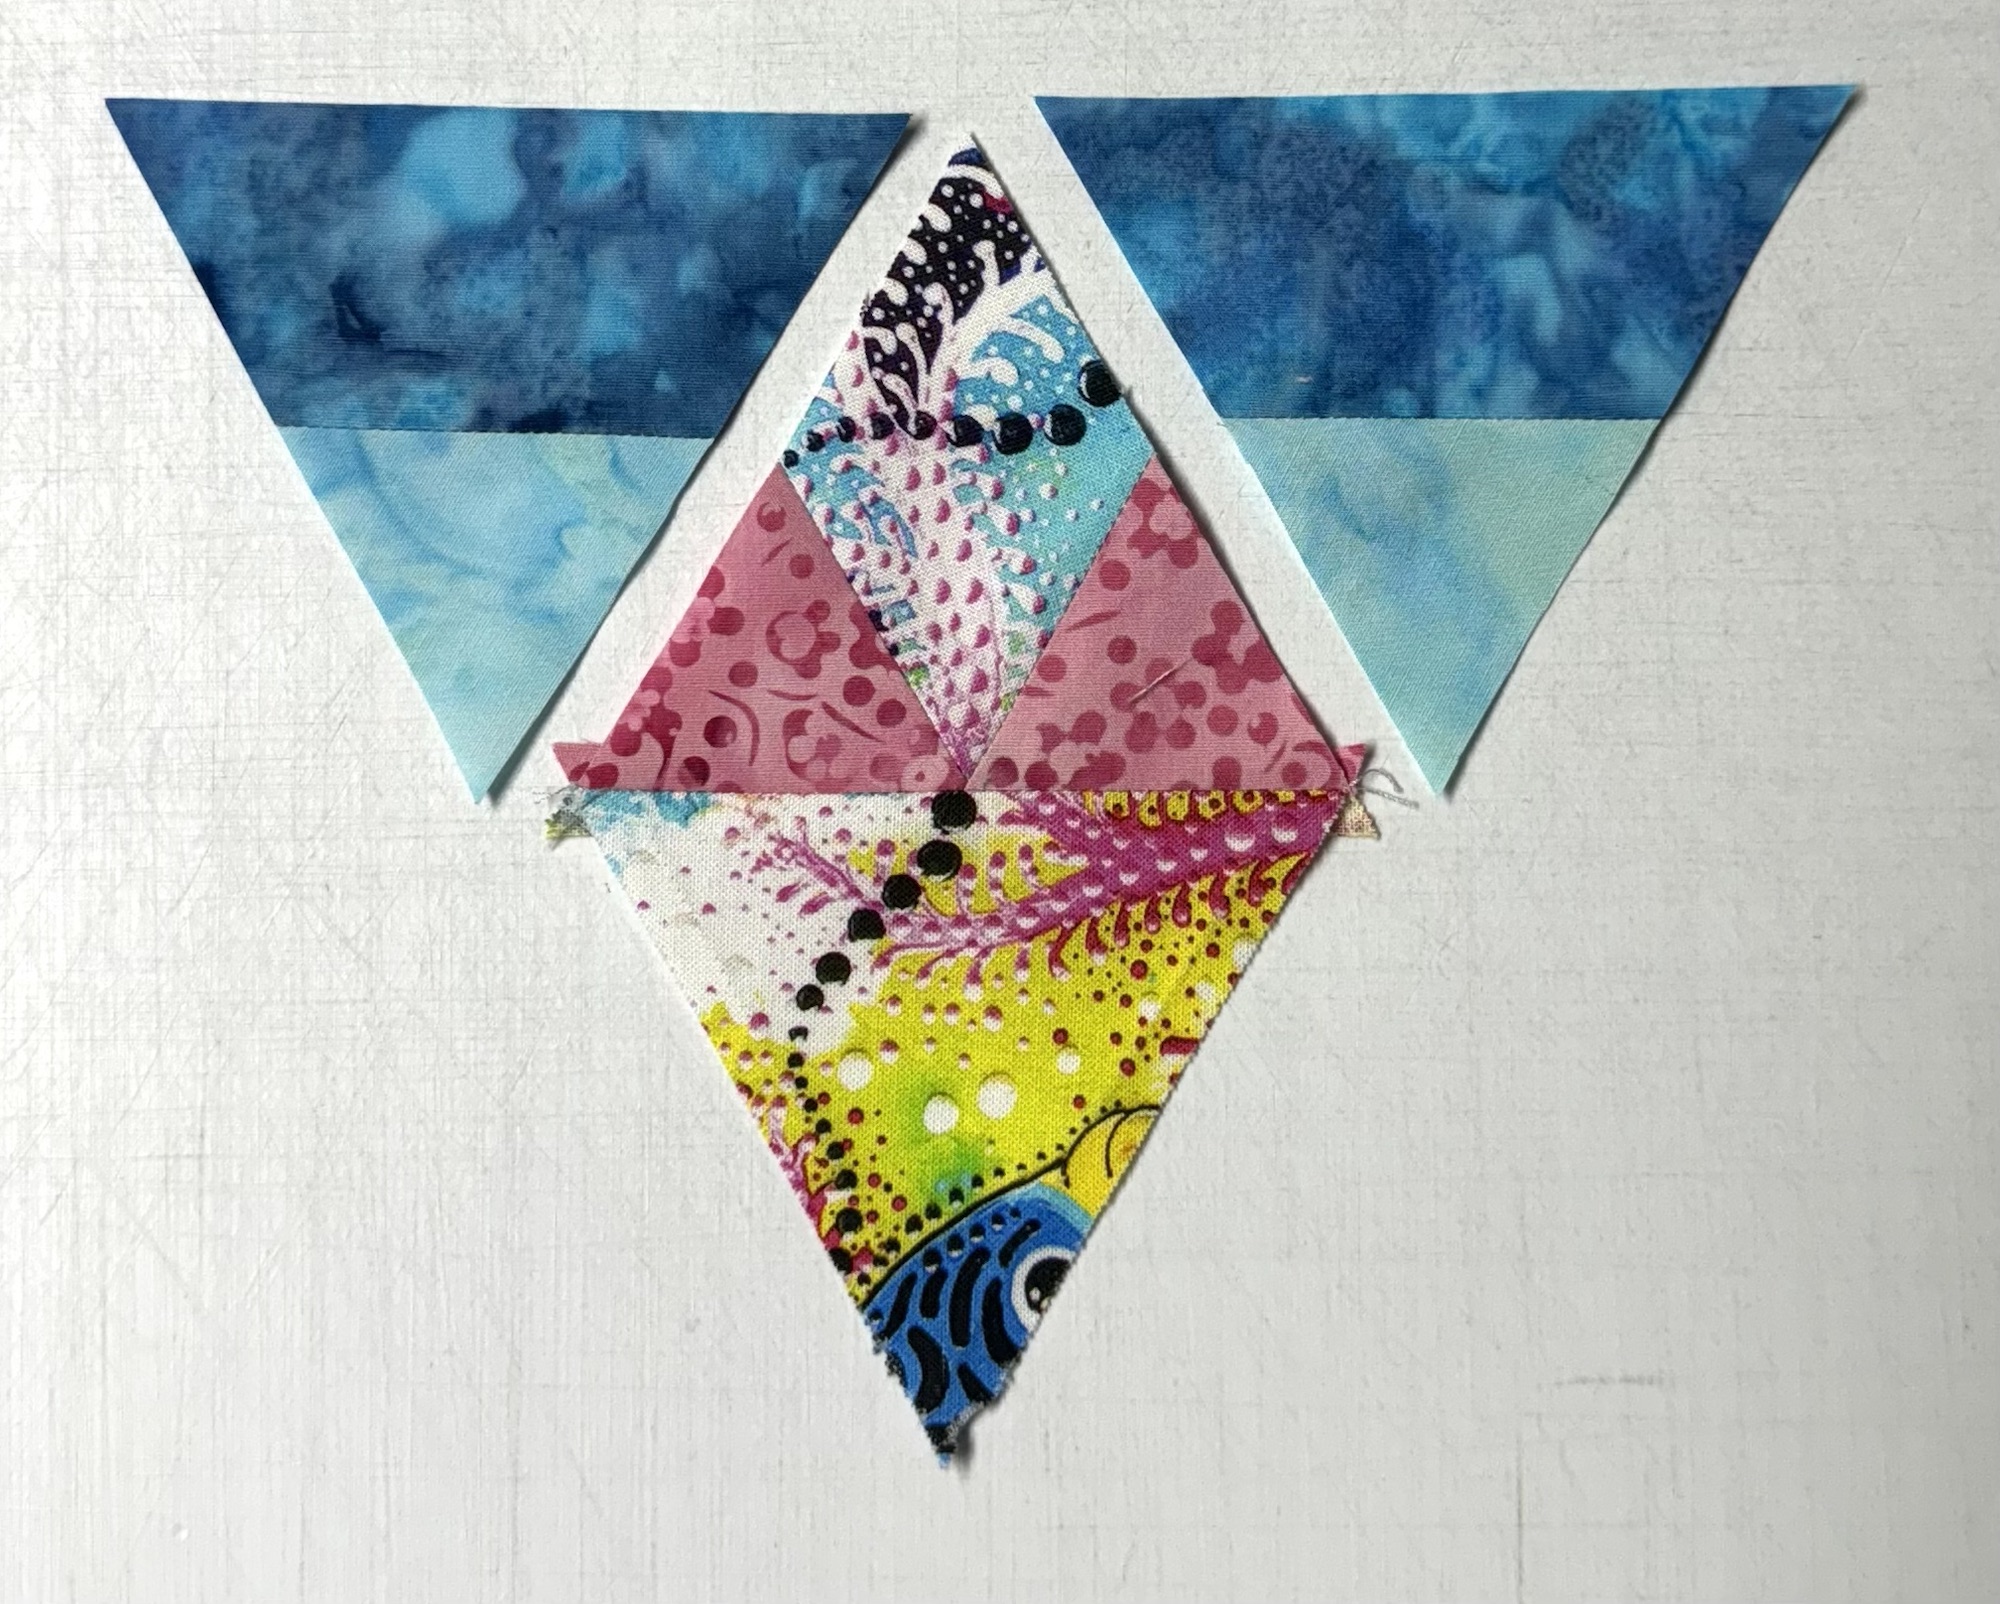
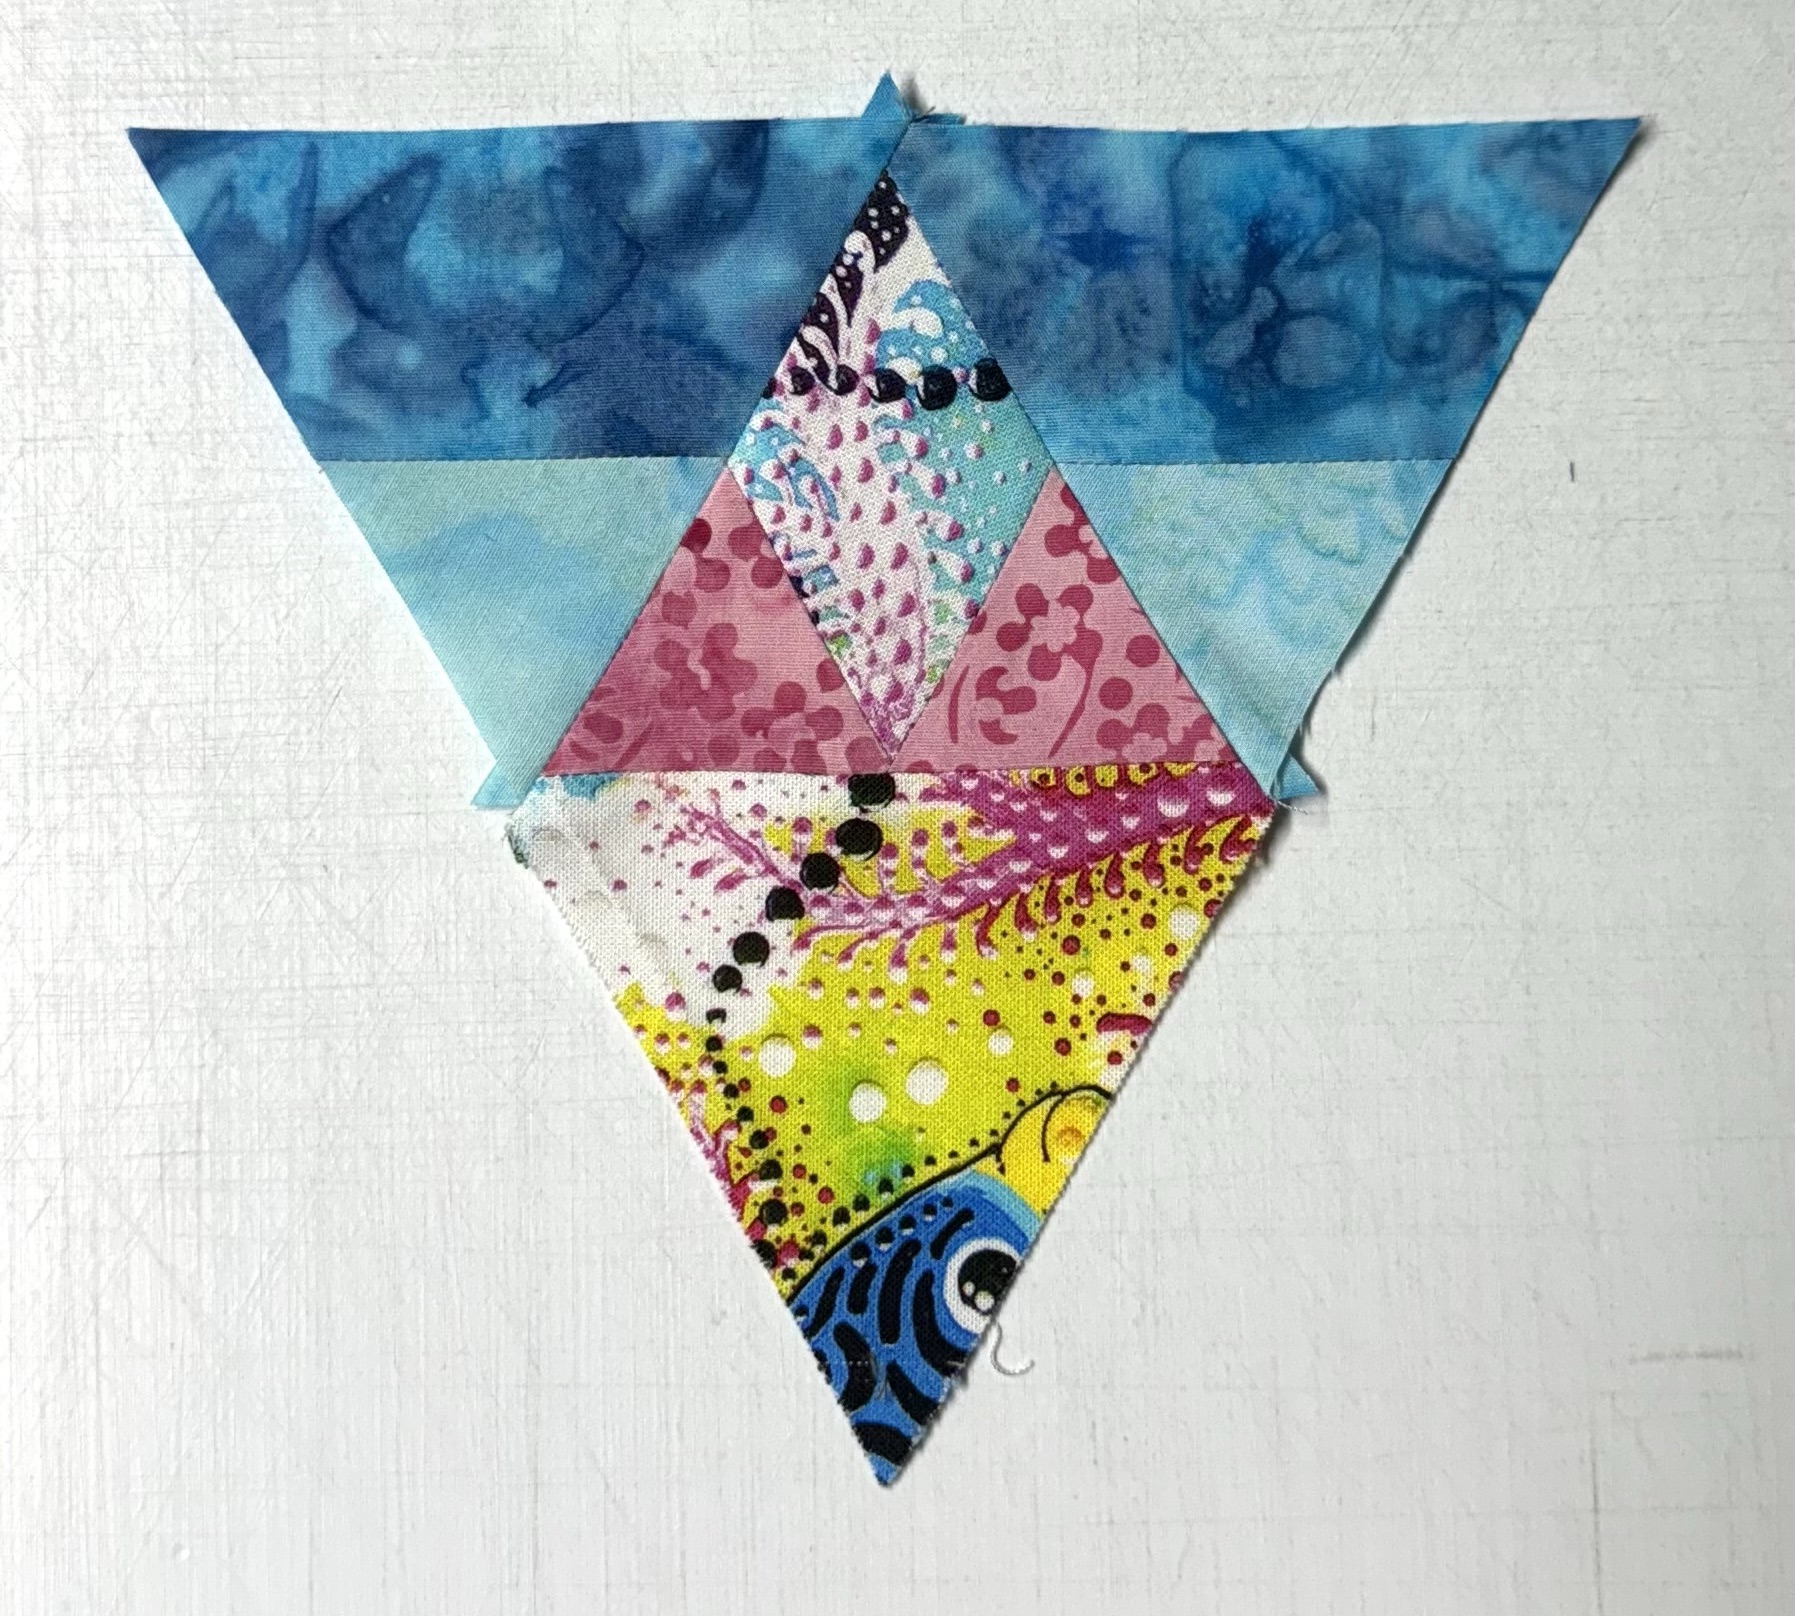
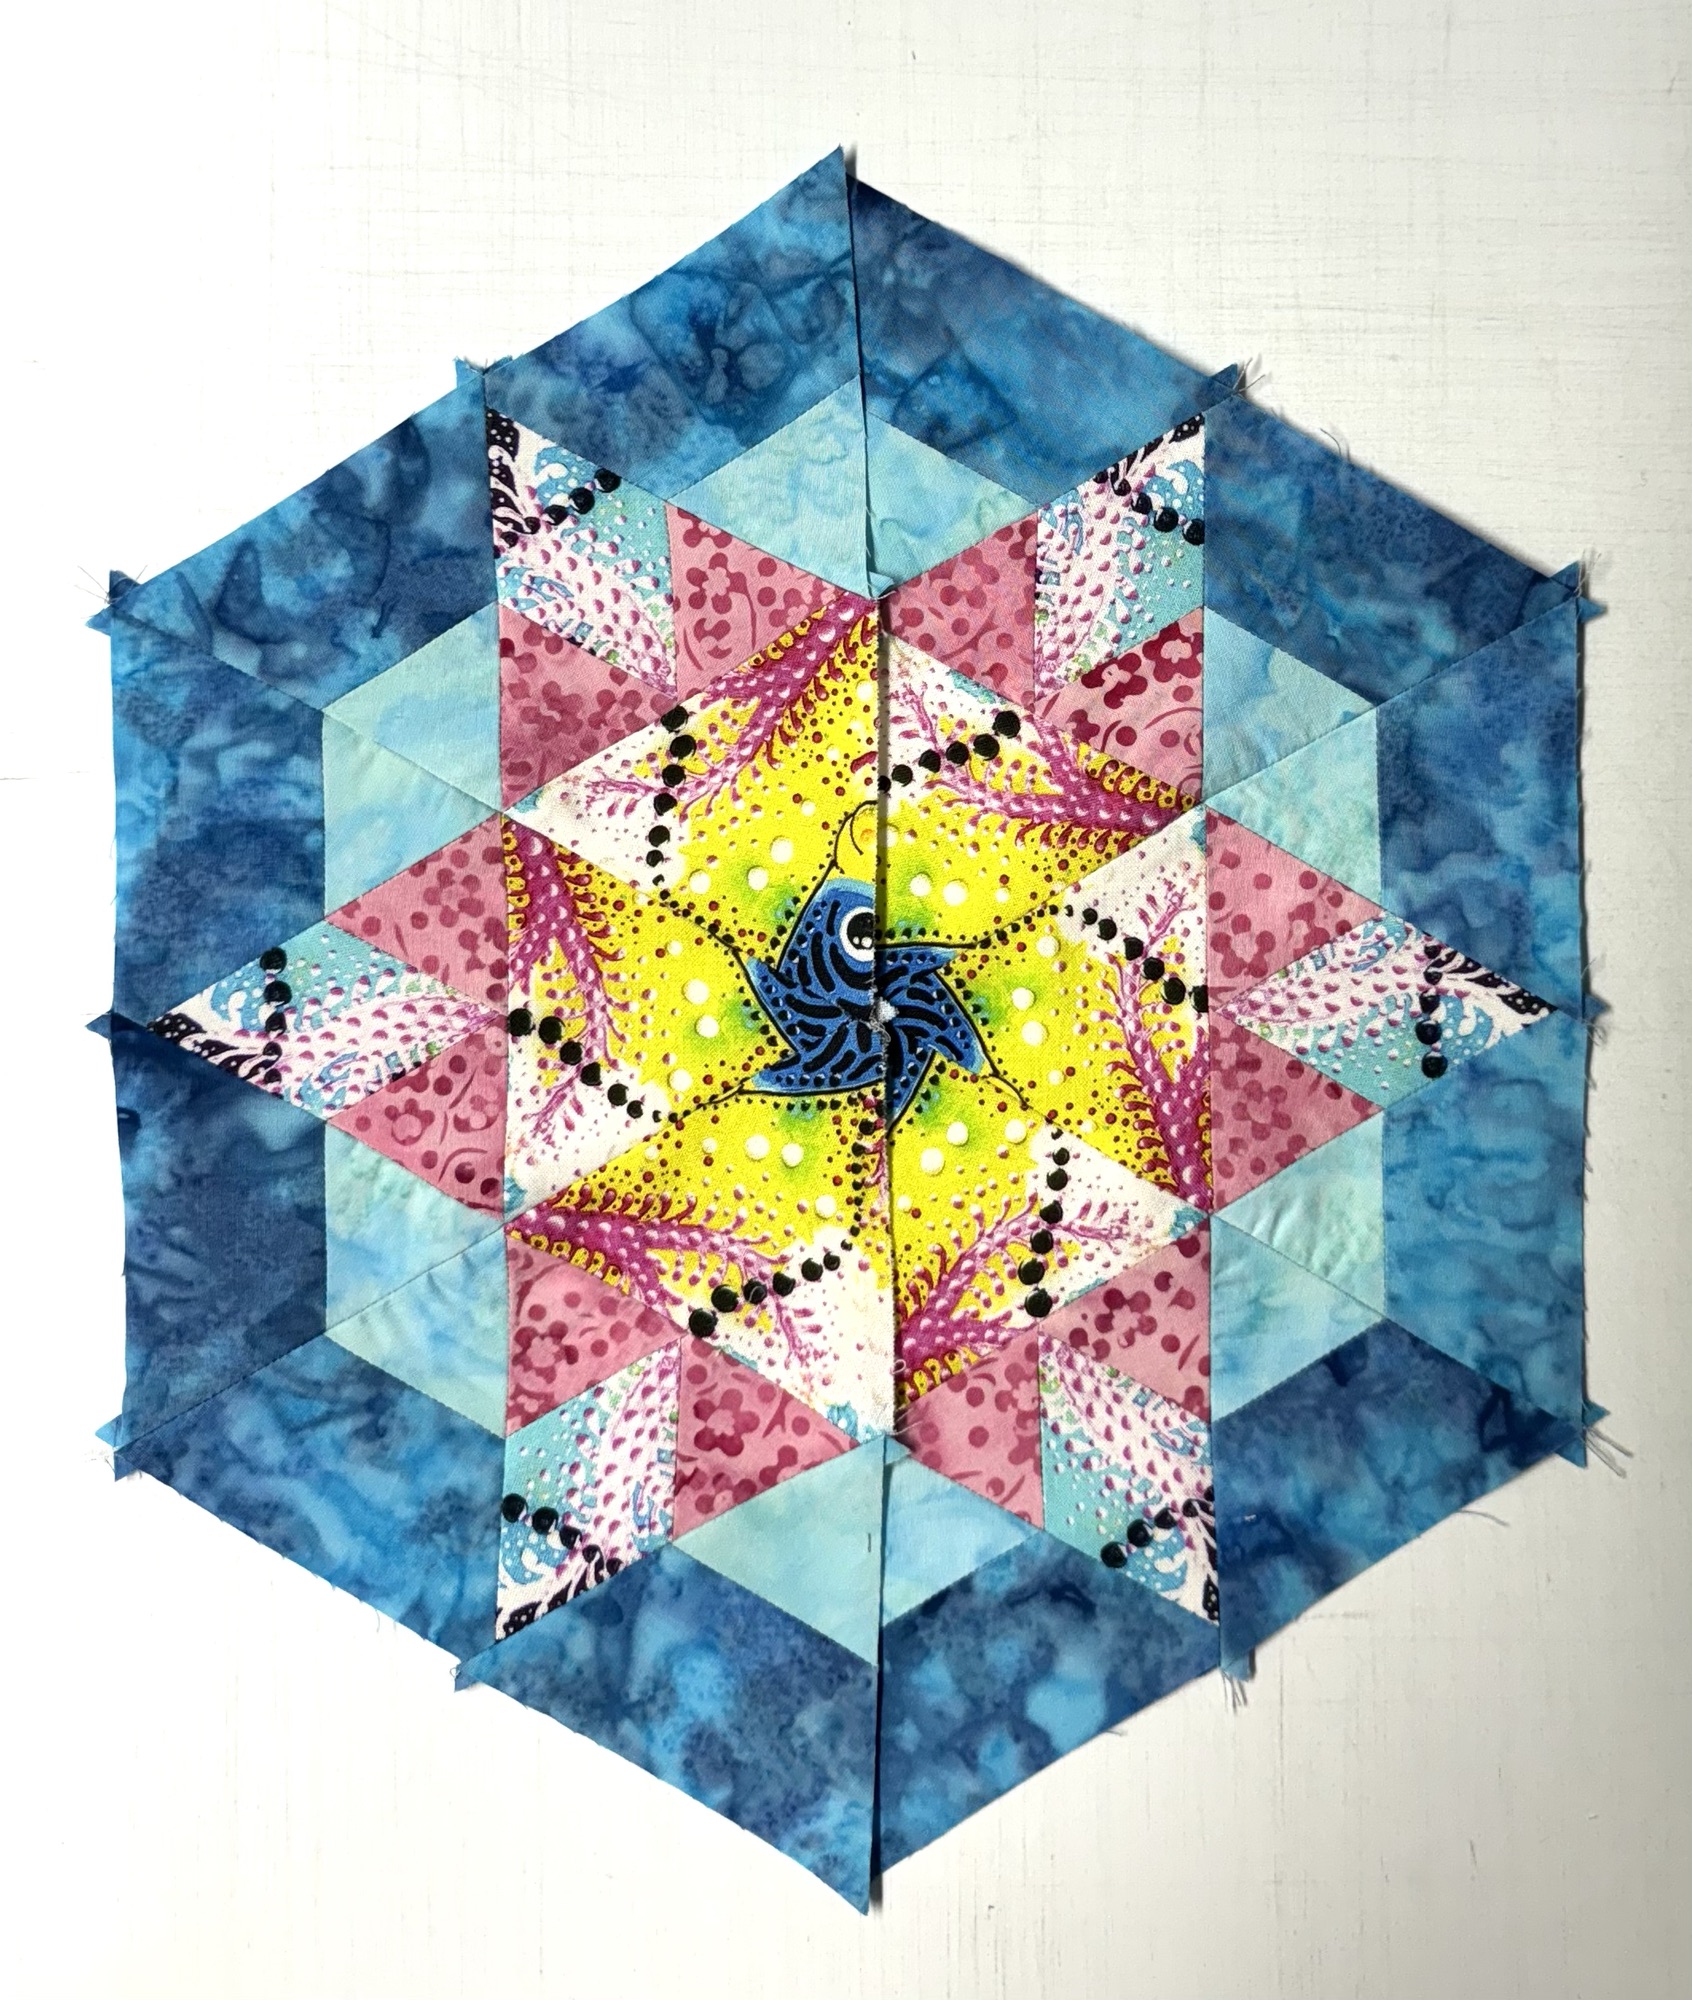
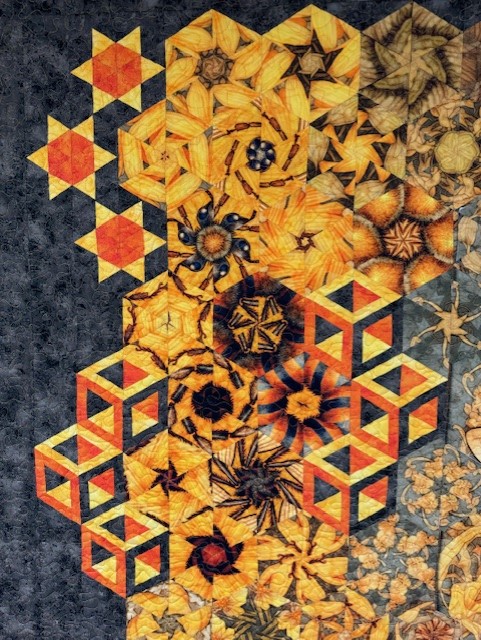
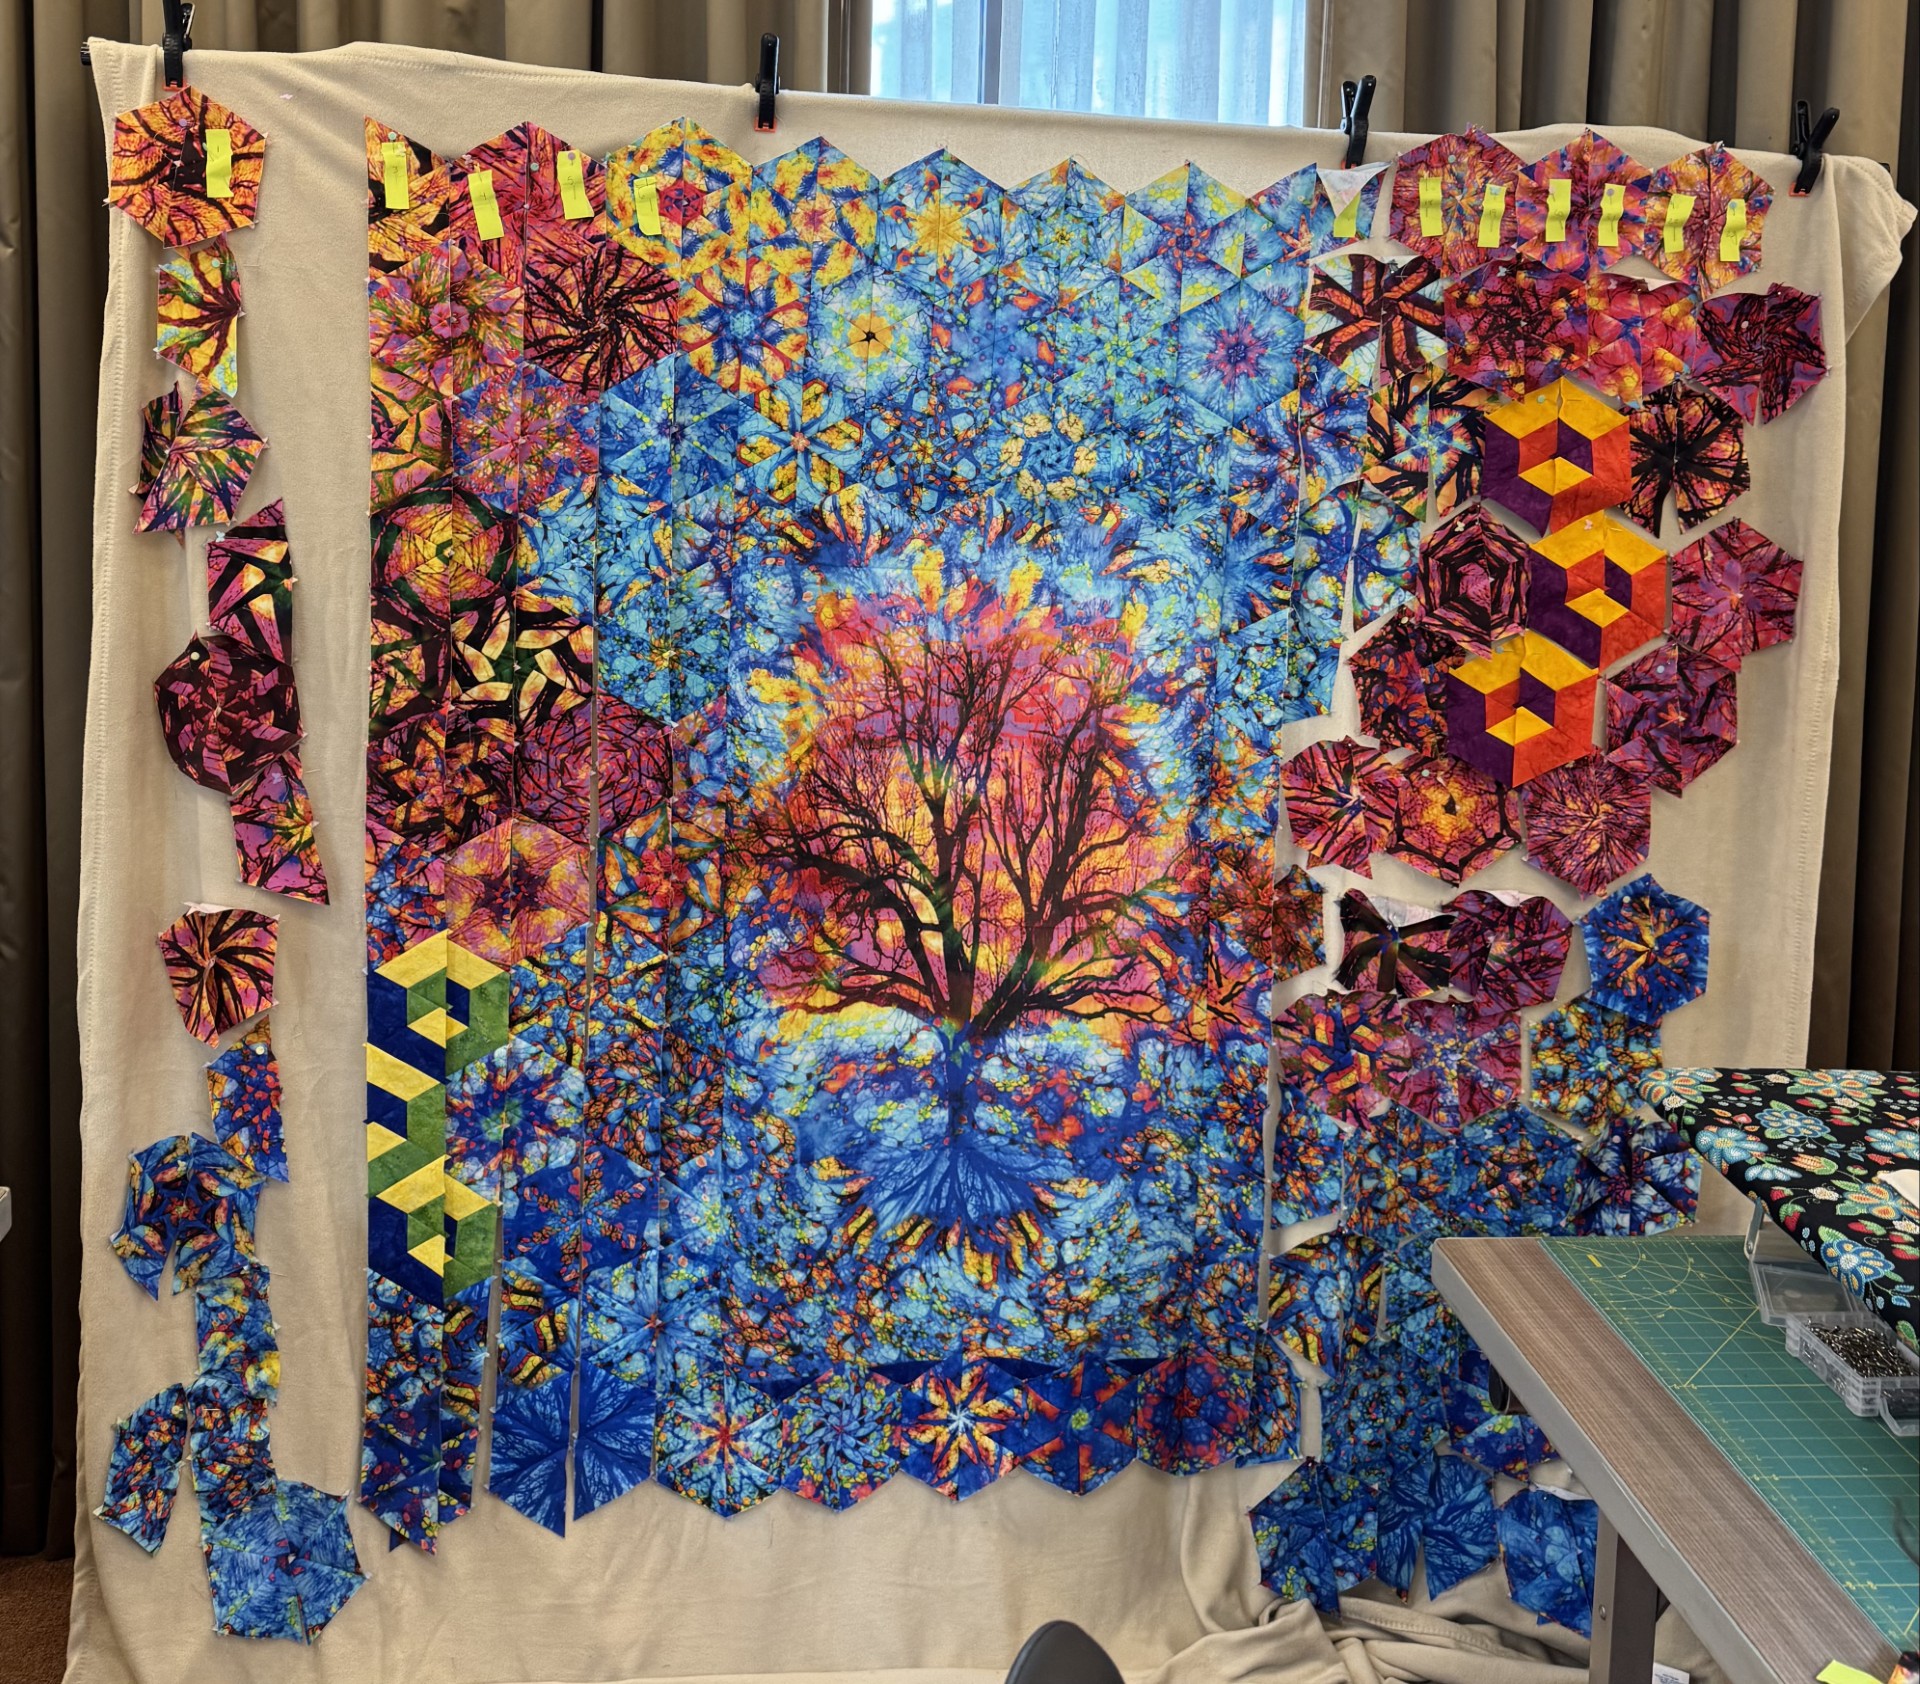
Dianne worked so hard to design and adjust this Van Go like panel, fabulous job! Carol was exploring and learning to make Hollow Cube 60 units. Her fabric created beautiful whimsical hexies!
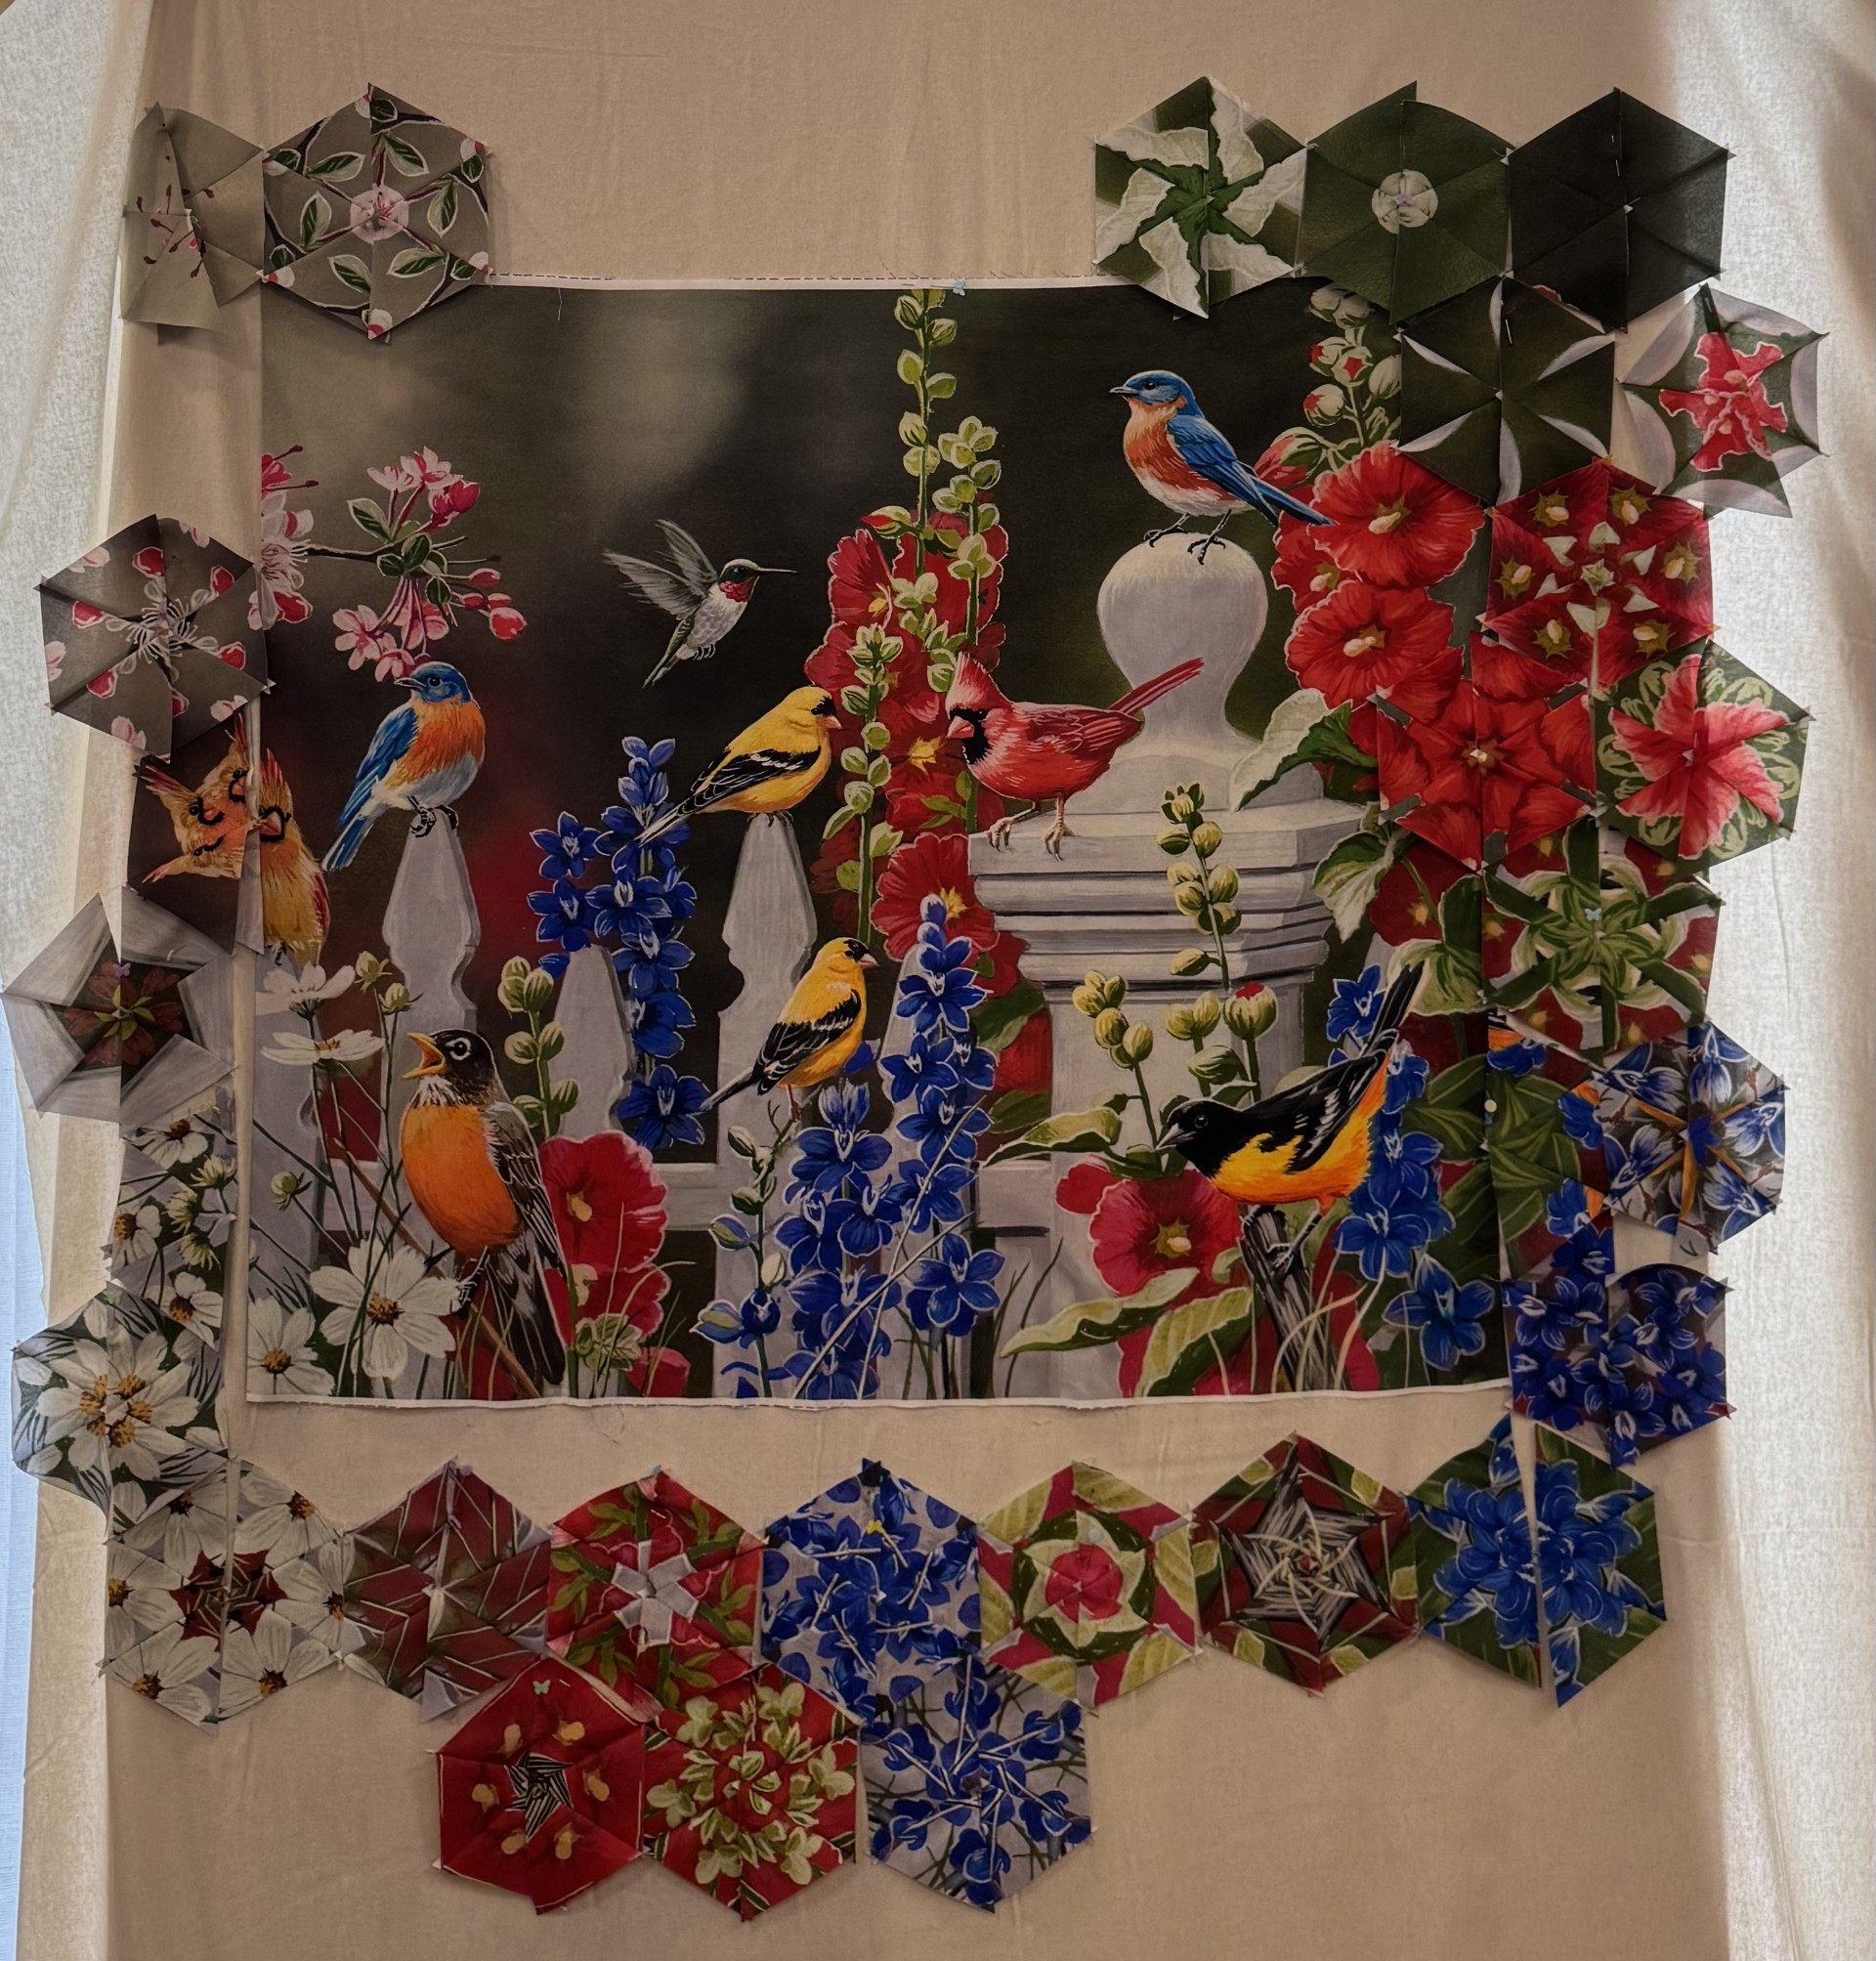
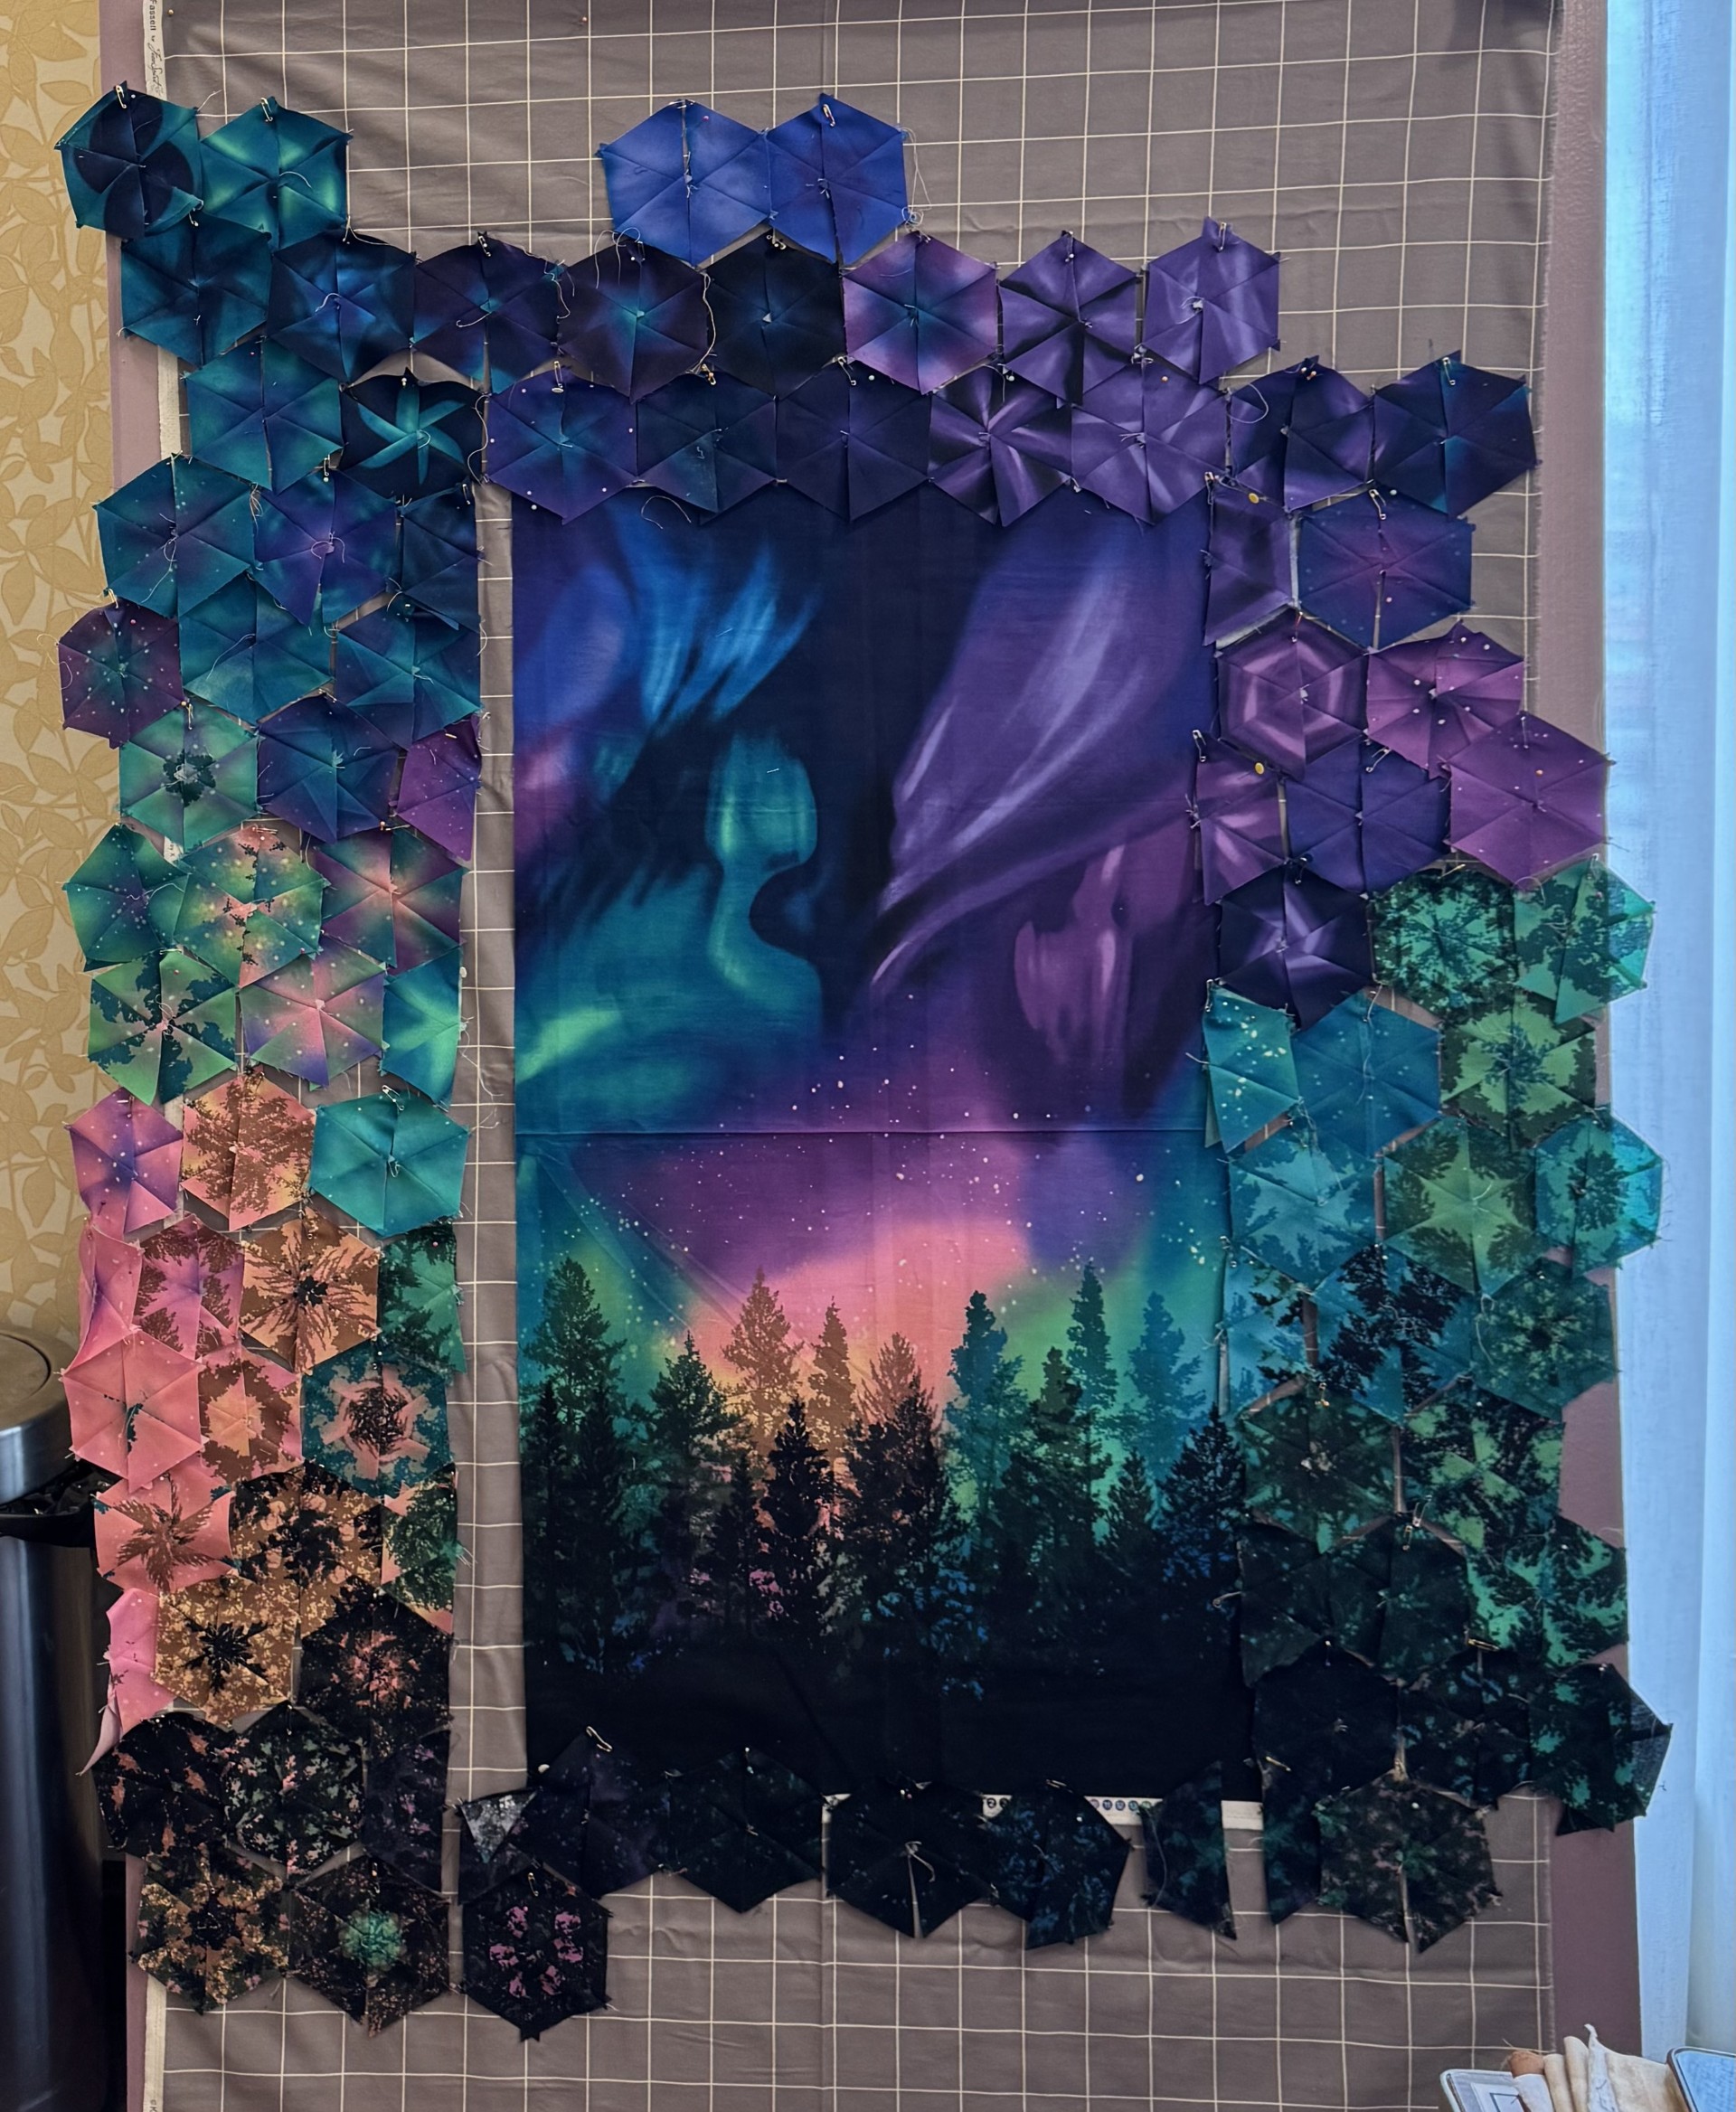
Christine’s bird panel is going to sing! Kristi’s Aurora Borealis panel is just stunning!
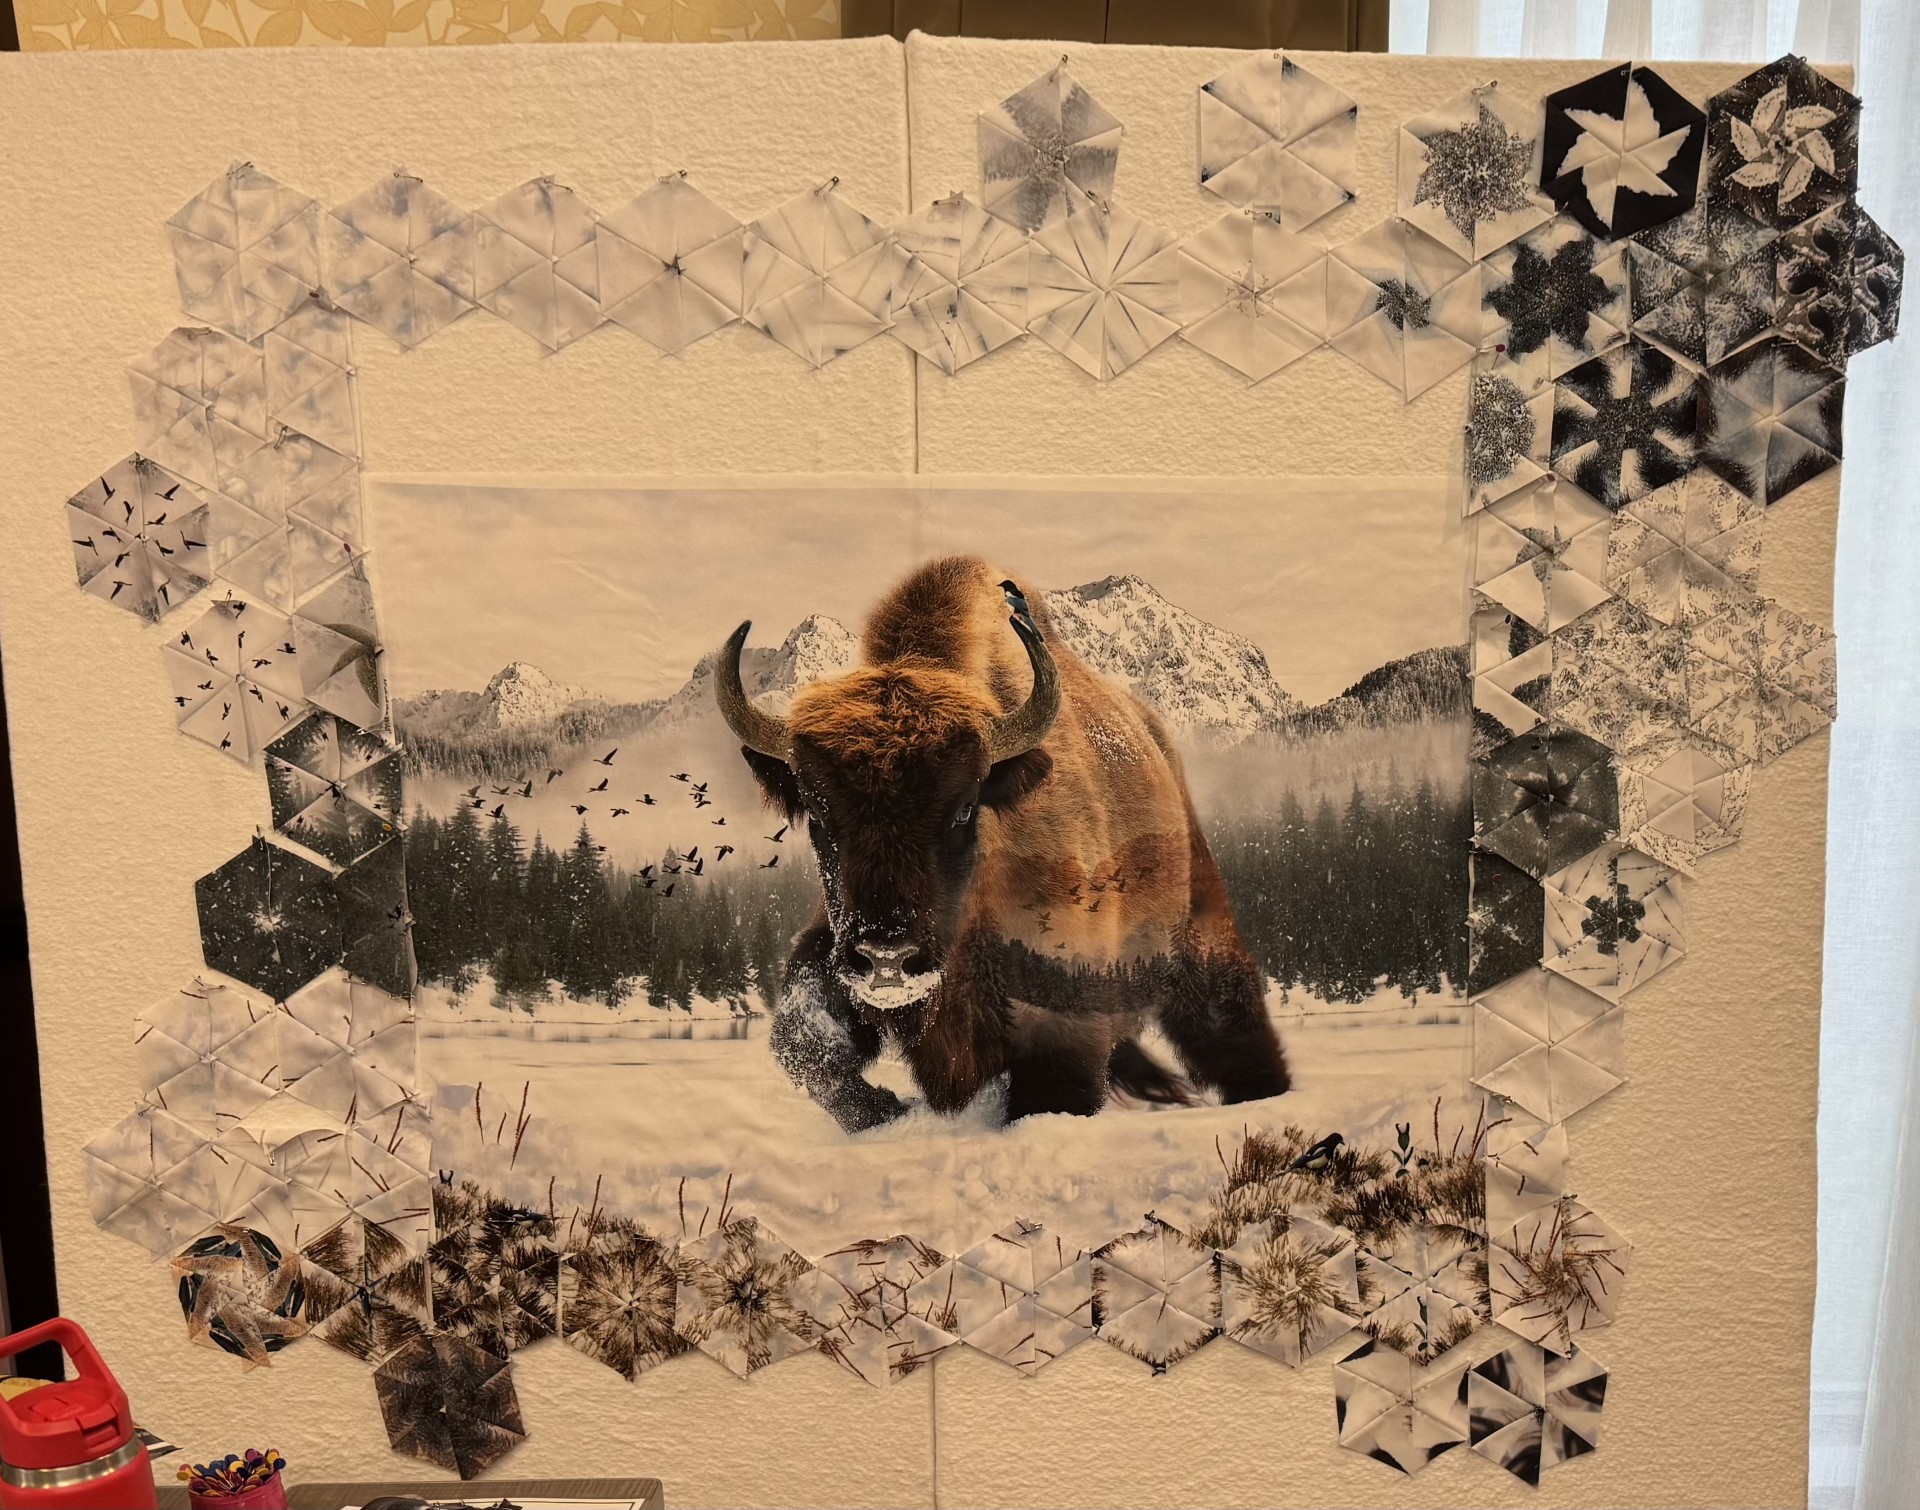
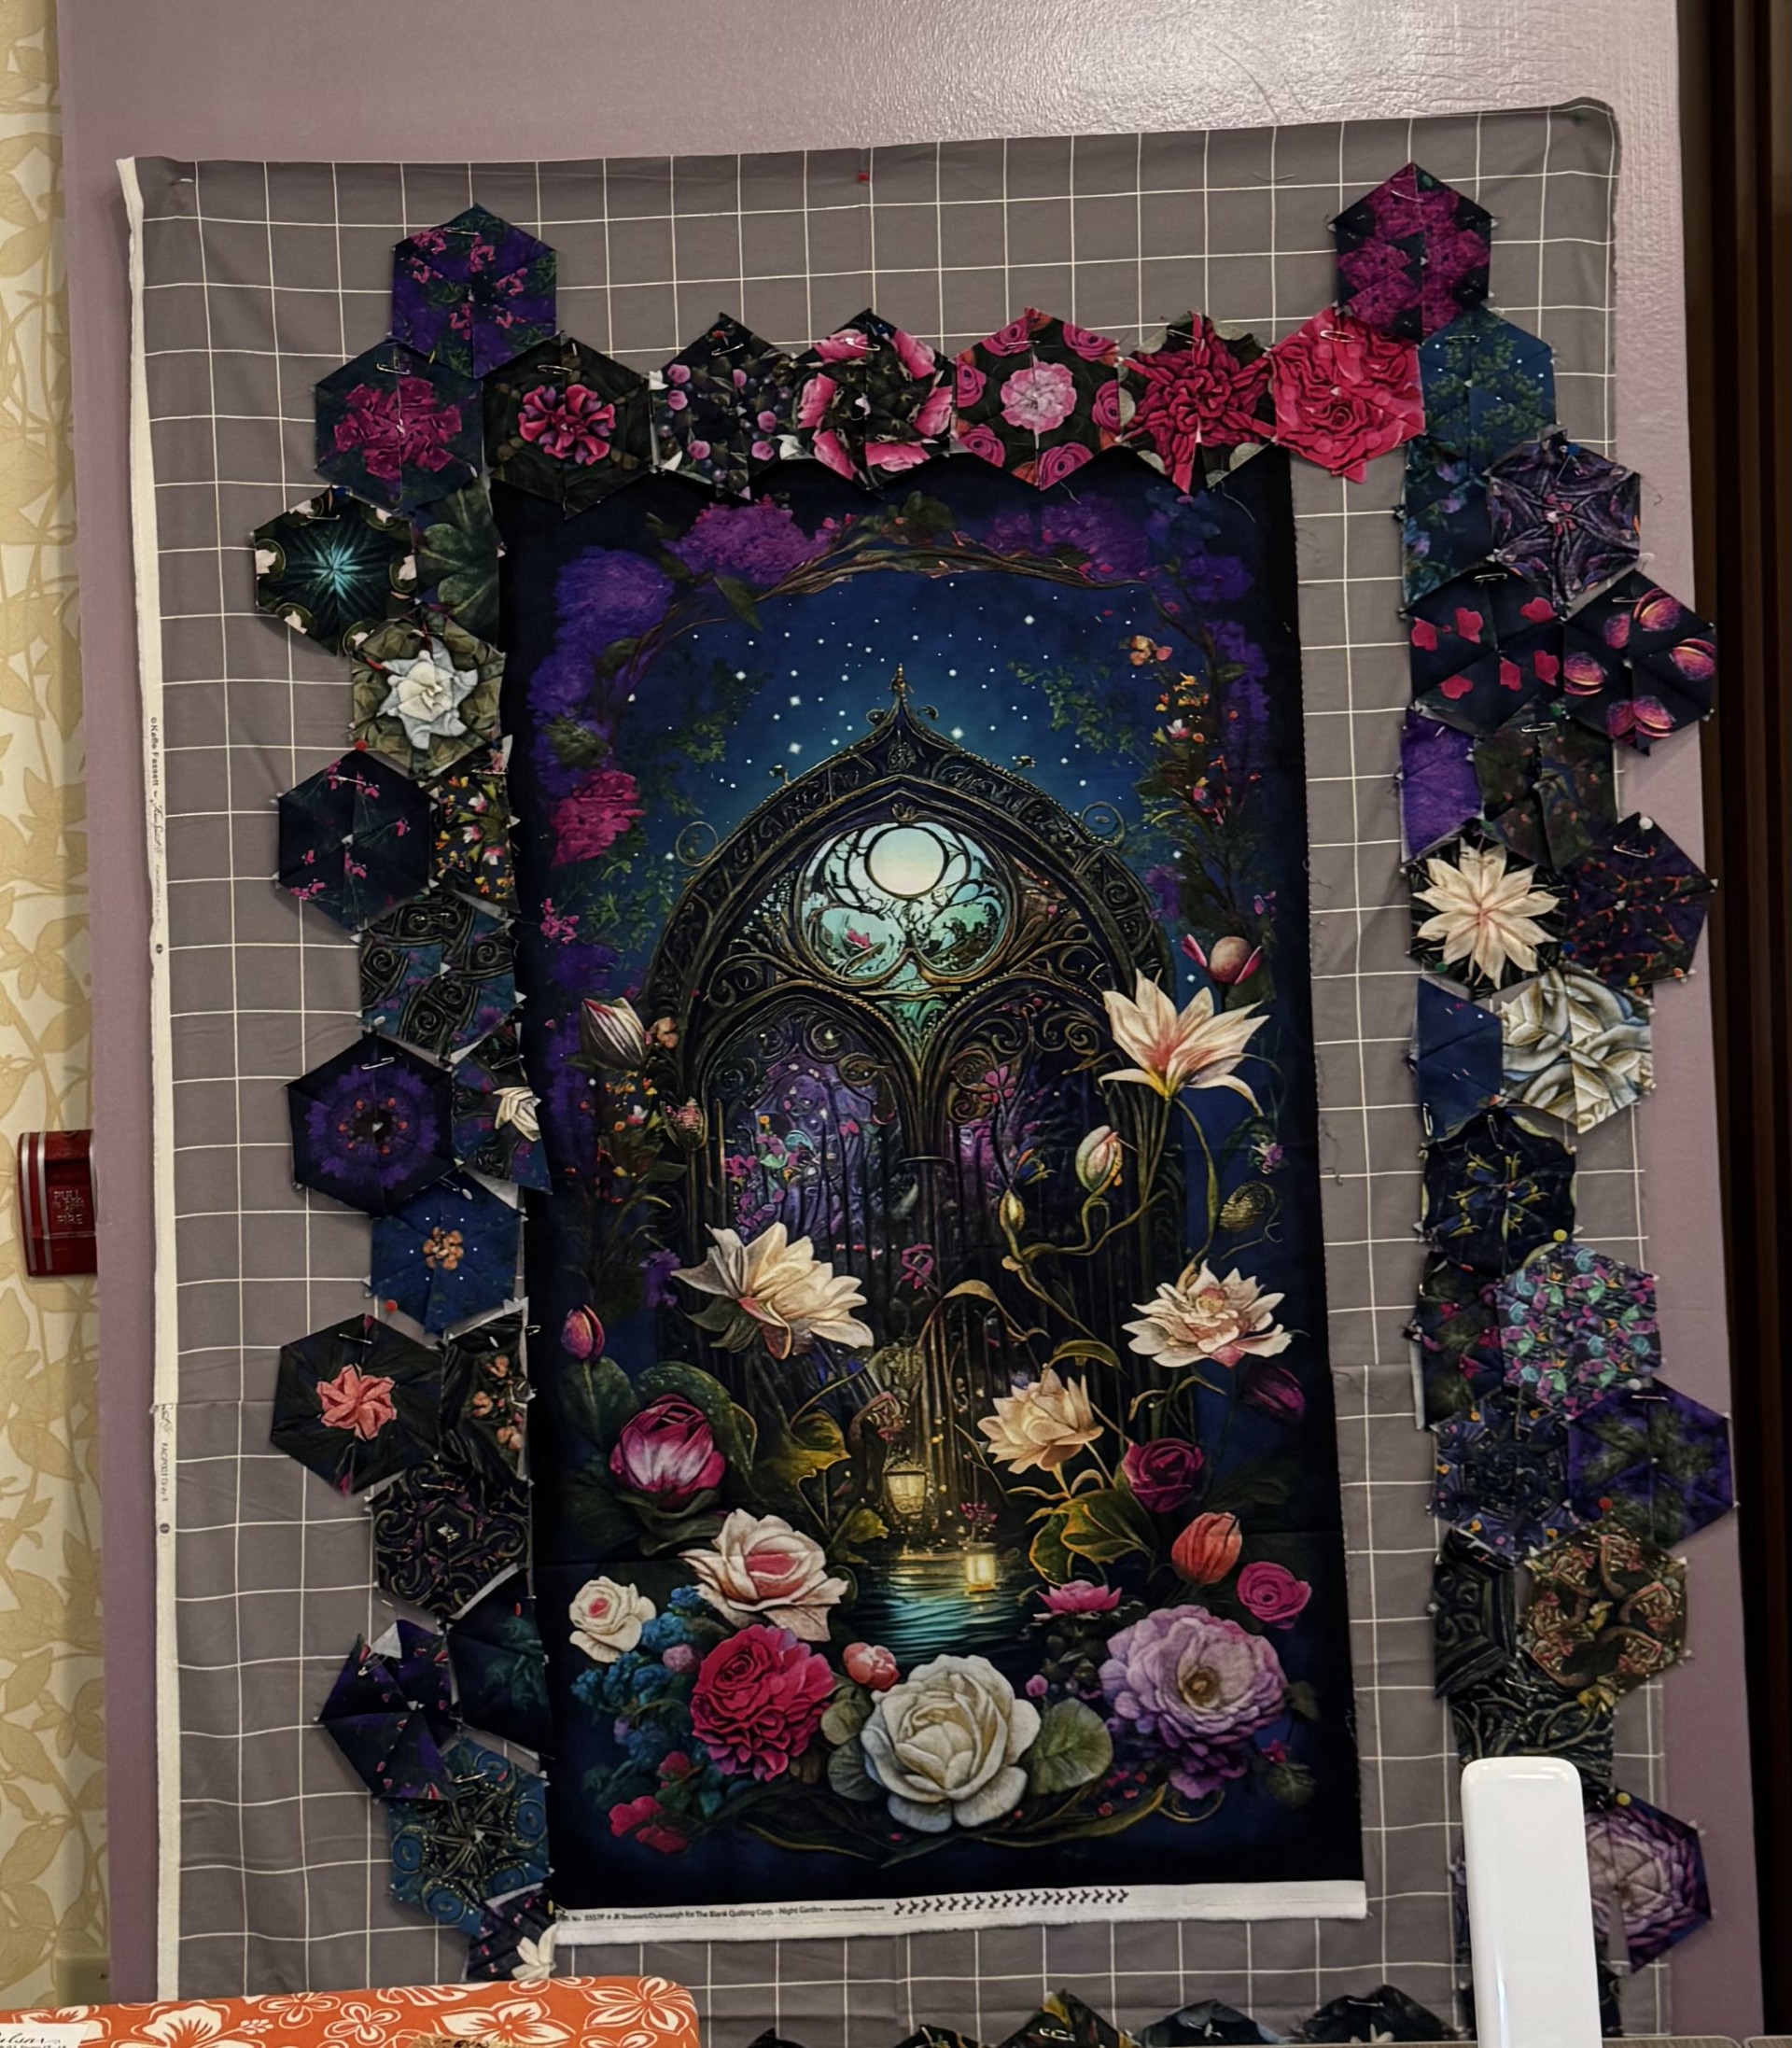
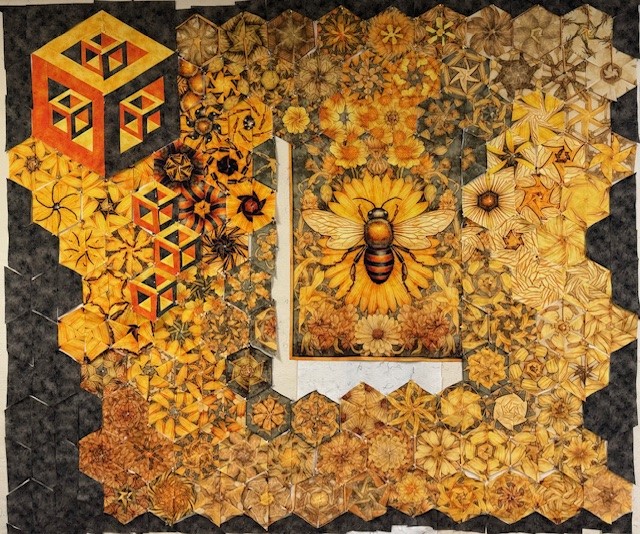
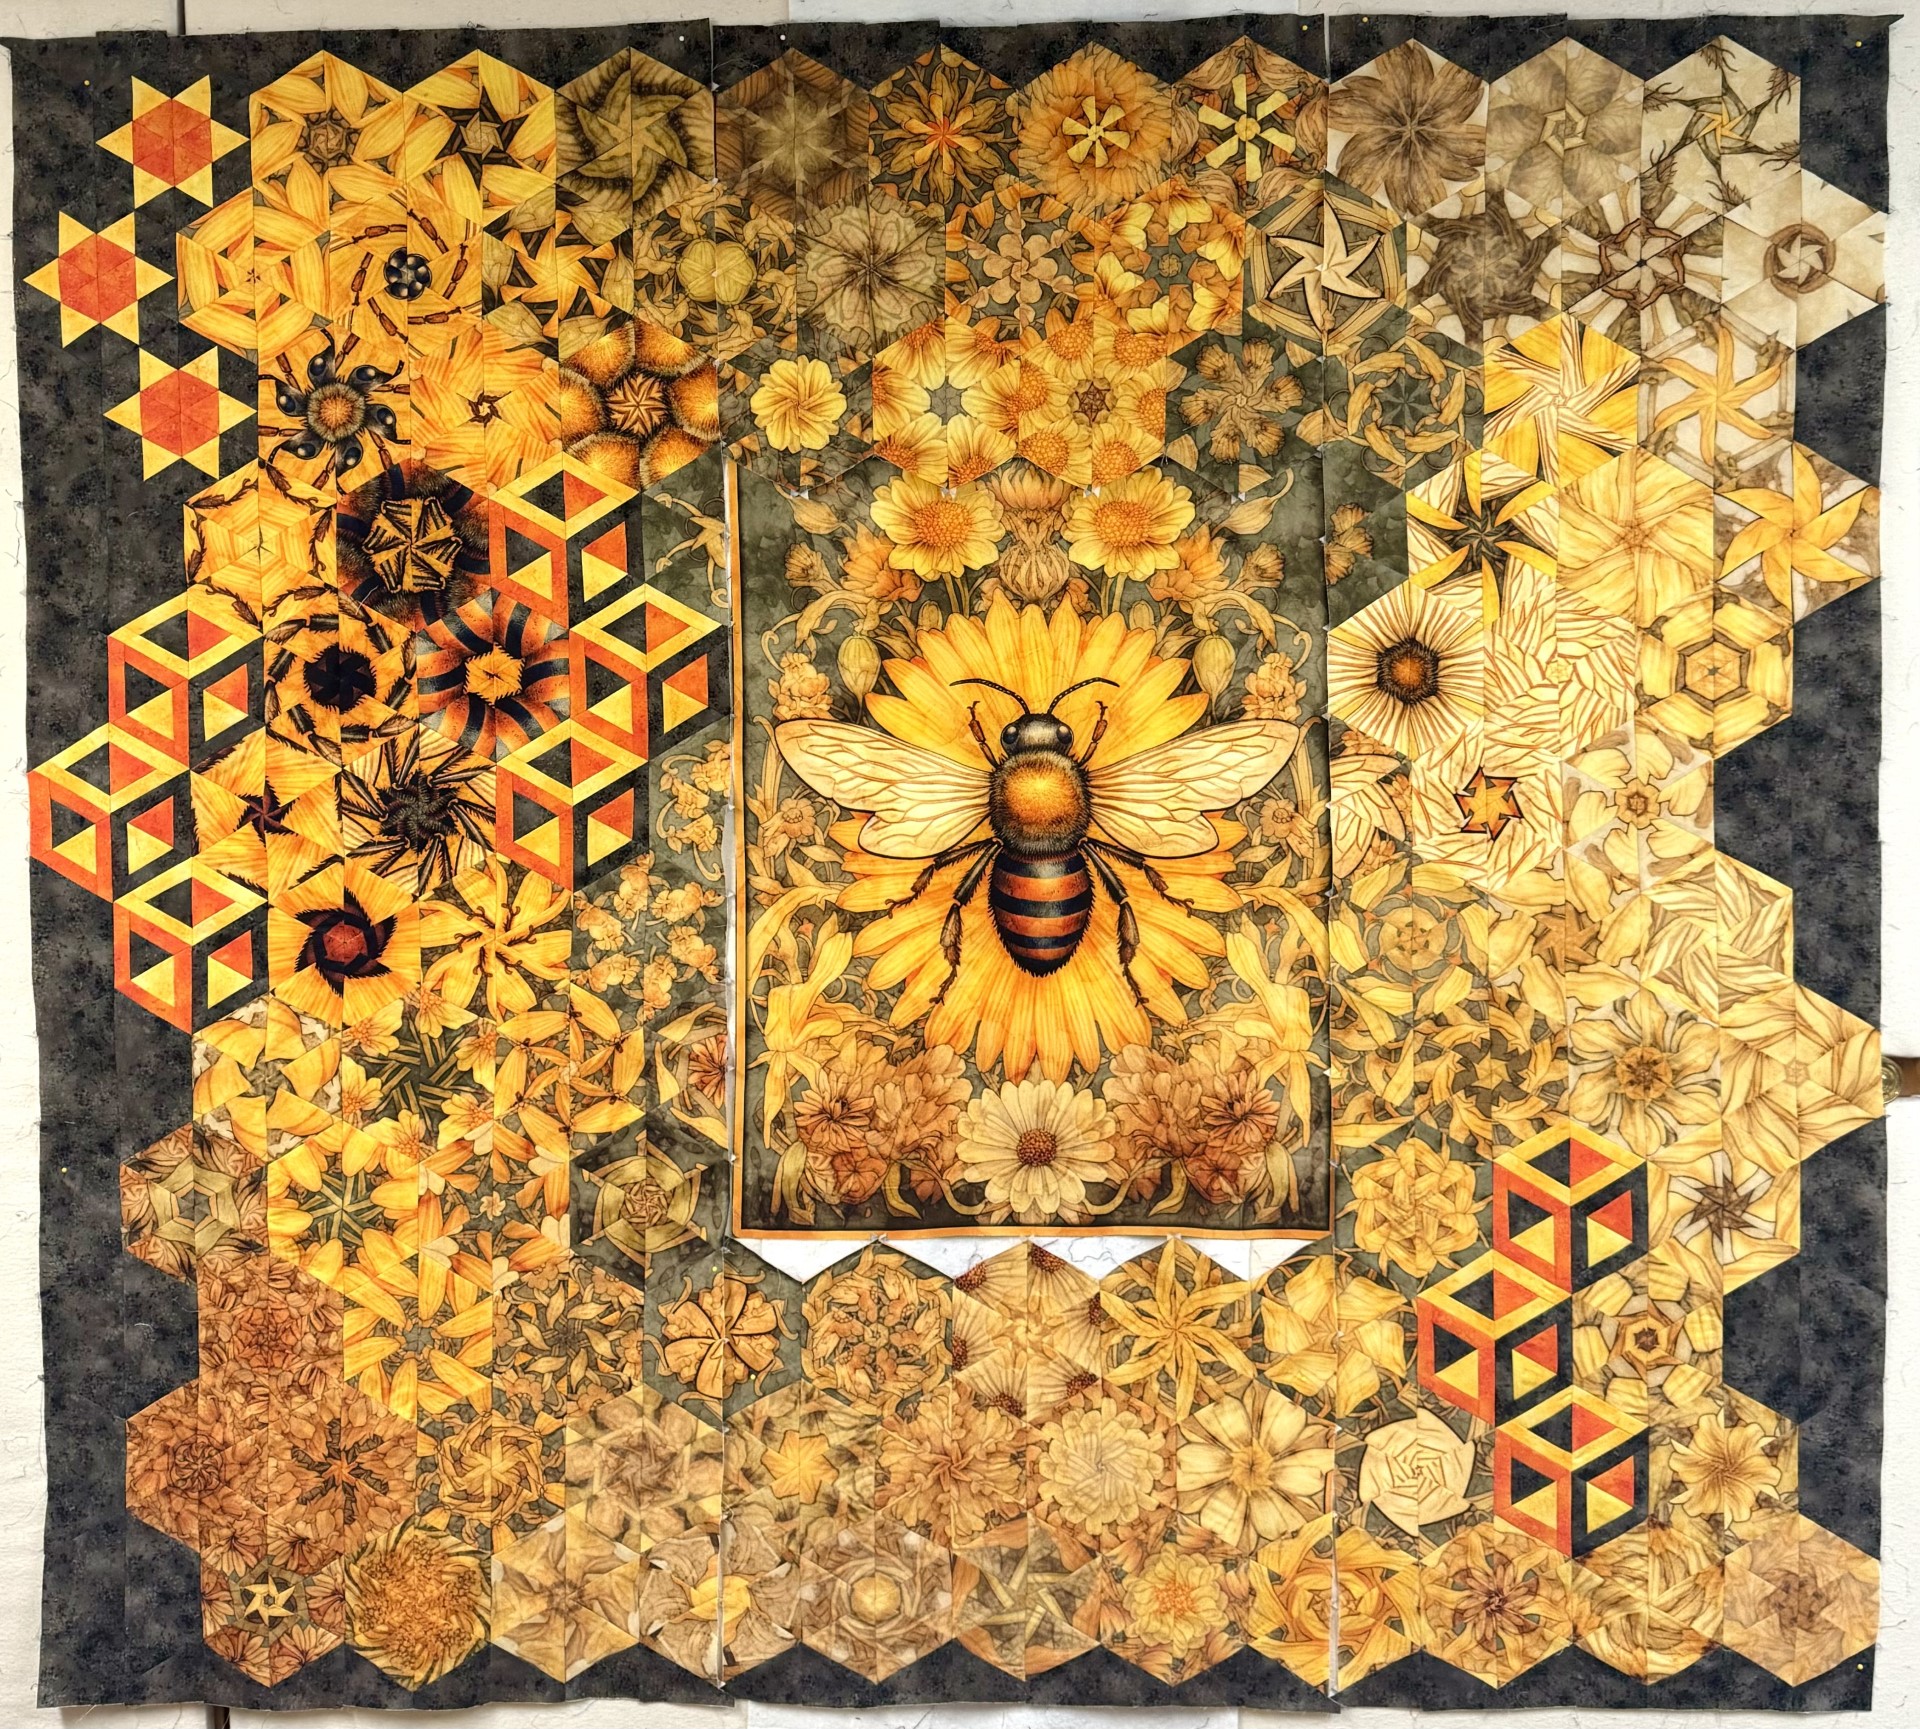
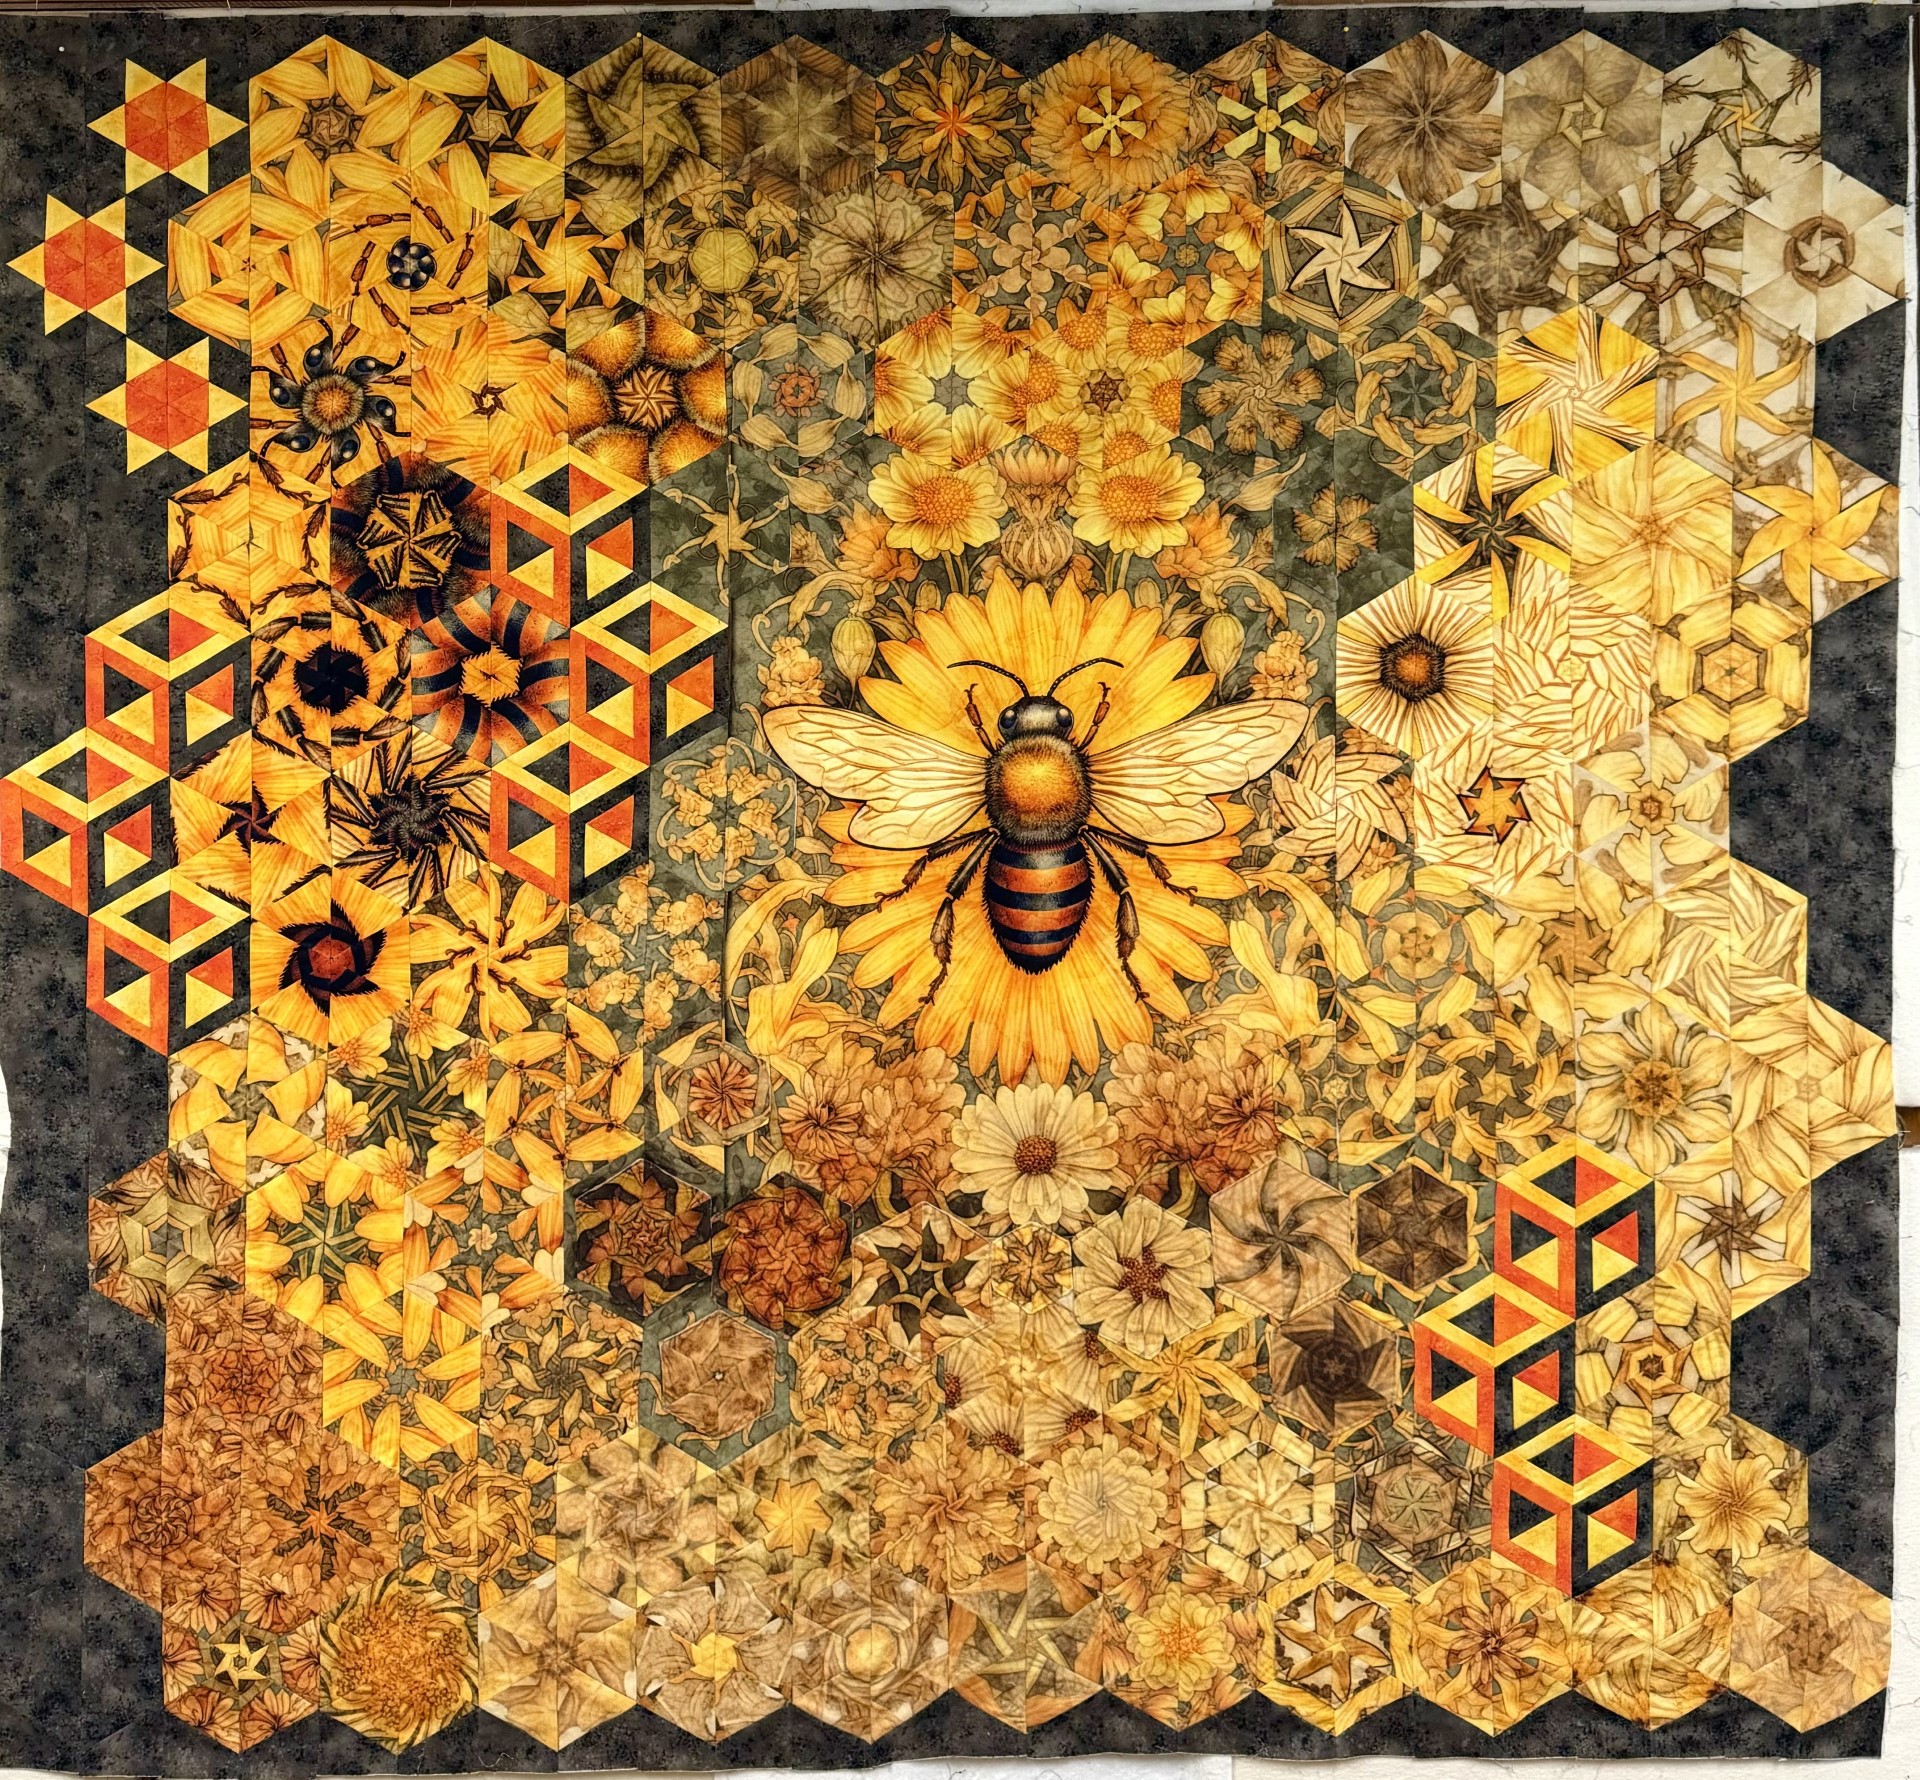
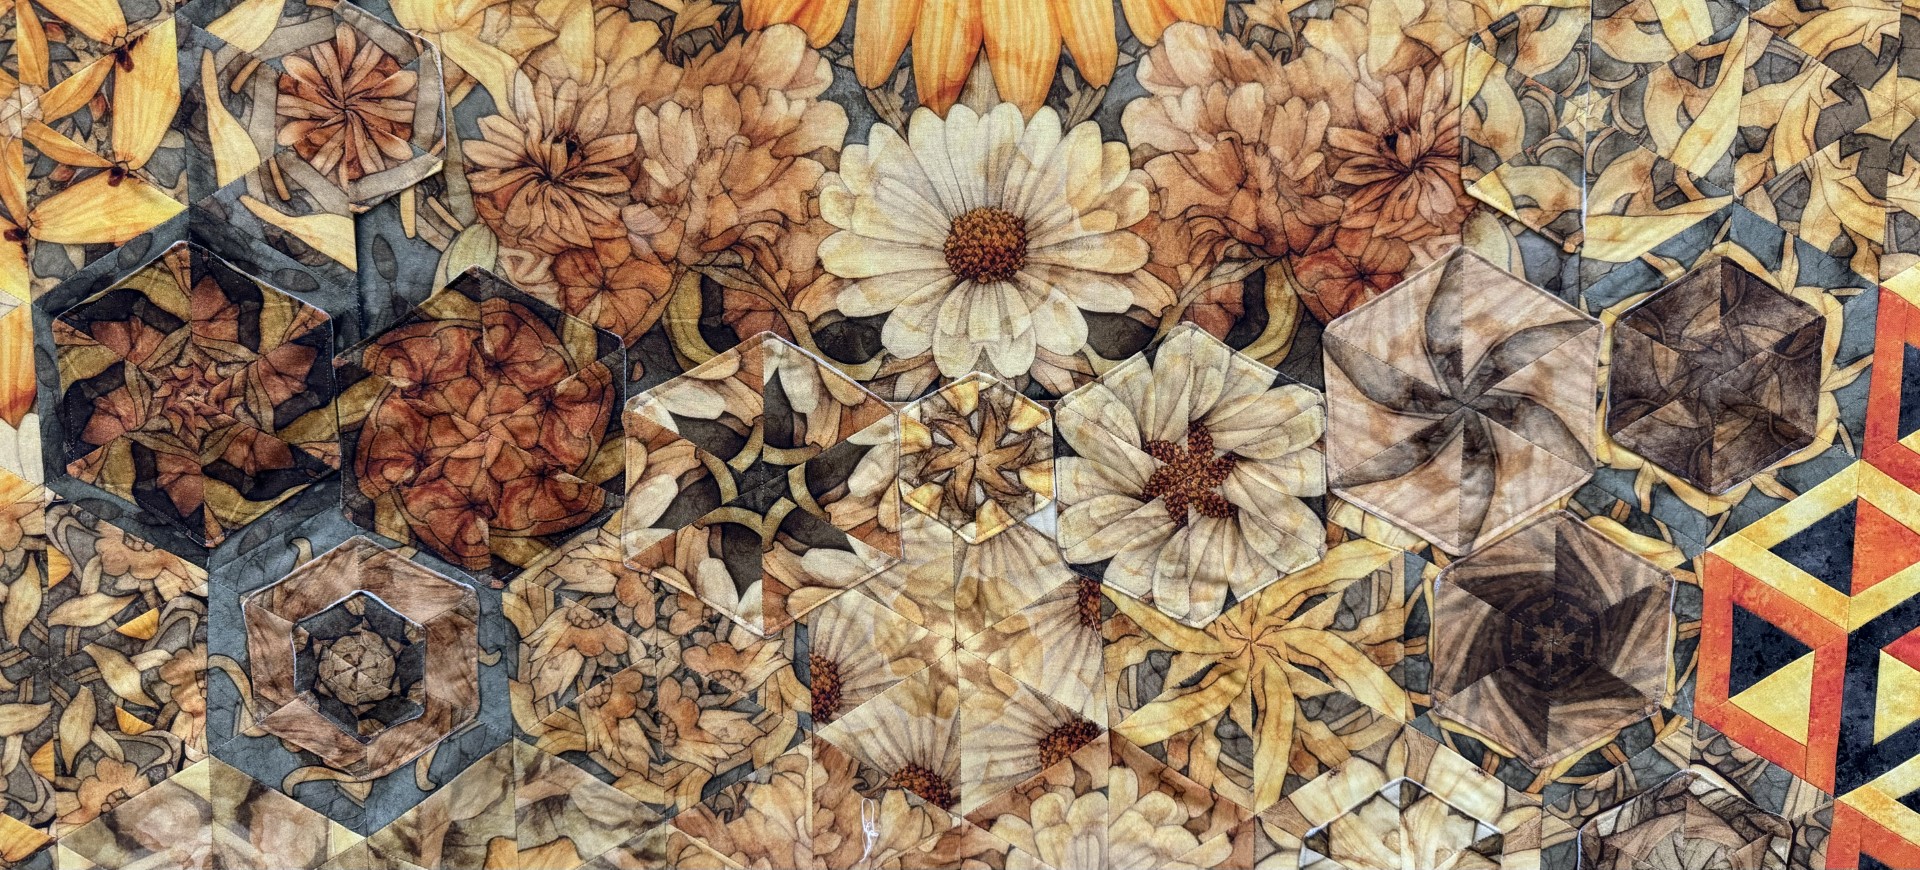
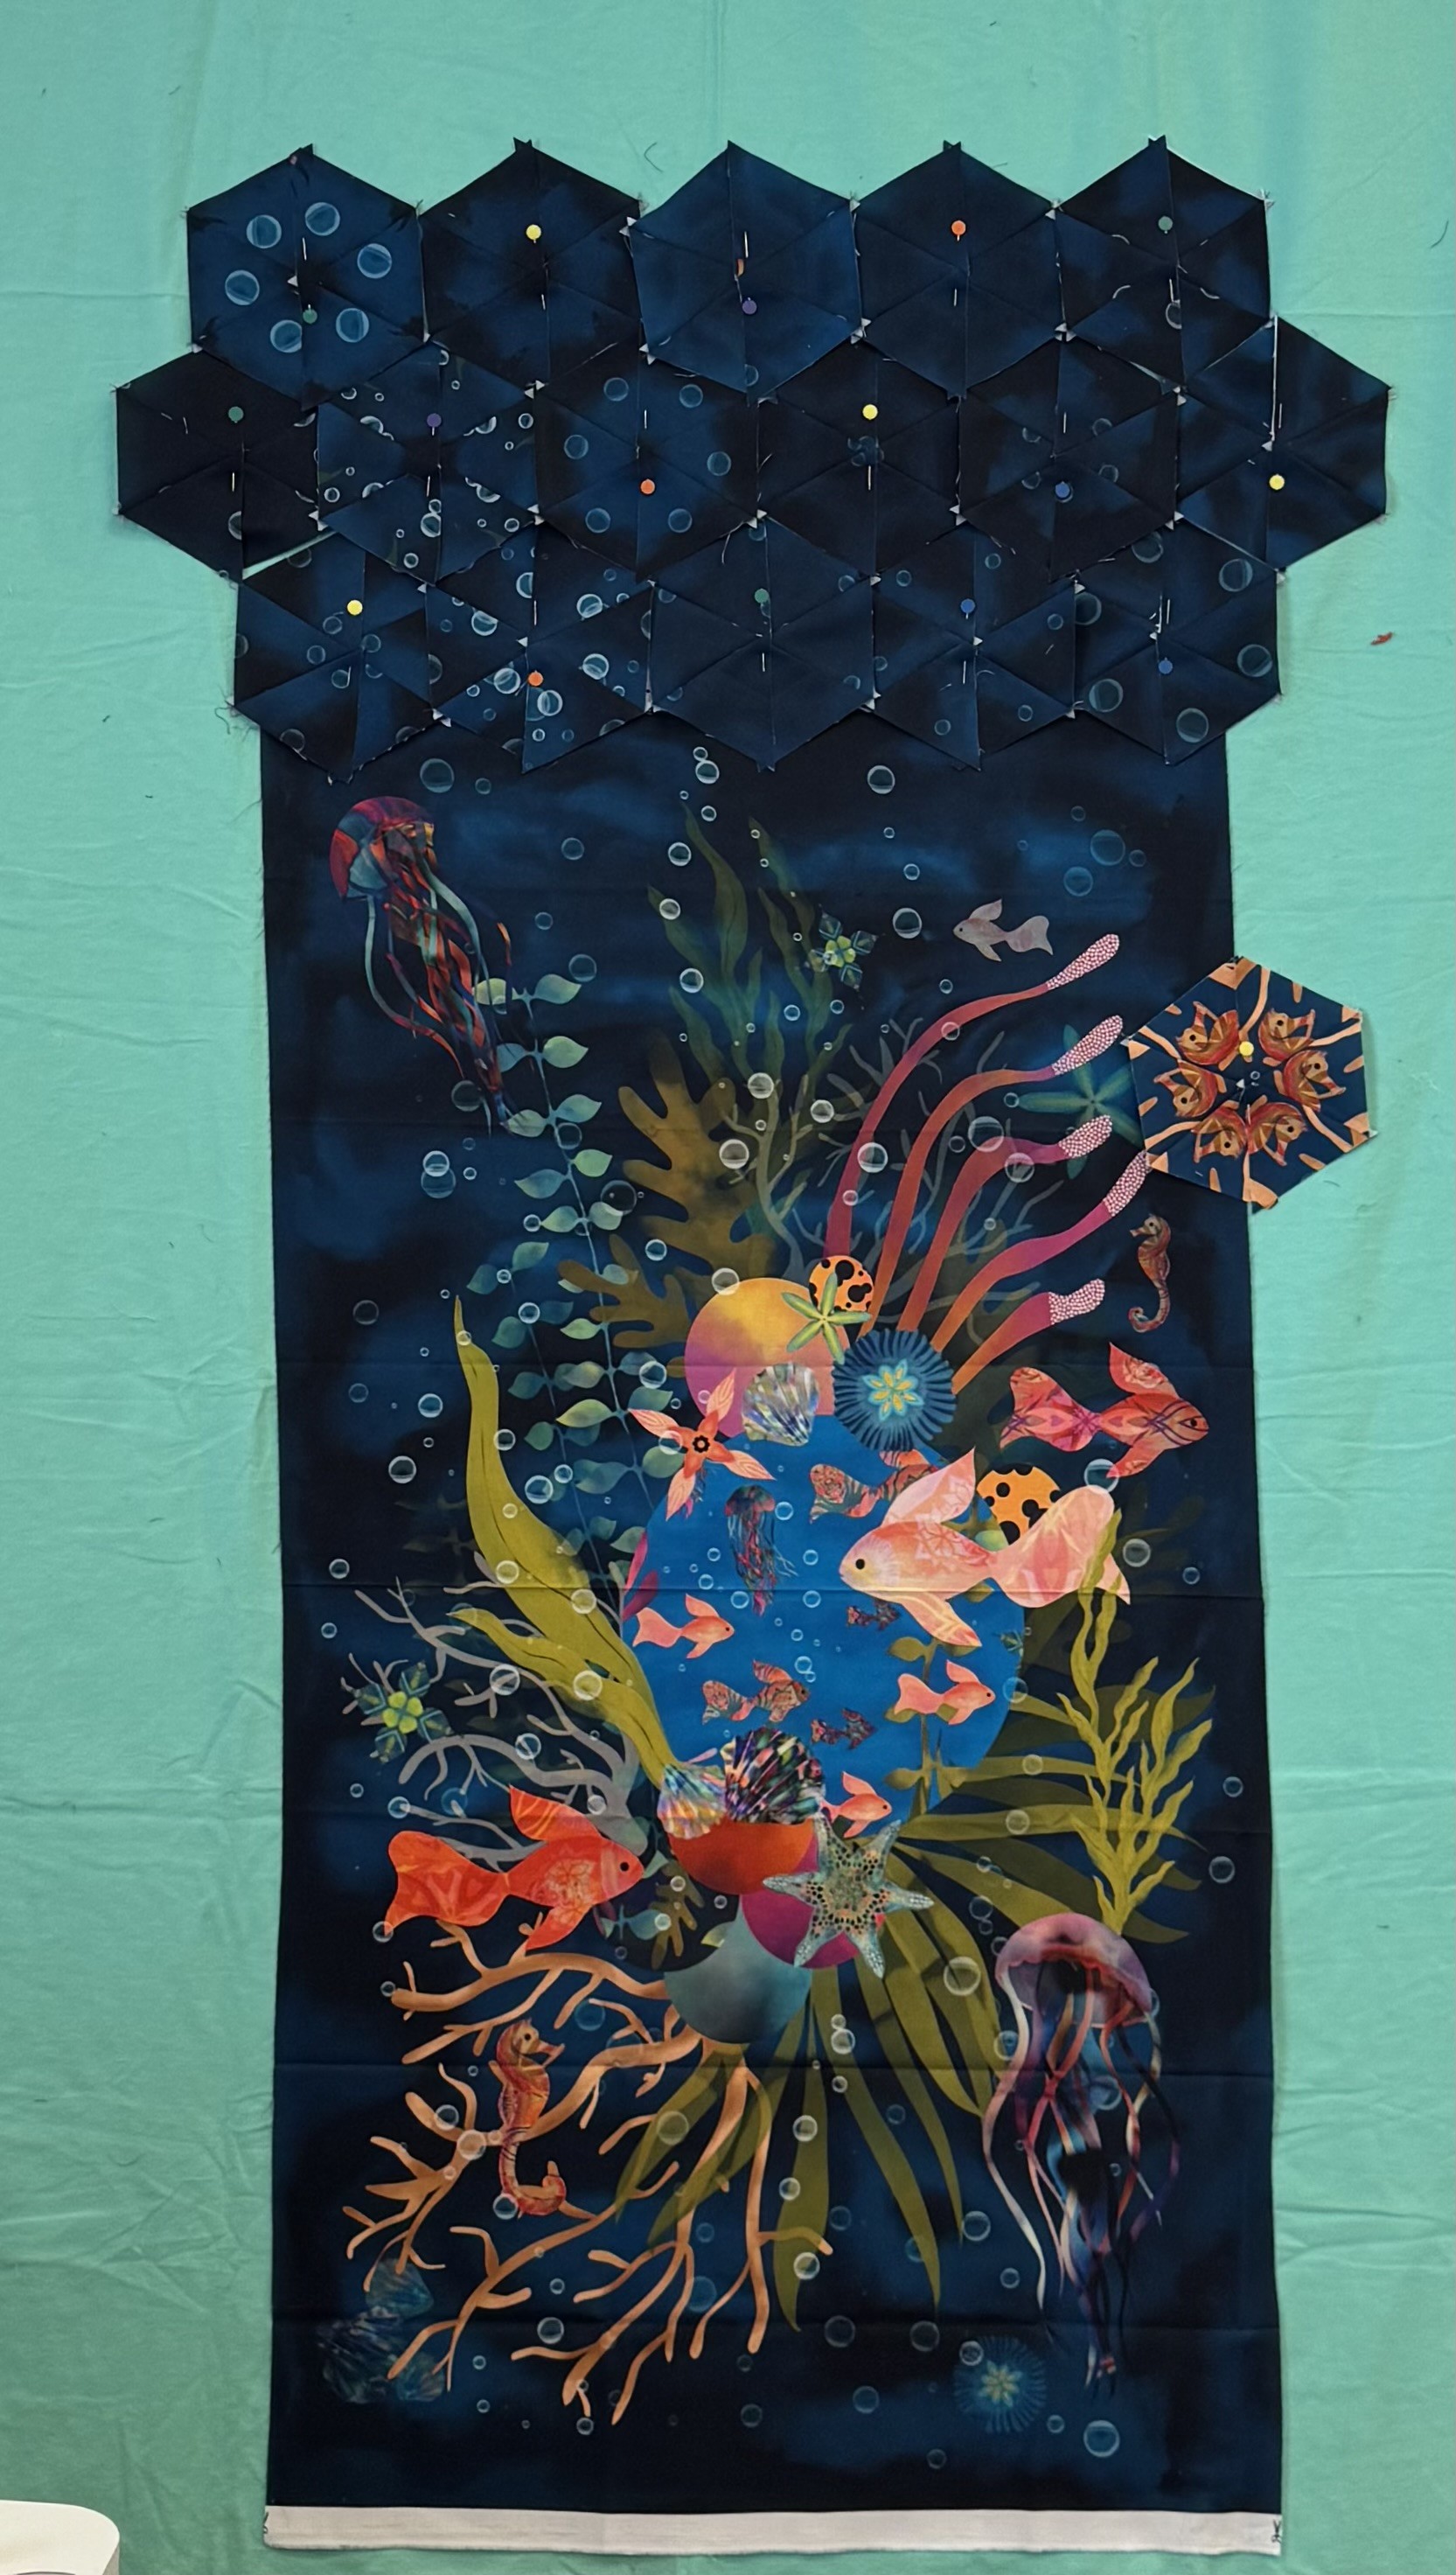
I can’t wait to see Trixie’s Buffalo finished. Caryn’s beautiful midnight flowers is fabulous!

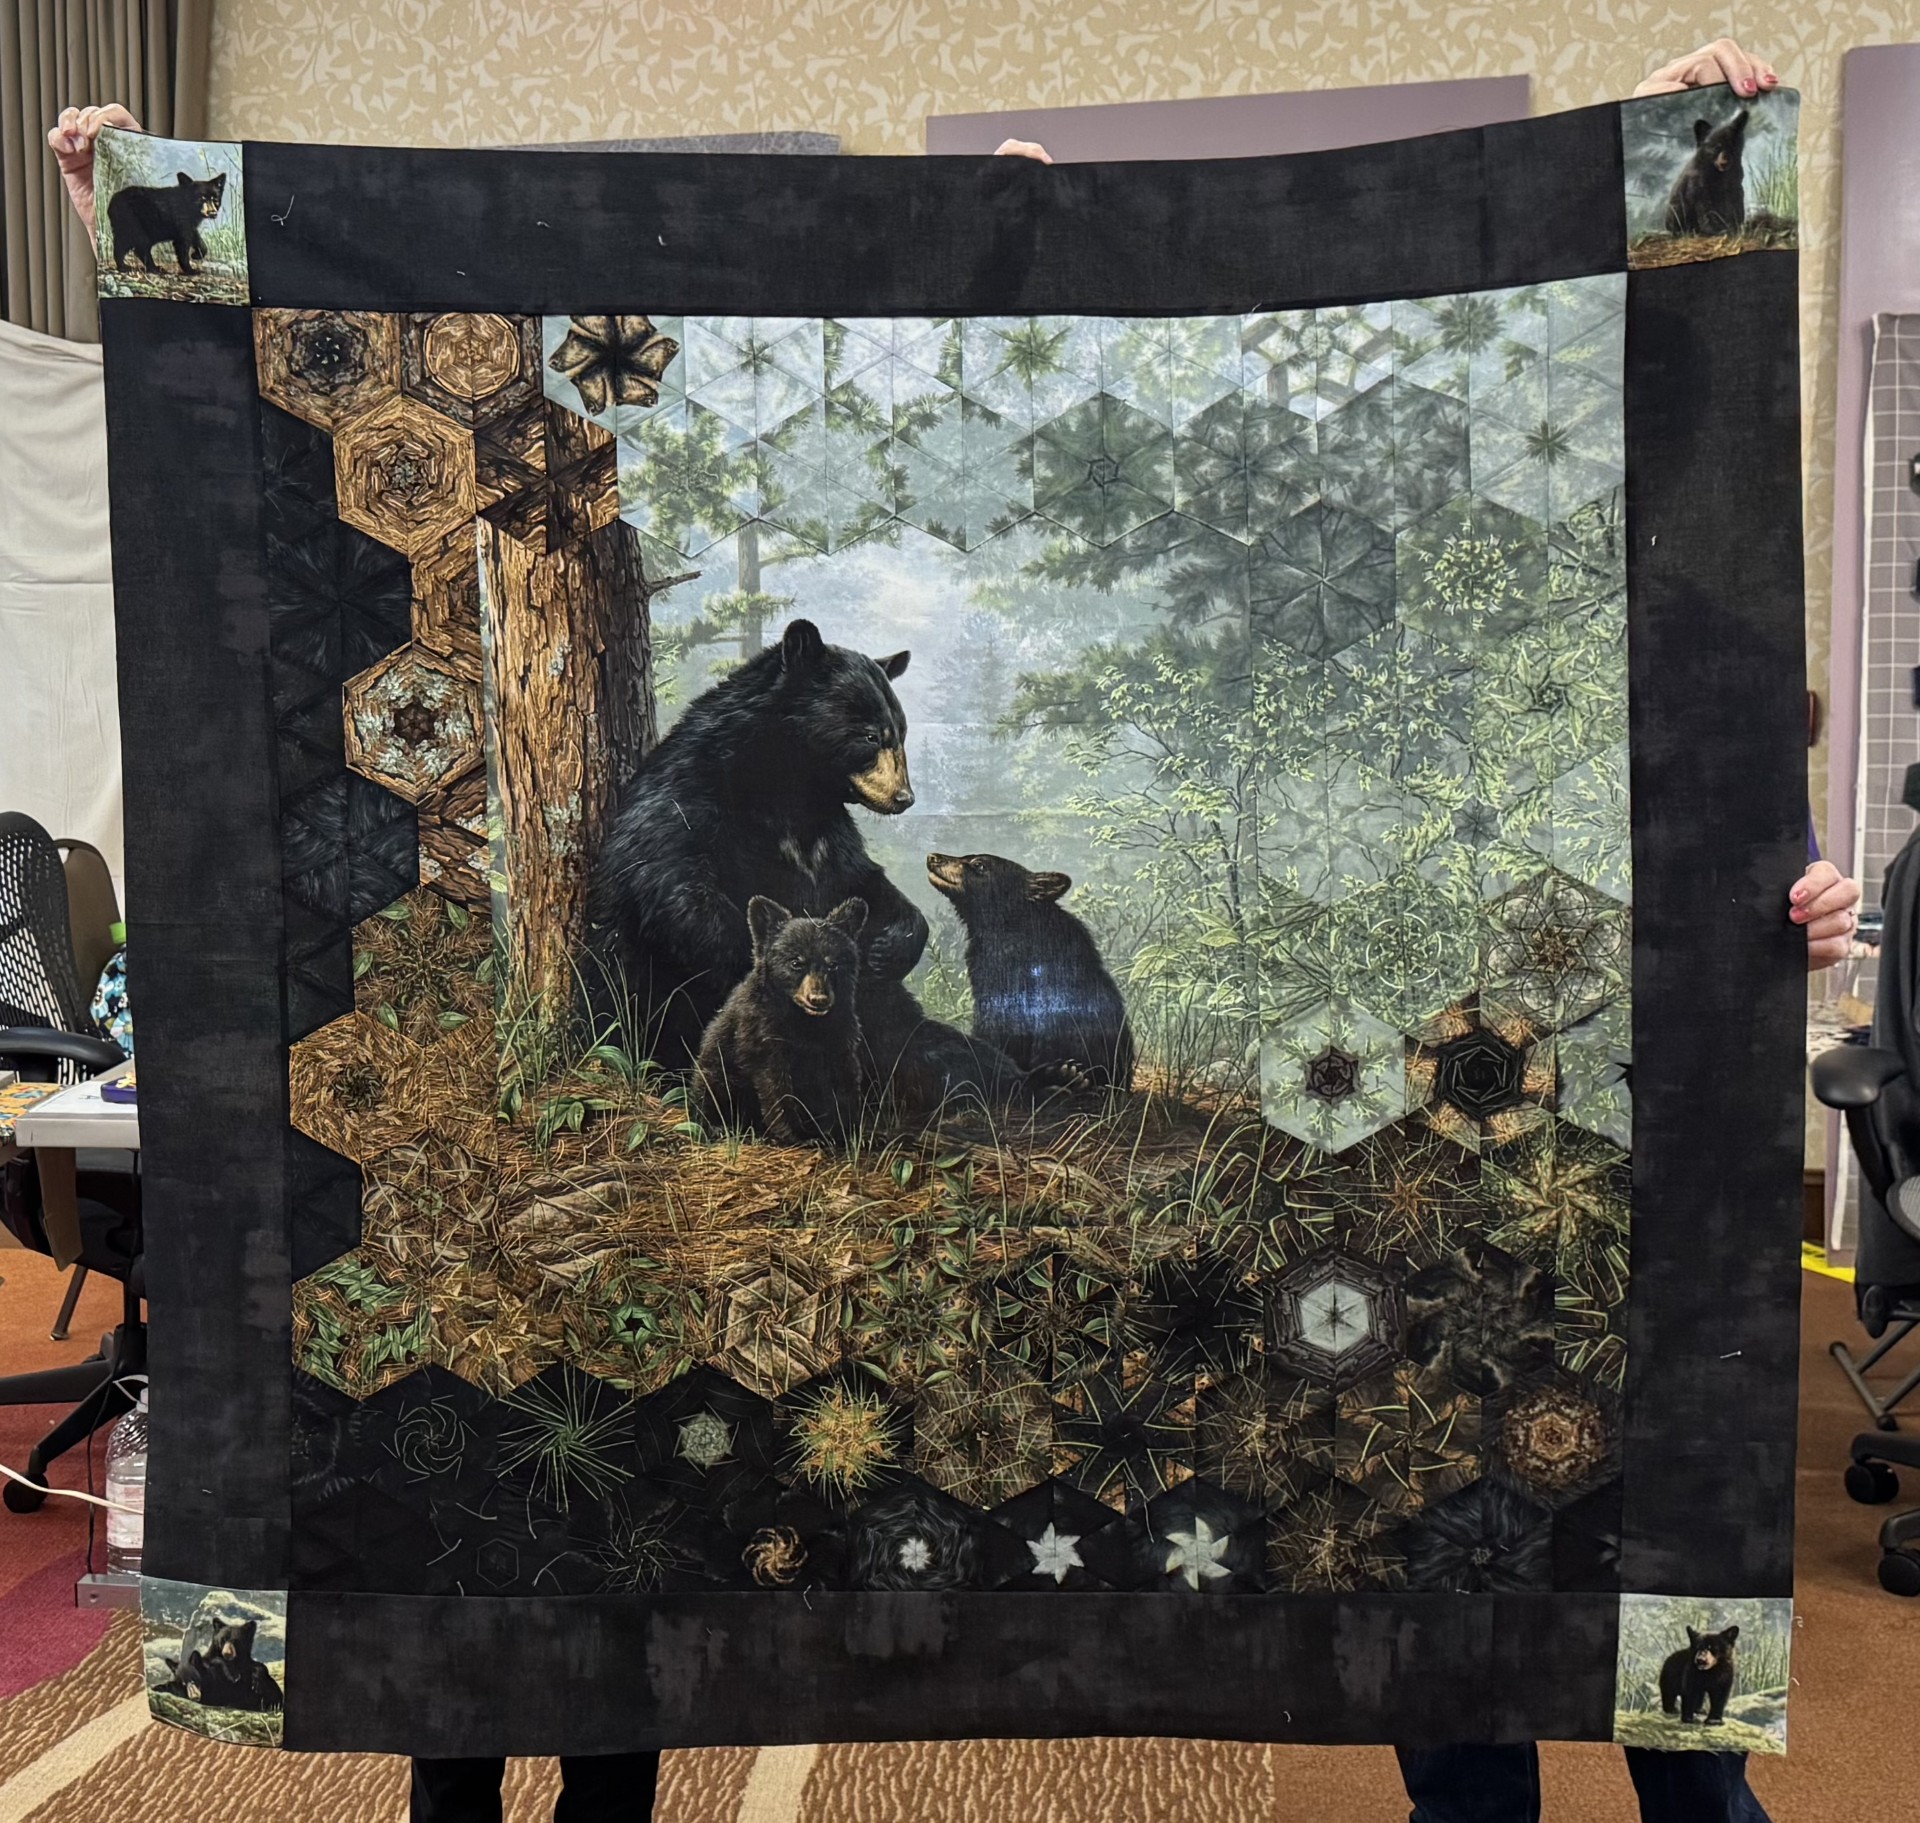
Madonna’s Unicorn is so colorful! Sherry’s Bears are just magnificent! She got the whole OBW together, I just love it!

Sherry’s horse panel by QT fabrics has the best colors. Gitta’s panel so playful!


Ann’s polar bears are going to be great, I love the colors. She is also adding Hollow Cube 60 units. Carolyn’s Northcott panel is going to be a work of art. She is painting with fabric.
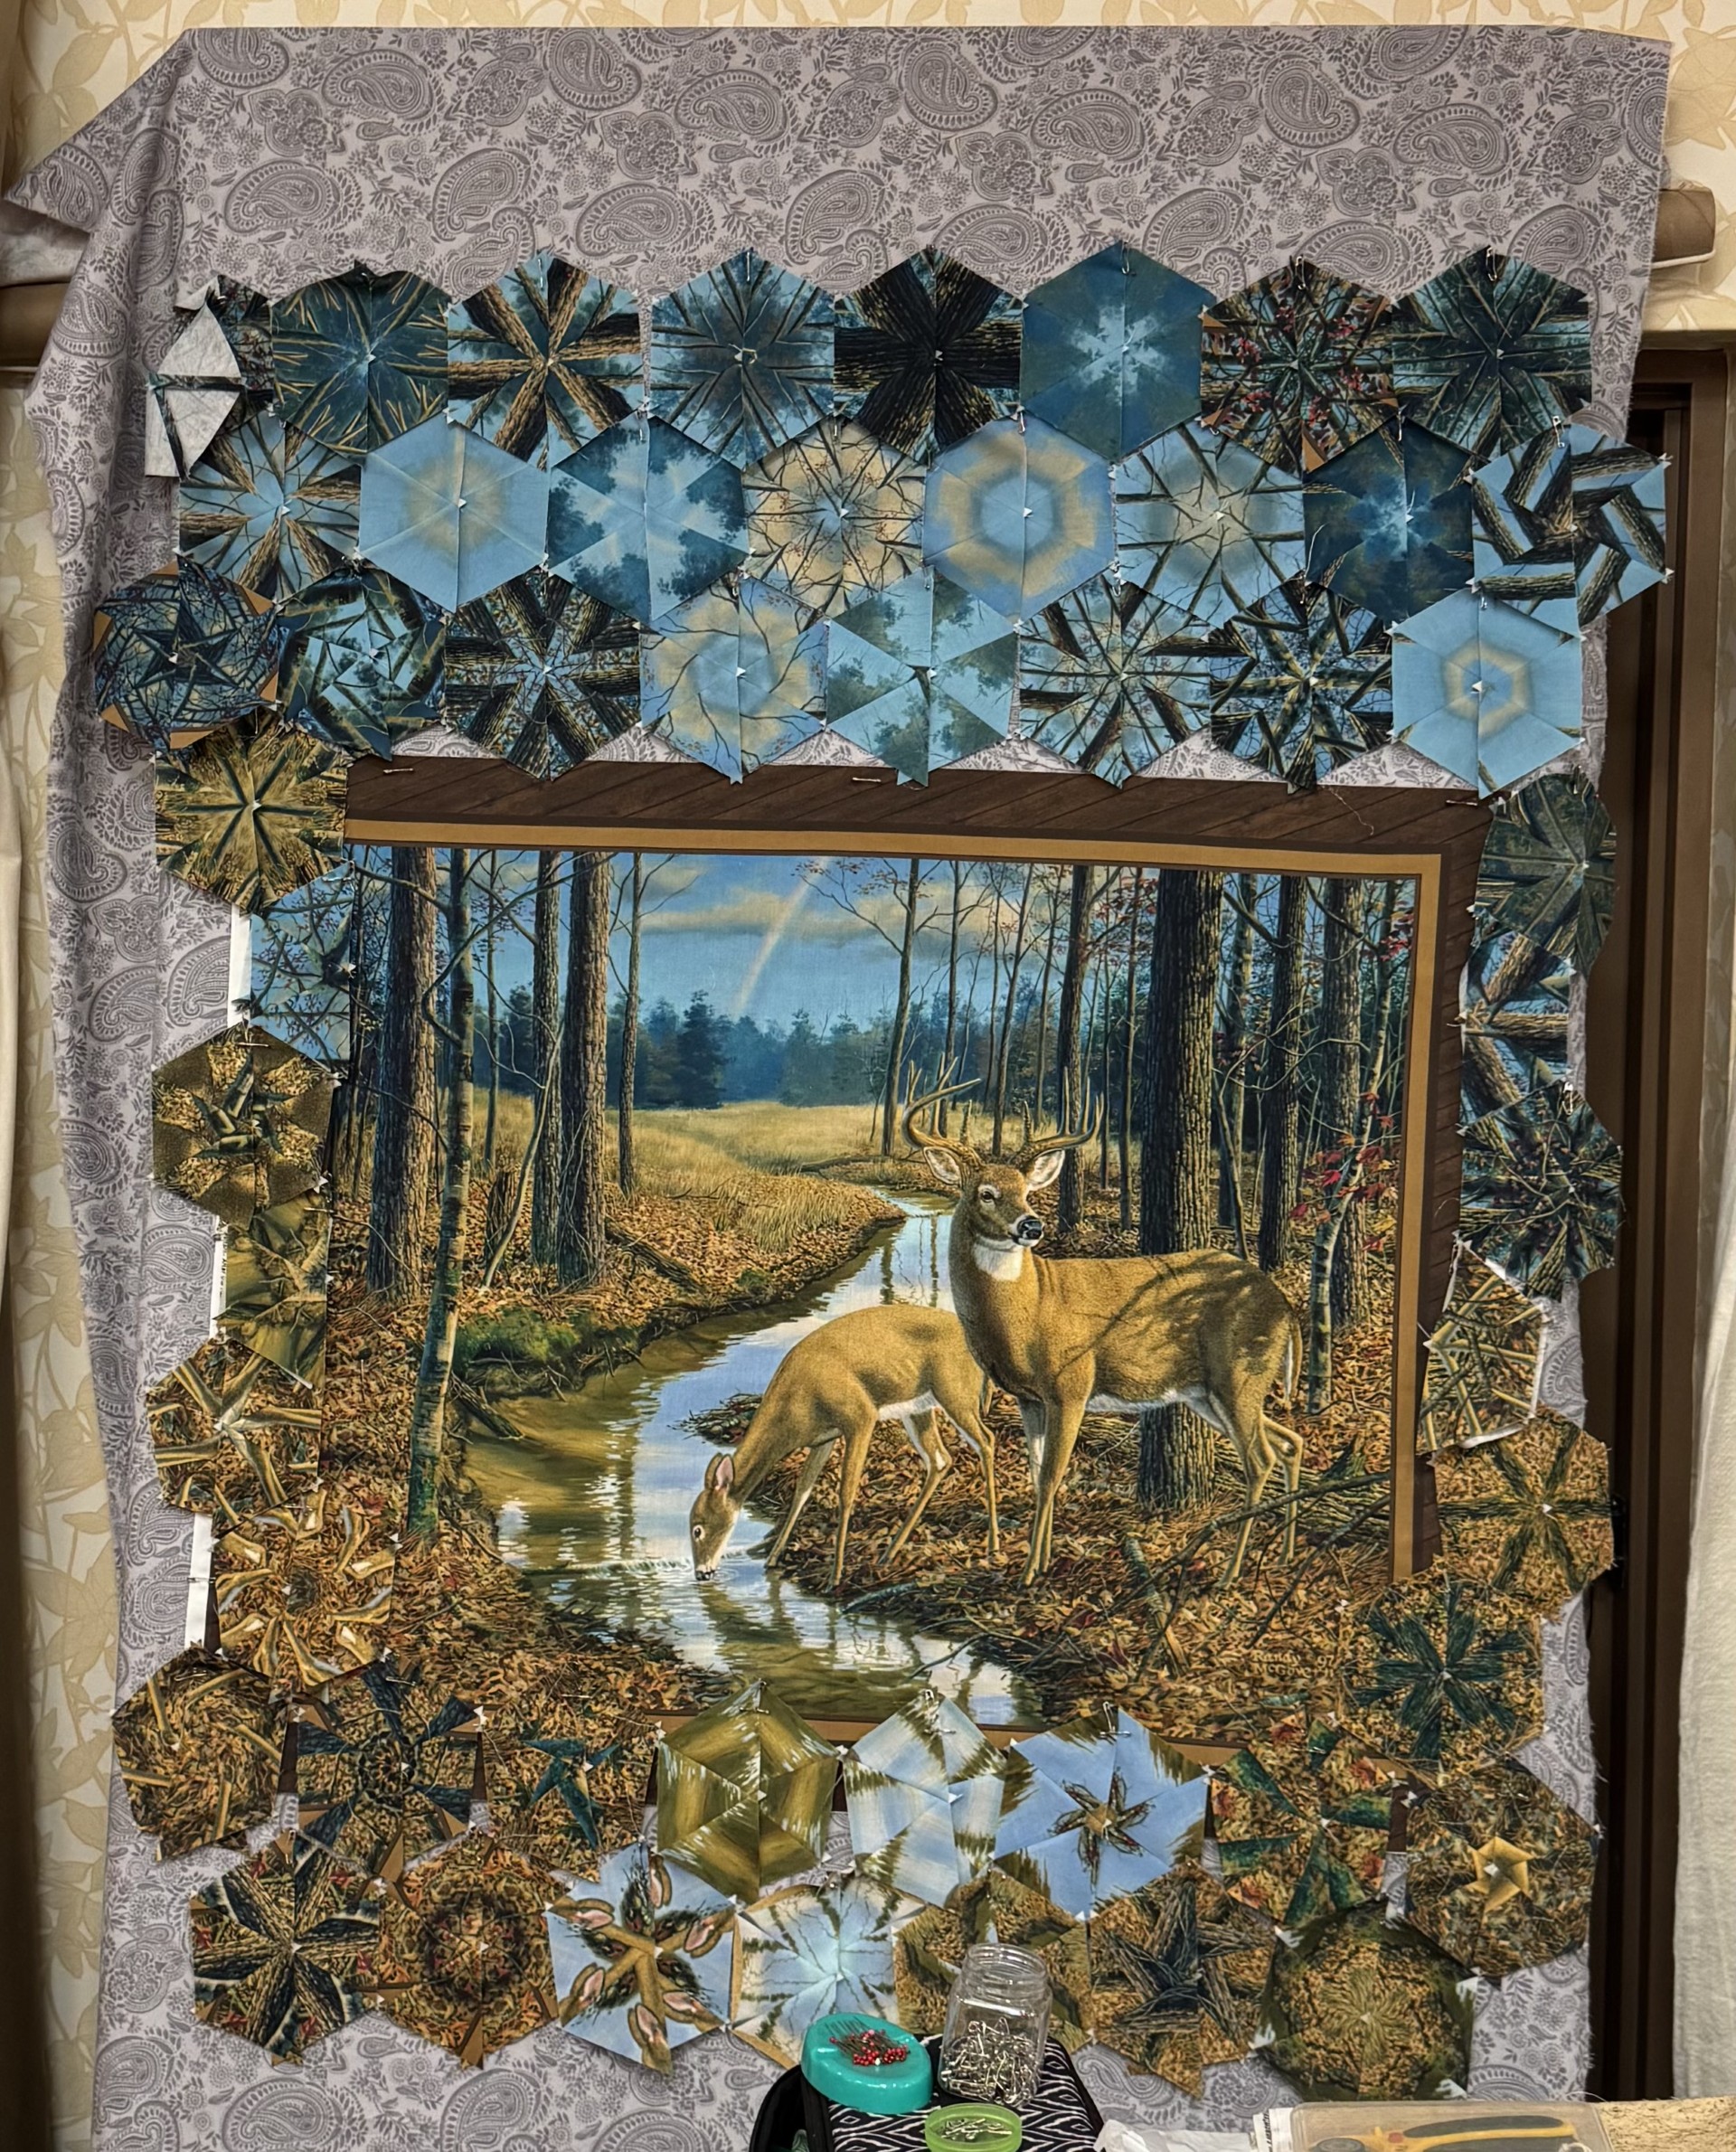
Rhonda’s deer panel is amazing. I did realize how much blue she managed to pull out of it. Madonna won one of the door prizes. It was 7 mini versions of the Creepin it Real panel by QT Fabrics. We also gave away two Quilter’s Dream Battings generously donated by them.
This OBW Workshop Hosted by Amy’s Quilt Room was so much fun! I can’t wait to come back in August!
@Amy’sQuiltRoom @Studio180Design @QTFabrics #Quilltapalooza