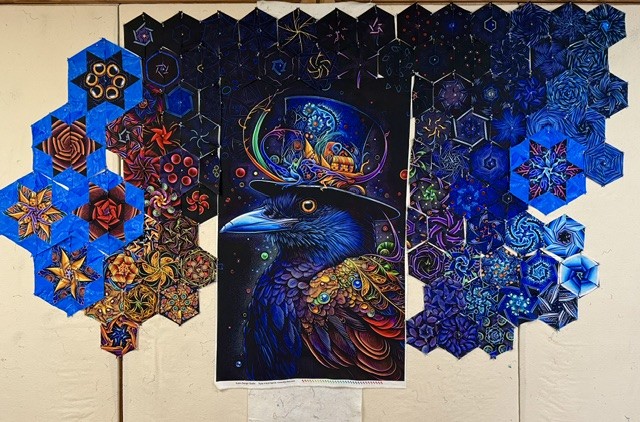
The Gothic Raven panel is by Rubin Design Studio exclusively for eQuilter.com. It measures 29″ x 44″.

I absolutely love this panel.
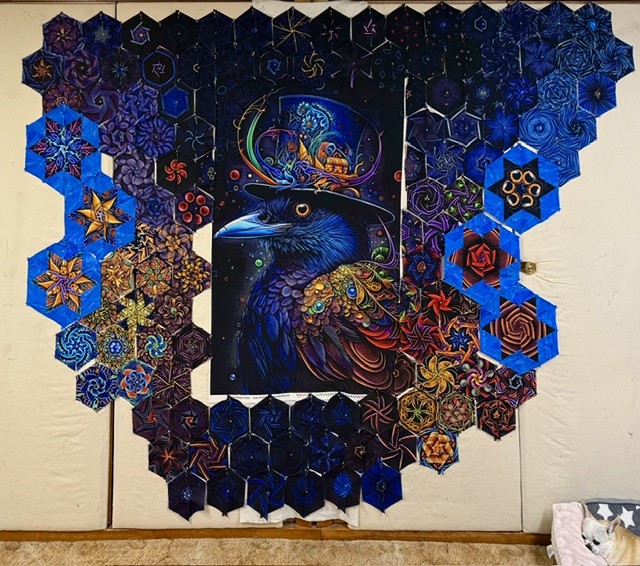
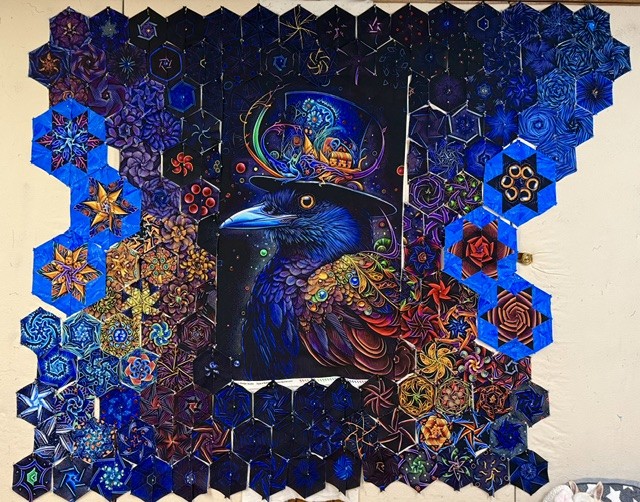
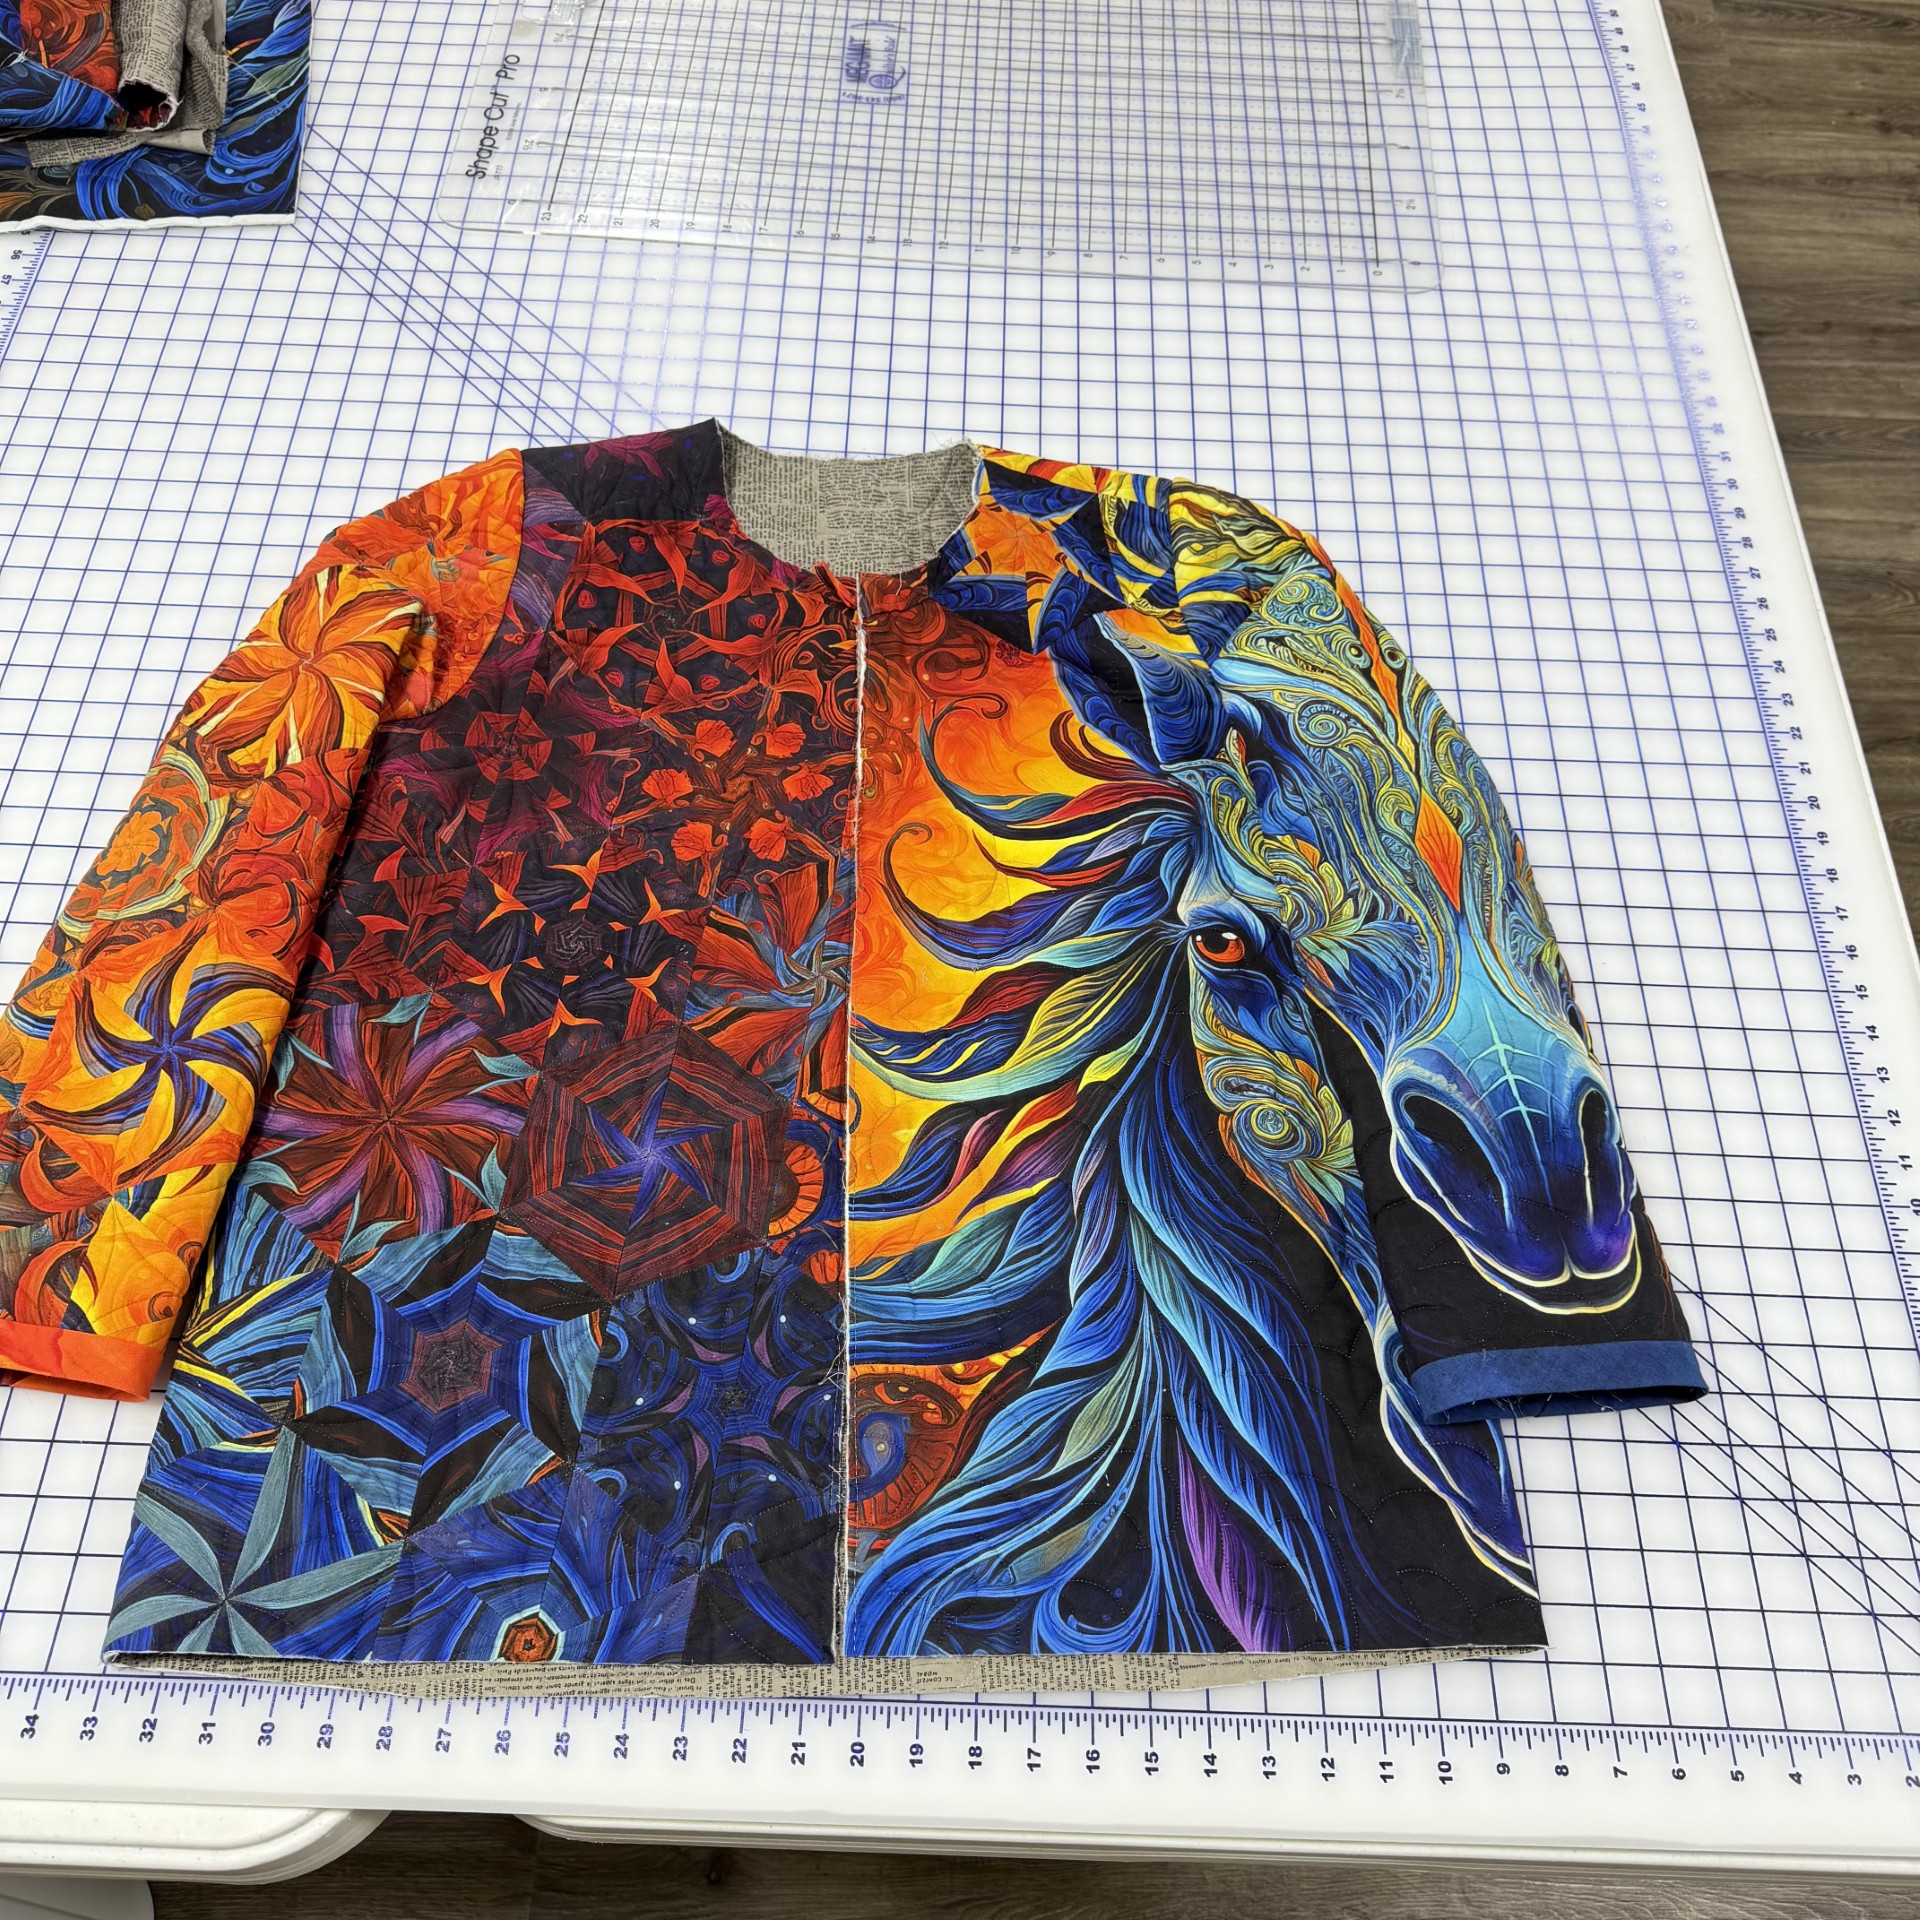
I was so surprised by how much color i got out of this panel. I thought it would be much darker. But it is brilliant with color.

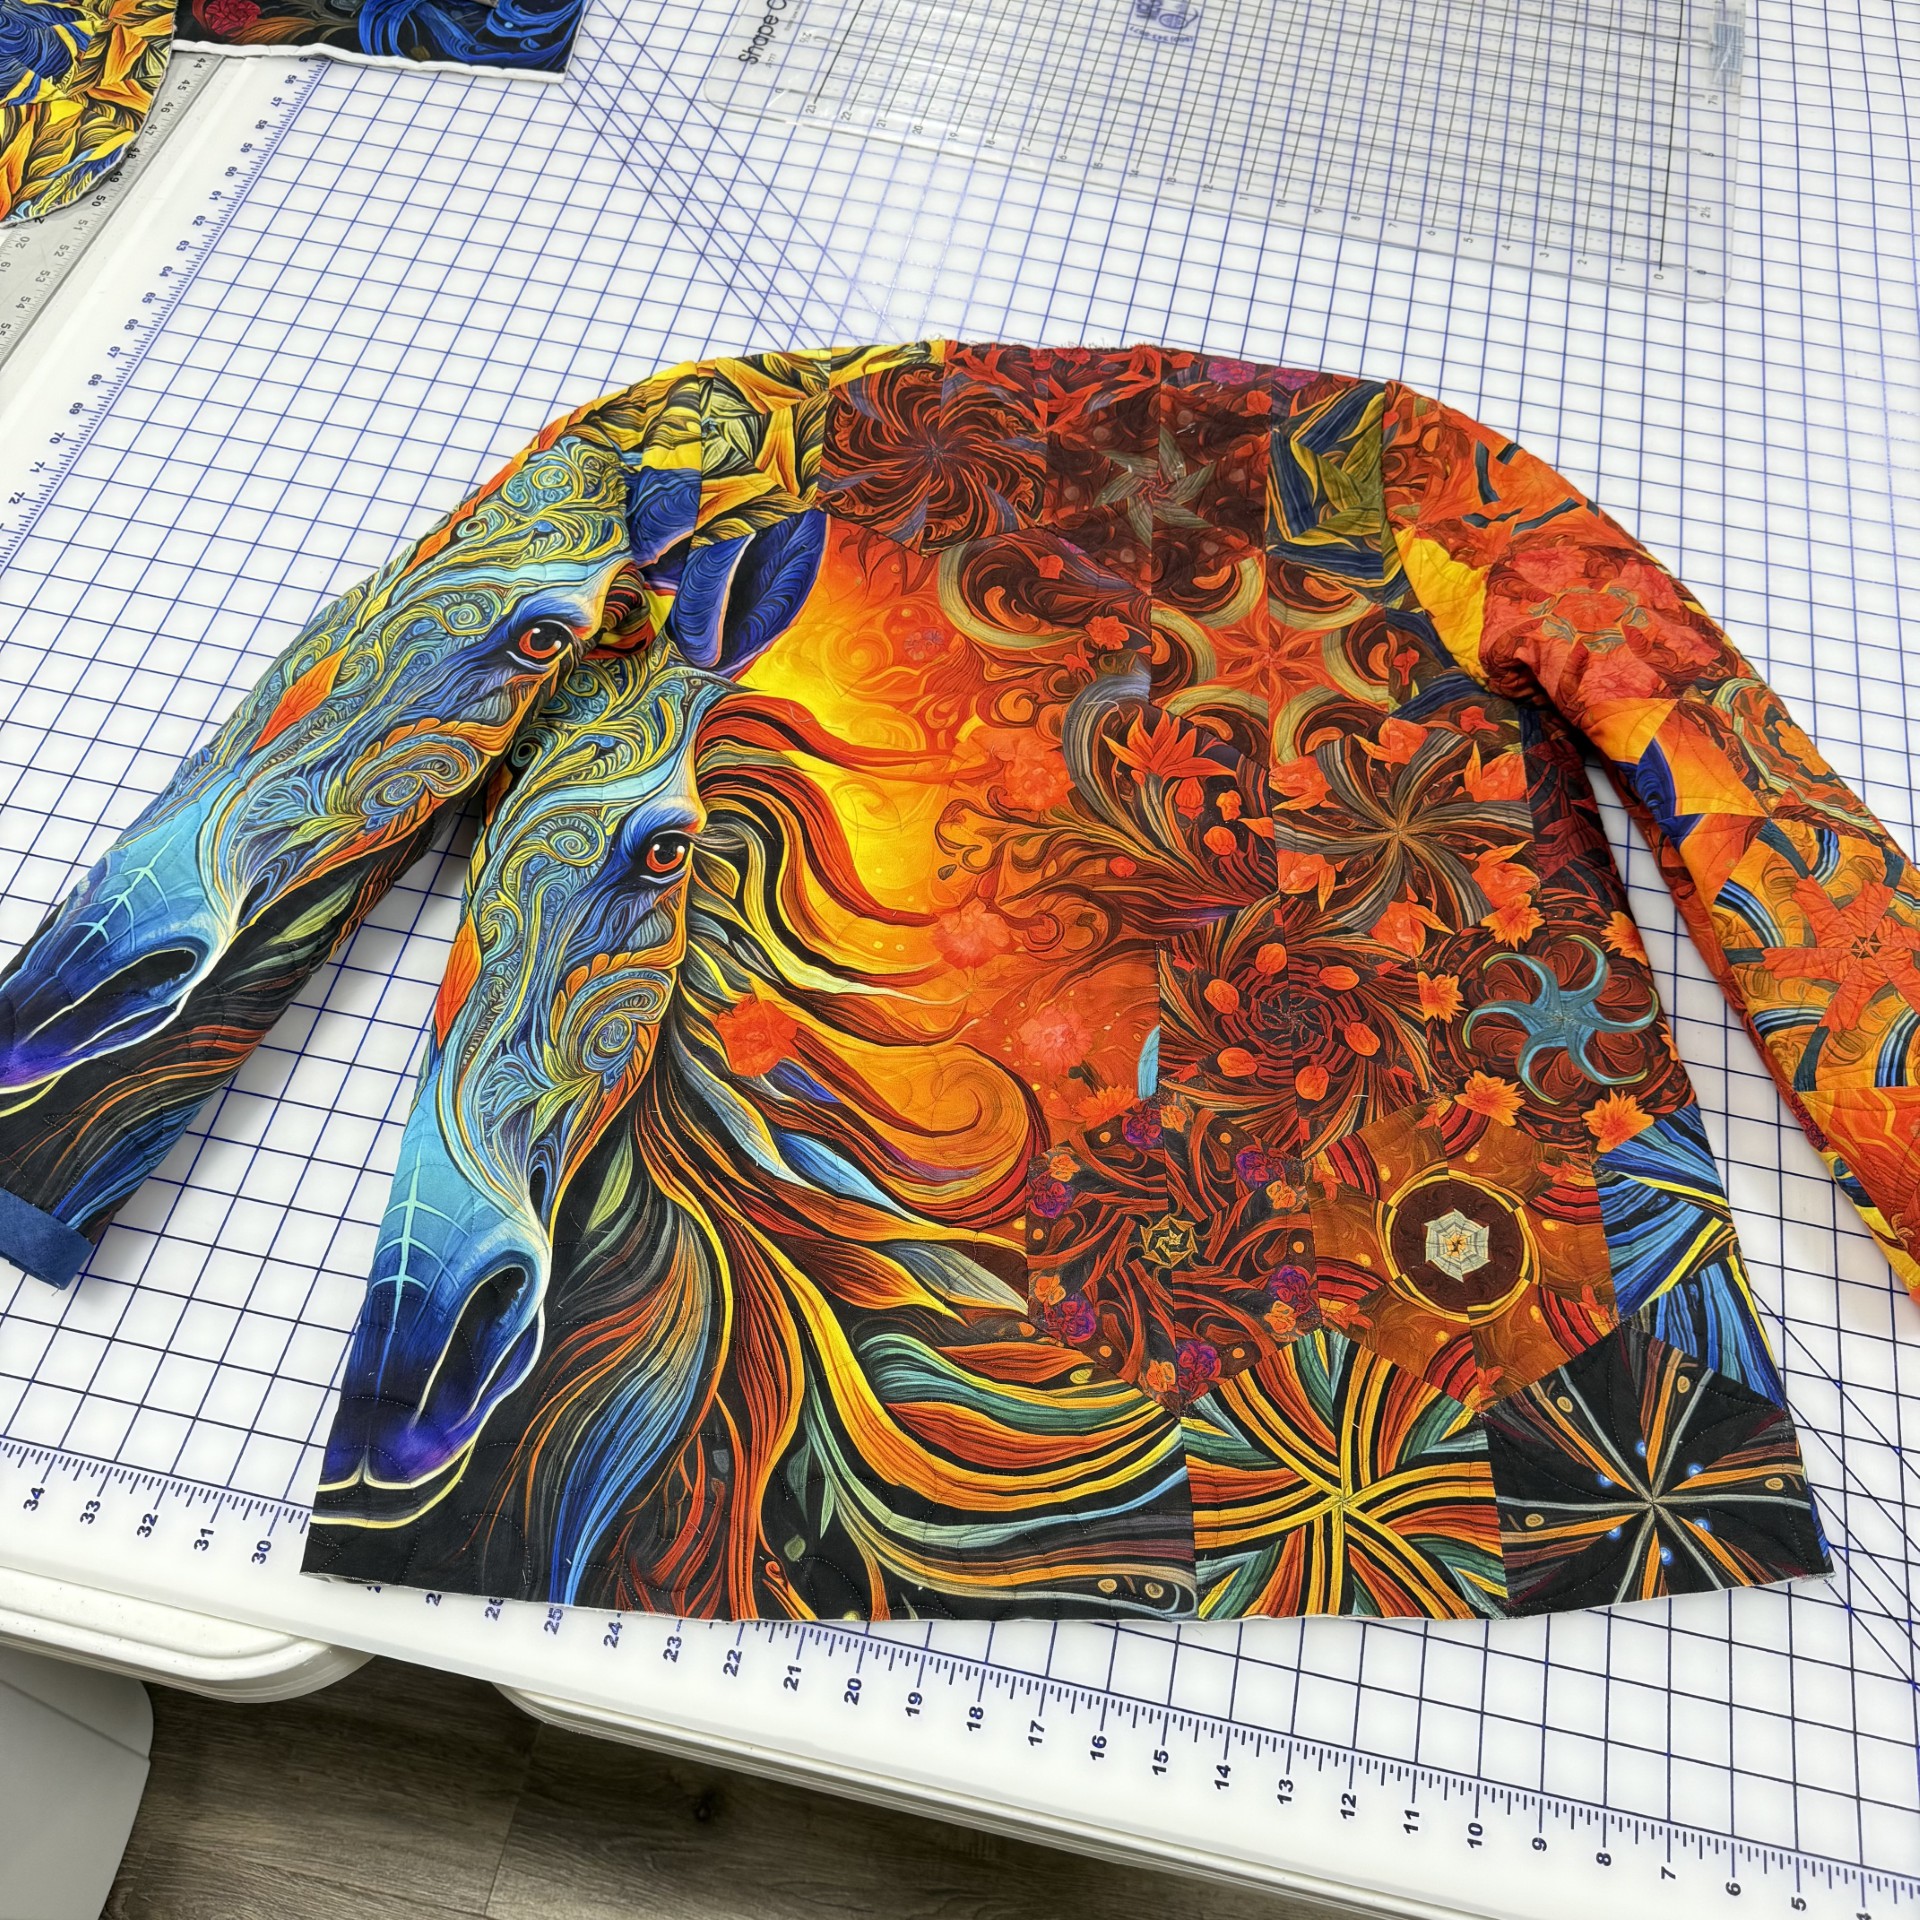
The Gothic Raven measures 80″ x 70″ unquilted. I cut my strips 3.25″ wide to yield 5″ finished hexies and 10″ finished Star 60 units made with First Choice rulers and the Star 60 Tool by Studio 180 Design.

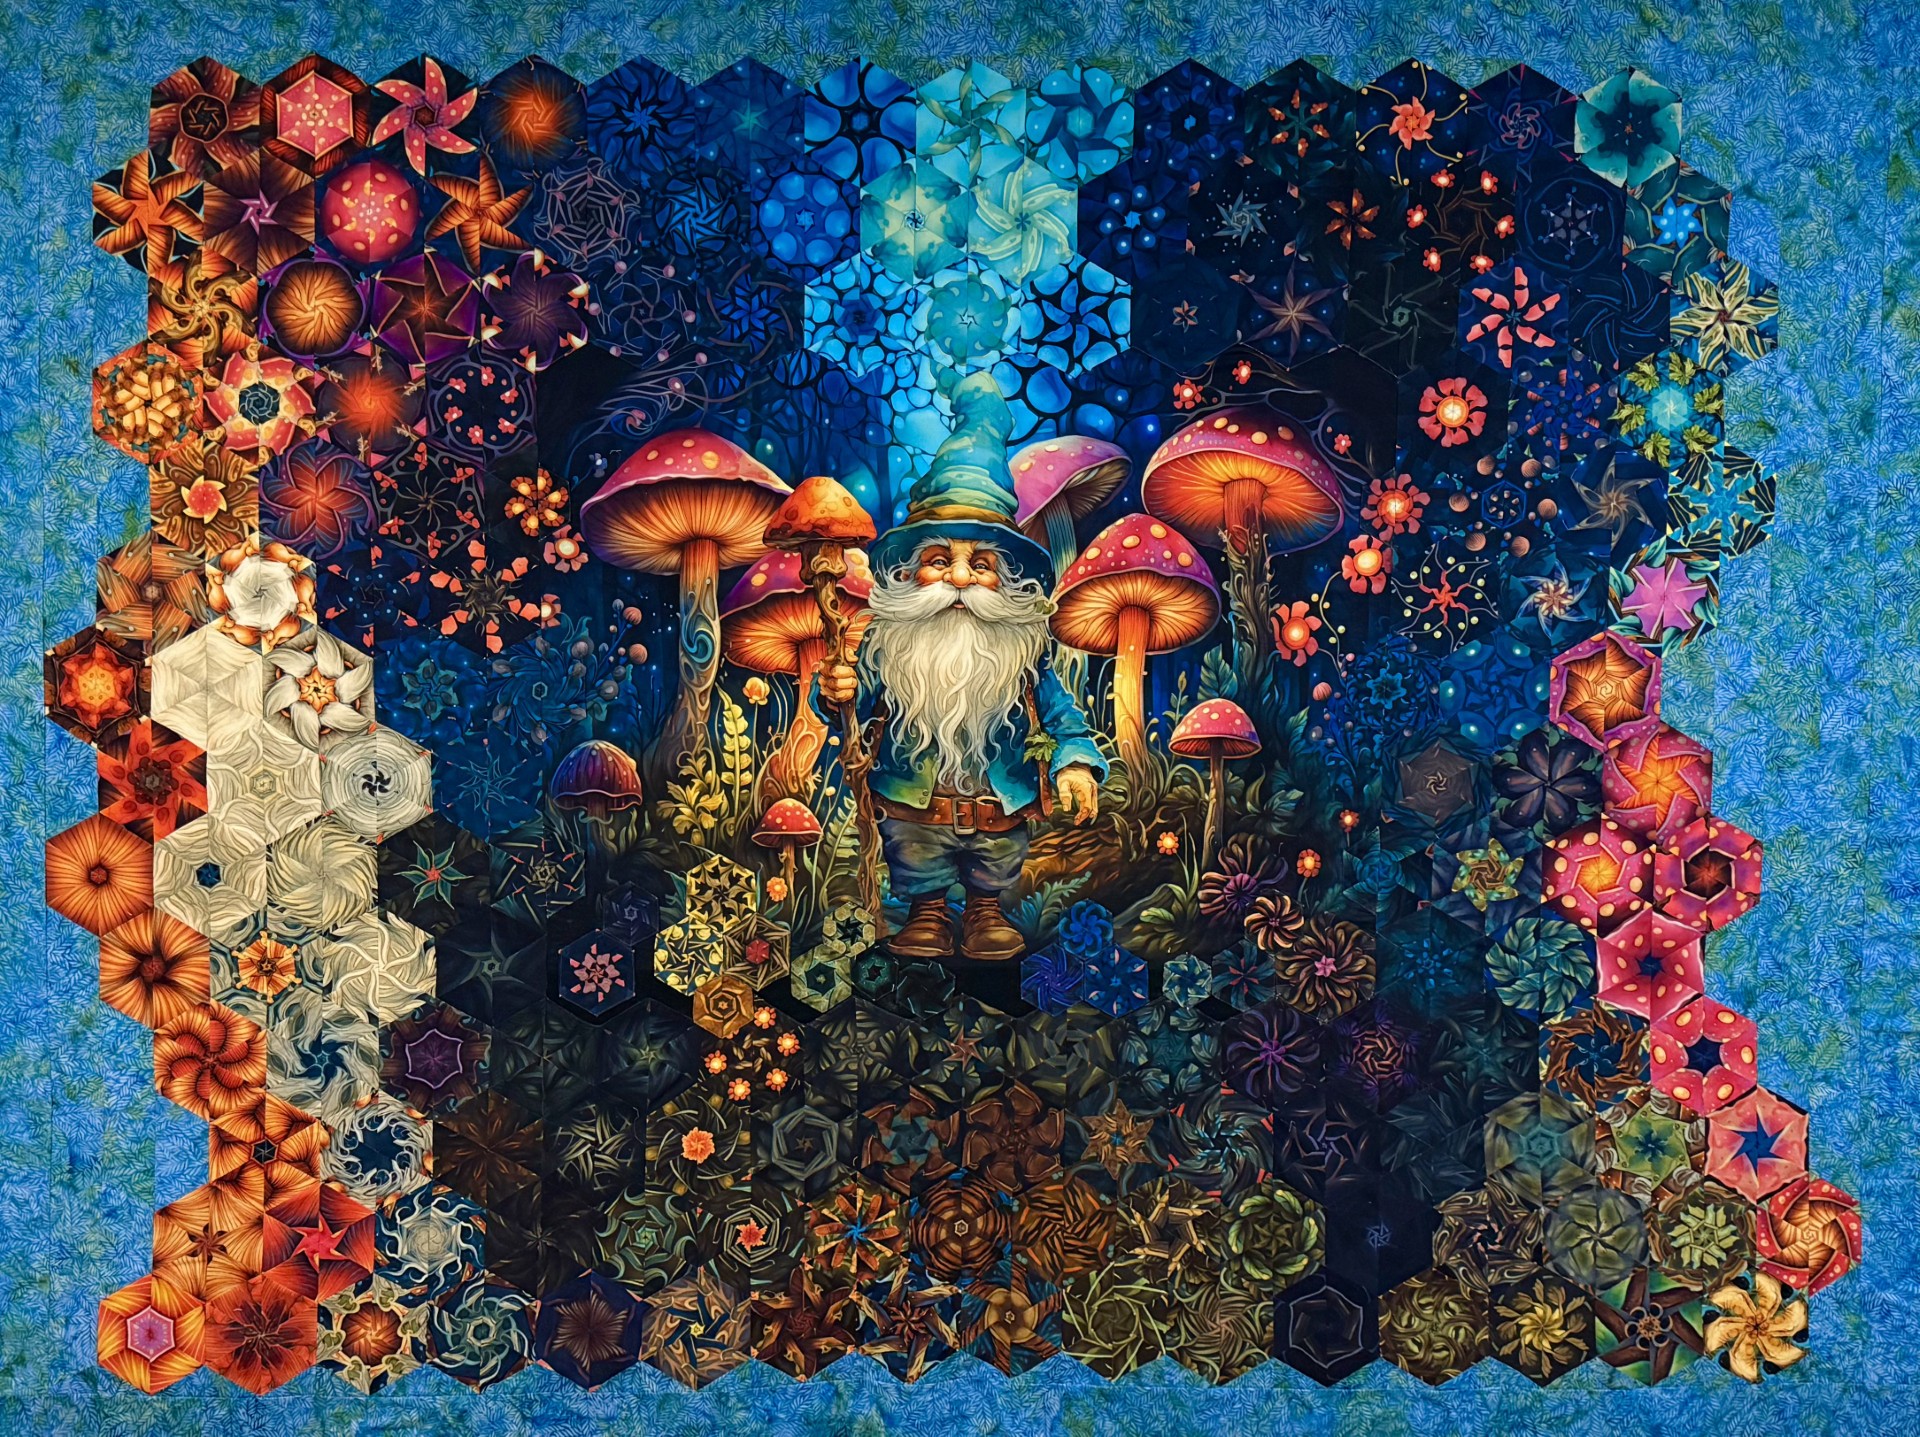
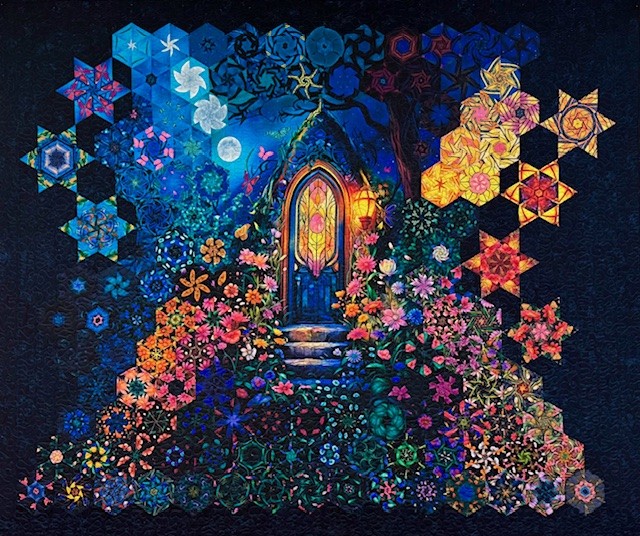
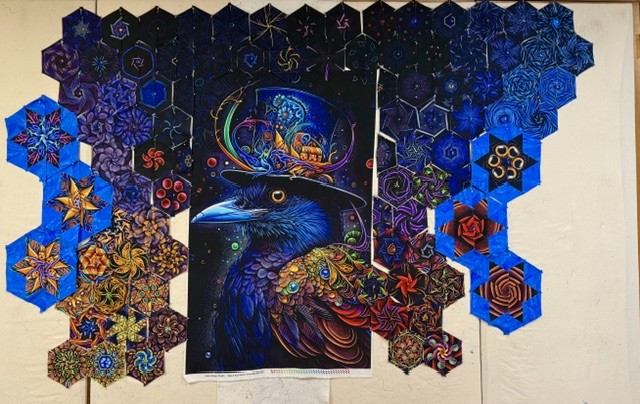
The Gothic Raven watches over the Night Garden along with the Garden Gnome (Mushroom Man). All 3 of the panels are by the Rubin Design Studio.
@RubinDesignStudio @Equilter @Studio180Design #GothicRaven #FirstChoiceRulers #Star60Tool