Welcome to Stitchin Heaven’s Journeys Month 6 – Corner Section. My helper for Month 6 is Sue Tucker, of Studio 180 Design. This month you are going to learn to make the Square/Squared unit using the Square/Squared tool. You will be using Prints 1, 2 & 5. Label your fabrics and use your best cutting skills when cutting your starter squares.

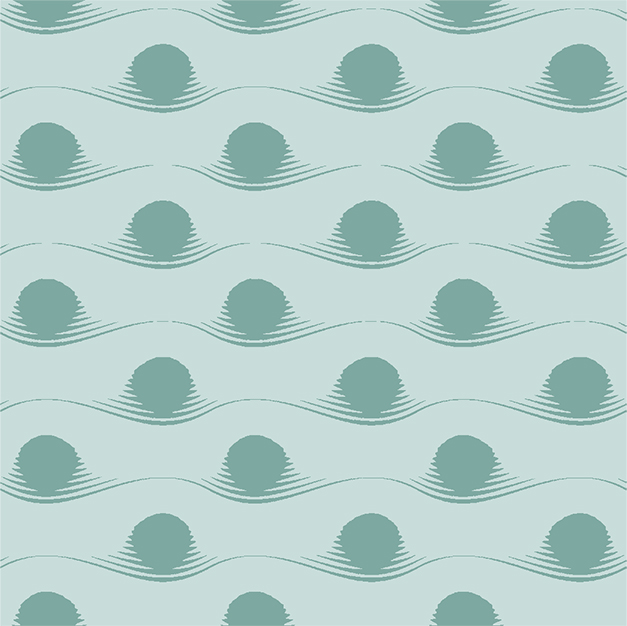
Prints 1, 2 & 5 
Piecing Instructions
Diamond Squares
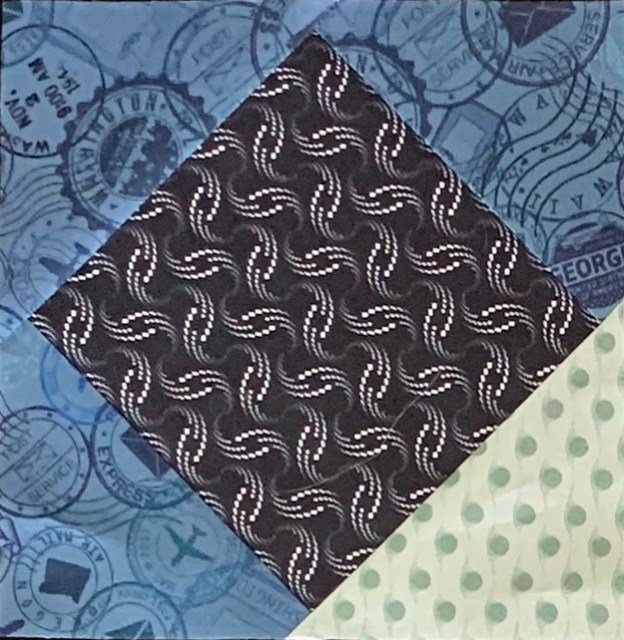
Step 1 – Lay your Print 1 strip on the mat and clean up the short edge. Locate the Center Square window template for a 6” finished unit. Place the solid lines of the window template on the raw edges of the strip end. Cut up the side and across the top to trim each square to a precision size. Cut 4 center squares.

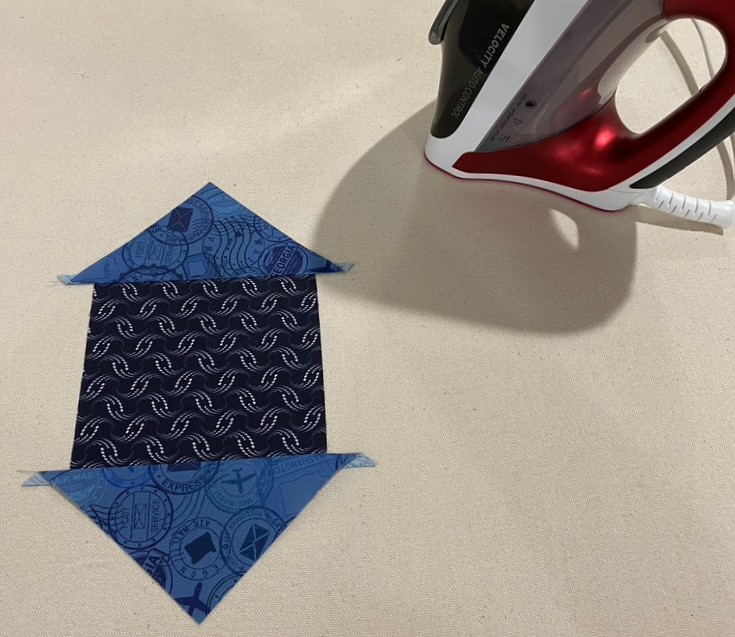
Step 2 – Stitch two Print 2 side triangles to opposite sides of the center square. Stitch with the center square on top. Press the seams toward the side triangles.
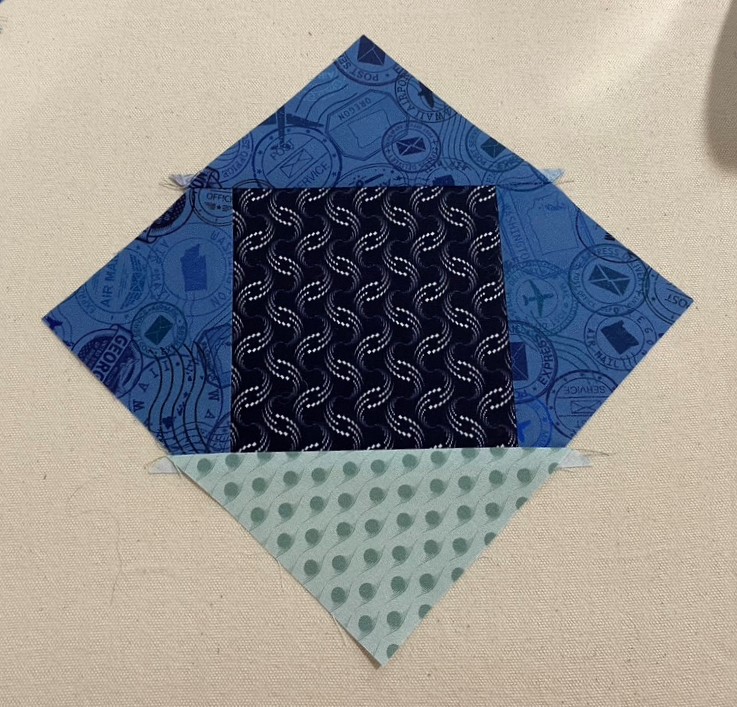
Step 3 – Stitch one Print 2 side triangle to one remaining side of the center square and a Print 5 triangle to the other side. Press the seams toward the side triangles.
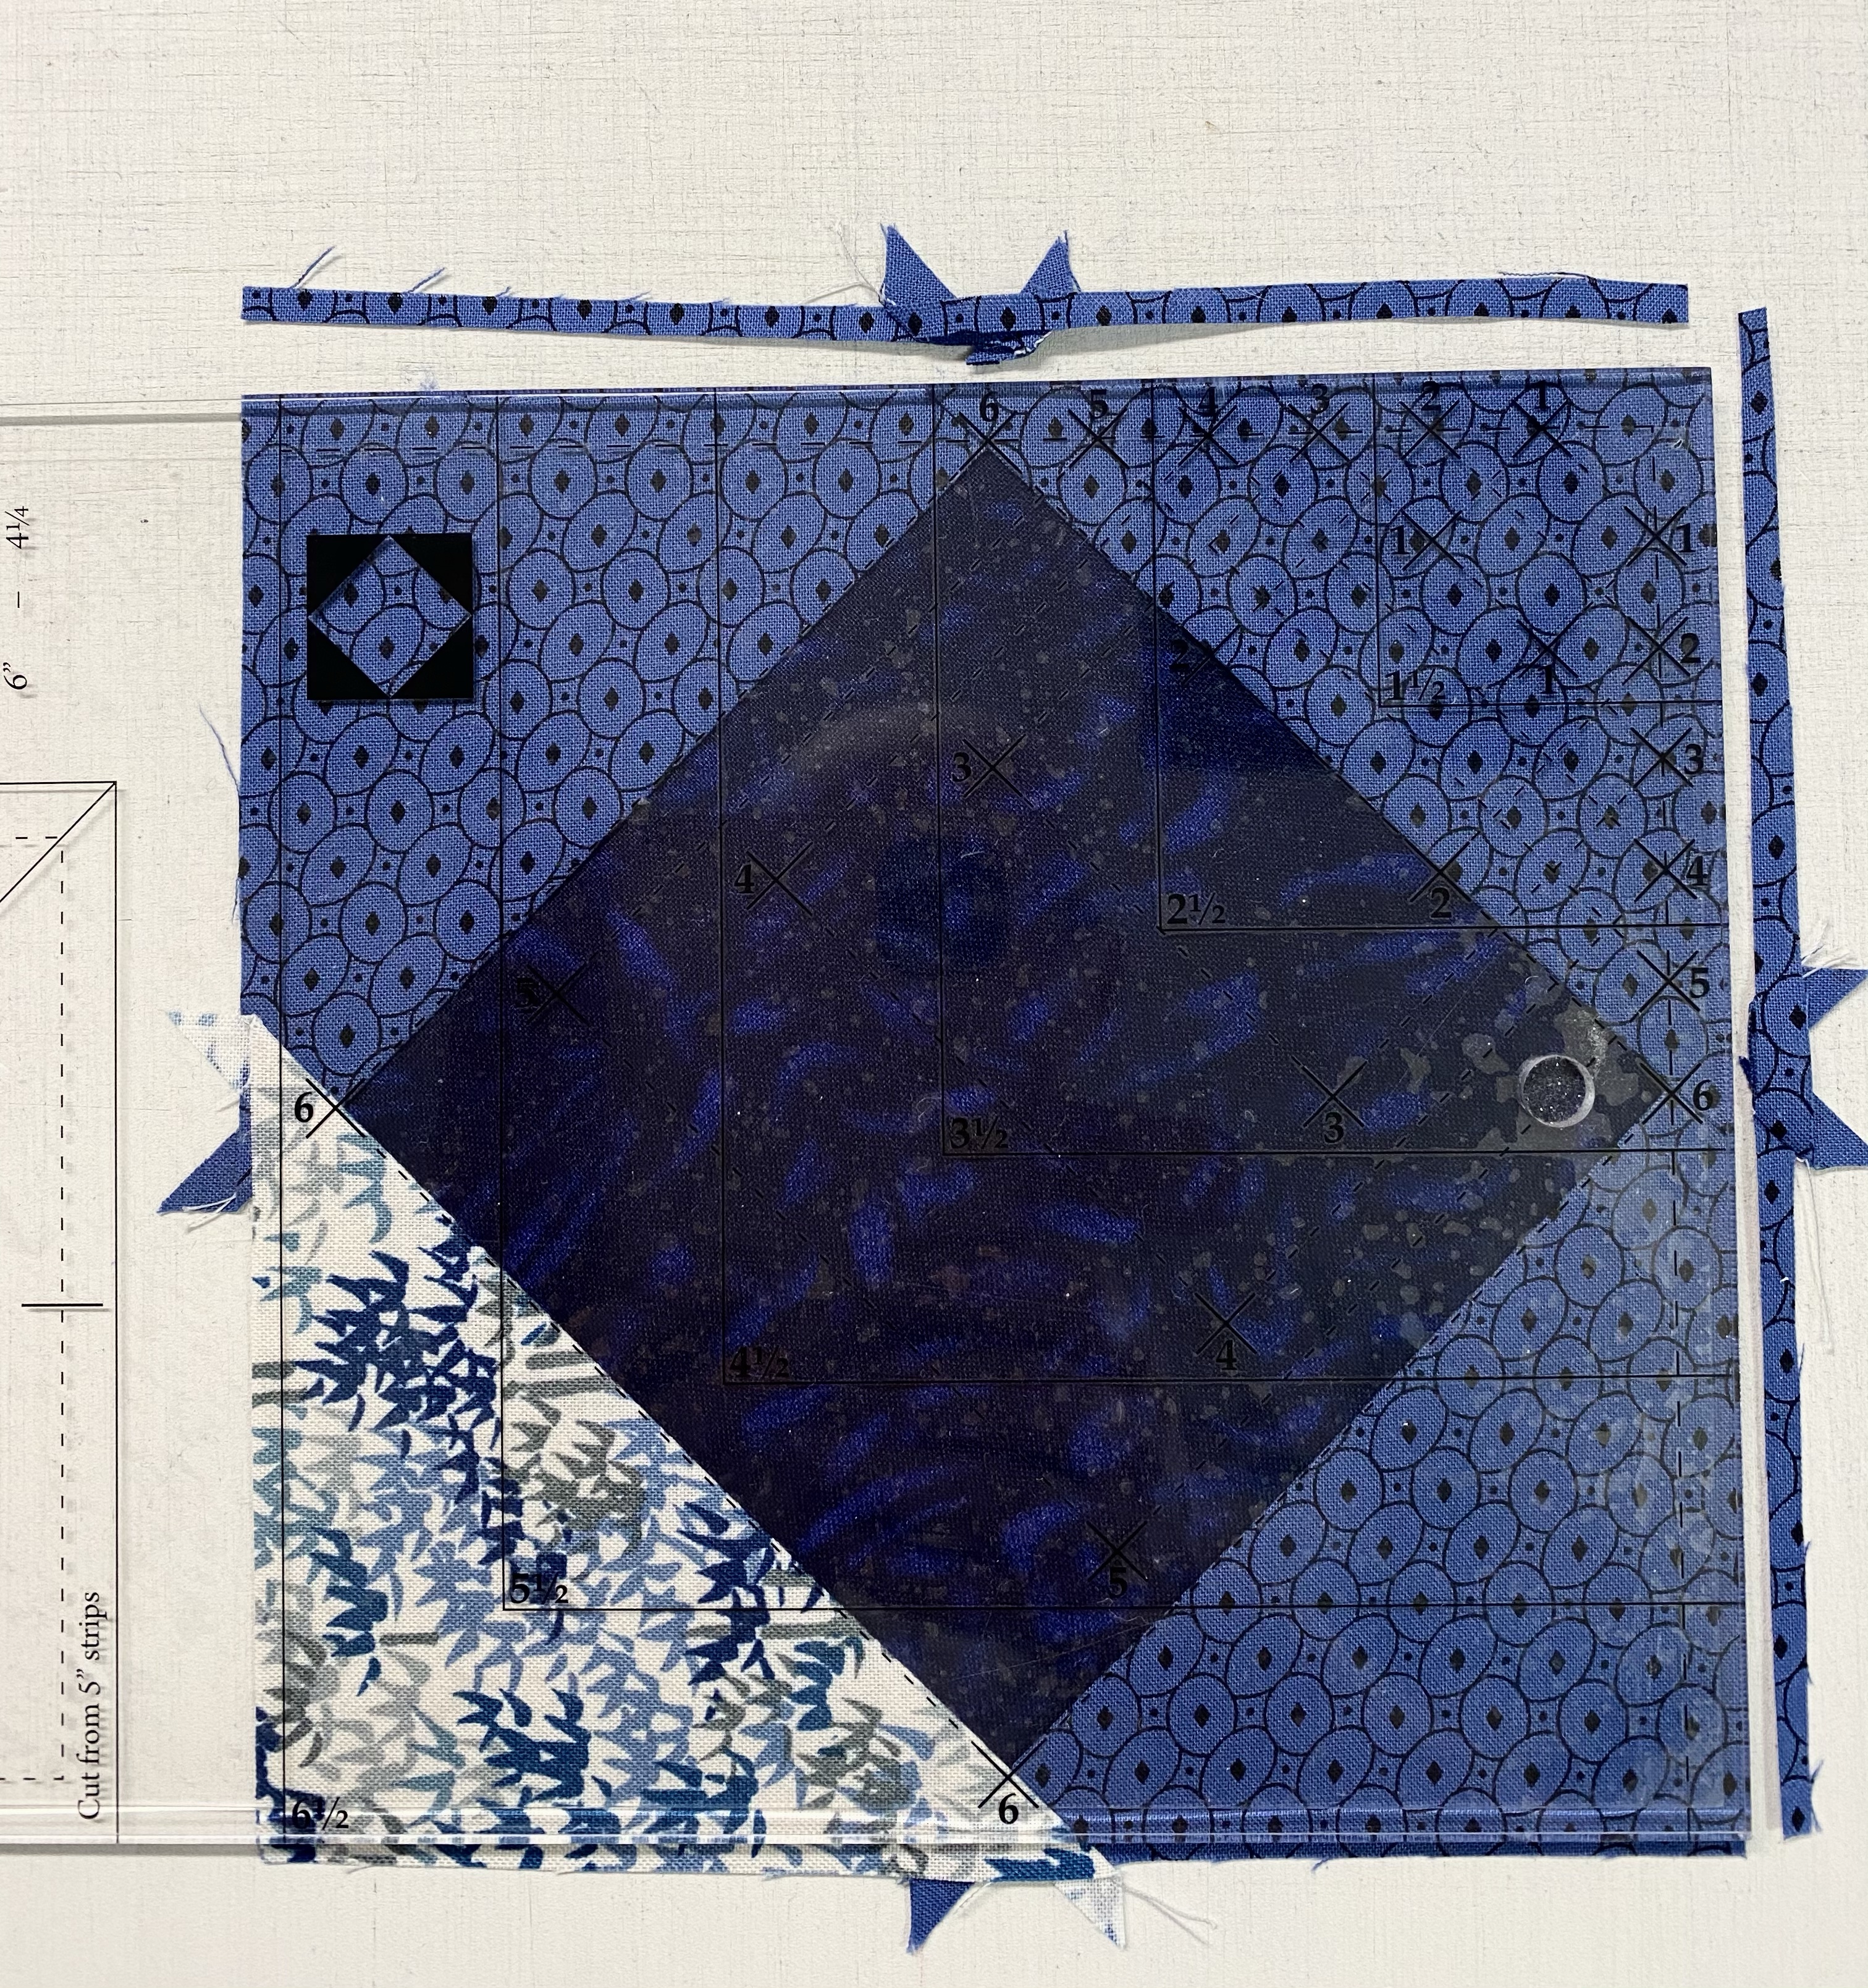
Step 4 – Trim to 6½” with your Square Squared® tool. Align the X’s labeled 6 with the seam intersections and the dashed lines with the seams. Trim. Rotate the unit 180o and align the seam intersections with the X’s labeled 6. Also align the cut edges with the 6½” clean up lines. Trim again. Repeat steps 1-4 to make a total of 4 Diamond Square units. Label the finished Units J.
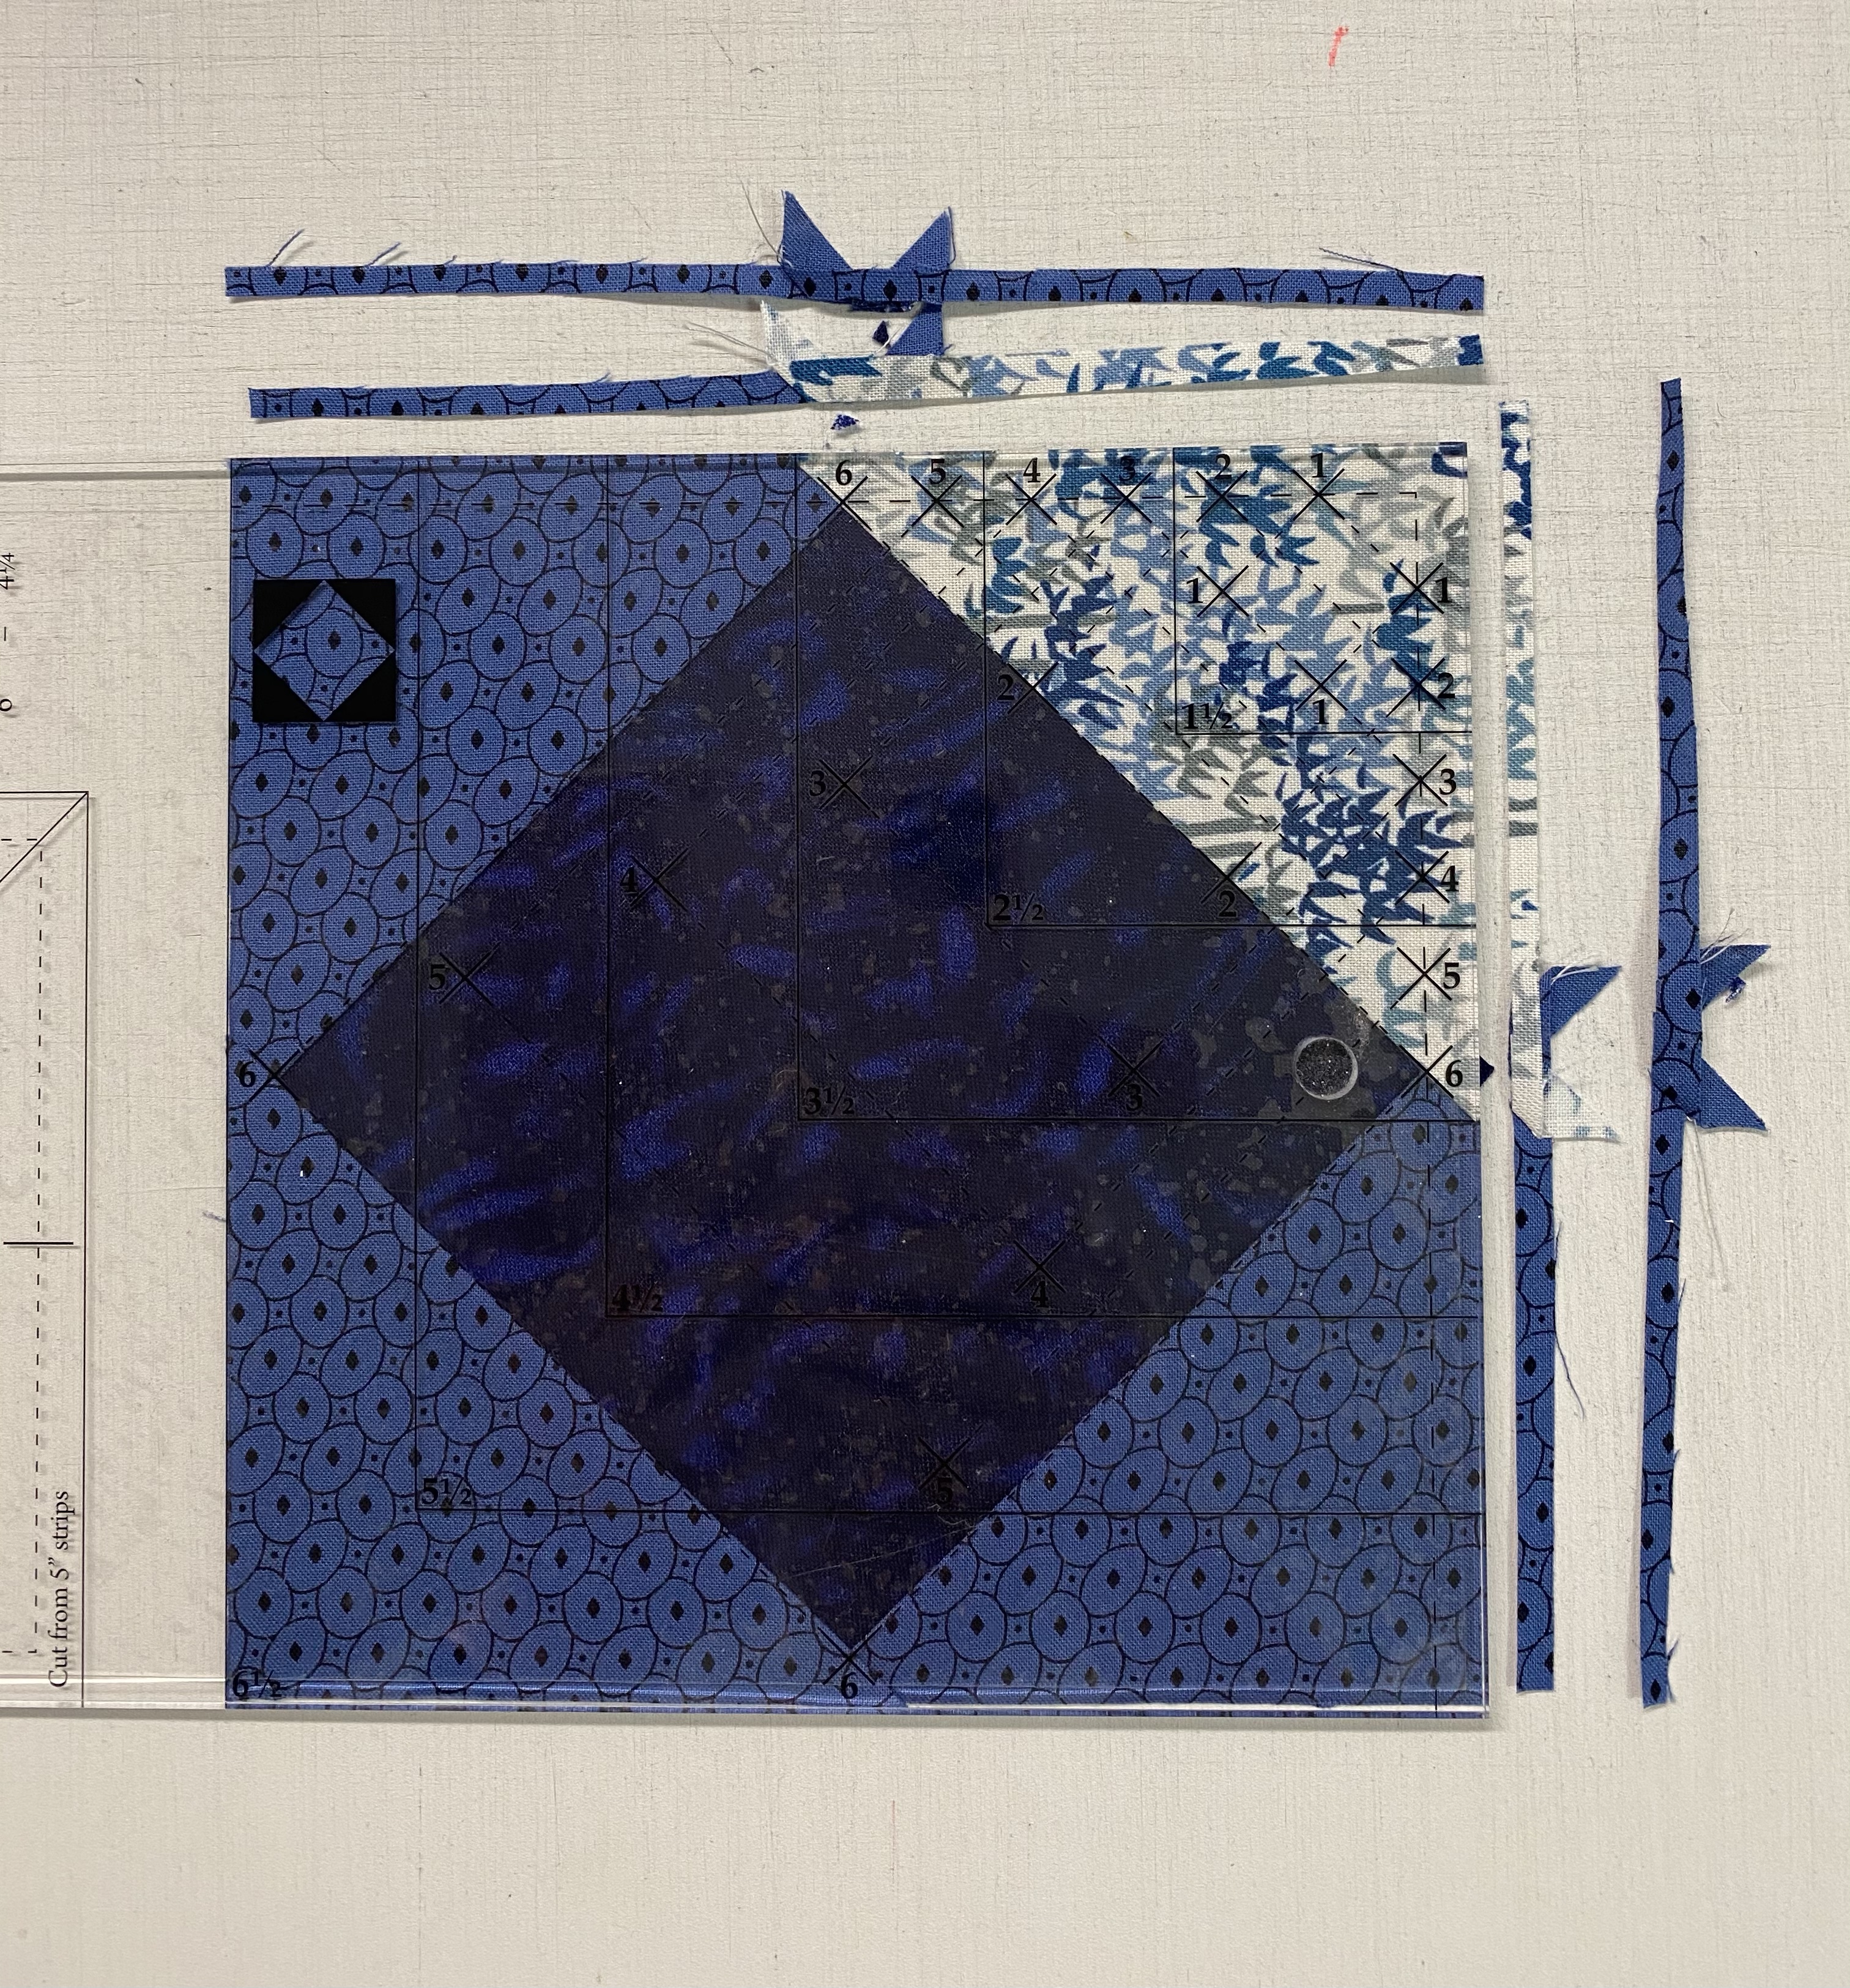
Below is a correction. The original photo for the second trim showed the Left Hand Trim for Trim 2. I do not have the original fabric so I remade the Square/Squared unit from stash fabric.

Assemble Four Corner Sections
It is time to assemble the four corner sections of your quilt. To do this you will need the following:
8 Unit A’s from Month 1. 8 Unit C’s from Month 2. 24 Unit E’s and 24 Unit F’s from Month 3. 4 – G Blocks from Month 4. 4 Unit H’s from Month 5. 4 Unit J’s from Month 6.
Step 5 – Lay out the gathered units as shown to create one corner section.
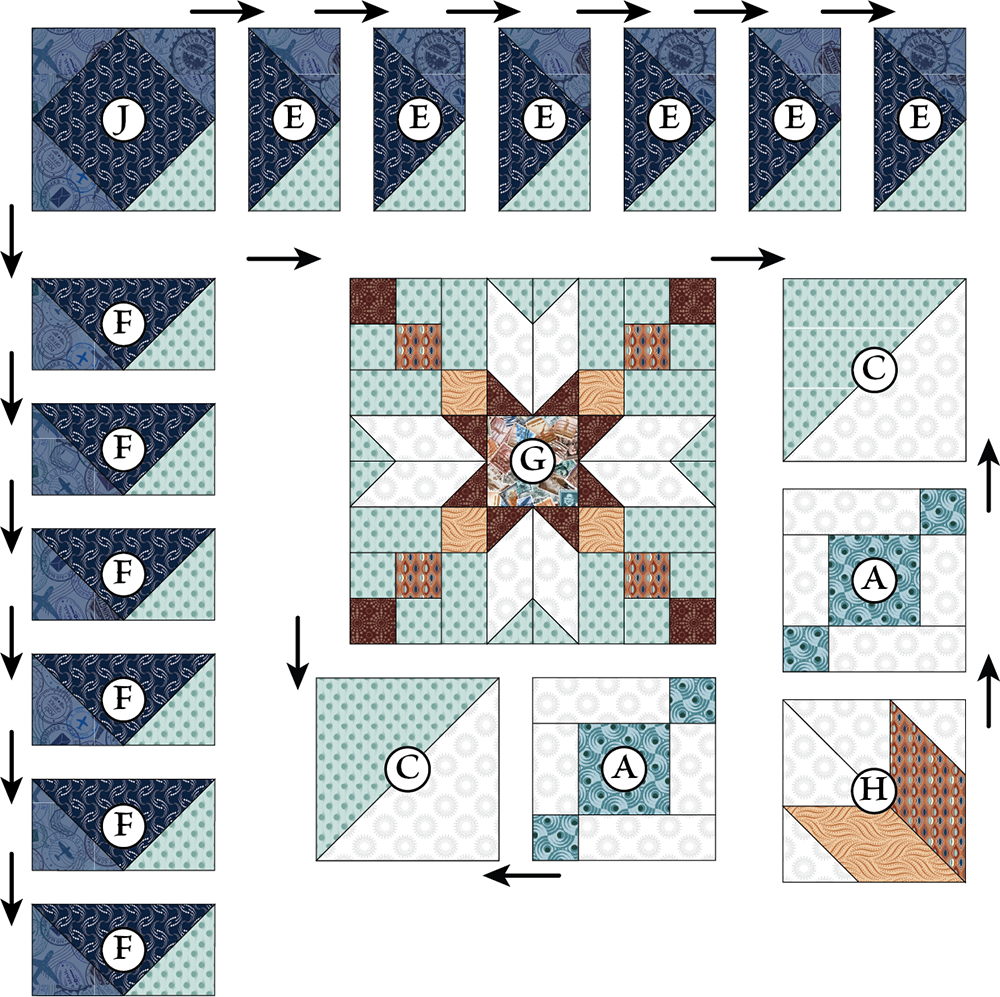
Step 6 – Stitch the Unit F Flying Geese together to create the rows of geese. Press the seam away from the point of the goose. Attach Unit J to the end of the Unit E Geese as shown in the diagram.
Step 7 – Sew together Unit C, Unit A, and unit H as shown to create two sections and press as indicated.
Step 8 – Sew Block G, together with the two sections you just created as shown and press as indicated.
Step 9 – Sew the Flying Geese rows to the block and press as shown.
Step 10 – Repeat steps 5-9 to make a total of 4 Corner Sections.
Congratulations! You have learned to use the Square/Squared tool, not mention you are half way through your Journeys Quilt.
