If These Threads Could Talk is joining forces with Mama Said Sew (Terri Butler) to create an awesome new partnership. You can follow our adventures on our new Facebook page “Mama Said These Threads Could Talk”.

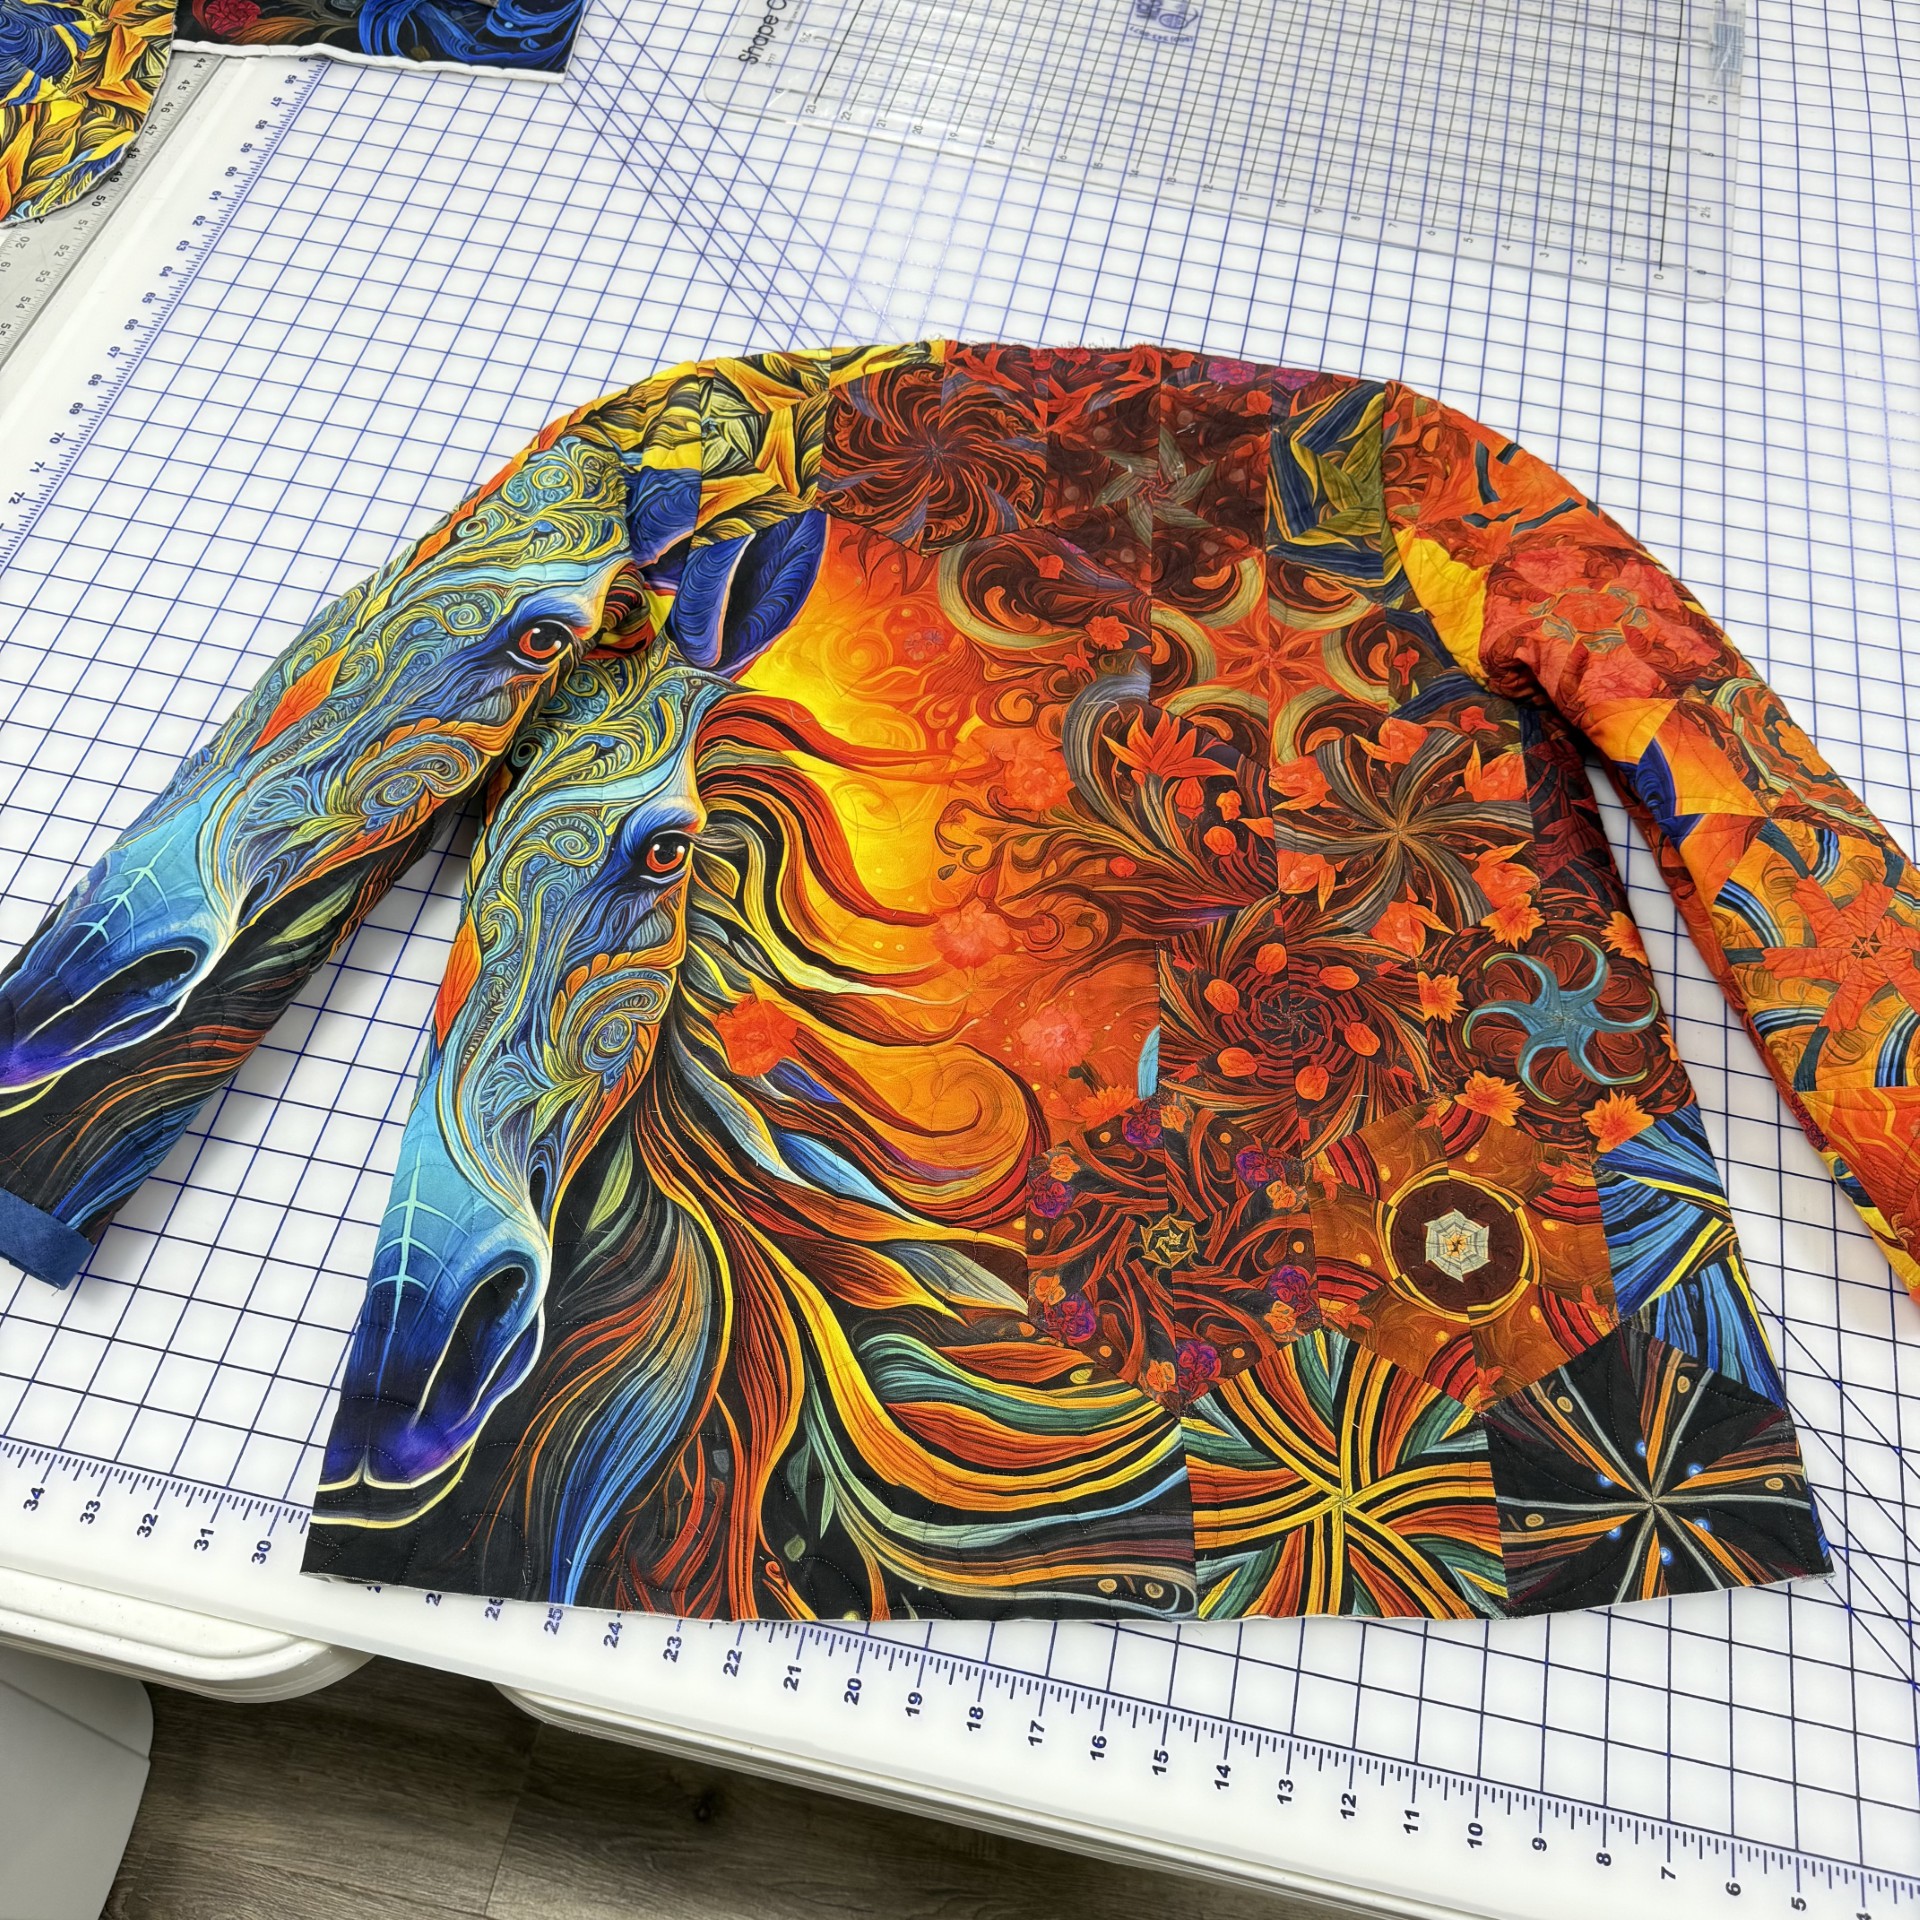
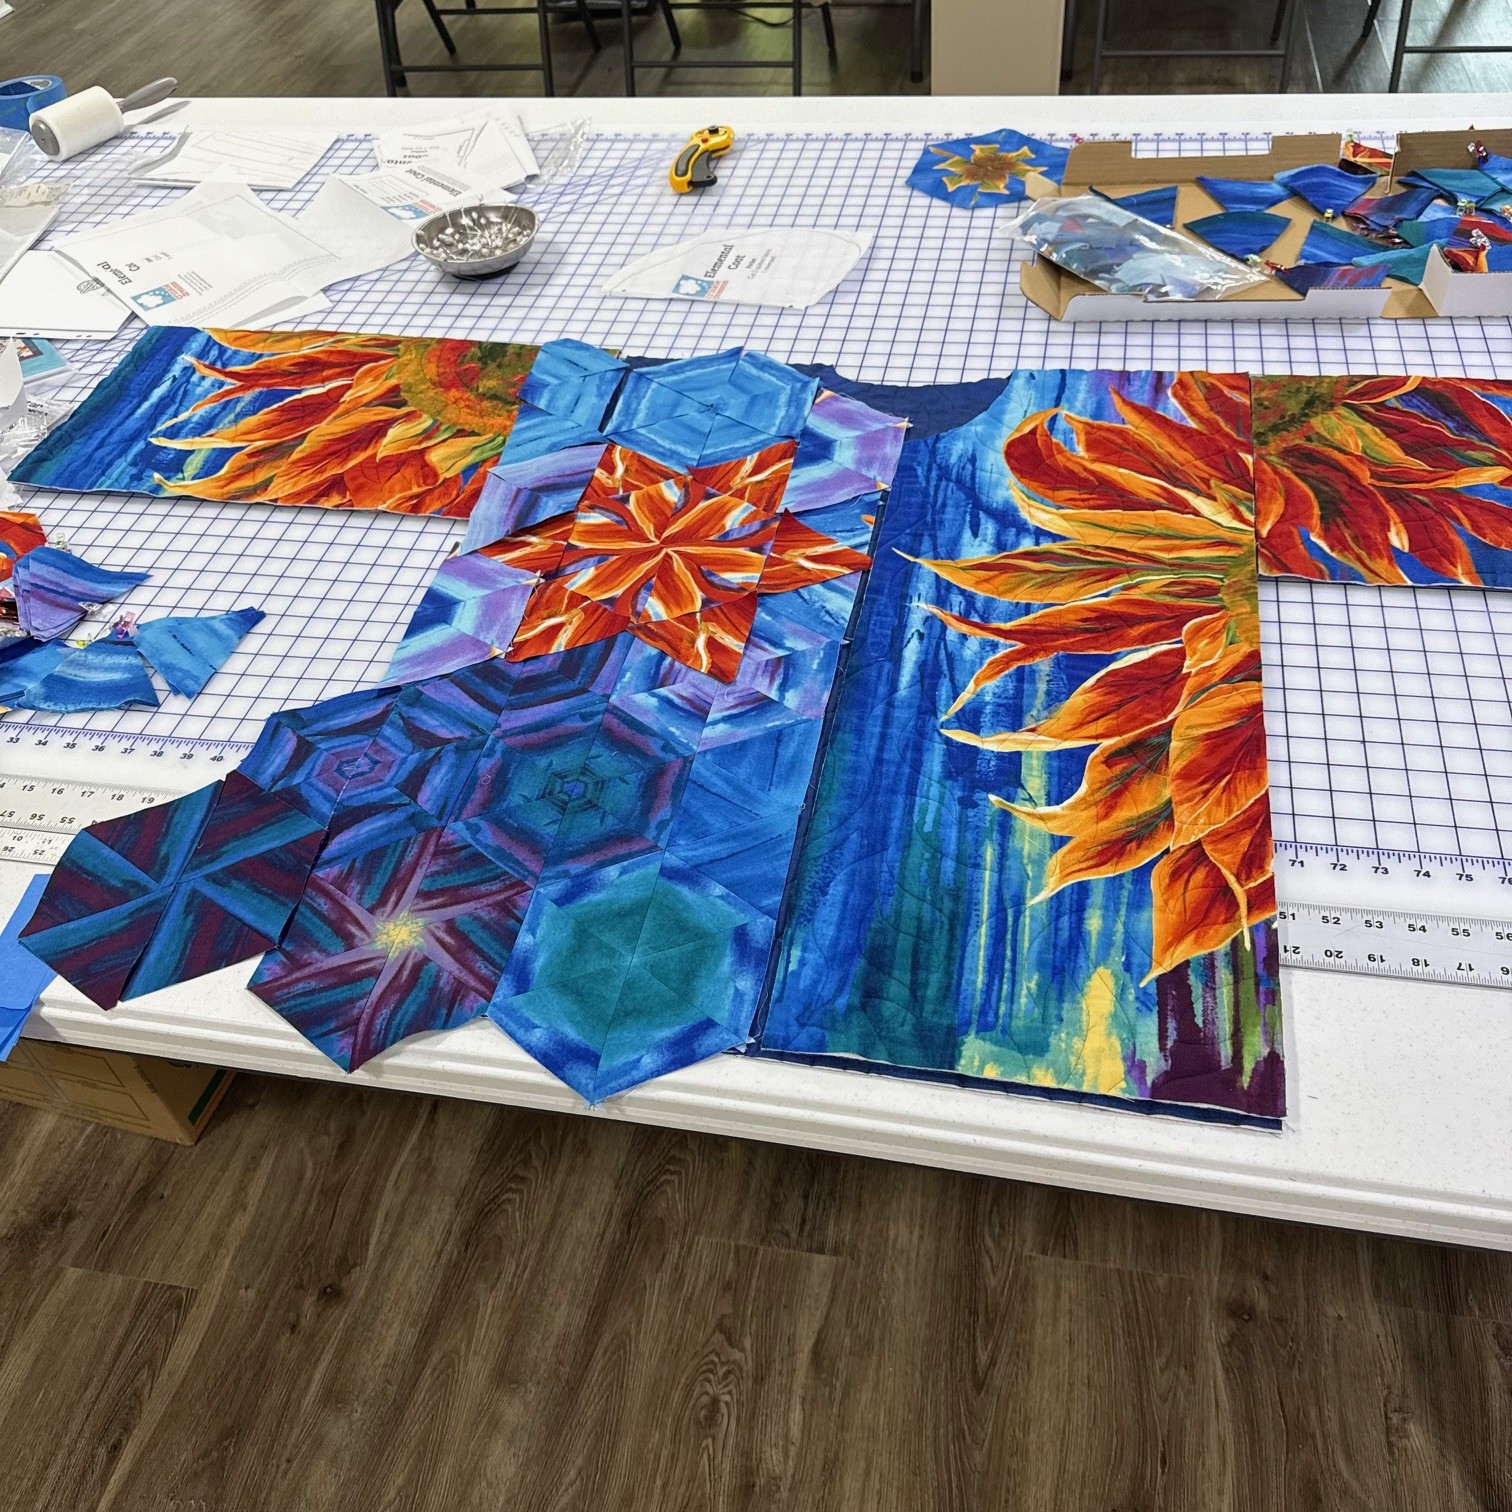
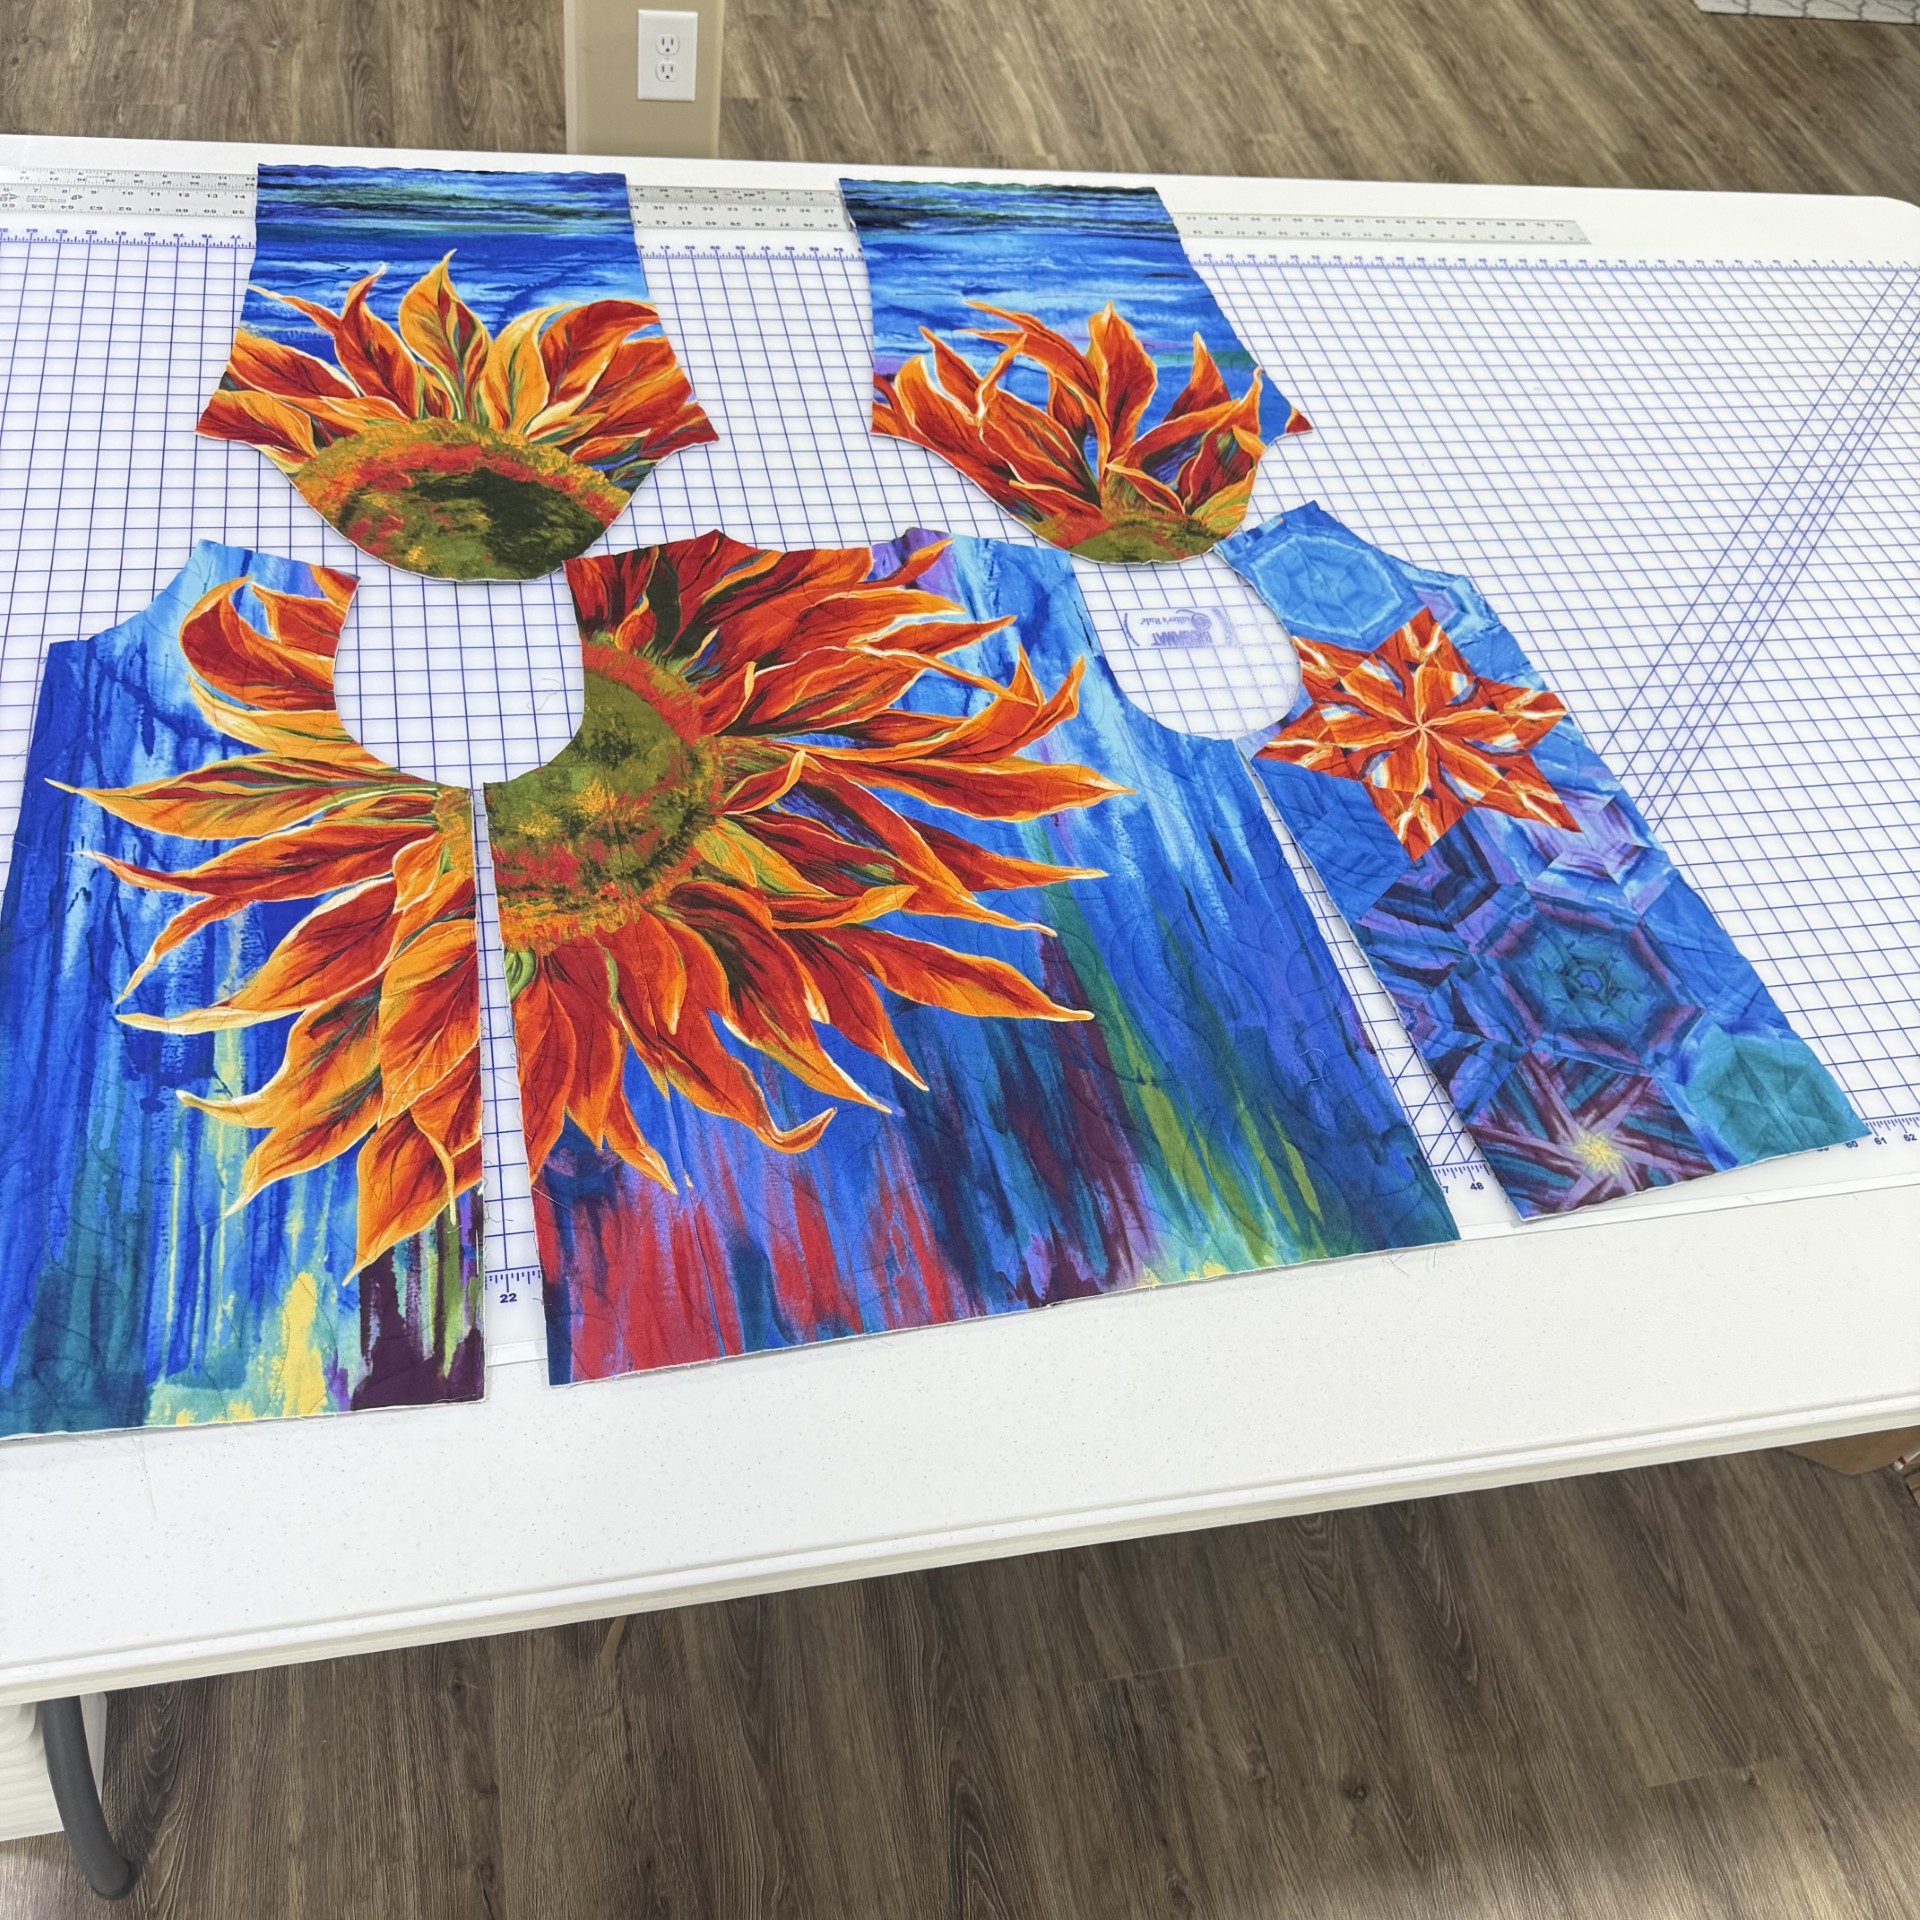
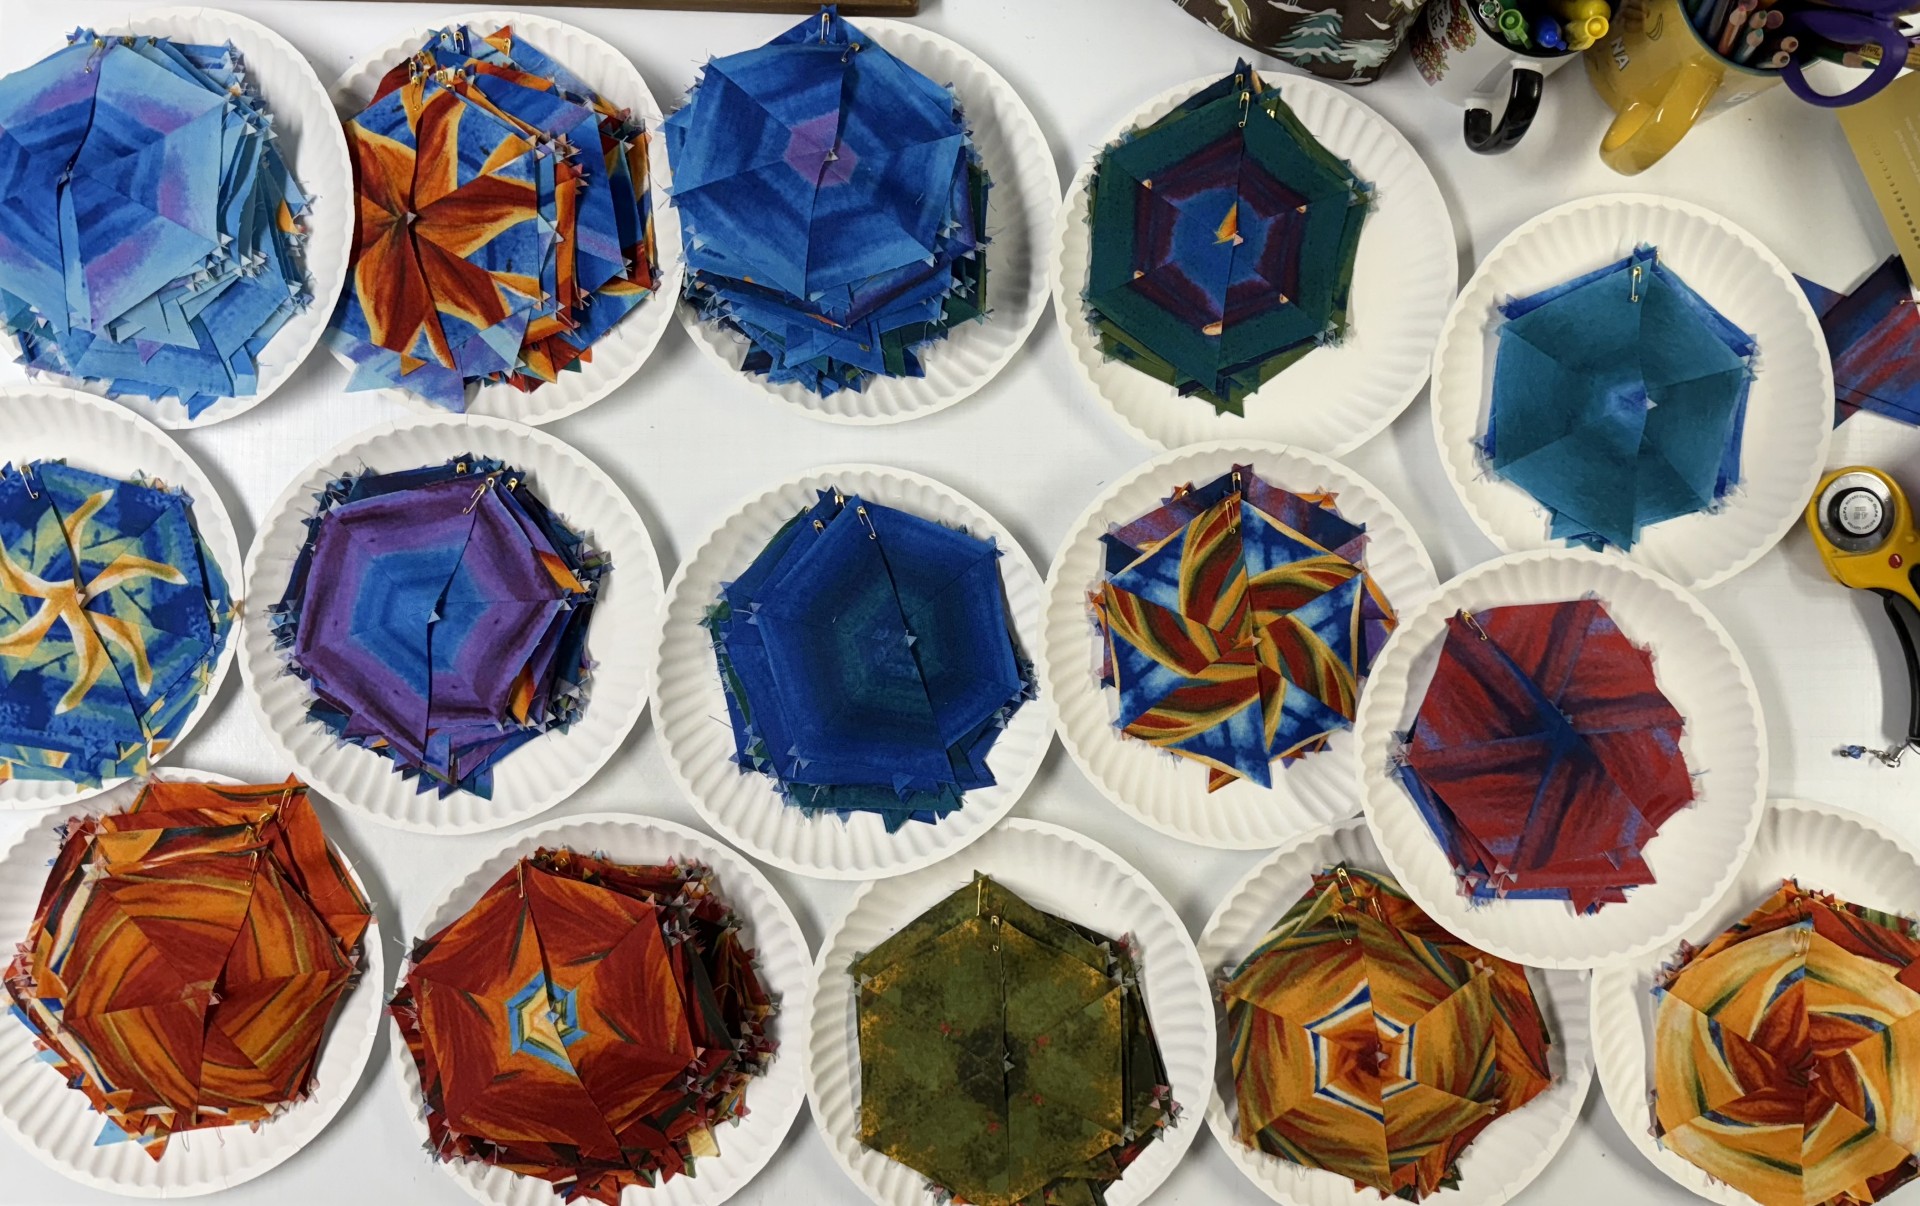
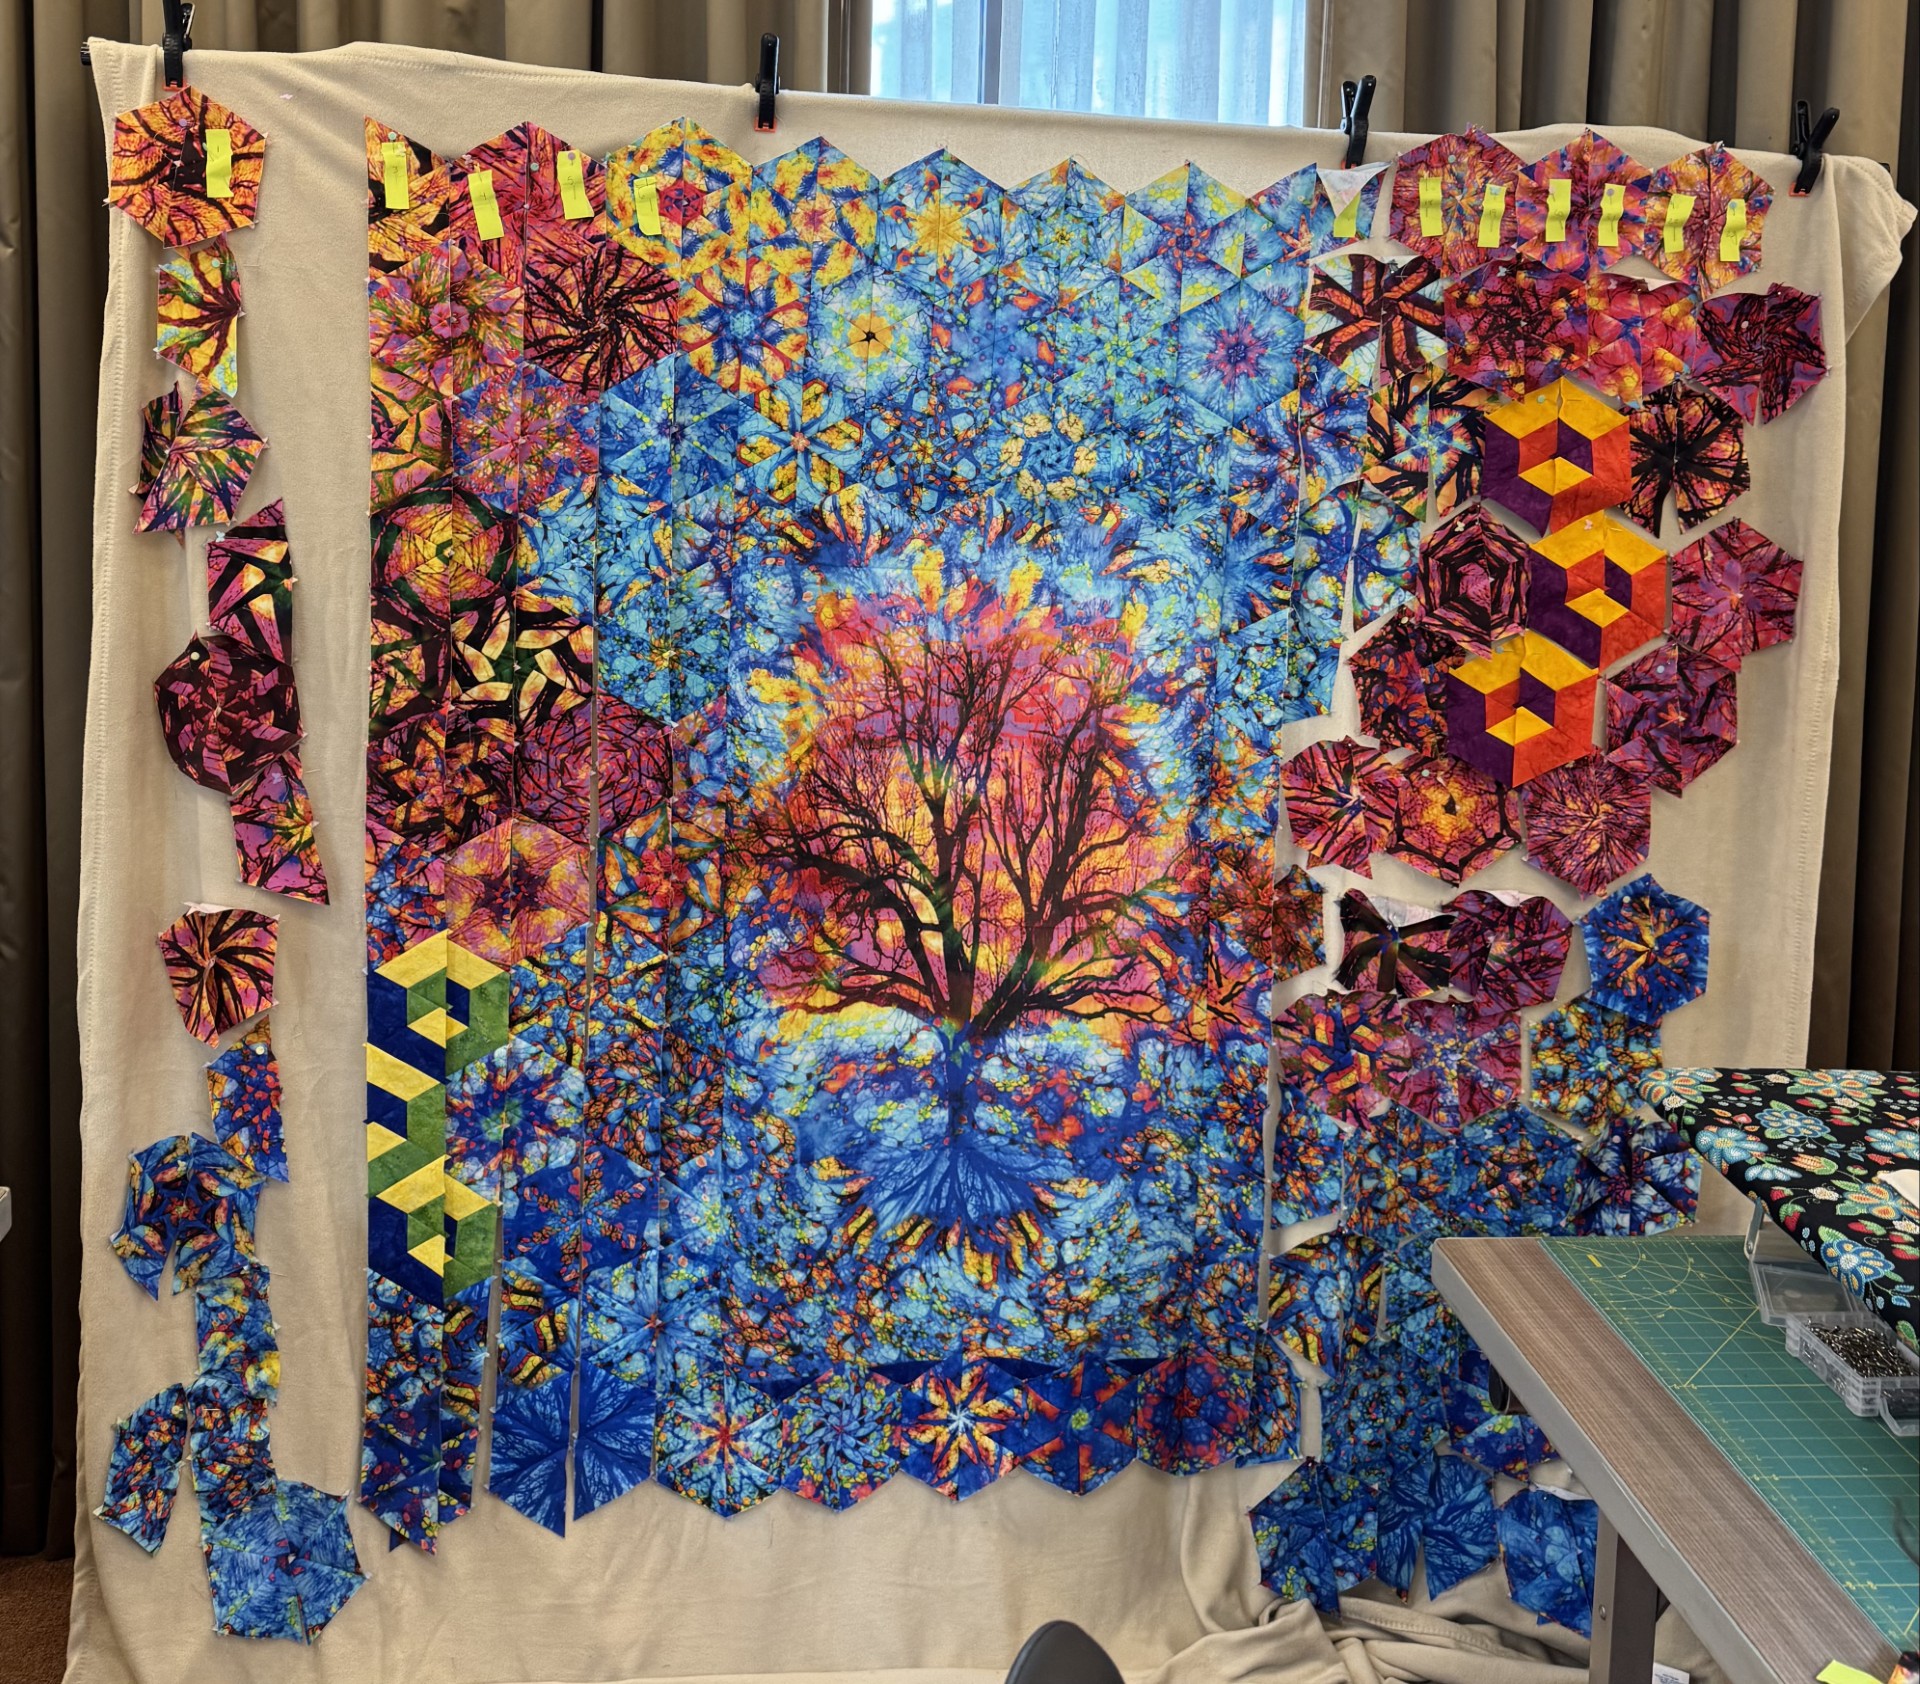
We will challenge each other by making a coat and a quilt using the same panel! I, of course will make the One Block Wonder (OBW) quilt and Terri will make a OBW Coat. Aren’t they just fabulous? The panel is Elf and Dragon by Rubin Design Studio.
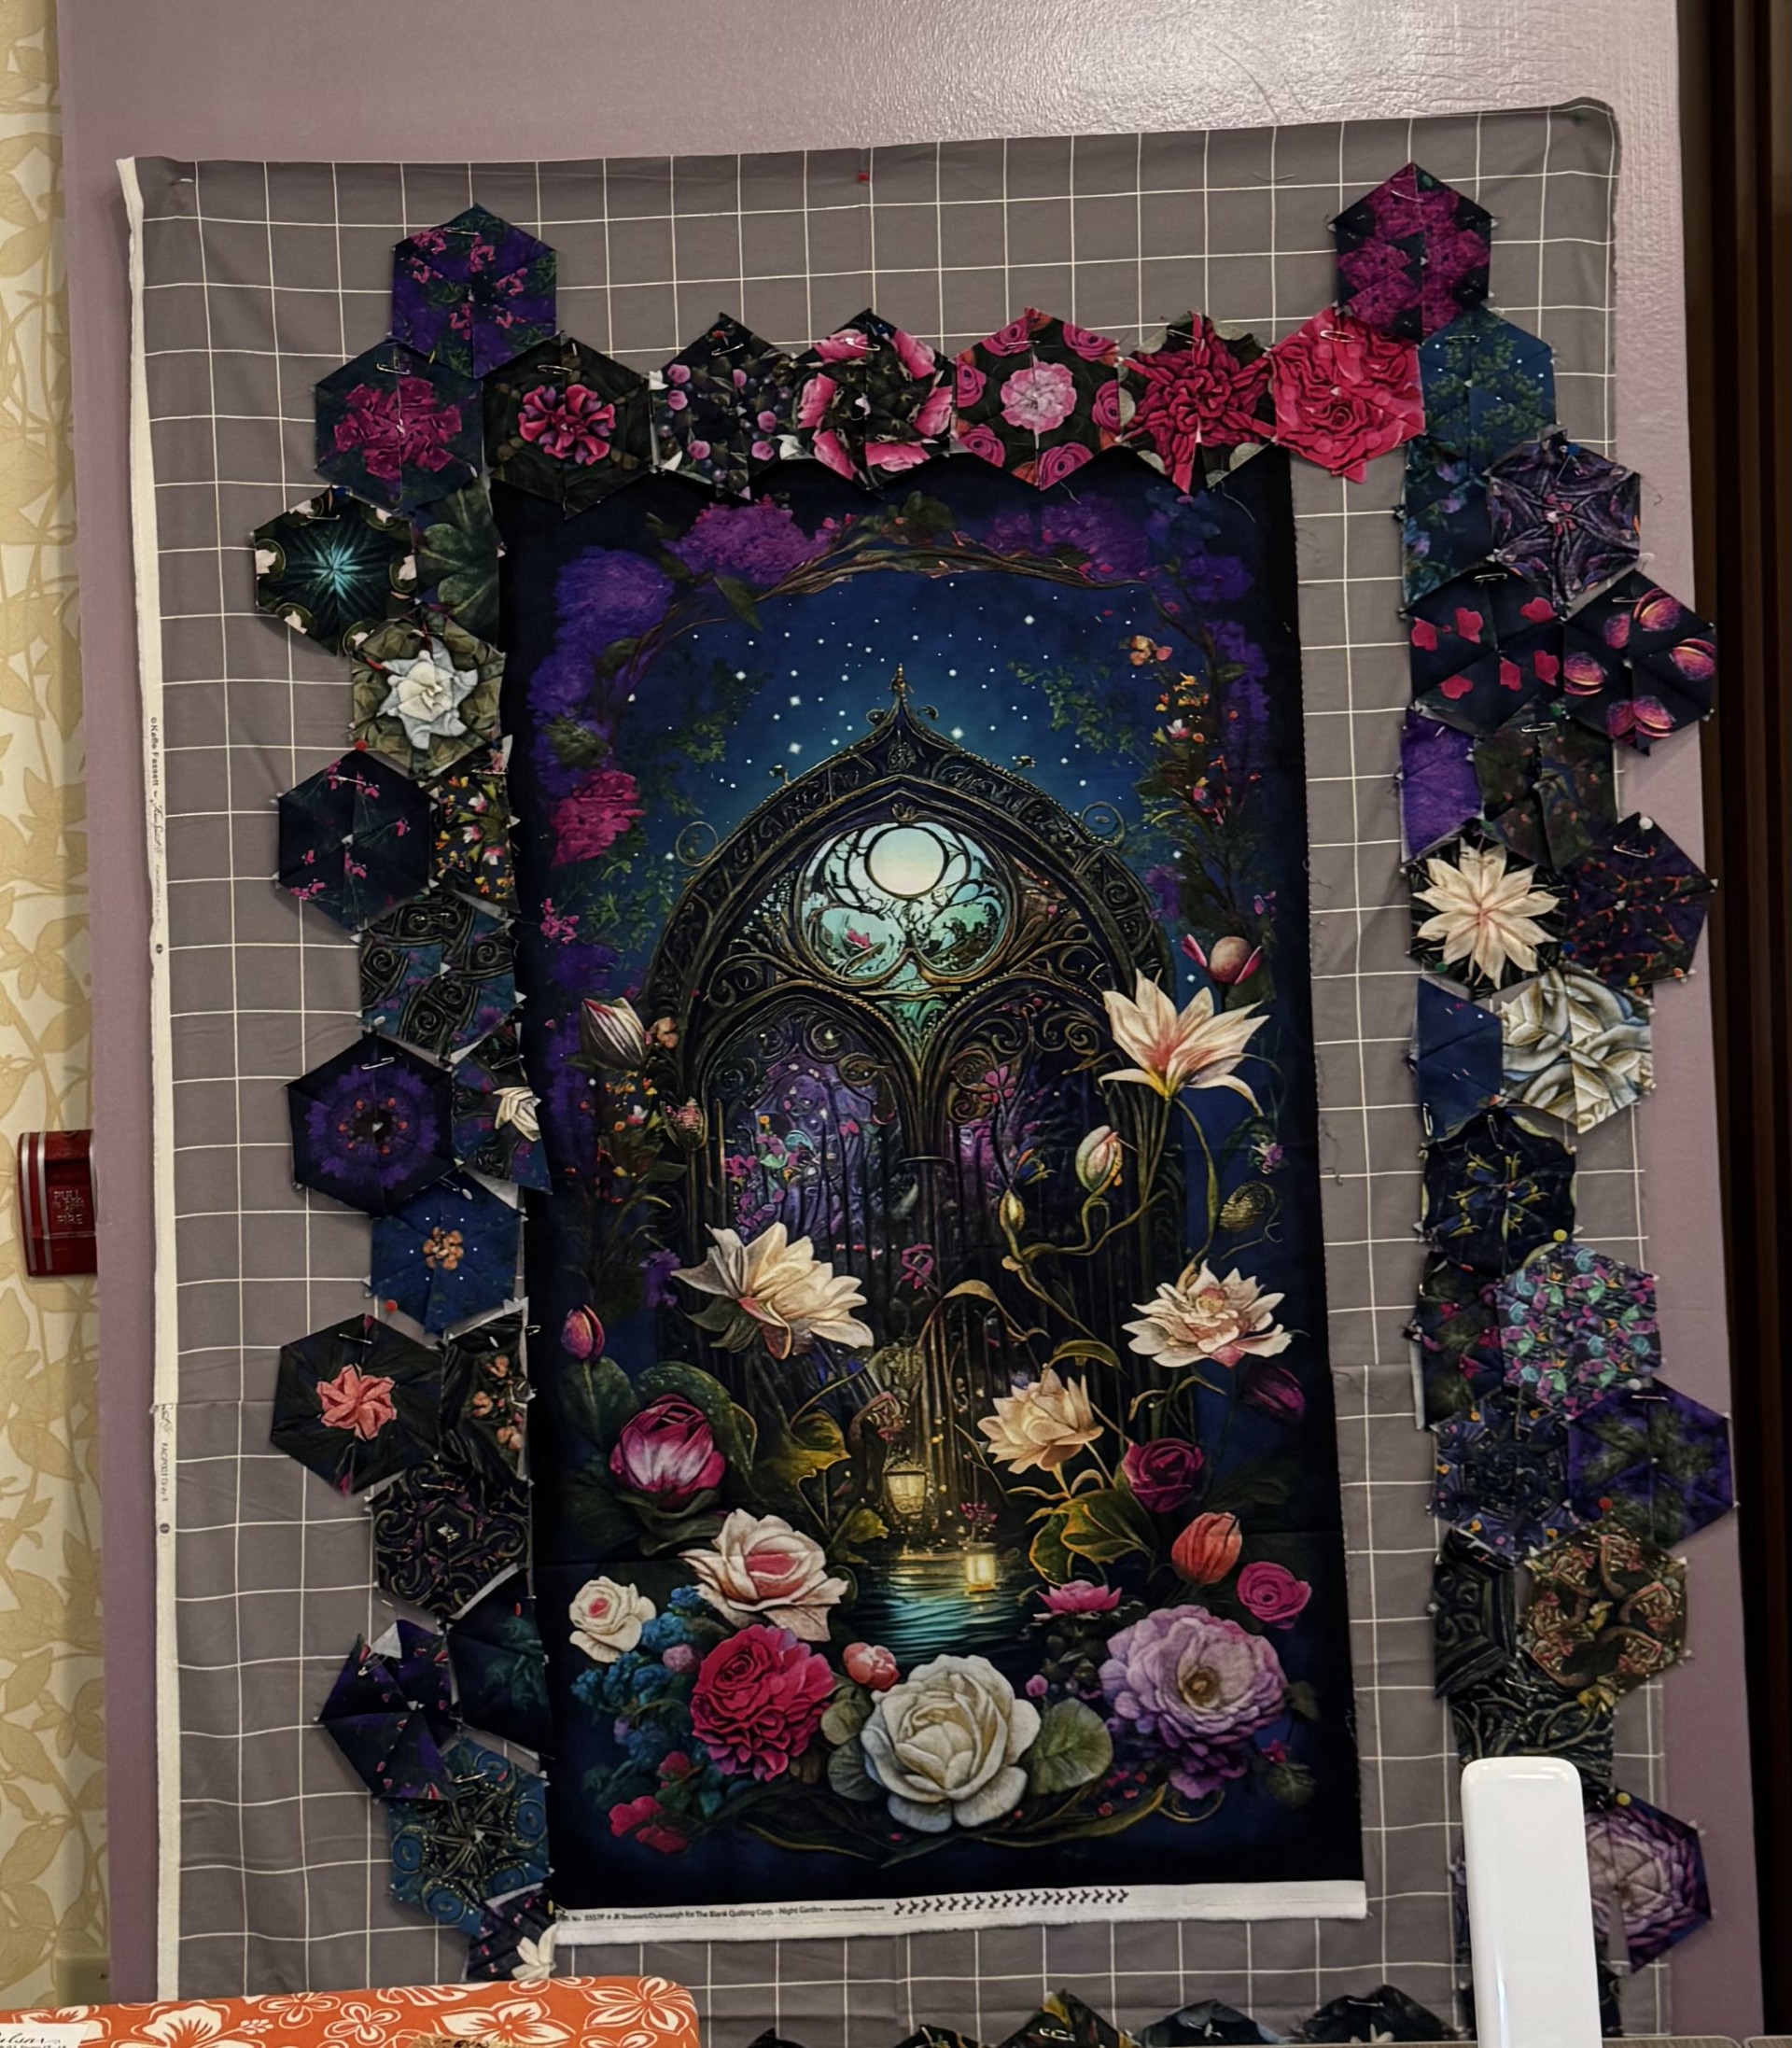
I just got home from a quilt retreat at White Eagle Conference Center in Hamilton, NY.


Terri and I have great fun together.

Terri is working on Steampunk Mona OBW Coat. I will start designing the quilt this week. We have new panels arriving from QT Fabrics and Lumin Fabrics.

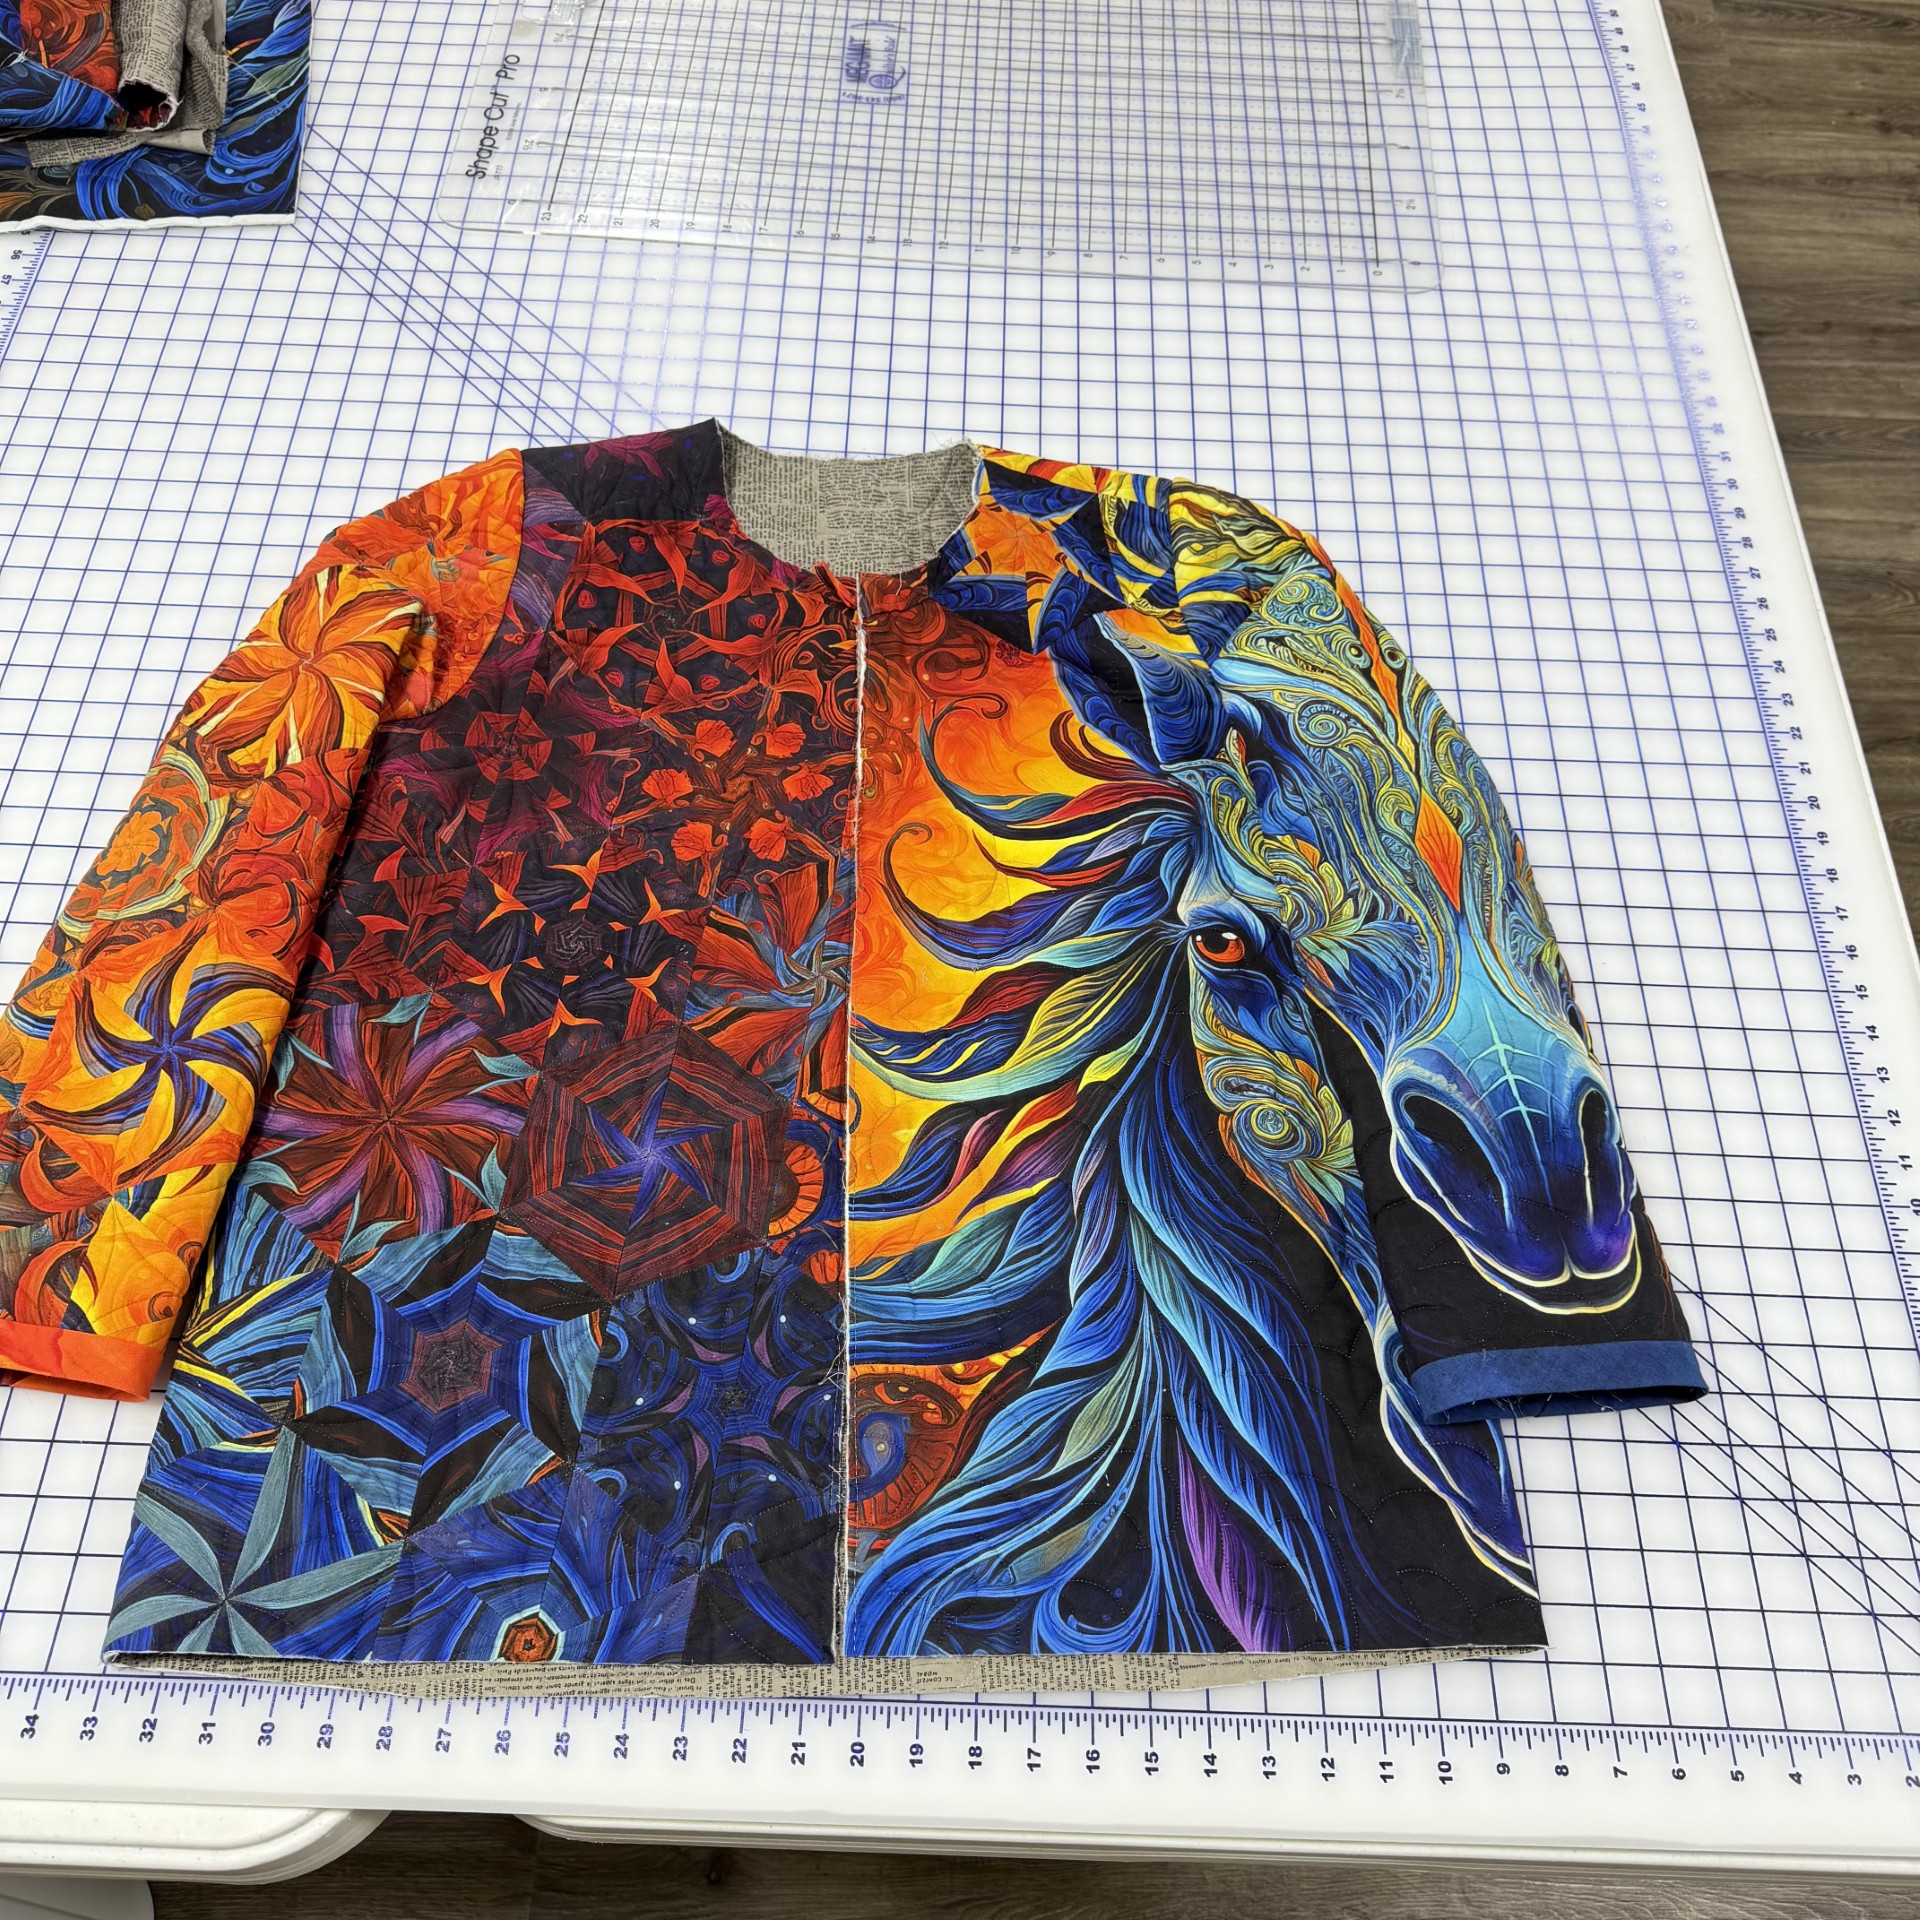
Terri is making me a OBW coat from Creepin it Real panels by QT Fabrics. It’s not quite done yet!

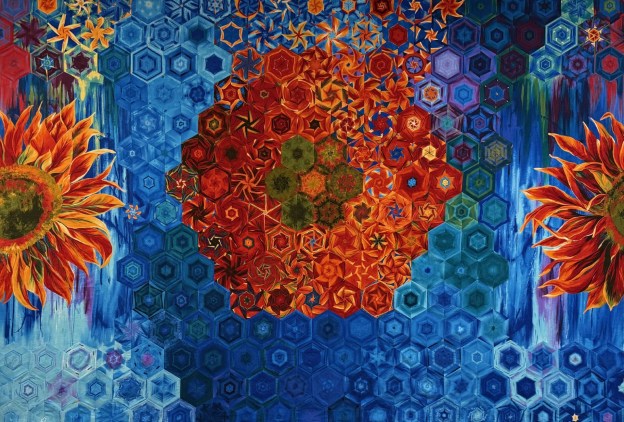
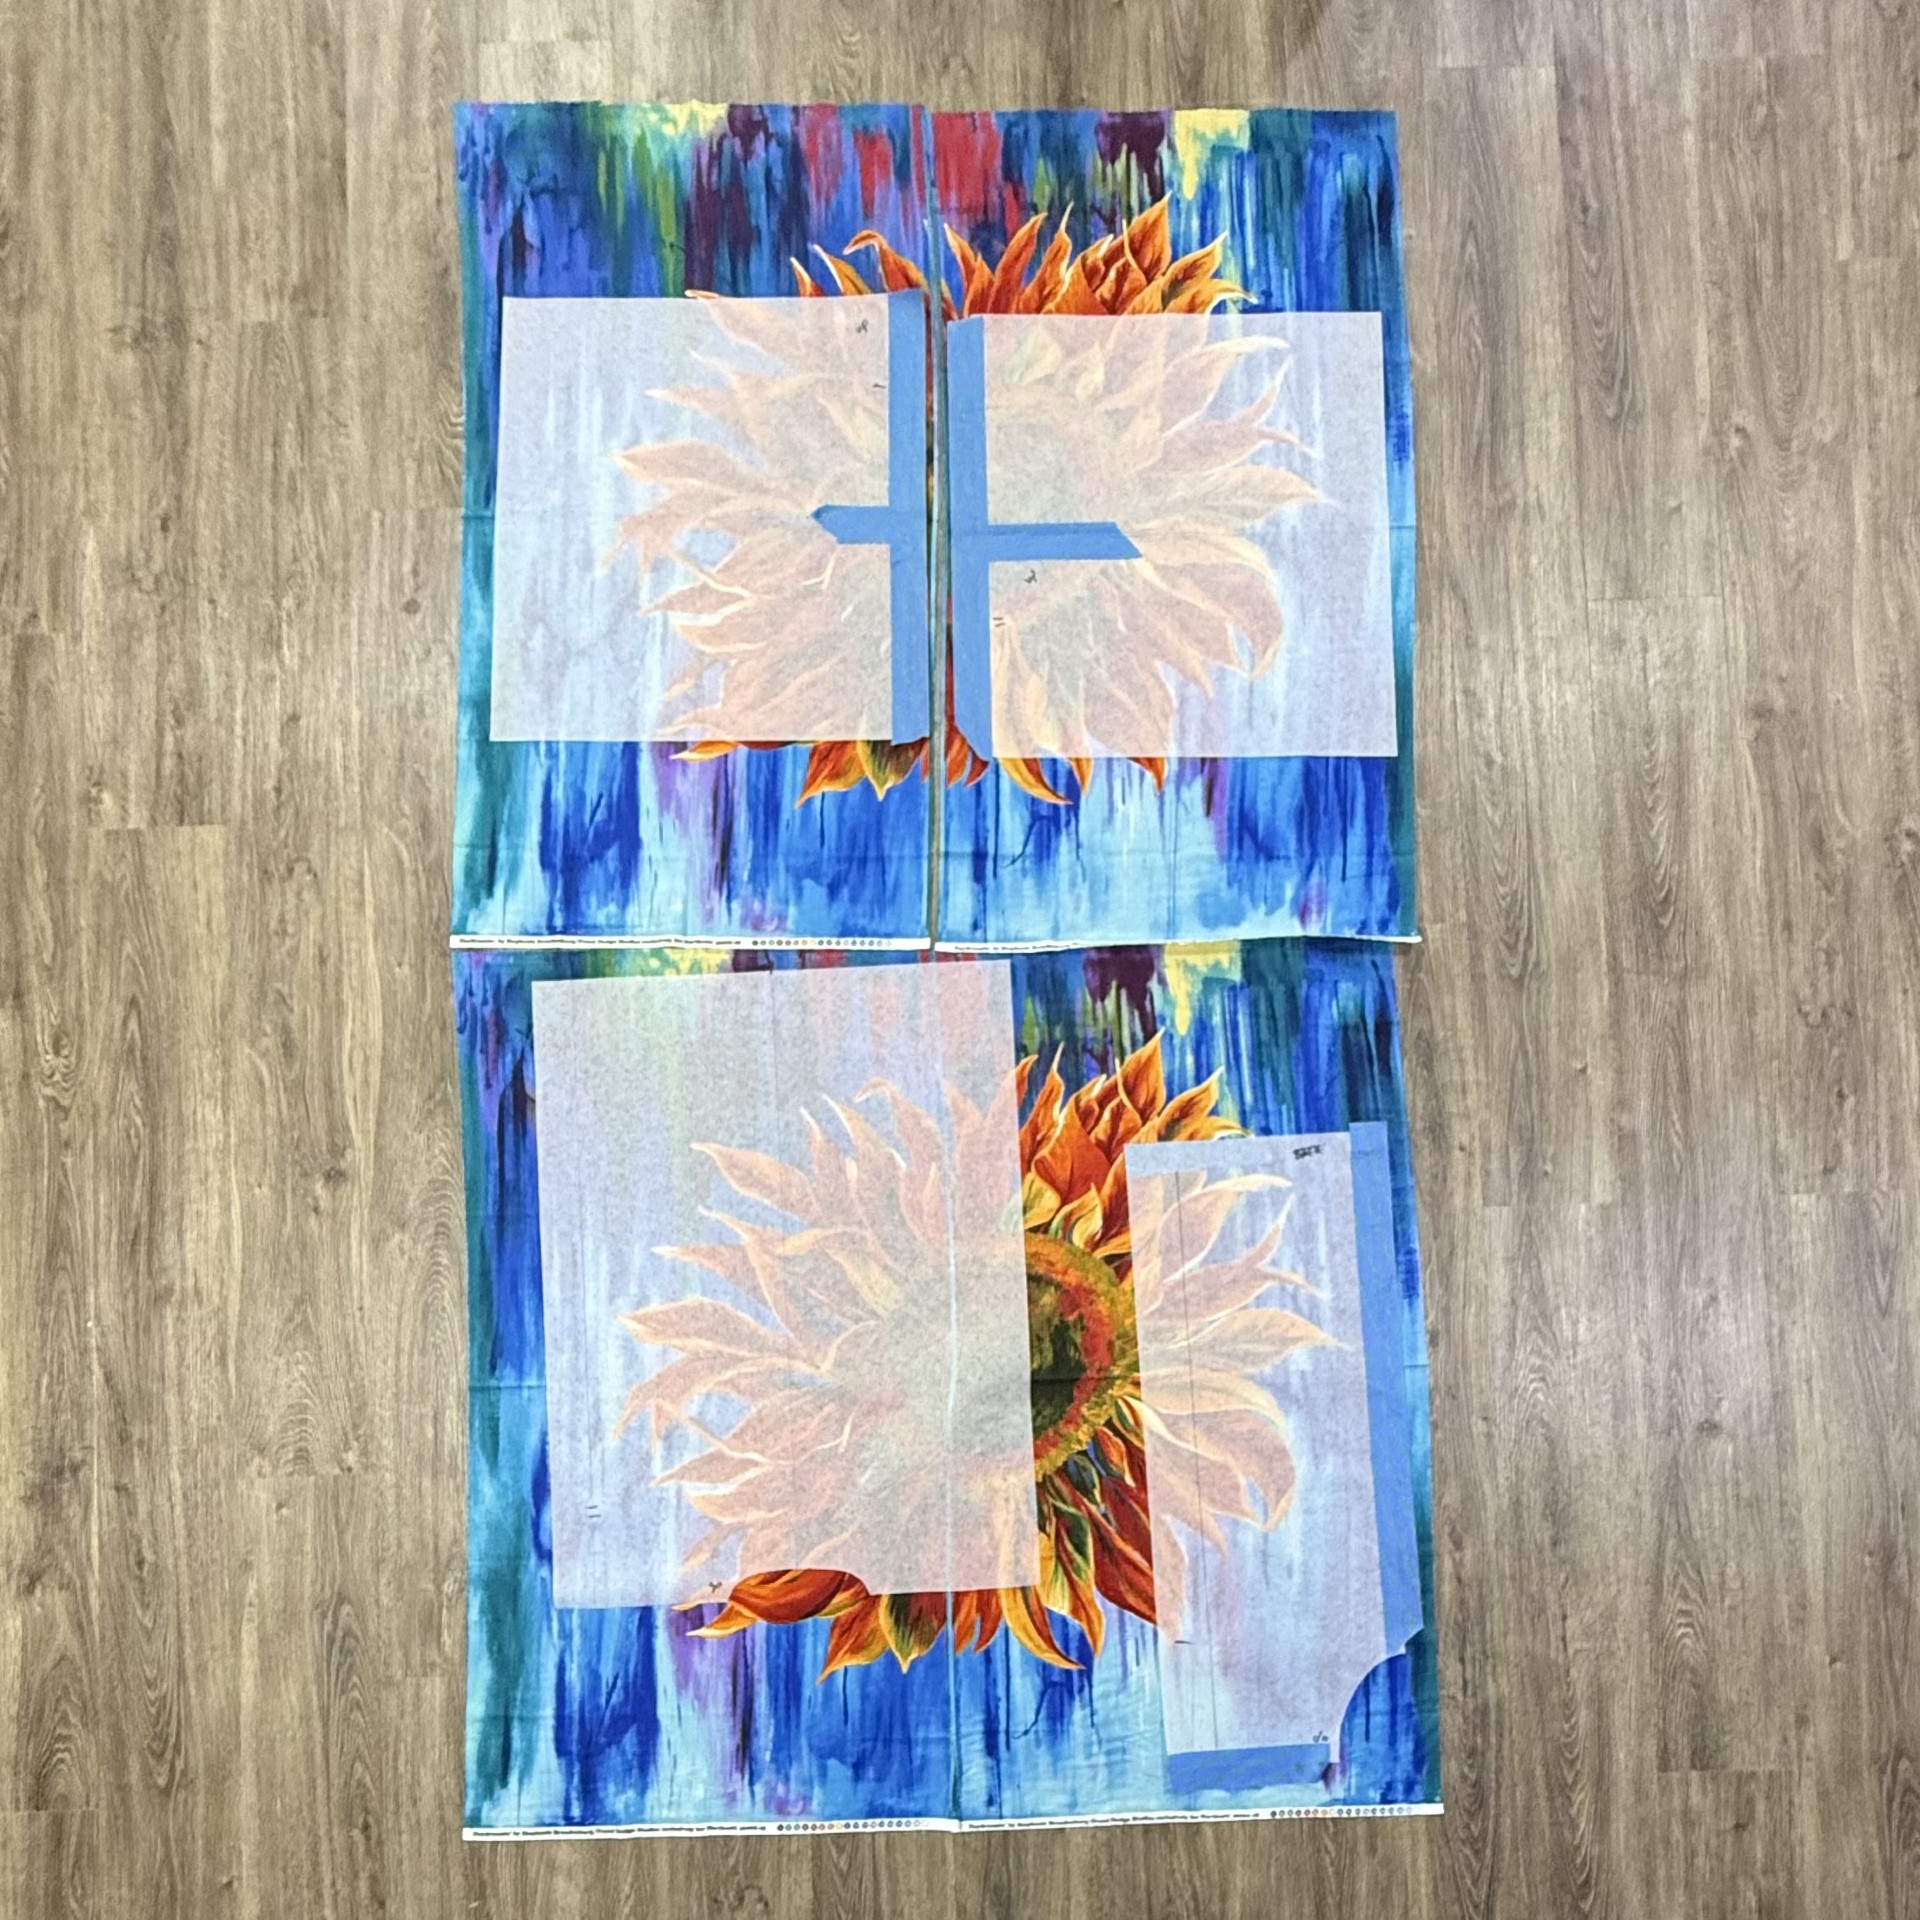
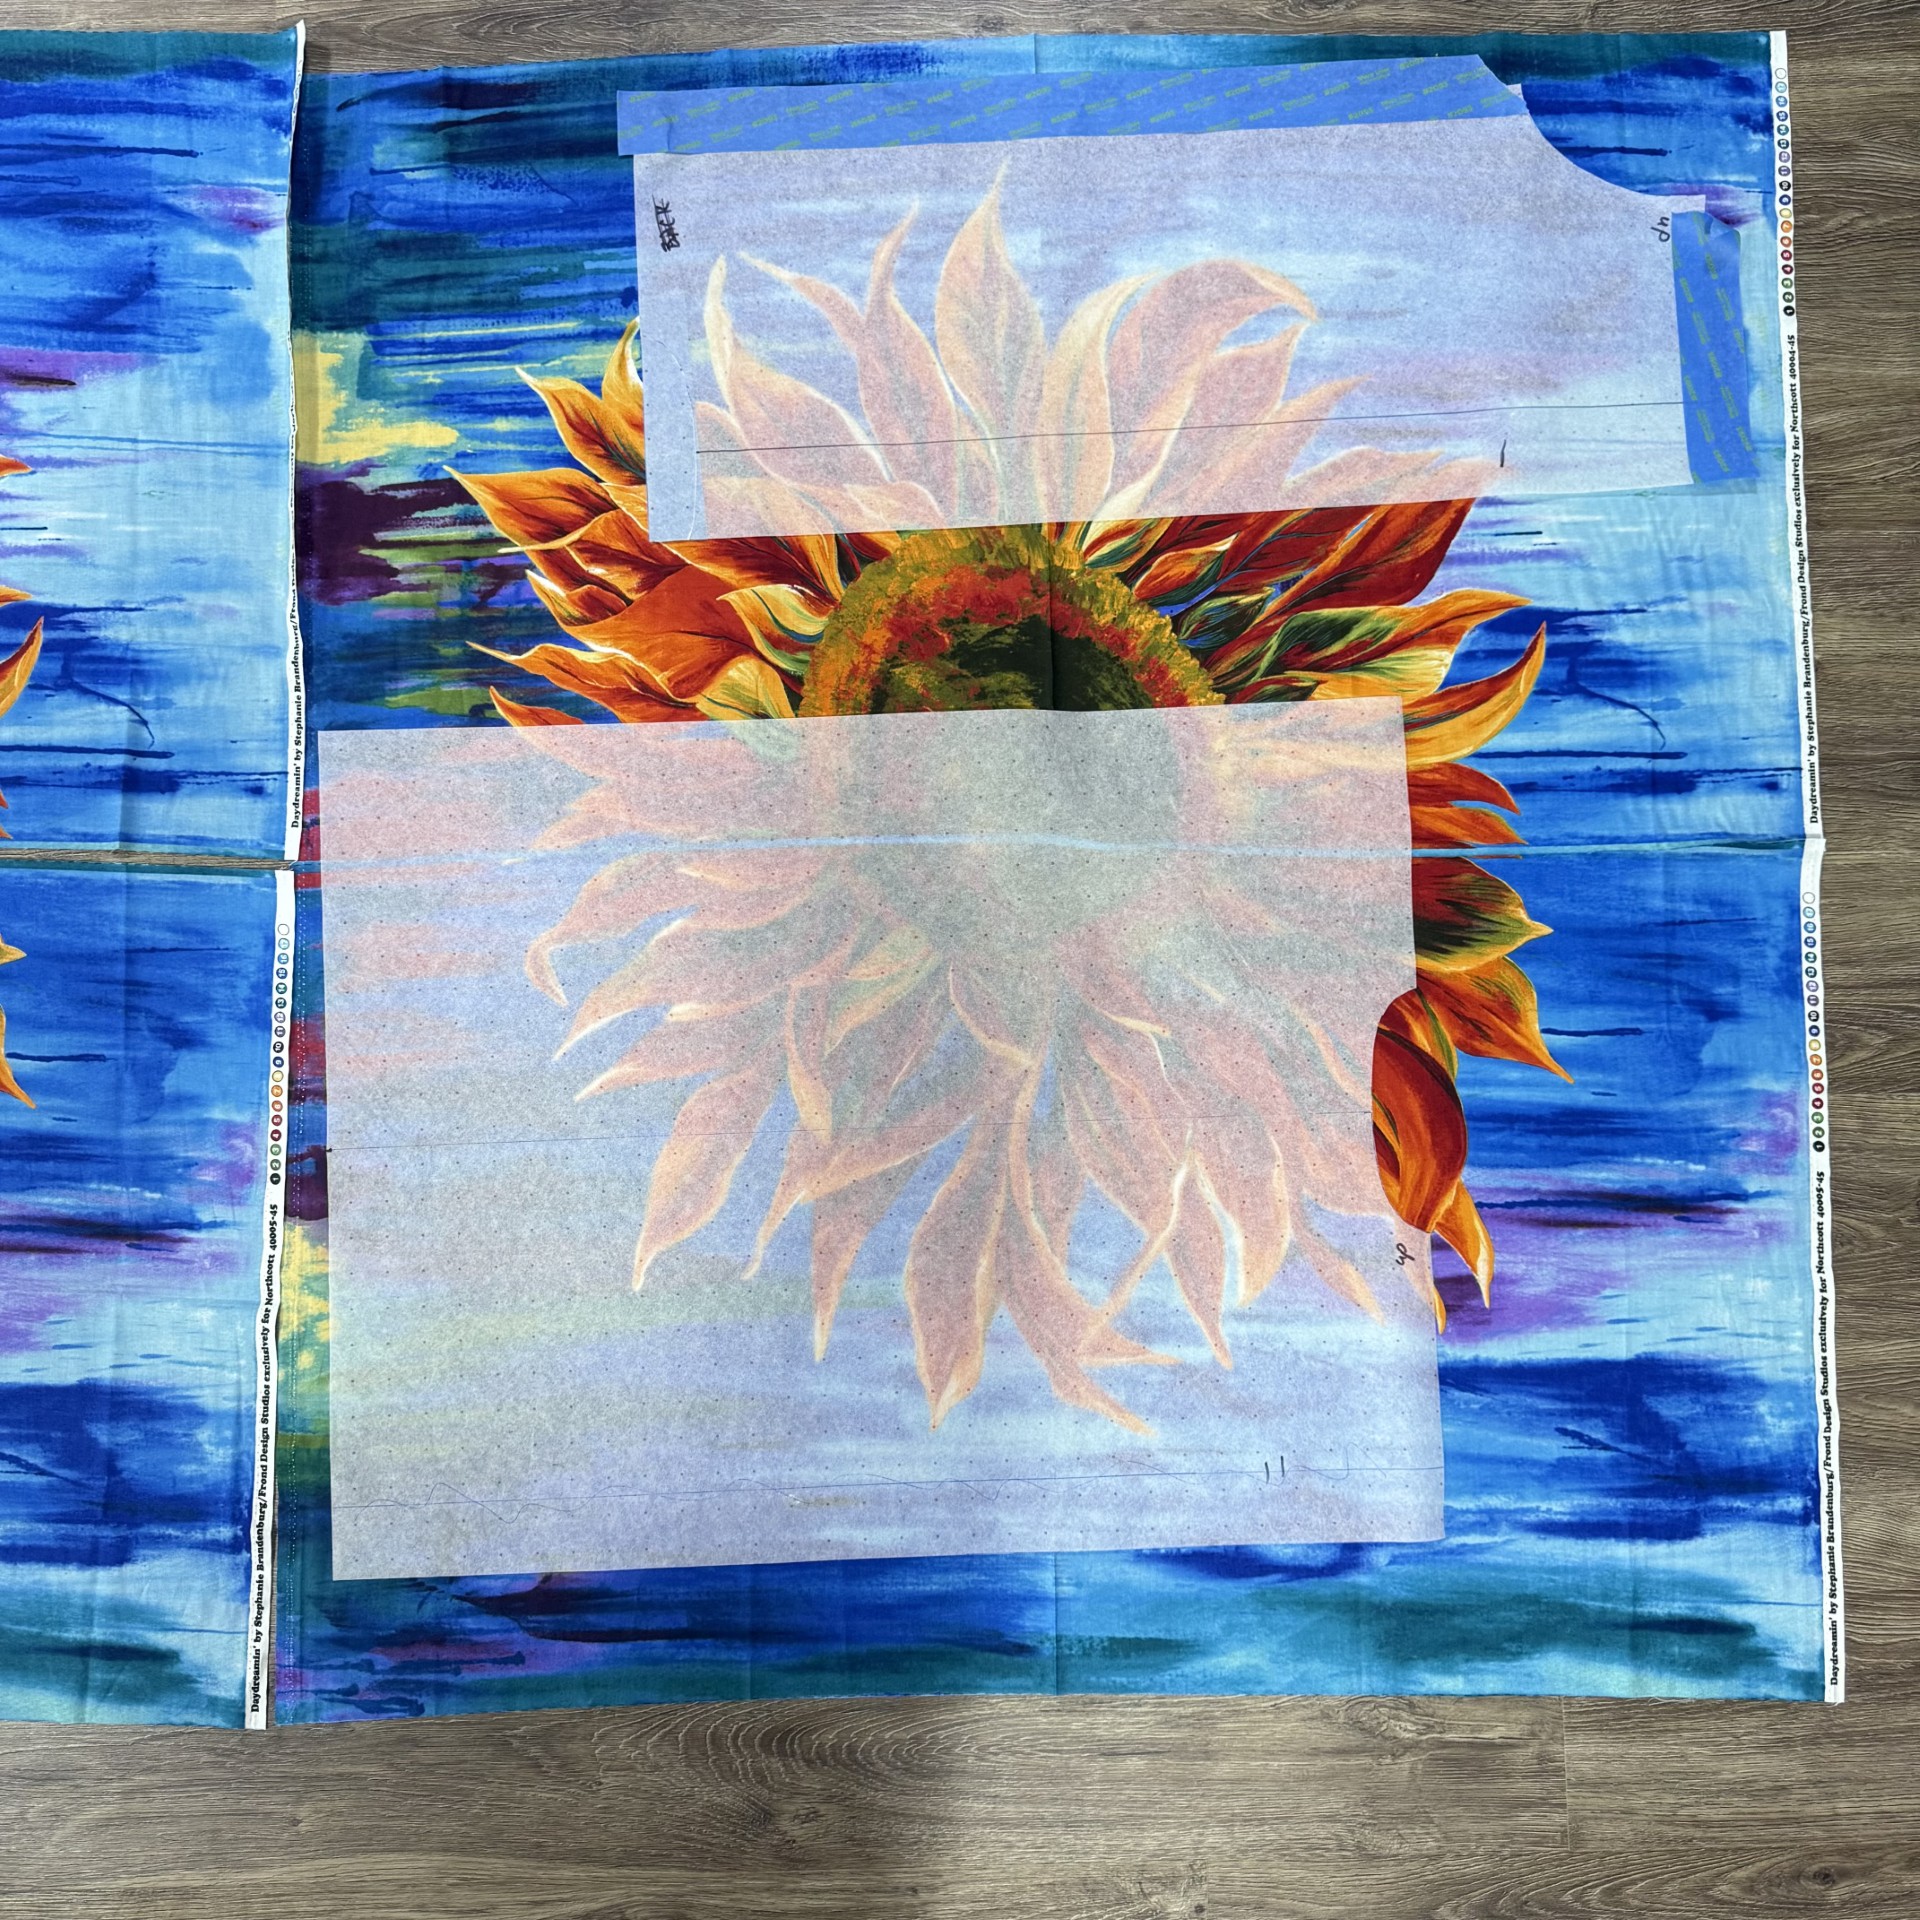
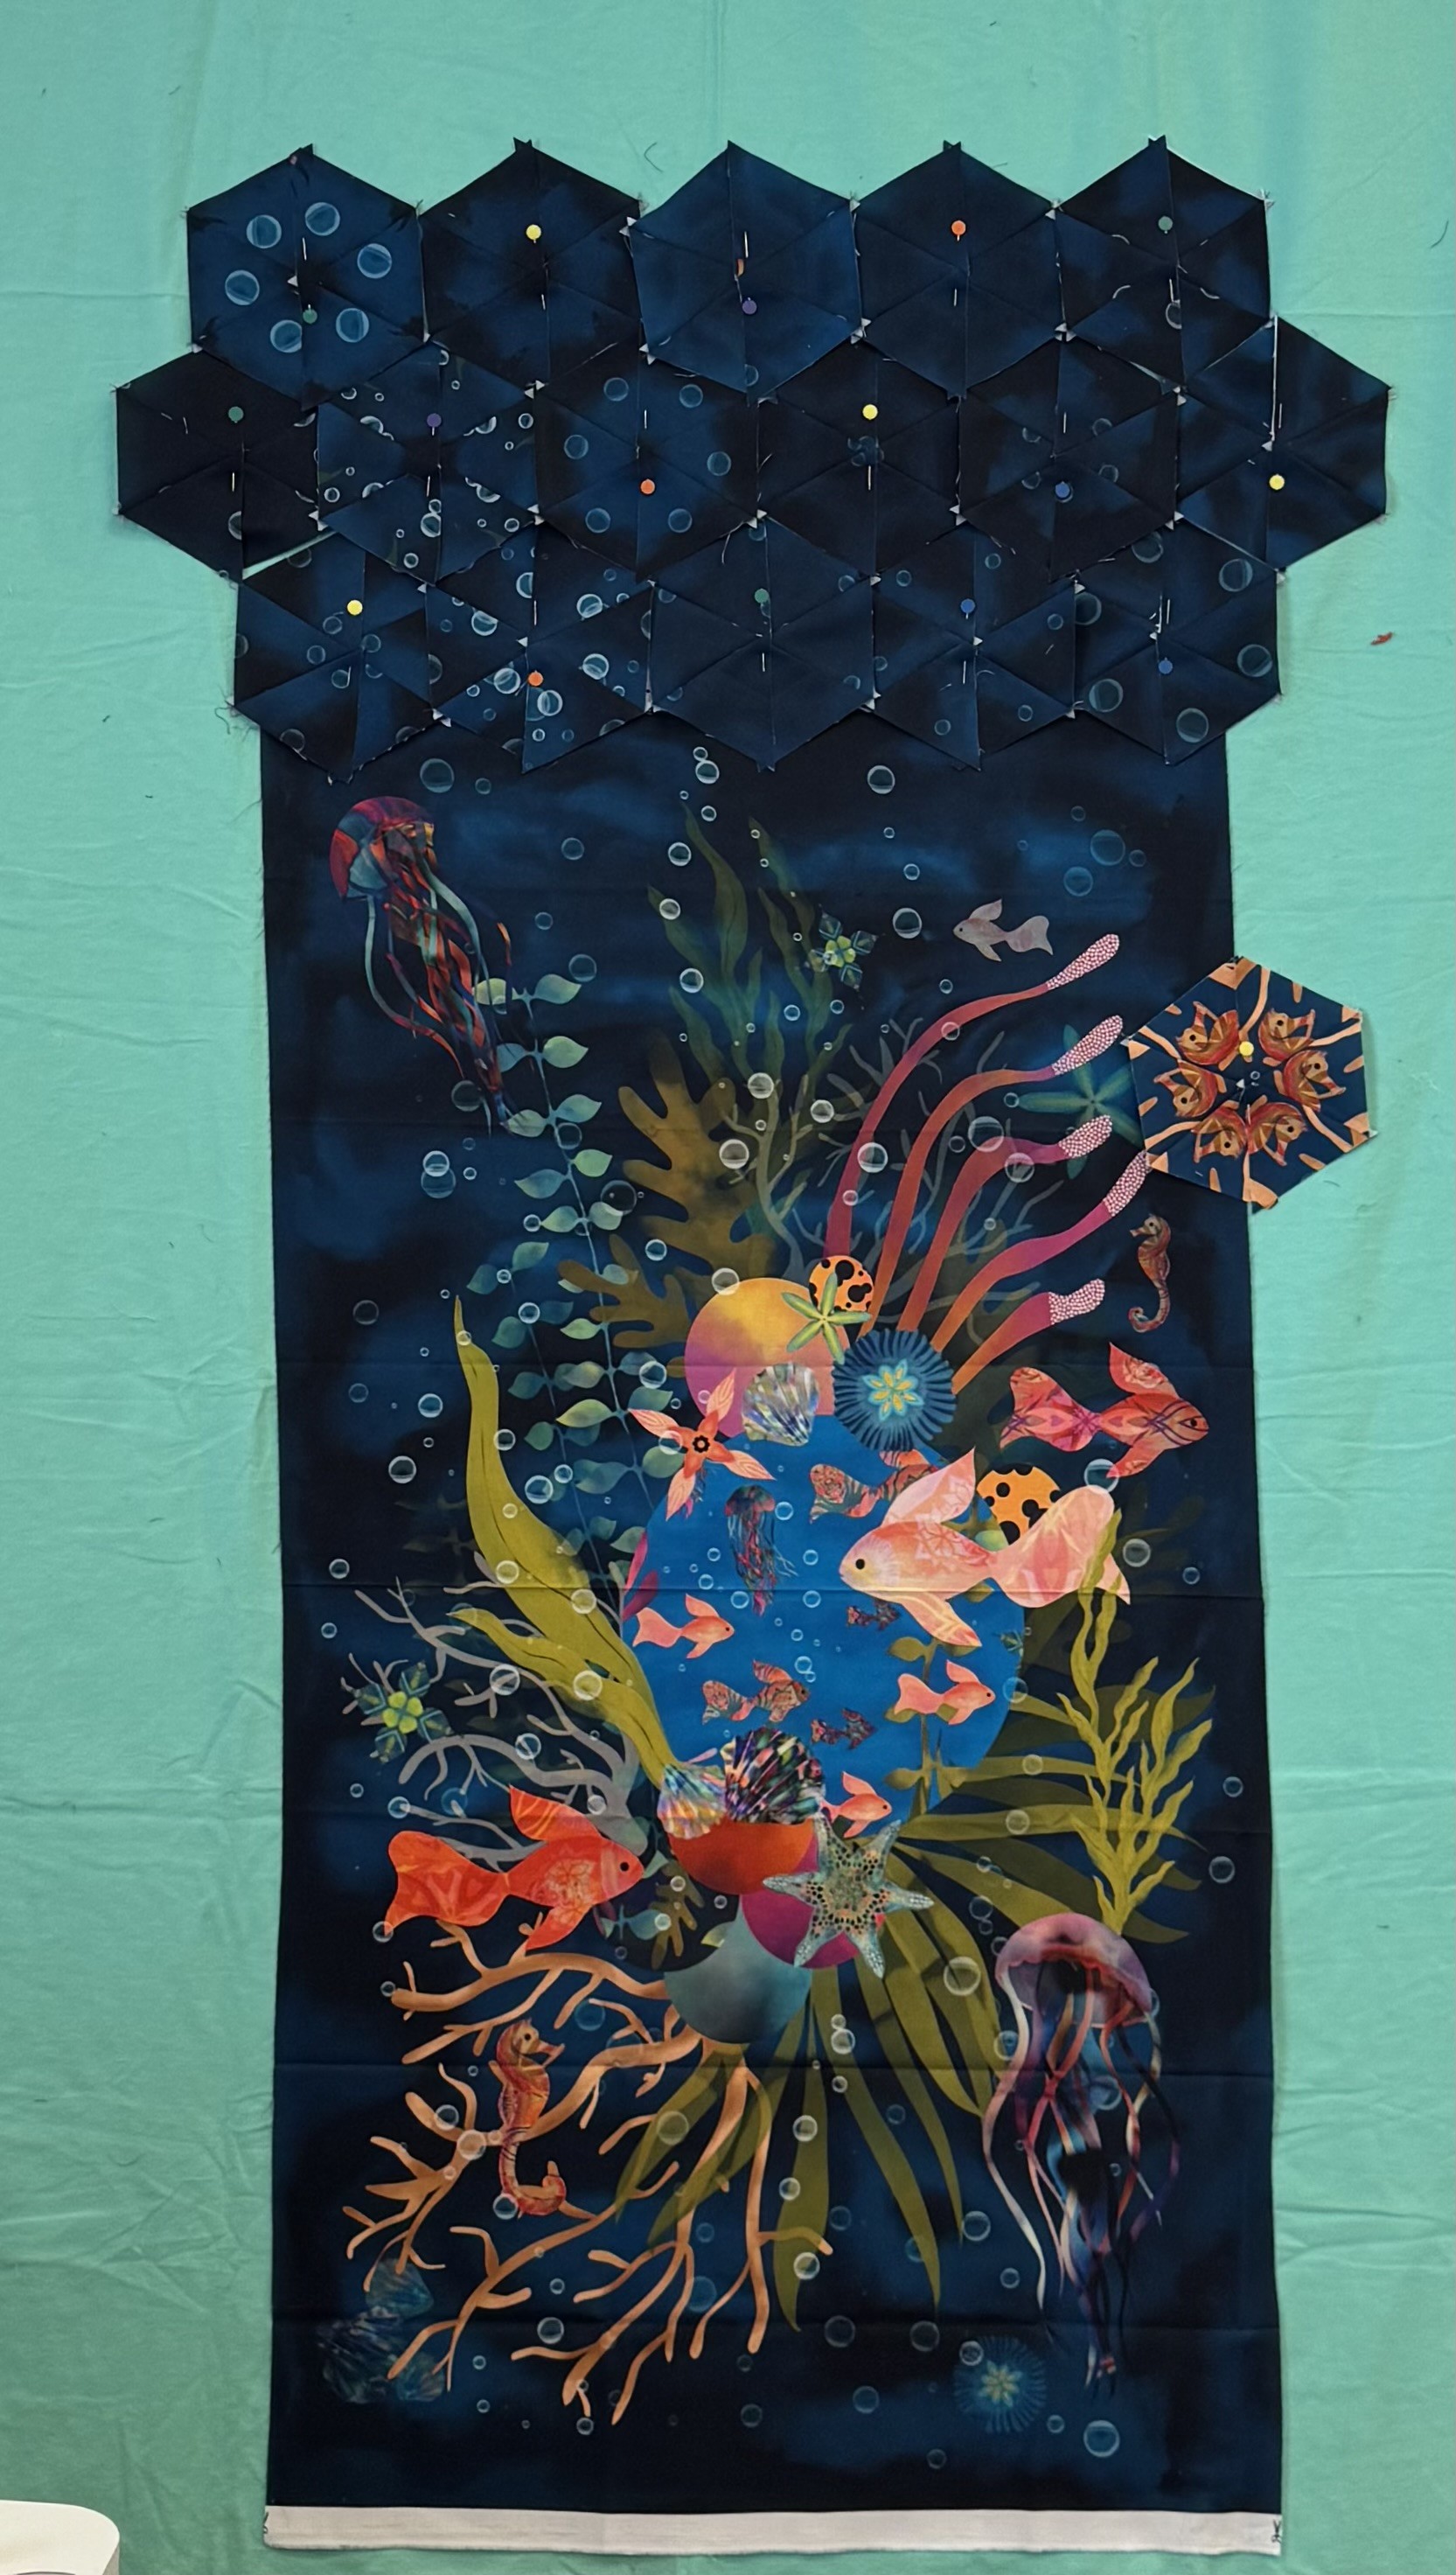
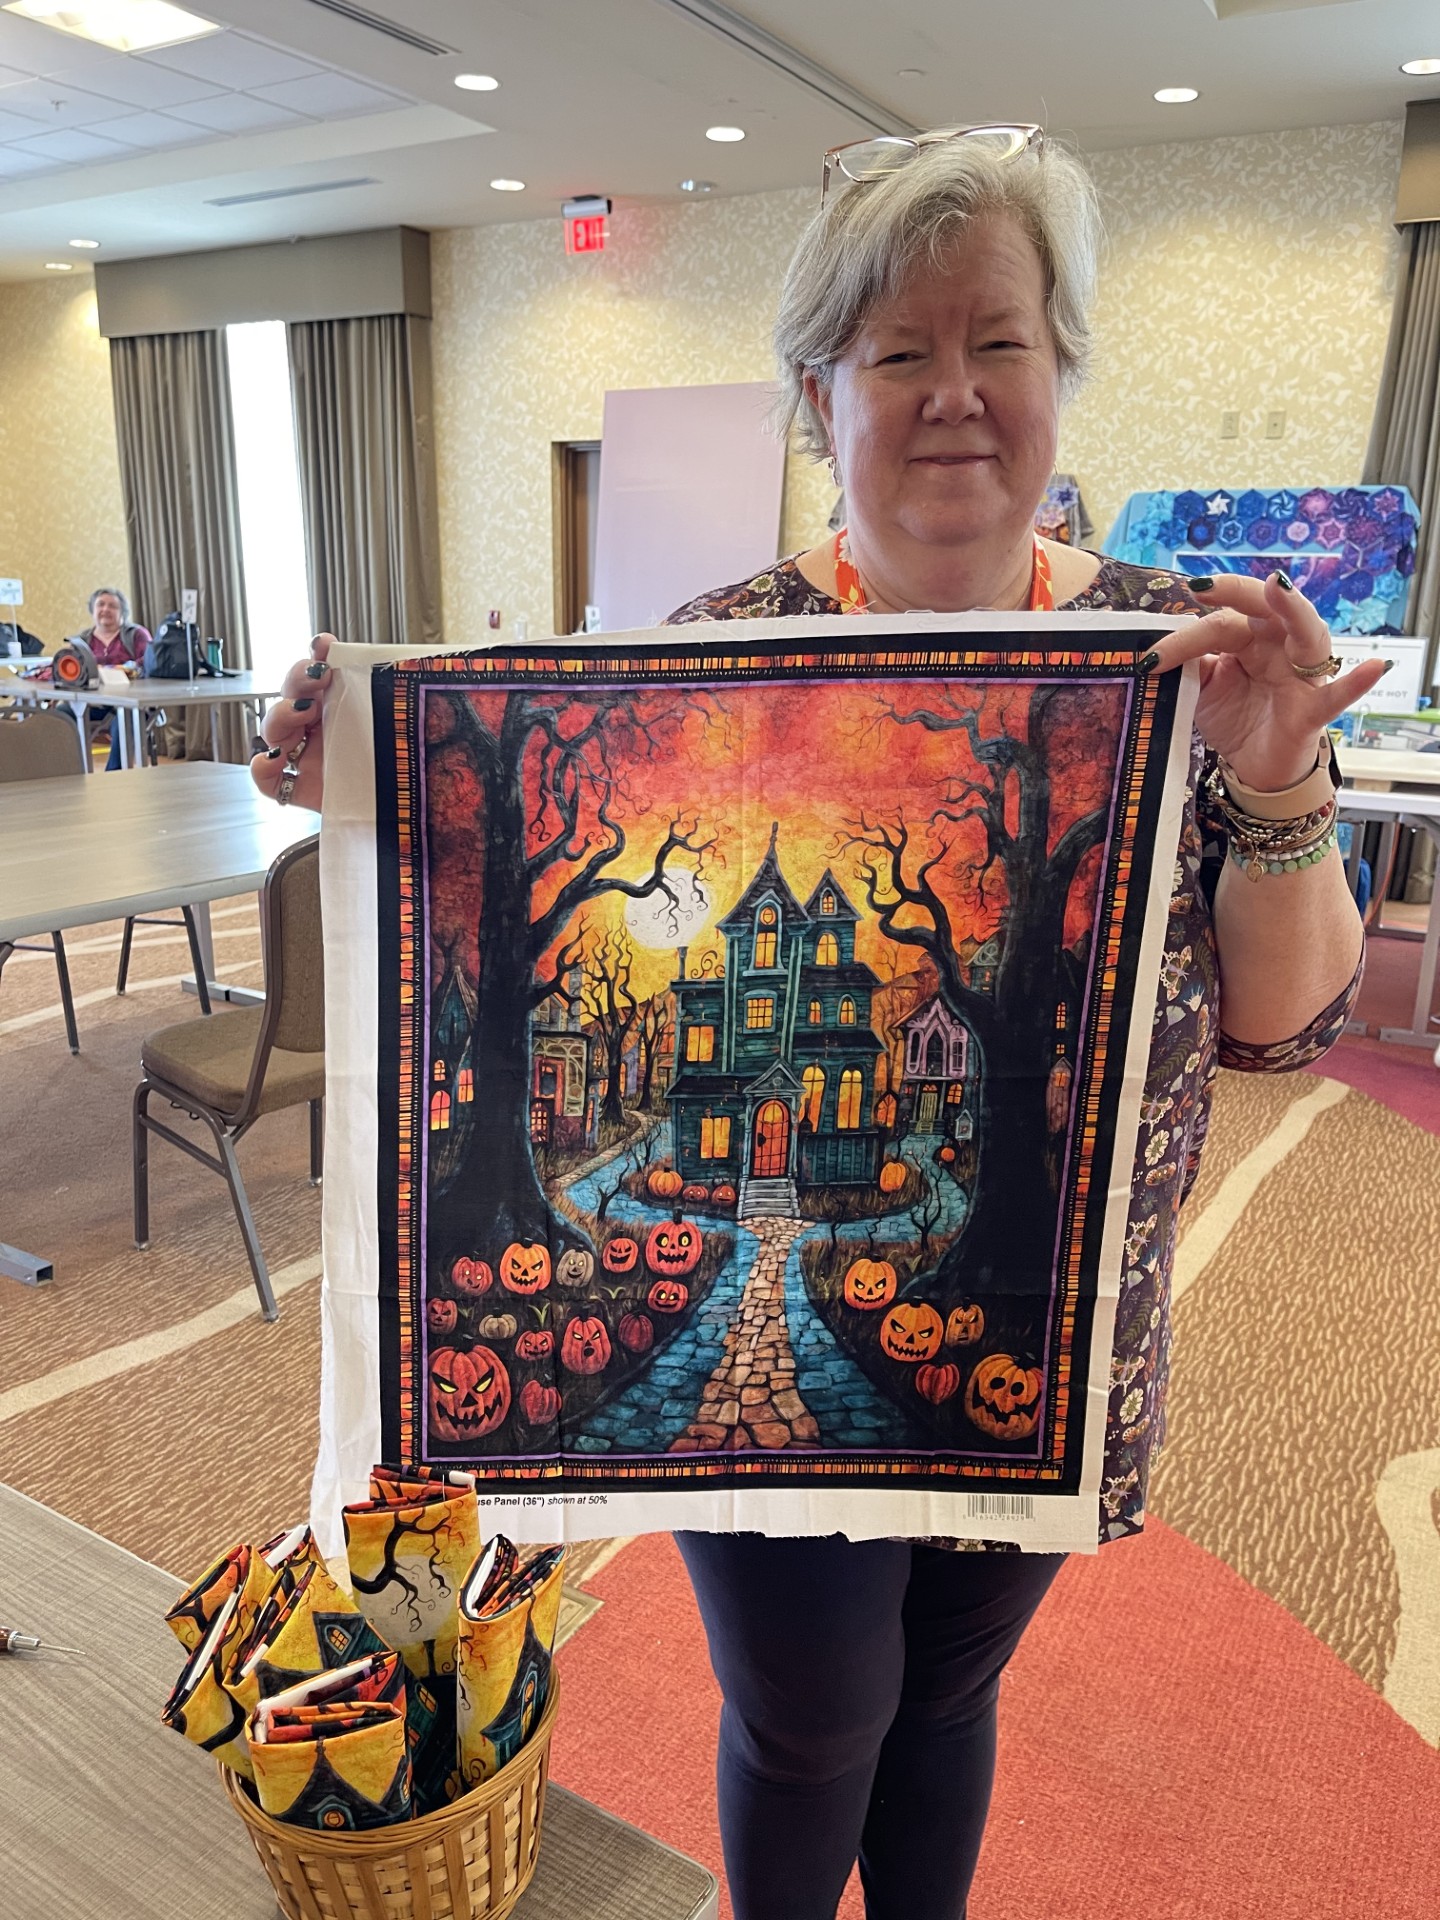
I came home to find this panel by Oasis Fabrics called Hidden Treasures was delivered. It measures 35″ x 43″. This will be so much fun to make into a OBW quilt & coat! We will be sharing more soon!


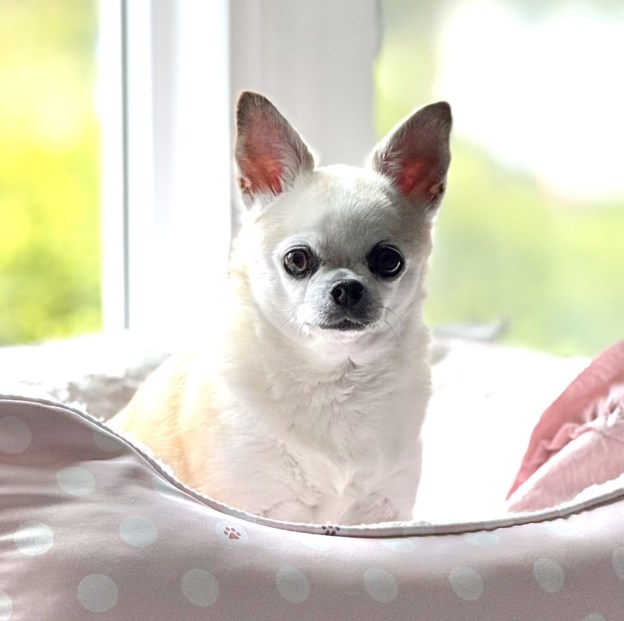
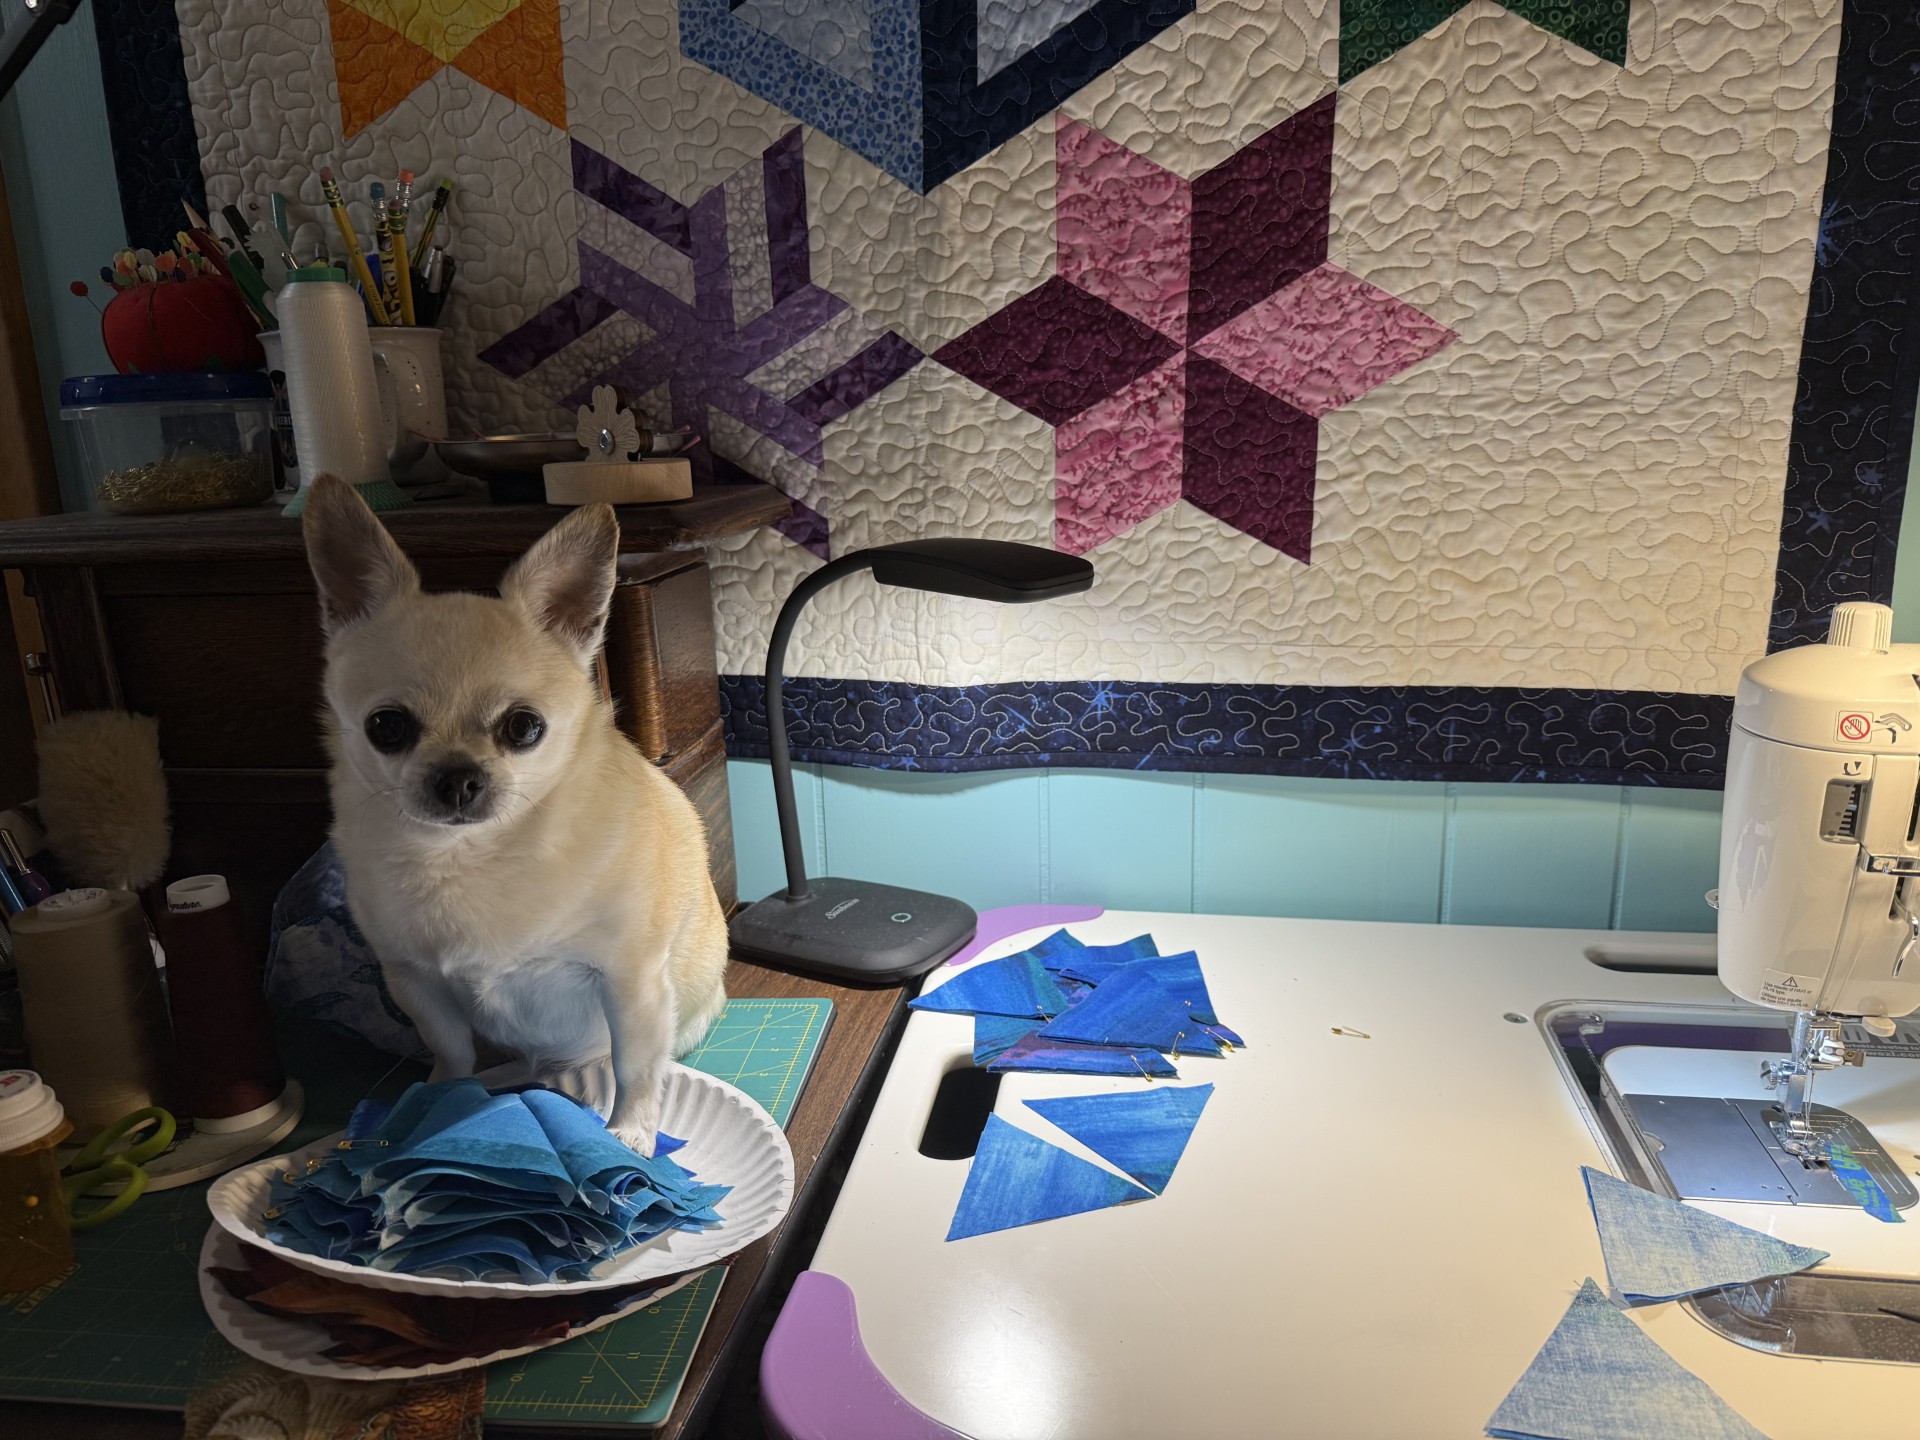
My car is unpacked, I’m showered and having a good cup of coffee. I am sitting in my recliner under the watchful eye of Tucker!
Thank you to everyone at the Sew Nice Retreat, I had a great time.

#OBW’s #MamaSaidTheseThreadsCouldTalk #OBWPanels