April 2026 was one long roadtrip!
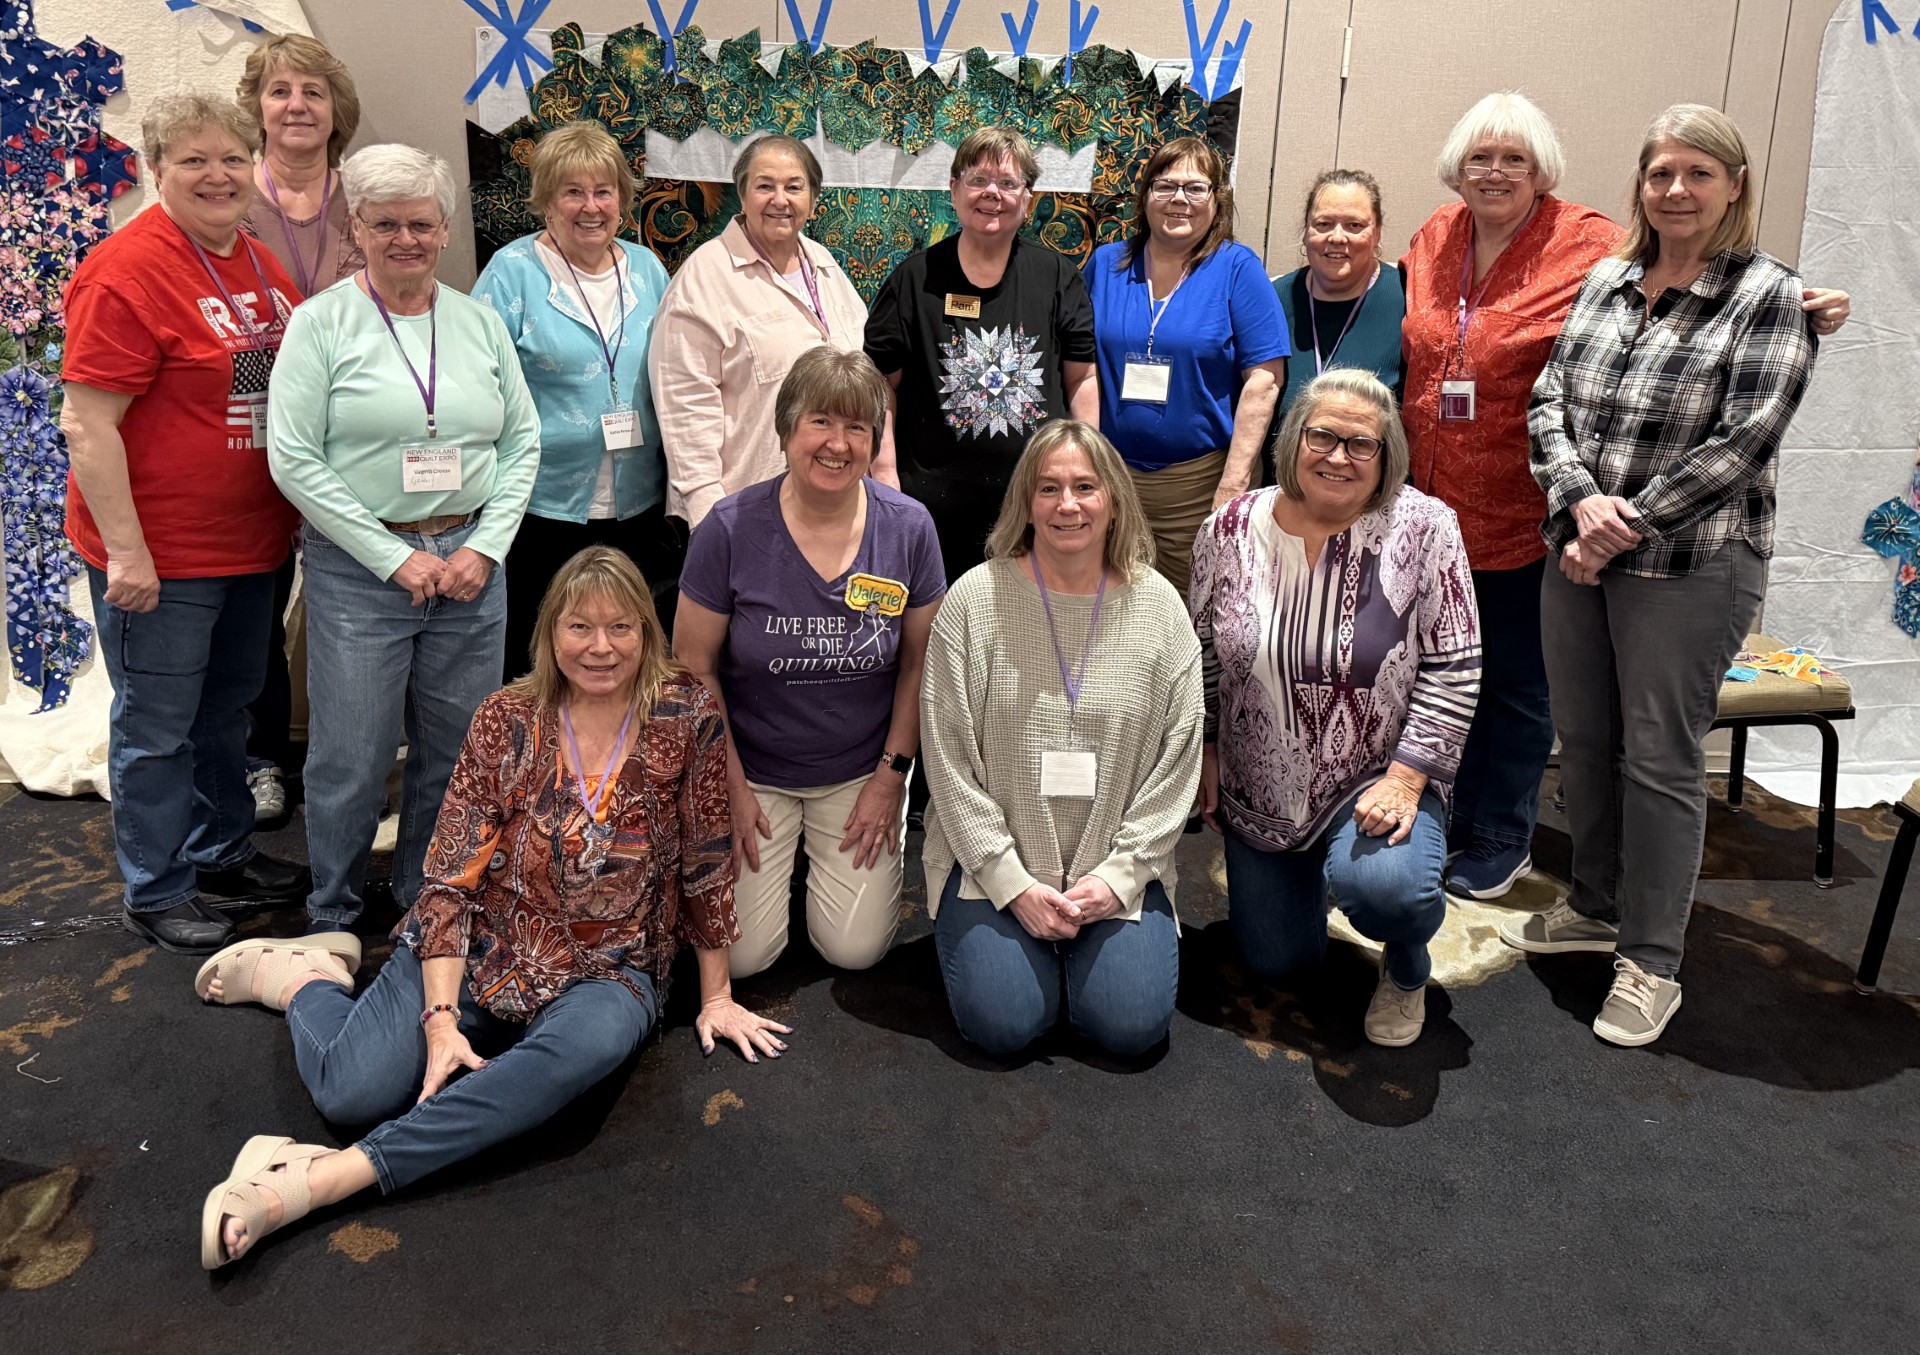
I started out at the New England Quilt Expo in Manchester New Hampshire. I was invited there By Bits “N” Pieces Quilt Shop to be the keynote speaker and teach a One Block Wonder workshop. And what a great workshop it was. I can’t wait to see their finished OBW’s!
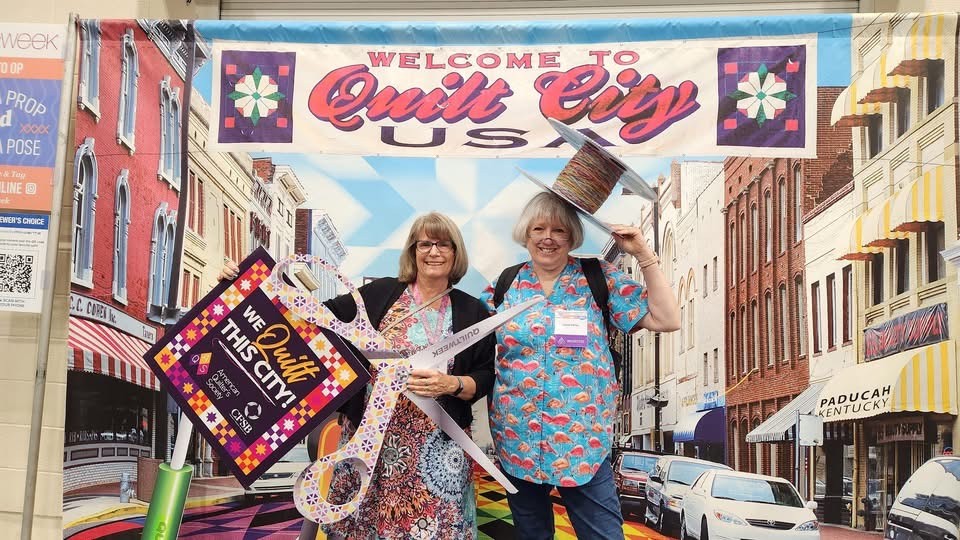
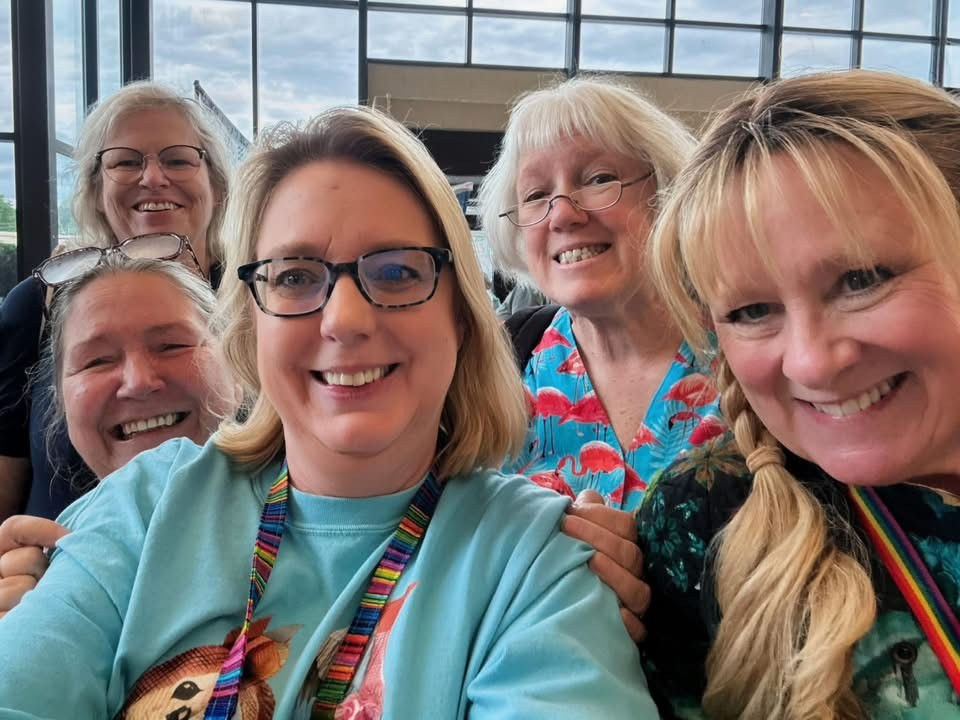
I was home a week and then off to teach at AQS Paducah. What an honor to be invited to teach there. I taught 4 classes and gave a trunk show! Studio 180 Design Certified Instructors have a tendency to run in packs. I was with Lynn Wheatly, Terri Butler, Barb Wisemaan, Carol Coniglio and Toni Raynolds.
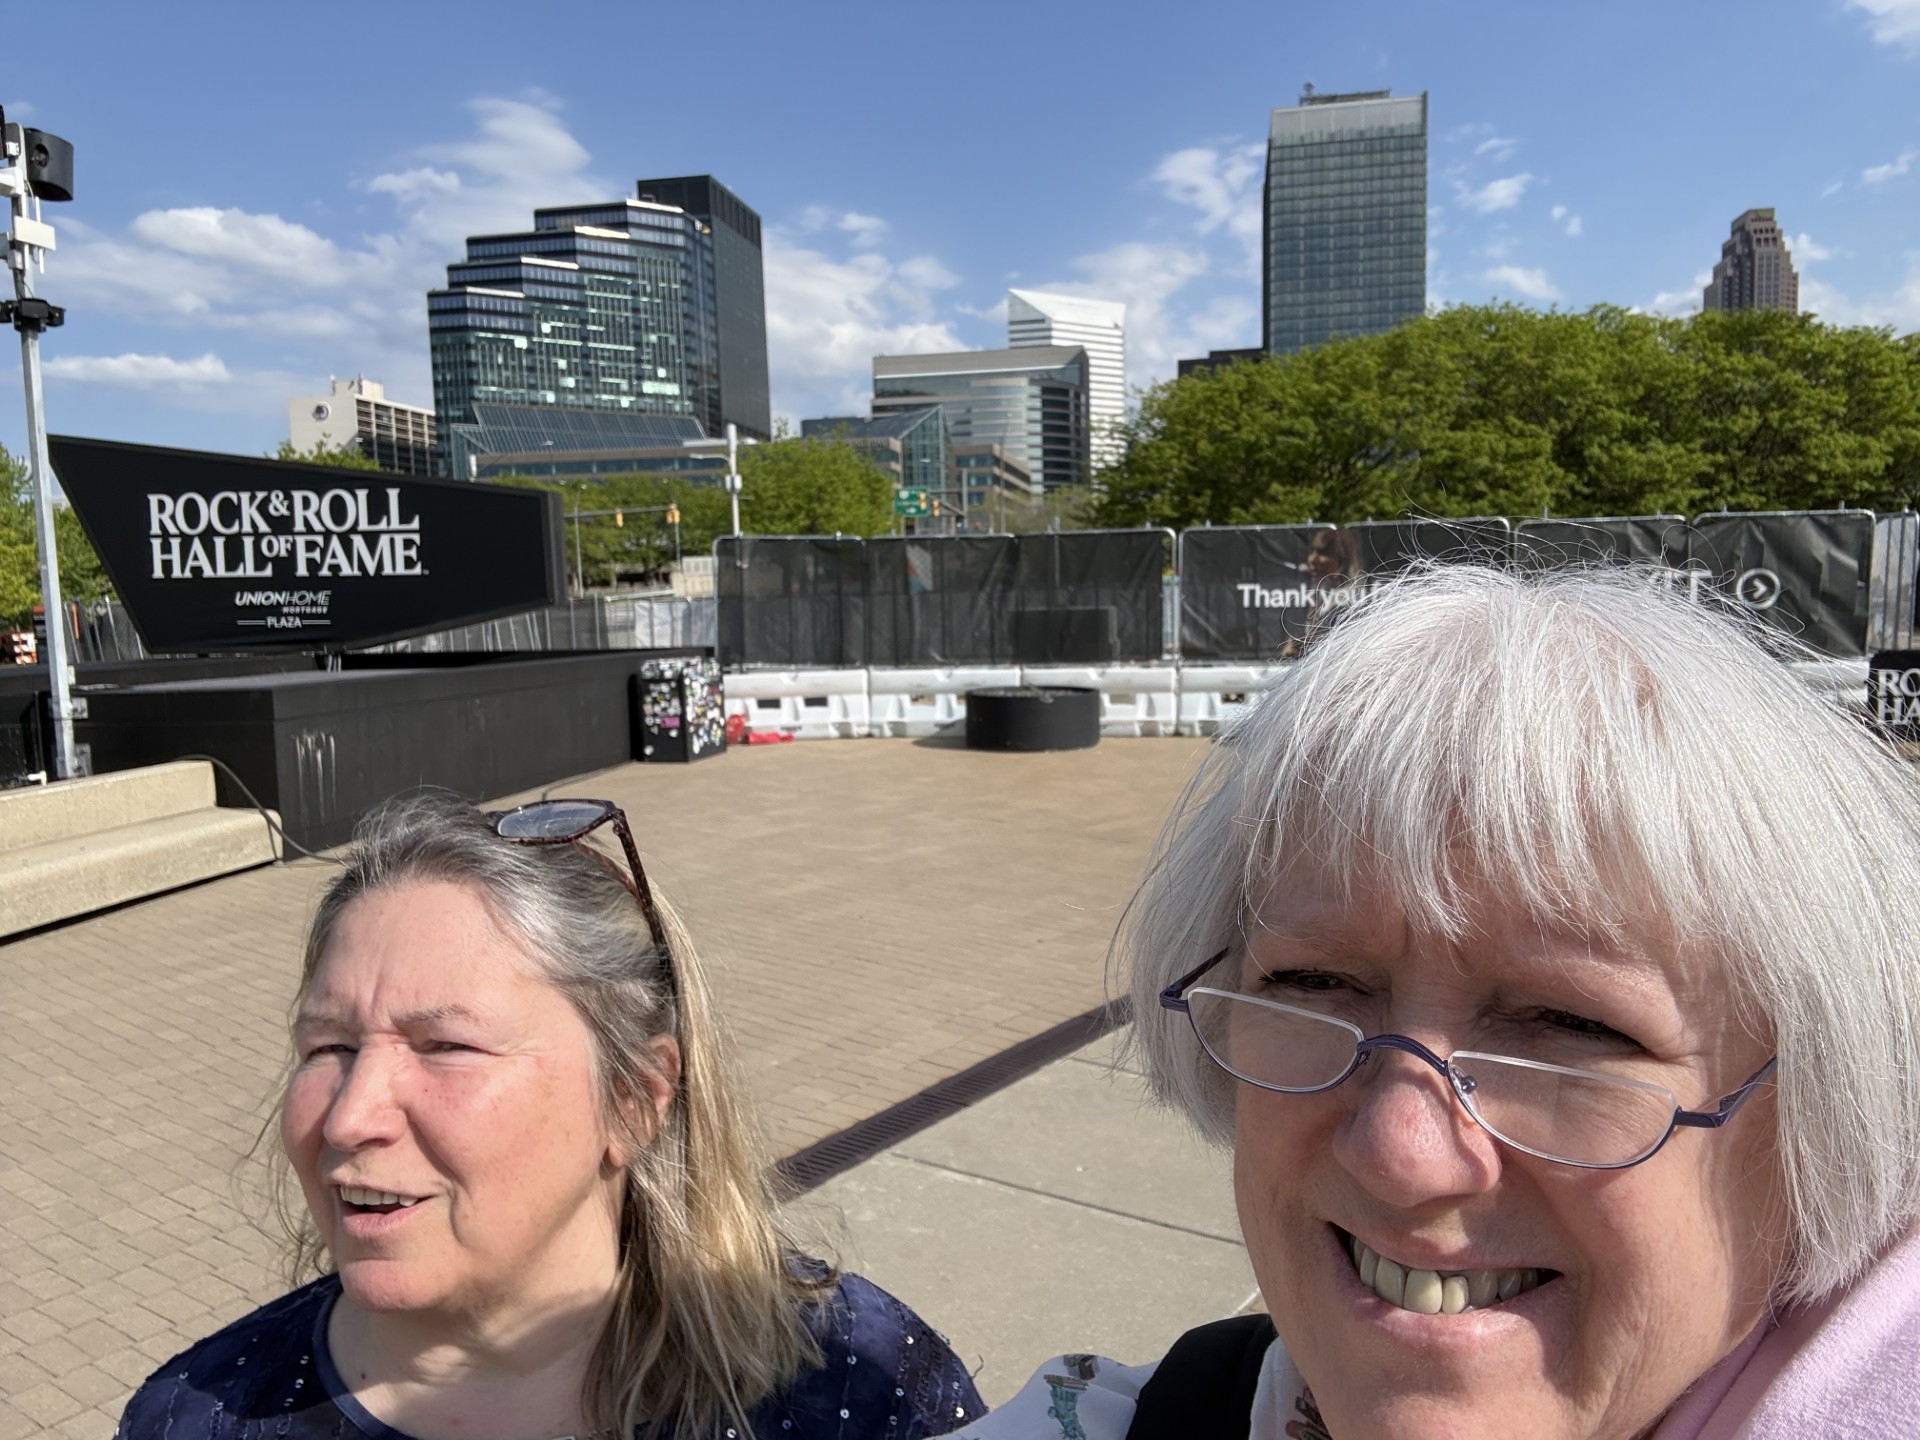
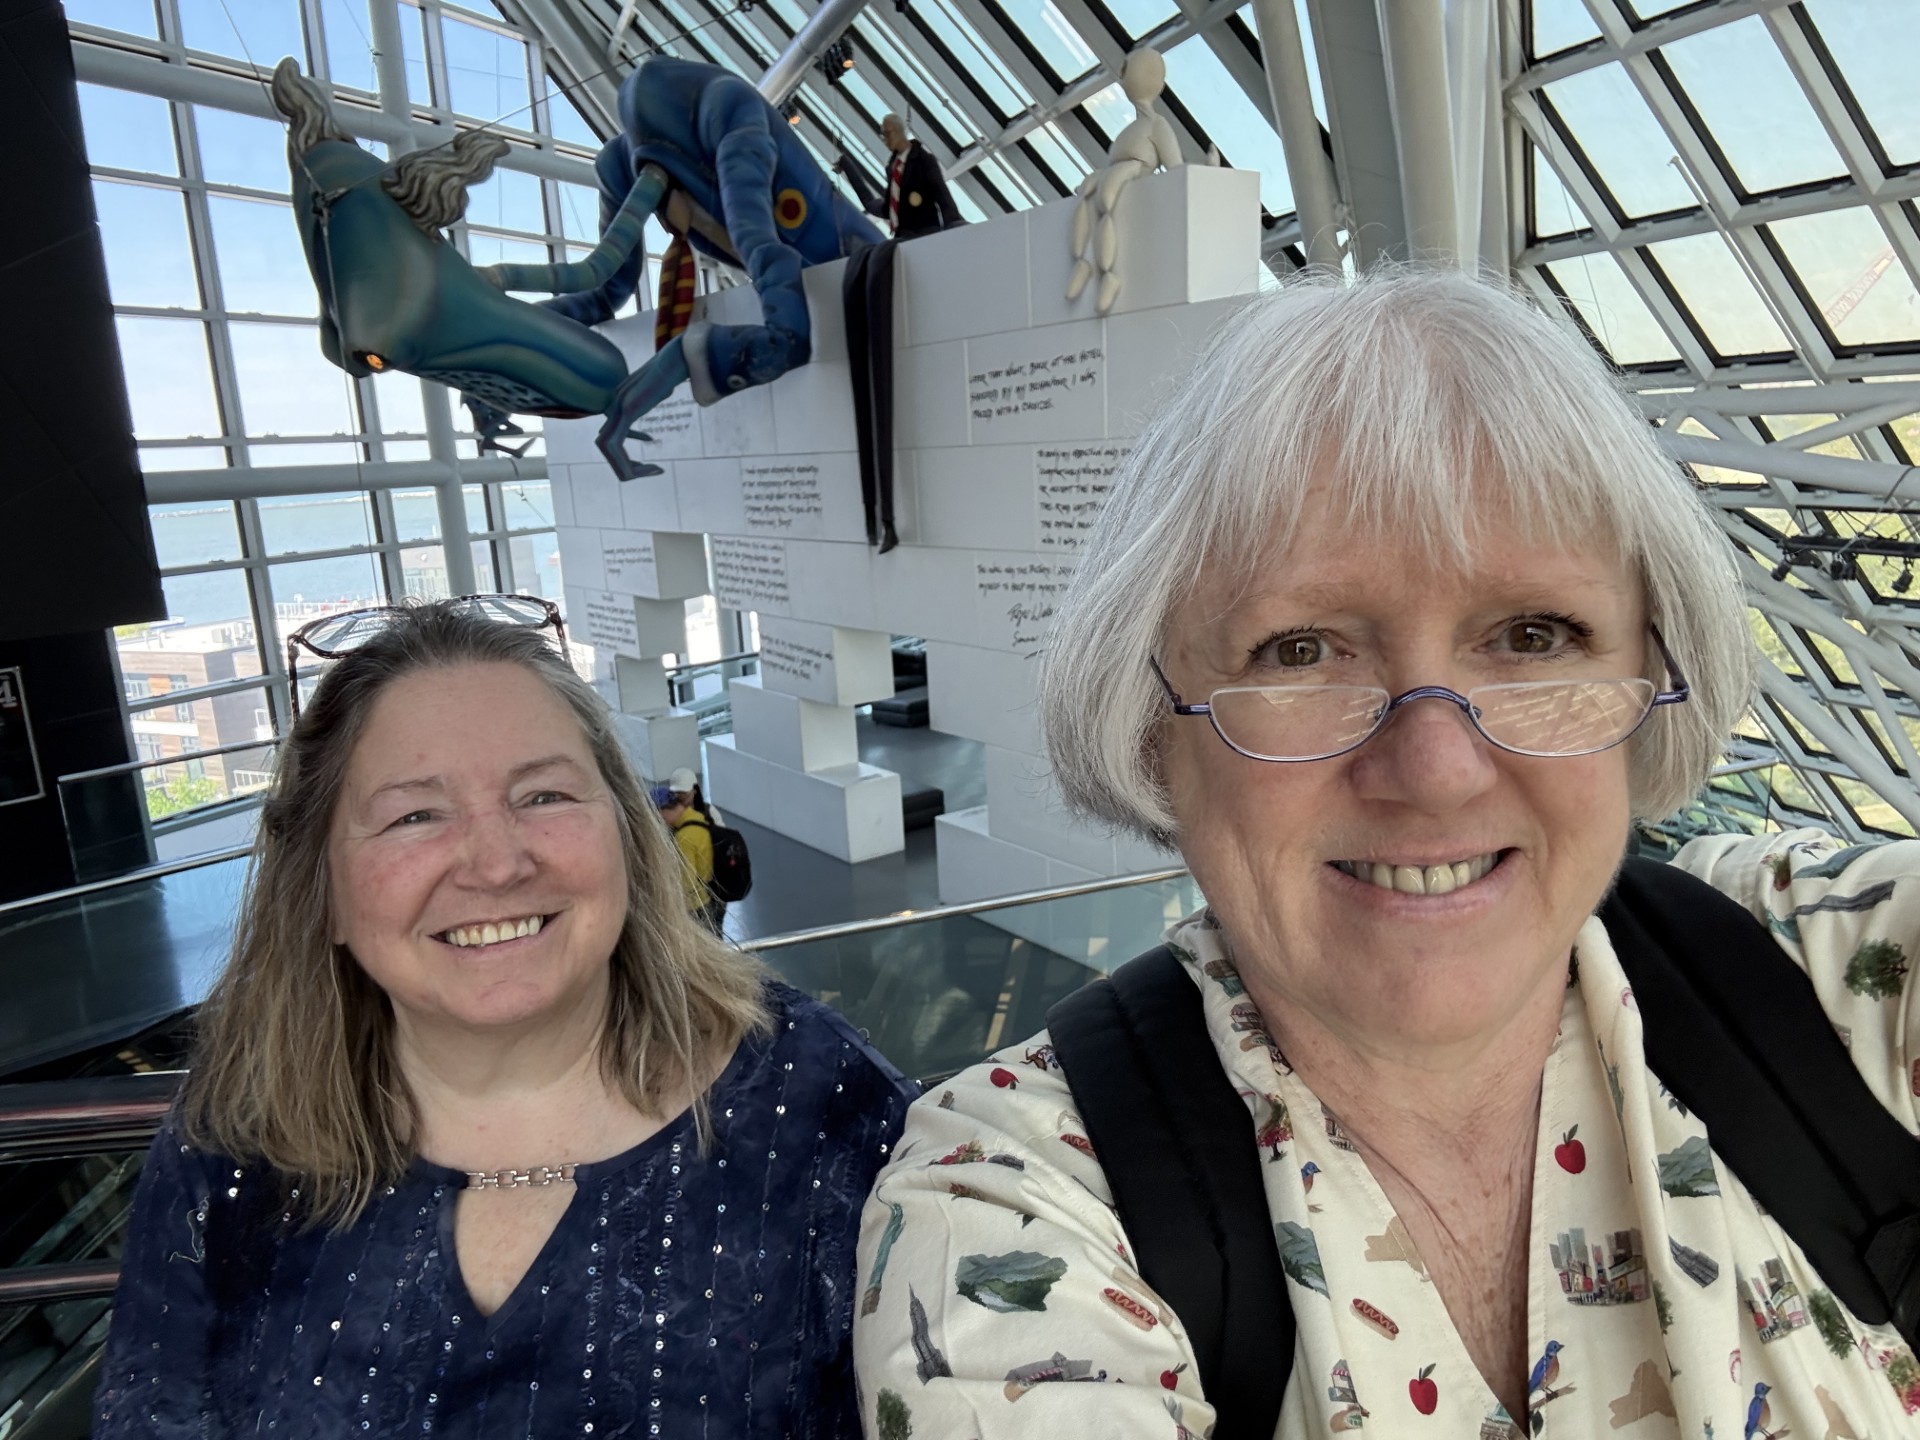
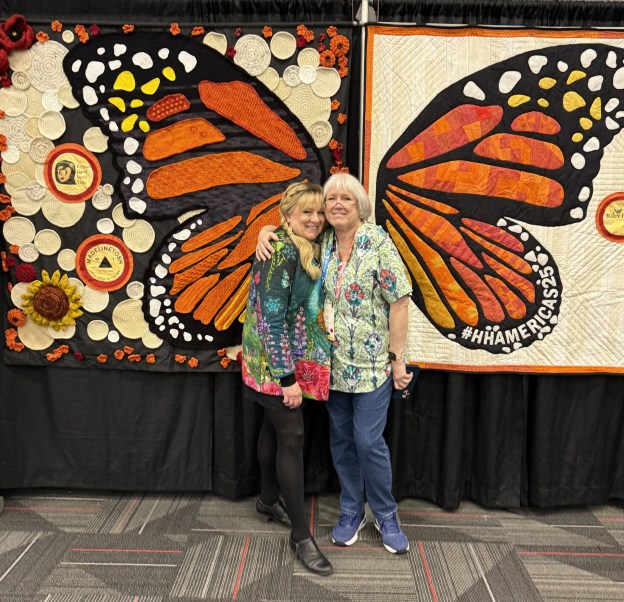
A week after that Barb and I headed out for H&H Americas in Chicago but stopped along the way to check out the Rock & Roll Hall of Fame in Cleveland Ohio. All I can say is WOWZA!
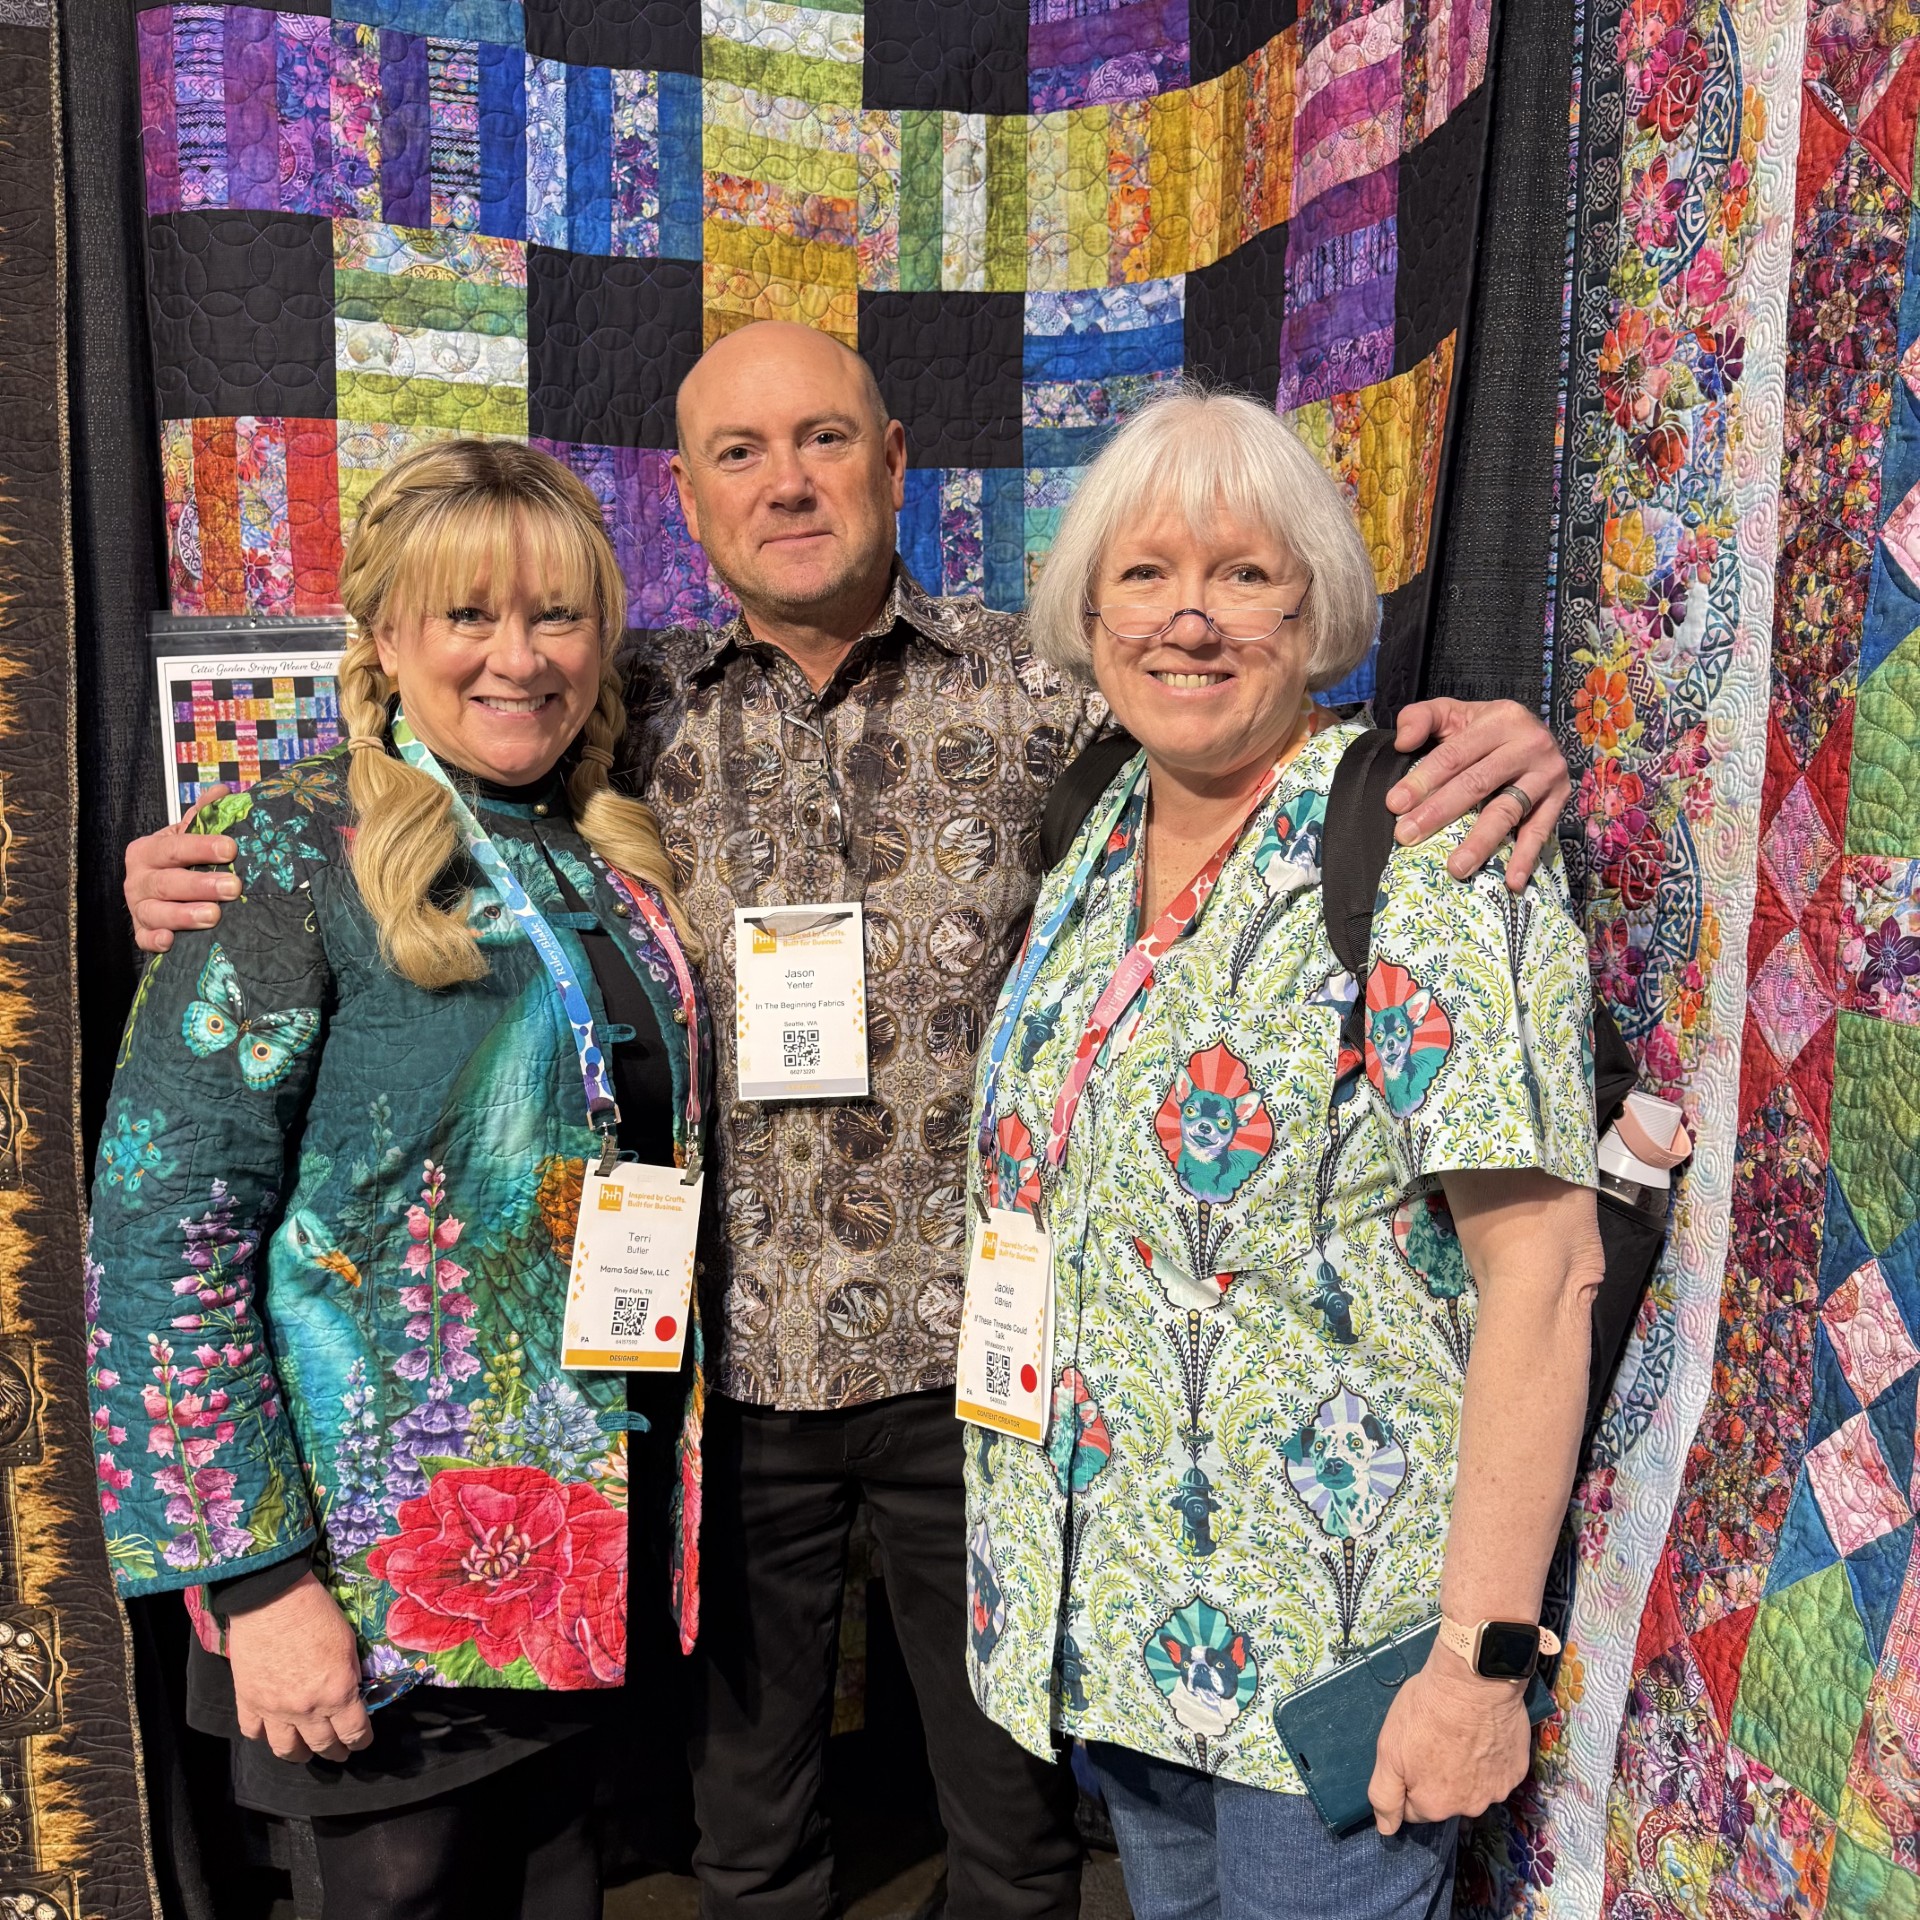
Teri Butler and I were so happy to meet Jason Yenter of In the Beginnings Fabrics.
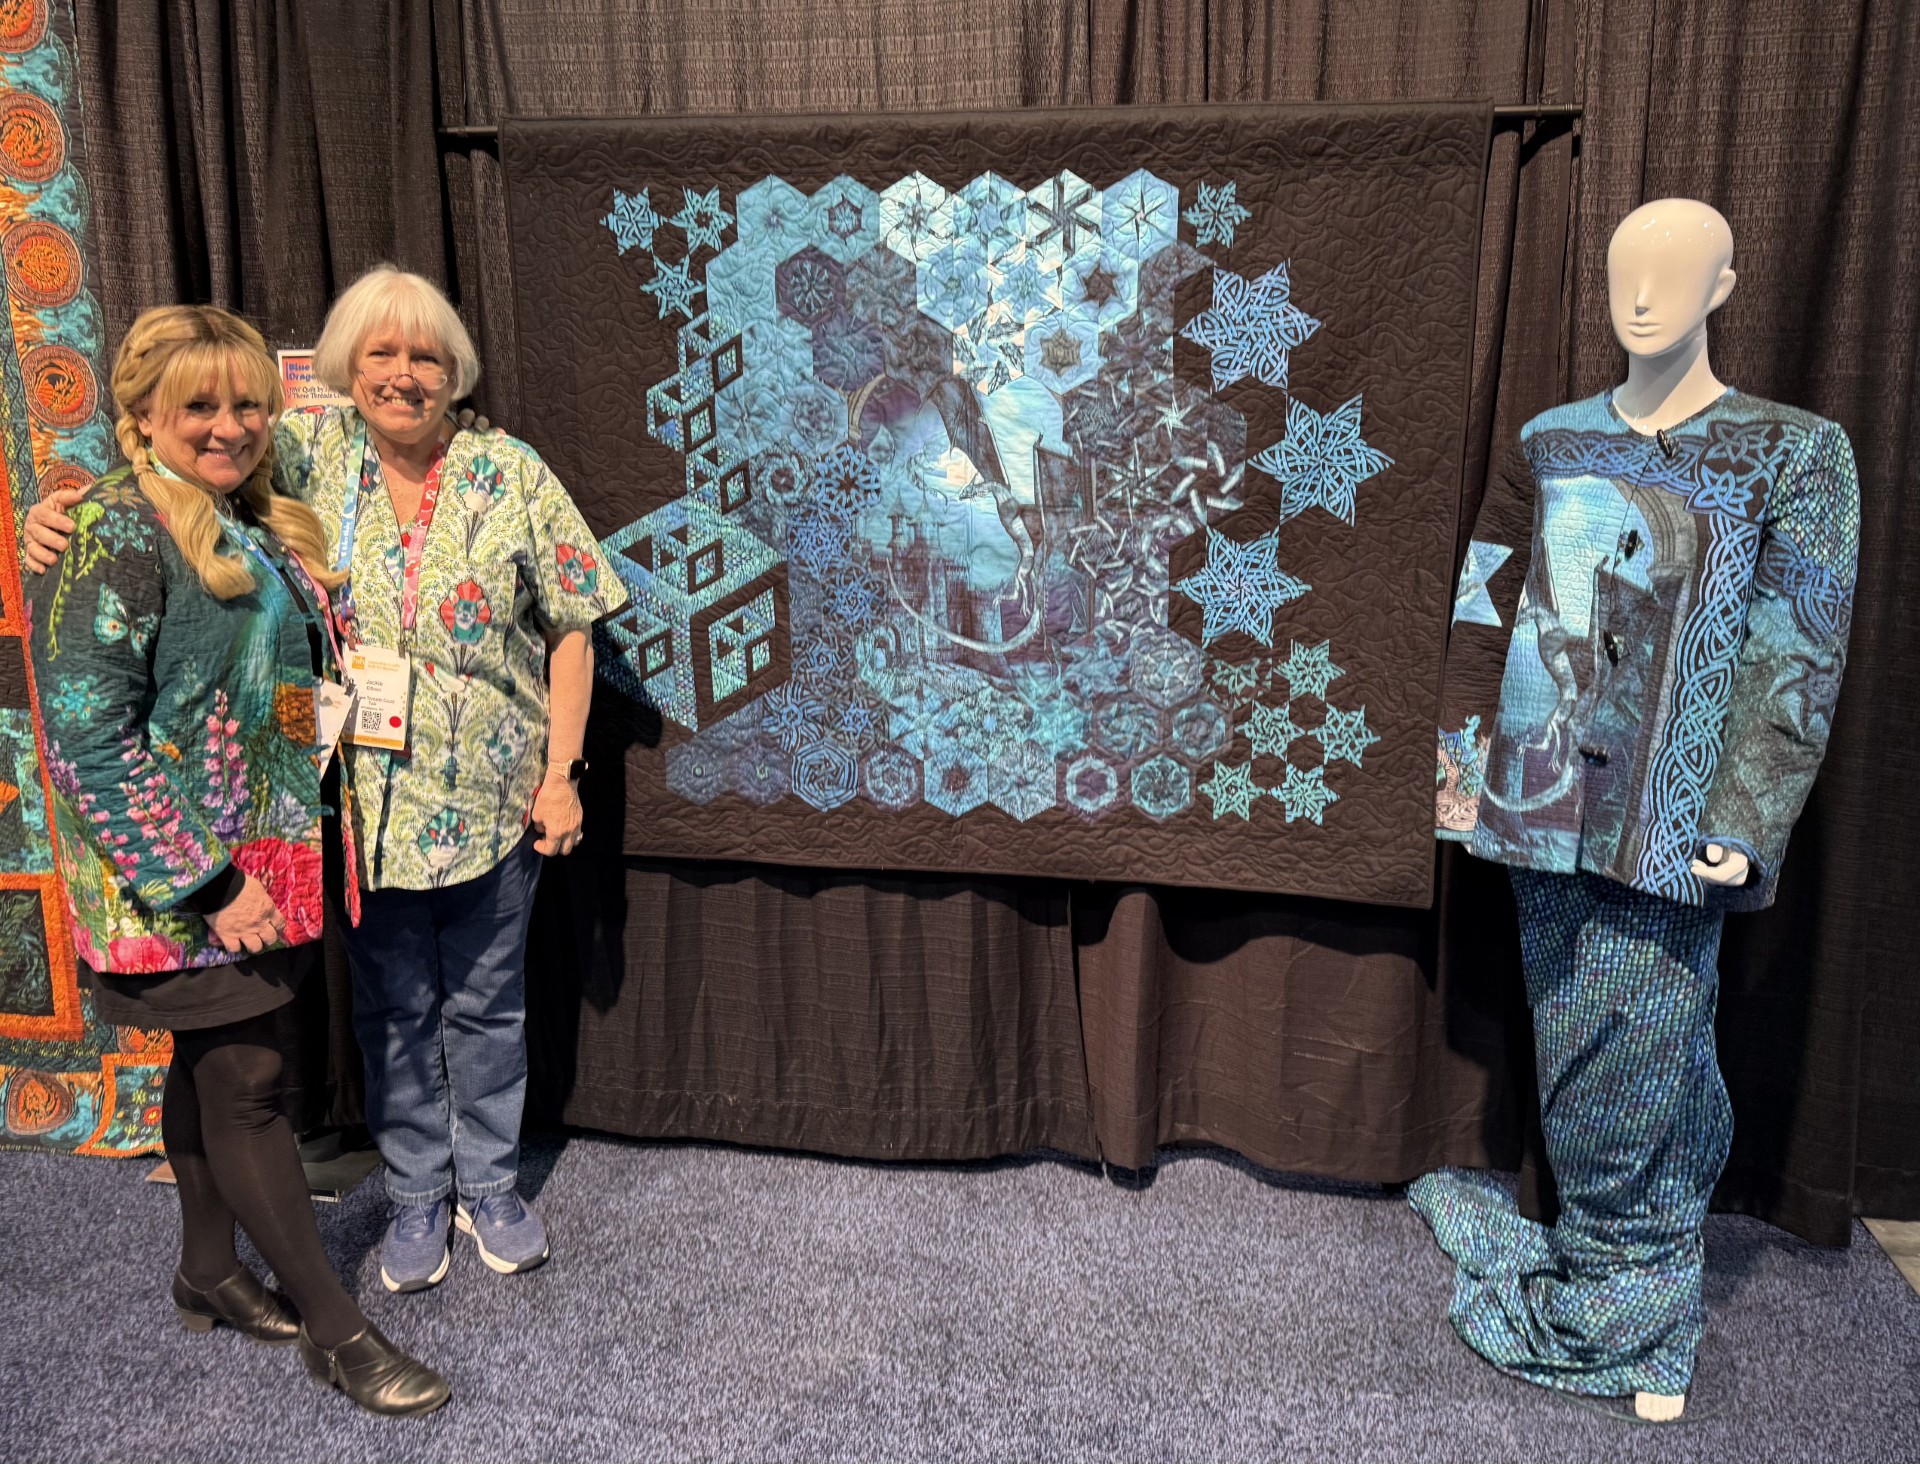
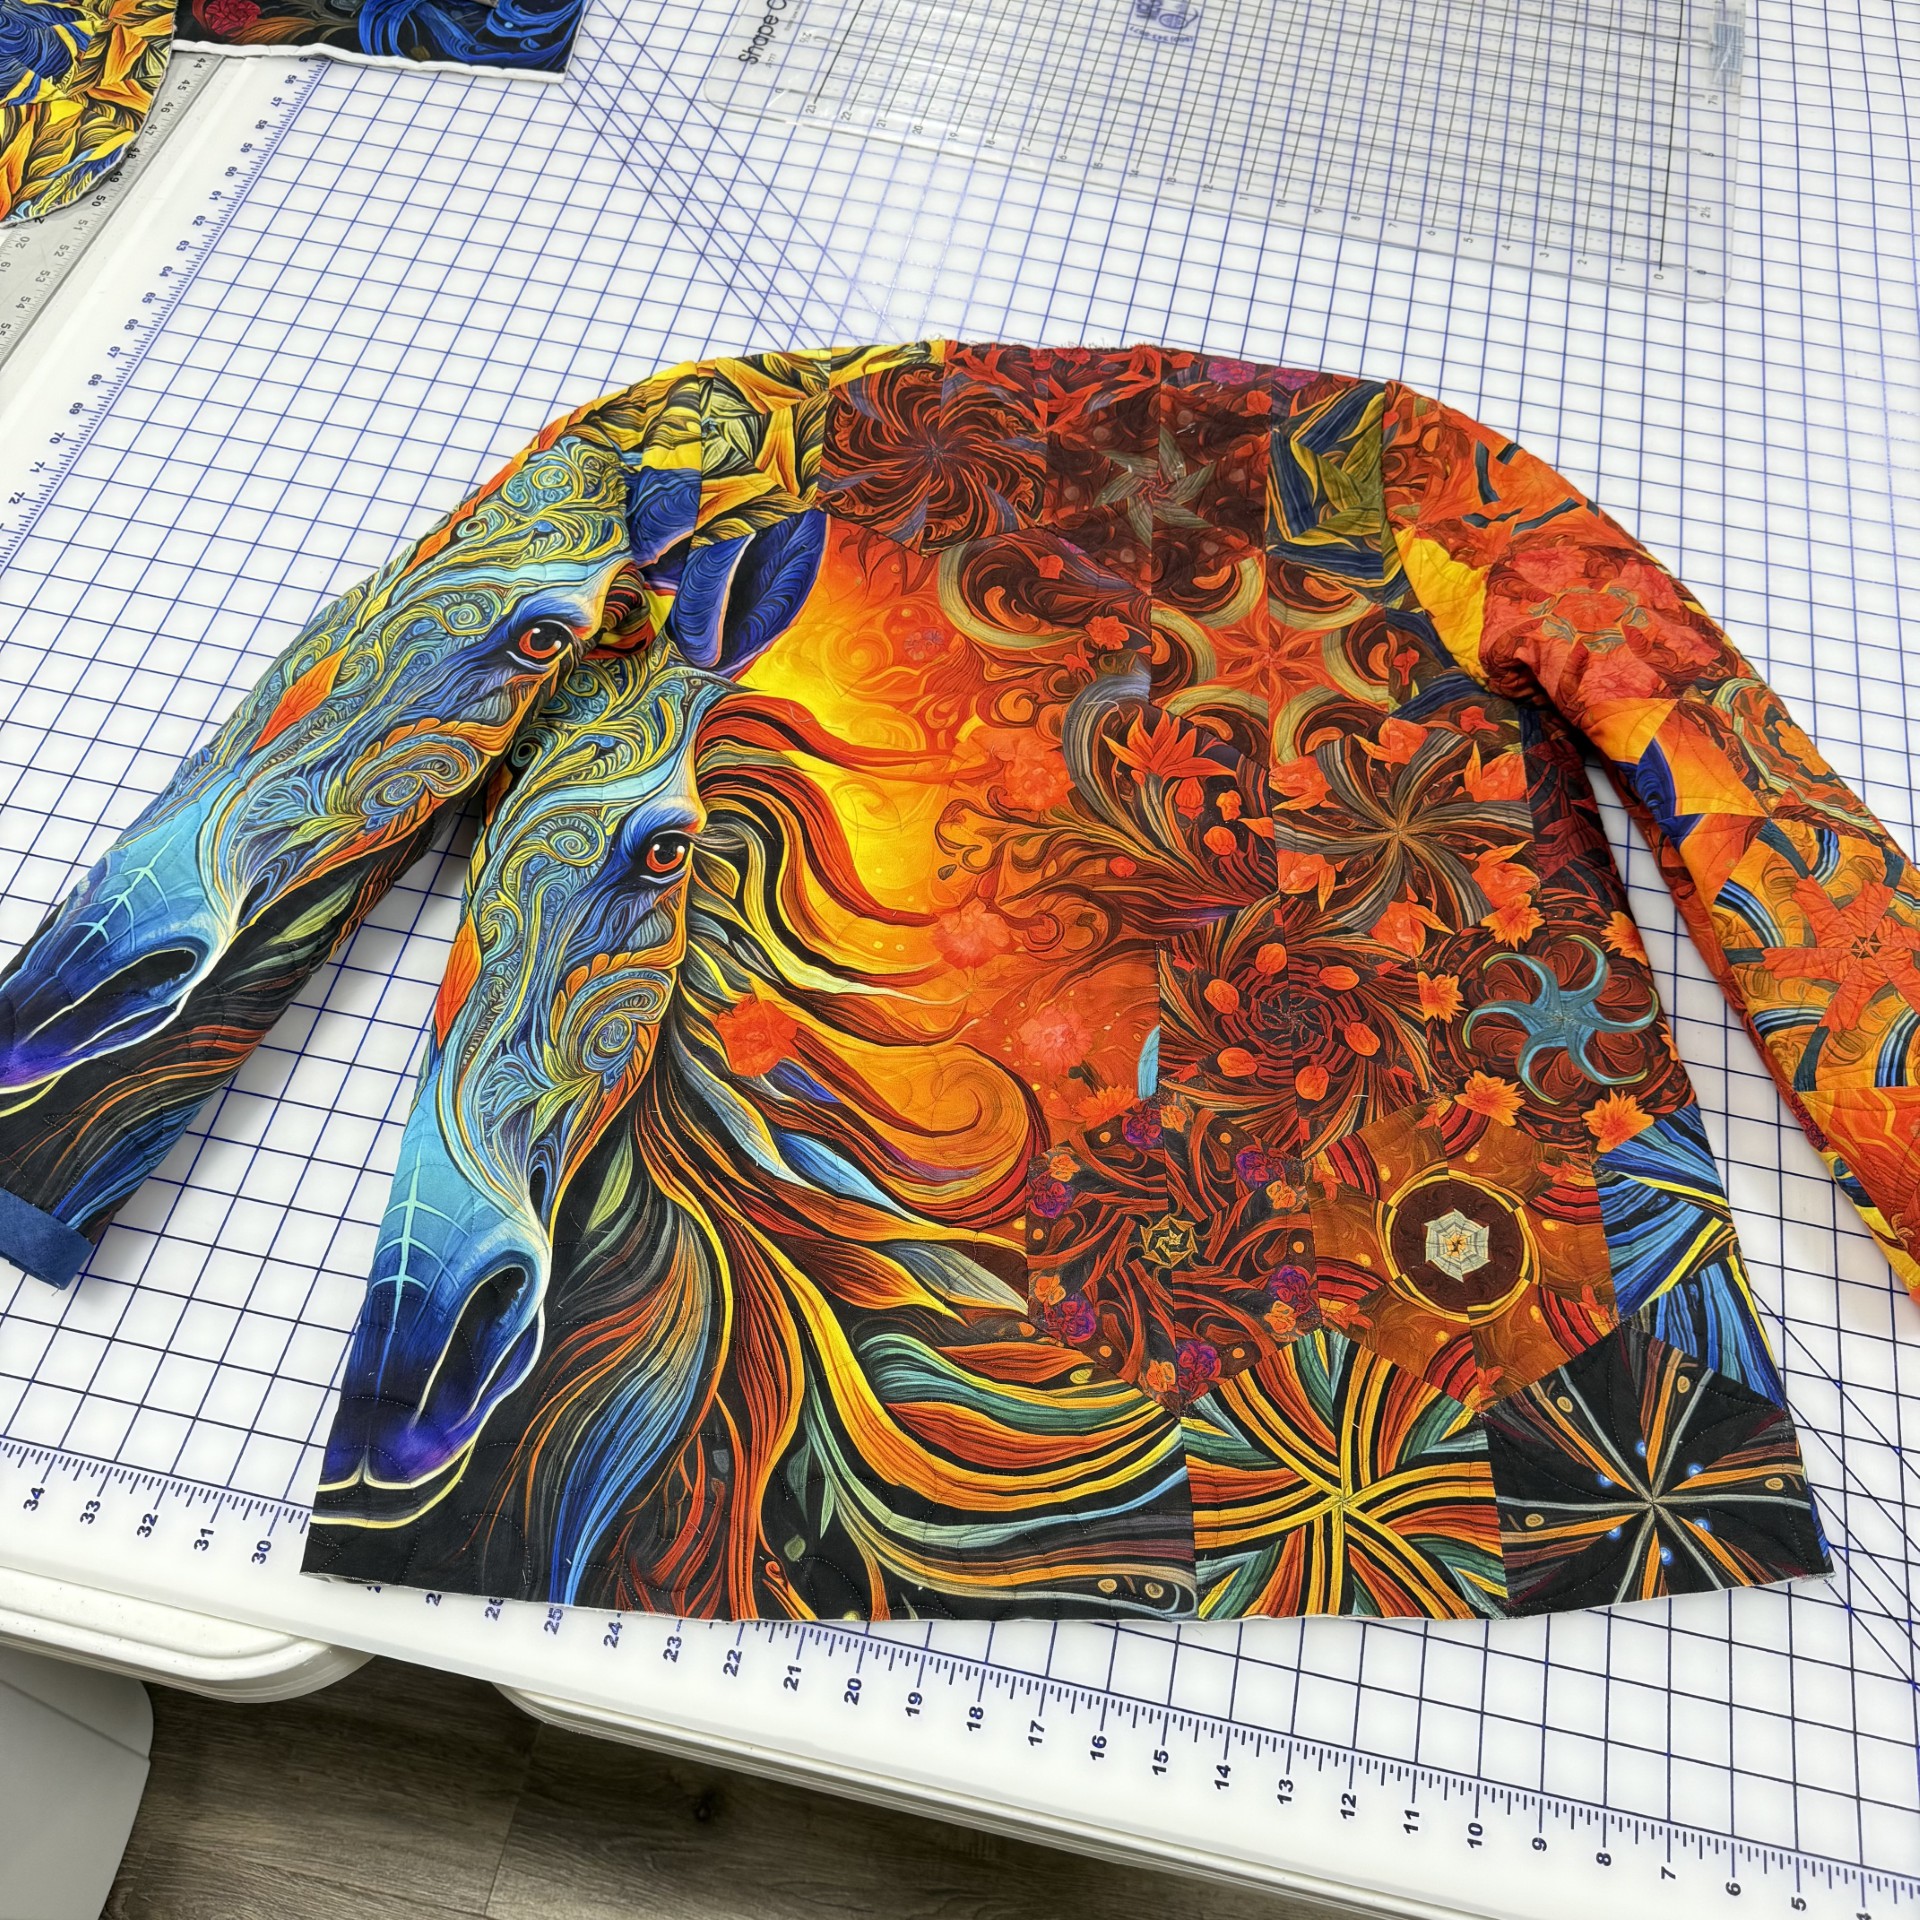
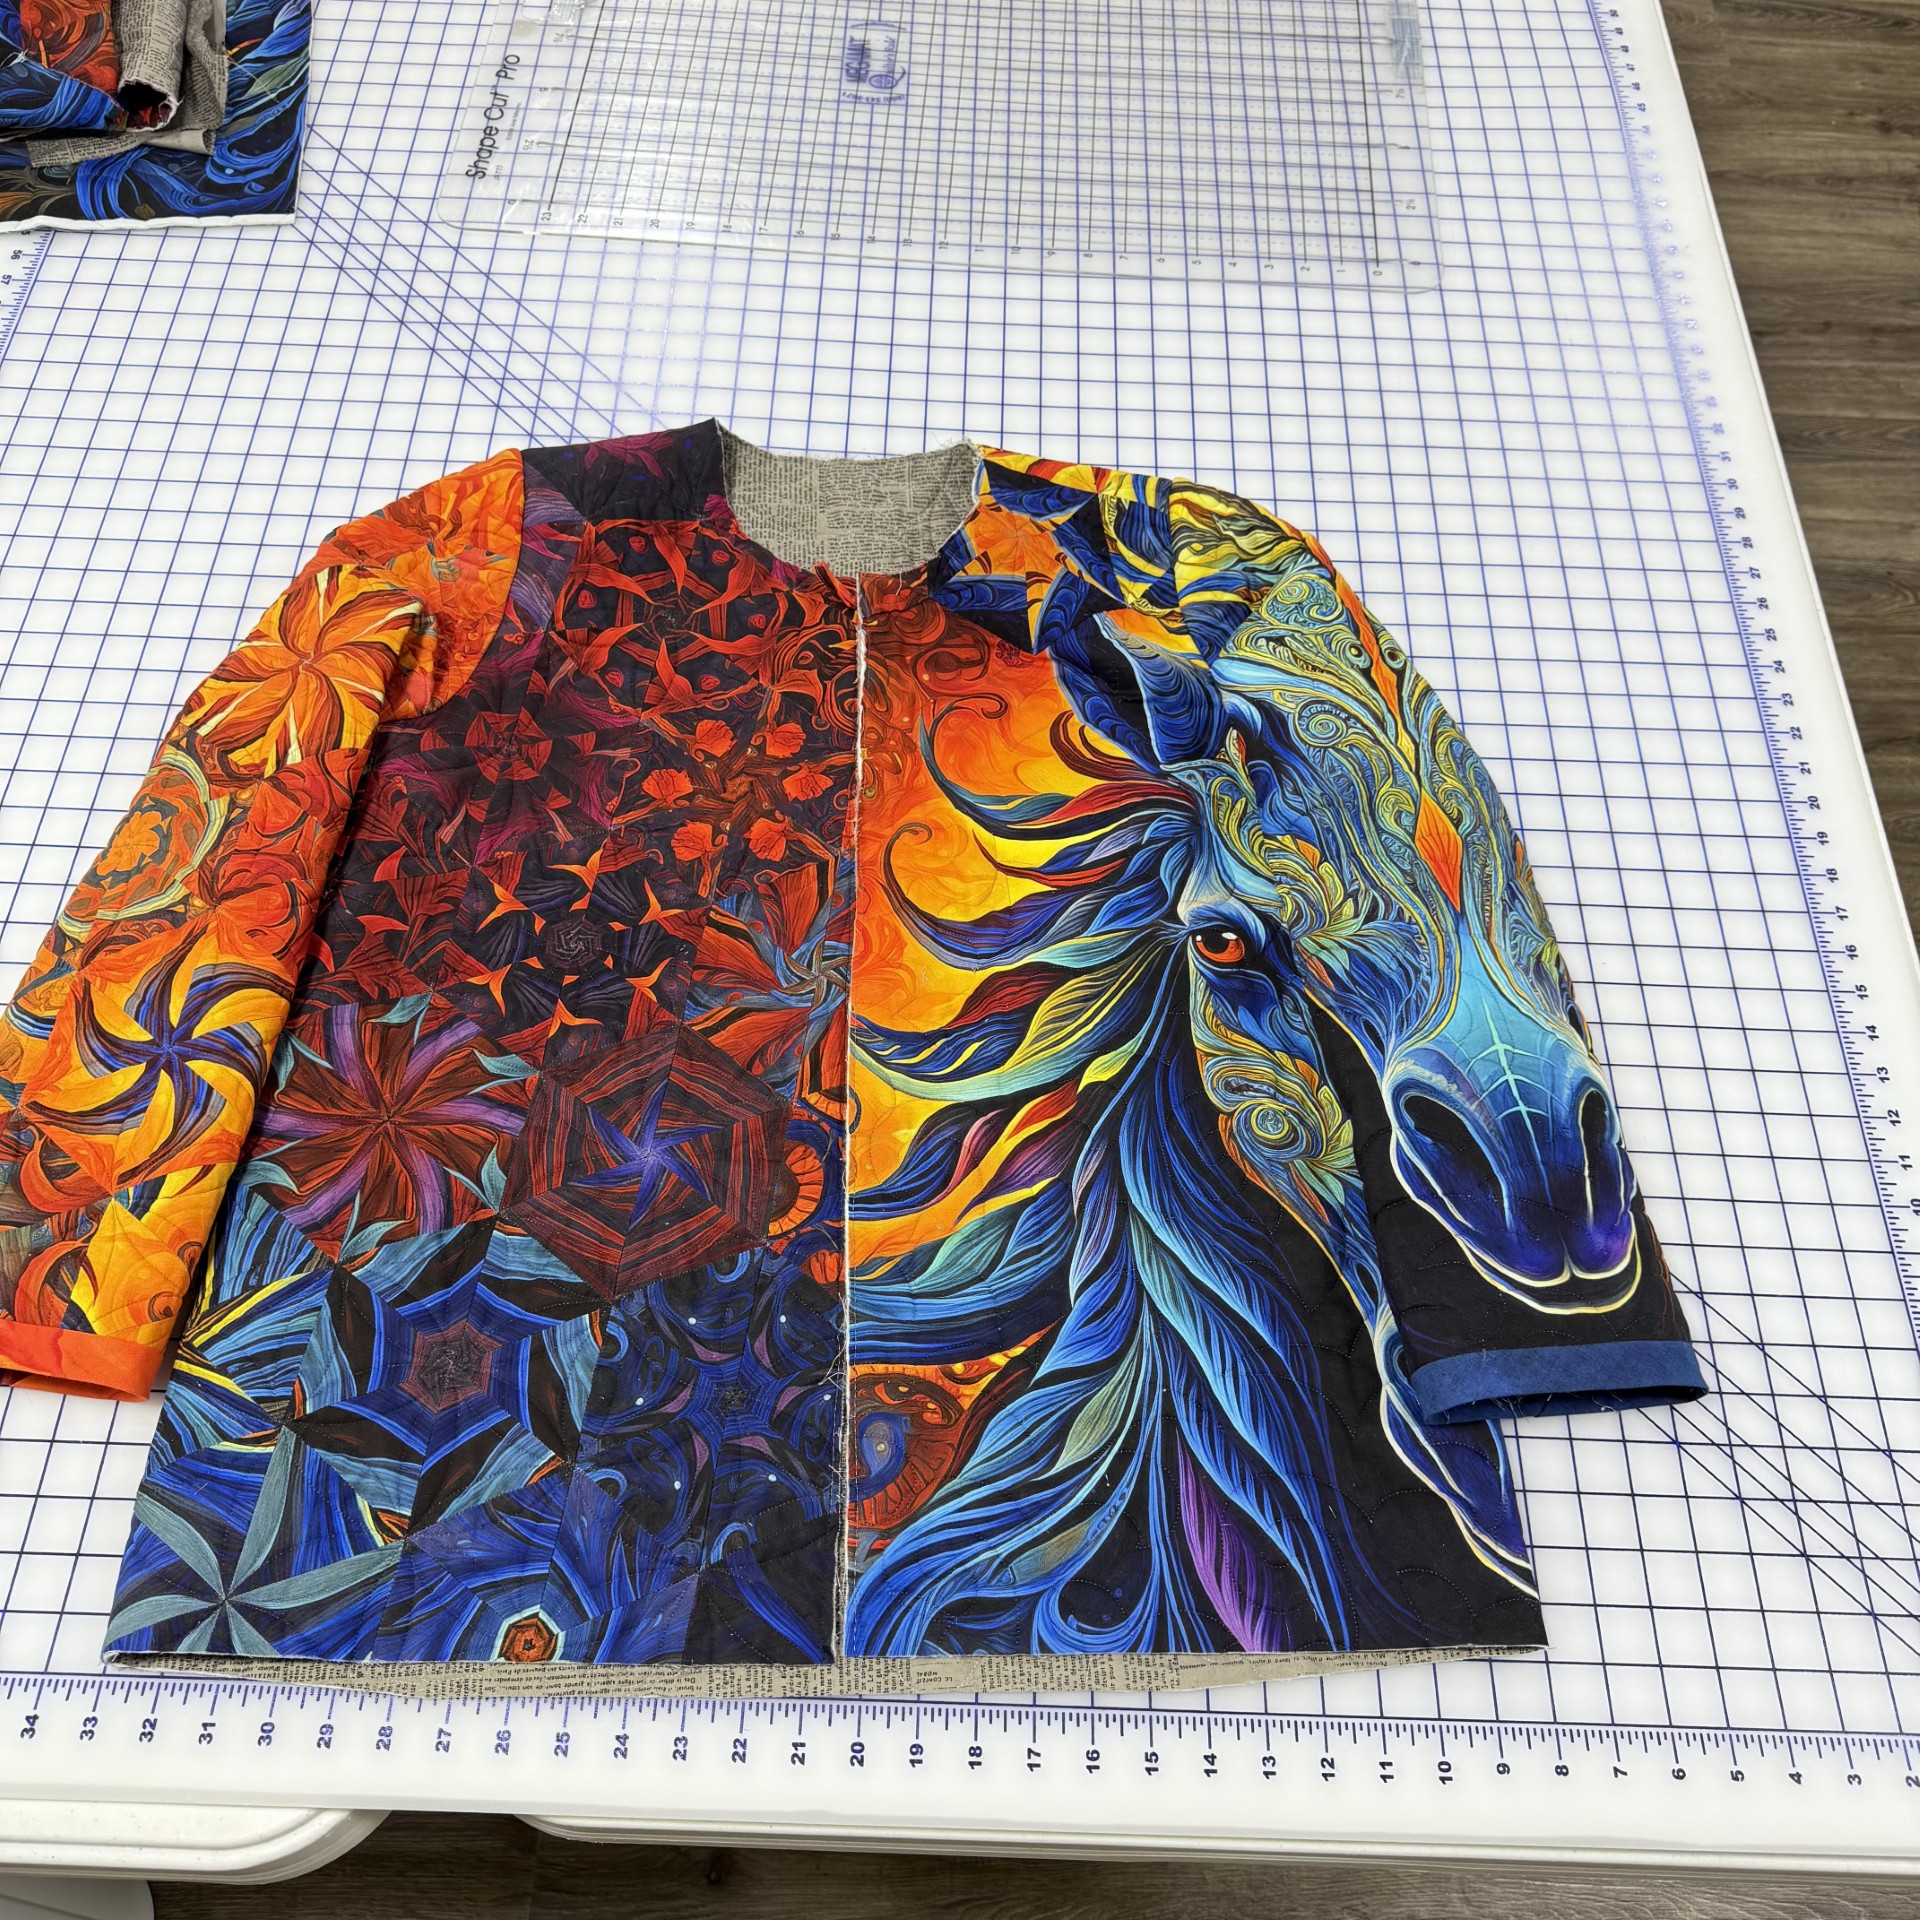
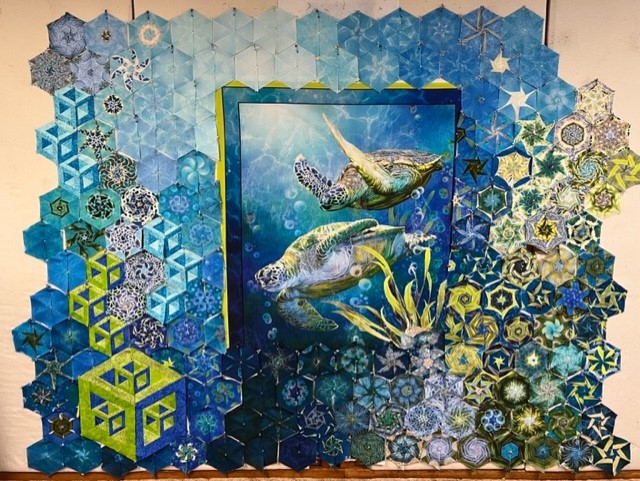
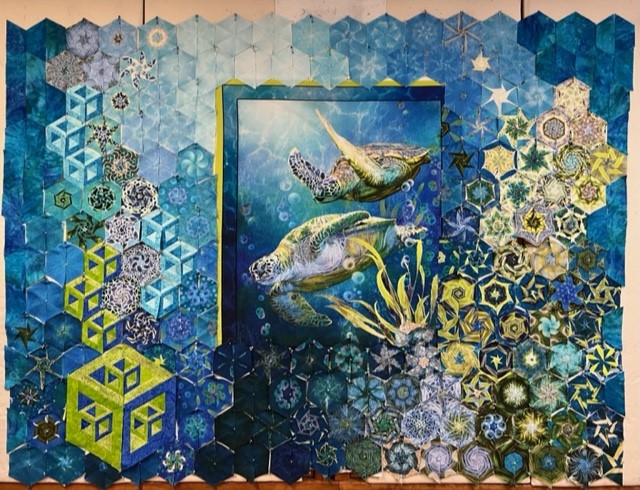
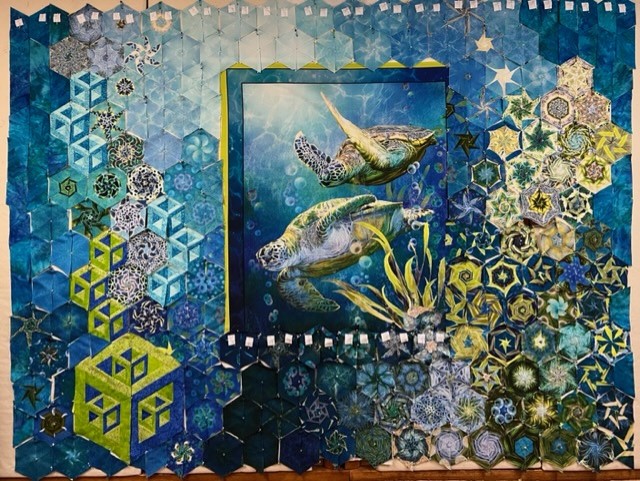
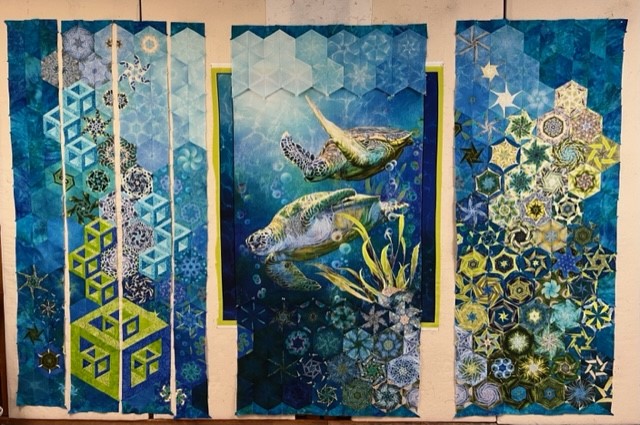
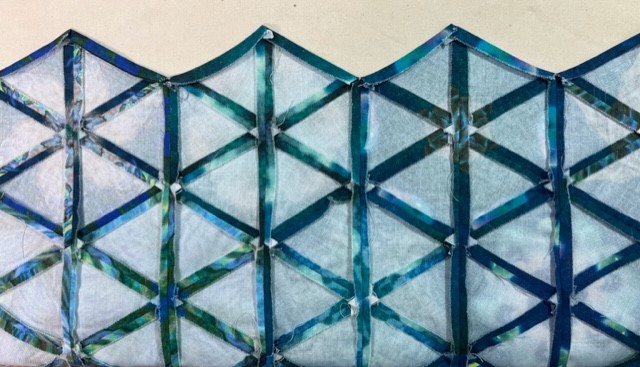
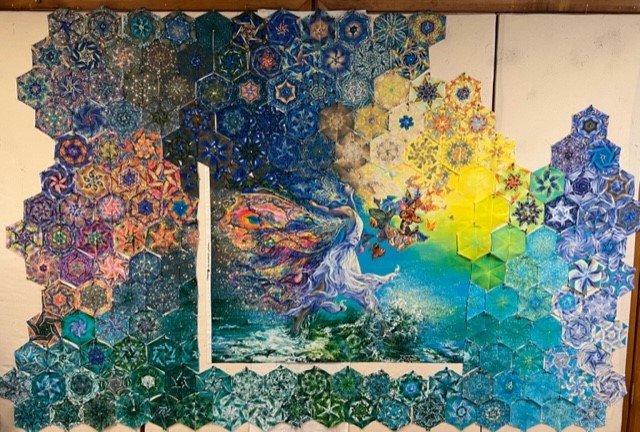
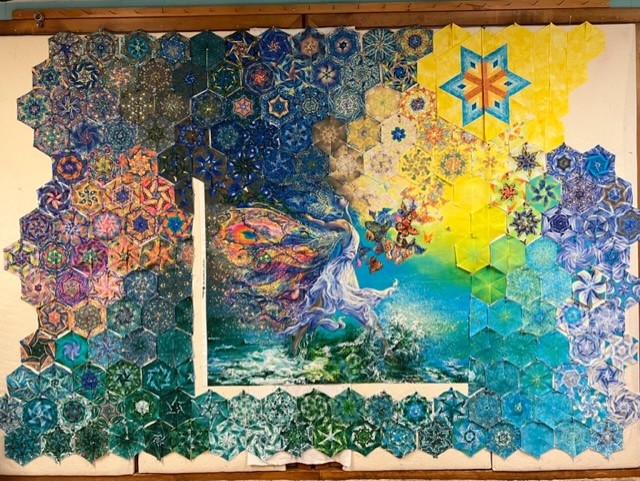
Terri and I were thrilled to be by Jason Yenter to make a One Block Wonder Quilt & Jacket for his Fantasy Quilt Show at H&H Americas.
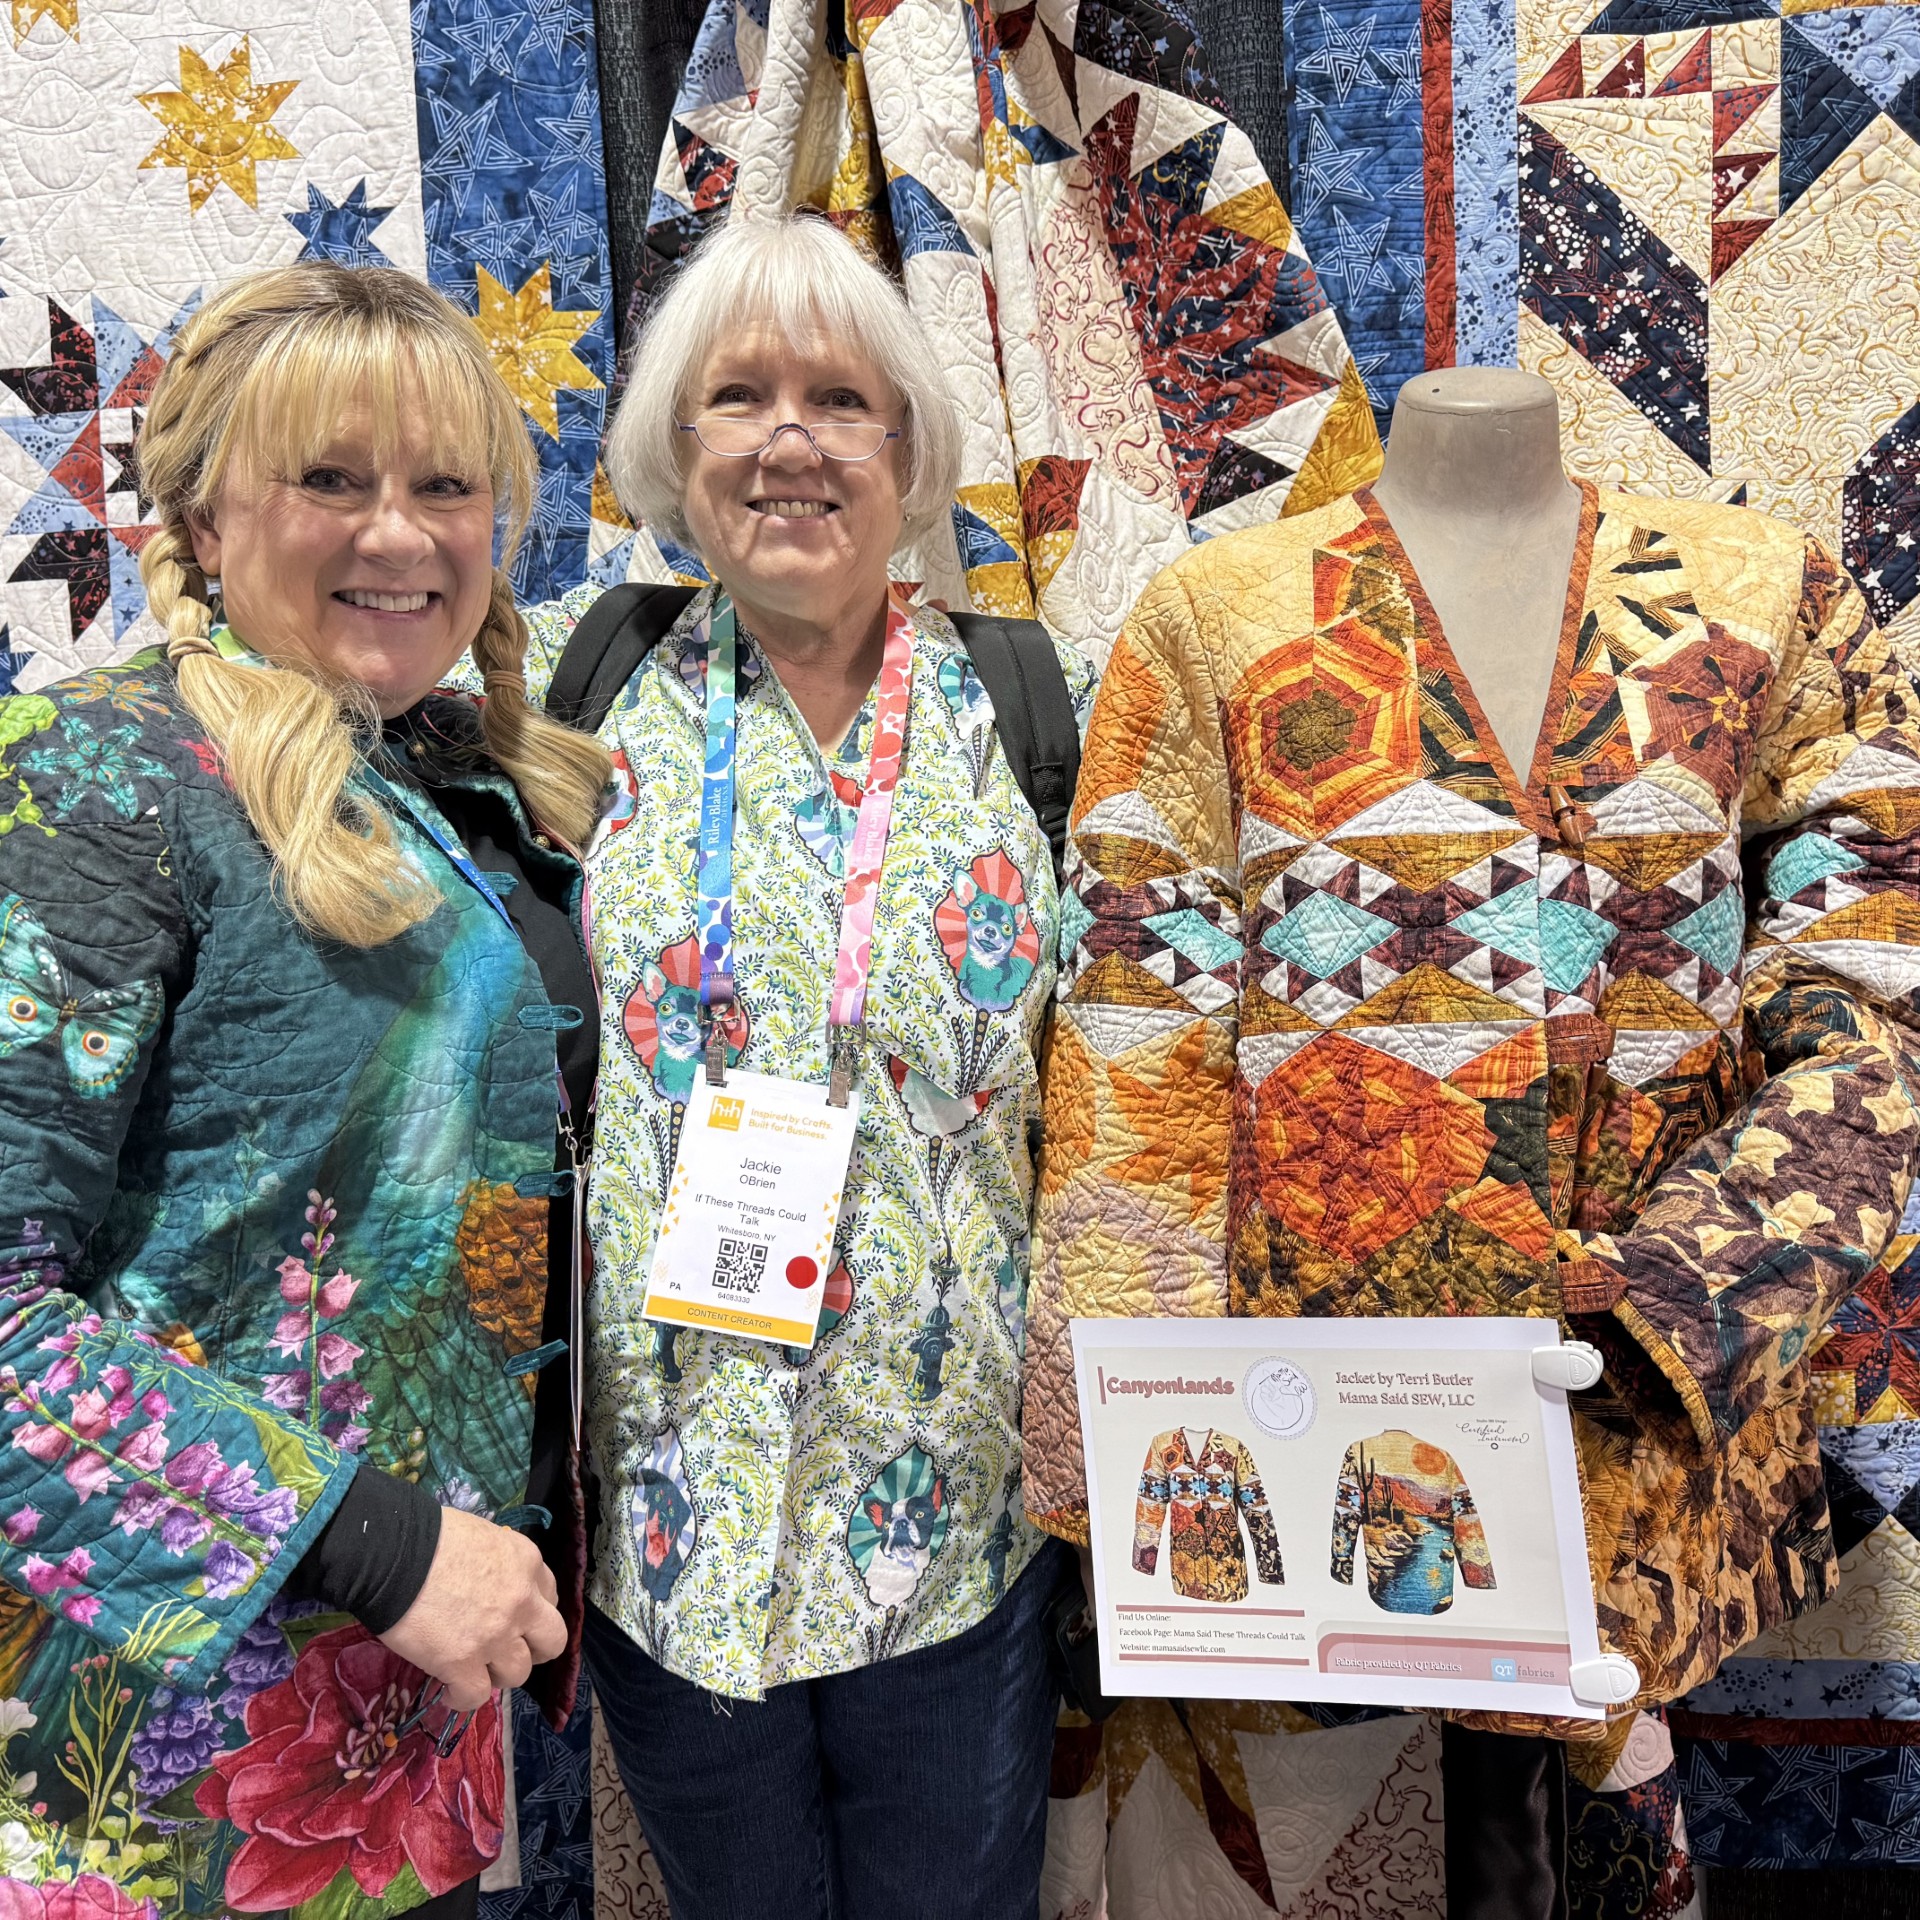
Terri’s Canyonlands OBW Jacket was proudly displayed in Studio 180 Design’s booth at H&H.
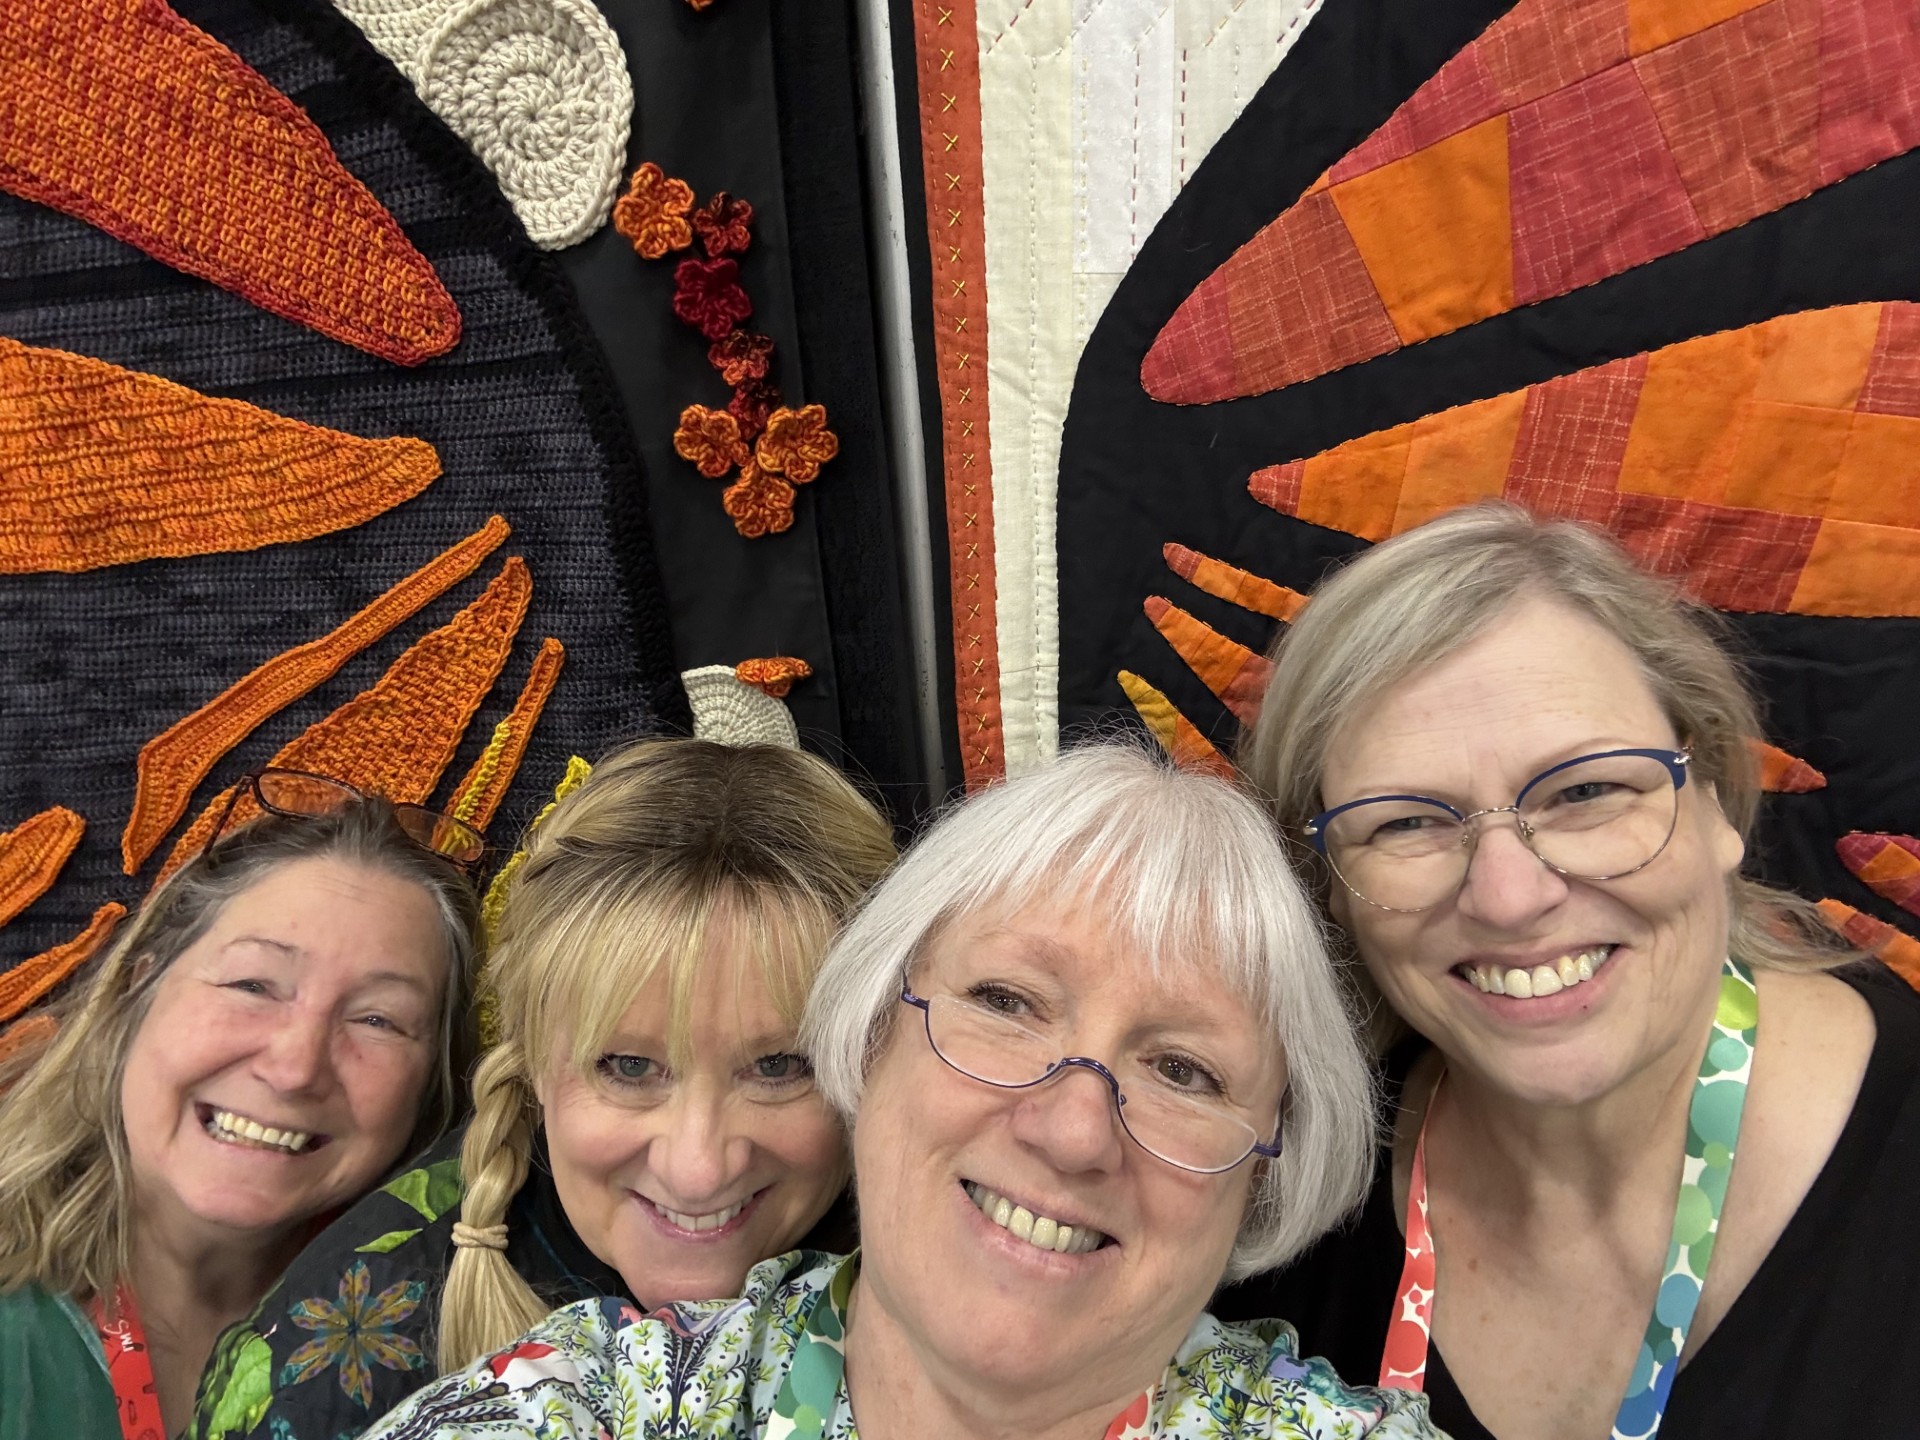
Friends are everything! Thank you Terri Butler, Barb Wiseman and Carol Coniglio for all your help!
Terri and I were so excited to able to meet with Jason Yenter, Frond Design, Lumin Fabrics & Moda to plan for future projects together!
@Studio180Design @InTheBeginningFabrics @Moda @LuminFabrics @FrondDesign