
The Rolling Stone block is fun and easy. You will need the 06 Rolling Stone Supply List and your Studio 180 Design Square/Squared tool. All the instructions you need to make Square/Squared Units required for this block came with your Square/Squared tool.
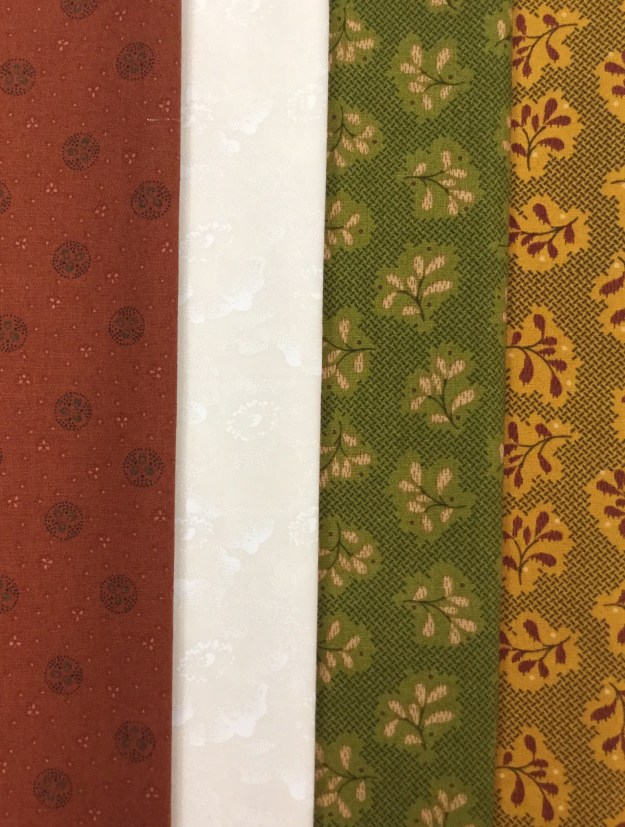
The Rolling Stone supply list gives you 3 different color layouts, a black line master & 3 block size choices, I decided to make a 12″ block. Above are the 3 colors and a background fabric I chose.

Your Square/Squared tool has three different sections: 1. Size Chart for Triangles, 2. Center Square Trim Down Section & 3. Unit Trim Down Section.
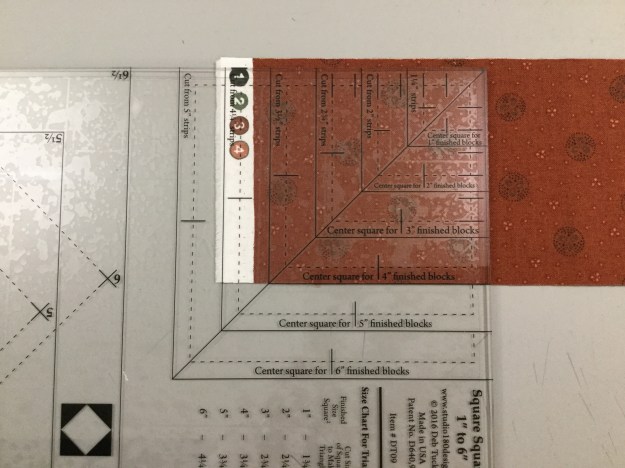
Unit A: I am making 4″ finished units, so I checked my tool (The newer Square/Squared tools has Center Square strip width requirements based on the finished size of your chosen unit). I cut one strip 3 1/2″ wide ( this is slightly wider than needed). I’m right handed so I laid my strip horizontally on the cutting mat with the selvages to the left. Find the correct size square in the Center Square Section. Lay the tool on the fabric so the bottom line for a 4″ finished unit is even with the bottom edge of the strip.
Make two cuts, once up the right side, them across the top.
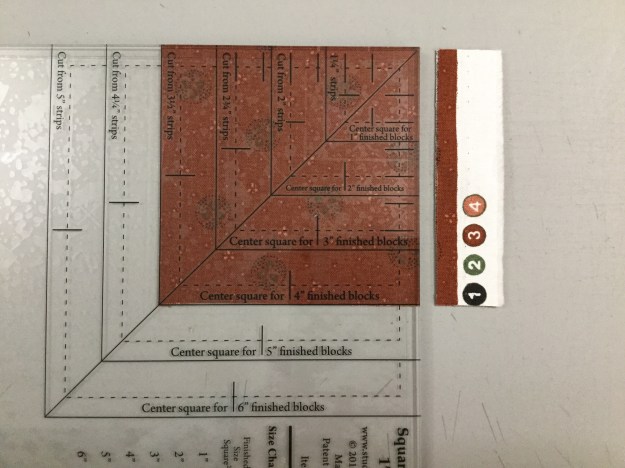
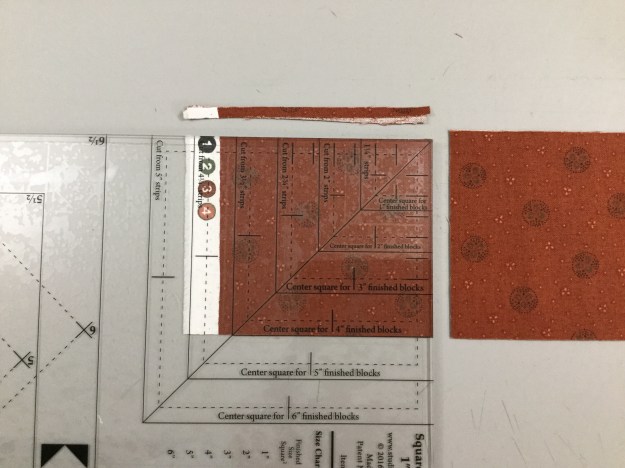
Rotate your square so it is aligned with the 4″ finished clean up lines on the tool and make one more cut up the right side as shown above. Cut four precision center squares.
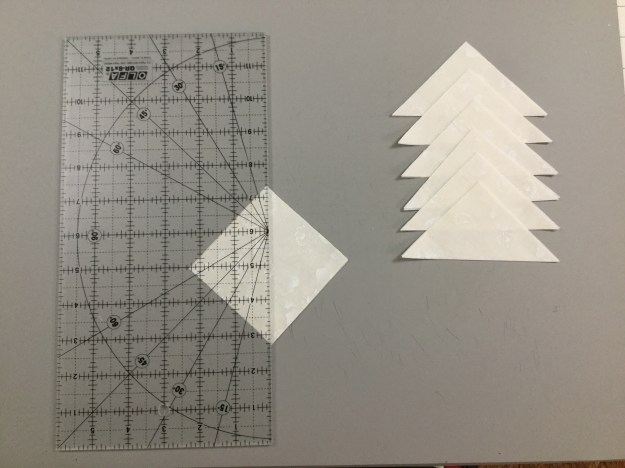
Find the Size Chart for Triangles on your tool. For a 4″ finished unit I cut a strip 3 1/4″ wide. Cut 2 – 3 1/3″ squares for each Square/Squared unit, then cut them each once diagonally as shown above.


Position two triangles on opposite sides of the center square. No need to fuss with matching the middles as the triangles are larger than they need to be. Just lay the triangle down right side up and then center the center square over it eyeballing it to see if it is even on both sides.

Stitch & press toward the triangles.


Position the two remaining triangles on the two remaining sides of the center square as shown above. Press triangles away from the center square.


Position the Trim Down Section of your tool over the pieced unit. Focus on aligning the “X’s” for your particular size unit over the sewn seams. Trim two sides, then lift the tool and rotate the unit on the cutting mat. For the second cut, position the tool on top of the unit lining up the “X’s” and also lining up the cleanup lines on the tool with the edges previously trimmed. Repeat the steps to make 3 more Square Squared units.


Unit B: These are basically 2 1/2″ squares sewn together. I cut two 2 1/2″ strips of fabric and sewed them together along the length of the strips. For this block we need four 2 patch units and one 4 patch unit. Trim the selvage off and cut 2 1/2″ wide units. We need 6 units.


Take two units, and with right sides together, nest the seams and stitch. Swirls the center seams and press to make your 4 patch unit.
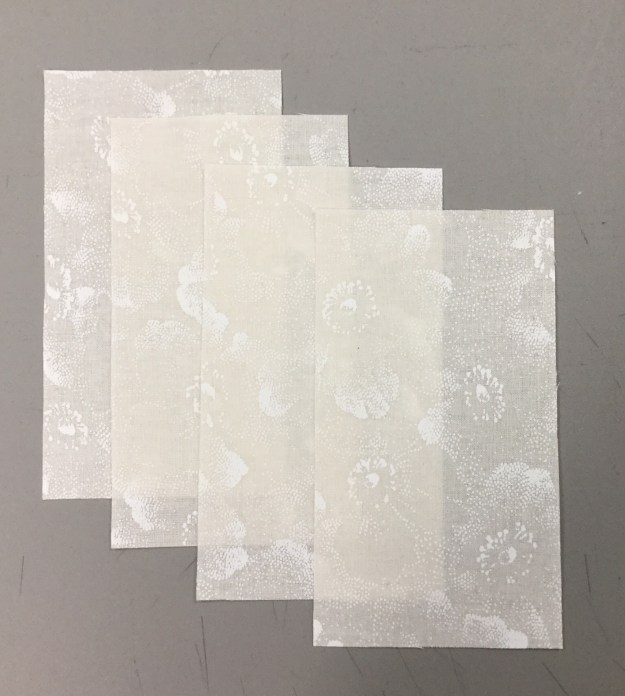
Unit C: For a 12″ clock cut a 2 1/2″ strip of fabric. Then sub-cut into four 2 1/2″ x 4 1/2″ rectangles.
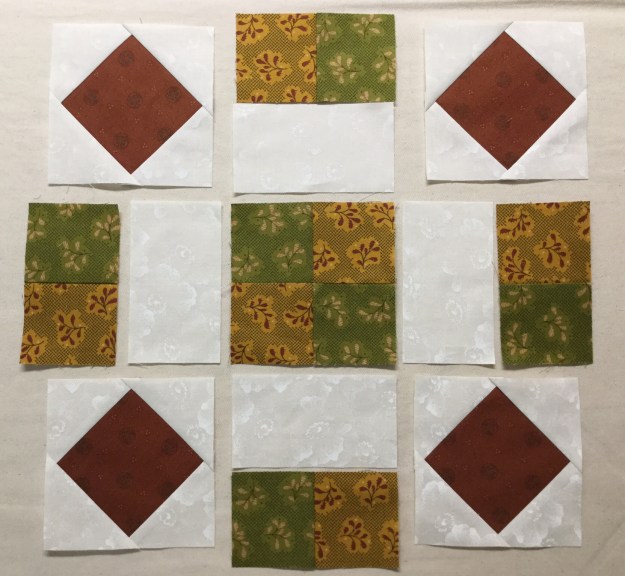
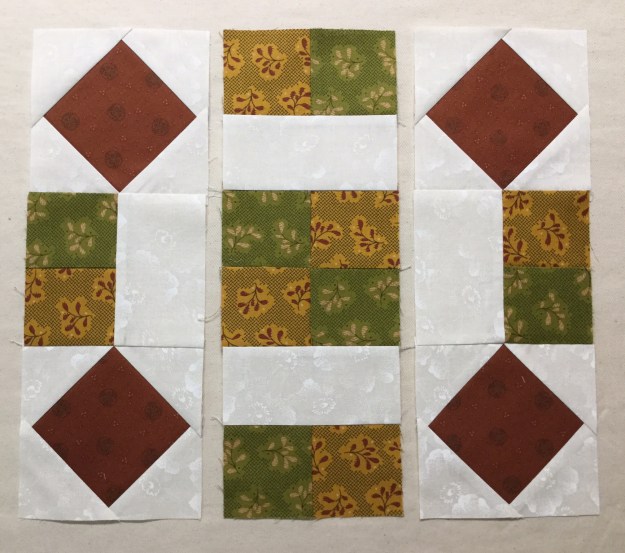
Lay out your block units.
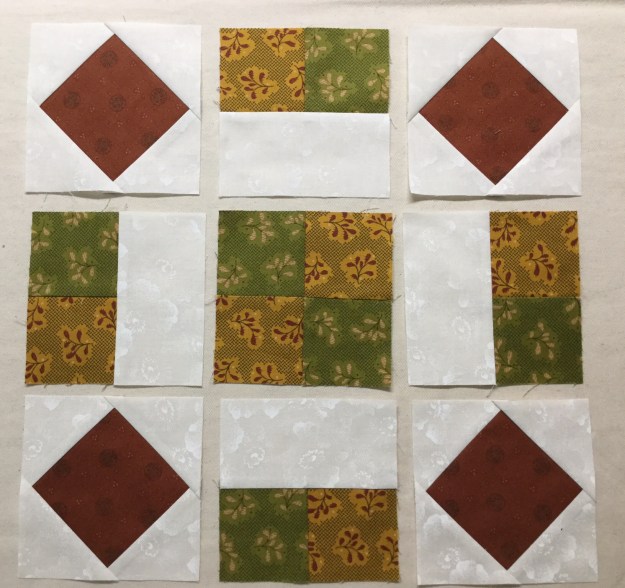
Sew the Unit B – 2 Patches together with the Unit C – rectangles, press toward the rectangle. Now all your units are 4 1/2″.
Sew your Square/Squared units to your 2 Patch/Rectangle units and your 2 Patch/Rectangle units to your center 4 patch unit as shown above.

The back of the block shows I pressed the square/squared units toward the 2 patch units, and when I joined the rows i pressed the center out towards the sides of the block.
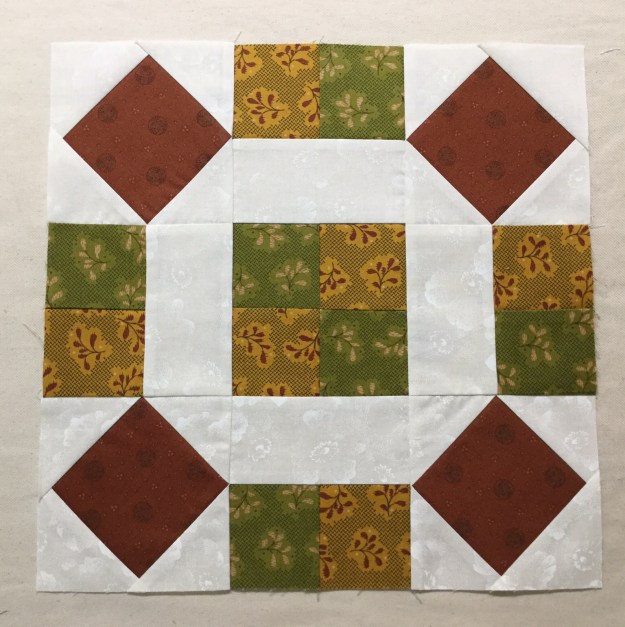
BlockBuster #6 – Rolling Stone. Nice block!
