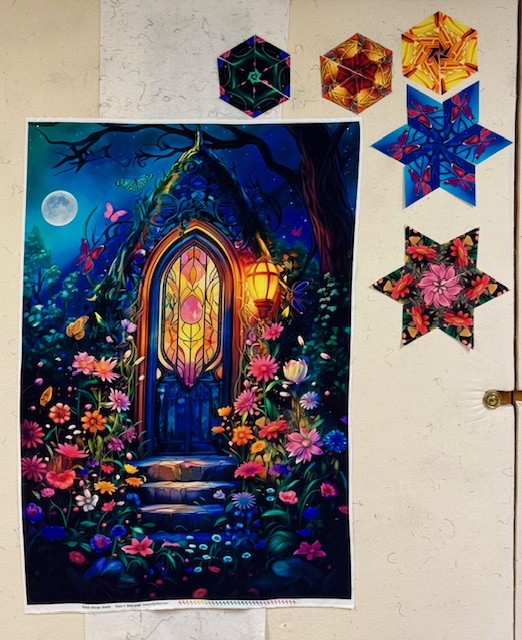
Night Garden panel by Rubin Design Studio, exclusively for eQuilter.com , measures 29″ x 44″.
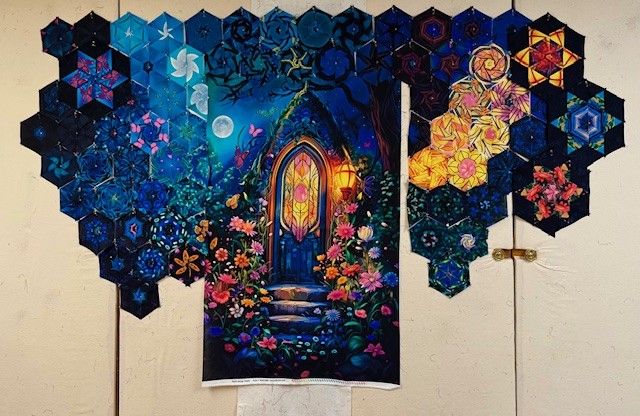
I cut my strips 3.25″ to yield 5″ finished hexies. Night Garden produced 182 hexies. I could place 5.5 hexies or 11 columns across the top and bottom sections.
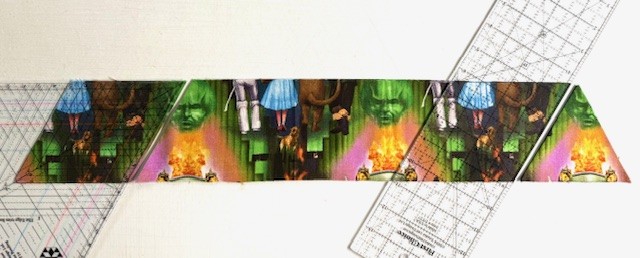
If you use a pointed tip Star 60 tool or First Choice ruler to cut your equilateral triangles, the same strip can be used to cut Star 60 diamonds. The 3.75″ strip above yielded a 6″ finished hexies and a diamond for a 6″ Star 60 Unit (12″ star), (Blunt tip ruler changes the hexies size.)
- 2.75” Strip = 4” finished hexie and a diamond for a 8” finished Star 60
- 3.25” Strip = 5” finished hexie and a diamond for a 10” finished Star 60
- 3.75” Strip = 6” finished hexie and a diamond for a 12” finished Star 60
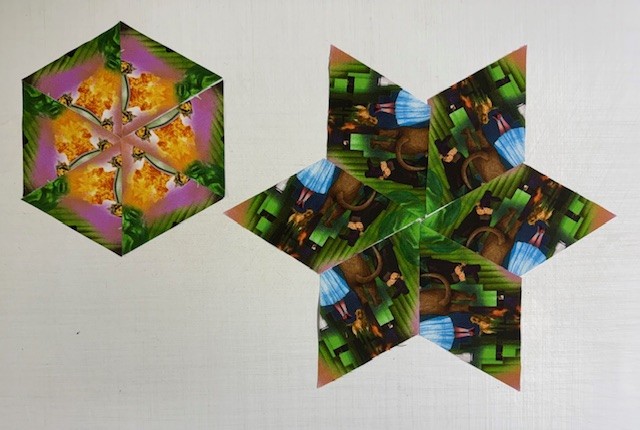
When making Star 60 units from these diamonds, follow the Star 60 tool instructions Steps 2 – 12.
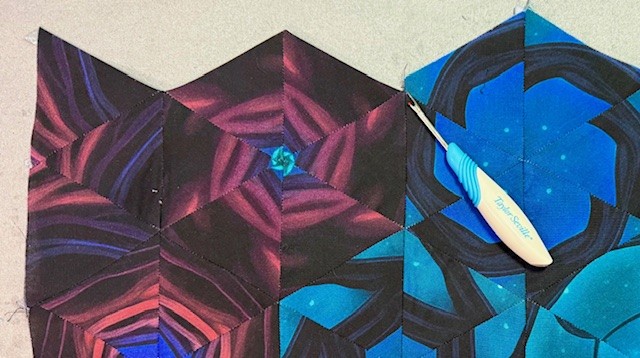
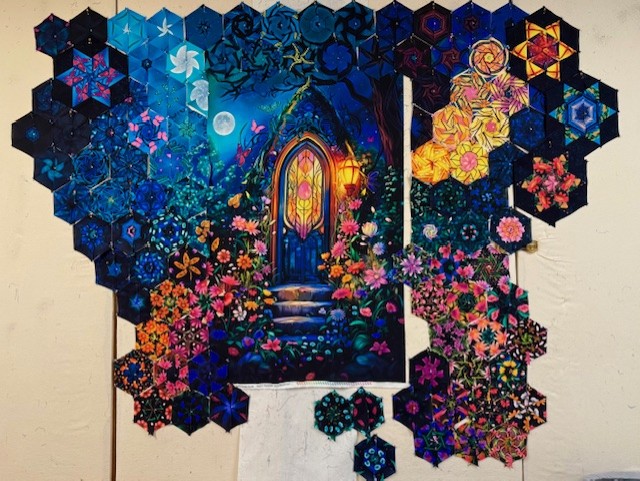
Once you have the top and bottom sections together, you remove stitches in the valleys from the edge that will be attached to the panel and turn under 1/4″. I have my favorite seam rippers, but this time I tried the Taylor Seville Originals Magic Seam Ripper. I felt the difference right away. it felt light, and it fit well in my hand. it was very sharp and made quick work of removing the stitches without distorting the fabric. I think I have a new favorite seam ripper!
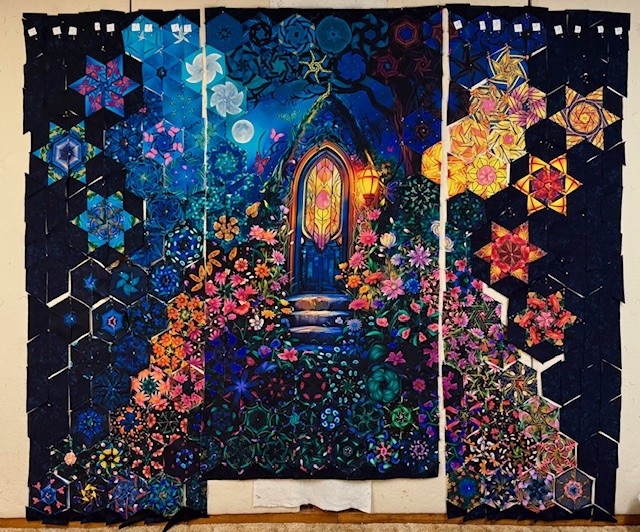

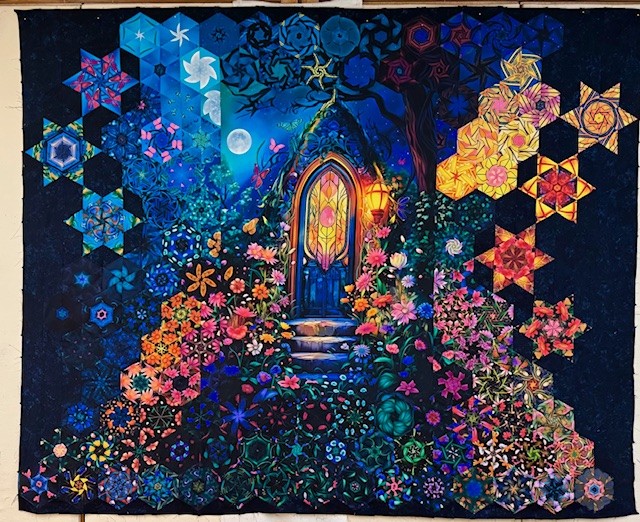
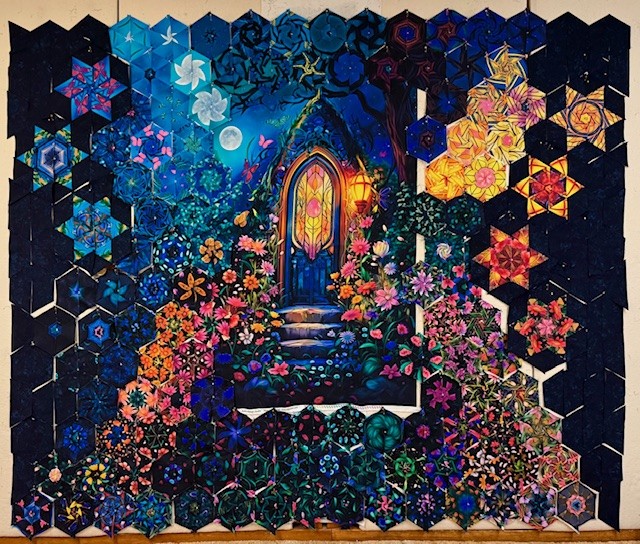
Top and bottom section attached, left Side attached and top stitched together.

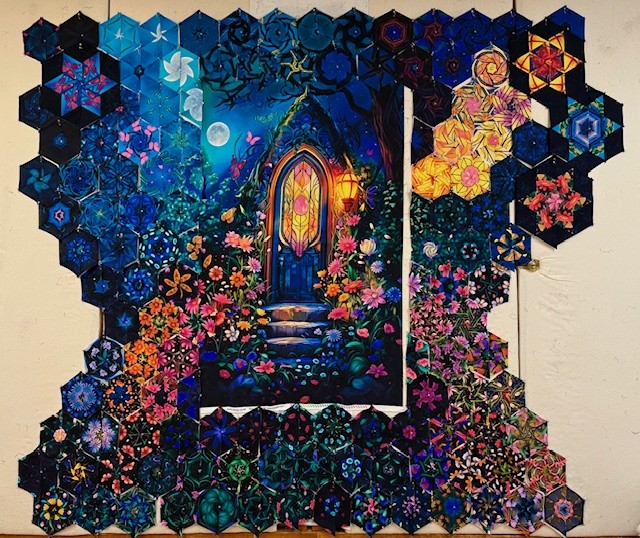
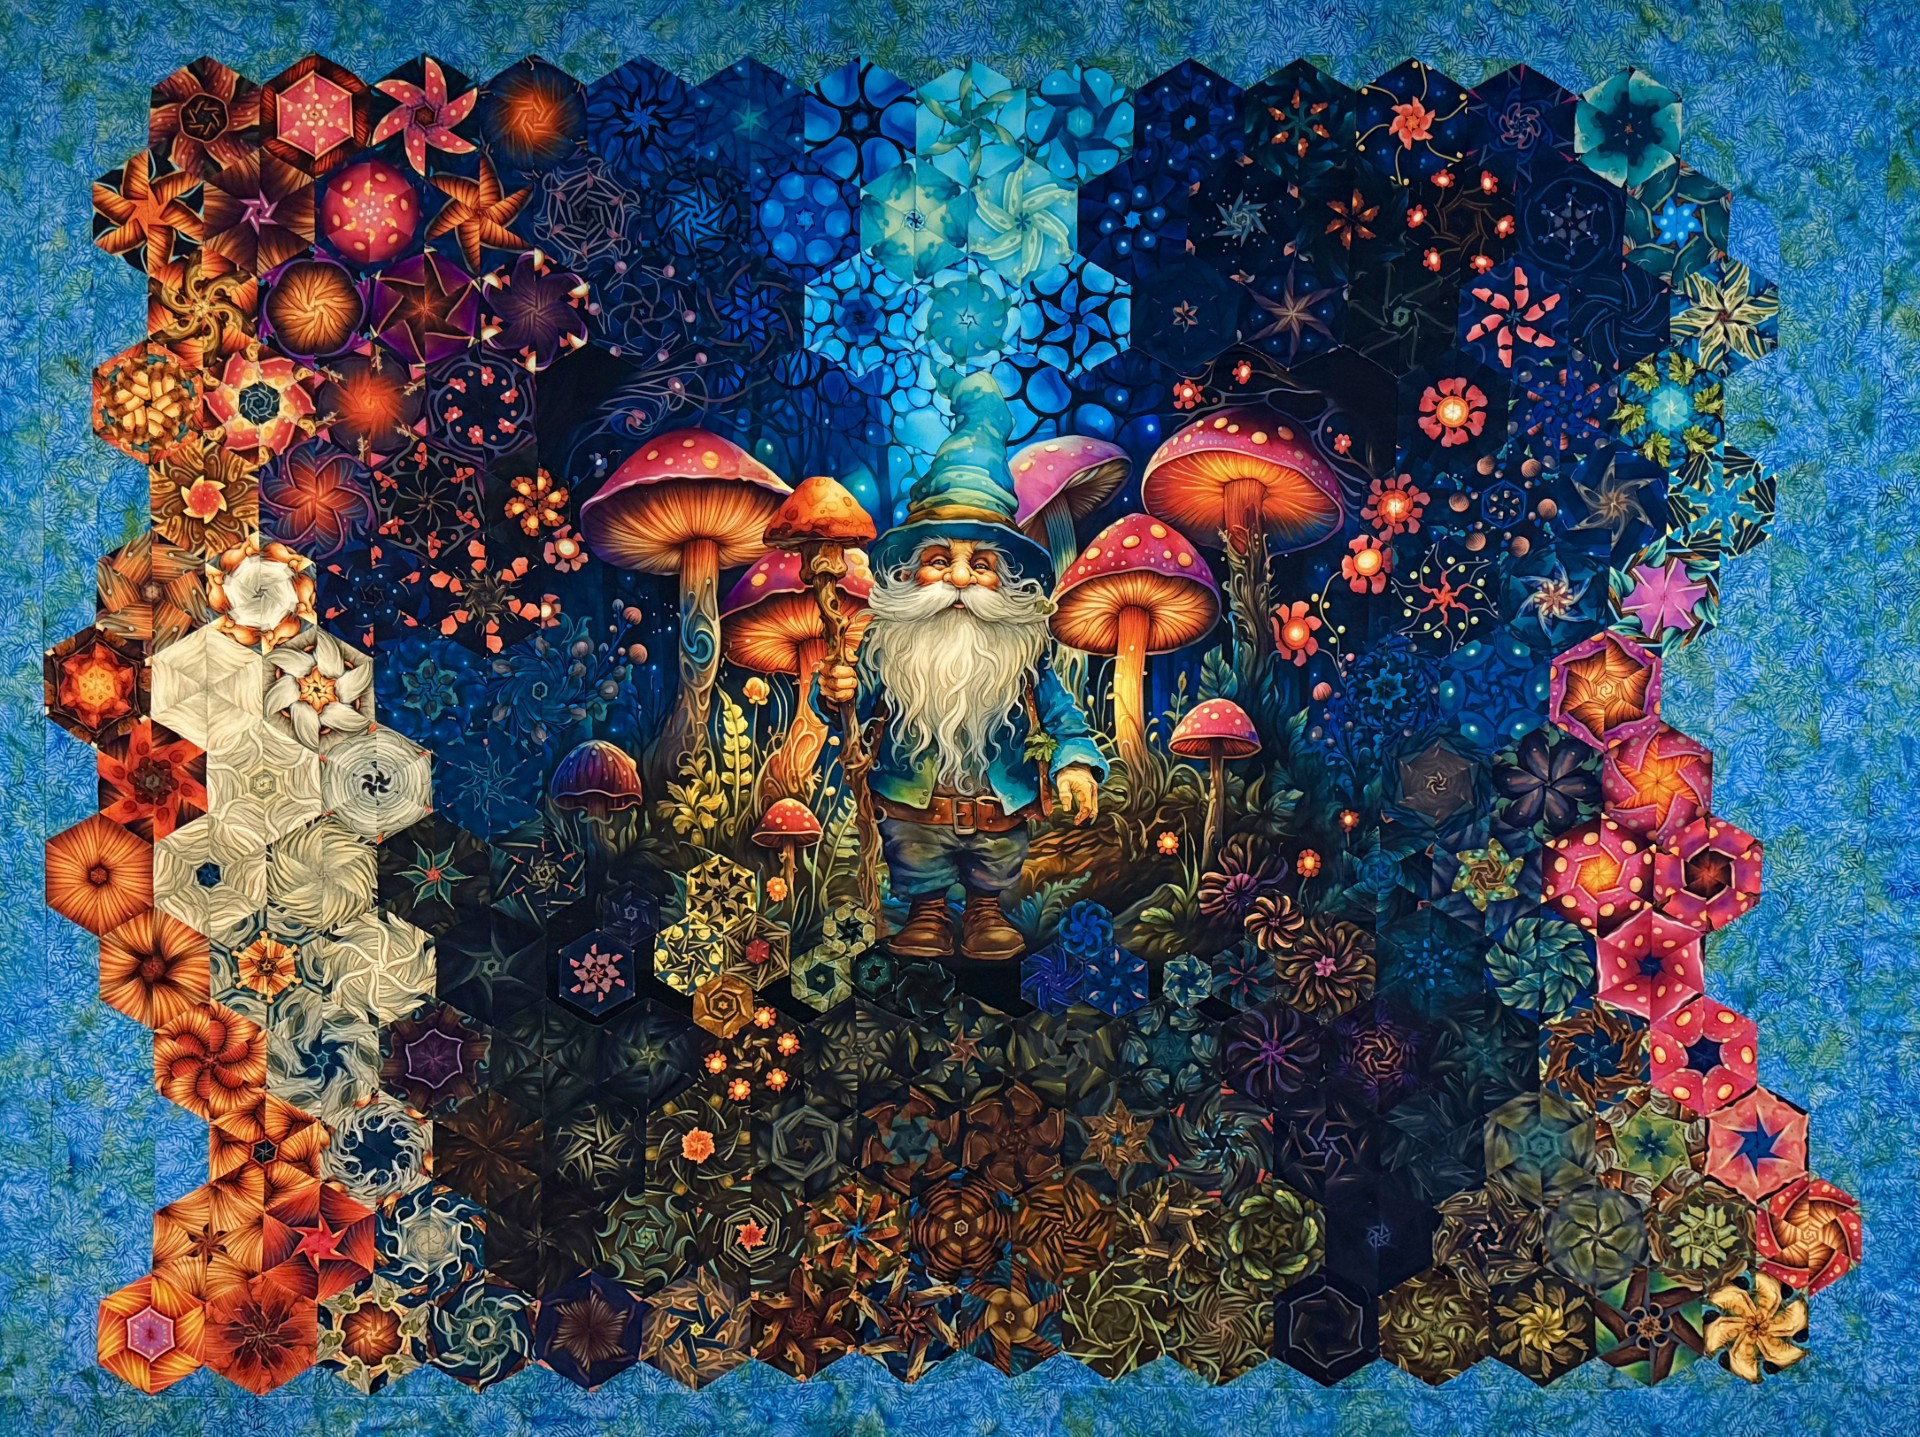
Night Garden measures 86″ by 70″. I think the Night Garden is where the Garden Gnome – Mushroom Man lives!
@eQuilter @RubinDesignStudio @Studio180Design @TaylorSevilleOriginals #NightGarden #Star60Tool #FirstChoiceRuler #MagicSeamRipper