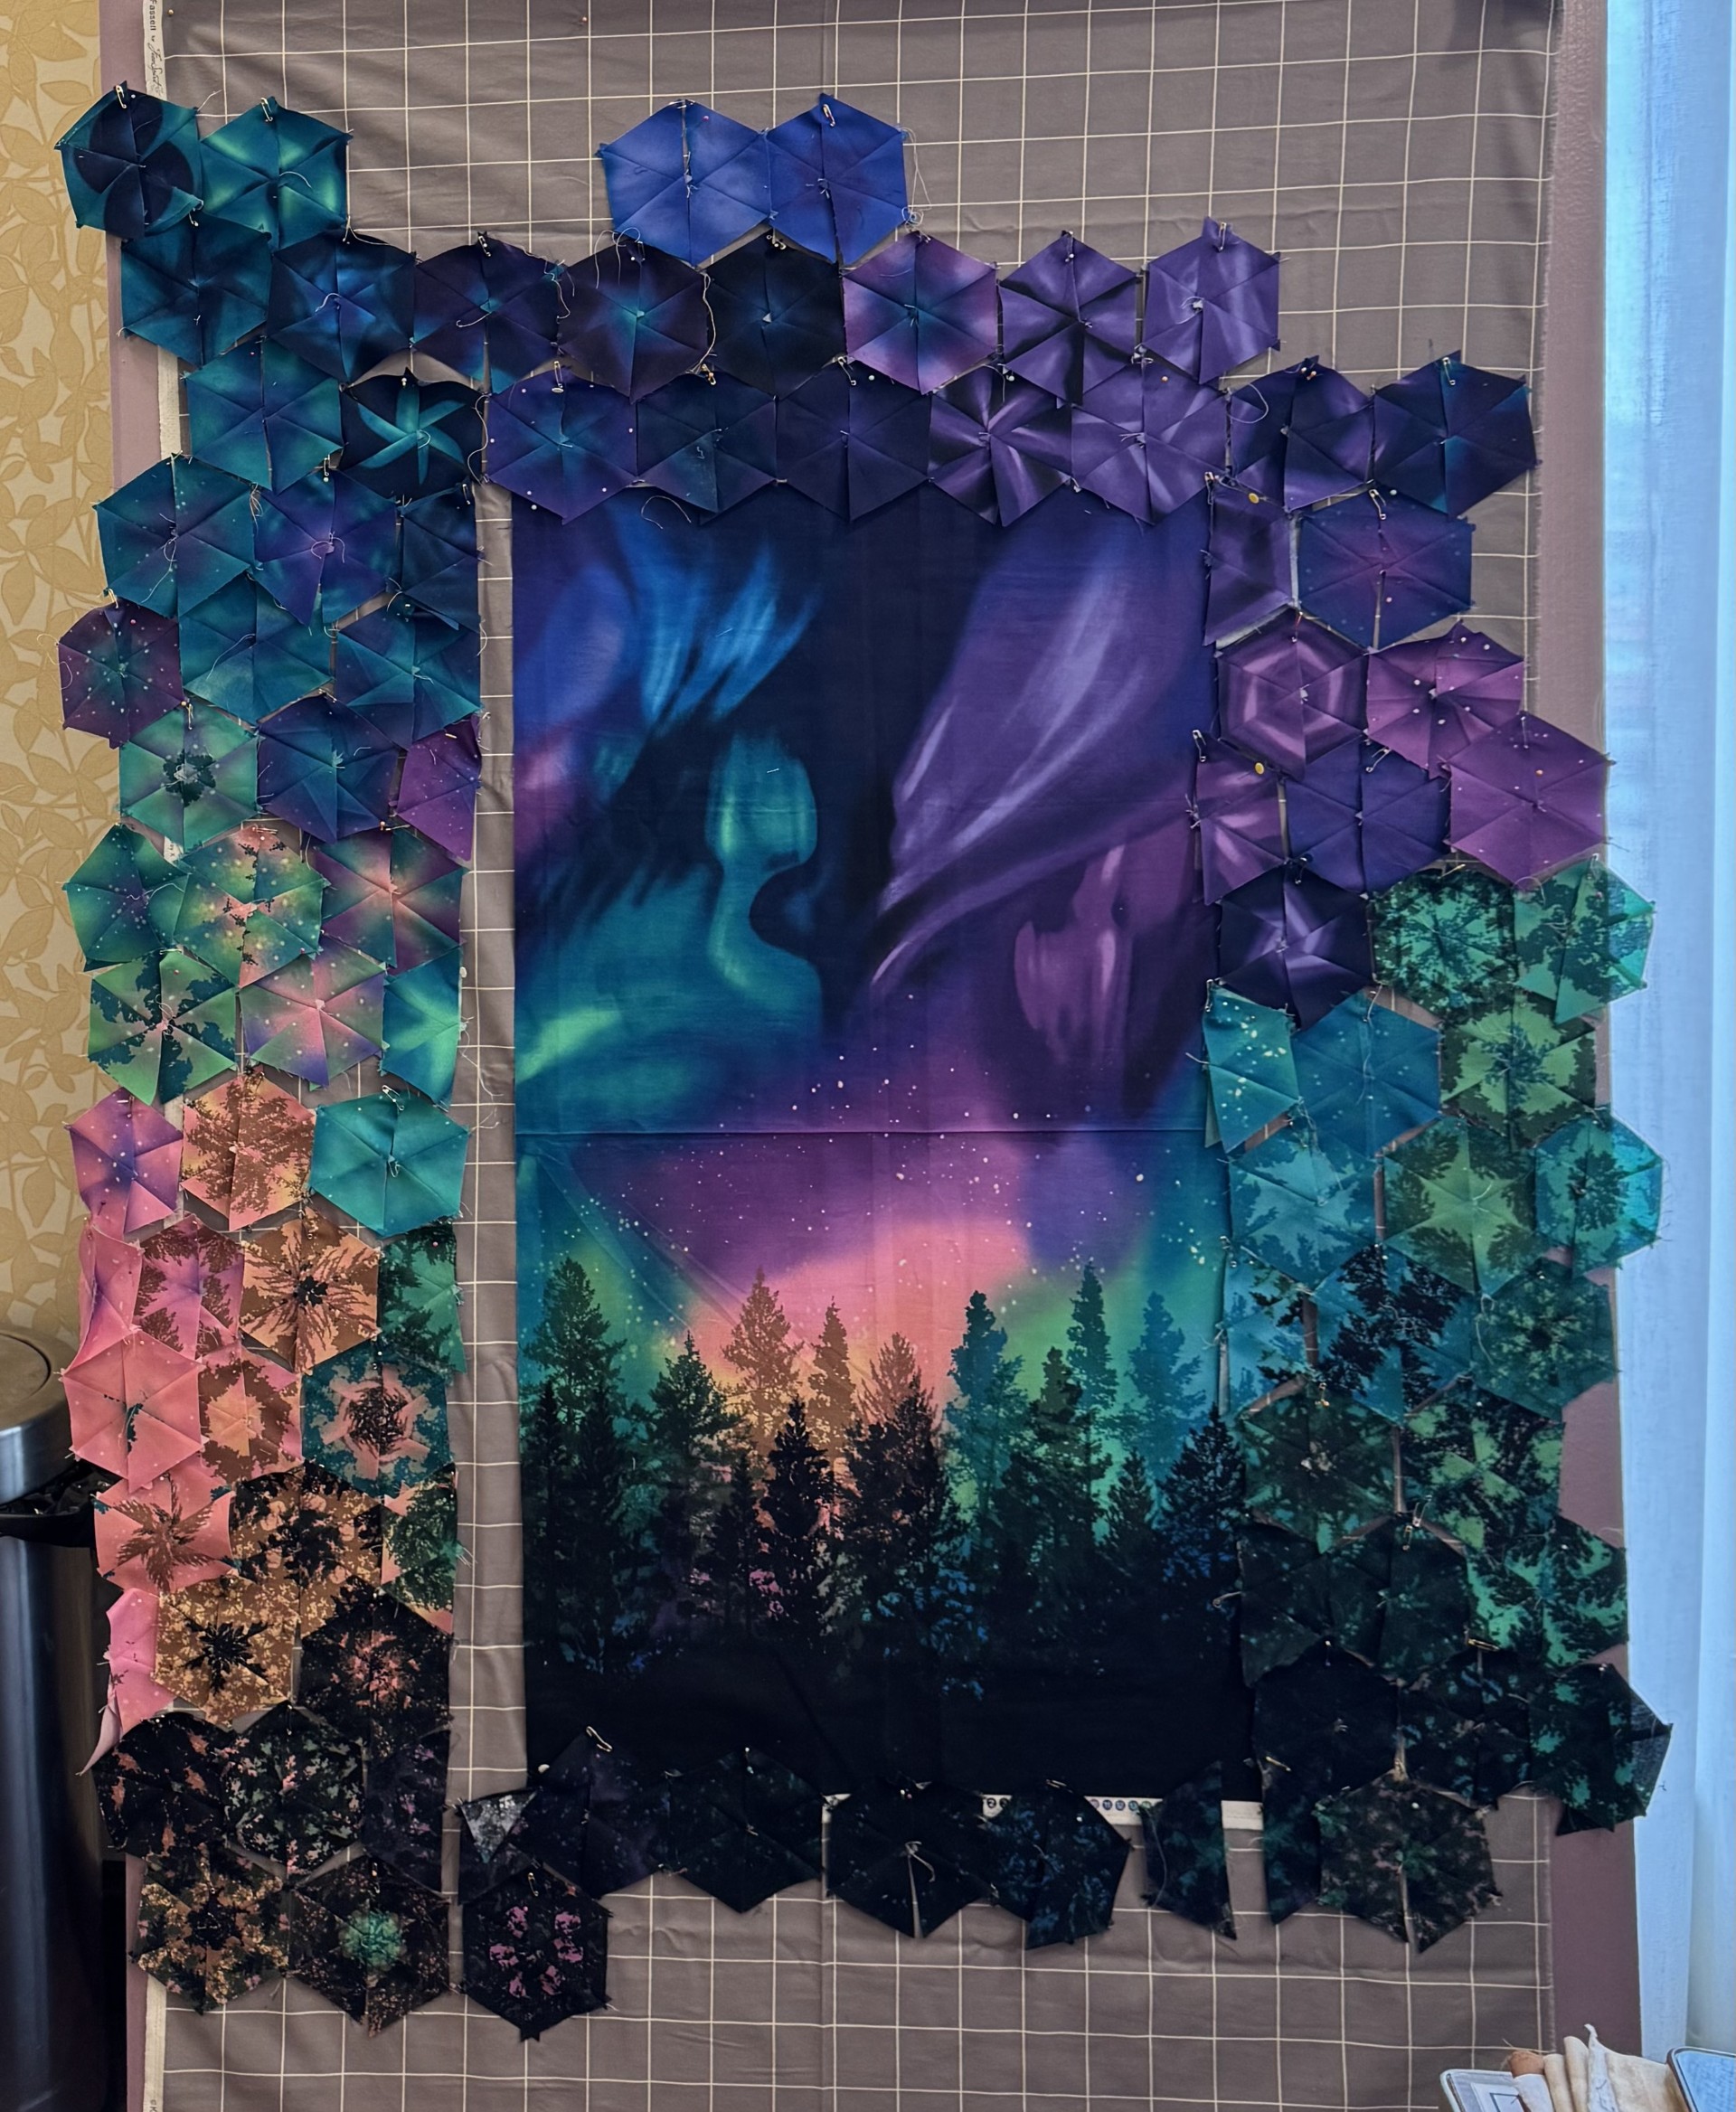
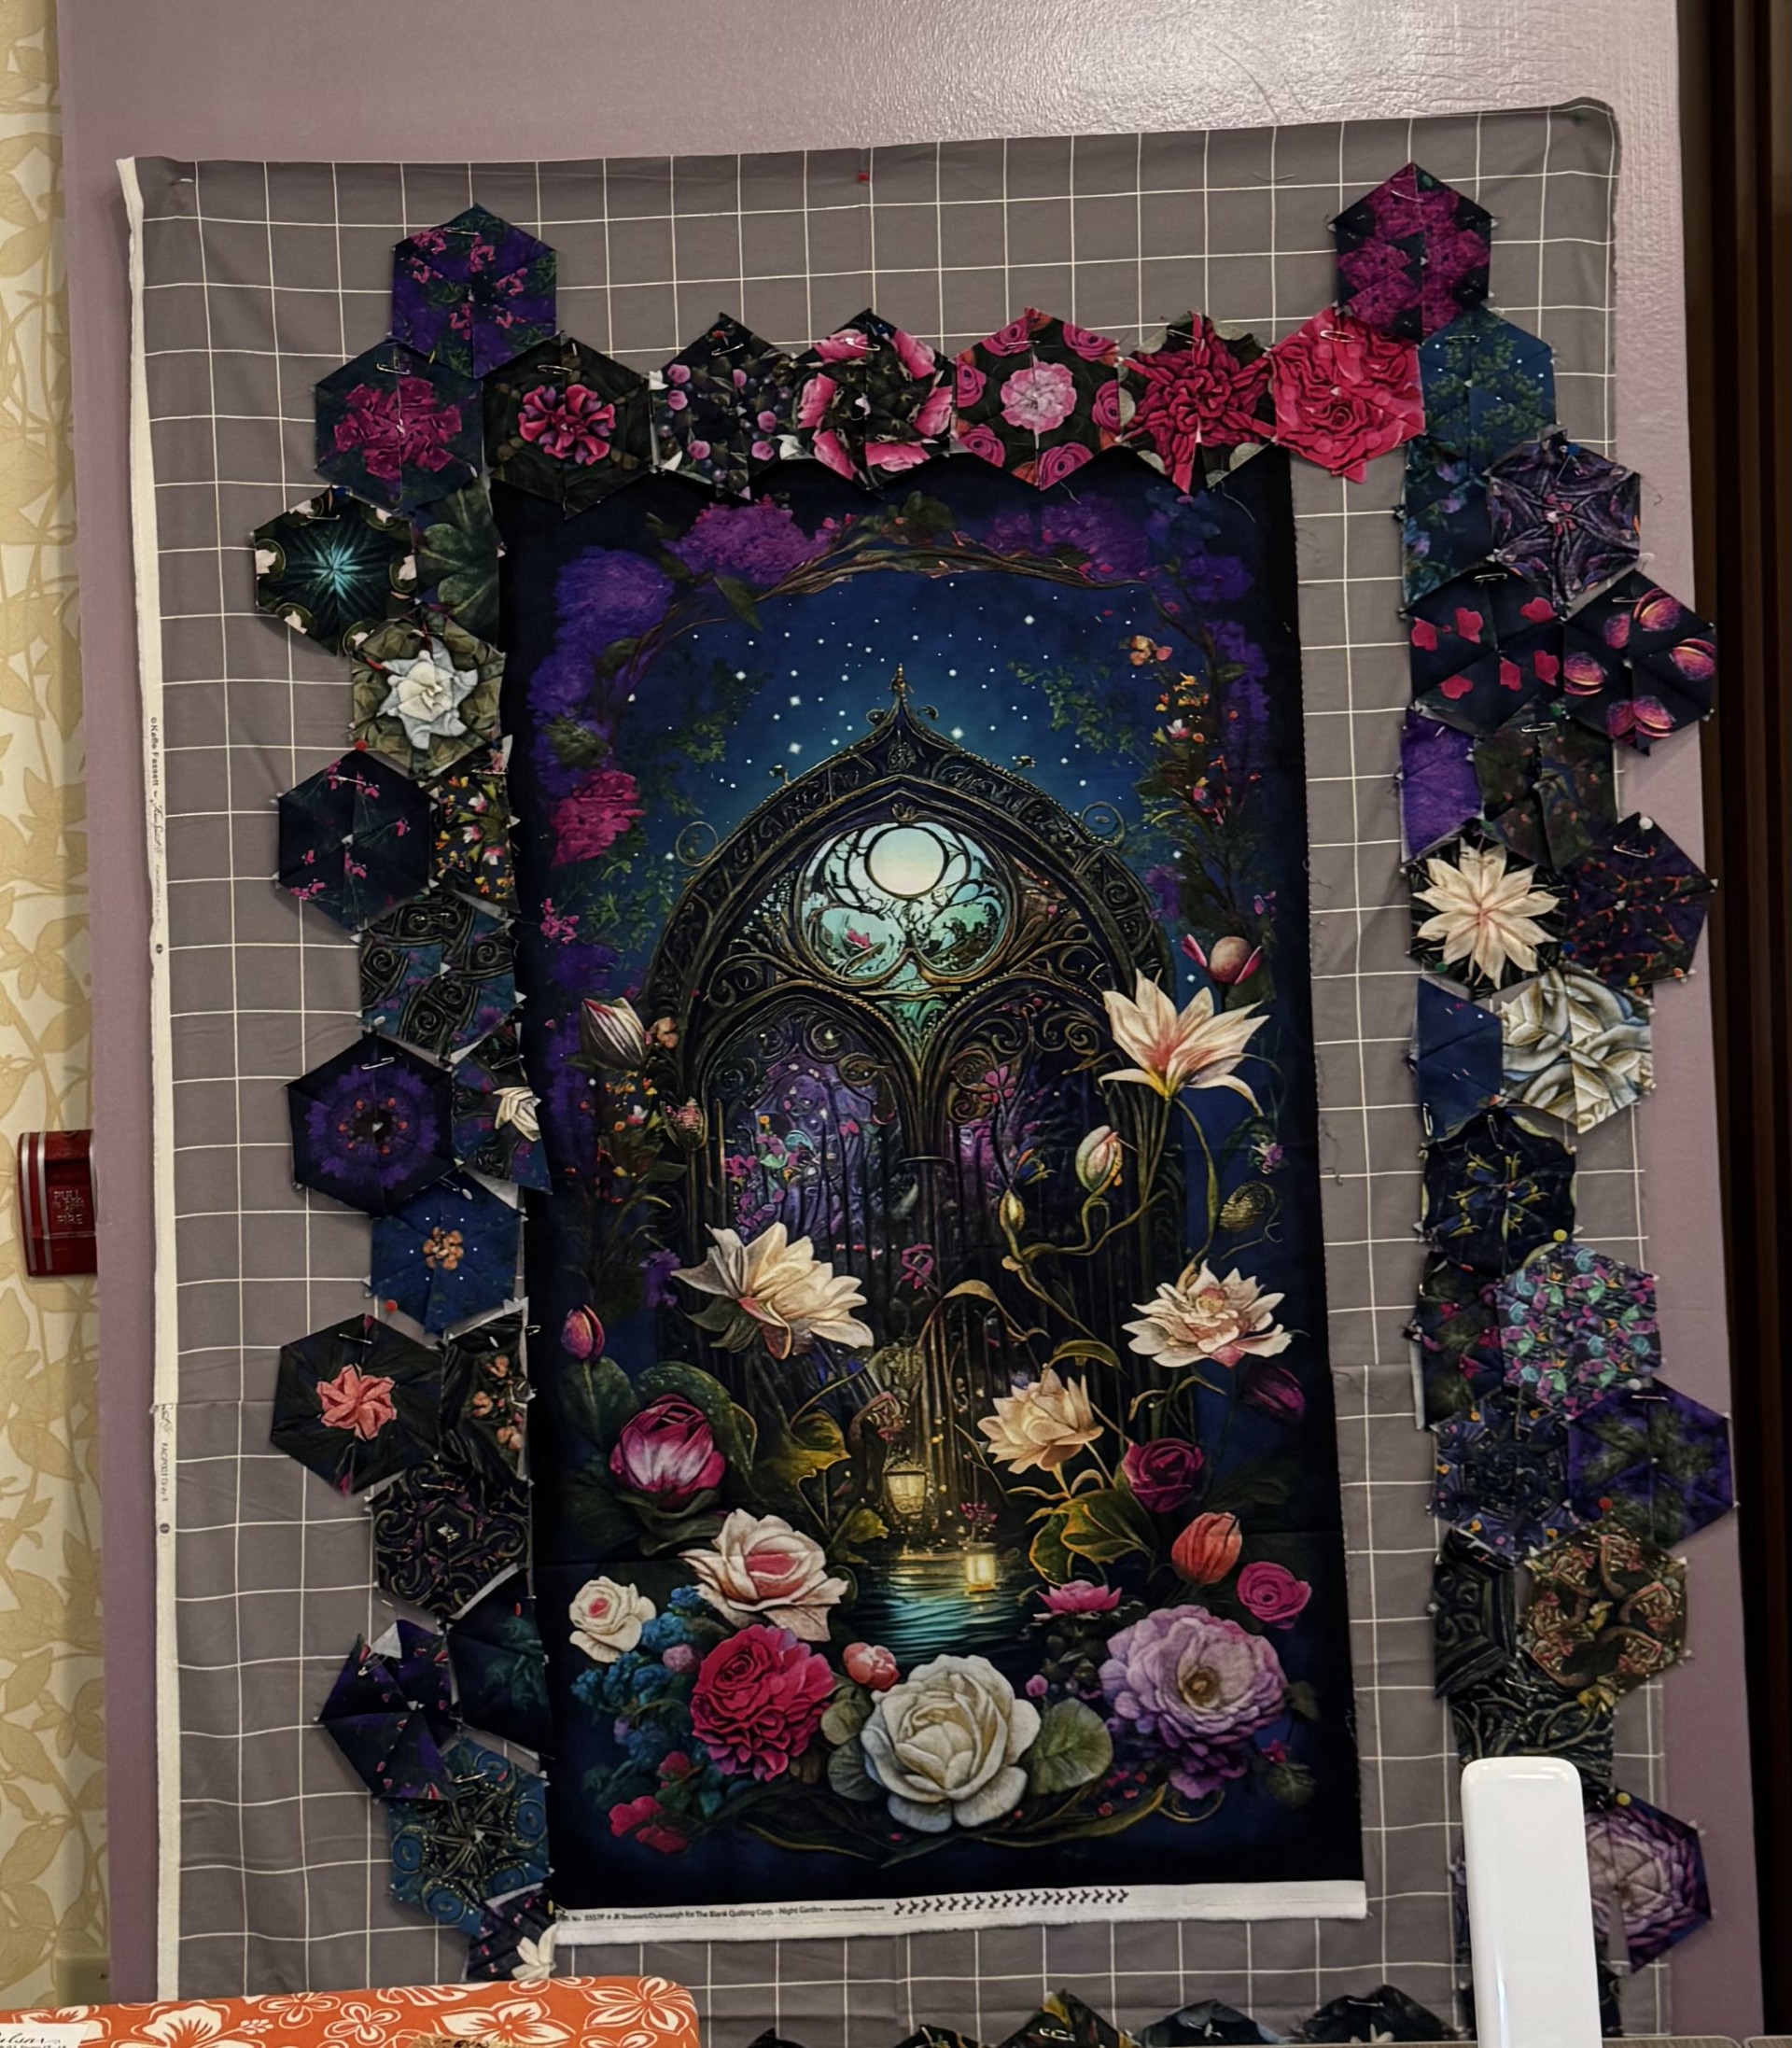
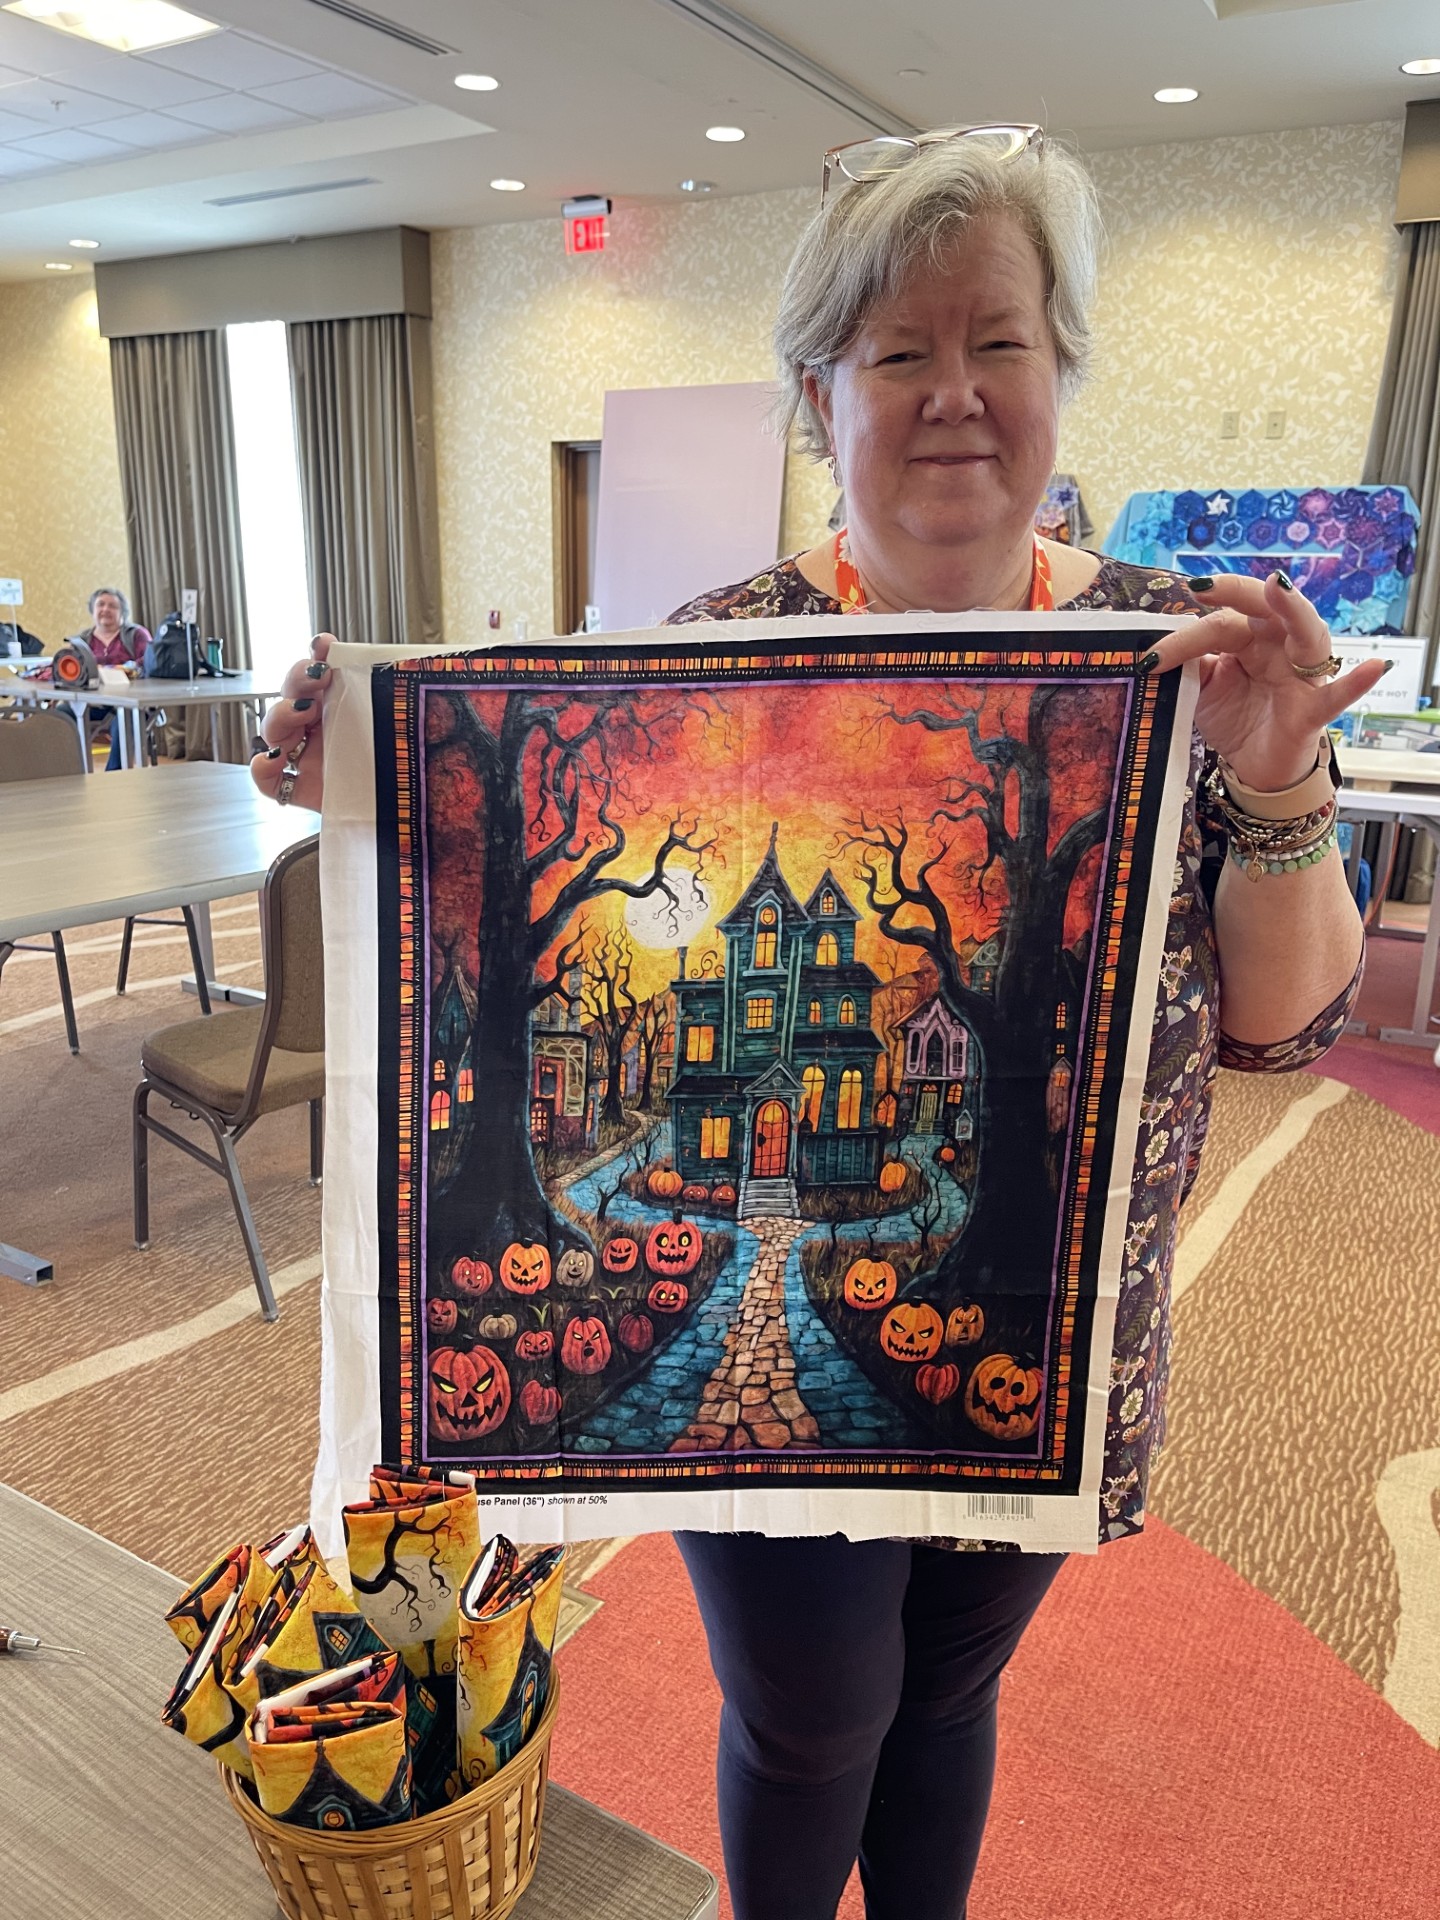
The Enchanted panel is designed by the Morris Creative Group and brought to us by QT Fabrics. In quilt shops now.

When I first saw this panel I thought of the song “Castles in the Sky” by Ian Van Dahl, 1999. I thought that I would try to design around the castle as if it was floating.

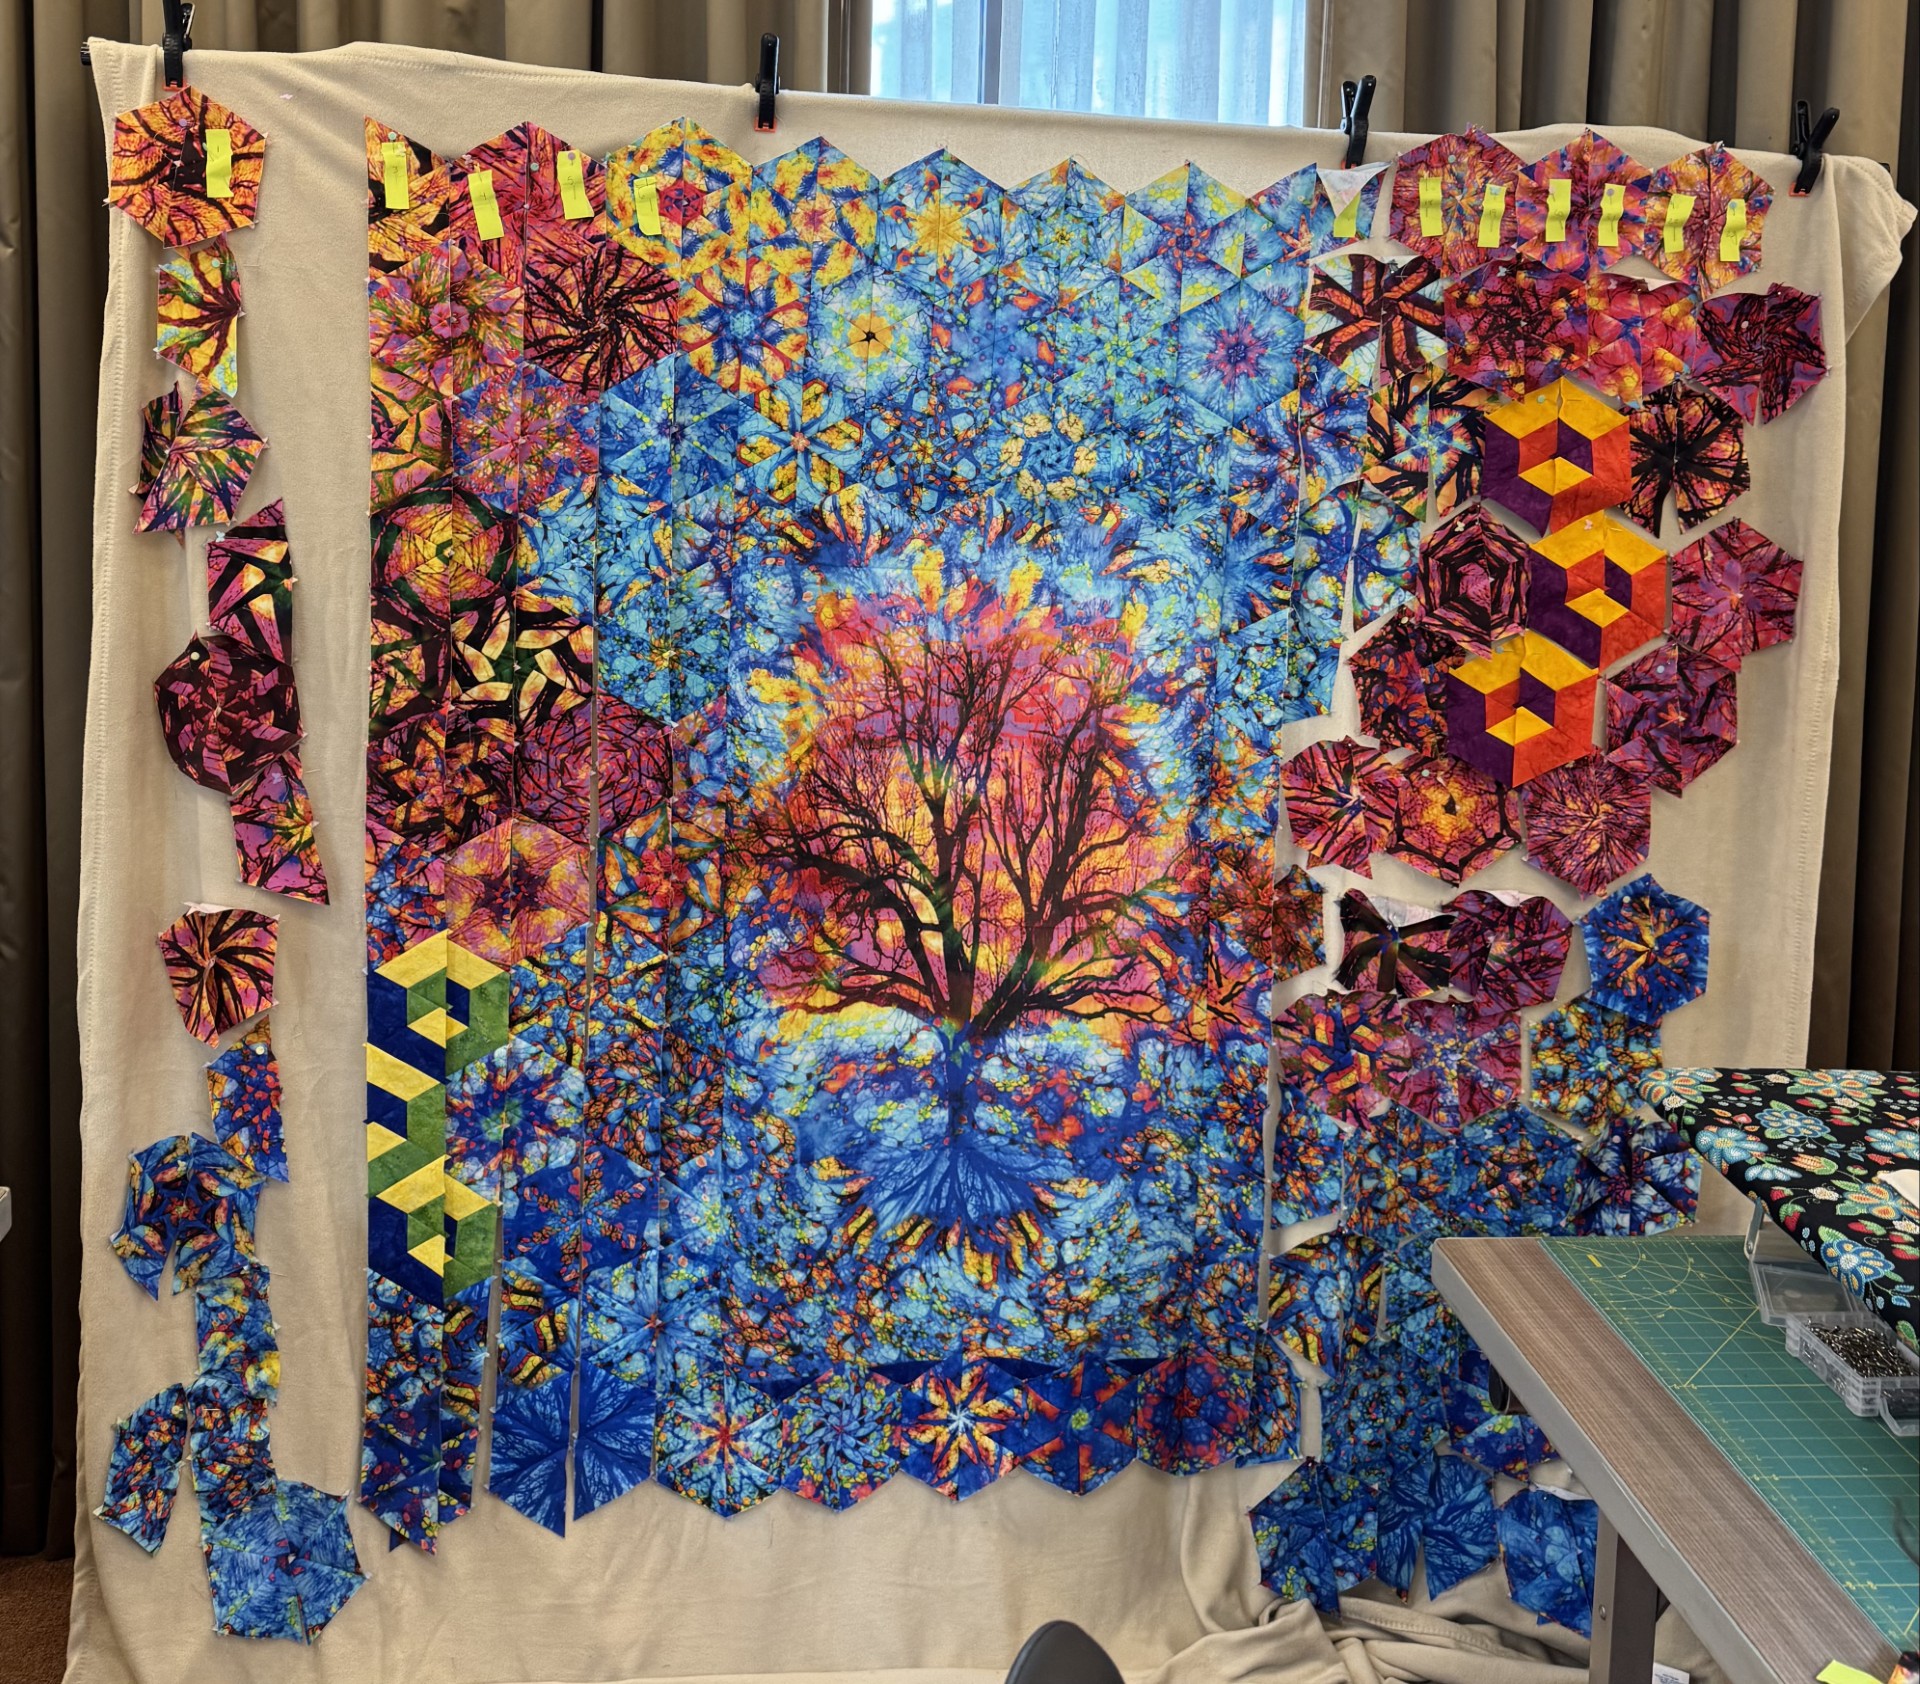
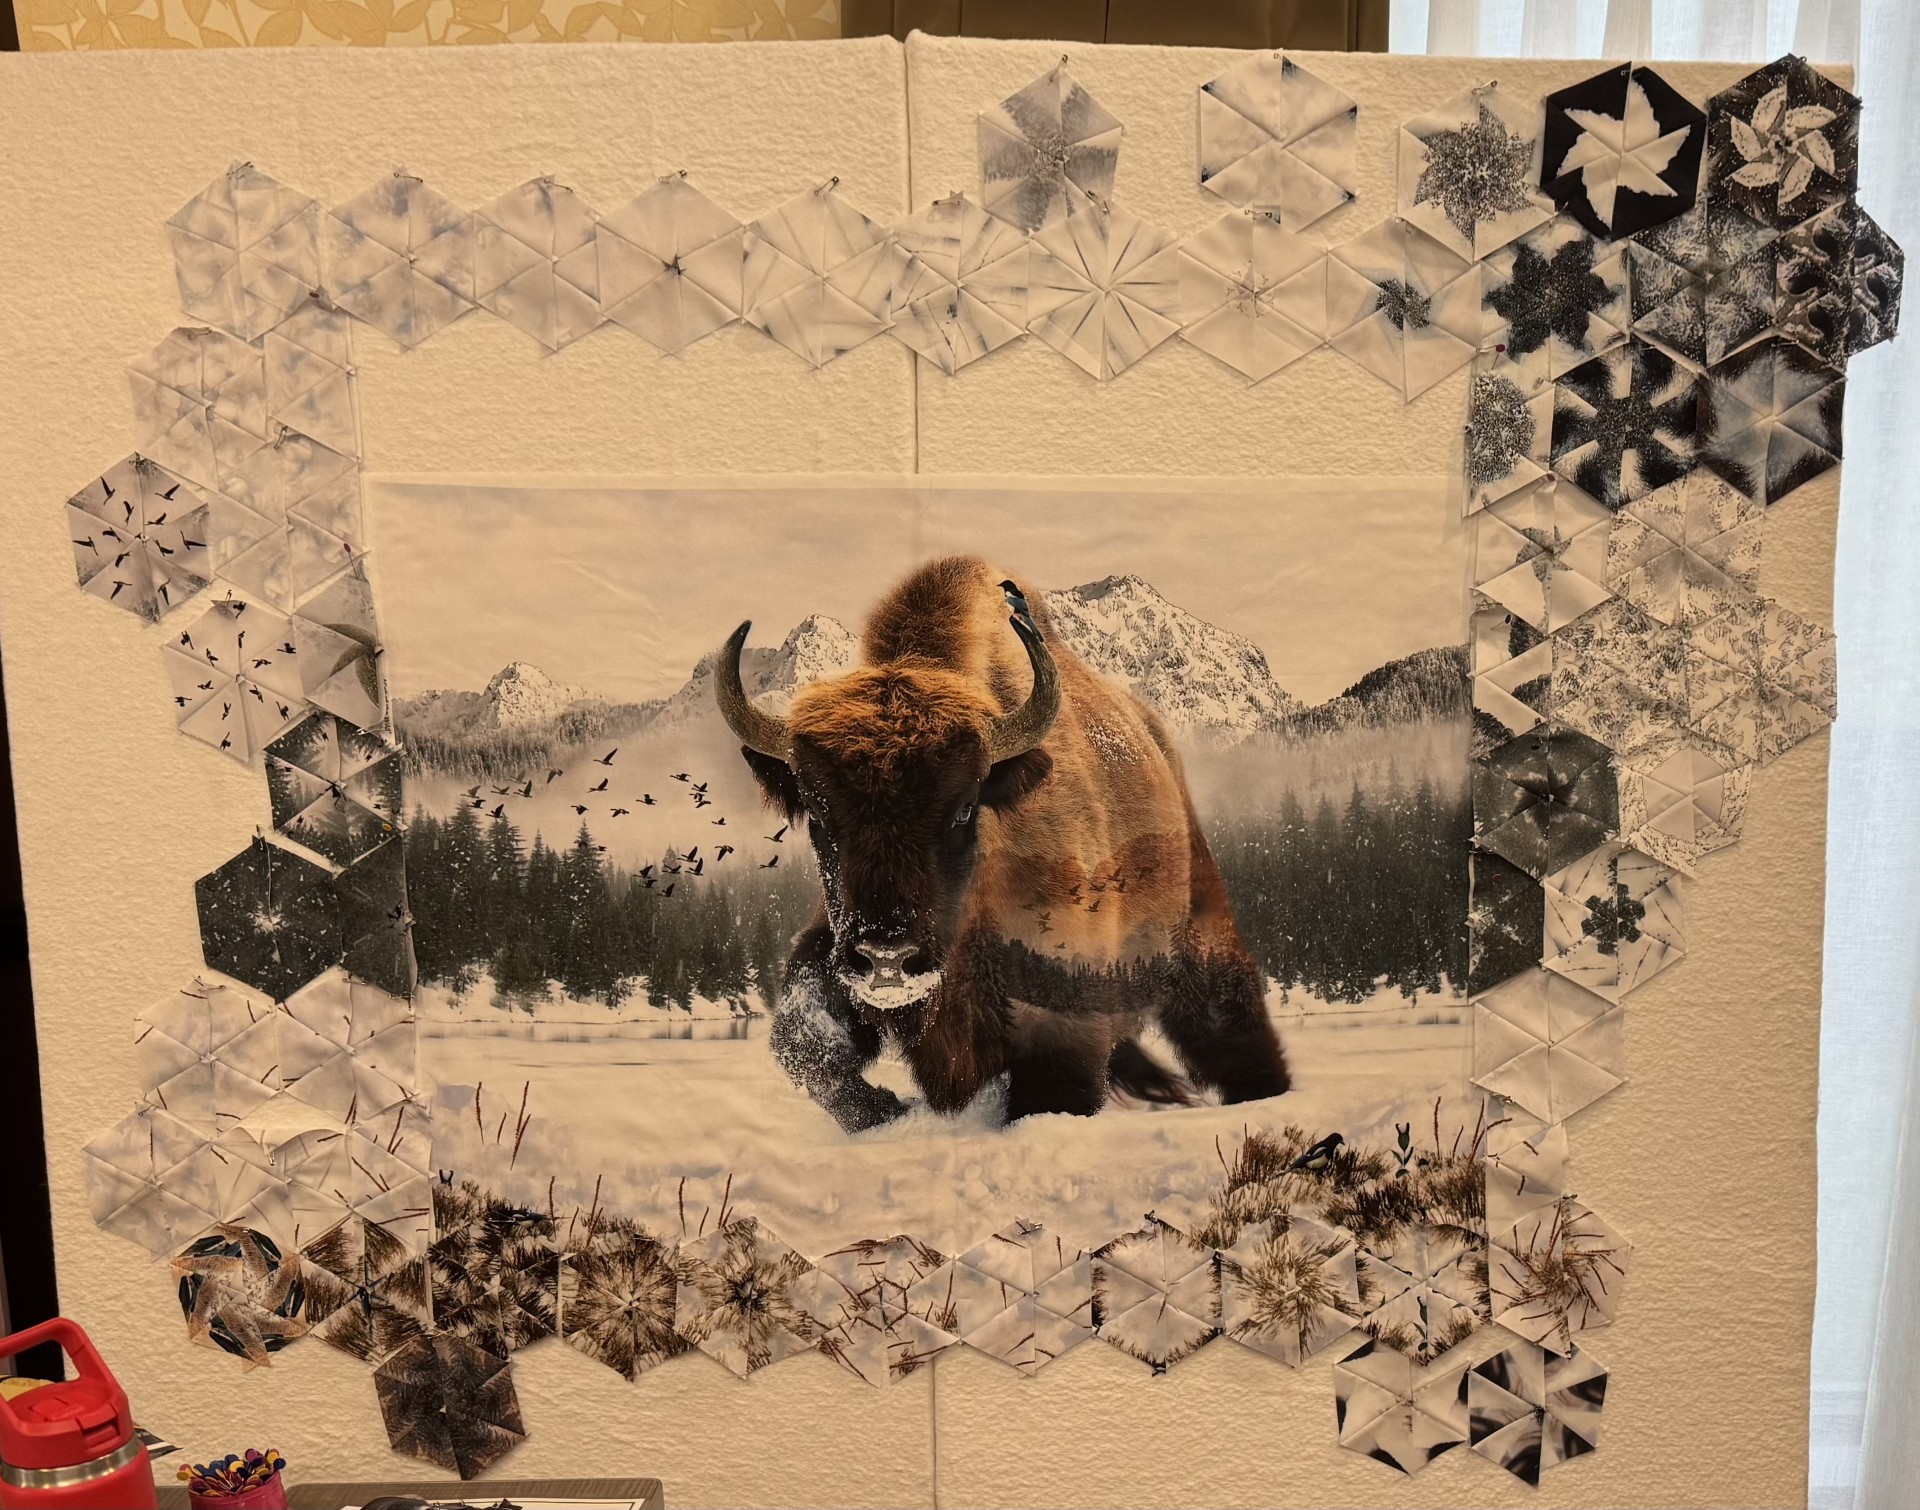
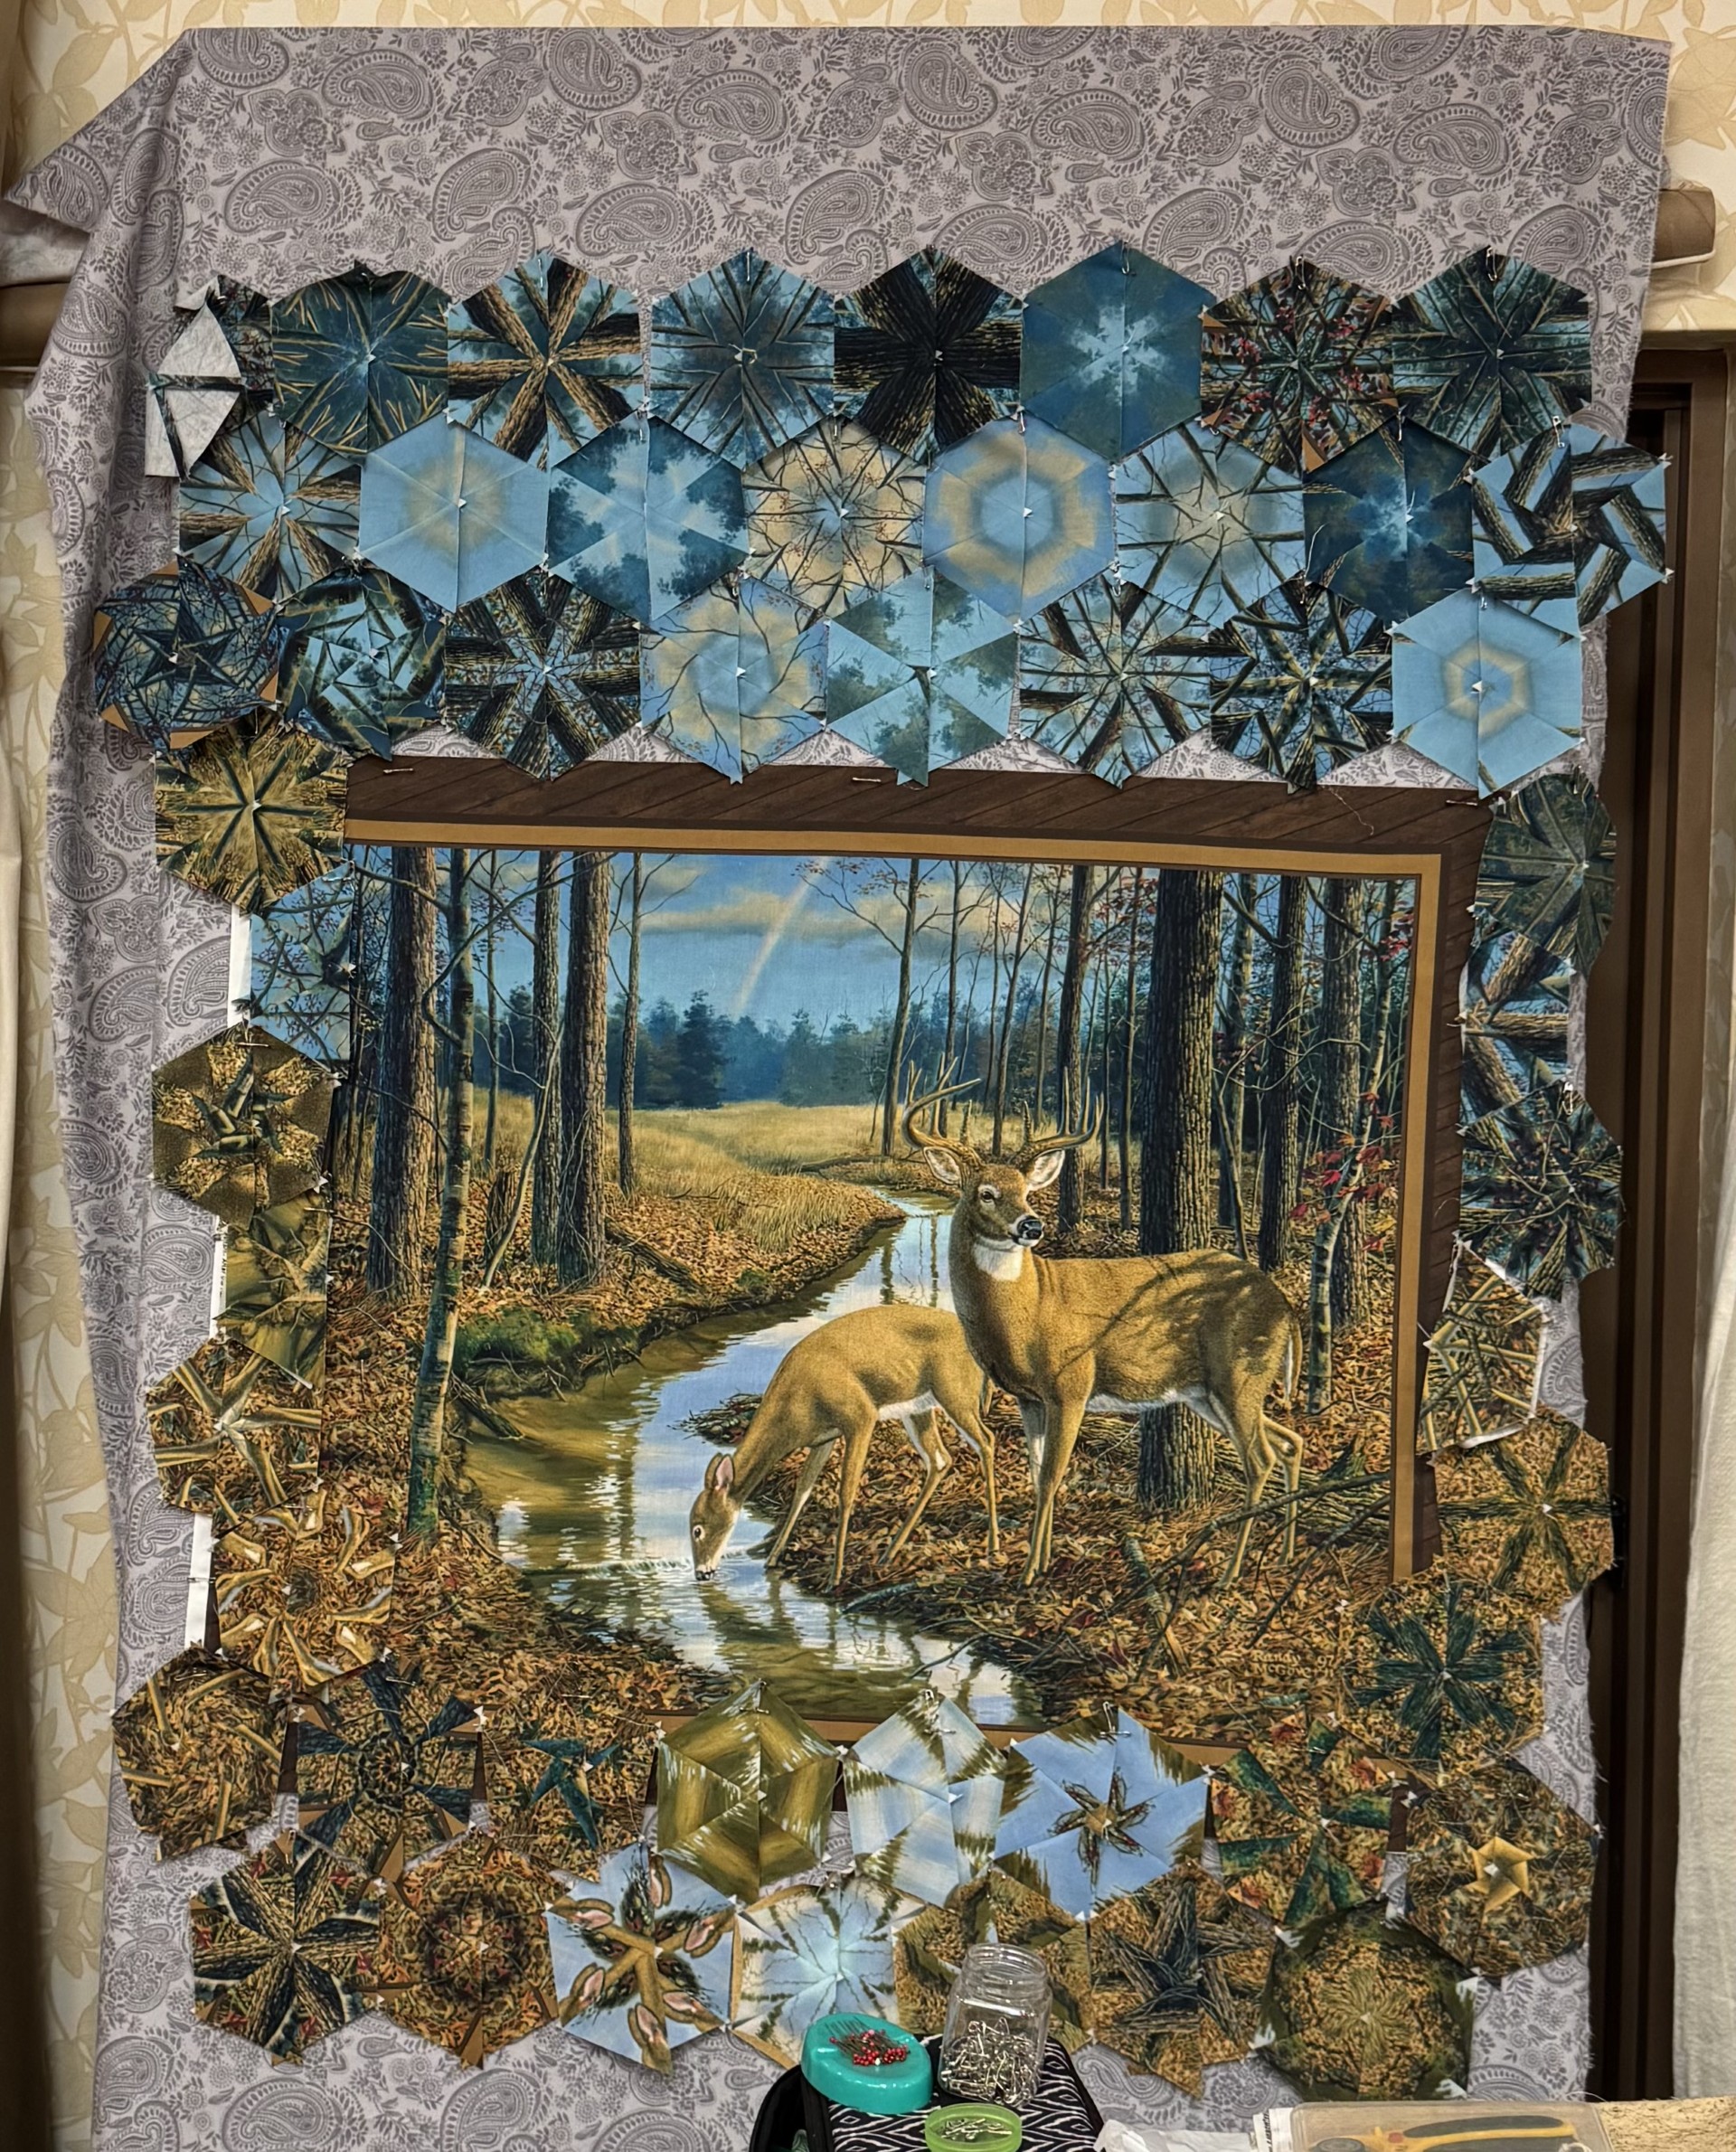
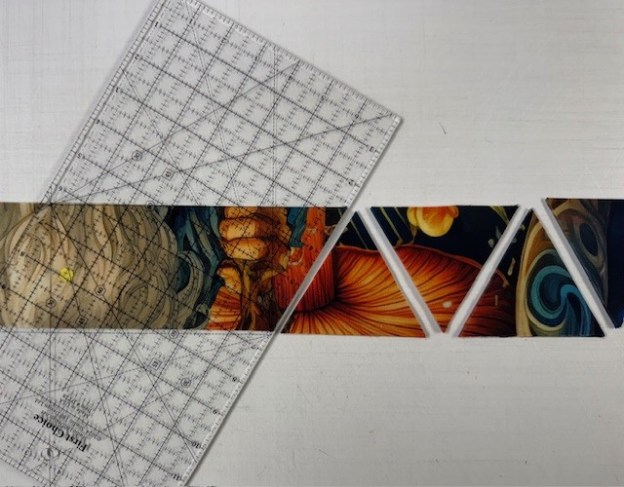
I always say “the fabric starts talking to me” while I’m make the hexies. I cut my strips 2.75″ wide to yield 4″ finished hexies. I did not use the borders when I cut my strips. I ended up with 210 hexies.

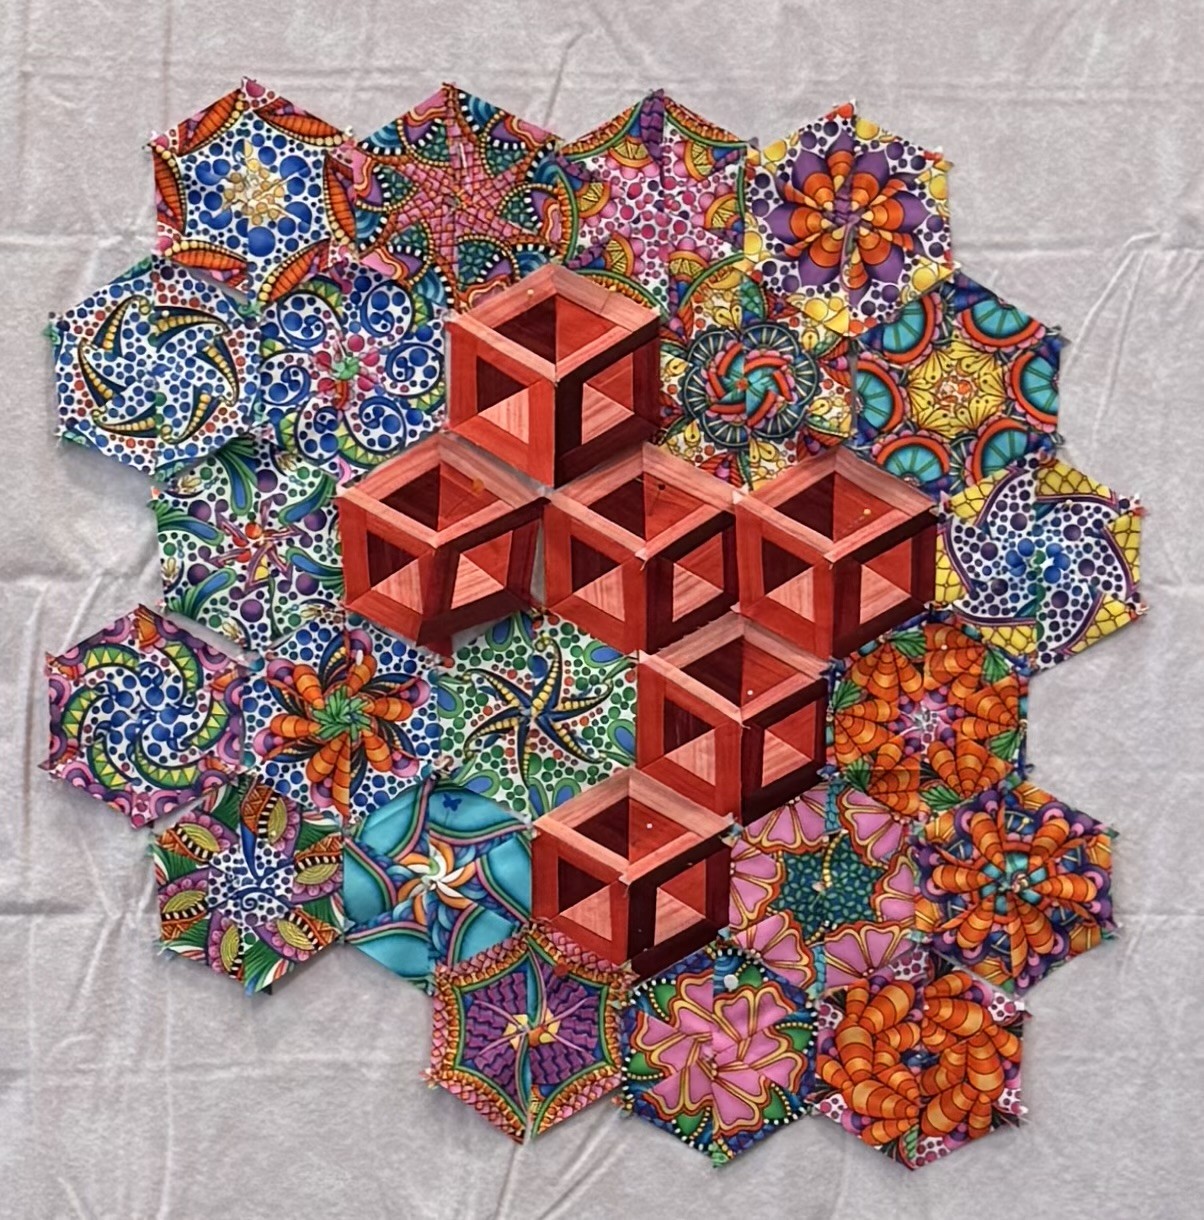
I knew I wanted to add Hollow Cube 60 units. I started designing, trying to figure out where I would place them, and what would they represent. I thought I would add them as part of the sky. Suddenly, while designing, the words “Middle Earth” settled in my brain. I used the Star 60 tool, and the Hollow Cube 60 Technique Sheet. I made a 12″ Hollow Cube 60, with 4″ hollow cube 60’s inside it. The area below the White Tower would represent the Shire where the Hobbits lived. The Hollow Cube 60’s are Hobbit Houses!
The White Castle in Lord of the Rings is the greatest city of Gandor. The citadel of Minas Tirith is a towering, fortified community built into the side of the White Mountains.

SO, Middle Earth was the inspiration for my design. I used QT Fabric’s Aura line of blenders for my cubes and the blue half hexies surrounding the castle.

It always amazes me how much the rows shrink when stitched together,

Enchanted measures 63″ x 66″. The Enchanted panel is in store now.
@QTFabrics @Studio180Design #Enchanted #STar60Tool #HollowCube60 #QuiltersDreamBatting #OmniThtread