Does anyone remember an old song from the 40’s called “I got the Sun in the Morning “? It was written by Irving Berlin in 1946 for a musical called “Annie Get Your Gun”.

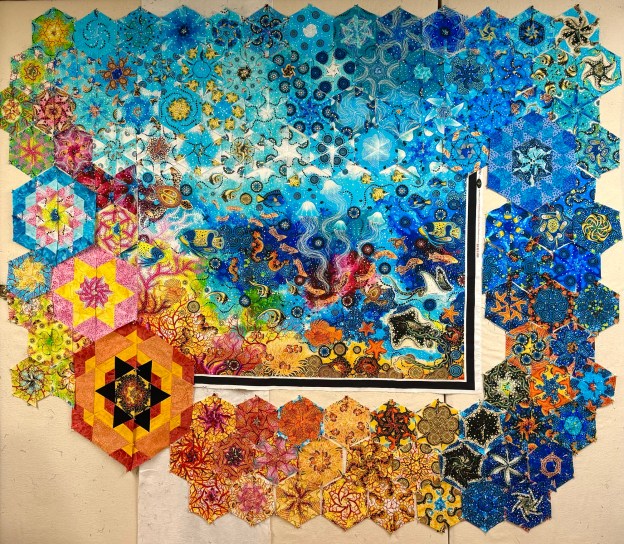
I’ve been humming that tune while working on this great panel designed by the Morris Group for QT Fabrics. The panel measures 36″ x 43″. Bohemian Sunrise will be available in early 2025.


I was at a quilt retreat last weekend with my friends the Turtle Crew. I took off the borders which left me with a width of 28″ for the panel. I cut 2.75″ strips that yielded 190 – 4″ finished hexies.

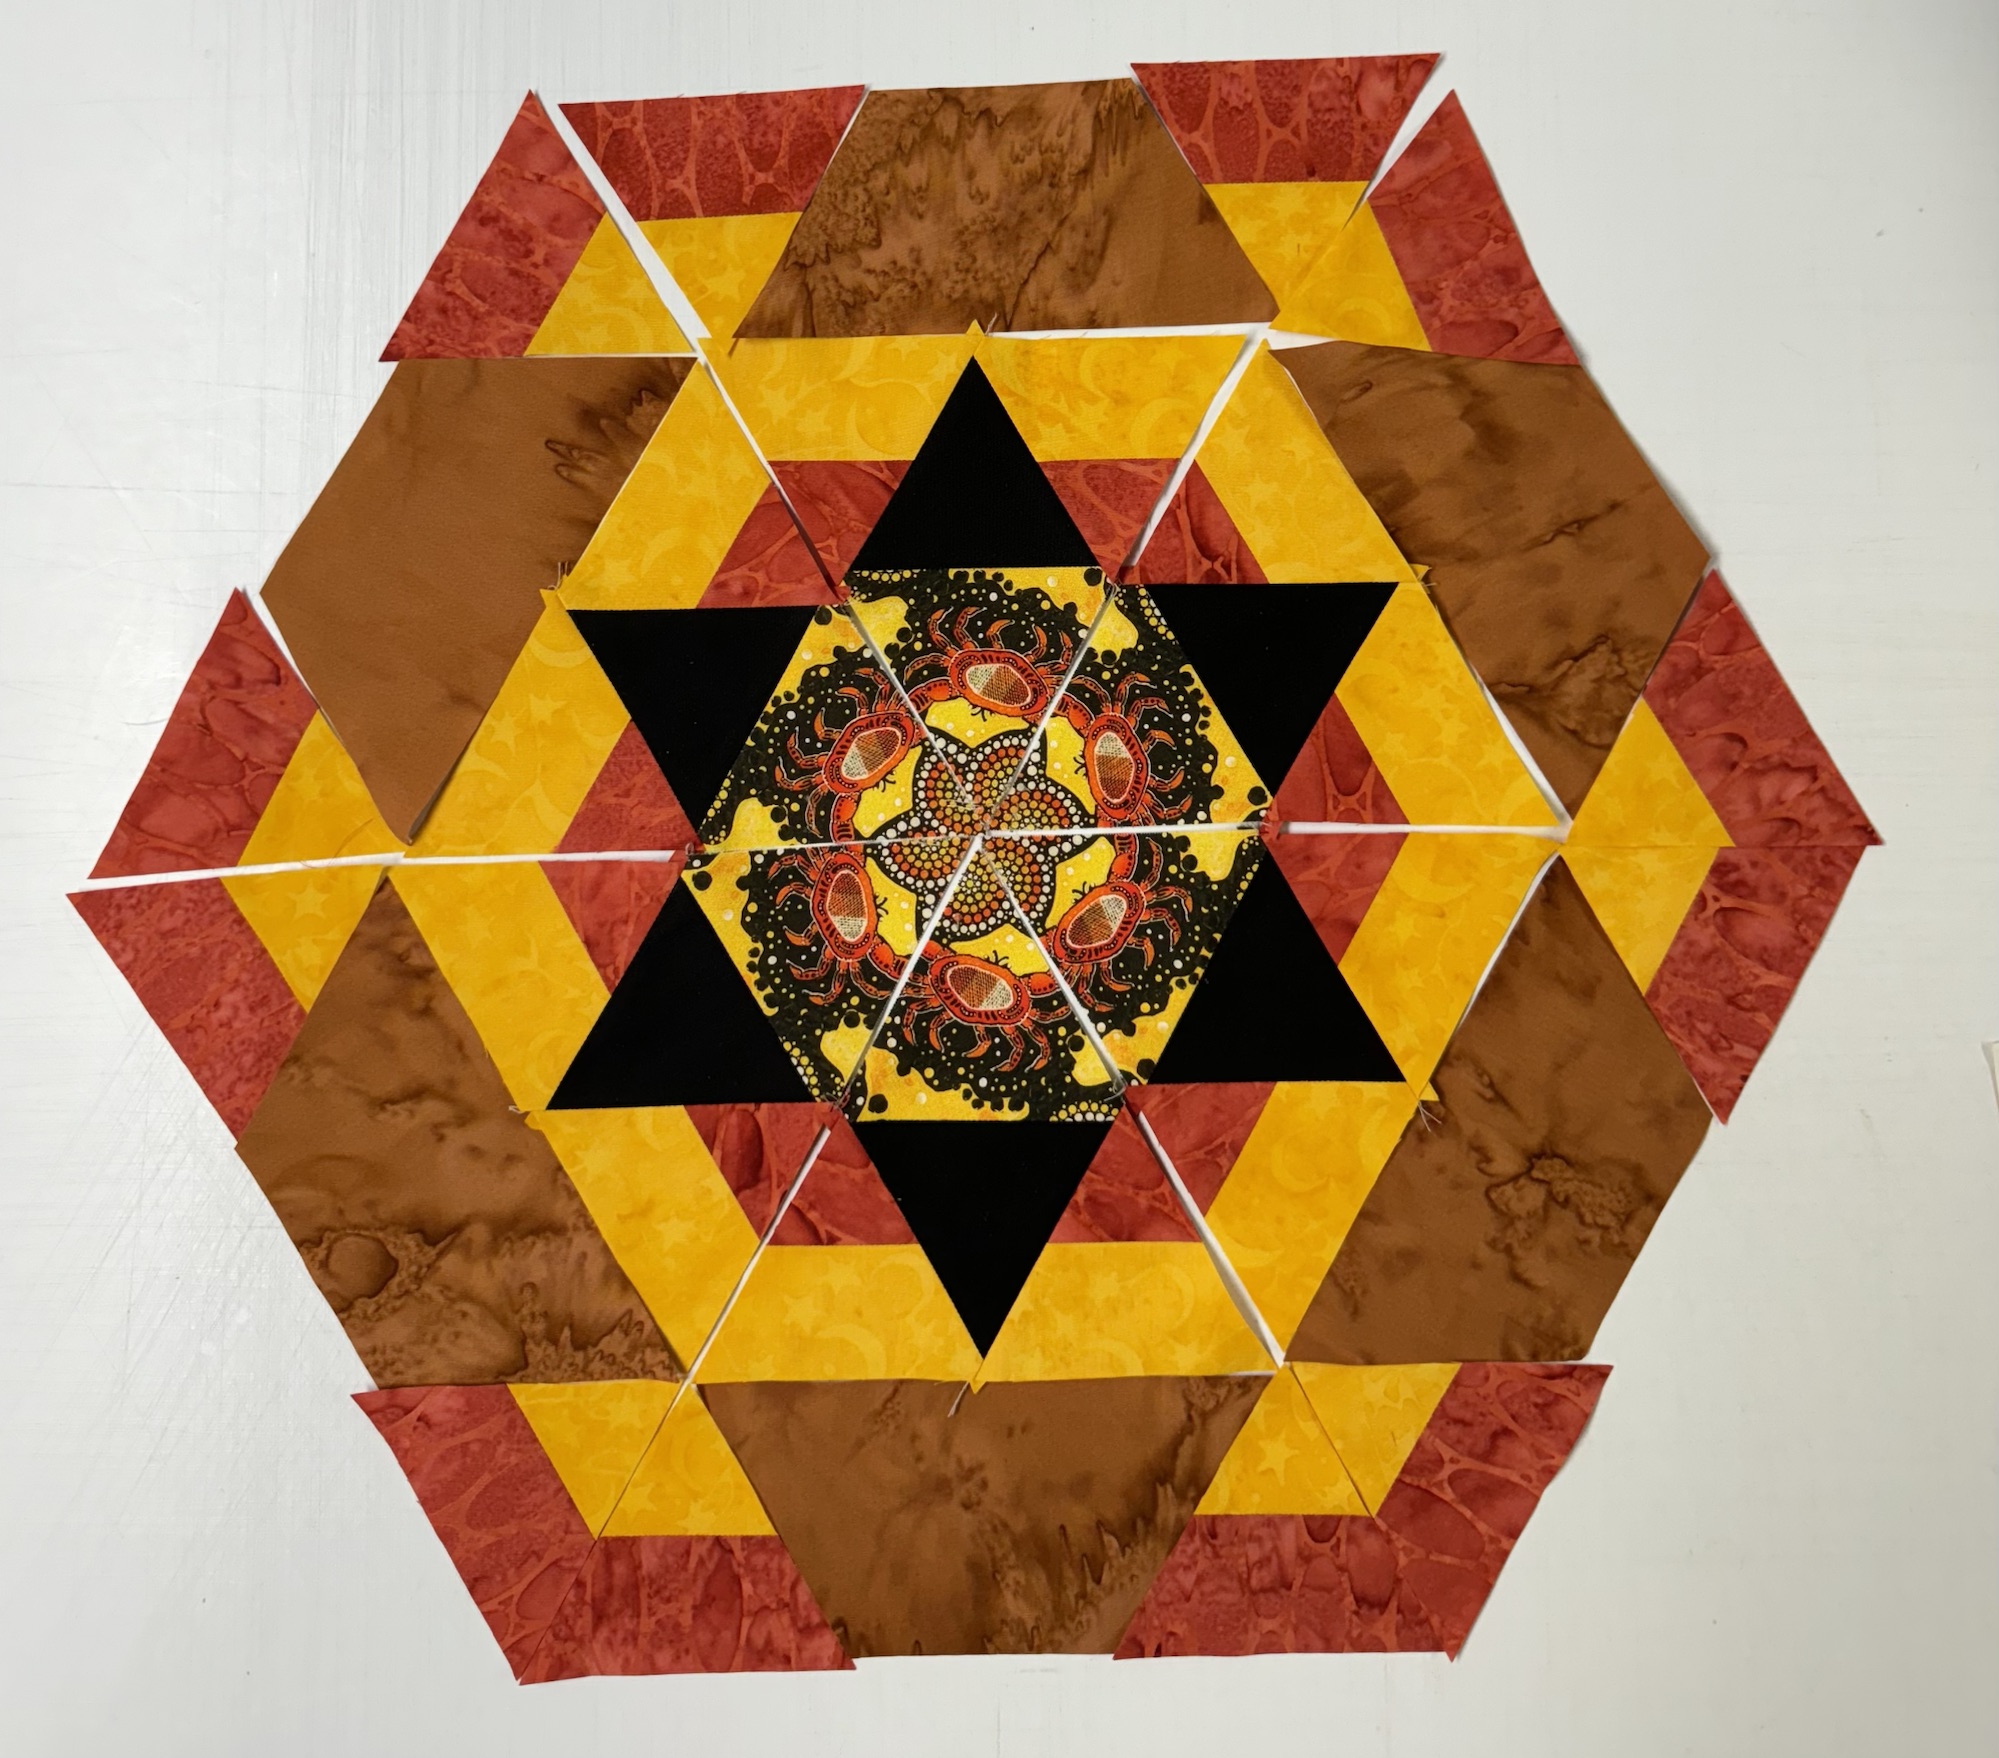
I picked coordinating fabrics from QT Fabrics Color Essence line and Morris Group Bohemian Sunrise line for making adding stars and cubes to my design.

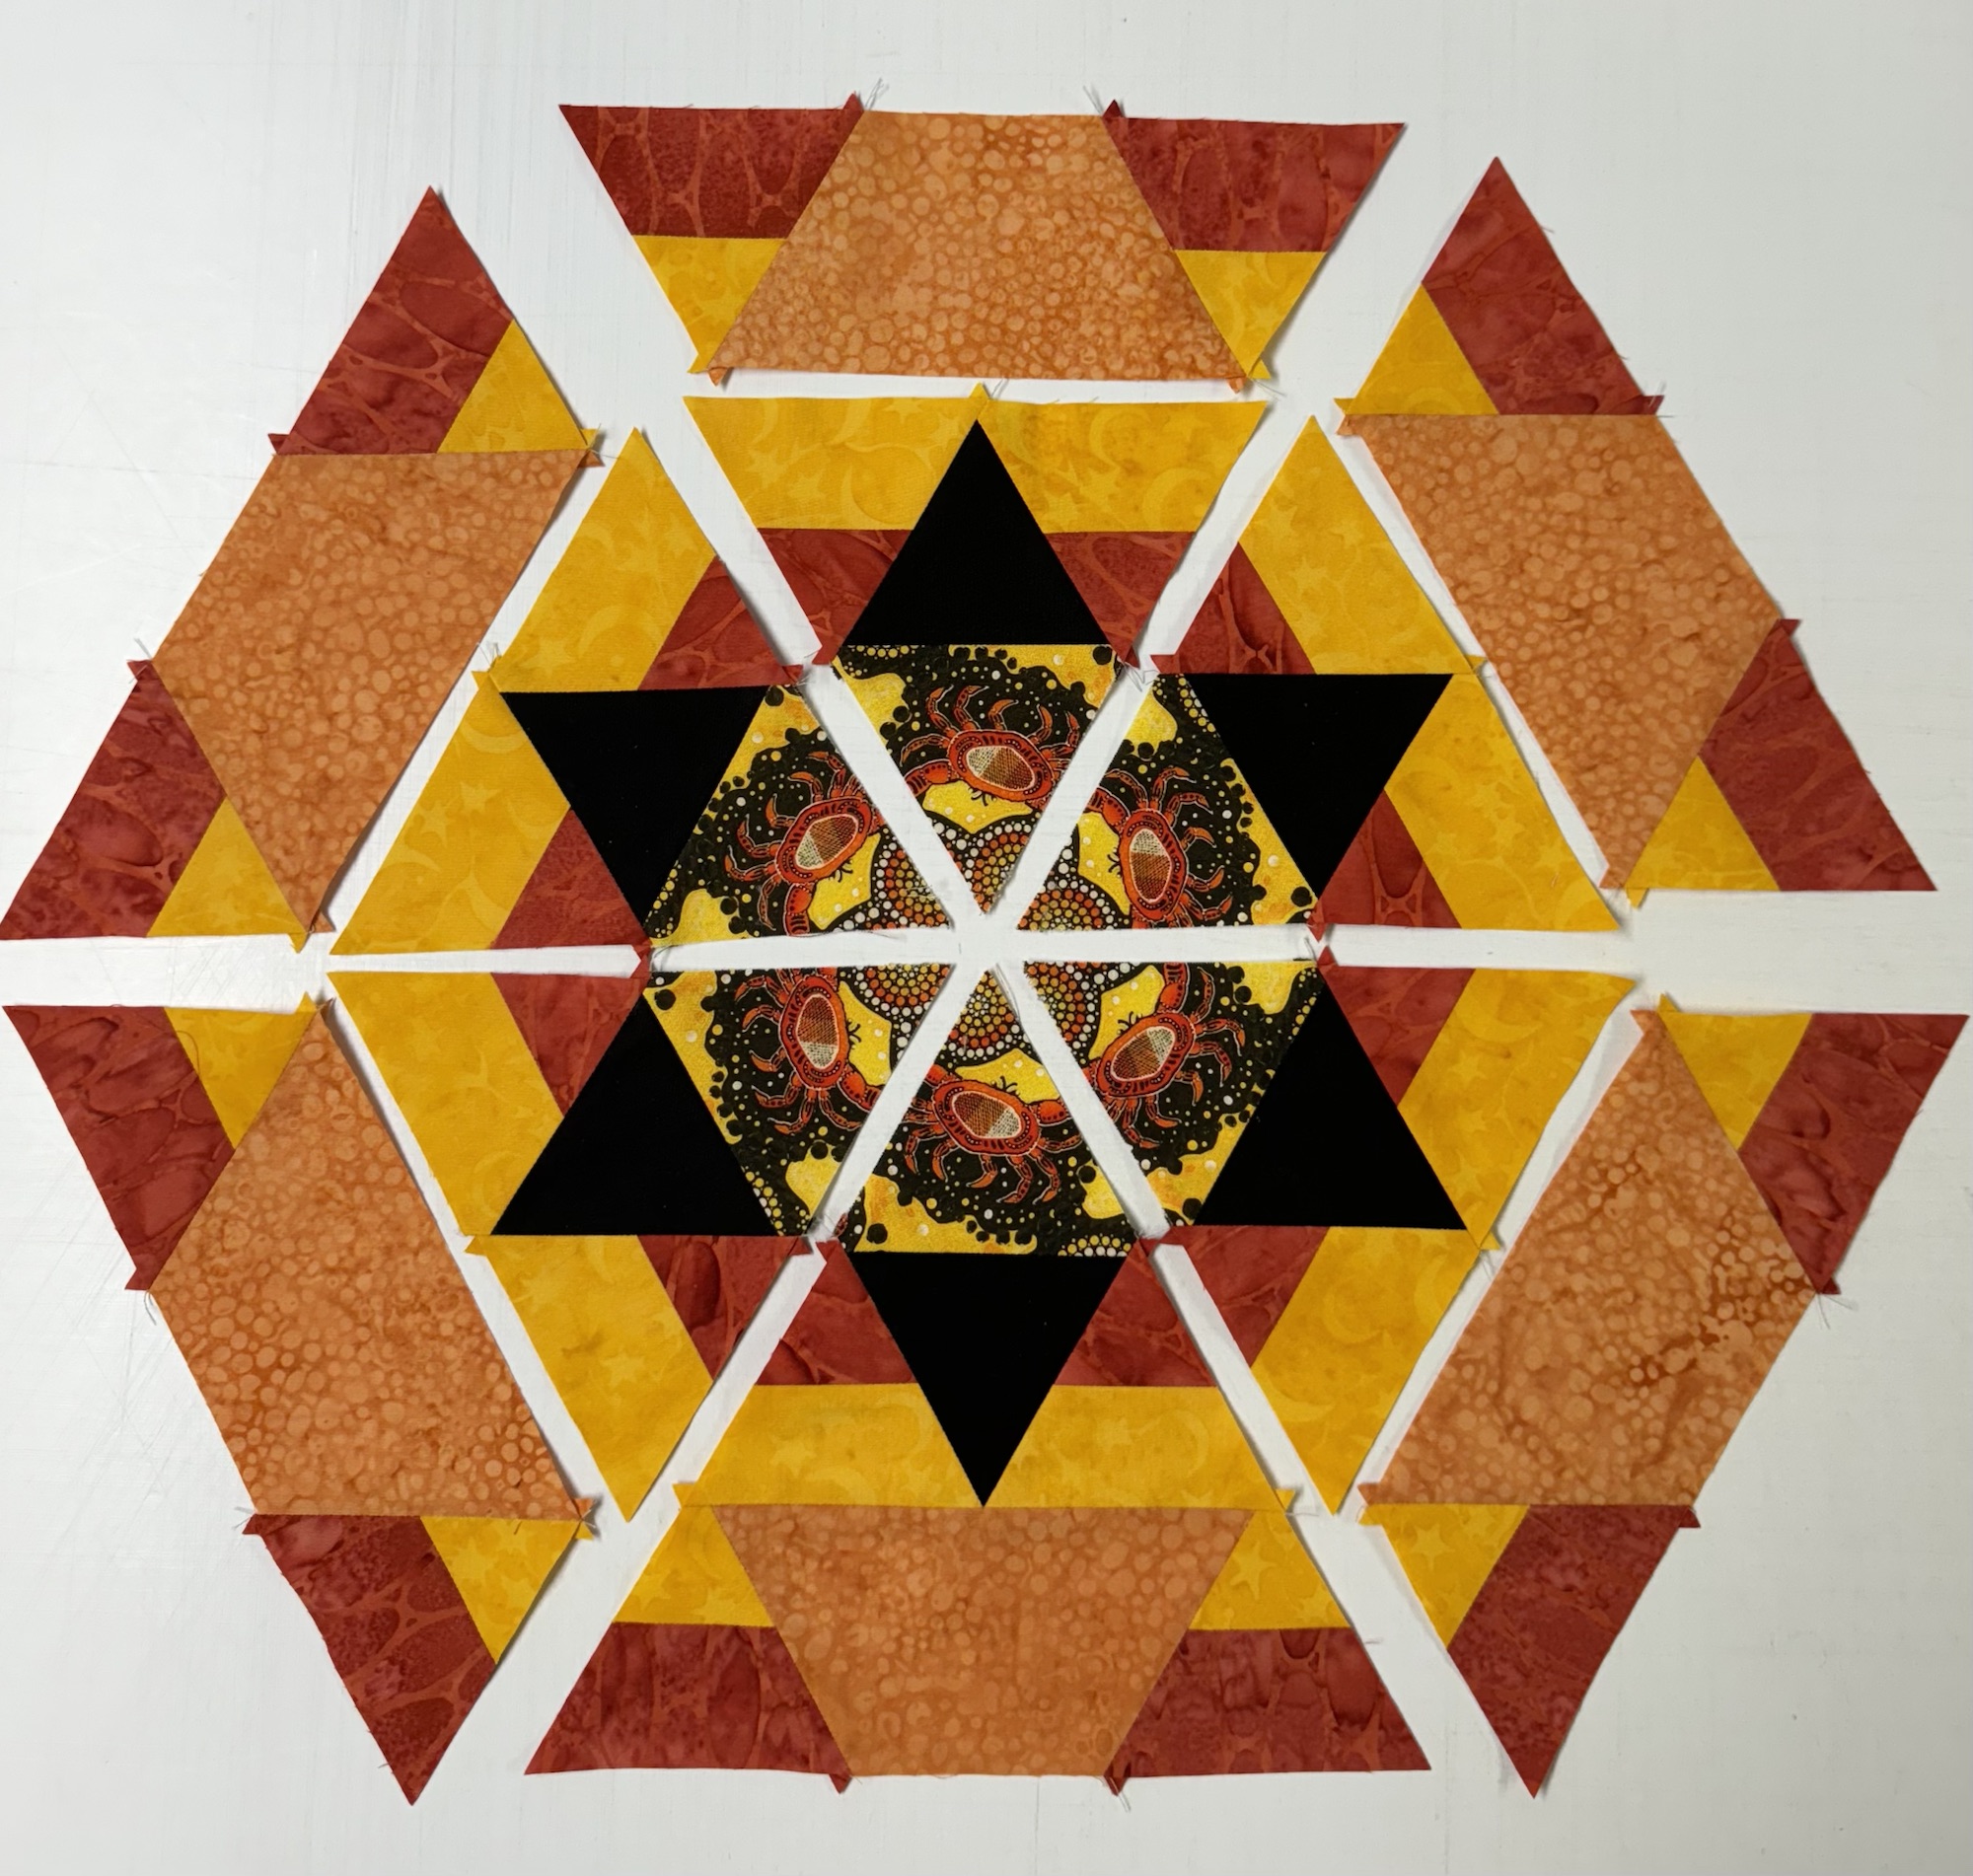
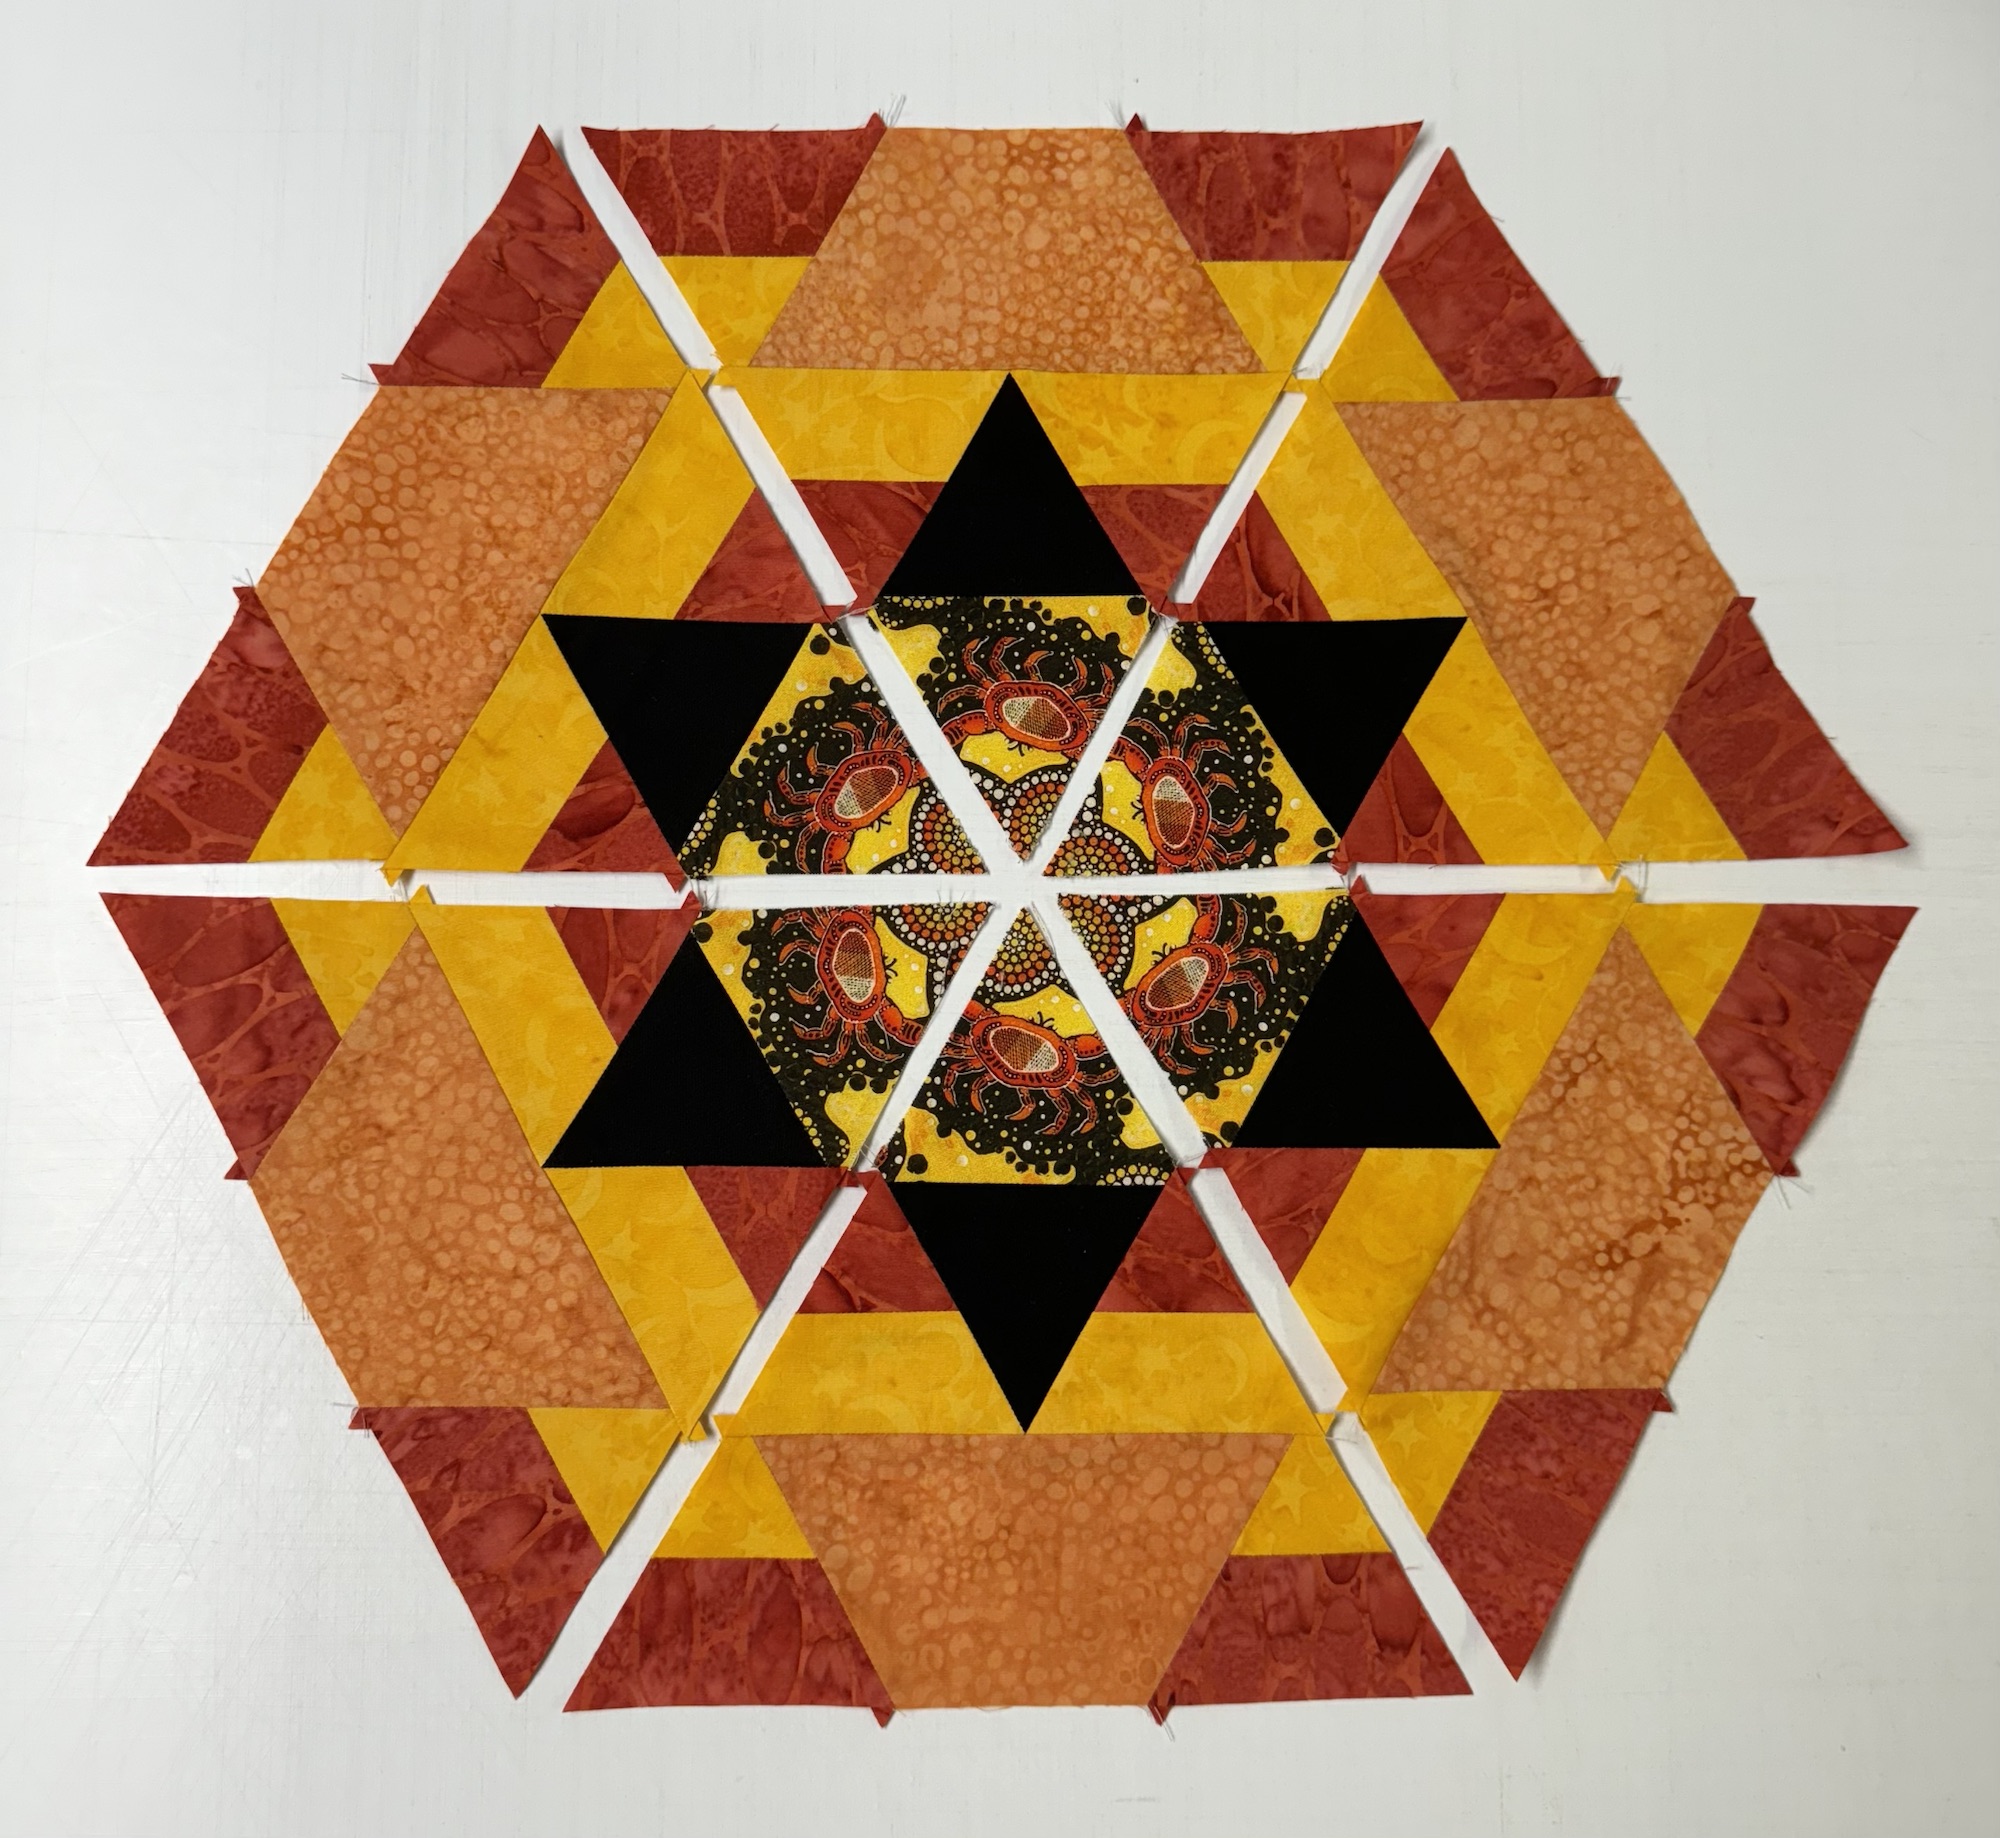
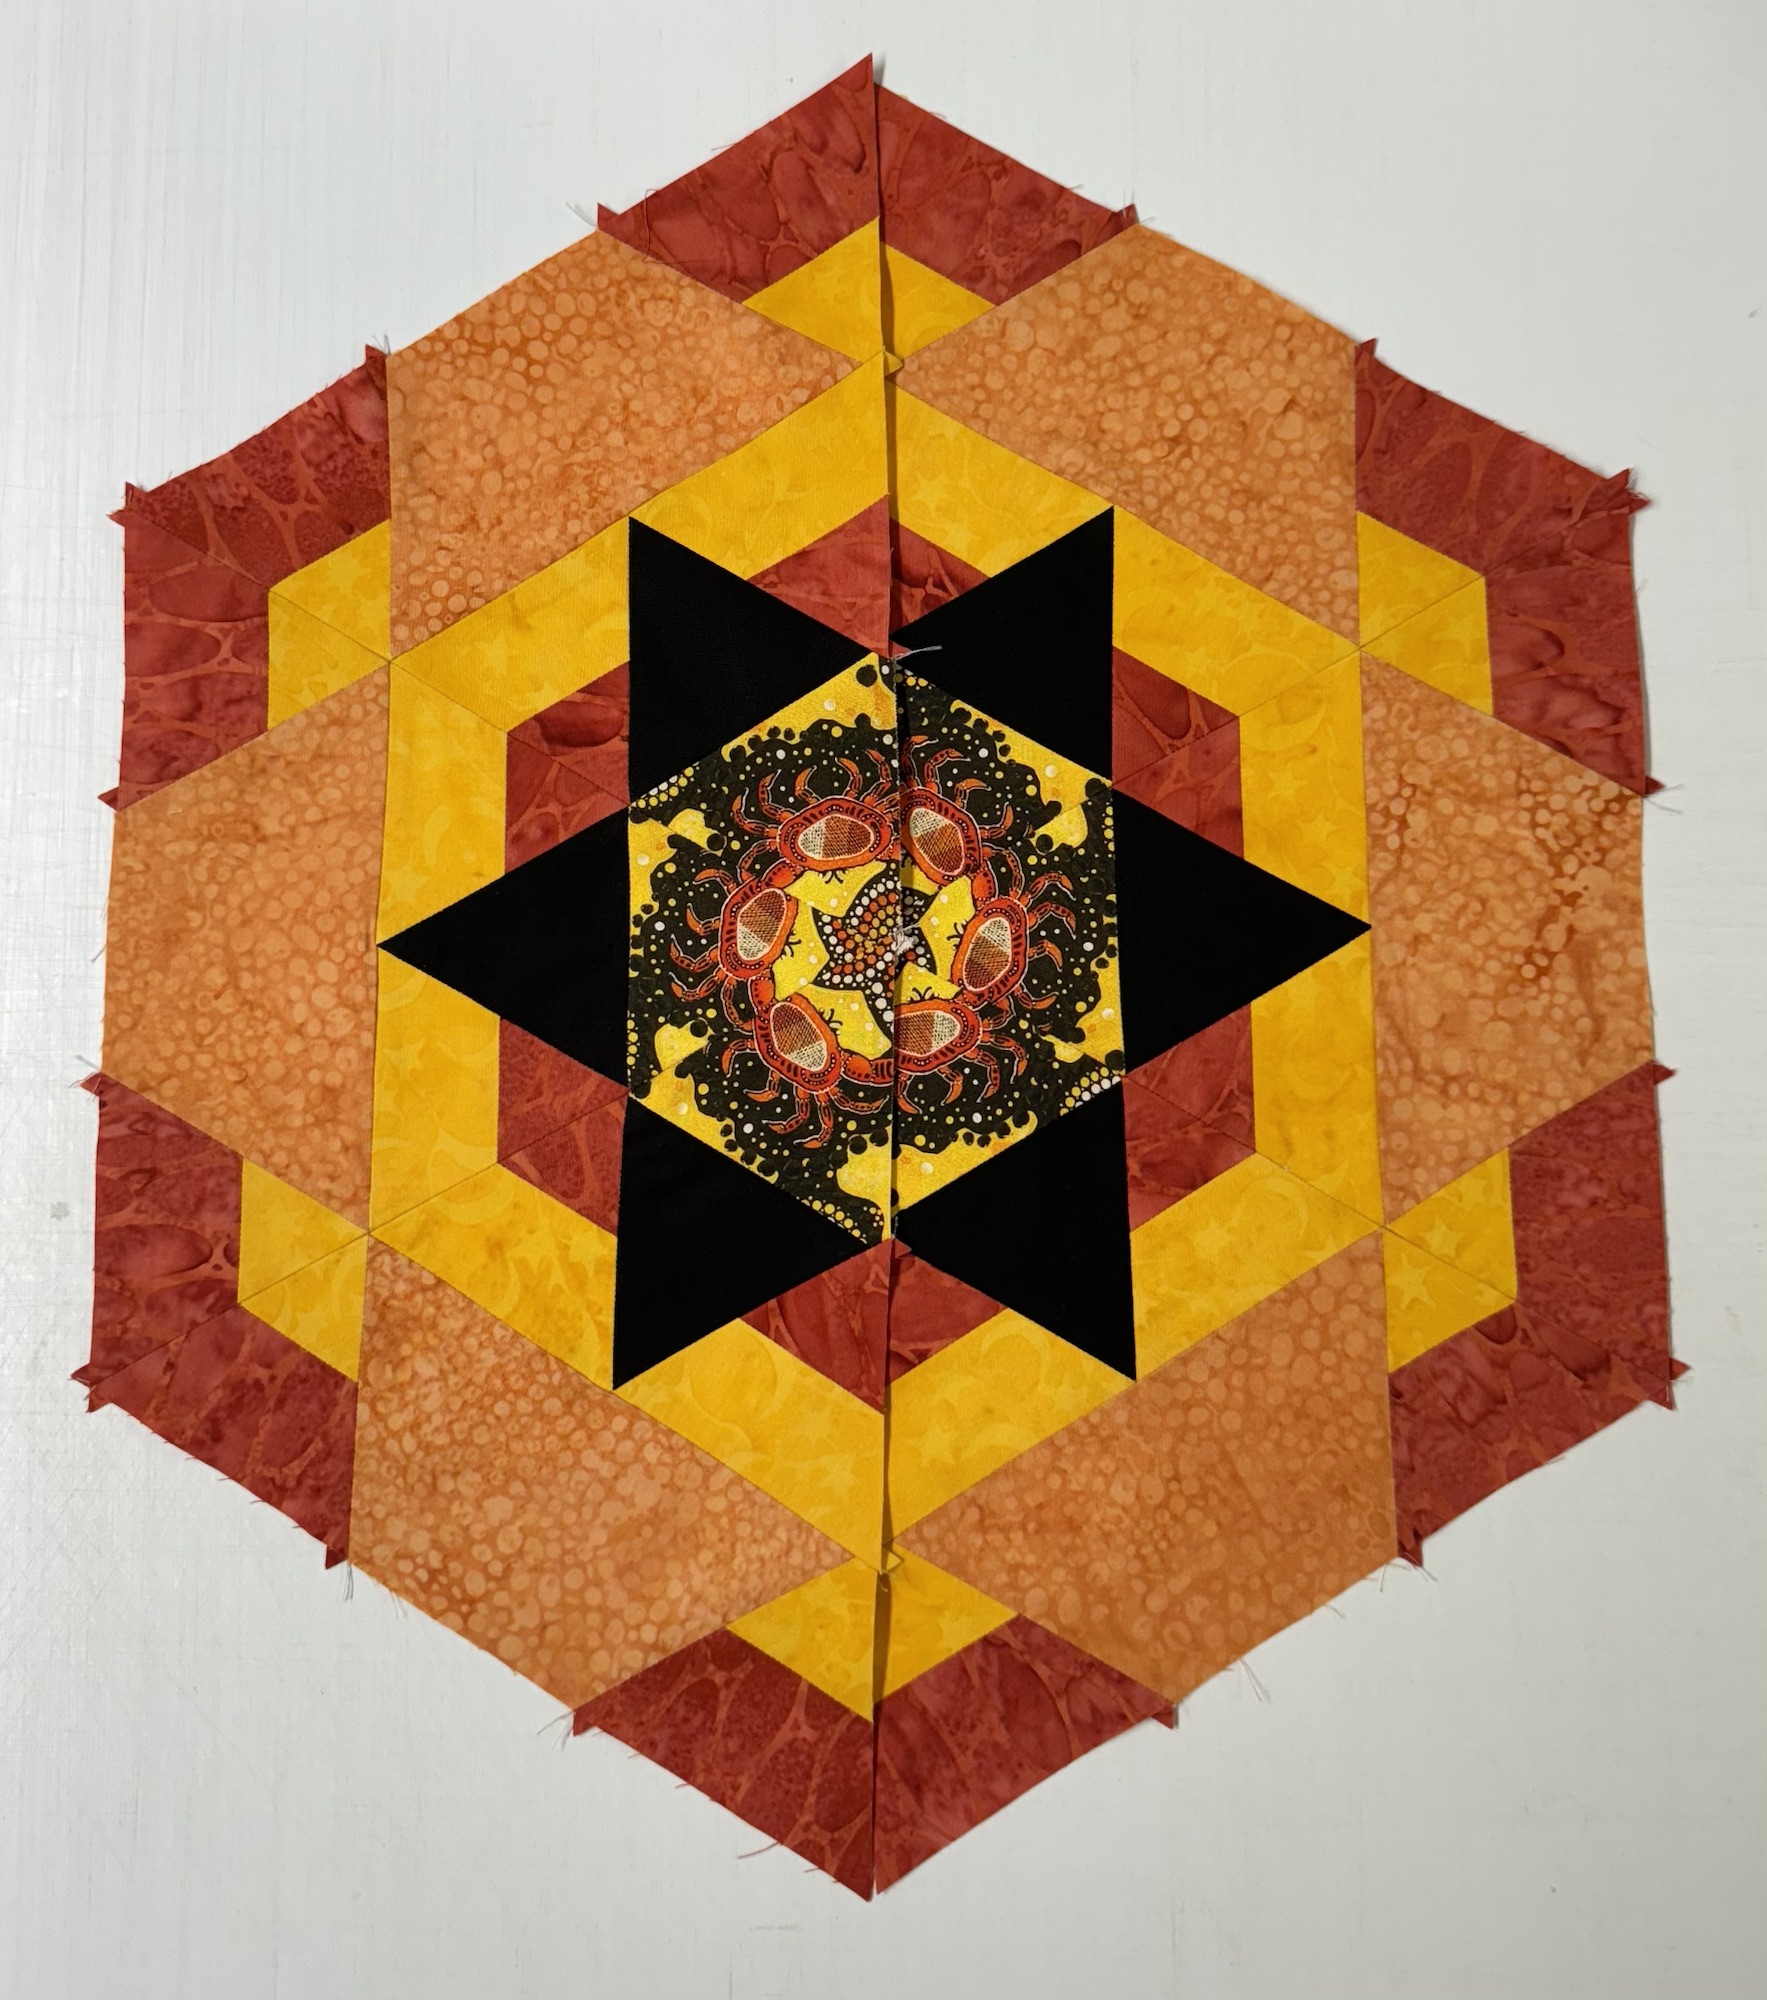
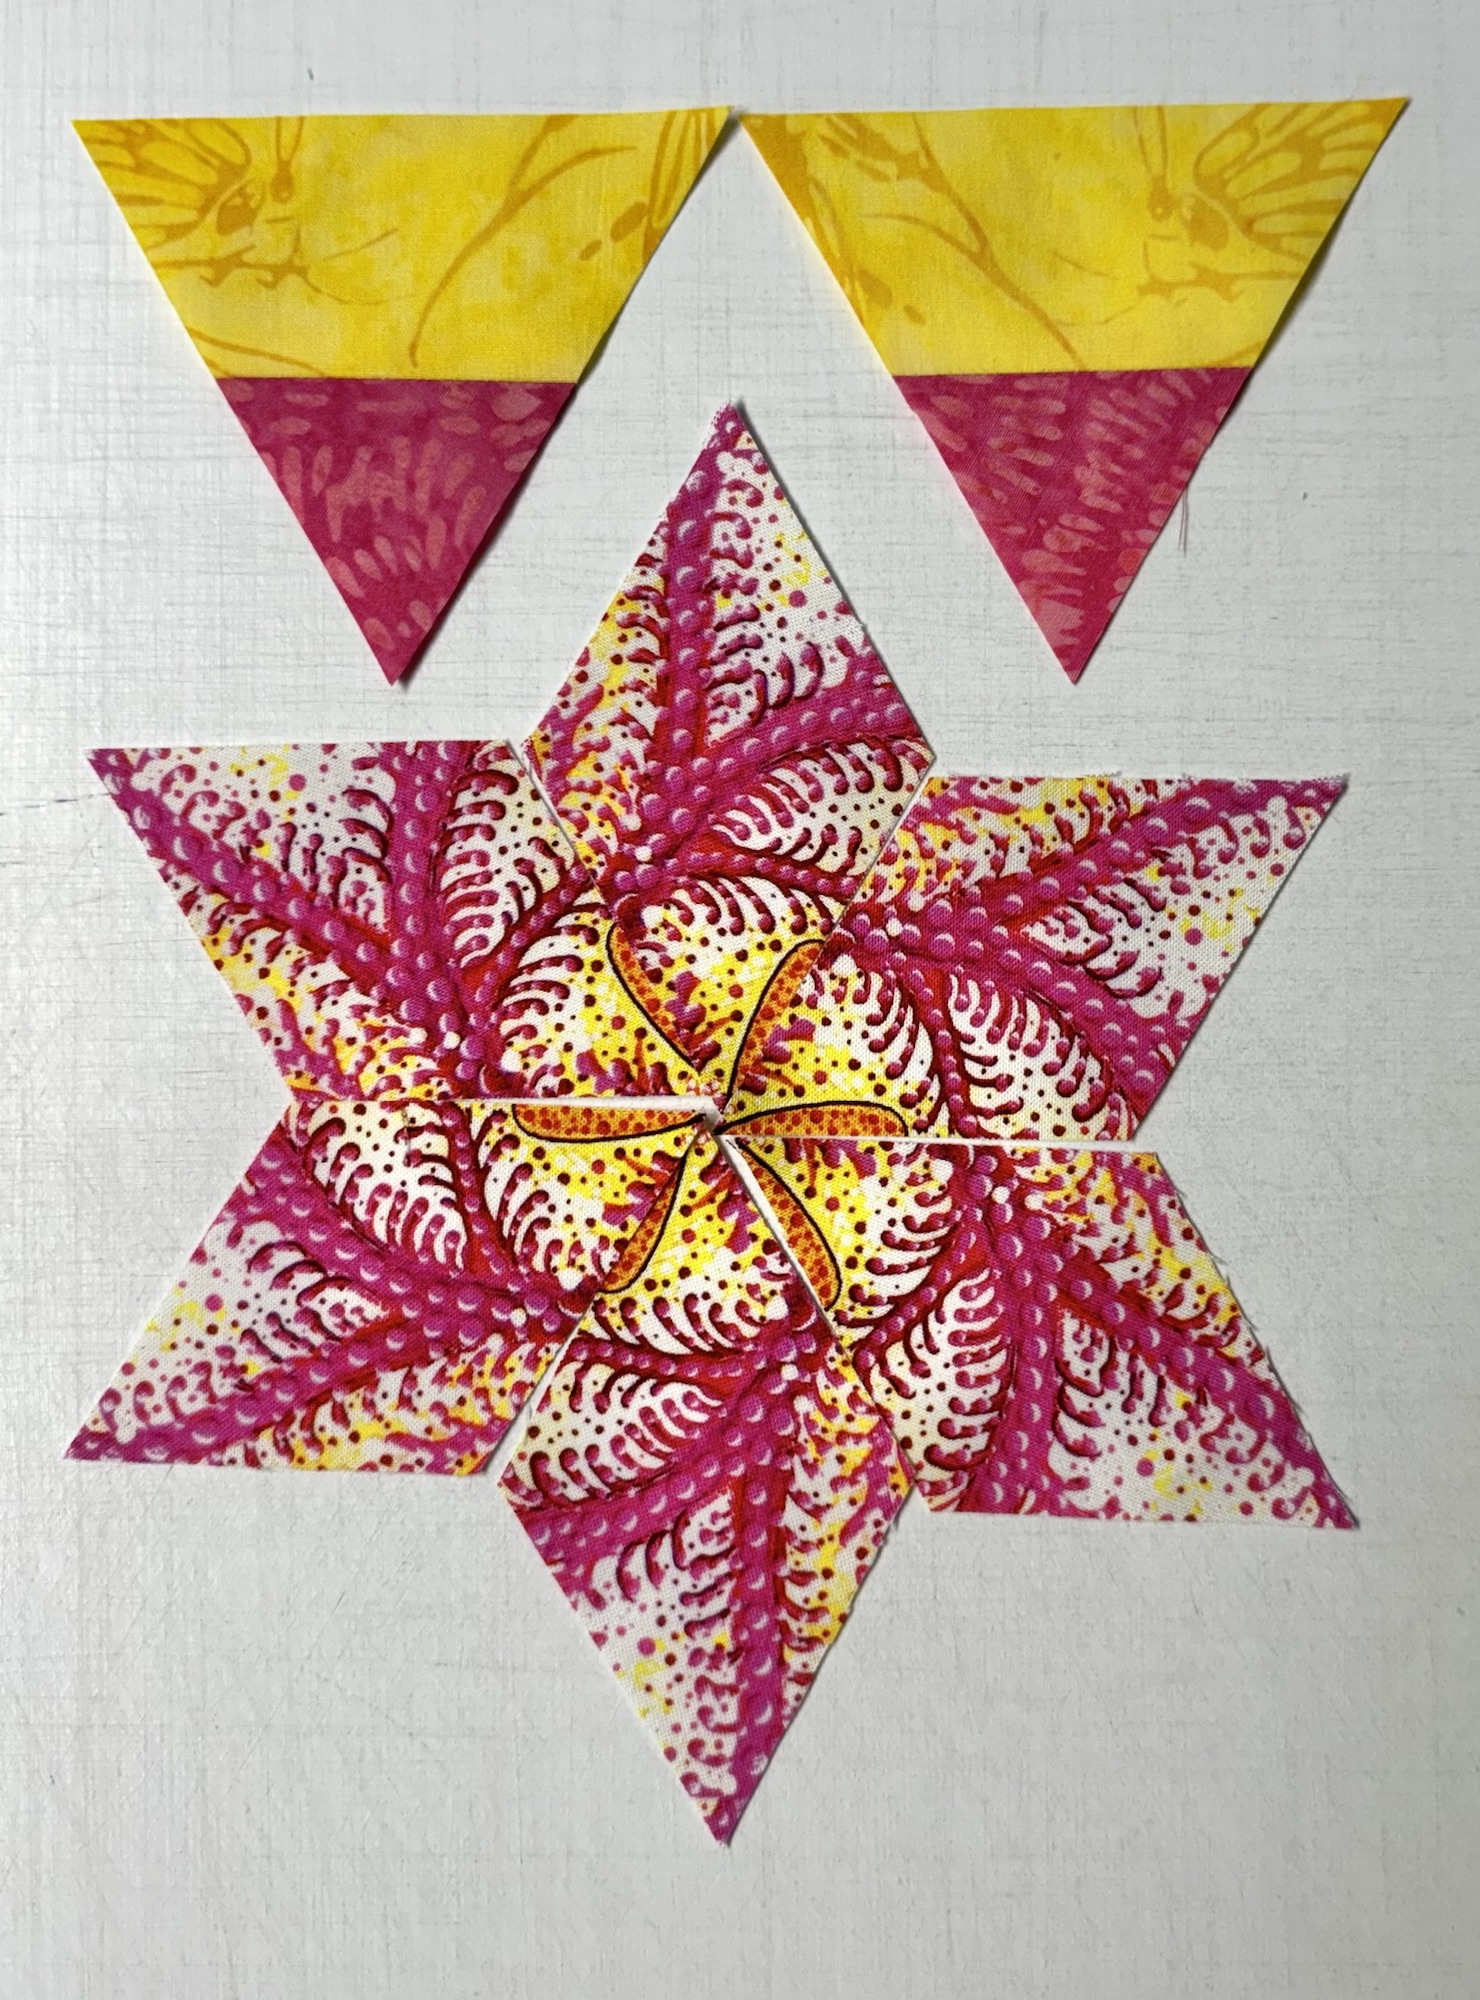
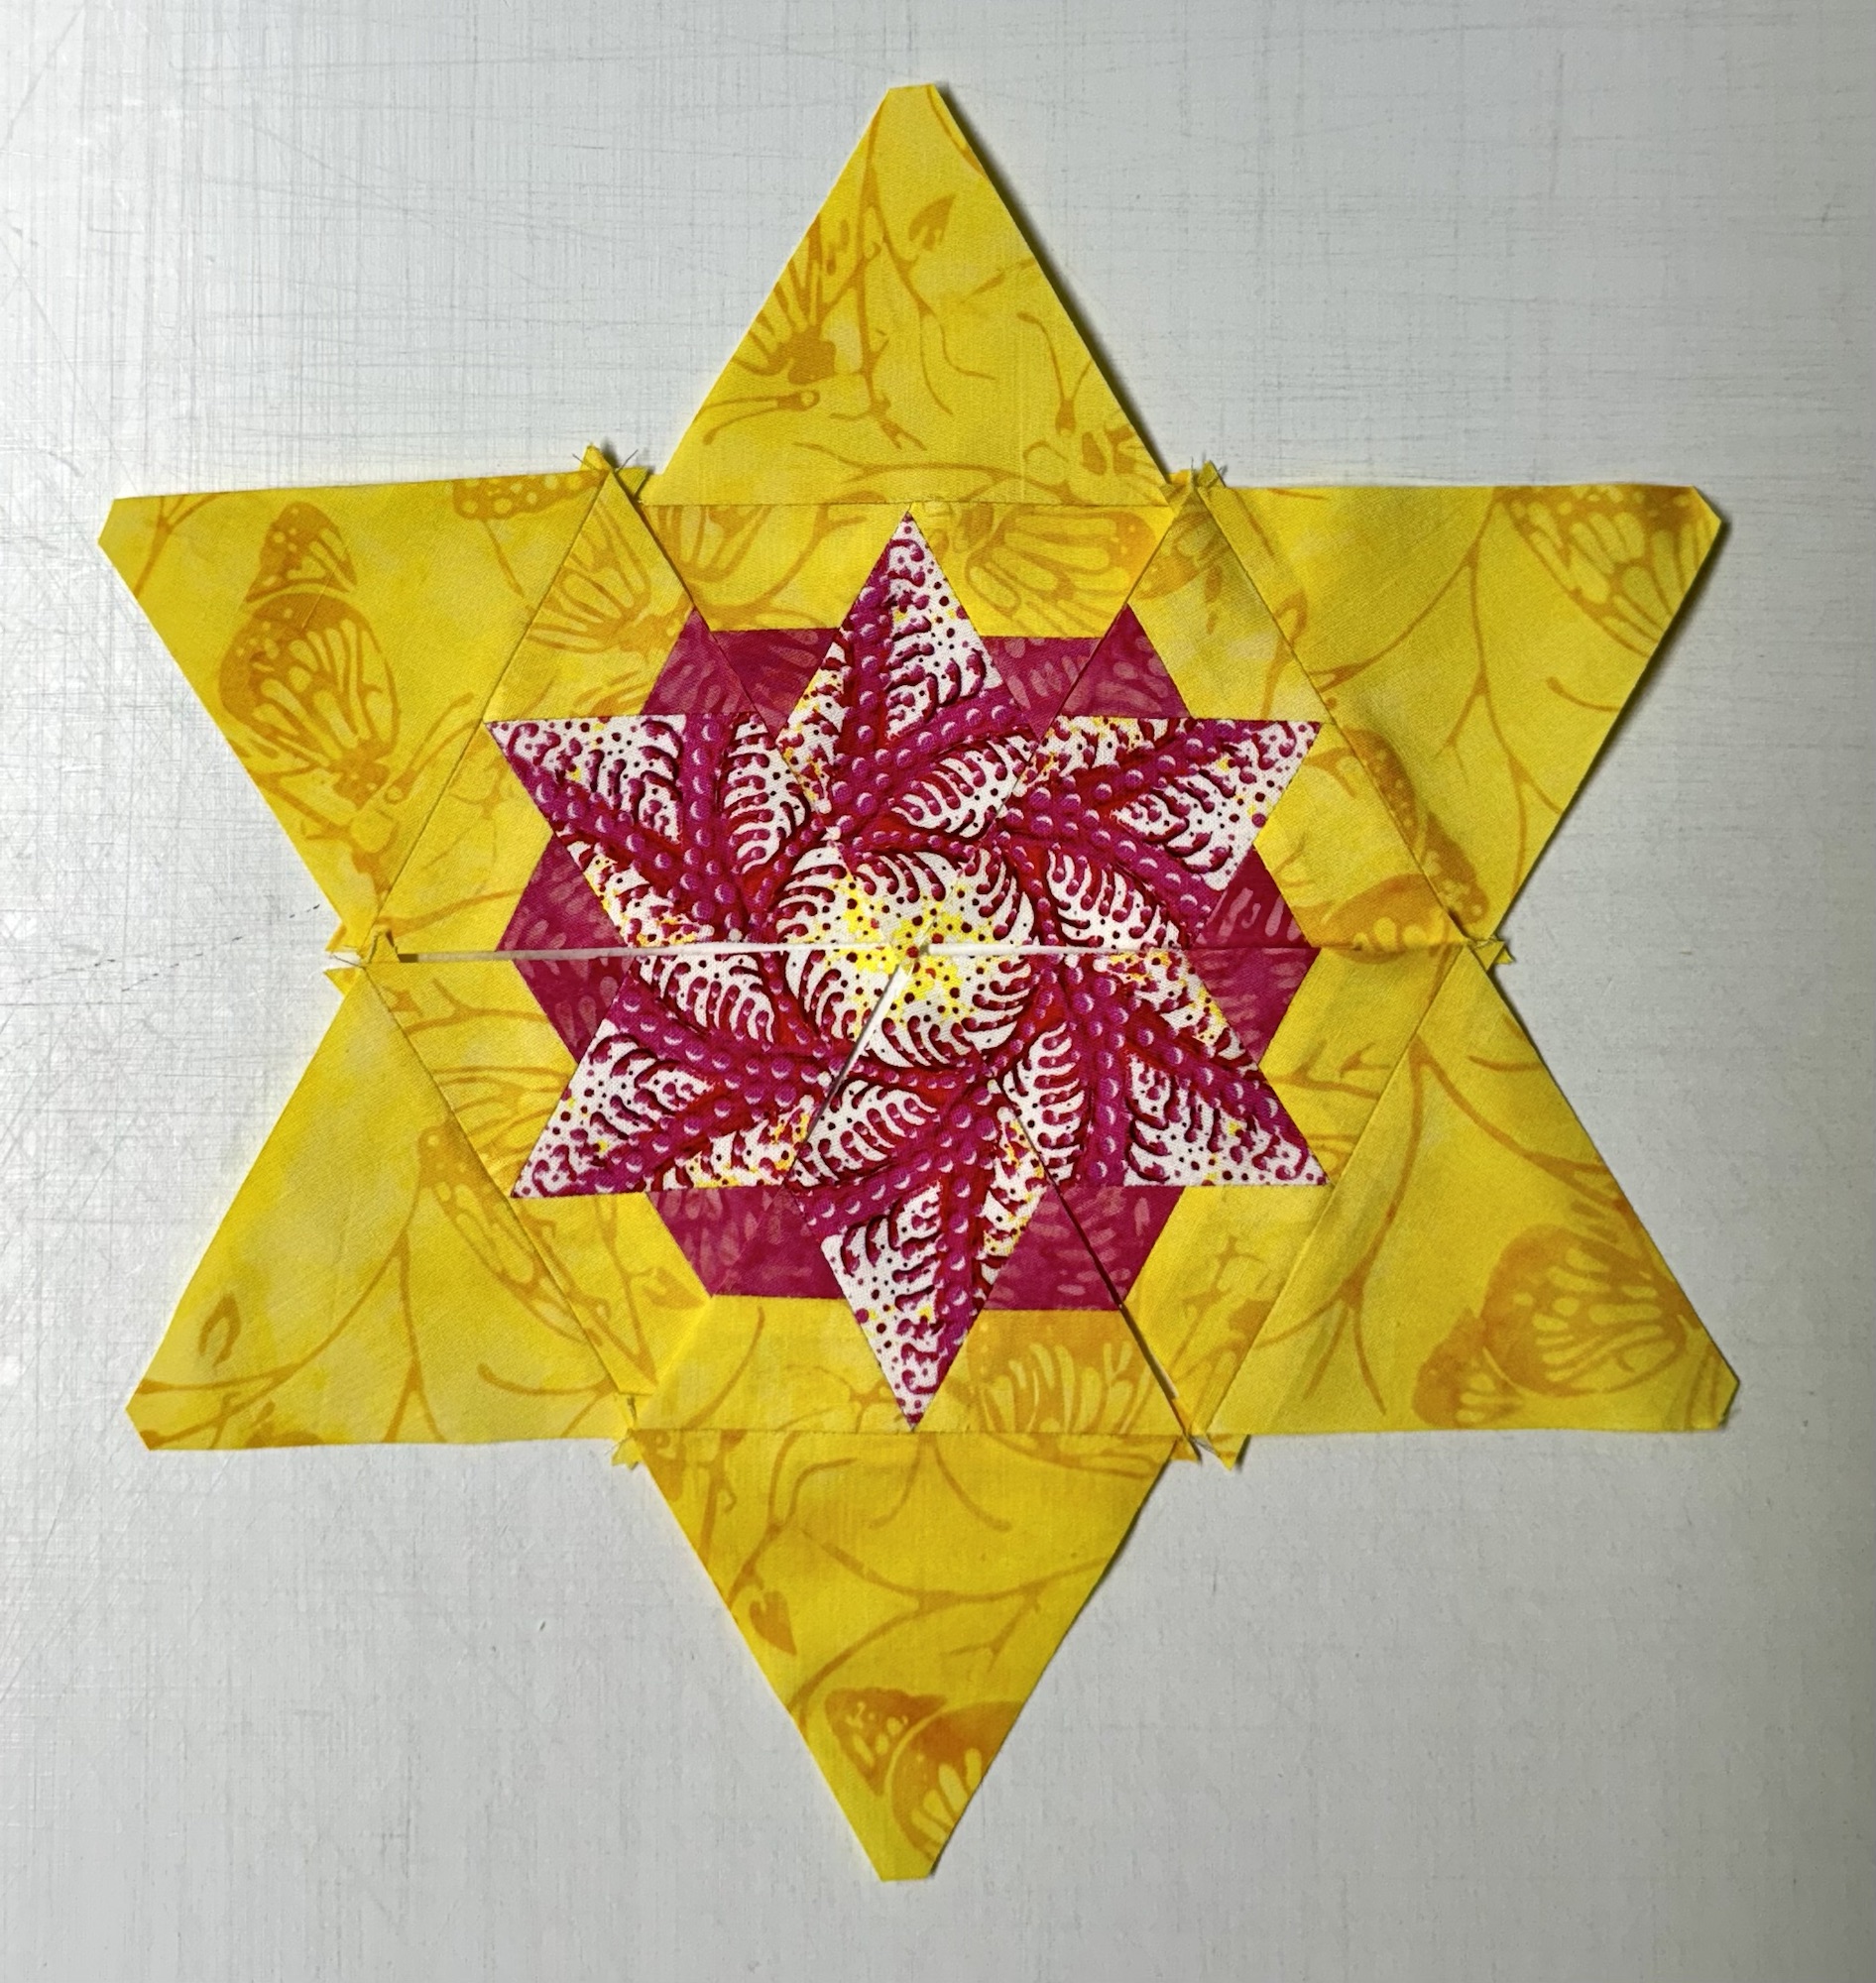
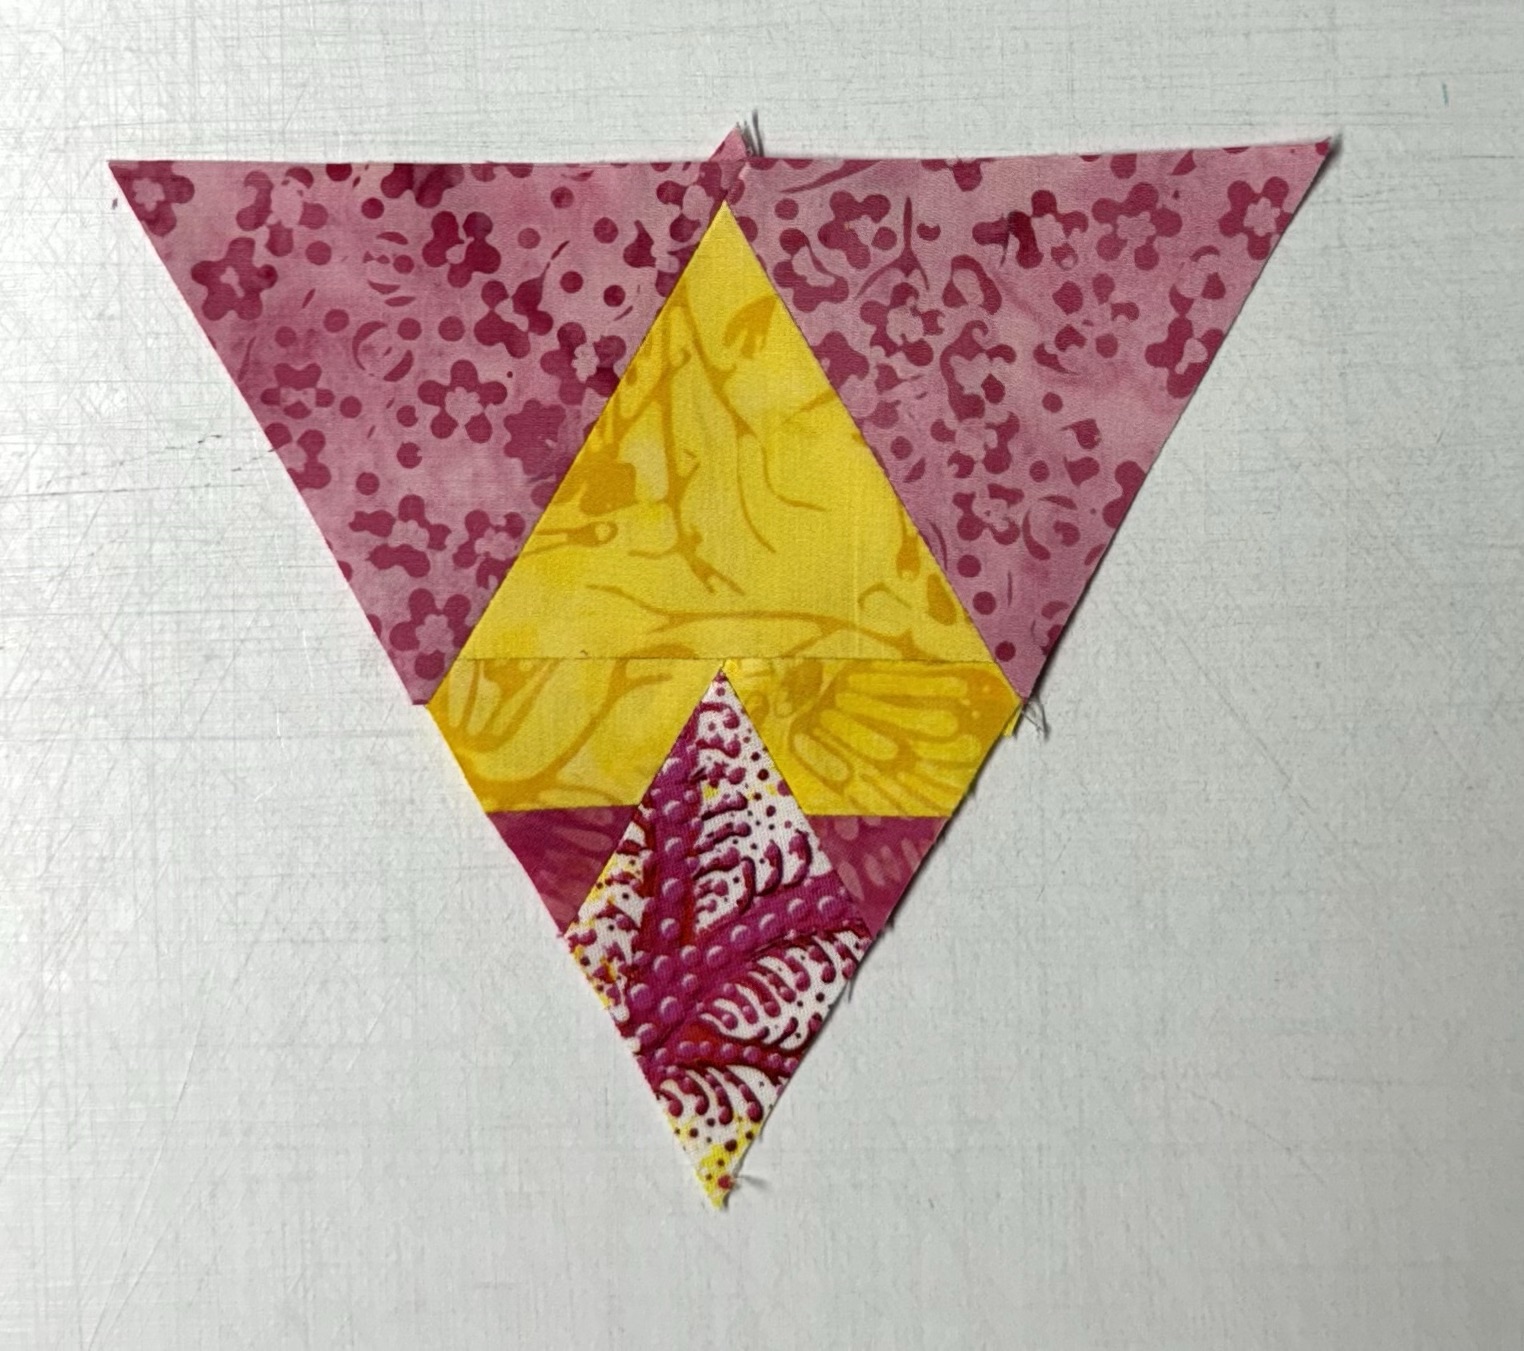
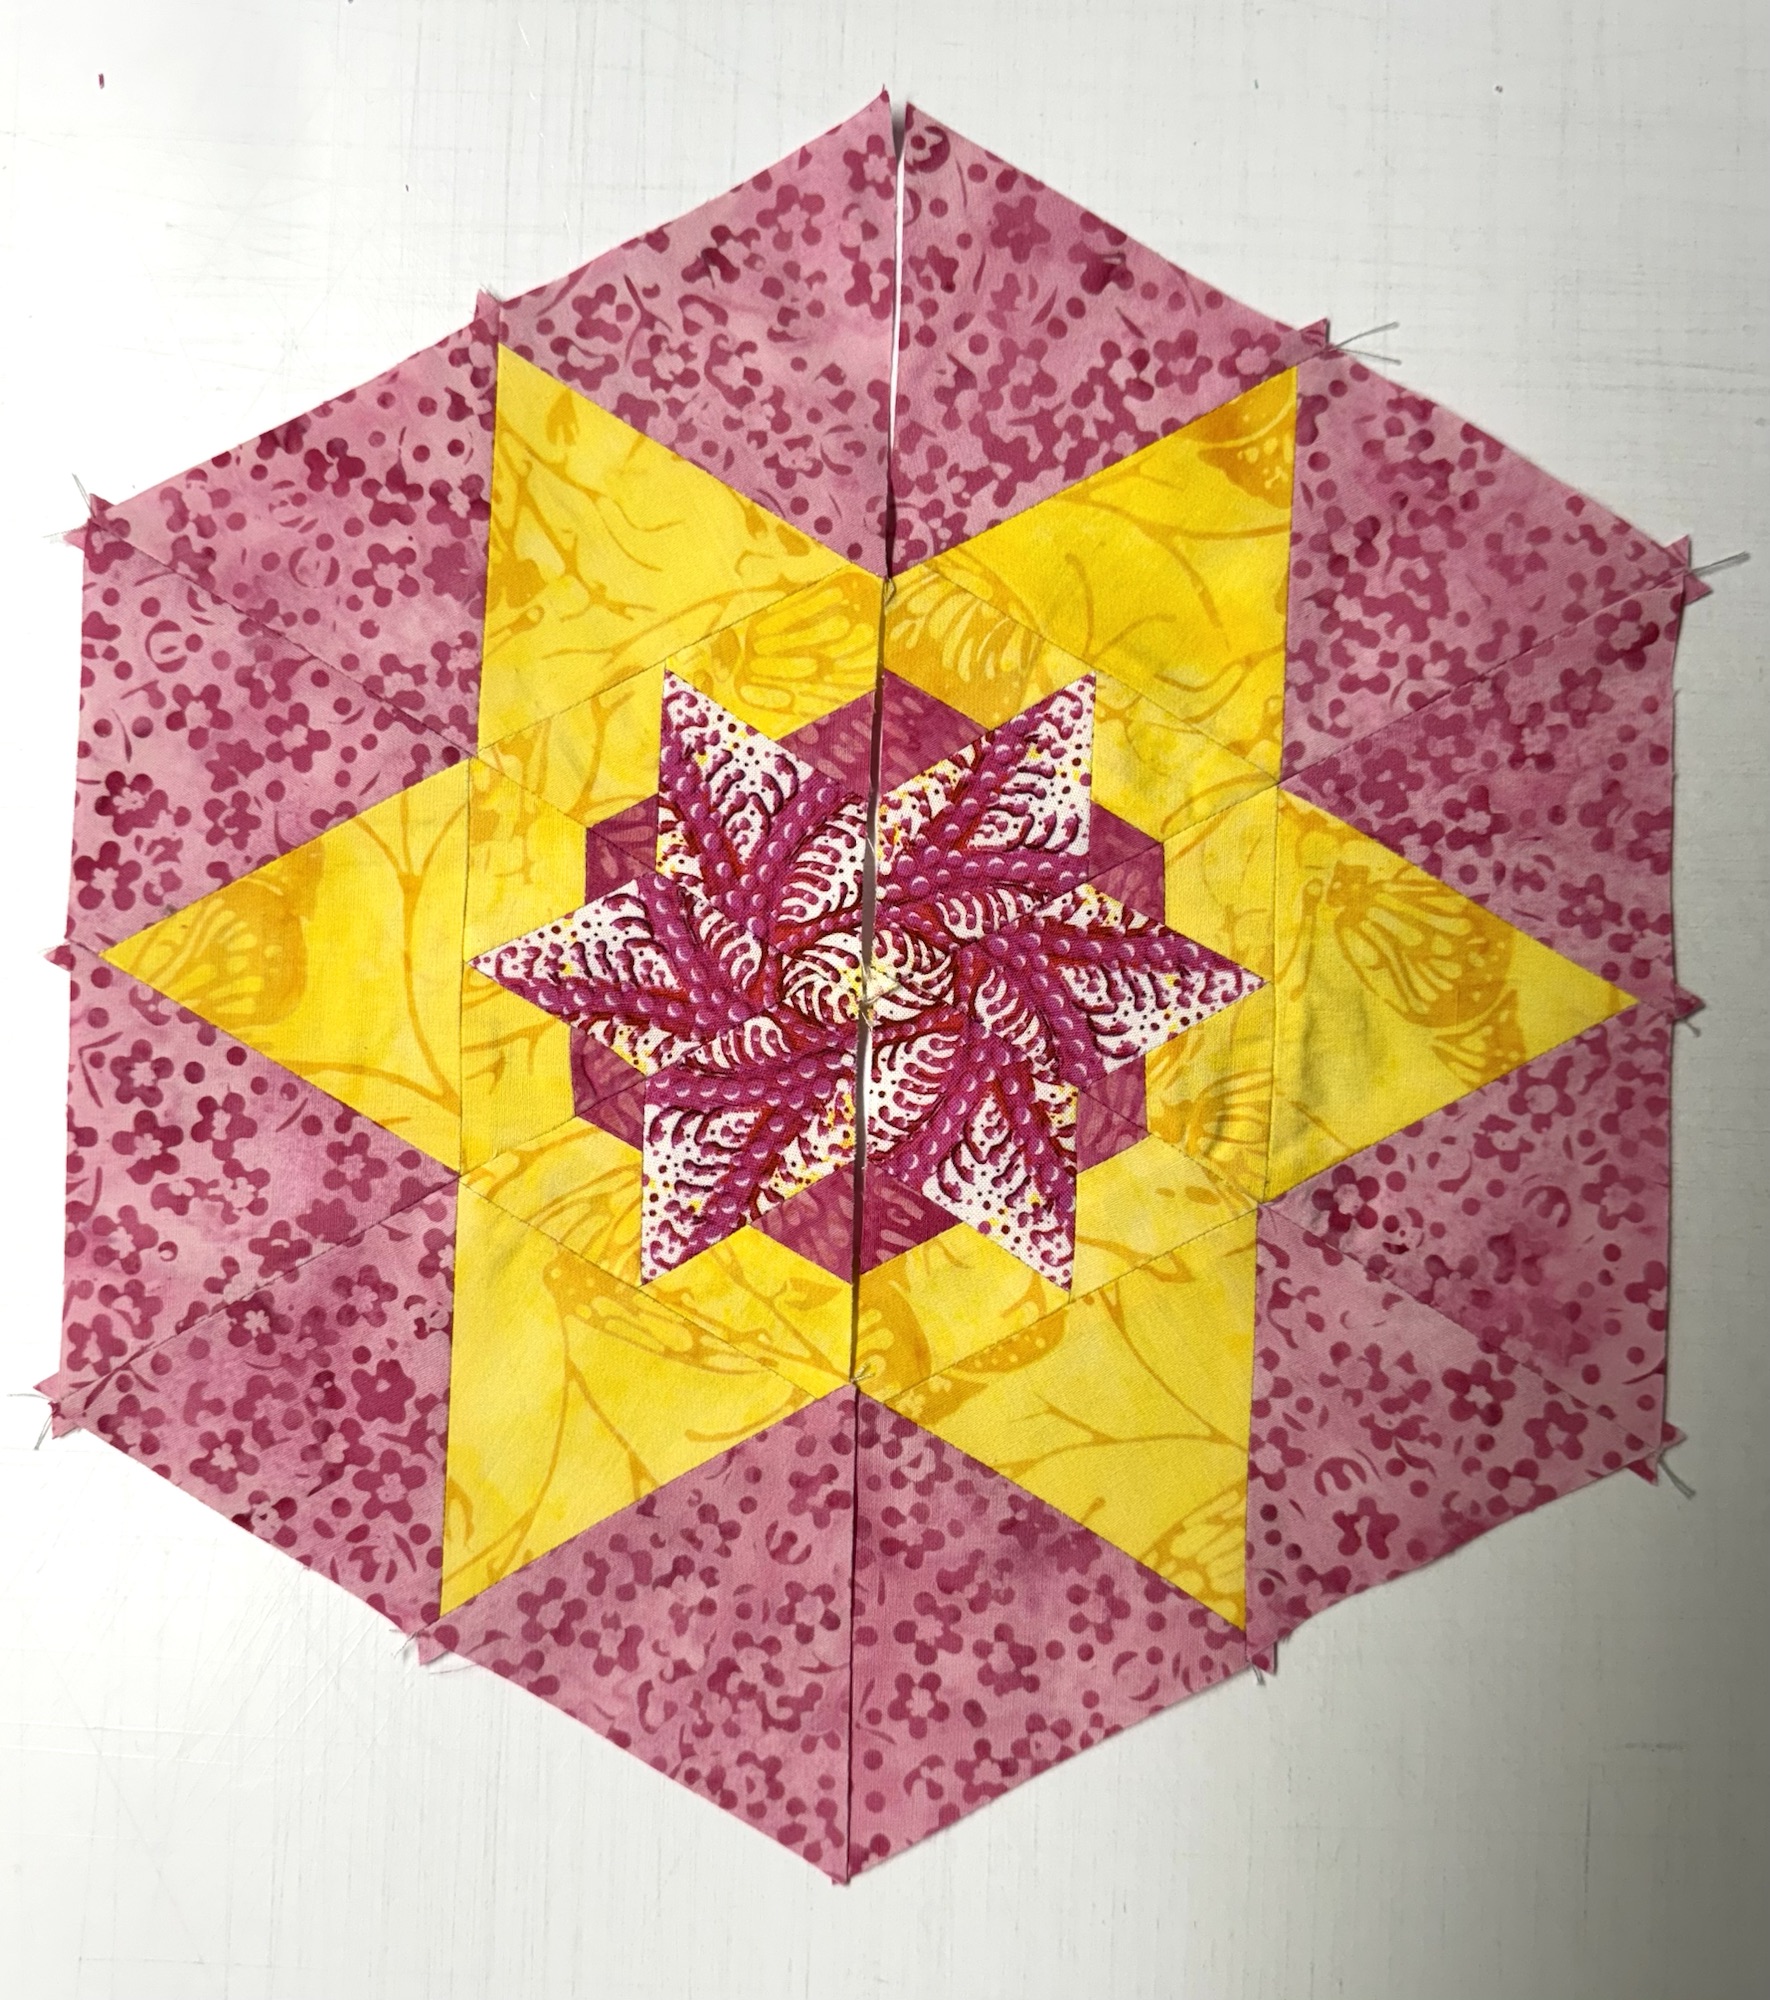
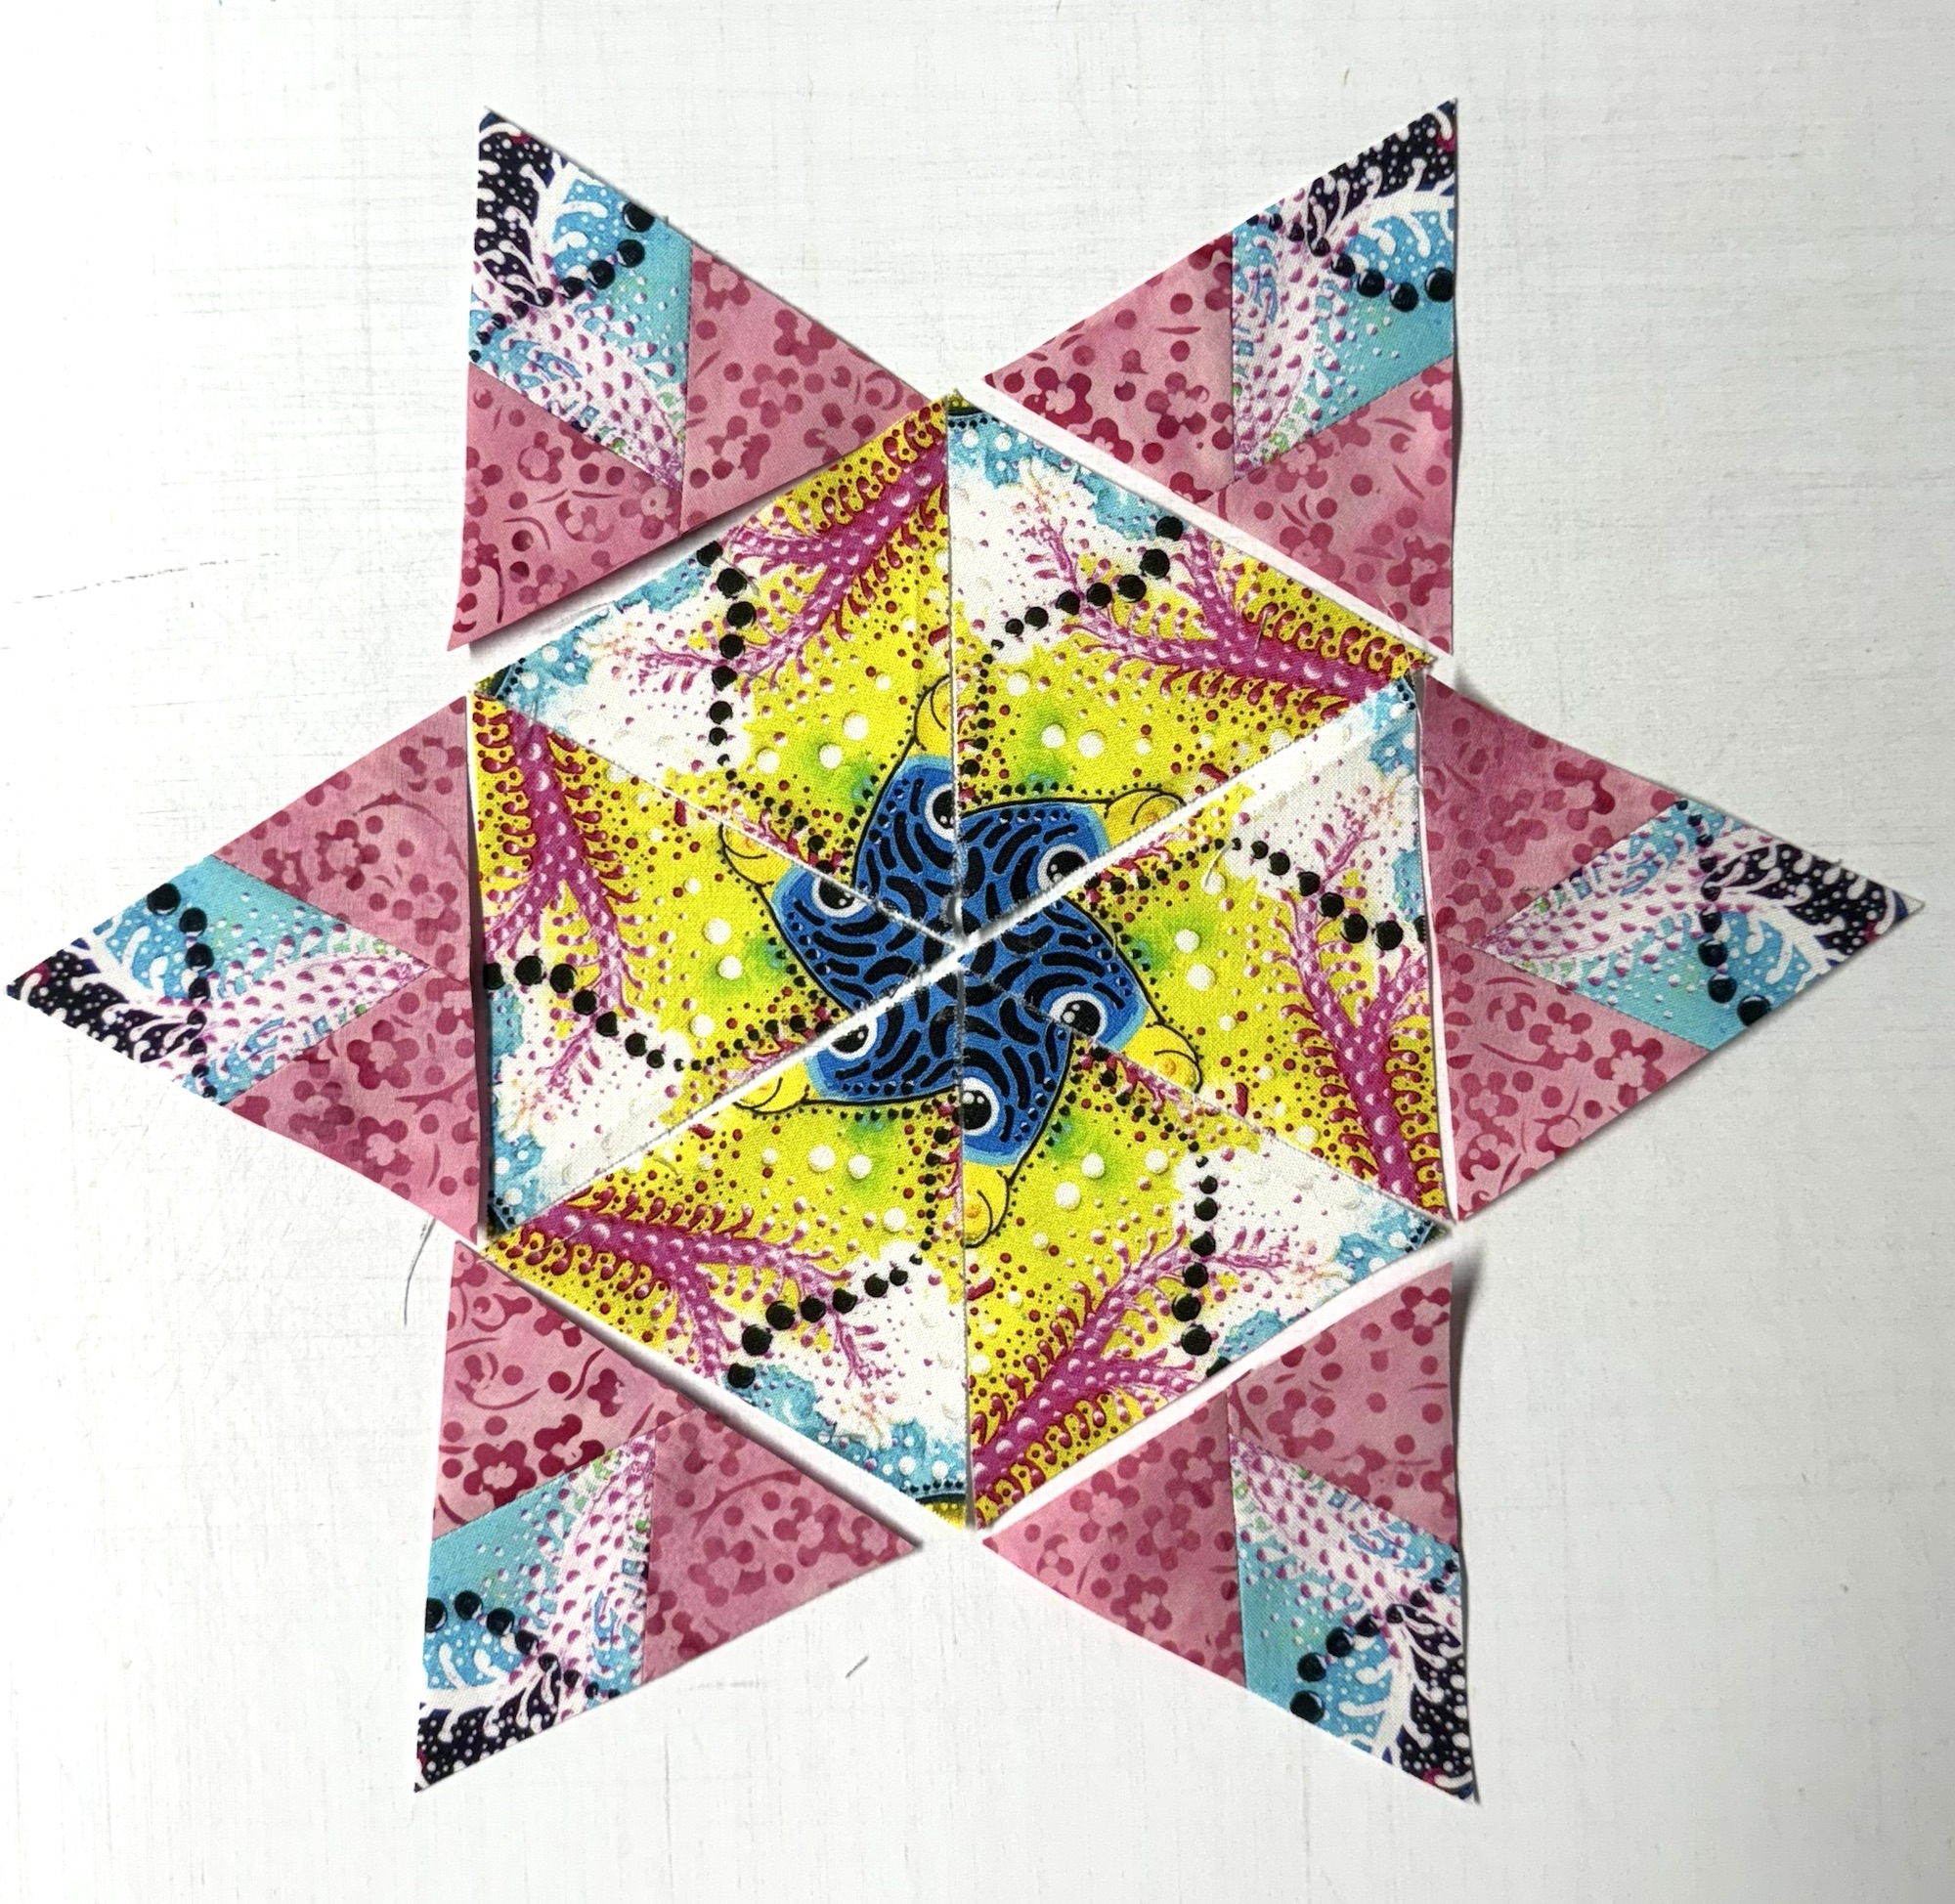
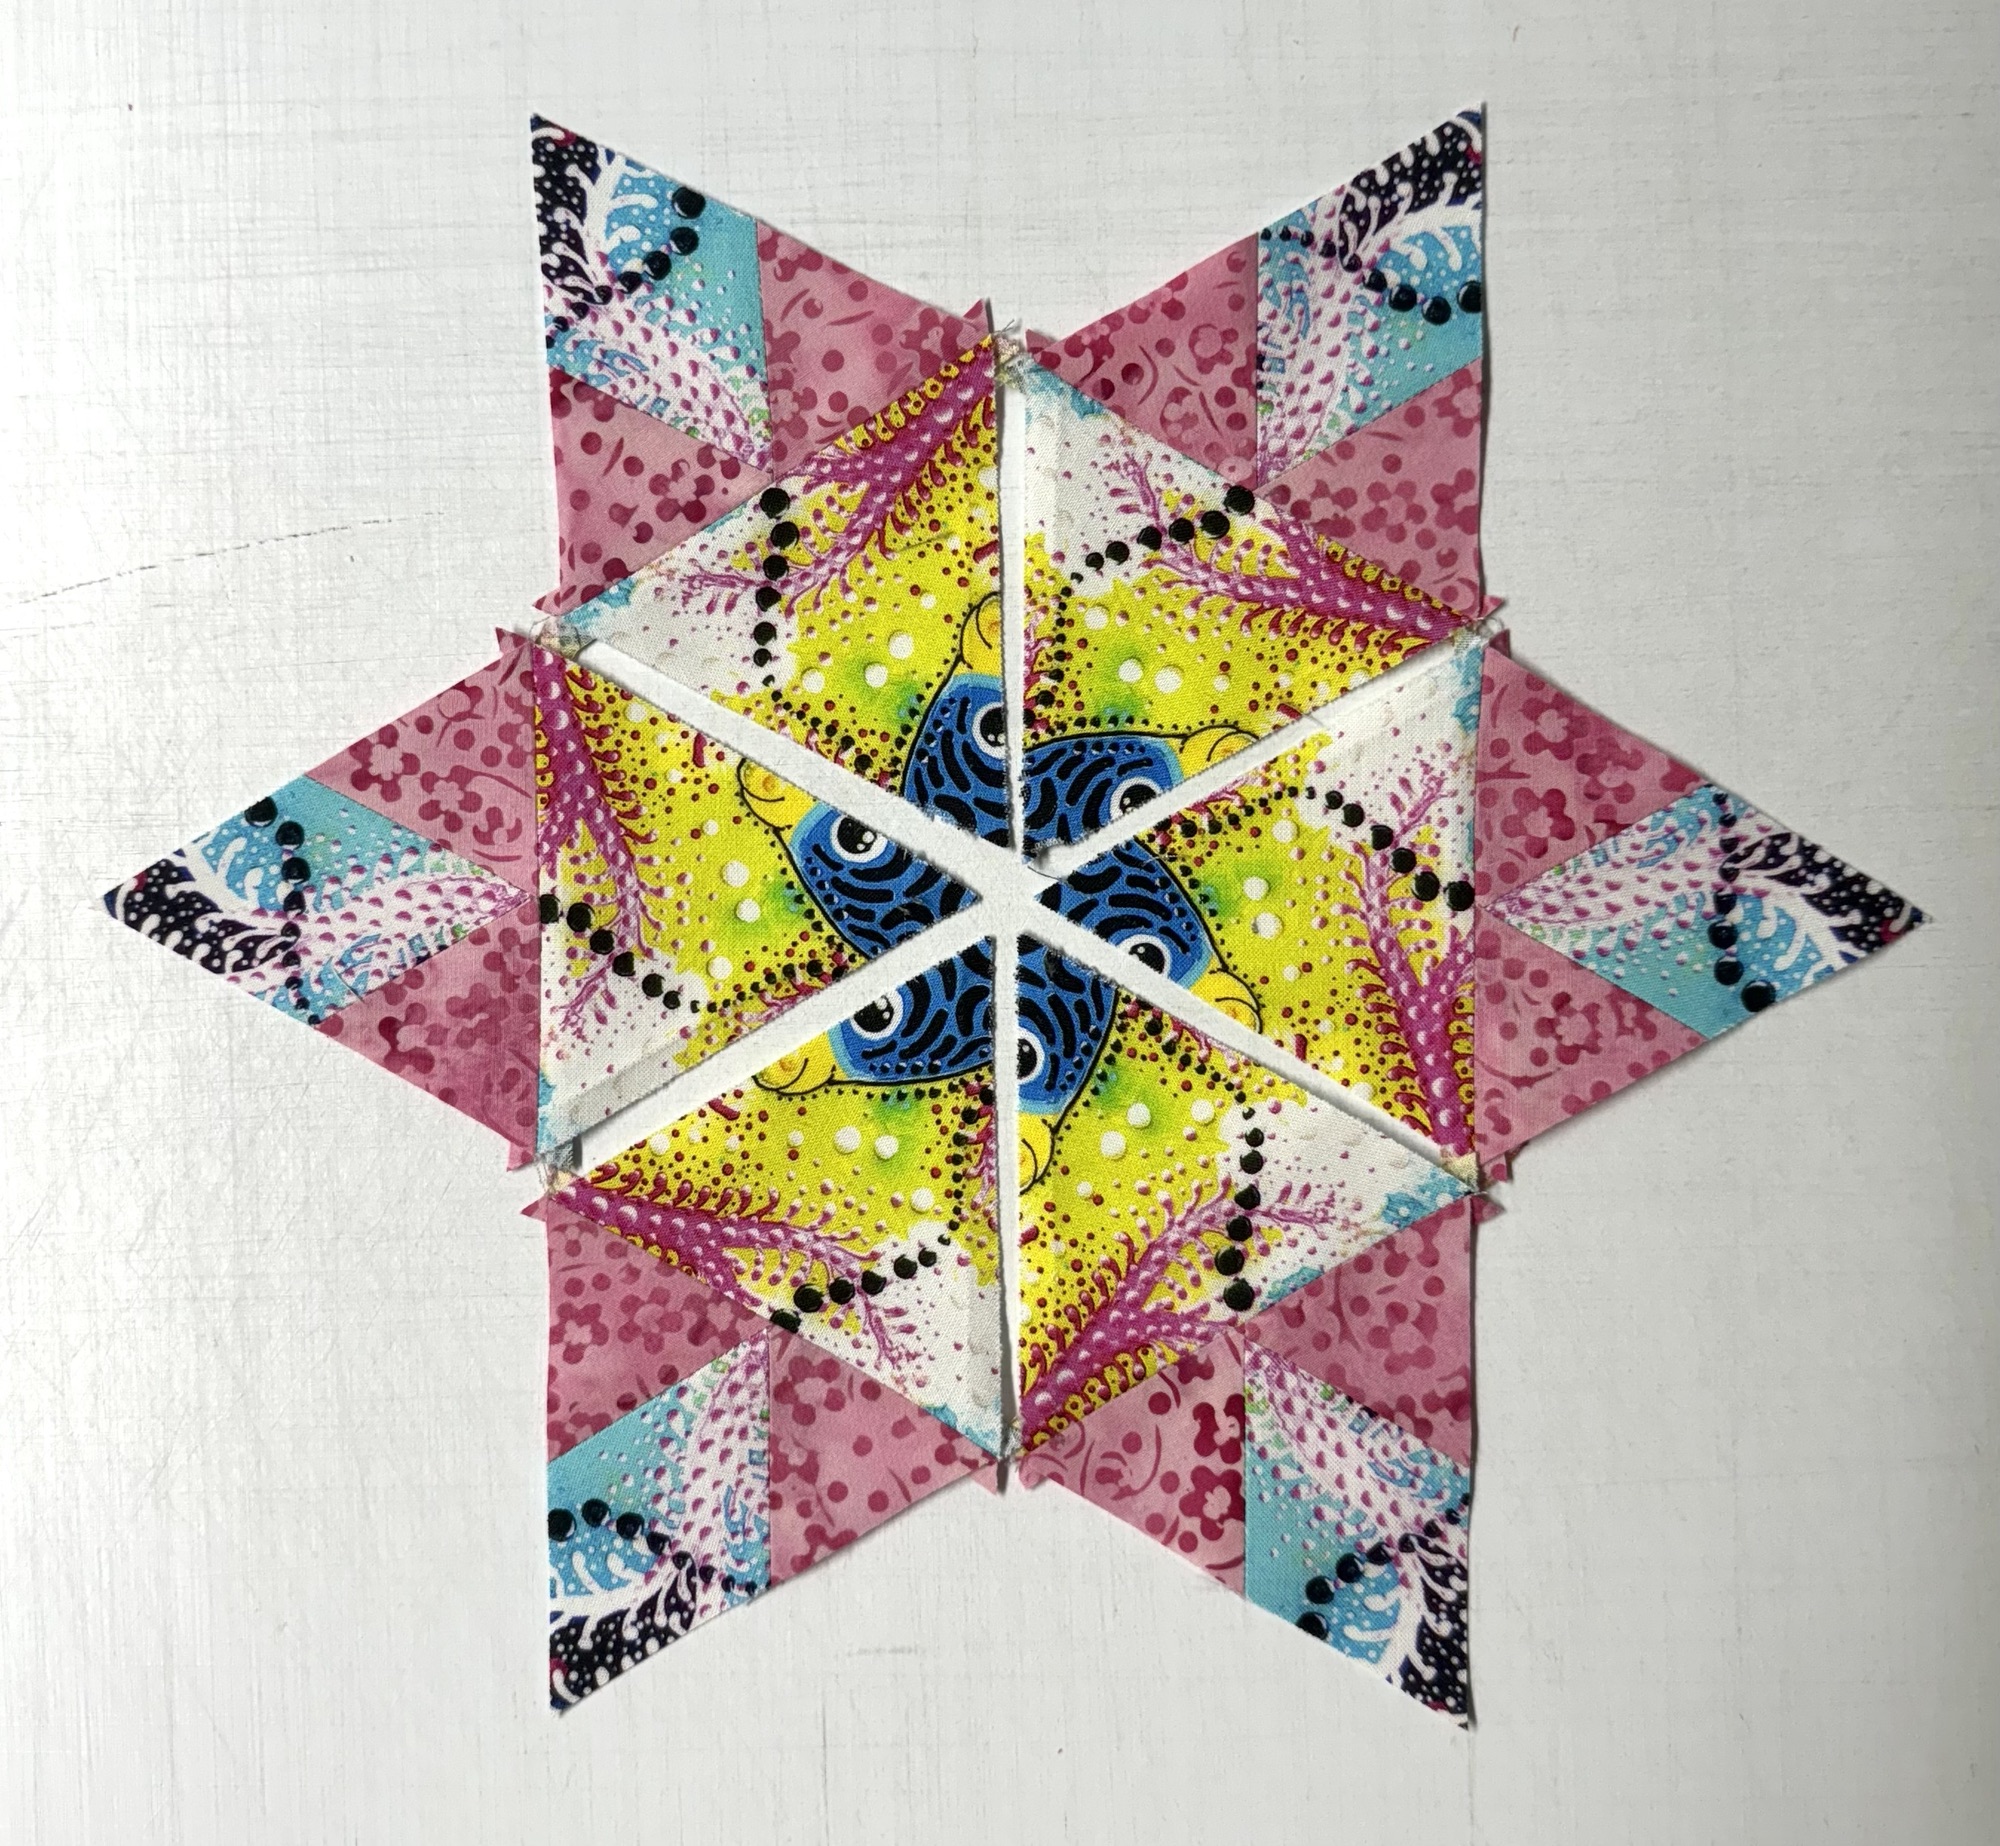
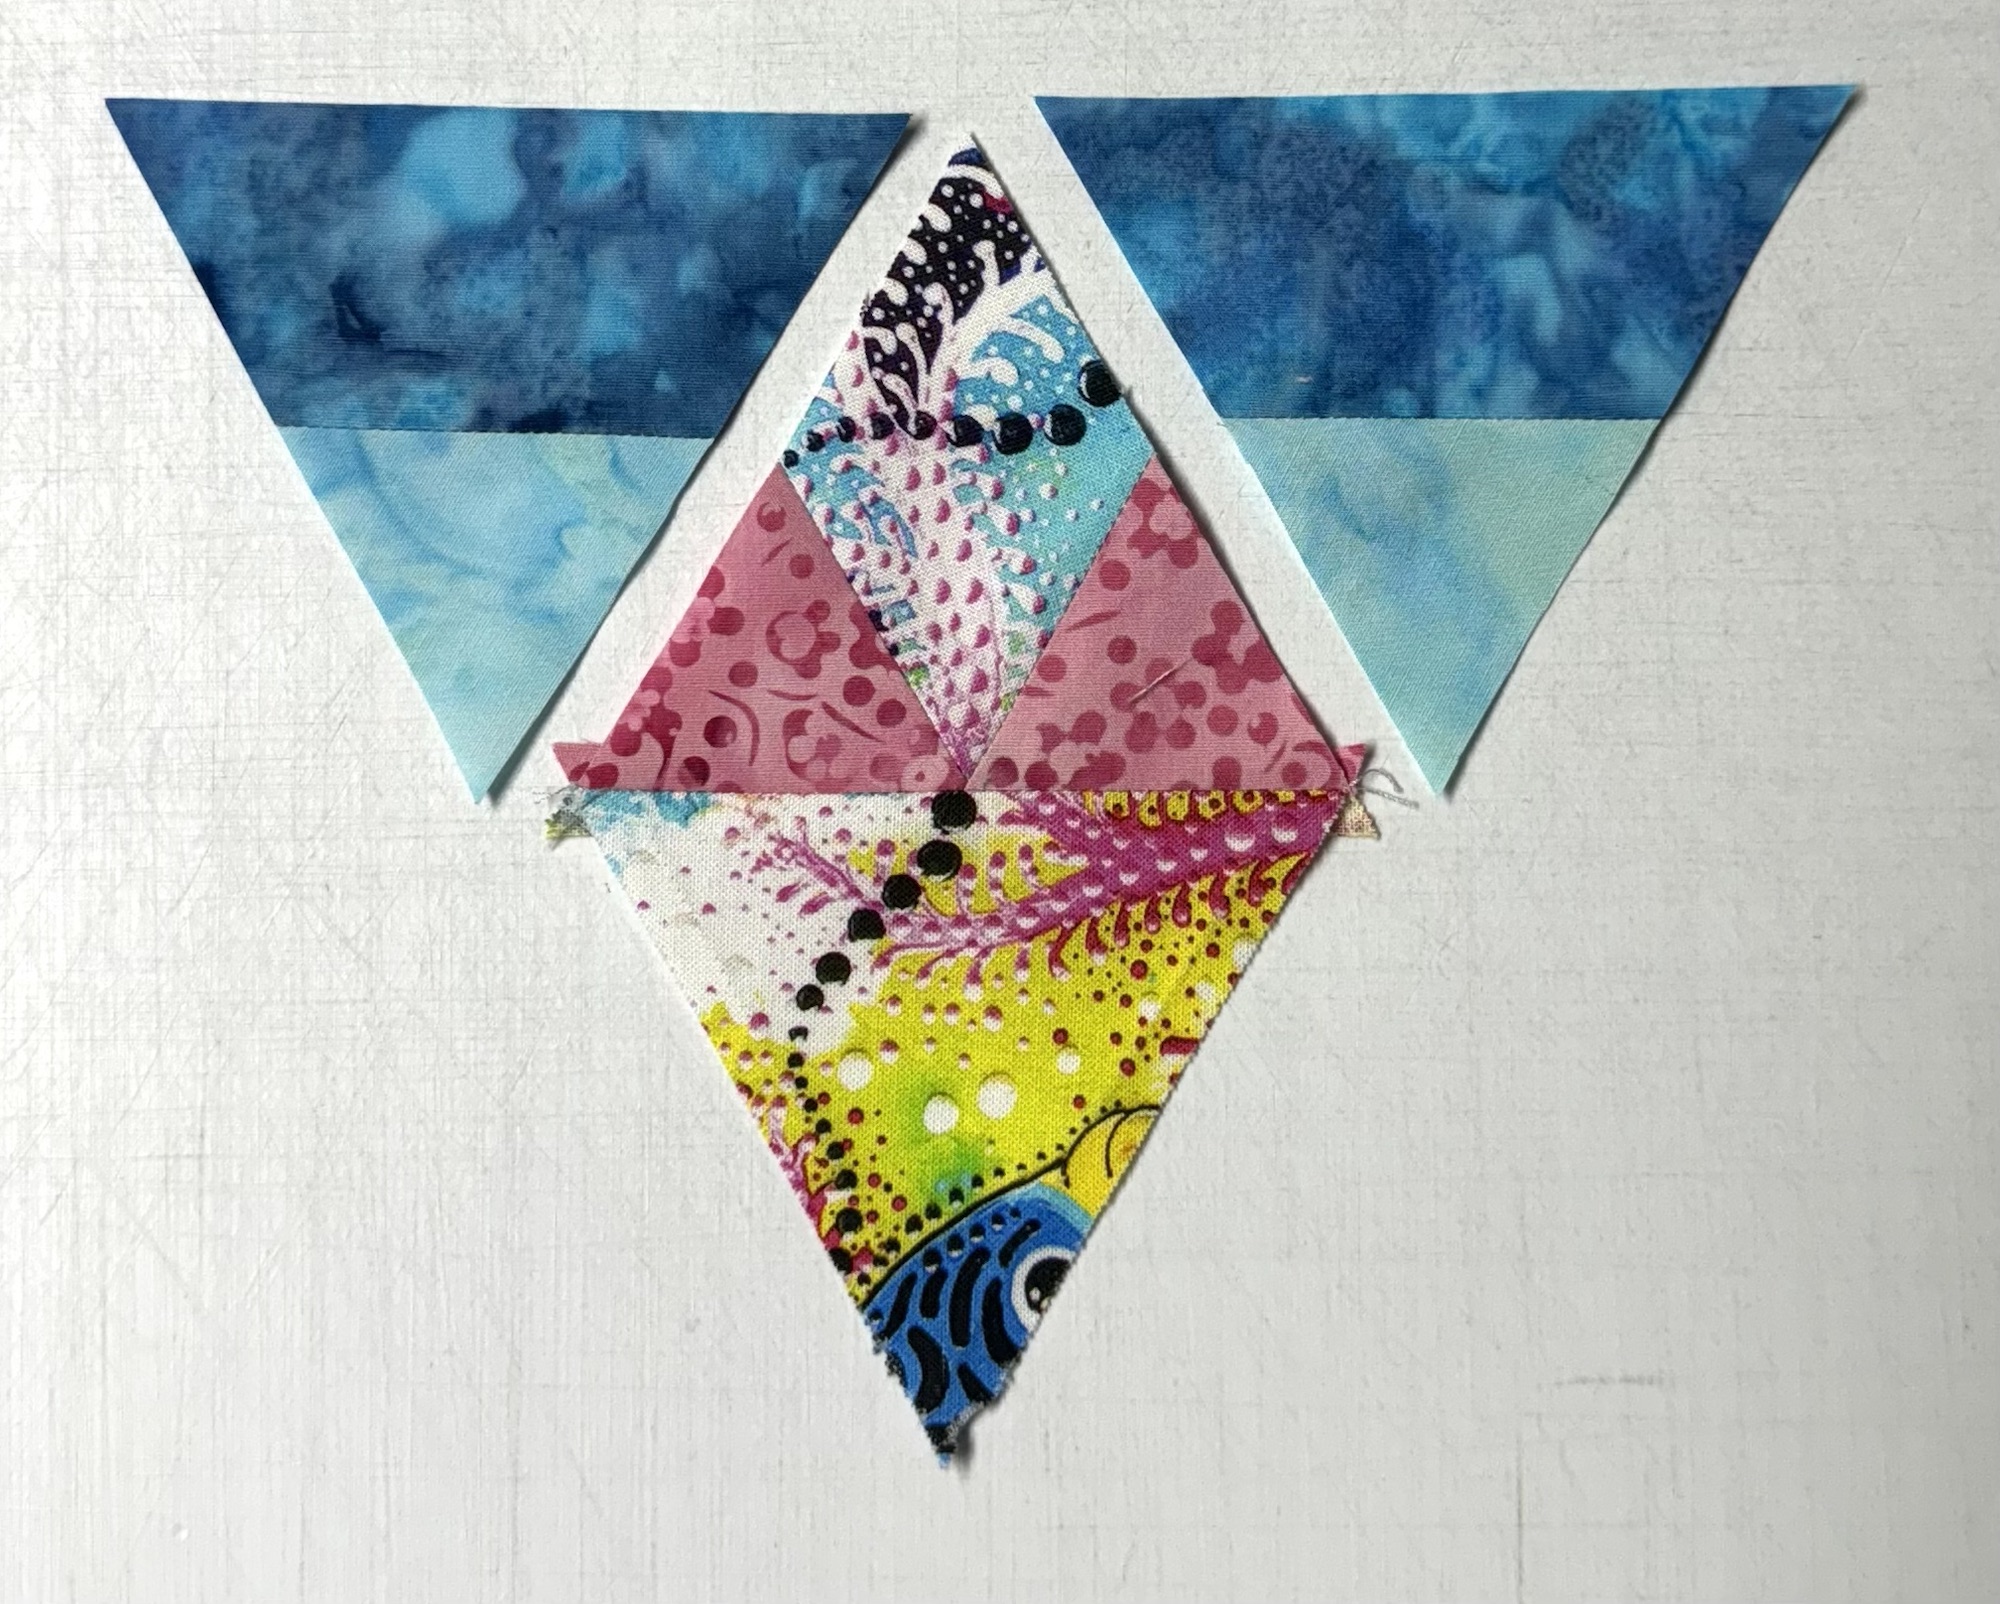
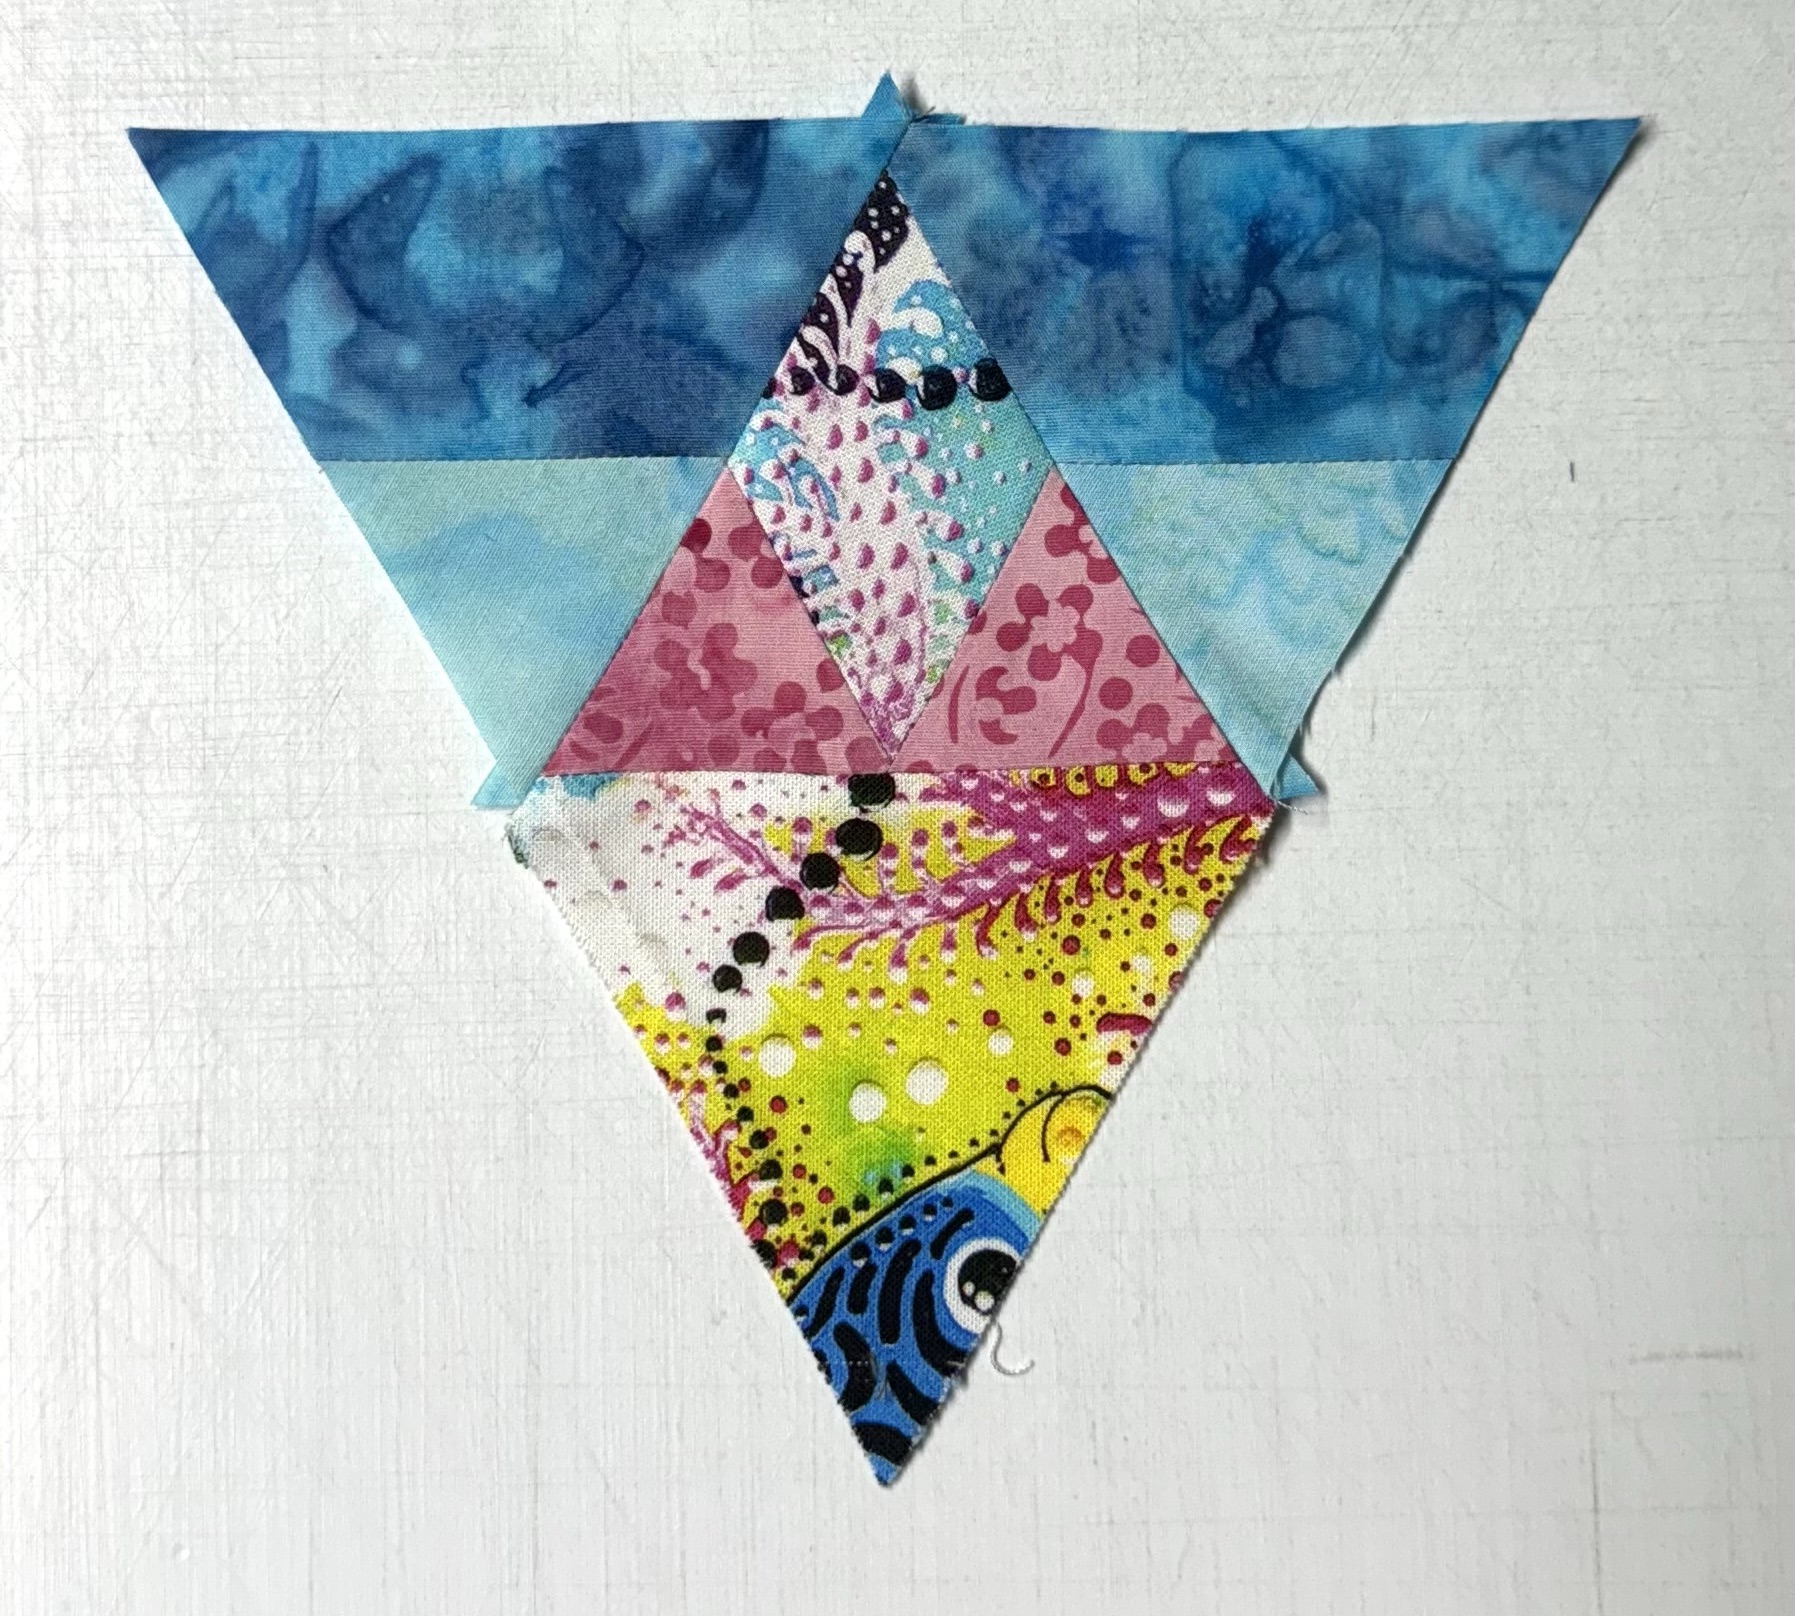
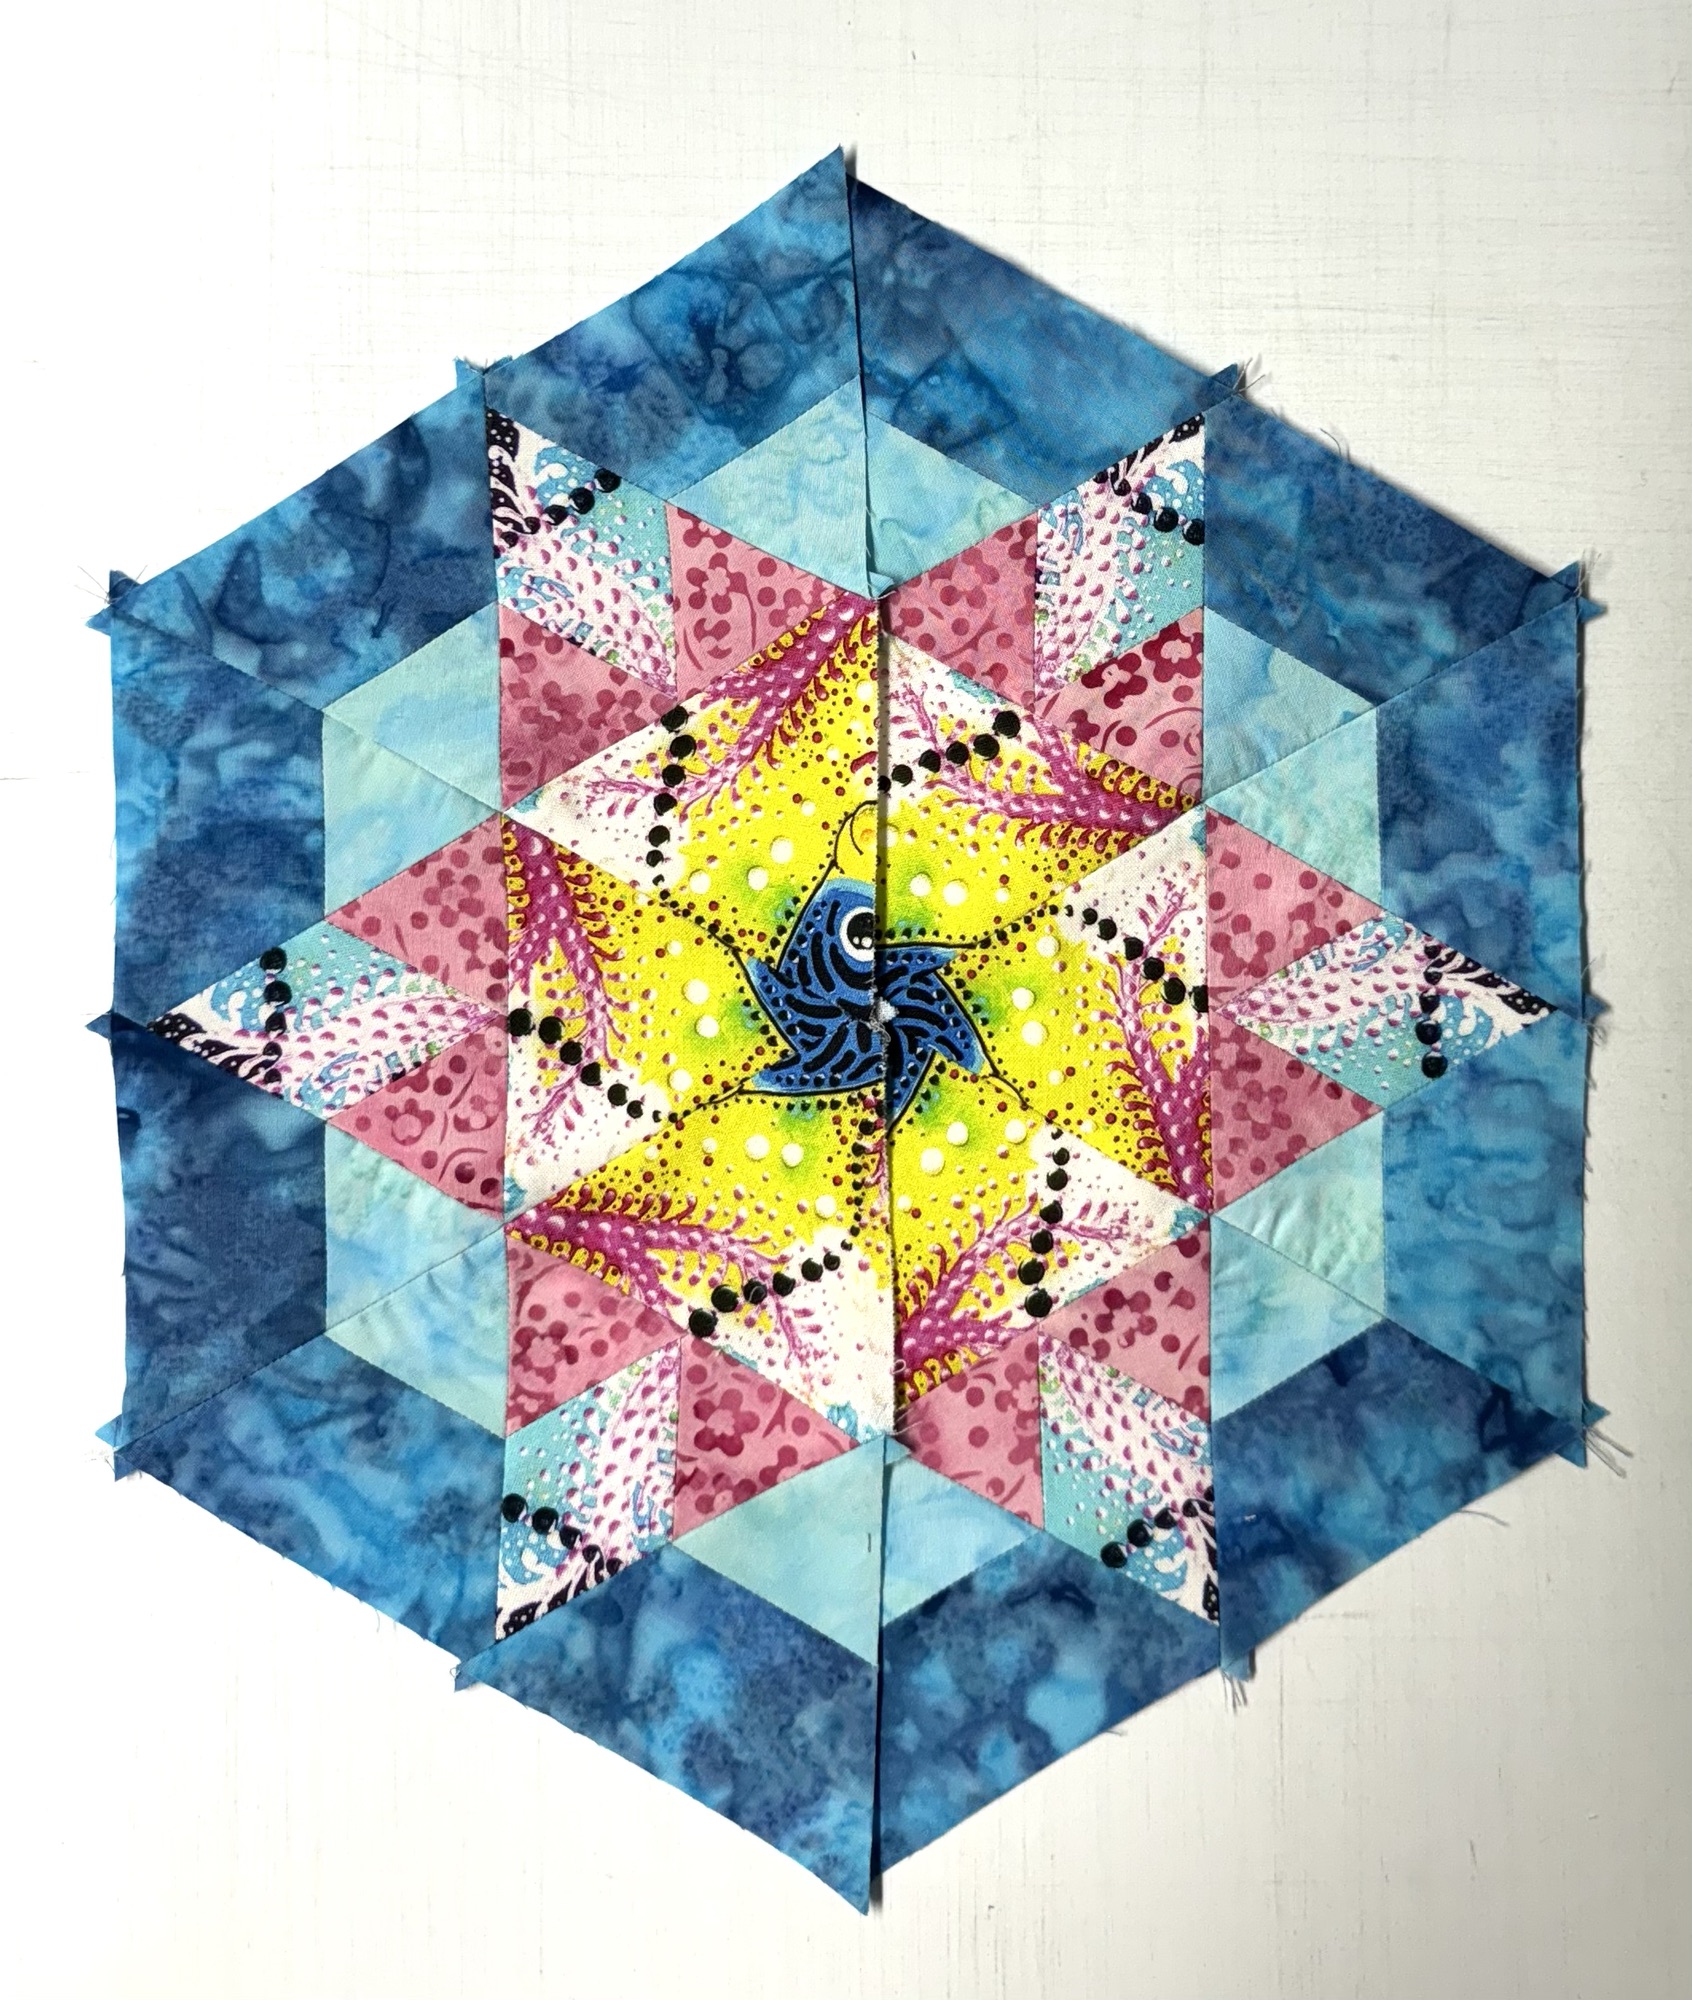
Using a set of equilateral triangles for the center and light orange from the Color Essence line and stars fabric from the Bohemian Sunrise line, I made 2″ finished Star 60 units that were stitched to the equilateral triangles to make diamonds. I then made 2″ finished Capped 60 units that I used as side triangles for pieced diamonds. This made a 8″ finished star.

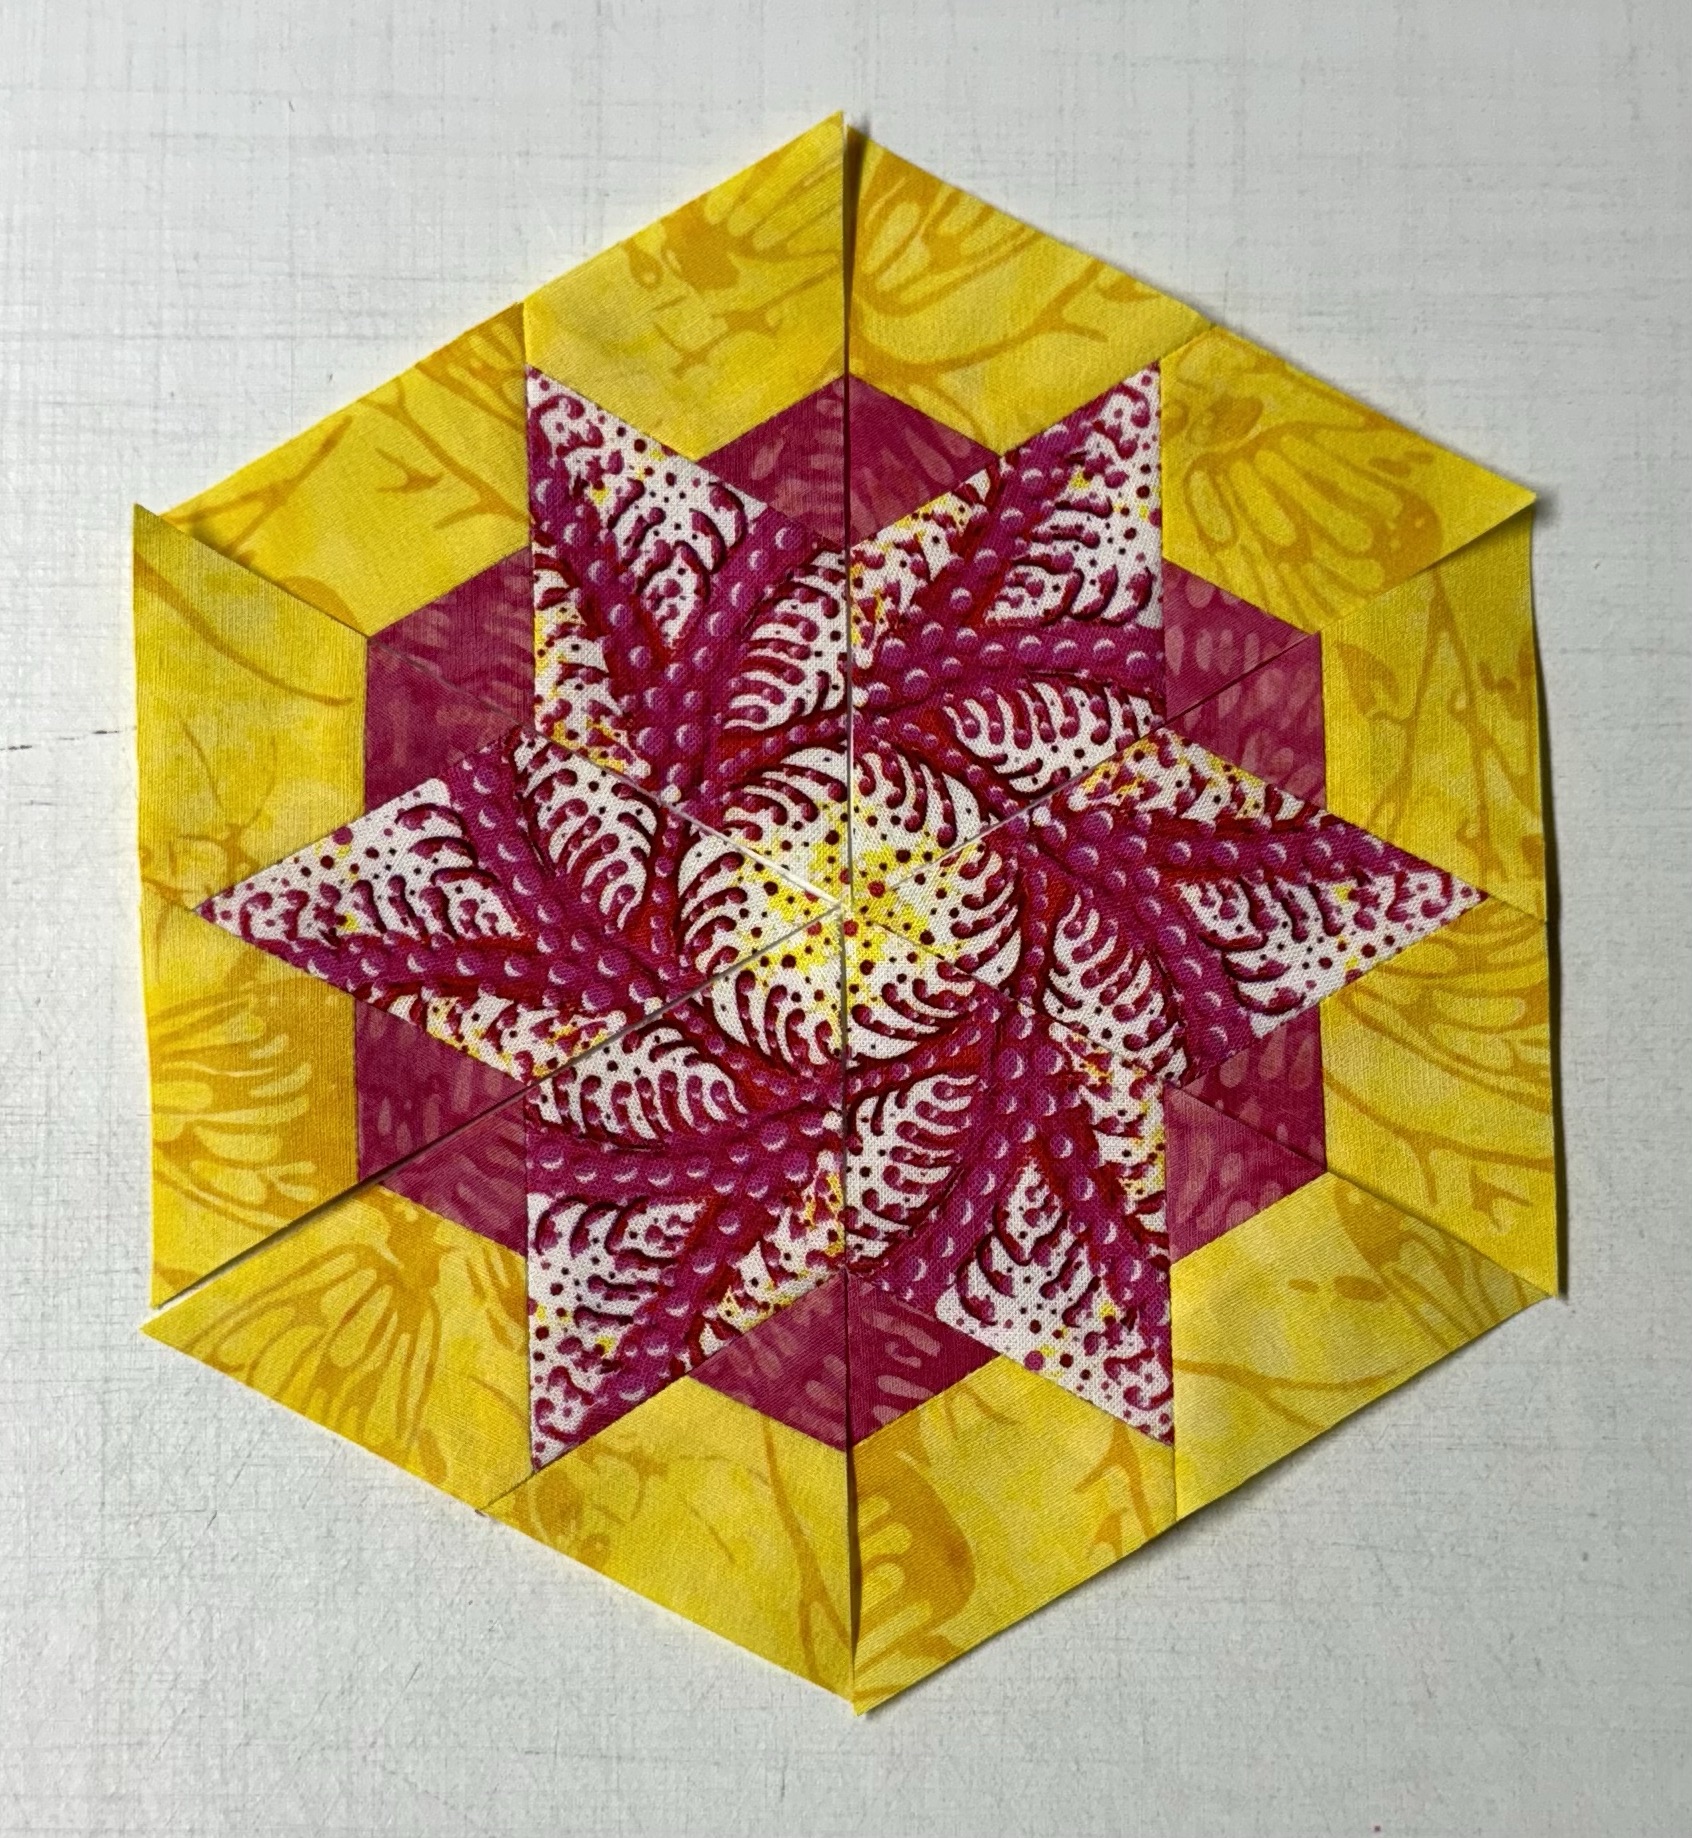
Using a light, medium and dark fabrics from the Color Essence line I made 4″ Hollow Cube 60 units.

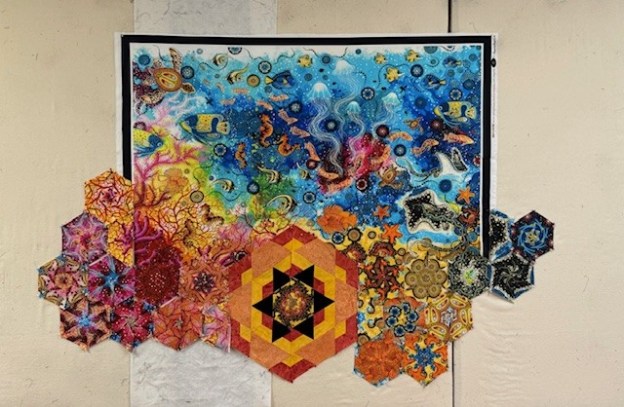
I began designing in the upper right corner. I placed hexies 7 across and started going down the left side until I passed the bottom of the panel. Then another 7 hexies across the bottom and up the right side of the panel.

Once I have the four sides established, I can then add hexies until I am please with the design.

I added half hexies on the sides and half rectangle triangles to the top and bottom of each row and numbered my rows.


I used 4″ and 8″ finished hexies in my design. I stitched the 2.5″ rows together above and below the 4.5″ half hexies so they could be stitched to the 4.5″ half hexies. Then joined all the rows on the left side.

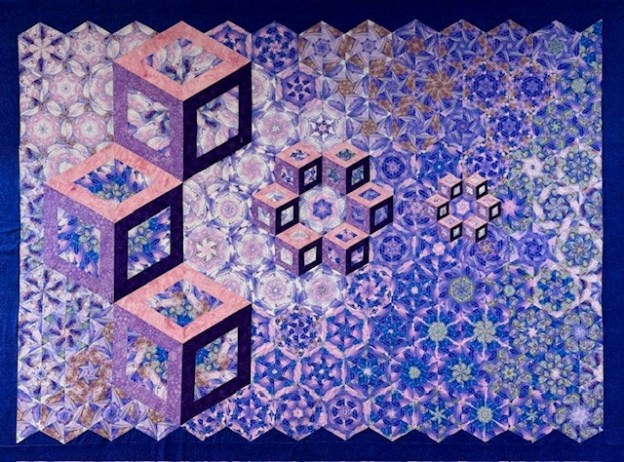
The photo above shows the top, bottom and left section attached to the panel, and how much shrinkage there was when the hexies are joined into rows.

Bohemian Sunrise measures 78″ x 63″. OBW # 113, not yet quilted.
“Got no diamond, got no pearl. Still think I’m a lucky girl. I’ve the Sun in morning and Moon at Night”!
@QTFabrics @TheMorrisGroup @Studio180design #BohemianSunrise #Star60