1776 panel designed by the Morris Group for QT Fabrics measures 38″ x 32″. This beautiful Eagle panel will be in shops Fall 2025.

The 1776 fabric line offers everything needed to create your own 1776 quilt. You can finish it in time to celebrate our nation’s 250th birthday in 2026.

I chose 5 coordinating fabrics to add to my story. I choose fabrics before I know what my design approach will be. The flags with the light blue background ended up on the back of the quilt.


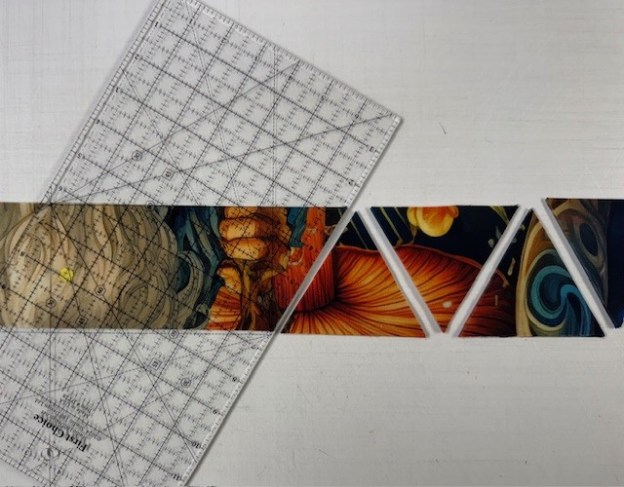
I used Deb Tucker’s First Choice Rulers to cut my strips 3.25″ wide, yielding 5″ finished hexies. The stars were created using the Star 60 Tool by Deb Tucker. I started placing my hexies on the top section first.


Numbering the rows keeps everything organized. Once I attached the top and bottom sections, I stitched the hexies on the left into rows. It shows how much the rows shrink when stitched together.


The photo on the left shows the quilt top together without borders. On the right the borders have been added, but not yet tweaked.

1776 measures 75″ x 66″. I wanted to make the eagle’s wings look larger than they were. As if their strength created air currents that actually moved the stars.
@QTFabrics @Studio180Design #Star60Tool #First Choice Rulers #QuiltersDream Batting #Juki #OmniThread