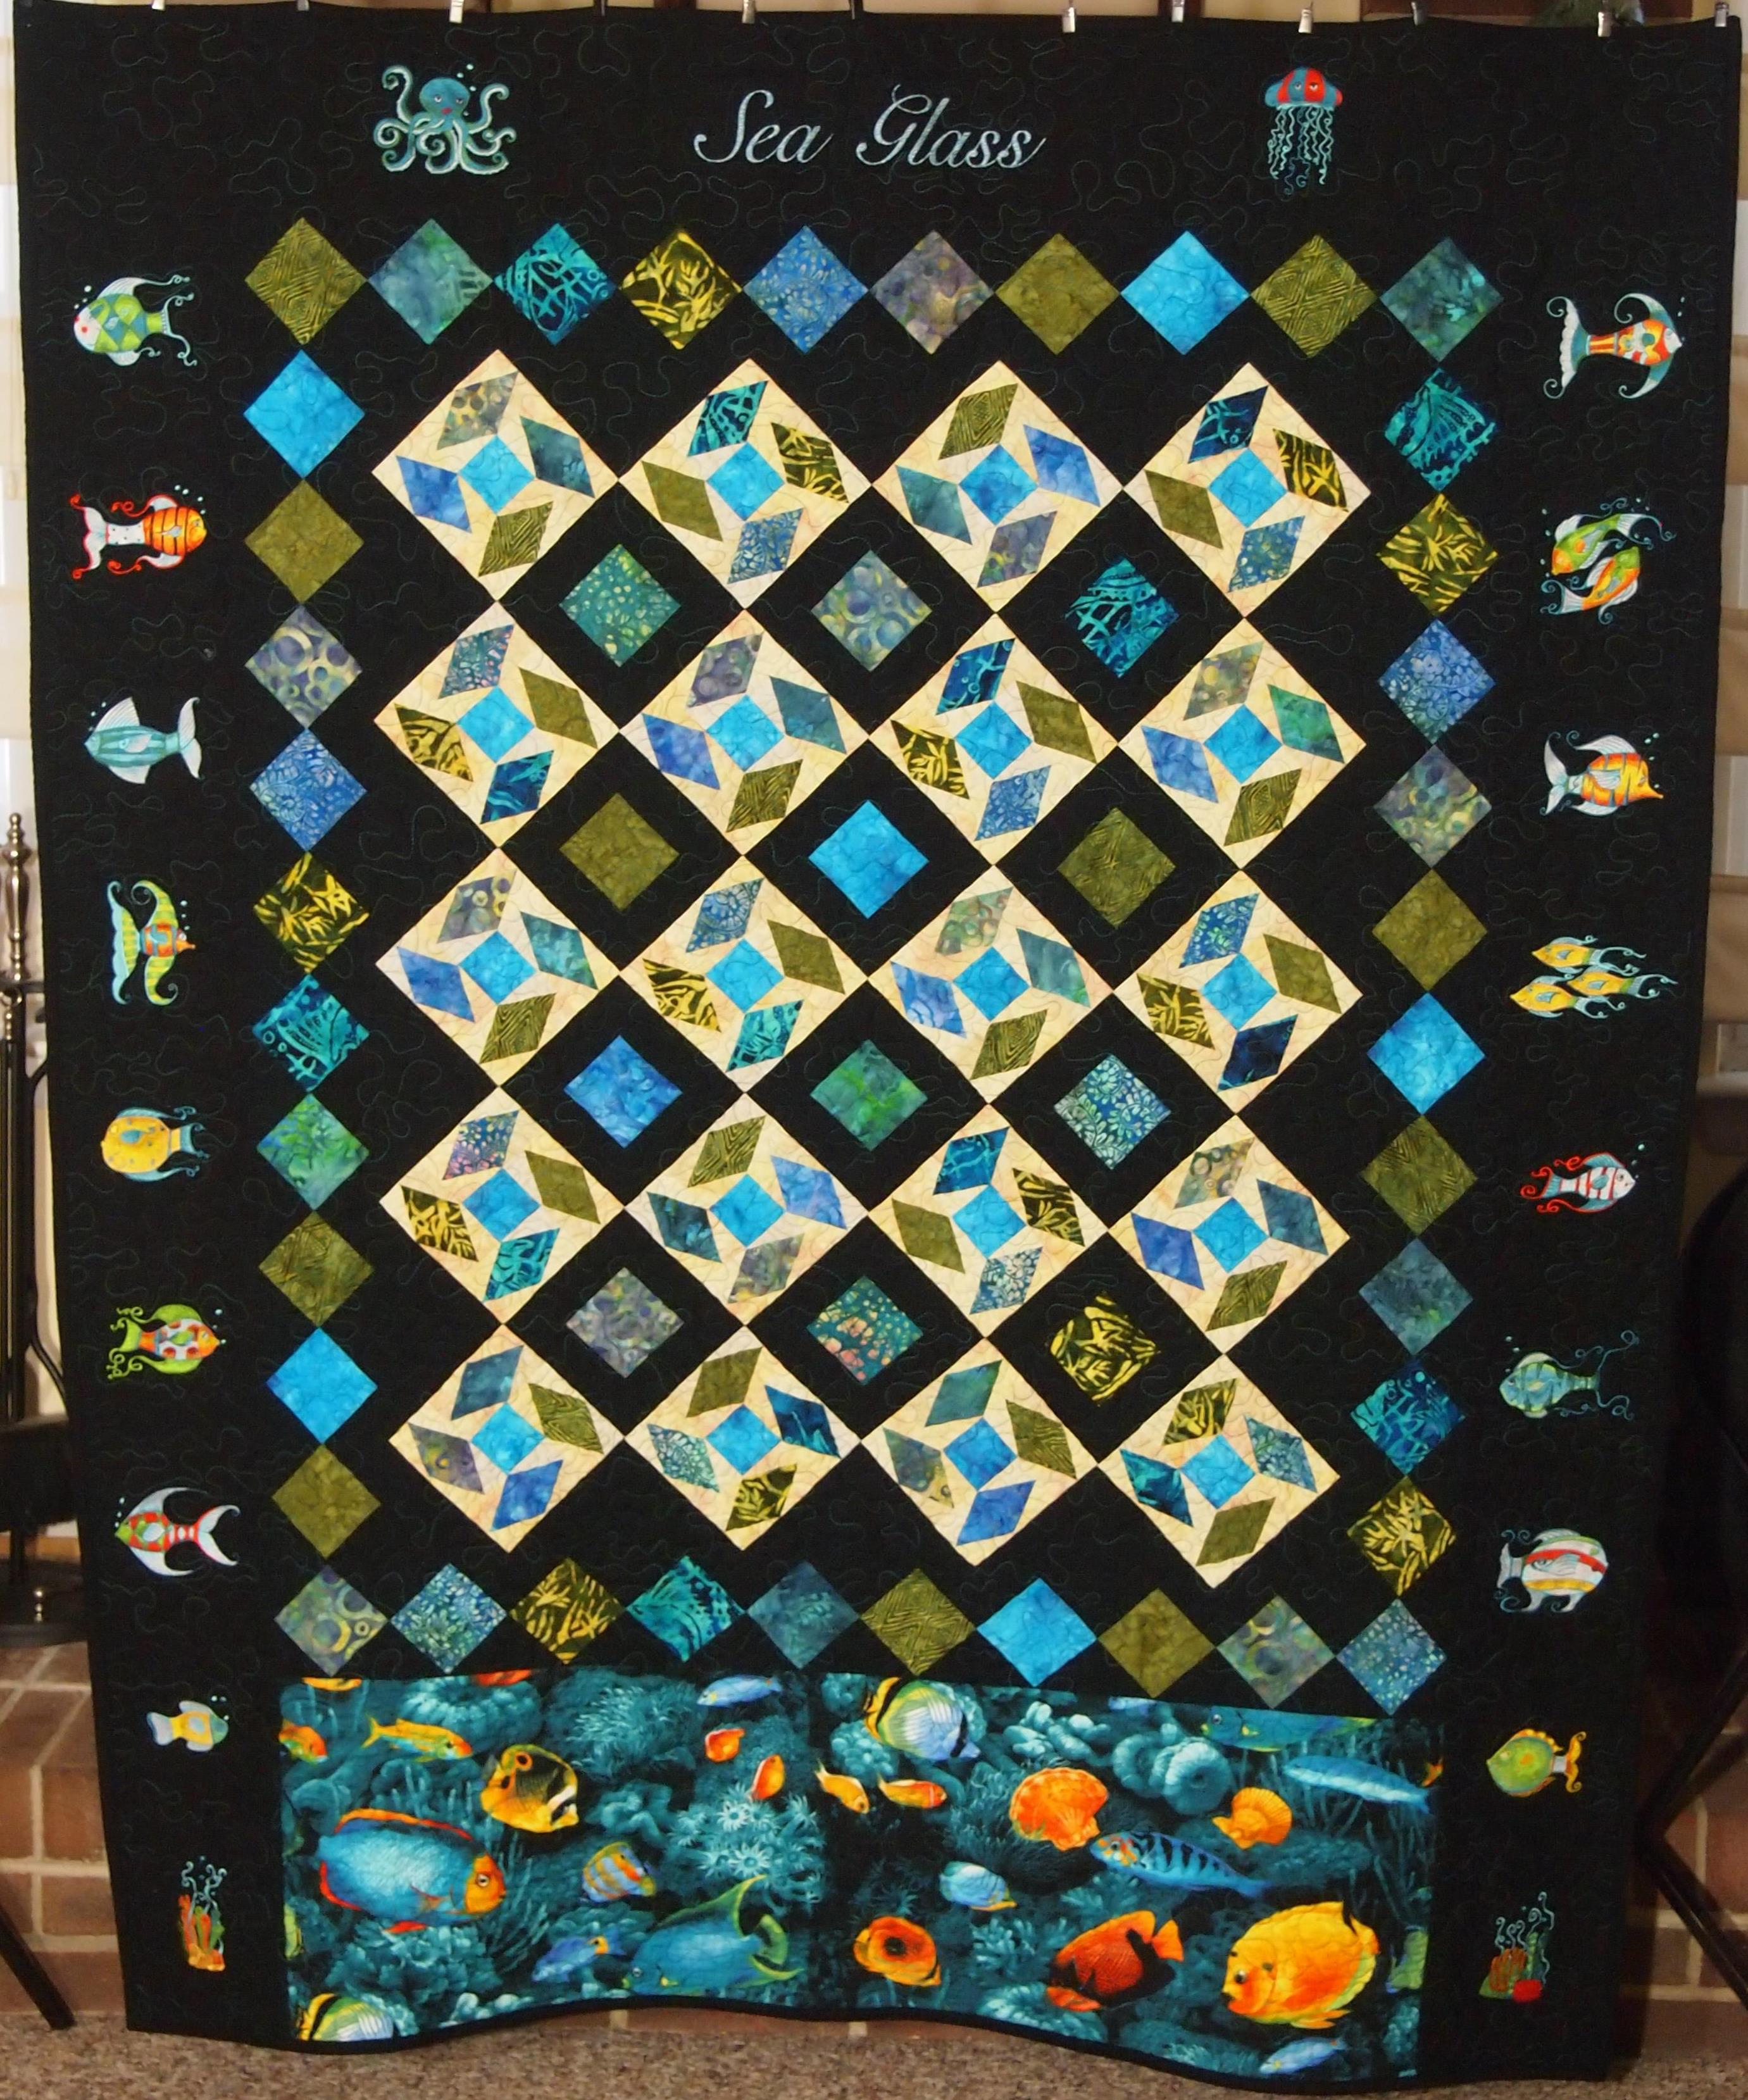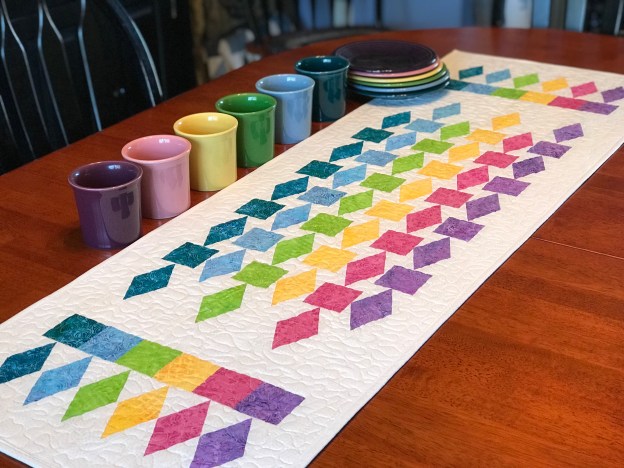
As I was preparing for an upcoming Tucker University Diamond Rects Class I though I would make Deb Tucker’s Refraction. It is a companion pattern for the Diamond Rects tool.
This is a great pattern to make to expand your skill at using your Diamond Rects Tool. Using six 2 1/2″ strips & background fabric this table runner is fun and quick to make.

I chose six 2 1/2″ strips from Island Batik’s “Spoolin Around” Island Strips pack & Cotton Egg-White for the background.
Cutting the Diamond


I opened my strips and positioned 3 strips right sides up ( you can stack more if you are comfortable), aligning the raw edges. I am right handed, so the selvedges are to the left. Align the guidelines of the ruler with the raw edge of the strip. Cut along the angled edge and across the top.

Rotate the first piece around to make the second diagonal cut near the selvedge edge.

Continue to make cuts until you have 7 diamonds from each strip.

Layer 3 more strip and continue to cut as before.


Cut 6 squares 2 1/2″ x 2 1/2″ from the remainder of each of the 2 1/2″ strips.
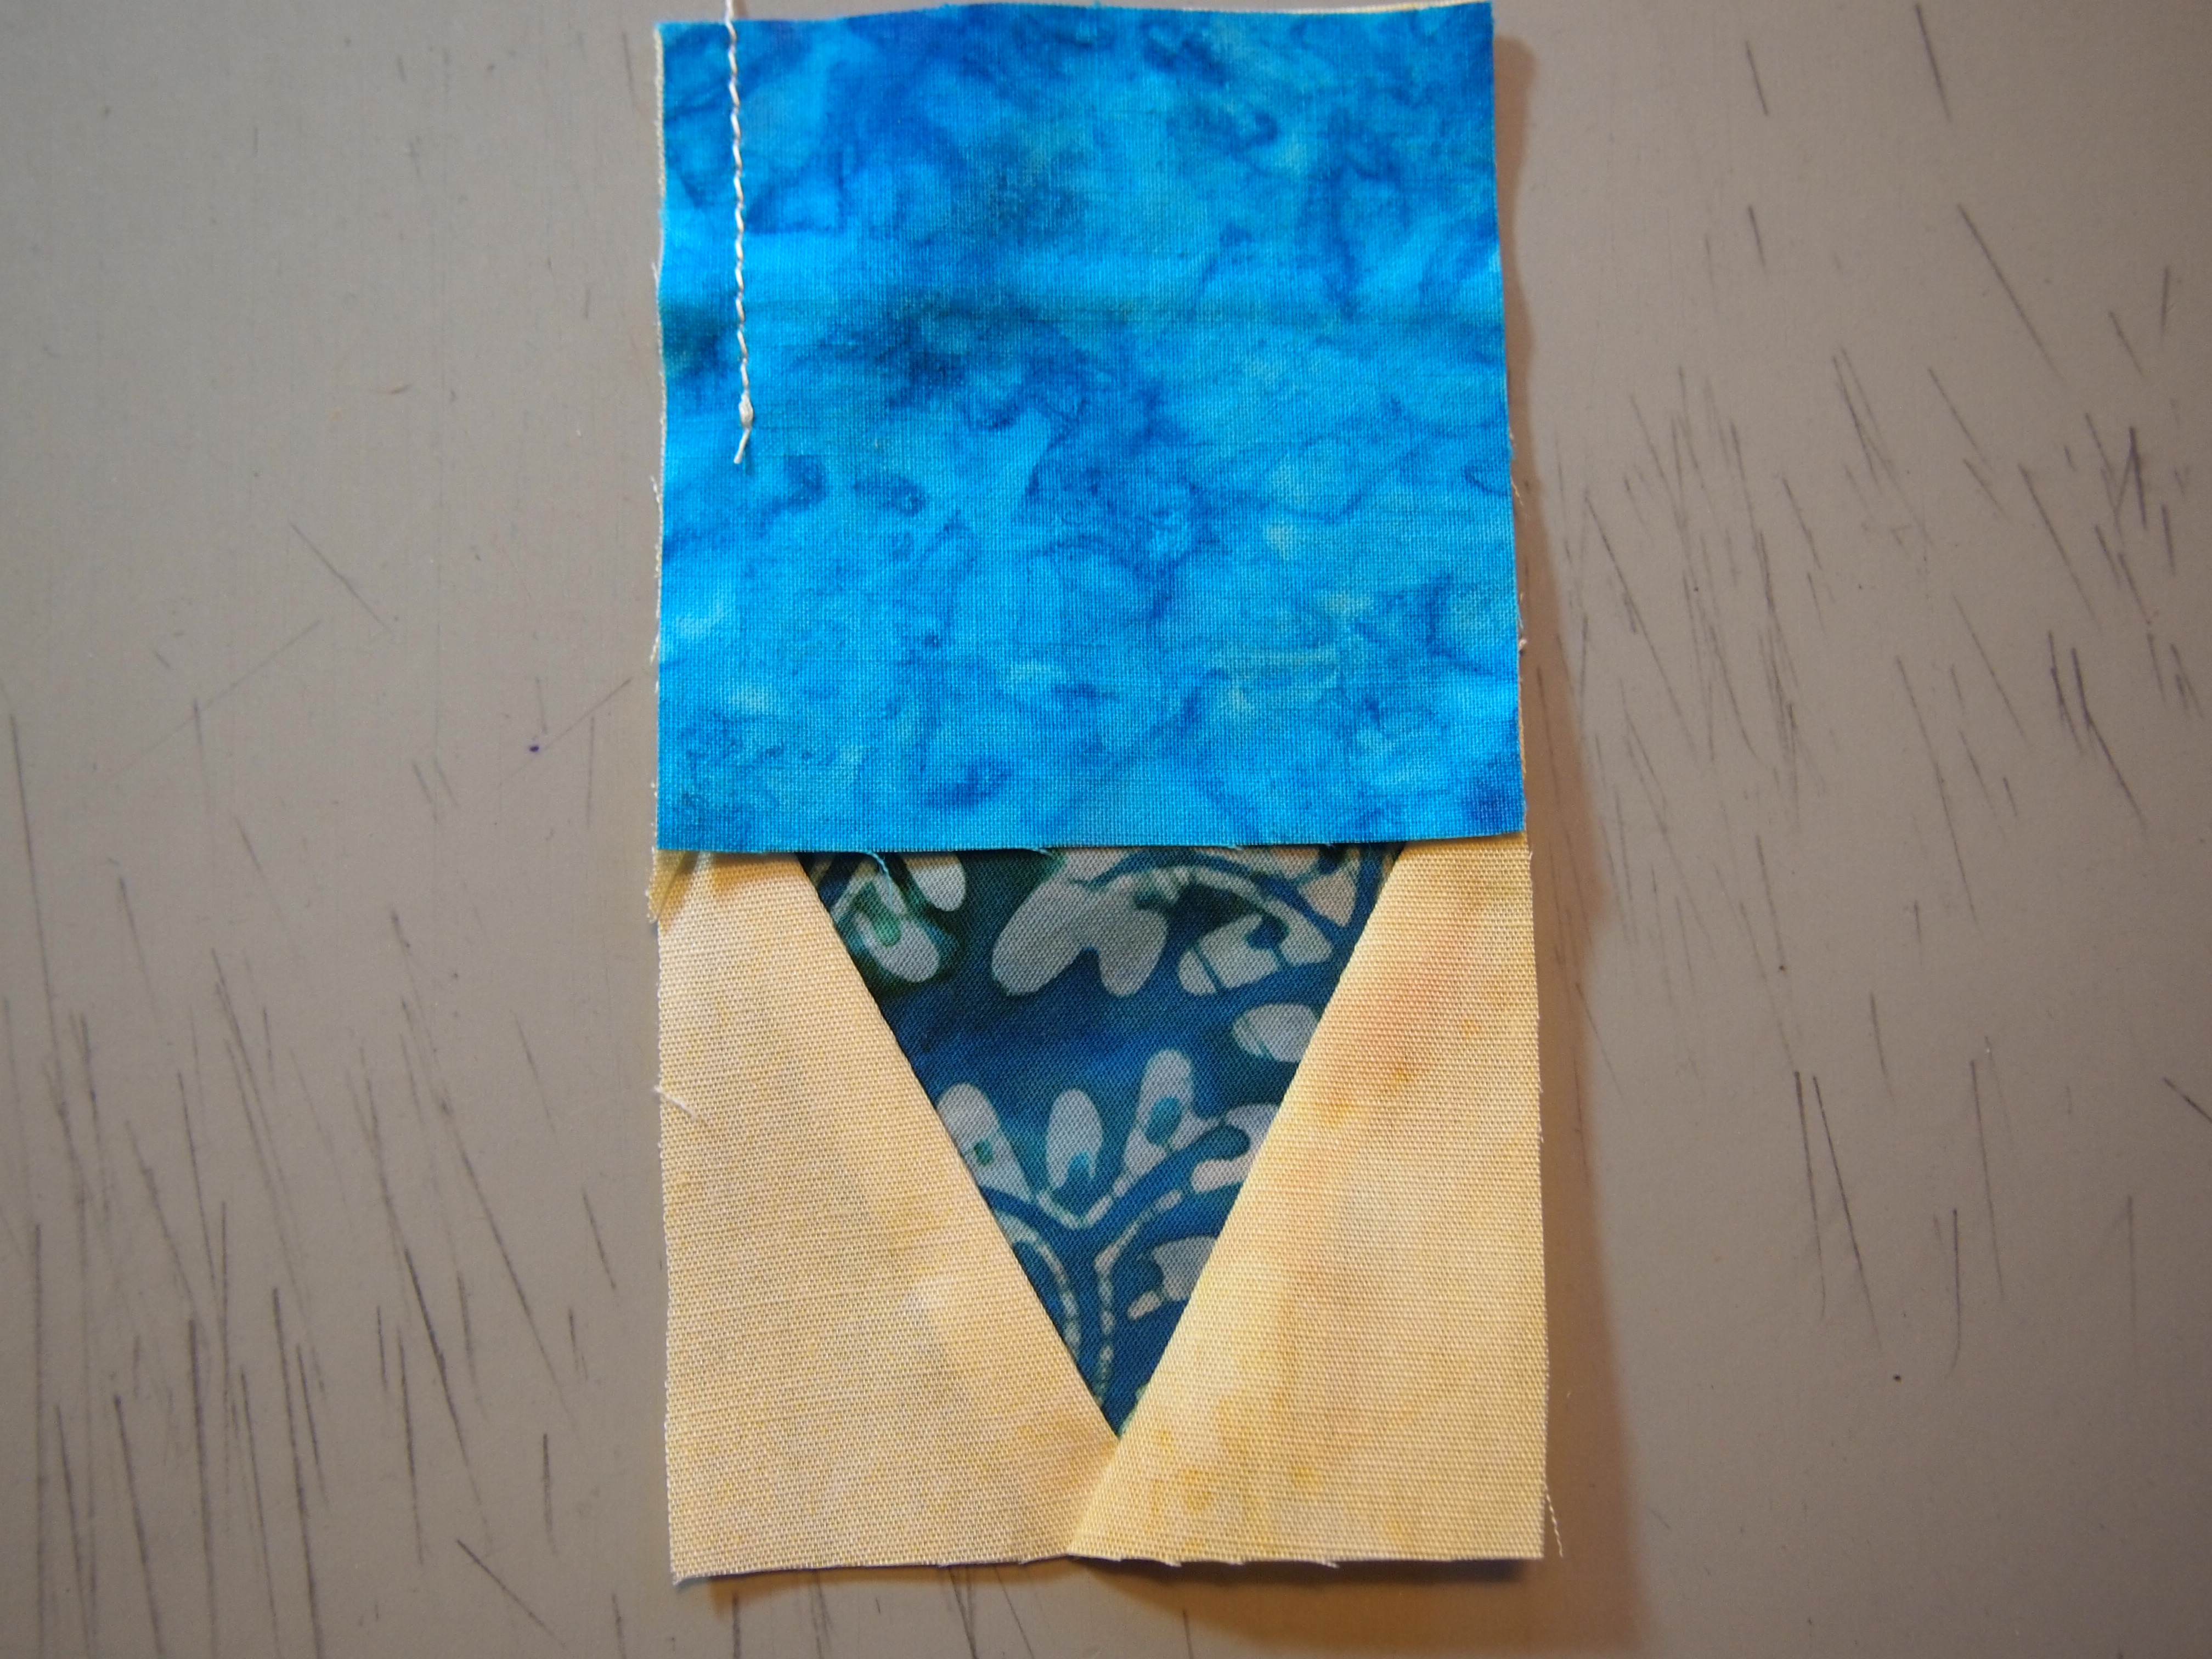
Cutting the Side Triangles

Cut your rectangles from the background fabric per pattern instructions.


Position the Side triangle Cutting Section of the ruler against the raw edges of the stacked rectangles and cut along the slanted edge of the ruler.
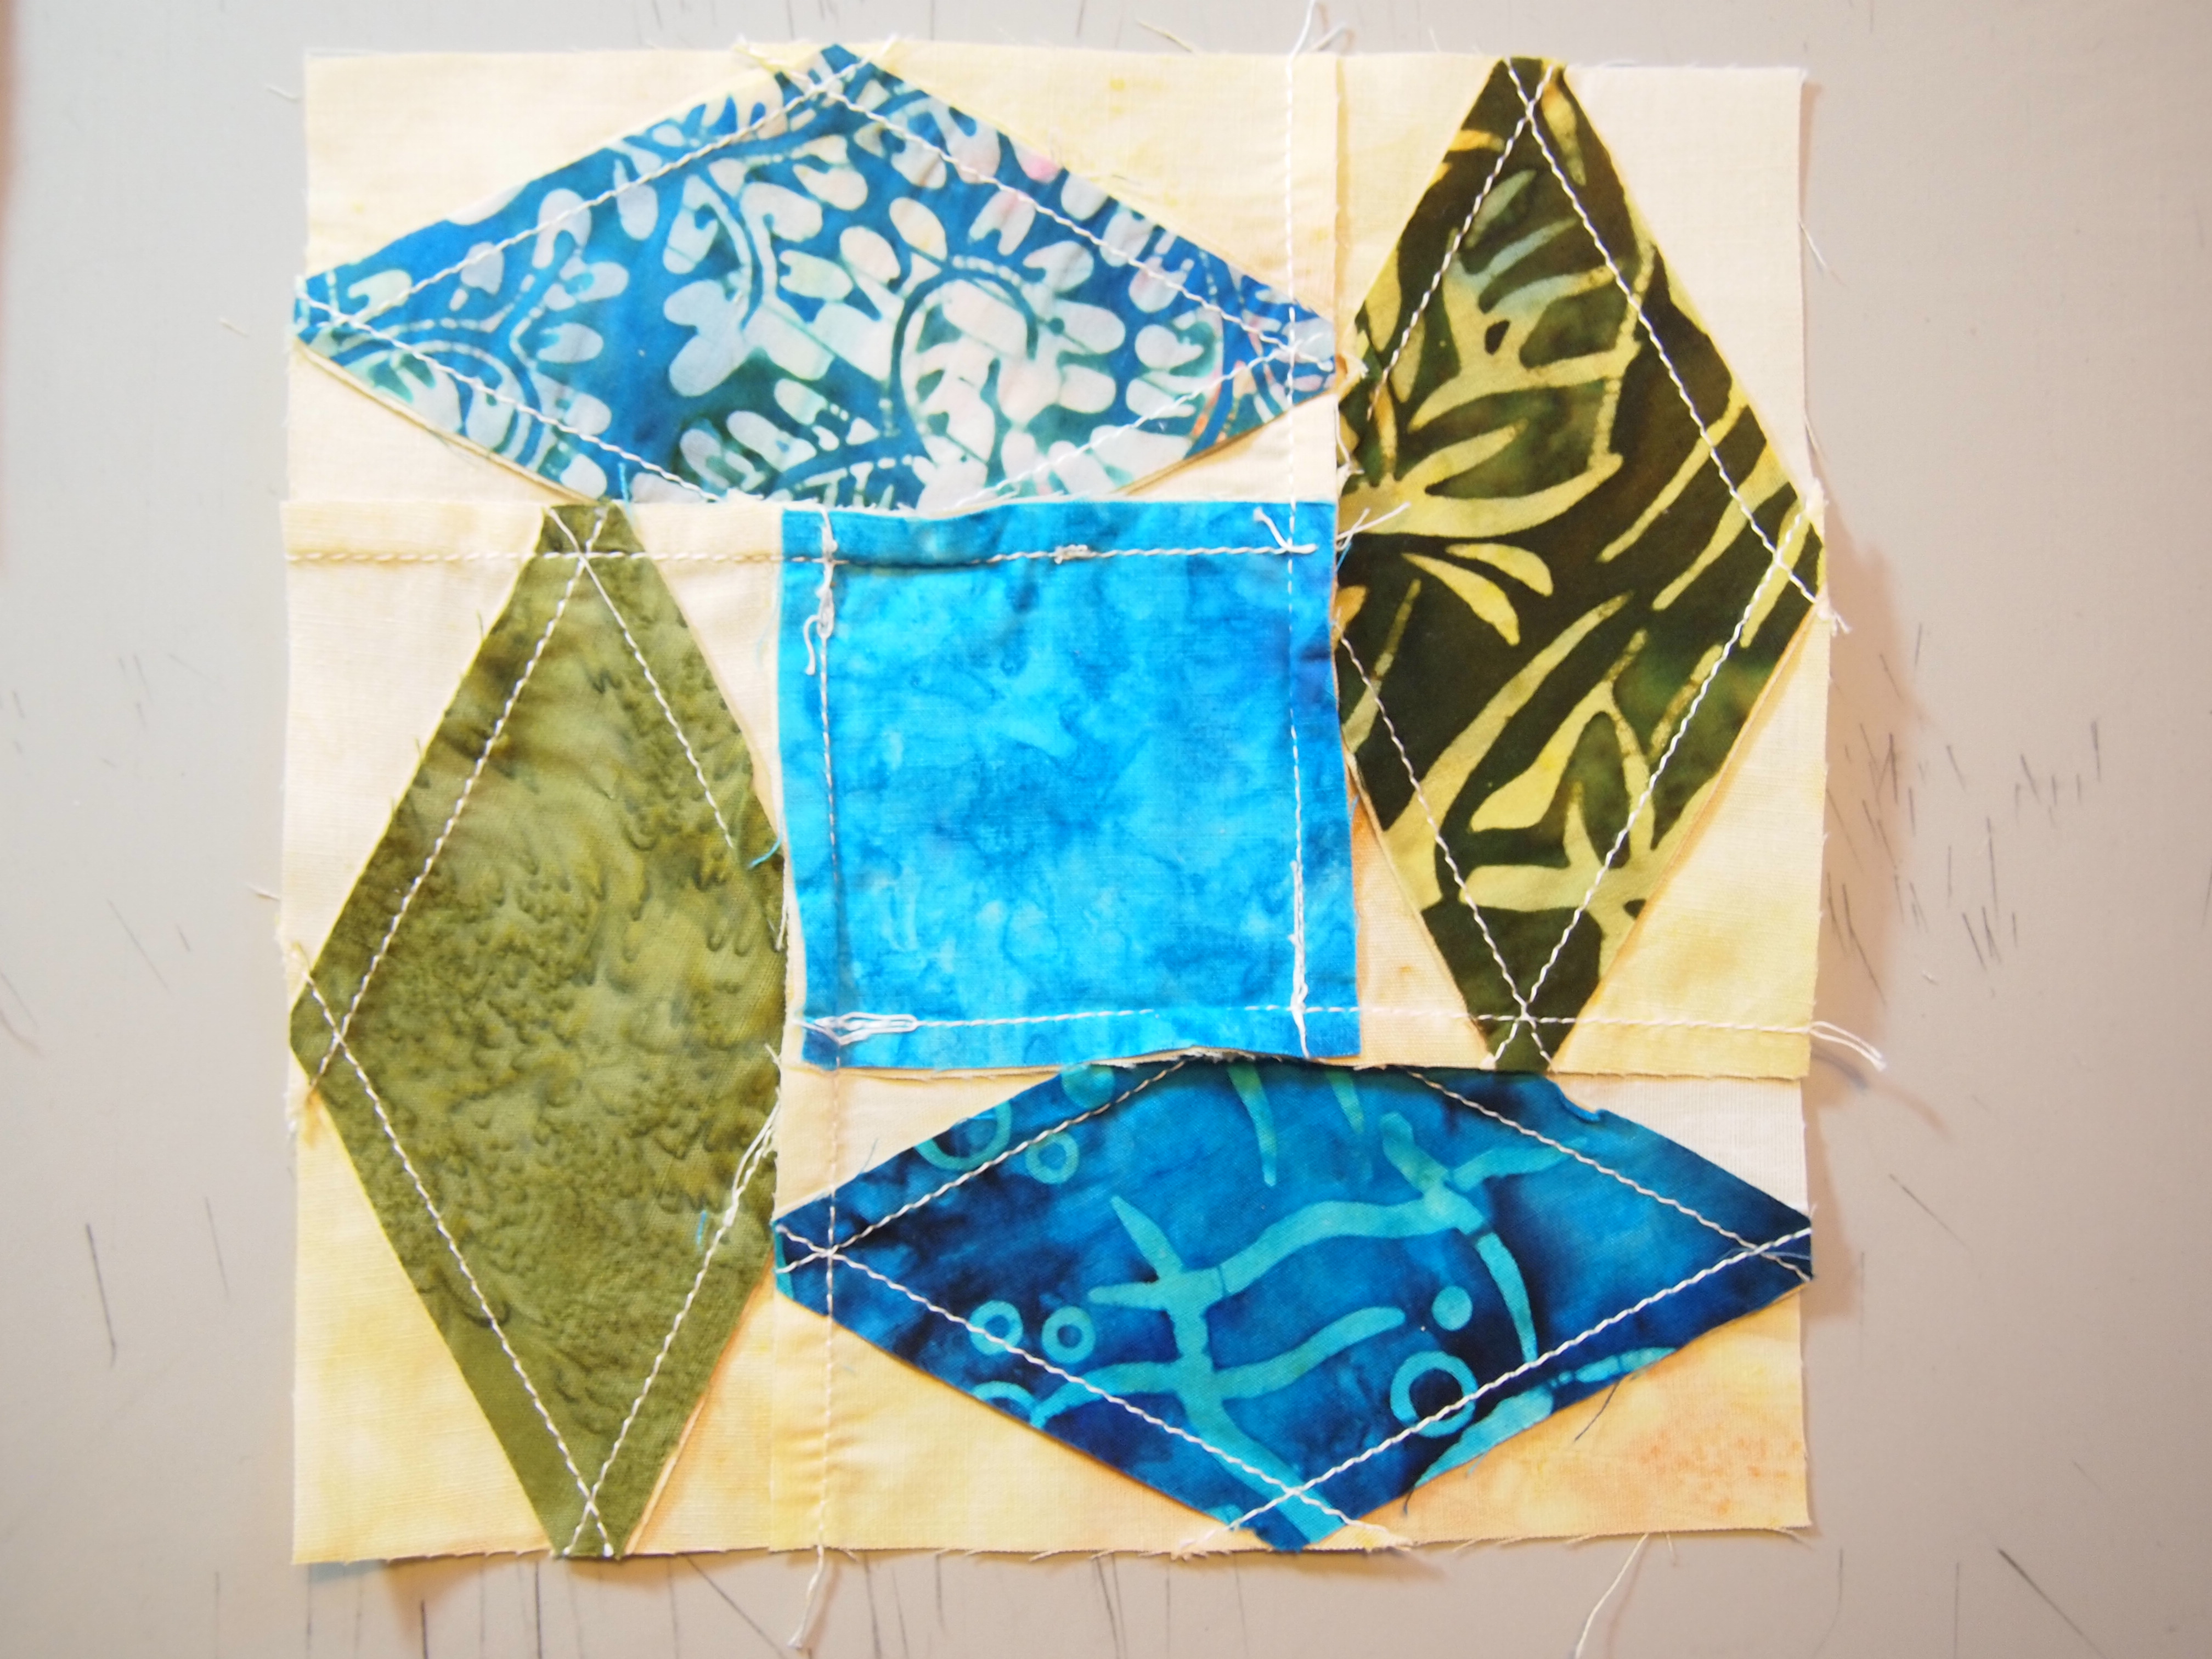
Stitch, Press, & Trim


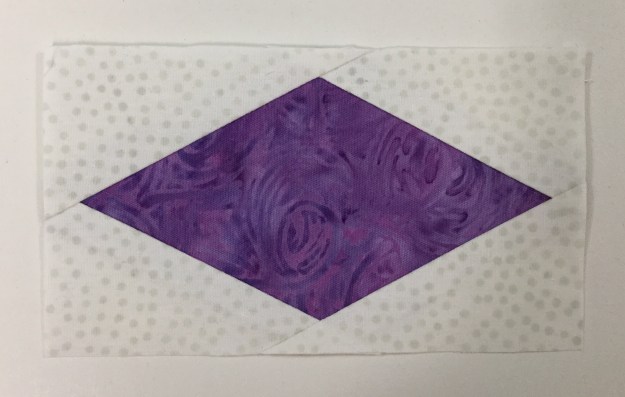
Always lay out all the pieces right sides up as they are going to be stitched. Stitch two opposite side triangles to opposite edges of the center diamond. I align the raw edges, but instead of centering the diamond over the side triangle, I personally nudge my side triangle toward the thicker point of the center diamond. This gives me extra when it comes to the trim down process. Press toward the side triangle and away from the center diamond.


Align and stitch the remaining two side triangles to the raw edges of the center diamond as before. Press away from the center diamond.


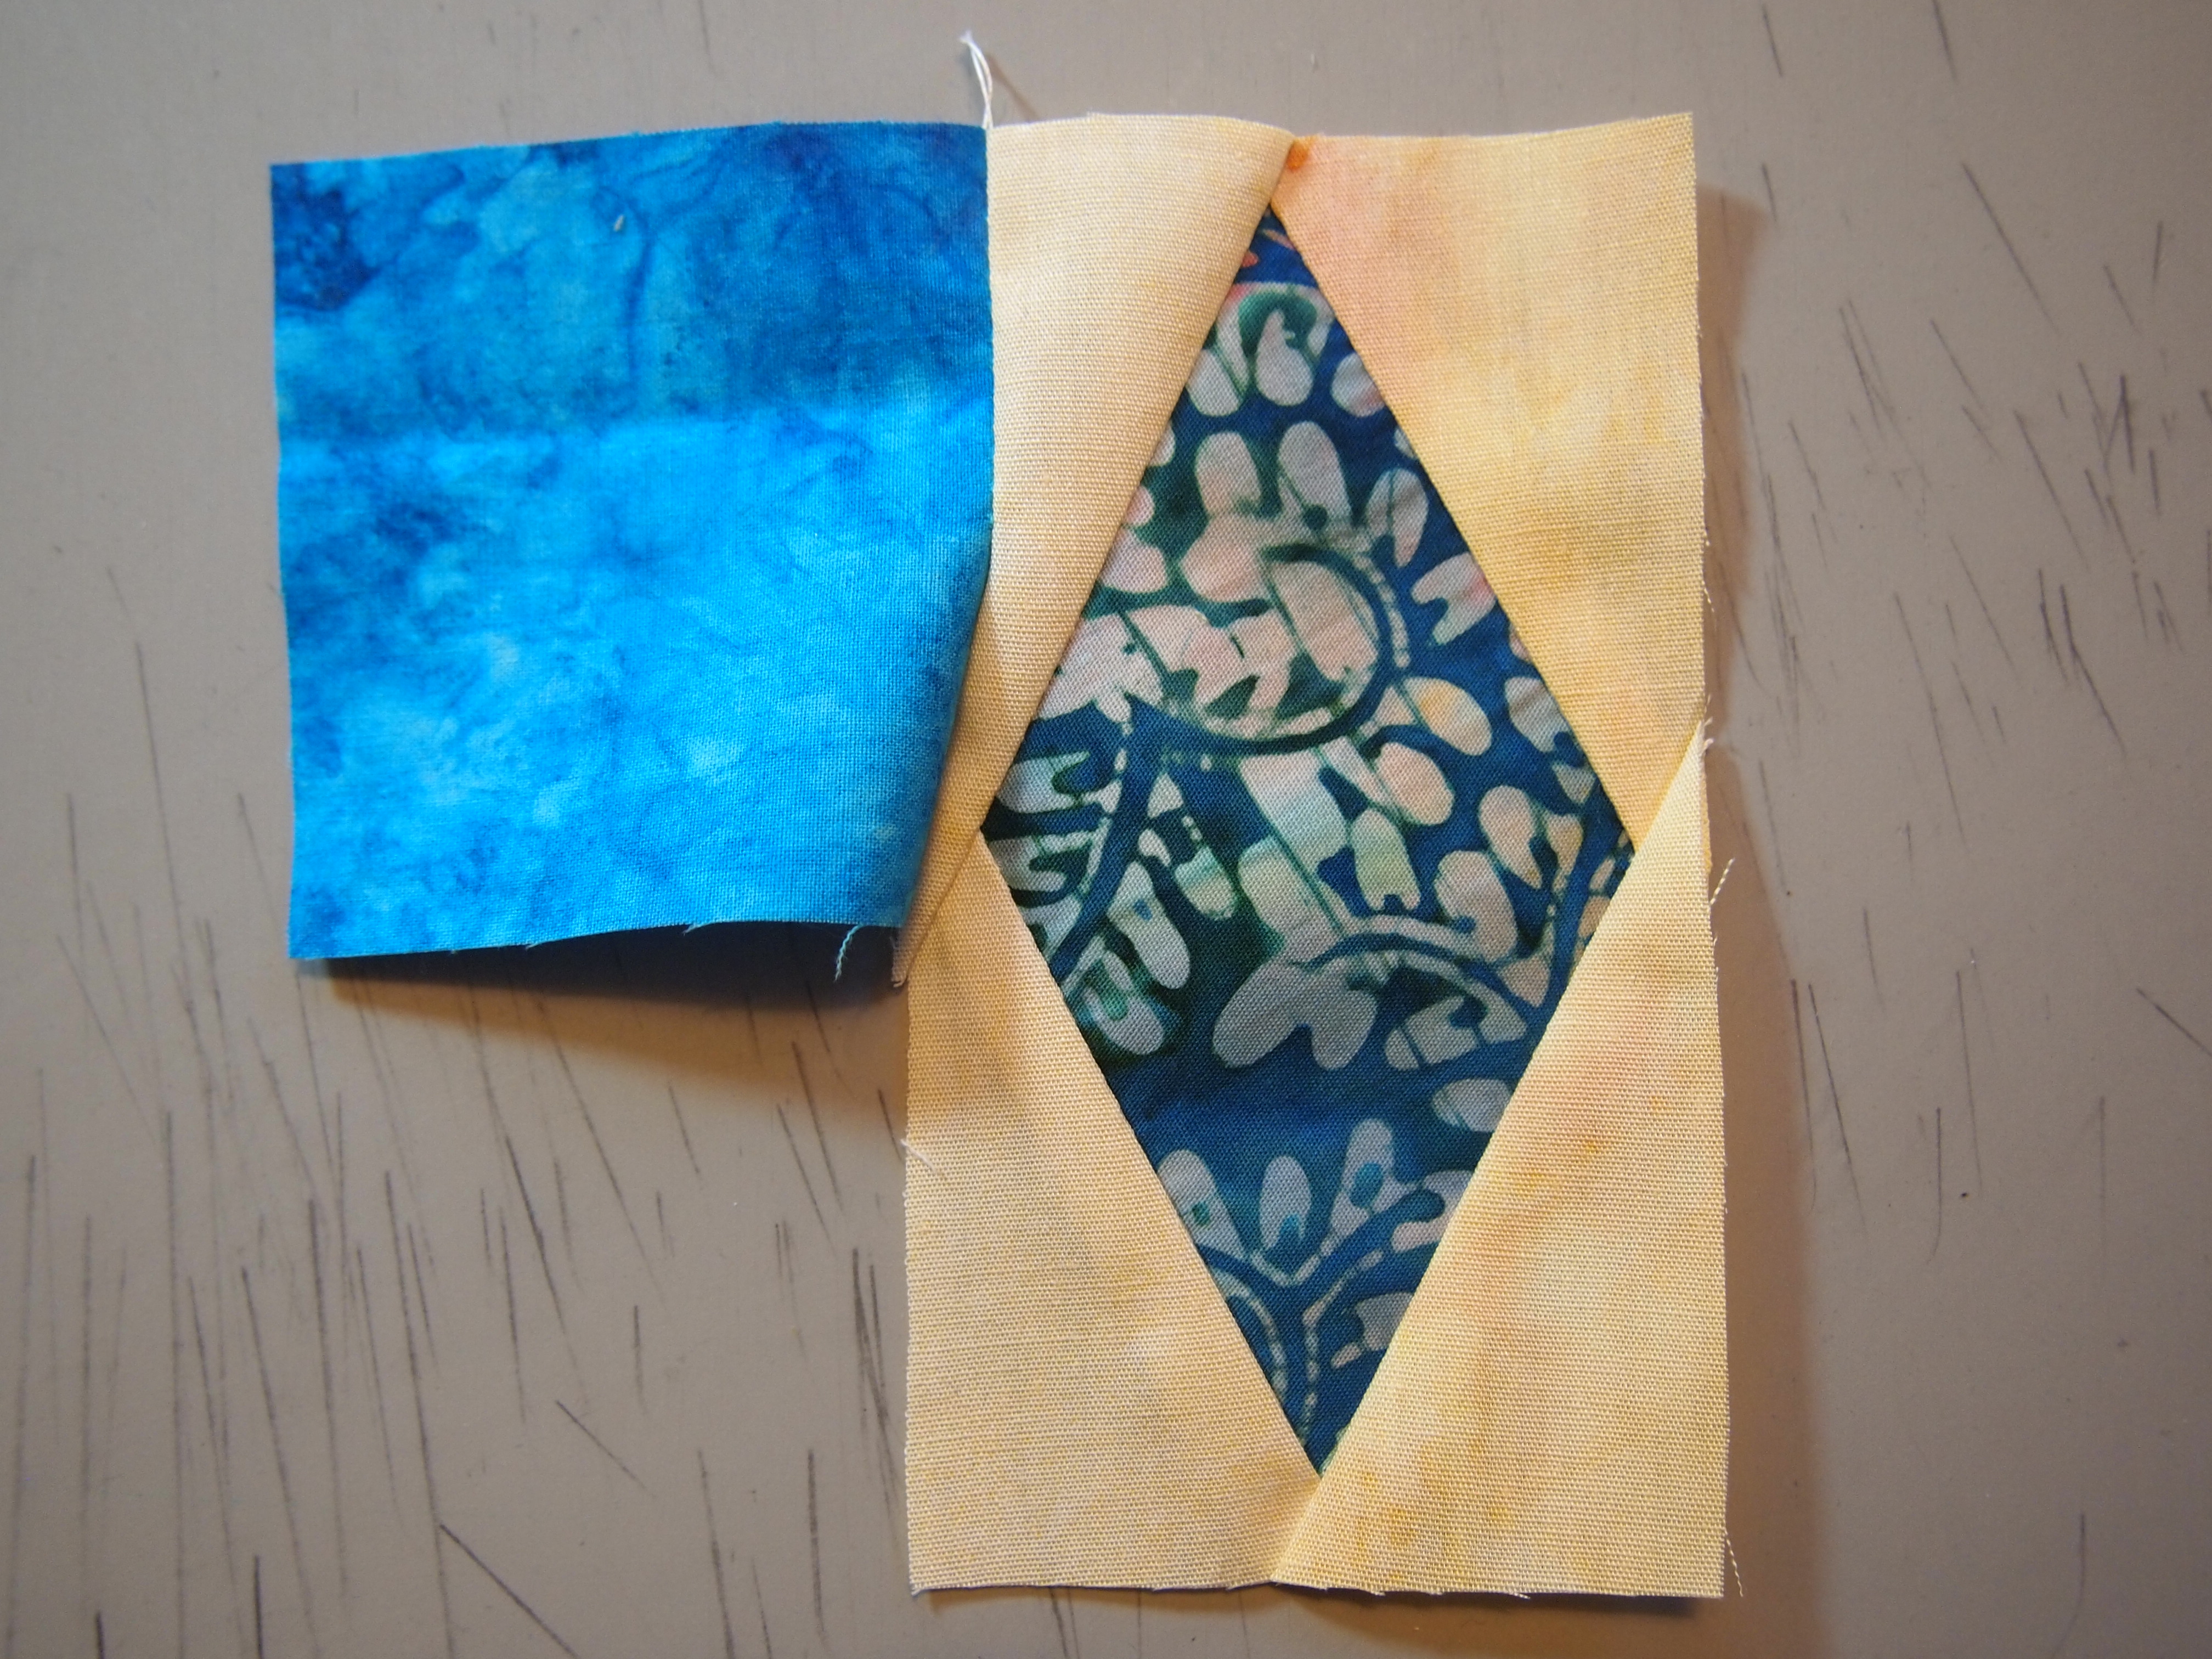
Place the stitched and pressed unit on the cutting mat. Position the trim down side of the ruler on the unit, aligning the “X’s” and the dashed lines with the seam intersections and the sewn seams. Trim up the side and across the top. Rotate the unit and reposition the ruler, this time align the clean up lines on the previously trimmed sides along with the “X’s” and the dashed lines. Trim up the side and across the top. See tool instructions for left hand cutting.
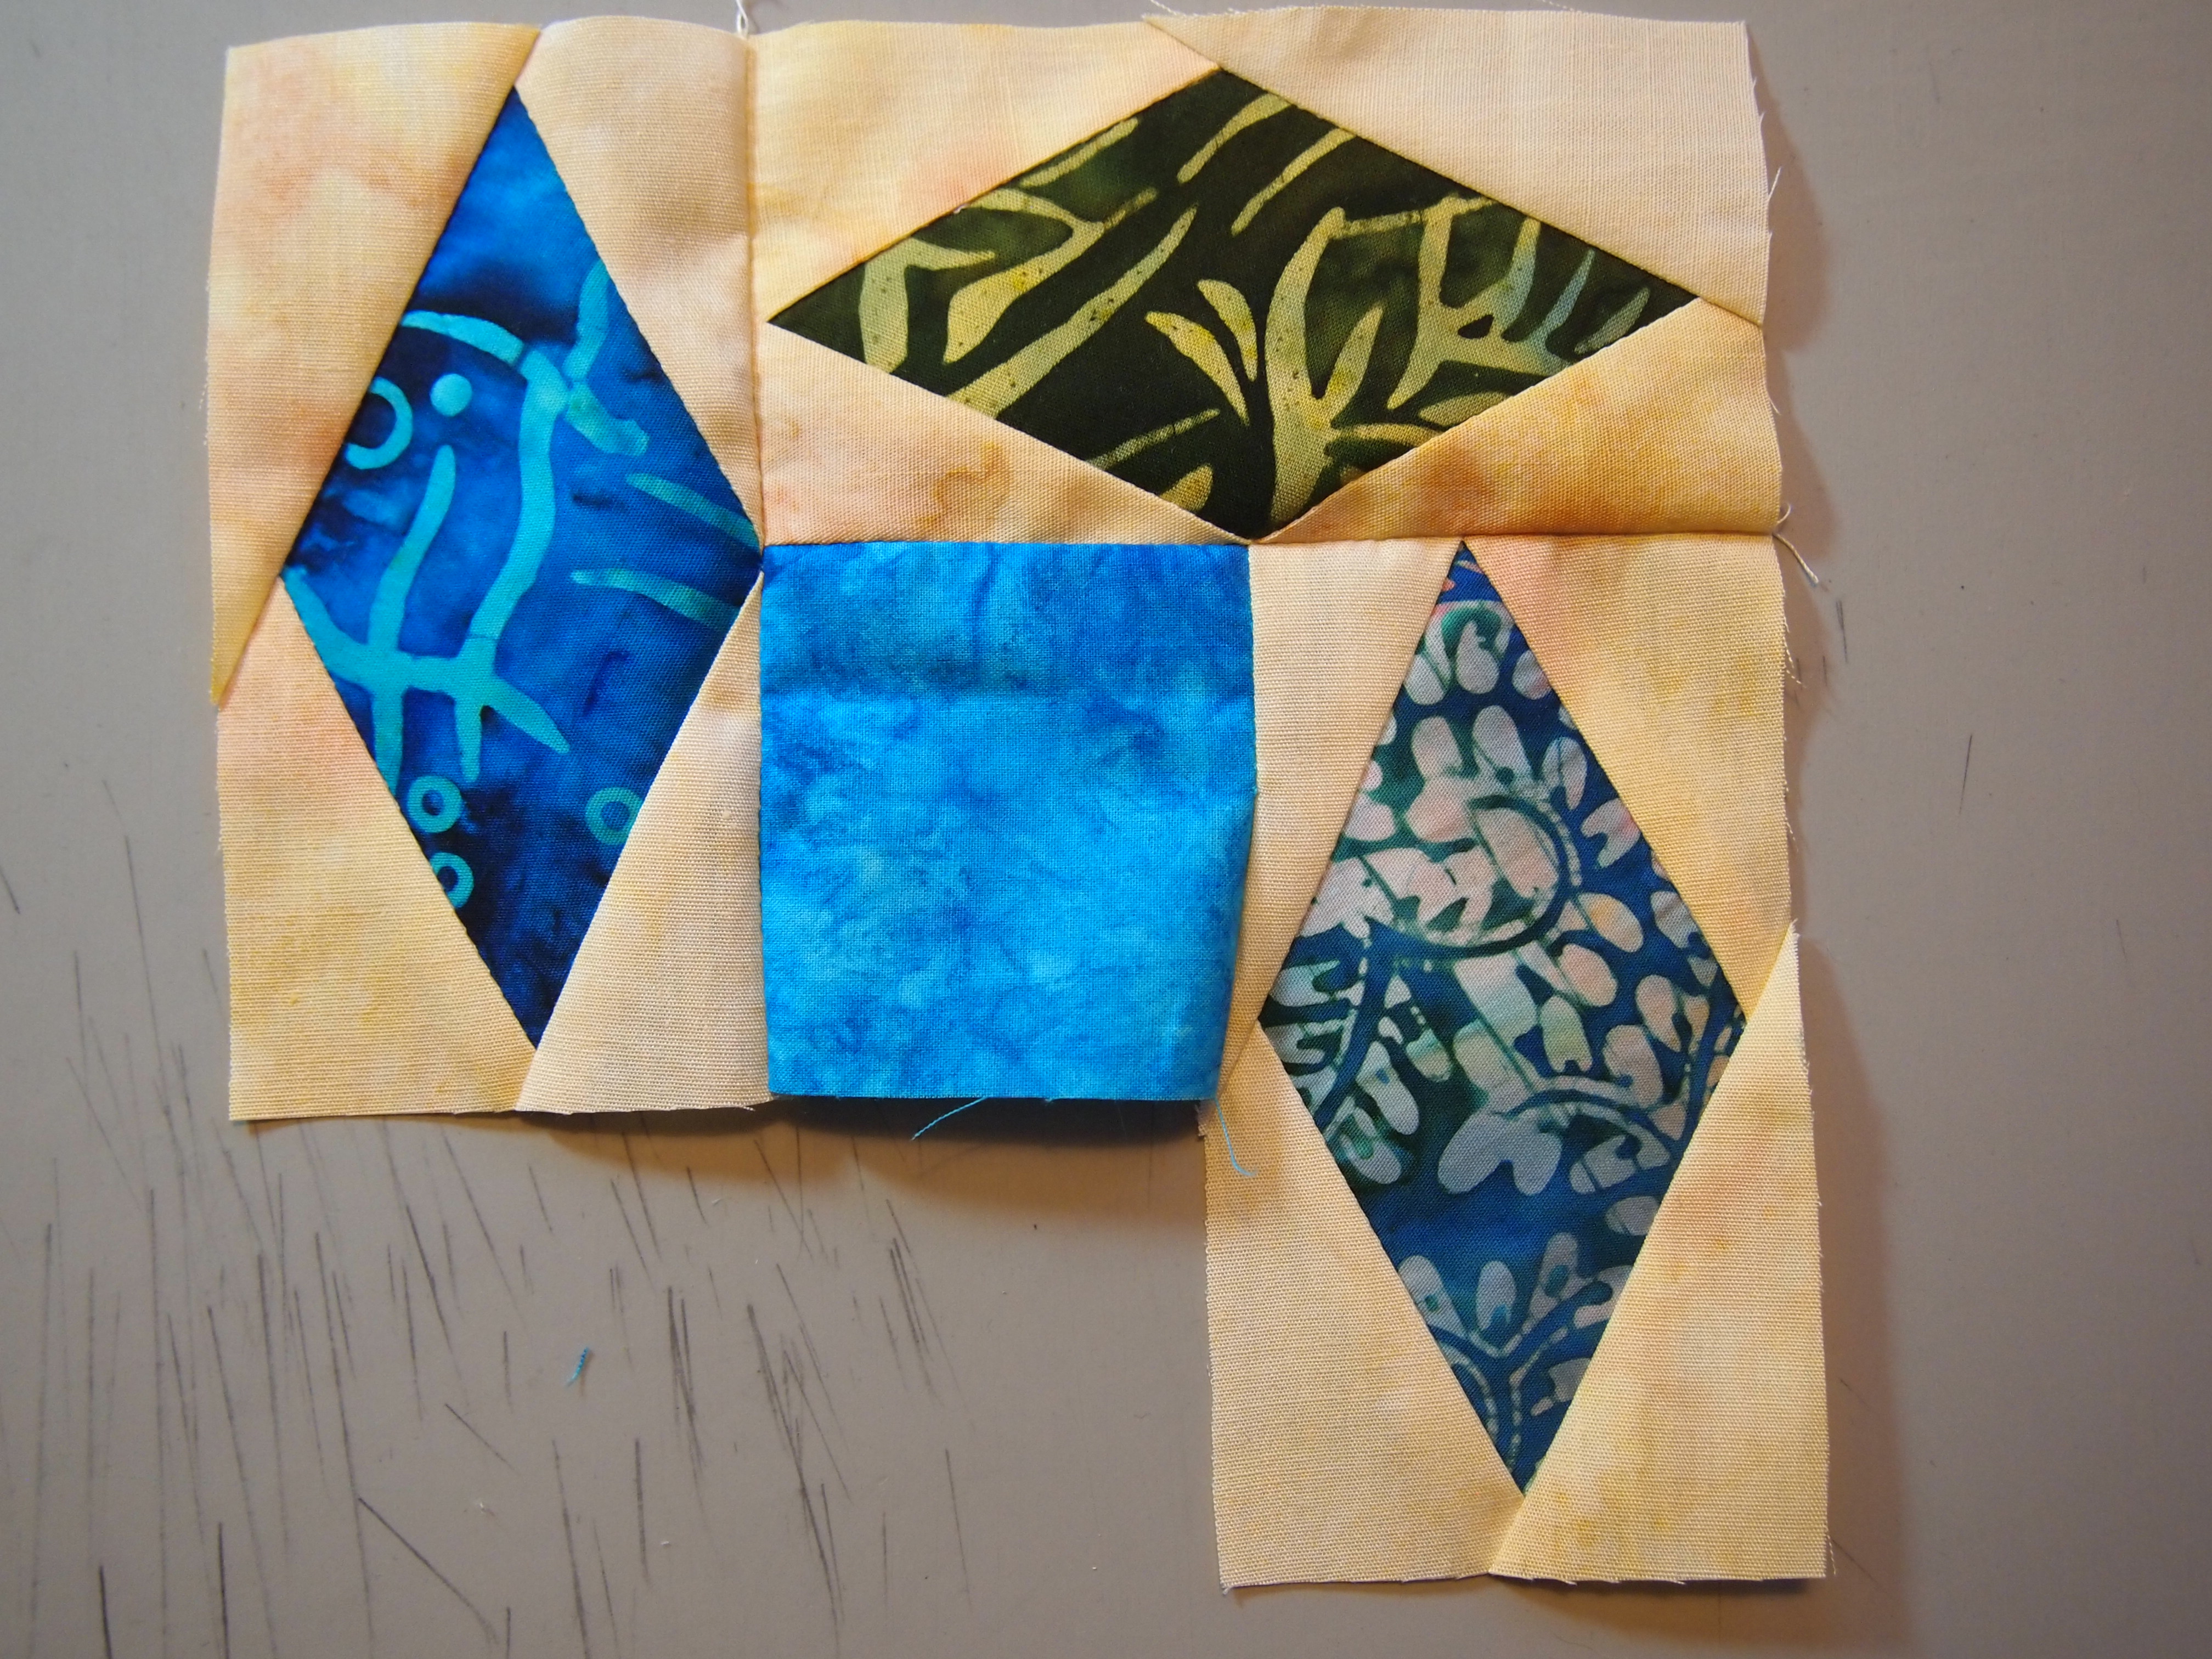
Complete all your diamonds.
 Layout the pattern pieces, stitch into rows and add borders per pattern instructions.
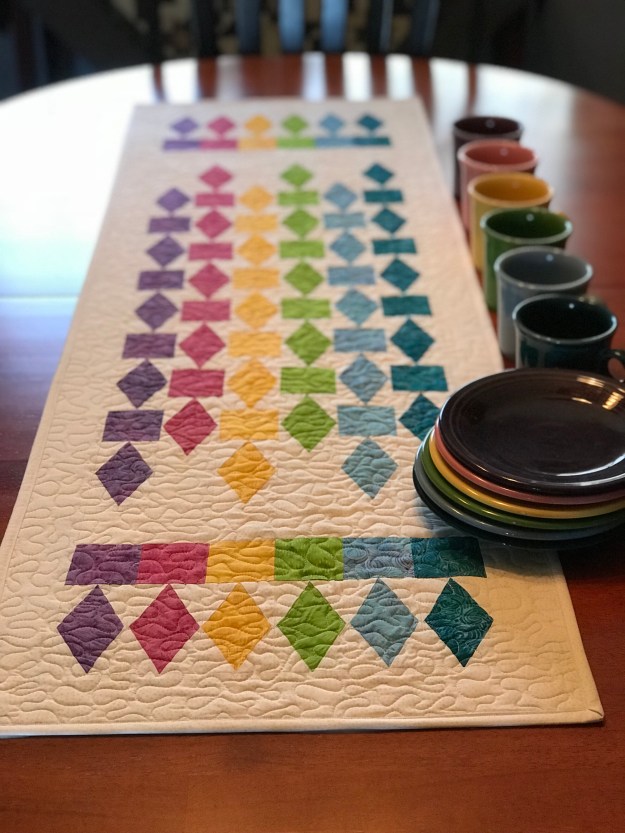
This was quick & fun! Finished project measures 16″ x 51″. Proudly stitched with Aurifil thread and completed with Quilter’s Dream Blend Batting.
#studio180design #debtucker #islandbatik #aurifil #diamondrects #refraction