Tag Archives: Aurifil Thread

Vivi”s Flowers

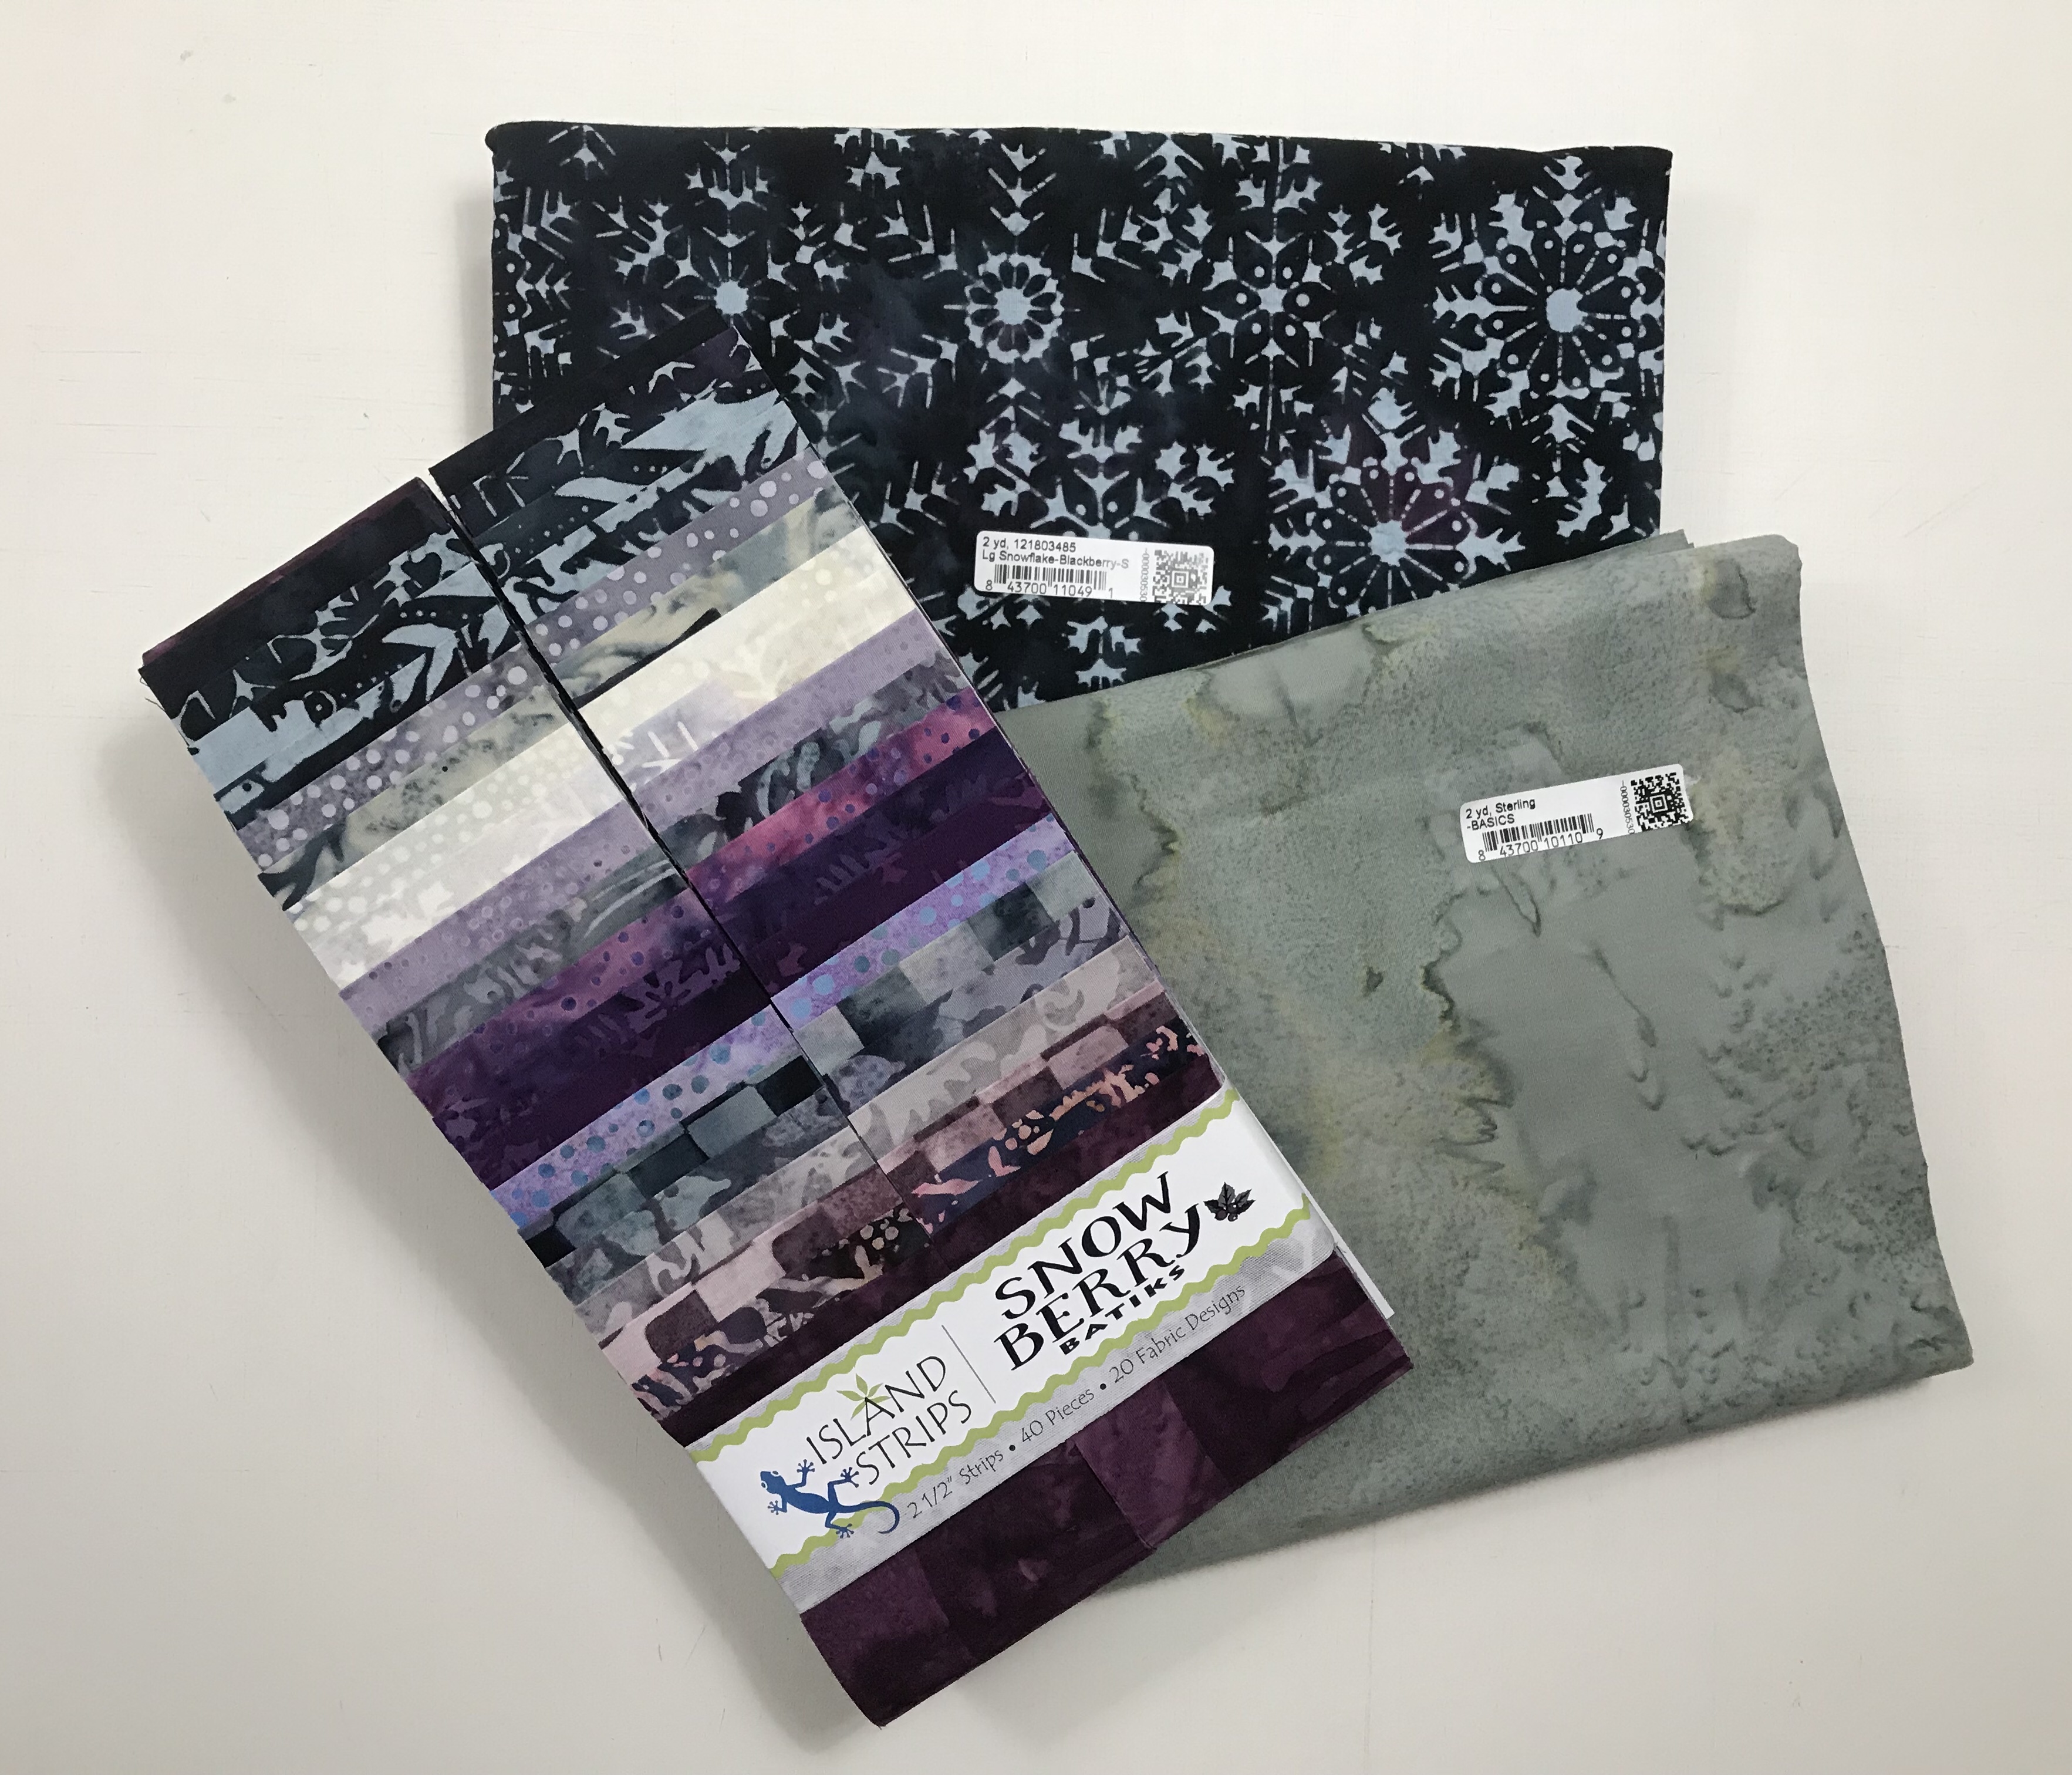
The beautiful fabrics featured in this post were given to me by Island Batik.

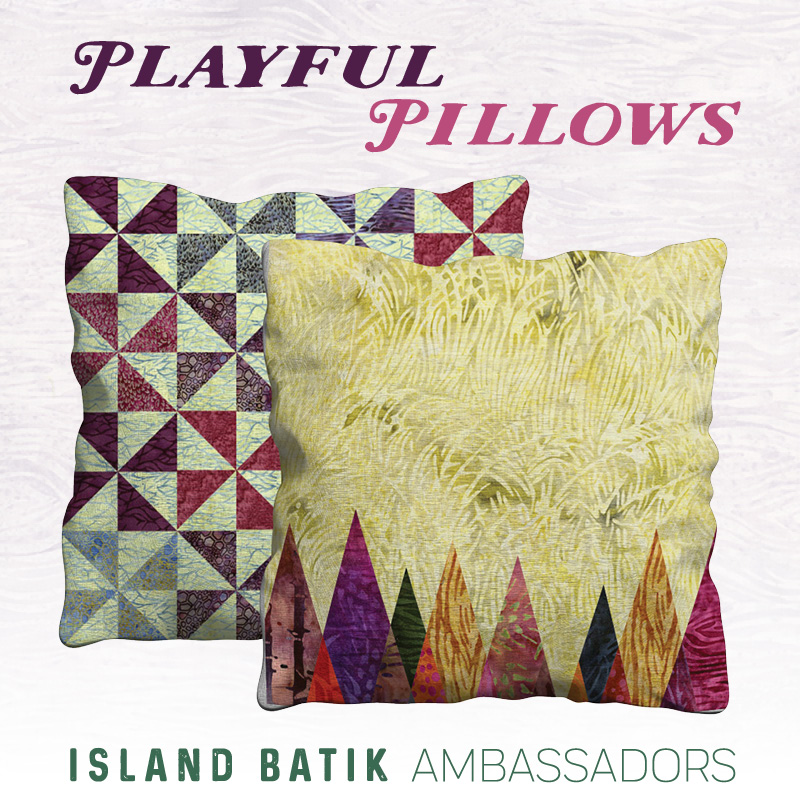
The Island Batik Ambassadors assignment for September is “Childs Play”, make a quilt inspired/designed for a child.

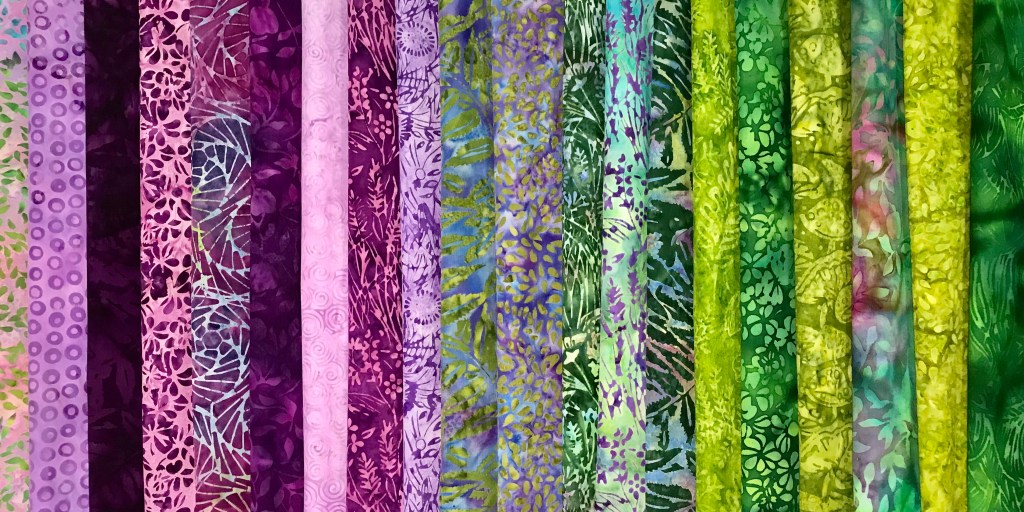
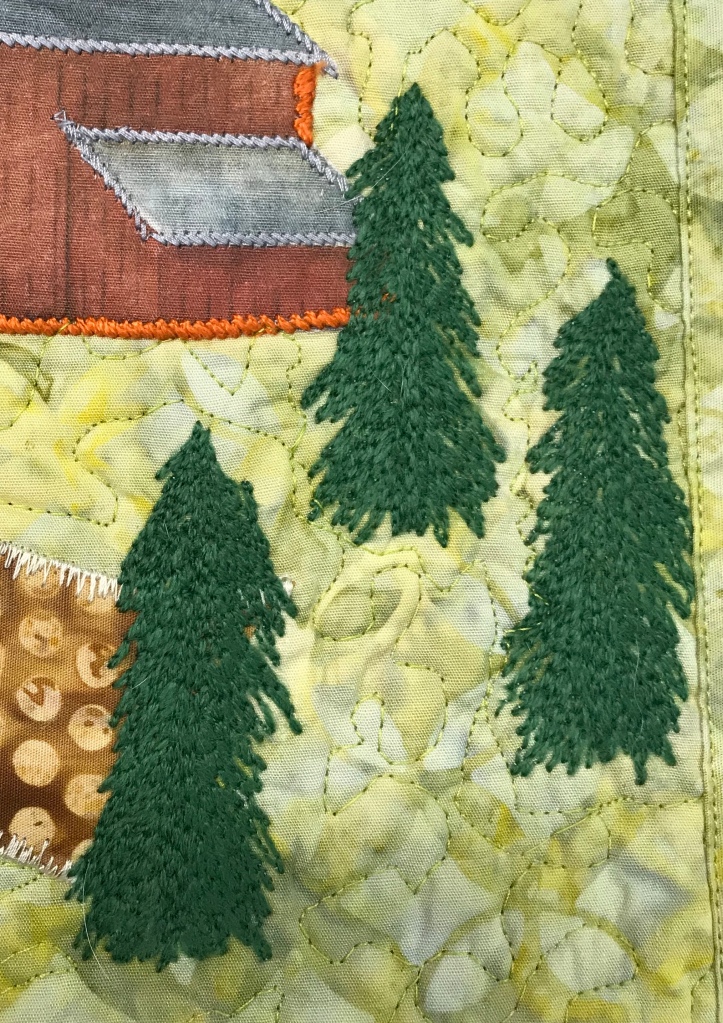
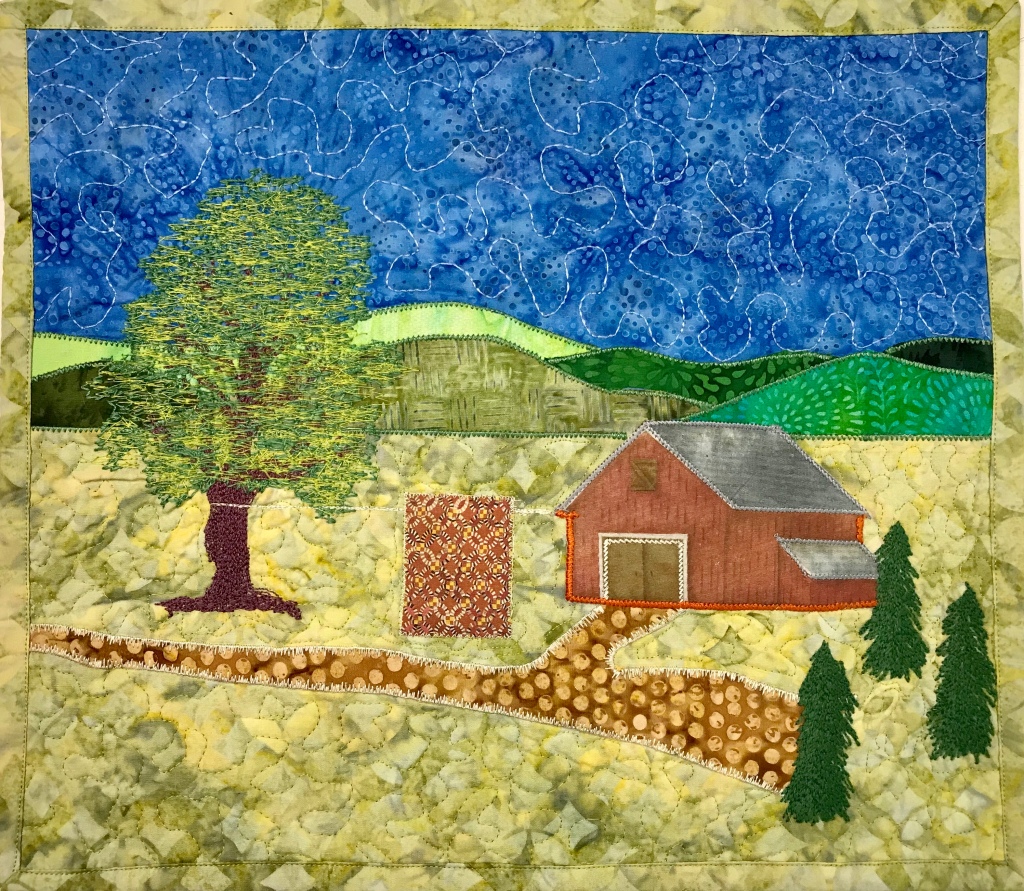
Included in Island Batik Ambassador’s Box 2, I was given a gorgeous fat quarter bundle from the Enchanted Forest line. These fabrics are so beautiful and the name “Enchanted Forest” reminds me of being a child at my grandparents house. My sister Mary and I would go through the backyard, past the little league field, playground and into the woods. For my sister and I, those woods were magical. We imagined we could find a fairy floating by around every tree & magical creatures of all sorts living in our Enchanted Forest along the Saquoit Creek. The many shades of green in the variety of trees and moss were amazing. In the Spring, we couldn’t wait to go hunting for violets, and would come home with beautiful bouquets for our Grandma Bessie.

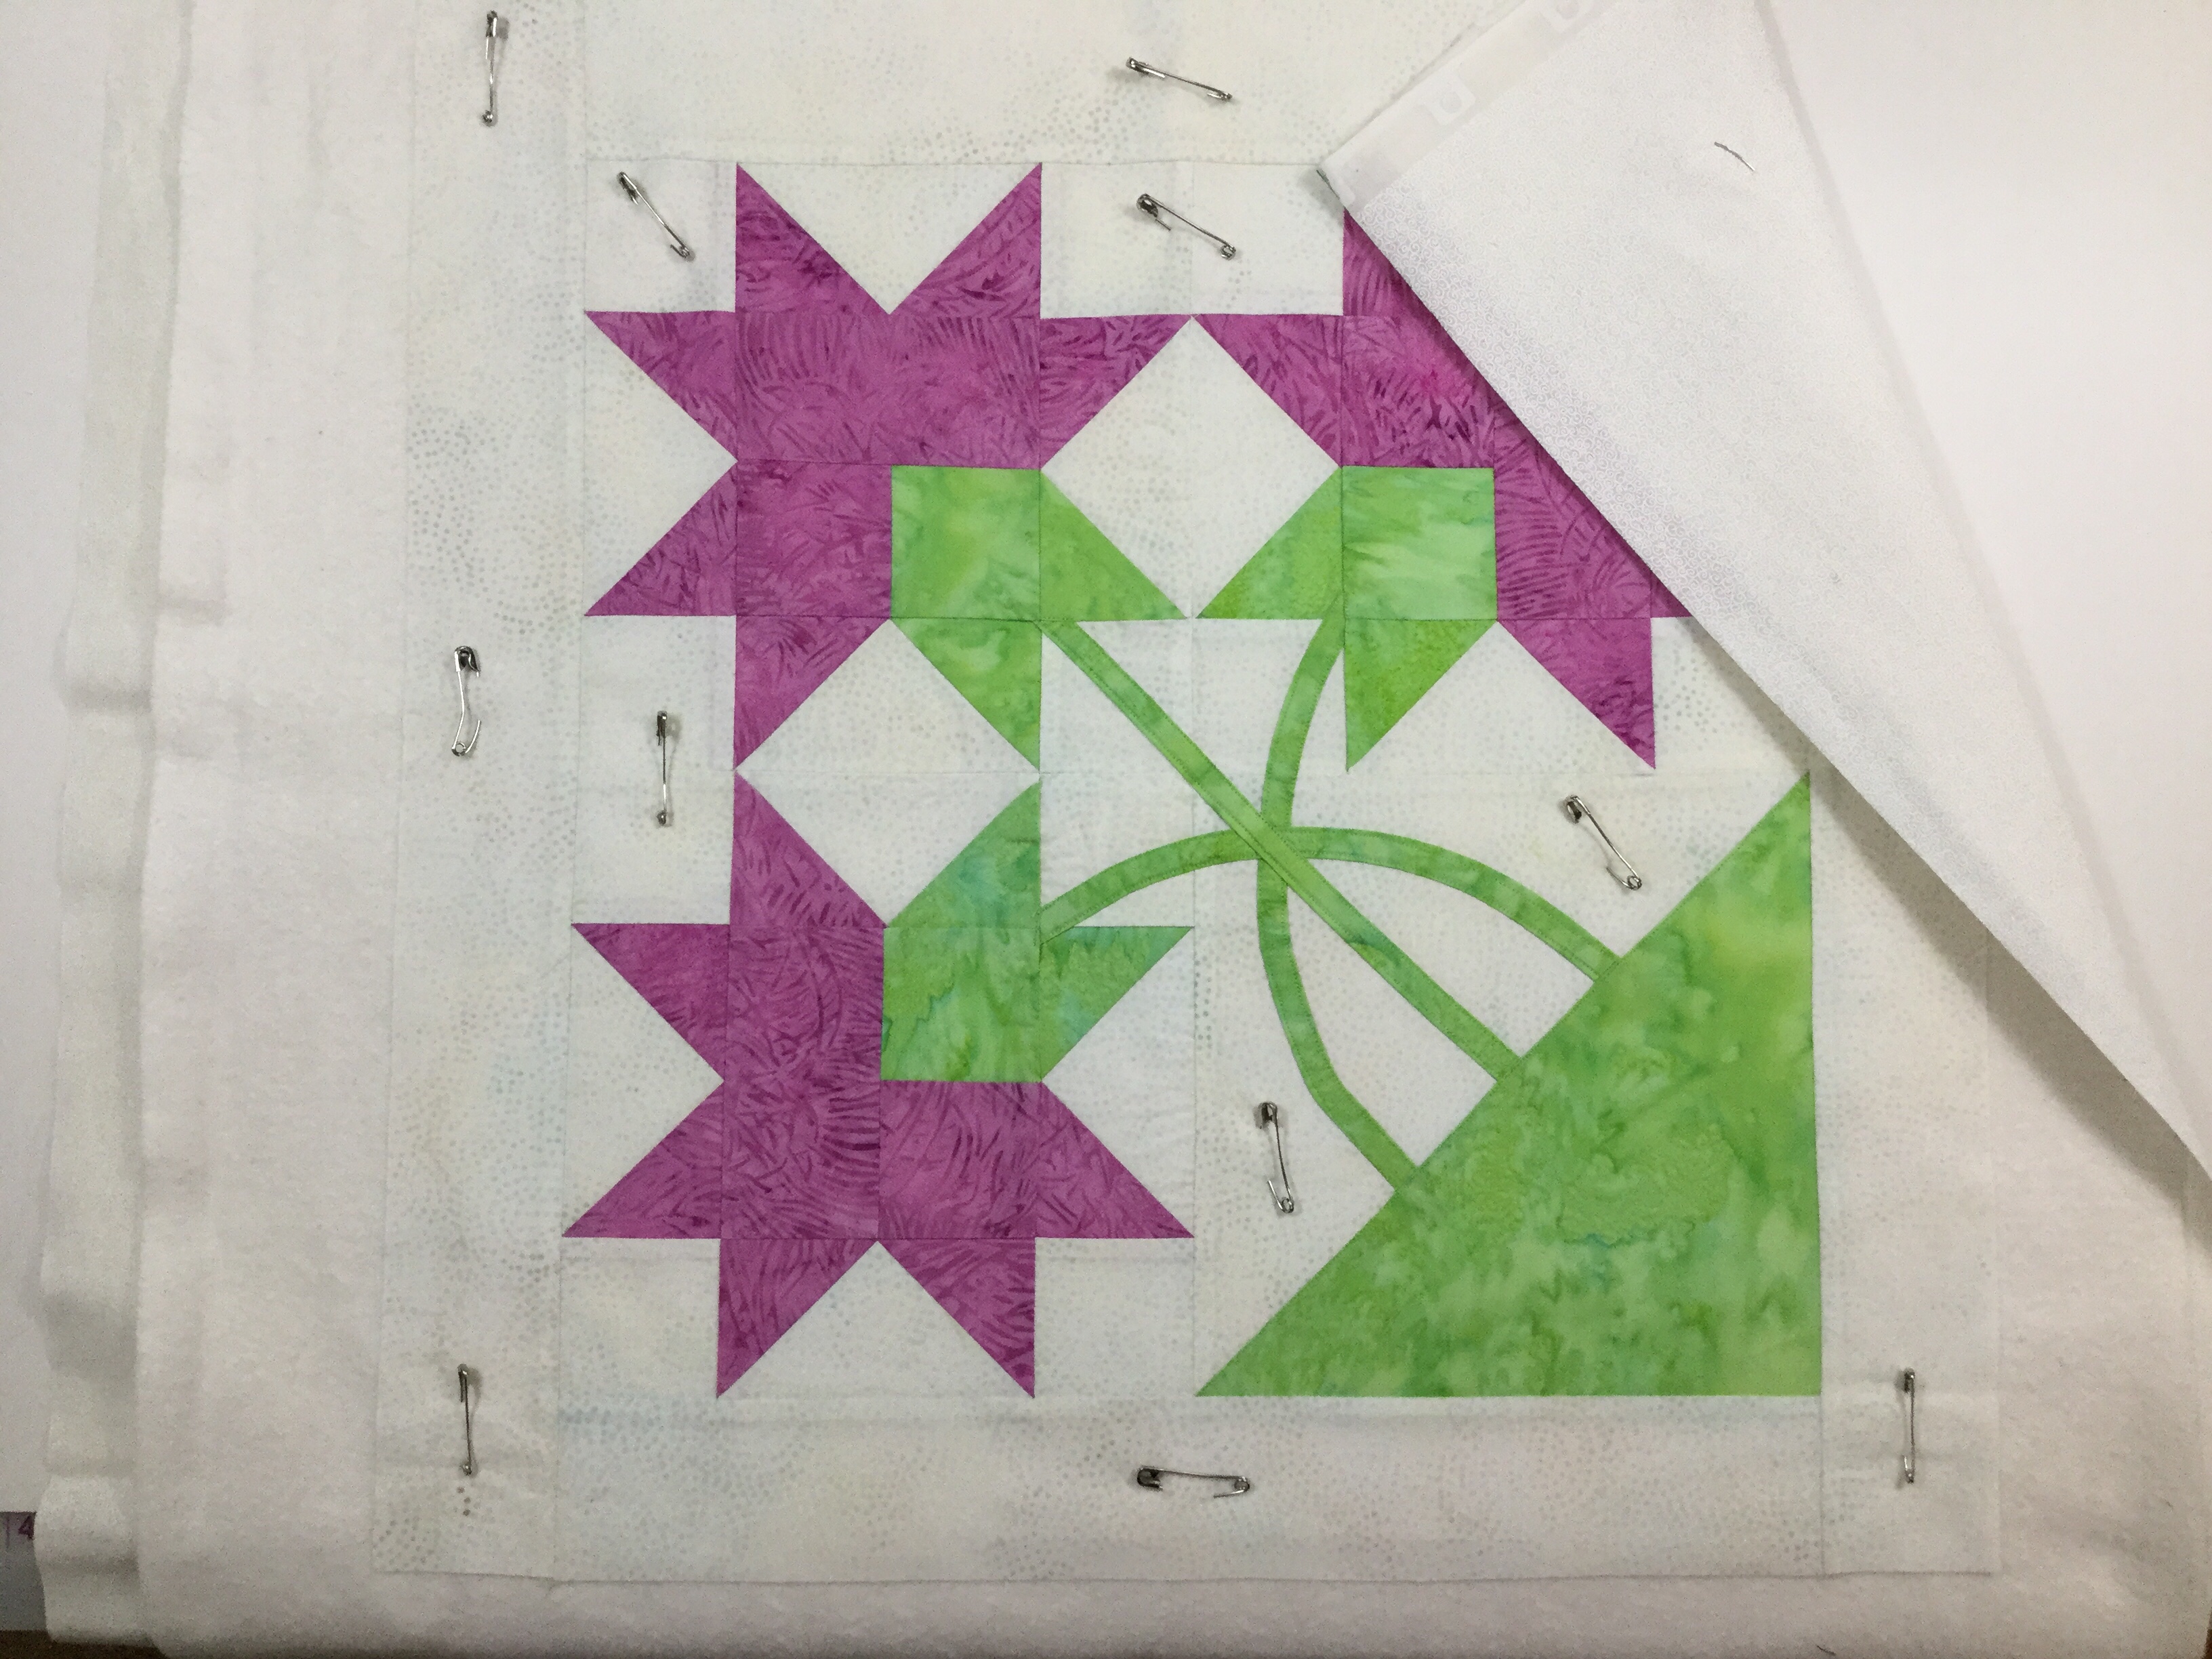
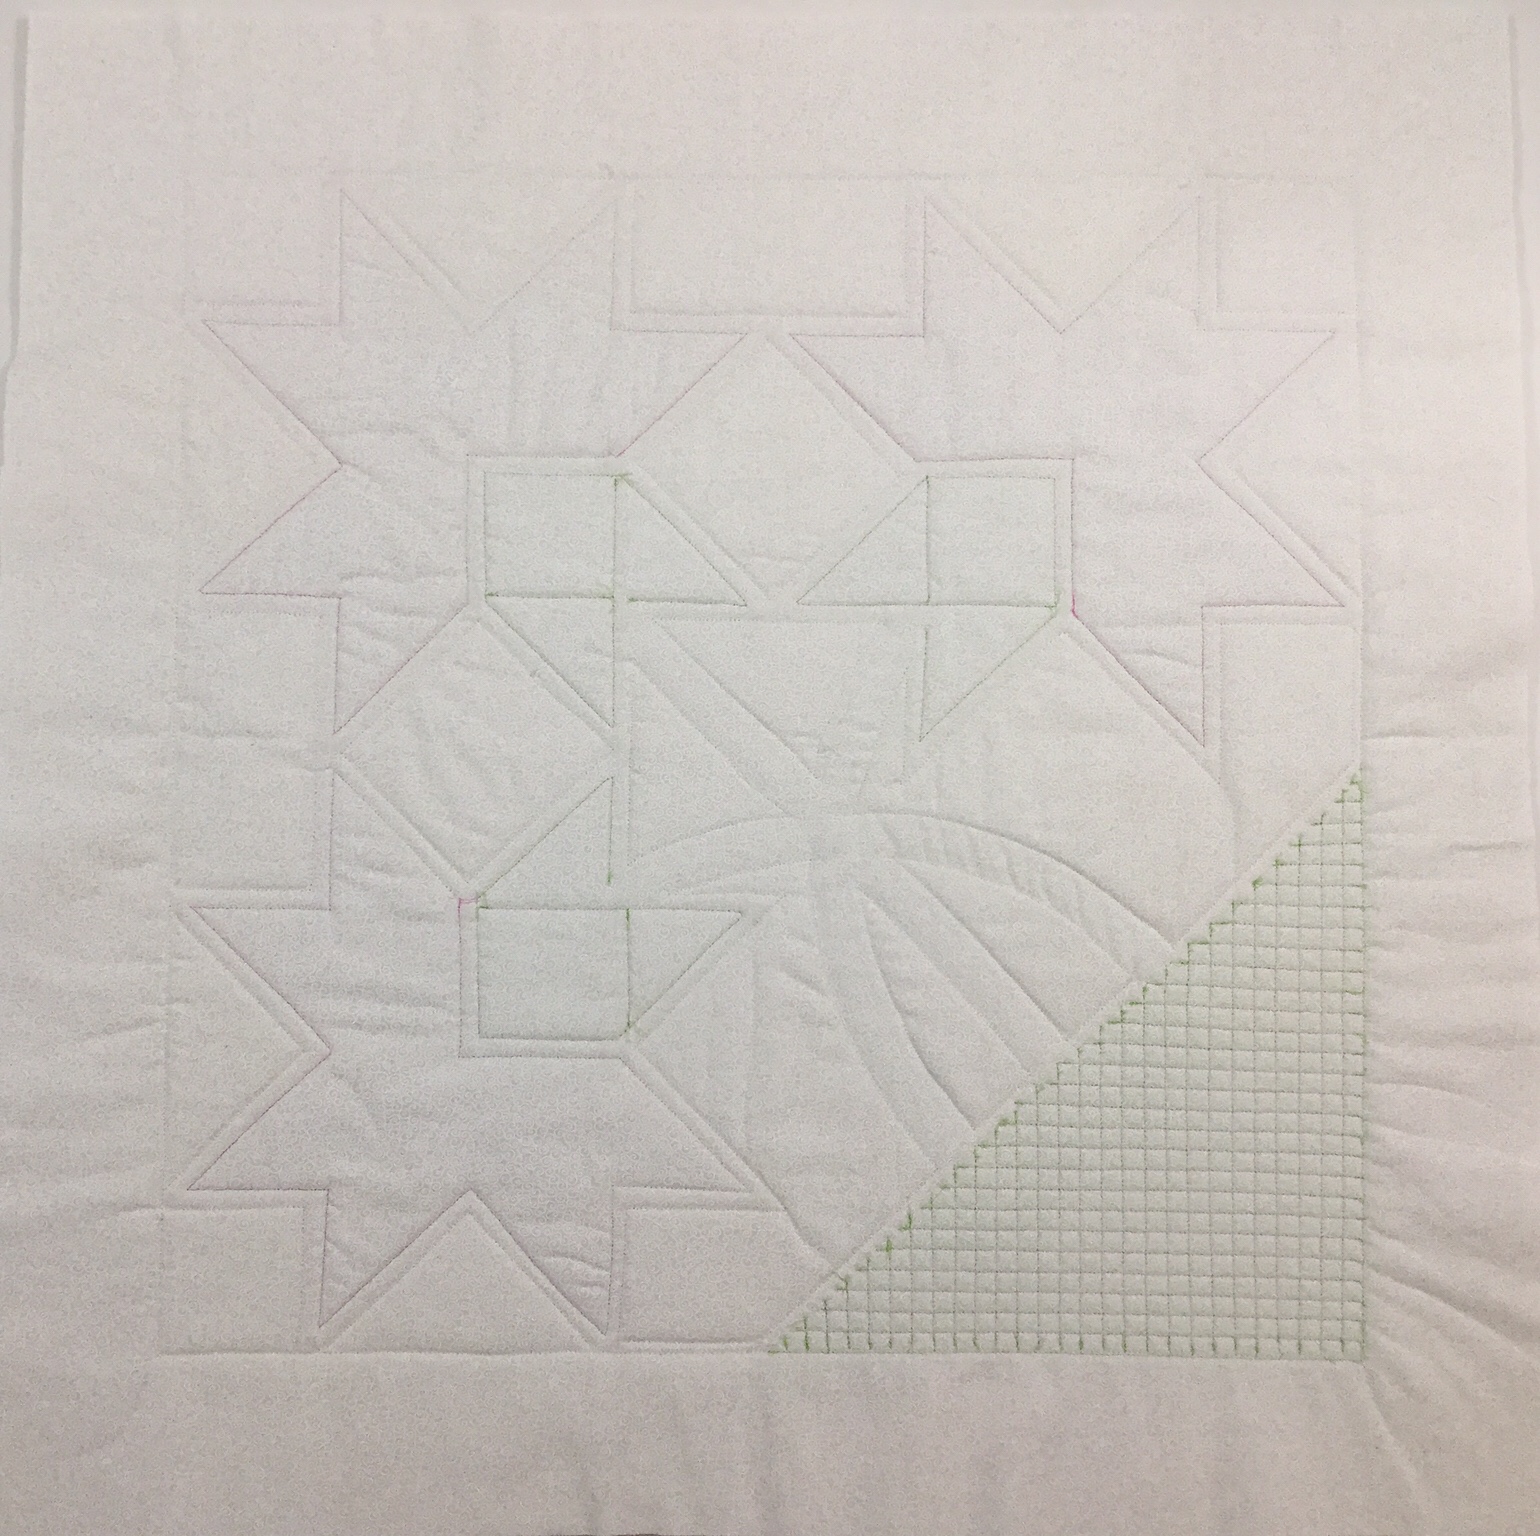
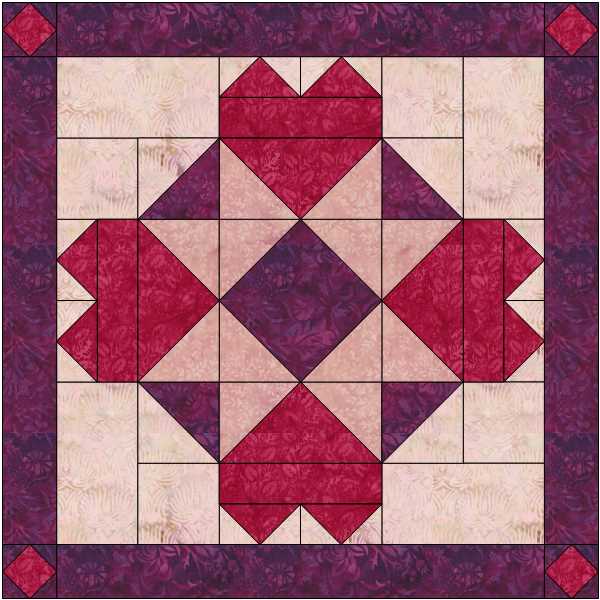
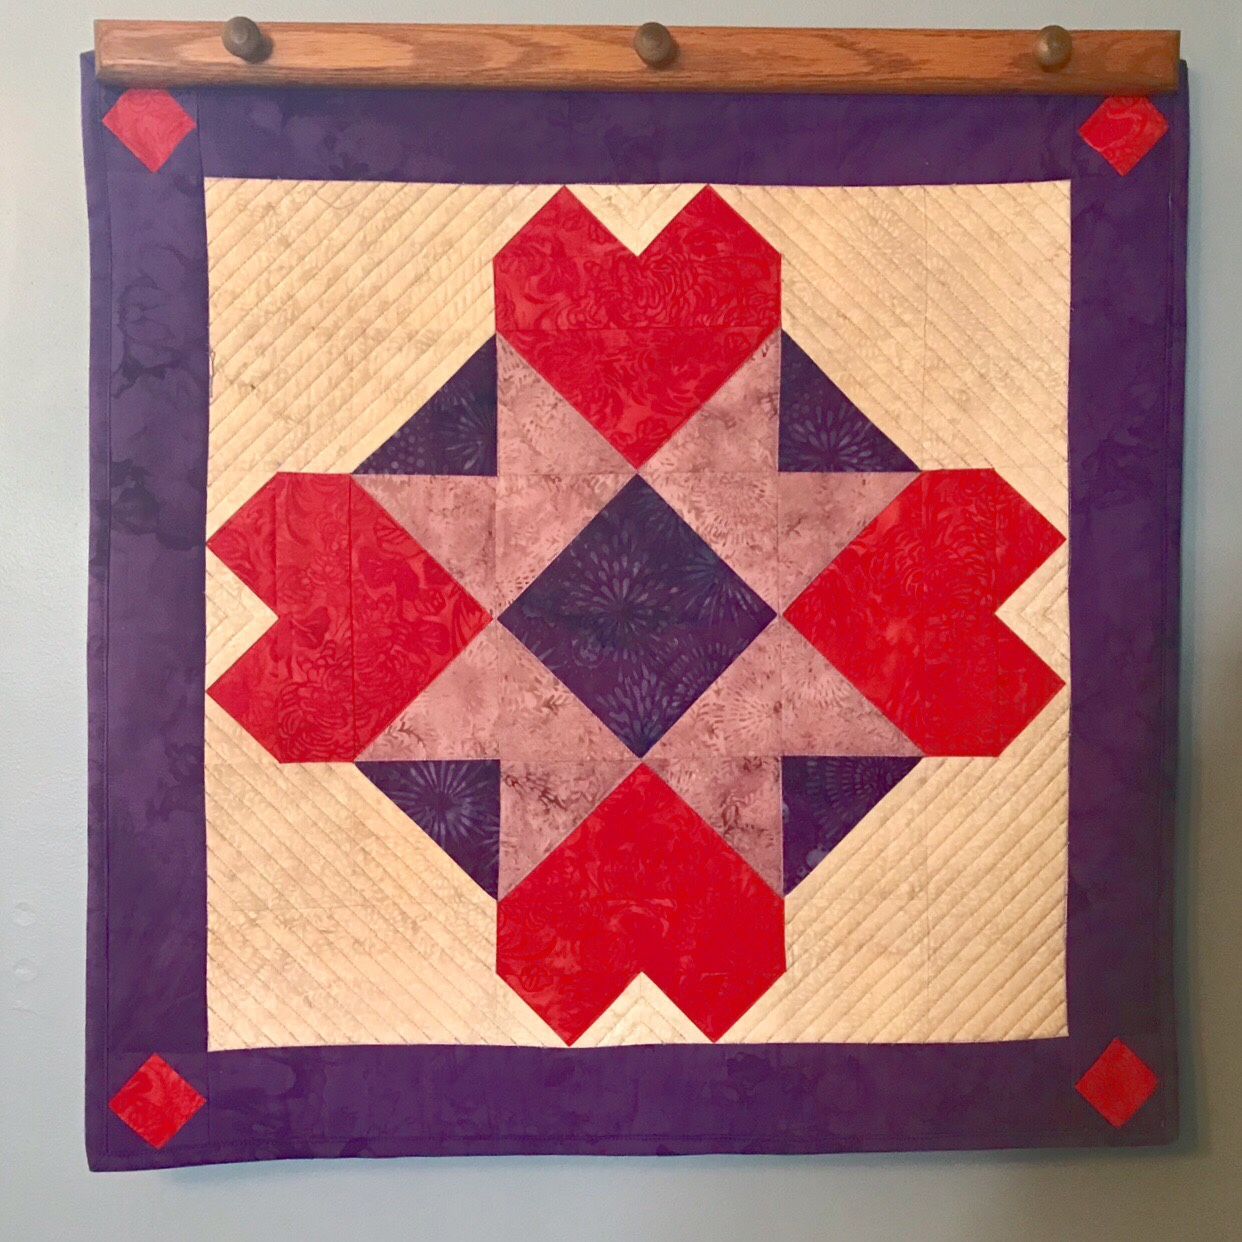
I pin orphan blocks to the ceiling in my quilt studio. As I was contemplating what to make I spotted a favorite block. For me the creative process usually begins with EQ8, so off I went to see what I would come up with.

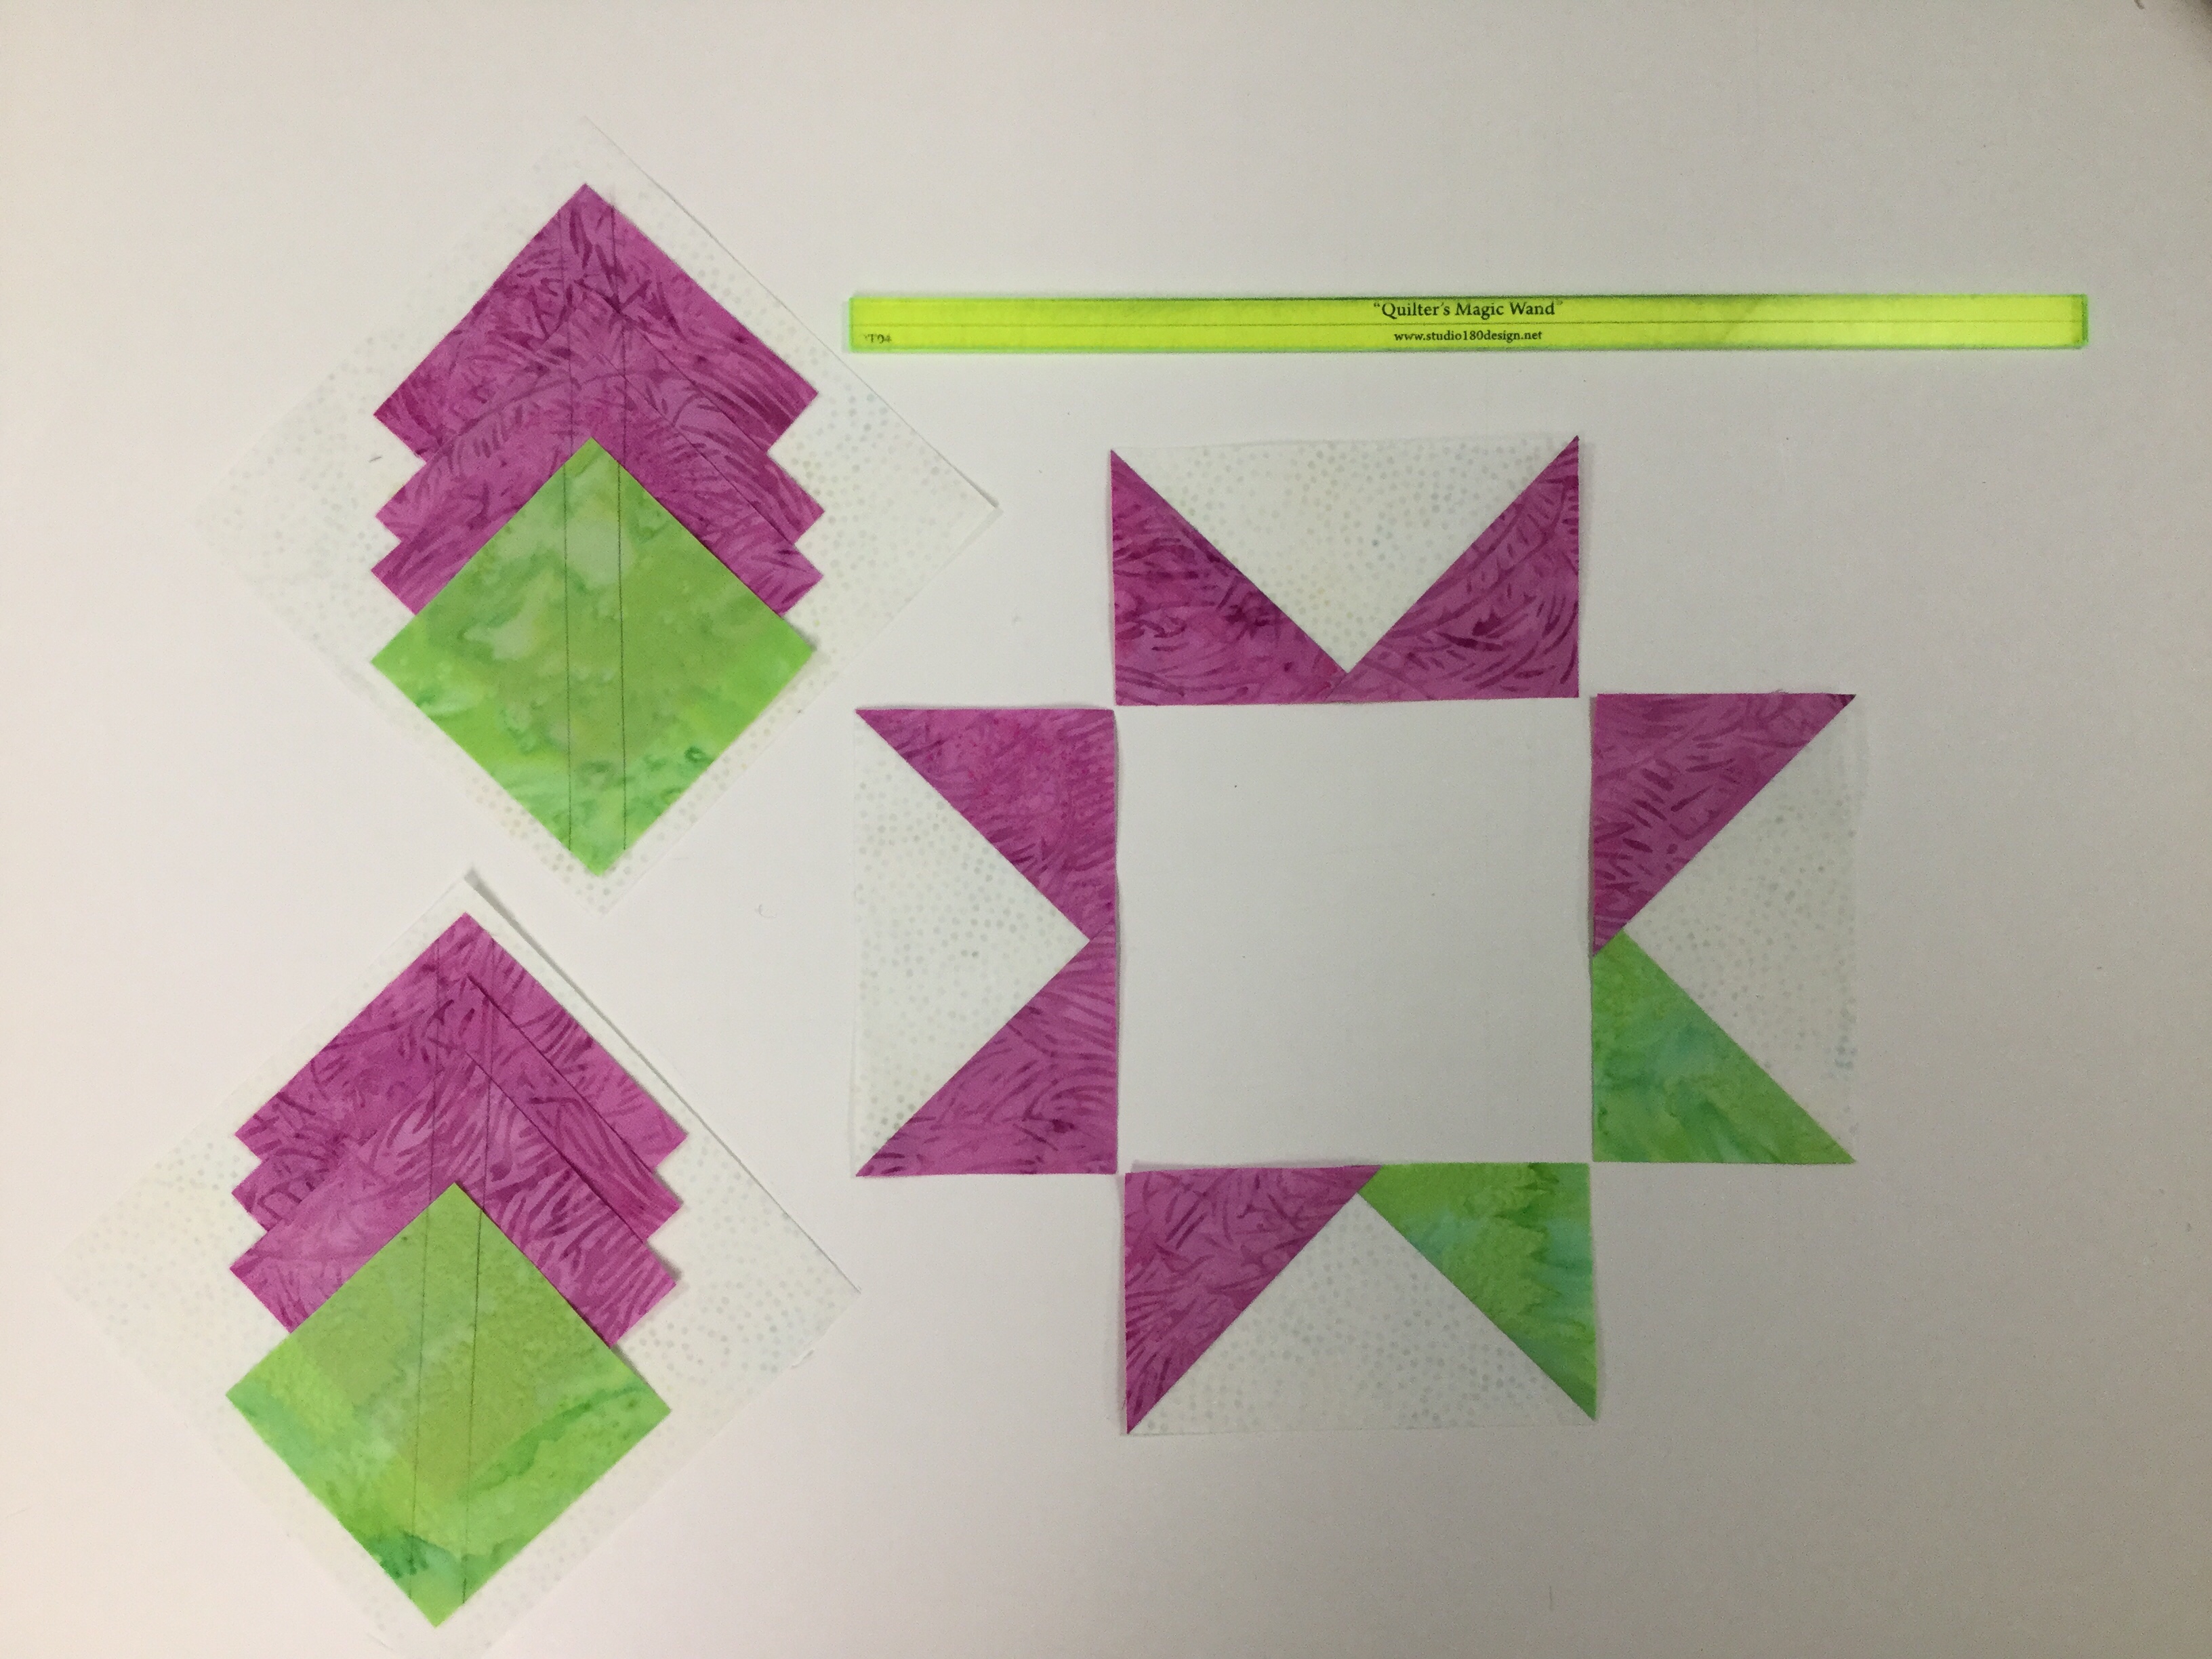
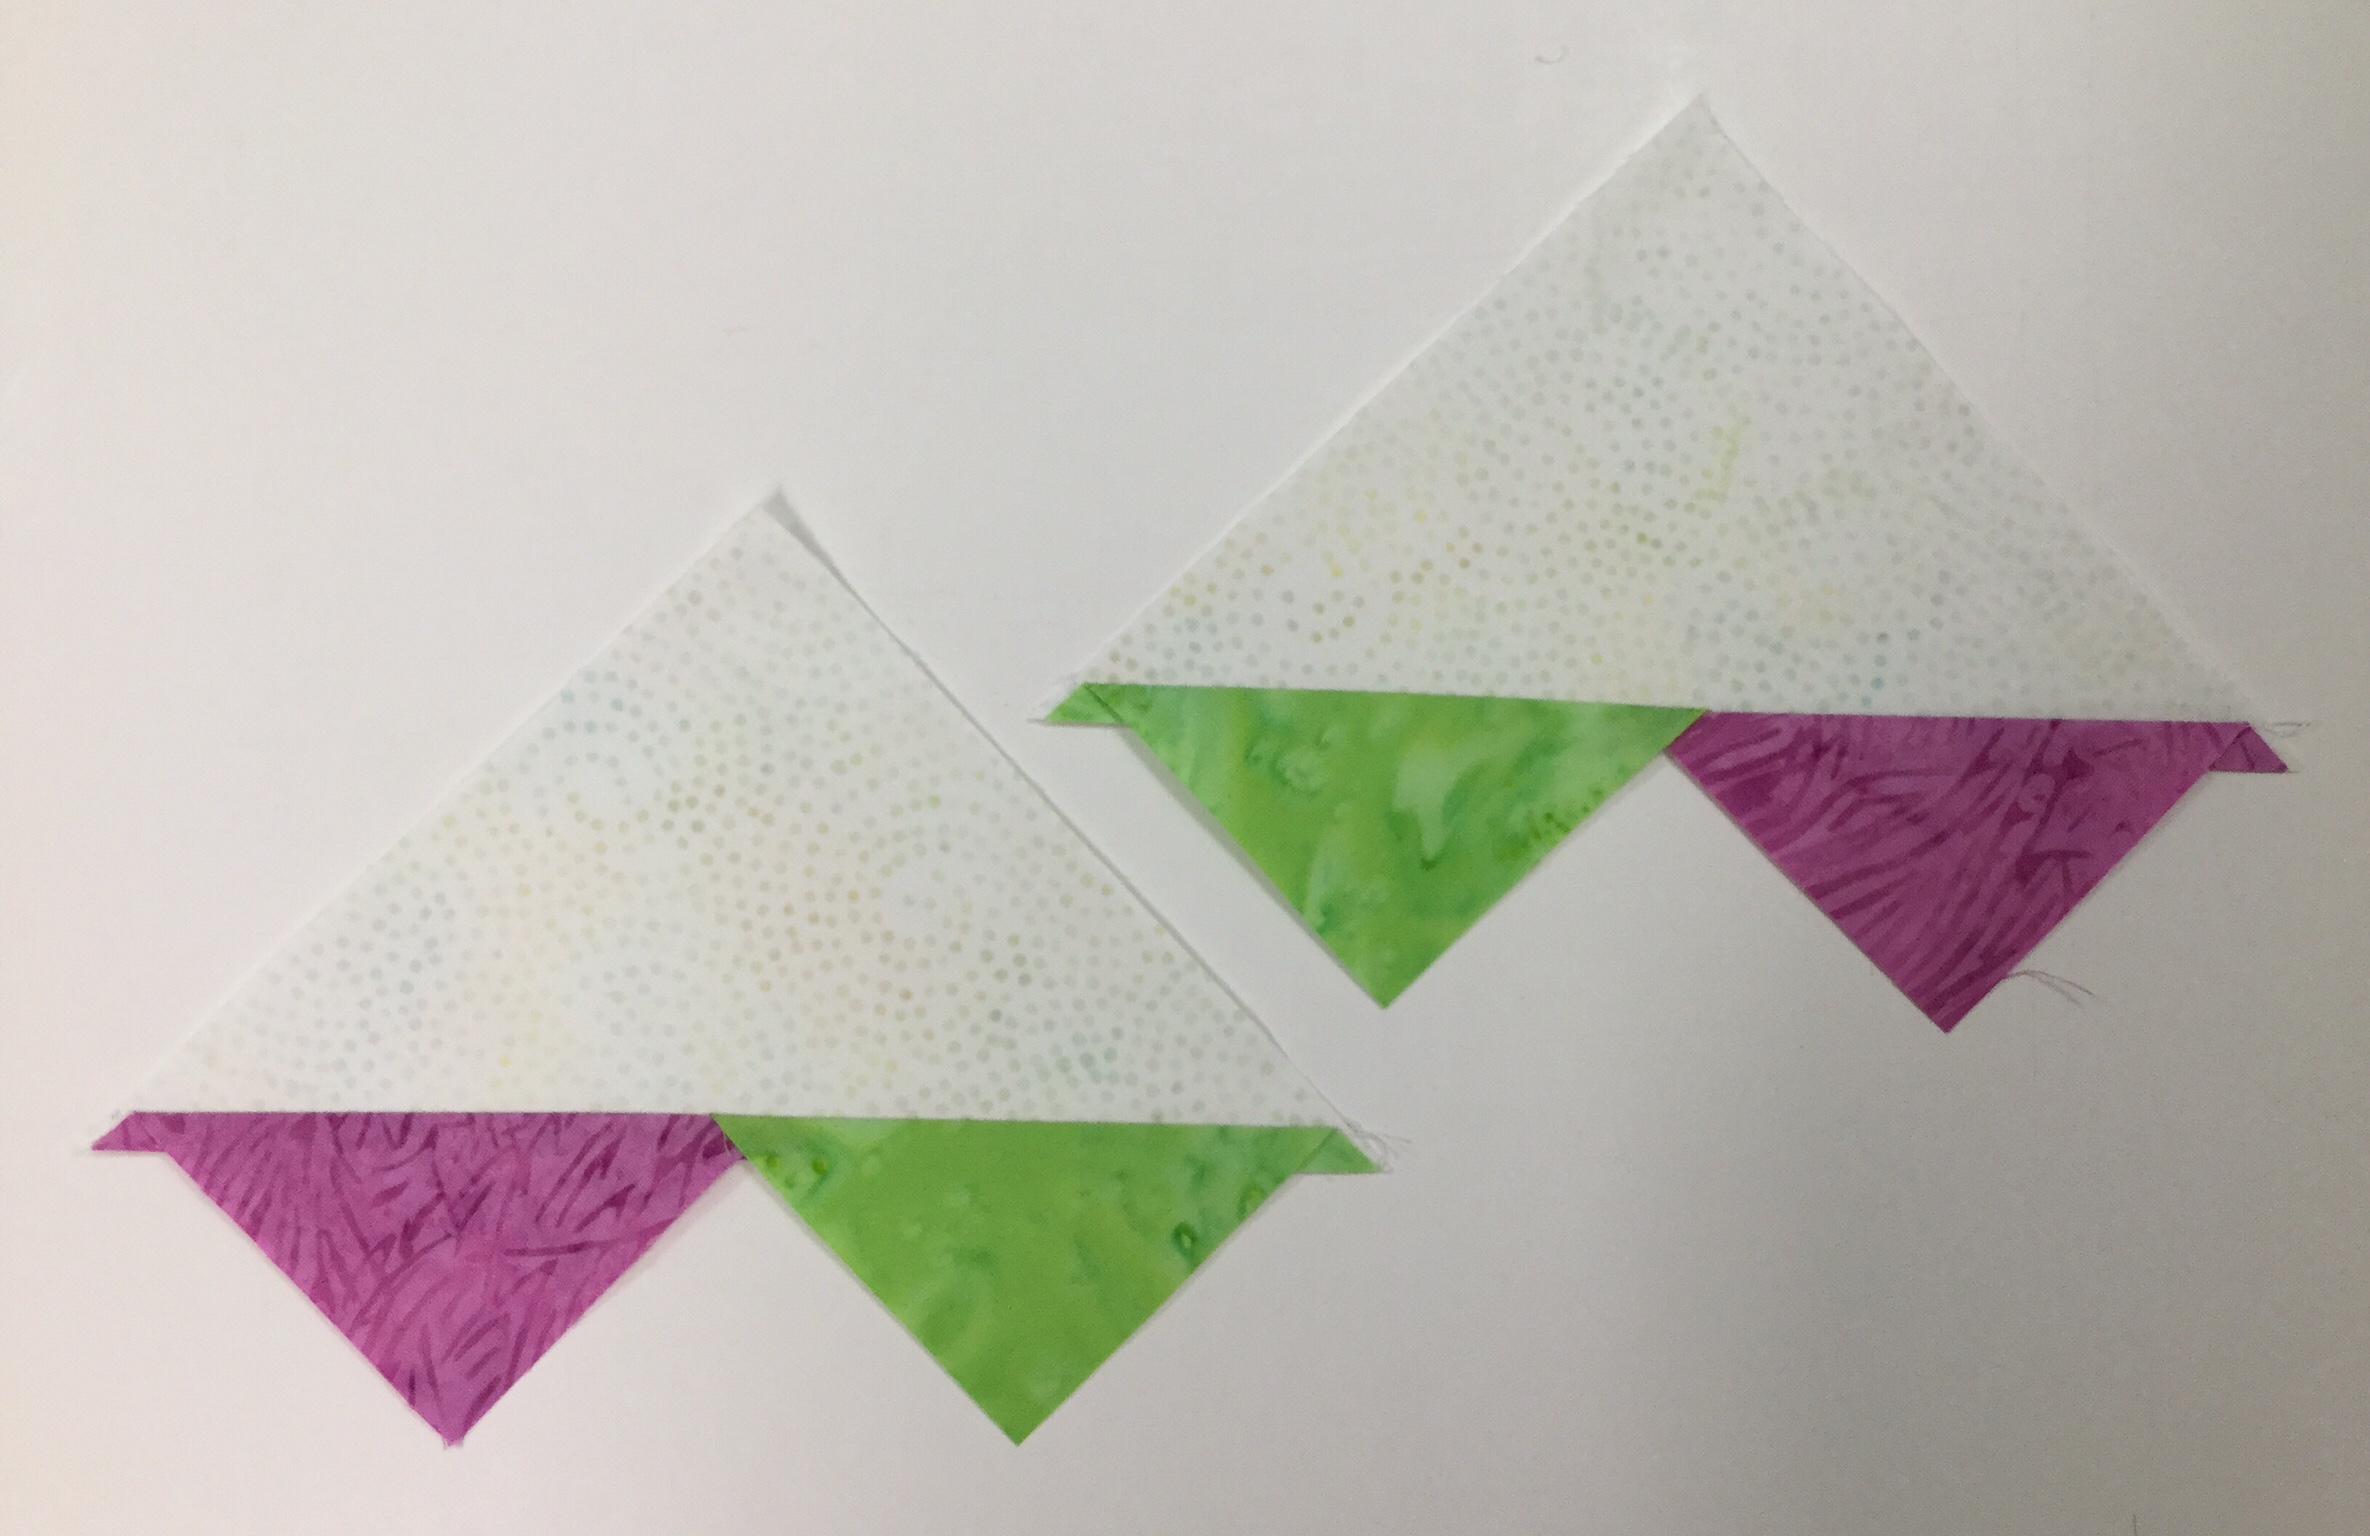
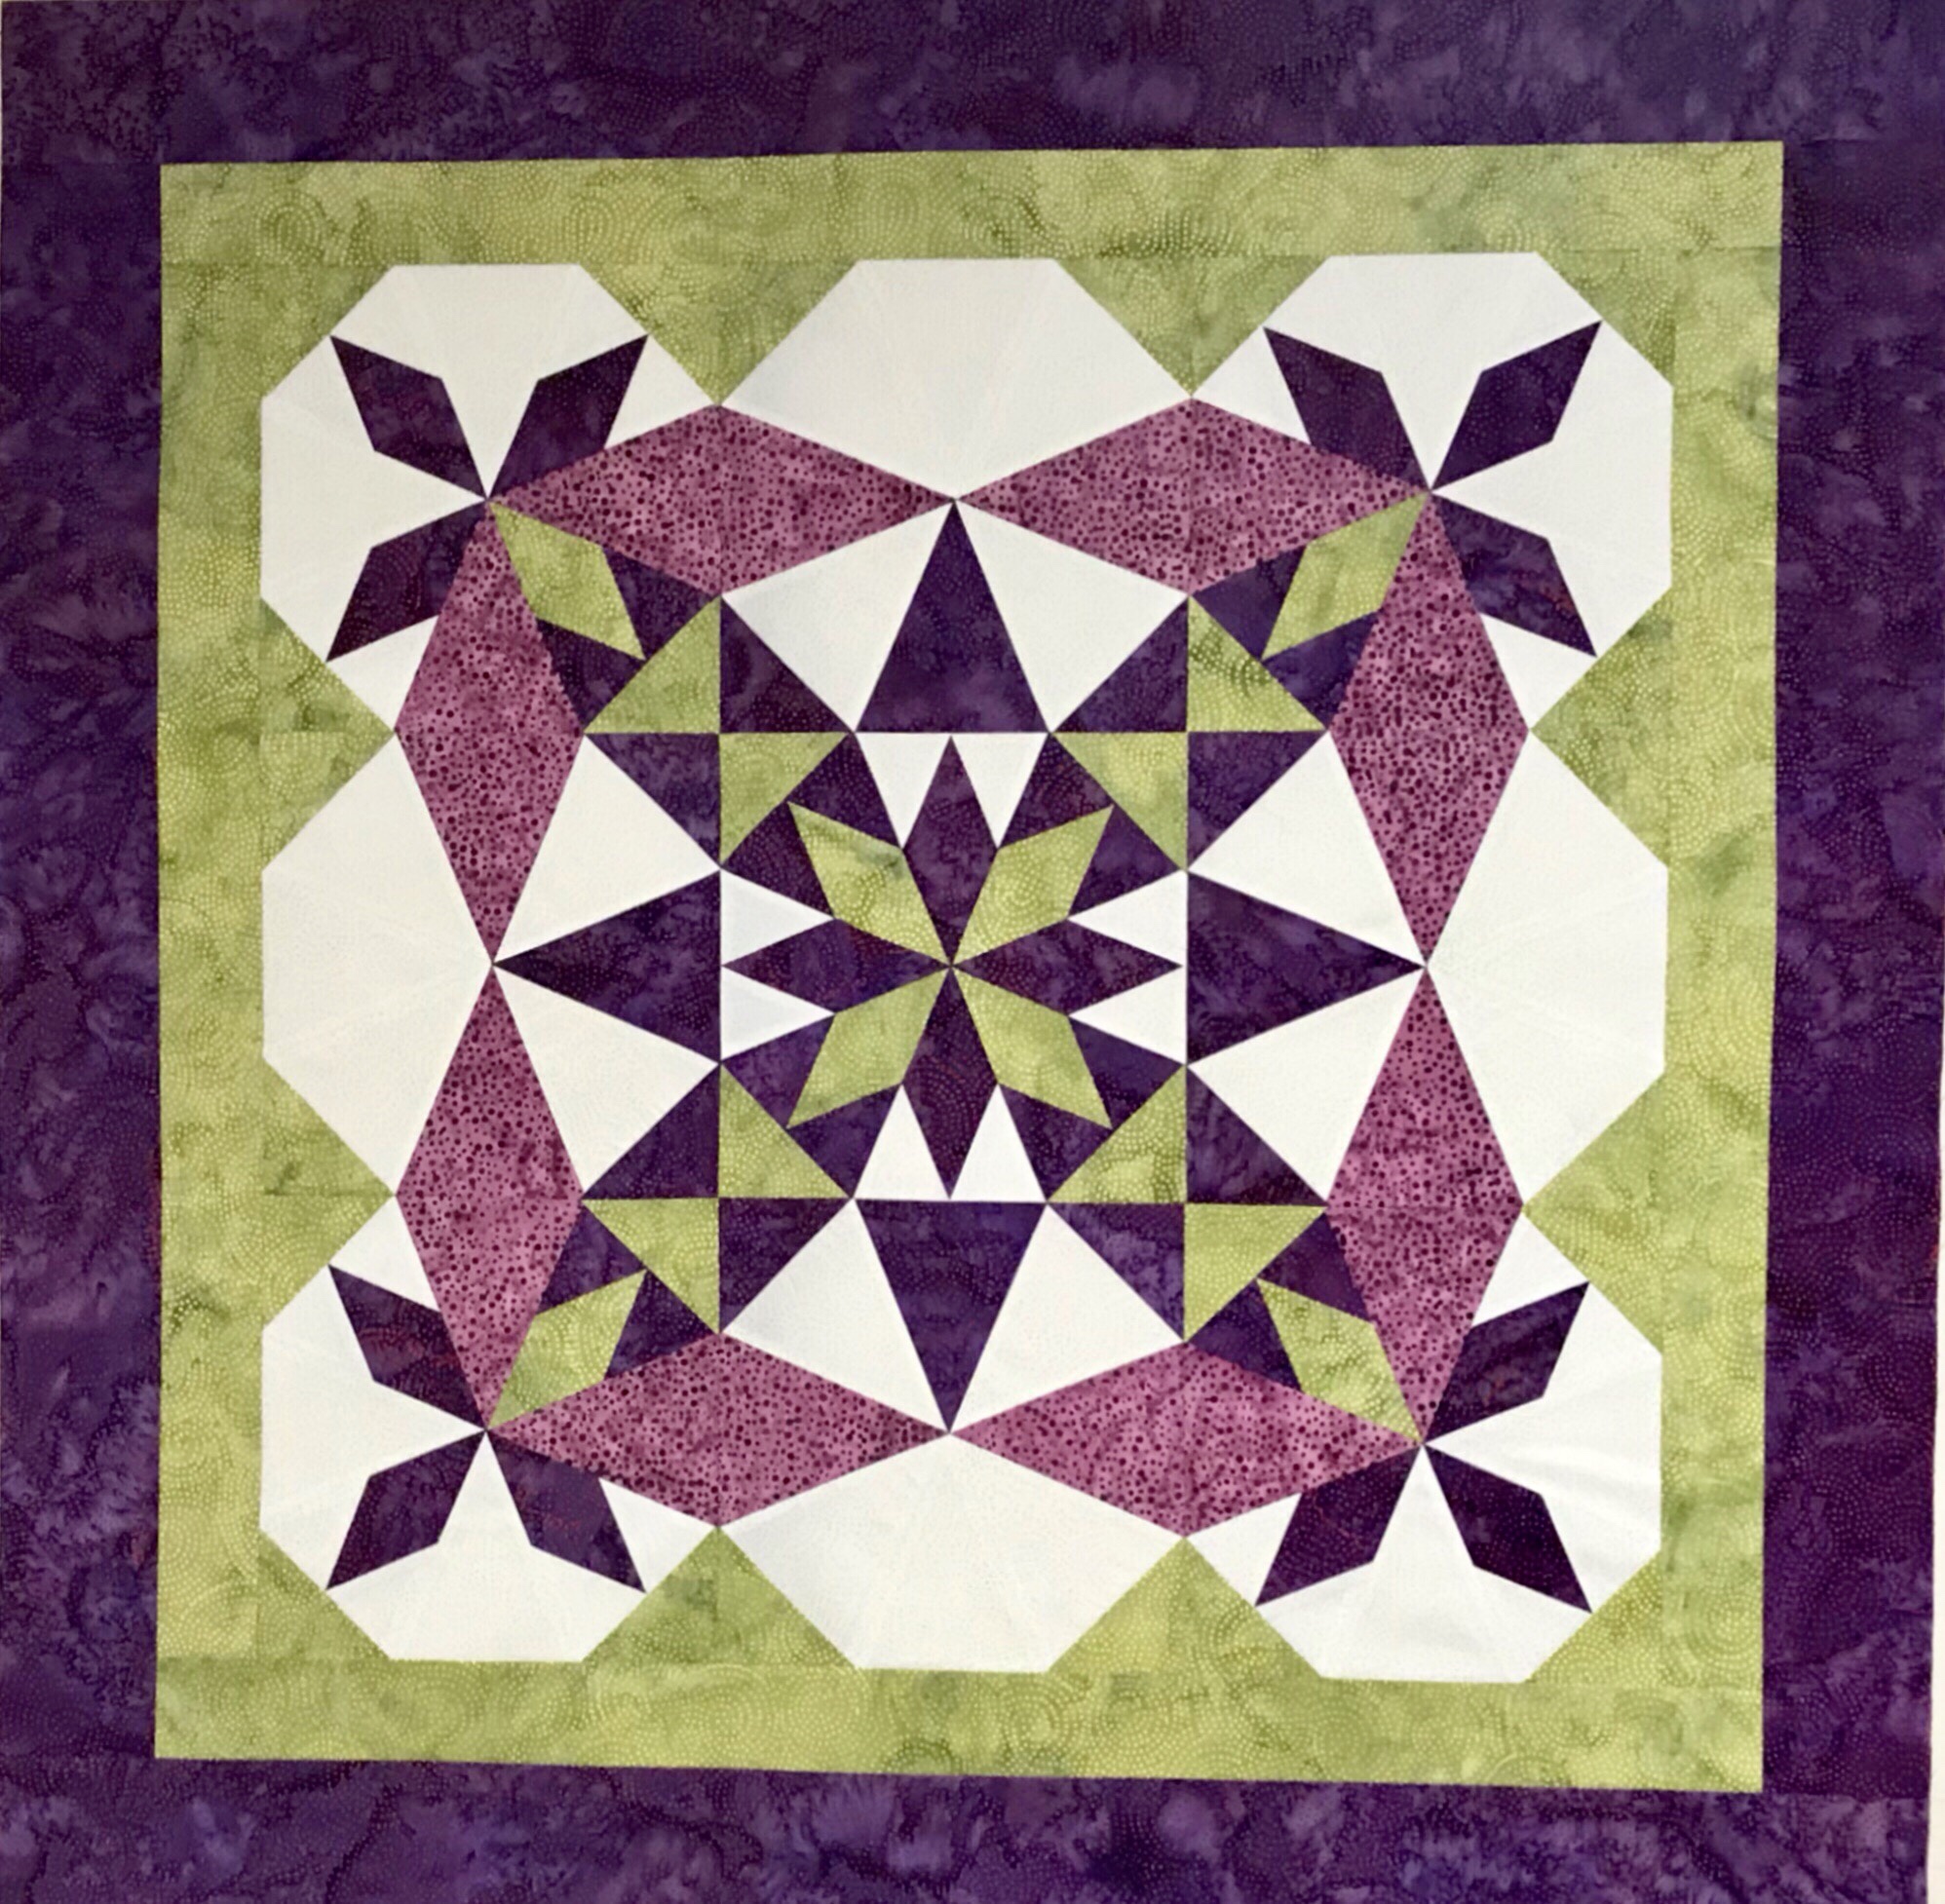
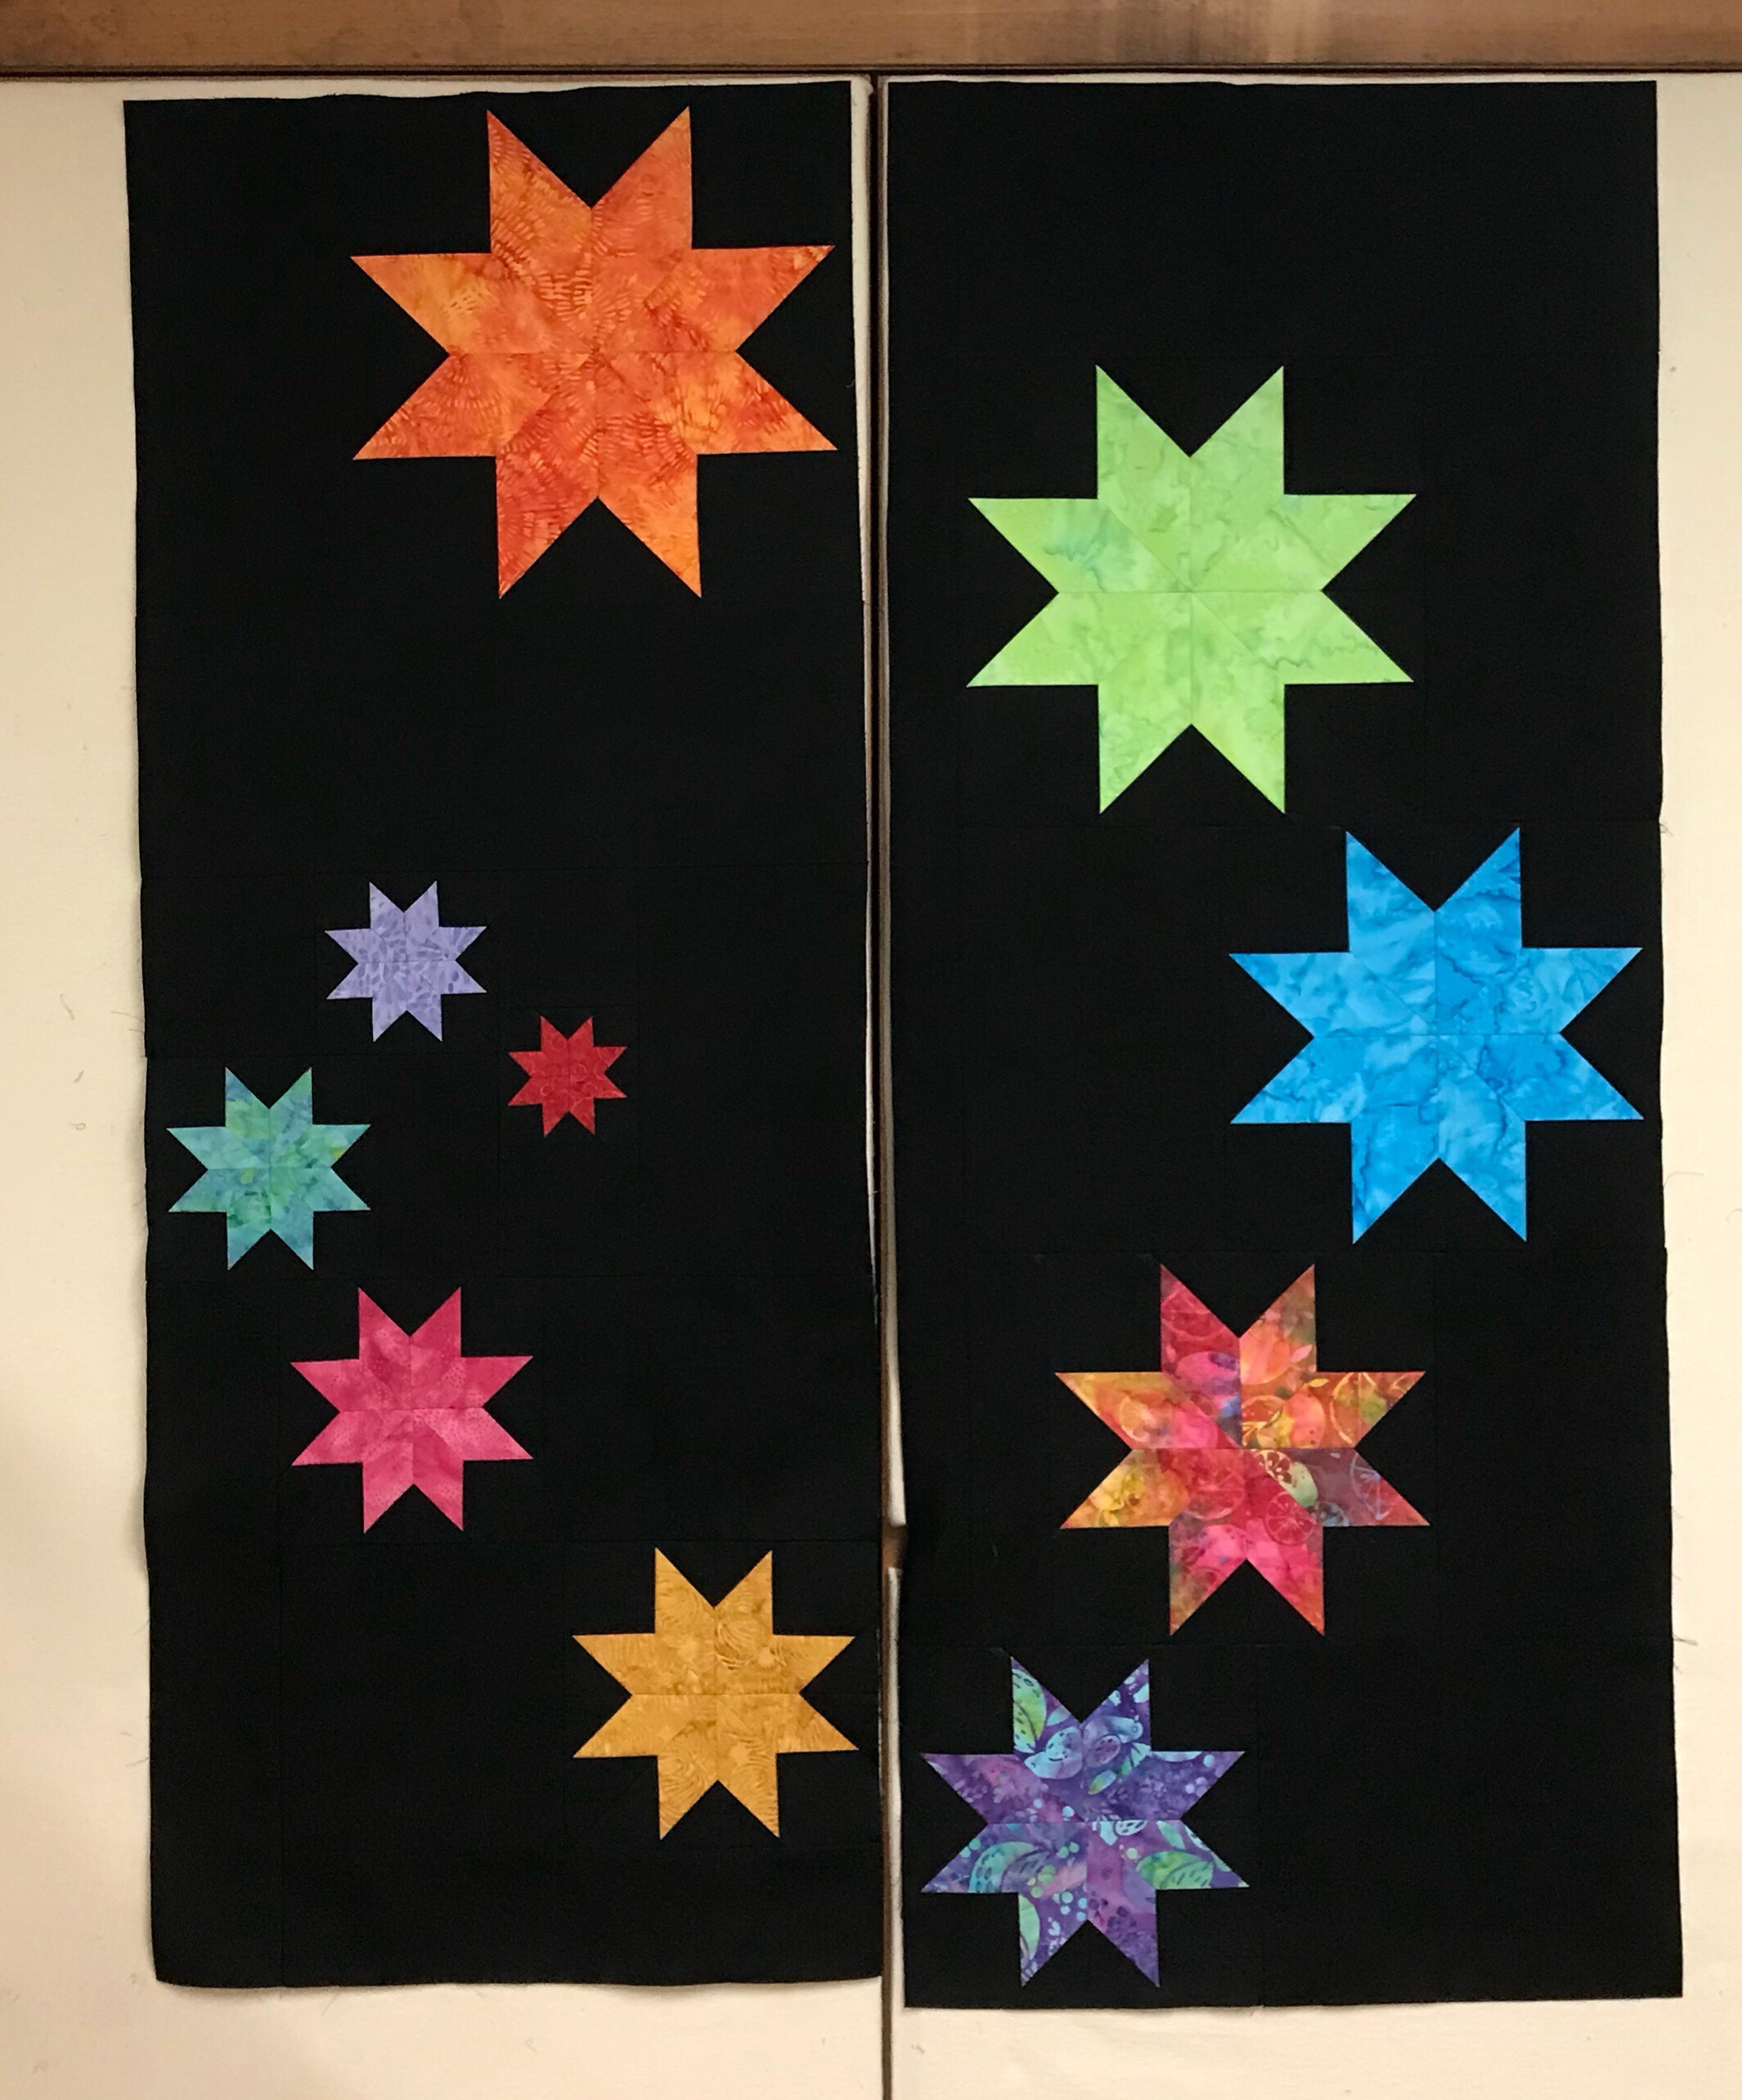
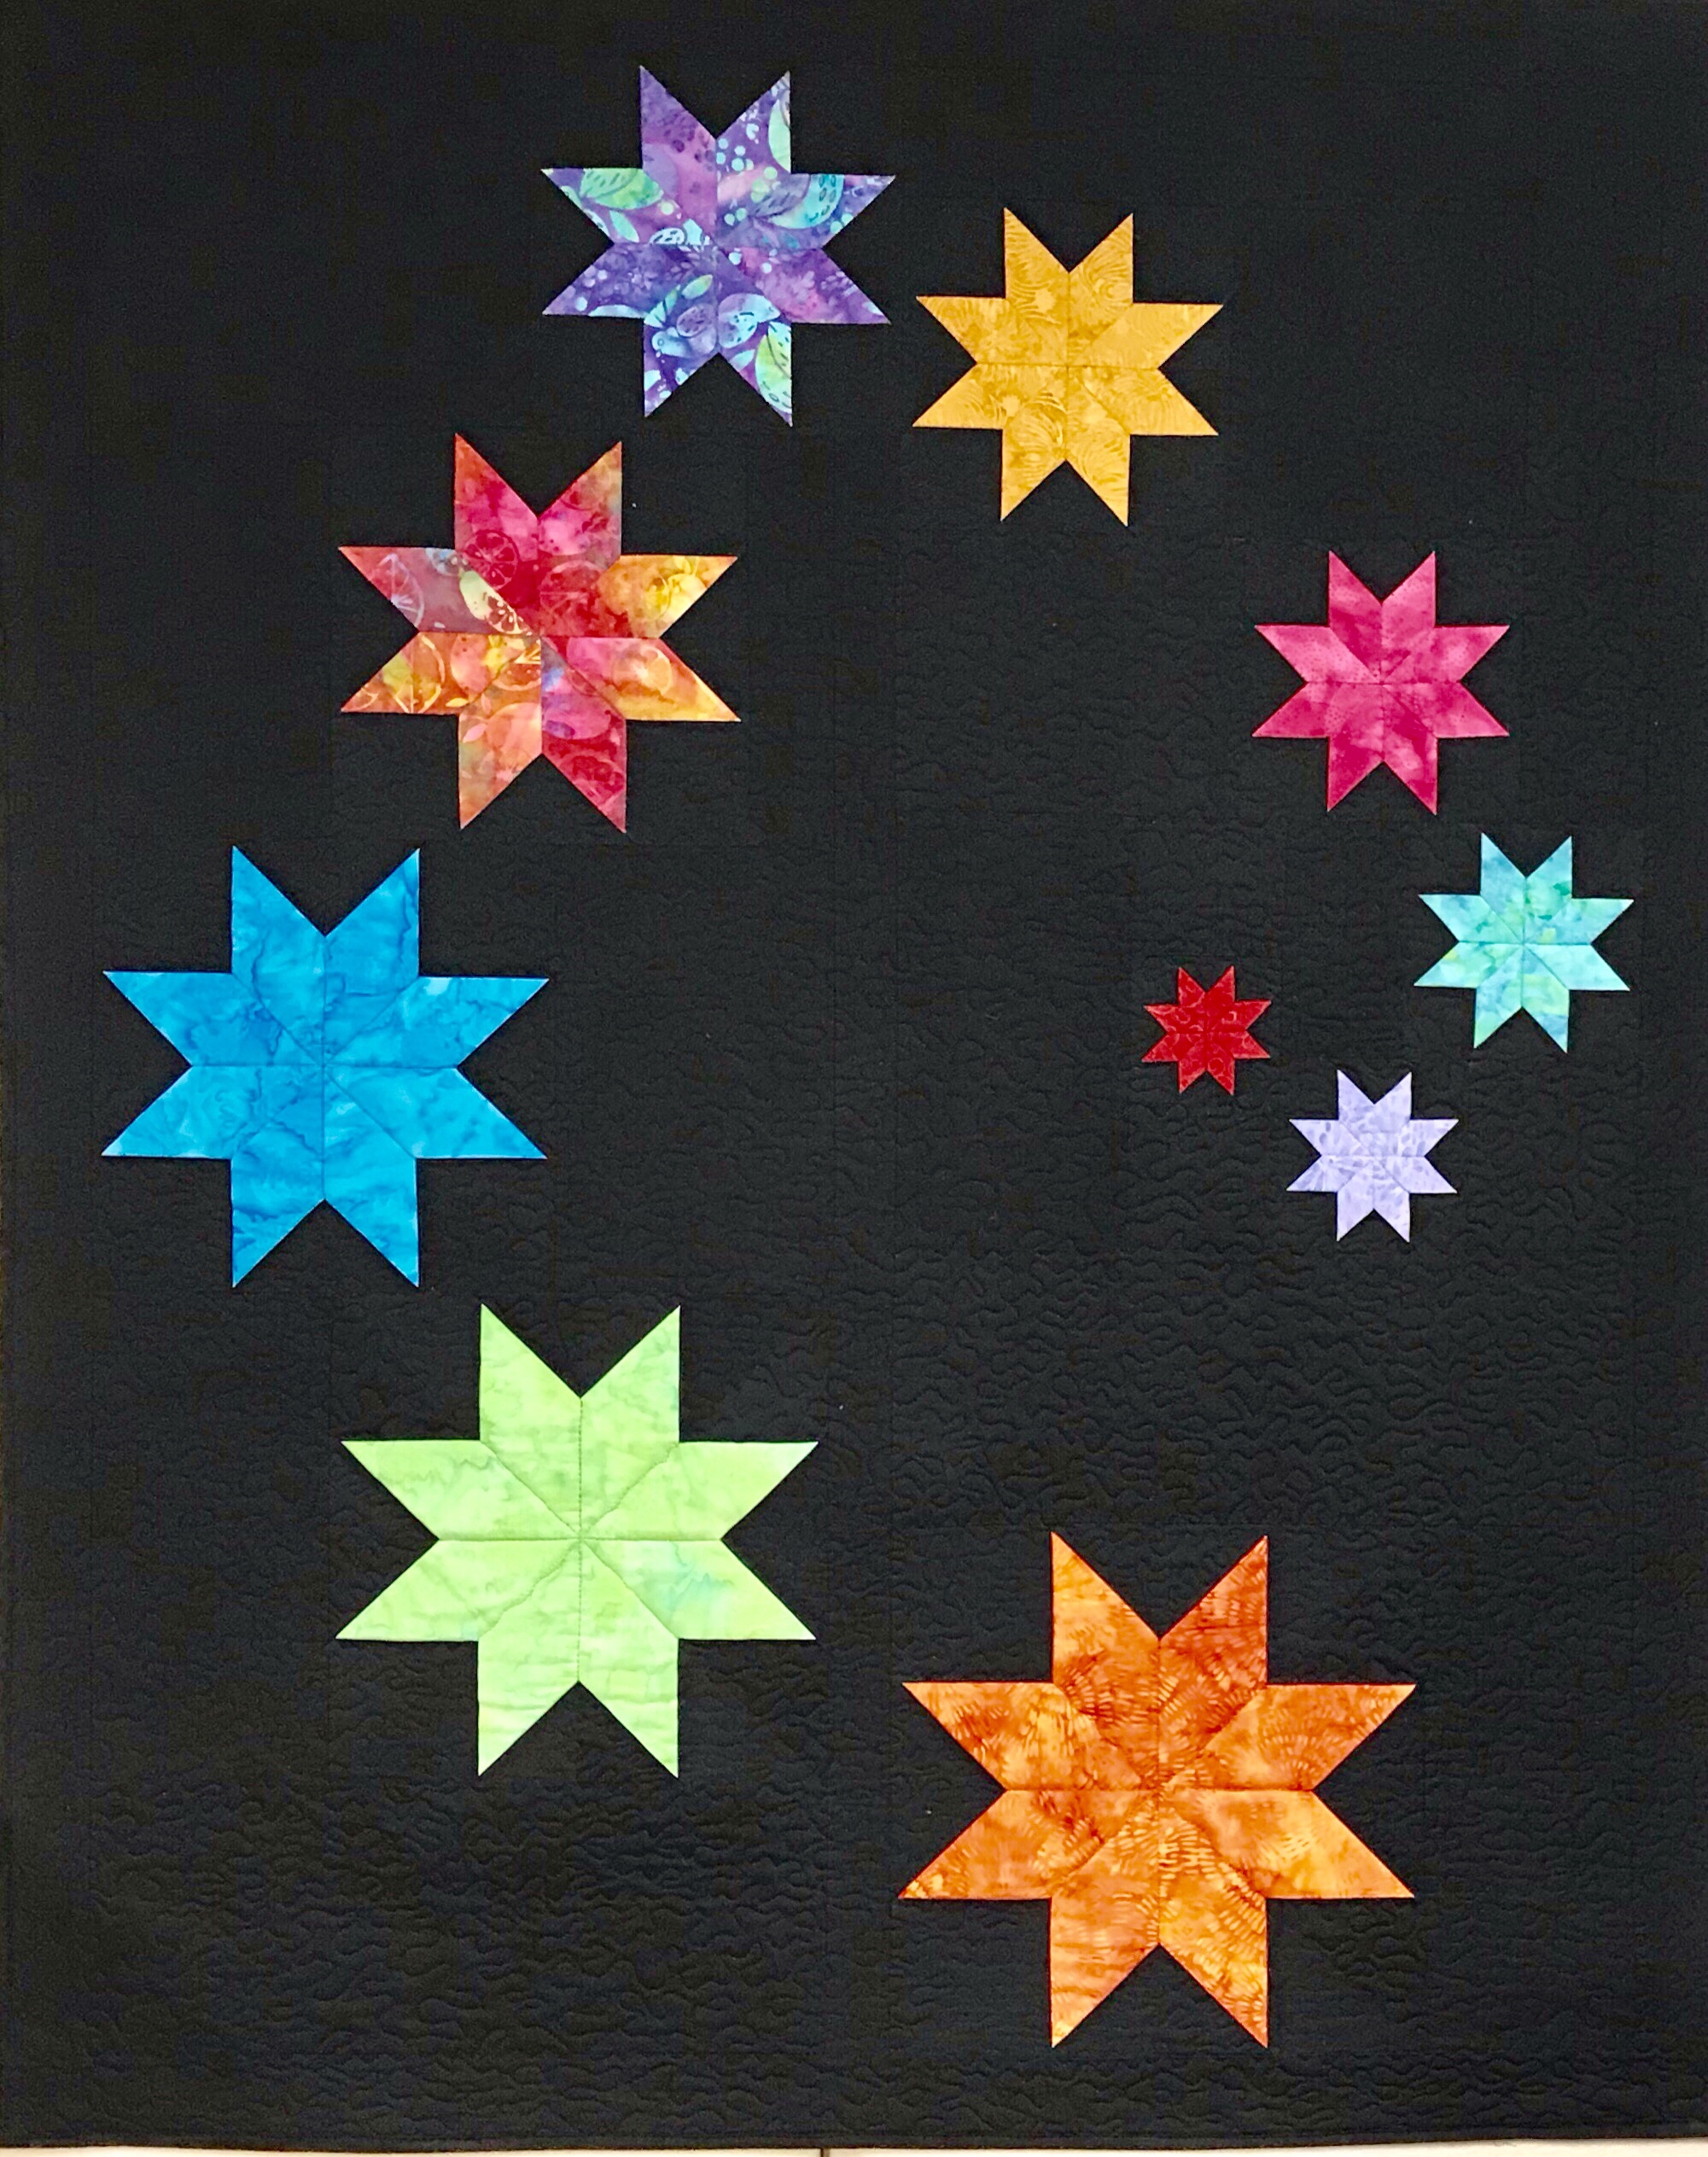
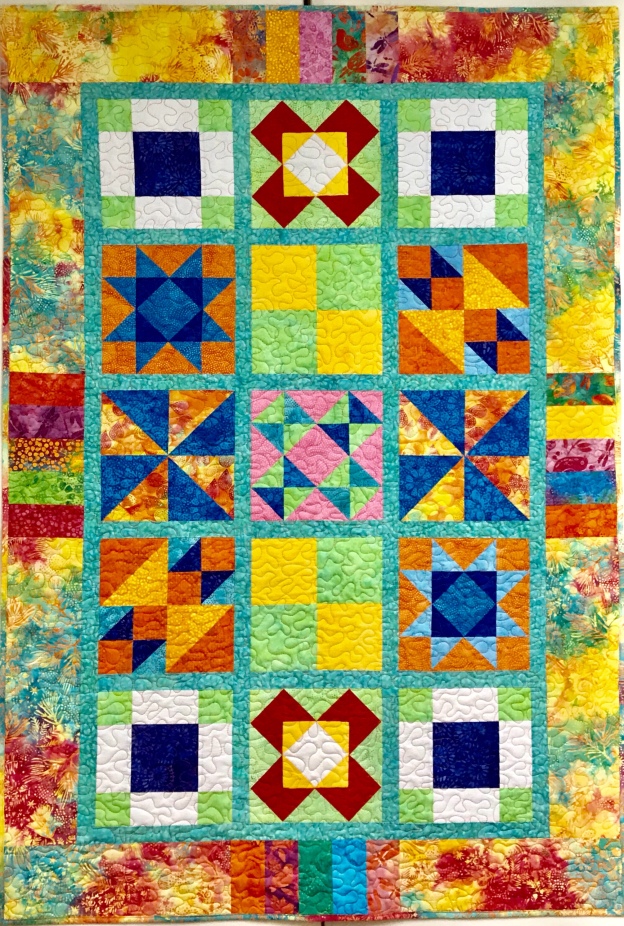
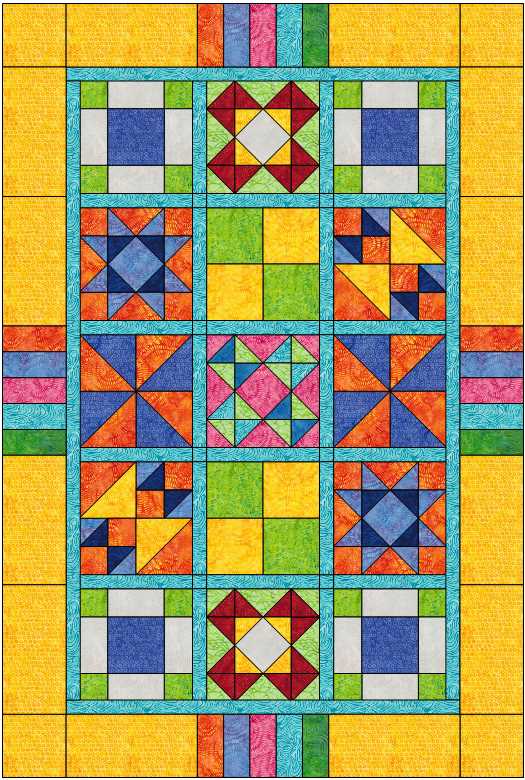
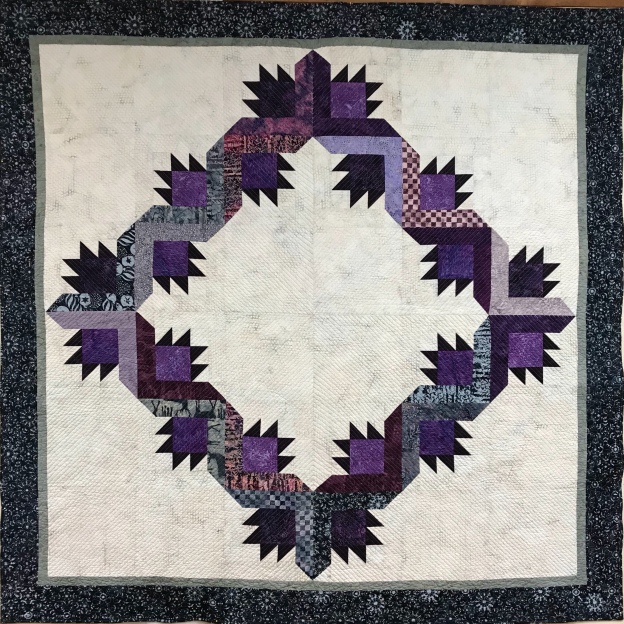
I love the flower affect that is created by using Shaded Four Patch & Split Rects units. I decided on a 10″ finished block using 4″ finished Shaded Four Patch units & 2″ X 4″ finished Split Rects Units.

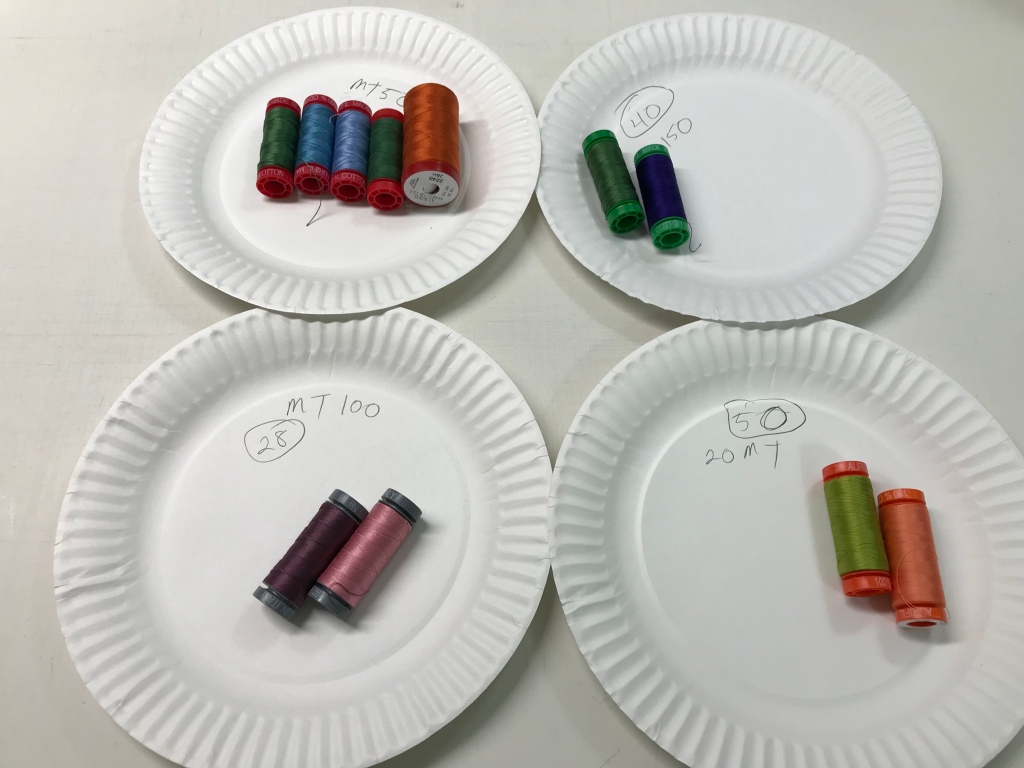
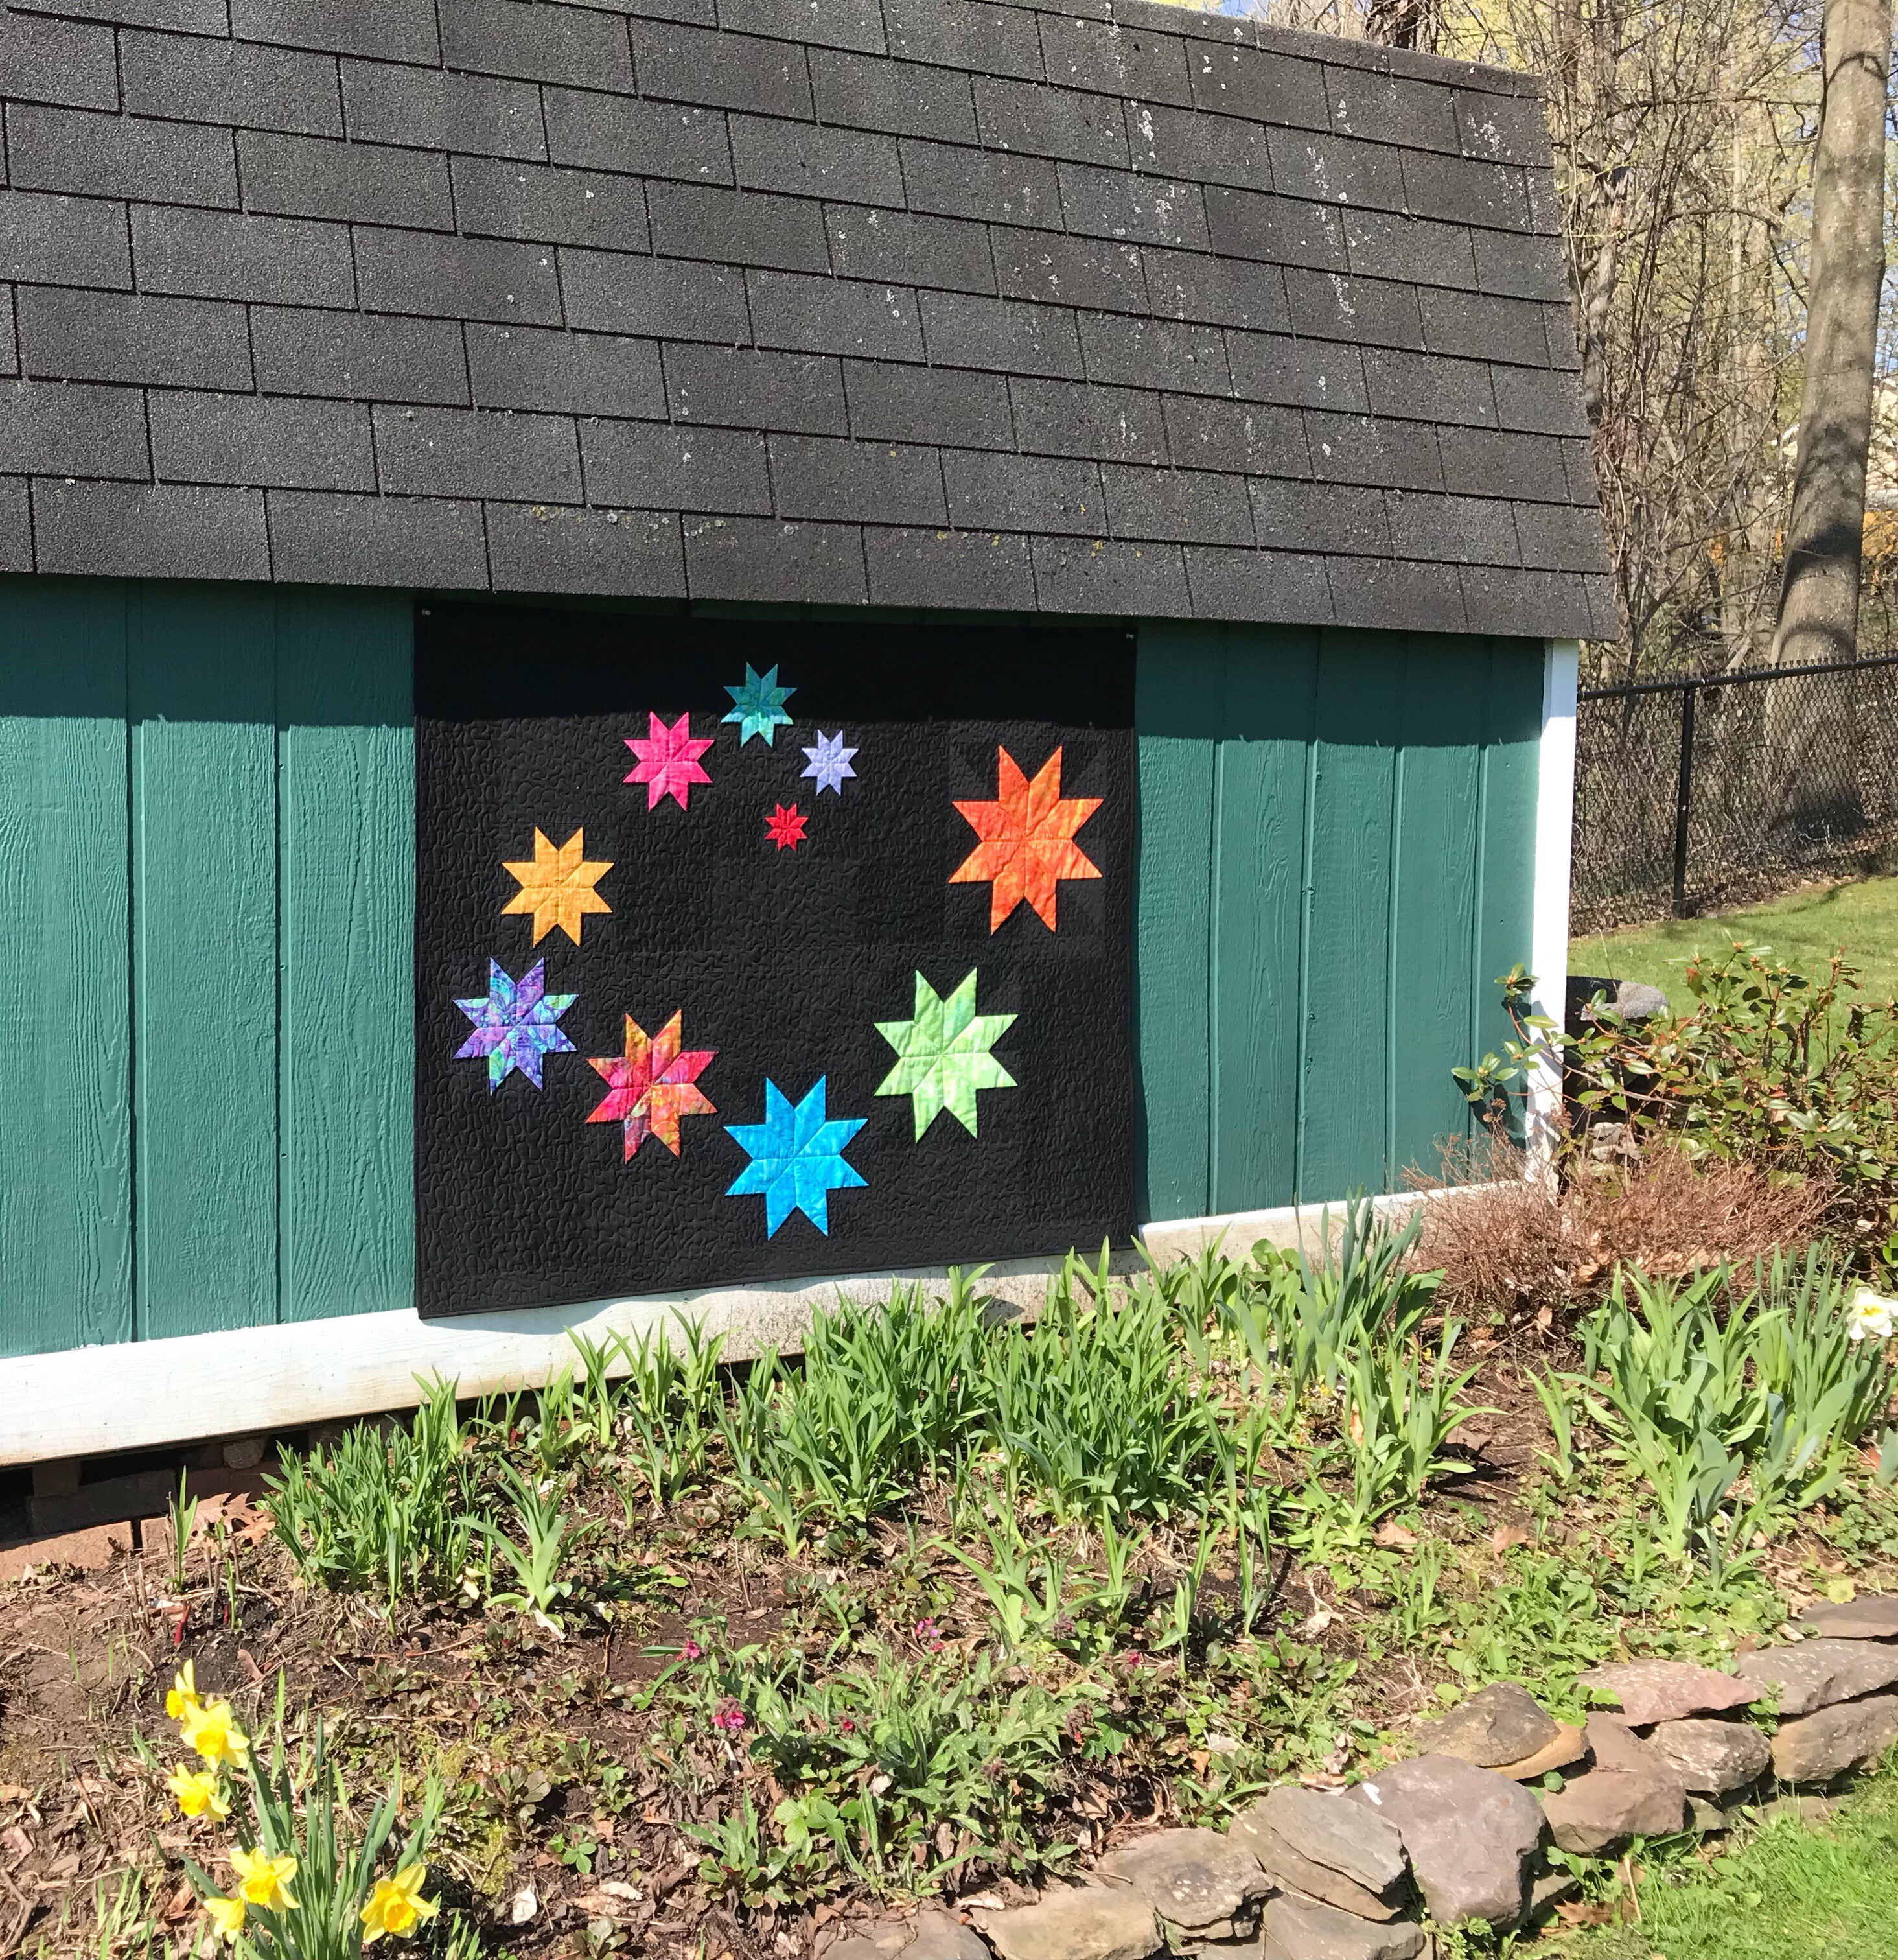
I used all the fabulous fabrics in the fat quarter bundle and made each flower unique. Vivi’s Flowers was constructed with Aurifil Thread and completed with Hobbs Tuscany Silk Blend Batting. This quilt was made for my friend Cher Green’s beautiful Granddaughter Vivi. I named this quilt “Vivi’s Flowers”. It measures 46″ X 58″. If you would like a supply list for this quilt you may download it here:

#islandbatikambassador #islandbatik #iloveislandbatik #quilting #sewingforkids #kidsquilts #quiltingproject #hobbsbatting #doyoueq #aurifil #aurifilthread #juki #olfacreates

Artsy Fartsy

The fabrics in this post were given to me by Island Batik.

The mission: Use any fabric art/non-traditional quilting/sewing/thread painting technique using 3 Aurifil thread weights. In my infinite wisdom, I chose thread painting (sigh).

About 10 years ago I took a thread painting class from Nancy Prince. She is a wonderful quilt artist.

As usual I get organized with paper plates!

I started by creating my background of land and sky and pinning it to a light weight stabilizer. I traced mountains onto Steam A Seam II to add to the country scene.

I outlined the mountains with Aurifil 12 weight.

I added a path and stitched the edges with Aurifil 30 weight.

I traced my tree onto a water soluble stabilizer, positioned and pinned it to the quilt top. I used Aurifil 28 weight, lowered the feed dogs, adjusted the upper tension, attached the open toed quilting foot and began thread painting the tree trunk until it was filled in. I changed thread to a dark green Aurifil 12 weight and outlined the tree and lightly filled it in. I changed the thread to a lighter green Aurifil 50 weight and finished thread painting the tree.

I traced the pine trees onto water soluble stabilizer, changed the thread to a dark green Aurifil 12 weight and thread painted my pine trees.

I used Hobbs Thermore batting for the quilt sandwich and attempted to quilt the sky with Aurifil 12 weight. Of course I had to add a little quilt to my country scene. My skills as a thread painter may be questionable, but Aurifil thread performed absolutely beautifully. It was strong, no breakage and hardly any lint. My project measure 13″ x 15″.

#islandbatik #Aurifilthreads #HobbsBatting

Technique, Technique, Technique

Try It!

The Island Batik Ambassador’s June Challenge is “Try a New Technique”!  Have you tried Studio 180 Design’s new Wedge Star Tool?

Wedge_Star_with_tool_1024x1024

The Wedge Star tool is designed to make a variety of different blocks based on 45 degree sub-units.

They range from Wedge Star Blocks, Wedge Blocks & Mixed Blocks.  There are 22 different size options ranging from 3″ to 24″ finished blocks!

Diamond units are constructed and trimmed down.

Units are stitched together in quarters and half’s, then joined into blocks with corners added to complete it.

The new Wedge Star tool is for “Intermediate Skilled” quilters.  You must use your best 1/4″ seam allowance, NO scant seams here!  As always use your best measuring, cutting, stitching & pressing skills.

Freelancer Quilt

Included in the Wedge Star tool instructions is a bonus Wedge Star Pattern – Freelancer.

Download  Freelancer Supply List 9 inch  here.

acs_0015-1

My beautiful Freelancer quilt was made using Island Batik’s Paisley Dot Swirl fabric and Aurifil thread.

I just got home from Studio 180 Design Certified Instructor Reunion 2019.  We all worked on learning the new Wedge Star Tool.  Here are some gorgeous Freelancer Quilts.

Wowza!

img_2989

Here are some of the CI’s from Class of 2013.  There were 5 classes represented this year.  It was wonderful to see everyone and make new friends.

Lemoynes Lost in Space

Make It Modern

The products and fabrics shown in this post were given to me by Island Batik.

The Island Batik Ambassador’s challenge for May is to “Make It Modern”!  The Modern Quilt Guild defines ‘modern” as use of bold colors and prints, high contrast and graphic areas of solid color, improvisational piecing, minimalism, expansive negative space and alternative grid work.  I think I did pretty good.

I decided to make Lemoyne Stars.  Deb Tucker’s Rapid Fire Lemoyne Star tool was the very first Studio 180 Design tool I used and is one of my favorites!  This tool makes Lemoyne stars in 10 sizes from 3″ to 12″ blocks.

I went to my EQ8 and began to design.  The drawing above on the left shows the layout for the Lemoyne stars.  The drawing on the right with blue indicates the background I had to fill in.  I chose to use the “Add a Plain Block” option.  This allows me make a block the same size as the quilt center, color it, and move it to the back, behind the stars to fill in the blank spaces.  I also could have used the “Paintbrush” option to color in the background.   However, this does not give me the fabric sizes to cut.

I made my 10 different lemoyne stars and went to the design wall.  I worked on the right side first.  I measured and added a background rectangle to the left and above the green 11″ star.  I then added a rectangle to the blue 10″ star so it was the width as the 11″ star above it.

I continued on, adjusting and measuring, adding background fabric, piecing, tying it all together.

Somehow I couldn’t quite maintain the smooth circle.

acs_0016

I guess my stars are ricocheting instead of swirling!

I decided to quilt using a tight meander around the stars and then stitch in the ditch through the seams of the stars so they have a 3D effect.  I used the Hobbs Tuscany Cotton Wool Blend to give the stitches great definition.

acs_0011-2

AND then I liked it better turned upside down, so I flipped it!  Lemoynes Lost in Space measures 40″ x 50″.

The background of my quilt is a black batik from Island Batik, it really makes the colors pop!

acs_0021

Happy Spring!  As always my quilts are pieced with Aurifil thread.  If you want your stars to shine use Island Batik fabrics and your quilt colors will sing!

#islandbatik #Aurifilthread #Hobbsbatting #HobbsTuscanyCottonWoolBlend #DebTucker #studio180design #RapidFireLemoyneStar

Gender Neutral Color Palooza

Baby Quilt

The products and fabrics used in this post were given to me by Island Batik.

I’m so lucky to be an Island Batik Ambassador!  Especially this year.  This year Island Batik has partnered with Accuquilt!  We were given an Accuquilt Go Cutter and dies.  I received the Mix & Match 8″ Block set of dies (Go Cube!).  We were tasked with creating a Baby Quilt.

acs_0010

This set includes 8 dies & 13 block patterns.  With these dies you can make 72 different block designs! Wowza!

I chose my blocks and started designing in EQ8 to see what it would look like.

Gender Neutral Color Palooza

When I was satisfied with the fabrics and balance I started cutting.

img_2440

I pulled my Island Batik fabrics and started with the Diamond Star Block Pattern.

img_2441img_2442img_2444

I needed 8 side triangles for my flying geese units, so I folded my fabric into quarters,  centered it over the die, placed the cutting mat on top and rolled it through the cutter. Presto – 8 side triangles.

acs_0006

Now this is a fun “Gender Neutral Color Palooza” Baby Quilt!  It measurers 38″ x 56″.  It was lovingly pieced with Aurifil Thread, filled with Hobbs Heirloom Premium Cotton Batting and creatively cut with my Accuquilt Go Cutter!  Not to mention these fabulous colorful fabrics from Island Batik!

#islandbatik #Aurifilthread #Hobbsbatting #Accuquiltgocutter #GoCube

Bear Paws – Vintage Reimagined

The fabrics in this post were given to me by Island Batik.

Vintage Reimagined

Island Batik Ambassador assignment for March is “Vintage Reimagined”.  Hmmmm, I had several ideas, some just didn’t work out.  I started to look through my quilt book library.  I picked up Harriet Hargraves’ Heirloom Machine Quilting book.  I was intrigued by a small quilt, 35″ x 35″ called Bountiful Vineyard by Joanie Poole.  Turns out Joanie Poole teaches heirloom quilting.  This is ironic (more on this later).

bountiful-vineyard-poole-225x225

img_2309

I chose to use the Snow Berry collection, simple gorgeous.  I went to my EQ8 and started drawing.

Once I created the block I could also figure out the quilt layout.  I love this block!

First I made the Bear Paw unit.  I used Deb Tucker’s “Eight at a Time” Technique Sheet to make fast work of 80 Half Square Triangles.

Then add the side rectangles.

Pop off the corner of the rectangles using the Studio 180 Design Corner Pop tool.

Add replacement triangles according to the tool instructions and trim.  Easy peasy, the Corner pop tool trims the corner & leaves the seam allowance so adding the replacement triangle is accurate with plenty to perfectly trim.

Stitch the corner popped rectangles to the bear paw unit.  Make 20 – 10″ finished blocks.

I laid it out on my design wall, stitched it together and added the borders.

img_2372

I usually meander my quilts on my Nolting mid arm, but this time I decided to quilt each quarter diagonally with all seams going toward the center with my domestic Bernina 570.  It seemed like a good idea.  I have never tried this on a large quilt.  Bear Tracks measures 70″ x 70″.  I stitched in the ditch down the center vertically and horizontally.  Then corner to center diagonally.  Then stitch in 1/2″ increments, first to the left of the center diagonal then to right.  I did this in each quarter stopping at the inner border.  What I didn’t realize was how much this close stitching would shrink the center of the quilt, making the borders very wavy.  I loaded Bear Tracks onto my quilt frame and meandered the borders to try and shrink them down.  It helped a little but the edges of my beautiful quilt are wavy. Drat!

acs_0003
Bear Tracks is wavy, but oh so cuddly.  I love it!  I think I need a quilting class from Joanie Poole!

This quilt was pieced and quilted with Aurifil thread and finished with Hobbs batting.

Click here for Bear Tracks Quilt Supply List .

#islandbatik #aurifilthreads #hobbsbatting #studio180design #debtucker #joaniepoole #cornerpoptool #eightatatime

Magnificent Mini’s

The products shown in this post were given to me by Island Batik.

Magnificent Minis

Our assignment for February was to create a “Magnificent Mini” using any technique we chose.  The only criteria was the size: 24″ x 24″ or smaller.  It seems I’m always collecting quilt blocks for hearts and Christmas Trees. The first thing I do is fire up my EQ8 and start drawing.

Last year I made a heart mug rug.  The drawing above consists of mirror image split rects and two squares that have had the corners popped using Studio 180 Design Split Rects & Corner Pop tools.

Magnificent Mini 2

These hearts are made from a large flying geese and two smaller flying geese.  I used Studio 180 Design’s Wing Clipper I, Tucker Trimmer I & Square/Squared tools.  Click here for the fabric requirements for Hearts Abound Mini.

The center block contains:

1 – 6″ finished Square/Squared

4 – 3″ x 6″ finished flying Geese

8 – 1 1/2″ x 3″ flying geese

4 – 3″ finished Half Square Triangles

4 – 2″ x 6 1/2″ red rectangles

4 – 3 1/2″ x 6 1/2″ background rectangles

4 – 3 1/2″ background squares

acs_0004

I added 2″ finished borders with 2″ finished Square/Squared units for the cornerstones.  Hearts Abound measures 22″ x 22″.

img_2393

My Hearts Abound Mini was made from Island Batik fabric, with Hobbs 80/20 cotton batting. Pieced and quilted with Aurifil thread.

#islandbatik #hobbsbatting #aurifilthread #studio180design

Island Batik Ambassador Box Opening 2019

It’s that time again, a new year of challenges from Island Batik.  I’m blown away by the generosity of Island Batik, Aurifil, Hobbs Batting and Accuquilt Go Cutter!  We have some great projects to share with you this year.  I’m almost done with February and March’s challenges and can’t wait to share.  Here is a video of all the products given to me as an Island Batik Ambassador:

Thank you Island Batik!

The Reveal of Island Batik Box 2

I received my 2018 Box 2 from Island Batik and decided to video the reveal to share with you.  Thank You Island Batik, Aurifil & Hobbs for your generosity.

#islandbatik #islandbatikambassador  #Aurifil #hobbsbatting

Pillow Possibilities

The products featured in this post were given to my by Island Batik.

Playful Pillows

The Island Batik challenge for May is “Playful Pillows”.  As I was thinking about what pillow design I would choose, it occurred to me I had a wealth of ideas at my fingertips.  So many of my favorite quilt patterns have blocks large enough for a pillow.  I decided I would make the center block from Deb Tucker’s “Carolina Lily: One Block” wall quilt pattern.

DTP005_-_No_Y_Carolina_Lily_-_One_Block_1024x1024
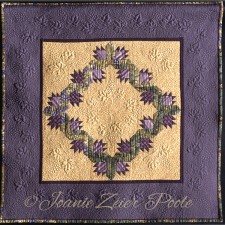
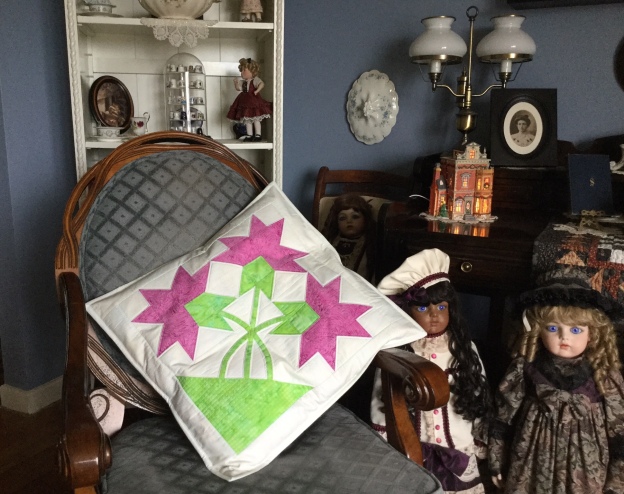
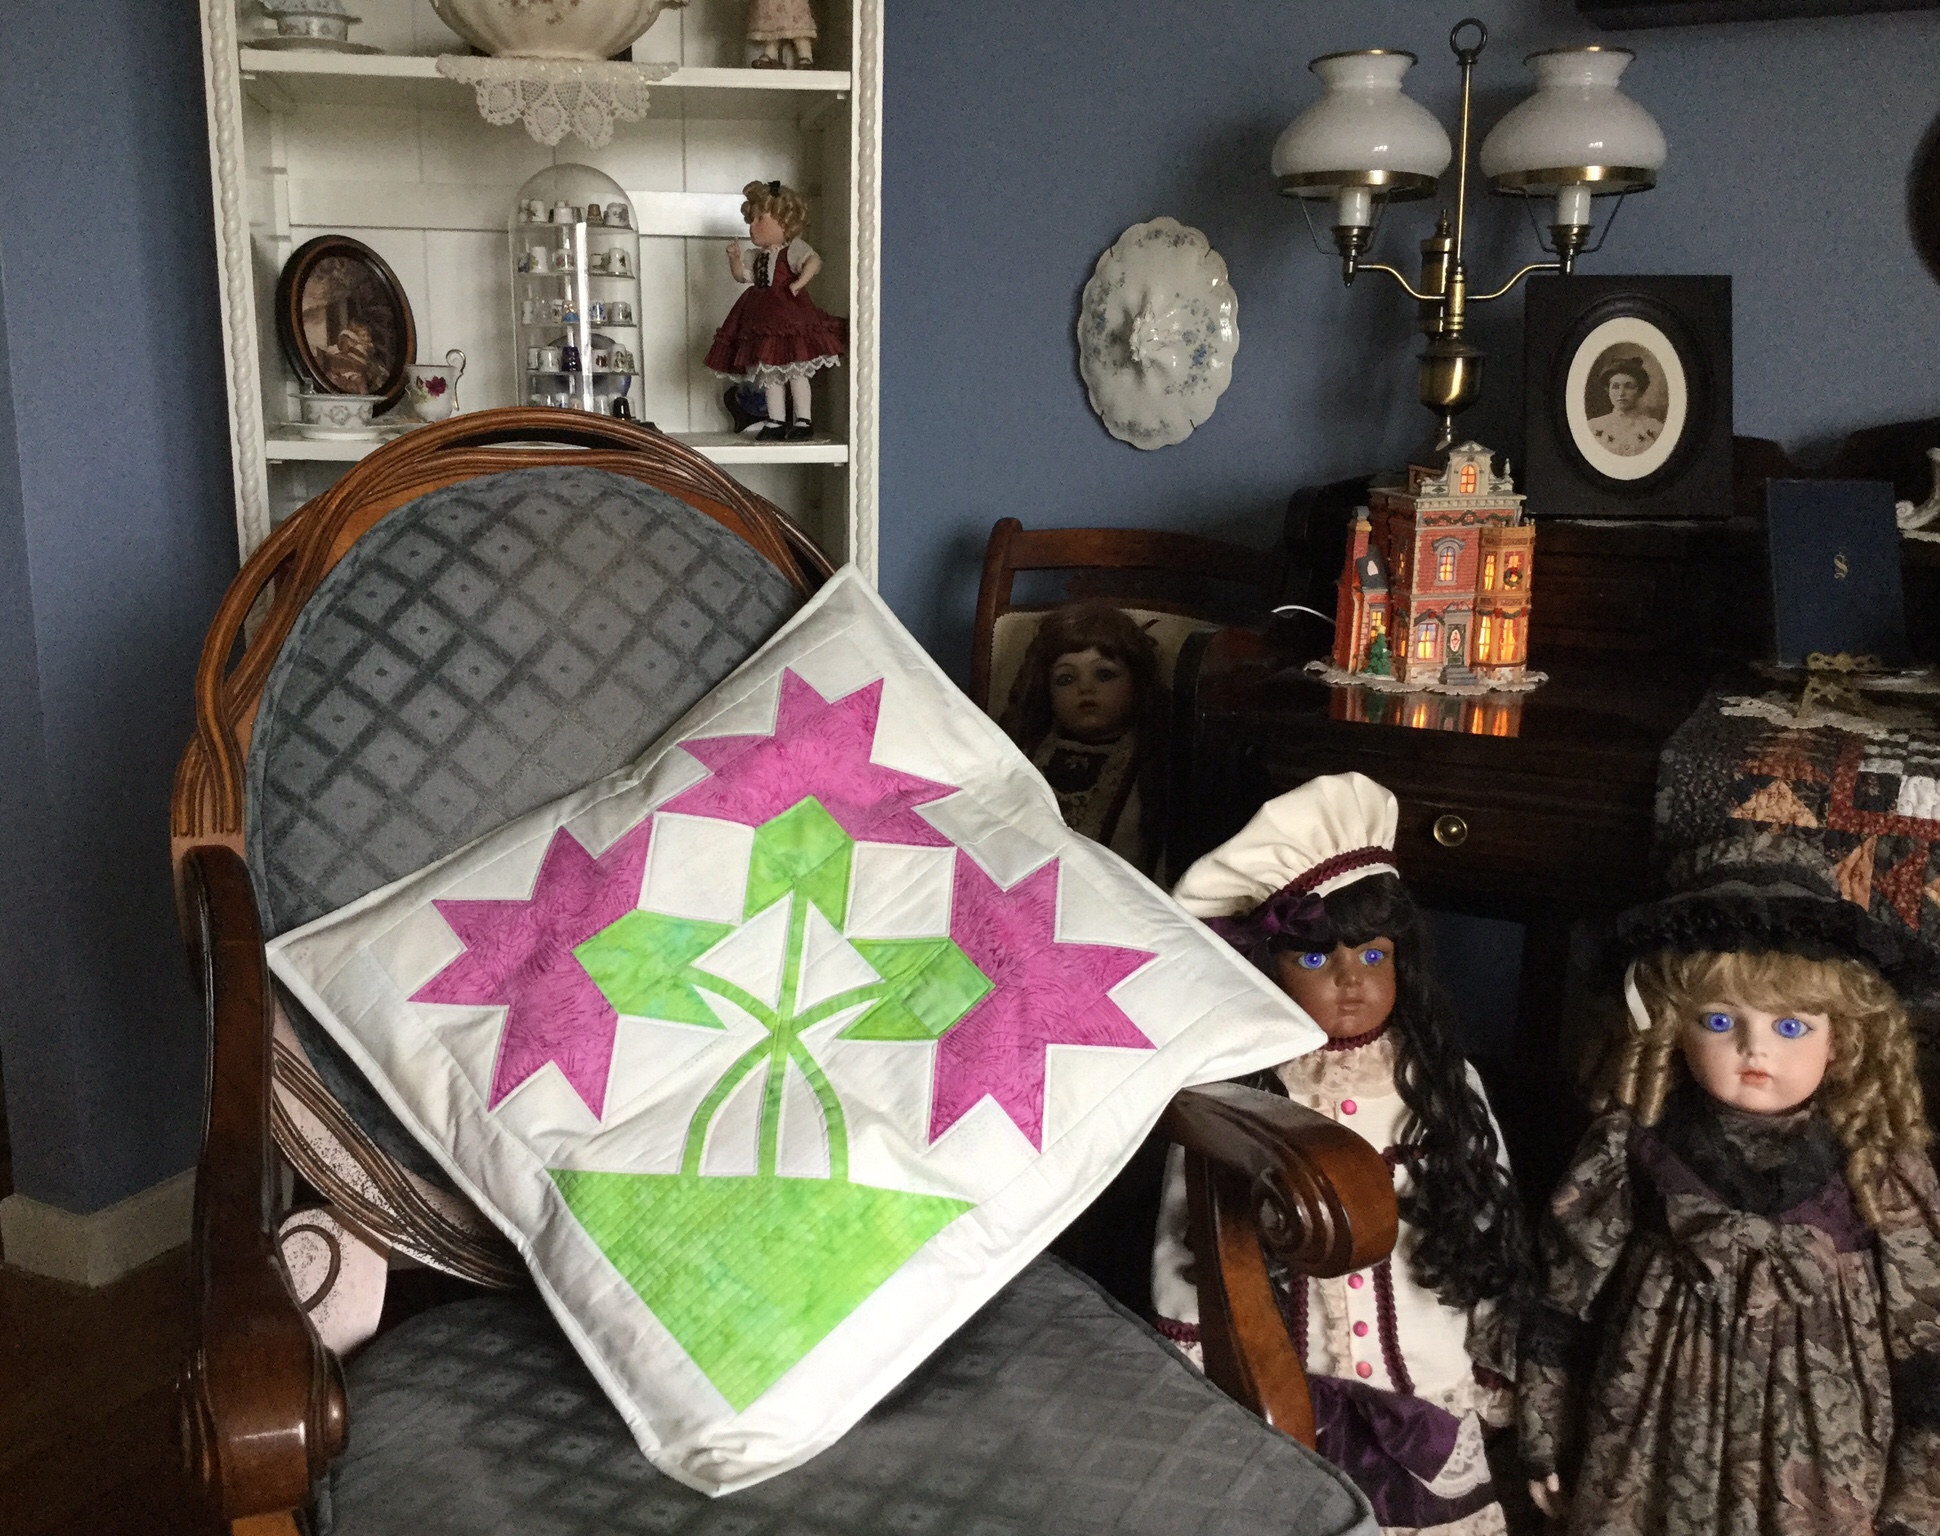
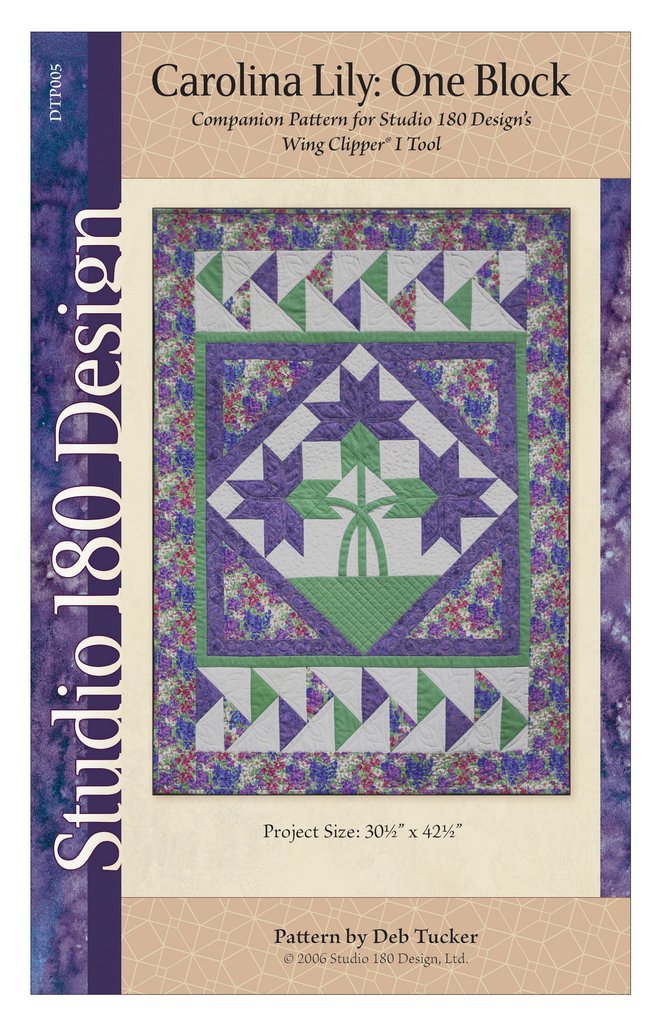
Carolina Lily is a companion pattern for the Wing Clipper I.

My fabrics from Island Batik & threads from Aurifil.

img_6145

For each of the 3 flower blocks you will need 4 flying geese units.  Two of the flying geese units will have one pink point & one green point as shown above.  Deb Tucker’s method for constructing flying geese requires one large square and 4 small squares.  The large square is my background fabric. Three of the small squares are my pink fabric, and one is the green fabric.  Using your Magic Wand draw two diagonal lines on the back of your small squares.

To make a flying geese units position one green square and one pink square right sides together in diagonally opposite corners of the one large square.  Do Not align the raw edges, instead nudge them in toward the center just a few threads & overlapping the two small squares.  Stitch on the lines and cut apart.

img_6148

Press the seams toward the smaller triangles.

Position the remaining pink squares in the corner of the previously pieced units.  Nudge the squares as you did before.  Stitch on the lines and cut apart as before.

img_6151

You now have four flying geese units, two with pink points and two with one green & one pink point.  For Right handed cutting position your geese unit horizontally on the cutting mat so it points toward you.  Align the diagonal guide lines of the Wing Clipper with the sewn seams of the flying geese unit.  Trim up the side and across the top.  (See your tool instructions for left handed cutting.)

img_6152

Rotate the unit and reposition the Wing Clipper to align cleanup guidelines with the previously trimmed raw edges and the “X” at the top with the intersection of the seams.  Trim up the side and across the top.  Do this for all your geese units.

img_6153

Construct your lily block according to pattern instructions.  The lily block measures about  a 16 1/2″, I added 2 1/2″ borders all around it.  I like the inside of the pillow to be neat with no raw edges showing.  I want to quilt this block so I cut a backing and batting larger than my block and pin basted it.

I used my walking foot and cross hatched the basket portion of the block.

I was carefully supervised during this process.

img_6159

Once I finished with the basket, I outlined the flower parts and squared up the pillow top.

img_6161

My pillow top now measures 20 1/2″.  I cut two pieces of fabric 12″ x 20 1/2″.  On each piece, along one of the 20 1/2″ edges fold it over about 1/4″, press it & fold it over again and press it.  Stitch on the pressed over edges for a nice finish.  Position these two pieces on the pillow with WRONG sides together aligning the raw edges so the finished edges overlap in the middle.  Pin in place and stitch around the outside edges of the pillow using a 1/4″ seam allowance.

img_6162

Now you have a pillow with raw edges around the outside edge.  I like to add a binding just like it was a quilt.  That way the inside of the pillow is completely finished with no unfinished edges, which is nice for washing the pillow case.

img_6166

I made this pillow for my sister Mary, but I think Tucker & Zoey are claiming it!

#islandbatik #Aurifilthread #islandbatikambassador #debtucker #studio180design