Below is a quick video showing what I am working now!
Enchanted by the Morris Creative Group for QT Fabrics is in quilt shops now.

@QTFabrics #Enchanted

Below is a quick video showing what I am working now!
Enchanted by the Morris Creative Group for QT Fabrics is in quilt shops now.
@QTFabrics #Enchanted

I am teaching at The Quilt Crossing in Boise Idaho in June. The owner of the shop is a fan of my work. She commissioned a One Block Wonder from me last year. Laura really loves Halloween and made an offer on QT Fabric‘s “Creepin it Real”.

I accepted her offer. She had 7 more “Creepin It Real” panels. These panels would enable me to make it again.

It is fun to see the differences. With the first “Creepin It Real” I cut my strips 3.75″ for 6″ finished hexies. With “Creepin It Real 2″, I cut my strips 3.25″ for 5” finished hexies. That gave me 31 more hexies than I had with the first one. The first “Creepin It Real” measures 90″ x 70″. The second “Creepin it Real” measures 74″ x 74″. Even though I had extra hexies, I did not use them all.

My new favorite ruler for cutting out my hexies is Deb Tucker’s First Choice Rulers.


TIP: I tried something different this time. Once I attached the top section, I attached one row from the left section. It was much less bulky determining where the bottom section should be attached. Then I added one row from the right side. Once the remaining left & right sections were stitched together, it would be easy to attach them to the center section.
I’m just so happy that I still have a “Creepin it Real” in my collection. I’m Looking forward to meeting Laura in June.
@QTFabrics @TheQuiltCrossing @Studio180Design #FirstChoiceRulers #Star60Tool

I unlocked the door and stepped into the room. The full moonlight shone through the window, illuminating a small table with a beautiful blooming bouquet of flowers. I saw the vase reflected on the French doors. I stepped onto the balcony and looked to my right and saw the Eiffel Tower lit up above the rooftops.

I always try to find the story the fabric is telling me. The Blooming Bouquet panel designed by Suzanne Allard and QT Fabrics transported me to Paris.


The colors were so vibrant I didn’t want to distract from them. I added Star 60 units in pink (31244P), blue (3144B) and gold (31244O). I used coordinating fabrics of purple (31244V) on the left and green (31244H) on the right.

I used the rest of the fabric for the quilt backing. Blooming Bouquet measures 82″ x 65″. Blooming Bouquet will be in quilt shops September 2025.
@QTFabrics @Studio180Design #BloomingBouquet #OmniThread #QuiltersDreamBatting

I can’t wait for Spring. This video is the unboxing of the Blooming Bouquet line designed by Suzanne Allard for QT Fabrics. The Blooming Bouquet line will be in your local quilt shops Spring 2025.
@QTFabrics @Studio180Design #QTFabrics #BloomingBouquet #Star60Tool

Bread and Butter is a fun table runner from Deb Tucker and even better when made from Qt Fabrics Autumn Smiles fabric line by Anne Lehman Stolpe. Autumn Smiles will be in quilt shops in early 2025.


This is a great beginner project to learn to use your Tucker Trimmer 1. Bread and Butter measures 18″ x 49″. The three 9.5″ blocks are made Using 3 color hour glass units. I will show you have to make the hour glass units.

Tip: I use plain plain plates to organize the fabrics required for my units.
Making 3 Color Hour Glass Units
Bread and Butter pattern Steps 1 -7 show you how to make your hour glass units.

Pair 3 “A” squares with 3 “B” squares and pair 3 “A” squares with 3 “D” squares.

Mark one of every pair with 2 diagonal lines using the Magic Wand.


Stitch on the drawn lines and then cut them apart.

Press toward the “A” fabric. You will end up with 6 A/B units and 6 A/D units. Remember: whatever you are pressing toward, goes on top.

Mark the back of the A/D units on with 2 diagonal lines using the Magic Wand.


Position each of the A/B units with right sides together with A/D units. Be sure the A’s are not layered on top of each other. Carefully align the center seams. Stitch on the lines and cut apart.

Swirl the centers and carefully press, ensuring the sections are completely pressed to the seams.


This is a 3.5″ unfinished hour glass unit. Place the half circle in the upper right hand corner of the unit. Carefully align both the common diagonal and 3.5″ size diagonal lines over the center seam lines of the unit. Trim up the right side and across the top. Rotate the unit. Line up the 3.5″ lines with the just trimmed raw edges and the 3.5″ size diagonal line as before and again trim up the right side and across the top. (Lefties place the half circle on the Tucker Trimmer in the upper left corner so they can trim up the left side and across the top.)


Make 12 – 3 color Hour Glass units. Follow Steps 8 – 10 to make the pieced units that will be the corners of the block. Note: Deb Tucker has a new Timeout Technique Sheet for these corner units.


Lay out the hour glass units, corner units and the center “G” square as shown above. Stitch into rows.

Join the rows to make the 9.5″ unfinished block. Finish your Bread and Butter table runner by following pattern Steps 12 – 18.


Back of the table runner.
@QTFabrics @Studio180Design @DebTucker #BreadandButter #TuckerTrimmer1 #AutumnSmiles
Click here for a supply list using Autumn Smiles fabrics:

Check out my unboxing video of new QT Fabrics coming out early 2025.
@QTFabric #Bohemian Sunrise #Autumn Smiles #TuckerTrimmer1 #Star60
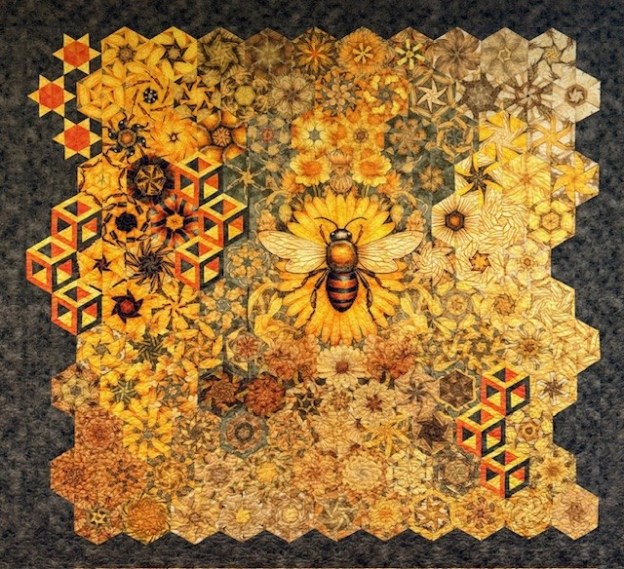
When I started cutting the hexies from Queen Bee strips, I knew it was going to be a beautiful OBW! The Queen Bee panel is by by QT Fabrics. It measures 36″ x 44″. The Queen Bee line will be in stores June 2024.
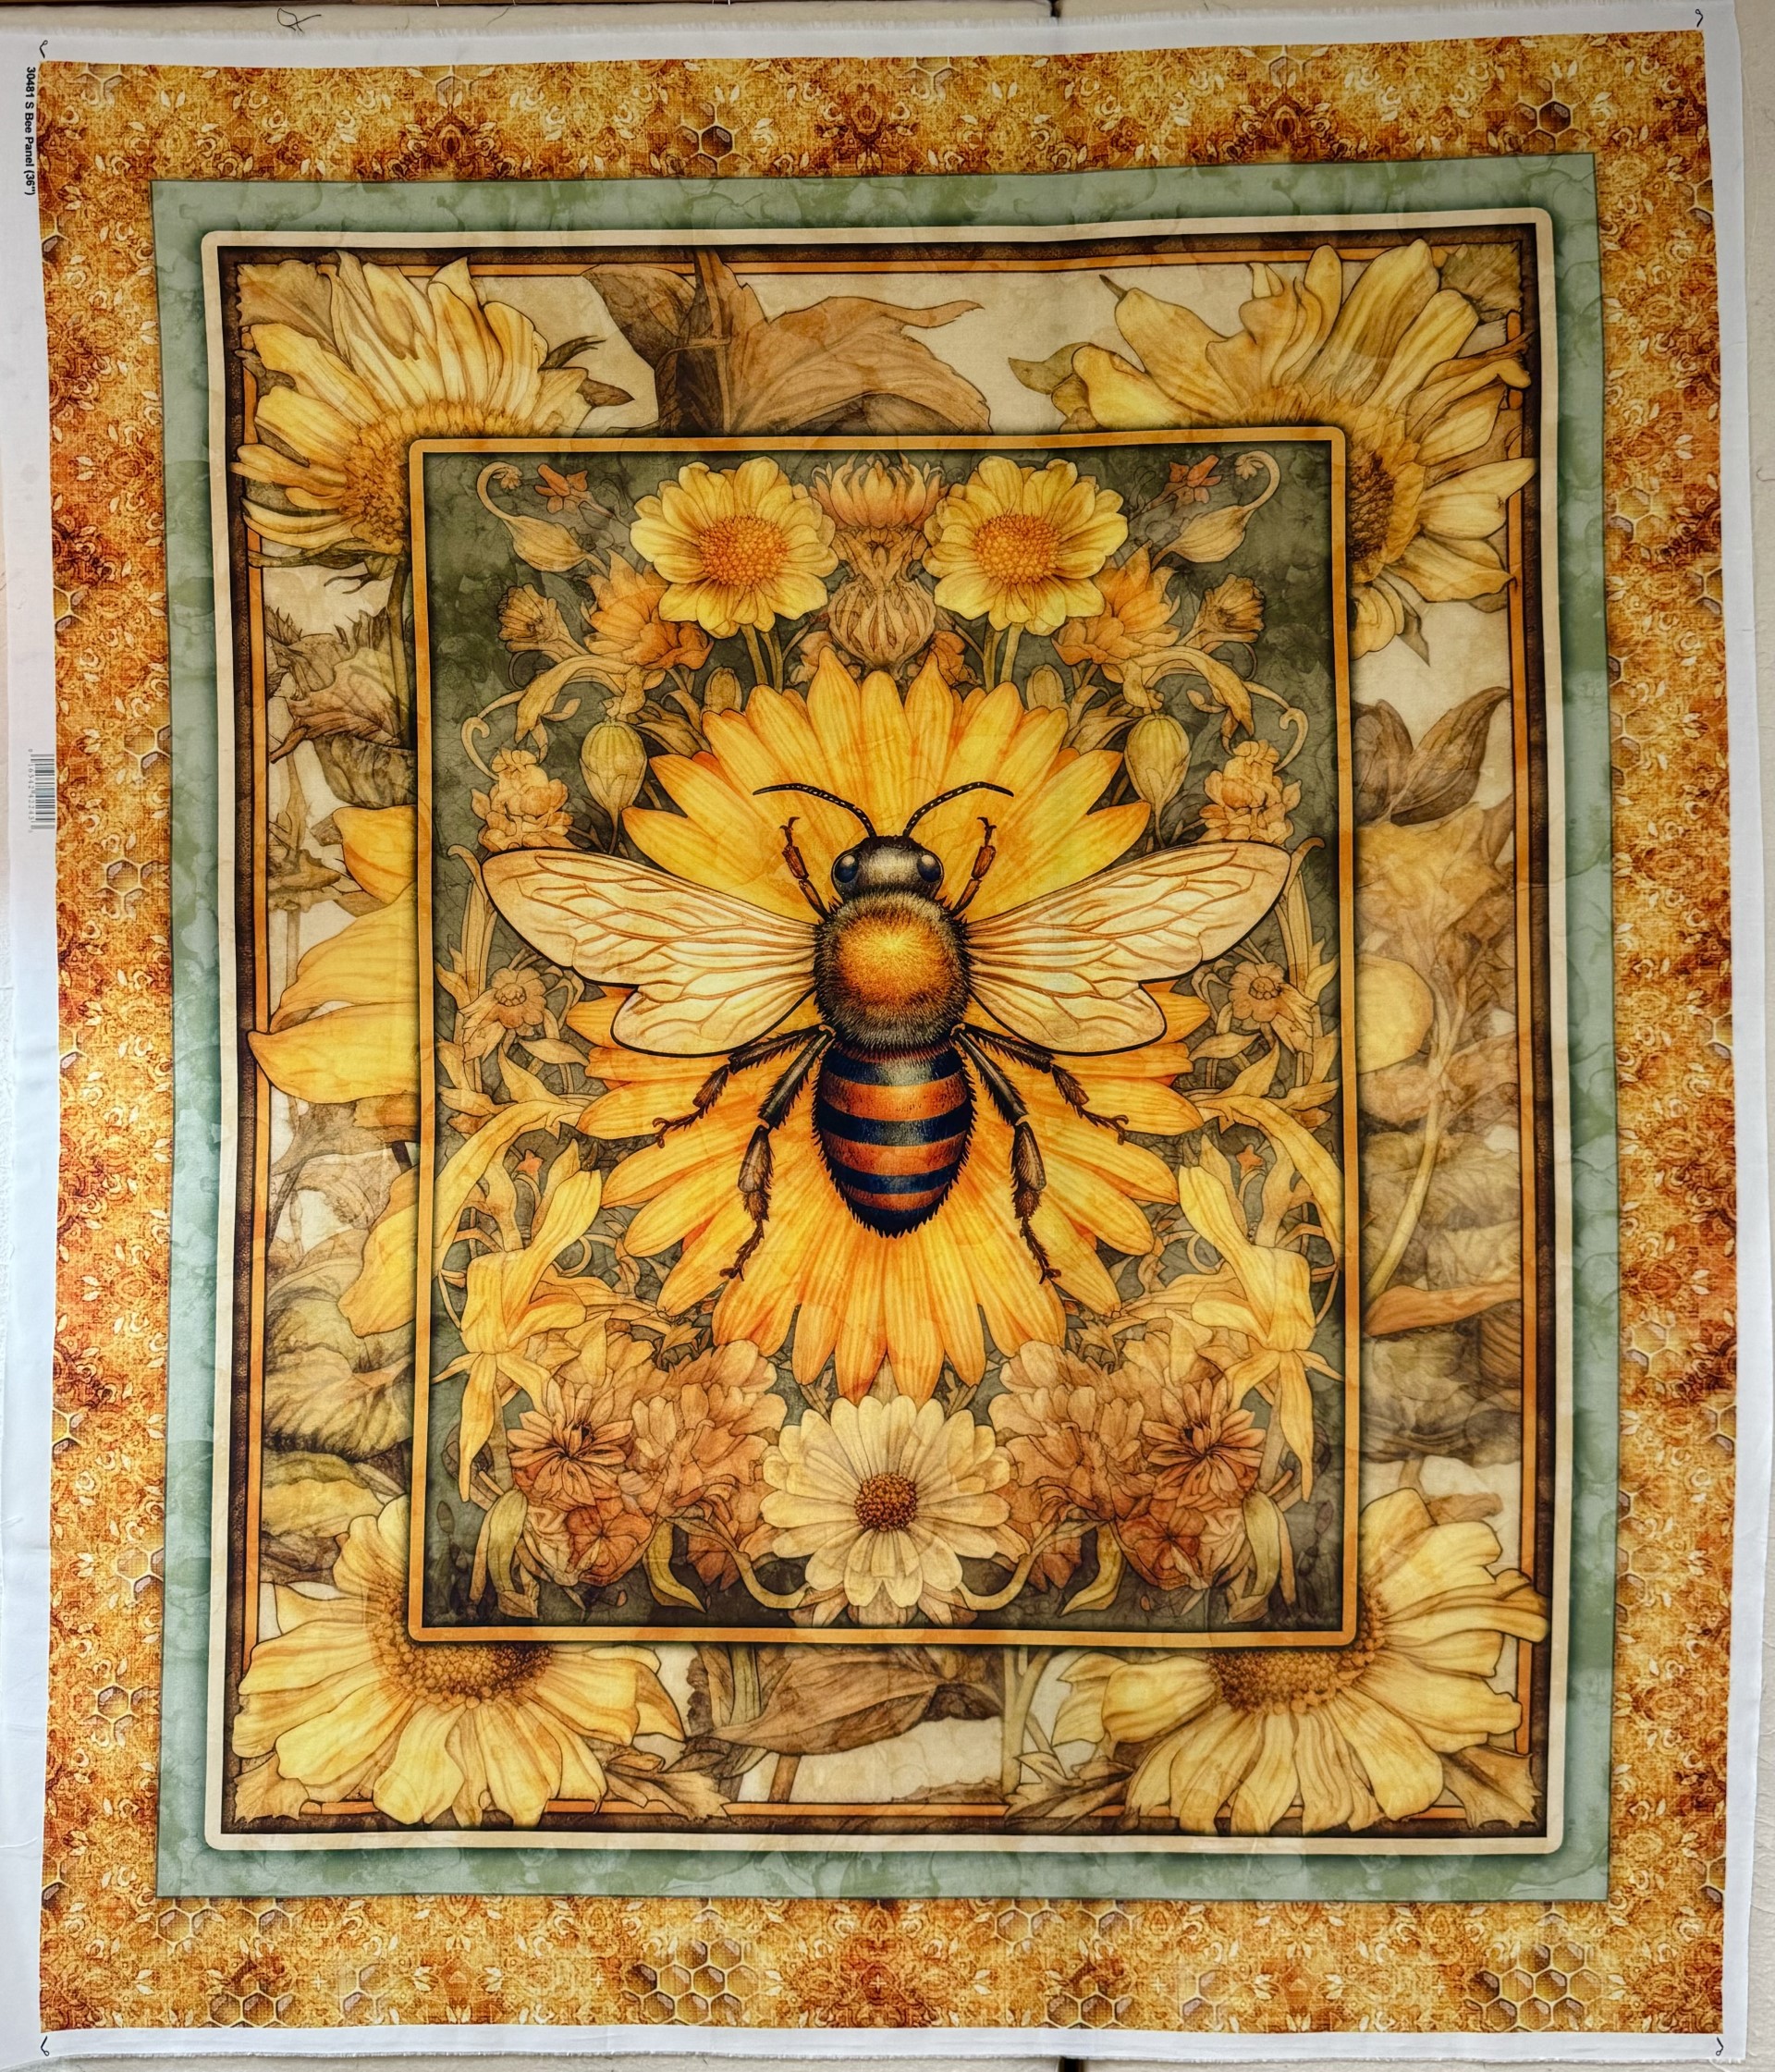
I cut my strips for the hexies 3.25″ for 5″ finished hexies. I cut off the borders. The inner border containing flowers measured 3.25″ so I was able to use them for more hexies. I had a total of 106 hexies to design with.
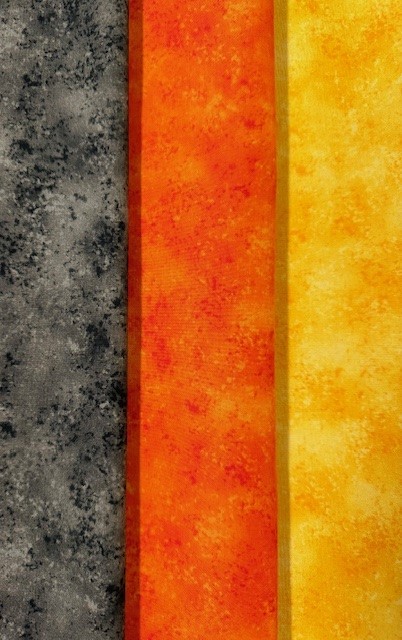
I used QT Fabrics blender line Rapture to create Hollow Cube 60‘s, using the Studio 180 Design Star 60 tool. I chose Charcoal, Orange and Marigold to make the cubes and half hexies surrounding the quilt. The Rapture fabrics were perfect.
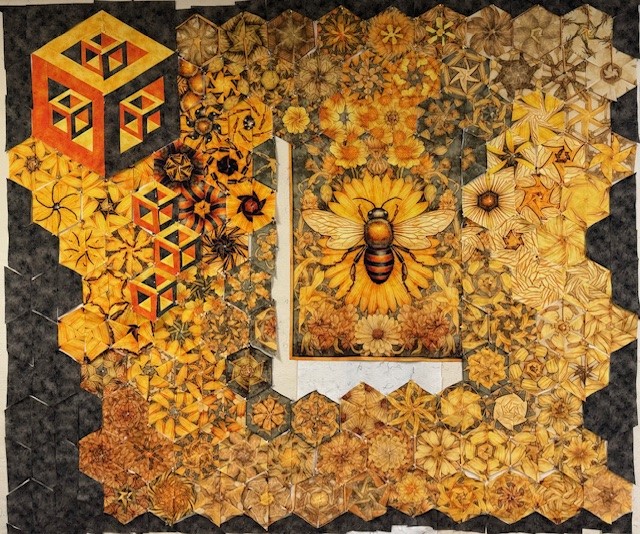
I started out by making a 15″ Hollow Cube 60 containing 5″ Hollow Cube 60’s, but I felt that it over powered the bee.
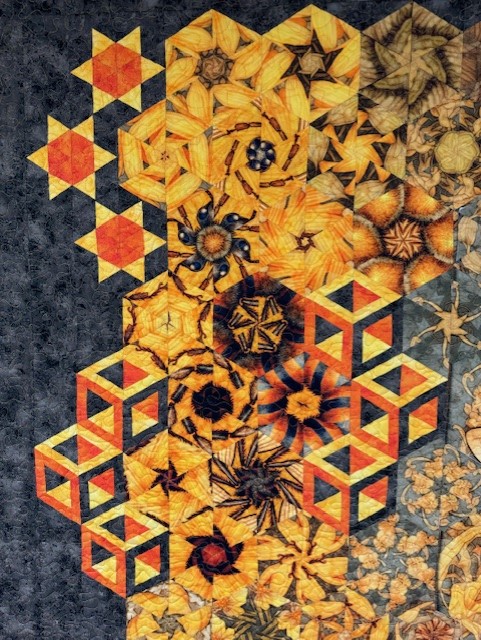
I decided to make 5″ finished Hollow Cube 60’s and Quad 60 stars.
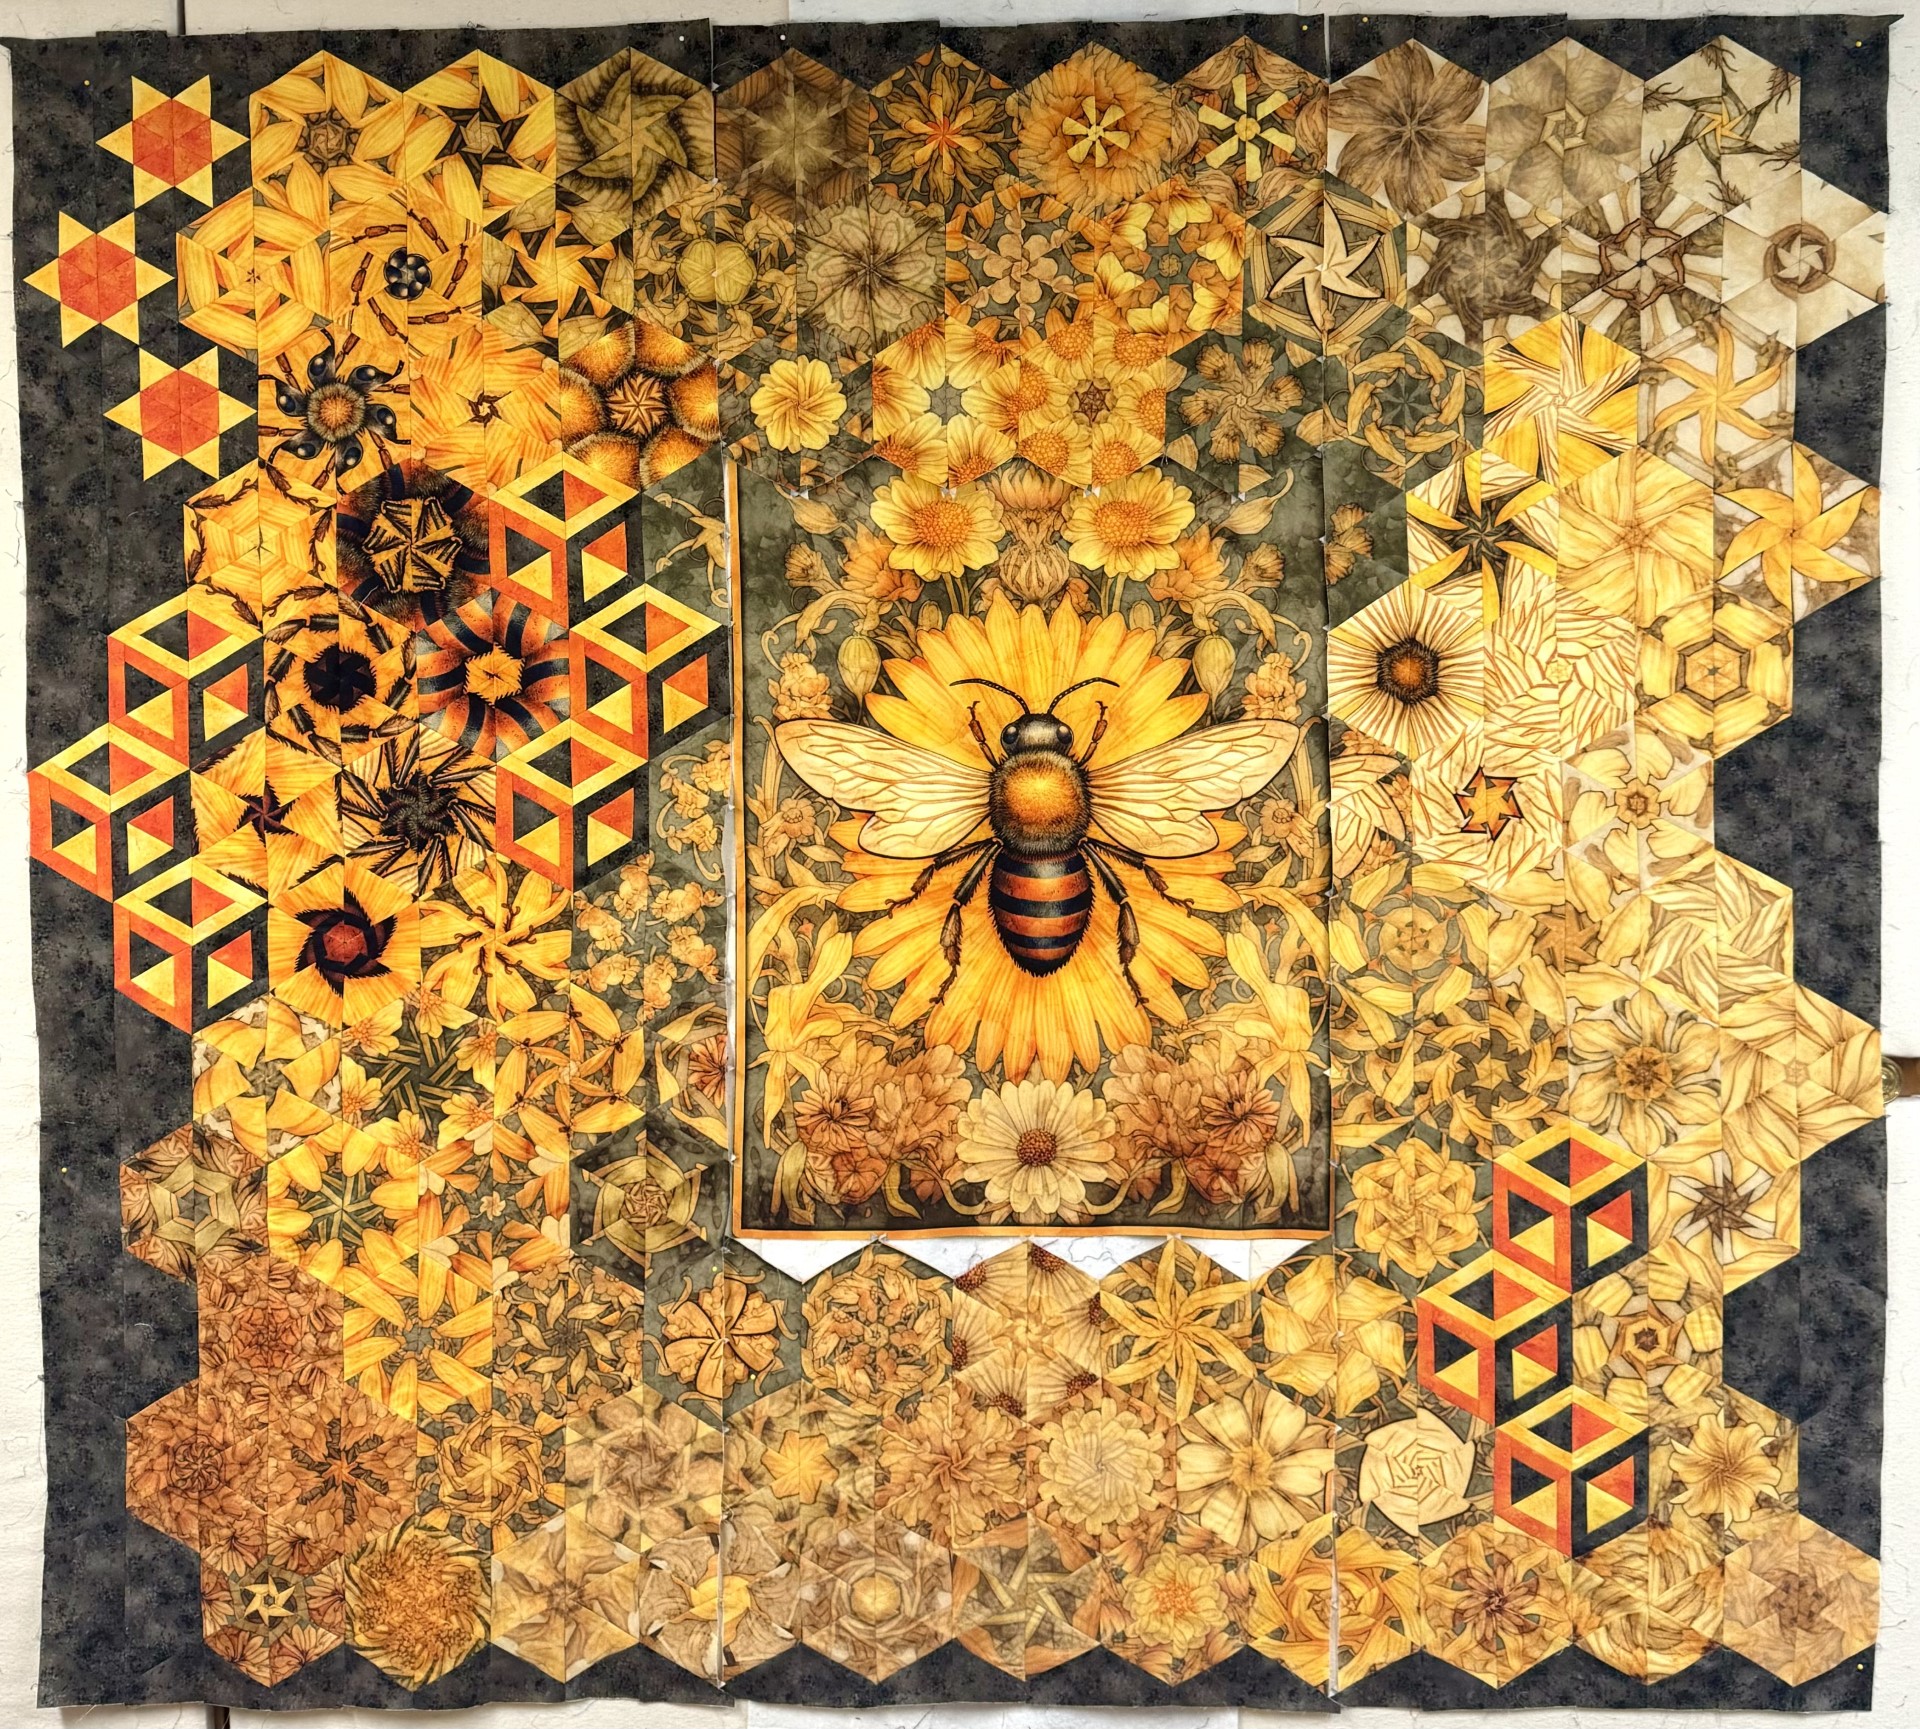
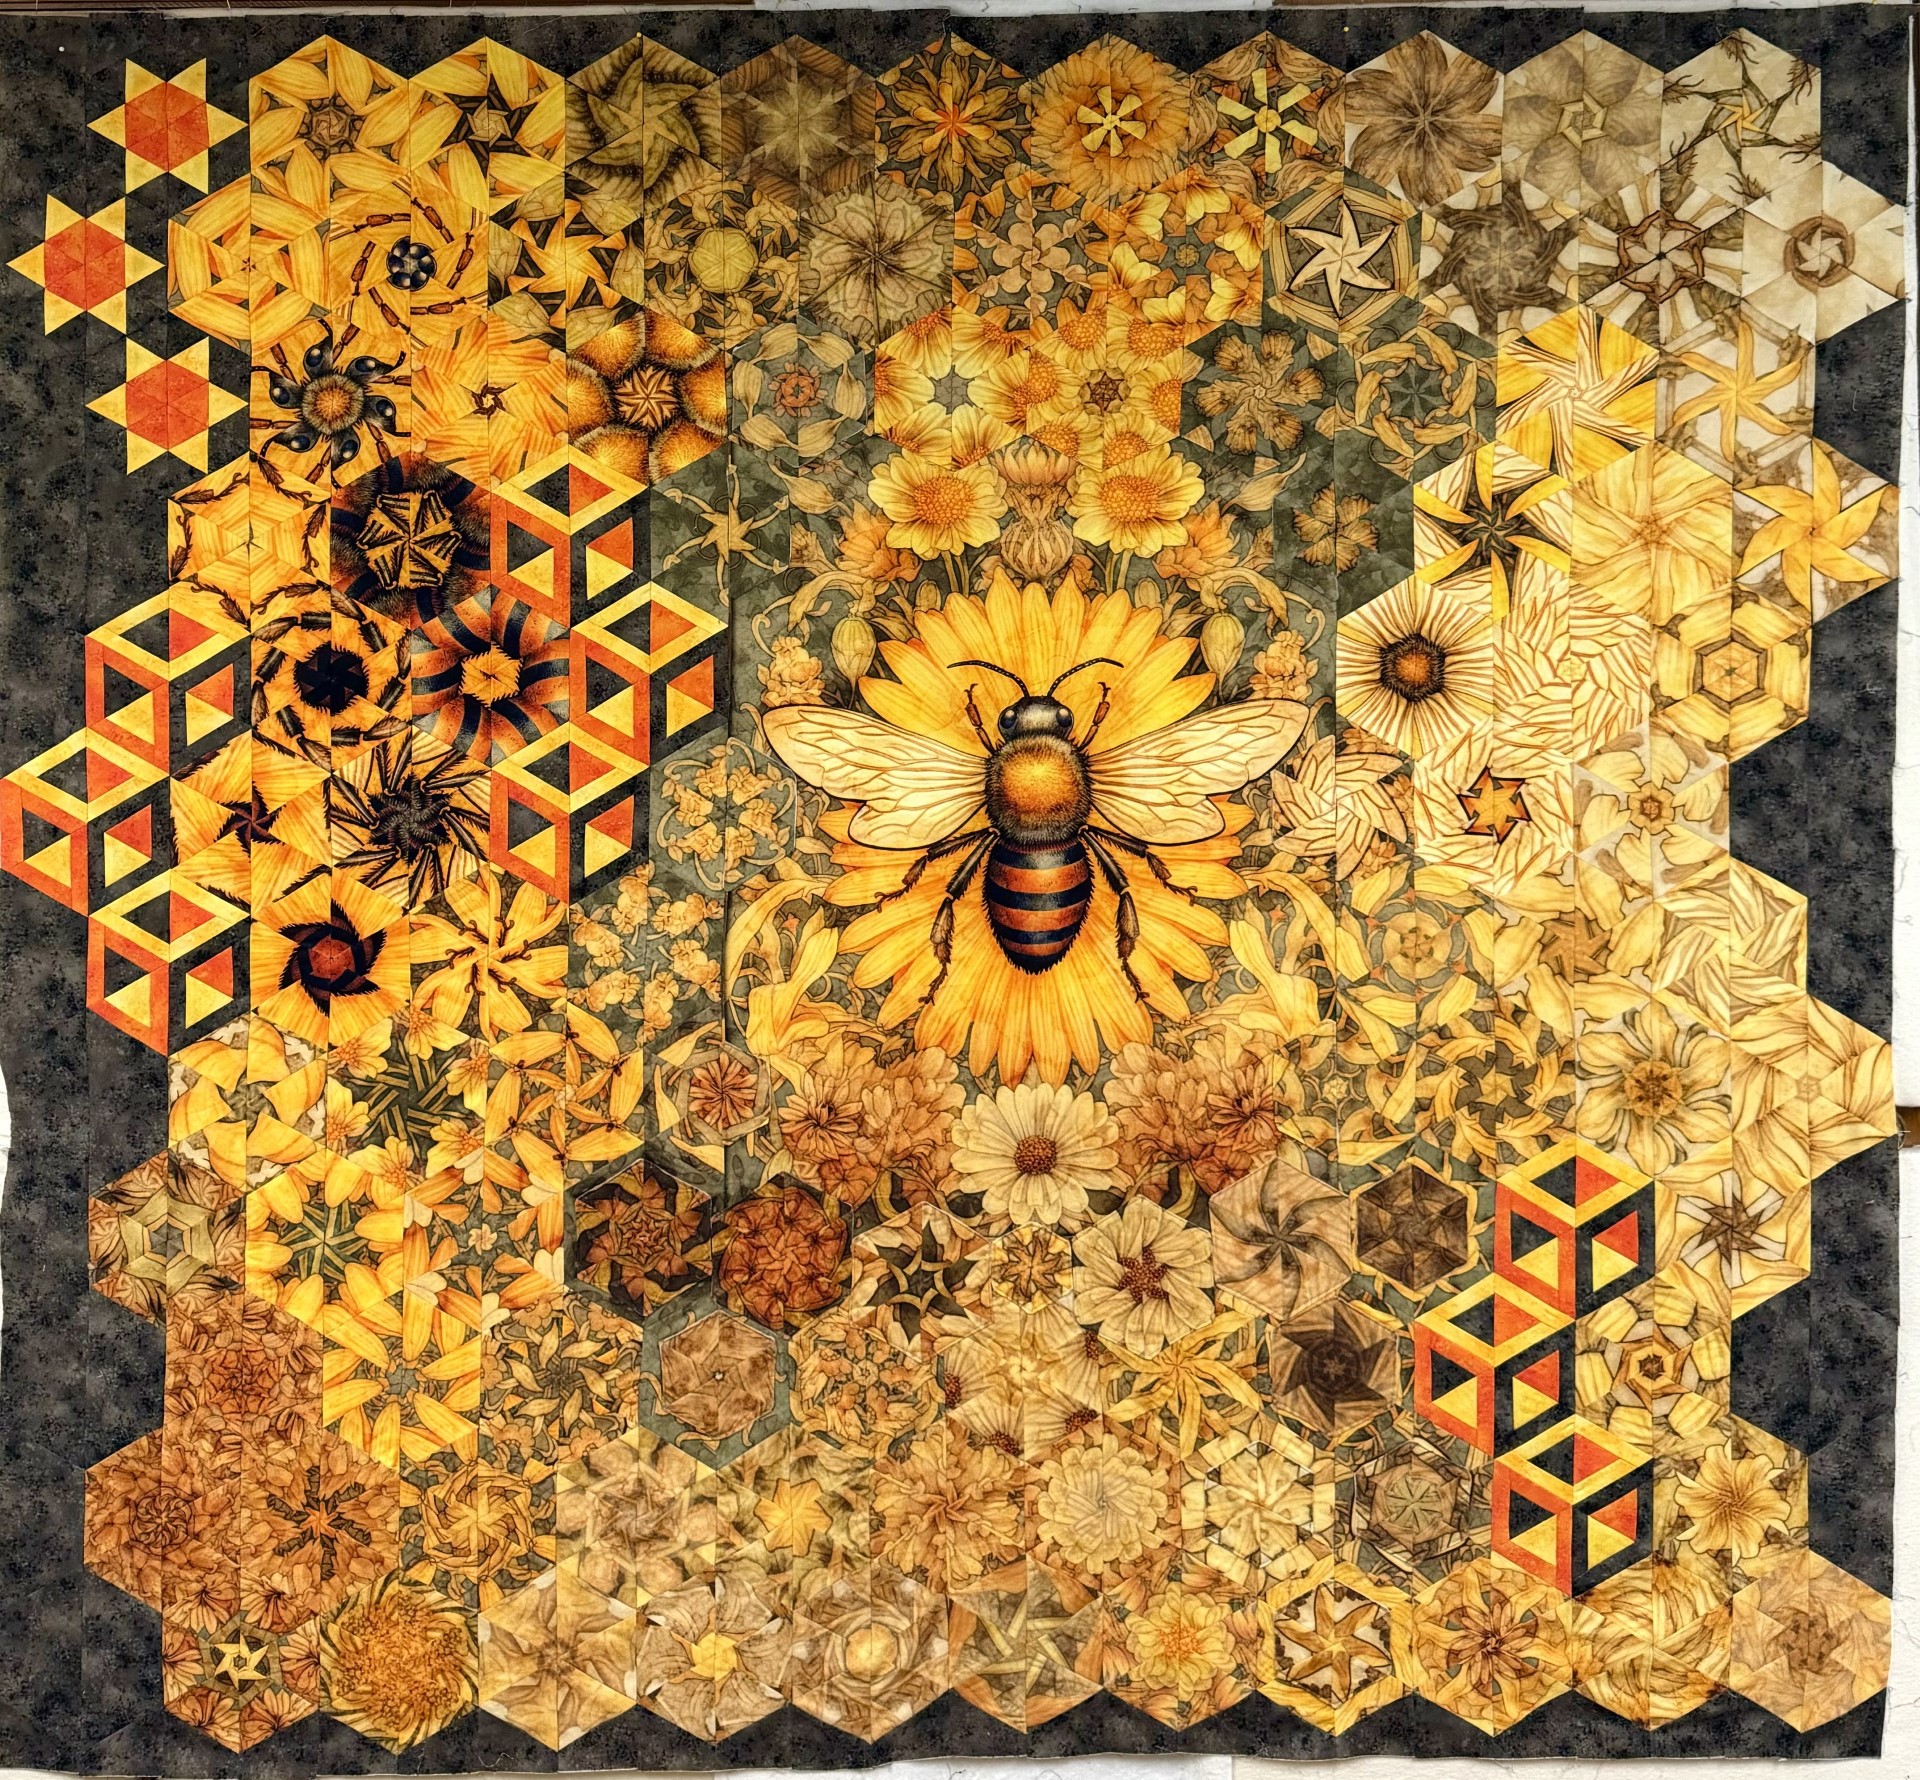
After I completed my four sections and laid them out around the panel, I realized I needed to add a strip to the bottom of the panel to be able to join the bottom section to the panel. That meant I would have to hide the strip by appliqueing hexies. The photo on the right above shows that you can no longer see where I added the strip of fabric.
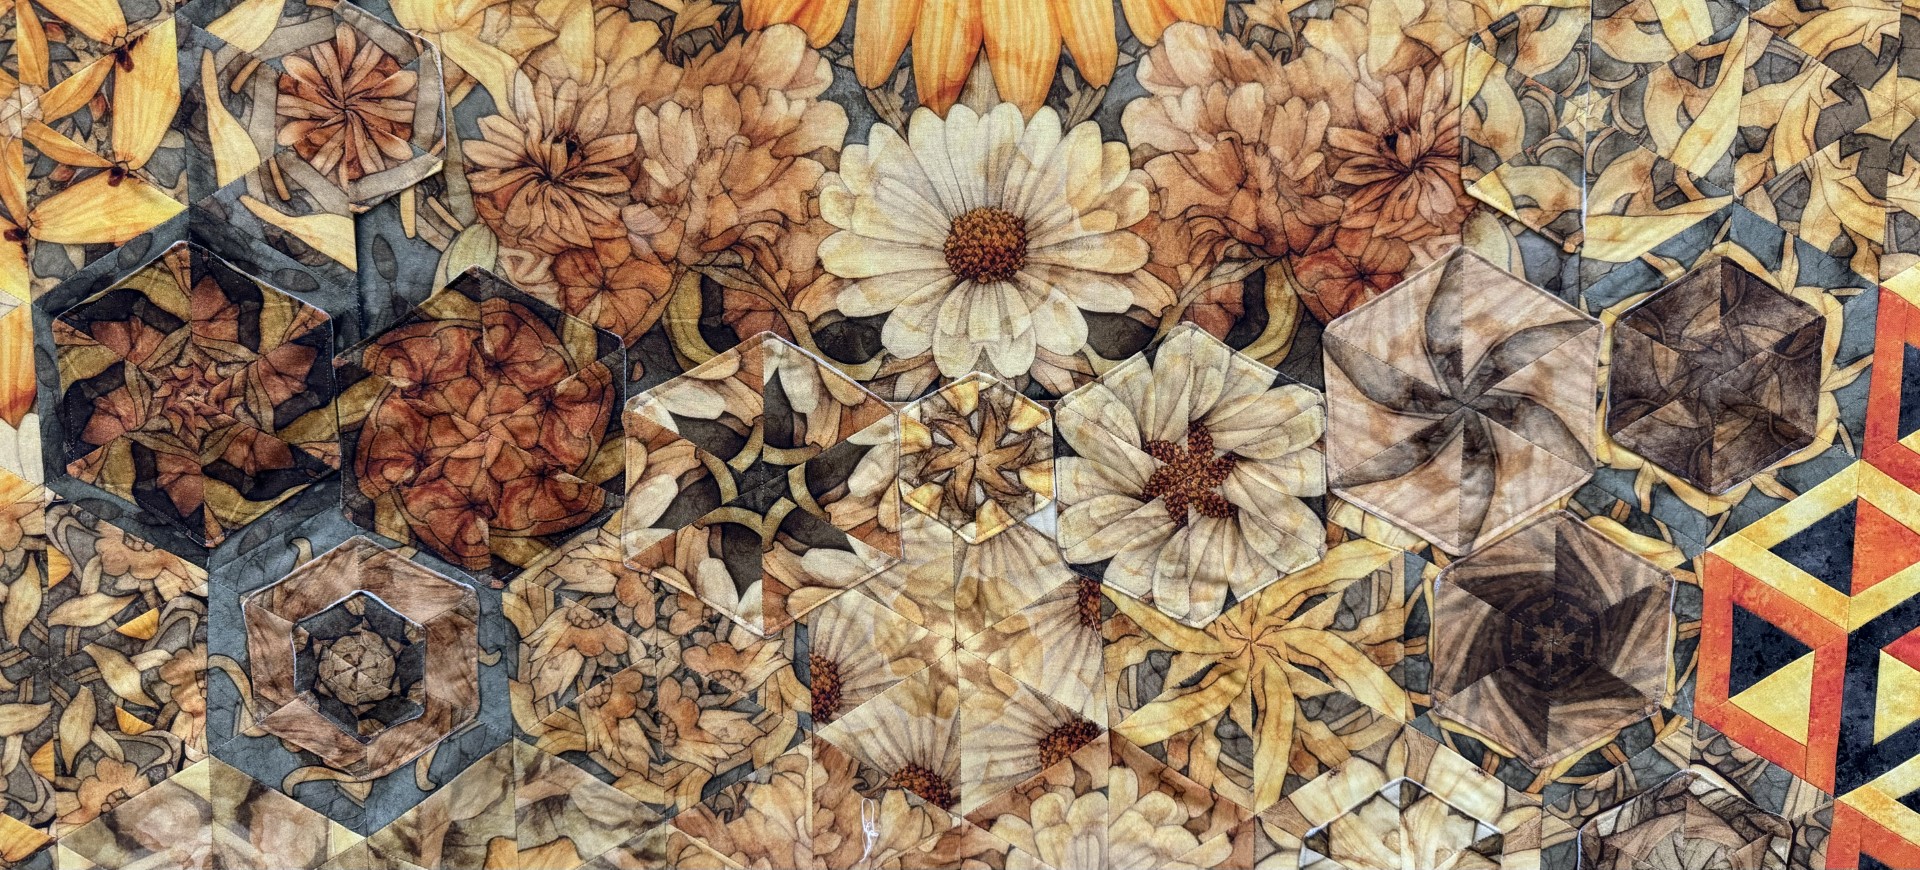
Above shows a closeup of the hidden strip. I applique hexies of various sizes to tweak my design.
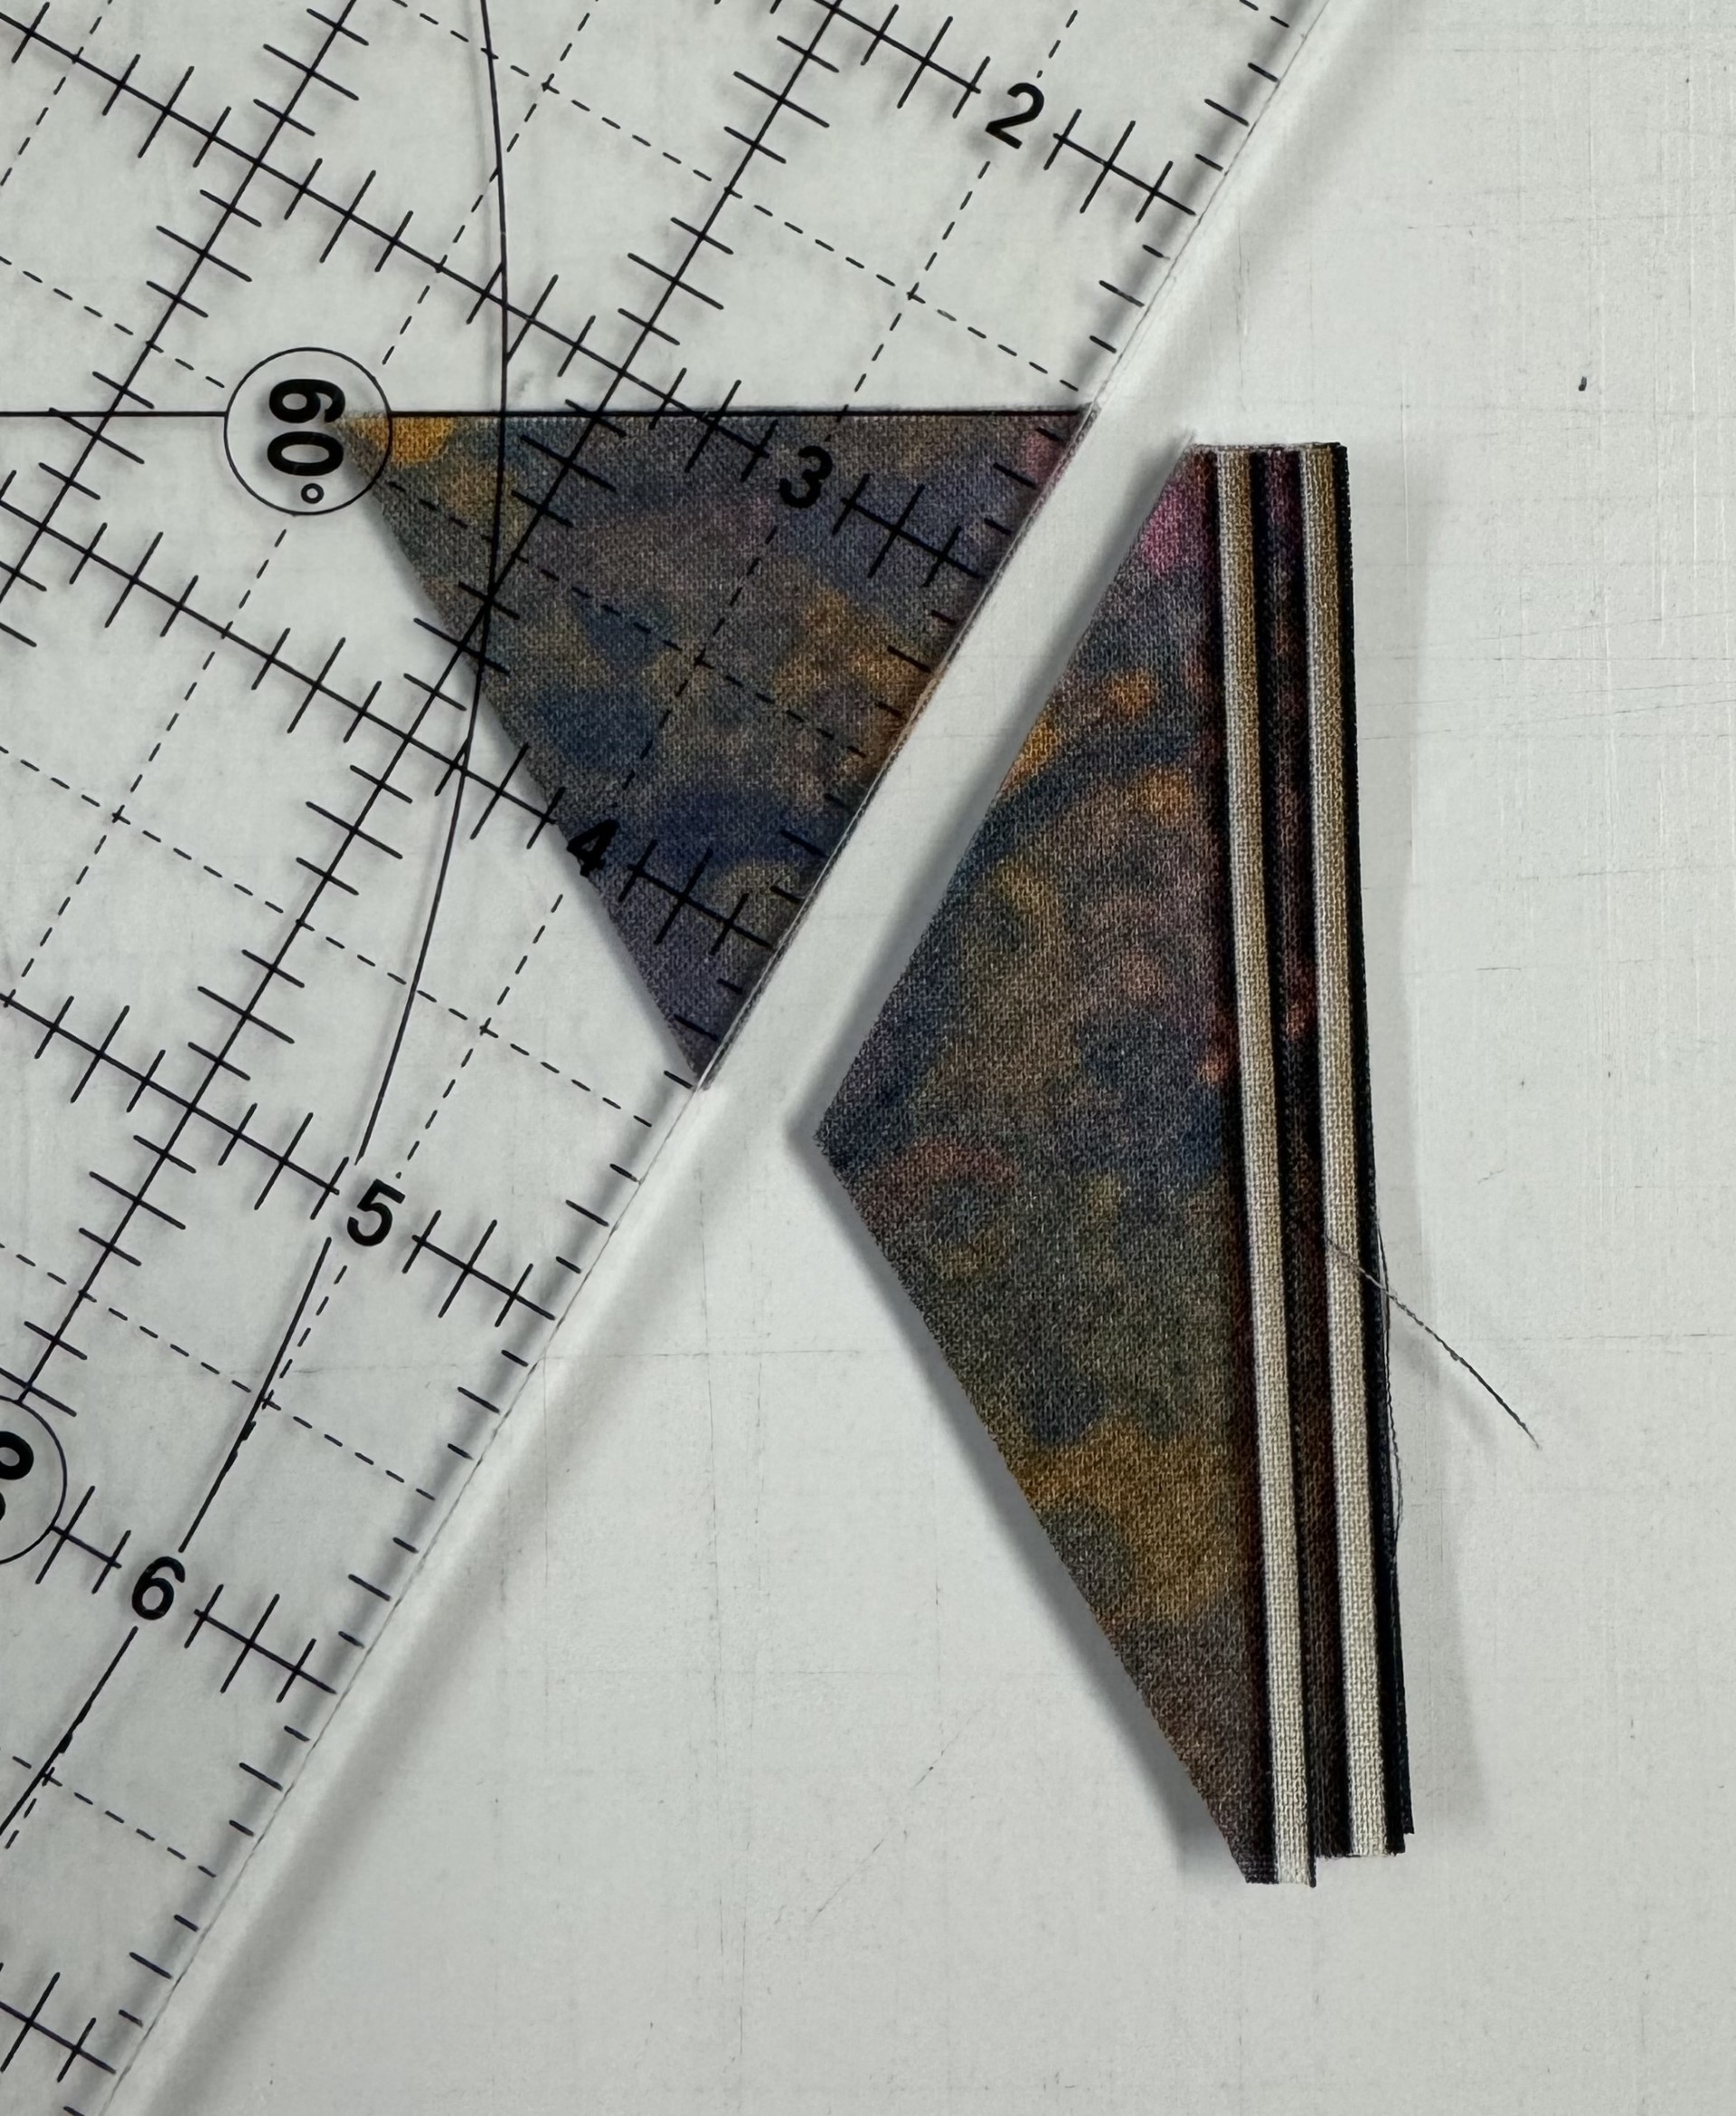
TIP: When you cut your hexies from the strips, you have a leftover piece on both ends. One side of the leftover already has a 60 degree angle. If you put the 60 degree line of your ruler on the straight edge of the leftover piece as shown above and cut , you will have a small hexie that can be appliqued on your OBW. Below I have created a lesson on how I create appliqued hexies.

Queen Bee measures 65″ x 60″. I absolutely love the way my Queen Bee OBW came out. Queen Bee will be in stores June 2024.
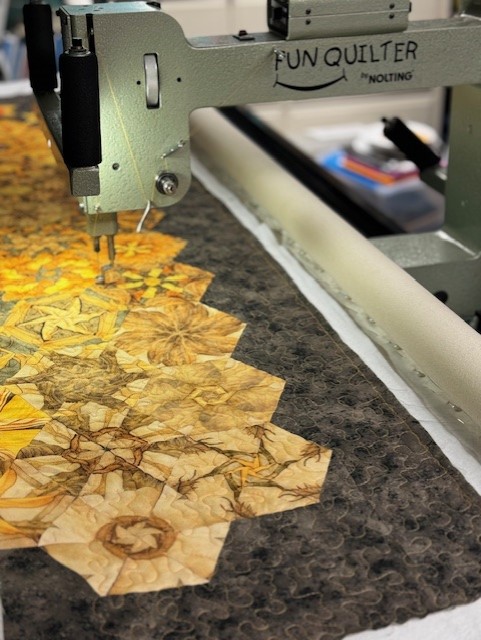
As I was quilting Queen Bee it occurred to me I was making a Bee Line, LOL!
@all @QTFabrics @QTCreatives @Studio180Design #QTFabrics #Studio180Design #Star60 #HollowCube60 #QueenBee
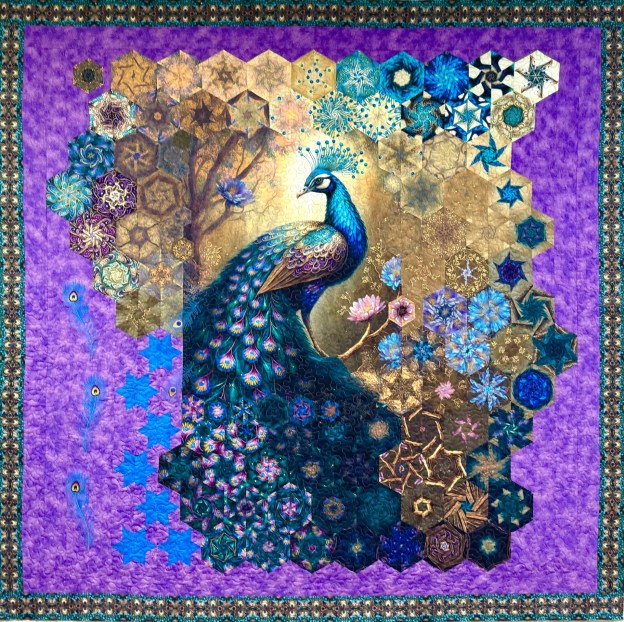
I fell in love with this panel the first time I saw it. The colors are just fabulous. Resplendent is by QT Fabrics. The panel measured 36″ x 44″. Resplendent will be in stores June 2024.
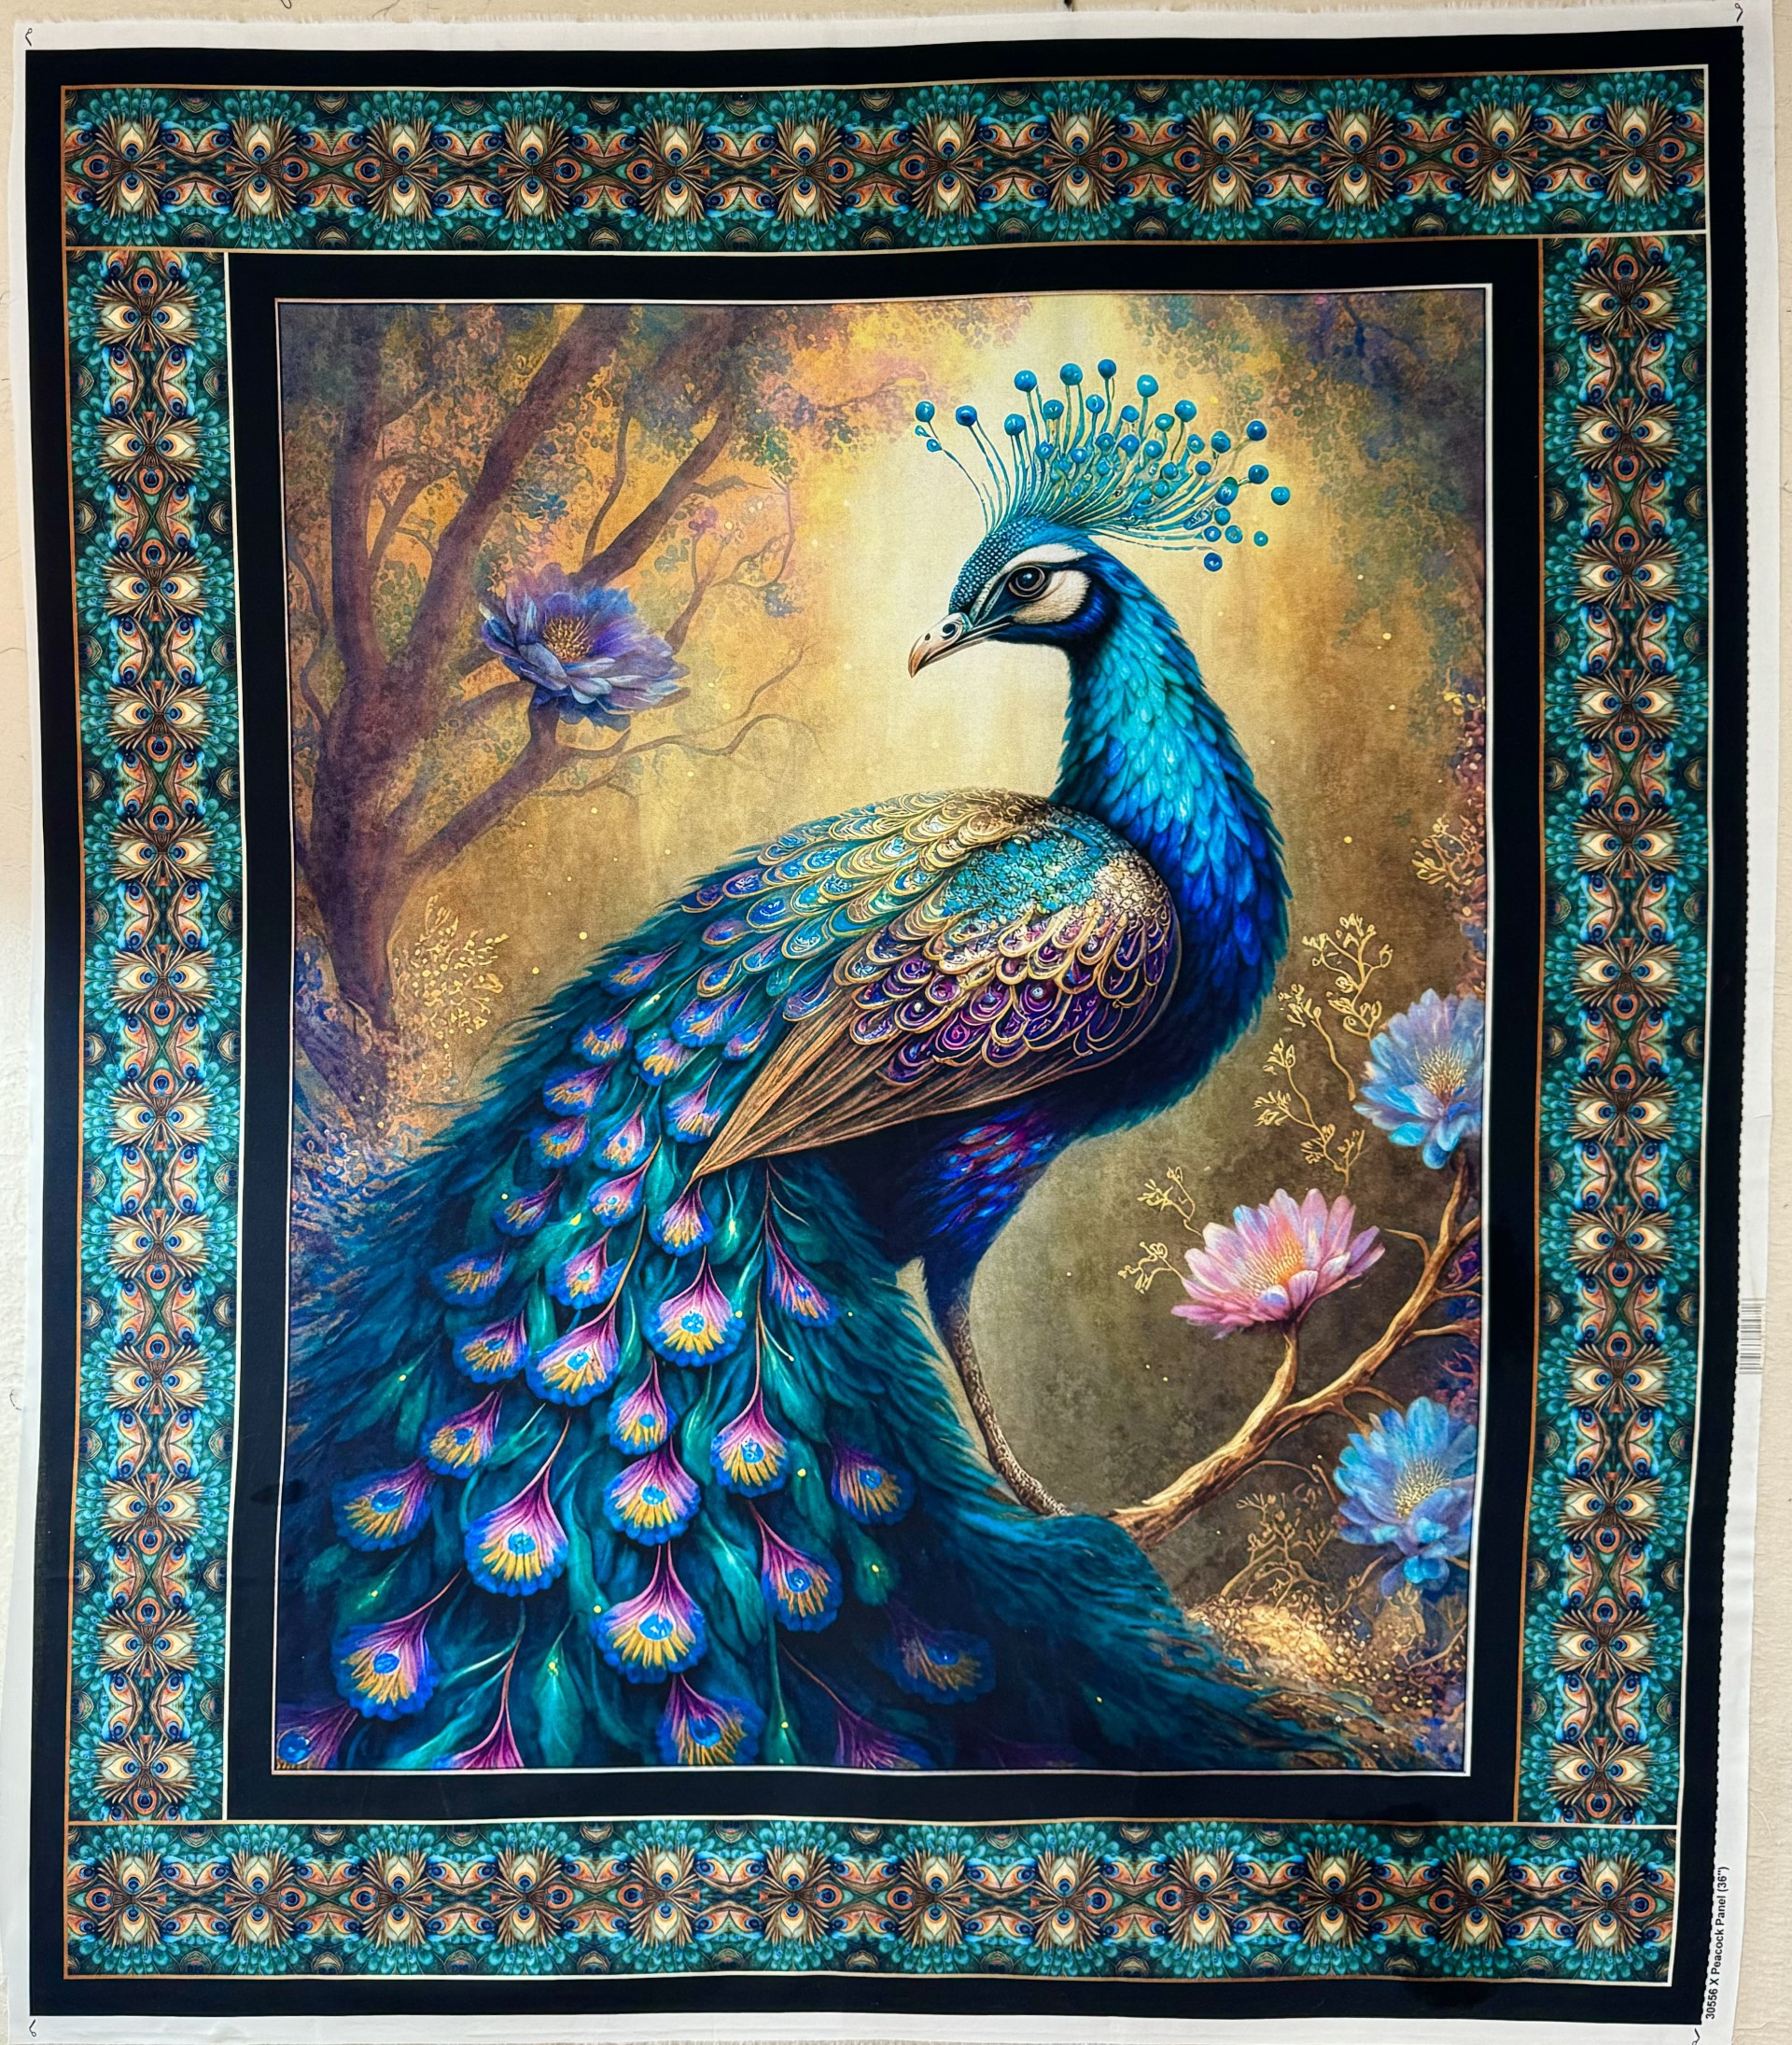
I removed the borders and saved them to use as a outer border and binding for the finished quilt. I cut my strips 3.25″ for 5″ finished hexies. I had a total of 105 hexies to design with.

I created Star 60 stars and surrounded the peacock with half hexies using QT Fabrics blender line Rapture. The colors Ocean and Amethyst blended beautifully.
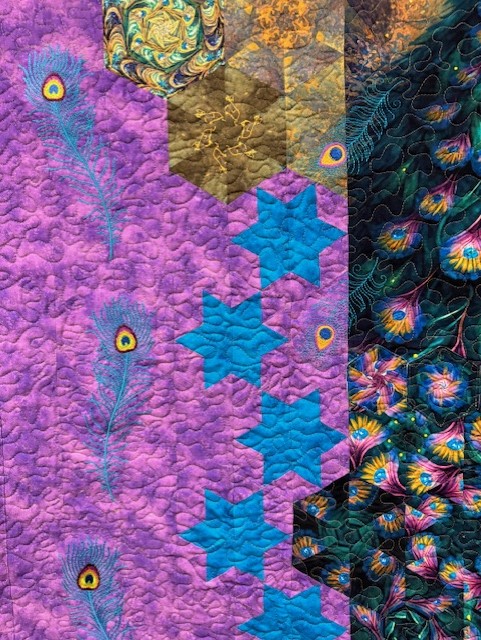
I embroidered peacock feathers to add to the design. I’ve had the large feathers for many years. I downloaded them from The Stitchery Mall by Dancing Thread. The small peacock feahers were purchased from OESD.
I made the stars using Studio 180 Design’s Star 60 Tool. I’ve created a lesson plan to share with you to show you how easy it is to make a Star 60 star.
Below are the Star 60 Tool Instructions:

Resplendent measures 70″ x 70″
@all @qtfabrics @resplendent #QTFabrics #Resplendent @studio180design #studio180design #star60 @QTCreative

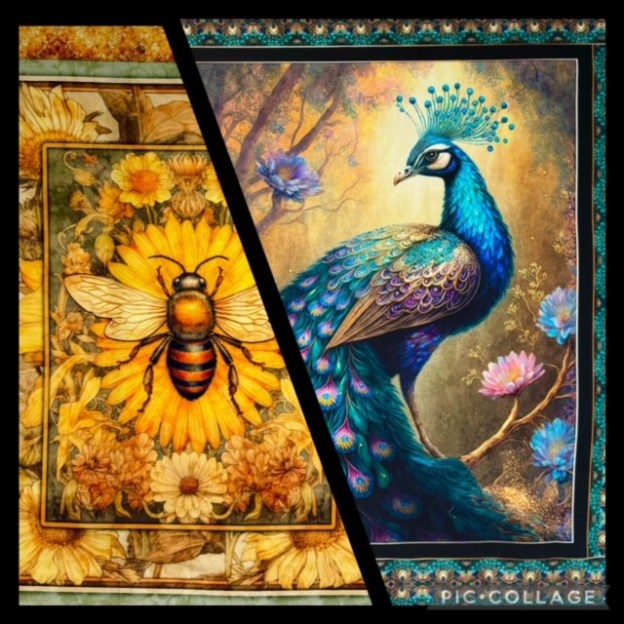
I wanted to share some of my OBW progress with QT Fabric panels Resplendent and Queen Bee.
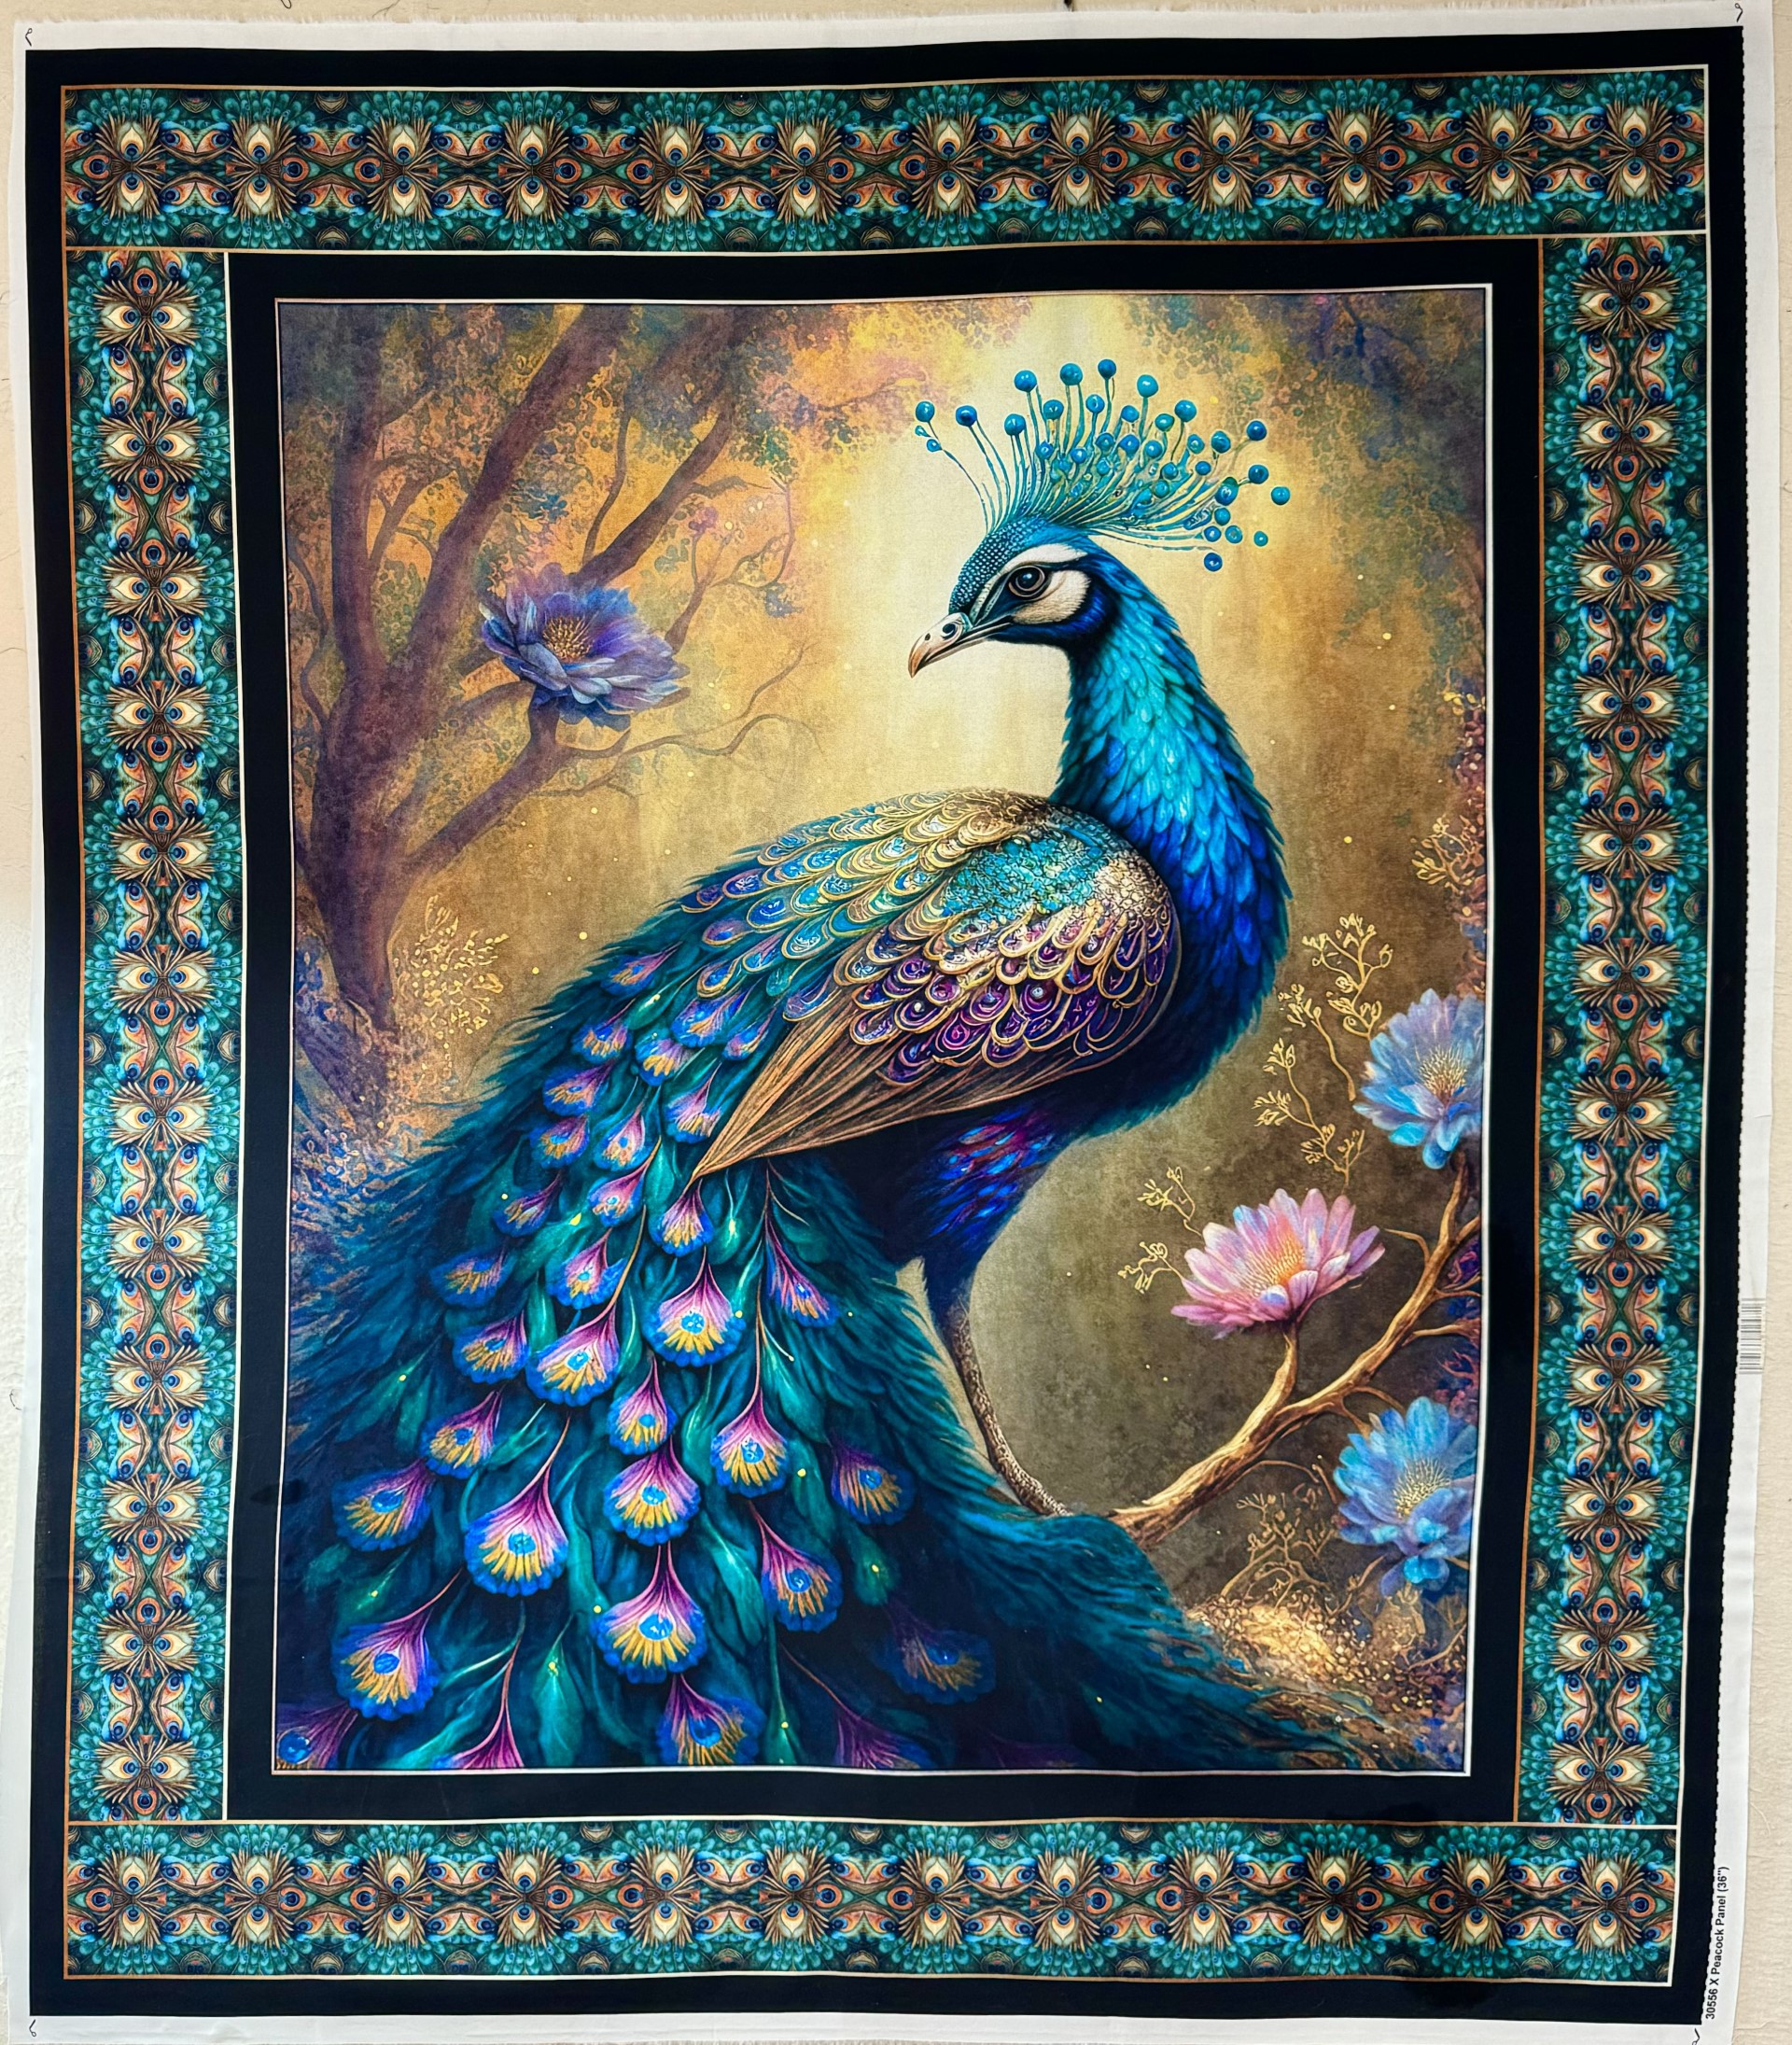
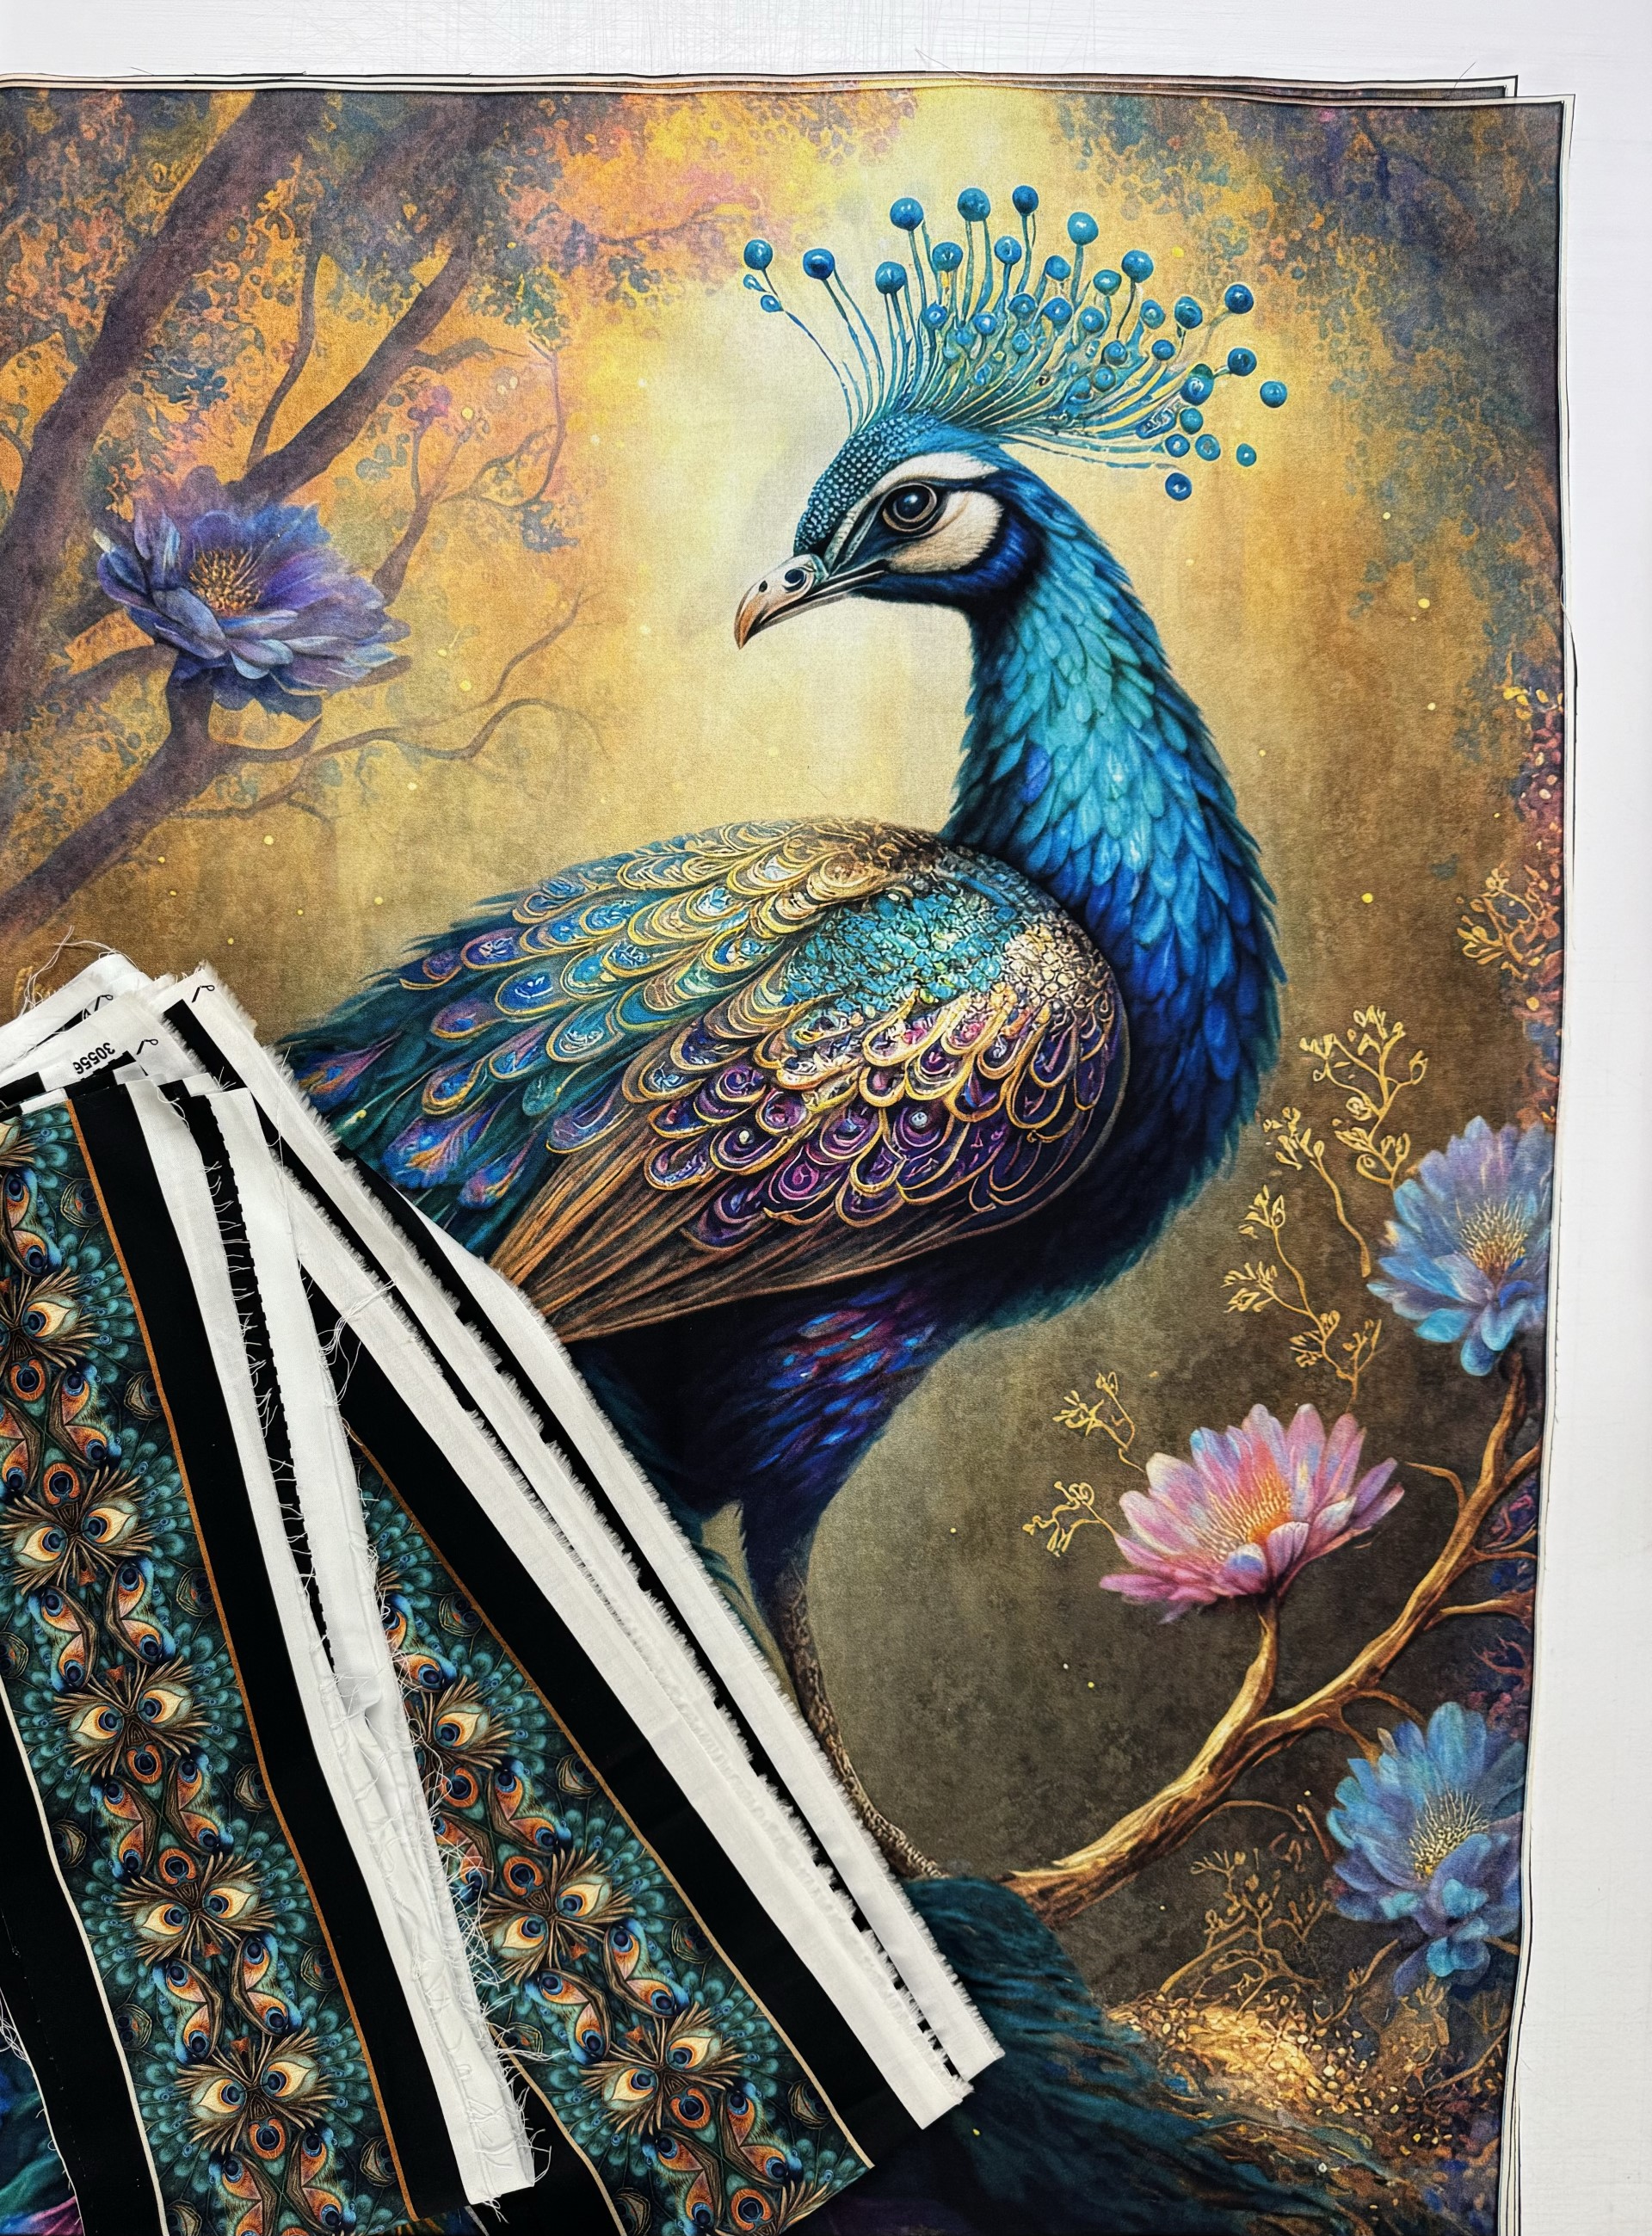
QT’s Resplendent panel, measures 36″ by 42″. I decided to cut off the borders. They measured 3.25″ wide. I will save them for the quilt border and for binding. The inside of the panel measured 25 1/4″ wide.
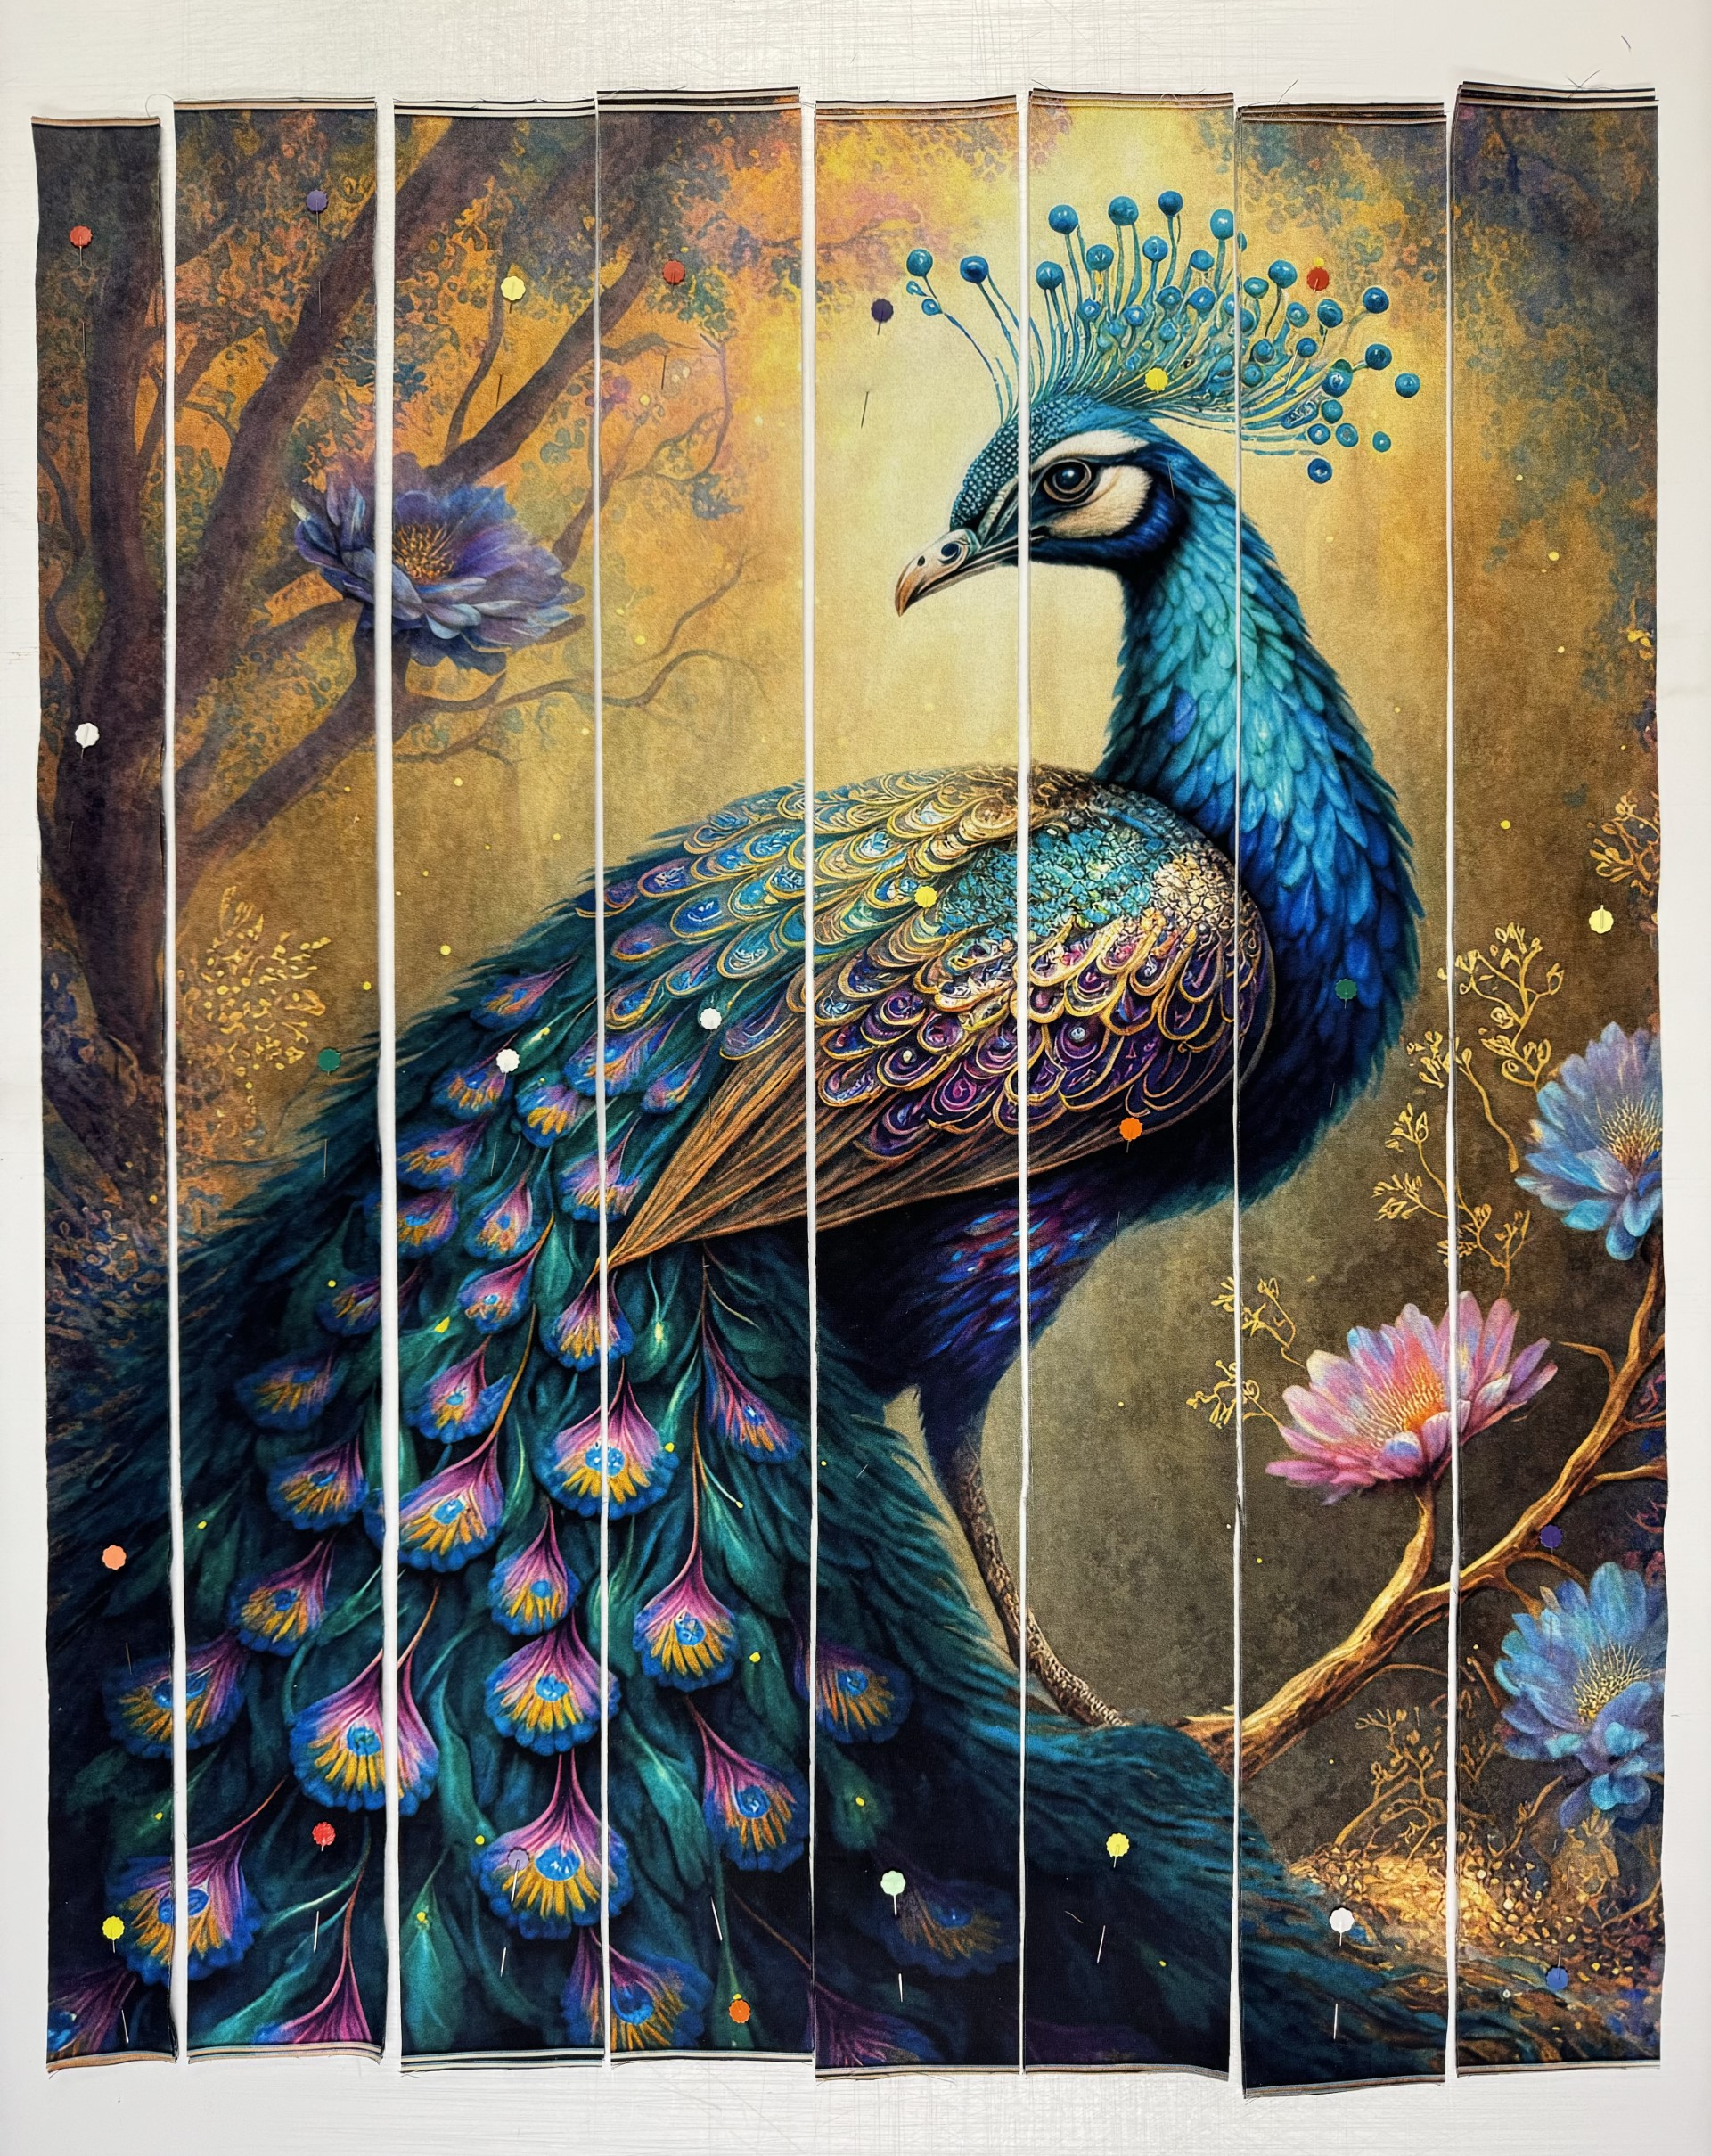
I cut my aligned panels into 7 – 3.25″ strips and 1 – 2″ strip.
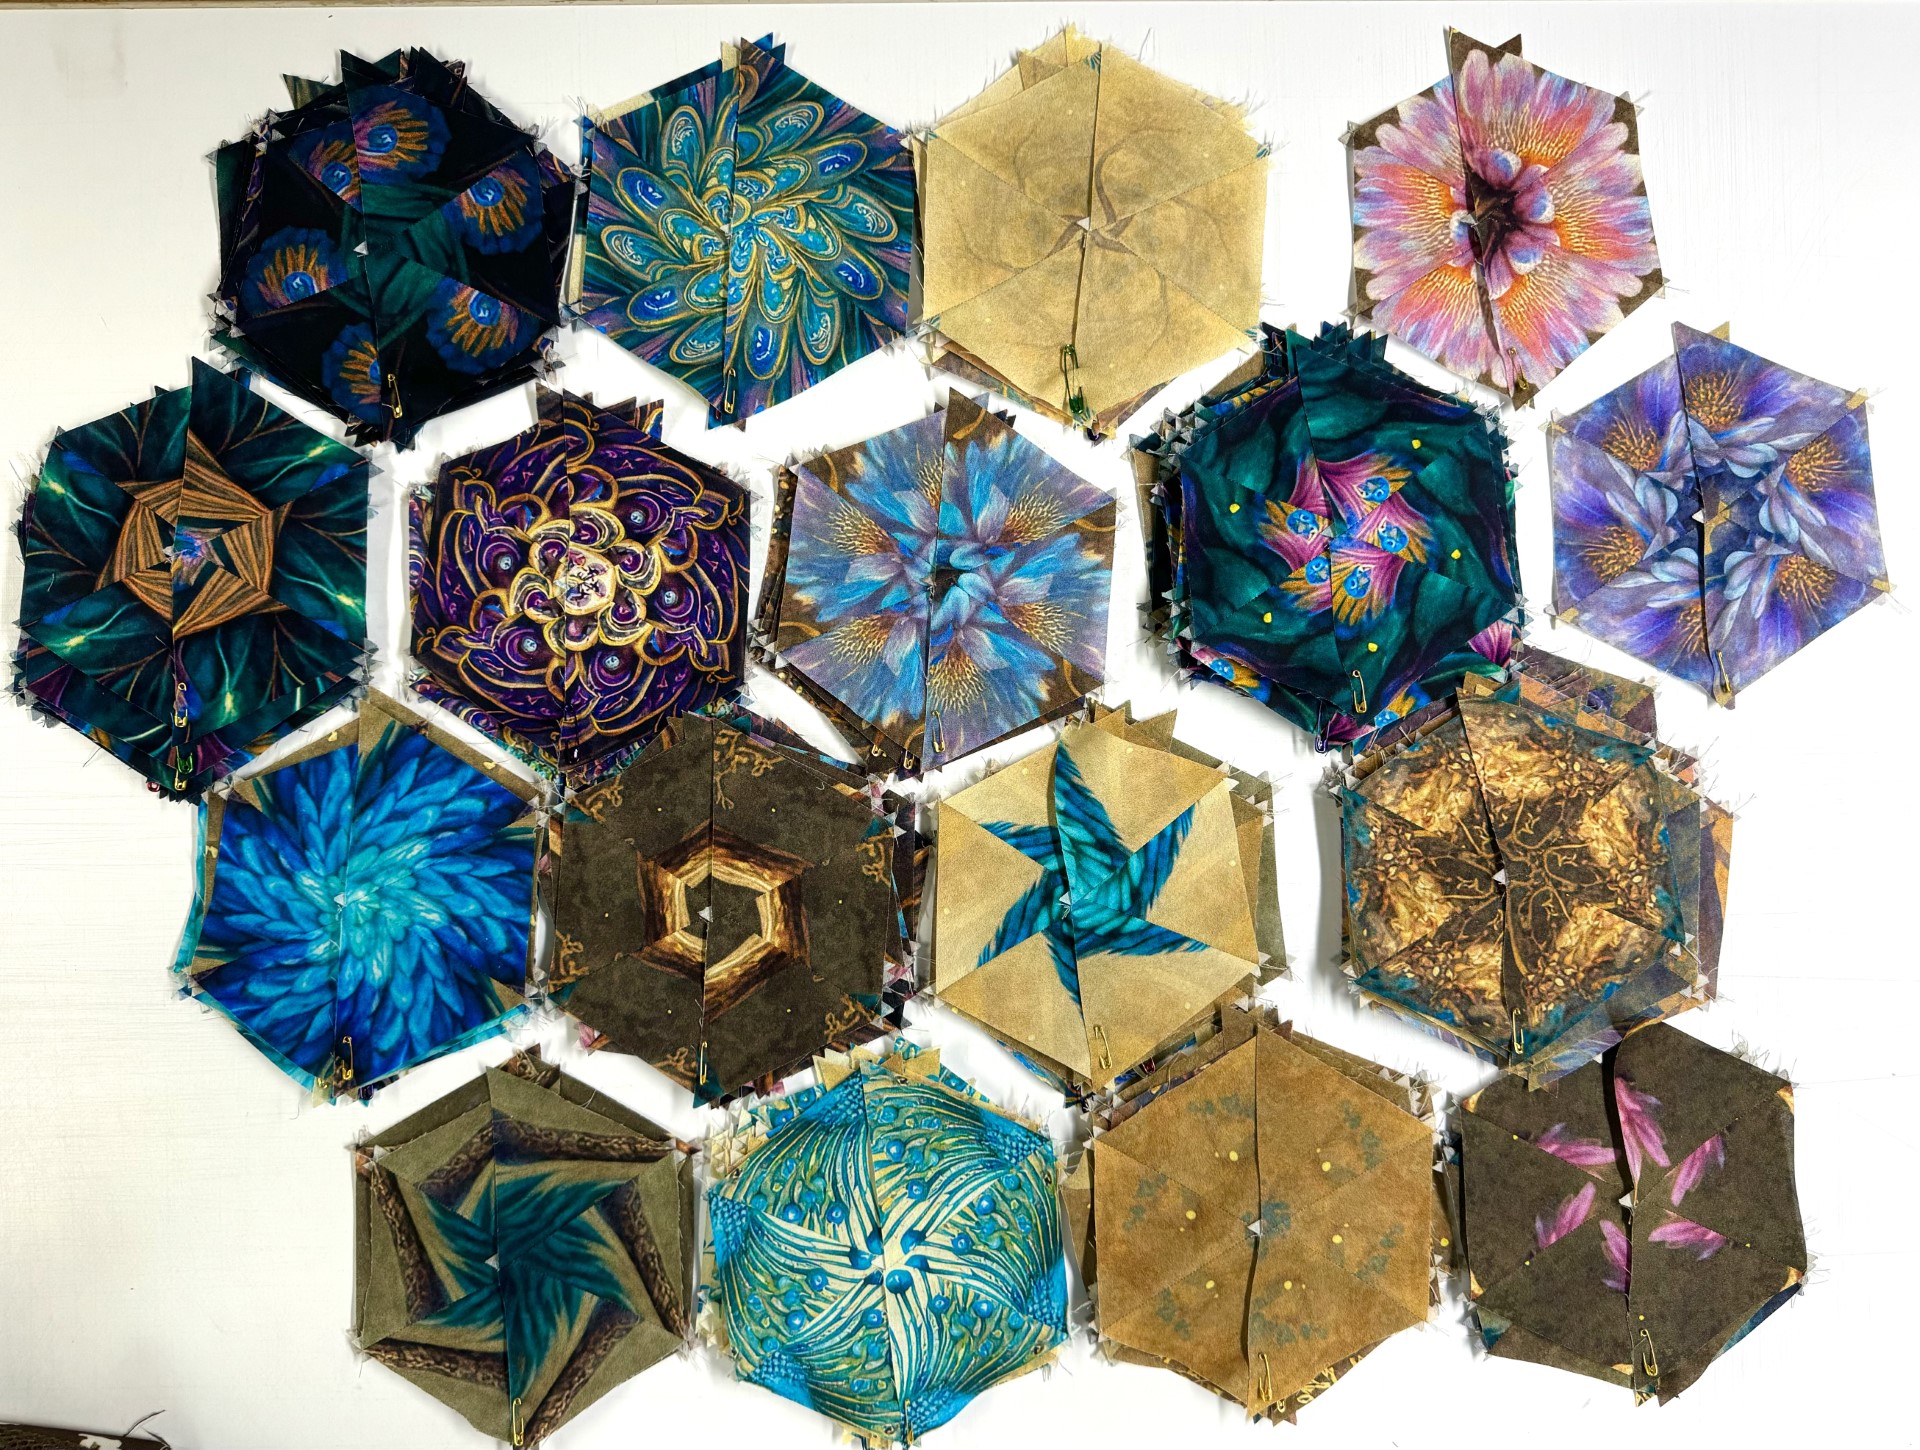
The strips yielded 105 sets of equilateral triangles.
QT’s Queen Bee
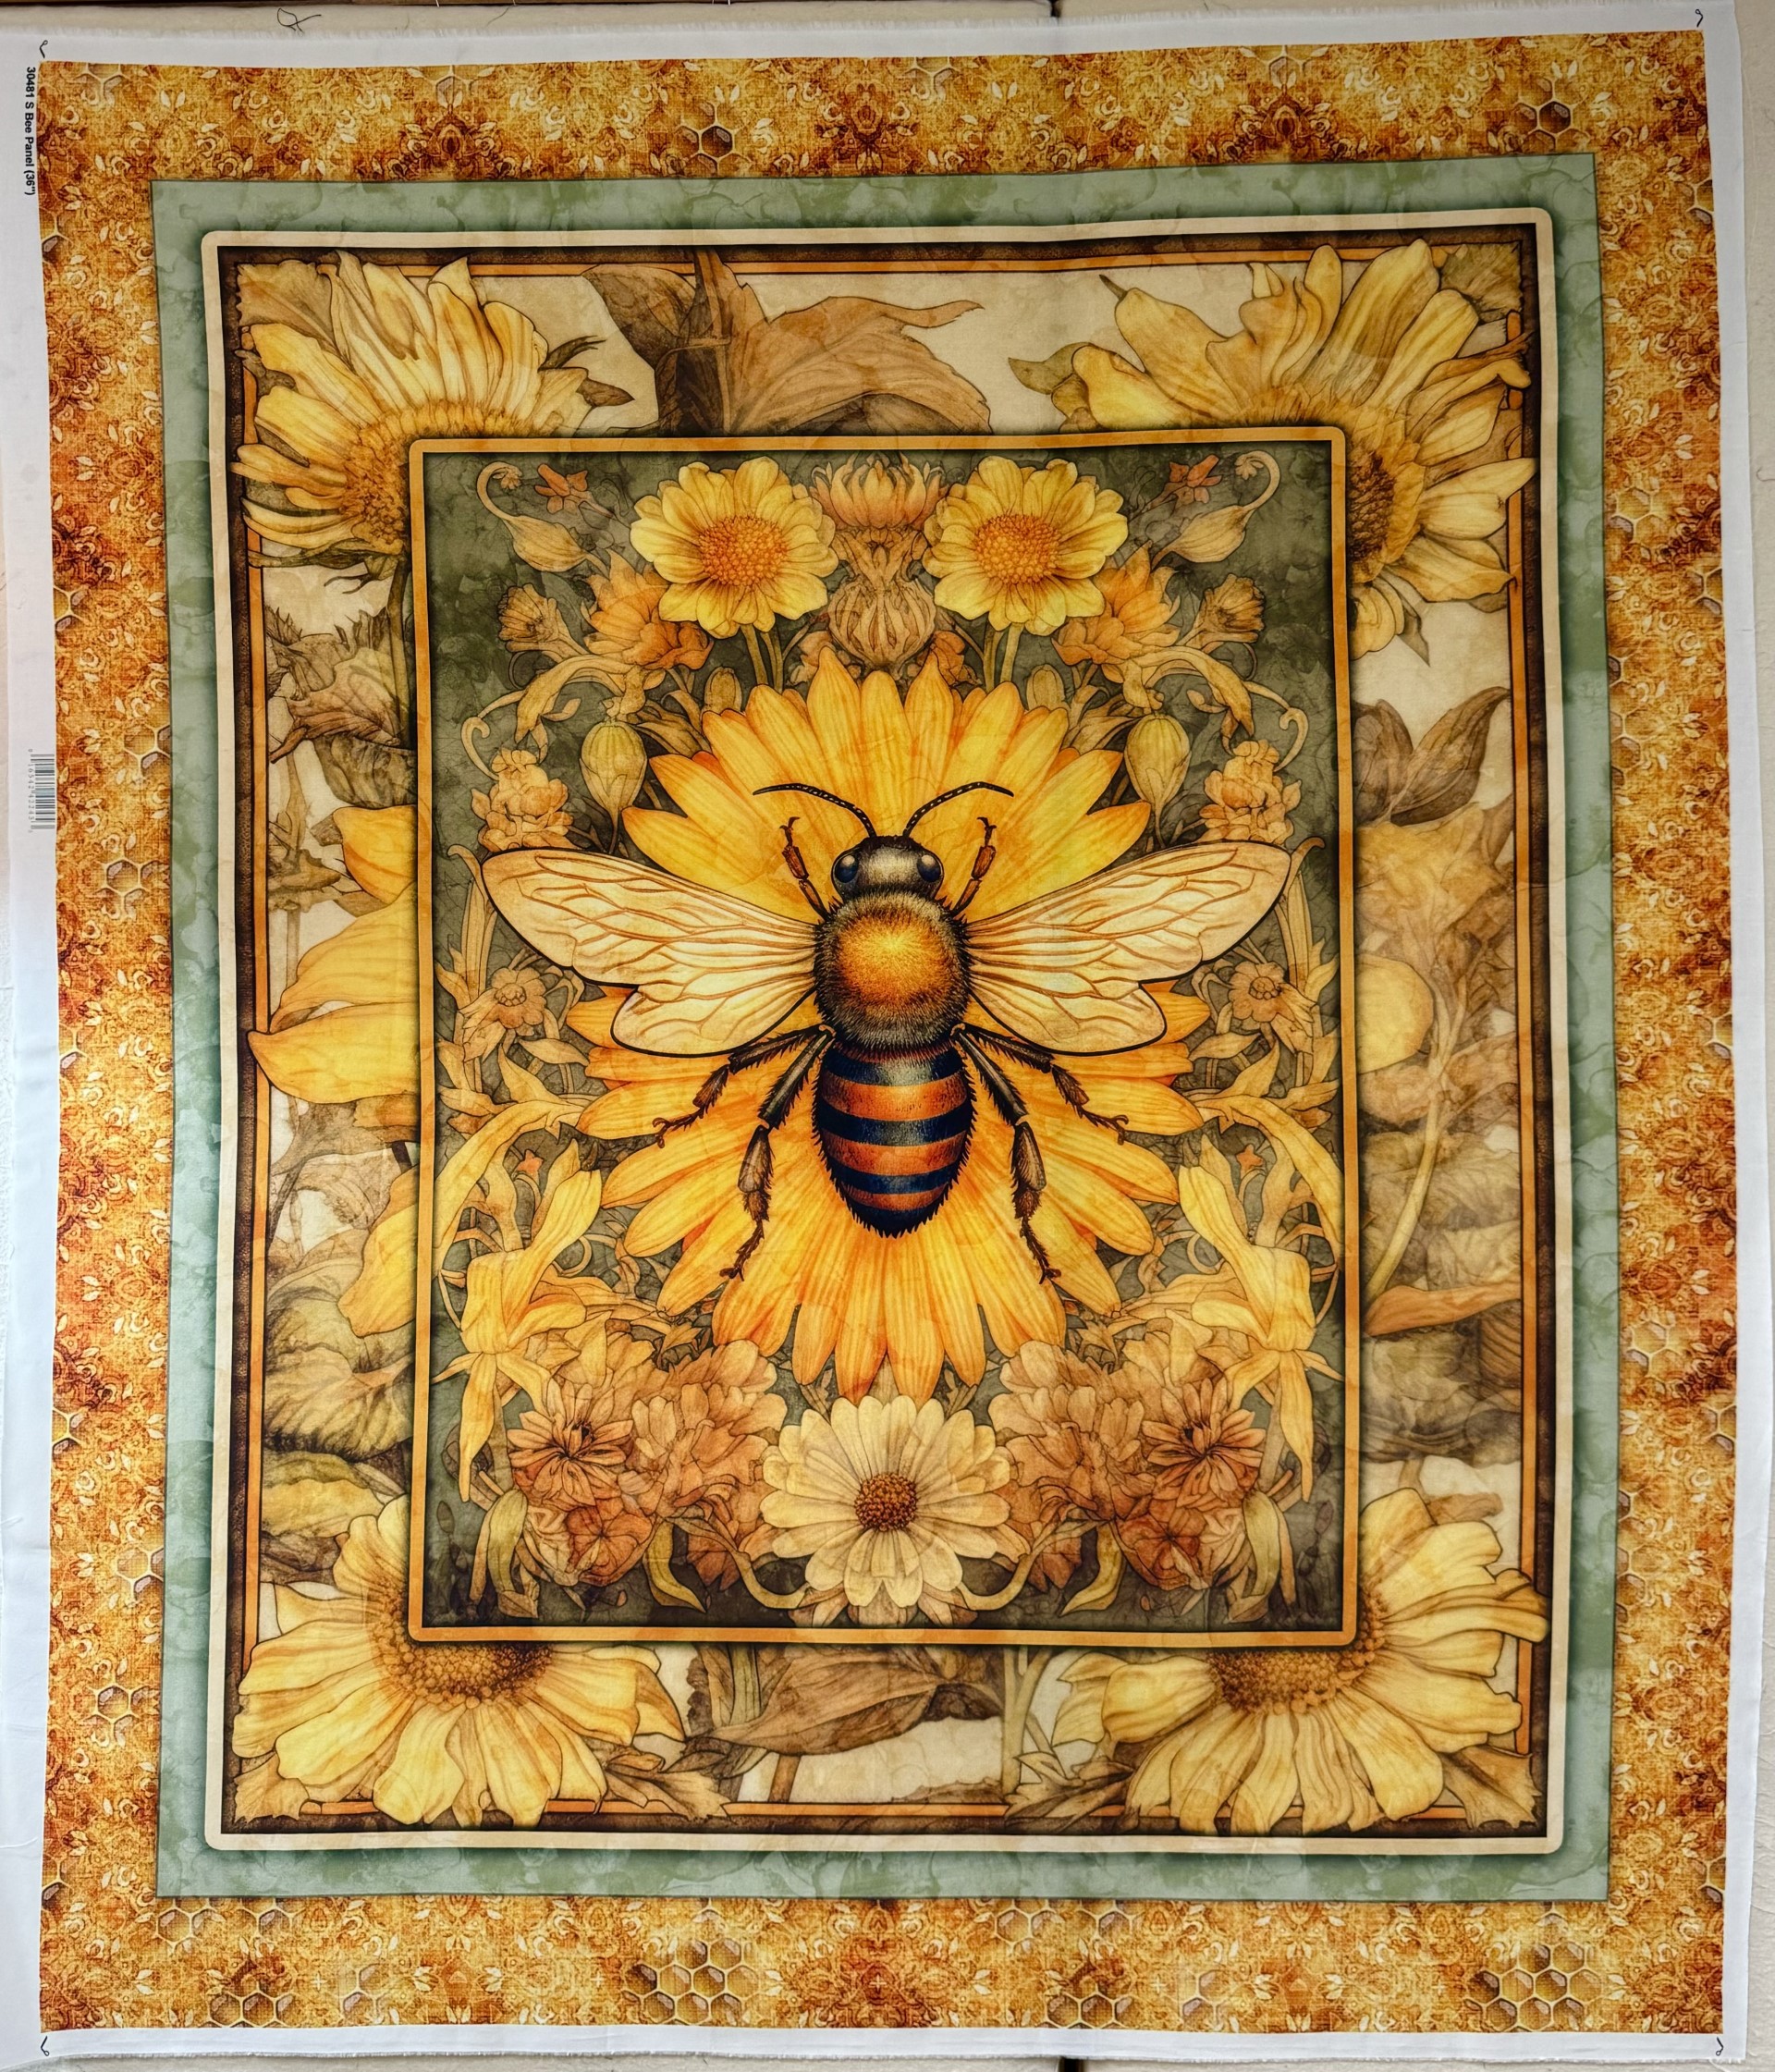
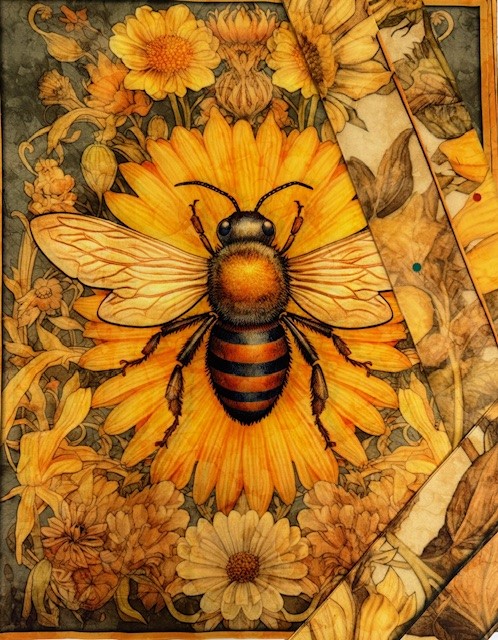
QT’s Queen Bee panel measures 36″ x 42″. I decided to cut off the 3.25″ inner border and cut hexies from it. The inside of the panel measured 19 3/4″ wide.
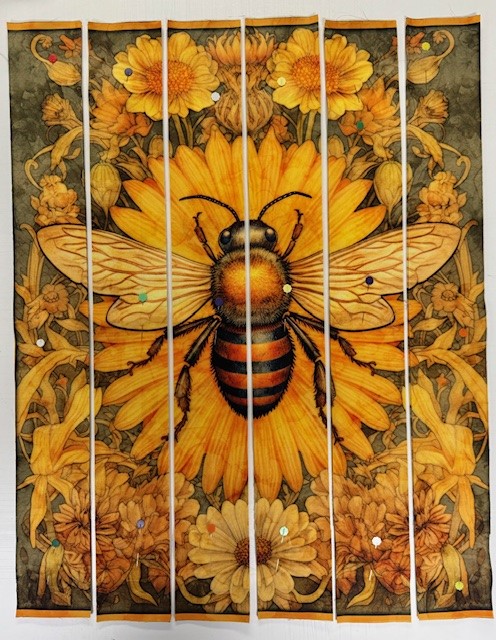
I cut 6 – 3.25″ strips from the aligned panels which will make 5″ finished hexies.
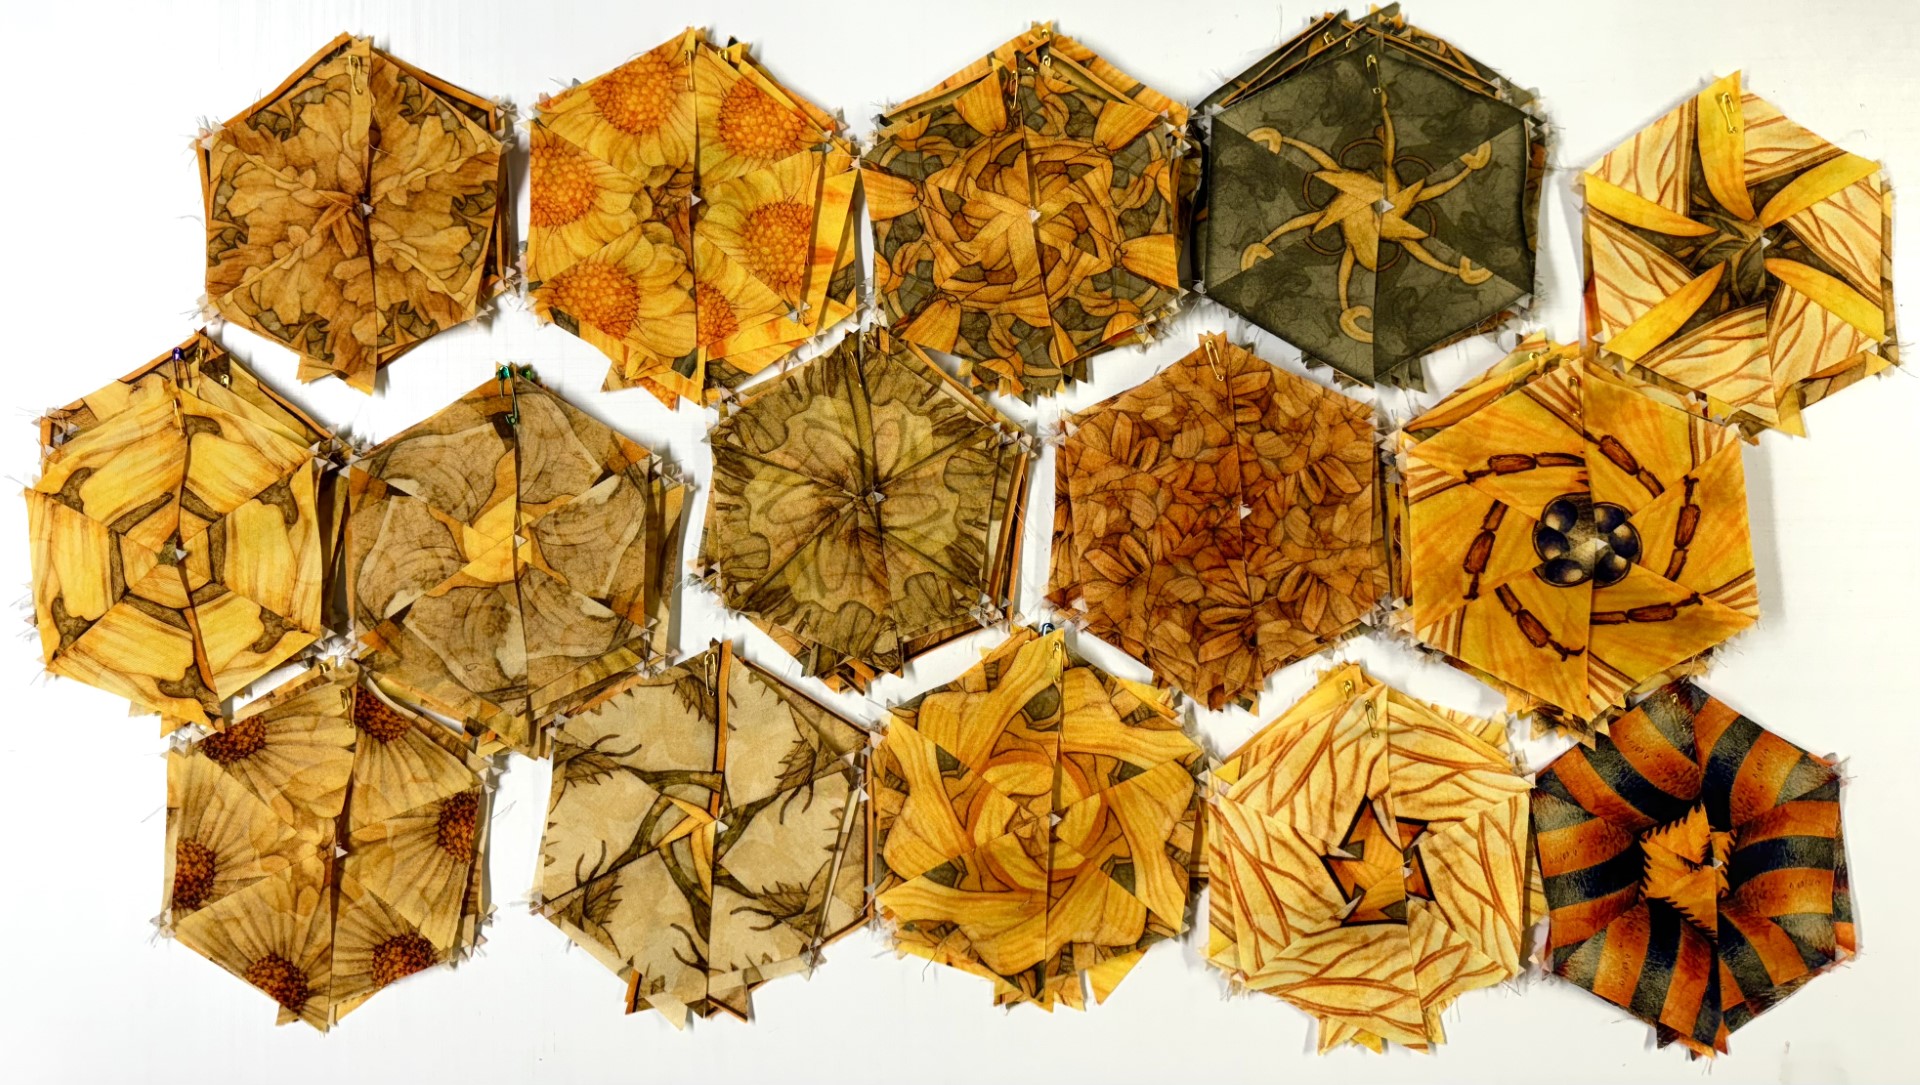
I got 72 sets of equilateral trinagles from the center of the panels and 34 sets of equilateral triangles from the inner borders that will yield 106 hexies.
Stay tuned for more progress reports. @QTFabrics #QTFabrics #Resplendent #QueenBee QT Fabrics
I have partnered with QT Fabrics and I wanted to share with you two panels they sent me that are coming to your local Quilt Shops Summer 2024! I will be making One Block Wonders with them. I will be [posting my progress here.
@QTFabrics #QTFabrics @Studio180design #studio180design

