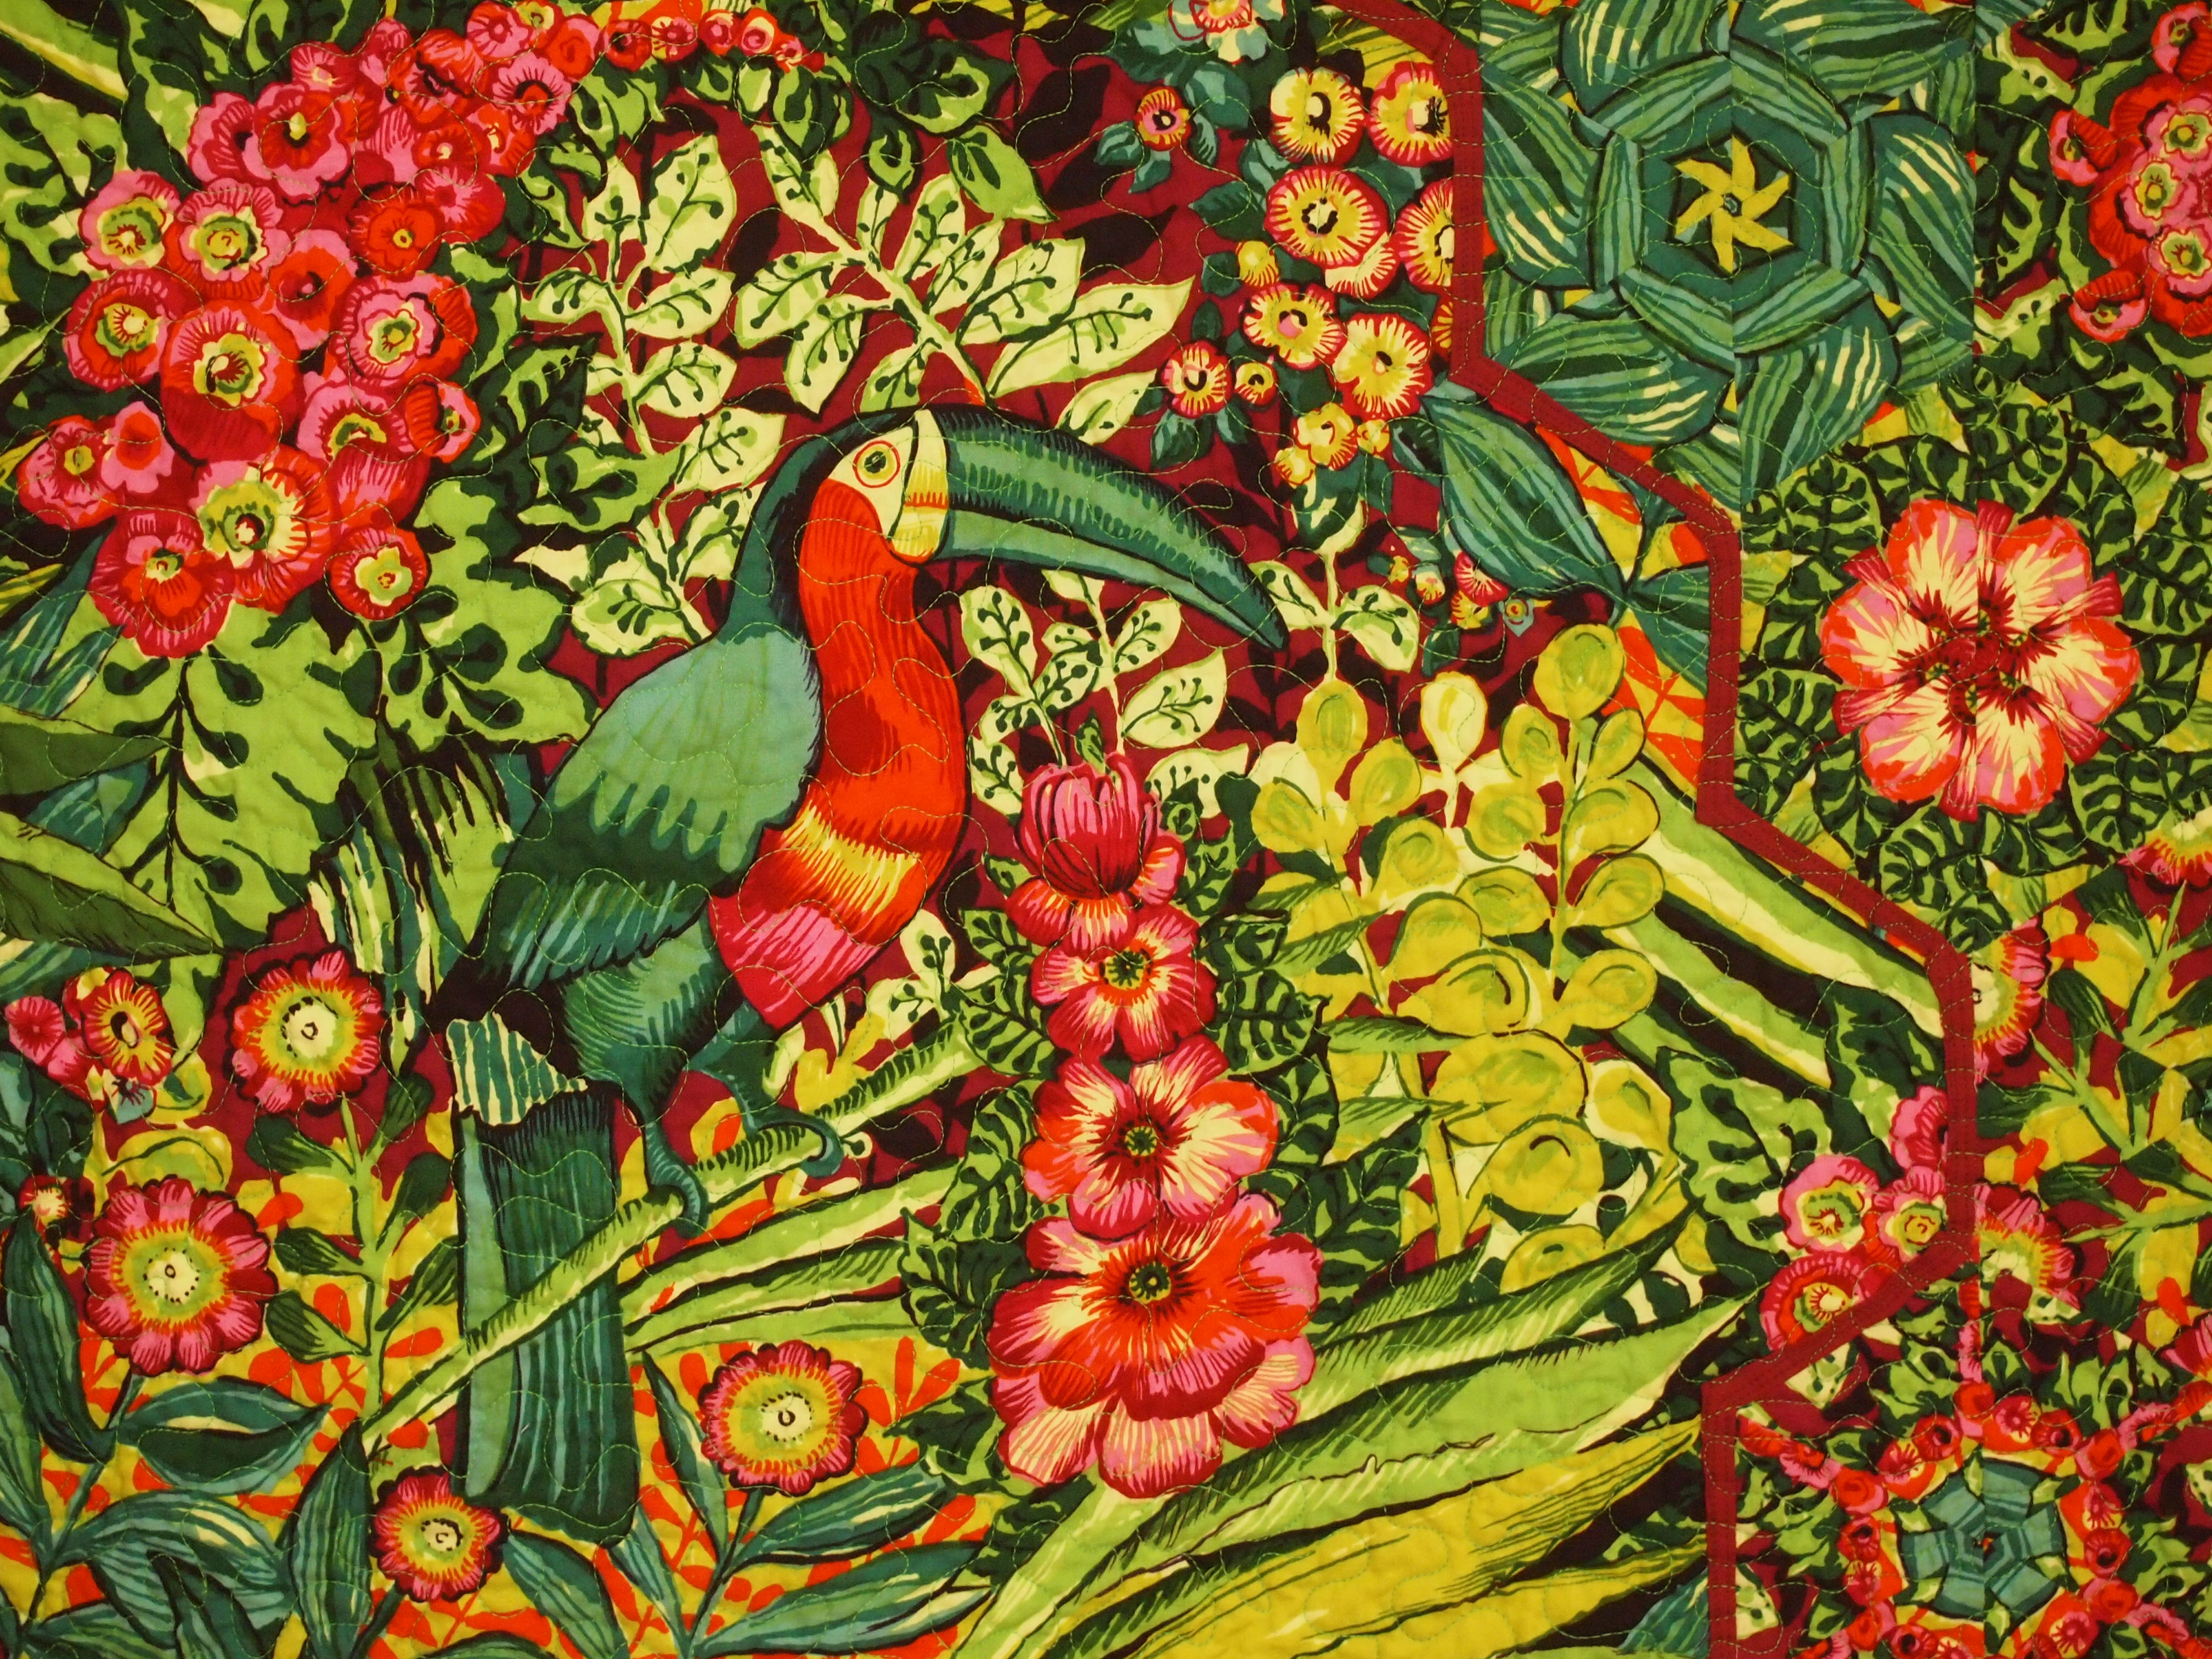
The Artisan Spirit, Water Garden fabric in this post was given to me by Northcott Fabrics for the Creators Club.
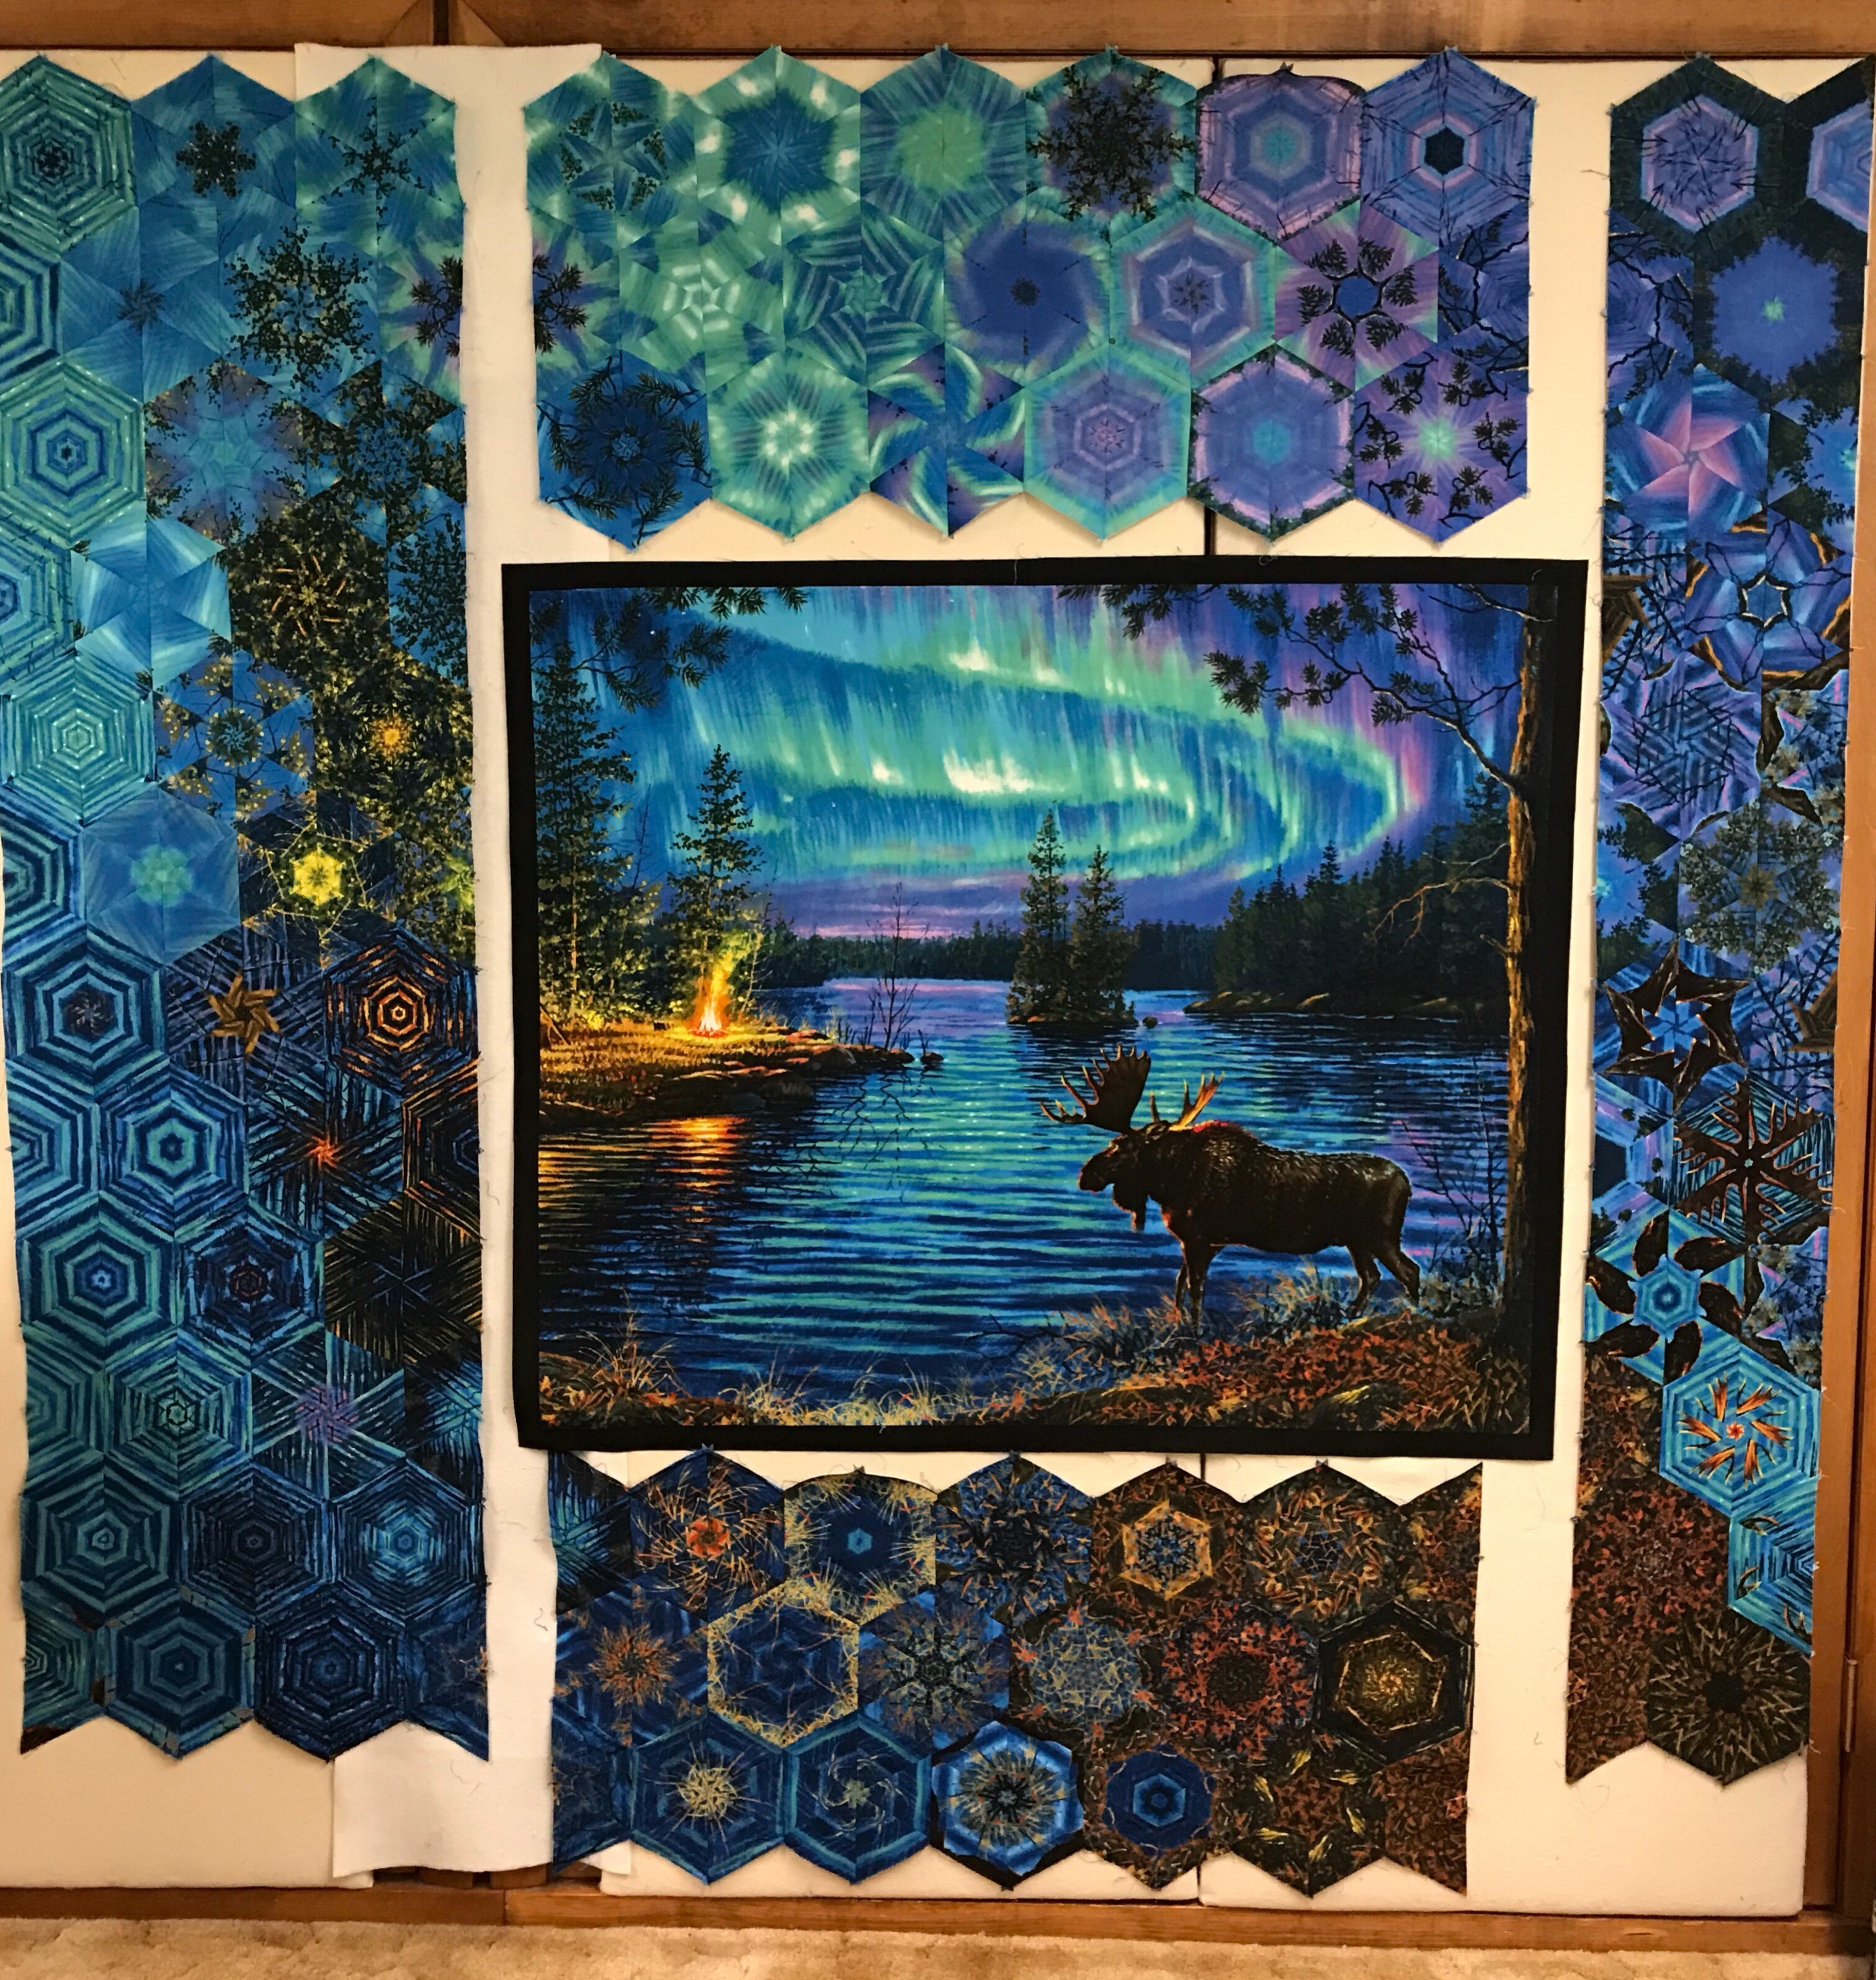
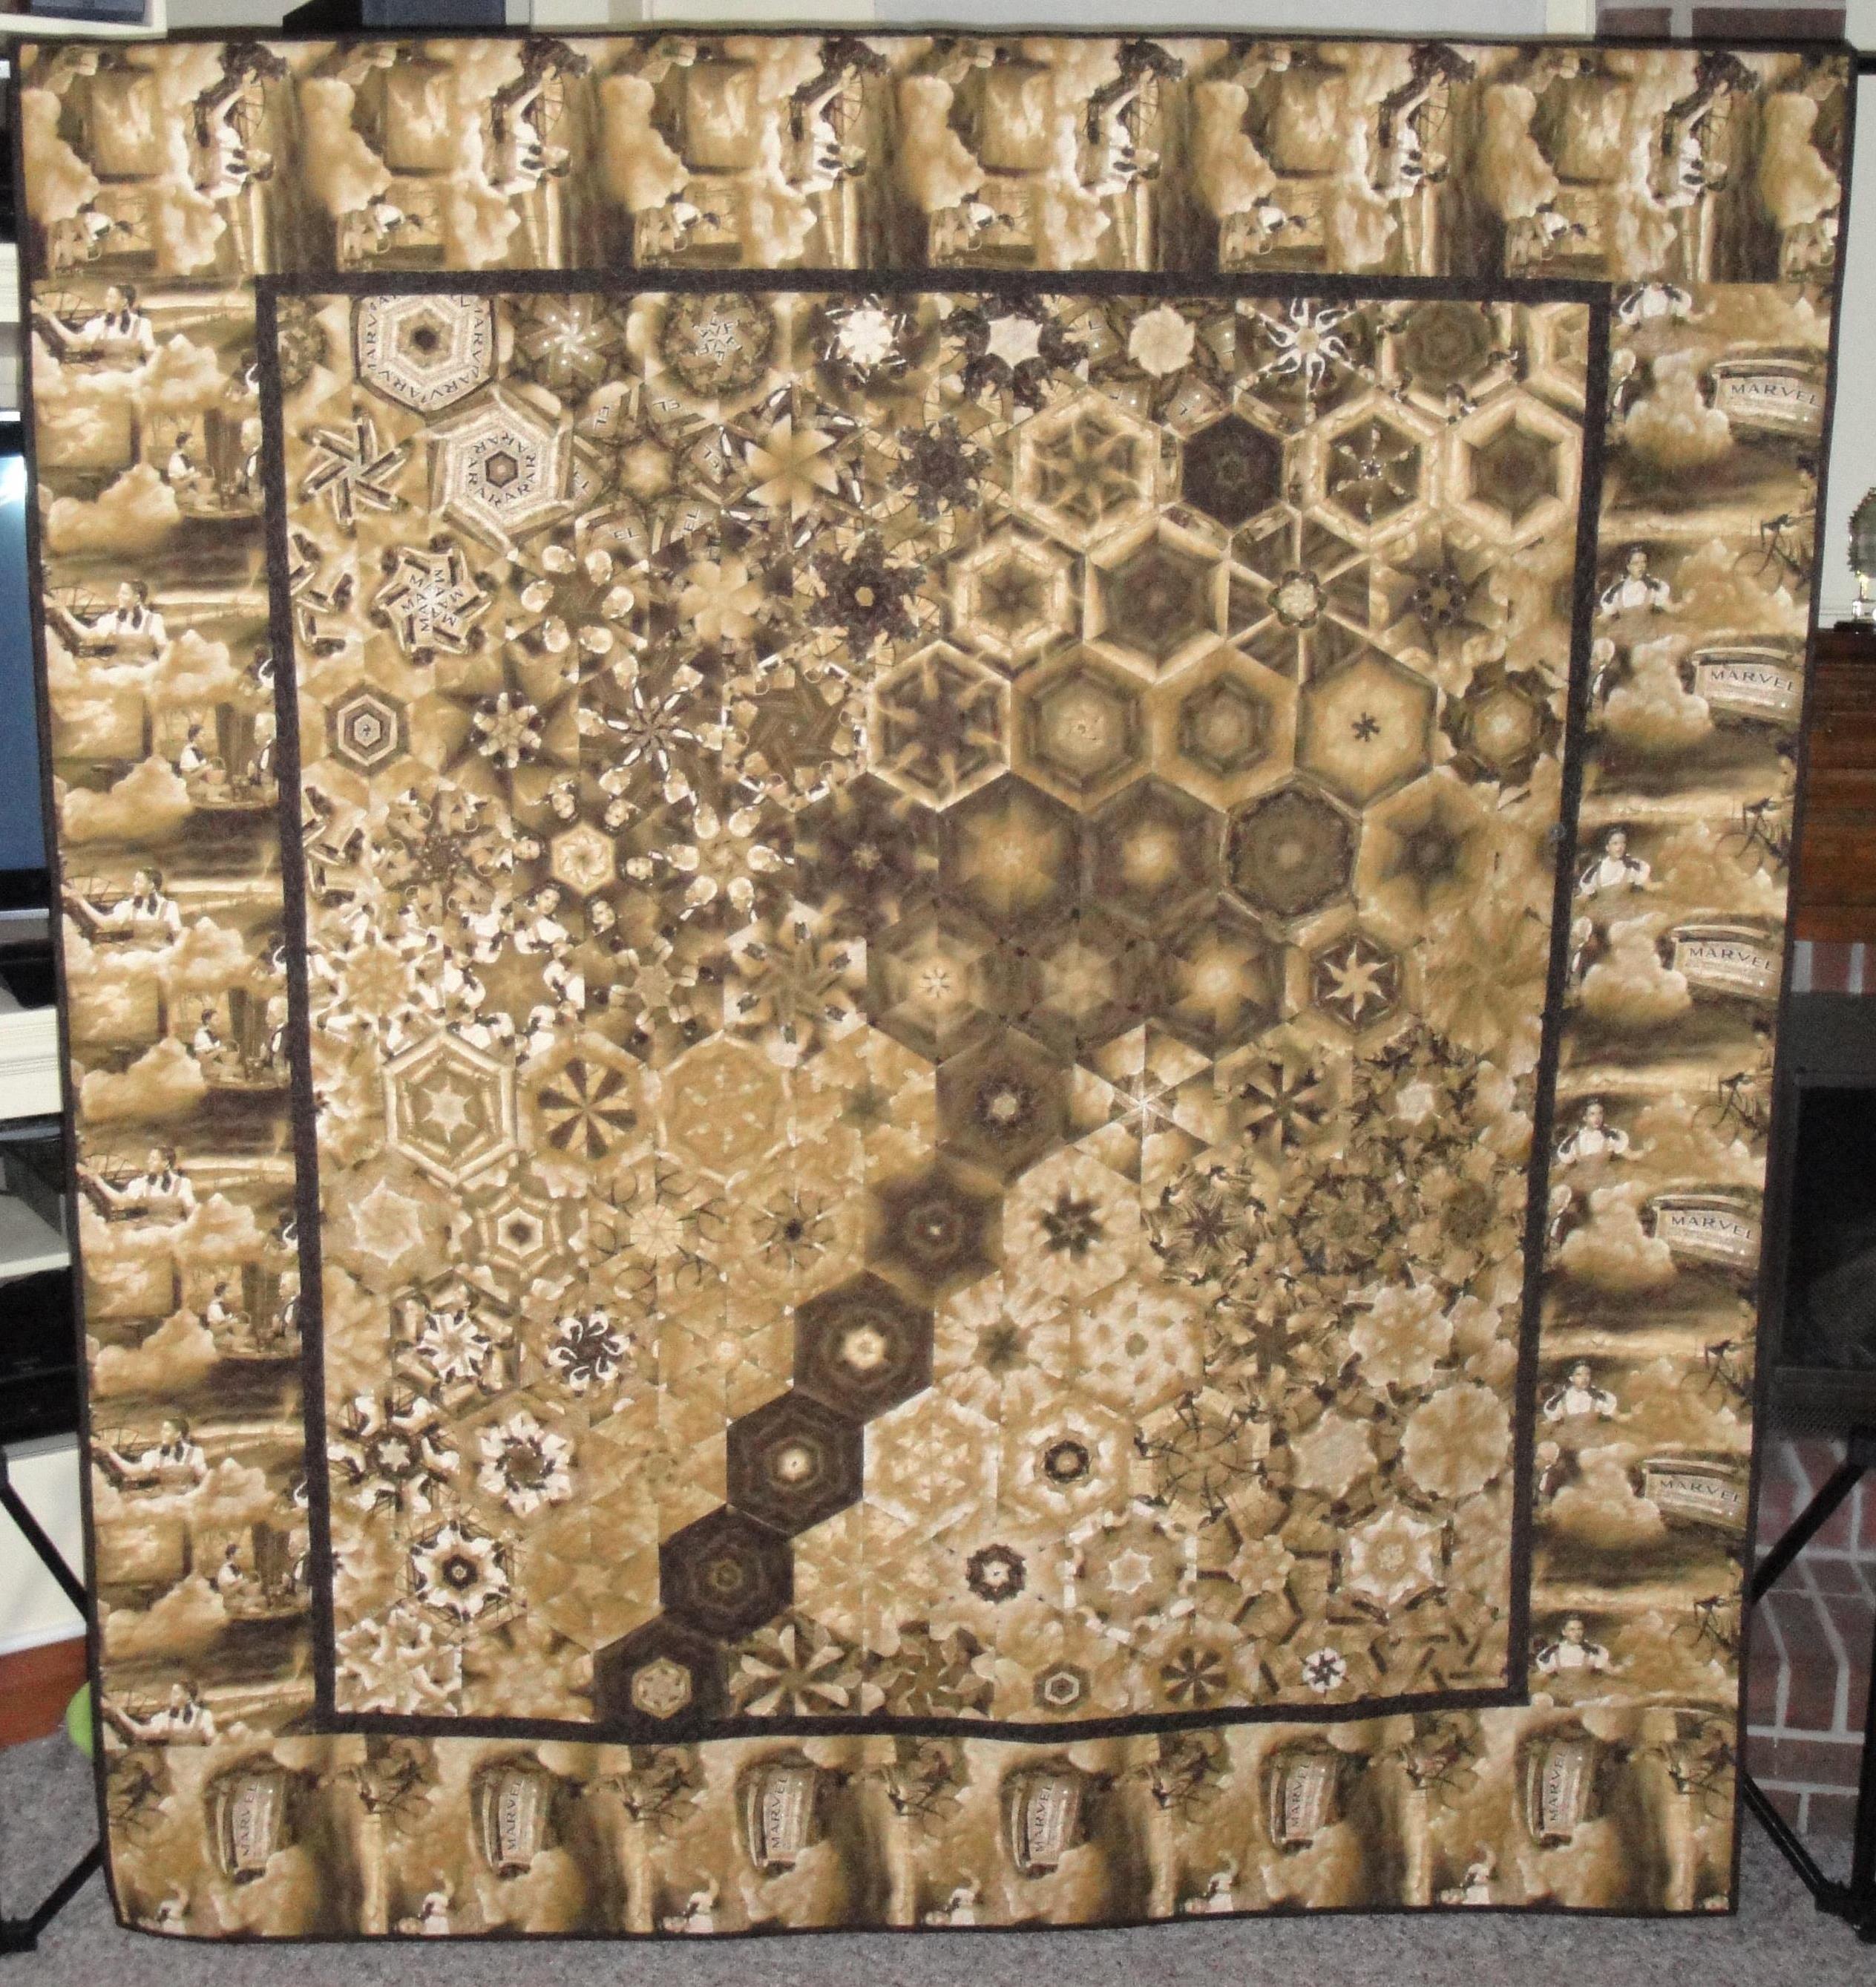
This is my 63rd One Block Wonder, and I love it! It came out better than I had anticipated. This OBW started as a 28″ x 42″ panel.
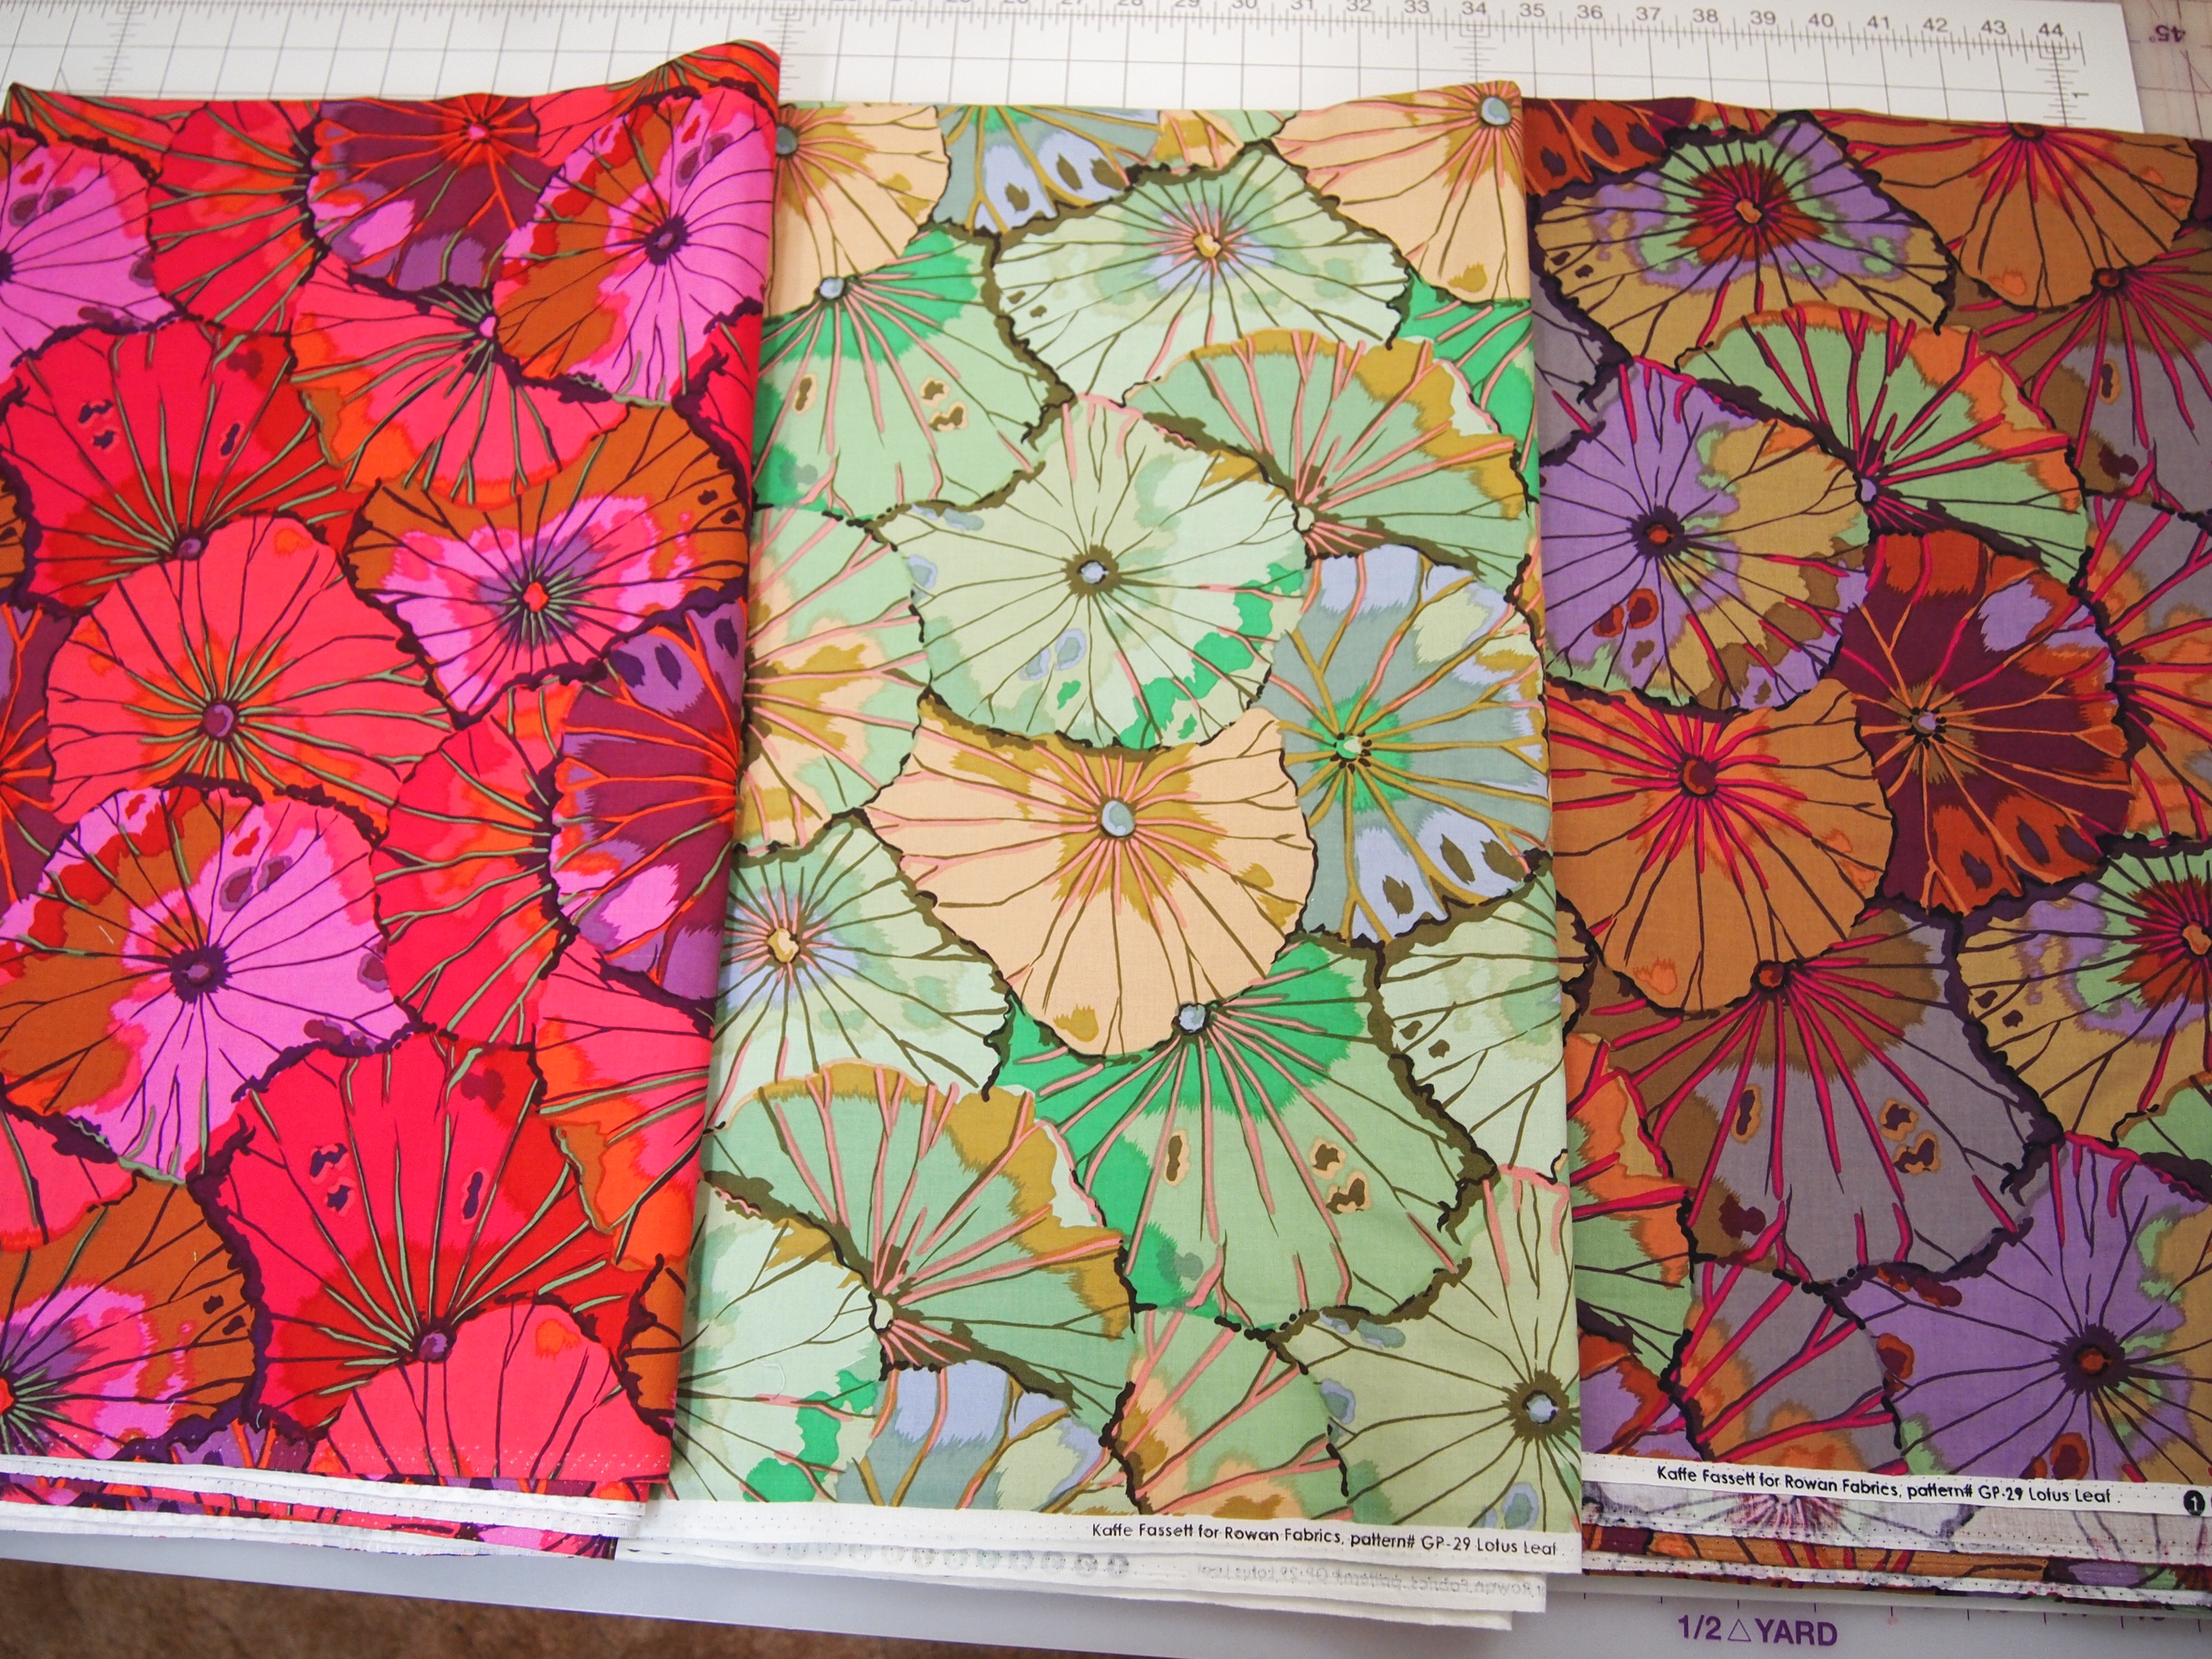
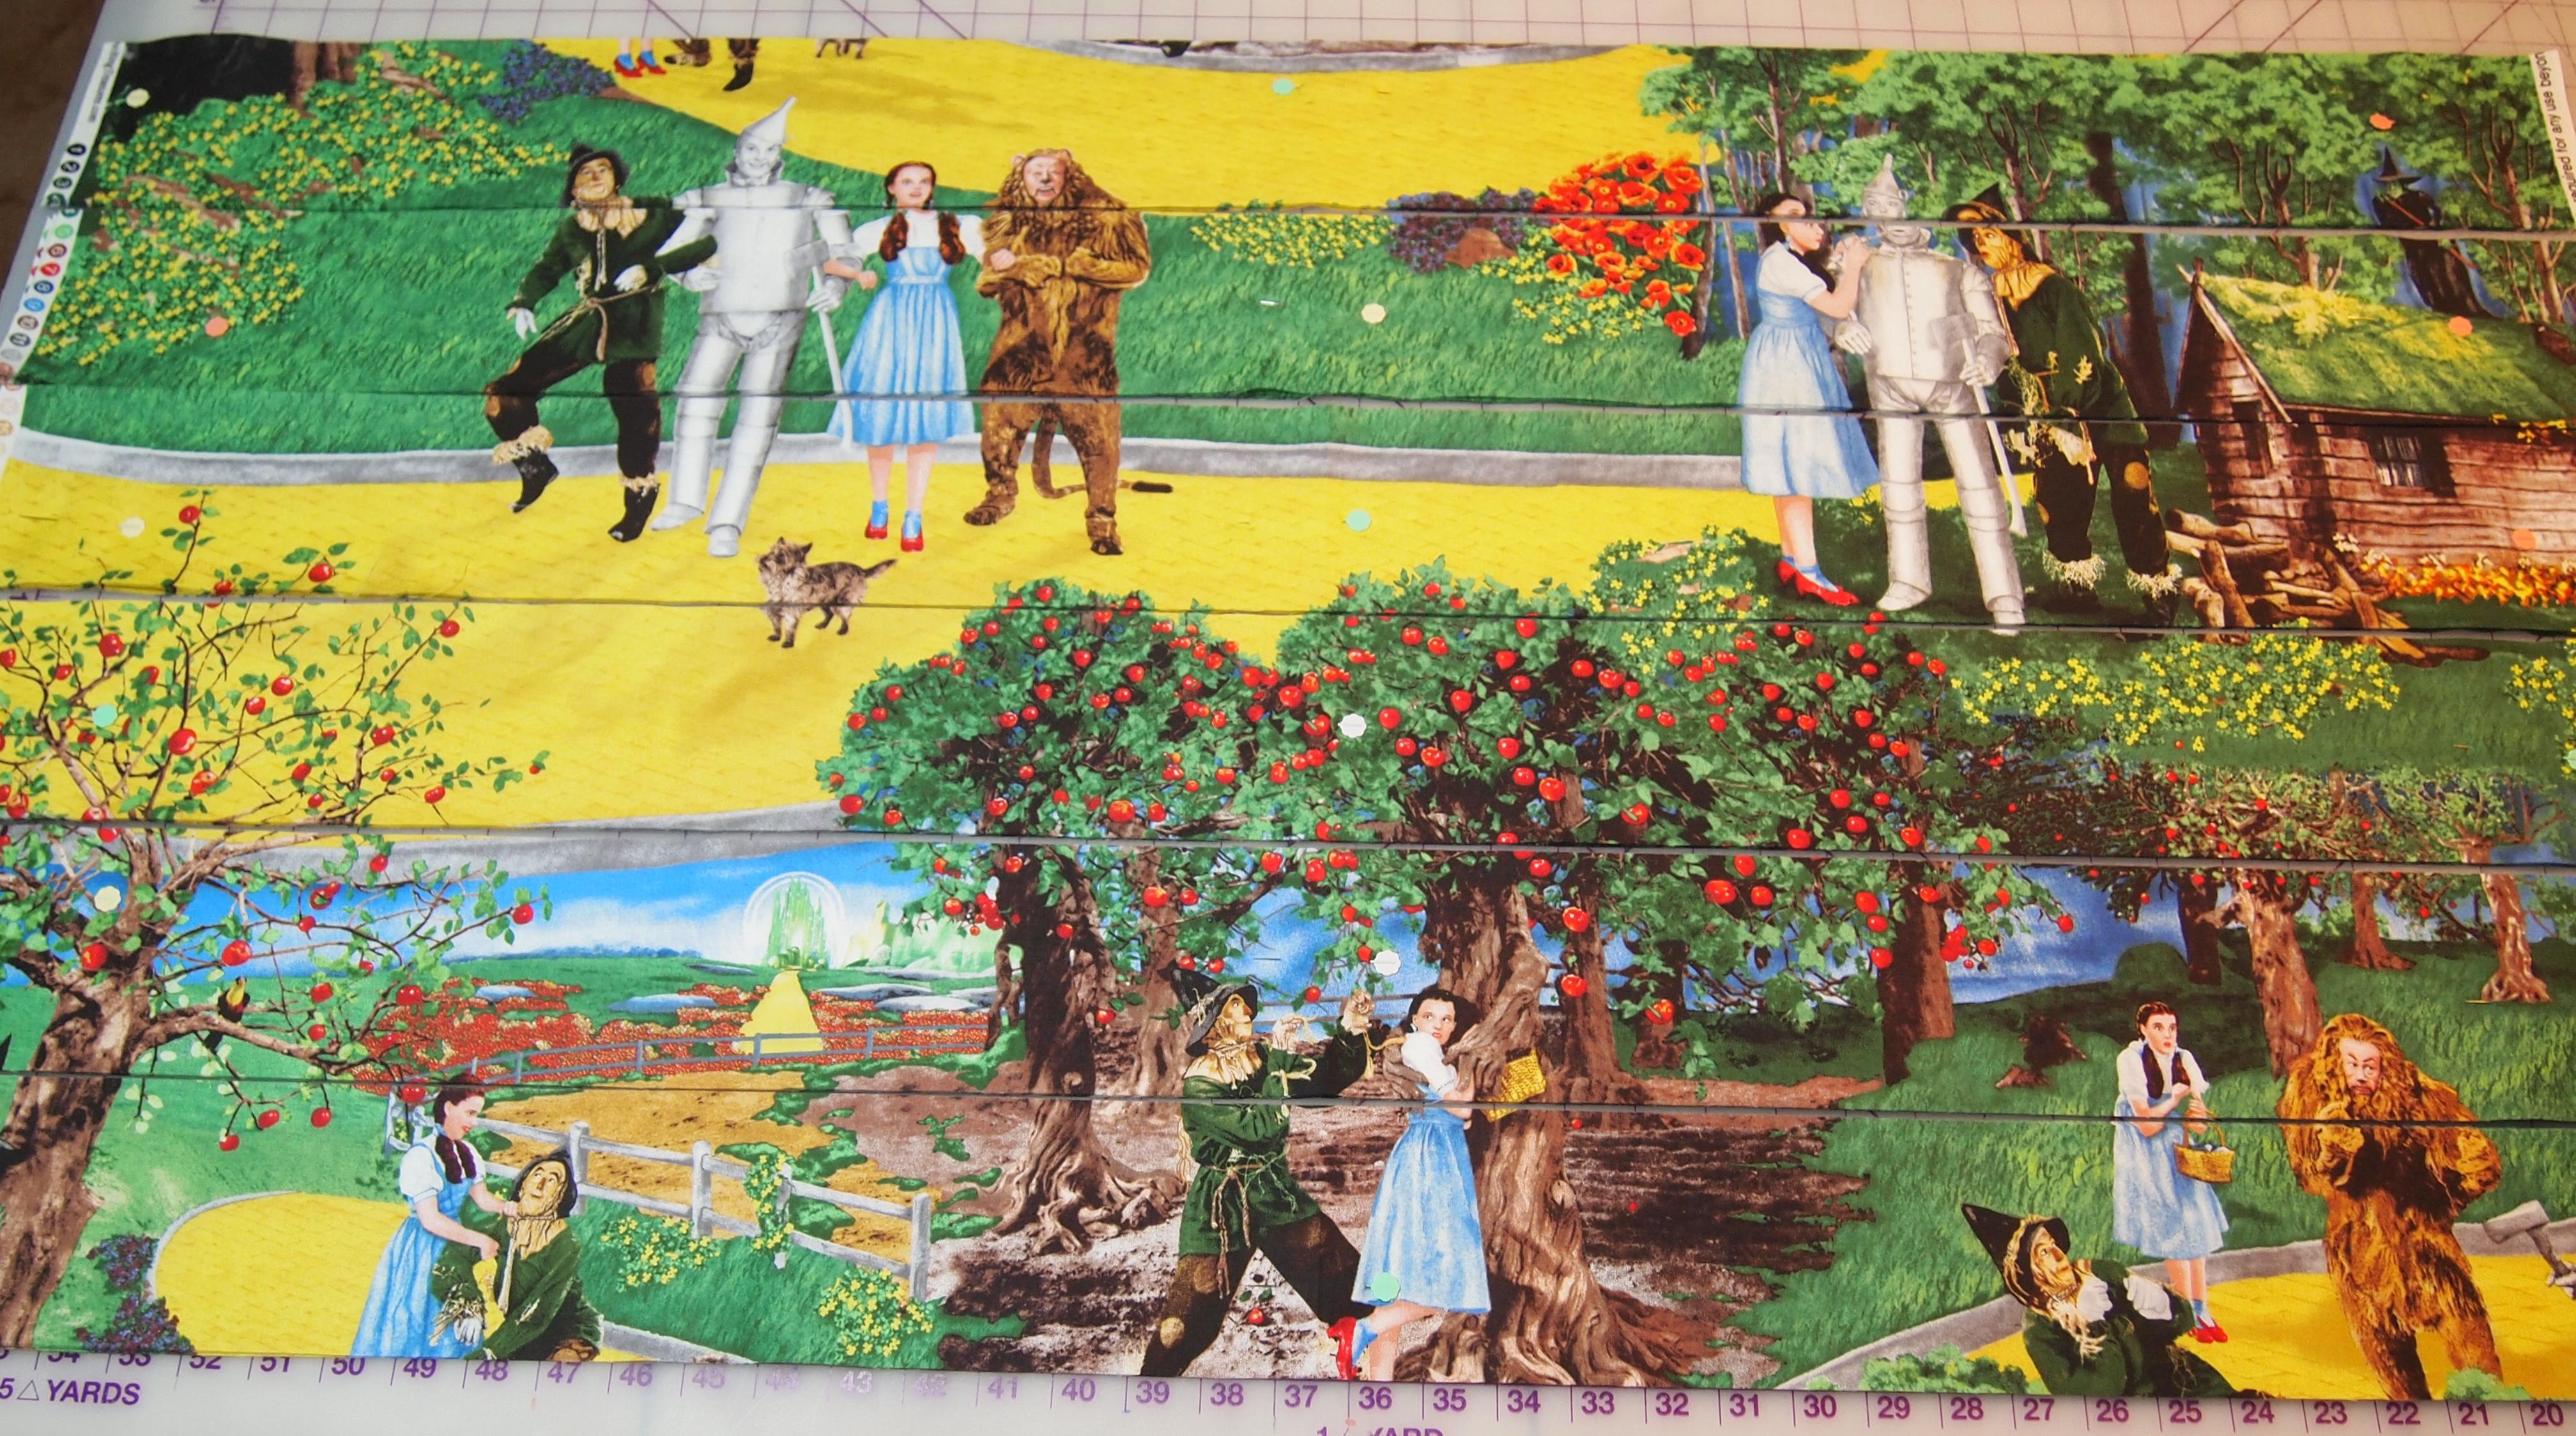
When choosing fabric for a One Block Wonder (OBW) I look for a large repeat and a large design in colors that I like. OBW’s require 6 repeats of fabric plus more if you want to put the original fabric in the border. With a panel, the repeat is pre-determined. I bought 7 panels, one to integrate into the top of the quilt and 6 for the blocks.

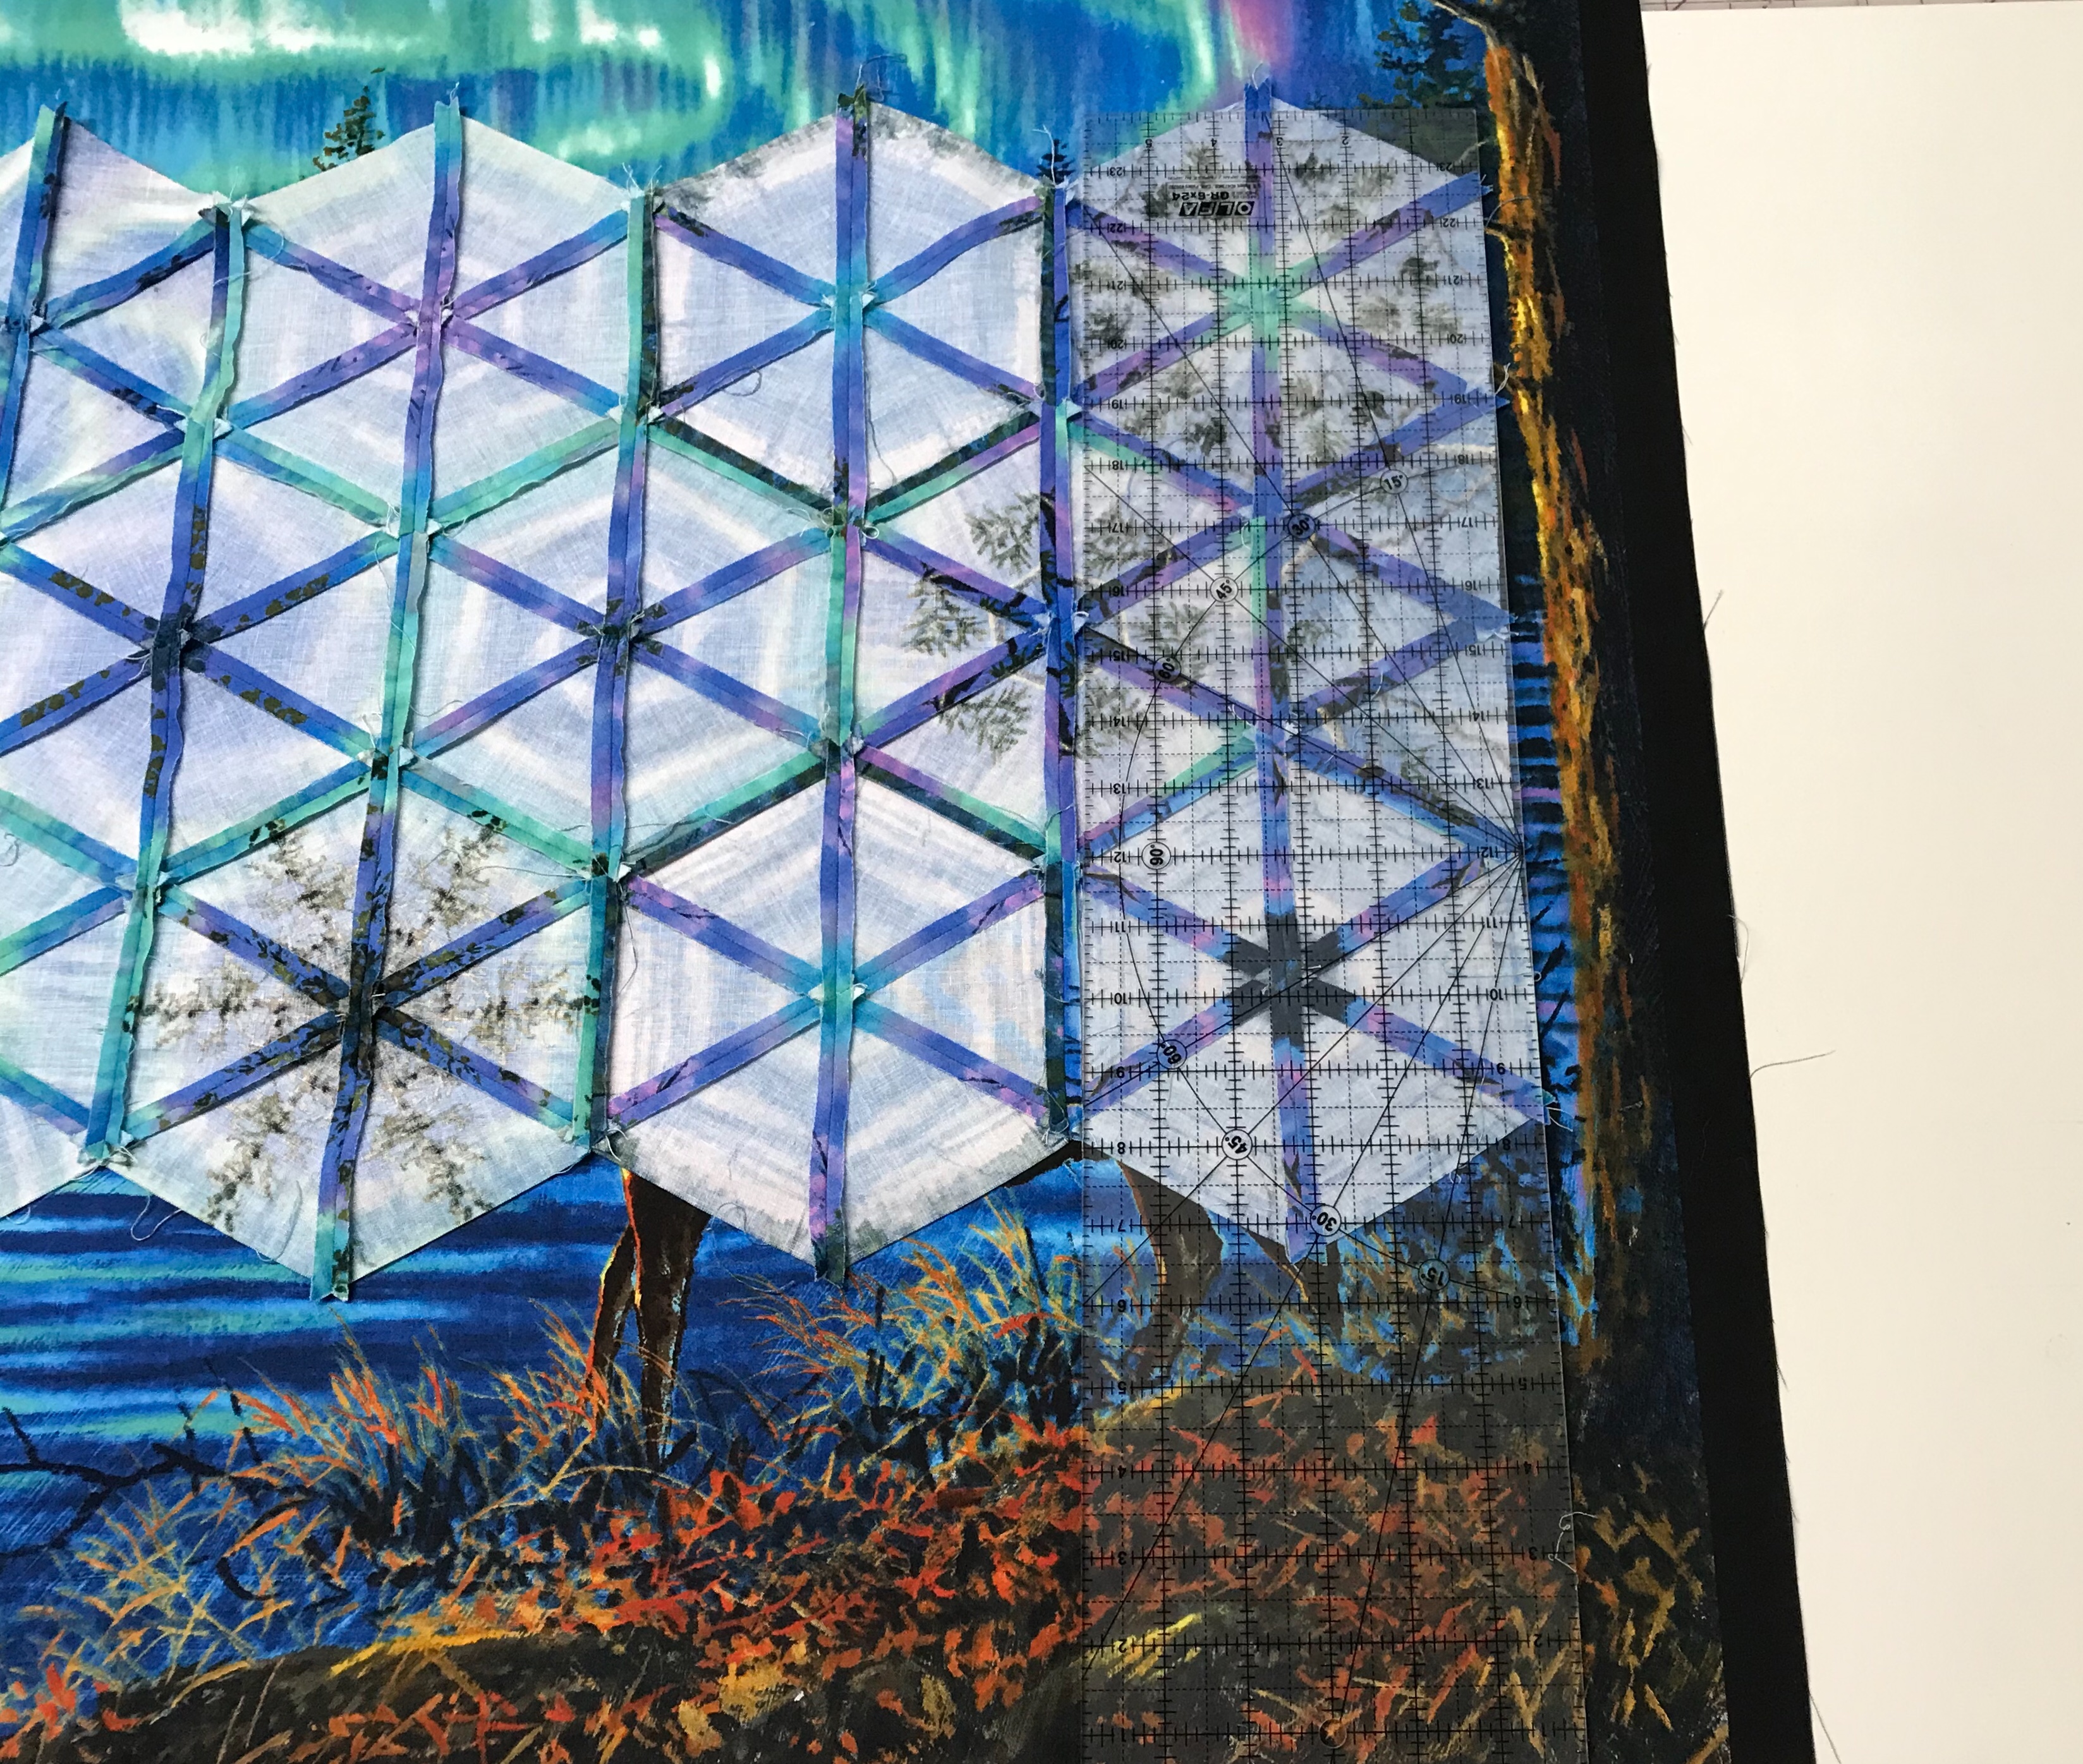
The process starts with aligning your repeats, evening up one end and cutting them into 3 3/4″ WOF strips. With a 24″ repeat I get 6 strips, but this had a 28″ repeat. Bonus, I got 7 WOF strips. I was able to cut equilateral triangles for 127 .hexagon blocks

There are several 60 degree rulers out there. I prefer to cut my triangles using a 6″ x 12″ Olfa ruler with a 60 line.

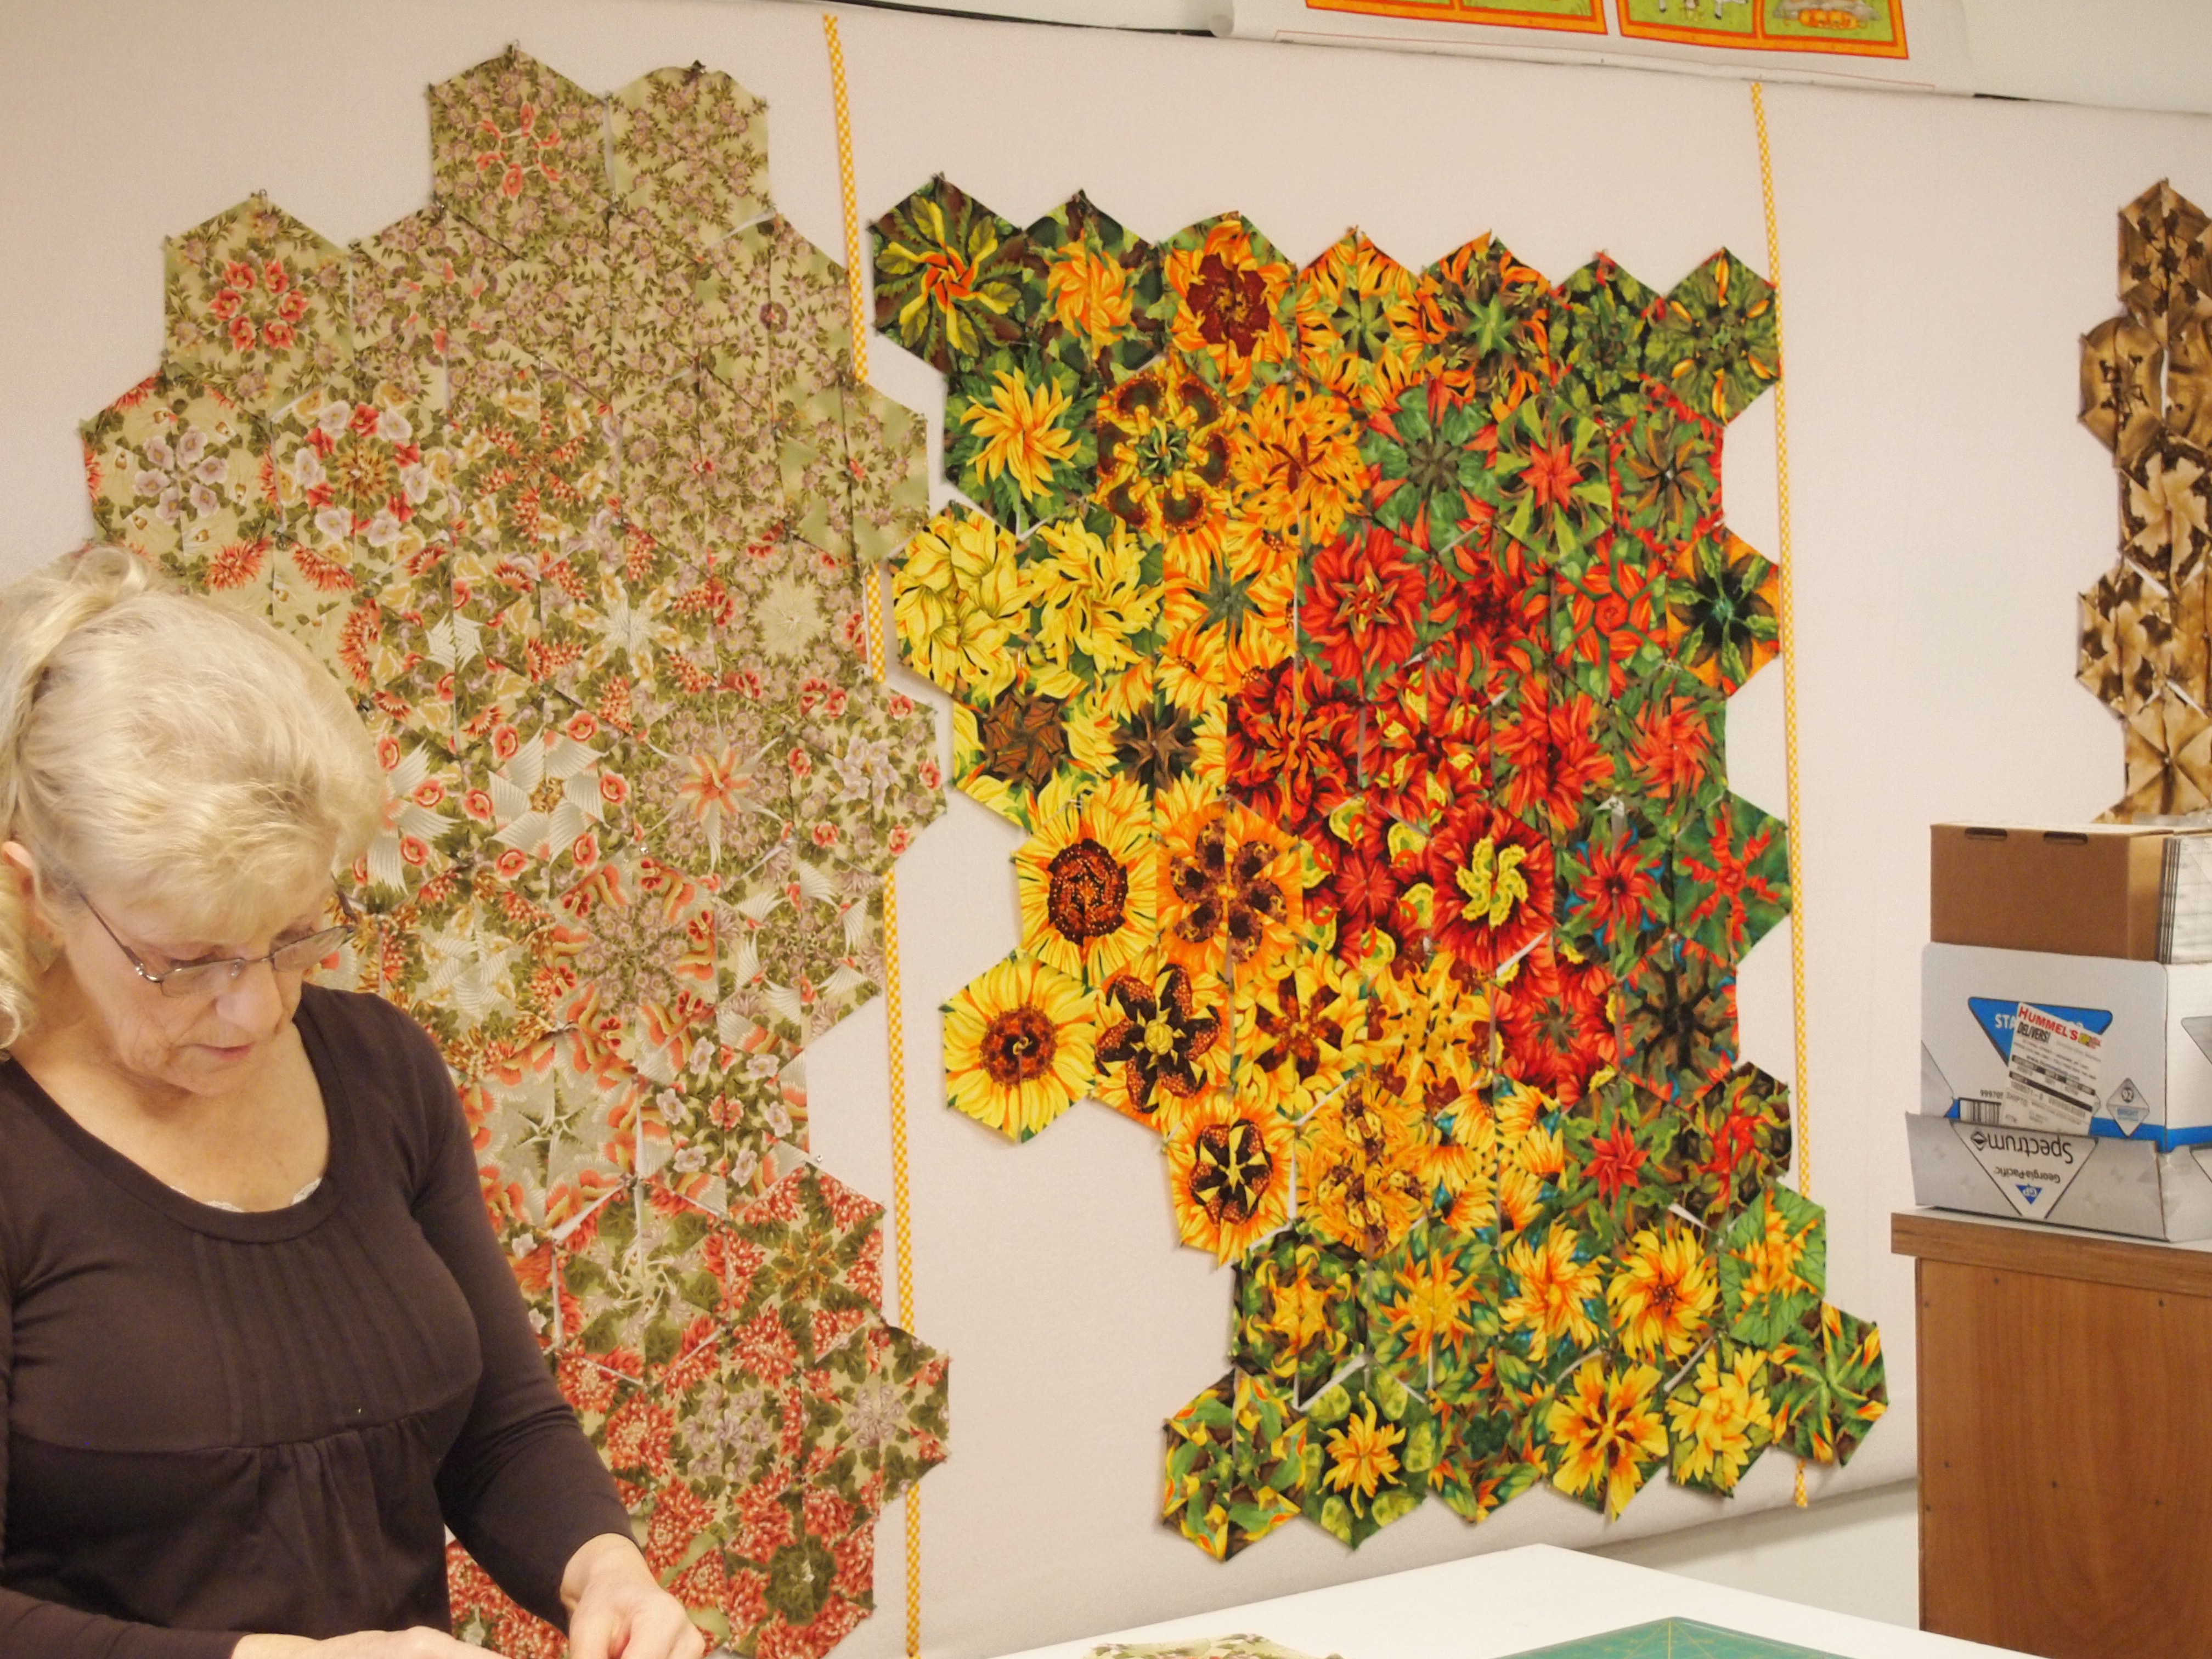
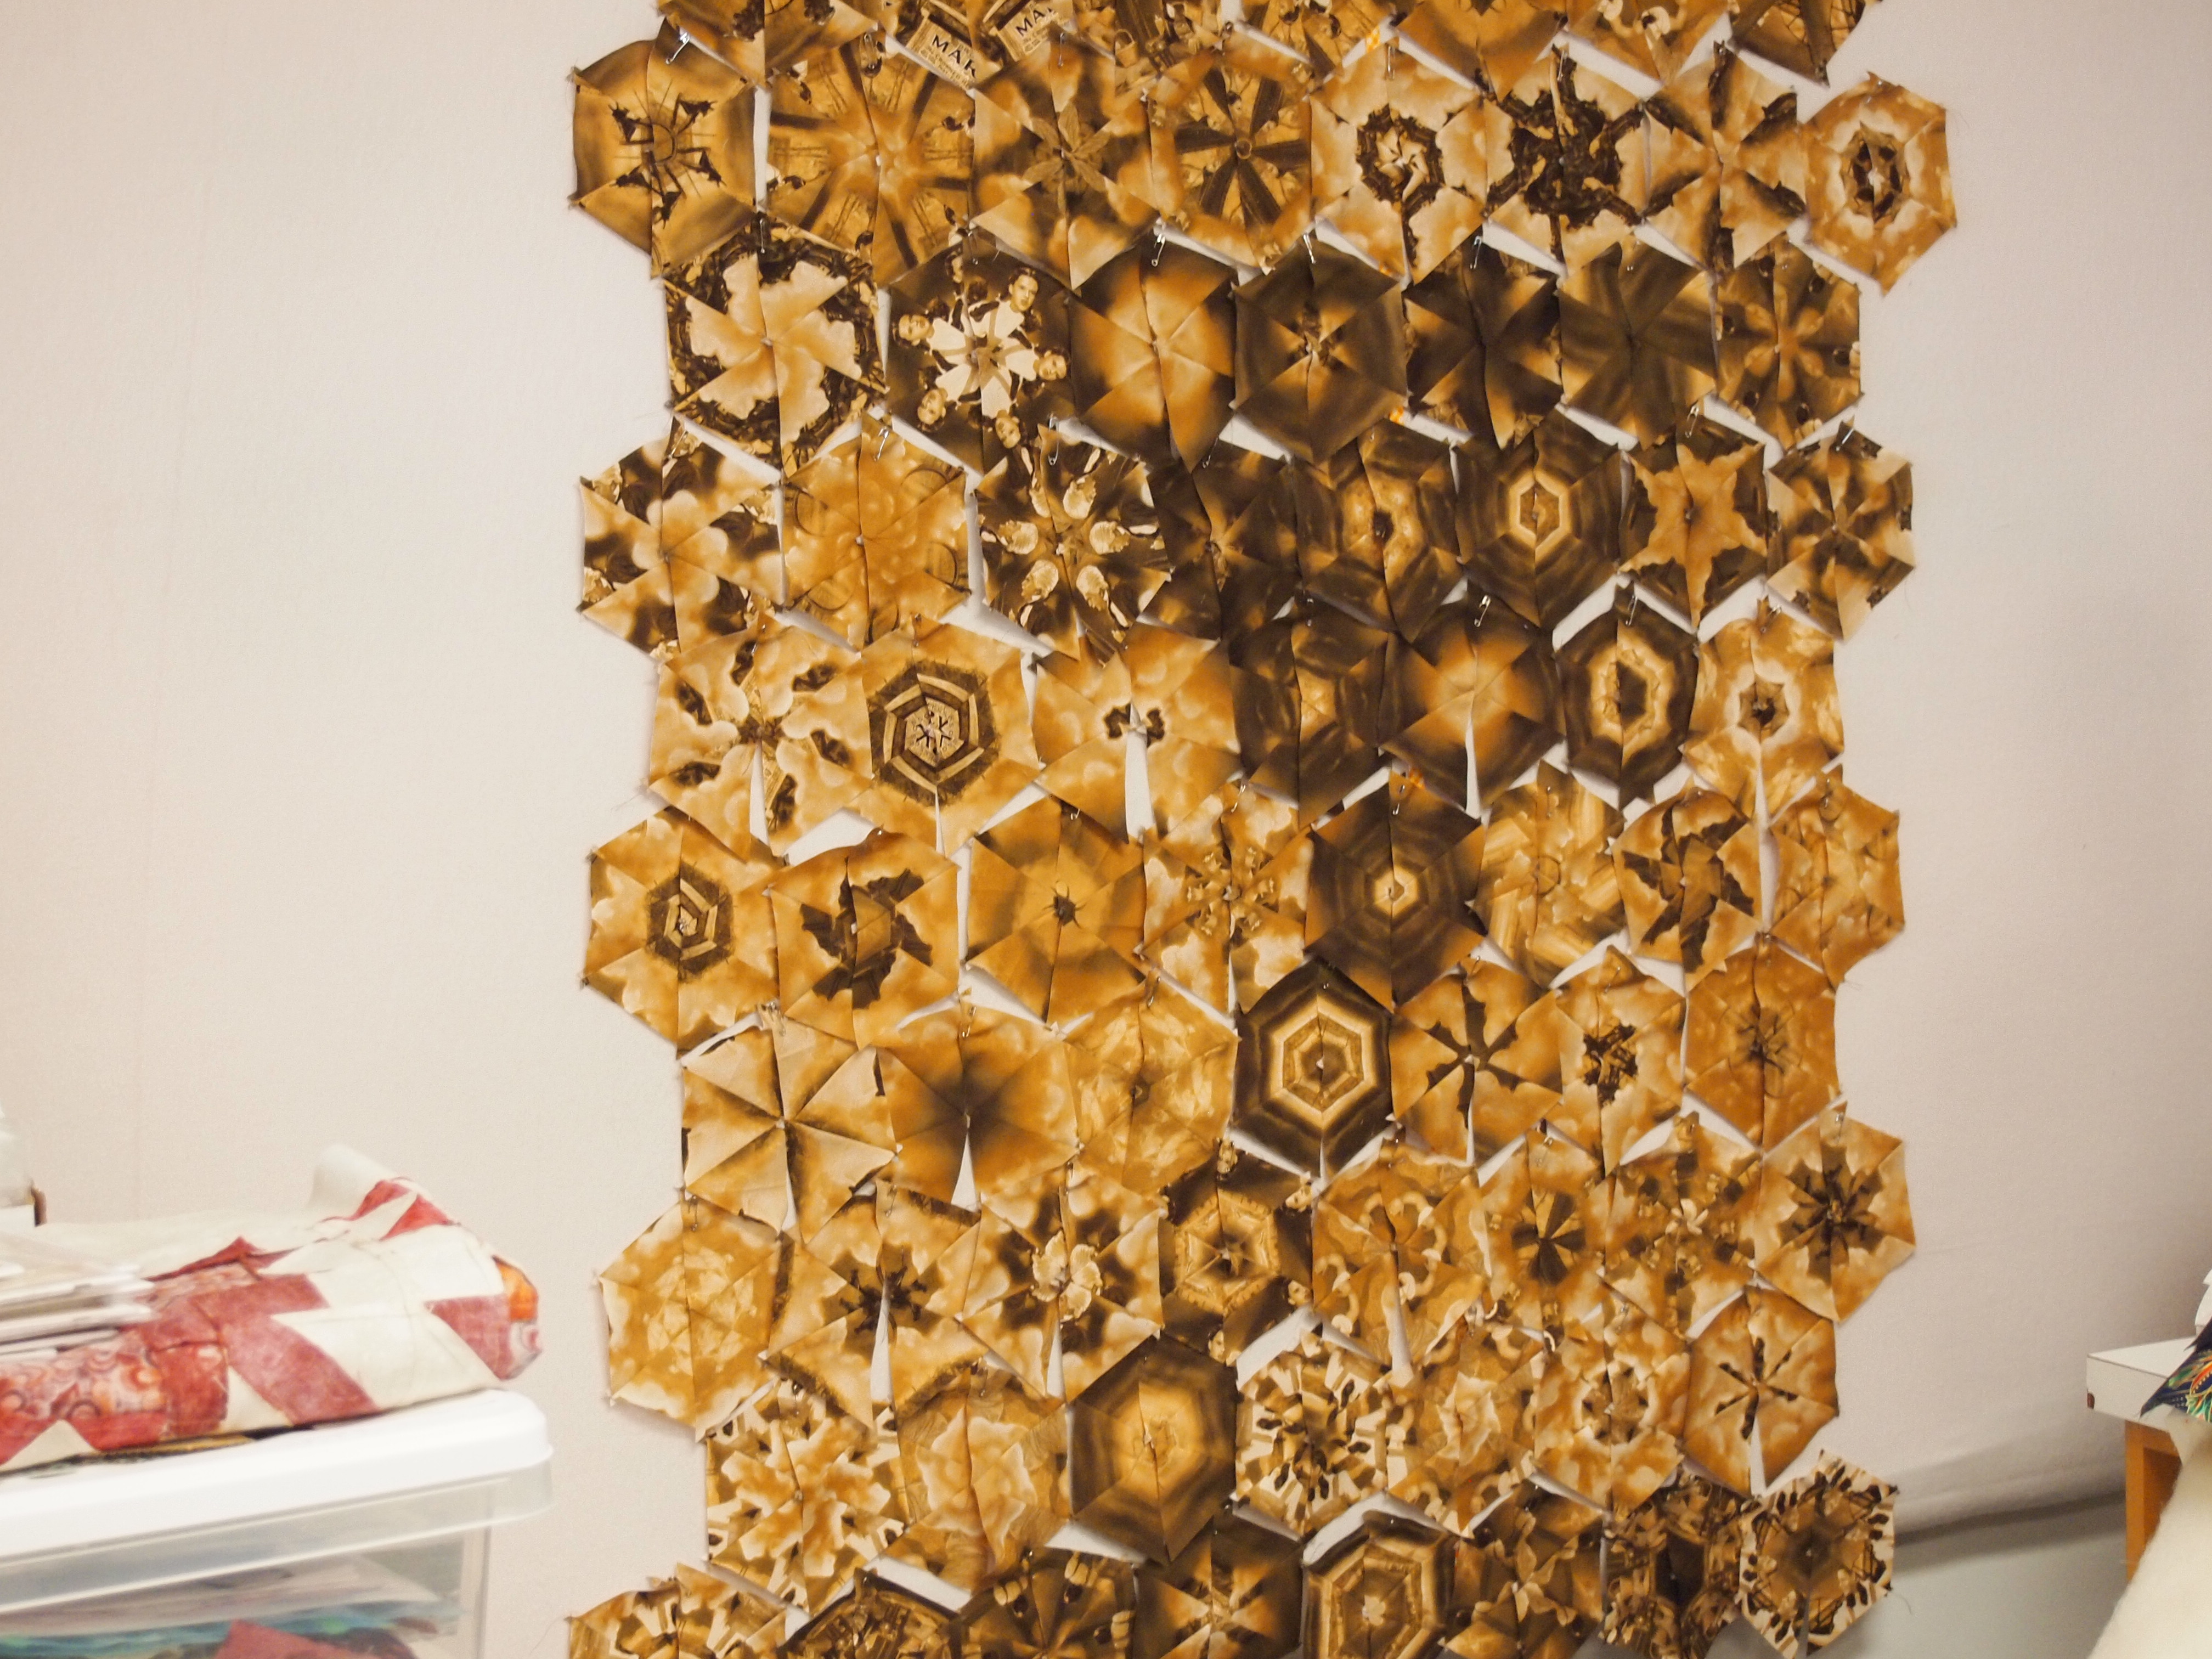
Each stack of six triangles is a kaleidoscope giving you 3 choices on how to stitch your block together. I have free, detailed video tutorials available here on my site and on YouTube that guide you through the process of making a One Block Wonder. Plus you should check out Maxine Rosenthal’s books, One Block Wonder’s, One Block Wonders Encore, One Block Wonders Cubed and One Block Wonders of the World (2 of my OBW’s are included in that book).

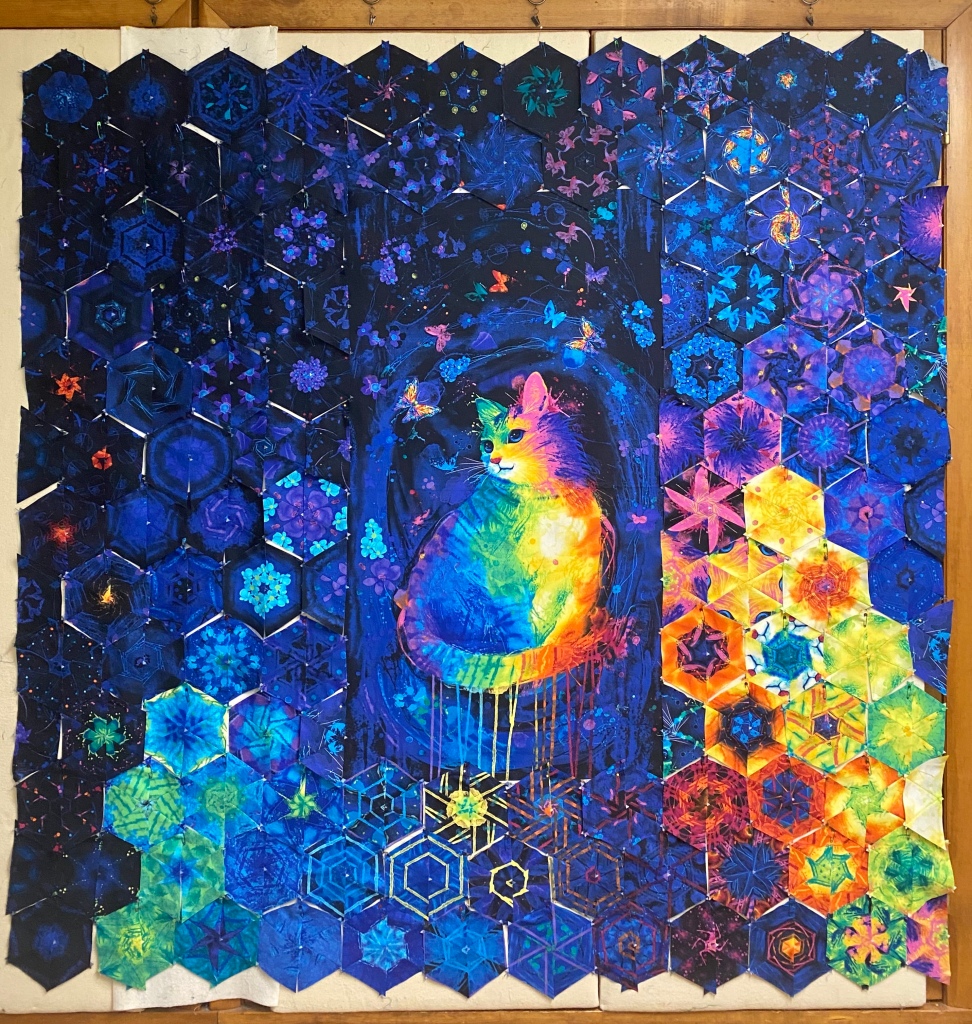
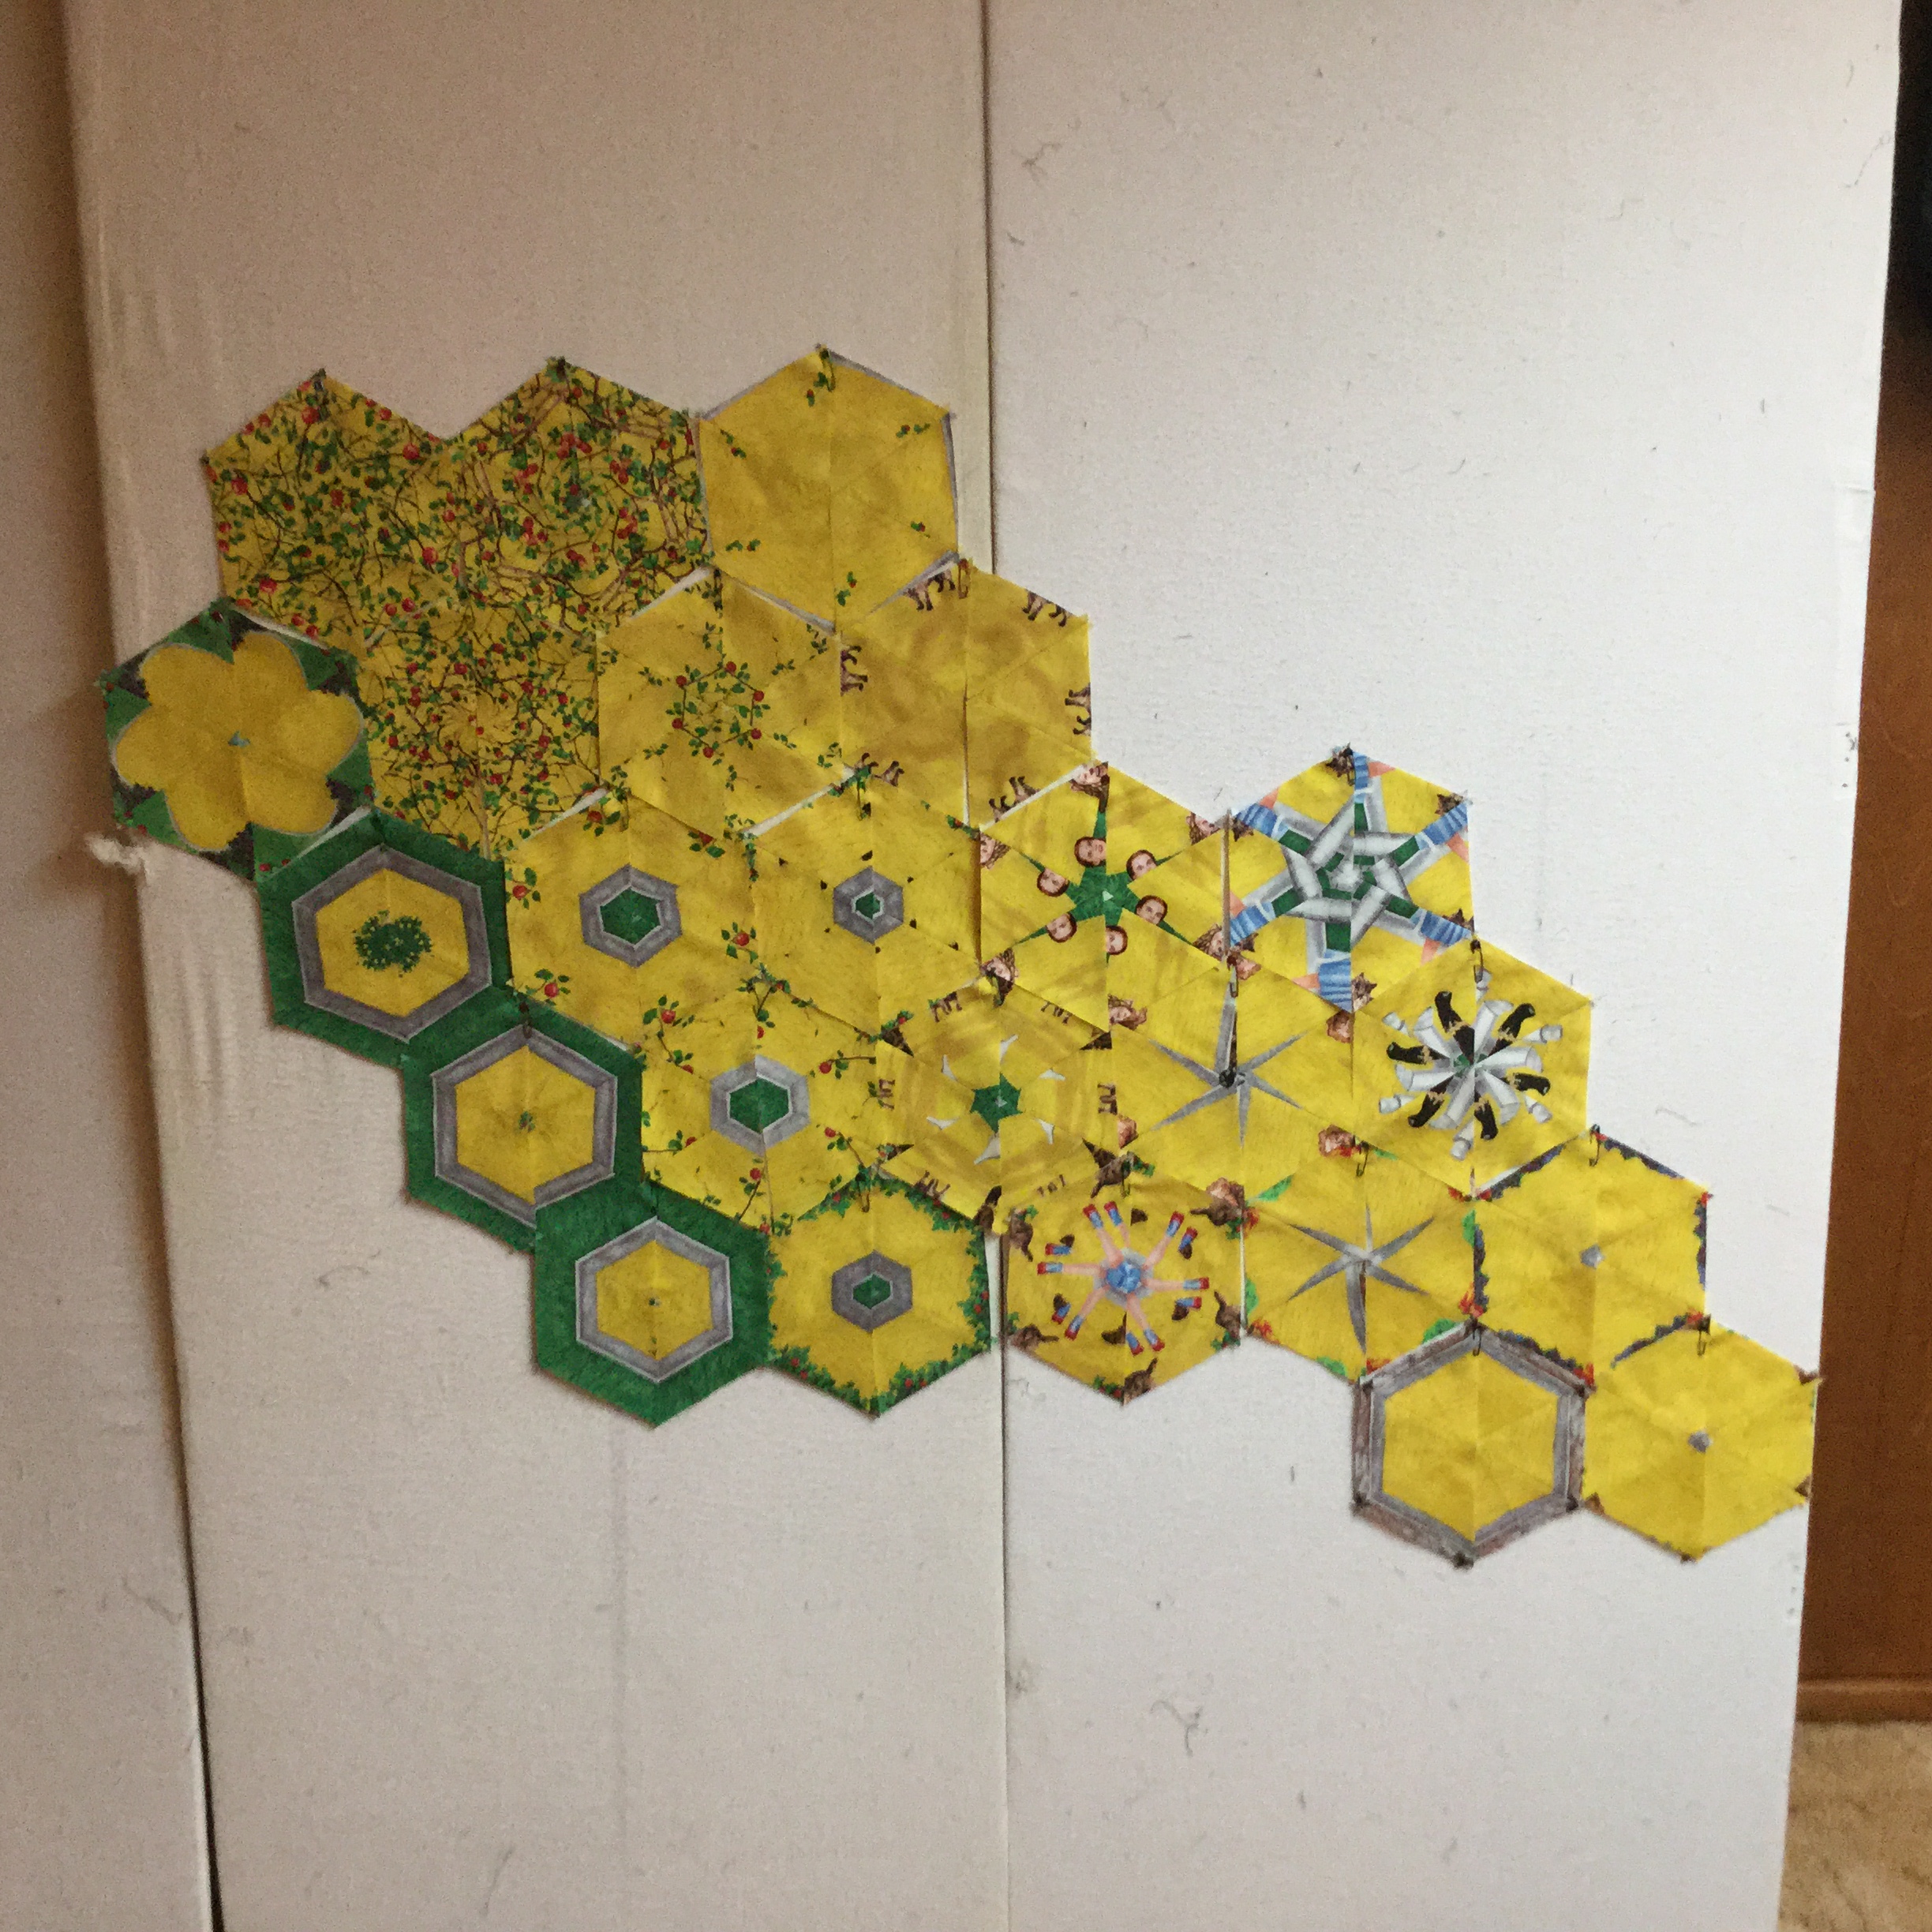
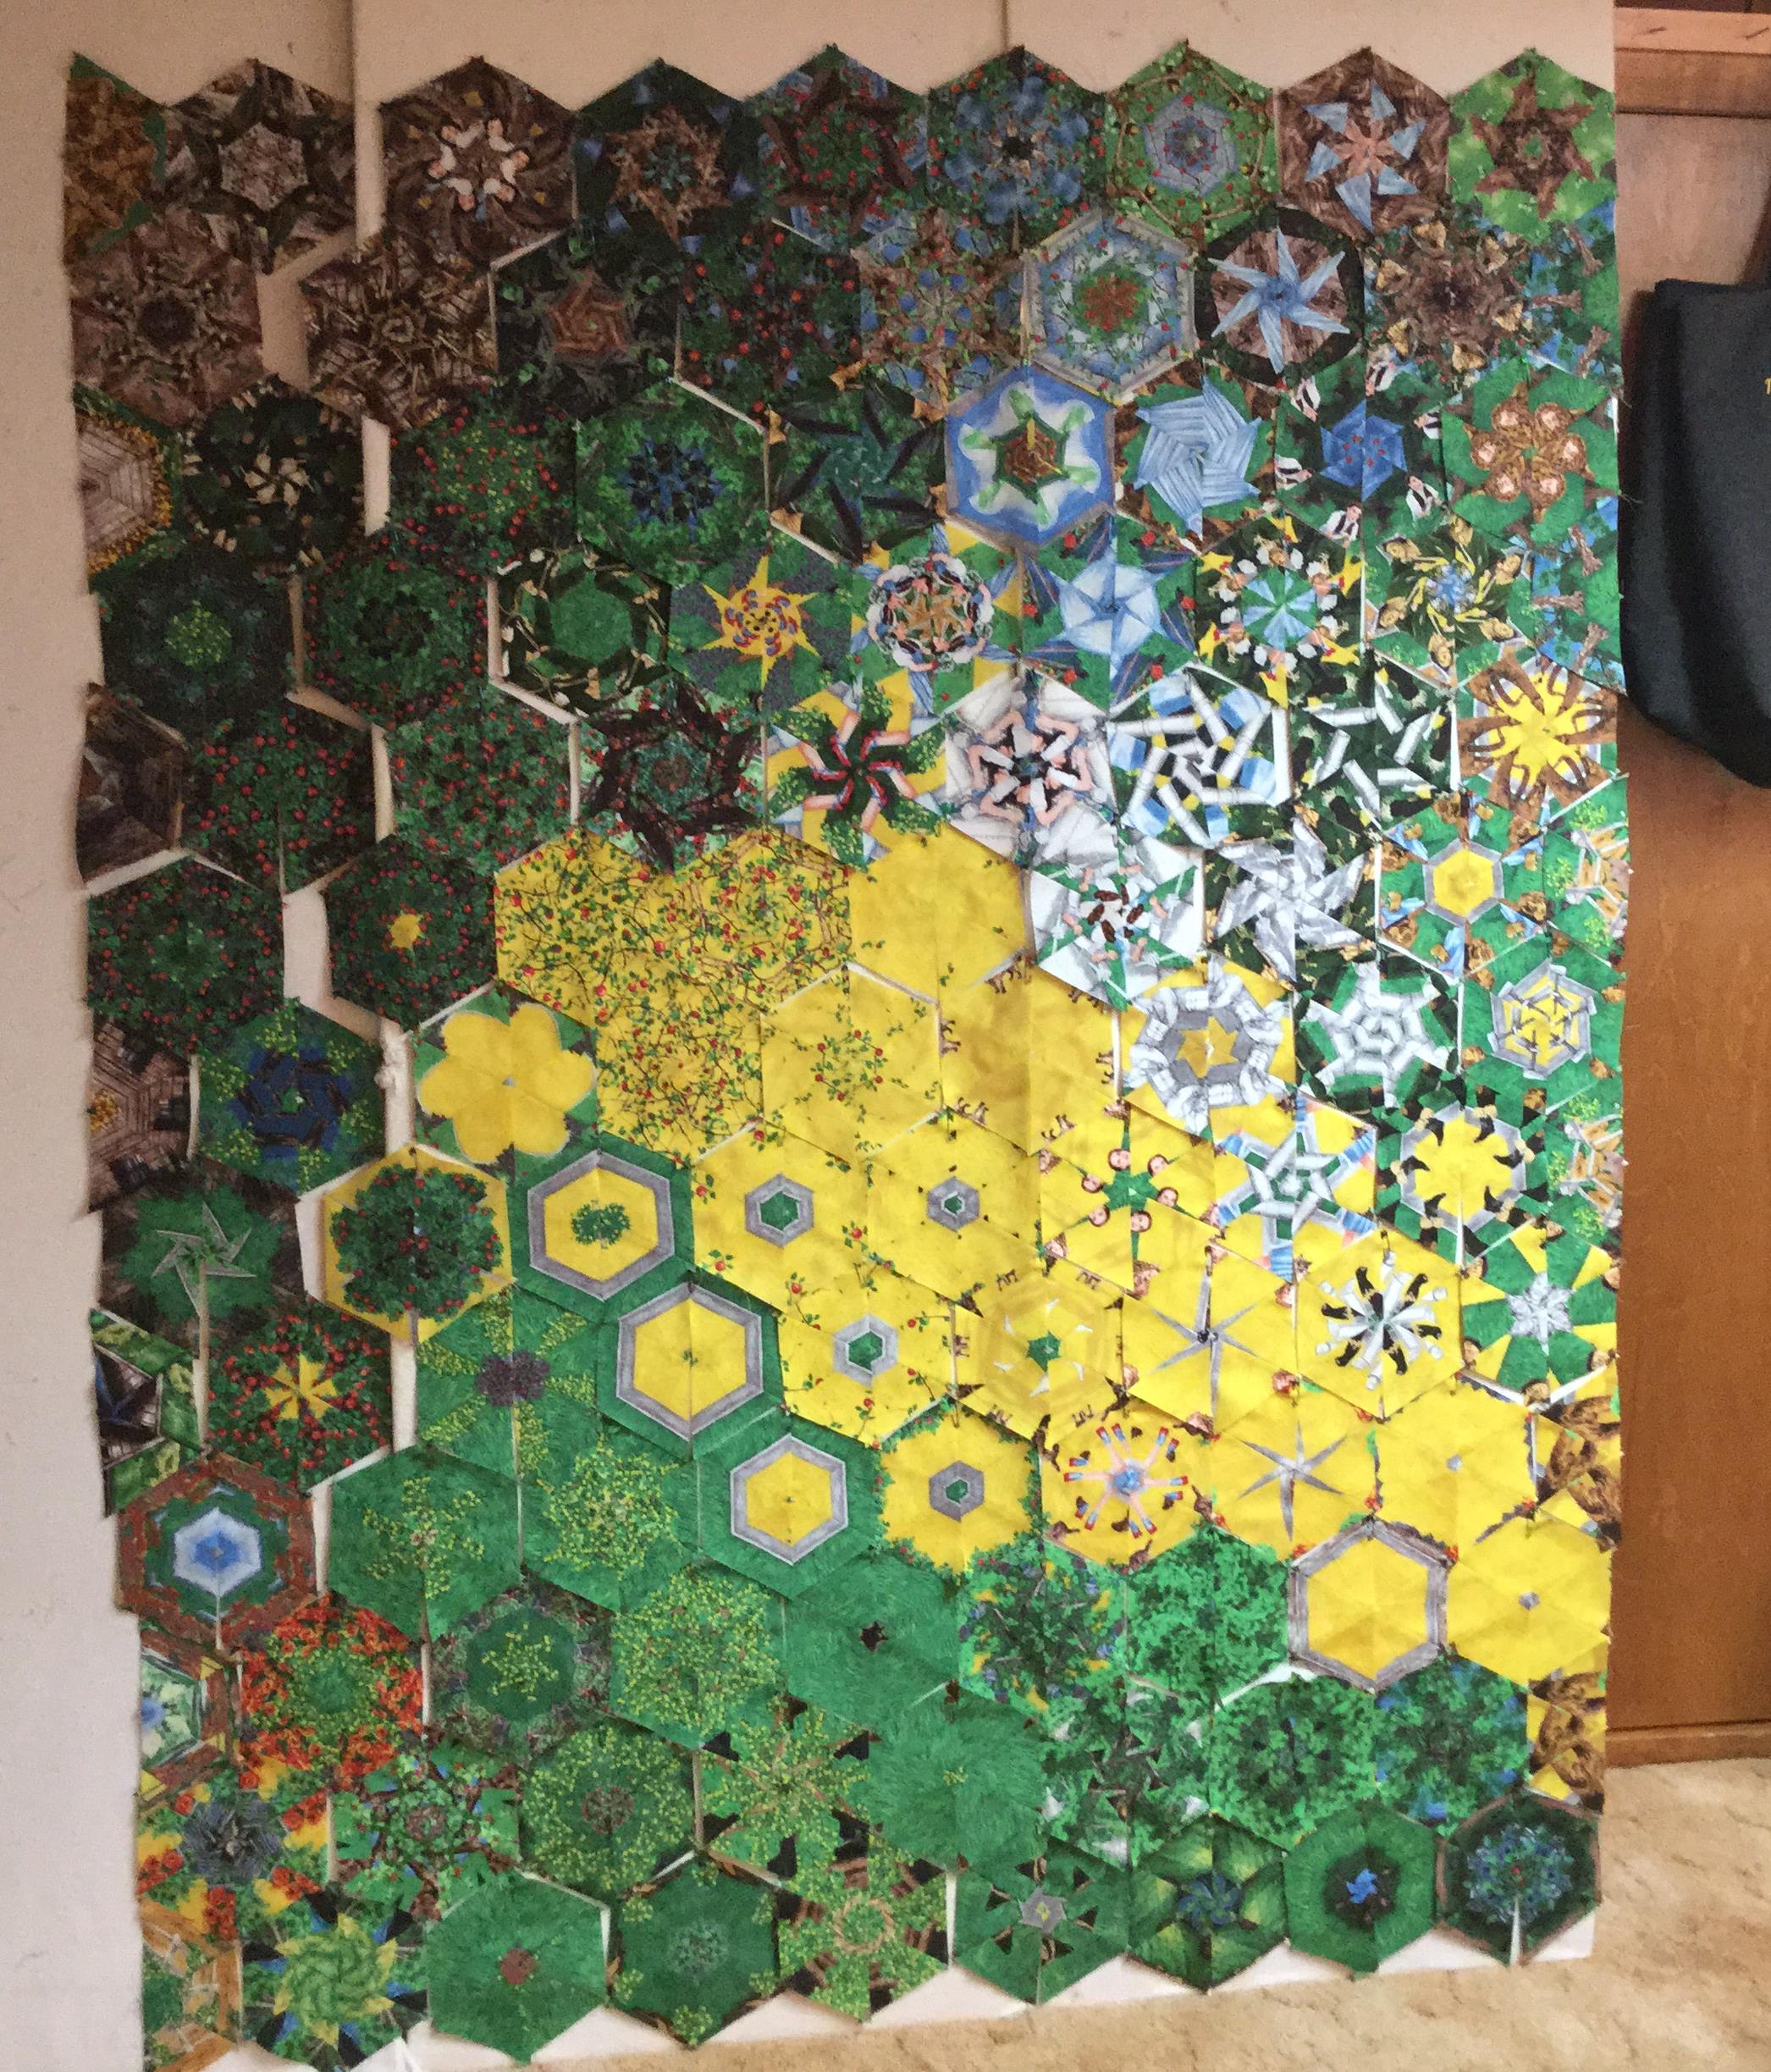
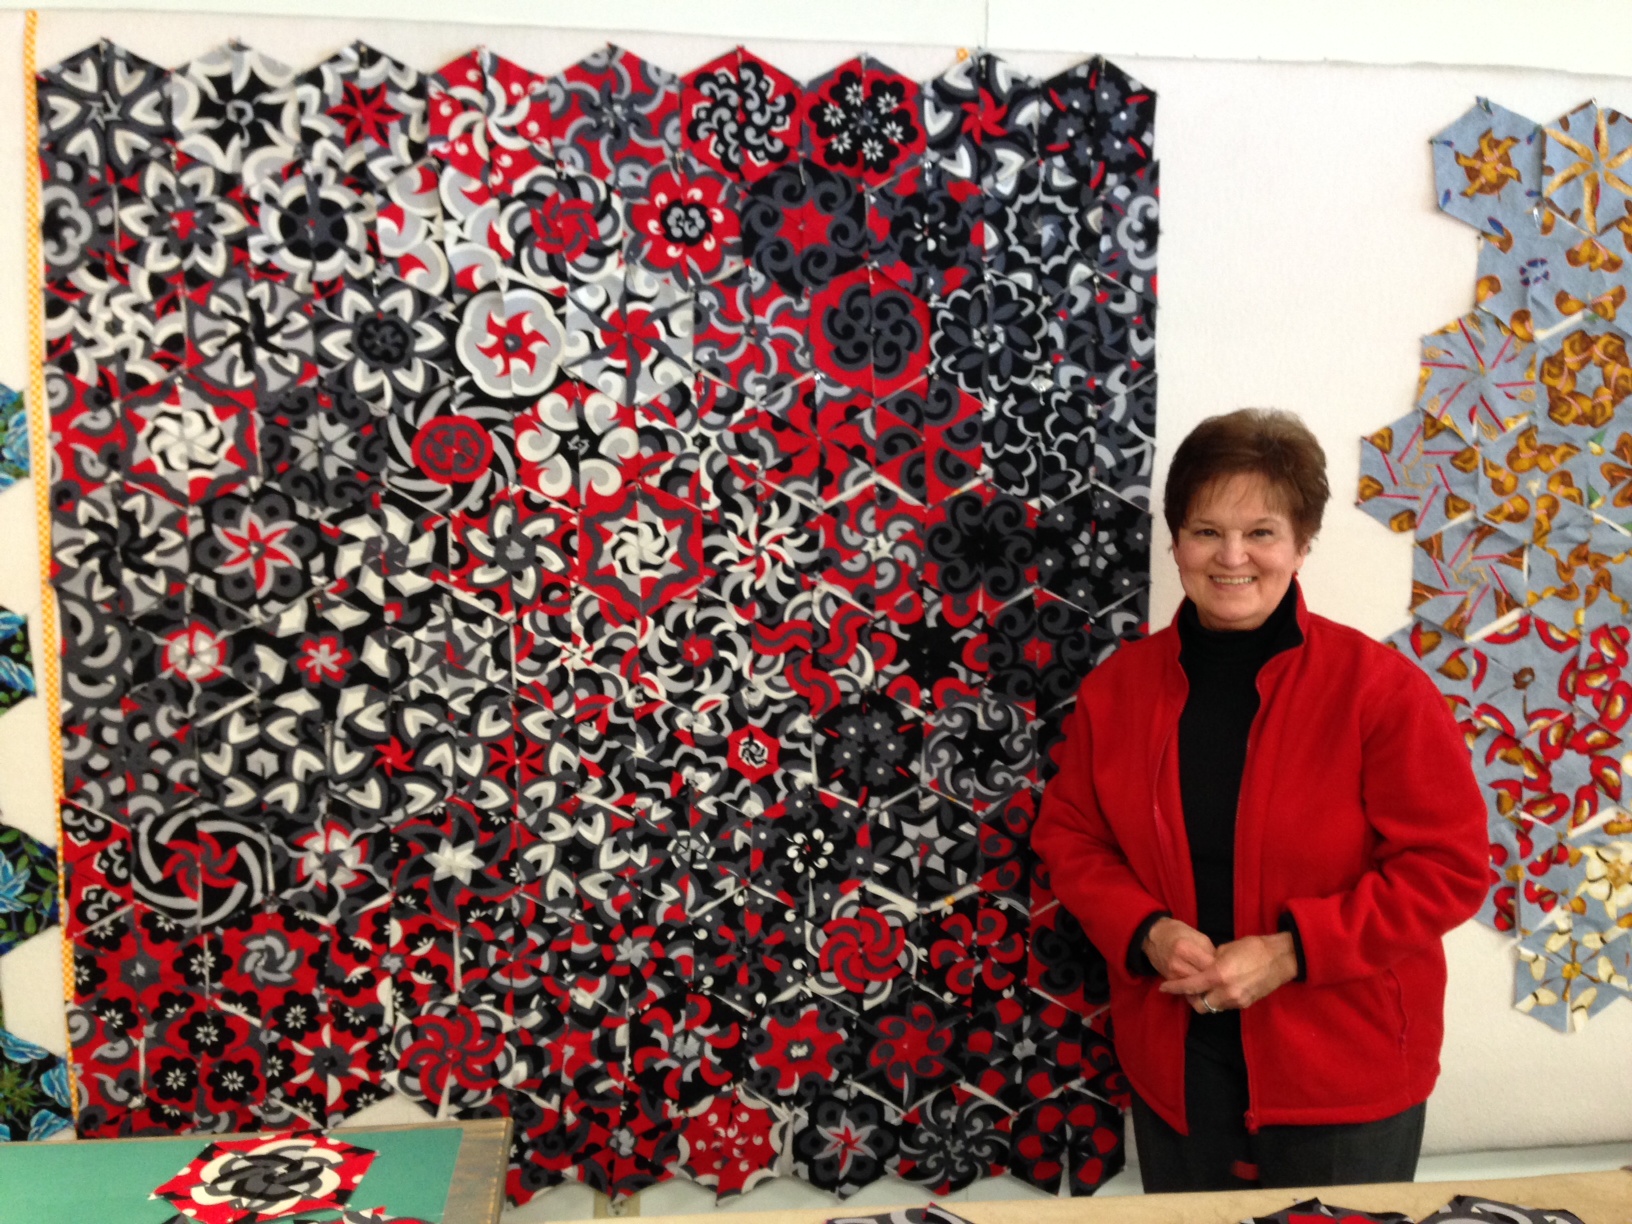
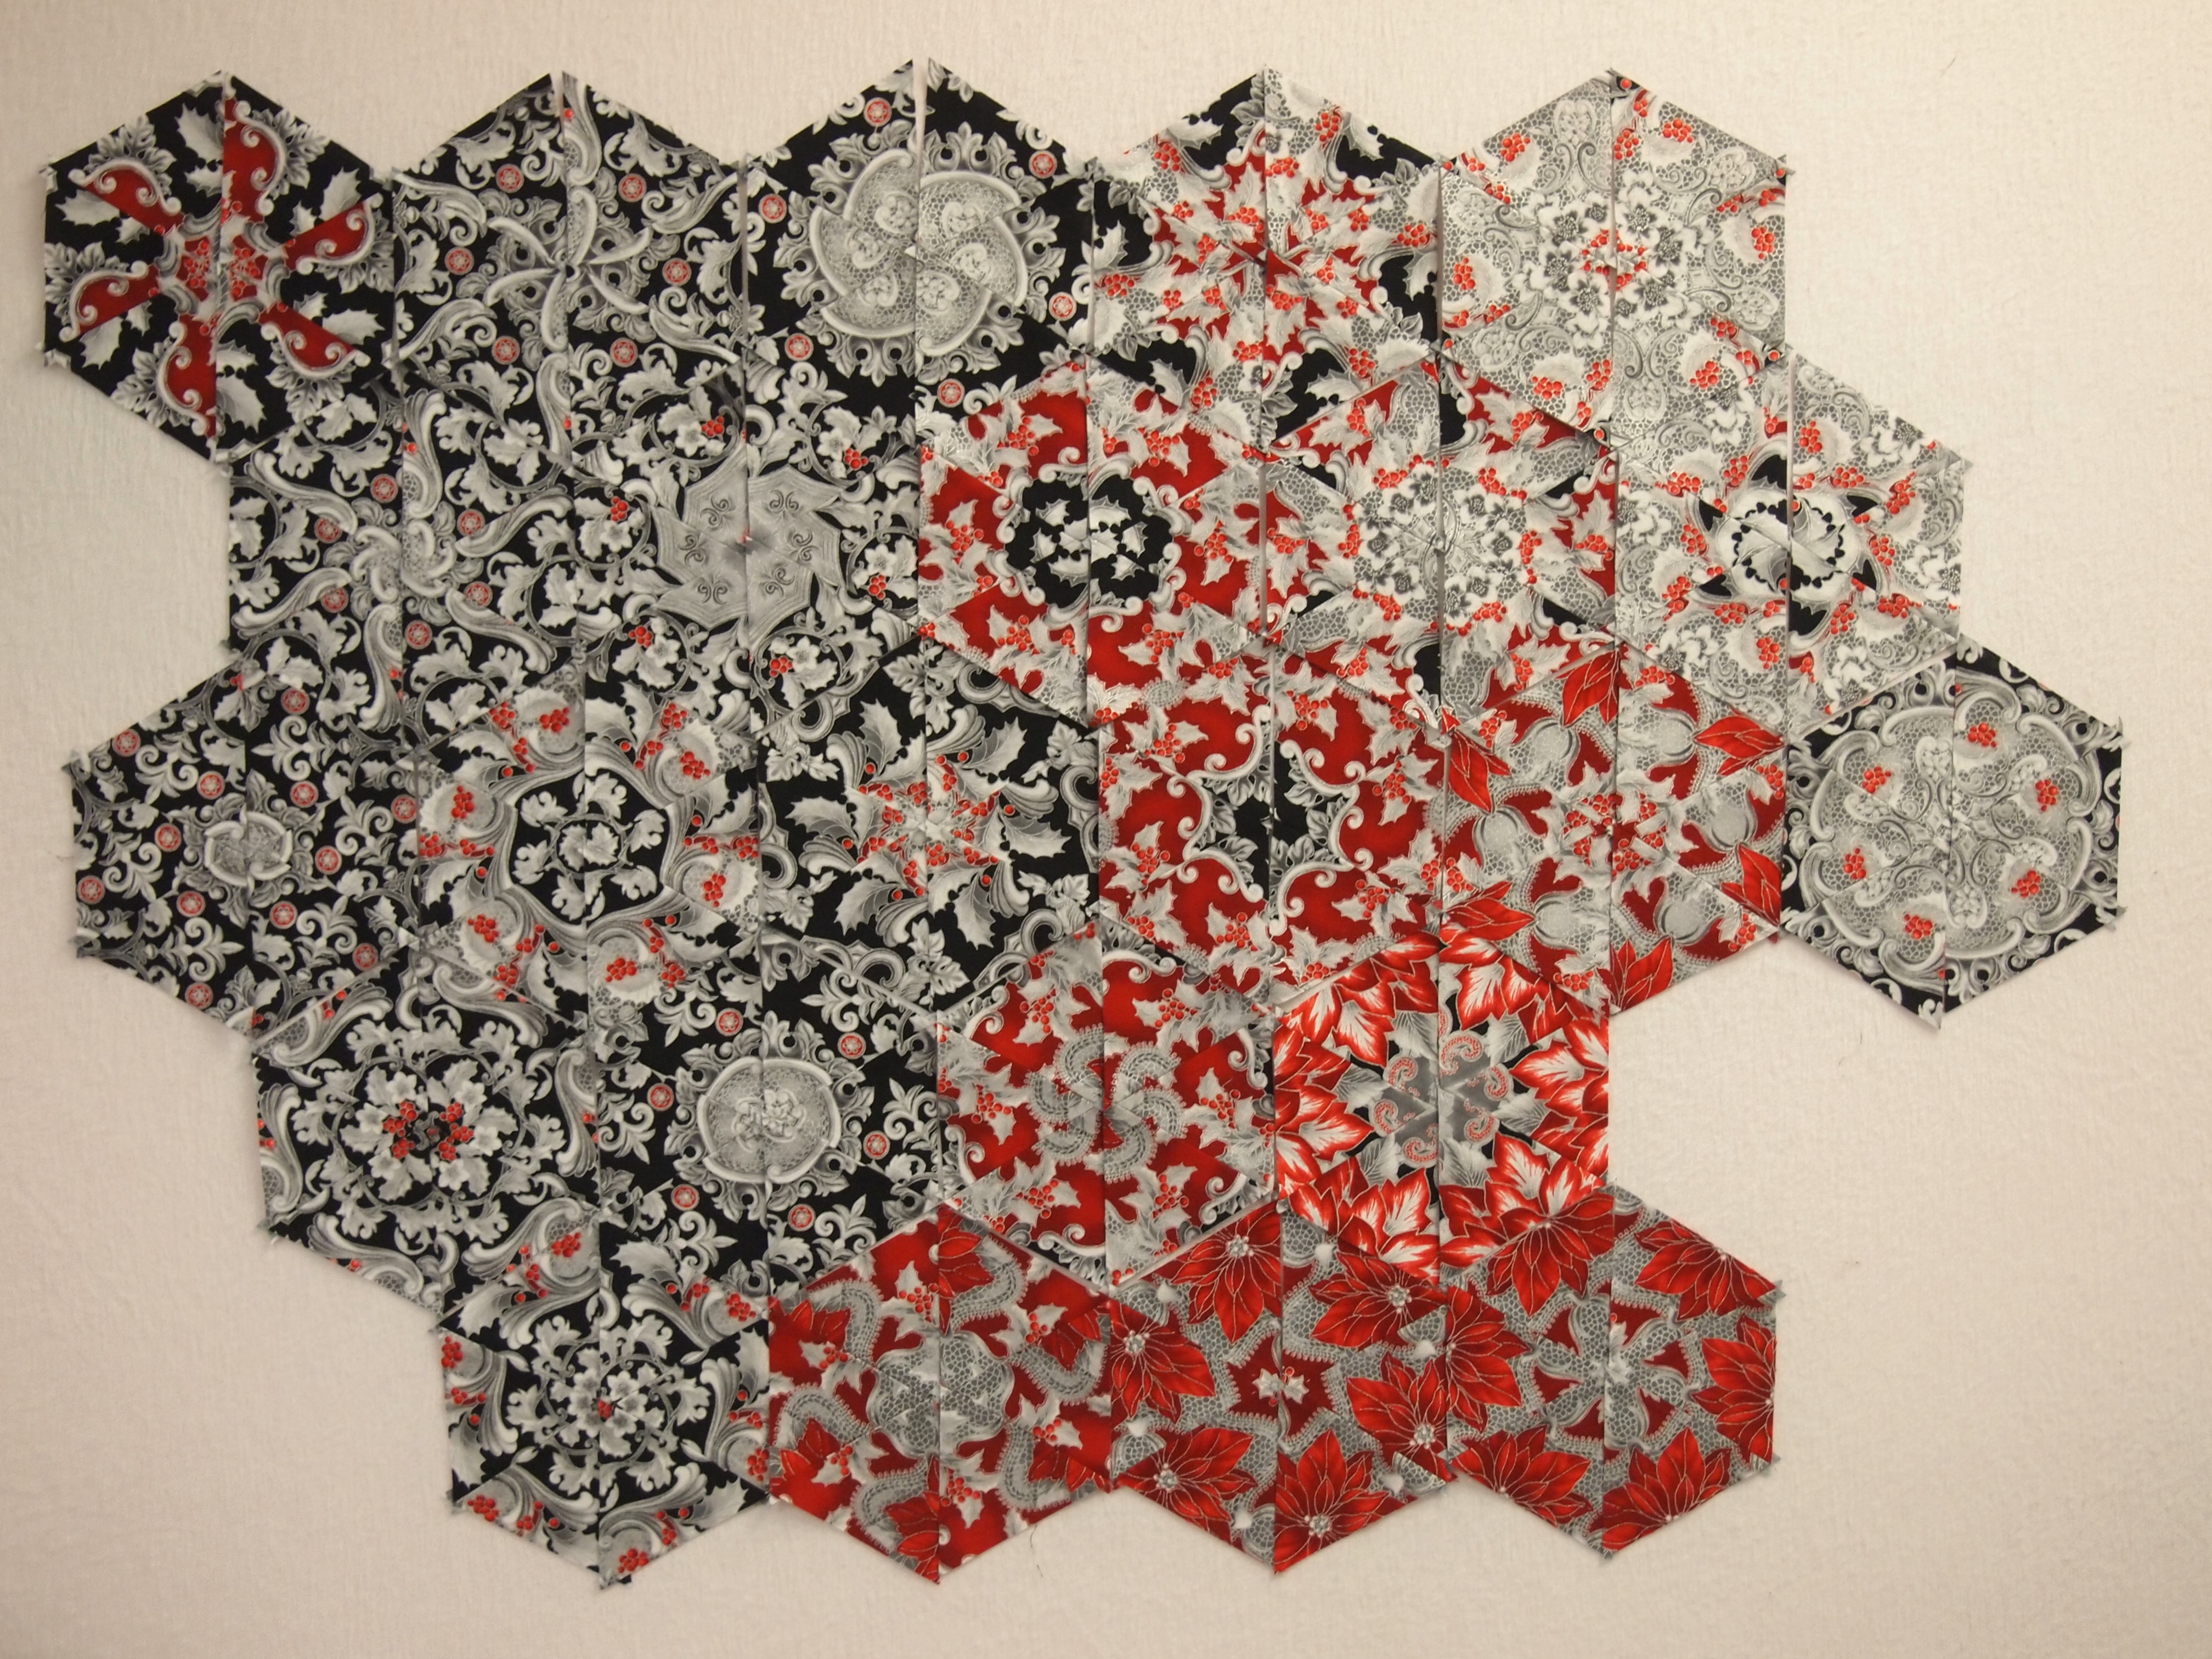
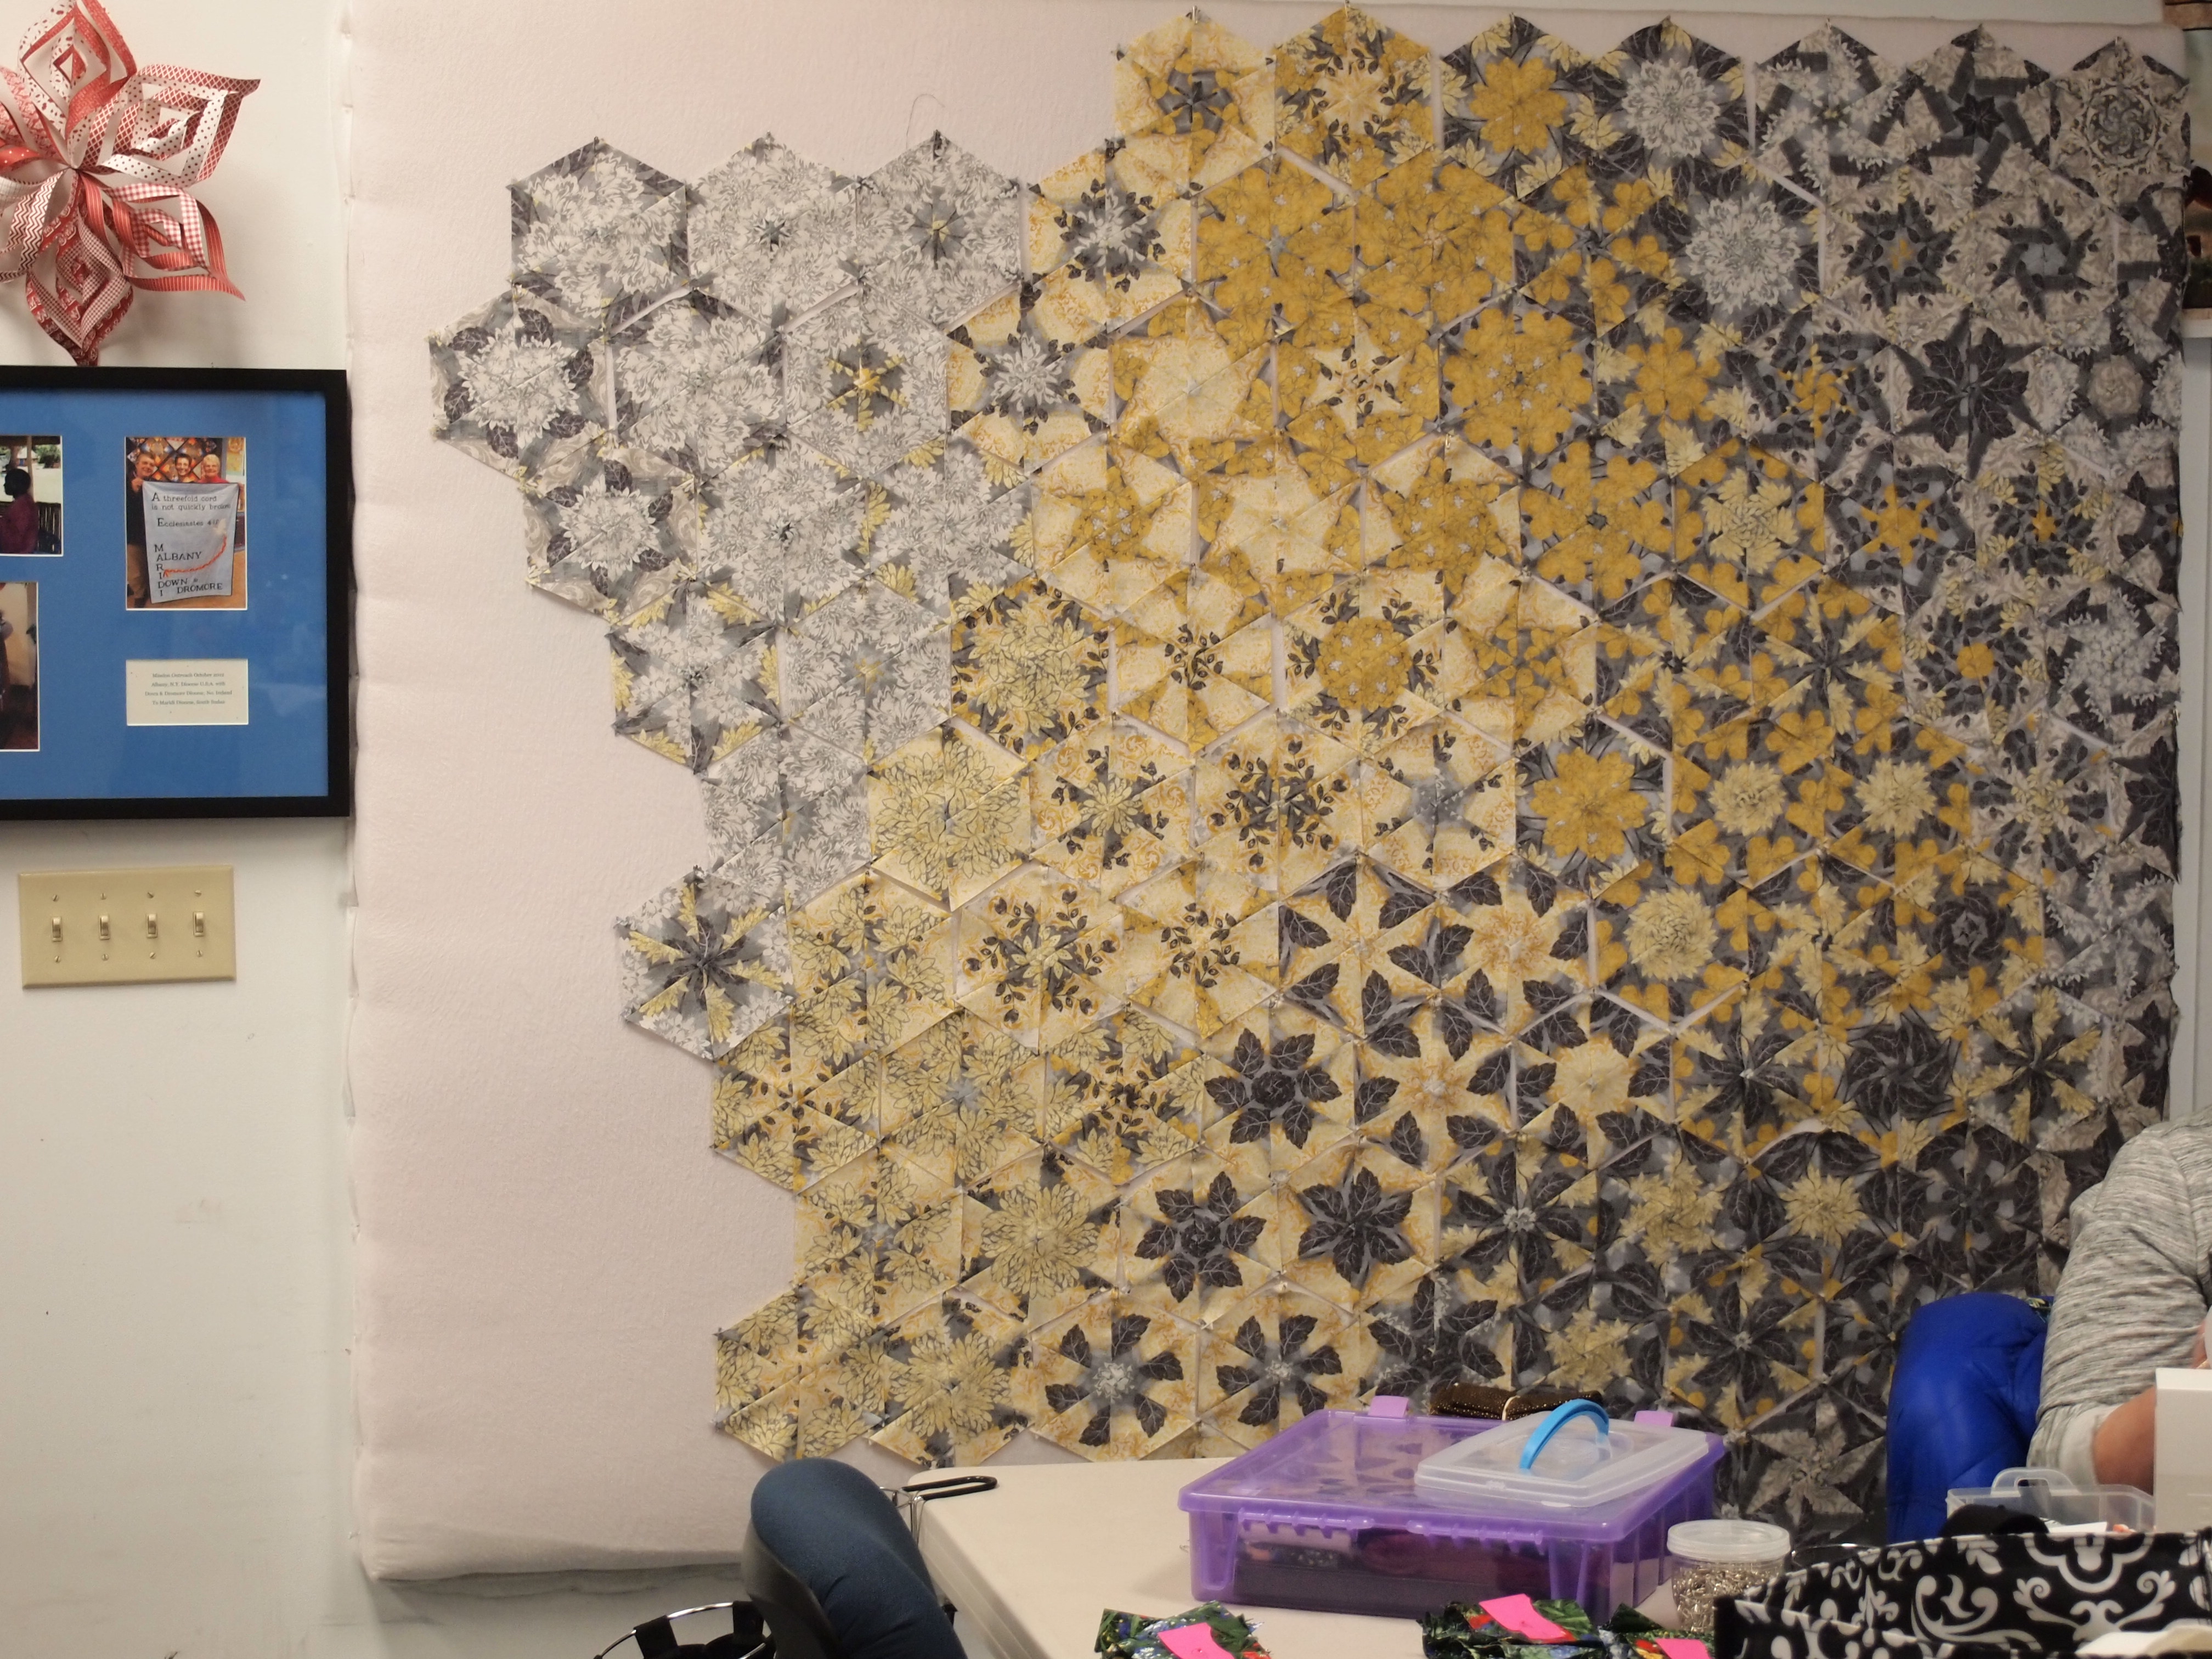
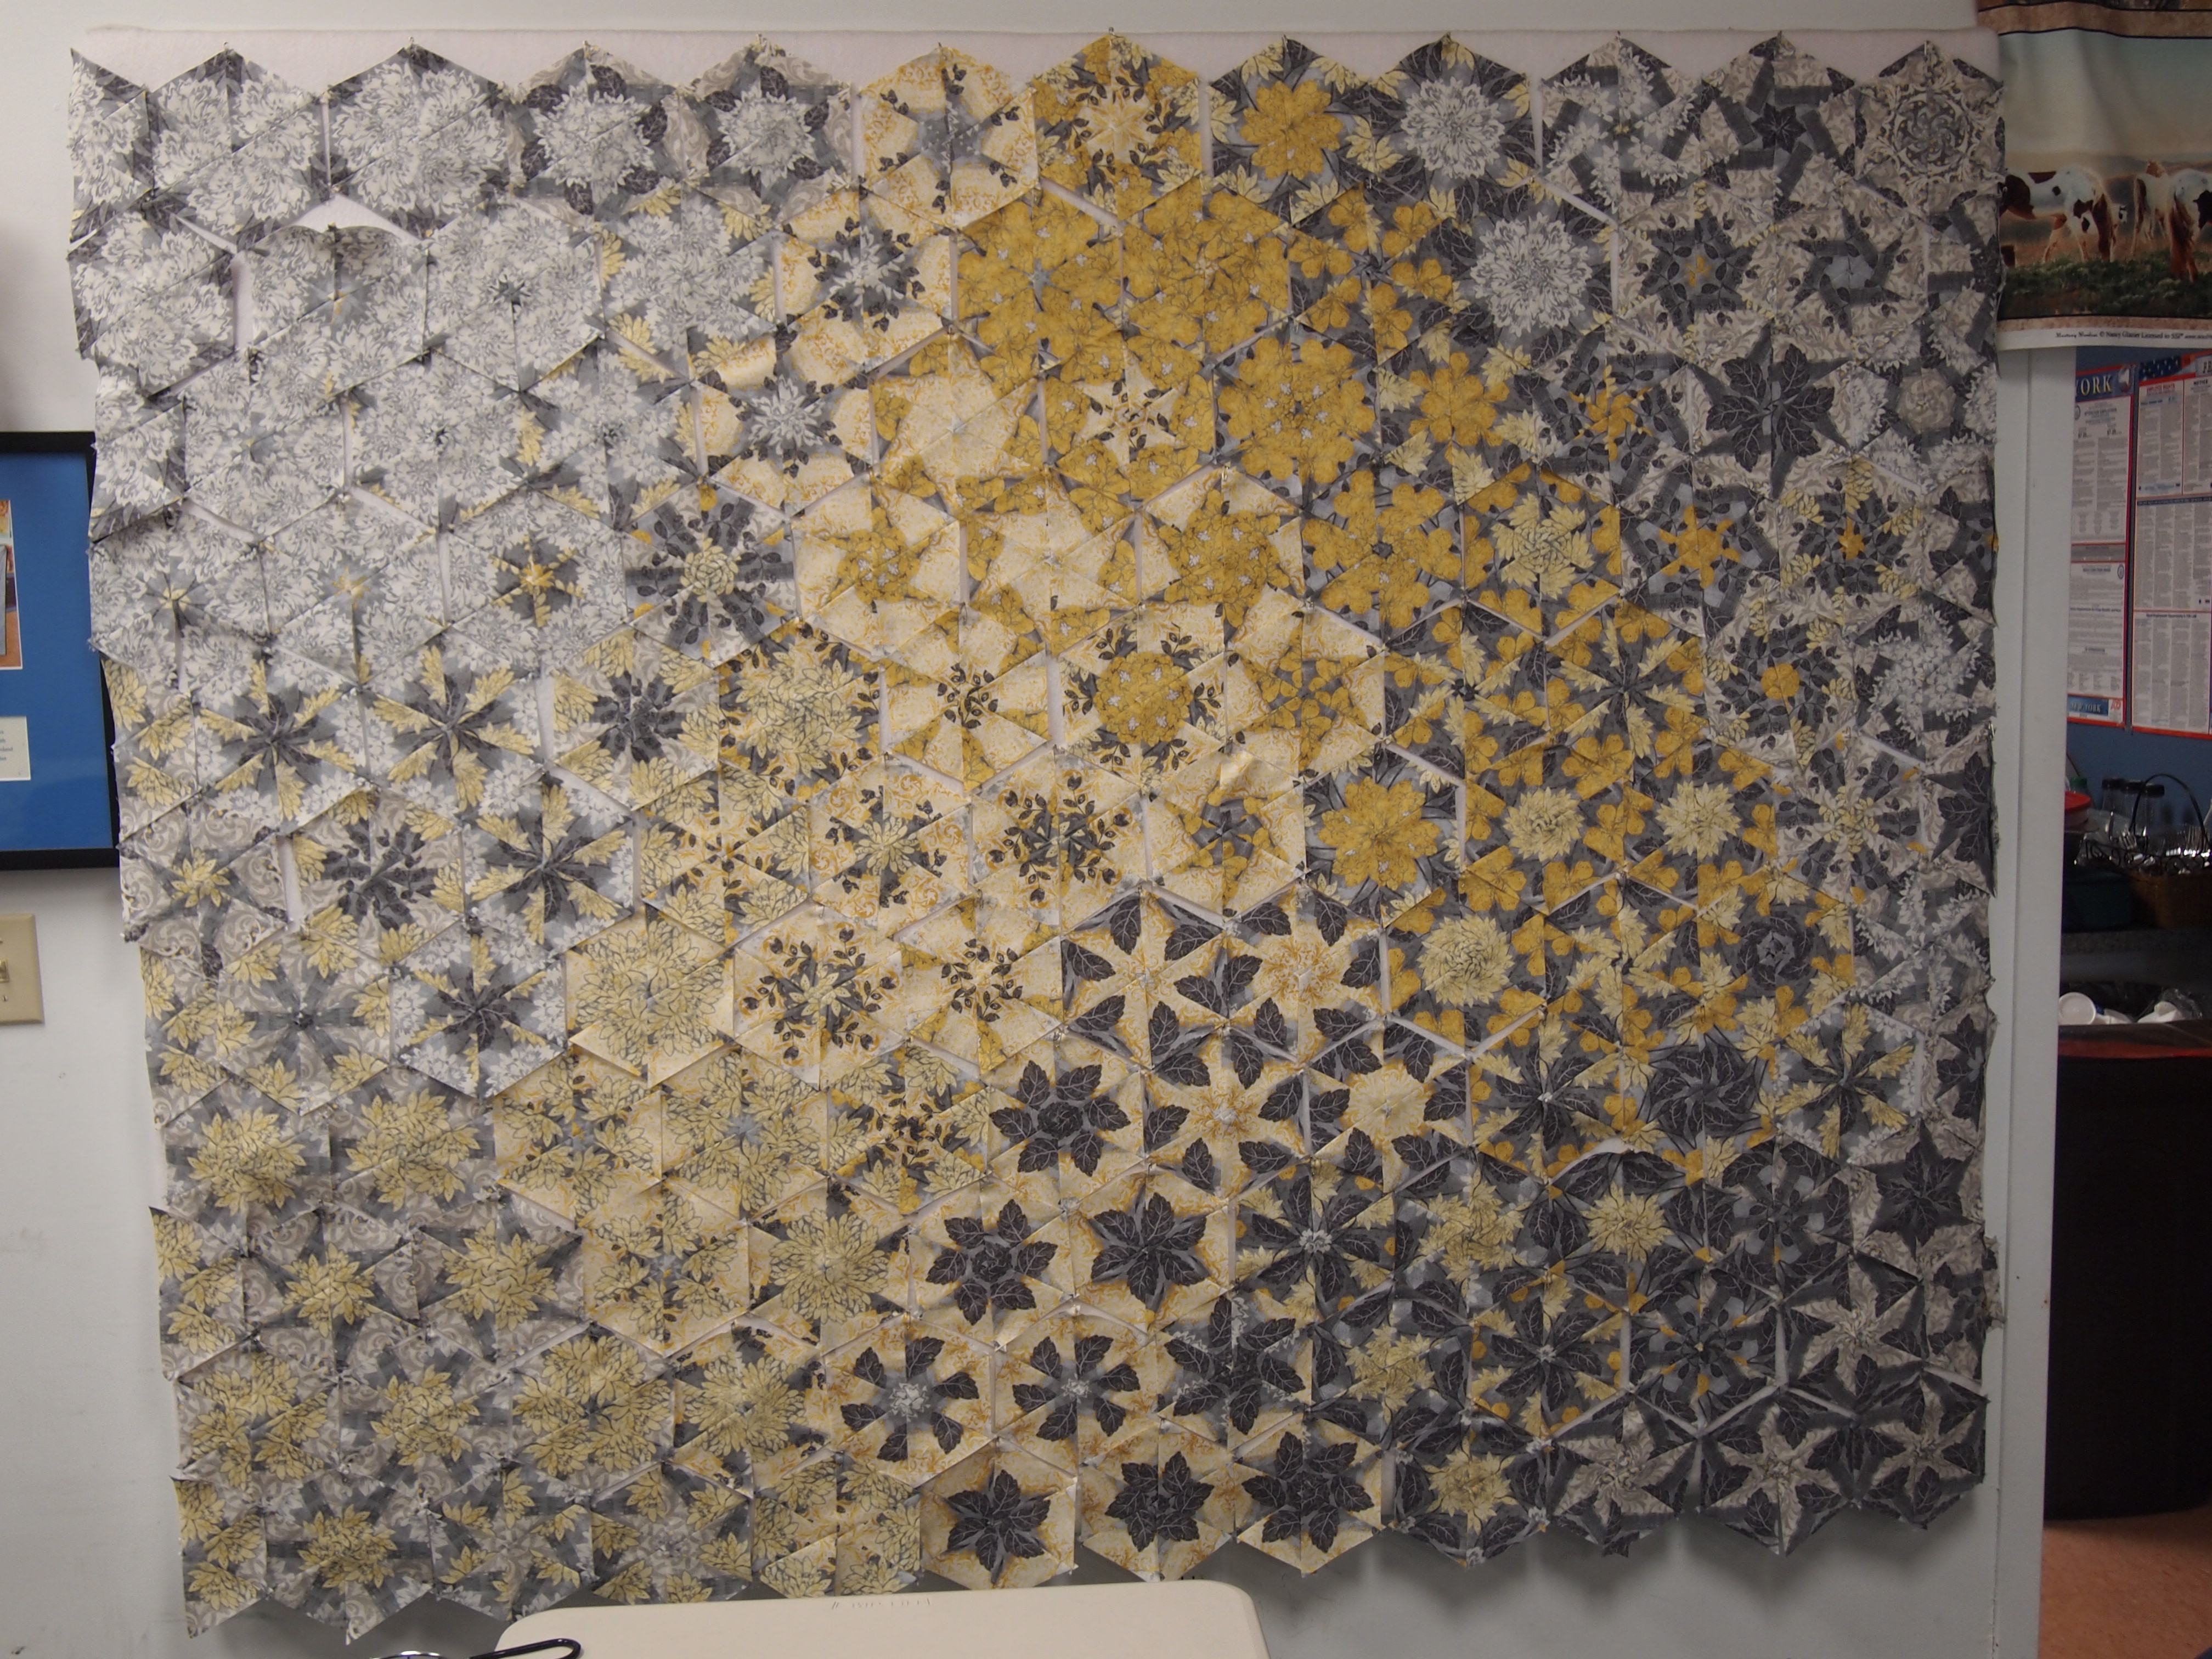
Usually I wait till all my blocks are sewn before going to the design wall. I was so excited that every few blocks I had to start designing. When constructing OBW blocks, you stitch 3 triangles together, pressing all seams open and then sew the other 3 triangles together. DO NOT sew the center seam. Simply overlap the halves at the center and pin it. My goal with this panel was to design it so it seemed the colors were swirling right off the panel.

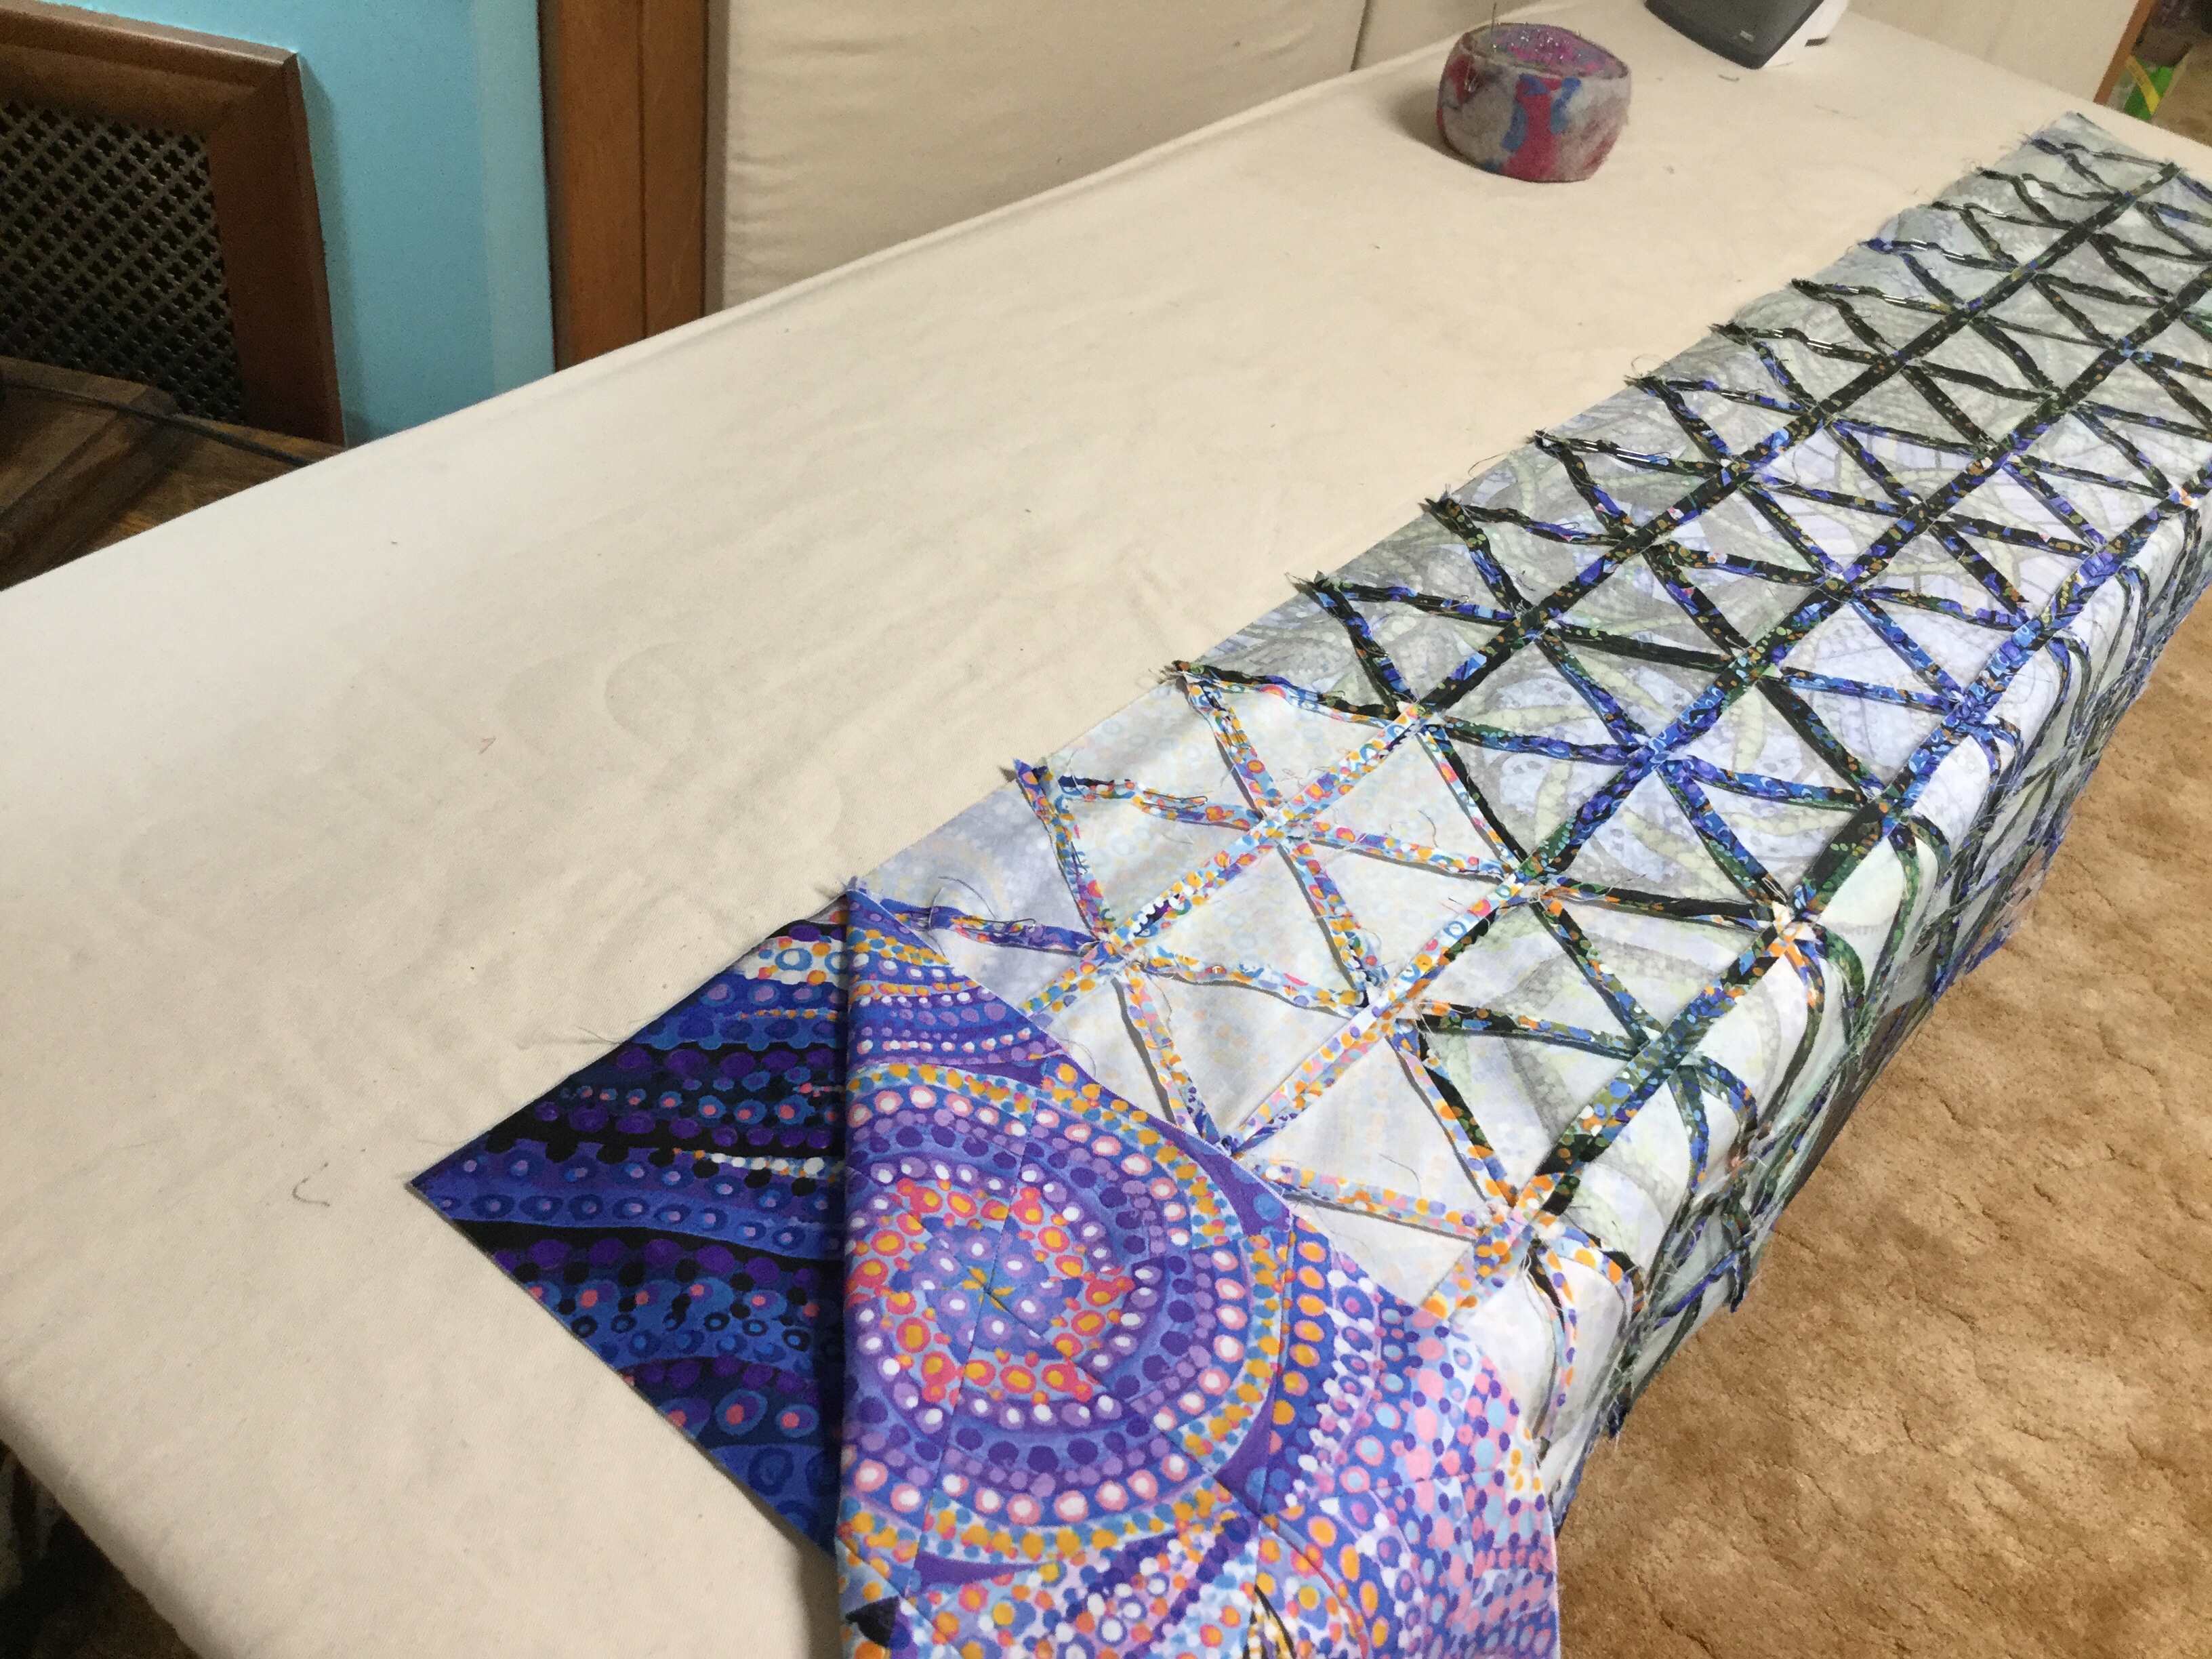
Once you have a design you like it’s time to sew the blocks into rows.

Un-pin the blocks one row at a time and sew into rows, press all seams open. I love my pressing stick. It makes it much easier to press all the seams open without disturbing what was previously pressed.
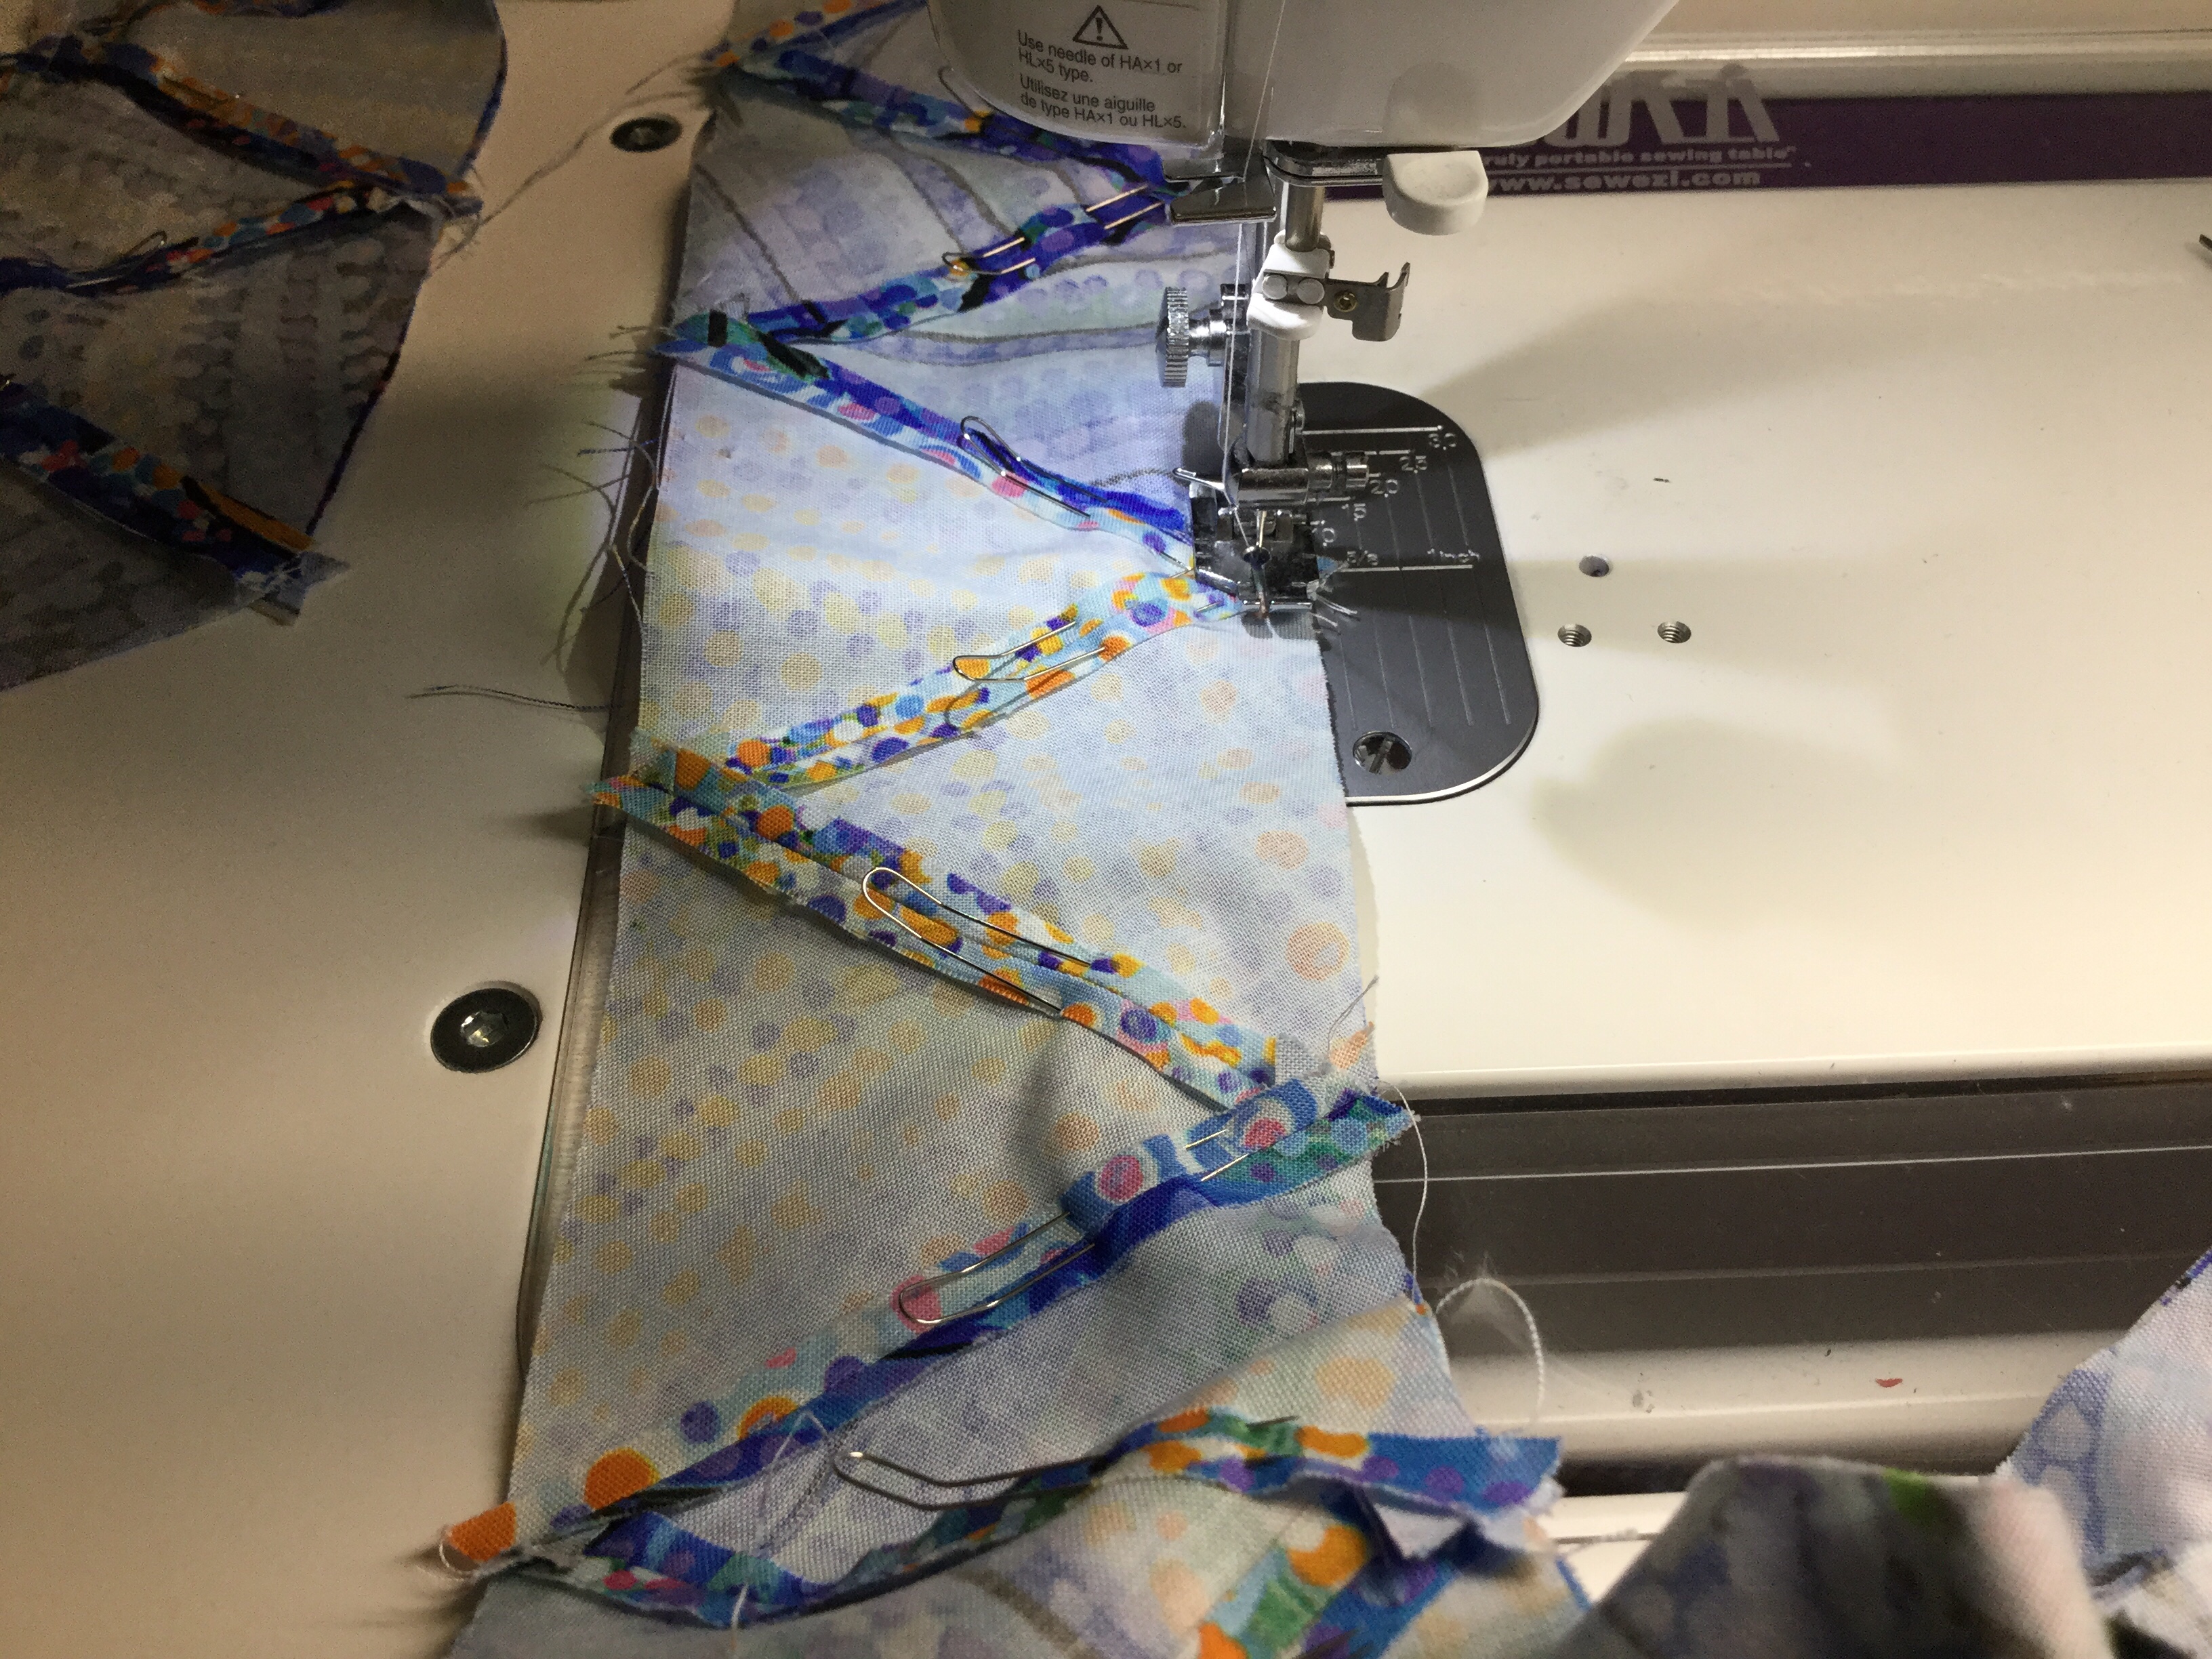
Stitch your rows together. I love my Clover Fork Pins. They are thin and grip and hold the fabric in place.

Did I tell you to press all seams open? That pressing stick really helps.
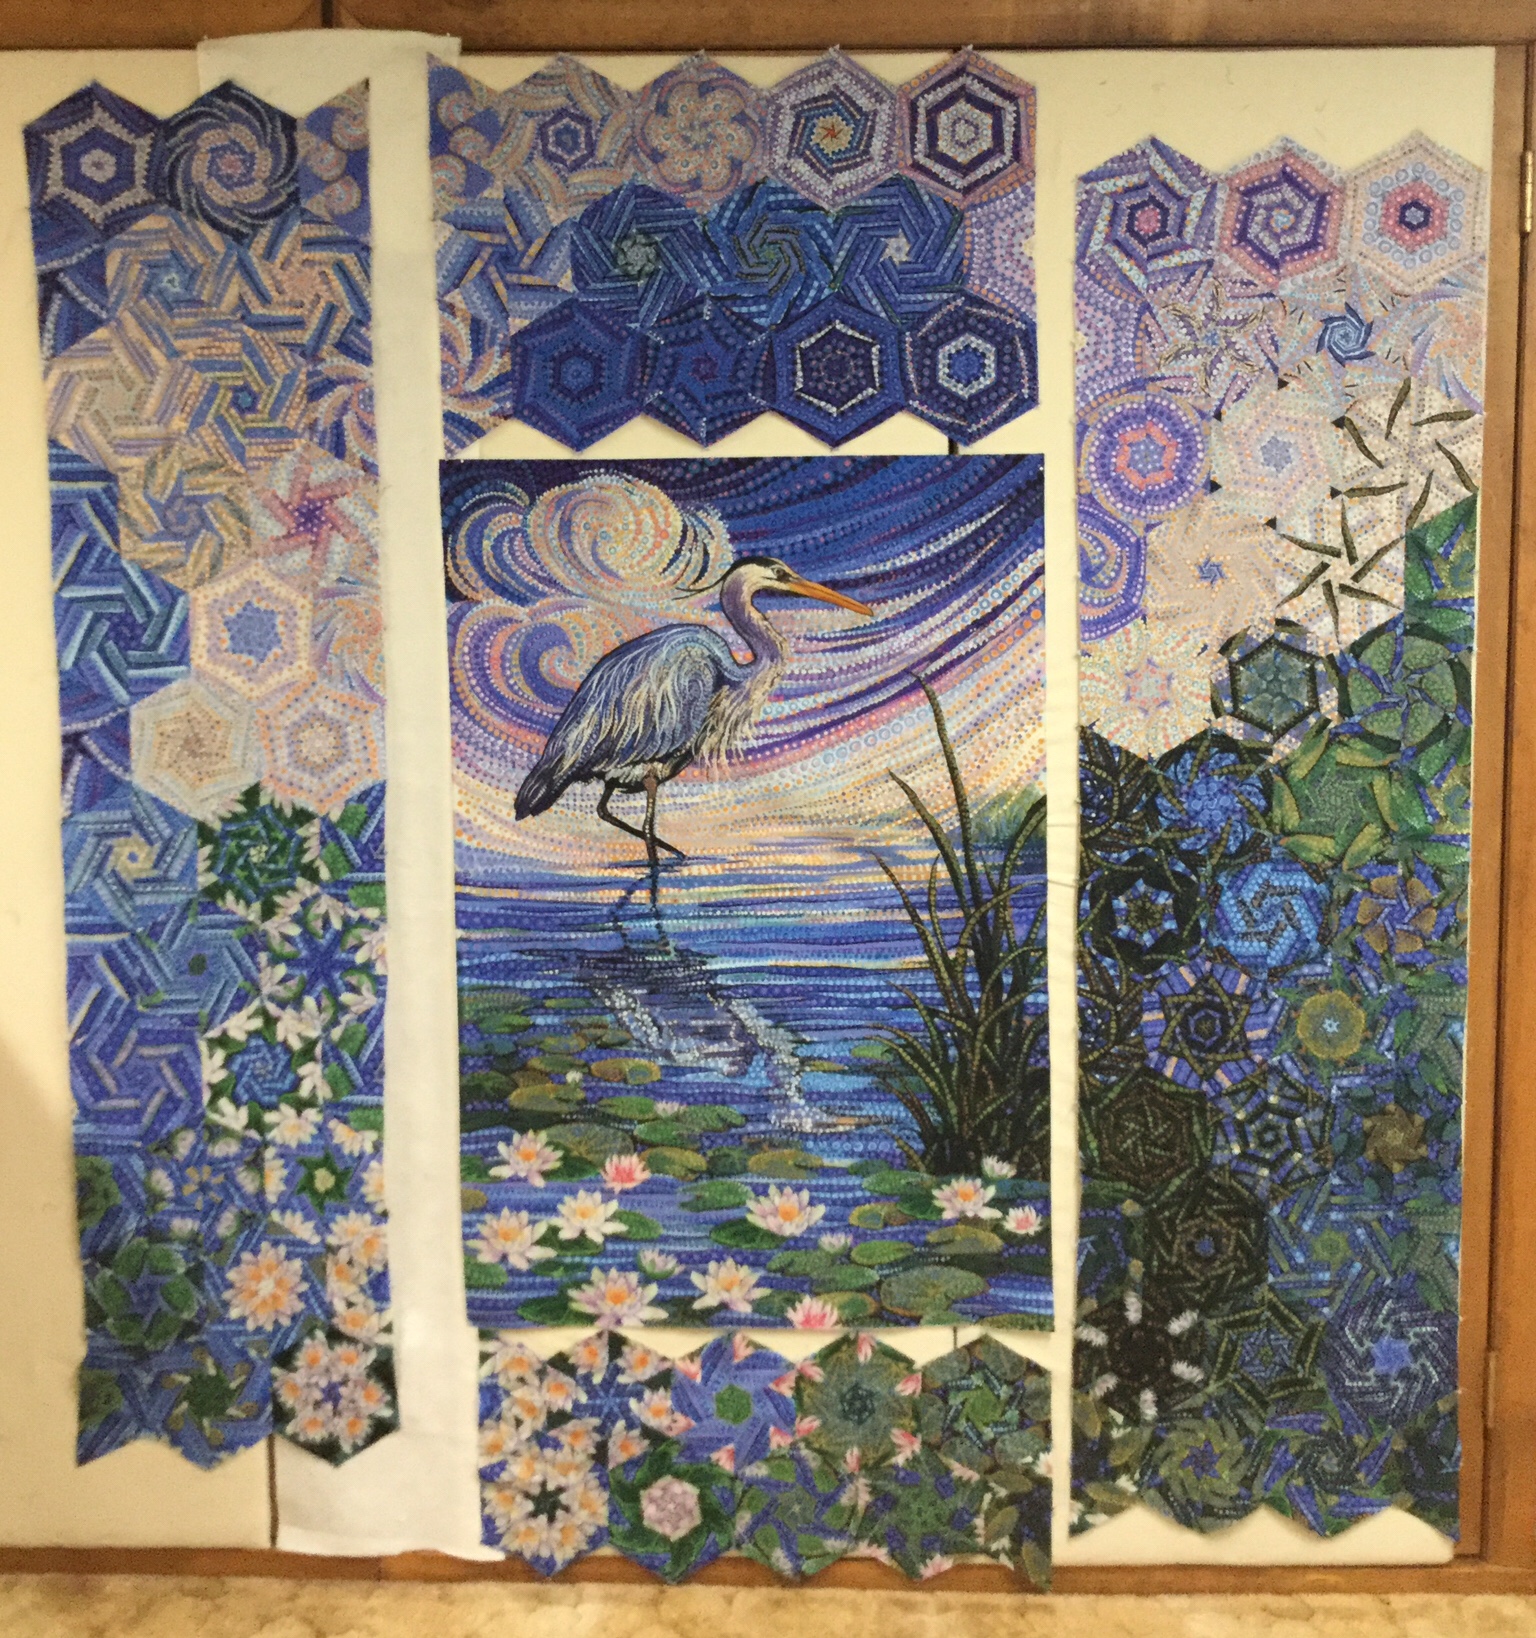
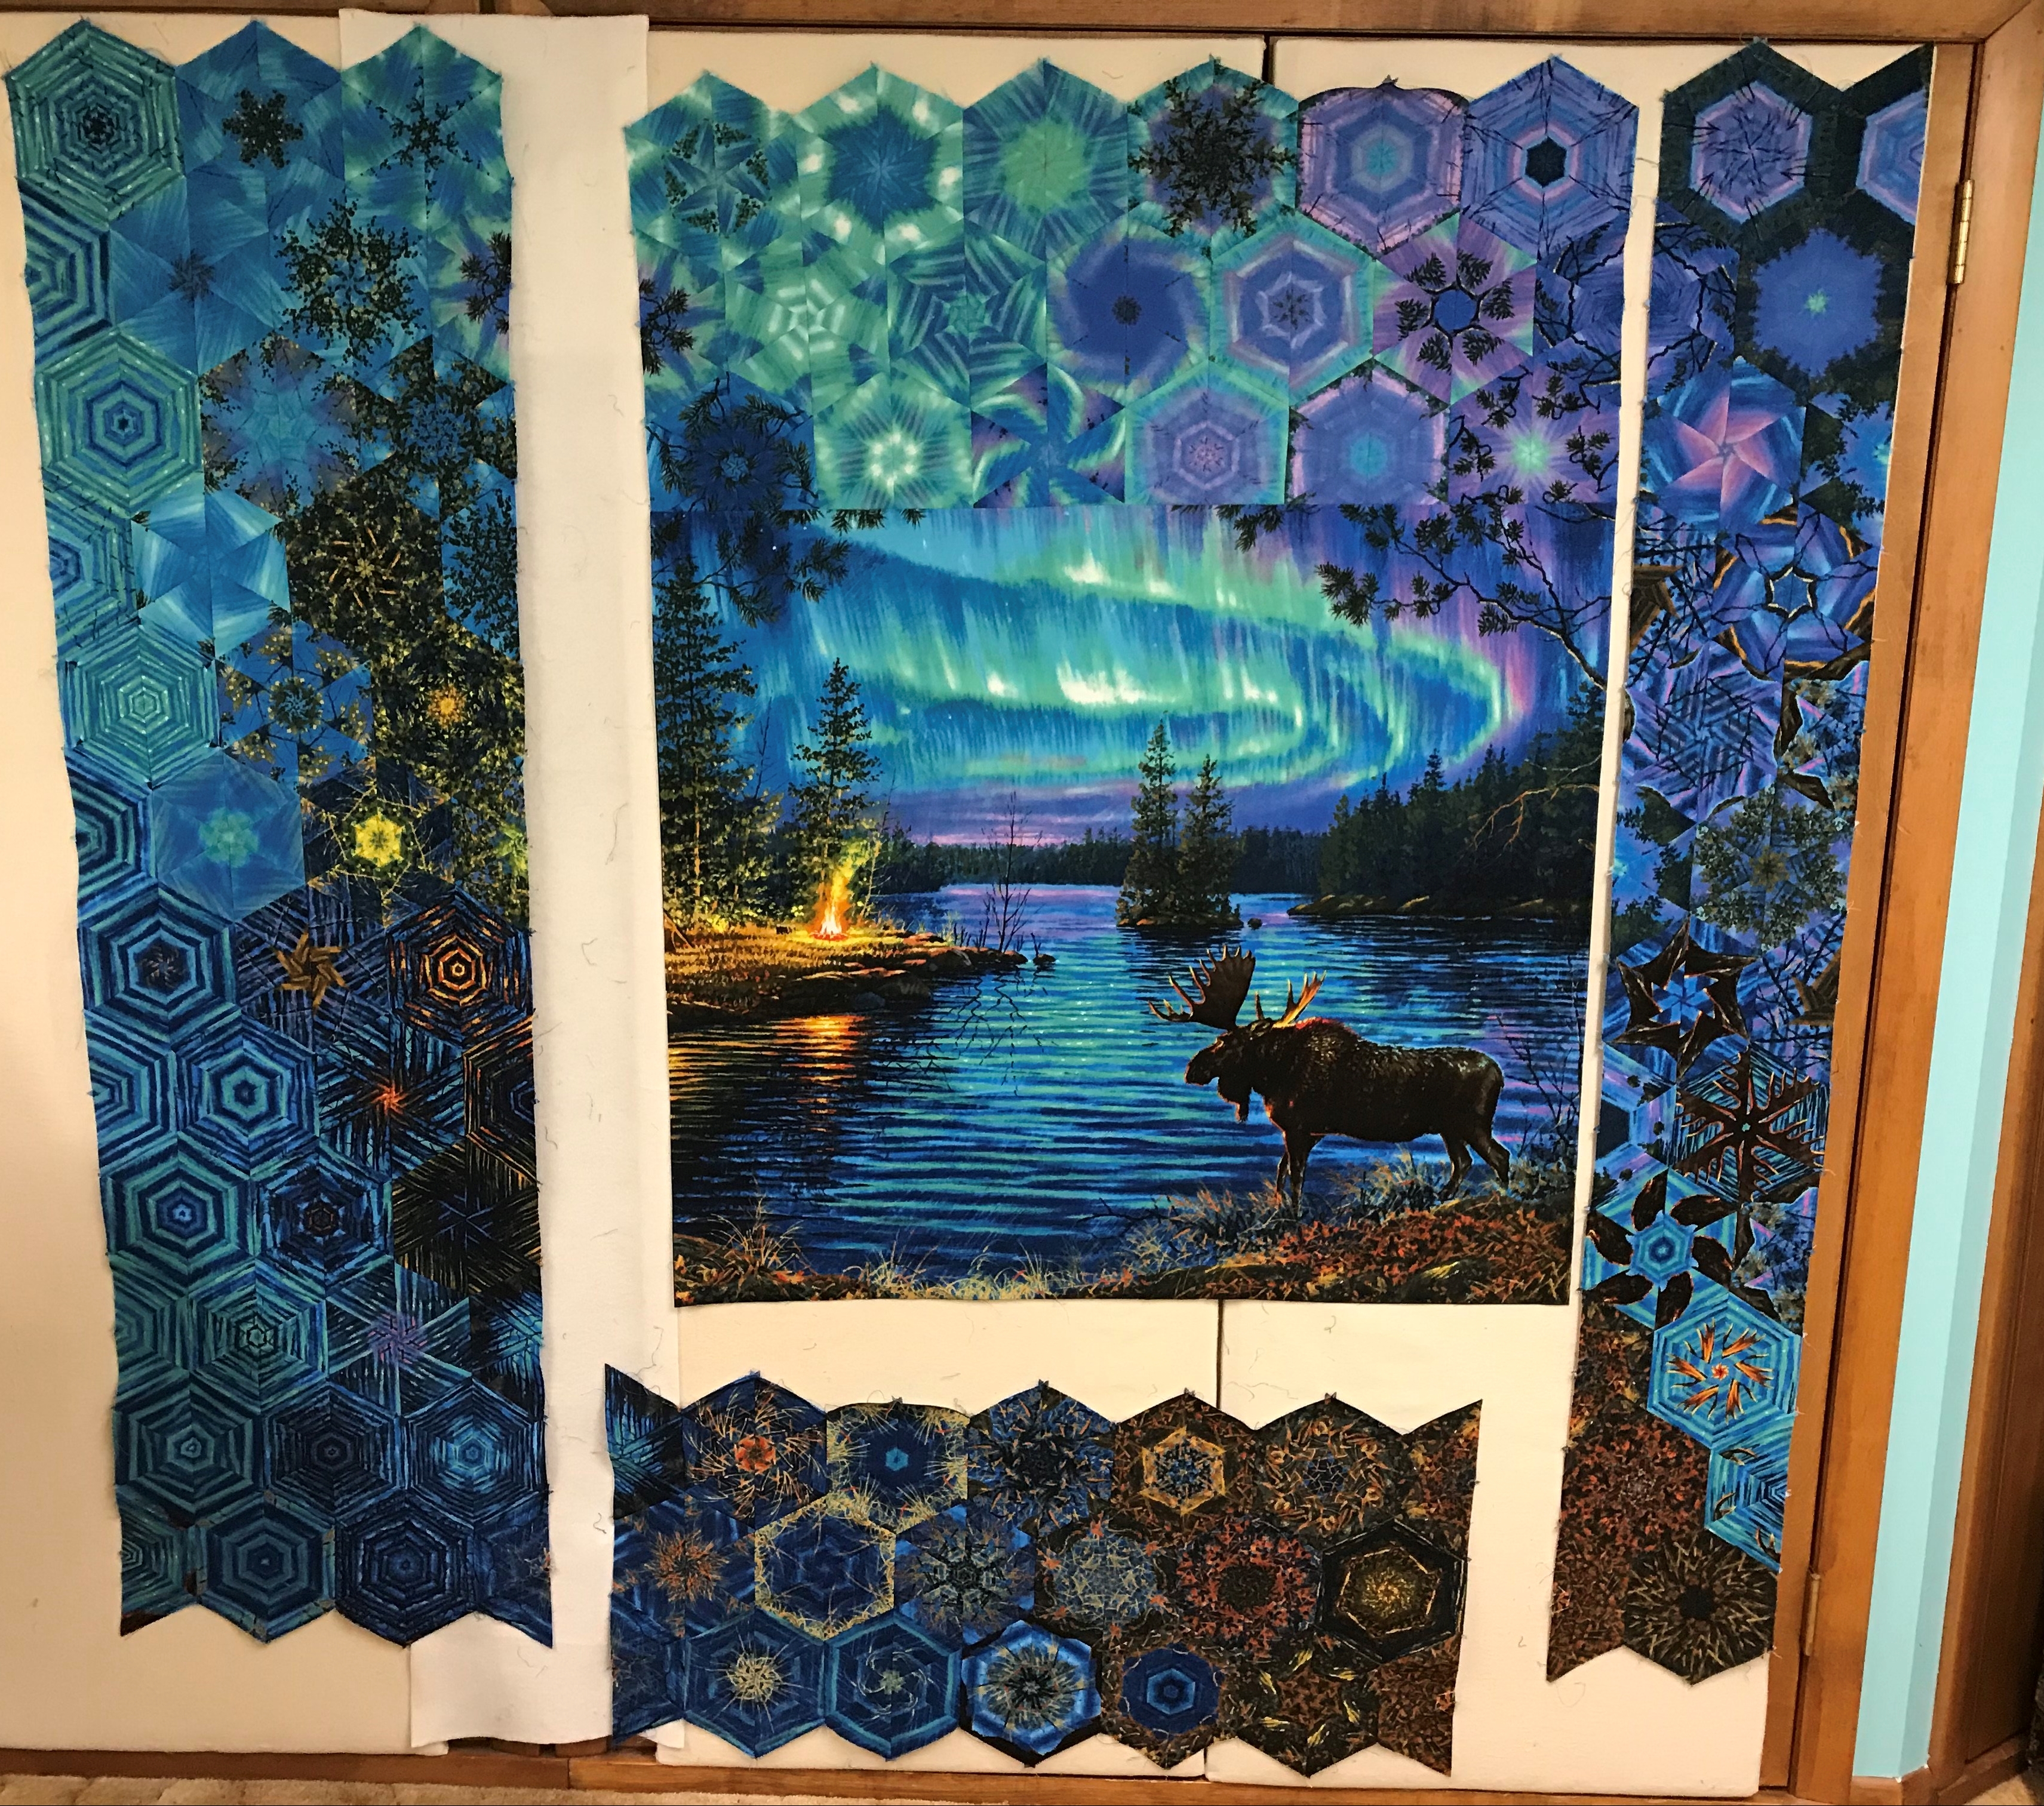
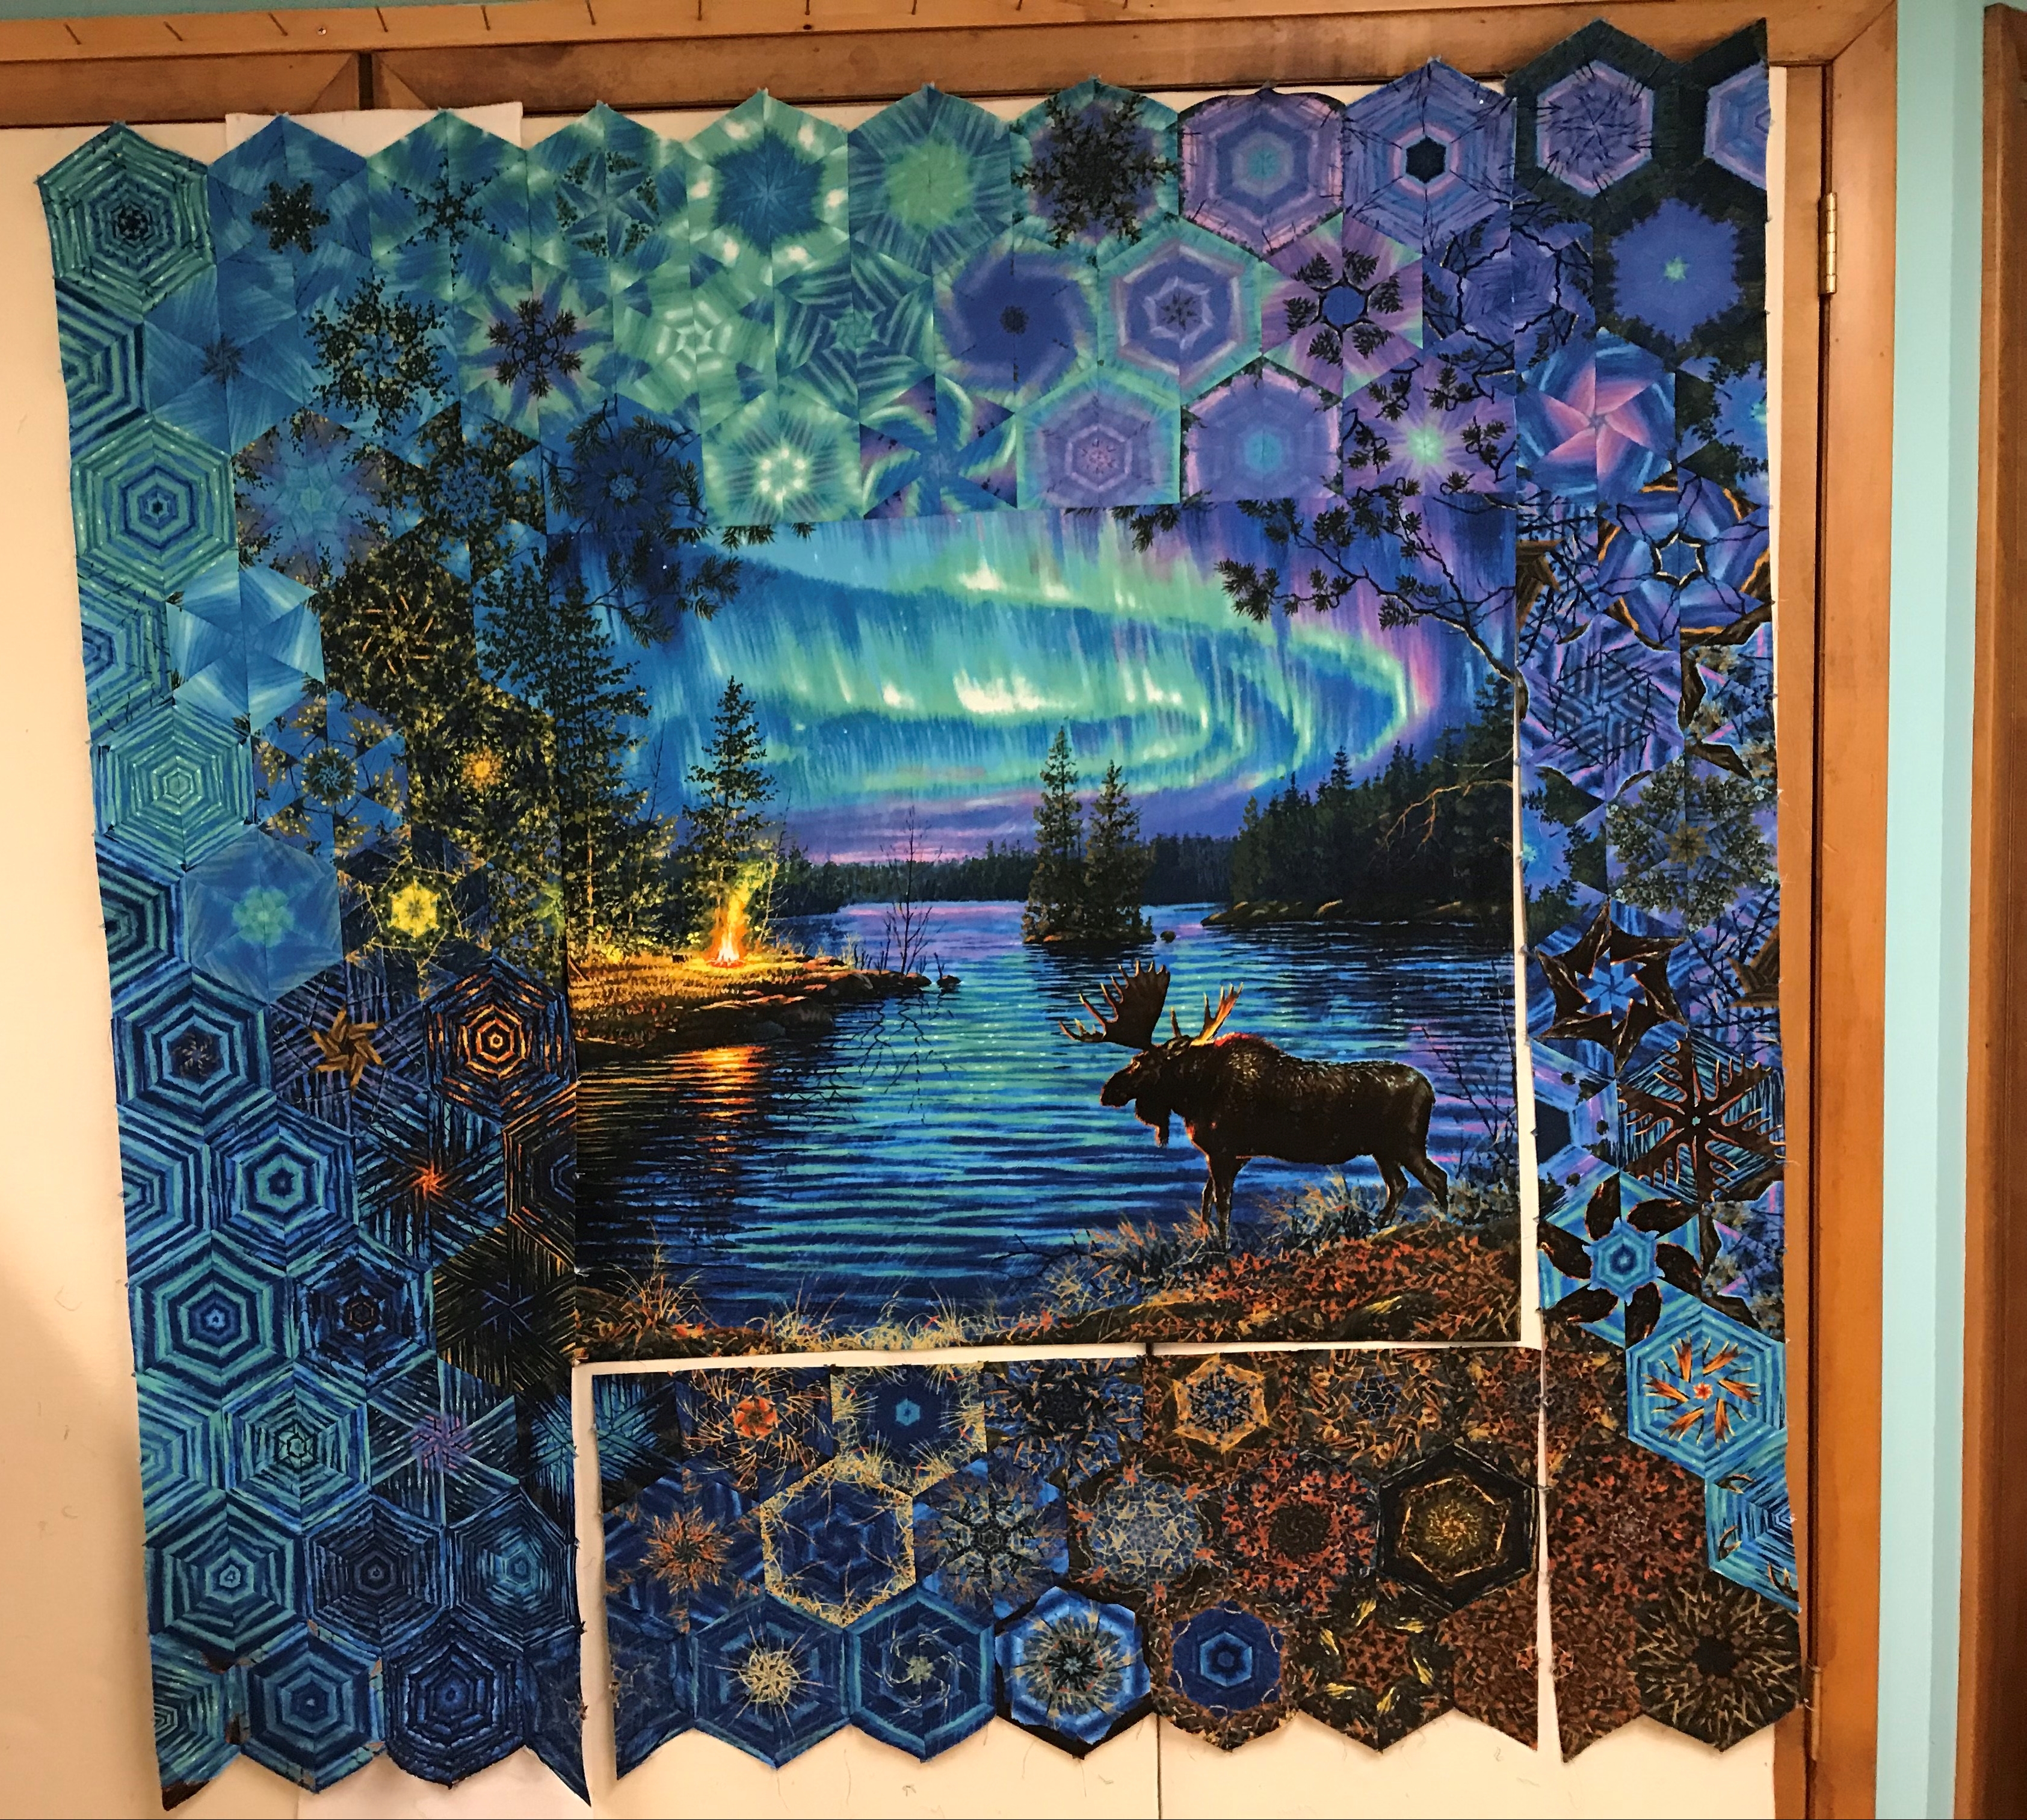
Putting together a One Block Wonder made using a panel in the quilt top is a little trickier than with just stitched rows. I divided rows into four sections to attach them to the panel. It is like making a log cabin block. I wanted the rows to attach in certain places so color seemed as though it continued right off the panel. I began by trimming the bottom section first and attaching it to the panel.
I could now attach the rows to the right to the panel, using a partial seam and leaving room to adjust the top section of triangles and then add the rows to left of the panel.
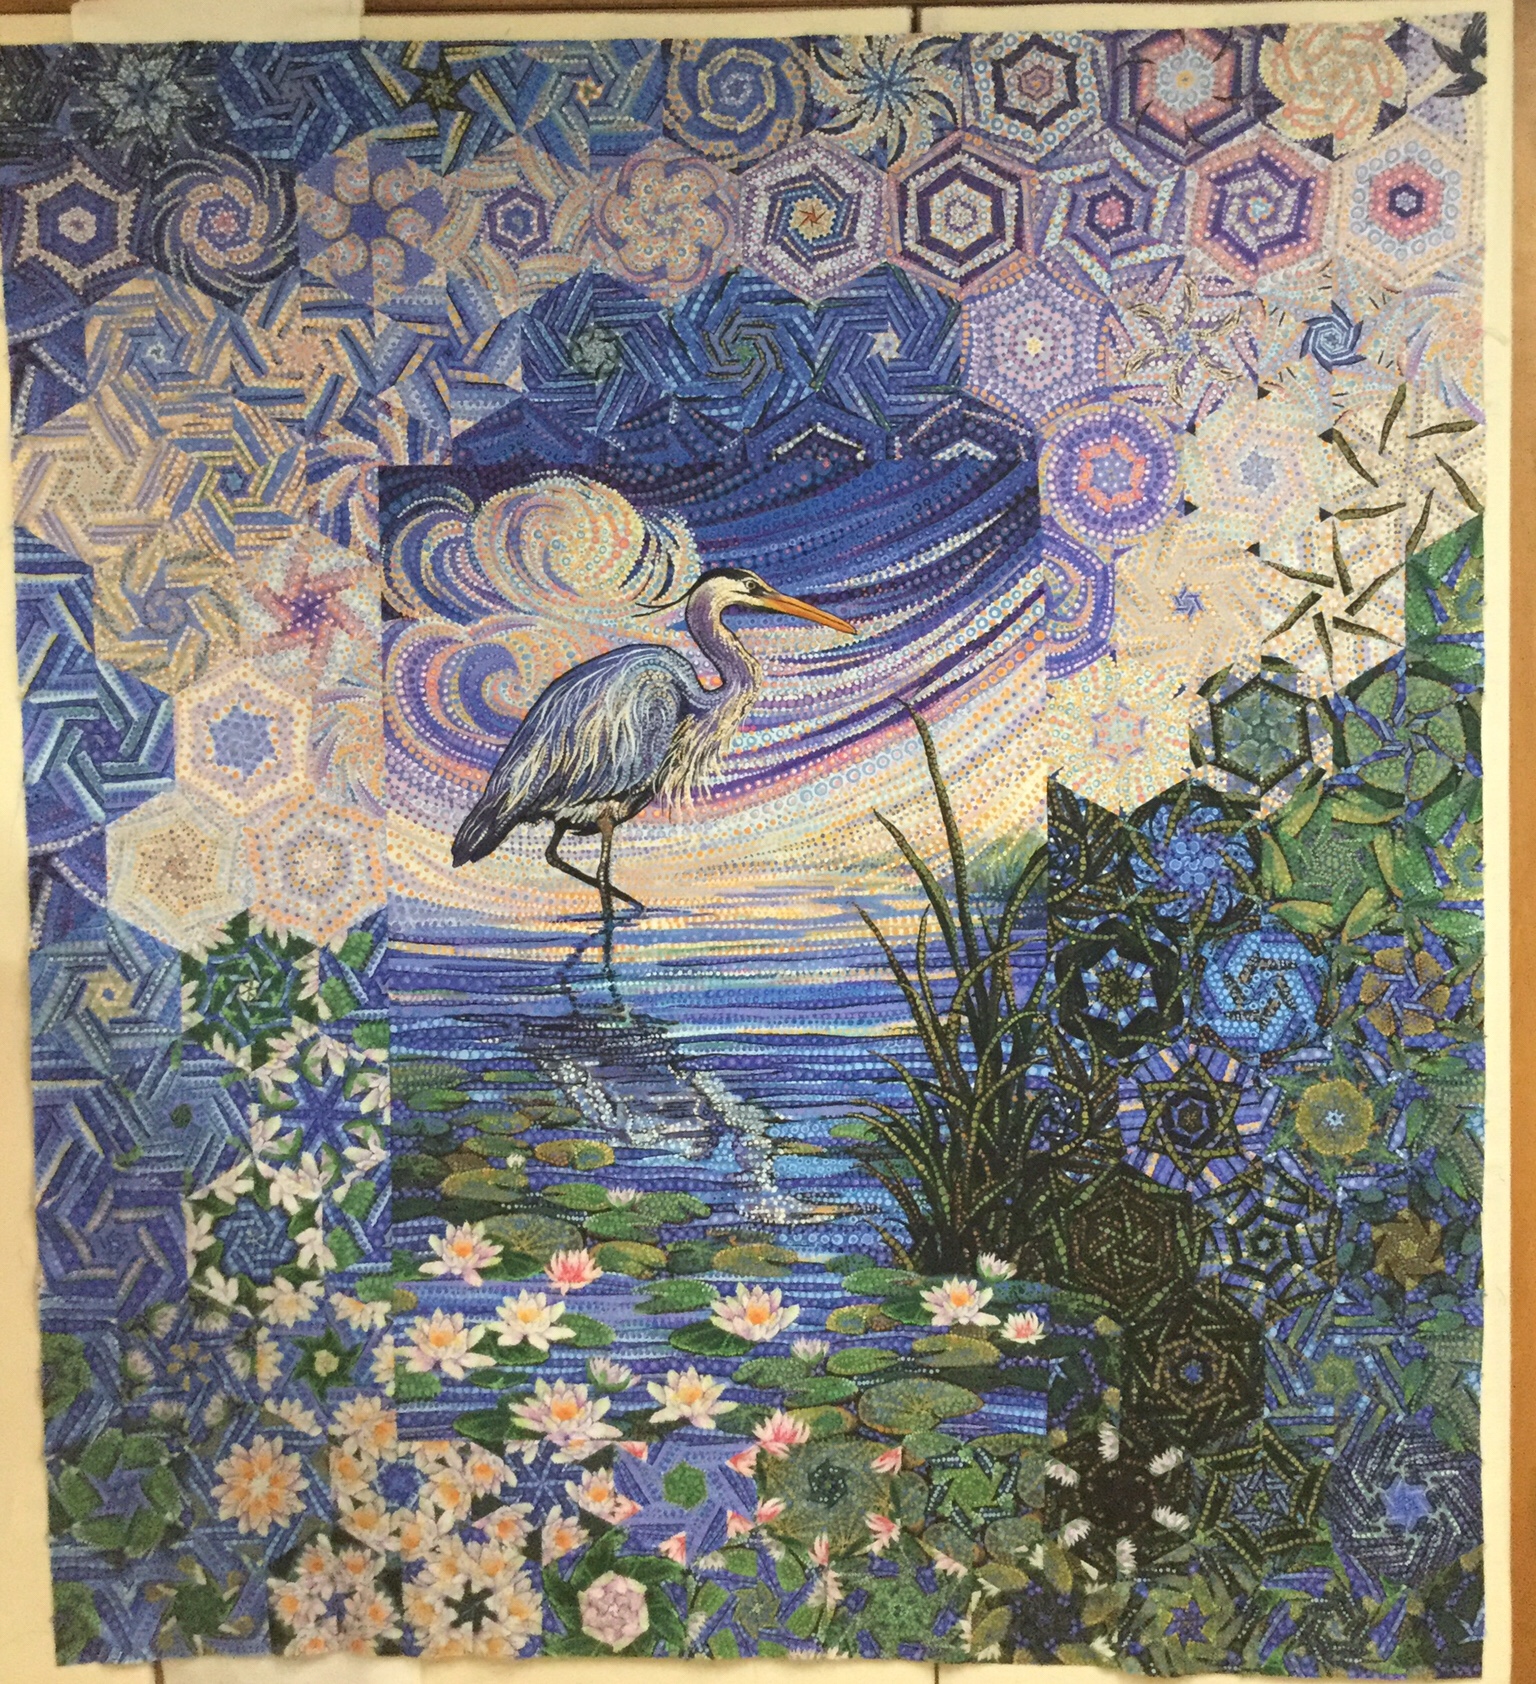
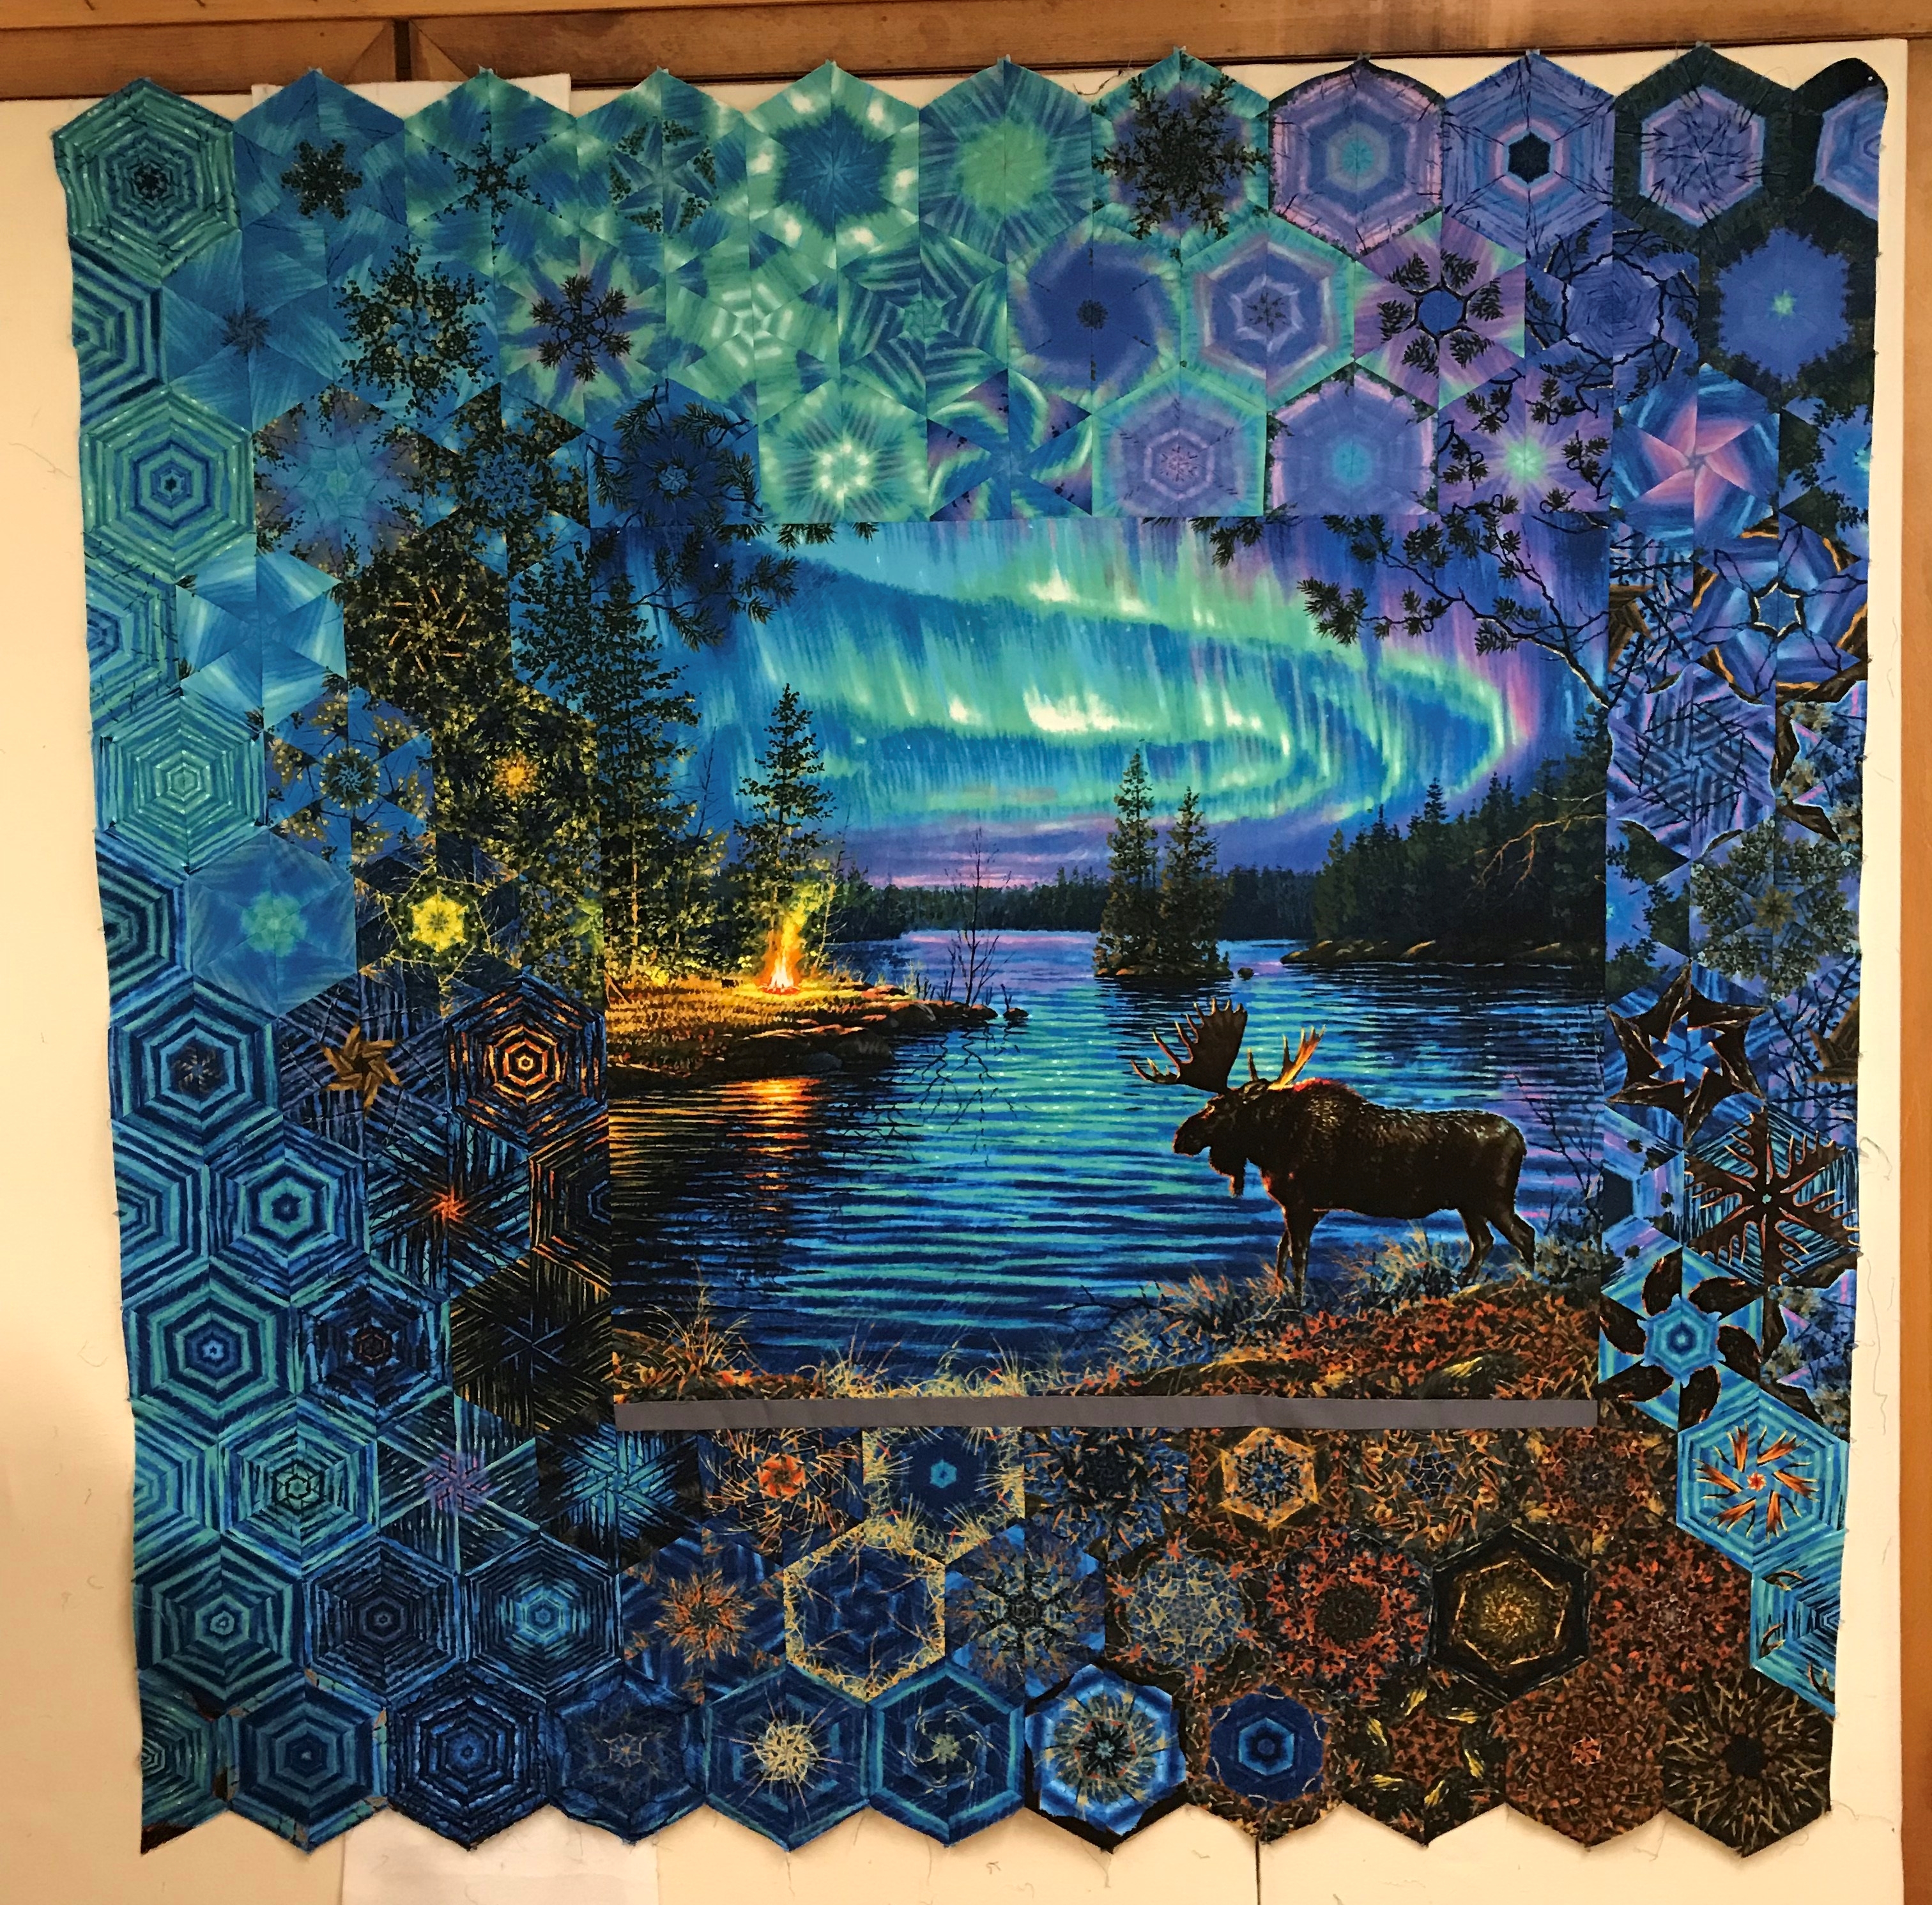
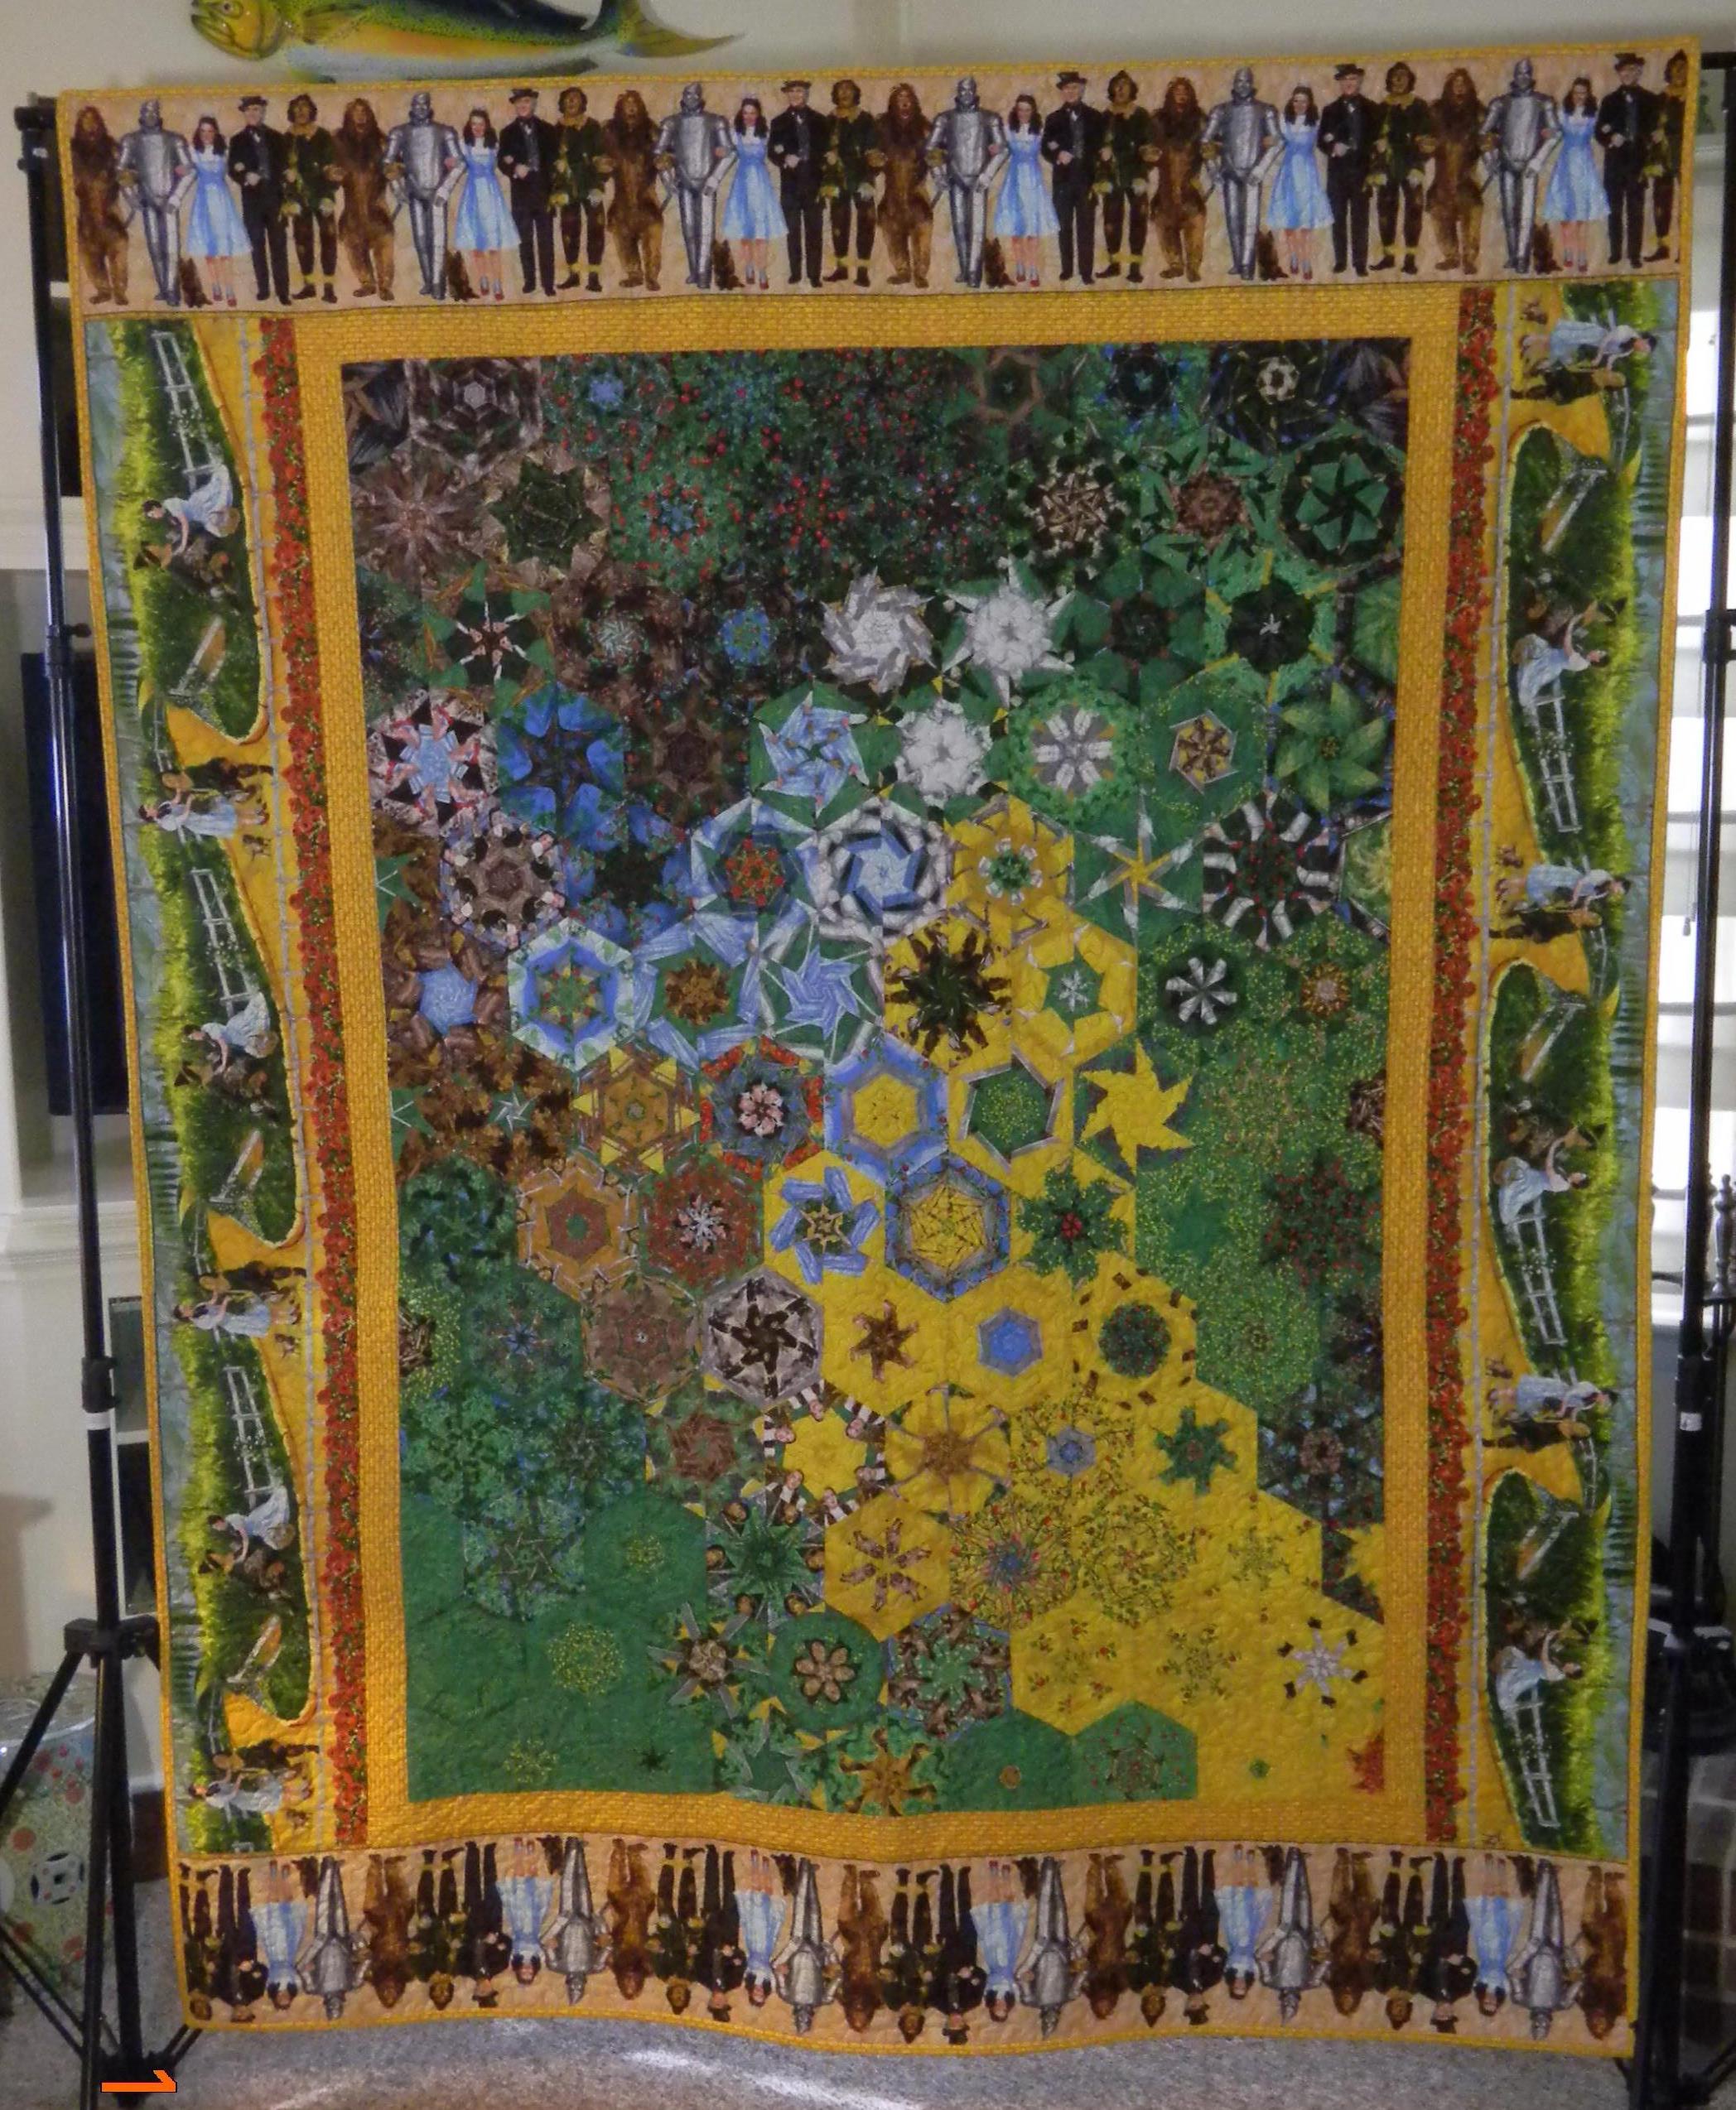
I trimmed the edges of the quilt to square it up. I love it, but still wanted to soften the panel edges.

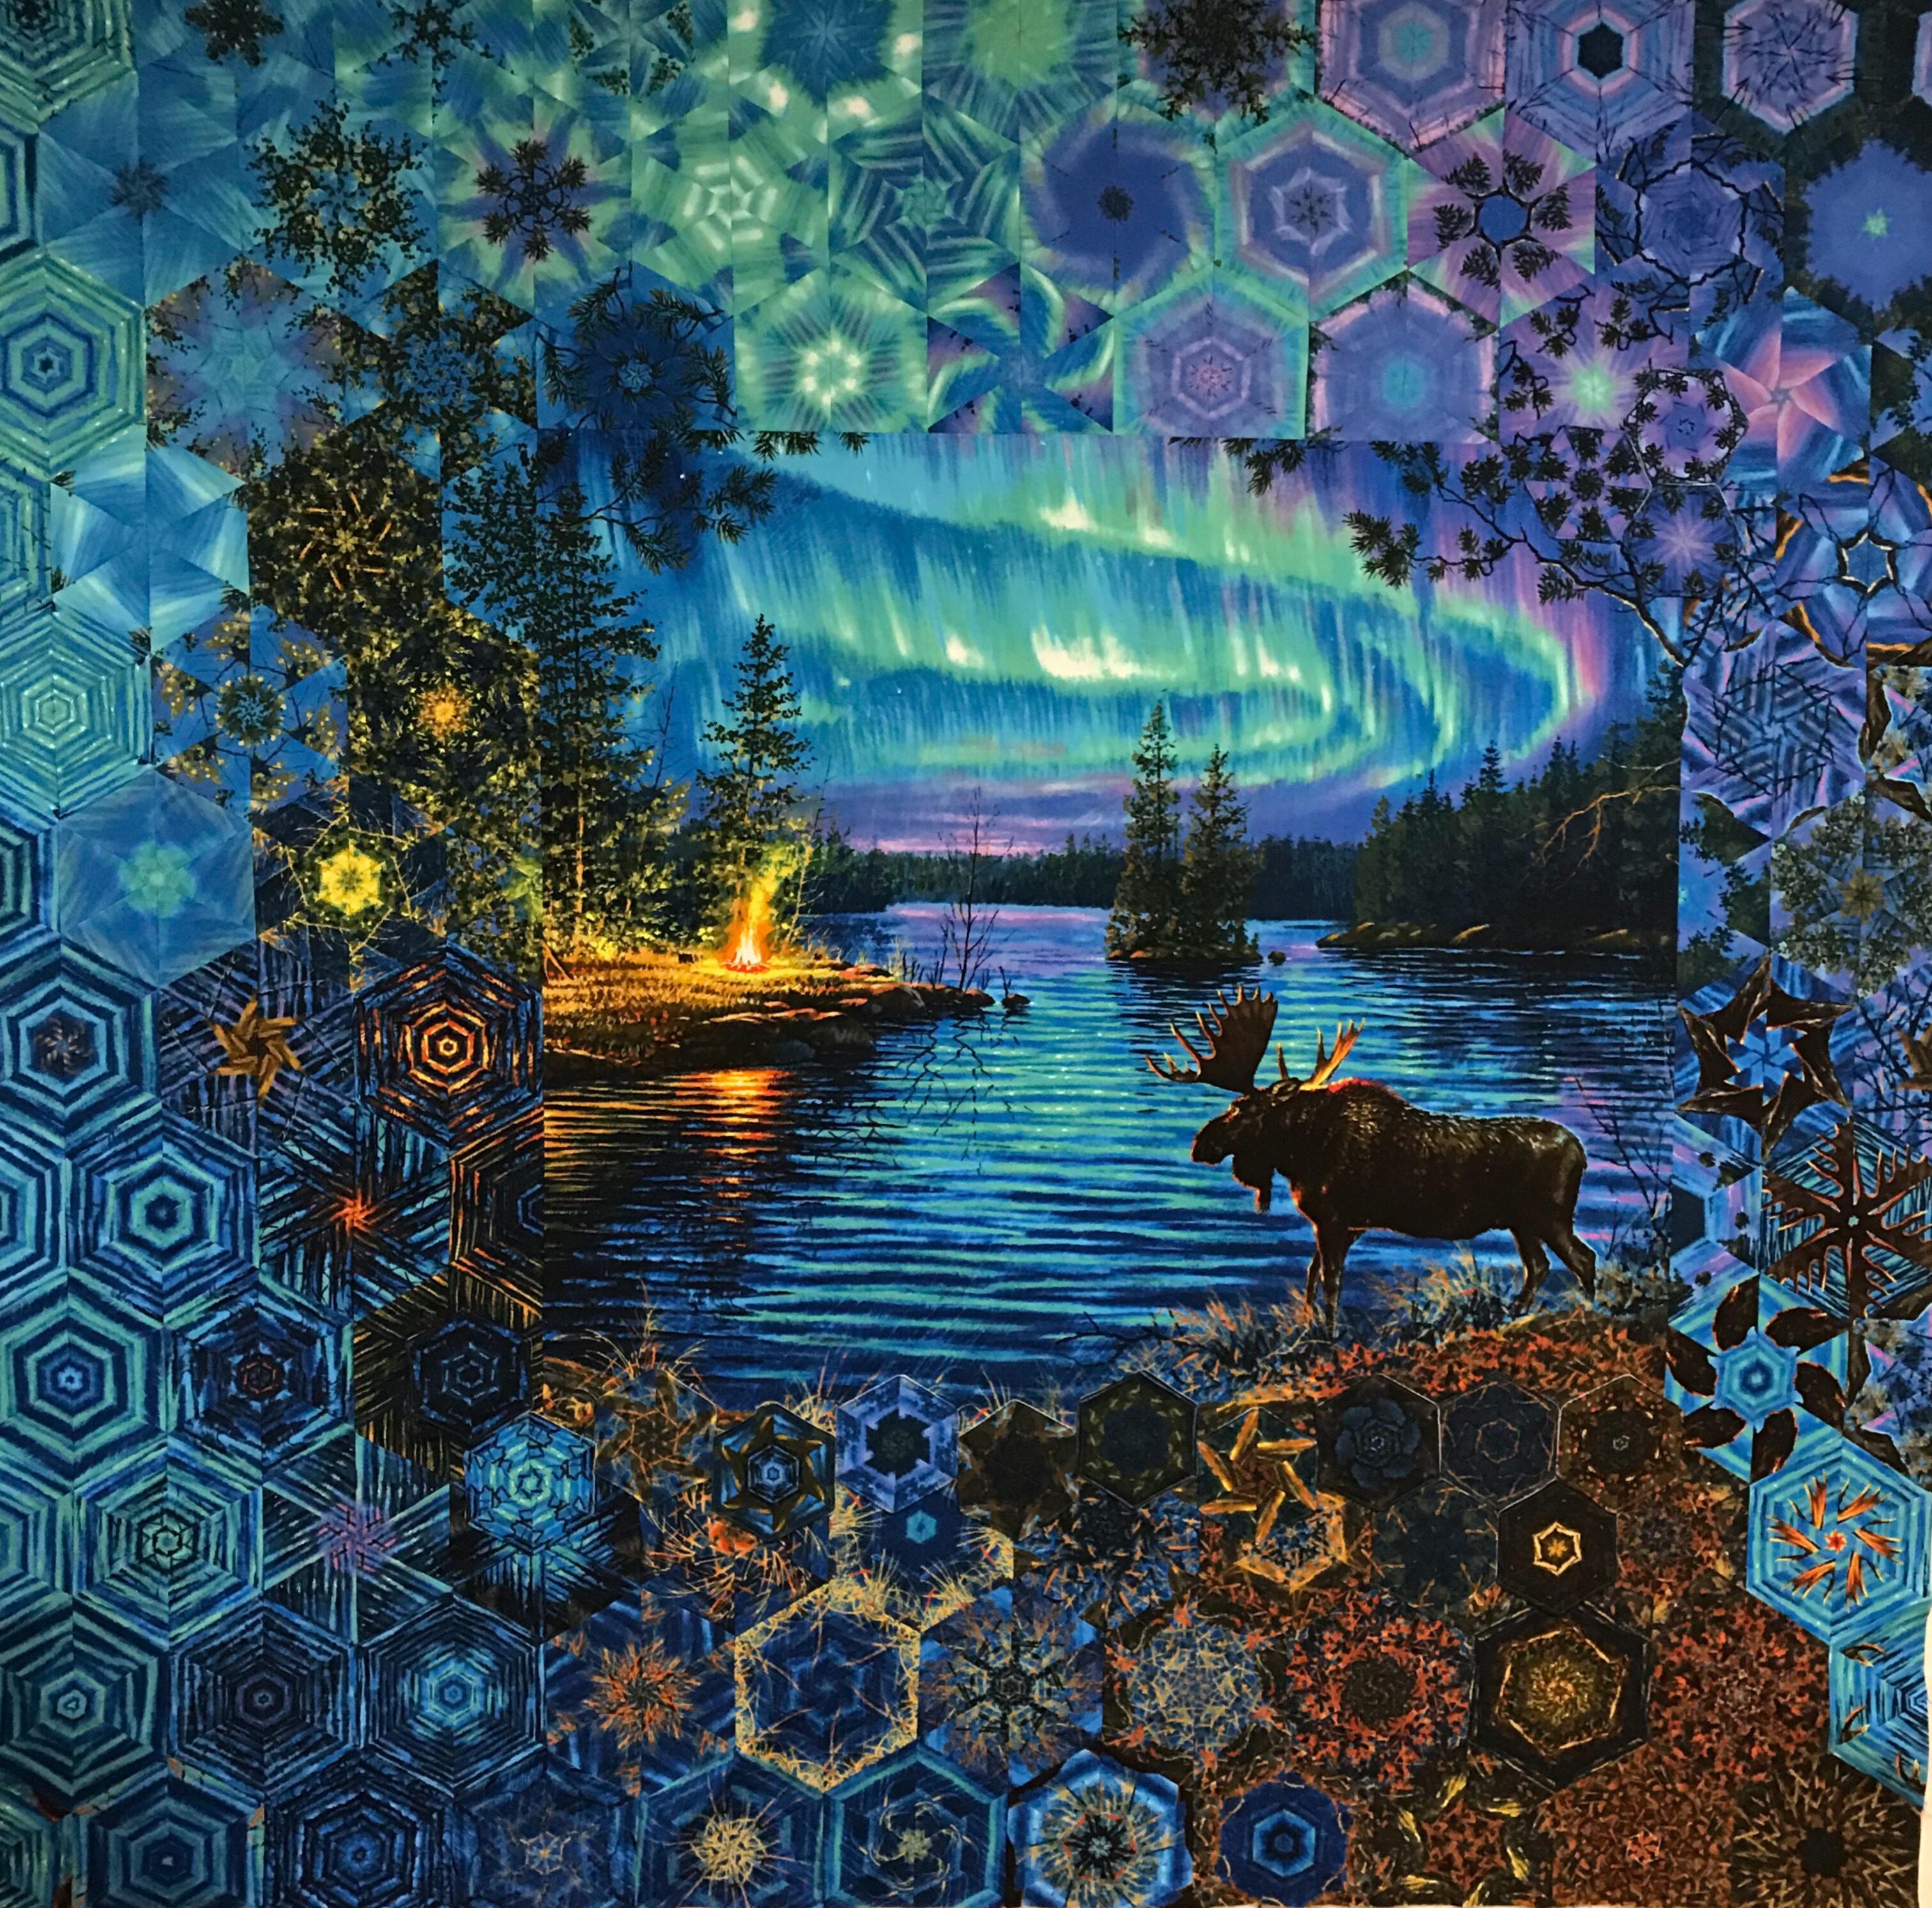
I did not use all the blocks in the quilt top design. I sewed the left over blocks together and trimmed them to make smaller hexagons. I randomly placed them along the edges of the panel and appliqued them down.

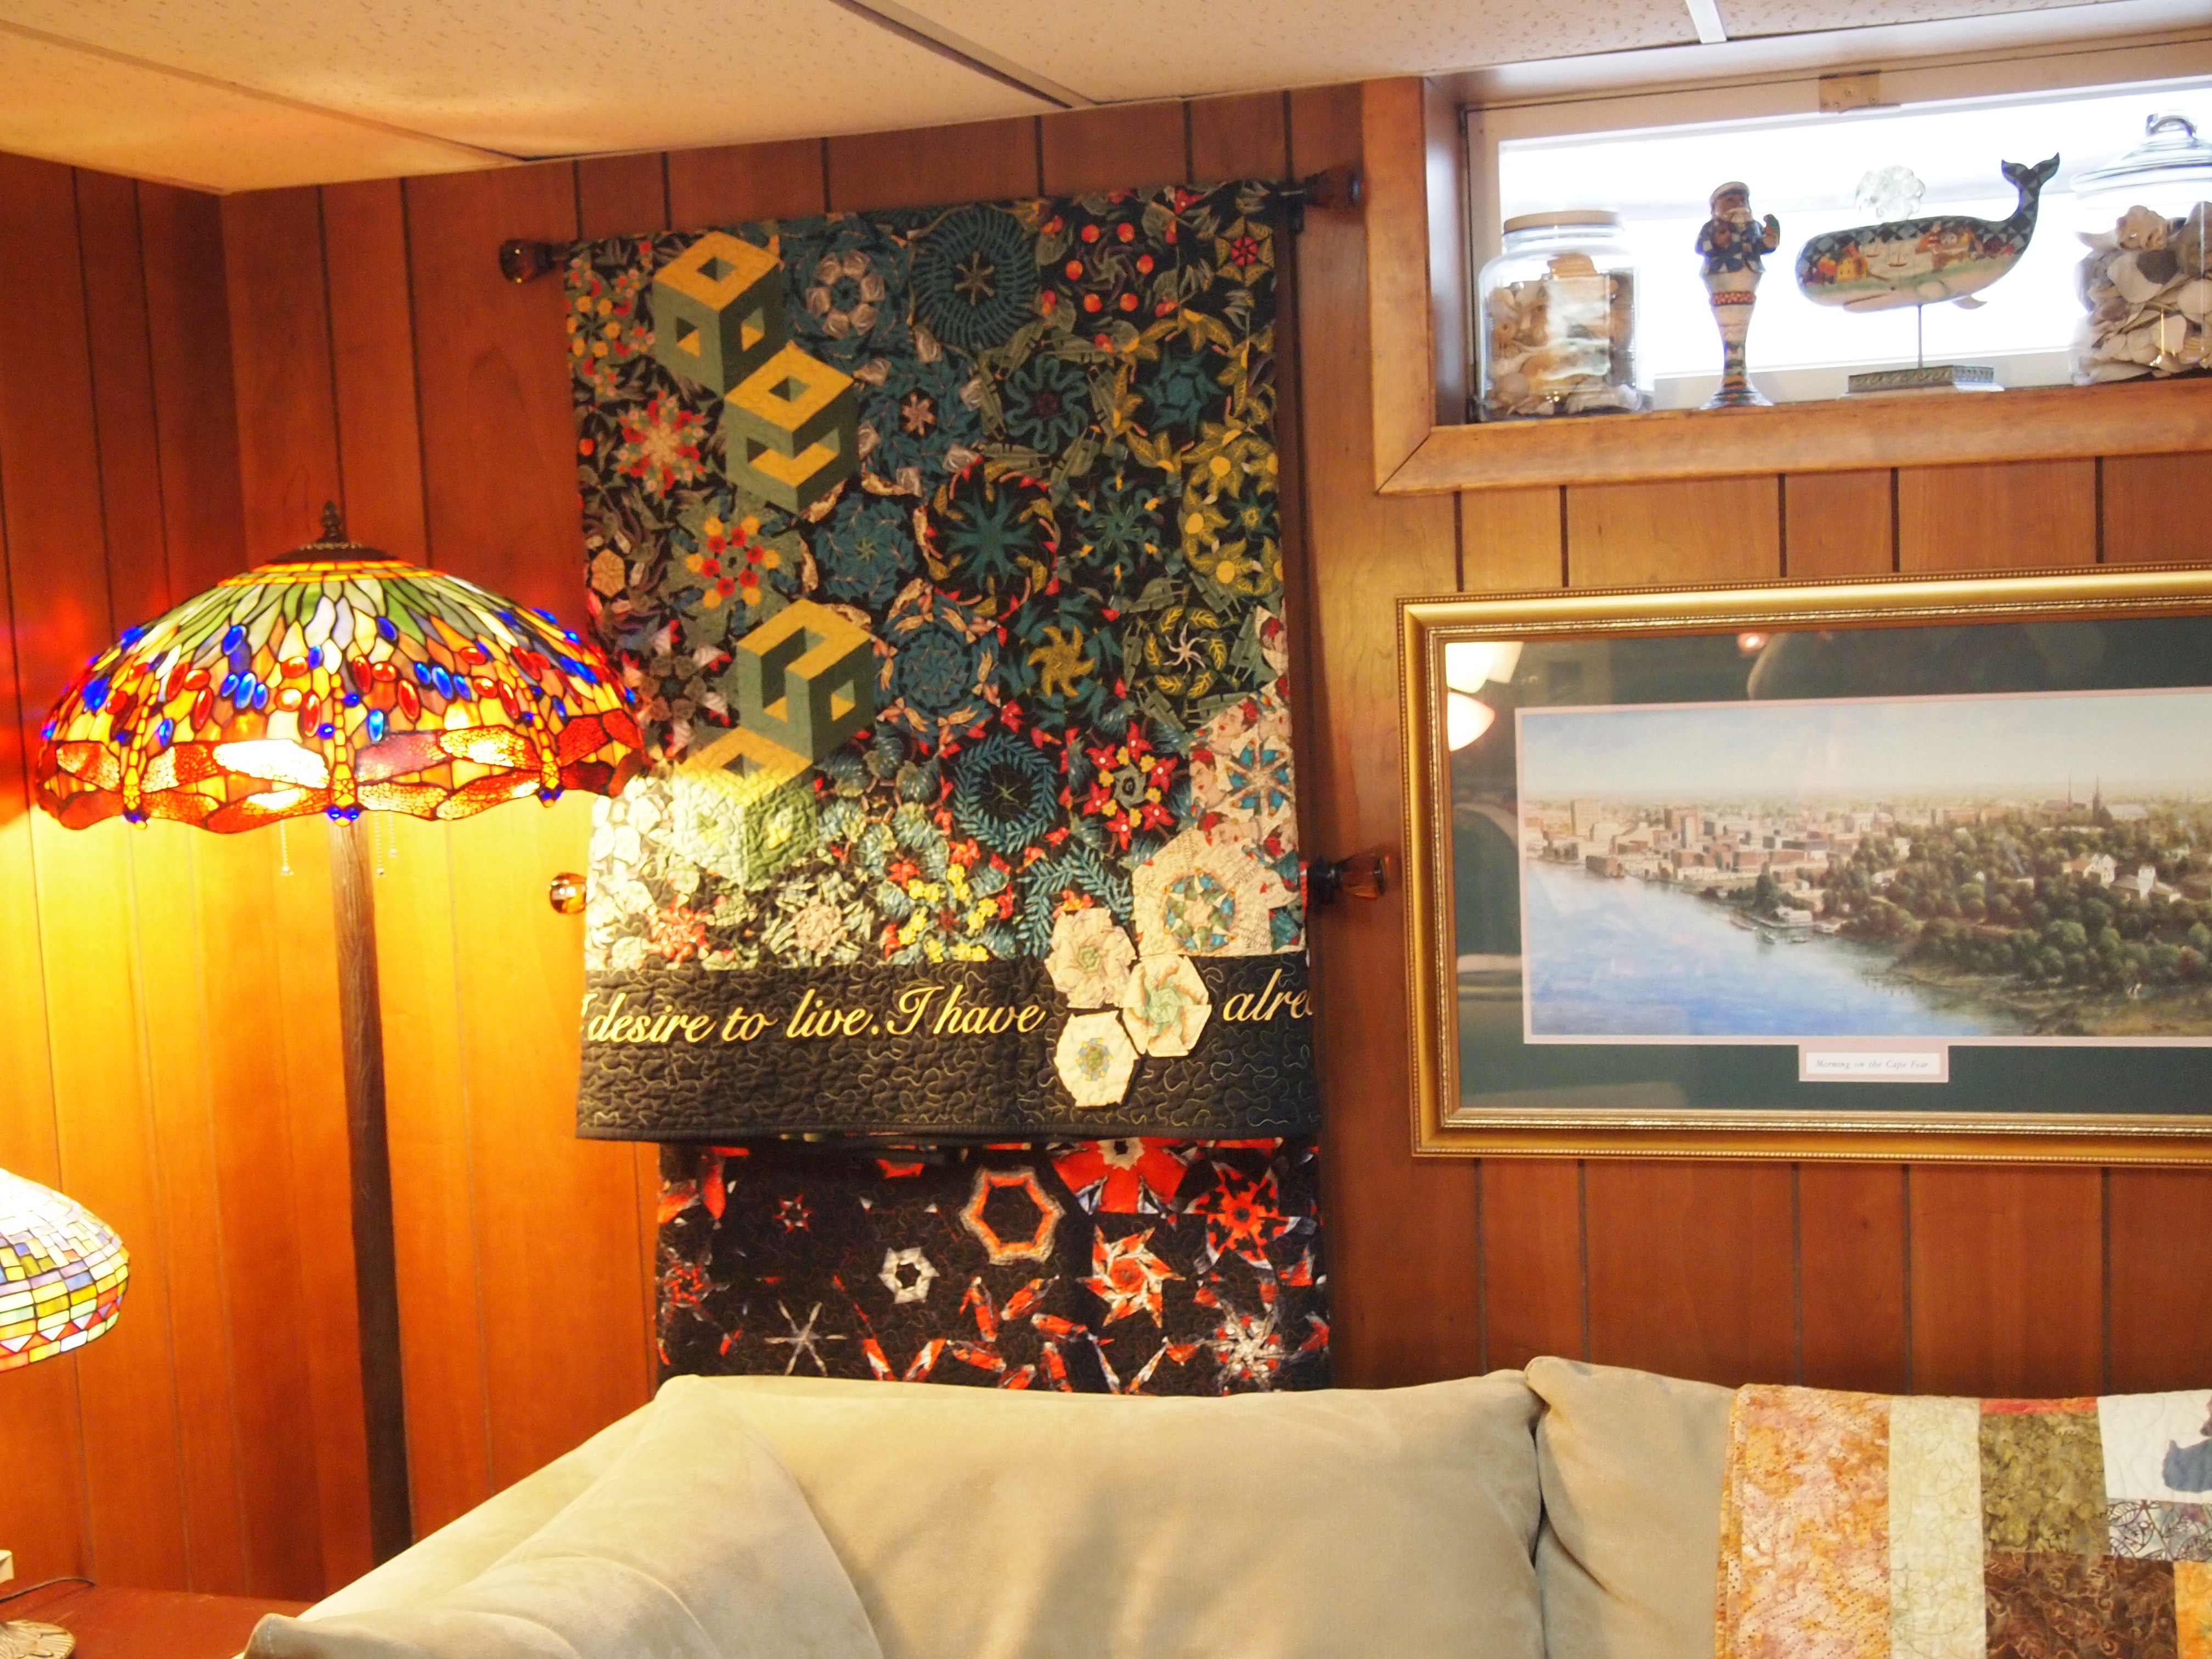
The finished quilt measures 60″ x 68″. I did not feel it needed a border. Thank you to Northcott Fabrics and Water Garden designer Ira Kennedy. I really love this quilt.
For OBW inspiration check out the Facebook page “One Block Wonder Quilt Forum”. I am available to teach One Block Wonder Workshops.
#northcottfabrics # Northcottcreatorsclub #oneblockwonders #OBW #Watergarden