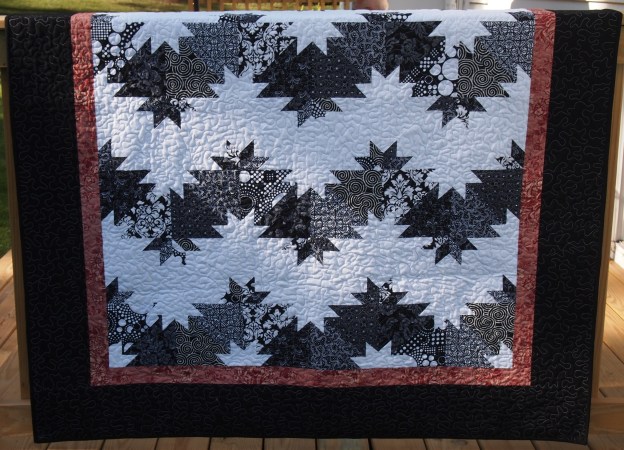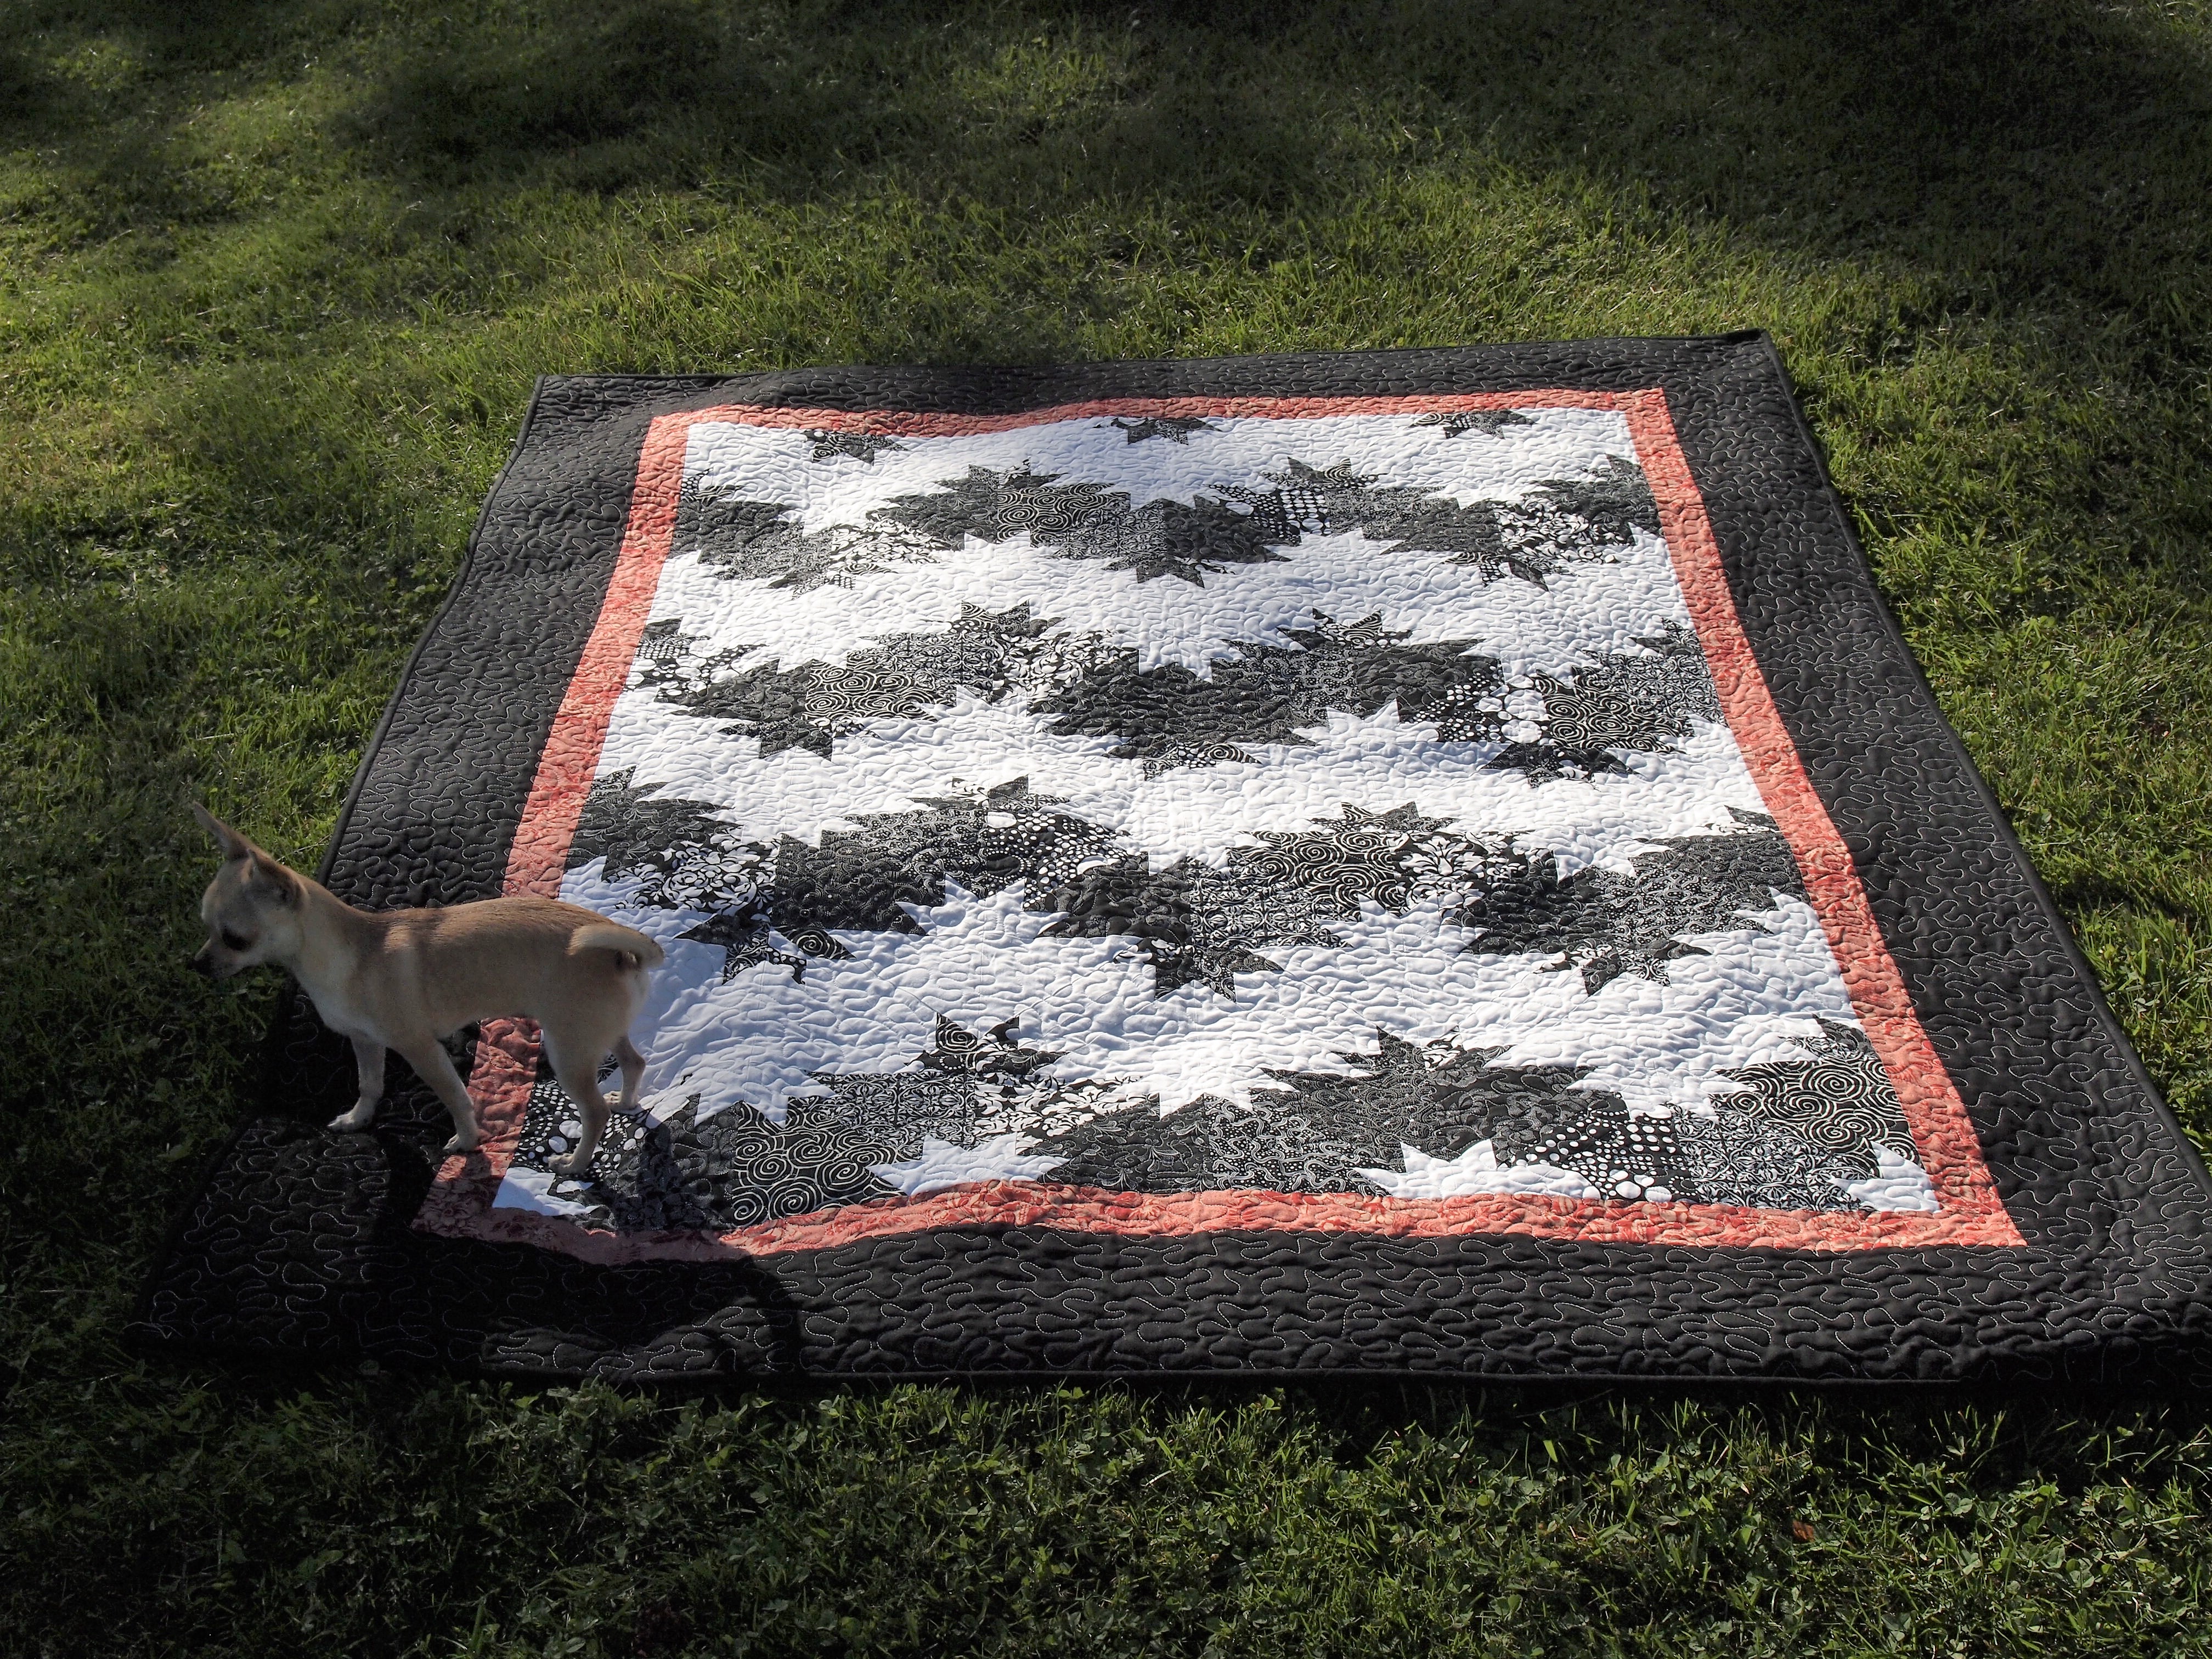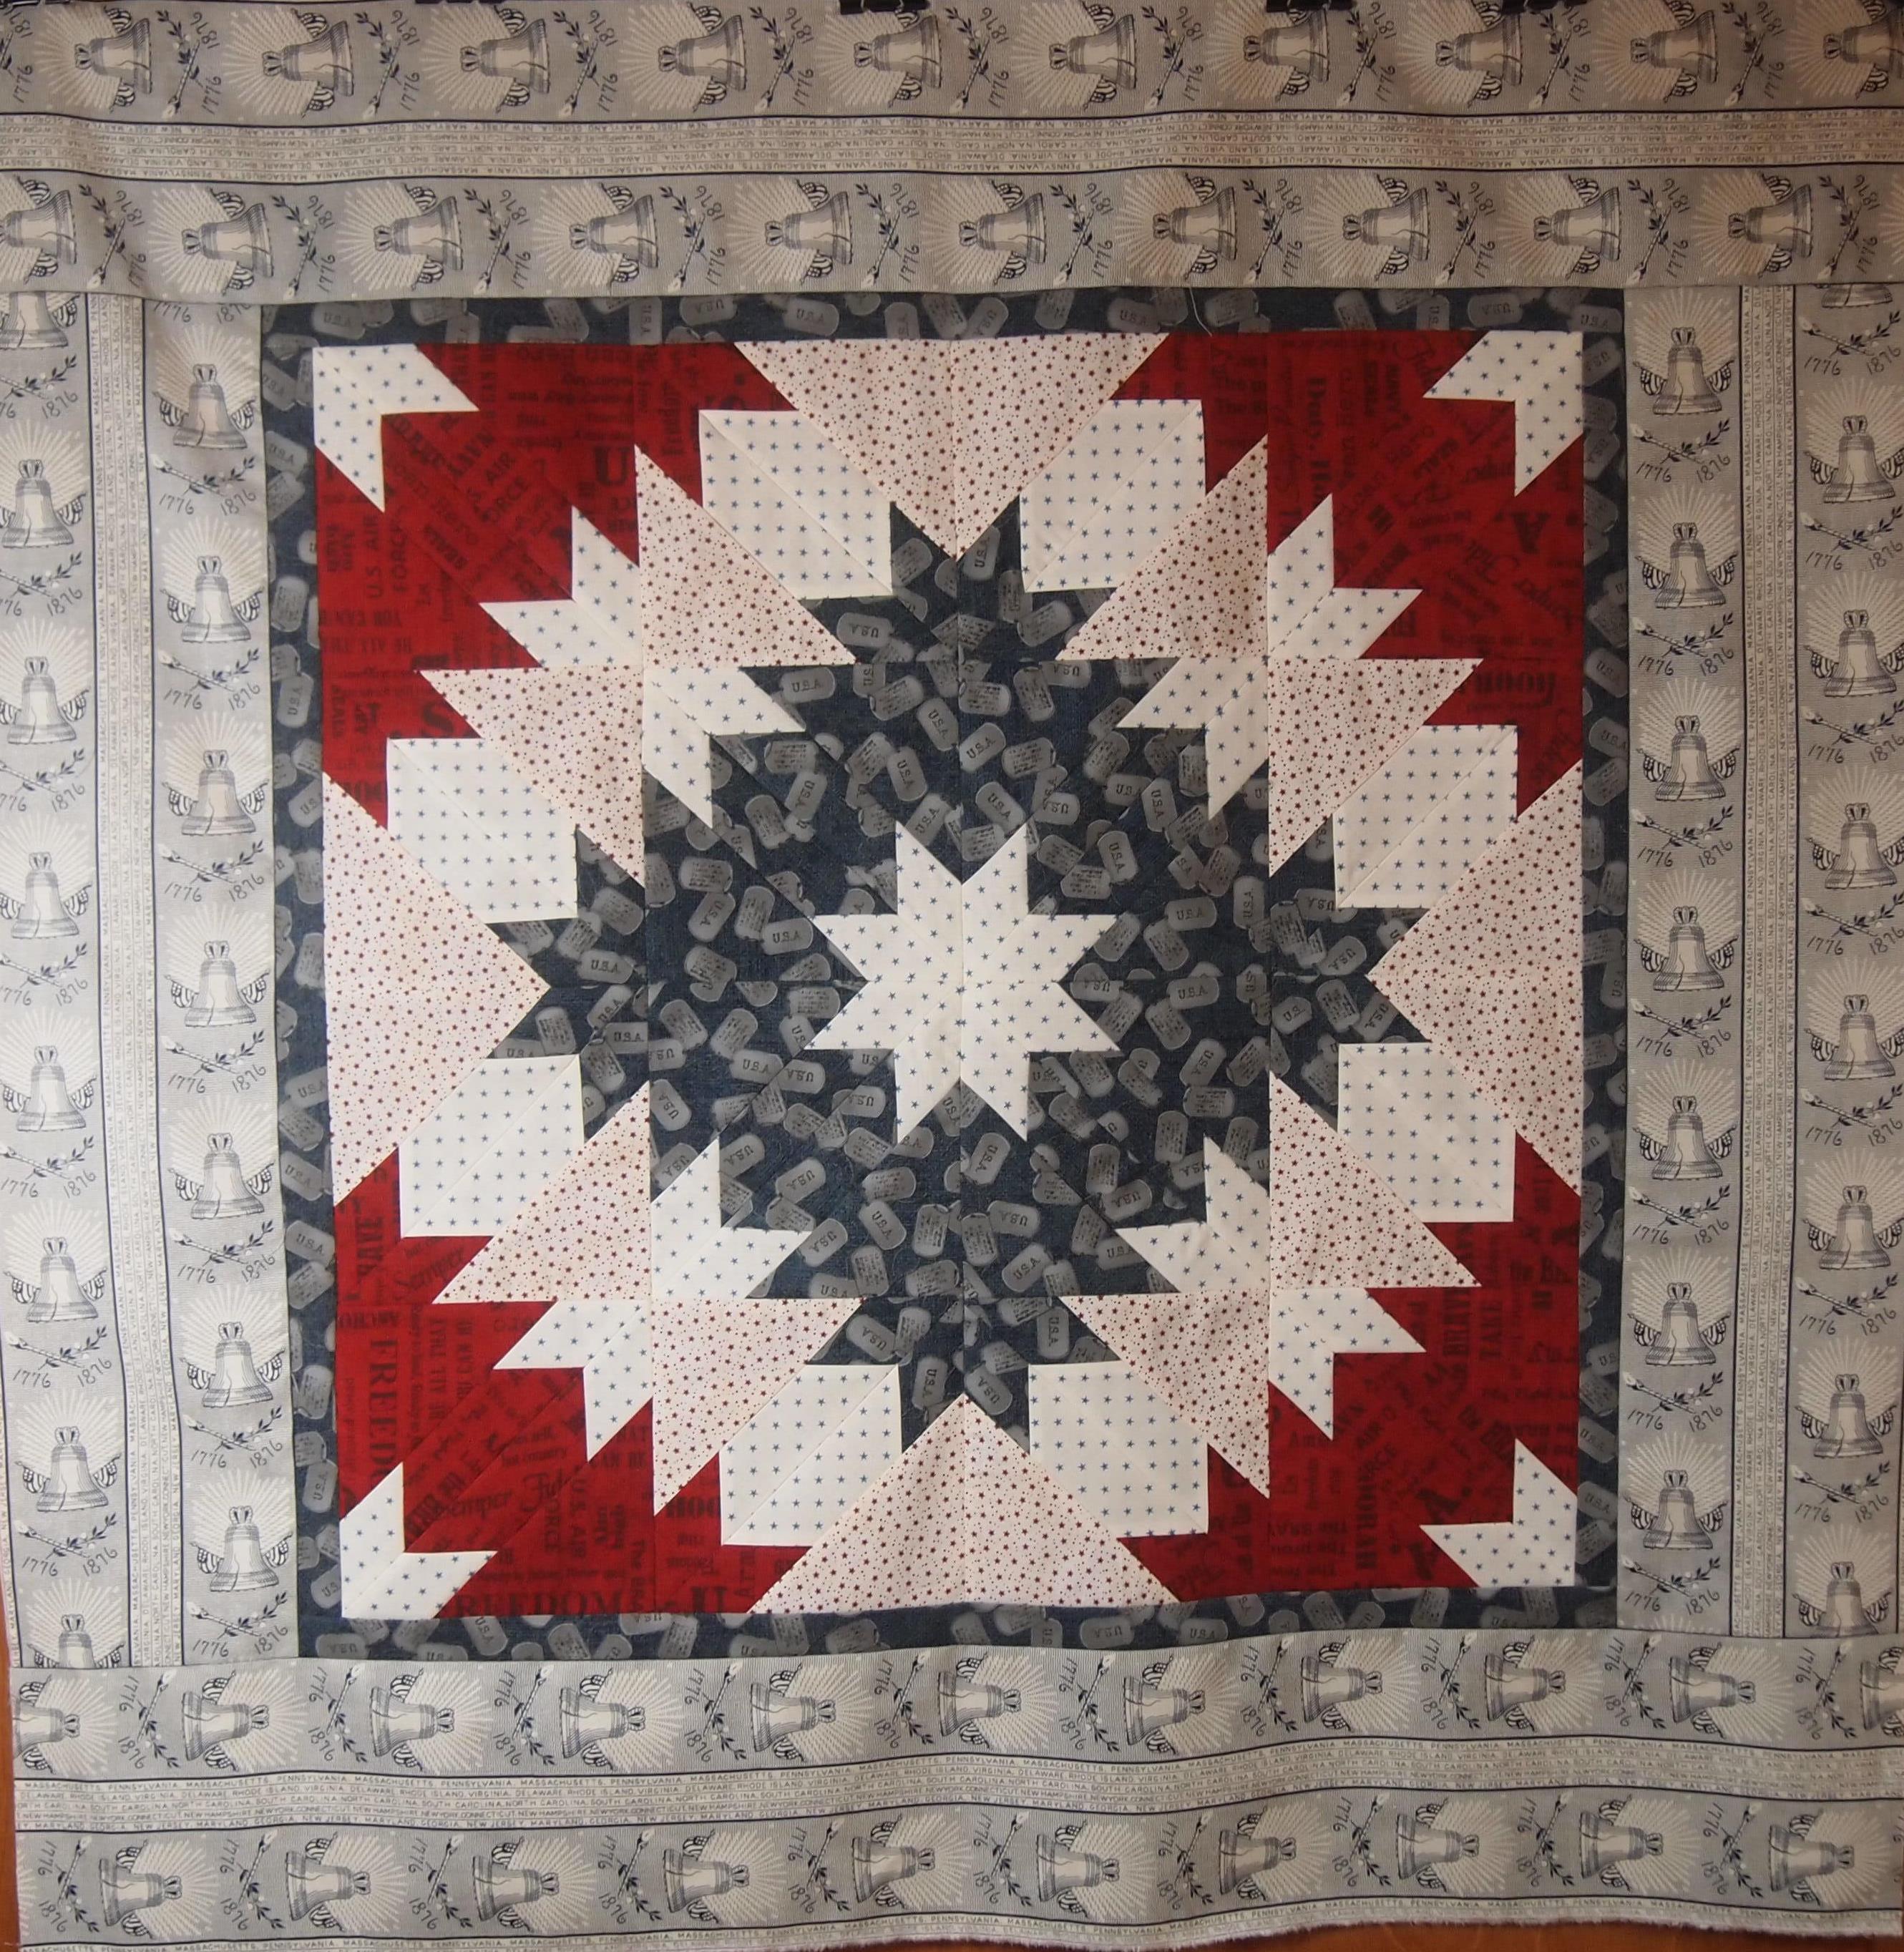
The April challenge for the Island Batik Ambassador’s is to “Look Back” and get inspired! Not a problem for me. My inspiration stems from the Hunter Star quilt. This quilt is on many quilter’s bucket lists. The quilt shown below represents a traditional hunter star layout.
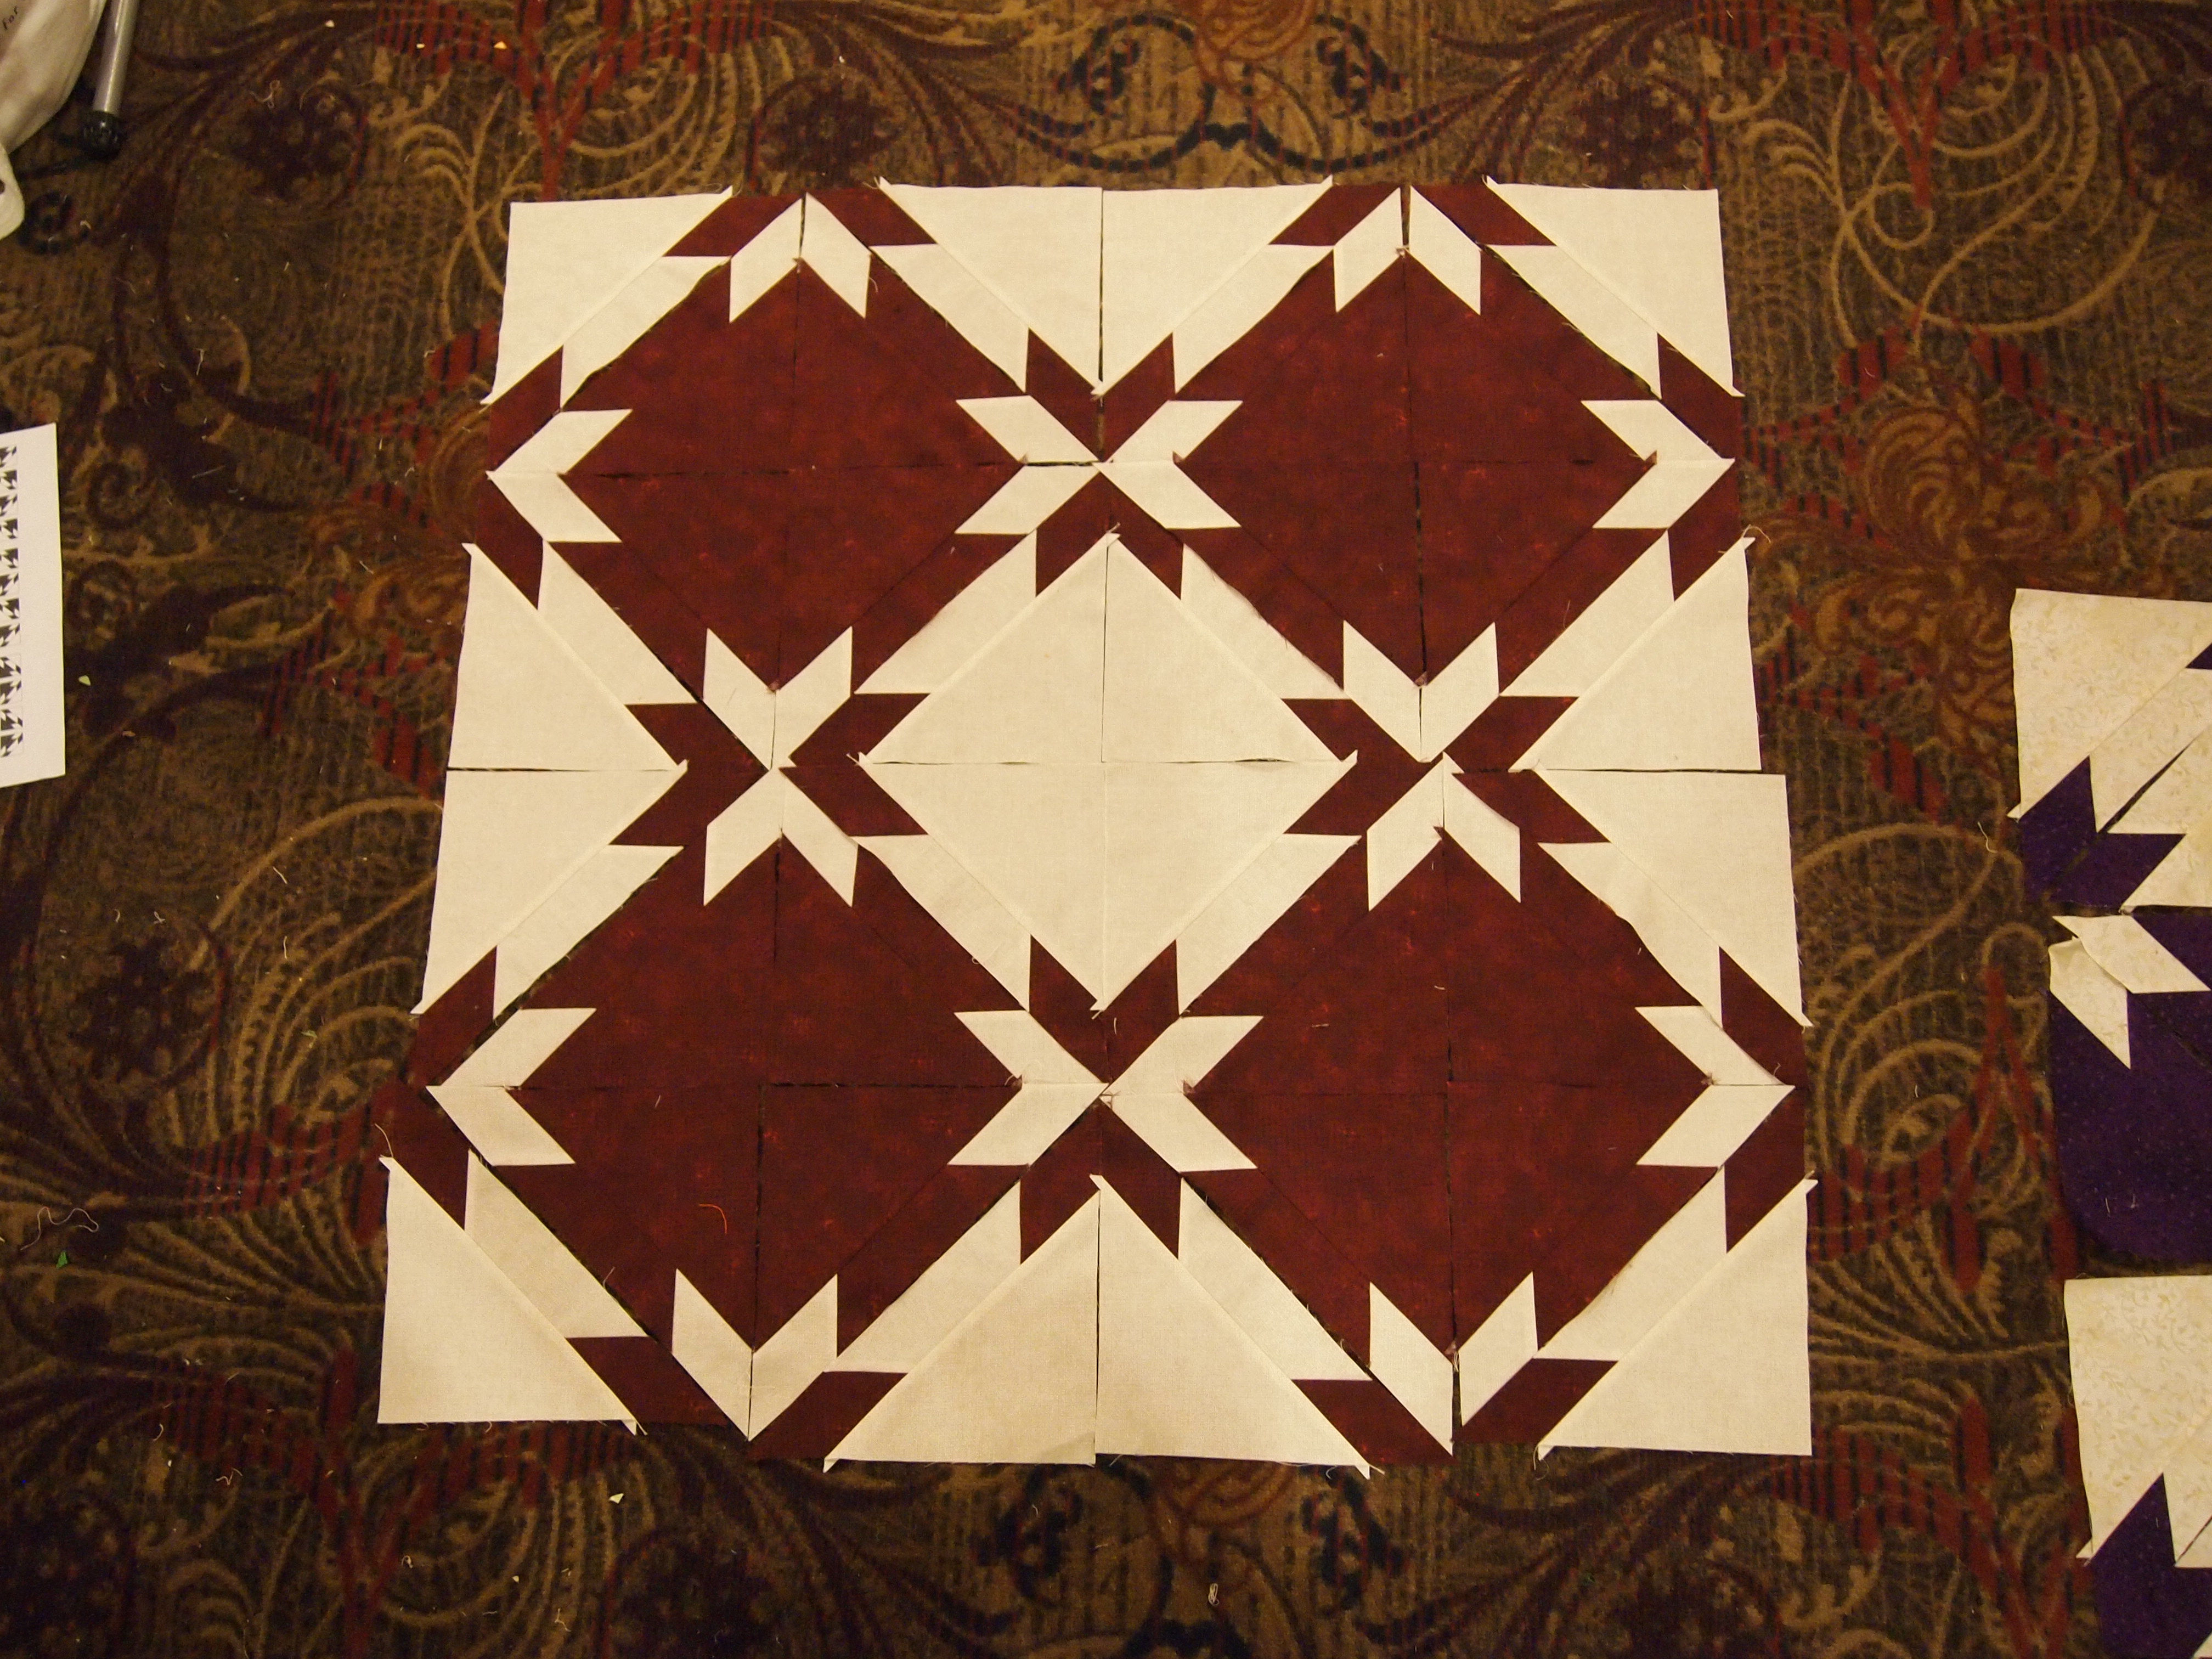
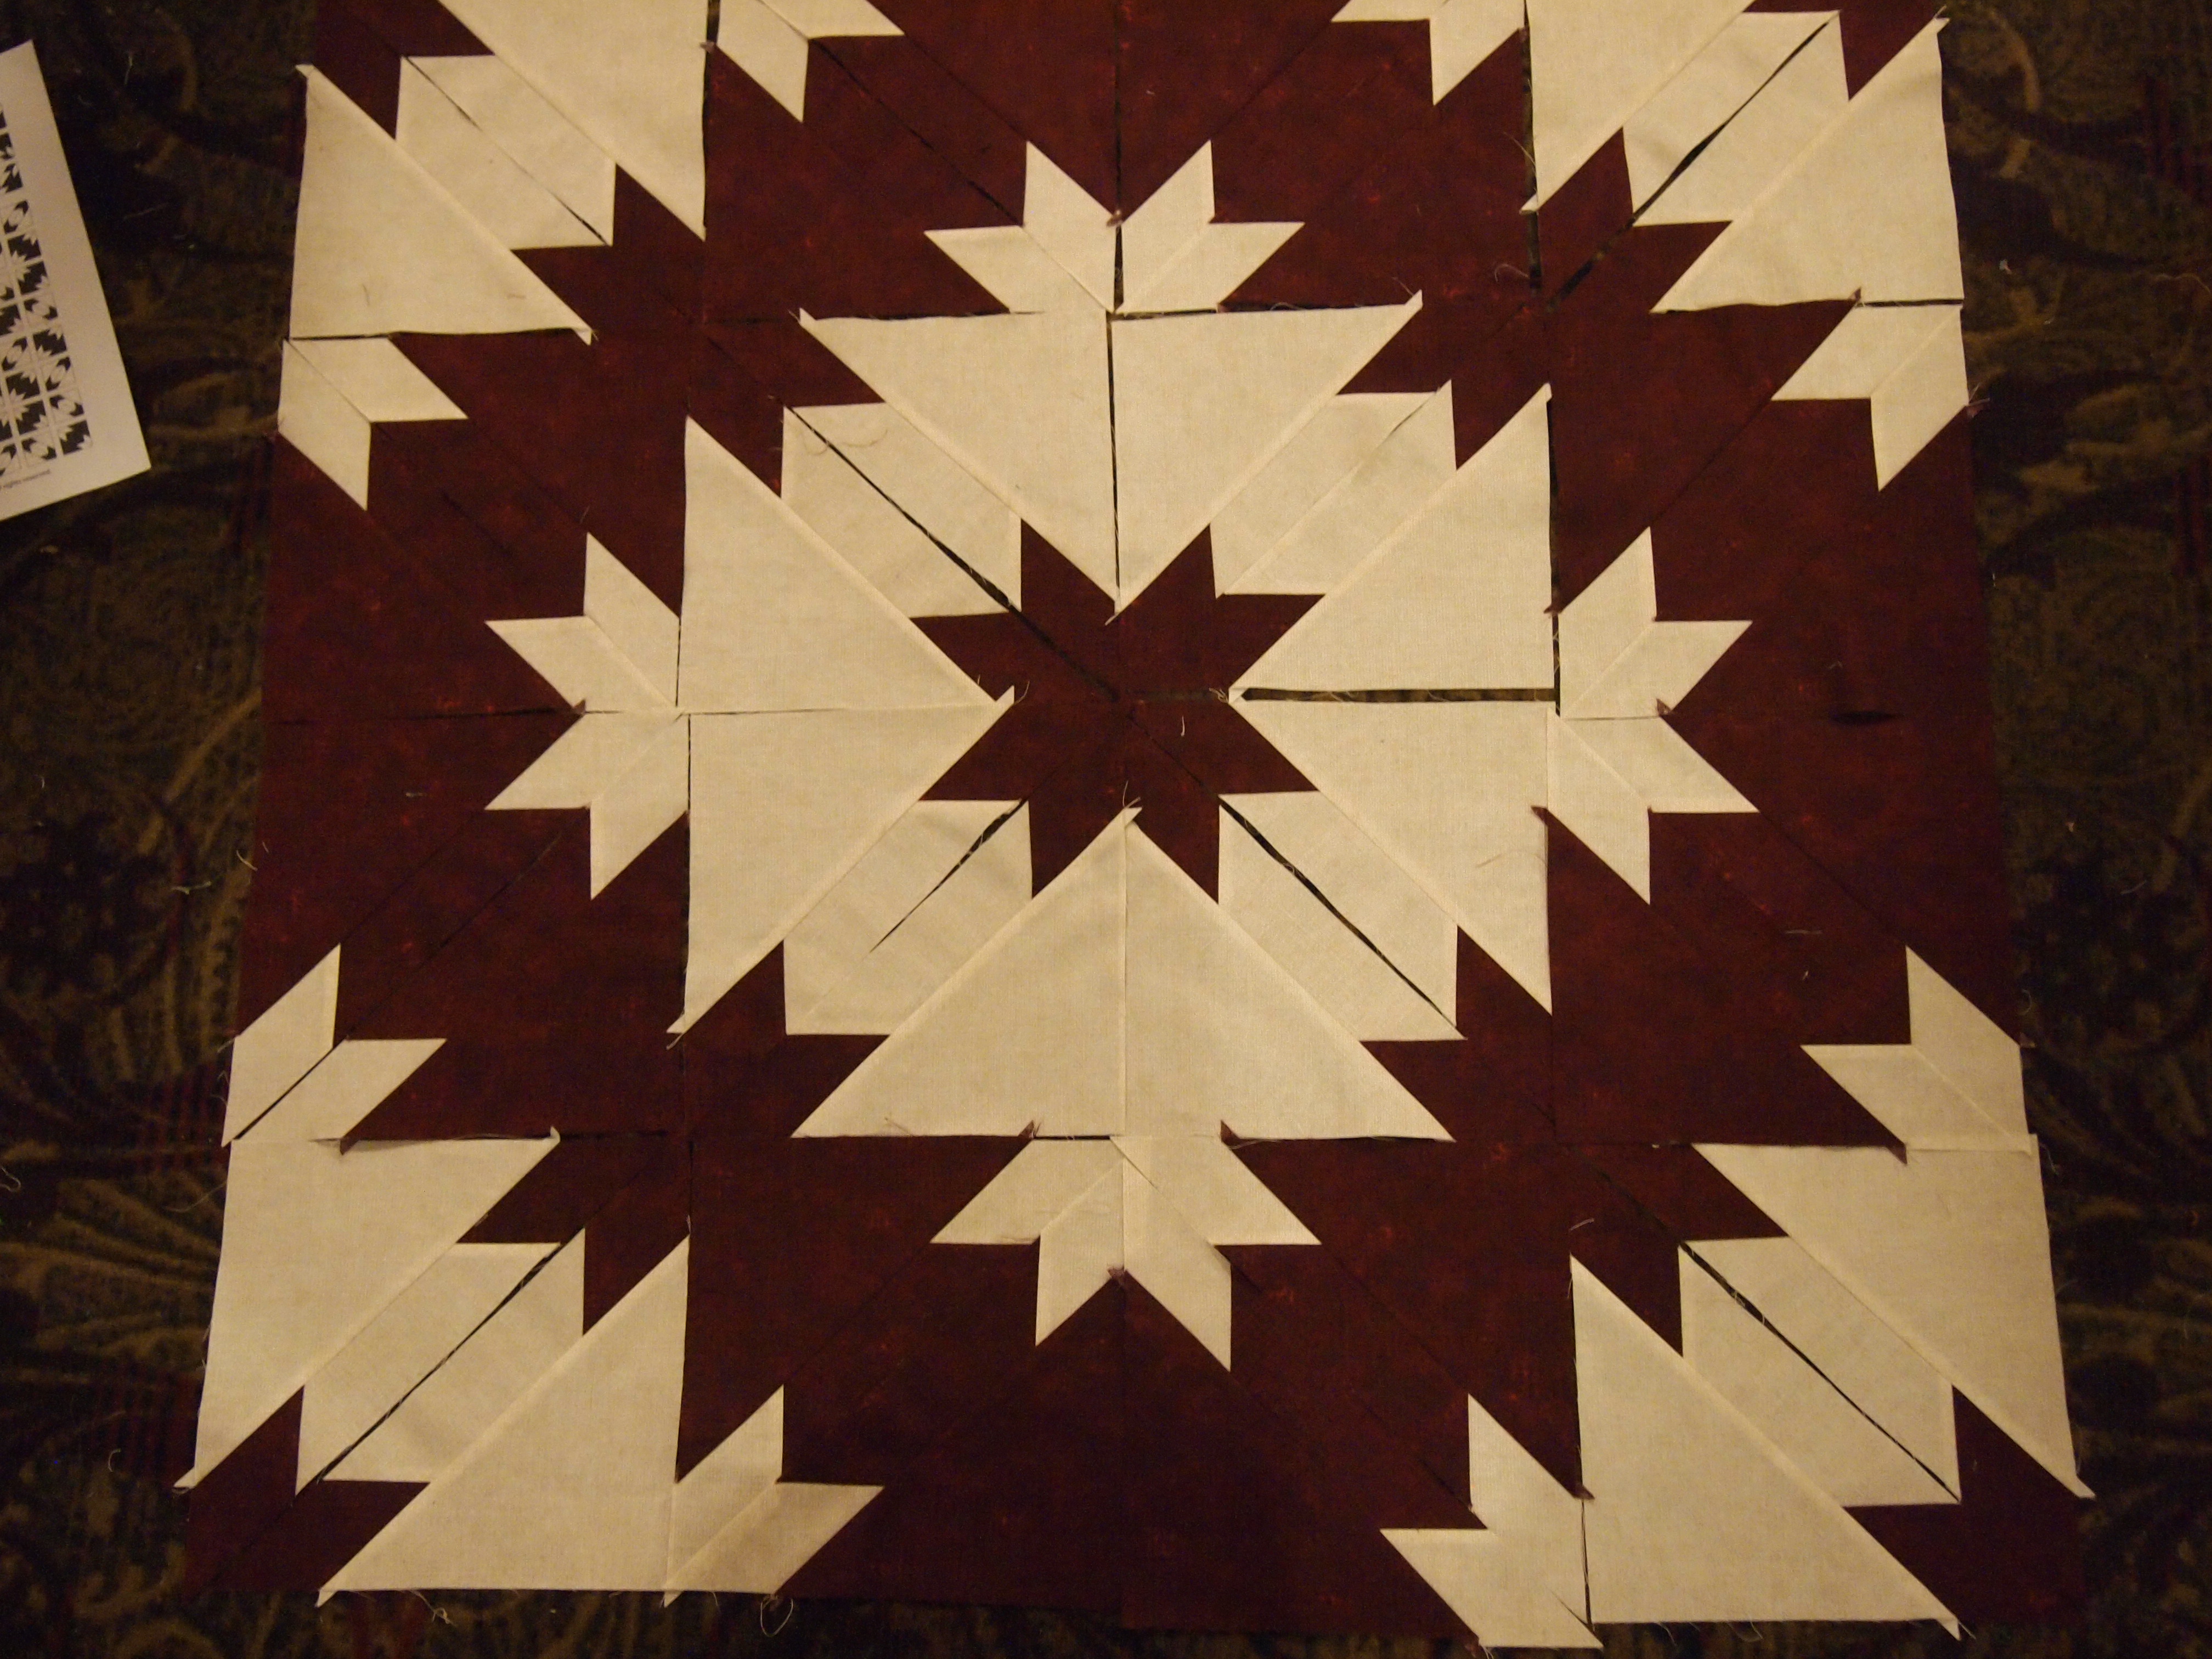
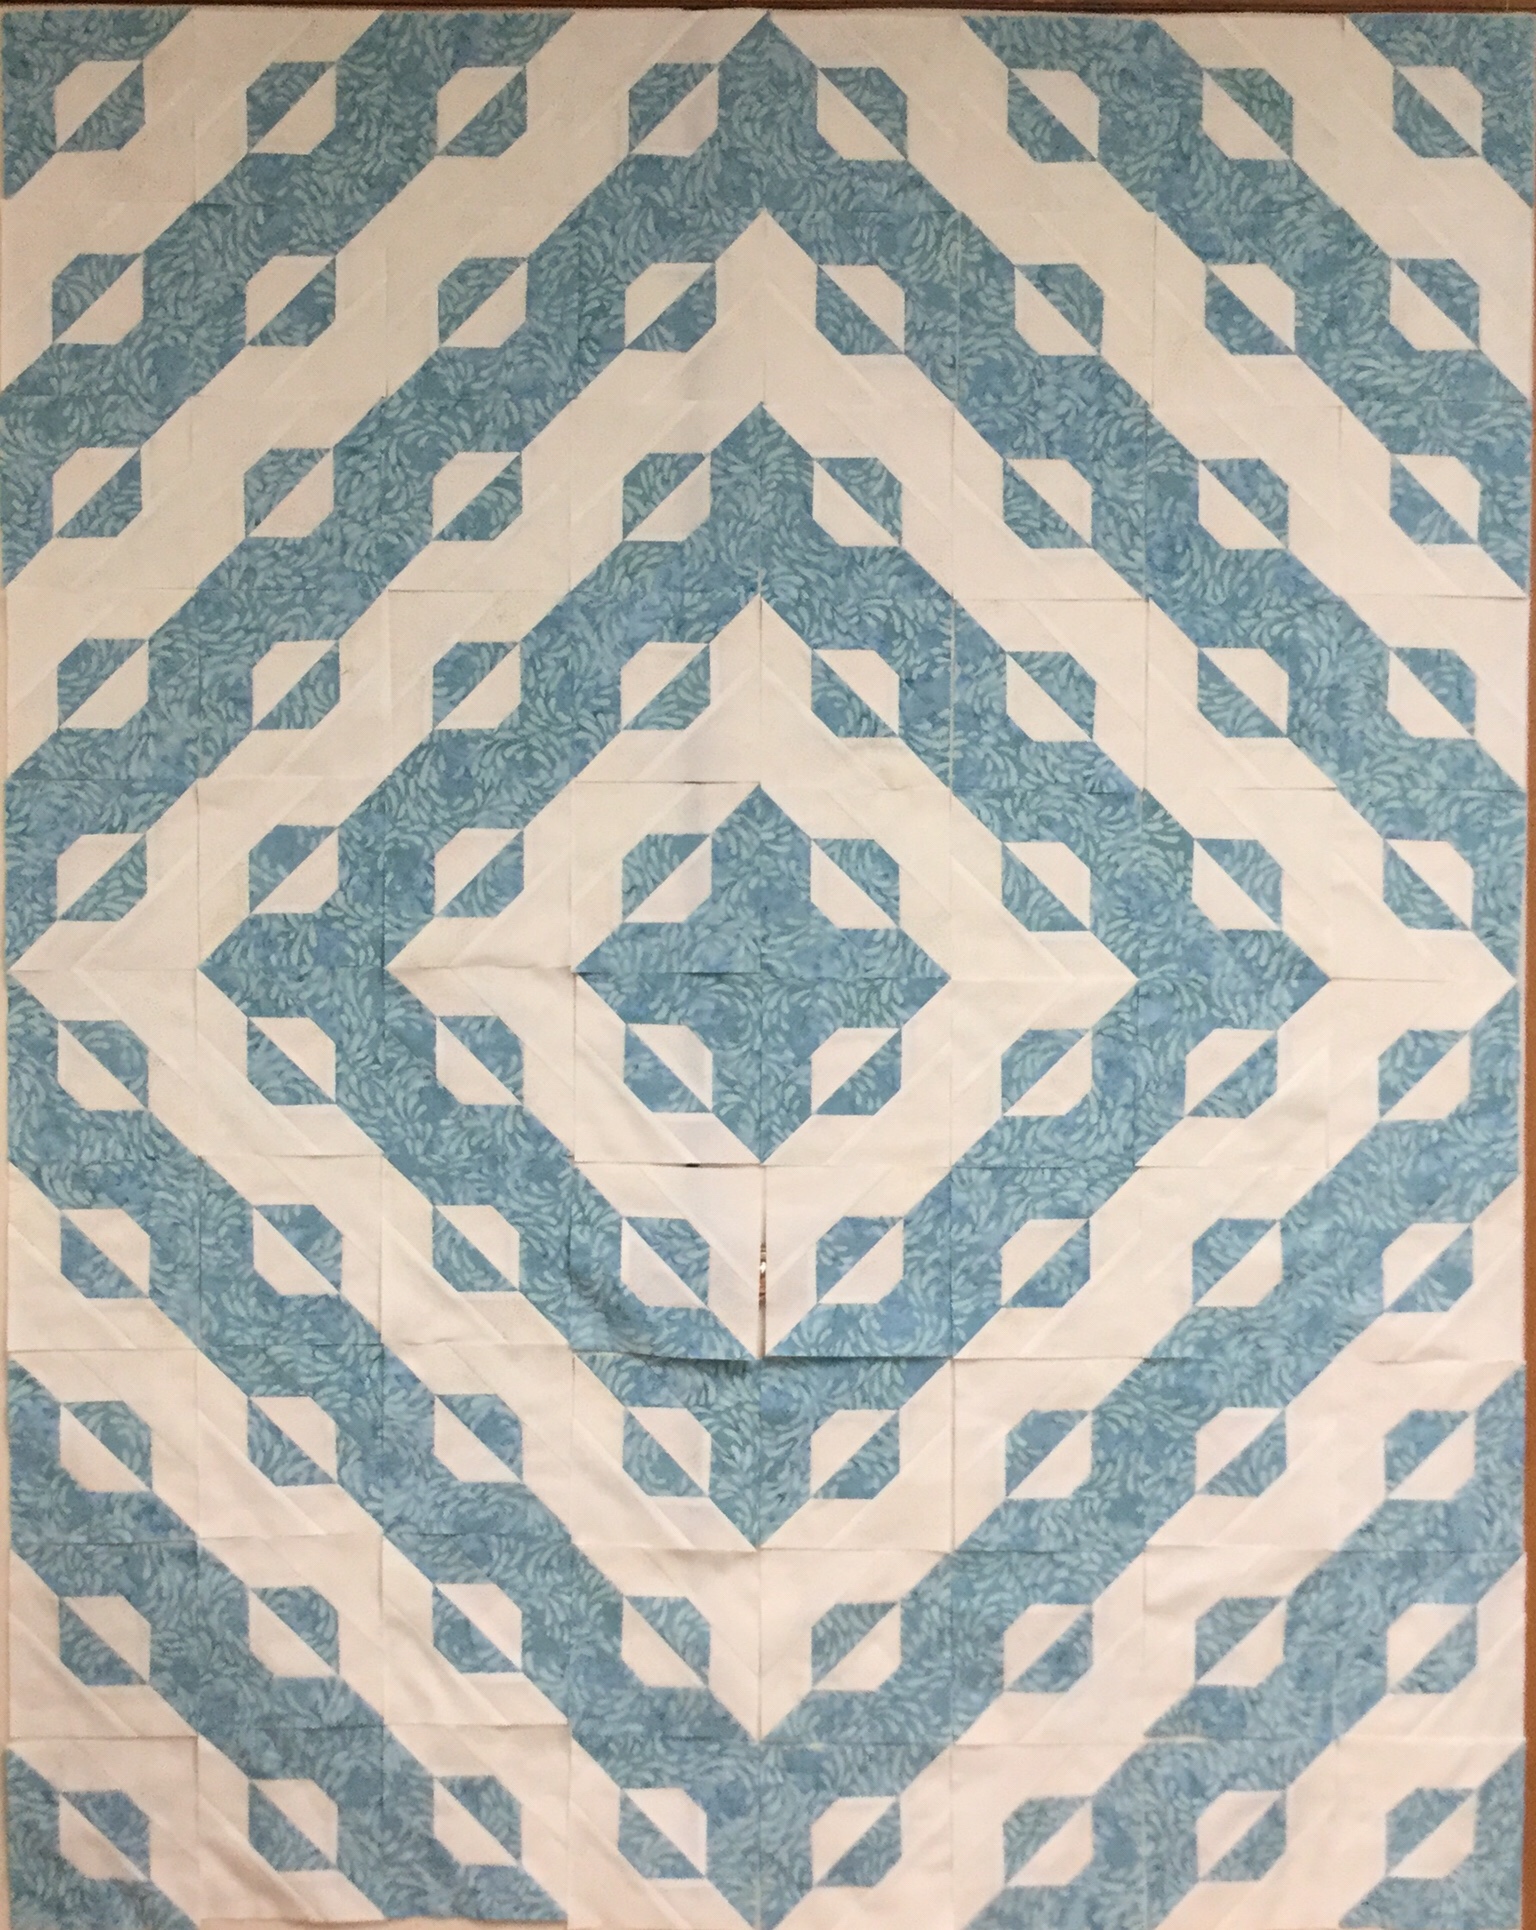
I love Deb Tucker’s Rapid Fire Hunter Star tools. Once you learn the Rapid Fire Process you will be able to make any version of the Hunter Star Quilt. I went to Deb Tucker’s new book “Hunter Star Royal Treasures” for my inspiration. This book contains 40 different king & queen size hunter star layouts, including one from me “Waves of Joy”. But what got my attention were the “Alternative” layouts. Wow what a difference a little change can make. Instead of the traditional piecing of the dark trapezoid to the dark triangle or a light trapezoid to a light triangle, do the reverse and piece a dark trapezoid to a light triangle and vice versa.
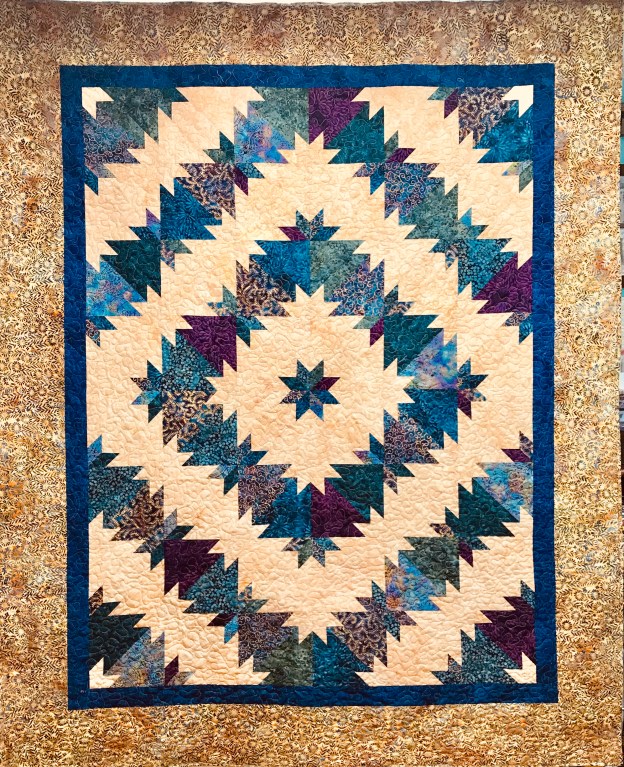
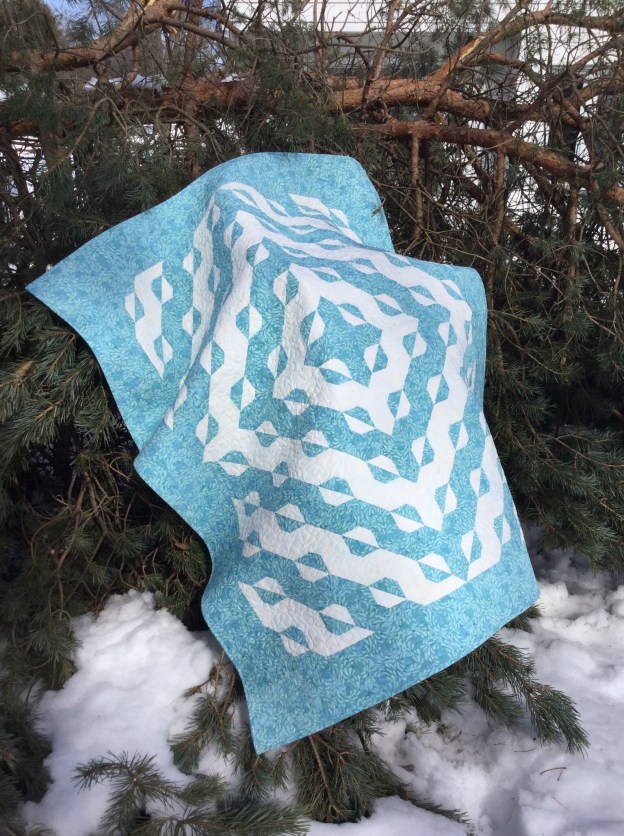
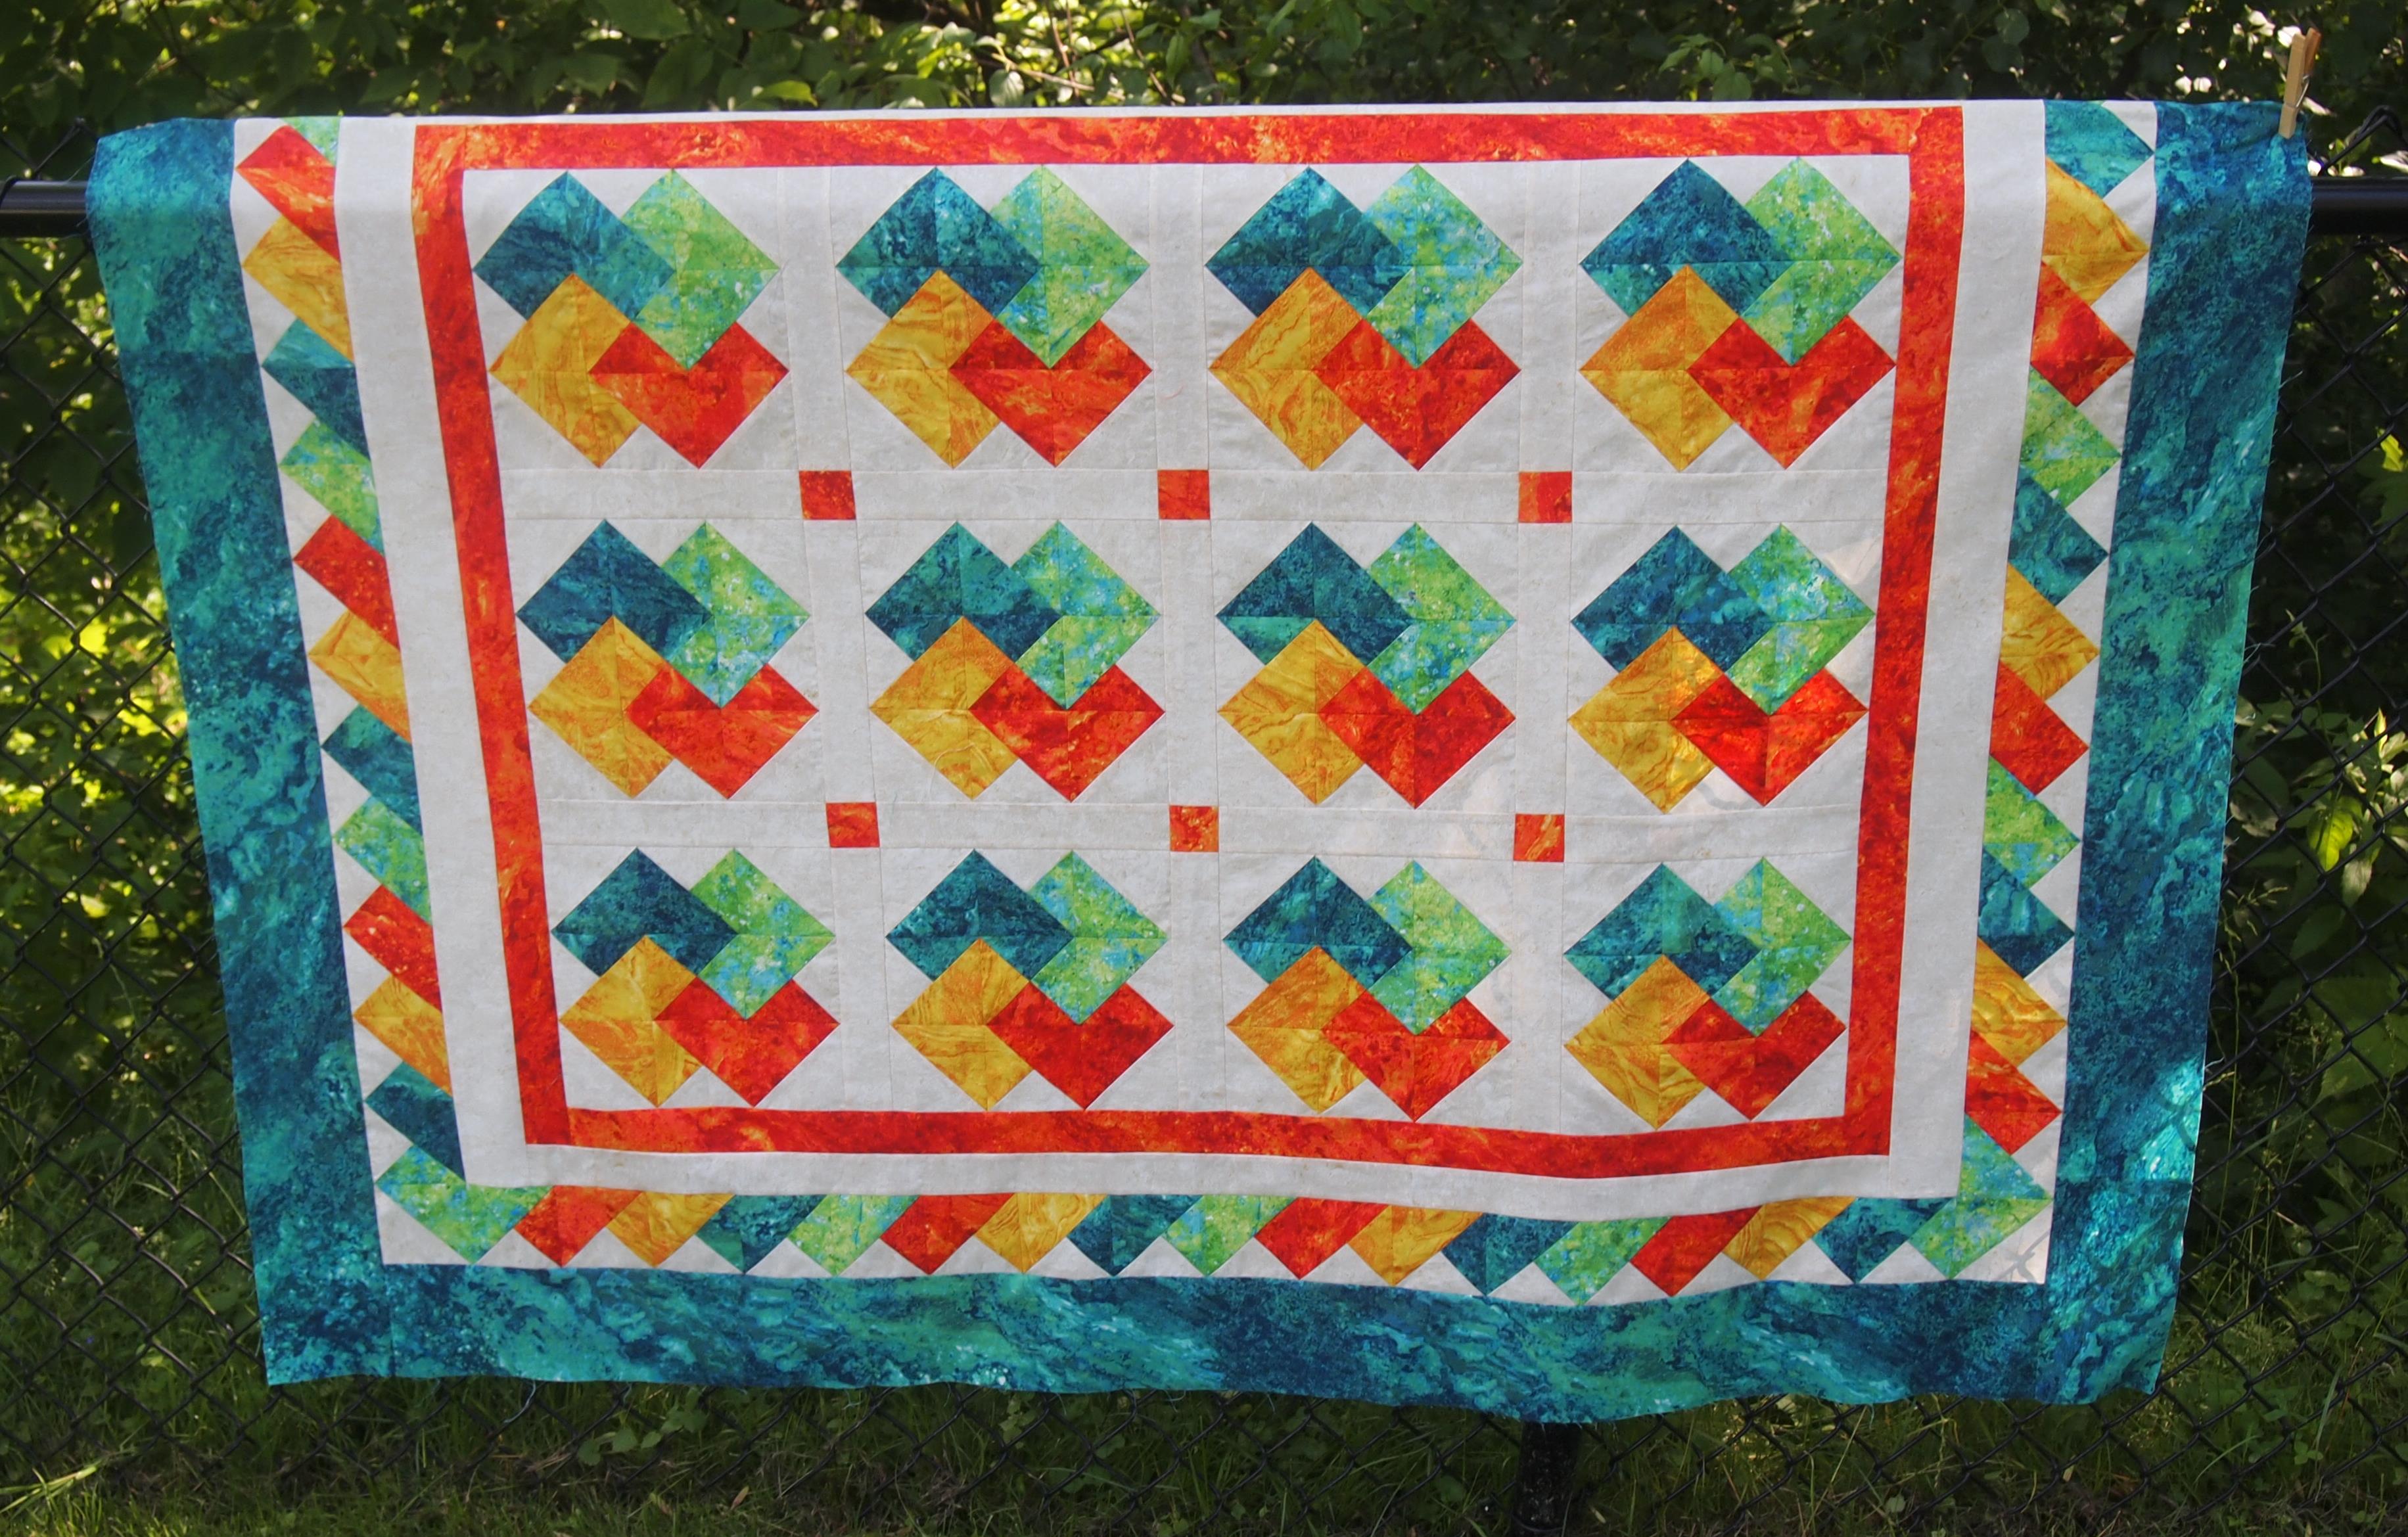
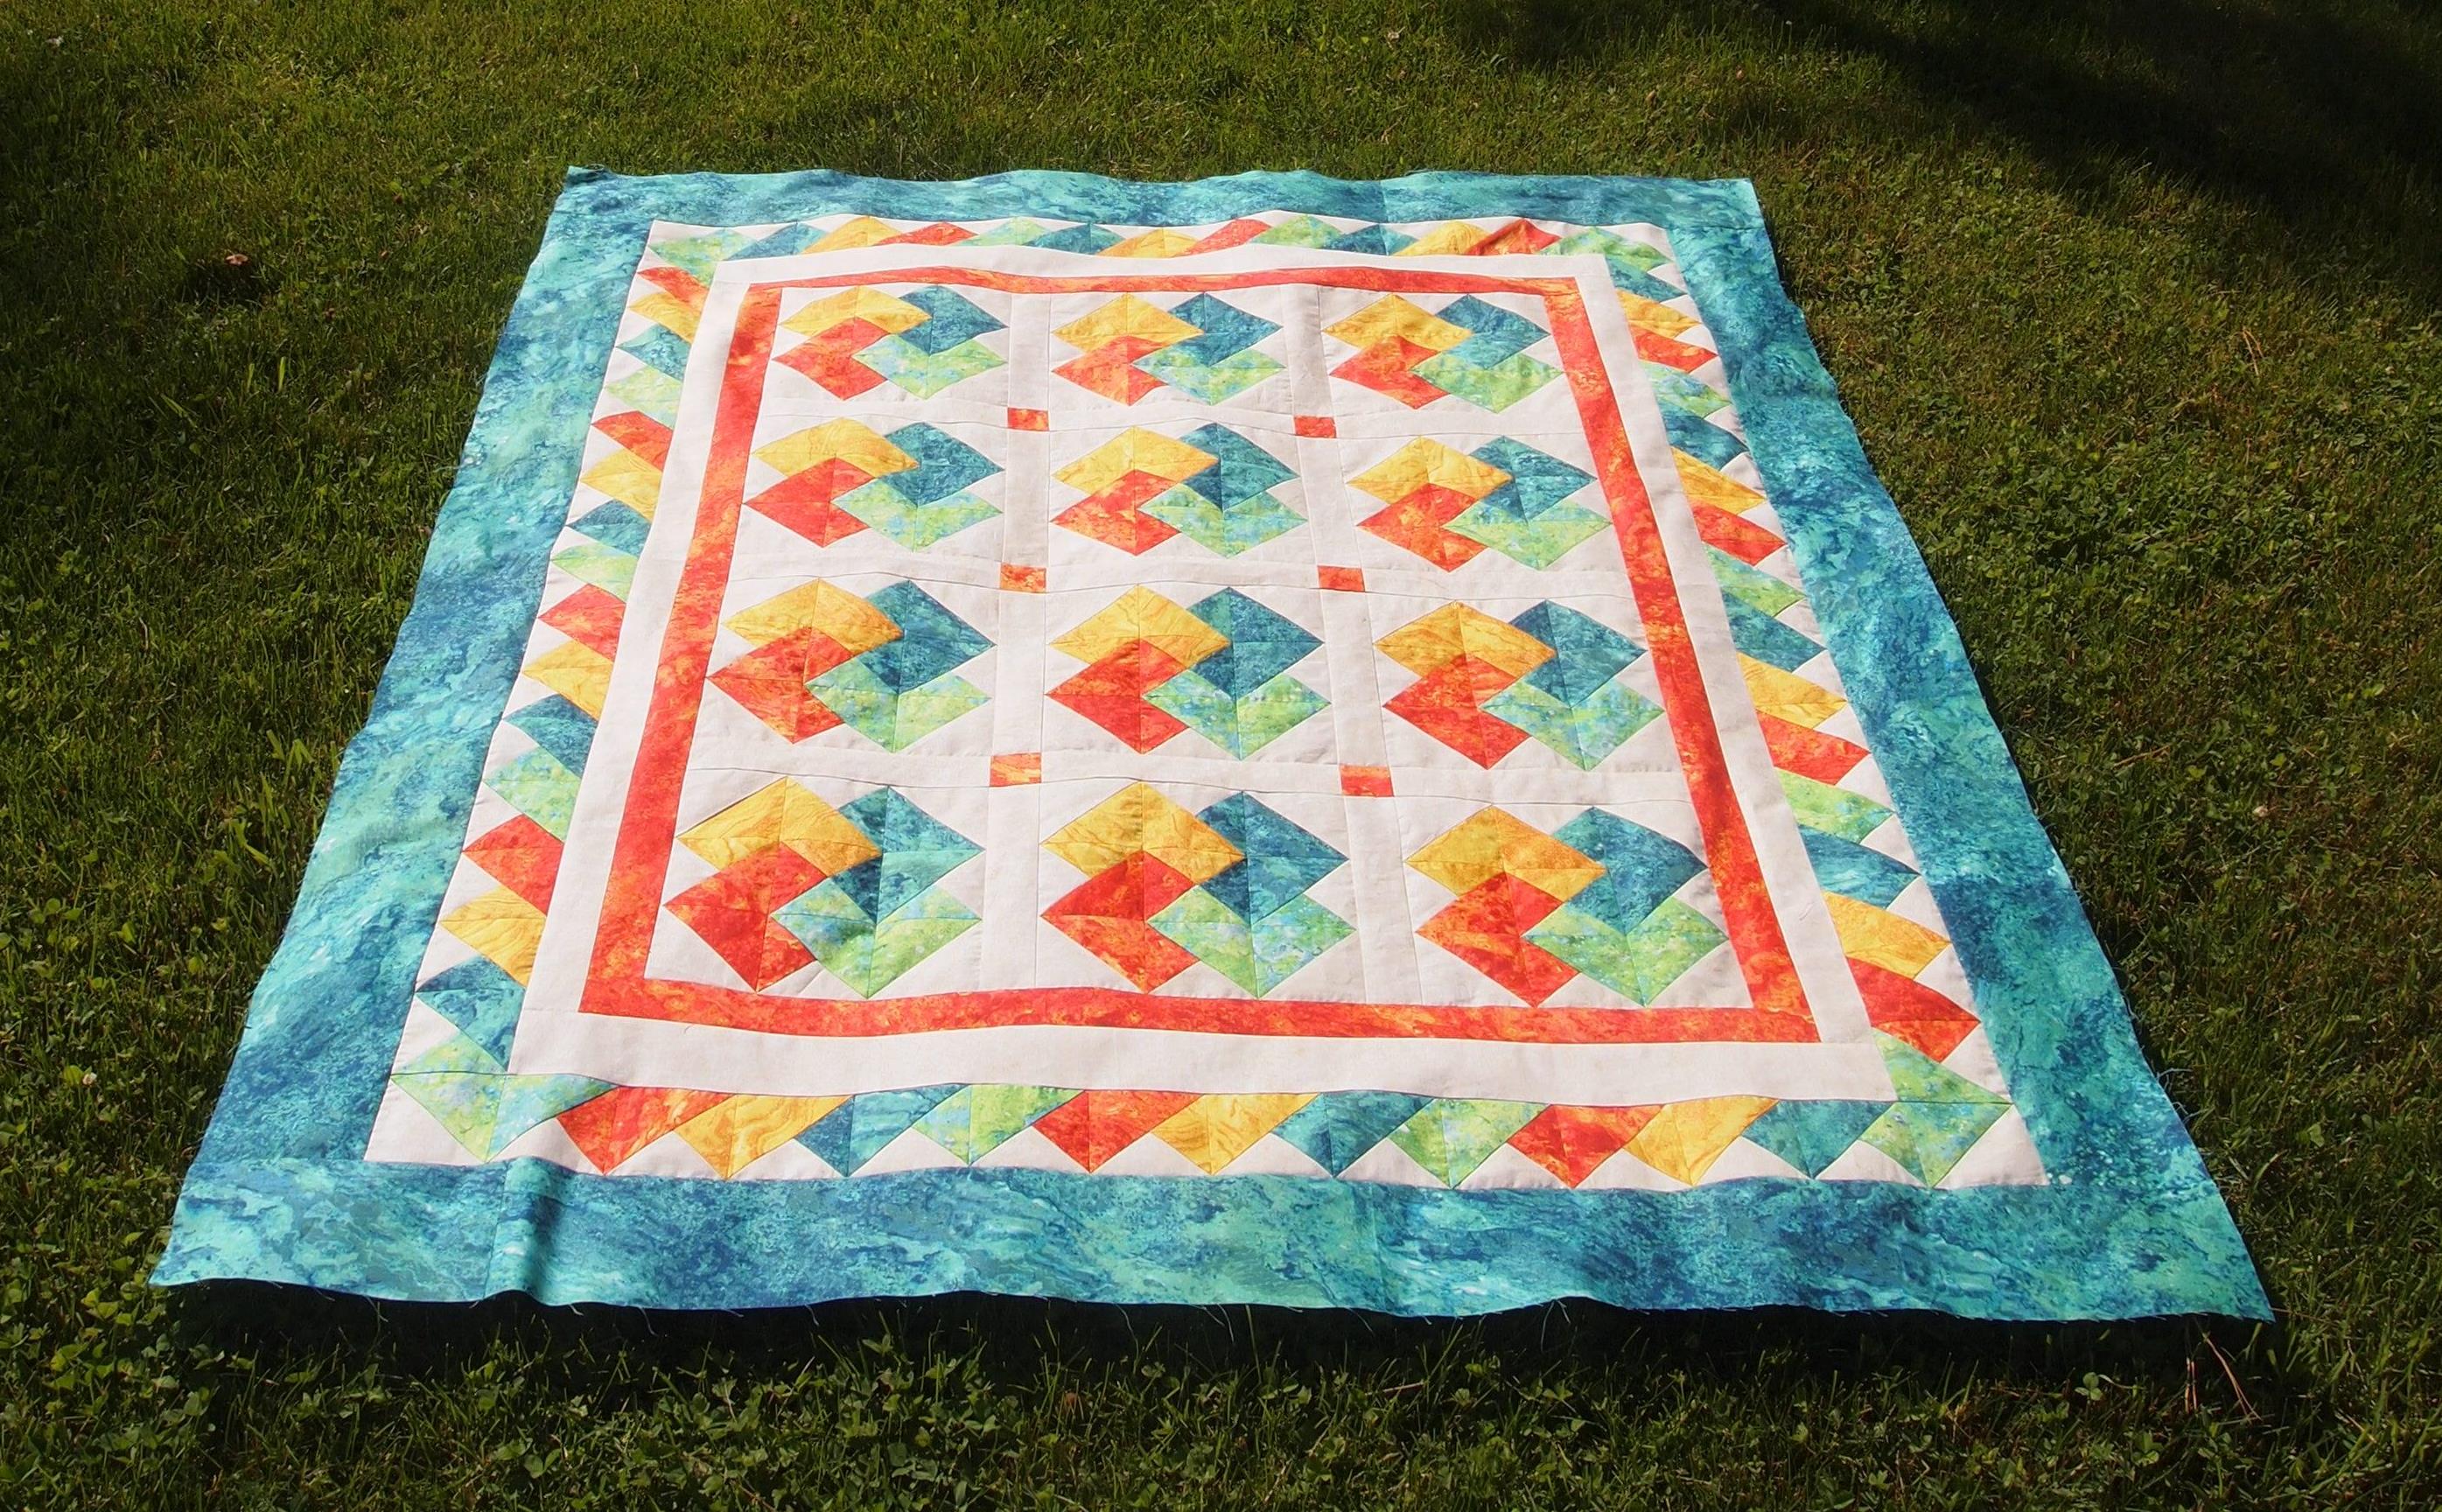
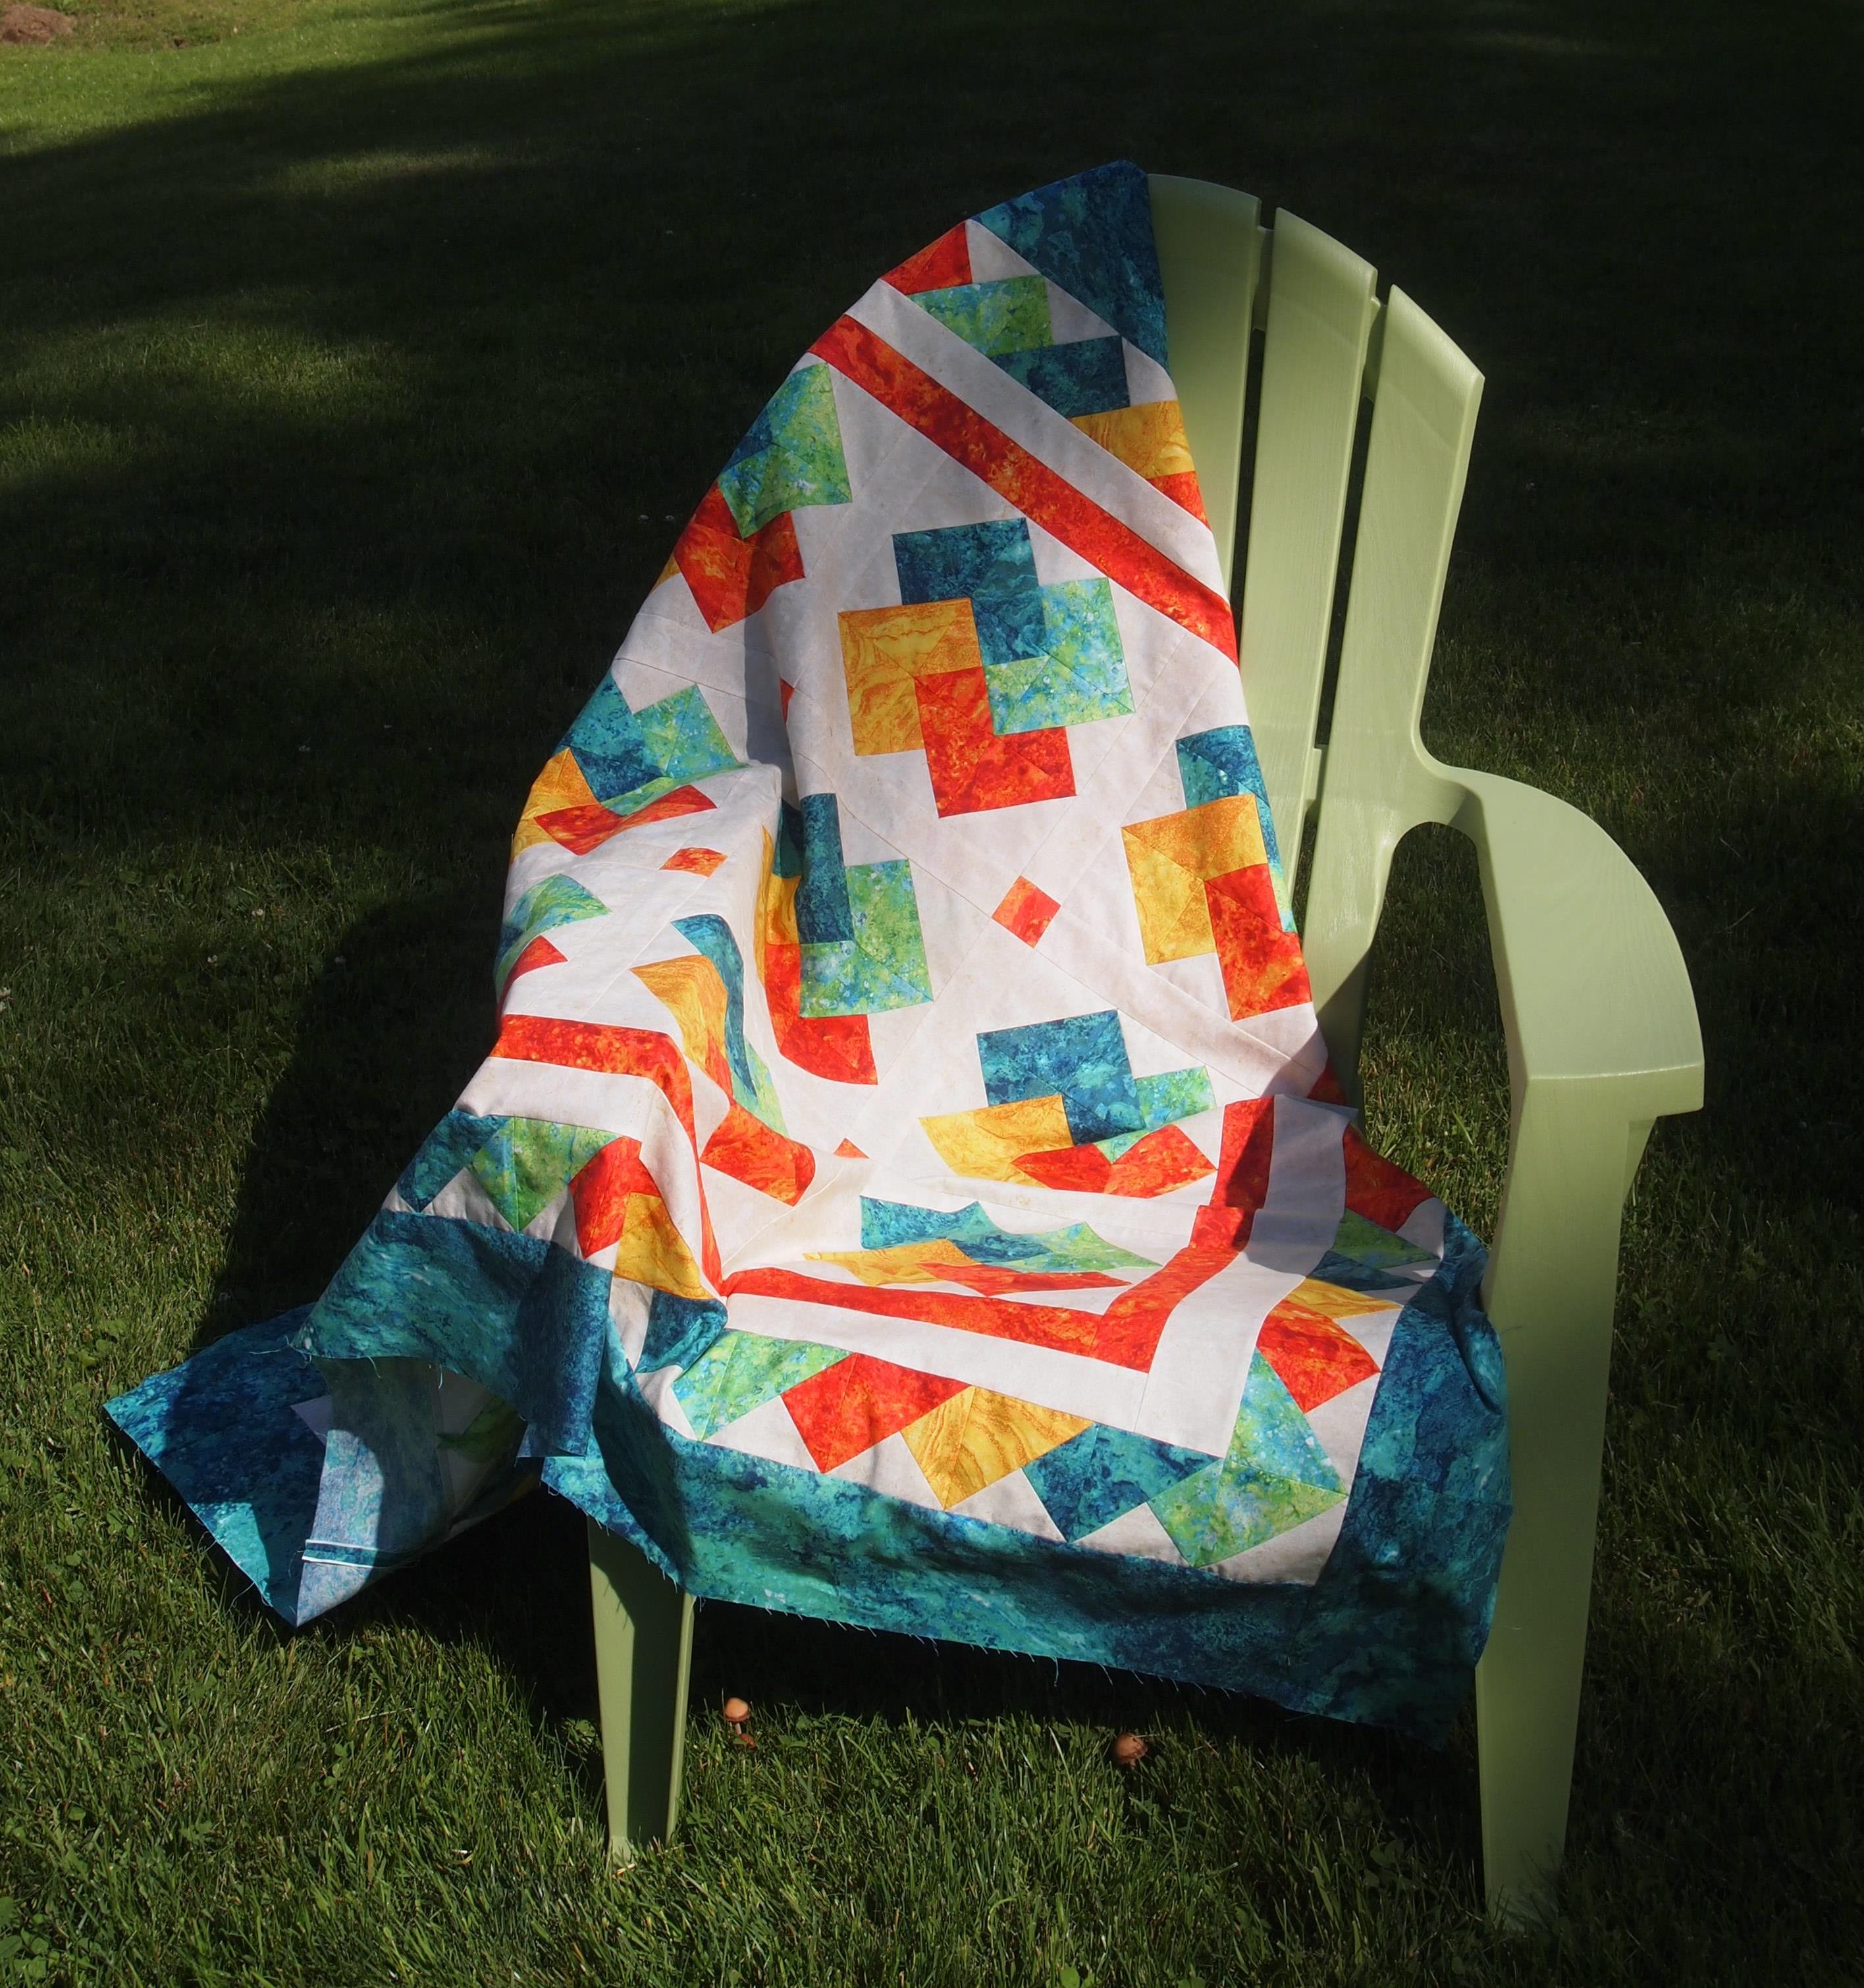
I chose “Baths of Tortola”, designed & pieced by Studio 180 Design Certified Instructor Heidi Chase (Running With Scissors Quilters). Heidi’s quilt is a queen size, 8 x 10 block layout, made with the Large Hunter Star tool & 9″ finished blocks. (The photo on the left of my smaller version of Baths of Tortola (50″x60″) was taken on one of the many trees we lost during one of the many nor’easters this winter.)
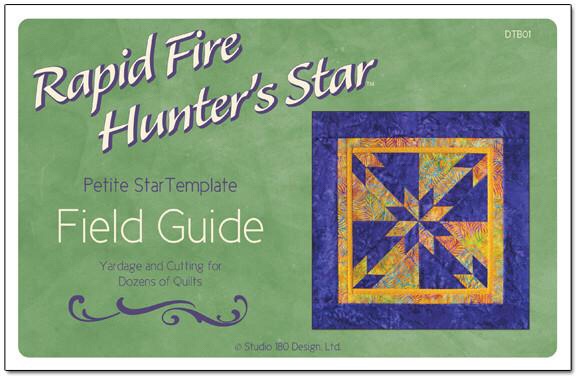
I wanted to make a smaller quilt, so I pulled out my Petite Hunter Star tool, and my Field Guide. This fabulous little book gave me the fabric requirements for a 5″ Hunter Star Petite, 8 by 10 block layout in a two color option. Sweeeet! This book gives you yardage requirements and cutting instructions for 213 projects in 2, 3 & 4 color options for 5″, 6″ 7″ and 8″ block sizes from wall hanging to king size projects.
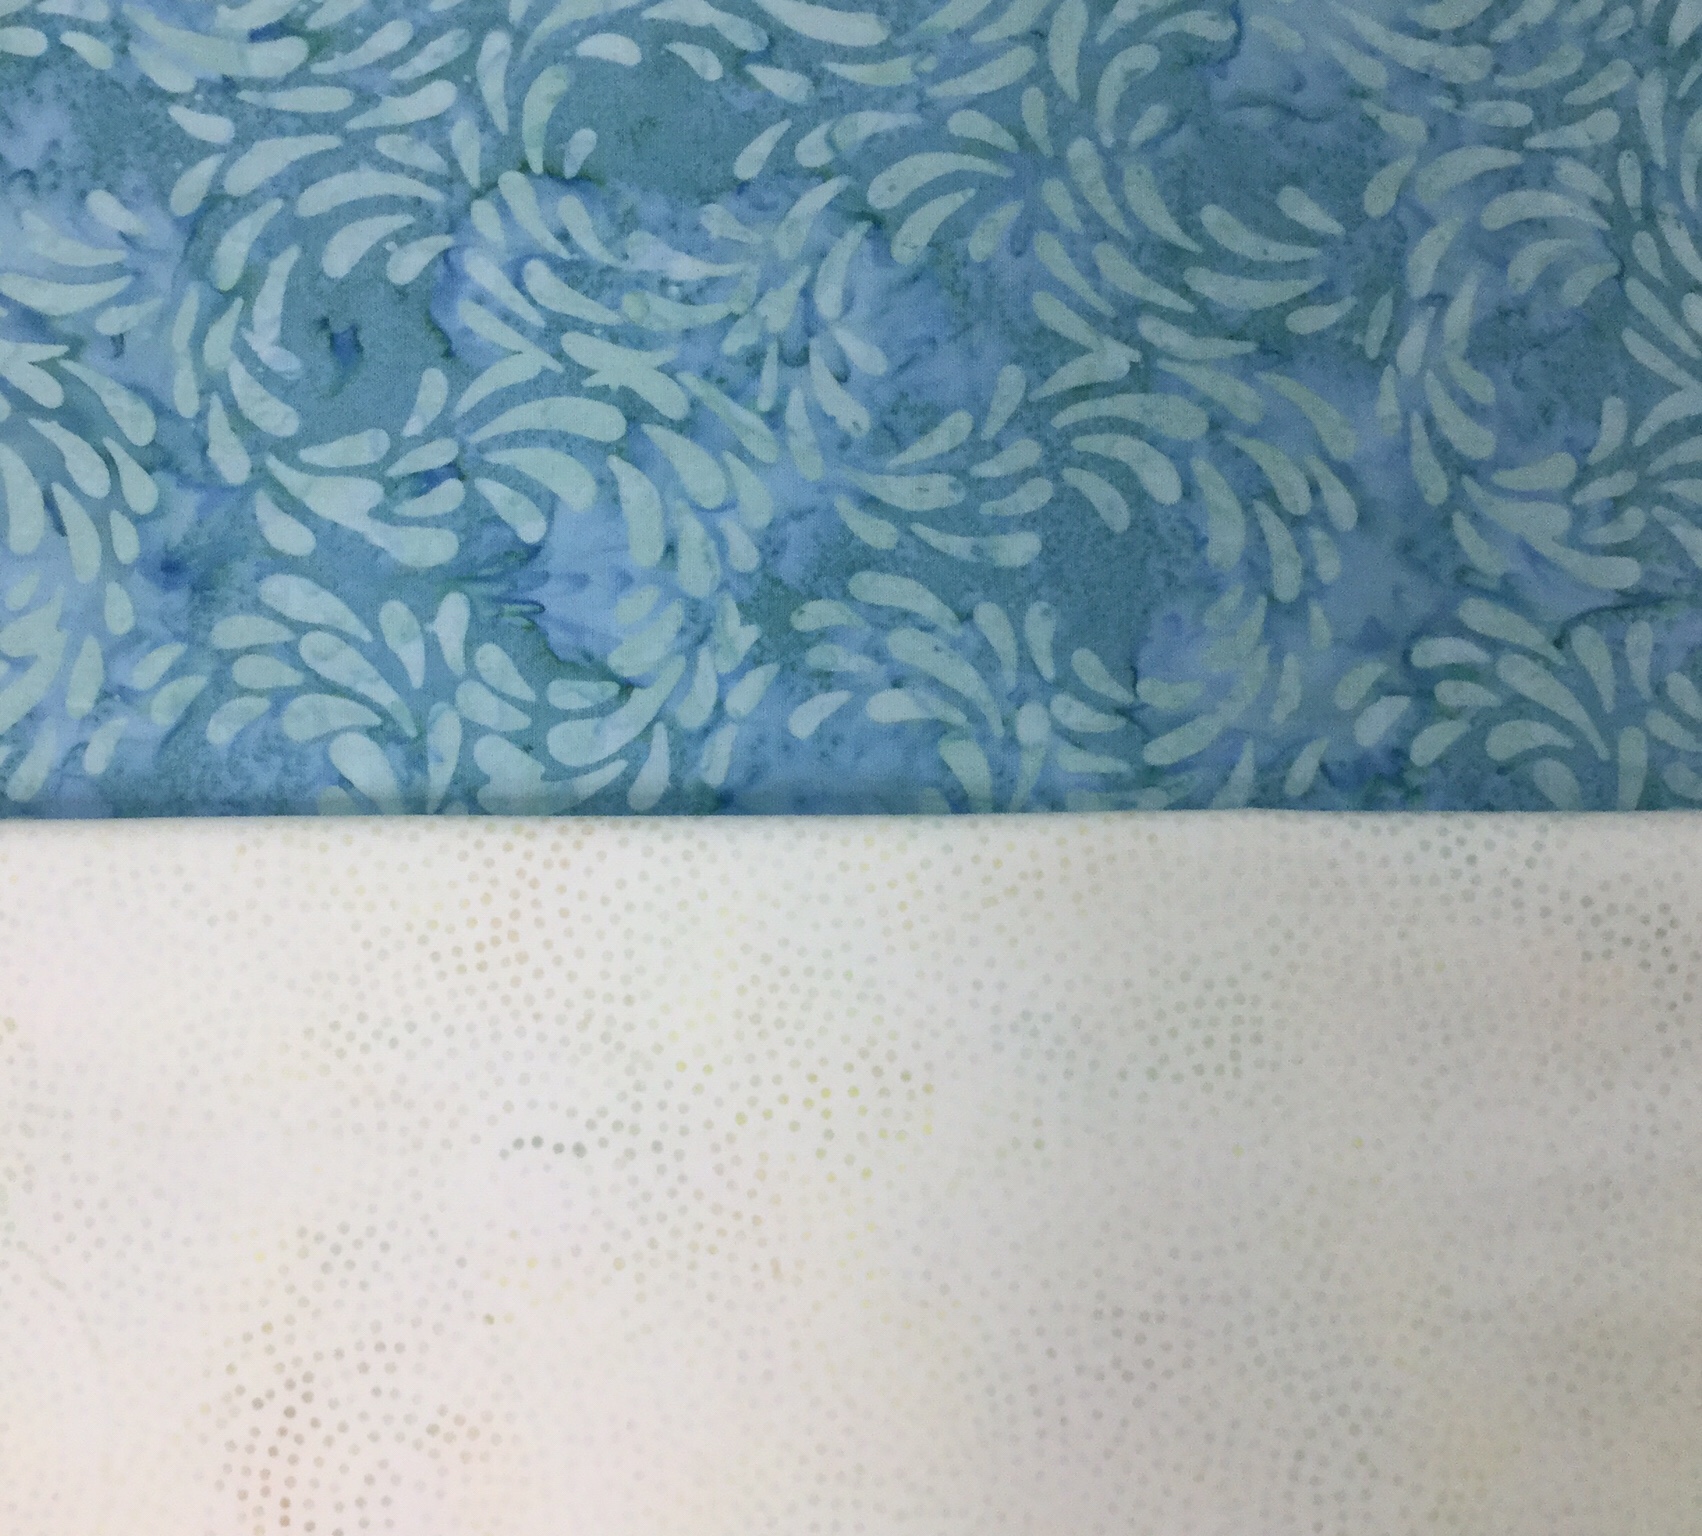
I pulled my Crystal Cove Water Aqua & Cotton Egg-white Island Batik fabric choices from my stash.
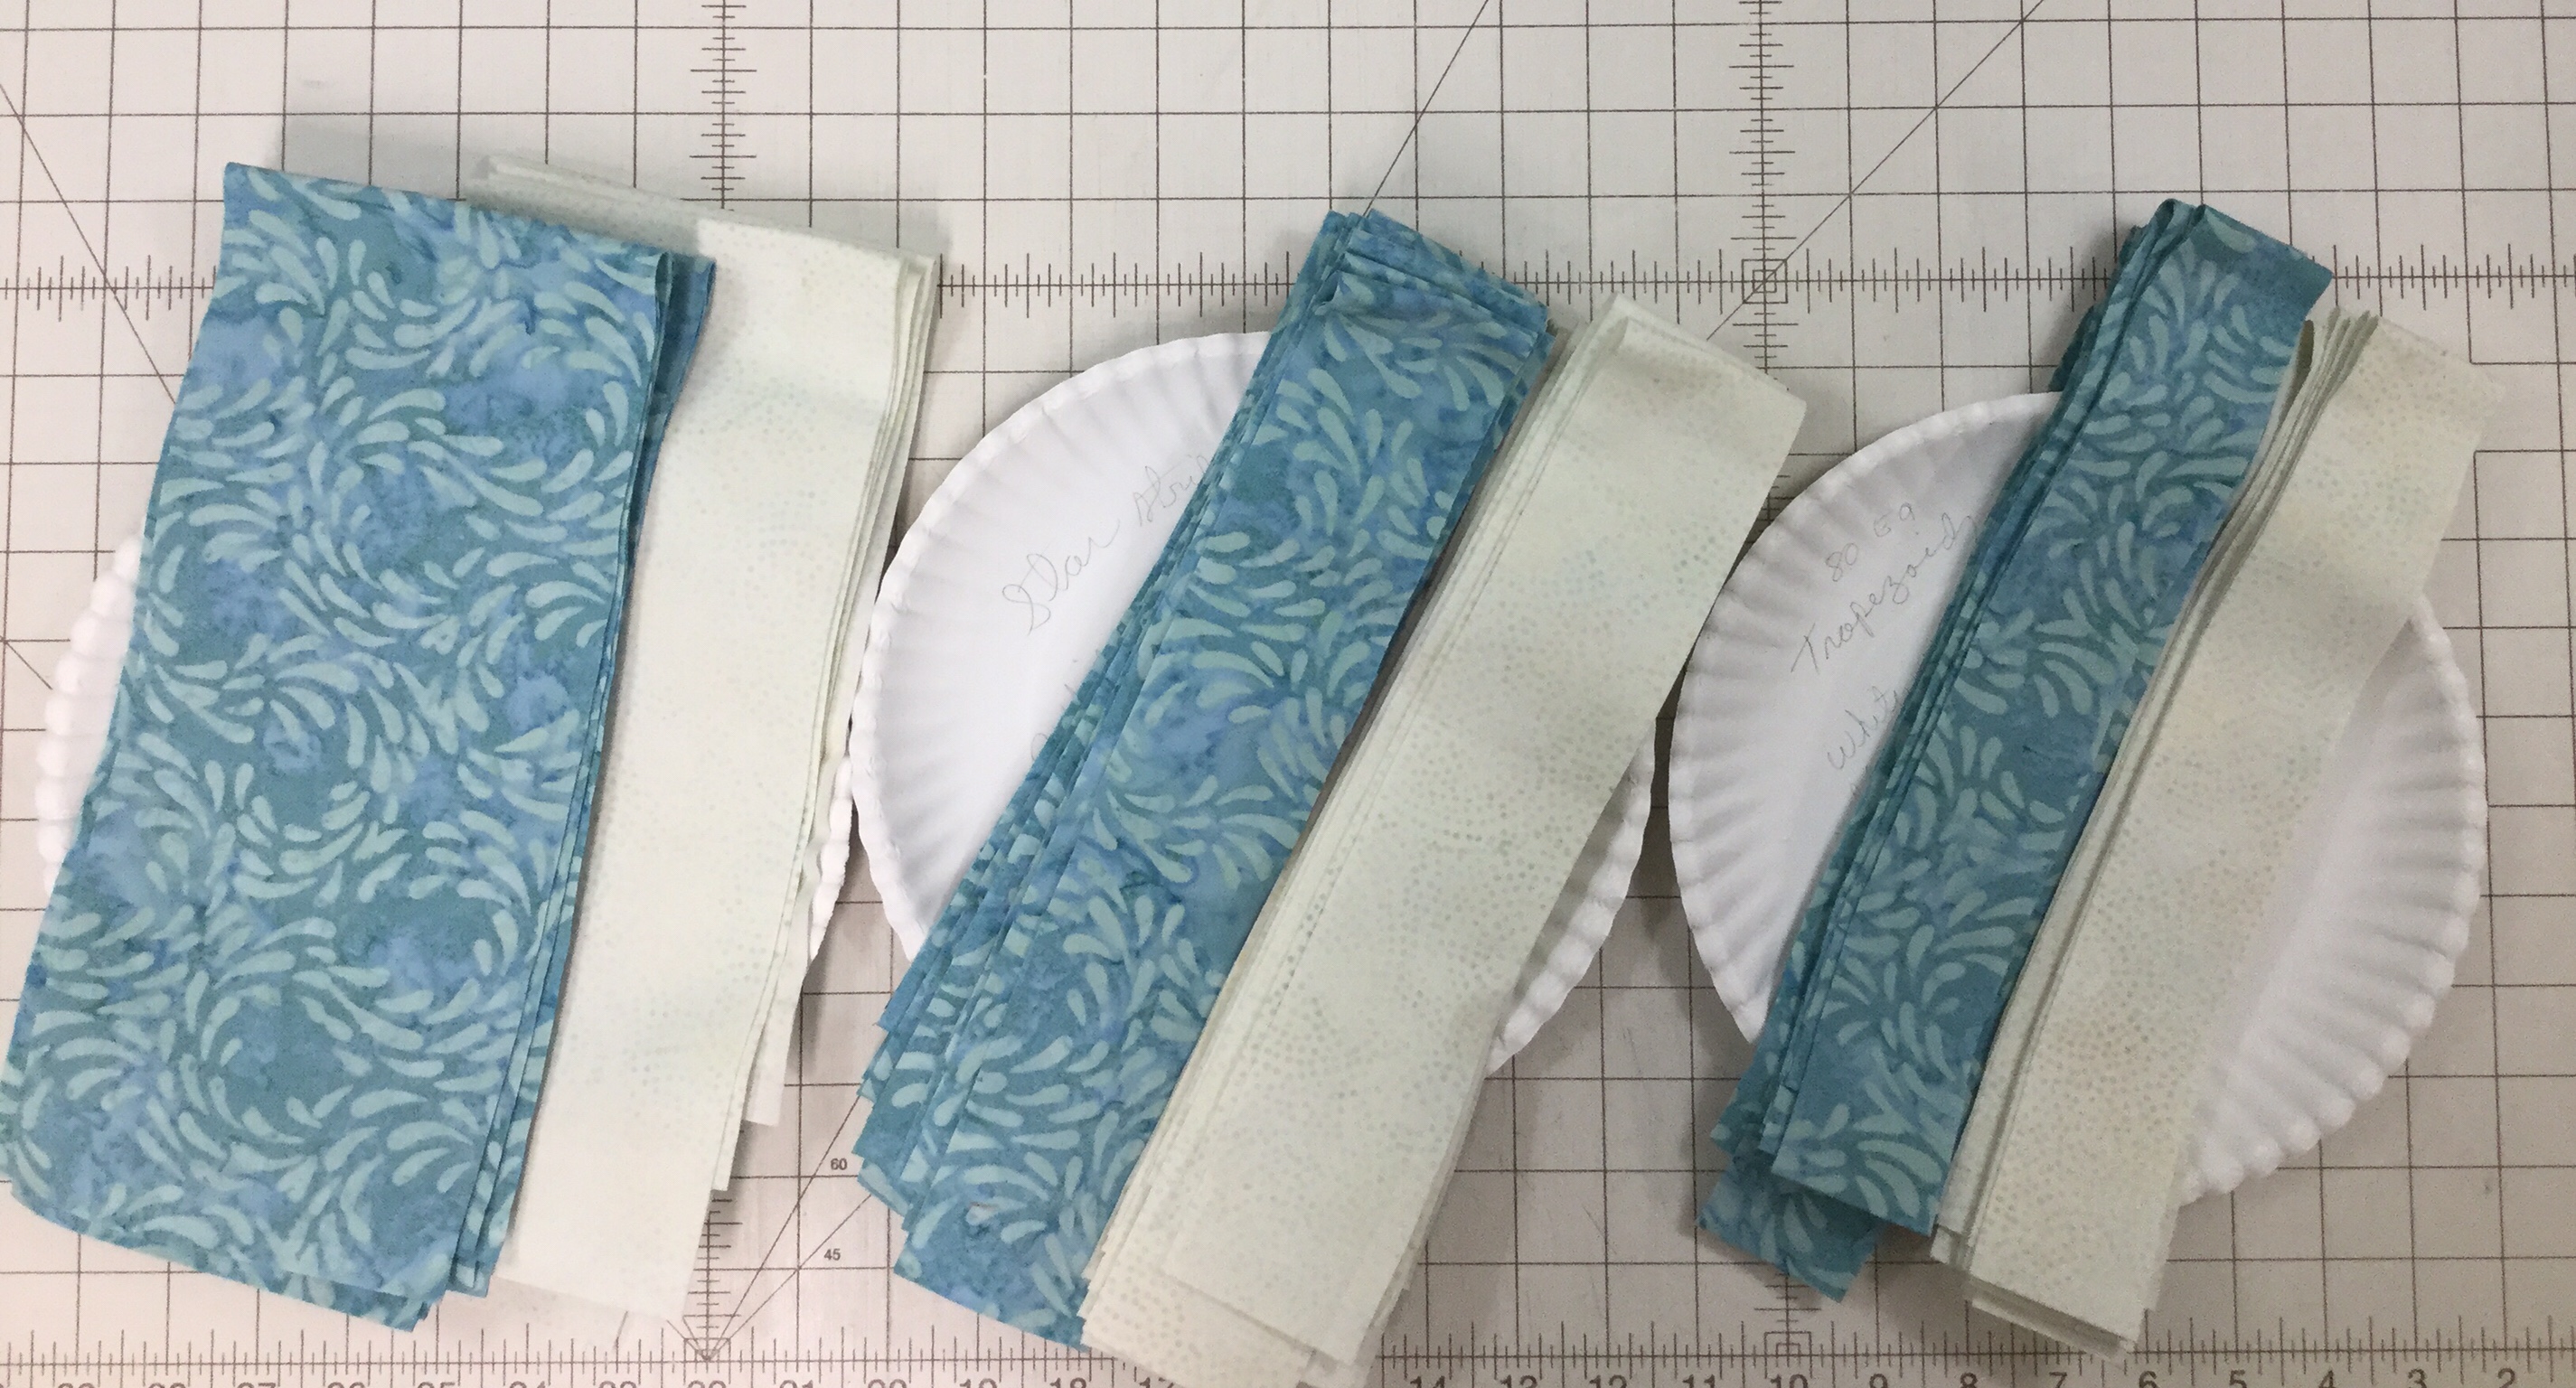
I start by cutting my triangle, star point & trapezoid strips in both colors.
From my 5″ triangle strips I cut 5″ squares and cut them once diagonally and set them aside for later.
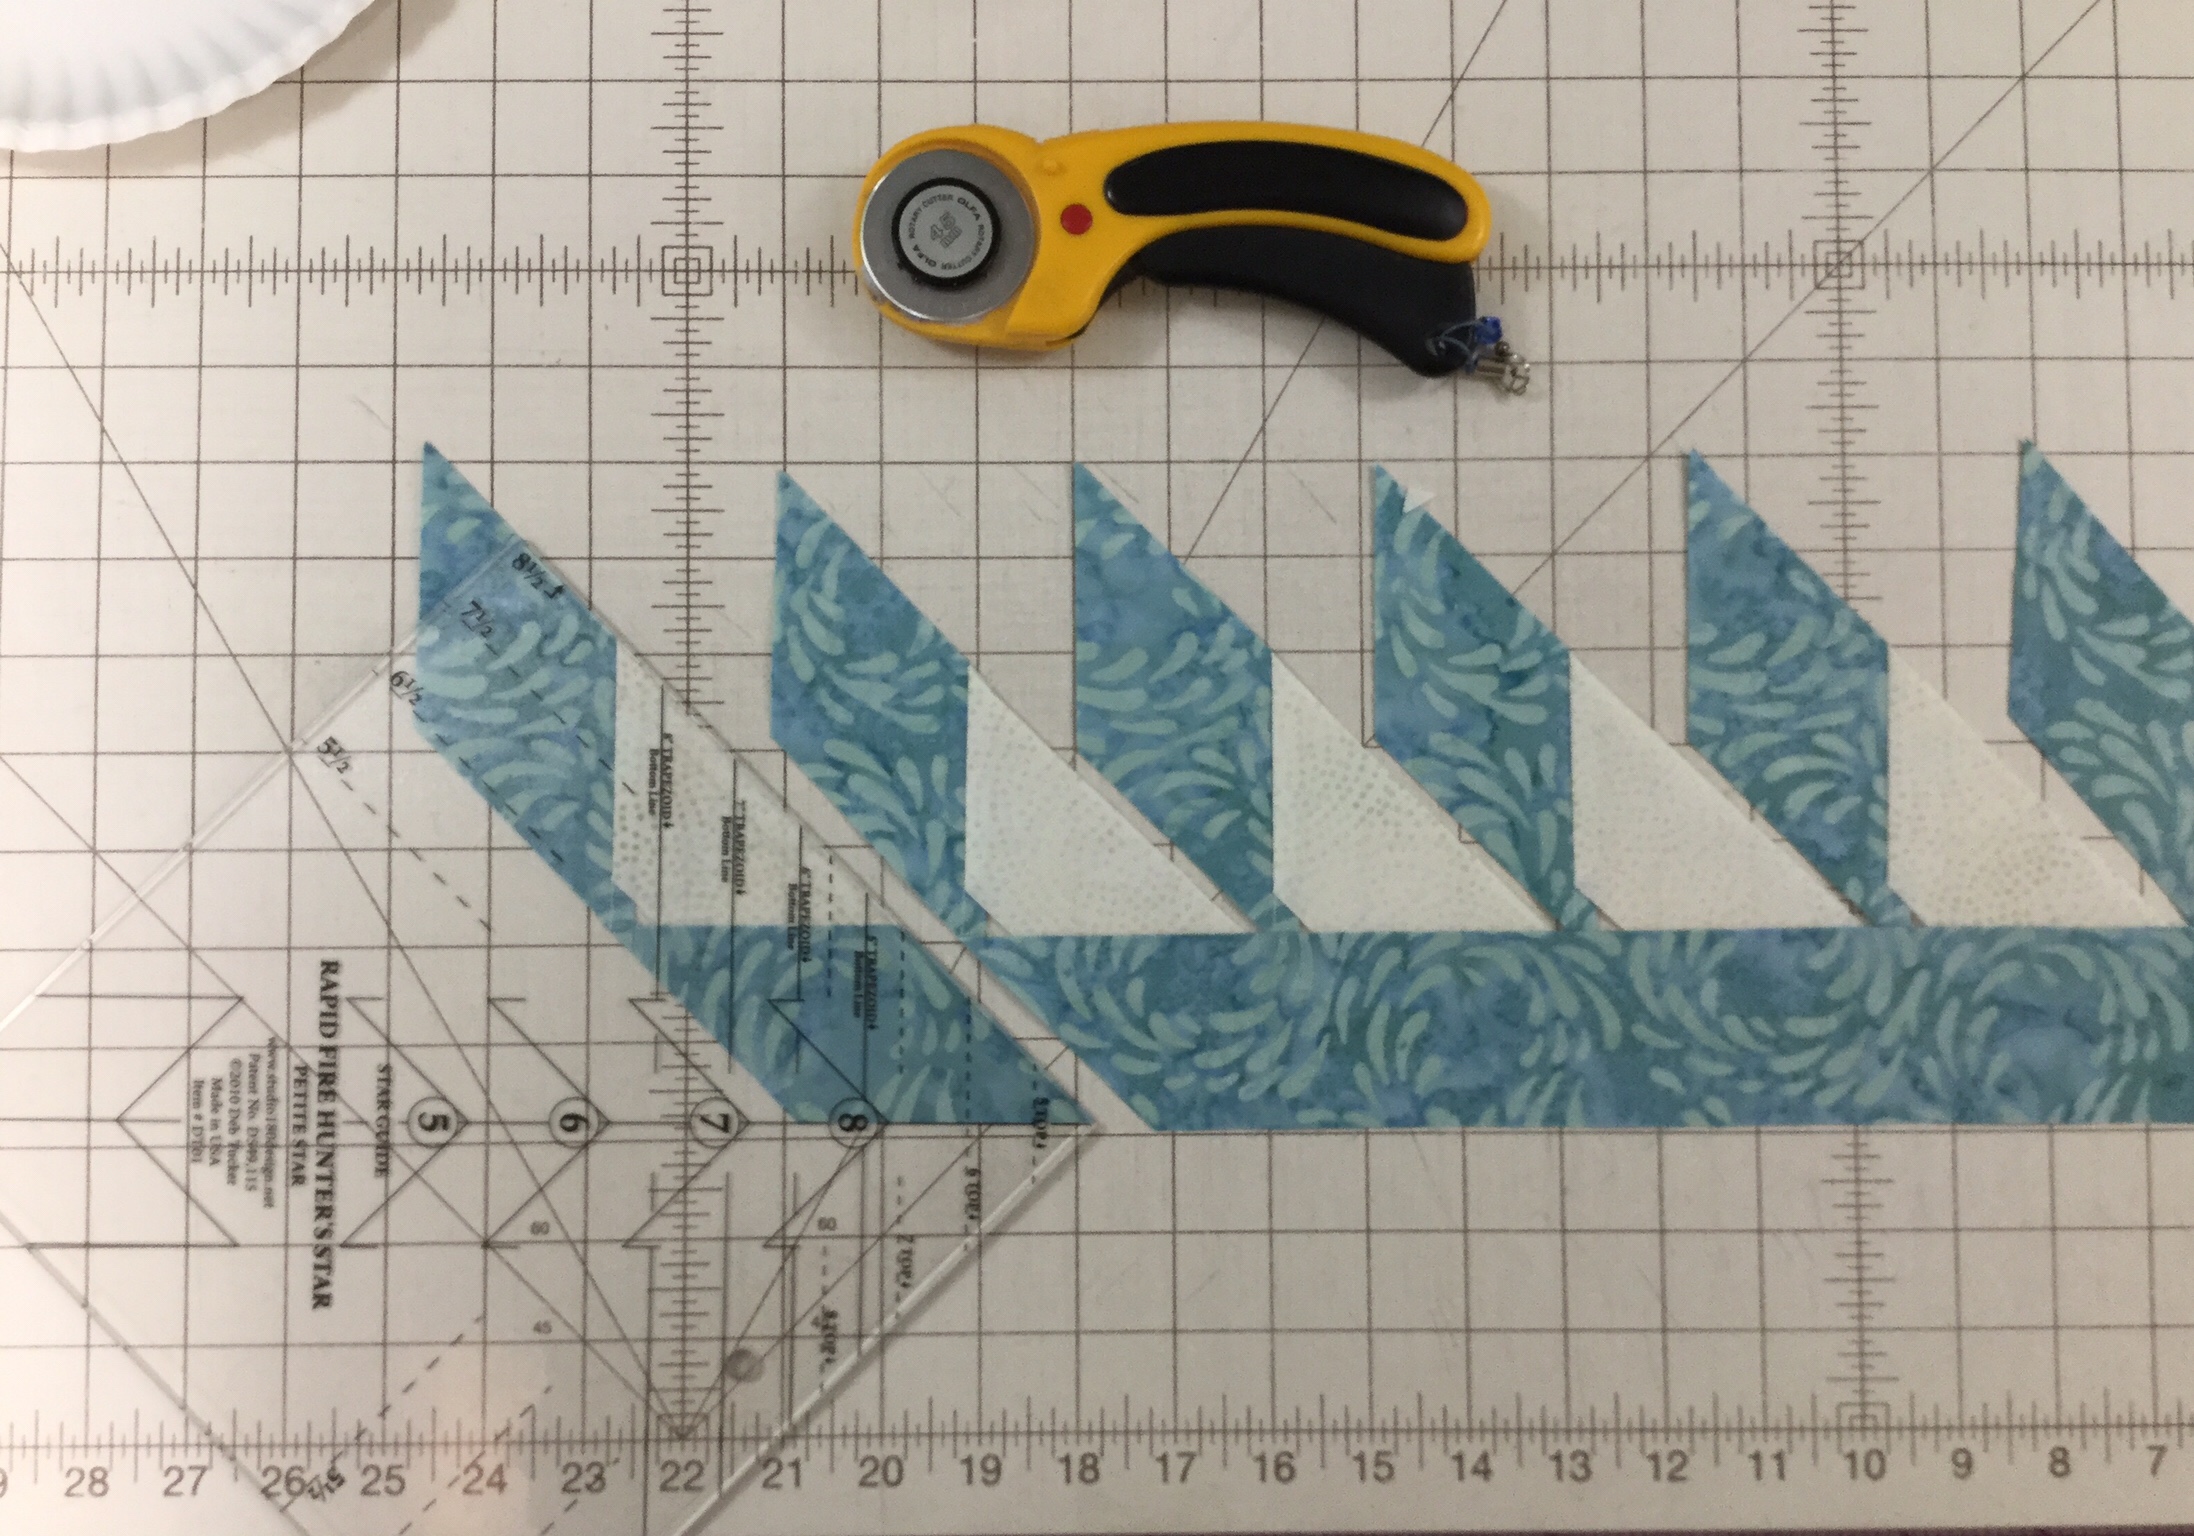
As a righty, I lay my trapezoid strip horizontally on my cutting mat with the selvedges to the left. (Left handed cutting options are included in the tool instructions.) The strip can be either right or wrong sides together. I’m making 5″ finished blocks so I place the 5″ line on my hunter star tool on the bottom of the strip and begin cutting my trapezoids for both colors.
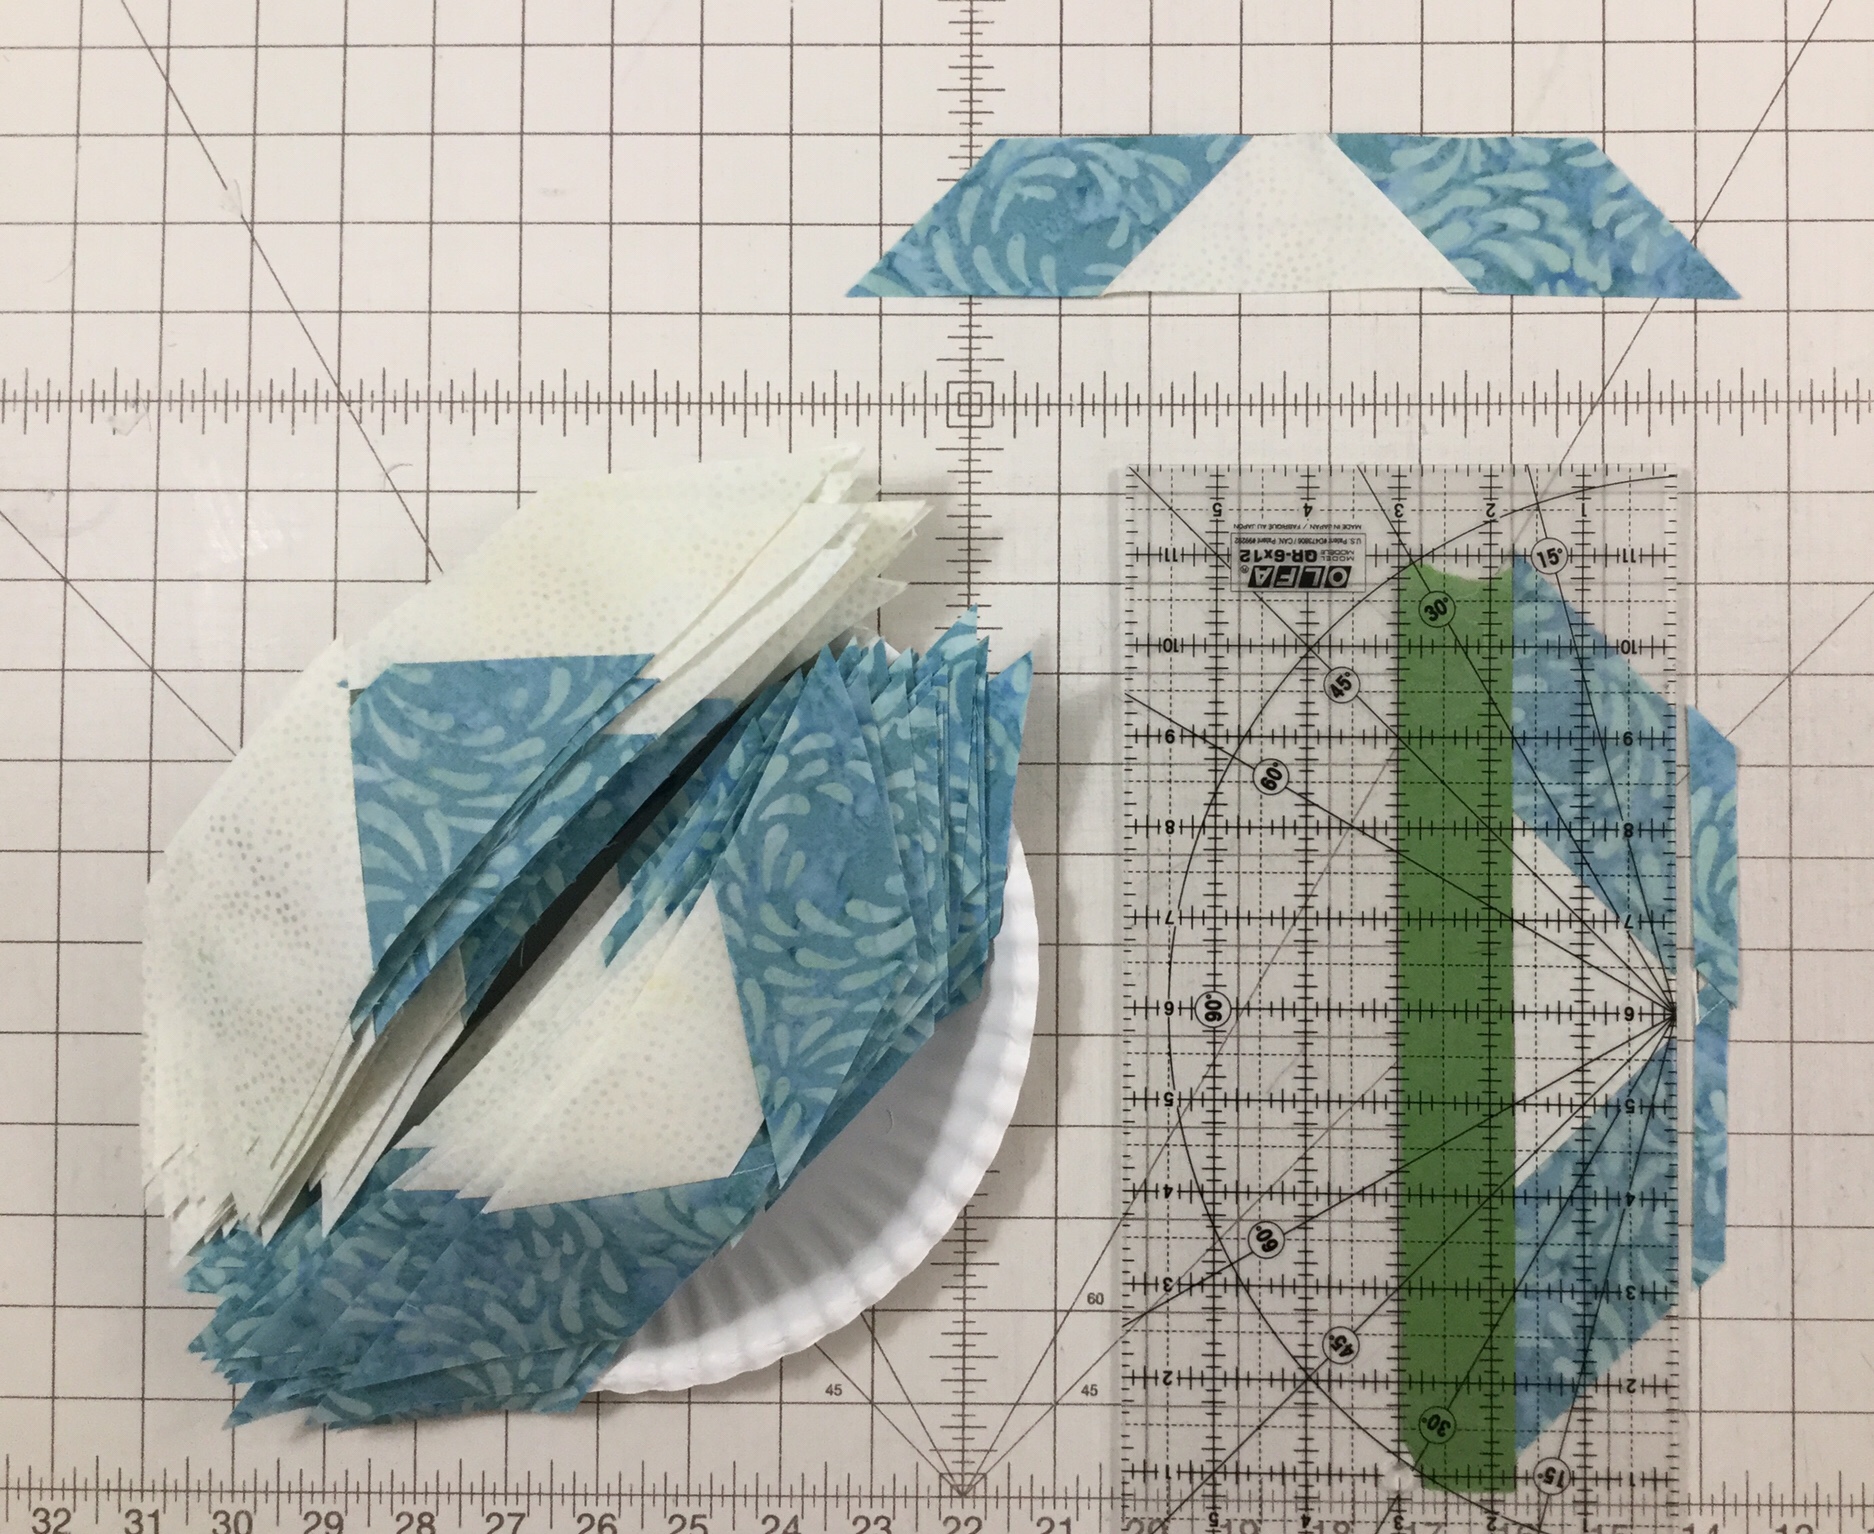
I cut my star point strips in half and divide them into 4 piles. The two aqua piles will be the star points on both ends of the light trapezoids and the two light piles will be the star points on both ends of the aqua trapezoids. Begin by positioning the trapezoids right sides together with the star point strip, staggering down from the top 2 1/4″, spacing the trapezoids about 1/4″ apart and stitch. The hunter star tool instructions give detailed guidance.
Once the trapezoids are stitched to the star point strip, place the strip set on the ironing board with star strip on the bottom and the trapezoids on top and carefully press as shown. Lay the strip vertically on the cutting mat and trim using the Hunter Star tool.
This slideshow requires JavaScript.
I now have an oversized star point on one end of my trapezoid. This time I add my trapezoids starting from the bottom and spacing them about 1/4″ apart and stitch them. Lay the strip on the ironing board with the trapezoids on the bottom and the star strip on top and carefully press toward the star strip. (Remember: whatever you are pressing toward, goes on top.)
Lay the strip horizontally on the cutting mat and trim according to the instructions. Repeat this process for both colors.
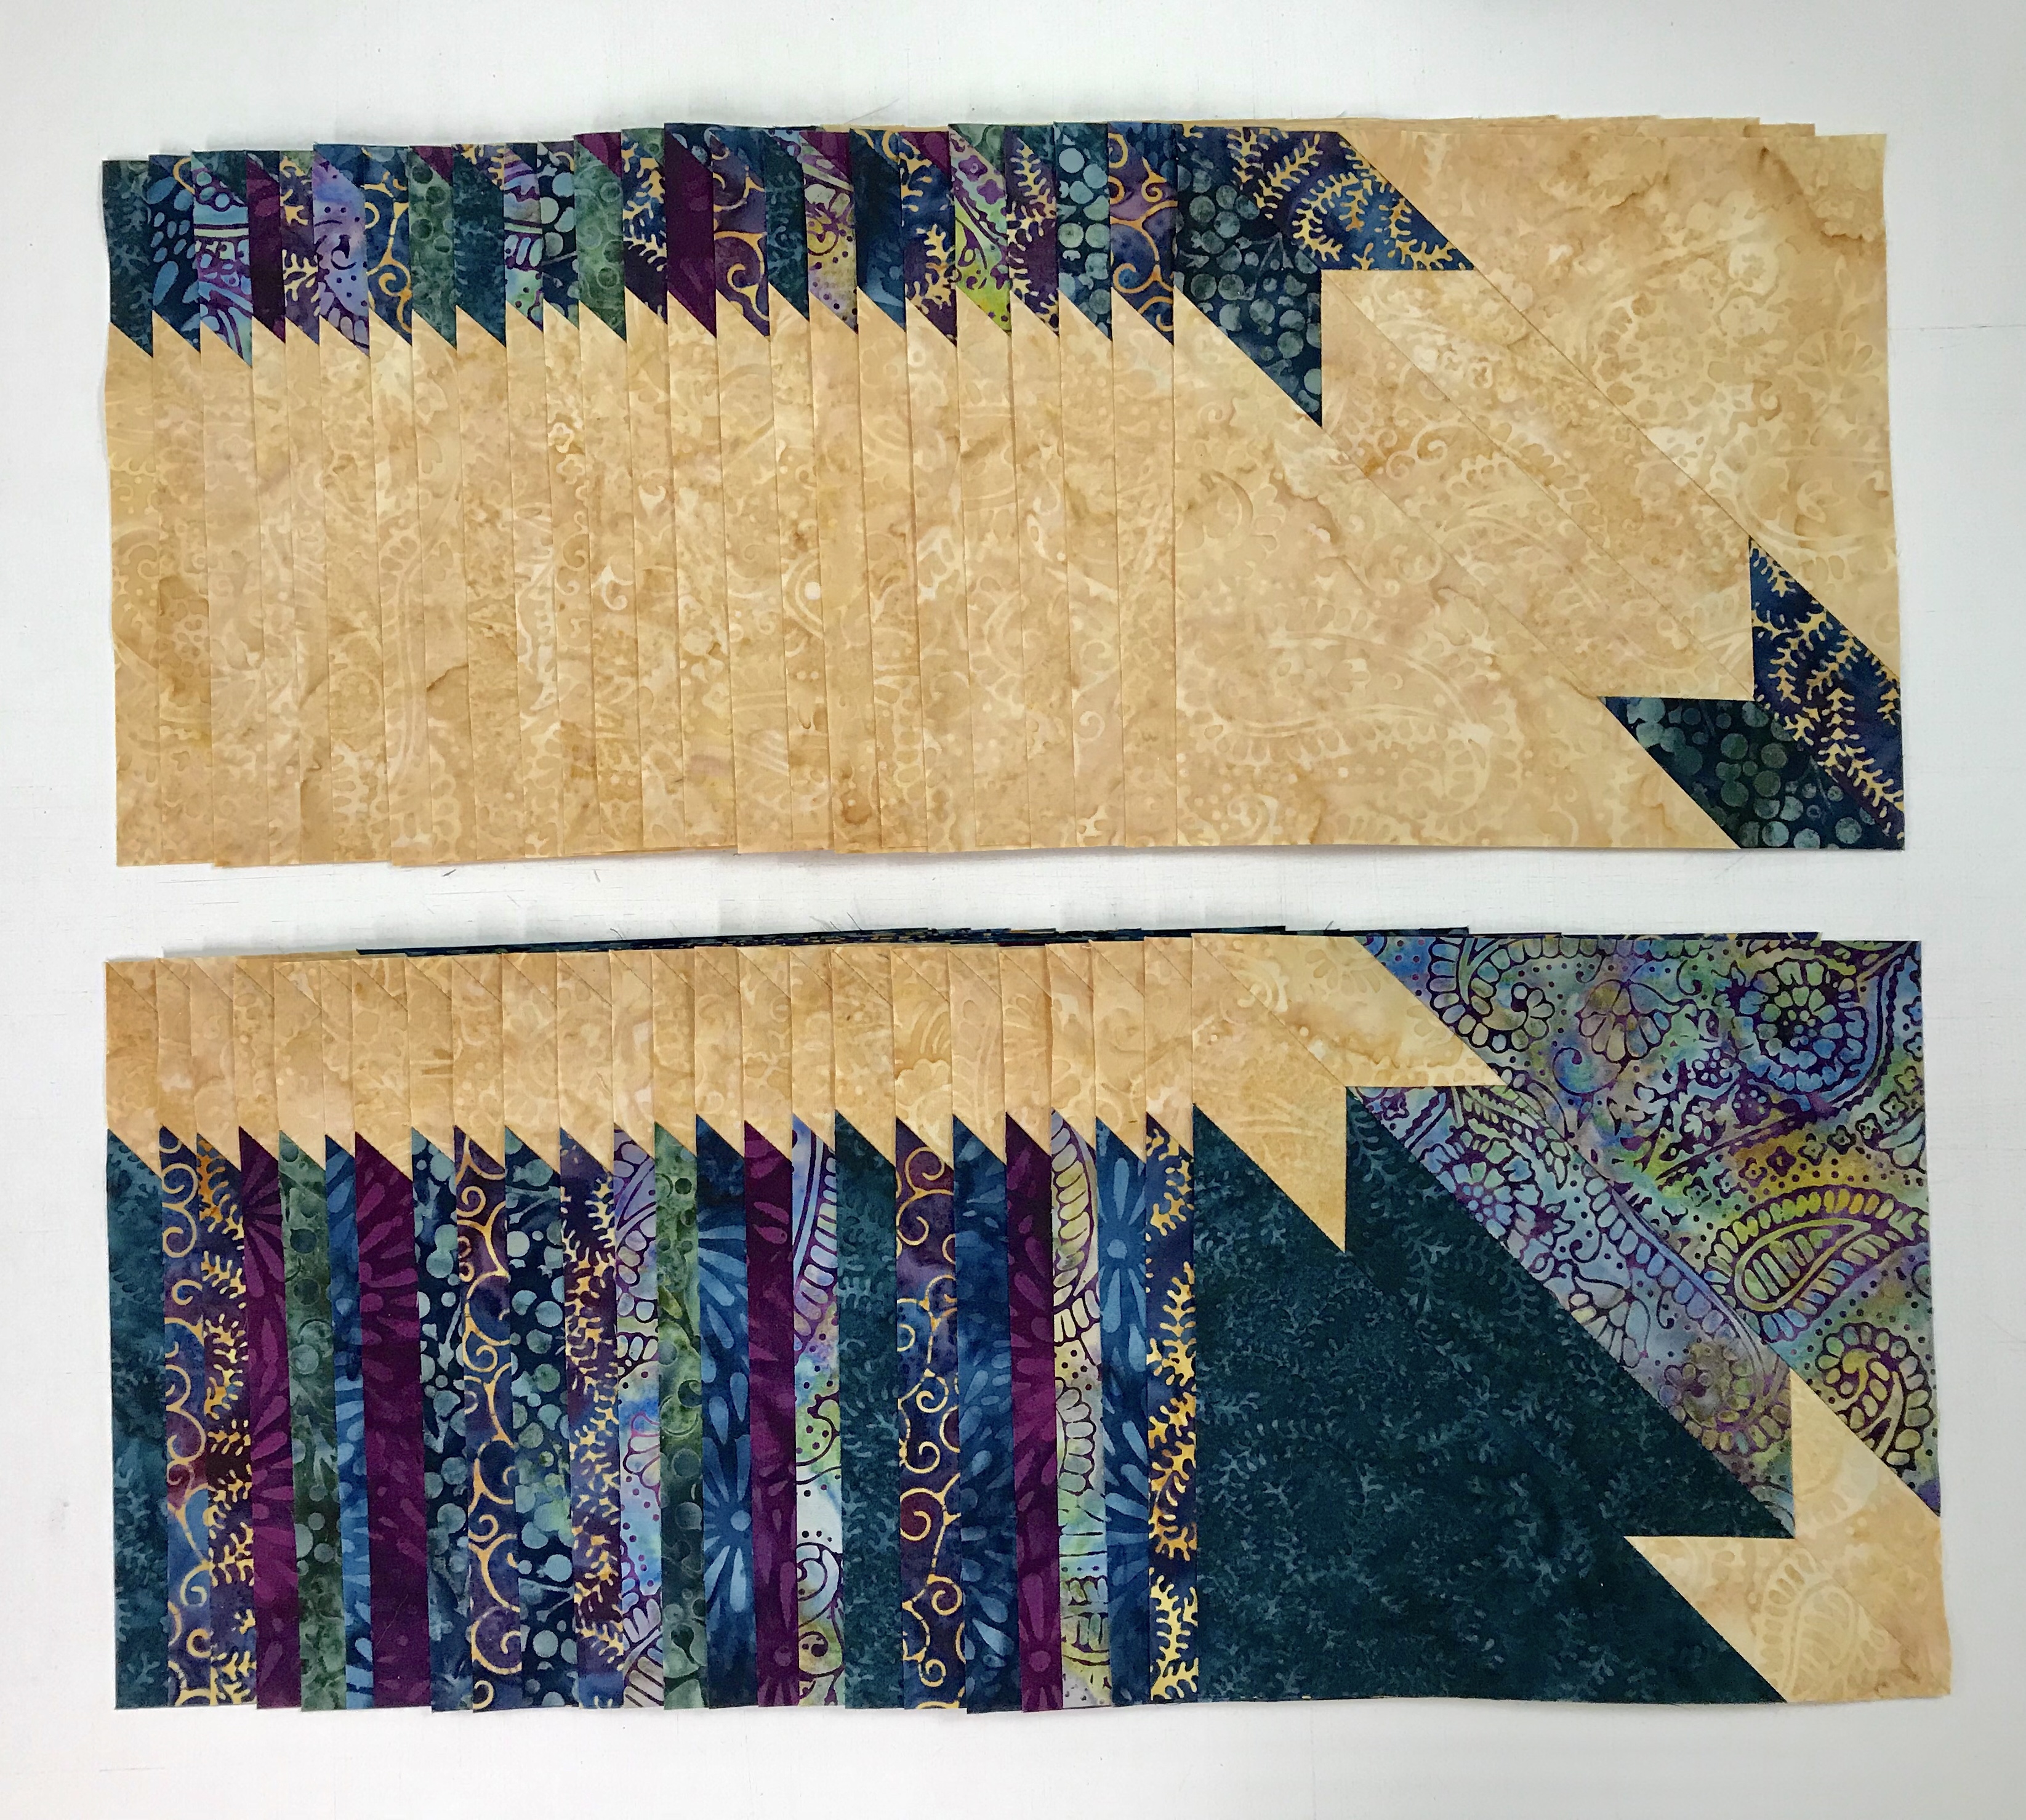
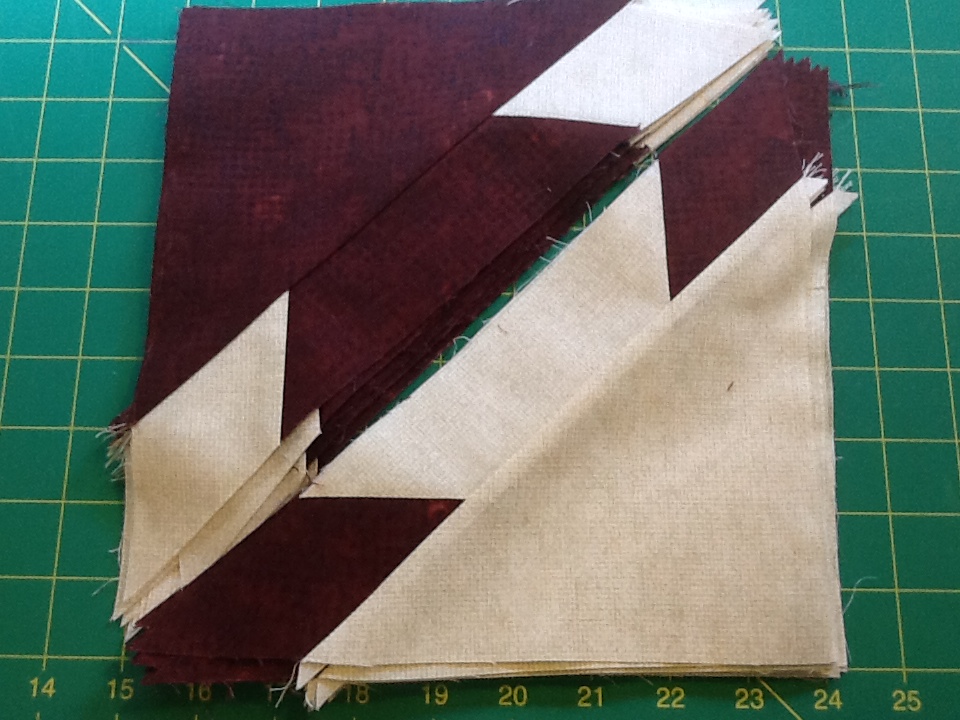
The light and the aqua trapezoids have oversized star points on each end. One of Deb Tucker’s great tips is to lay about 5 strips of painter’s tape layered on top of each other on your cutting mat. Trim off a little on one side evening up the edges. Peel up the tape and place it on ruler line to aid in making repetitive cuts. Our trapezoids were precision cut from 1 3/4″ strips. By placing the built up tape edge on the 1 3/4″ line it will make it much easier to trim the sewn units to 1 3/4″. Trim all the units.
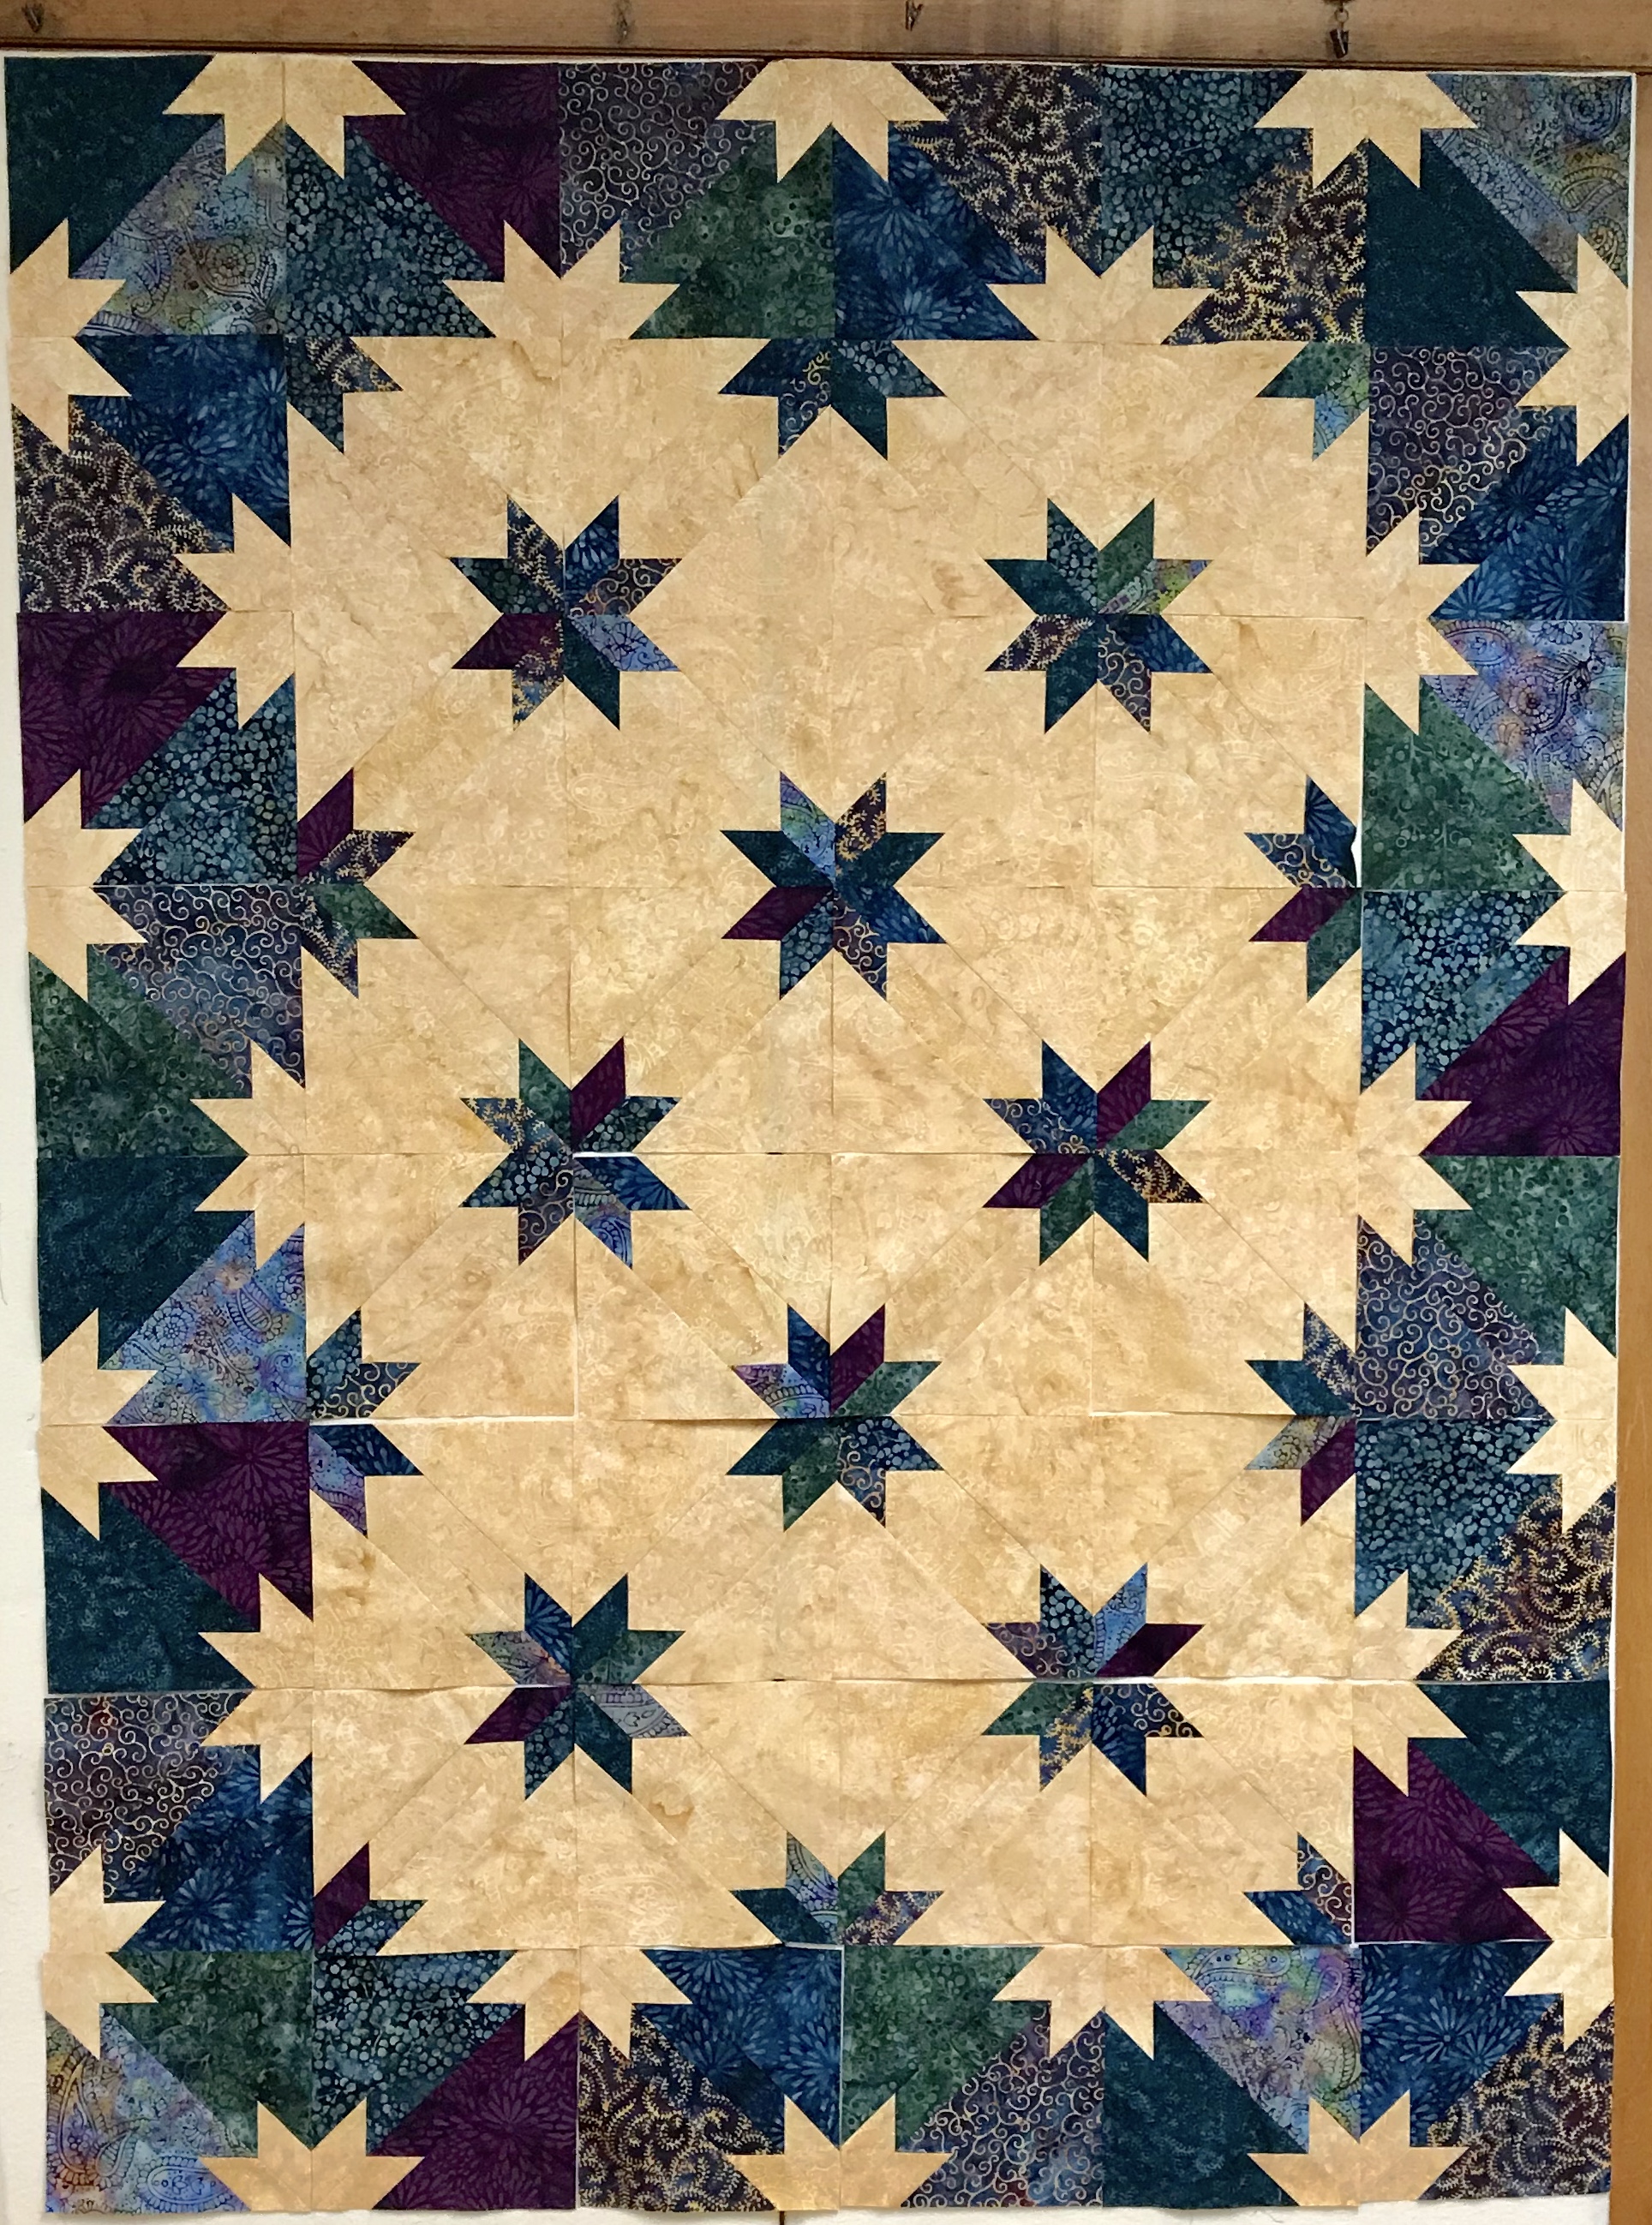
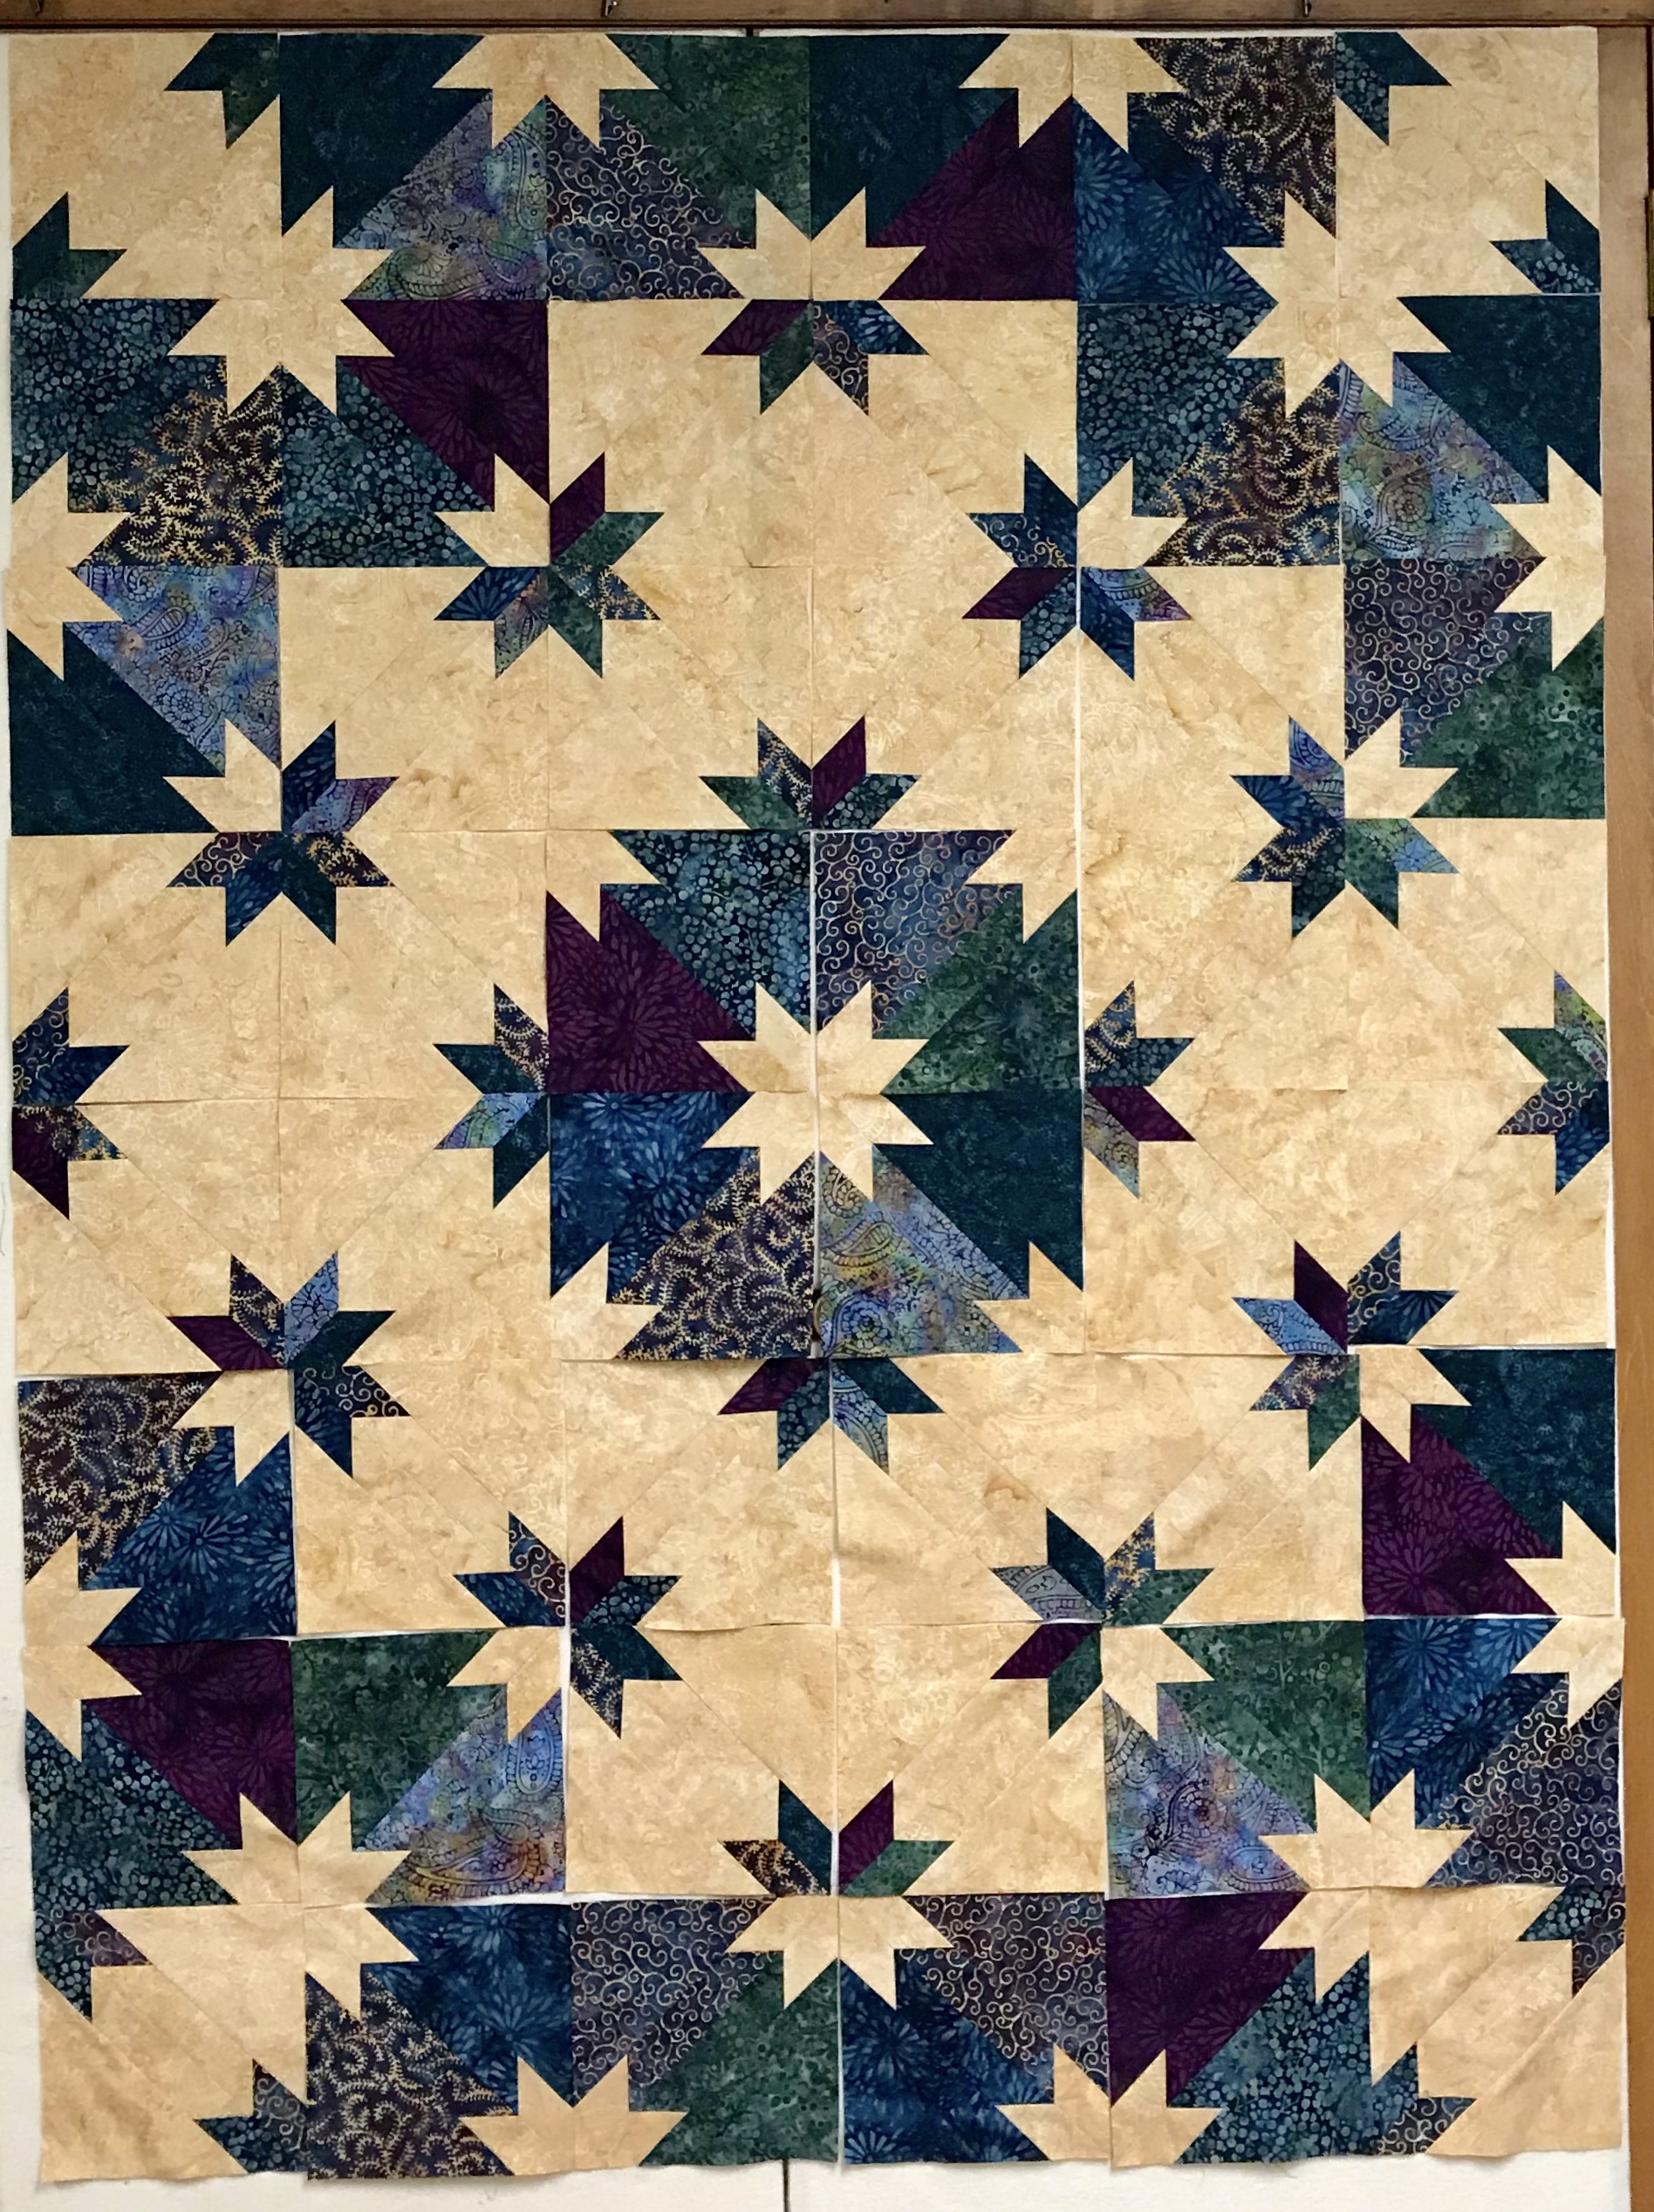
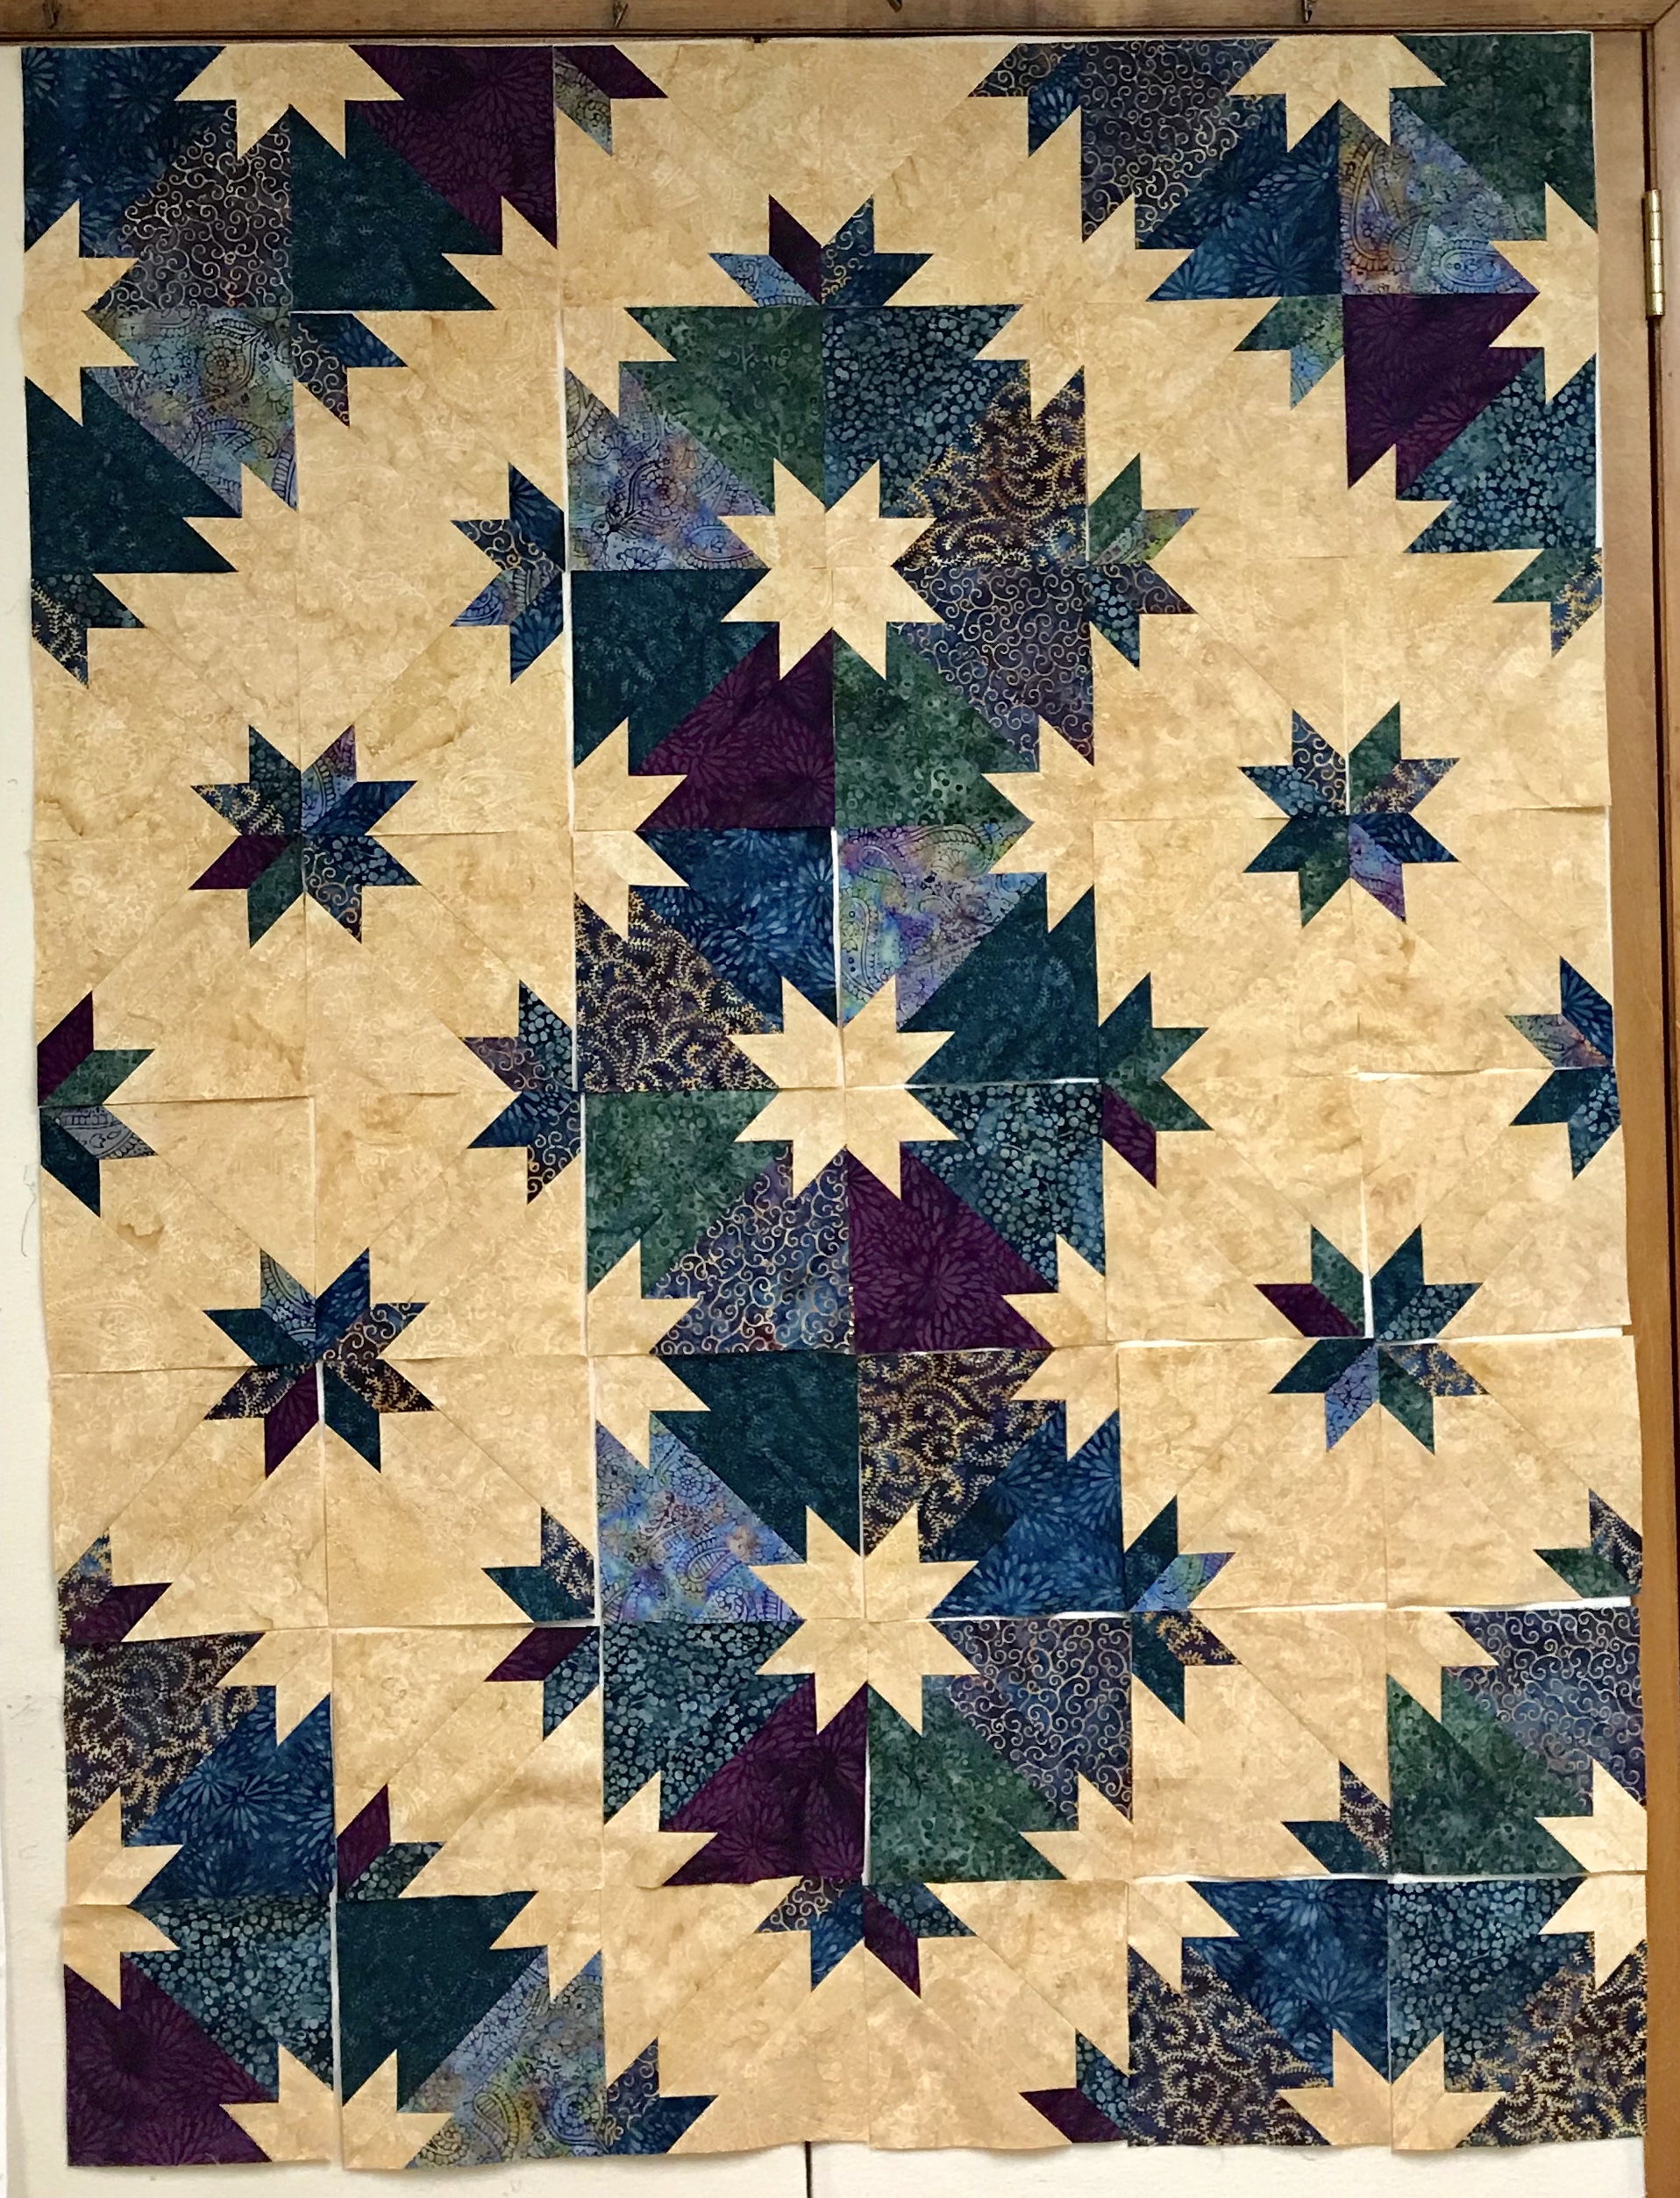
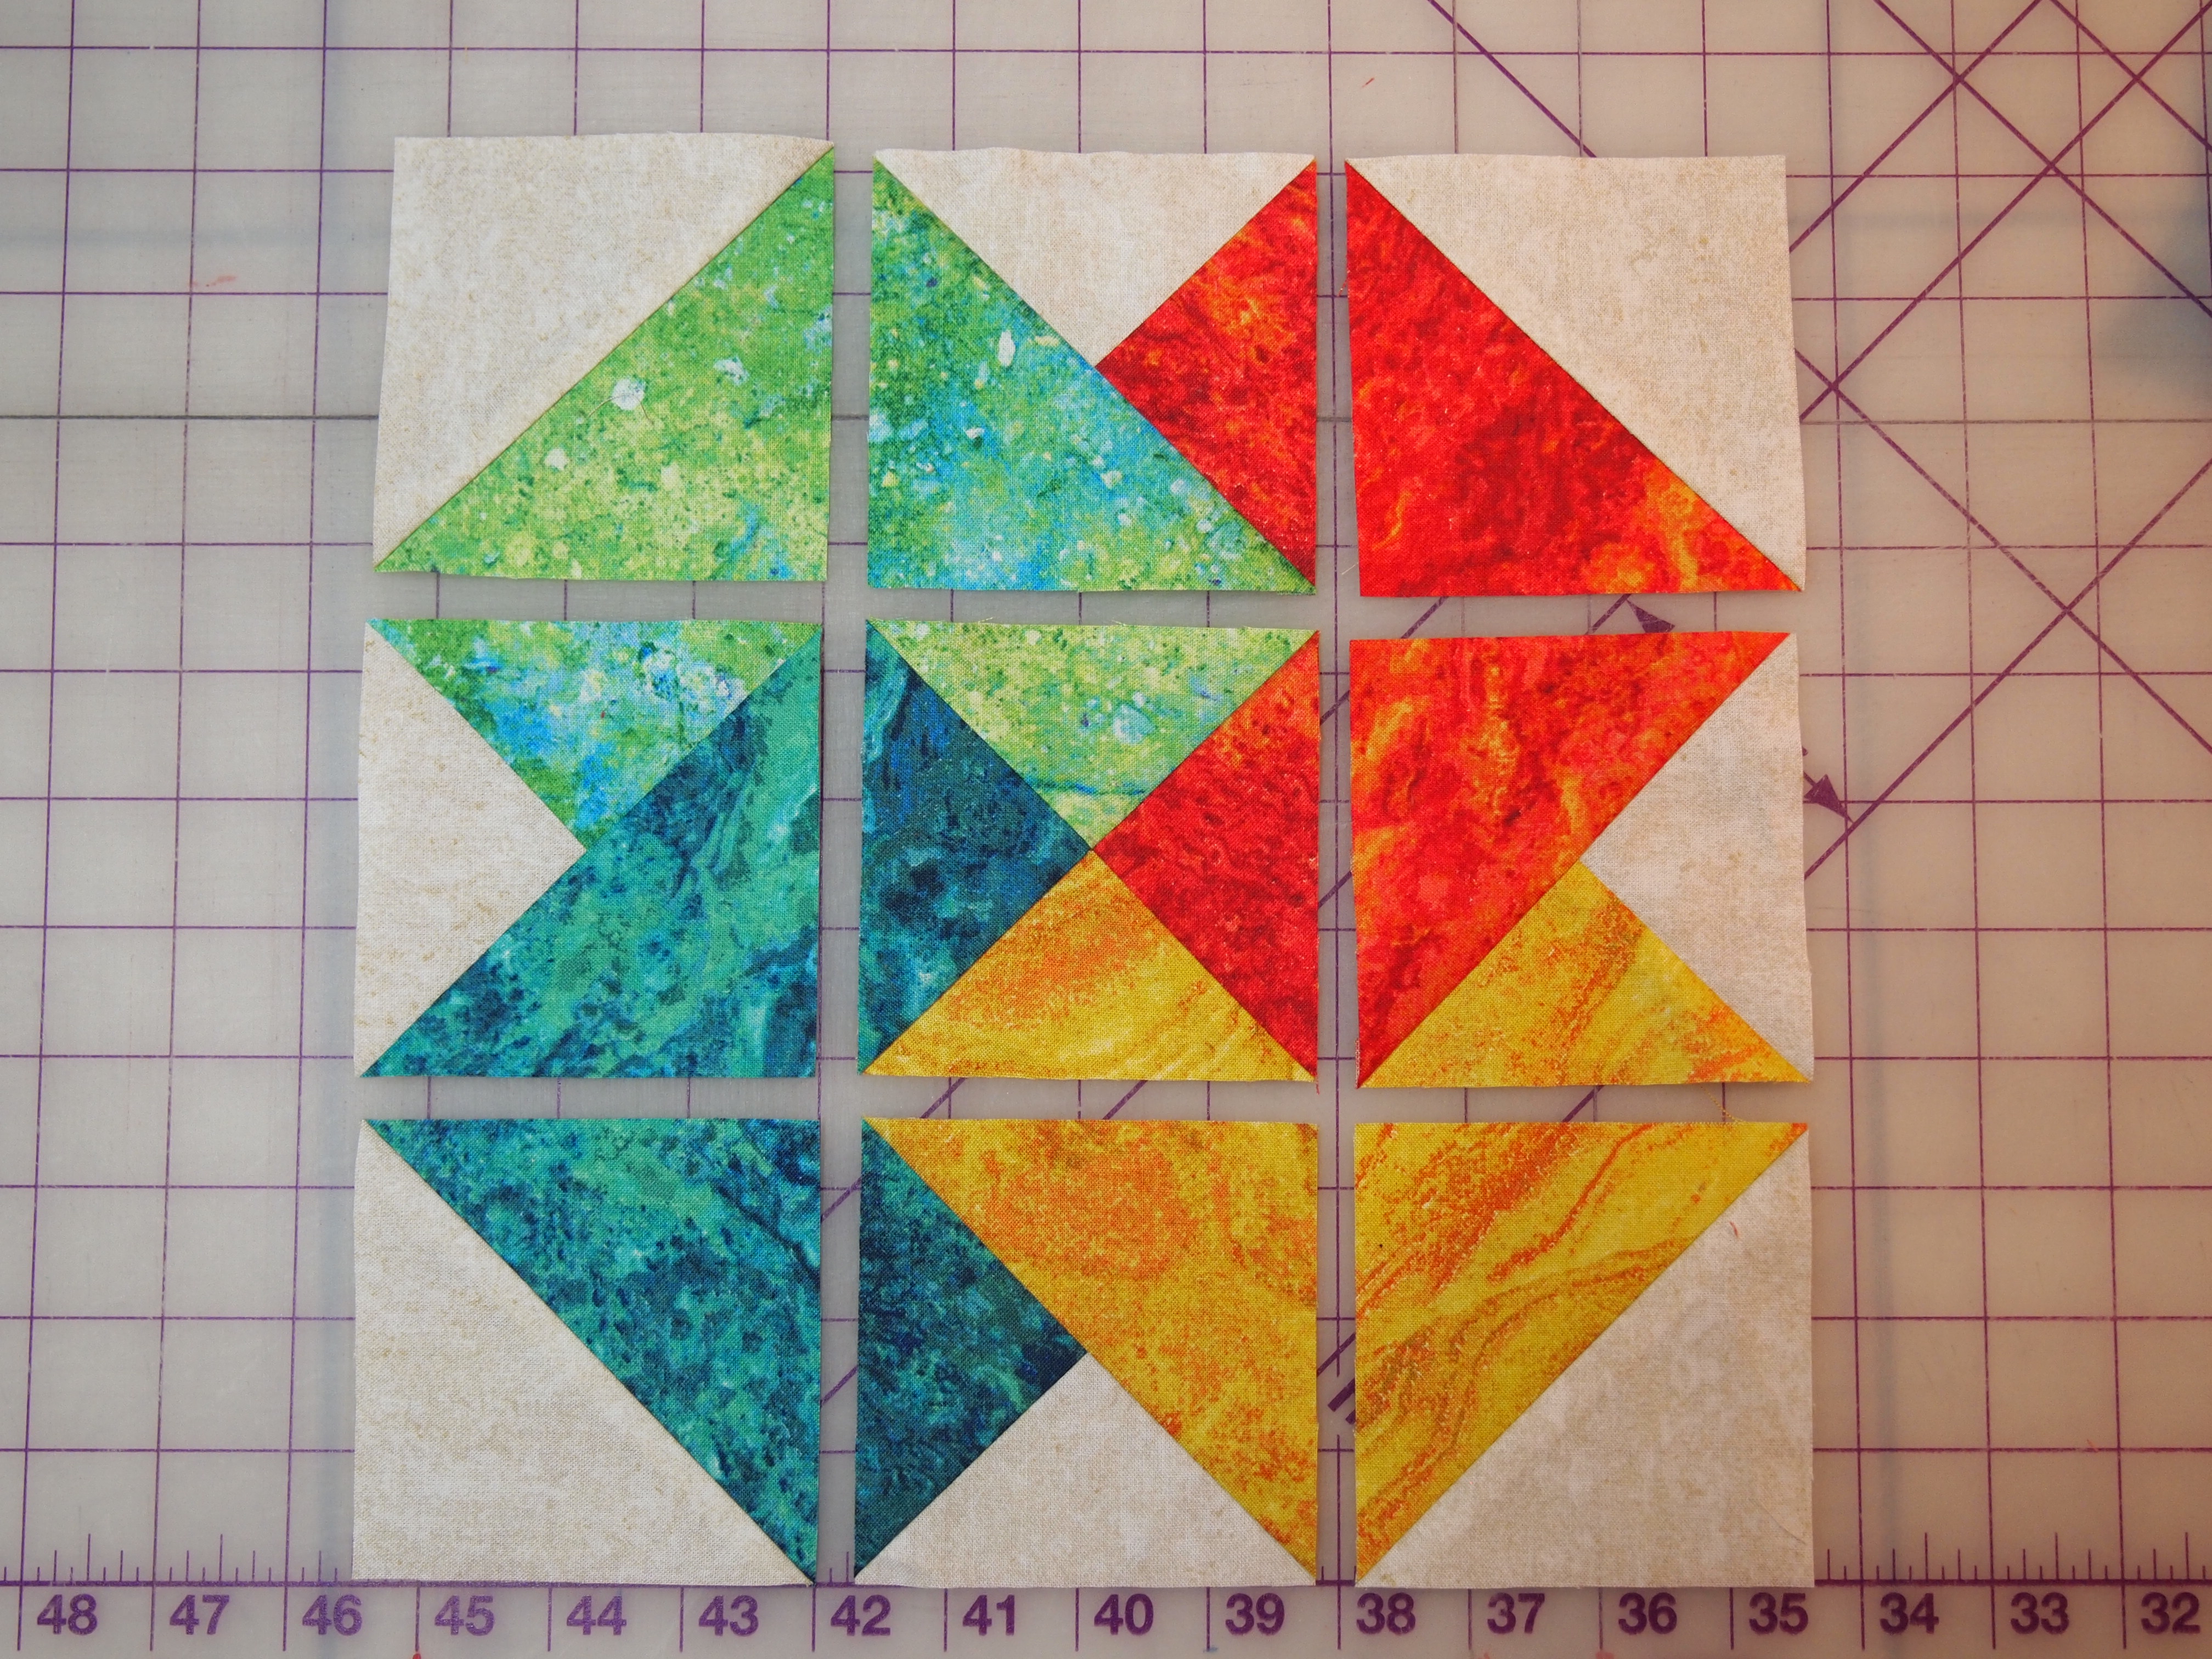
Each hunter star block contains 2 triangles, 2 trapezoids & 4 star points. Remember, we are breaking the rules by centering and stitching a light trapezoid to a dark triangle & a dark trapezoid to a light triangle.
Match the triangle halves, nest the seams and stitch. Press the diagonal seam open.
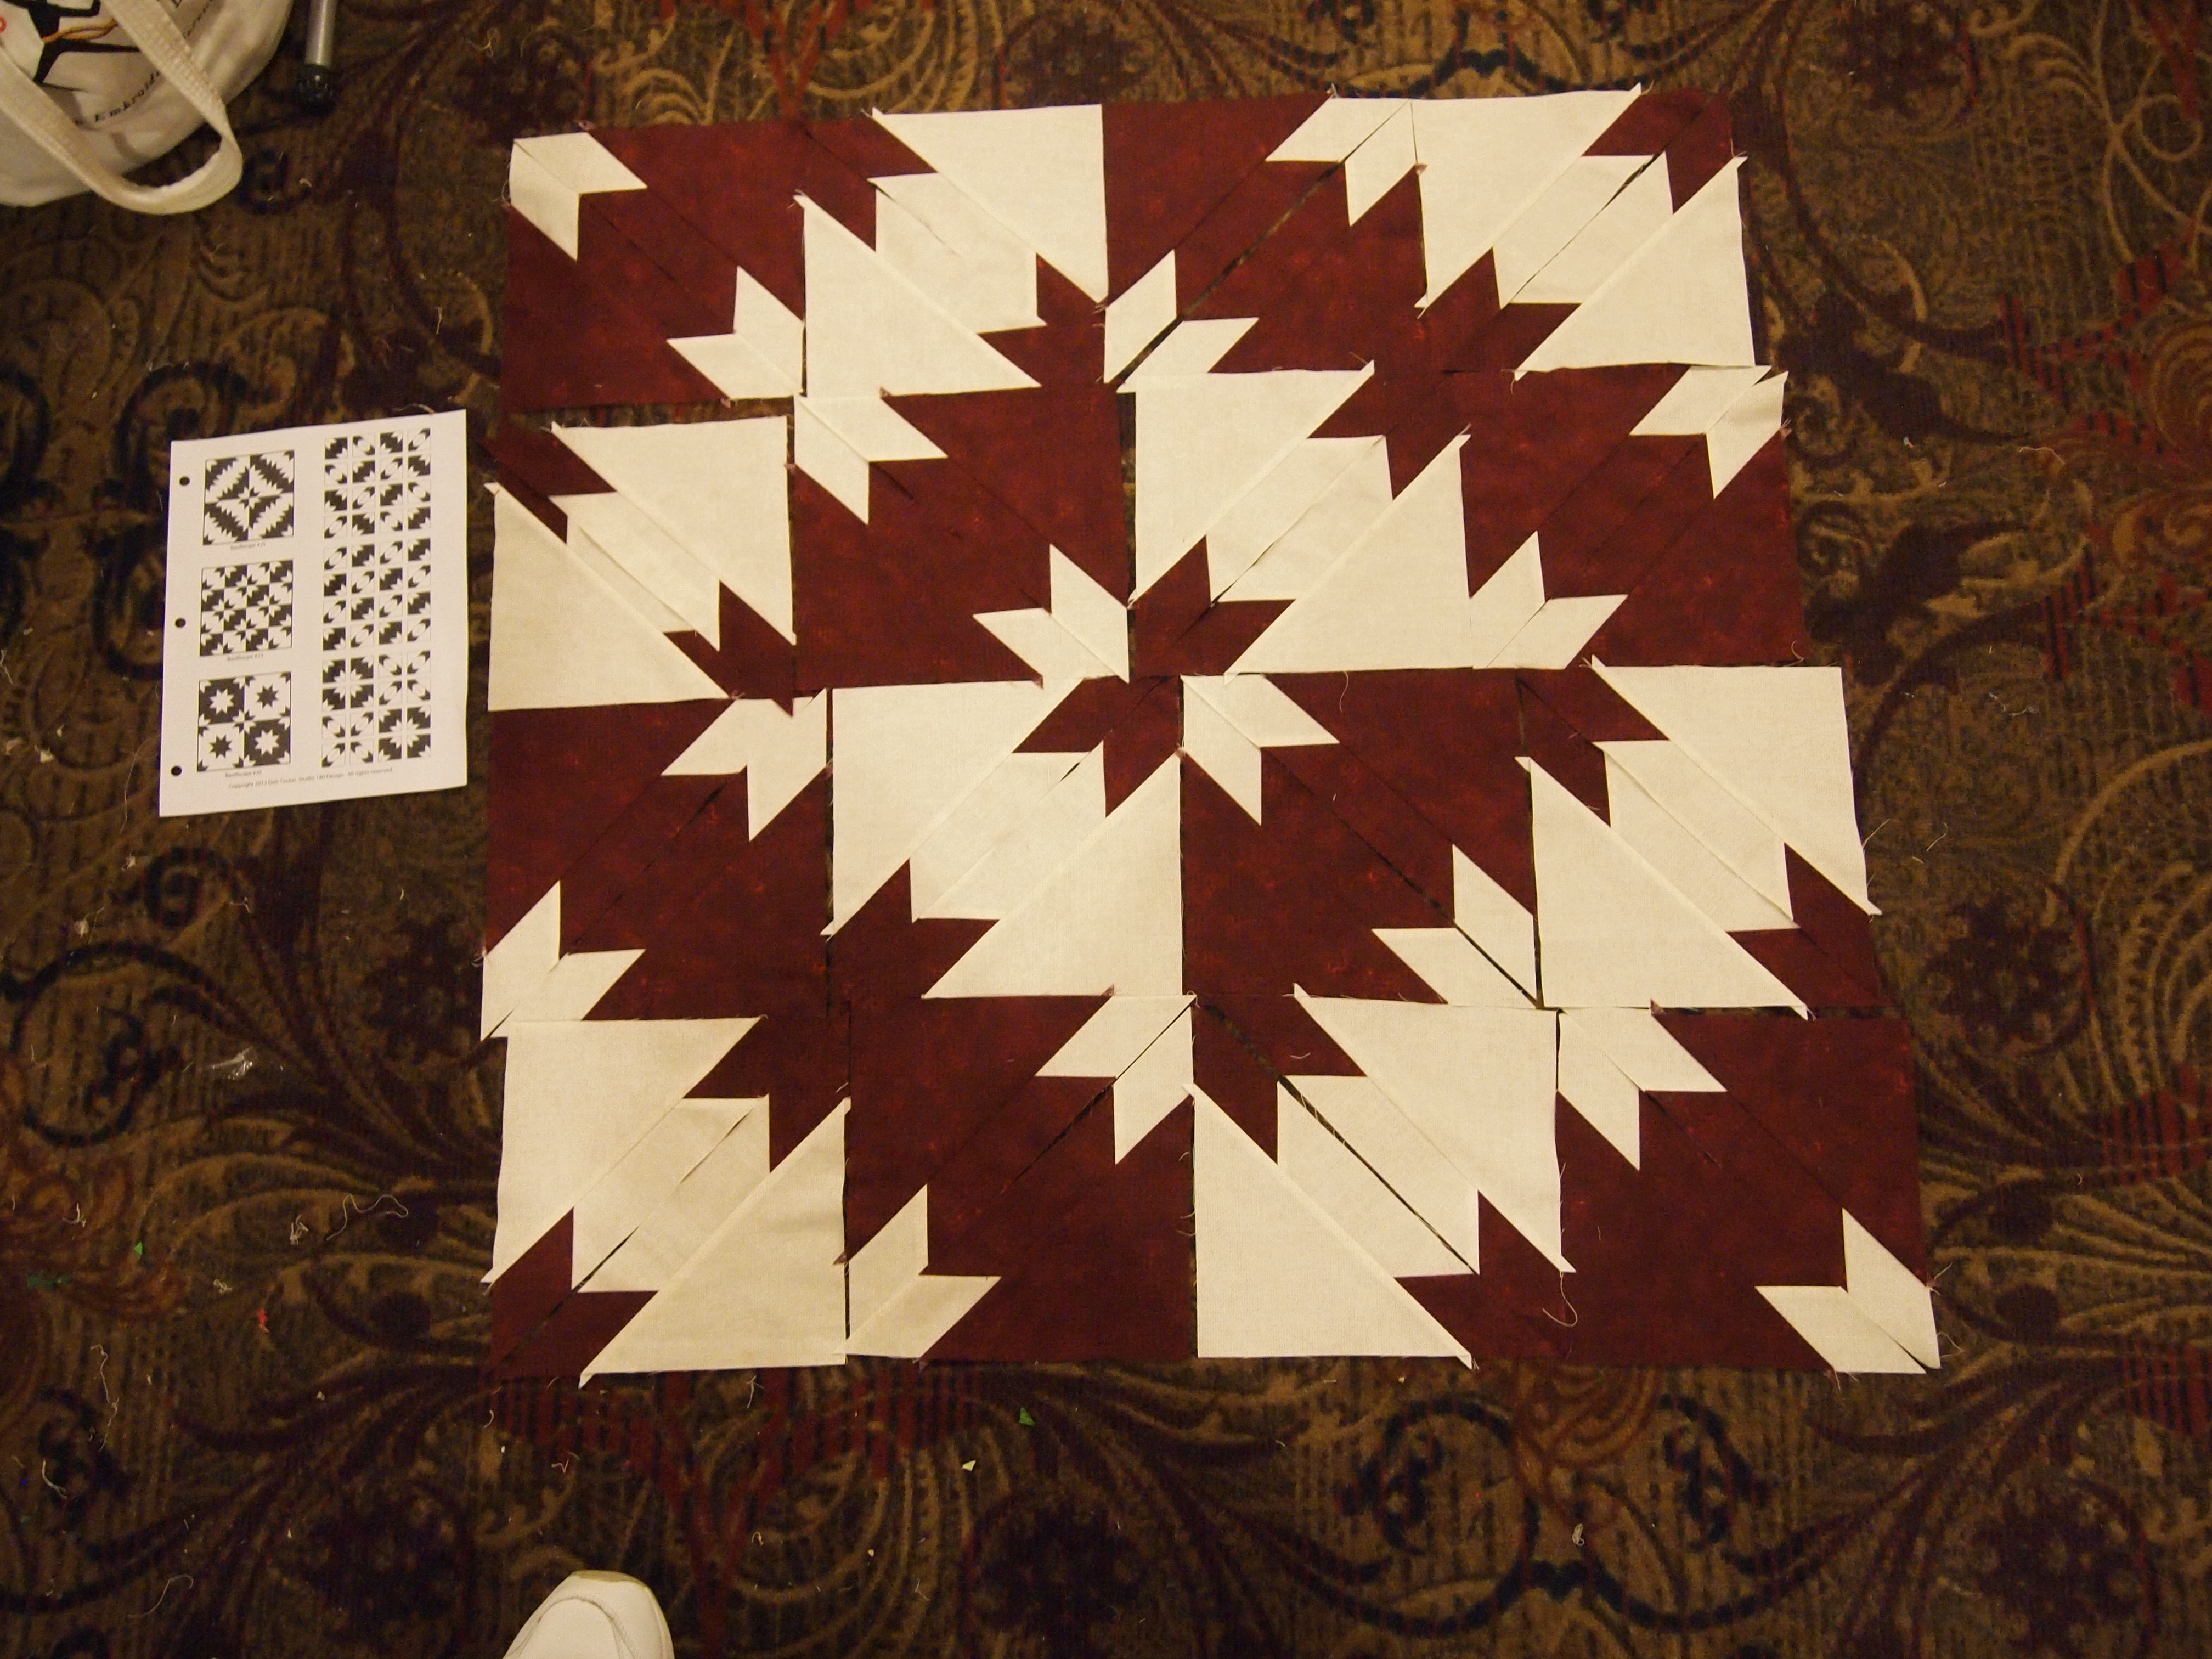
Carefully align the center line of the tool with the center seam of the block. Carefully aligning the diamonds on the tool with the seam lines of the diamonds on the pieced block, trim up the right side and across the top. Lift the tool and rotate the block and carefully trim the other two sides, using the dashed lines along the side of the tool on the previously trimmed edges. Trim all the blocks to the cut size.
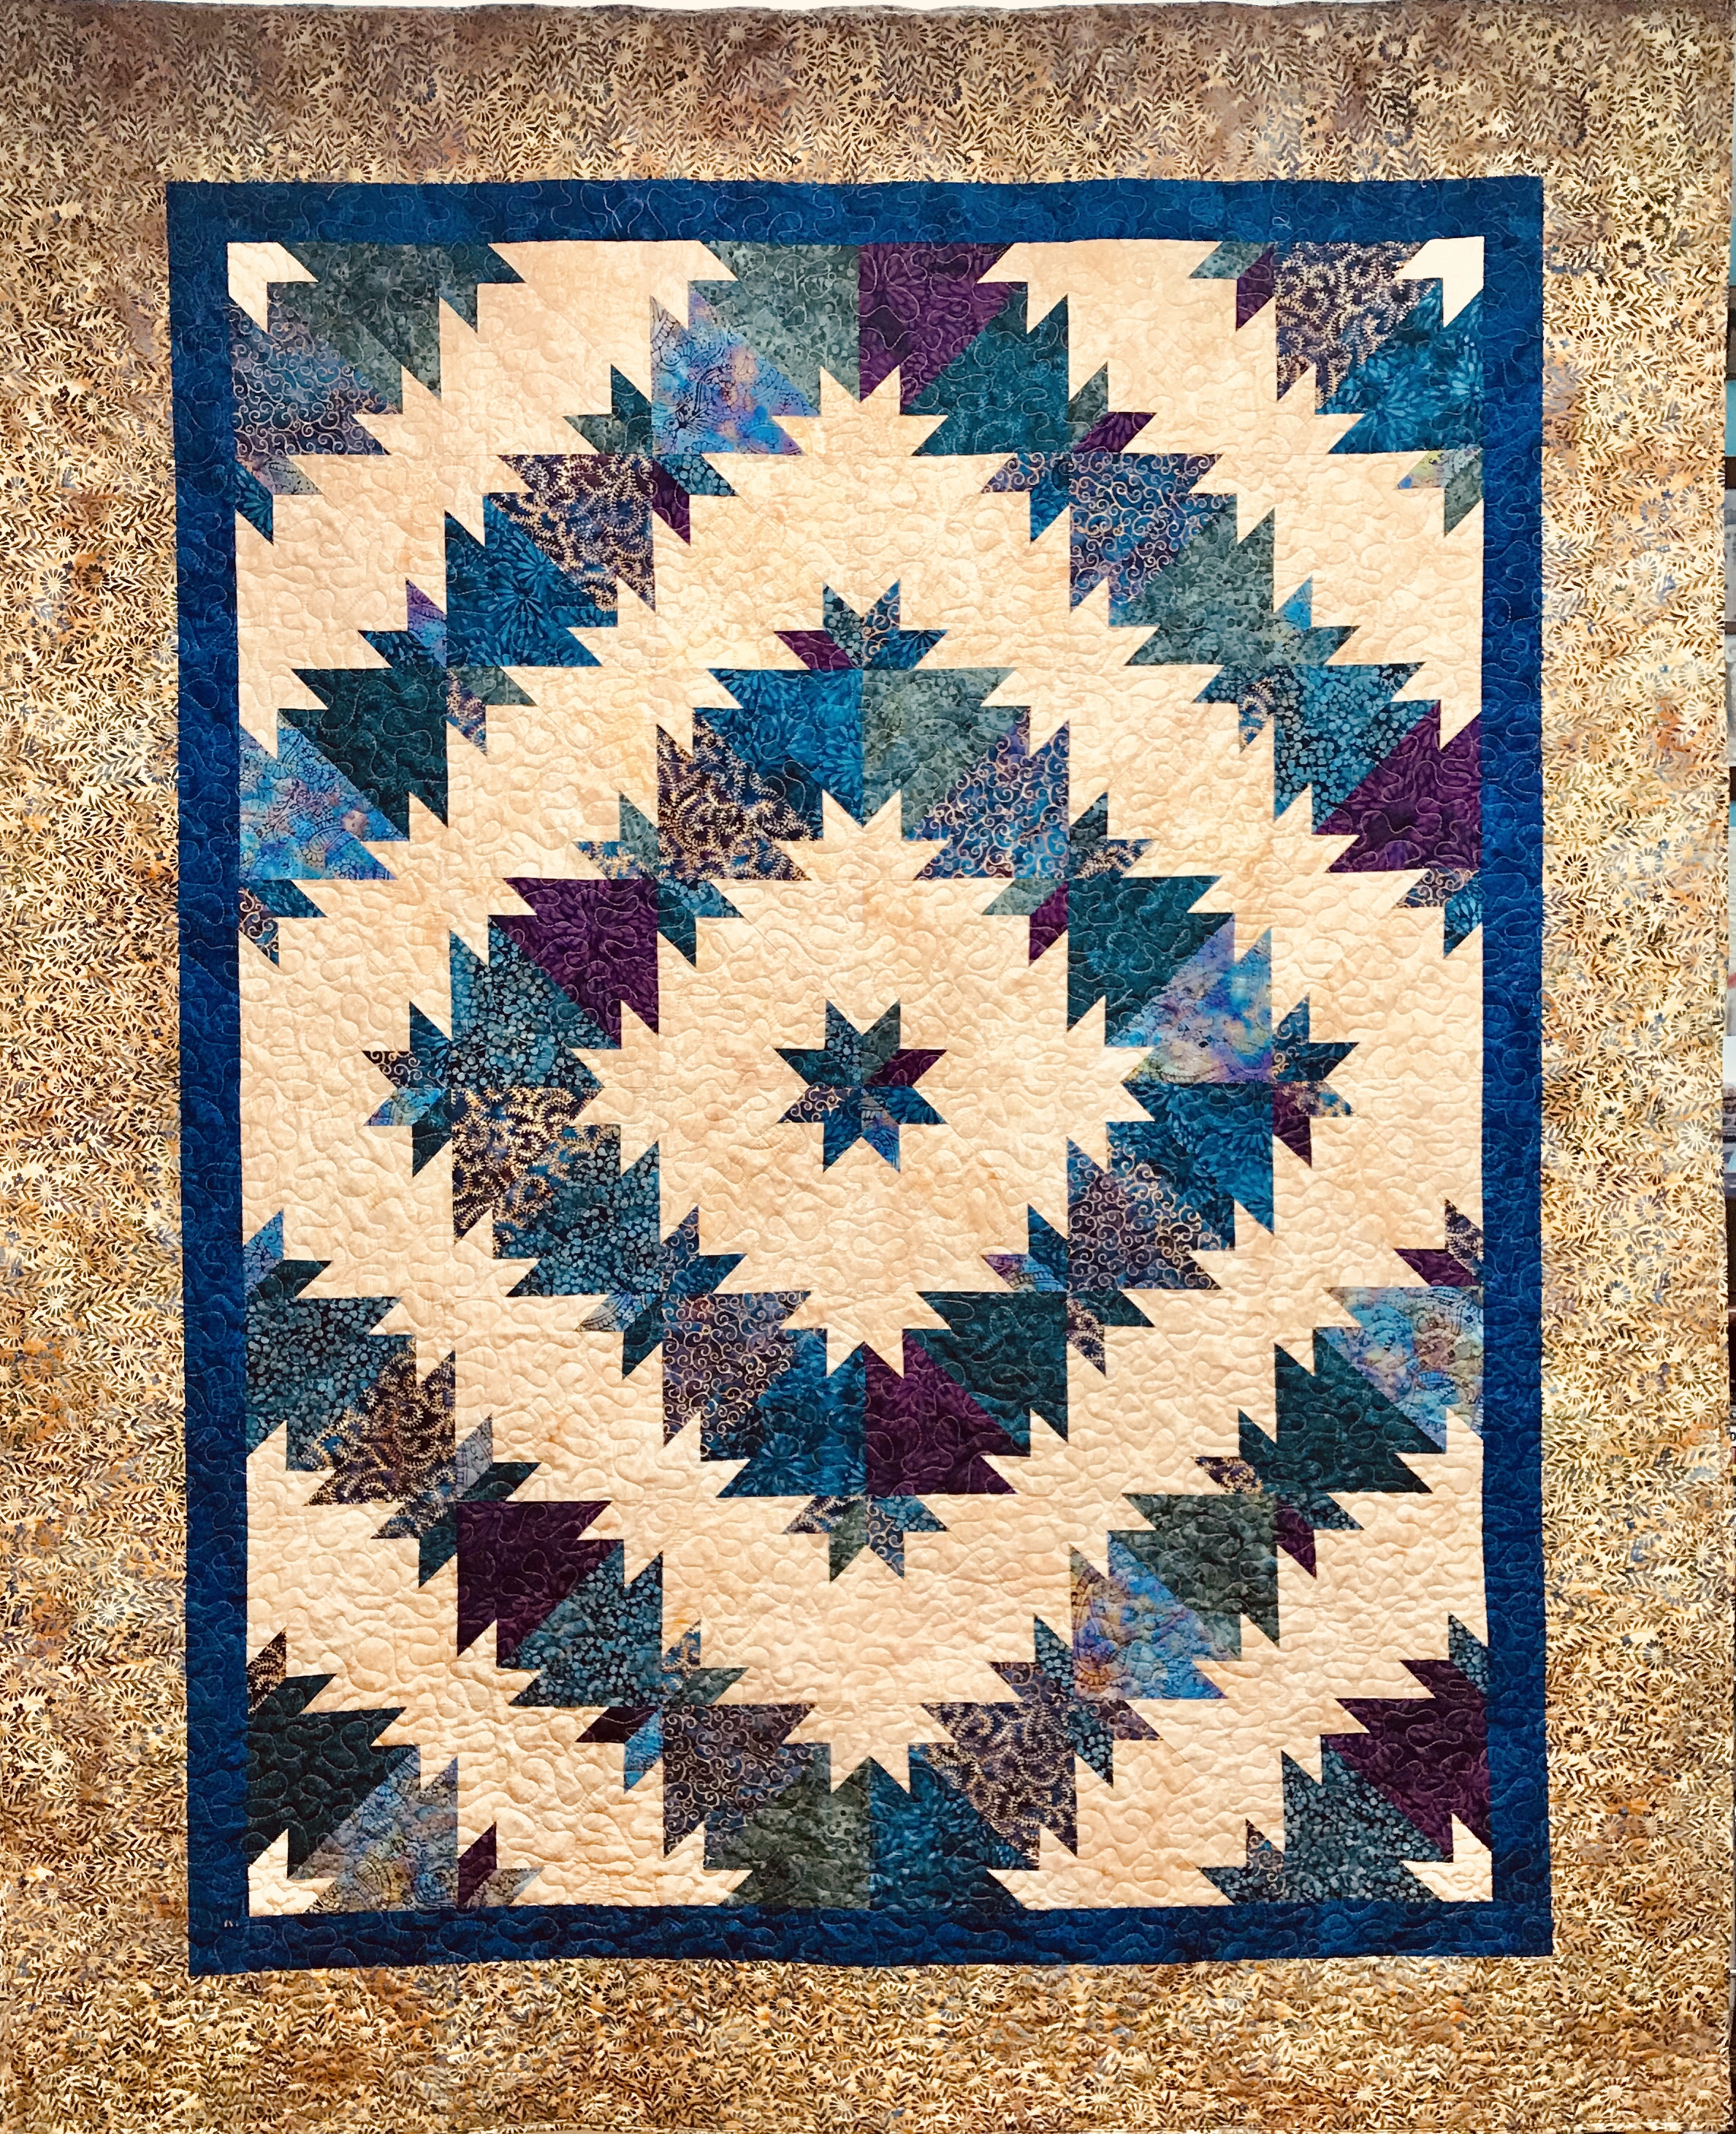
Layout the blocks and stitch them together into rows. I added 5″ borders.
I Loaded it onto the quilt frame and started meandering. Just remember, “All that Meander are Not Lost”! I bought Jamie Wallen’s wonderful quilting tools, but I haven’t learned to use them yet! (As you can see, they are still in the original packaging, sigh.)
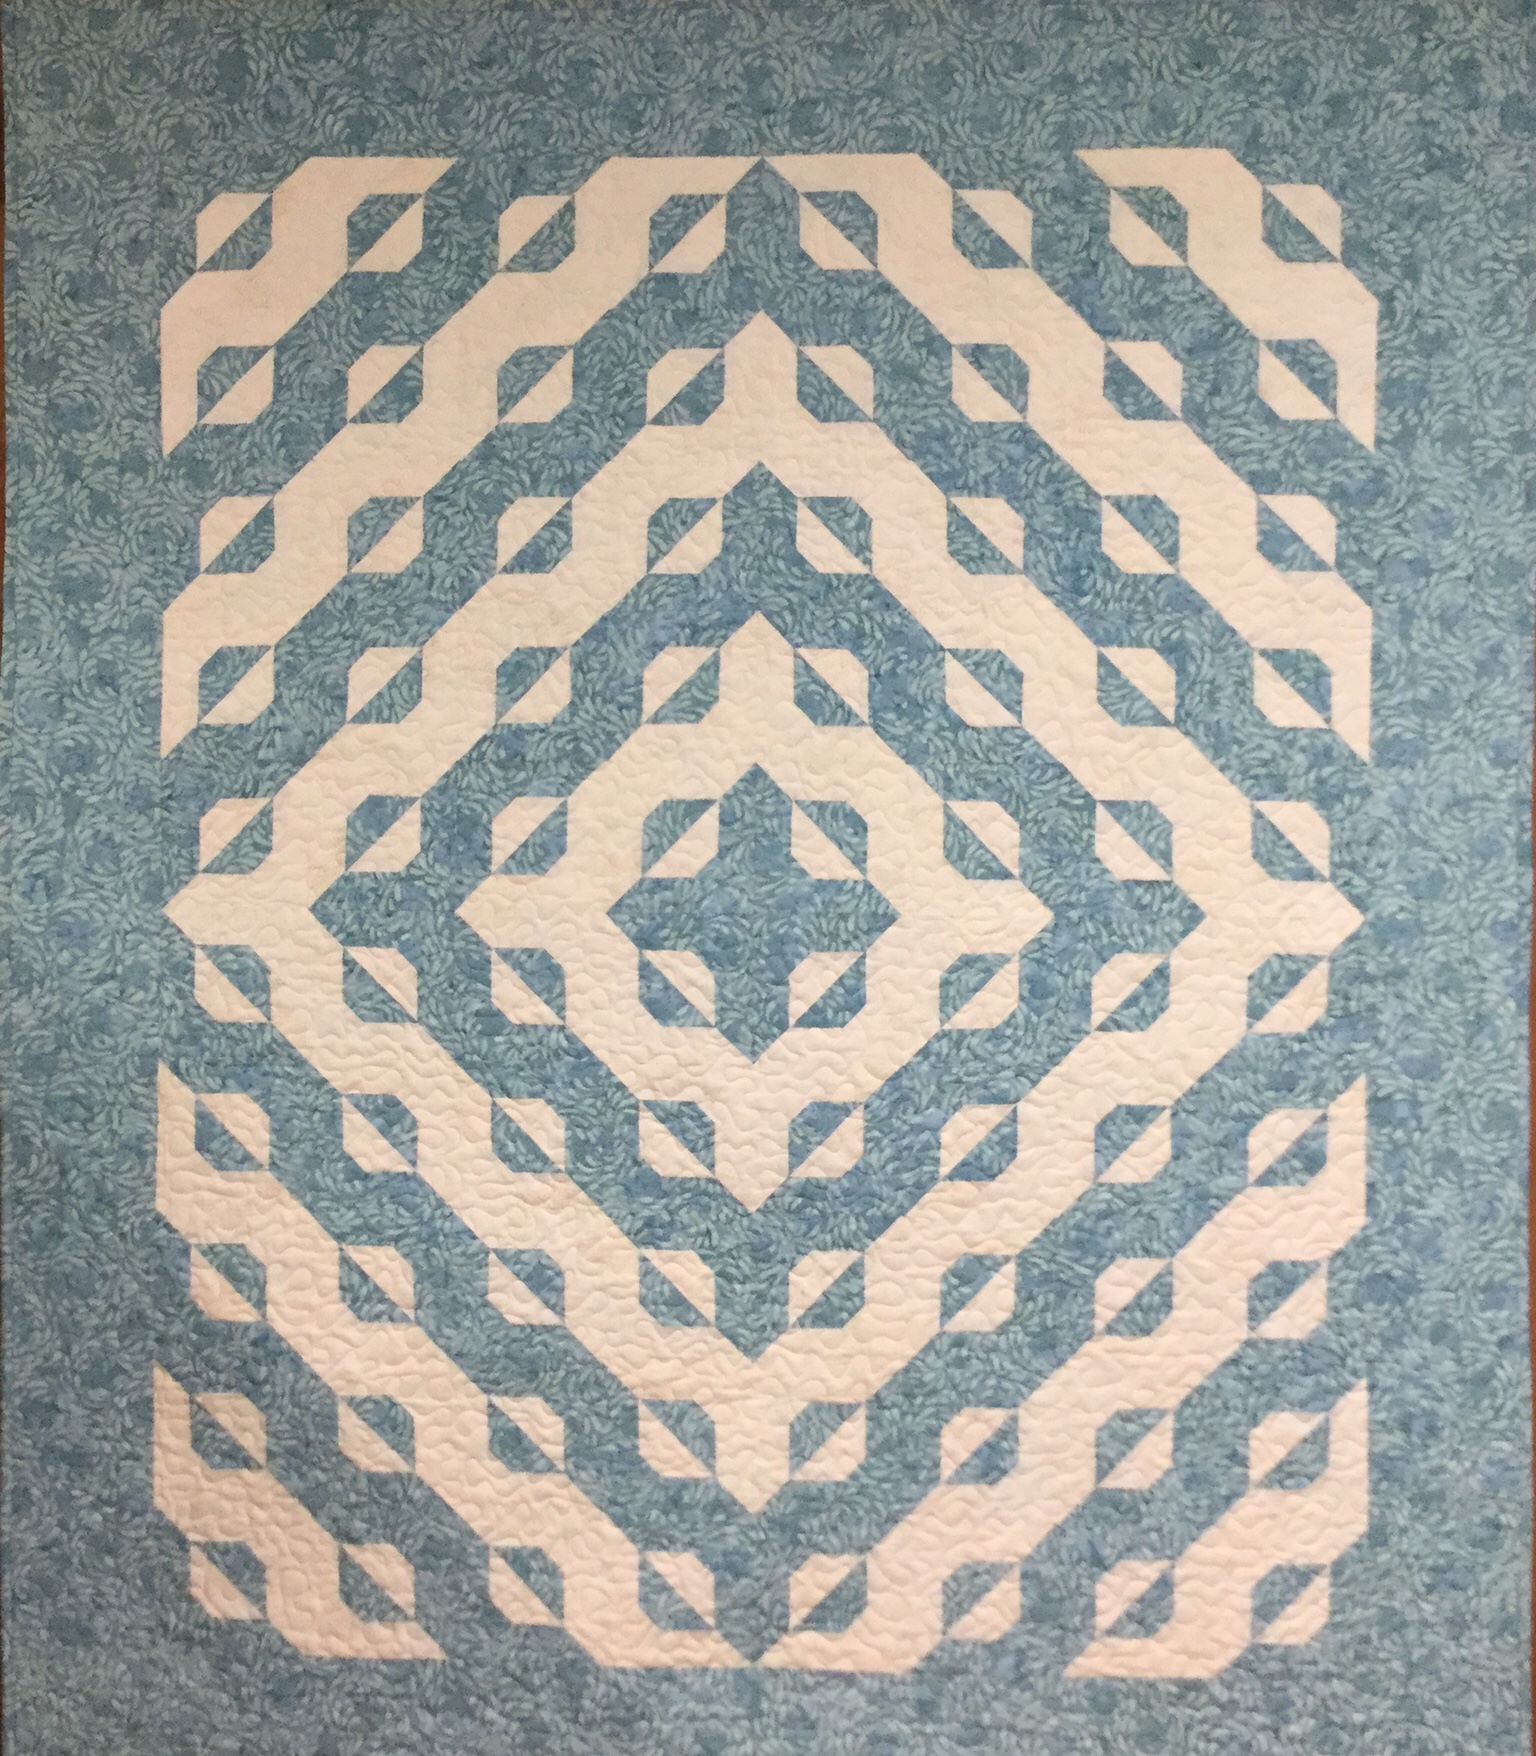
This is definitely NOT your grandmother’s Hunter Star Quilt!
#islandbatikambassador #Islandbatik #iheartislandbatik