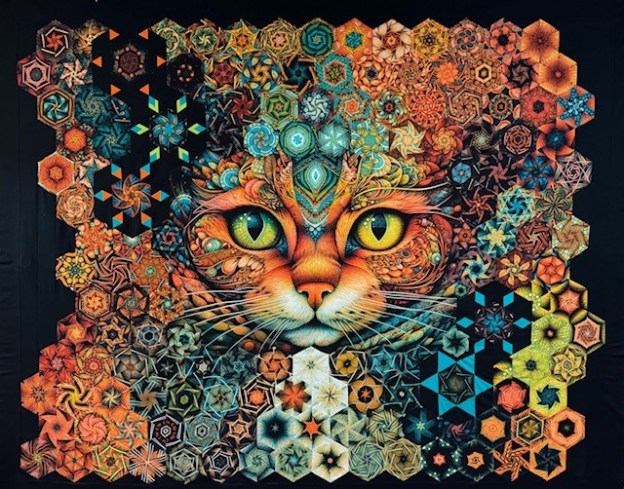
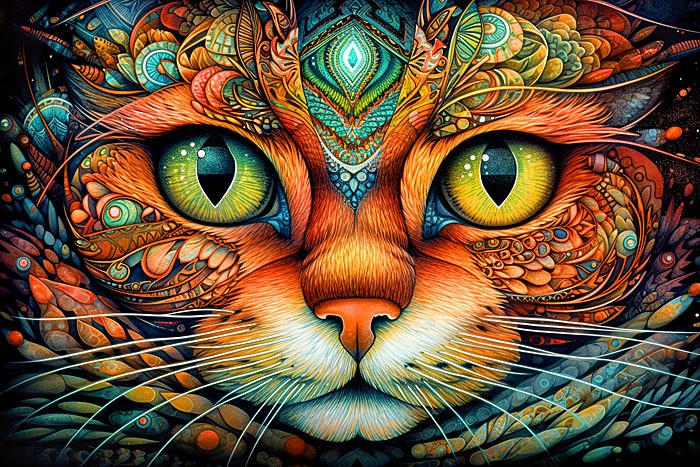
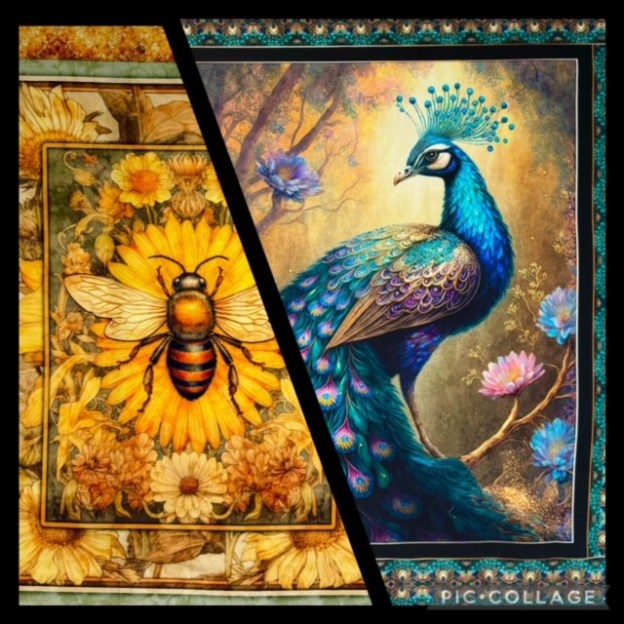
When I started cutting the hexies from Queen Bee strips, I knew it was going to be a beautiful OBW! The Queen Bee panel is by by QT Fabrics. It measures 36″ x 44″. The Queen Bee line will be in stores June 2024.
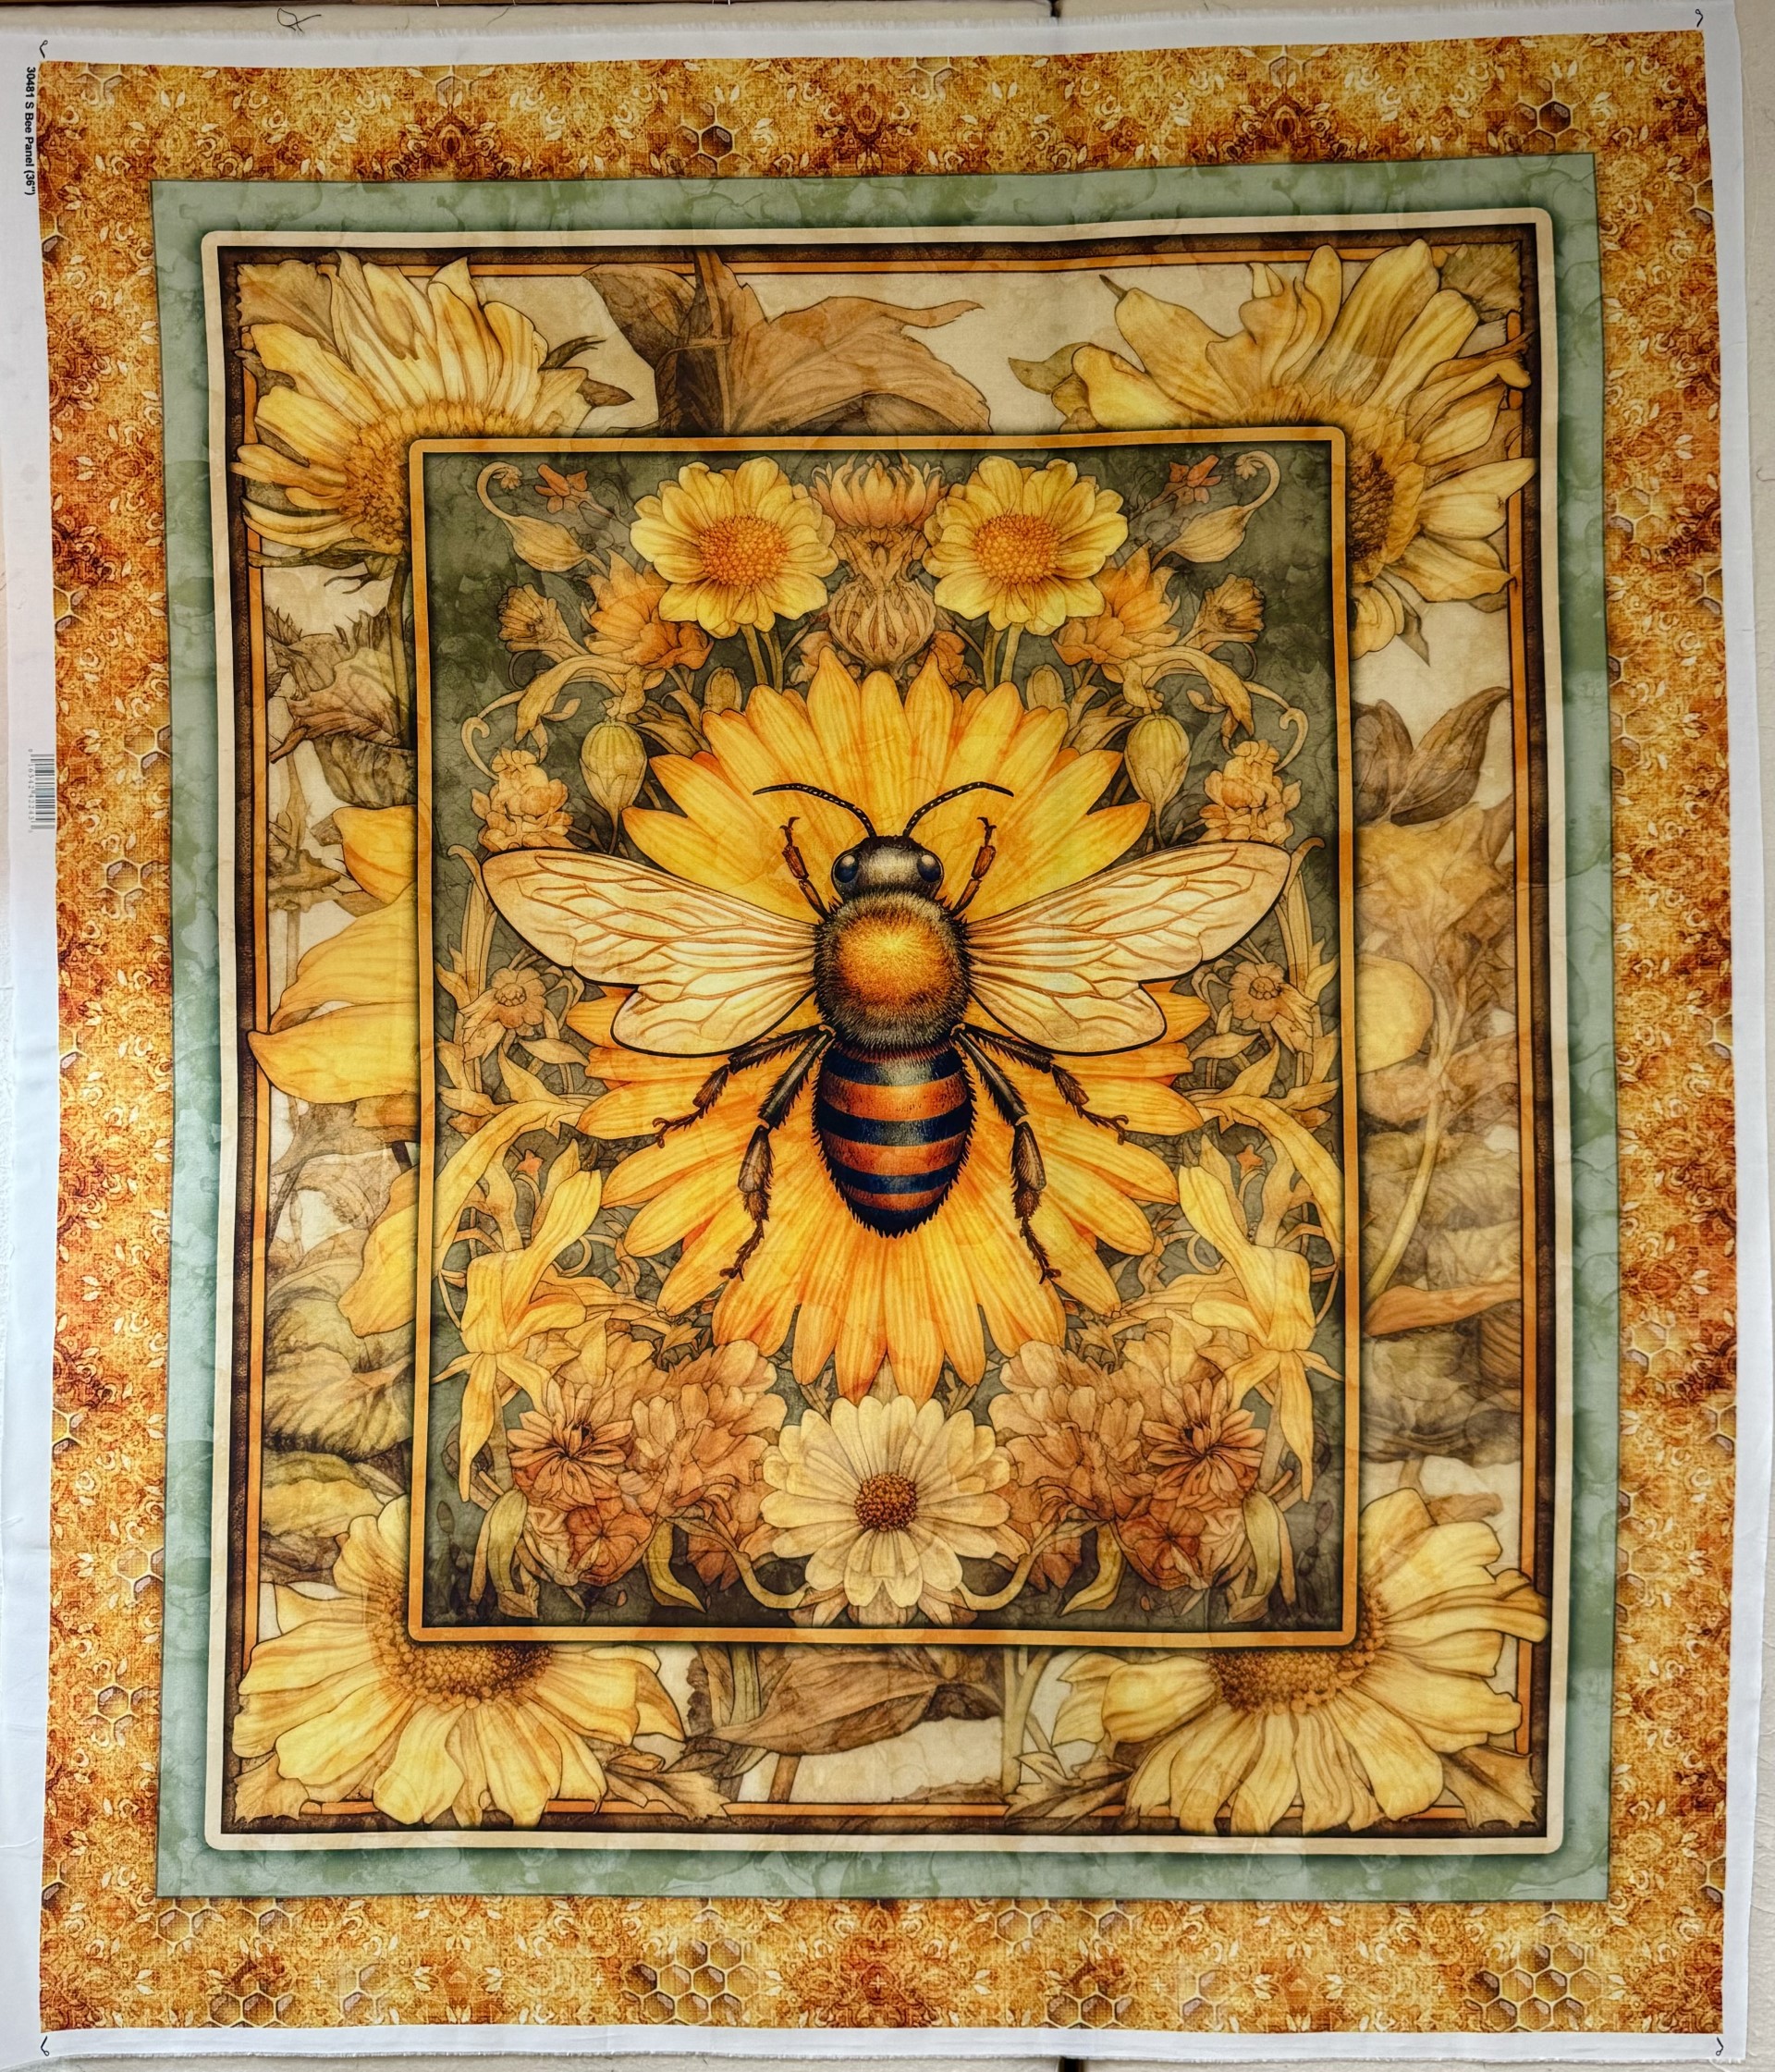
I cut my strips for the hexies 3.25″ for 5″ finished hexies. I cut off the borders. The inner border containing flowers measured 3.25″ so I was able to use them for more hexies. I had a total of 106 hexies to design with.
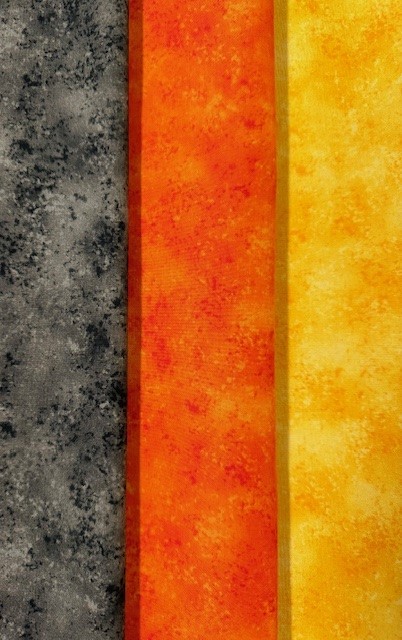
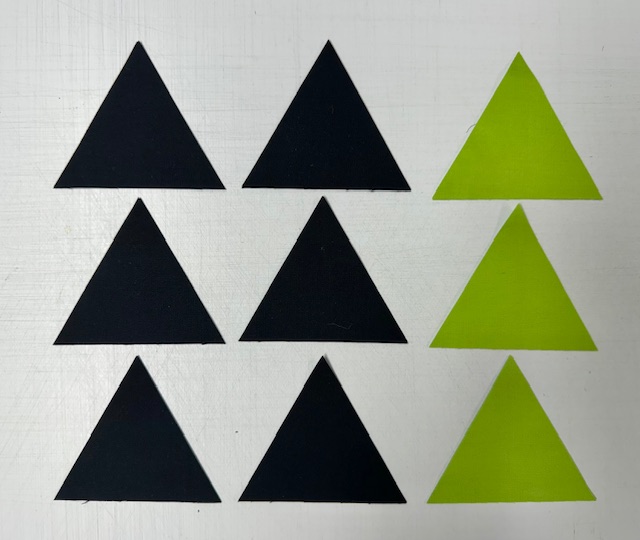
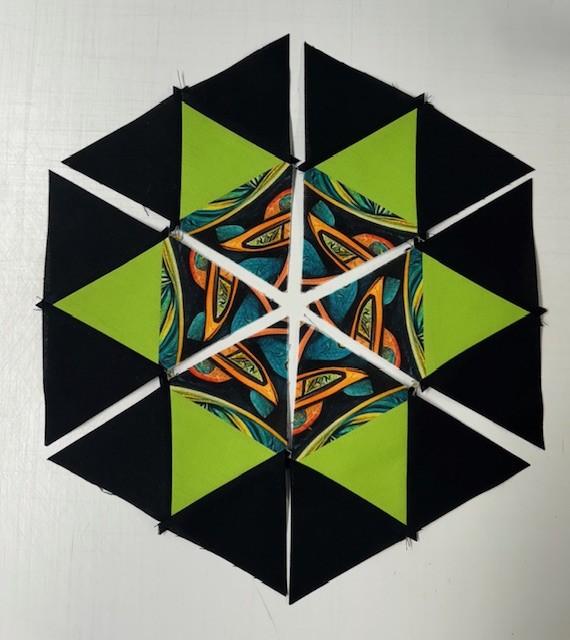
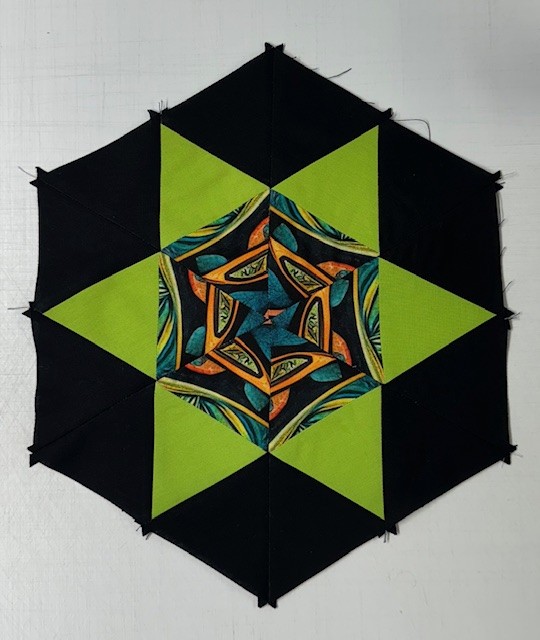
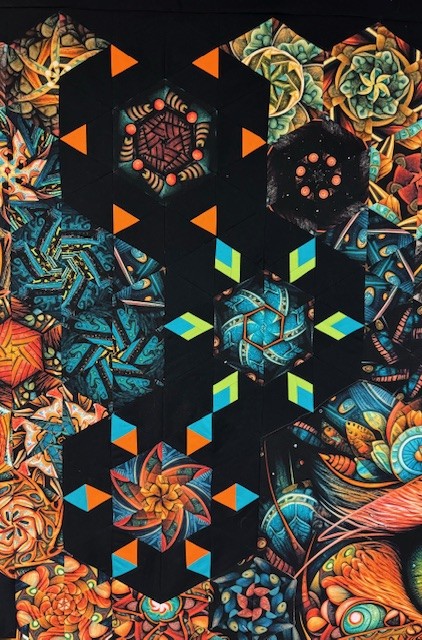
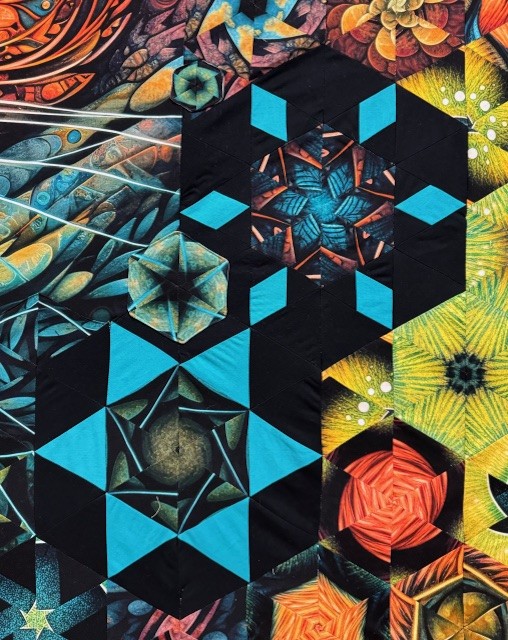
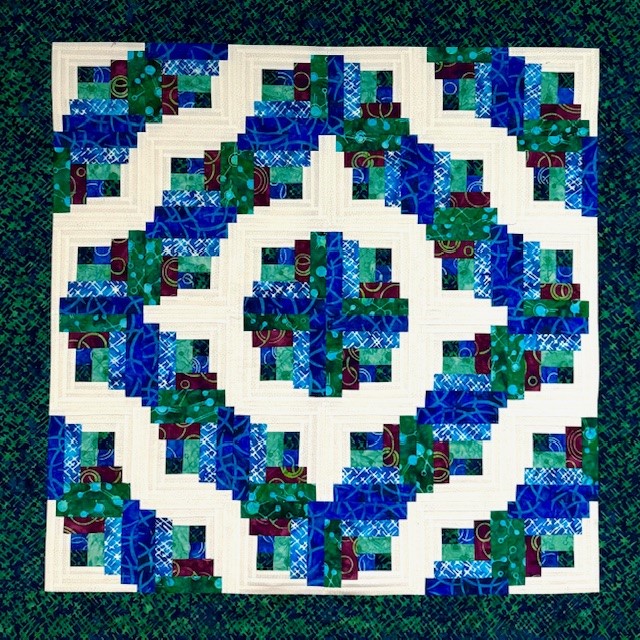
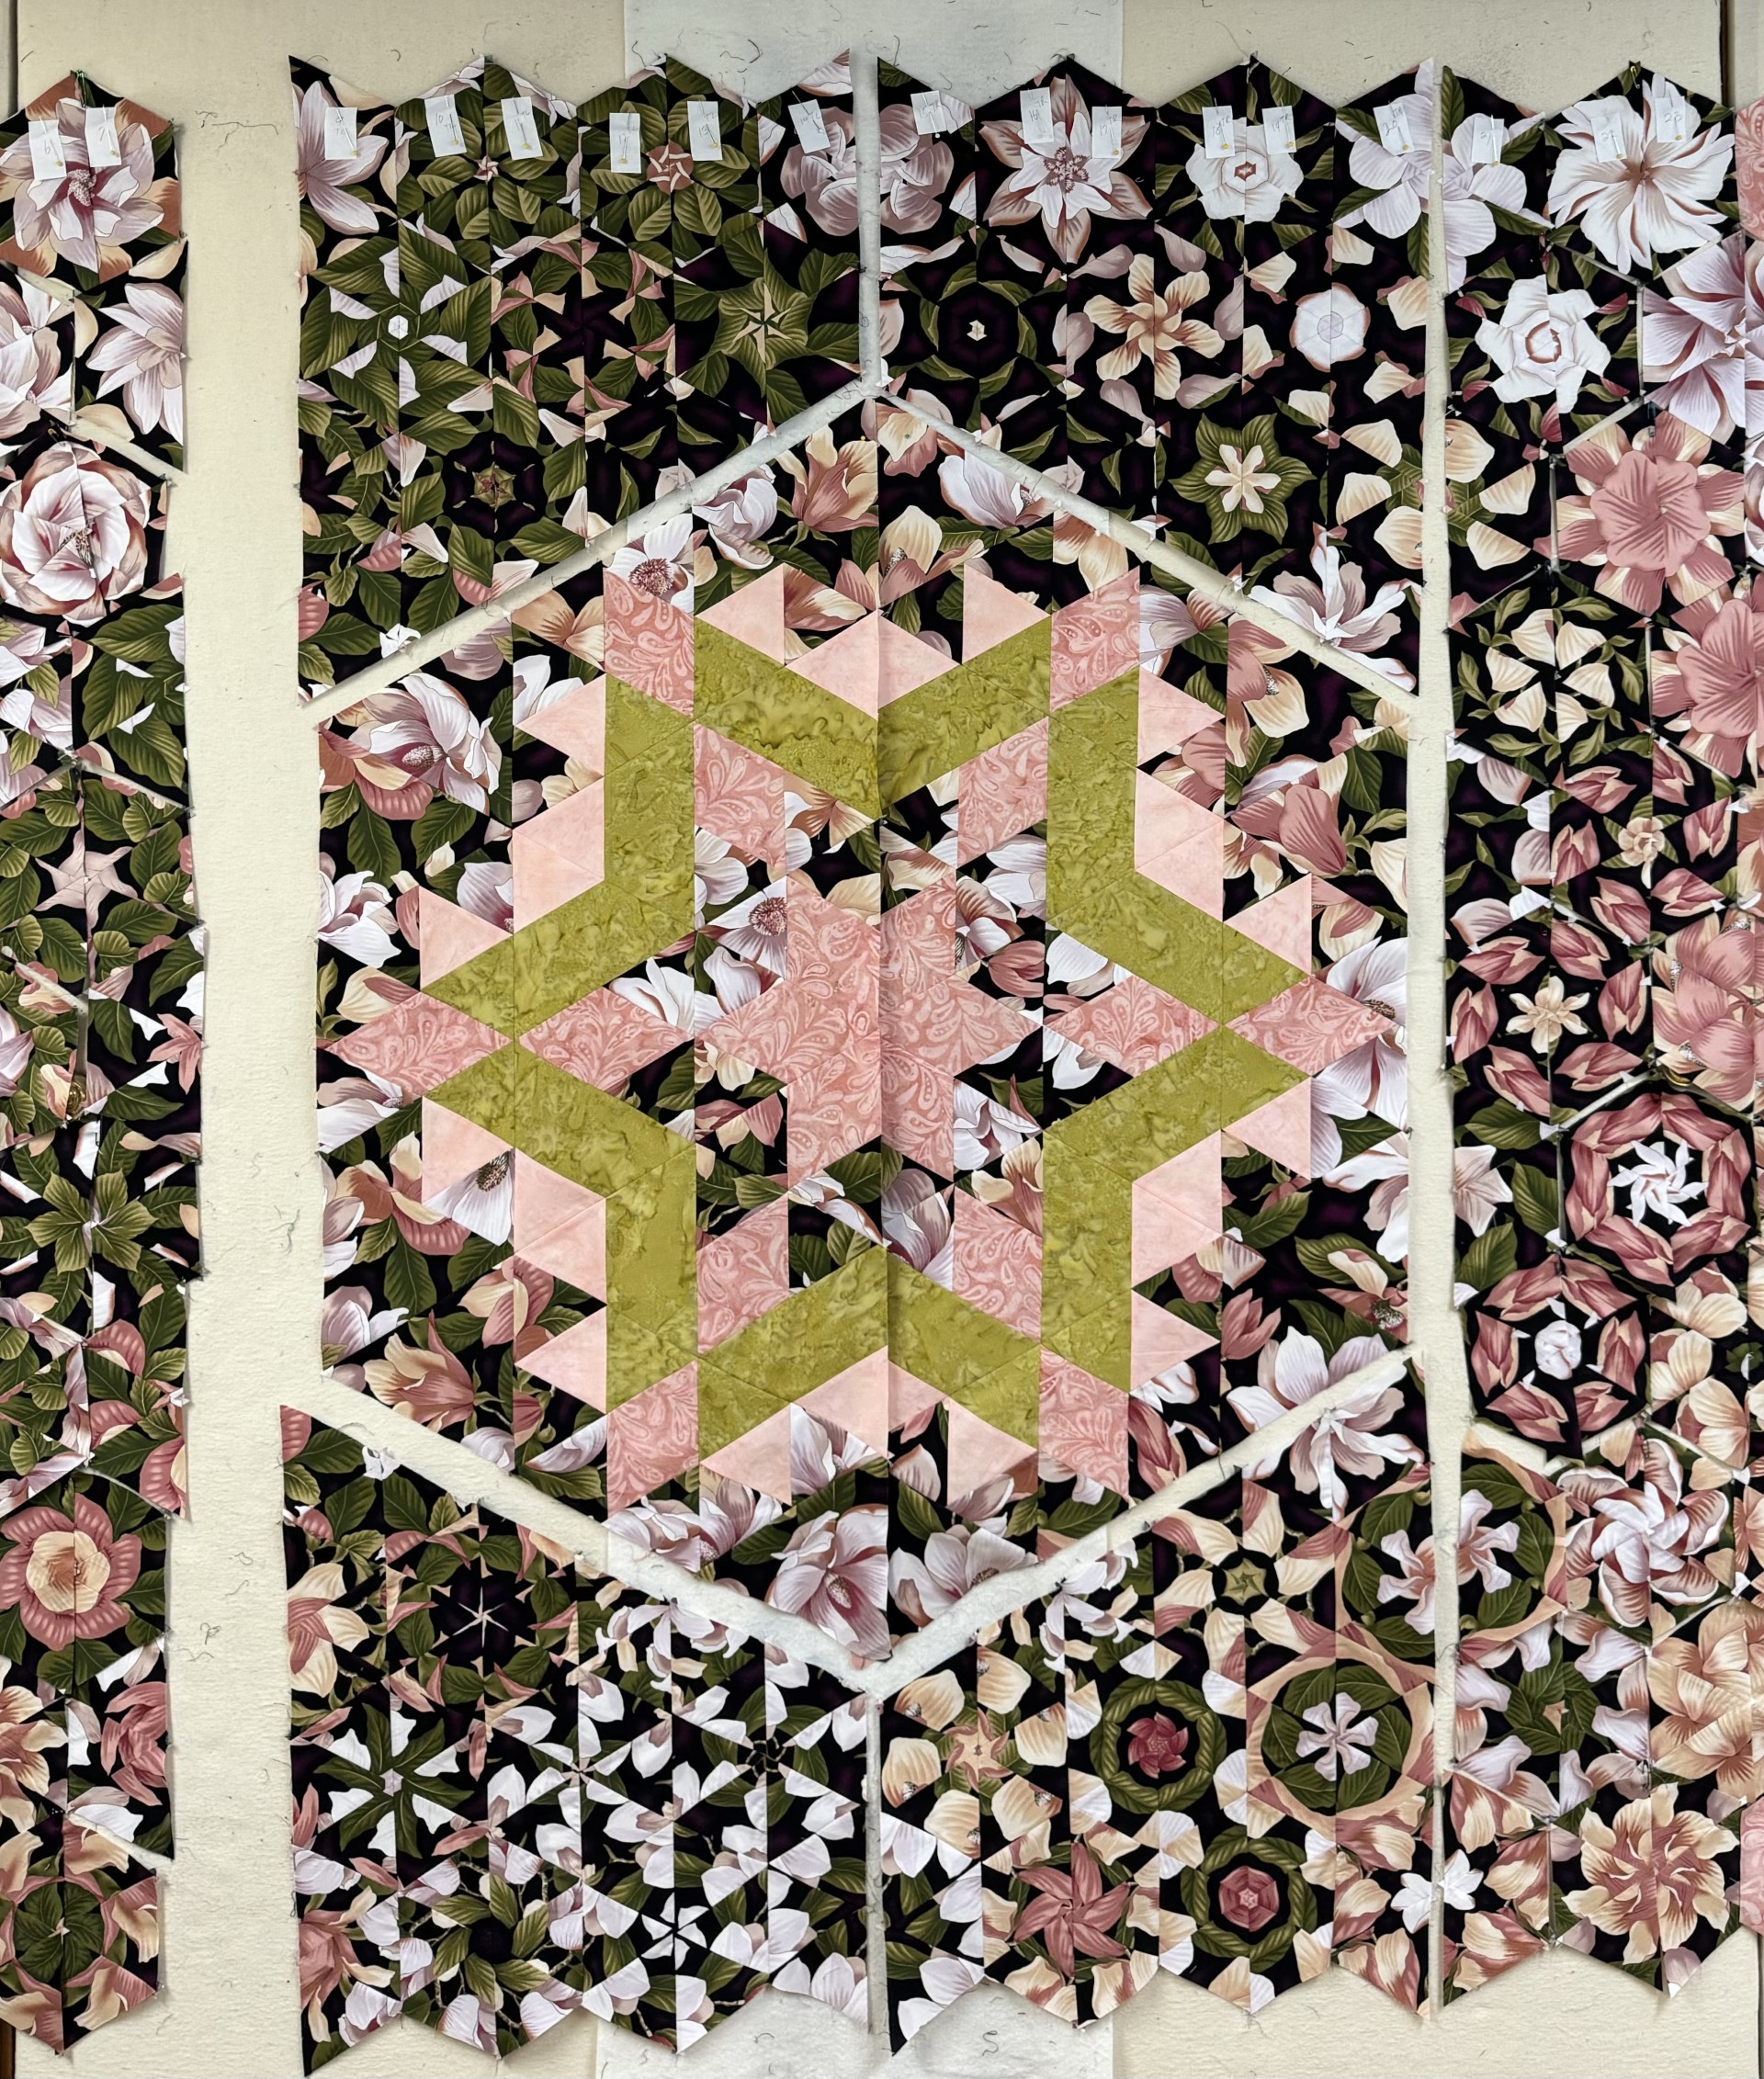
I used QT Fabrics blender line Rapture to create Hollow Cube 60‘s, using the Studio 180 Design Star 60 tool. I chose Charcoal, Orange and Marigold to make the cubes and half hexies surrounding the quilt. The Rapture fabrics were perfect.
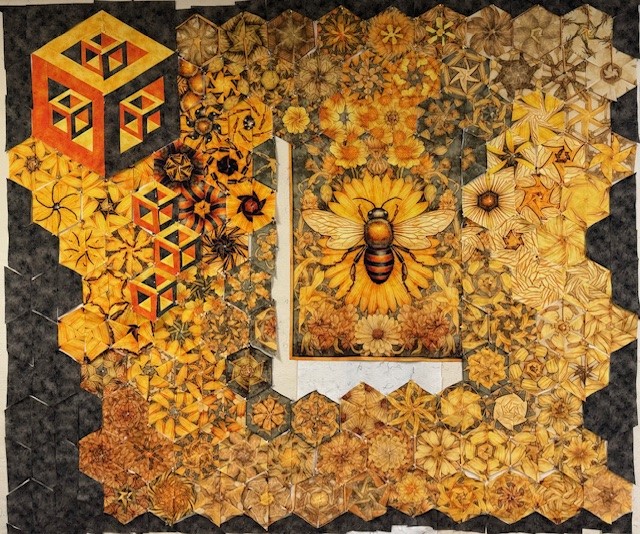
I started out by making a 15″ Hollow Cube 60 containing 5″ Hollow Cube 60’s, but I felt that it over powered the bee.
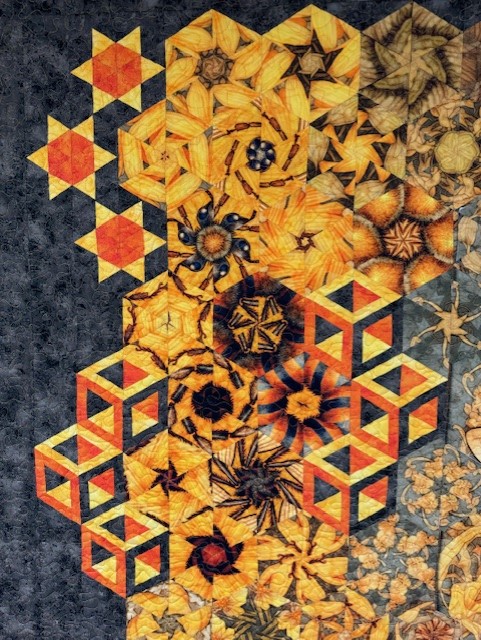
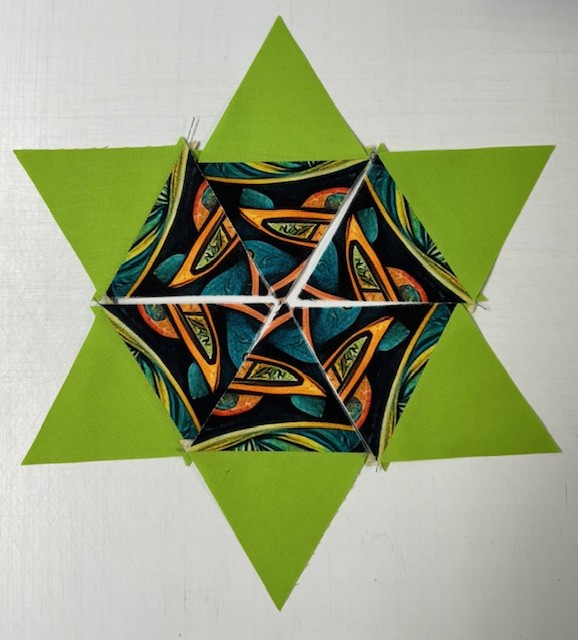
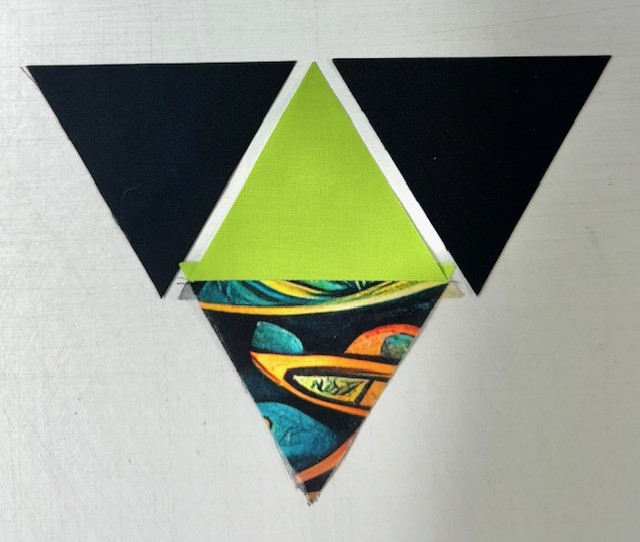
I decided to make 5″ finished Hollow Cube 60’s and Quad 60 stars.
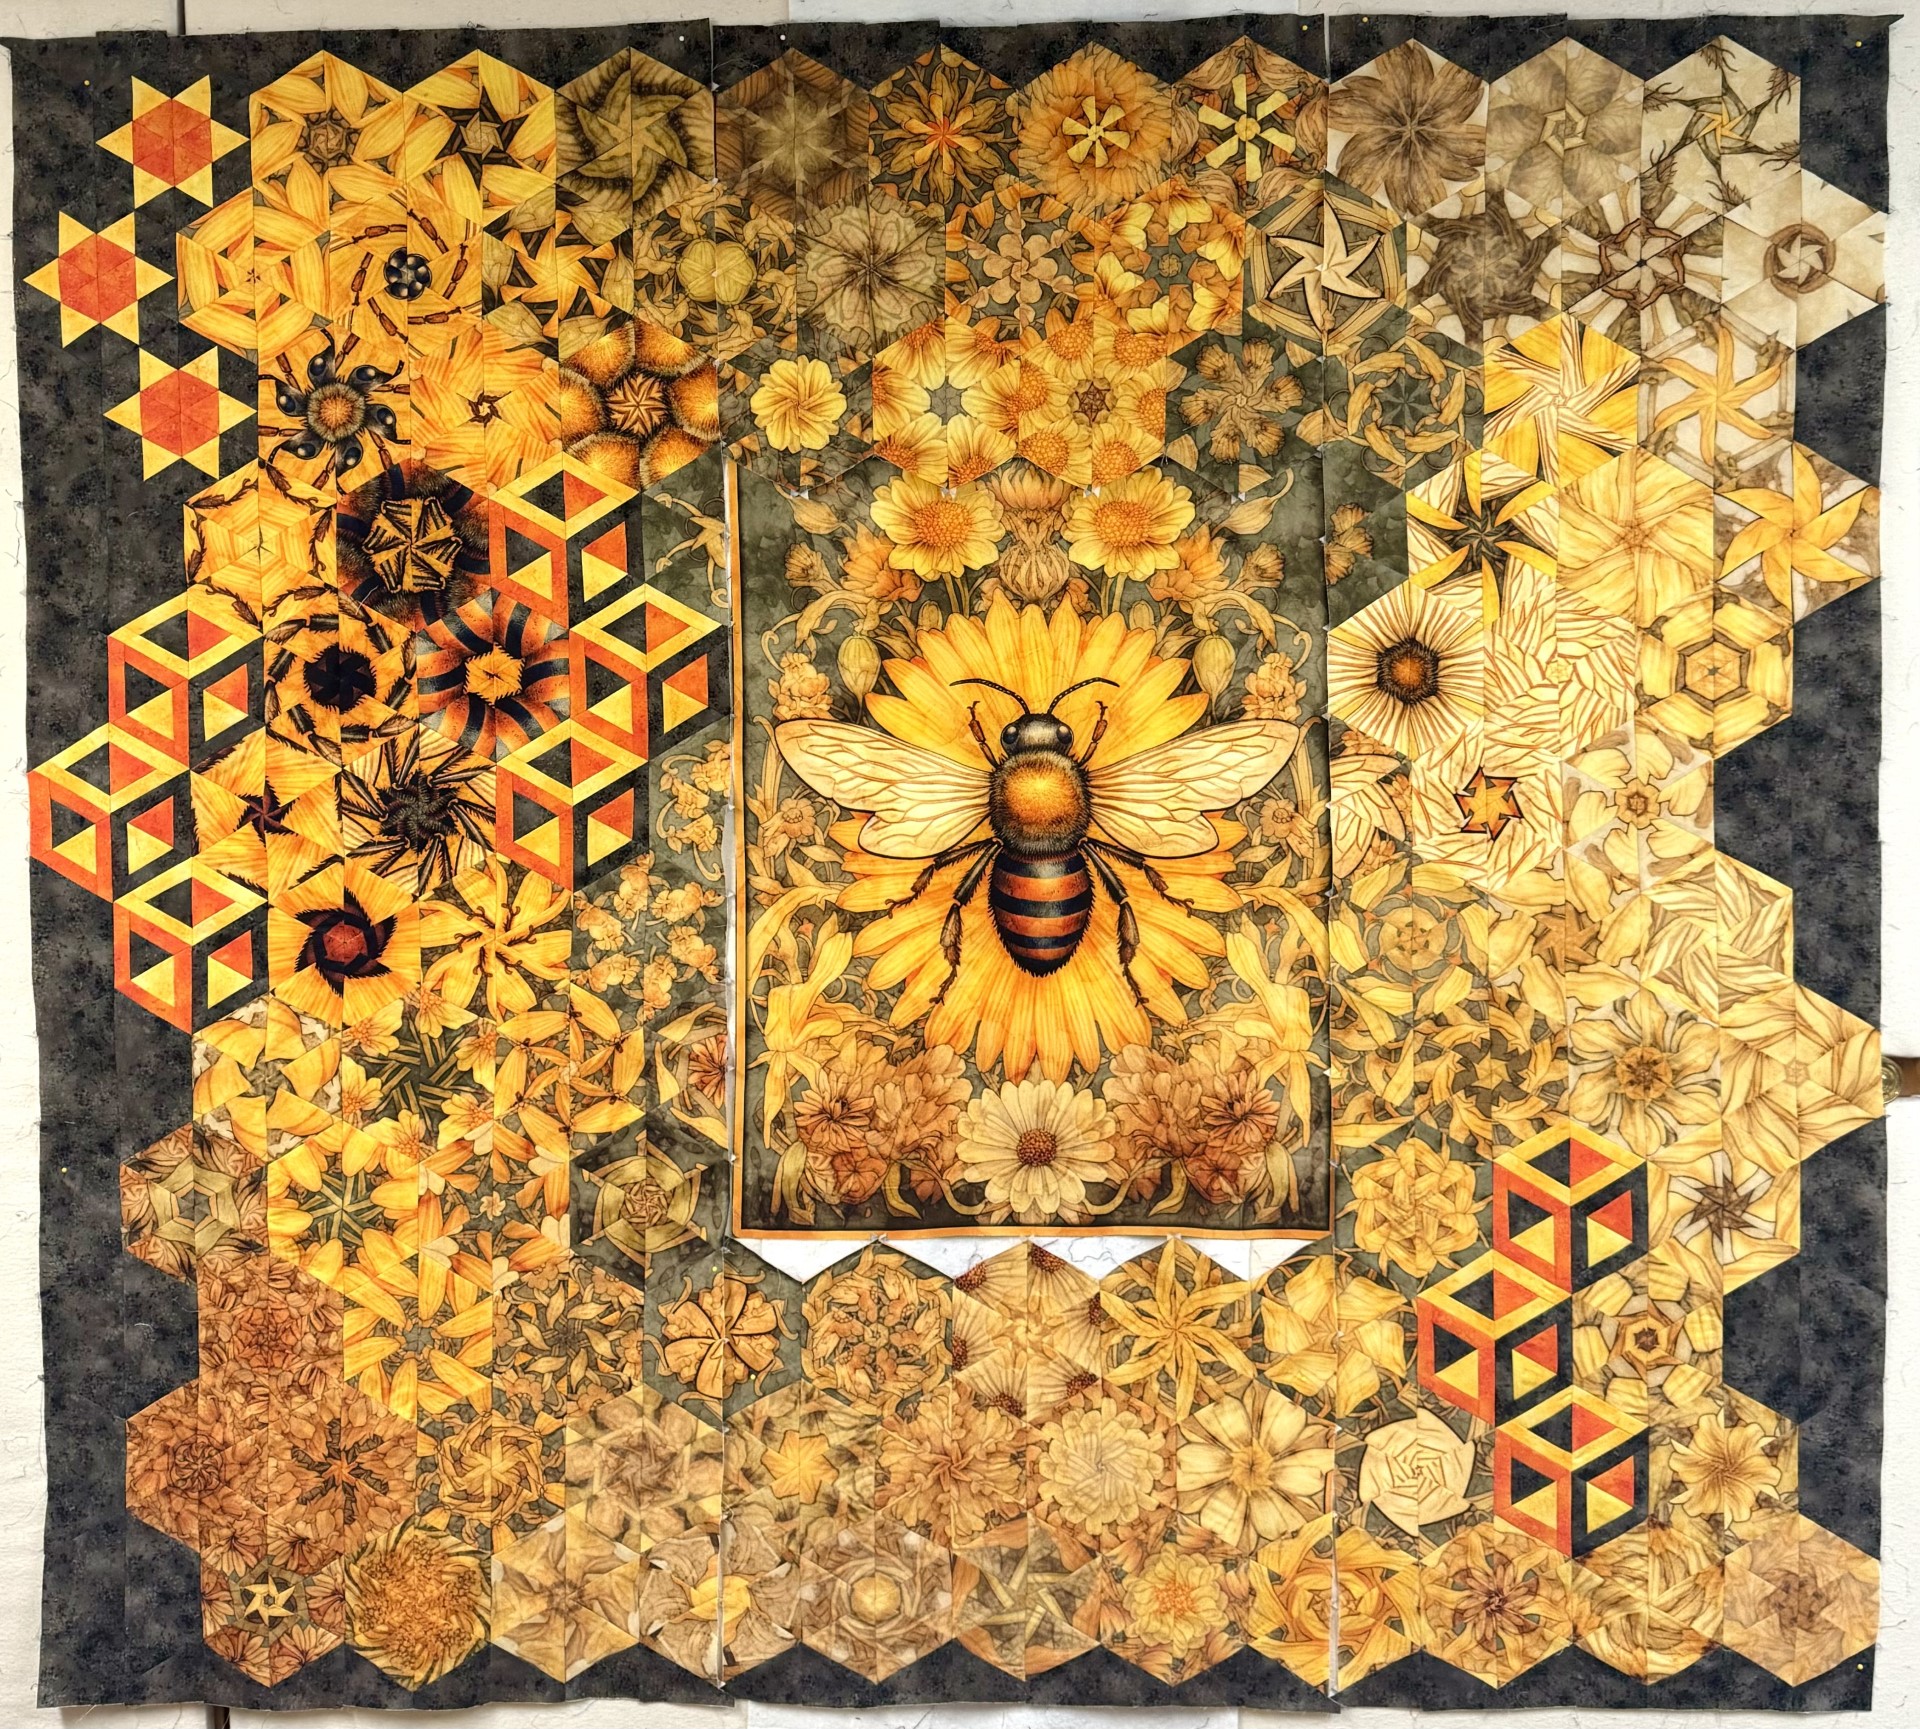
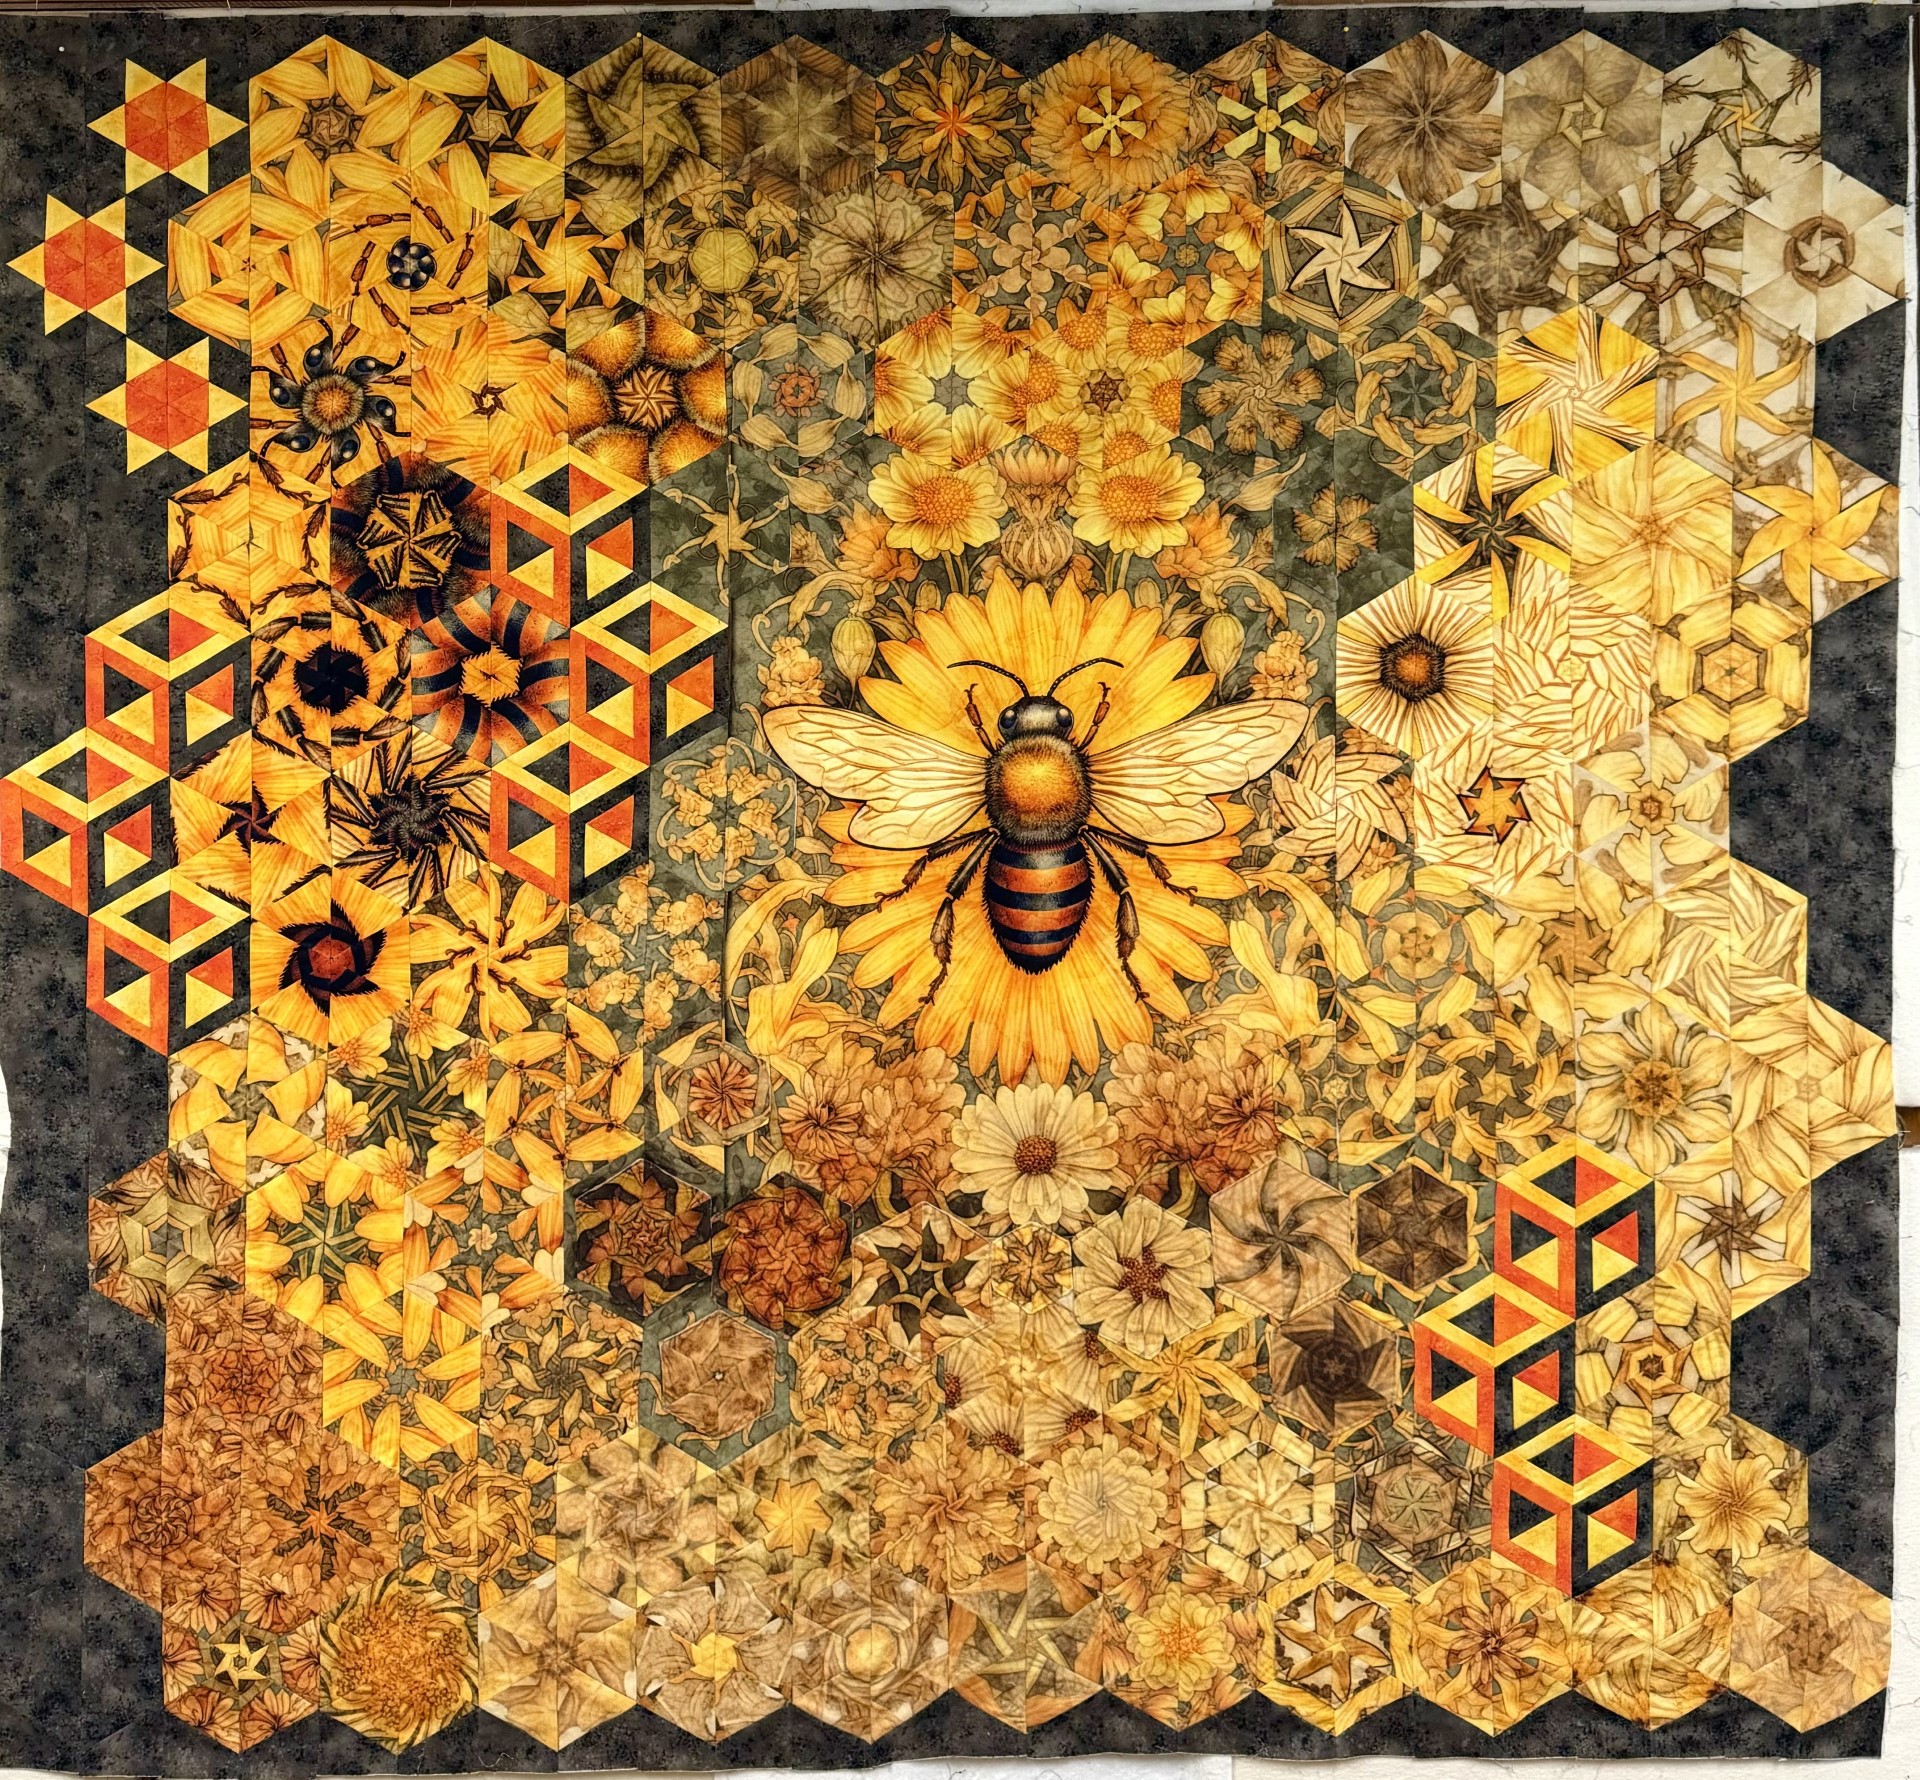
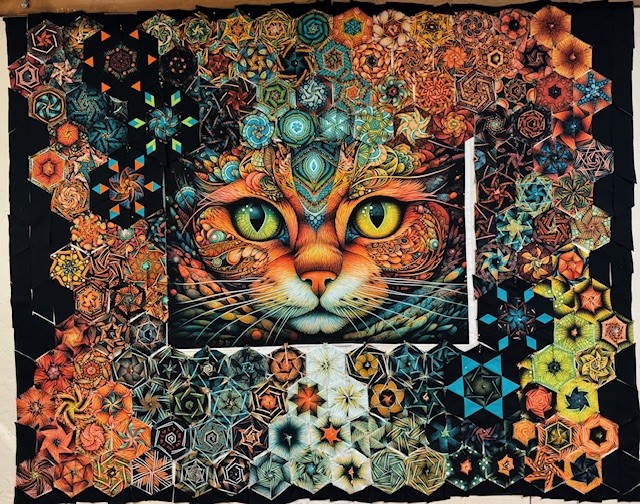
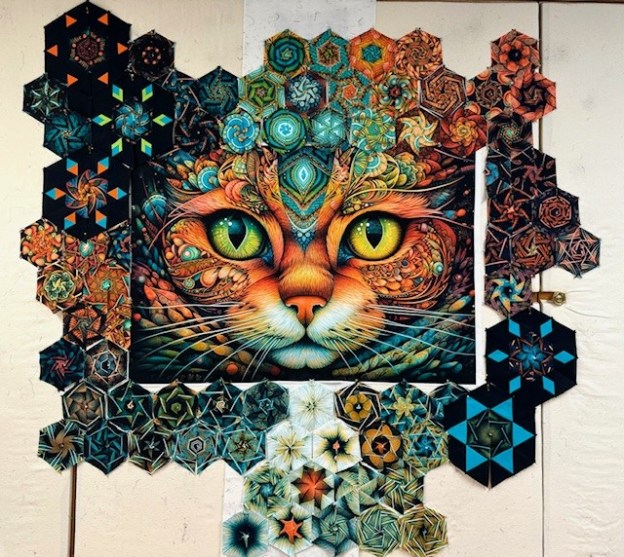
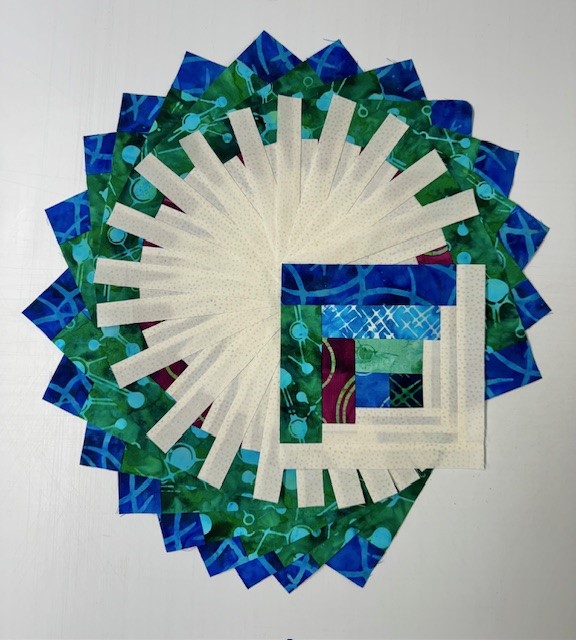
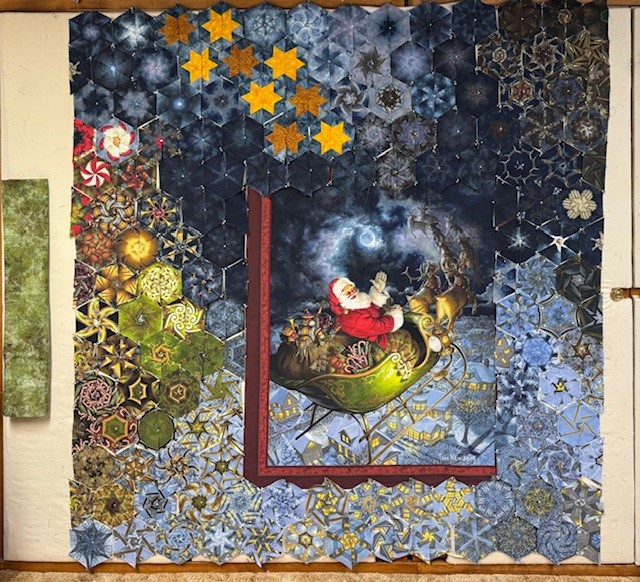
After I completed my four sections and laid them out around the panel, I realized I needed to add a strip to the bottom of the panel to be able to join the bottom section to the panel. That meant I would have to hide the strip by appliqueing hexies. The photo on the right above shows that you can no longer see where I added the strip of fabric.
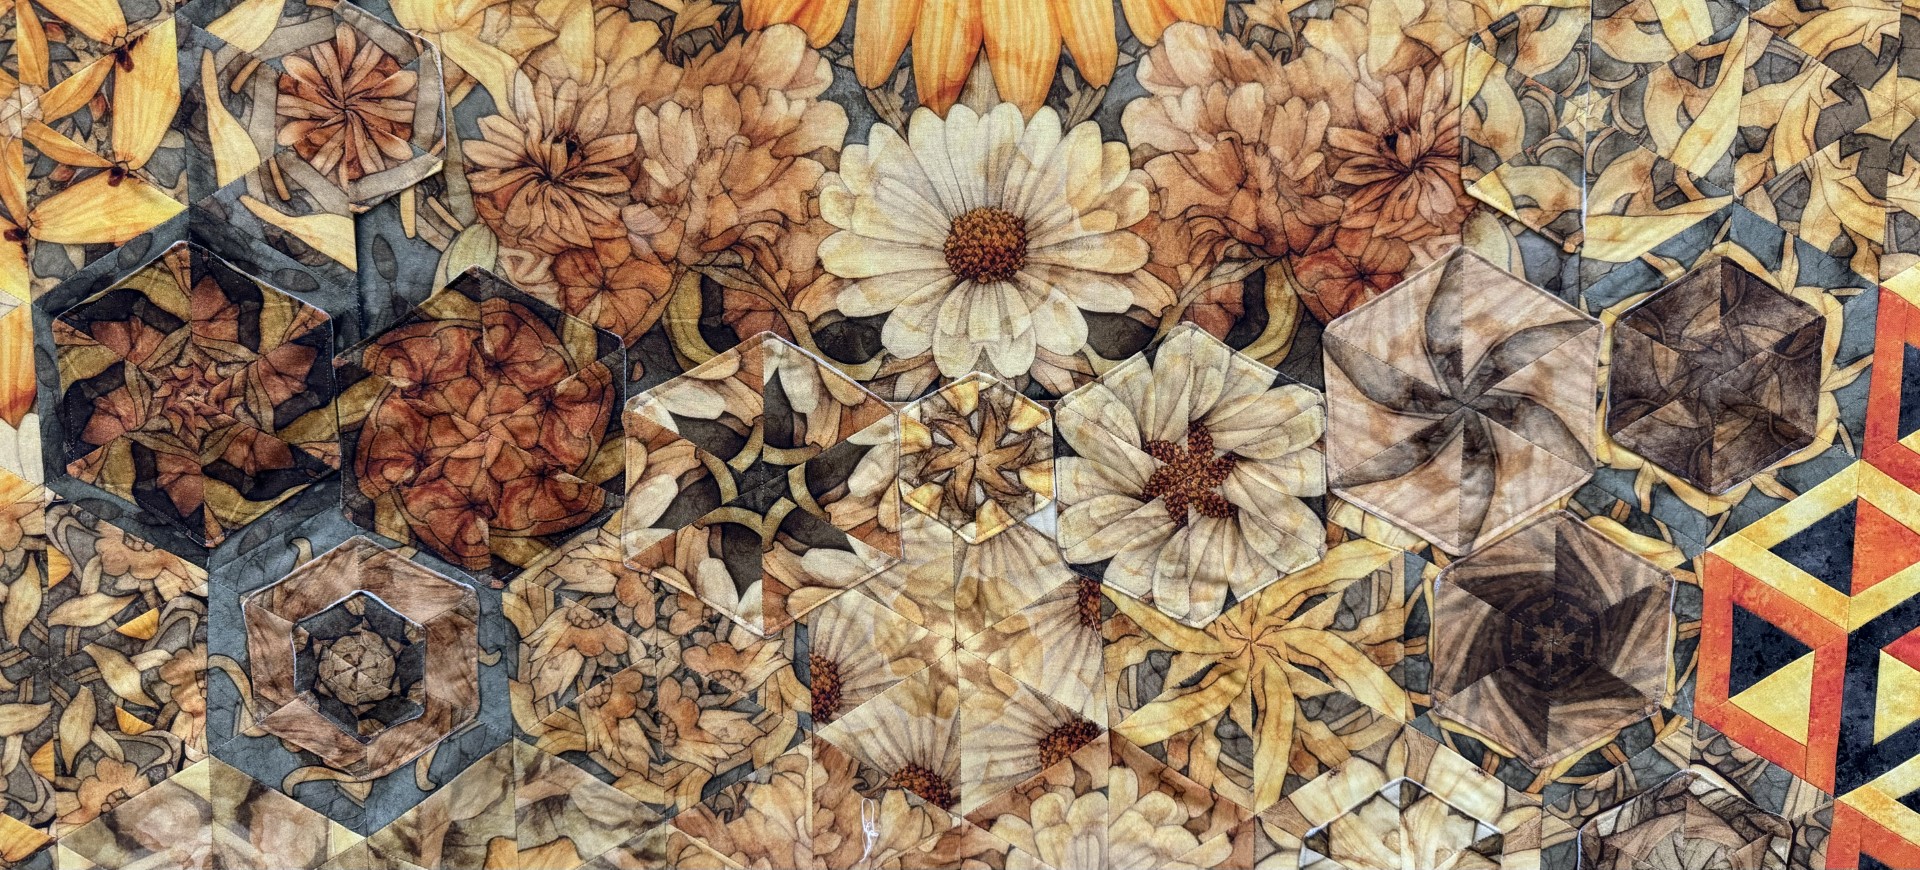
Above shows a closeup of the hidden strip. I applique hexies of various sizes to tweak my design.

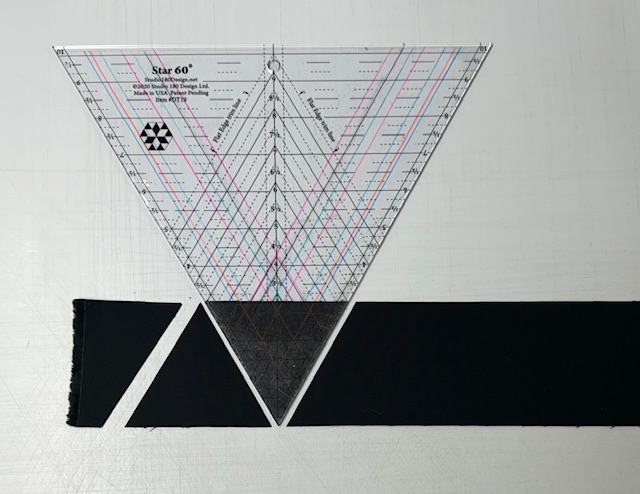
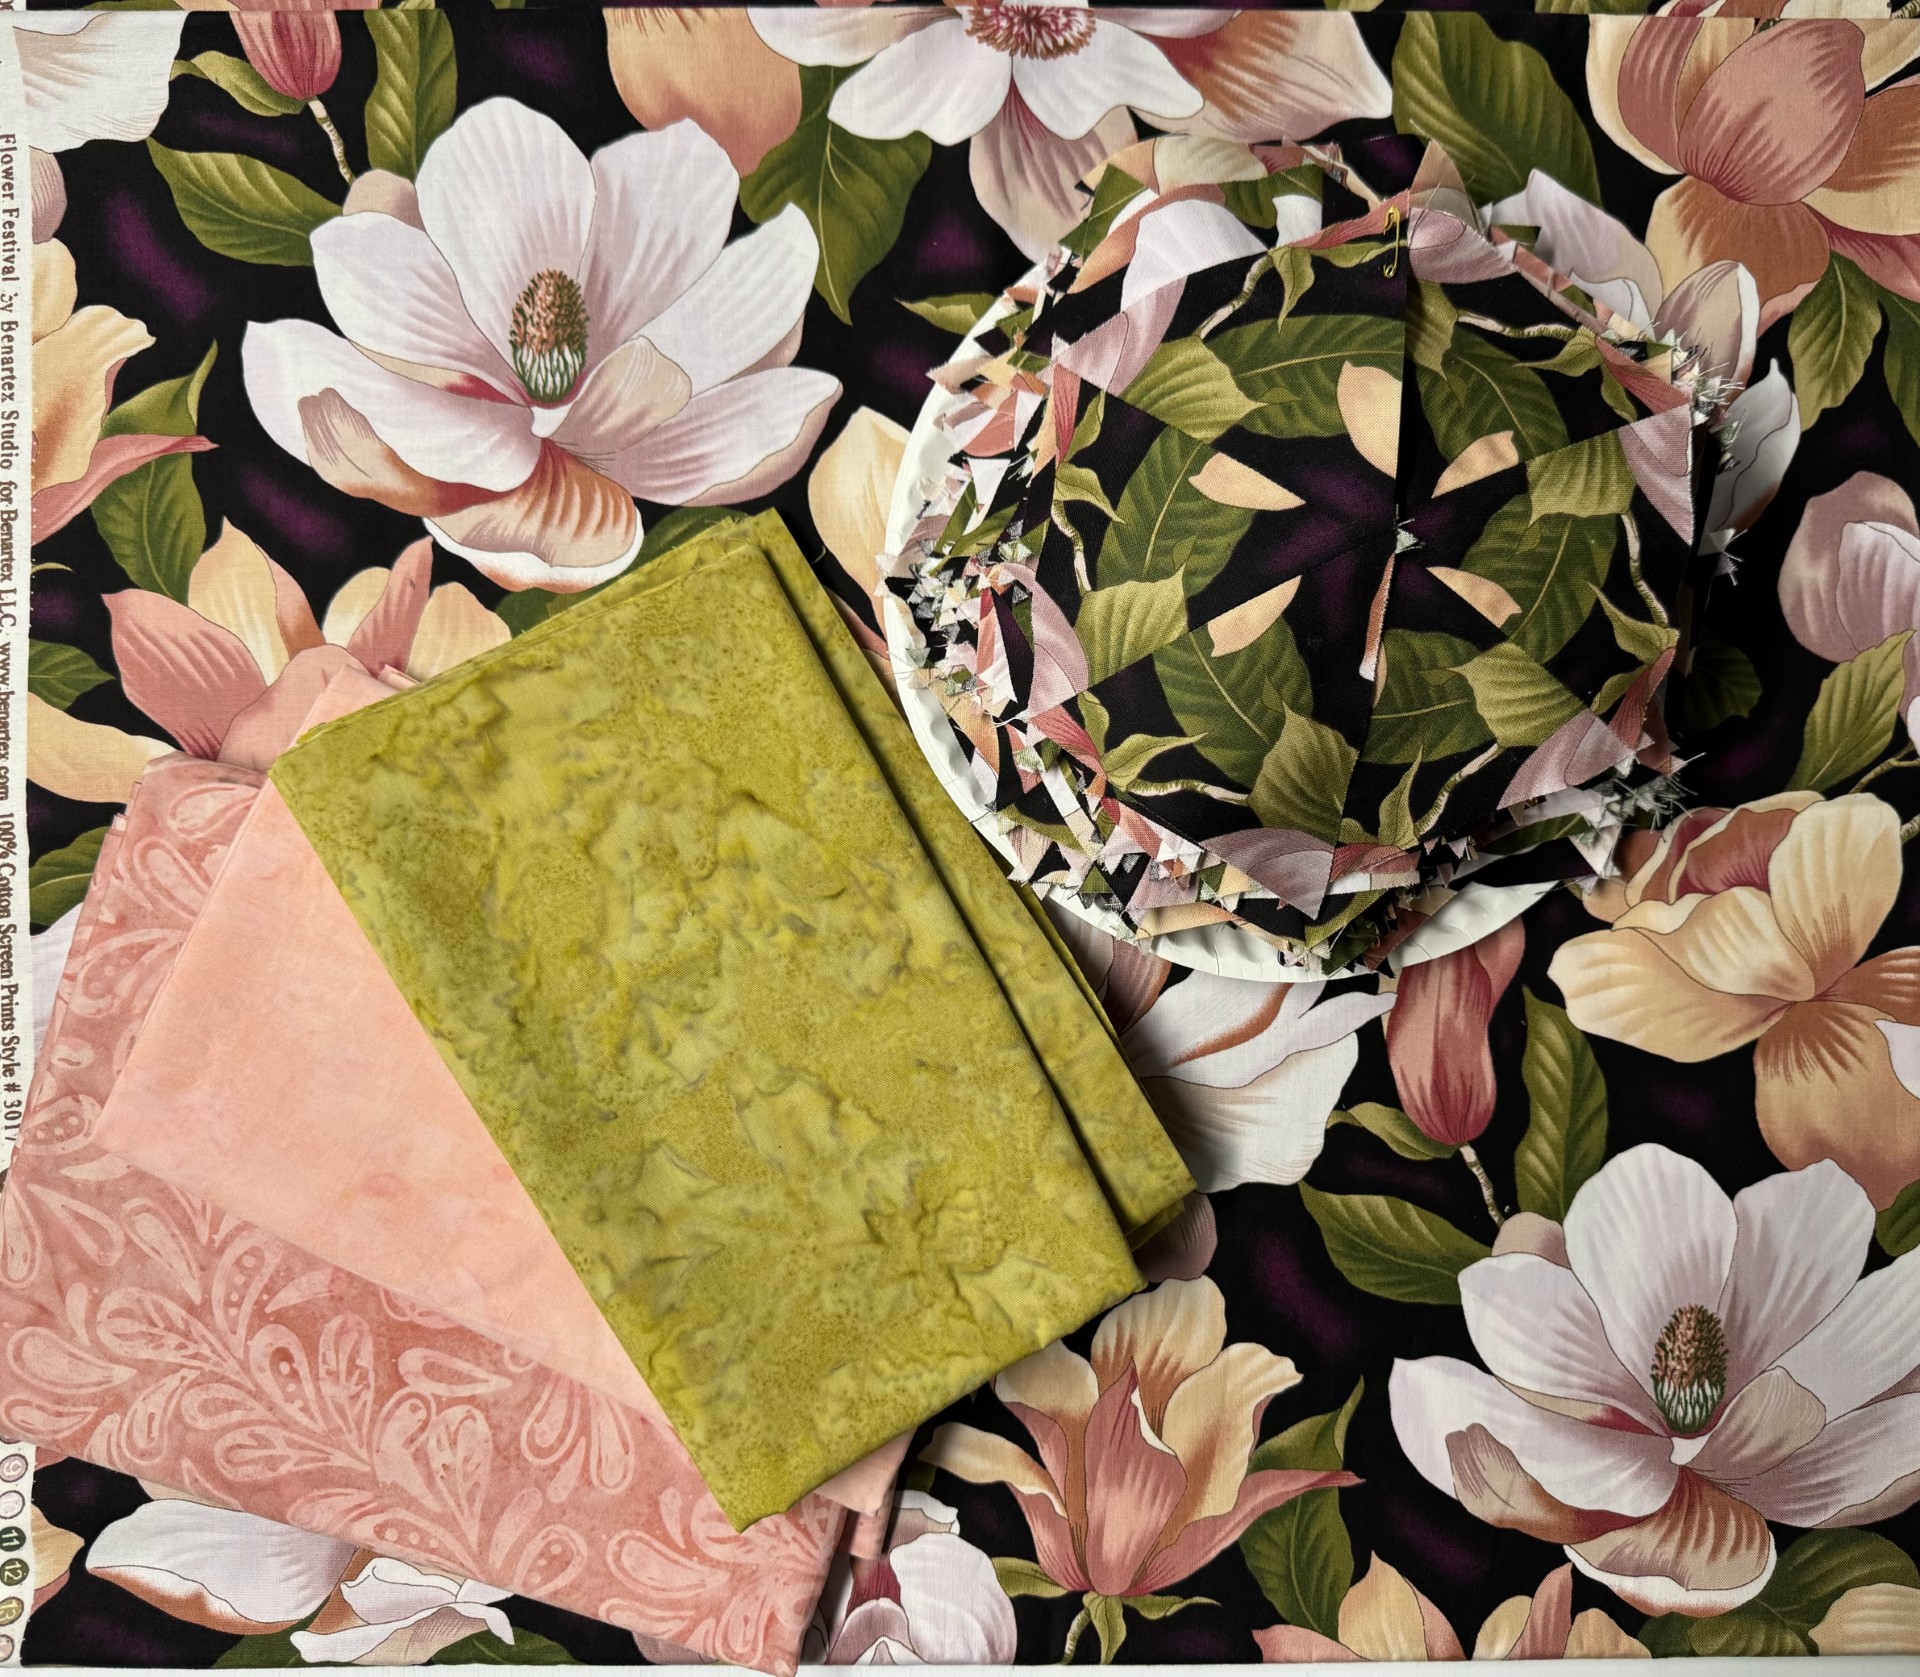
TIP: When you cut your hexies from the strips, you have a leftover piece on both ends. One side of the leftover already has a 60 degree angle. If you put the 60 degree line of your ruler on the straight edge of the leftover piece as shown above and cut , you will have a small hexie that can be appliqued on your OBW. Below I have created a lesson on how I create appliqued hexies.

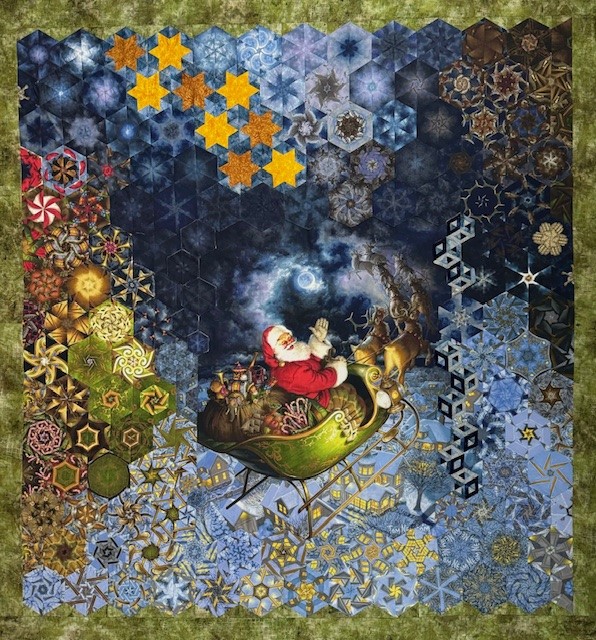
Queen Bee measures 65″ x 60″. I absolutely love the way my Queen Bee OBW came out. Queen Bee will be in stores June 2024.
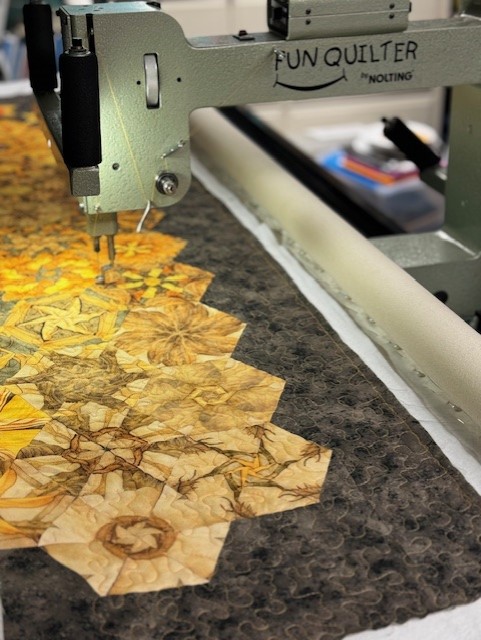
As I was quilting Queen Bee it occurred to me I was making a Bee Line, LOL!
@all @QTFabrics @QTCreatives @Studio180Design #QTFabrics #Studio180Design #Star60 #HollowCube60 #QueenBee