Author Archives: ifthesethreadscouldtalk

Unknown's avatar

About ifthesethreadscouldtalk

I made my first quilt in 2004 and it was LOVE at first stitch! Im referred to as the Queen of One Block Wonder Quilt (OBW)? I have made 59 of these quilts and have been teaching the process since 2006. Check out my OBW Gallery and the free tutorials I offer. I am proud to say that I am a Studio 180 Design Certified Instructor. I am trained to teach you to use all the Fundamental and Rapid Fire Tools. If you have not yet discovered Deb Tucker and Studio 180 Design tools you do not know what you are missing. You will be amazed at how much your quilting skills can be improved by using these tools.

Northern Neighbors

Northern Neighbors
This is Deb Tucker’s new pattern she is calling Northern Neighbors. She has not decided how to finish the border yet. But it is stunning! We just had our Studio 180 Design Certified Instructor’s reunion and we got the chance to work on this pattern. Deb hopes to release it in May 2014.  This pattern uses Studio 180 Design Split Rects, Wing Clipper I, Corner Beam.  The diamond in a square block can also be made with Deb’s new tool called “Corner Pop”, more on that new tool later.

OLYMPUS DIGITAL CAMERA
Above are some of the instructor’s version of Northern Neighbors.

OLYMPUS DIGITAL CAMERA
These are Dan’s blocks. Dan and his wife own “Threads Galore Quilt Shop, in Rangeley Maine.

OLYMPUS DIGITAL CAMERA
This is Phyllis’ version using Kansas Troubles.

05 Donna NN
Donna’s are so beautiful using batiks.  I’m working on mine, I am using reds and white.  I’ll share when I get it put together.

Don’t Call Me Frank!

Interlocking Stars
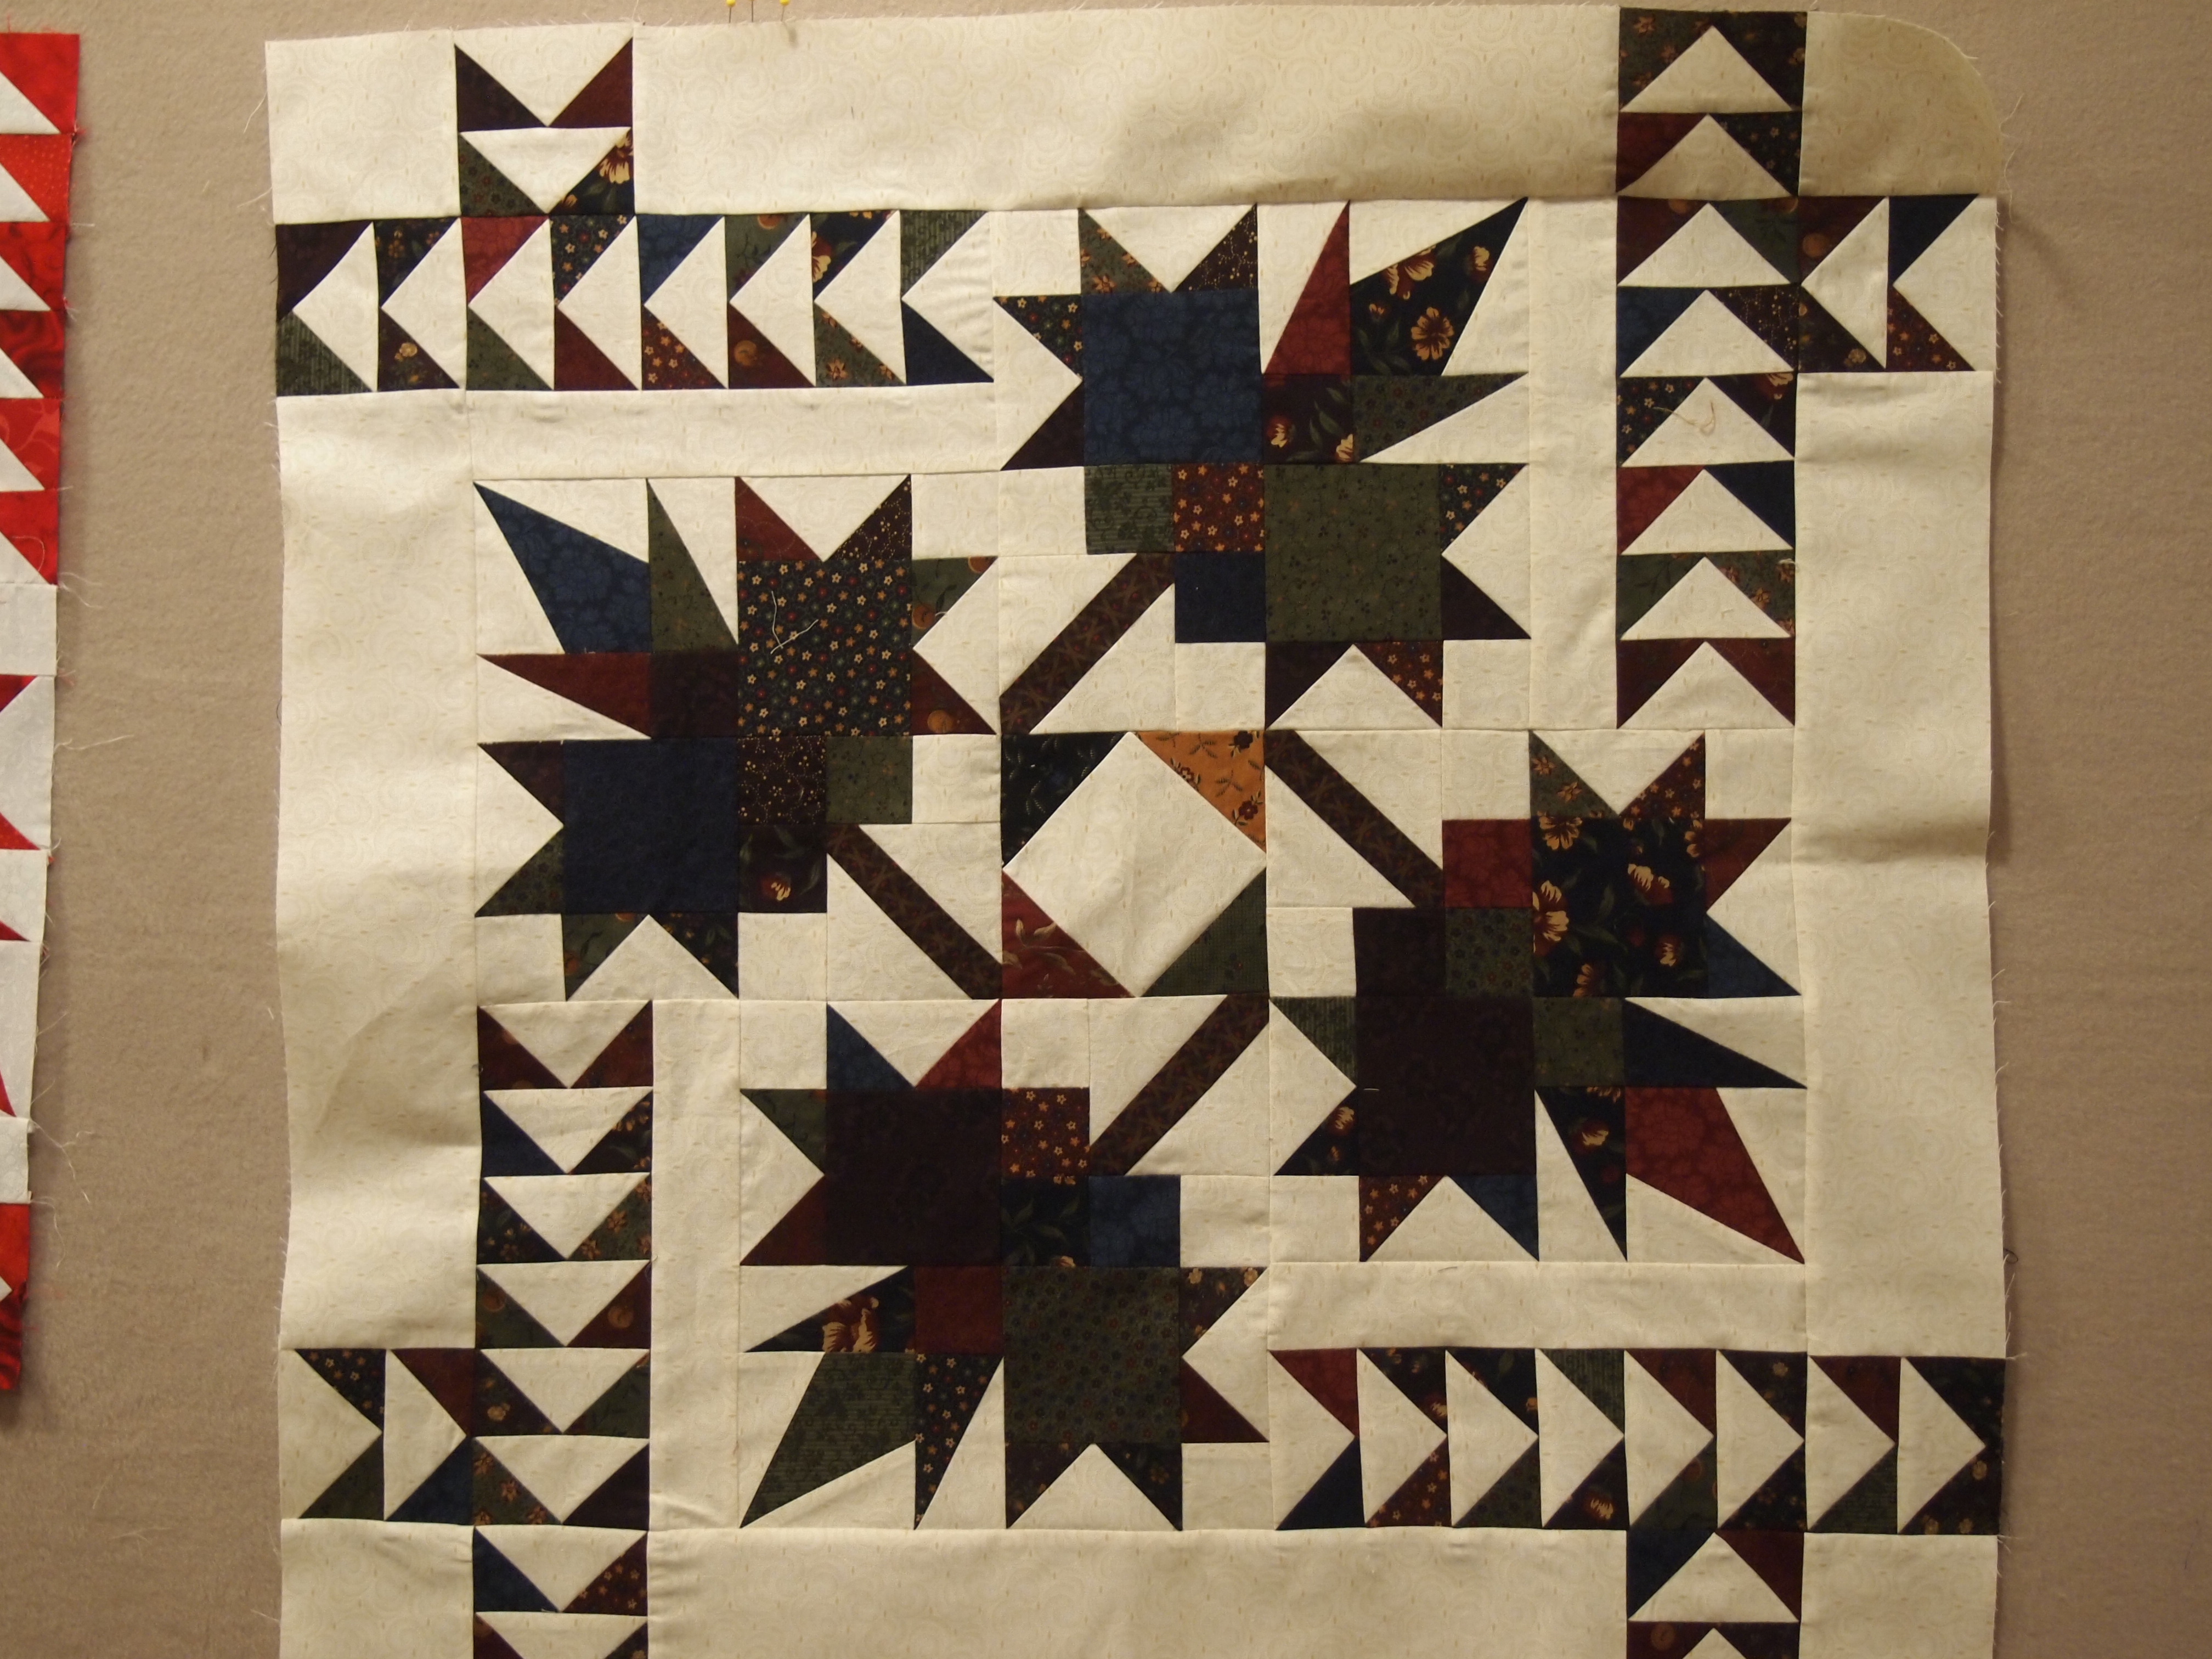
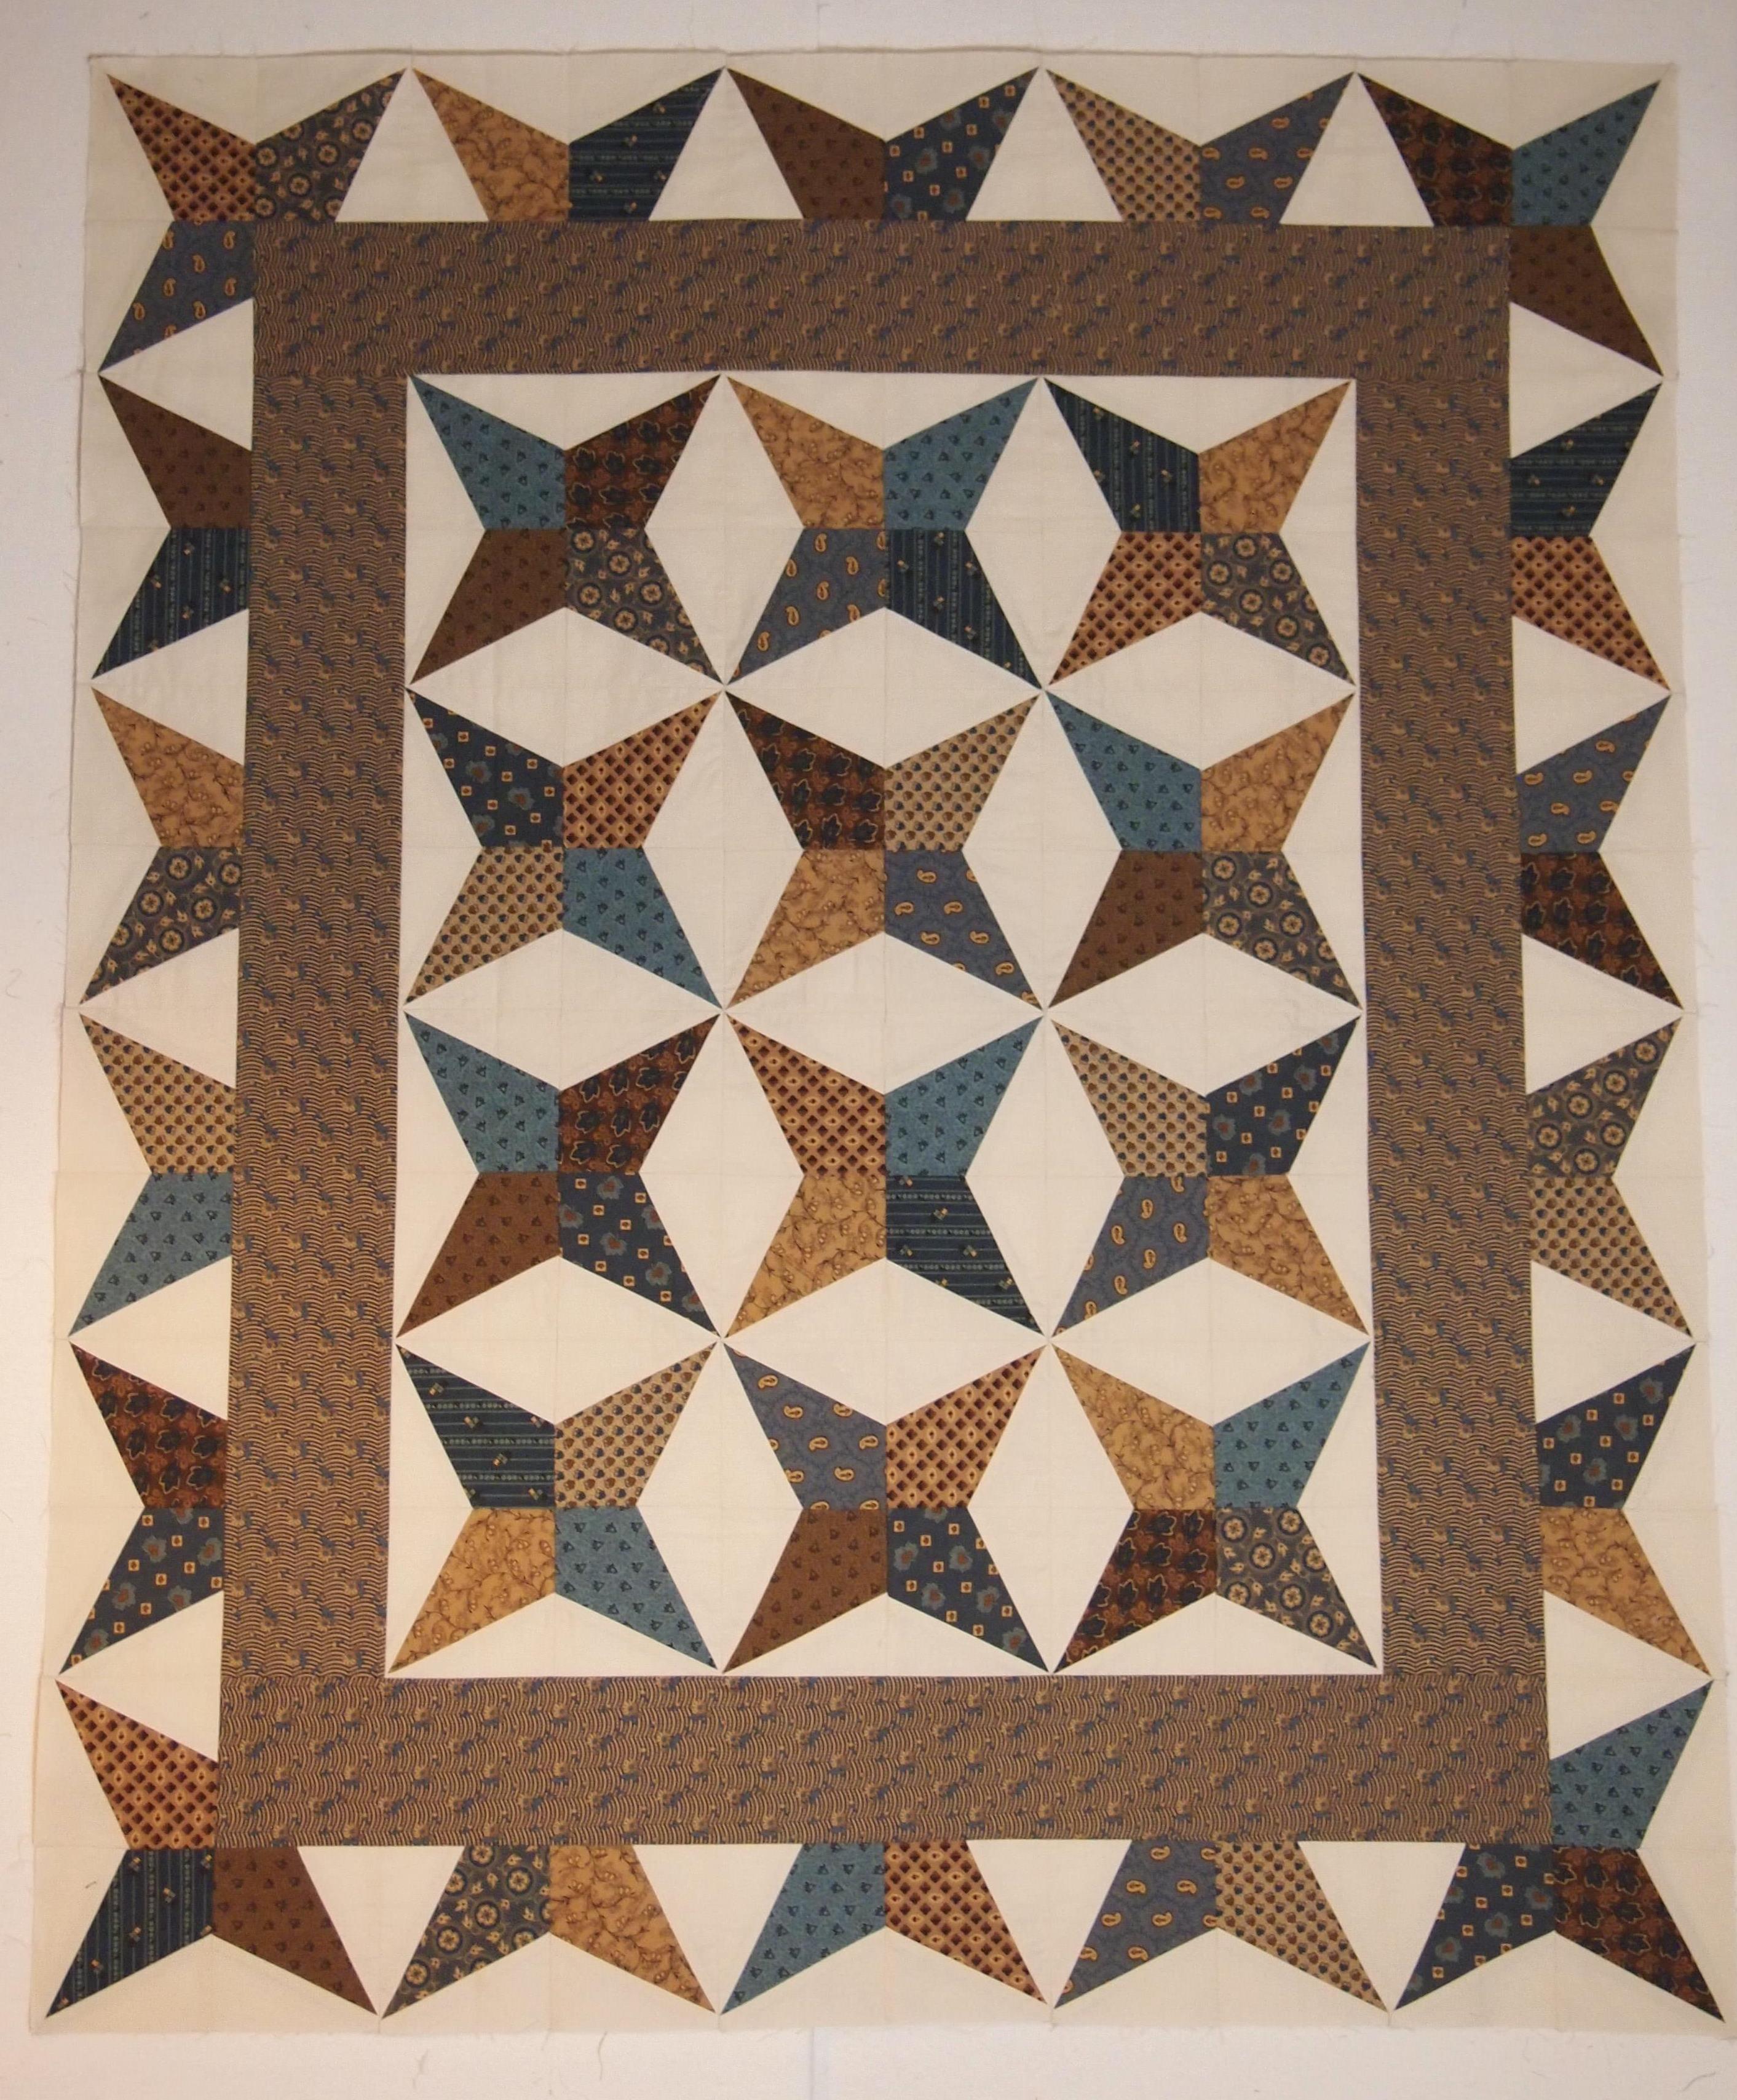
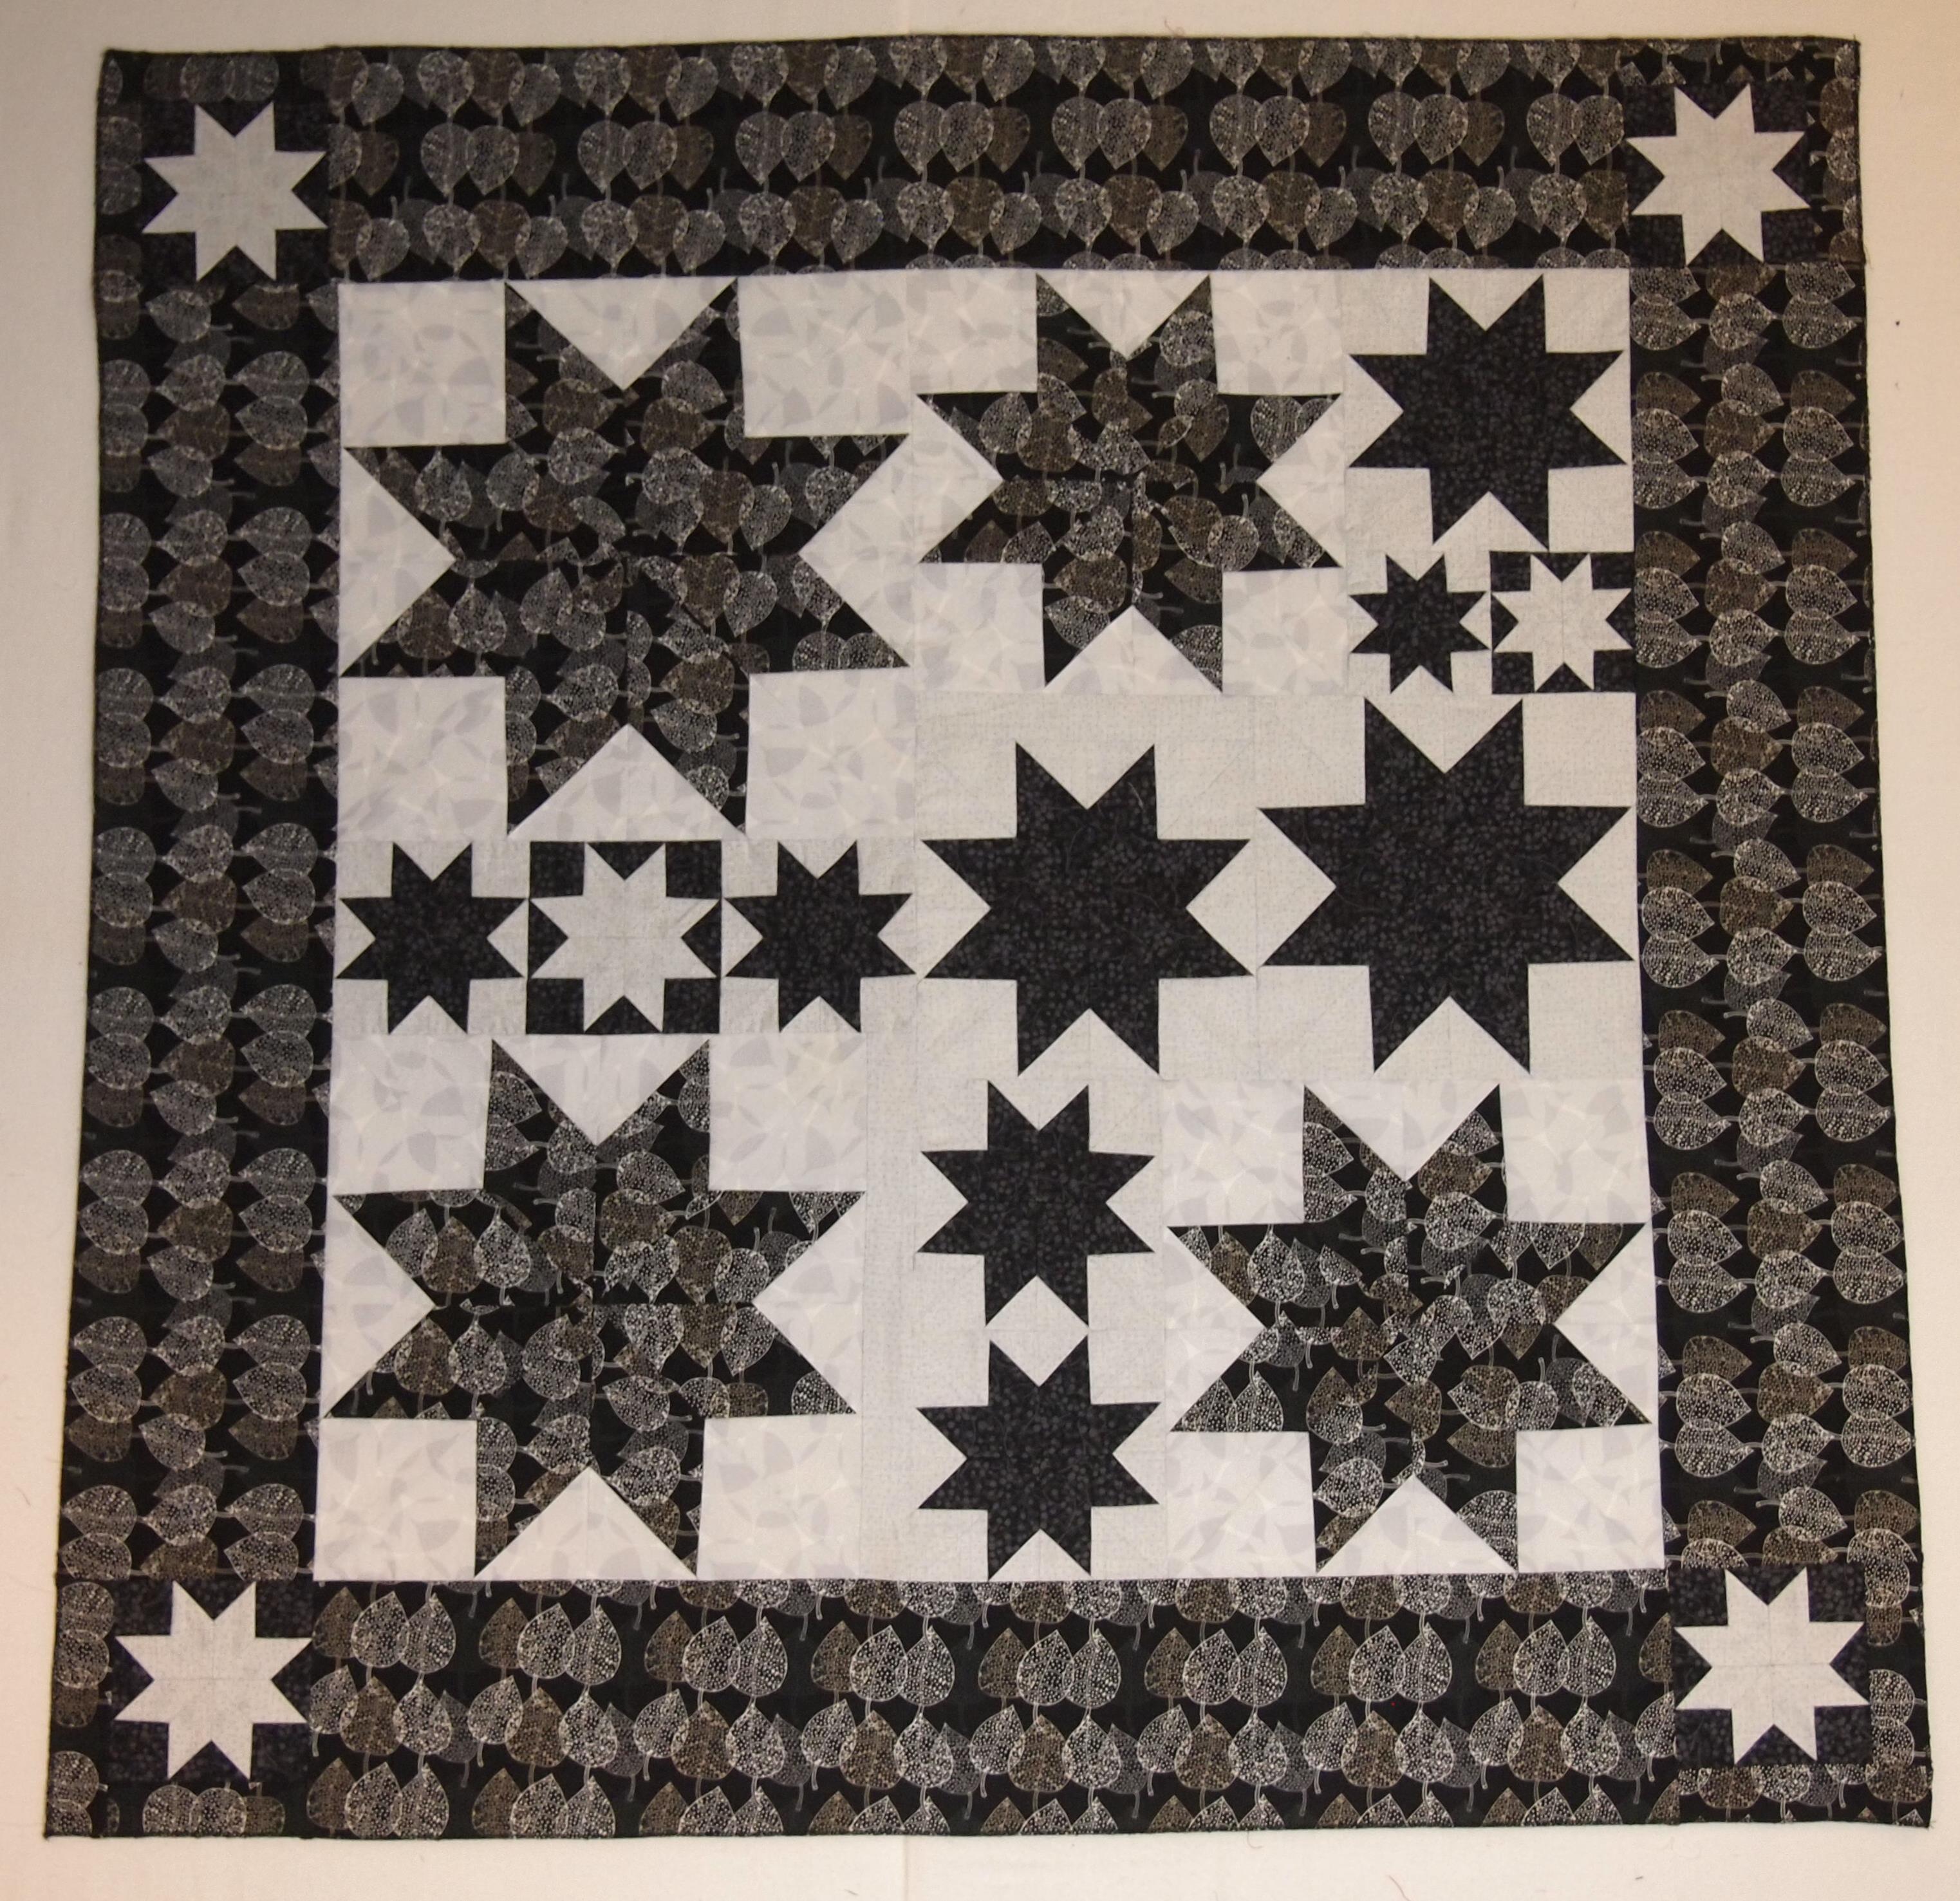
This is my finished mystery given to the Studio 180 Design Certified Instructor’s. It will be released as a pattern early summer 2014. I’ve a bad cold and have been taking a lot of NyQuil. They have been teasing me that I will have to go Betty Ford to get of NyQuil. Needless to say, I made some mistakes because of NyQuil Residue. I had to do a lot of un-sewing. I jokingly called my quilt “Frank” because he had been taken apart and sew back together so many times he had scars!

We used Split Rects, Wing Clipper I, and the Tucker Trimmer I. This is a fun quilt to make!

Deb Tucker Certified Teacher Reunion

Tomorrow I leave for Pennsylvania for the Studio 180 Design Inaugural Certified Teacher Reunion. Whew is that a mouthful!  I have been so excited about attending this event that I got sick two days ago.  I have been in bed for two days trying to get well enough to drive 8 hours tomorrow.  We were the first group of quilters to get certified by Deb Tucker.  After our weekend reunion, Deb will start the process of certifying the second group of lucky inductees.  We (the first group) are so excited to see each other again, we really bonded over our experience together.

Reunion Mystery

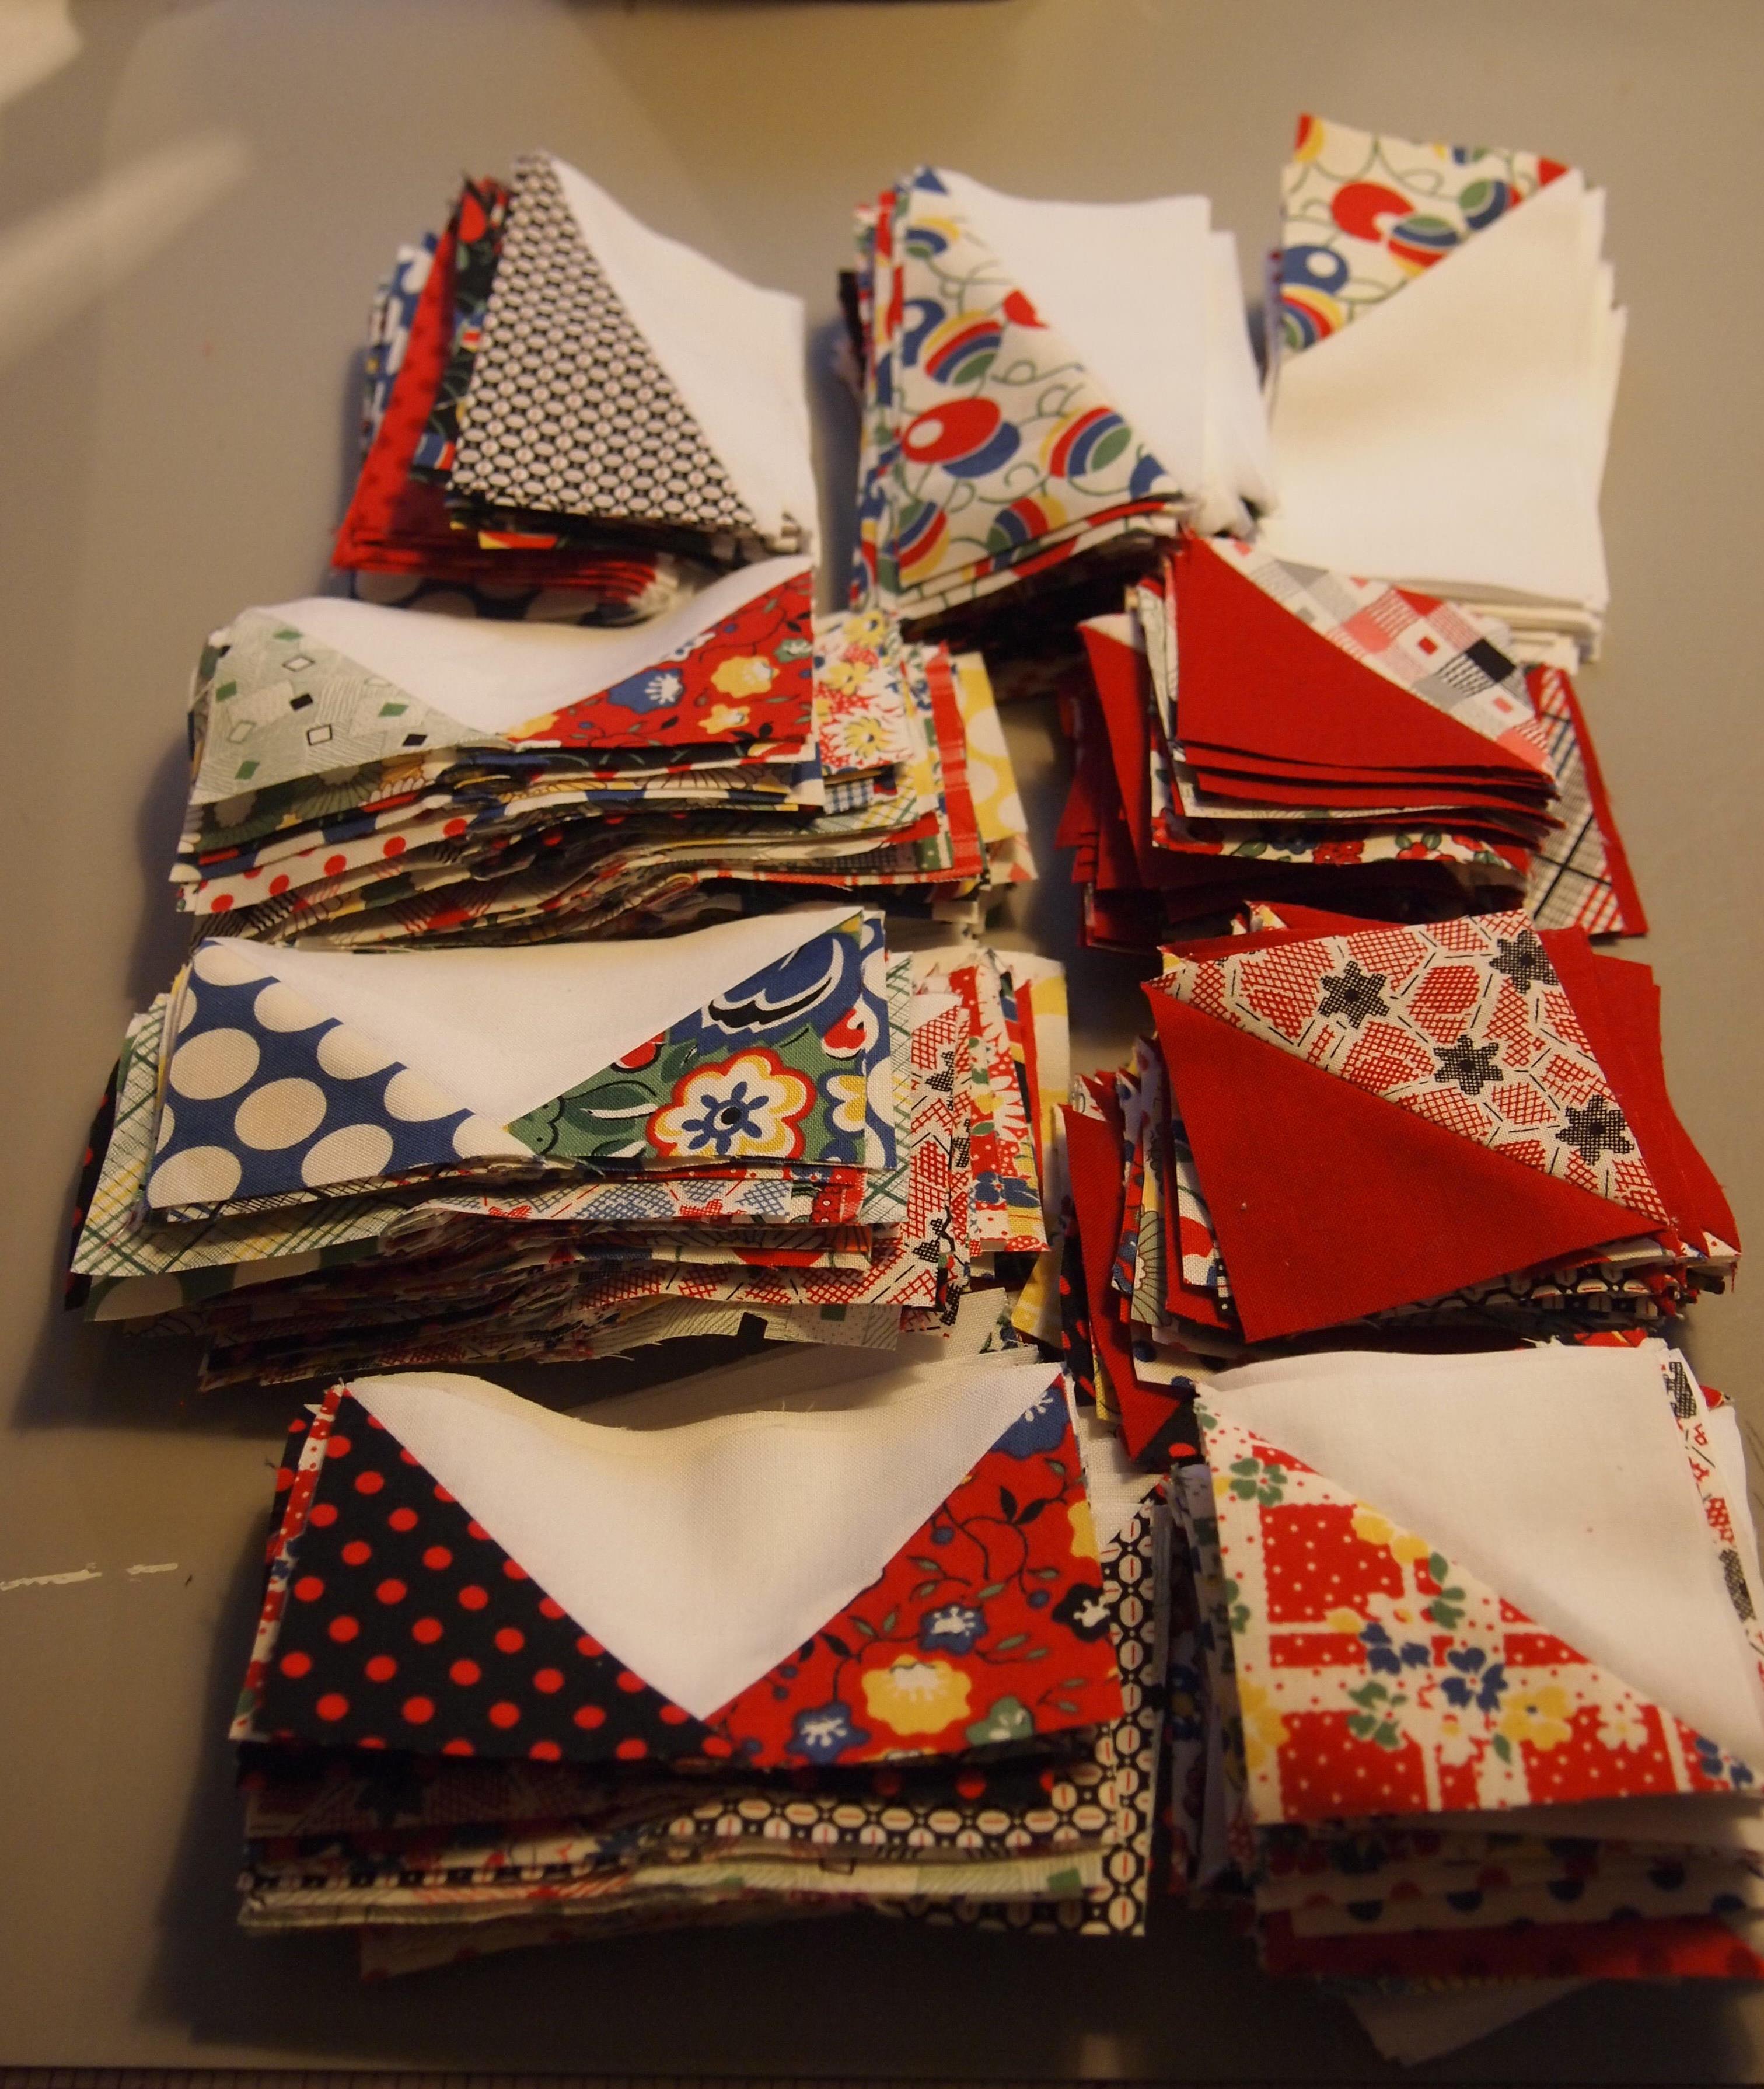
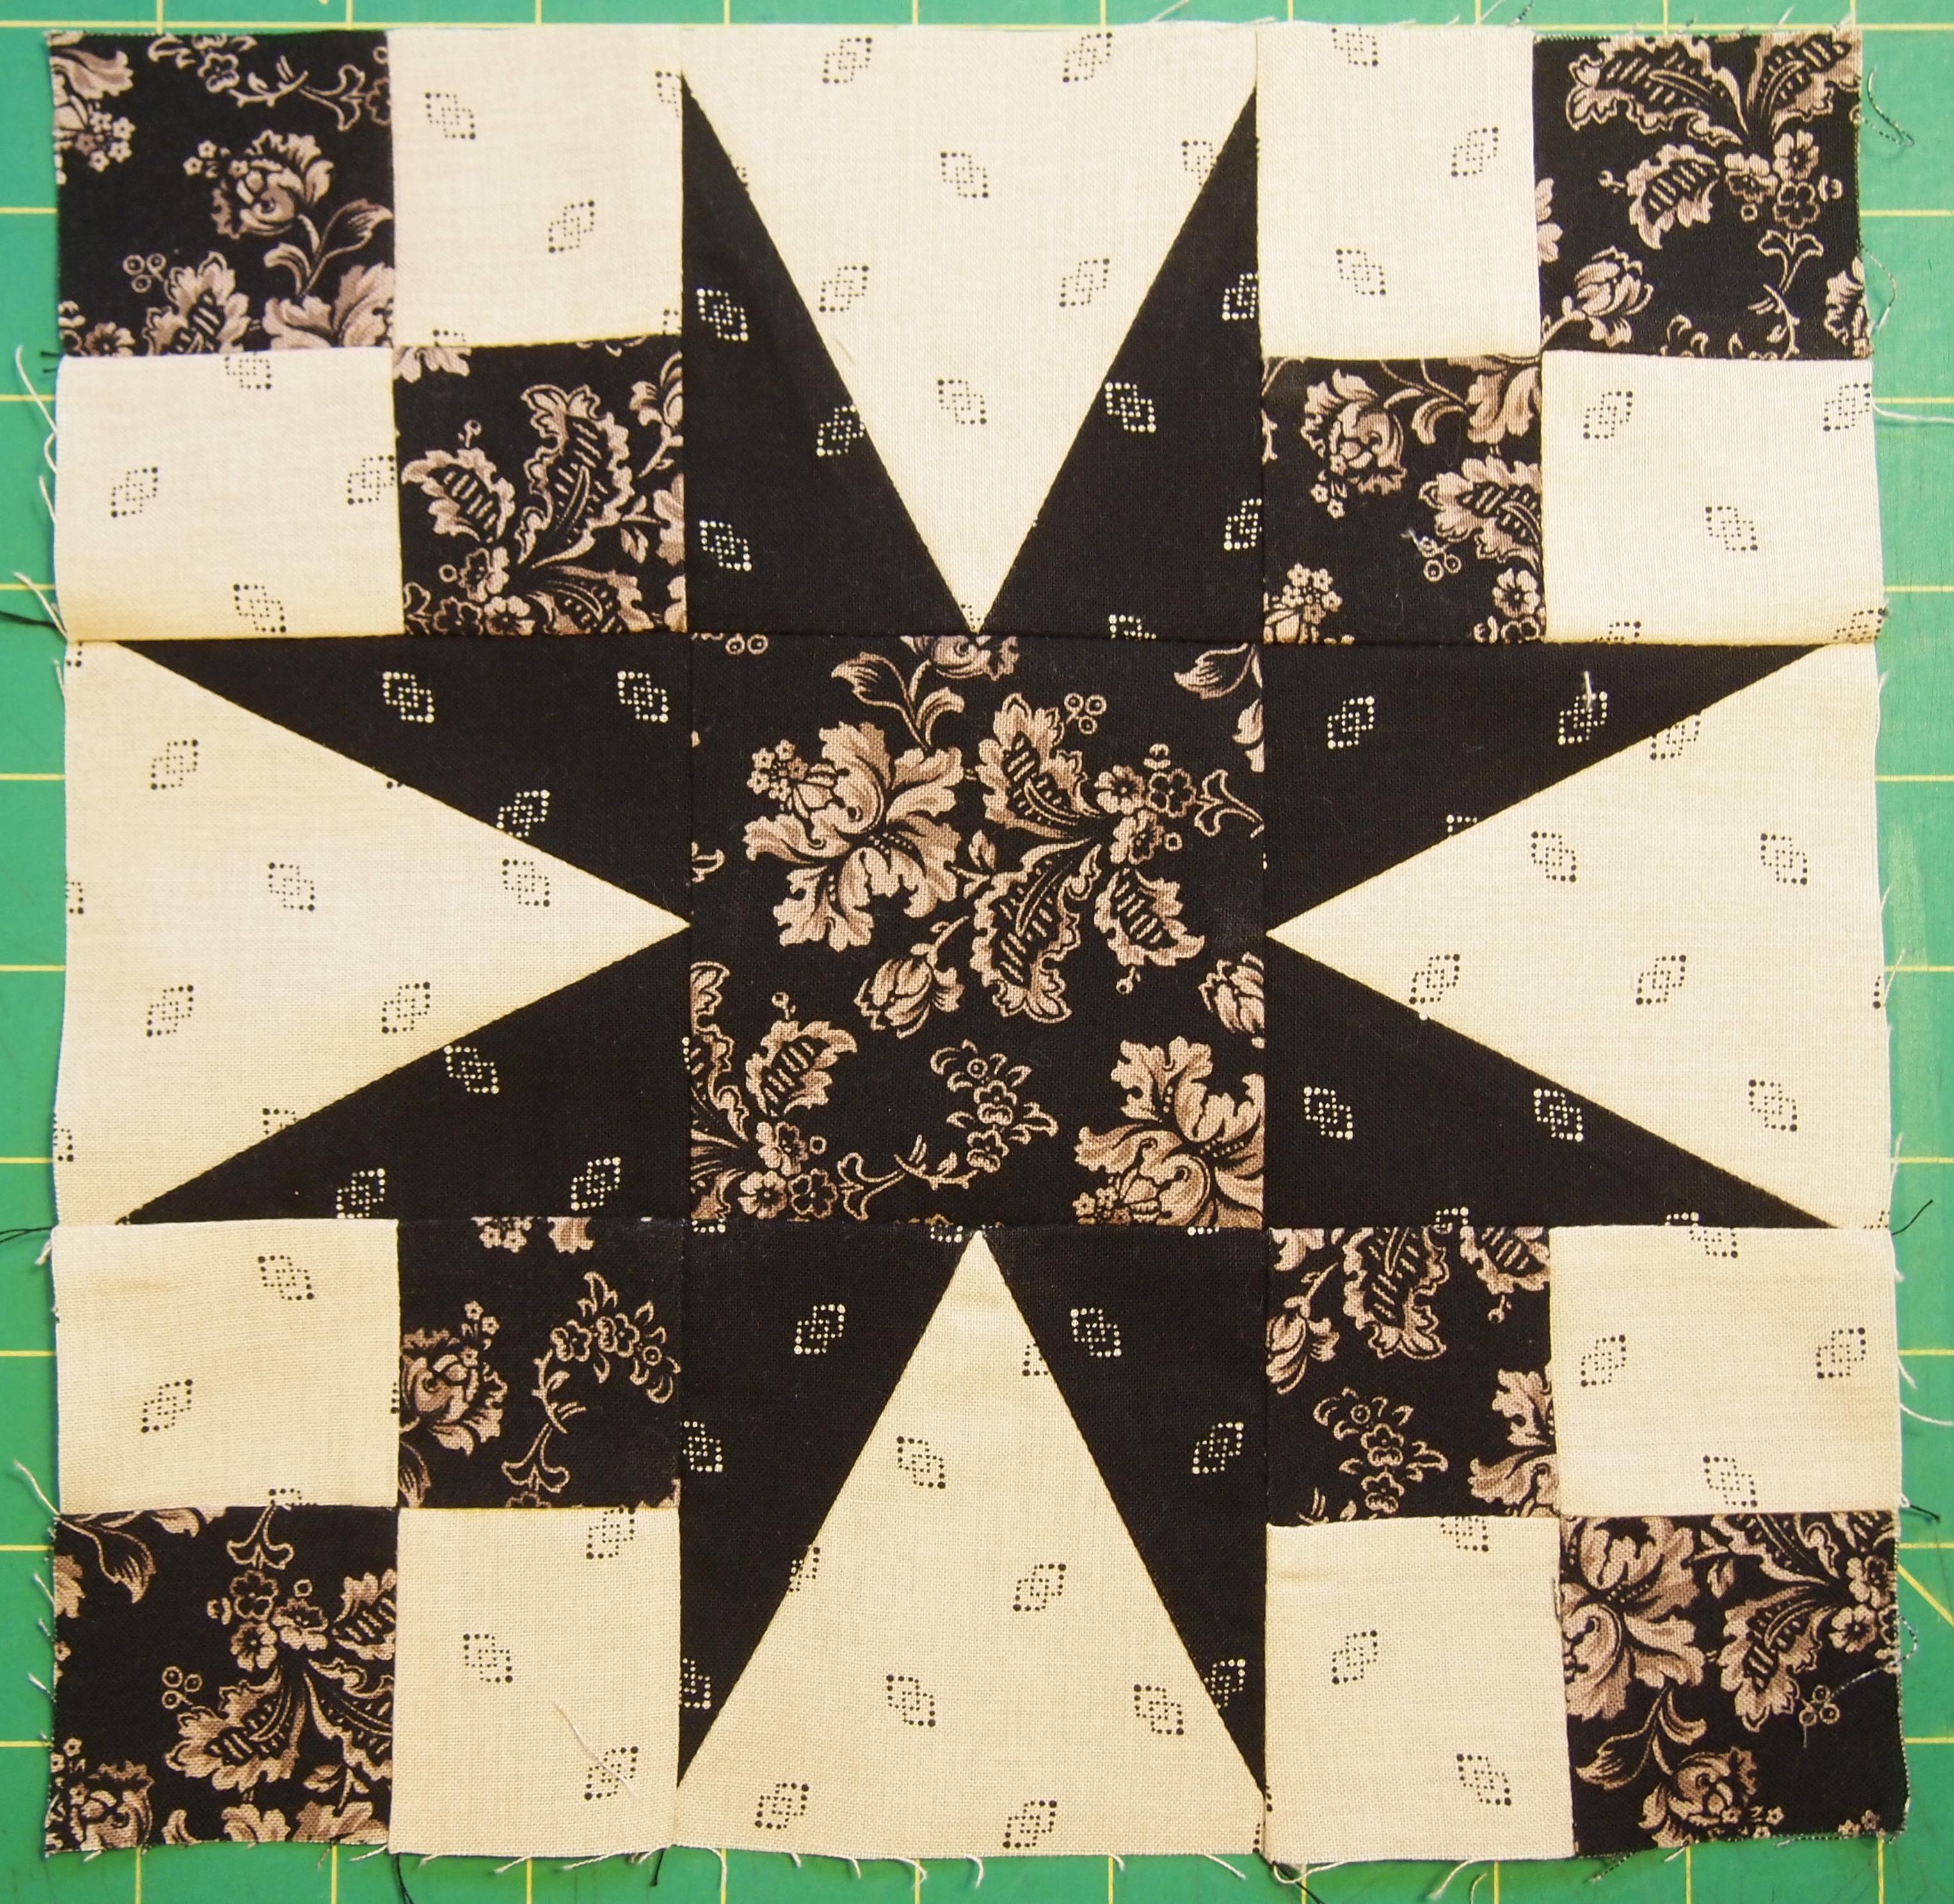
To prepare for this weekend, we were given instructions for a Deb Tucker Mystery Quilt.   We had to make many, many ,many Split Rects, Flying Geese, and Half Square Triangles.   We were also tasked with creating a challenge block to see if we can figure out what Studio 180 Tools were used to make it.  I love playing block detective.  I call it being a QSI (Quilt Scene Investigator).  The only trouble is I tried making mine while in a NyQuil induced stupor.  I guess I will share it as what NOT to do!

We are going to try out a new yet to be released pattern by Deb Tucker.  Also, there are rumors about a new Studio 180 Tool!  I can’t wait to get there.  I’ll let you know what goes on!

Victorious – V Block

Victorious

I just finished another class sample. Victorious is a companion pattern for the Studio 180 Design V Block and Squared2 tools. It measures 55 1/2″ x 55 1/2″. Three simple fabrics, one fantastic quilt.
OLYMPUS DIGITAL CAMERA

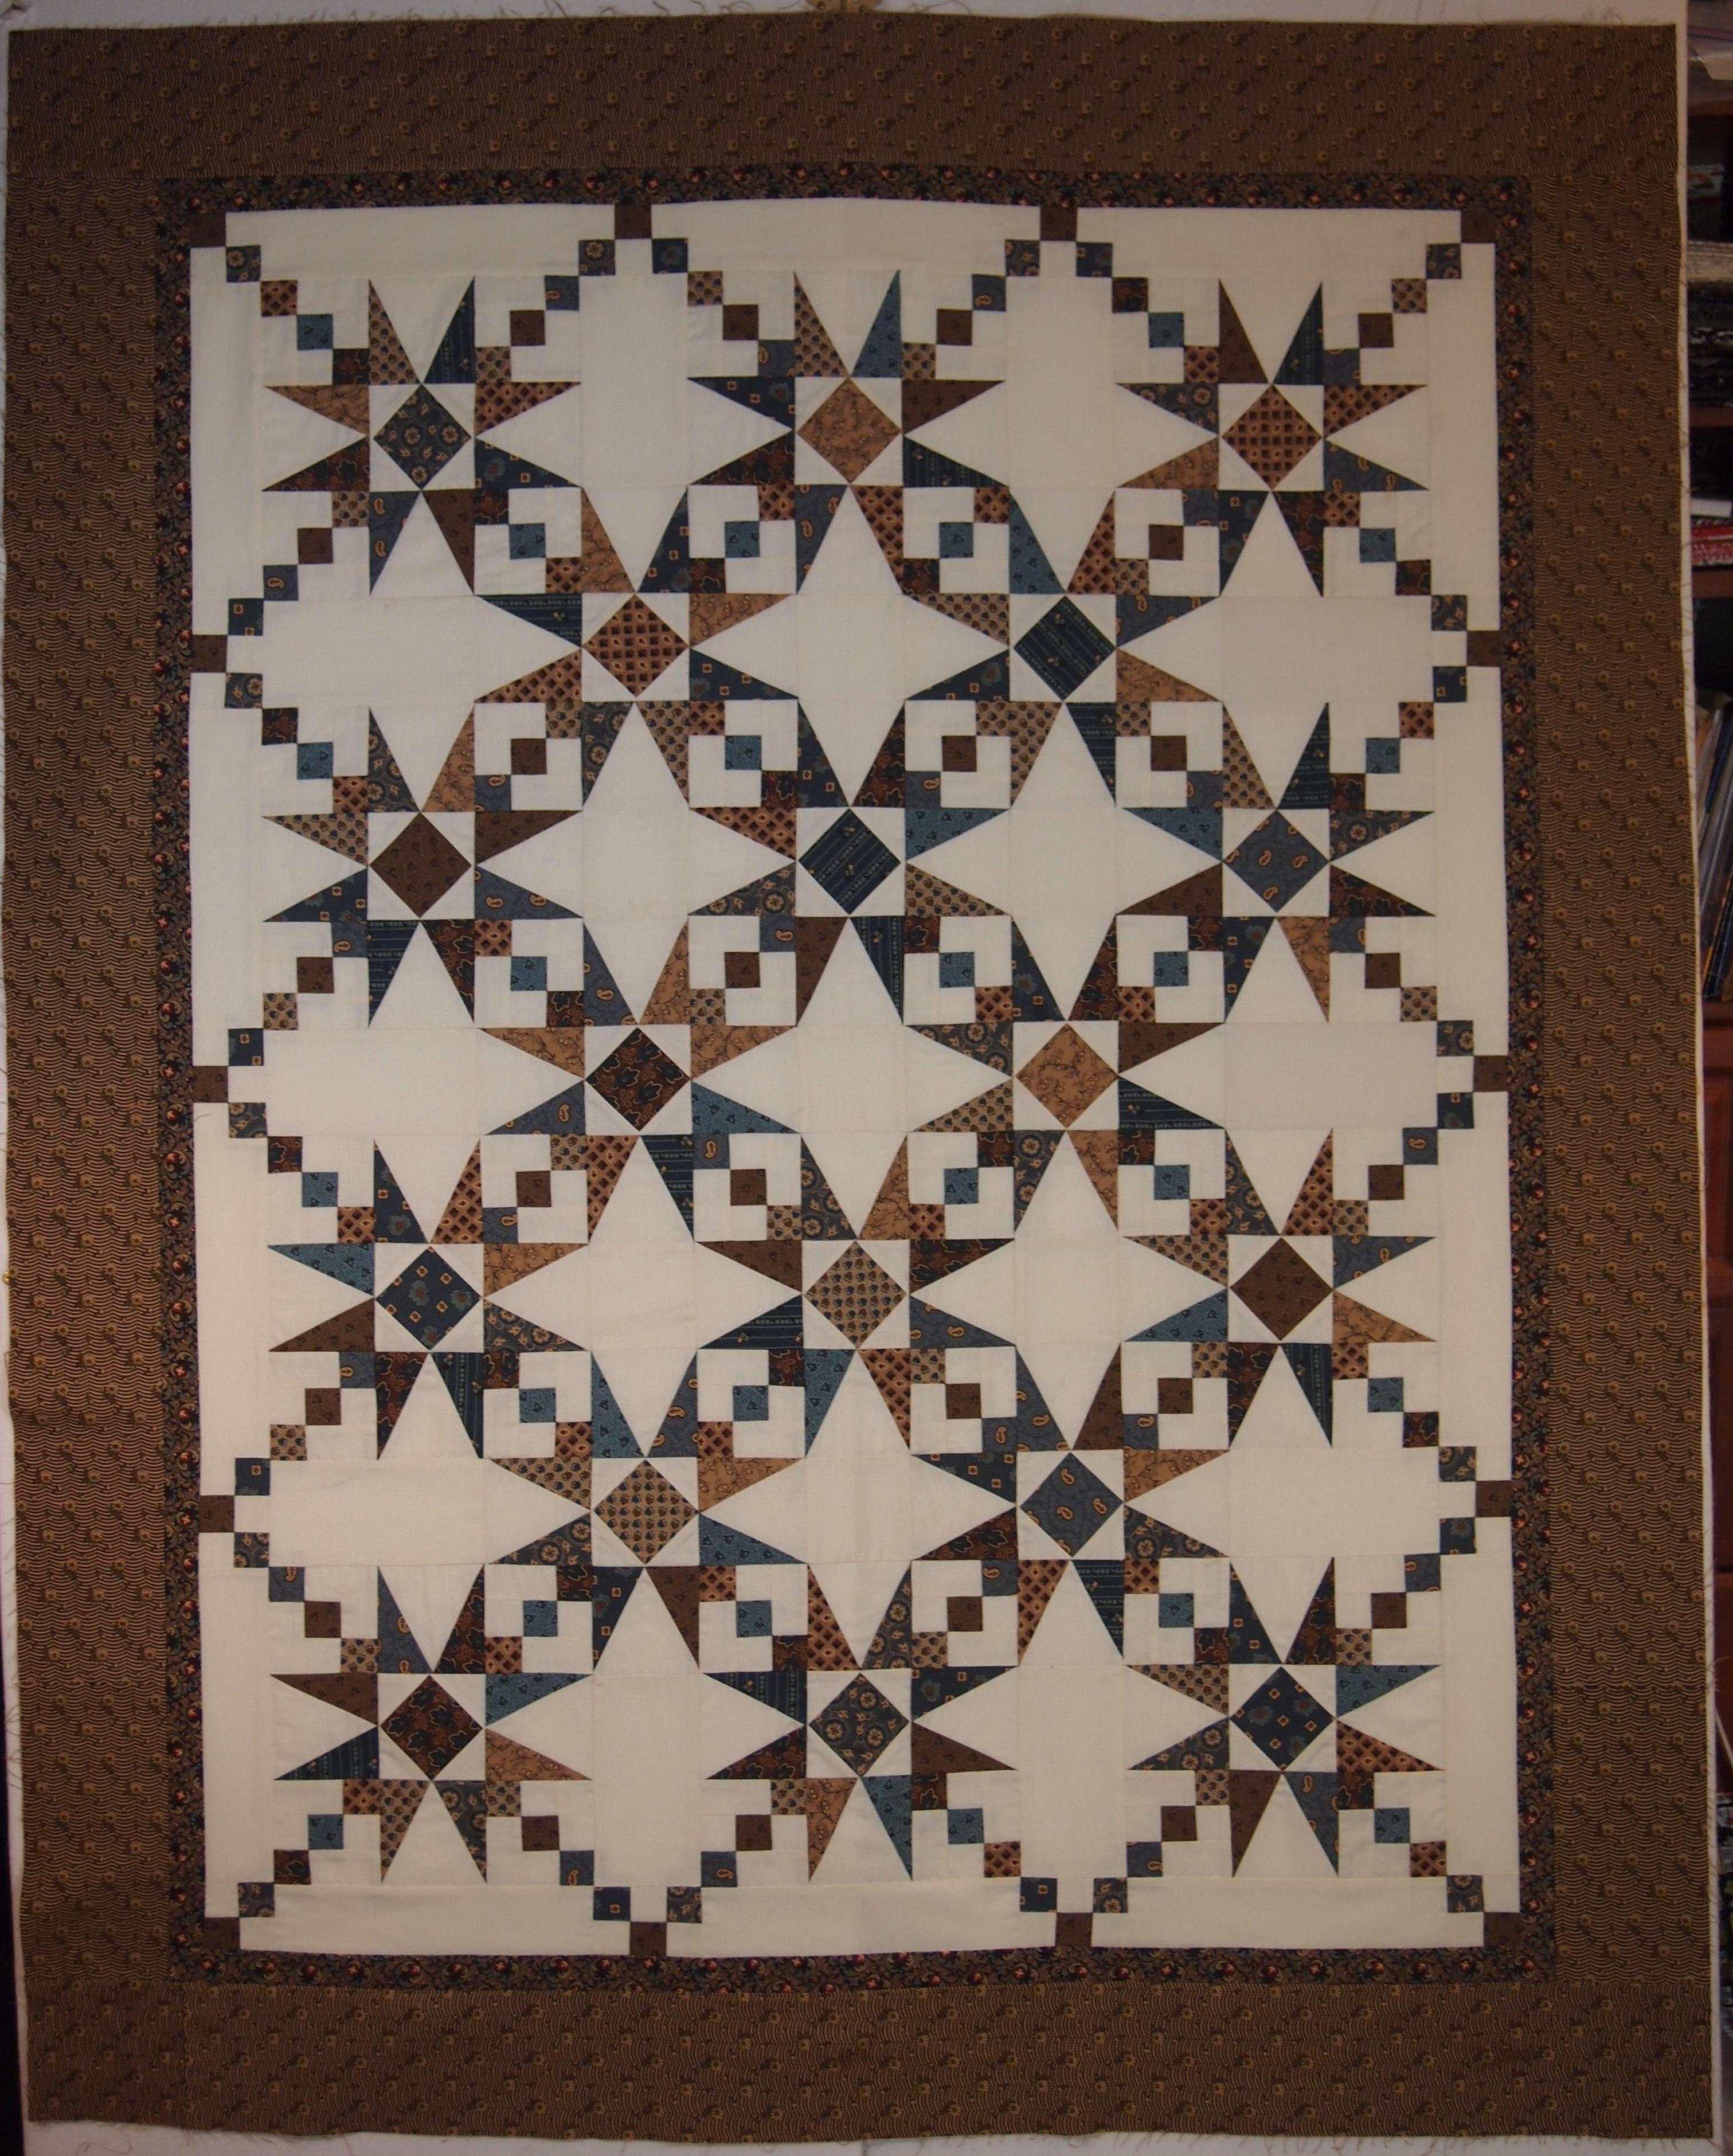
V Block units are used to create the stars with the added interest of the diagonal chains of small squares tying the stars together. V Blocks are also used to construct the diamond pieced border. The Squared2 units are used in the corners of the border.  This is a good skill building quilt.
OLYMPUS DIGITAL CAMERA

Sea Glass – Diamond Rects Tool

Sea Glass

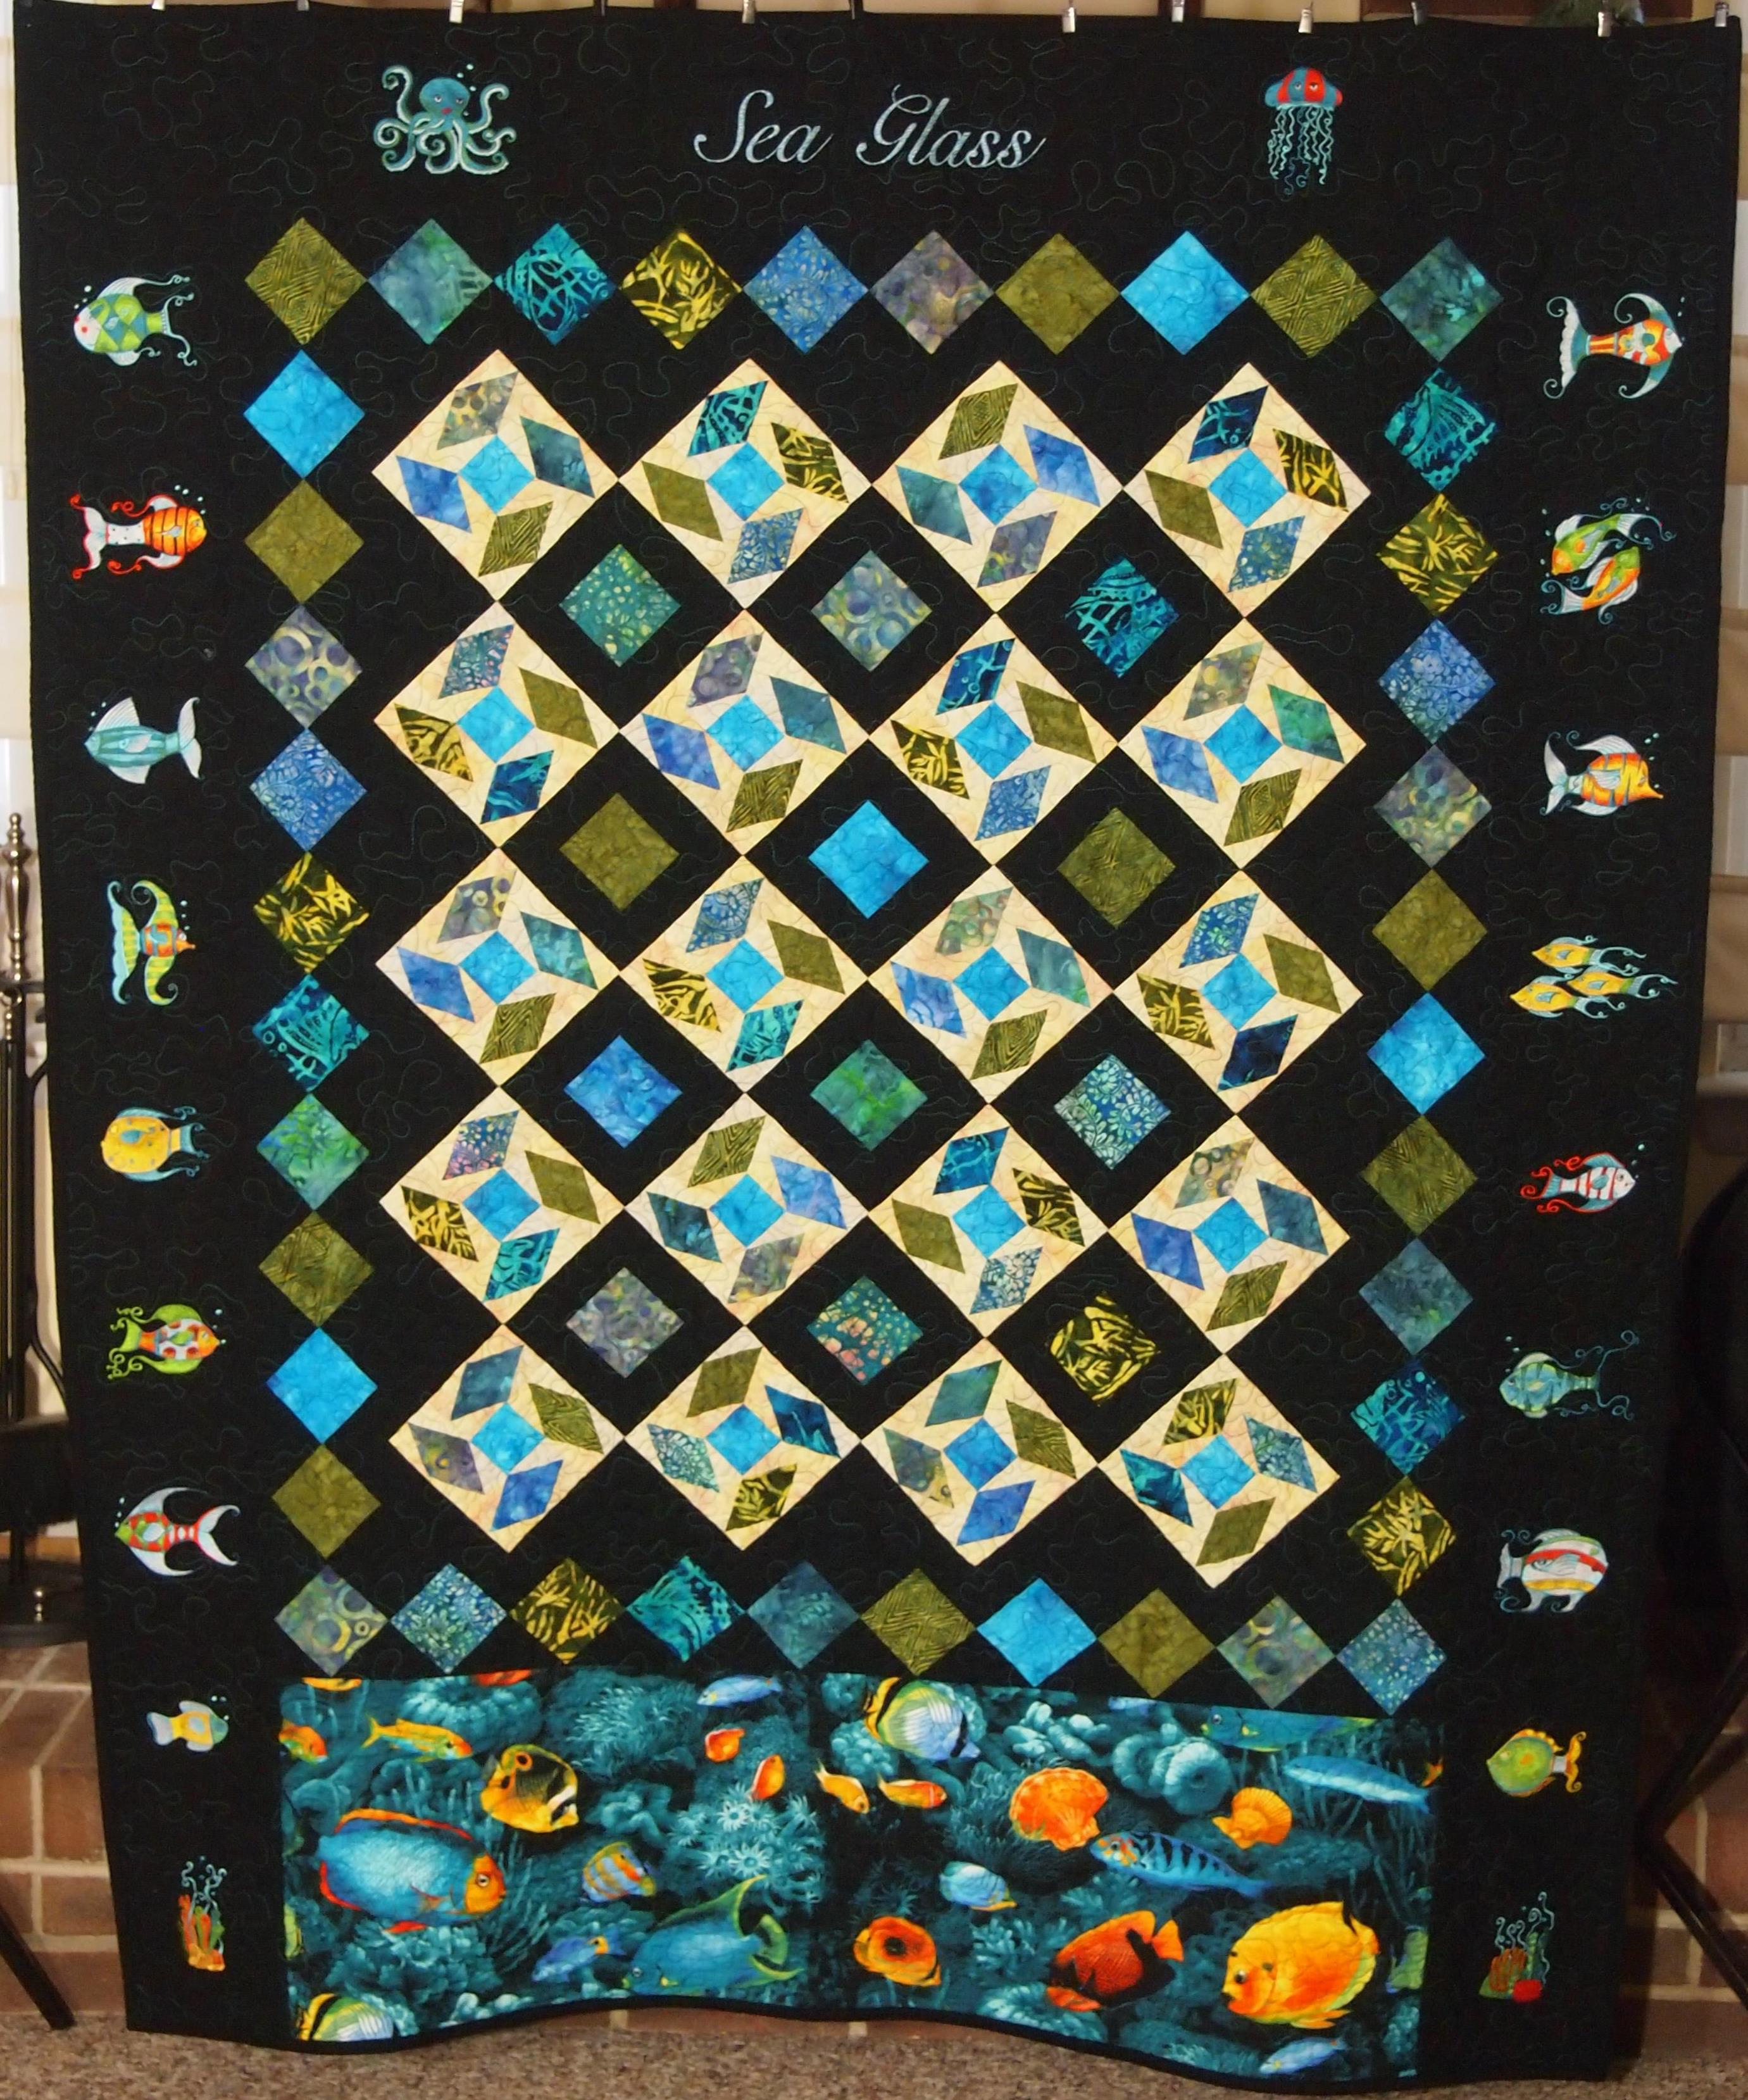
Above is the class sample I just finished.  It is my version of the newly released Deb Tucker pattern called “Sea Glass”, a companion pattern for the Diamond Rects Tool.  It measures 54″ x 66″.  I decided to use the focus fabric on the bottom of the quilt only.  I have a great collection of embroidery designs from OeSD called “Fish Fantasy”.  I pulled thread colors for the fish from the focus fabric.  I think it came out cute!

OLYMPUS DIGITAL CAMERA

Above is the Diamond Rects Tool.  It has 3 sections: the Center Diamond cutting section, the Side Triangle cutting section, and the Trim Down cutting section.  Now you can make the elongated diamond units needed for any Storm at Sea project.  For the Sea Glass Pattern you will need to start the spinning diamond blocks by using a partial seam method.

OLYMPUS DIGITAL CAMERA

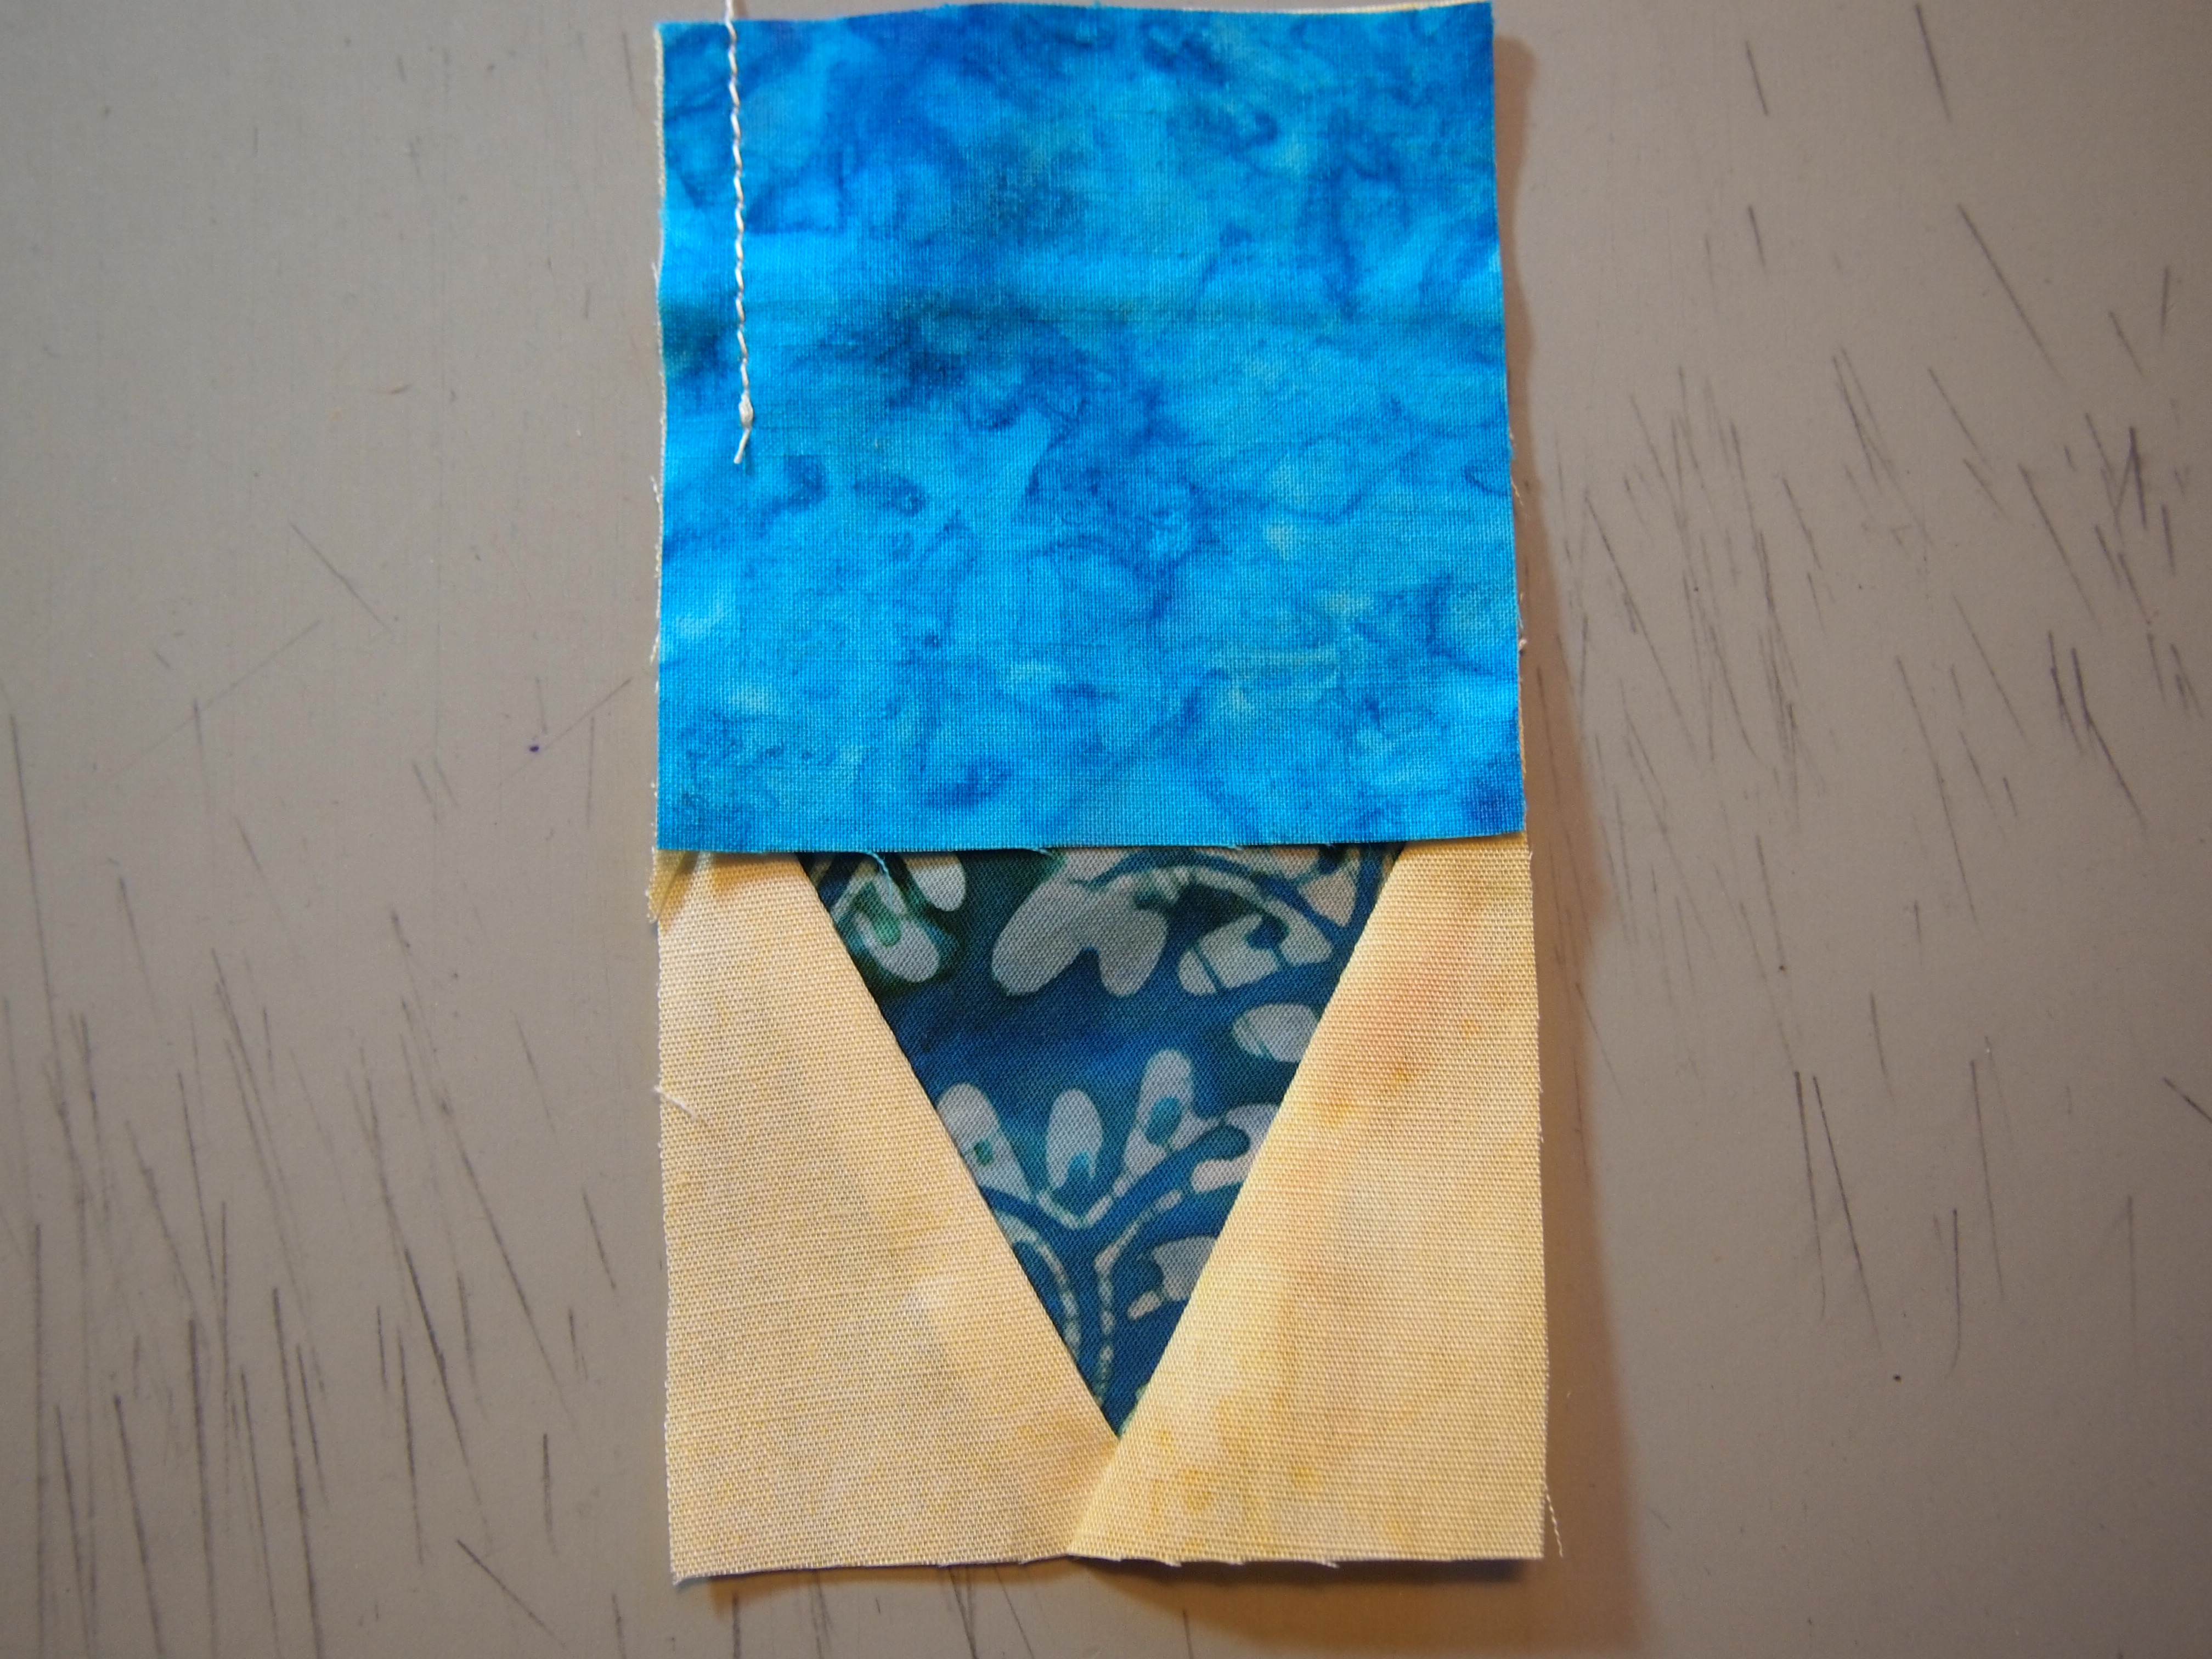
I chose 4 different colored diamond units.  Position the first diamond rectangle unit rights sides together with the center square and stitch about 1 1/4″ to 1 1/2″ from the end.

OLYMPUS DIGITAL CAMERA

Press the seam away from the center square.

OLYMPUS DIGITAL CAMERA

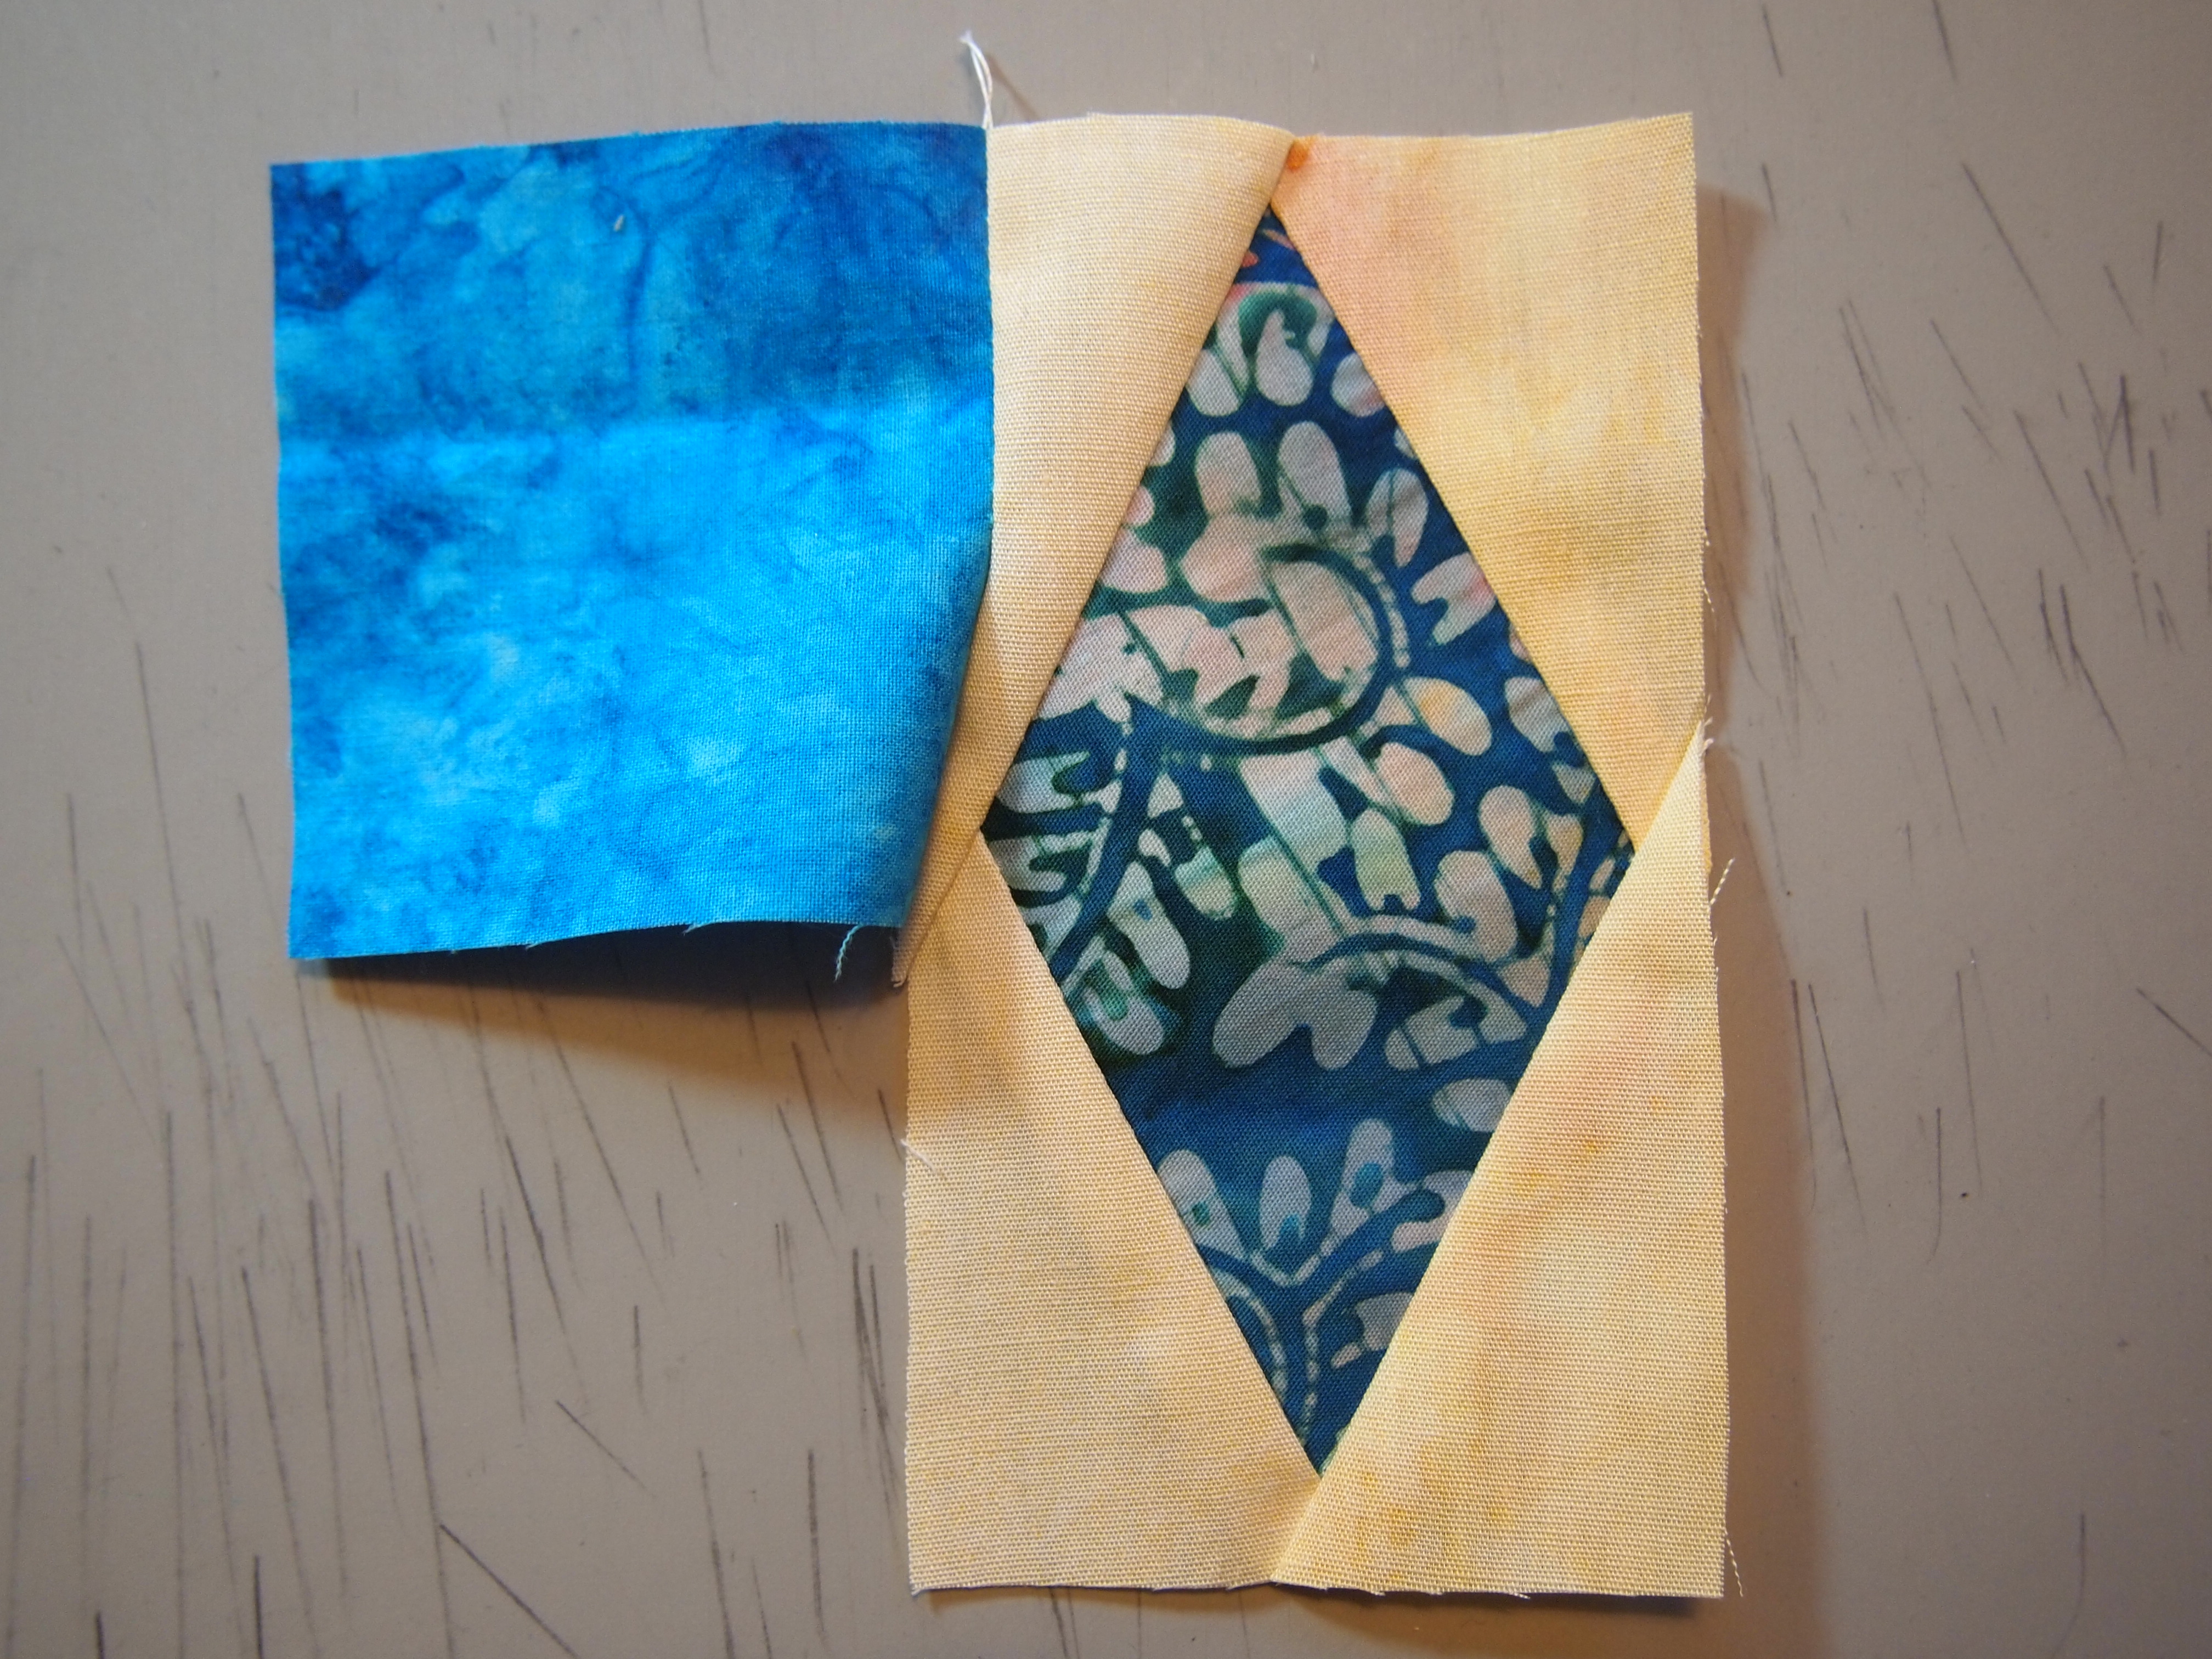
Position the second diamond rectangle unit on top of the partially pieced section and stitch from raw edge to raw edge.  Again press away from the center square.

OLYMPUS DIGITAL CAMERA

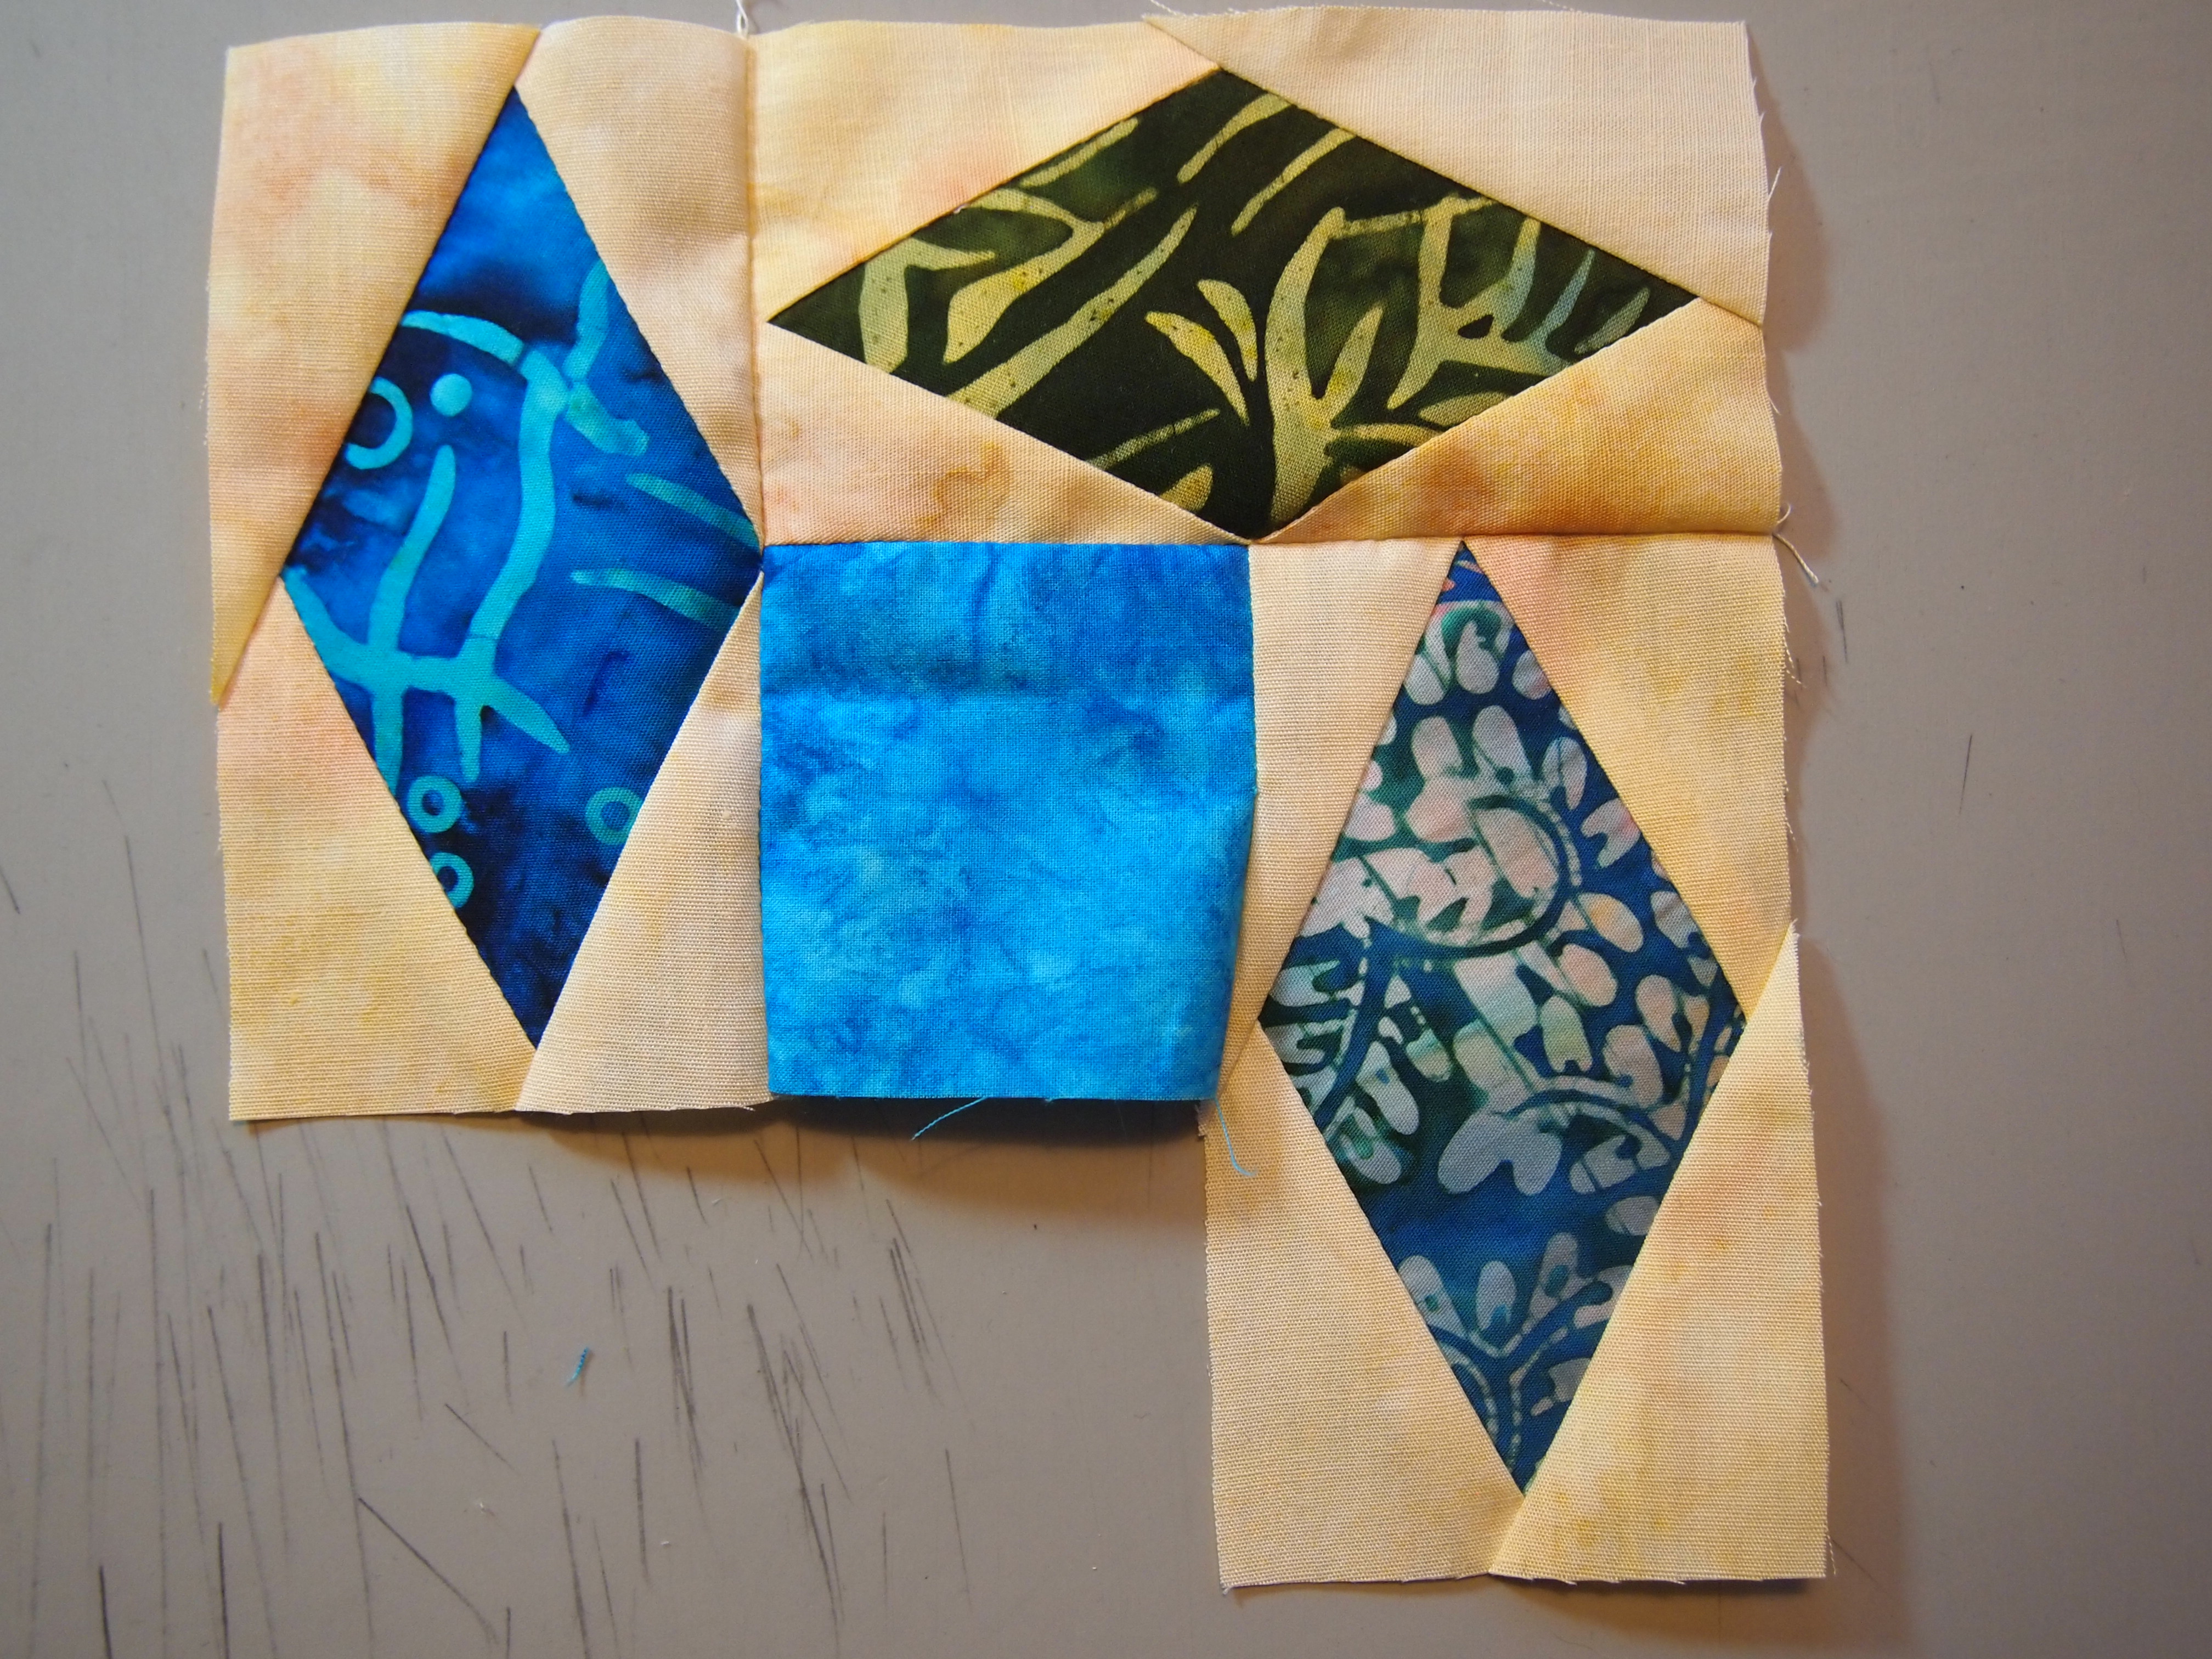
Continue adding the third diamond rectangle.

OLYMPUS DIGITAL CAMERA

Add the fourth diamond rectangle unit in the same manner, always pressing away from the center square.

OLYMPUS DIGITAL CAMERA

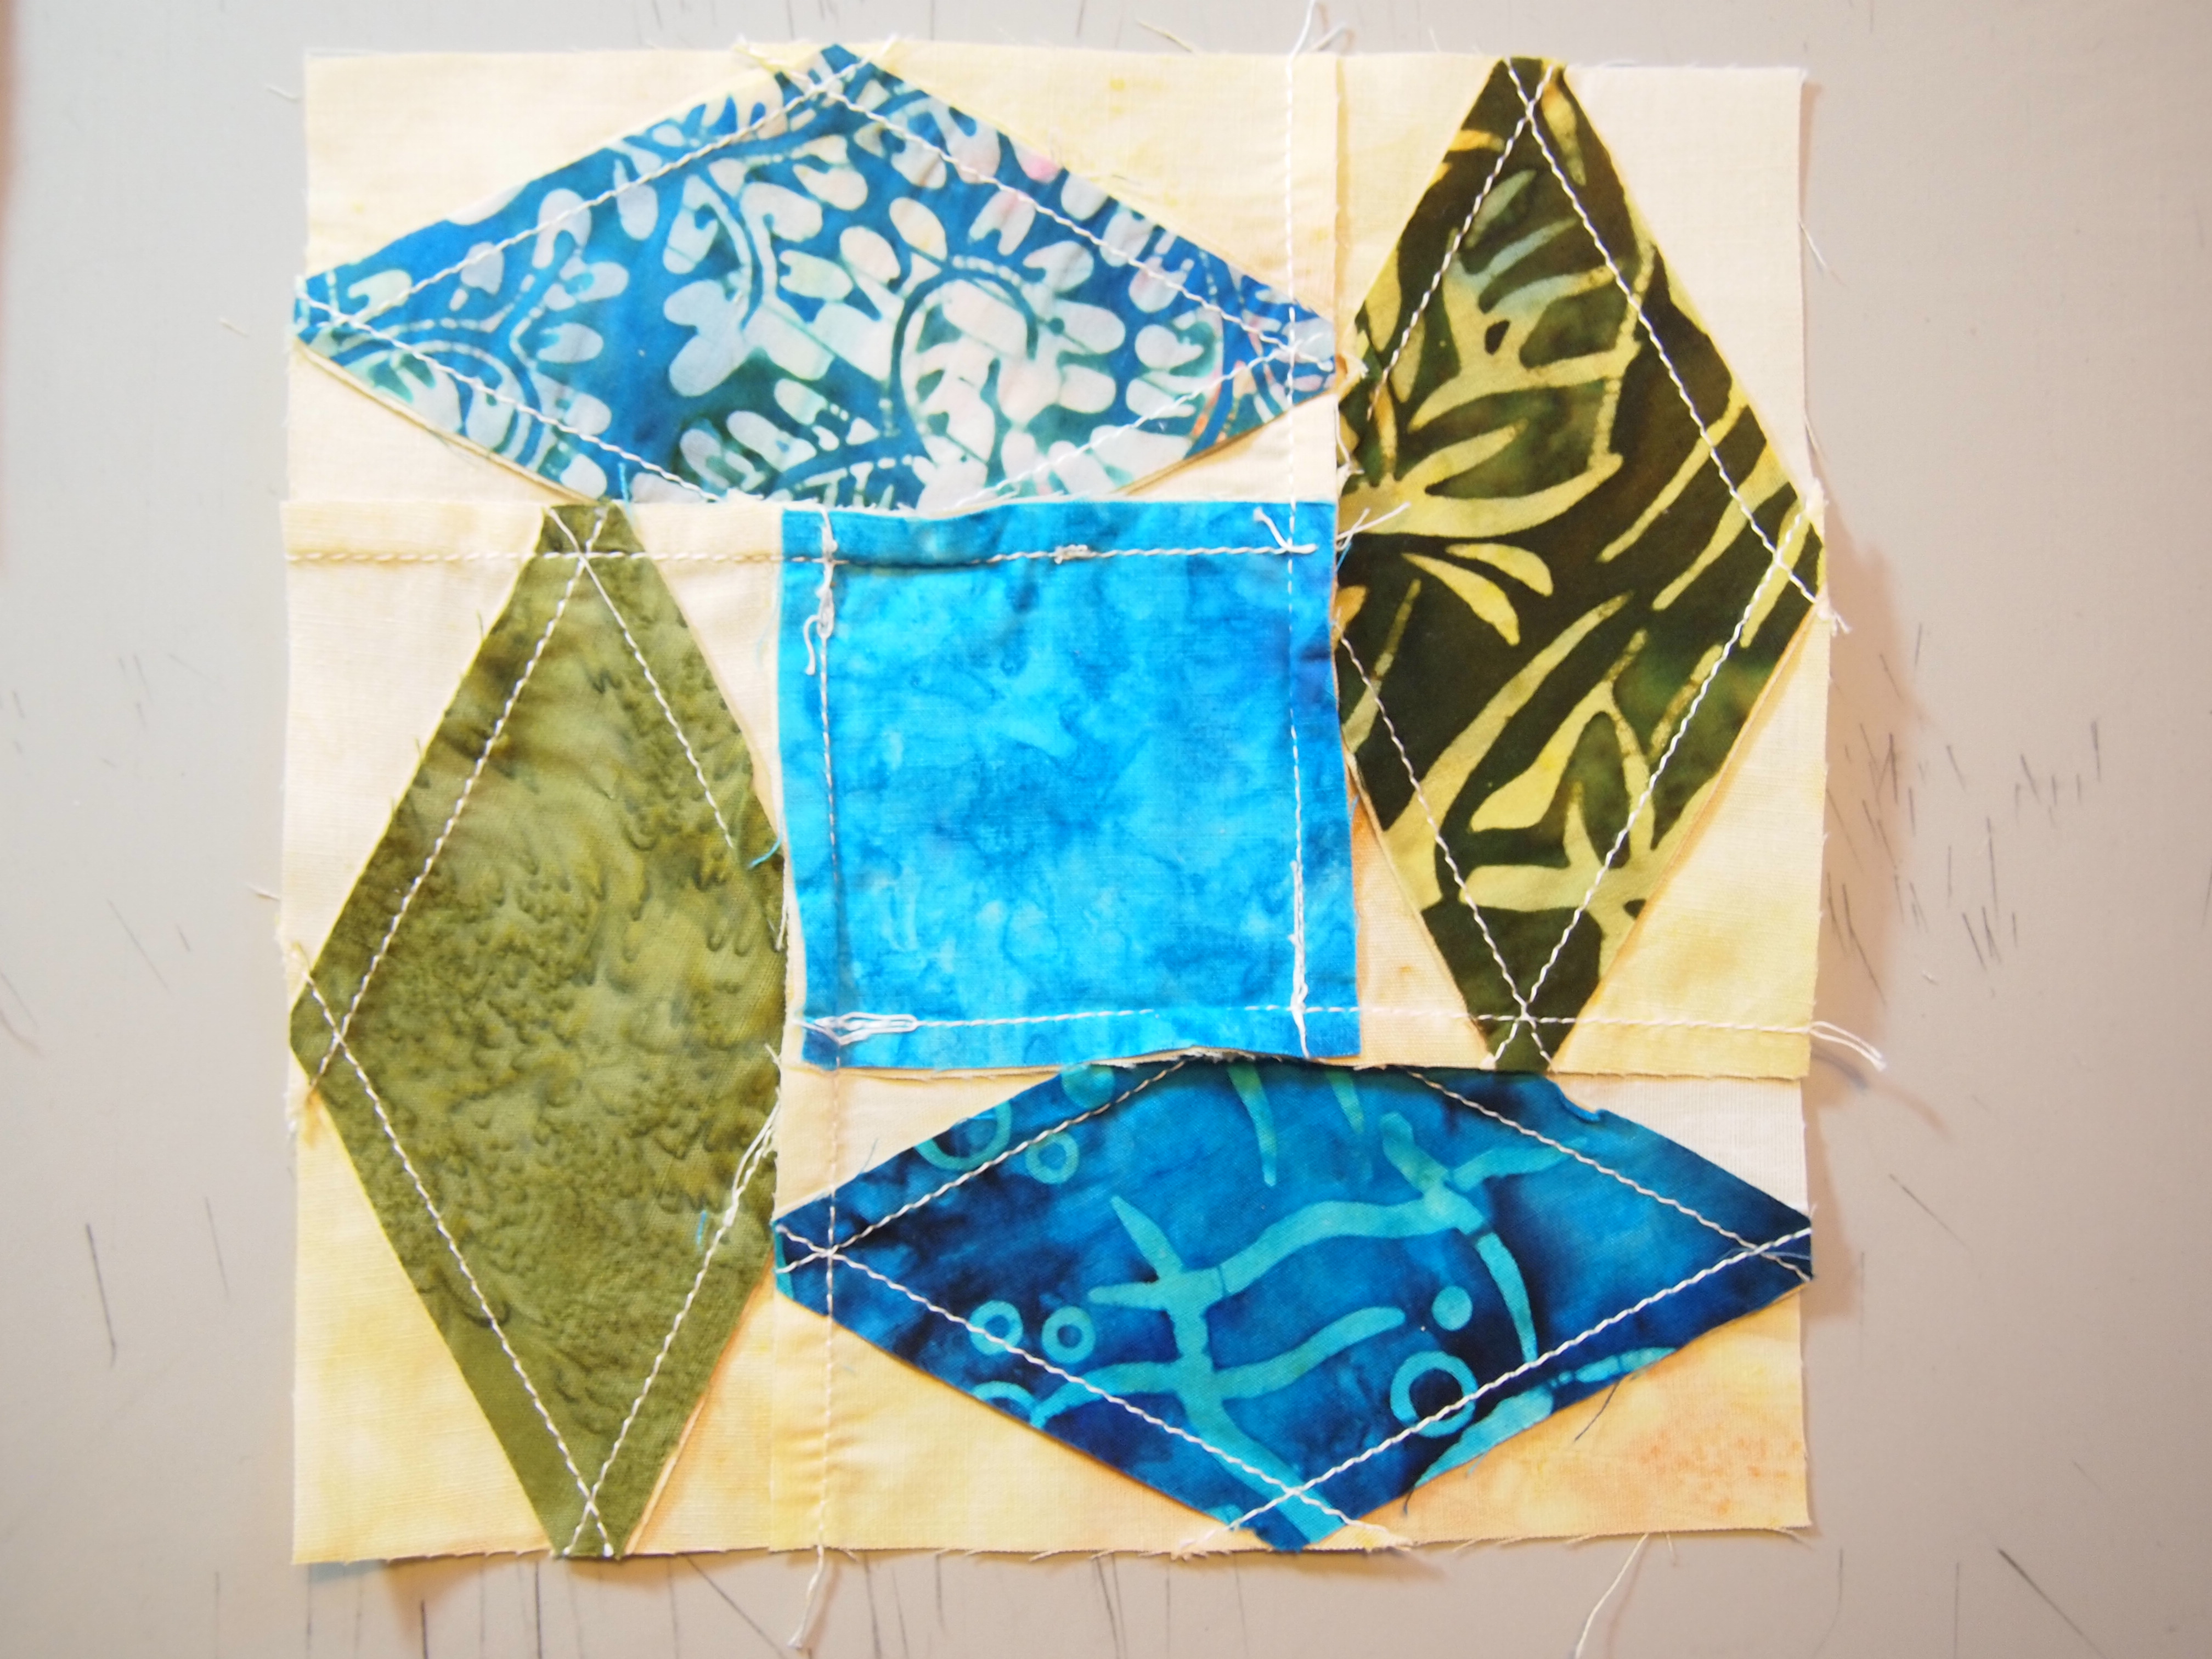
Complete the block by reinserting the needle at the end of the stitching line and sew to the raw edge of the block.

OLYMPUS DIGITAL CAMERA

All the seams are pressed away from the center square.

OLYMPUS DIGITAL CAMERA

The finished  spinning diamonds block.

Doubly Charmed

Doubly Charmed
Above is Charmed Corner Beam (40″ x 48″).  I Love this pattern. It’s from Studio 180 Design and is called “Doubly Charmed”! You use the same set of 5″ squares for two quilts. You cut the center beams from the squares for the first quilt and then use the cutaway triangles for the side triangles in the second quilt. Two beautiful quilts from one set of squares. Below is Charmed V Block (47″ x 59″).
OLYMPUS DIGITAL CAMERA

OLYMPUS DIGITAL CAMERA

Above shows the first cut using the Corner Beam ruler.  Position the dashed line against the raw edge of your stacked squares, trim.
OLYMPUS DIGITAL CAMERA

Lift and position the ruler and locate the line labeled “Center Beam Trim #2”, trim.
OLYMPUS DIGITAL CAMERA

Save the side triangles for the Charmed V Block Quilt.
OLYMPUS DIGITAL CAMERA

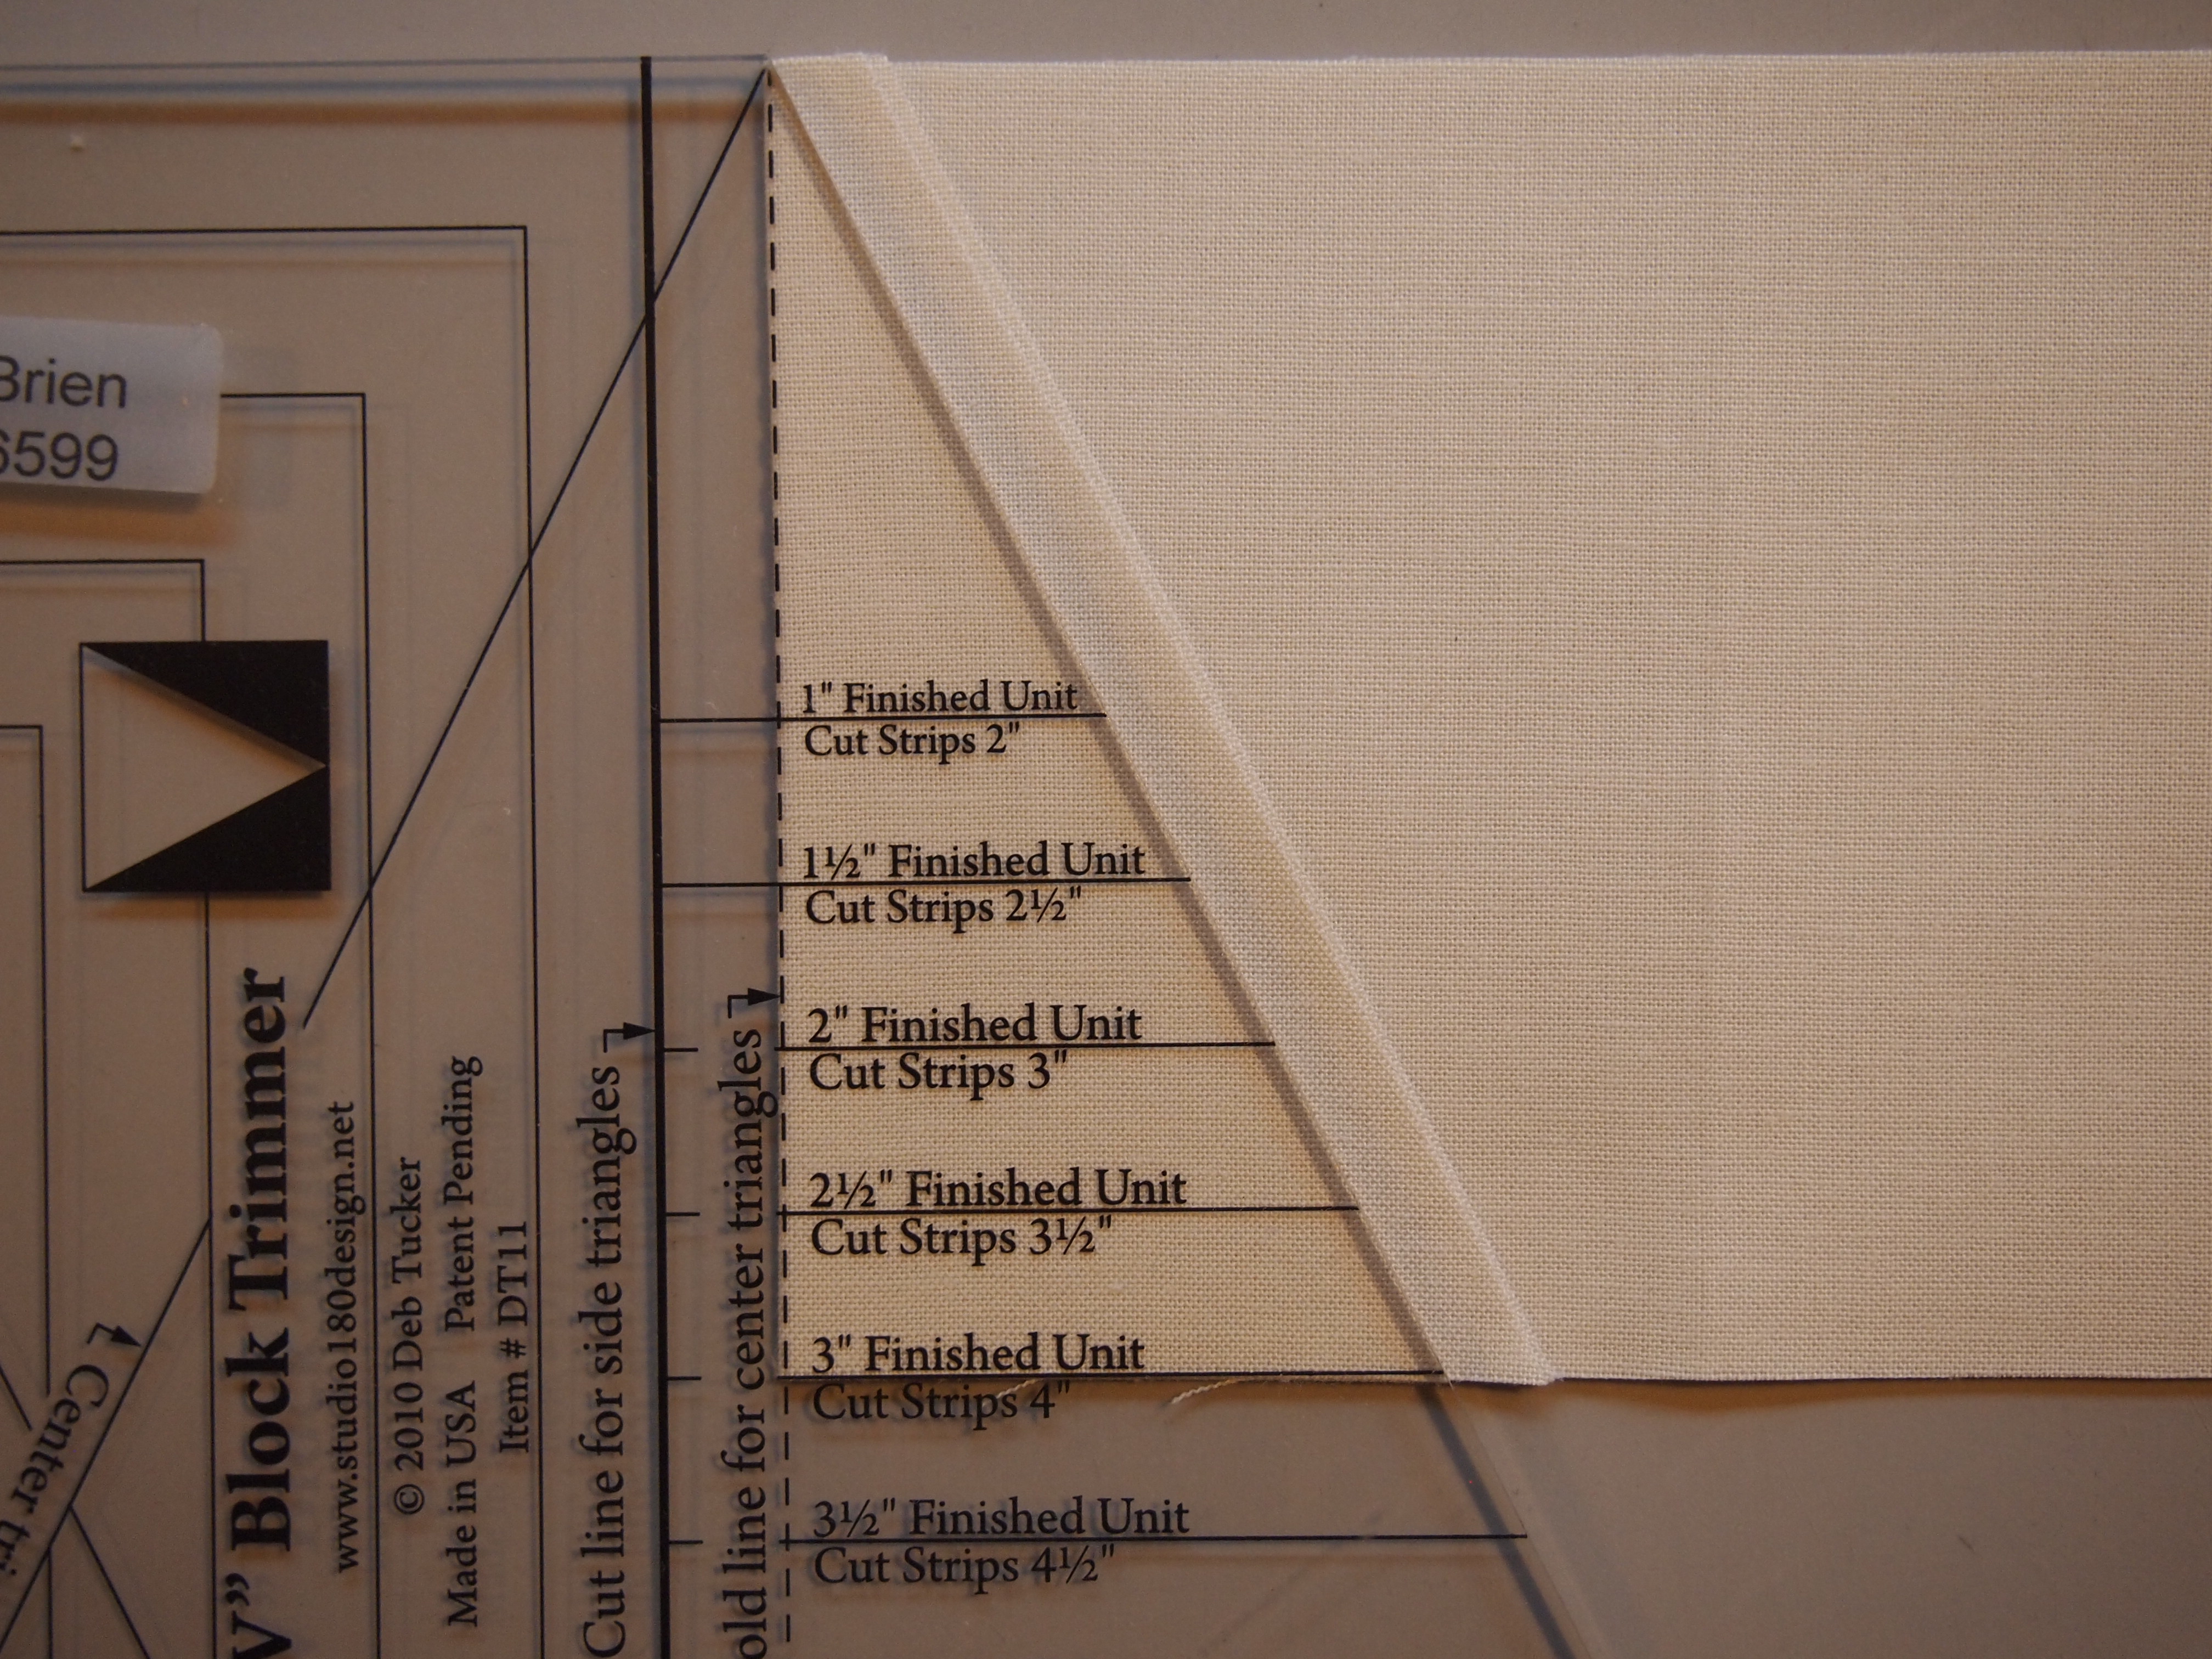
V Block Center triangle first cut.  Fold the fabric strip deep enough to accommodate the slanted cut for the chosen size unit, trim.
OLYMPUS DIGITAL CAMERA

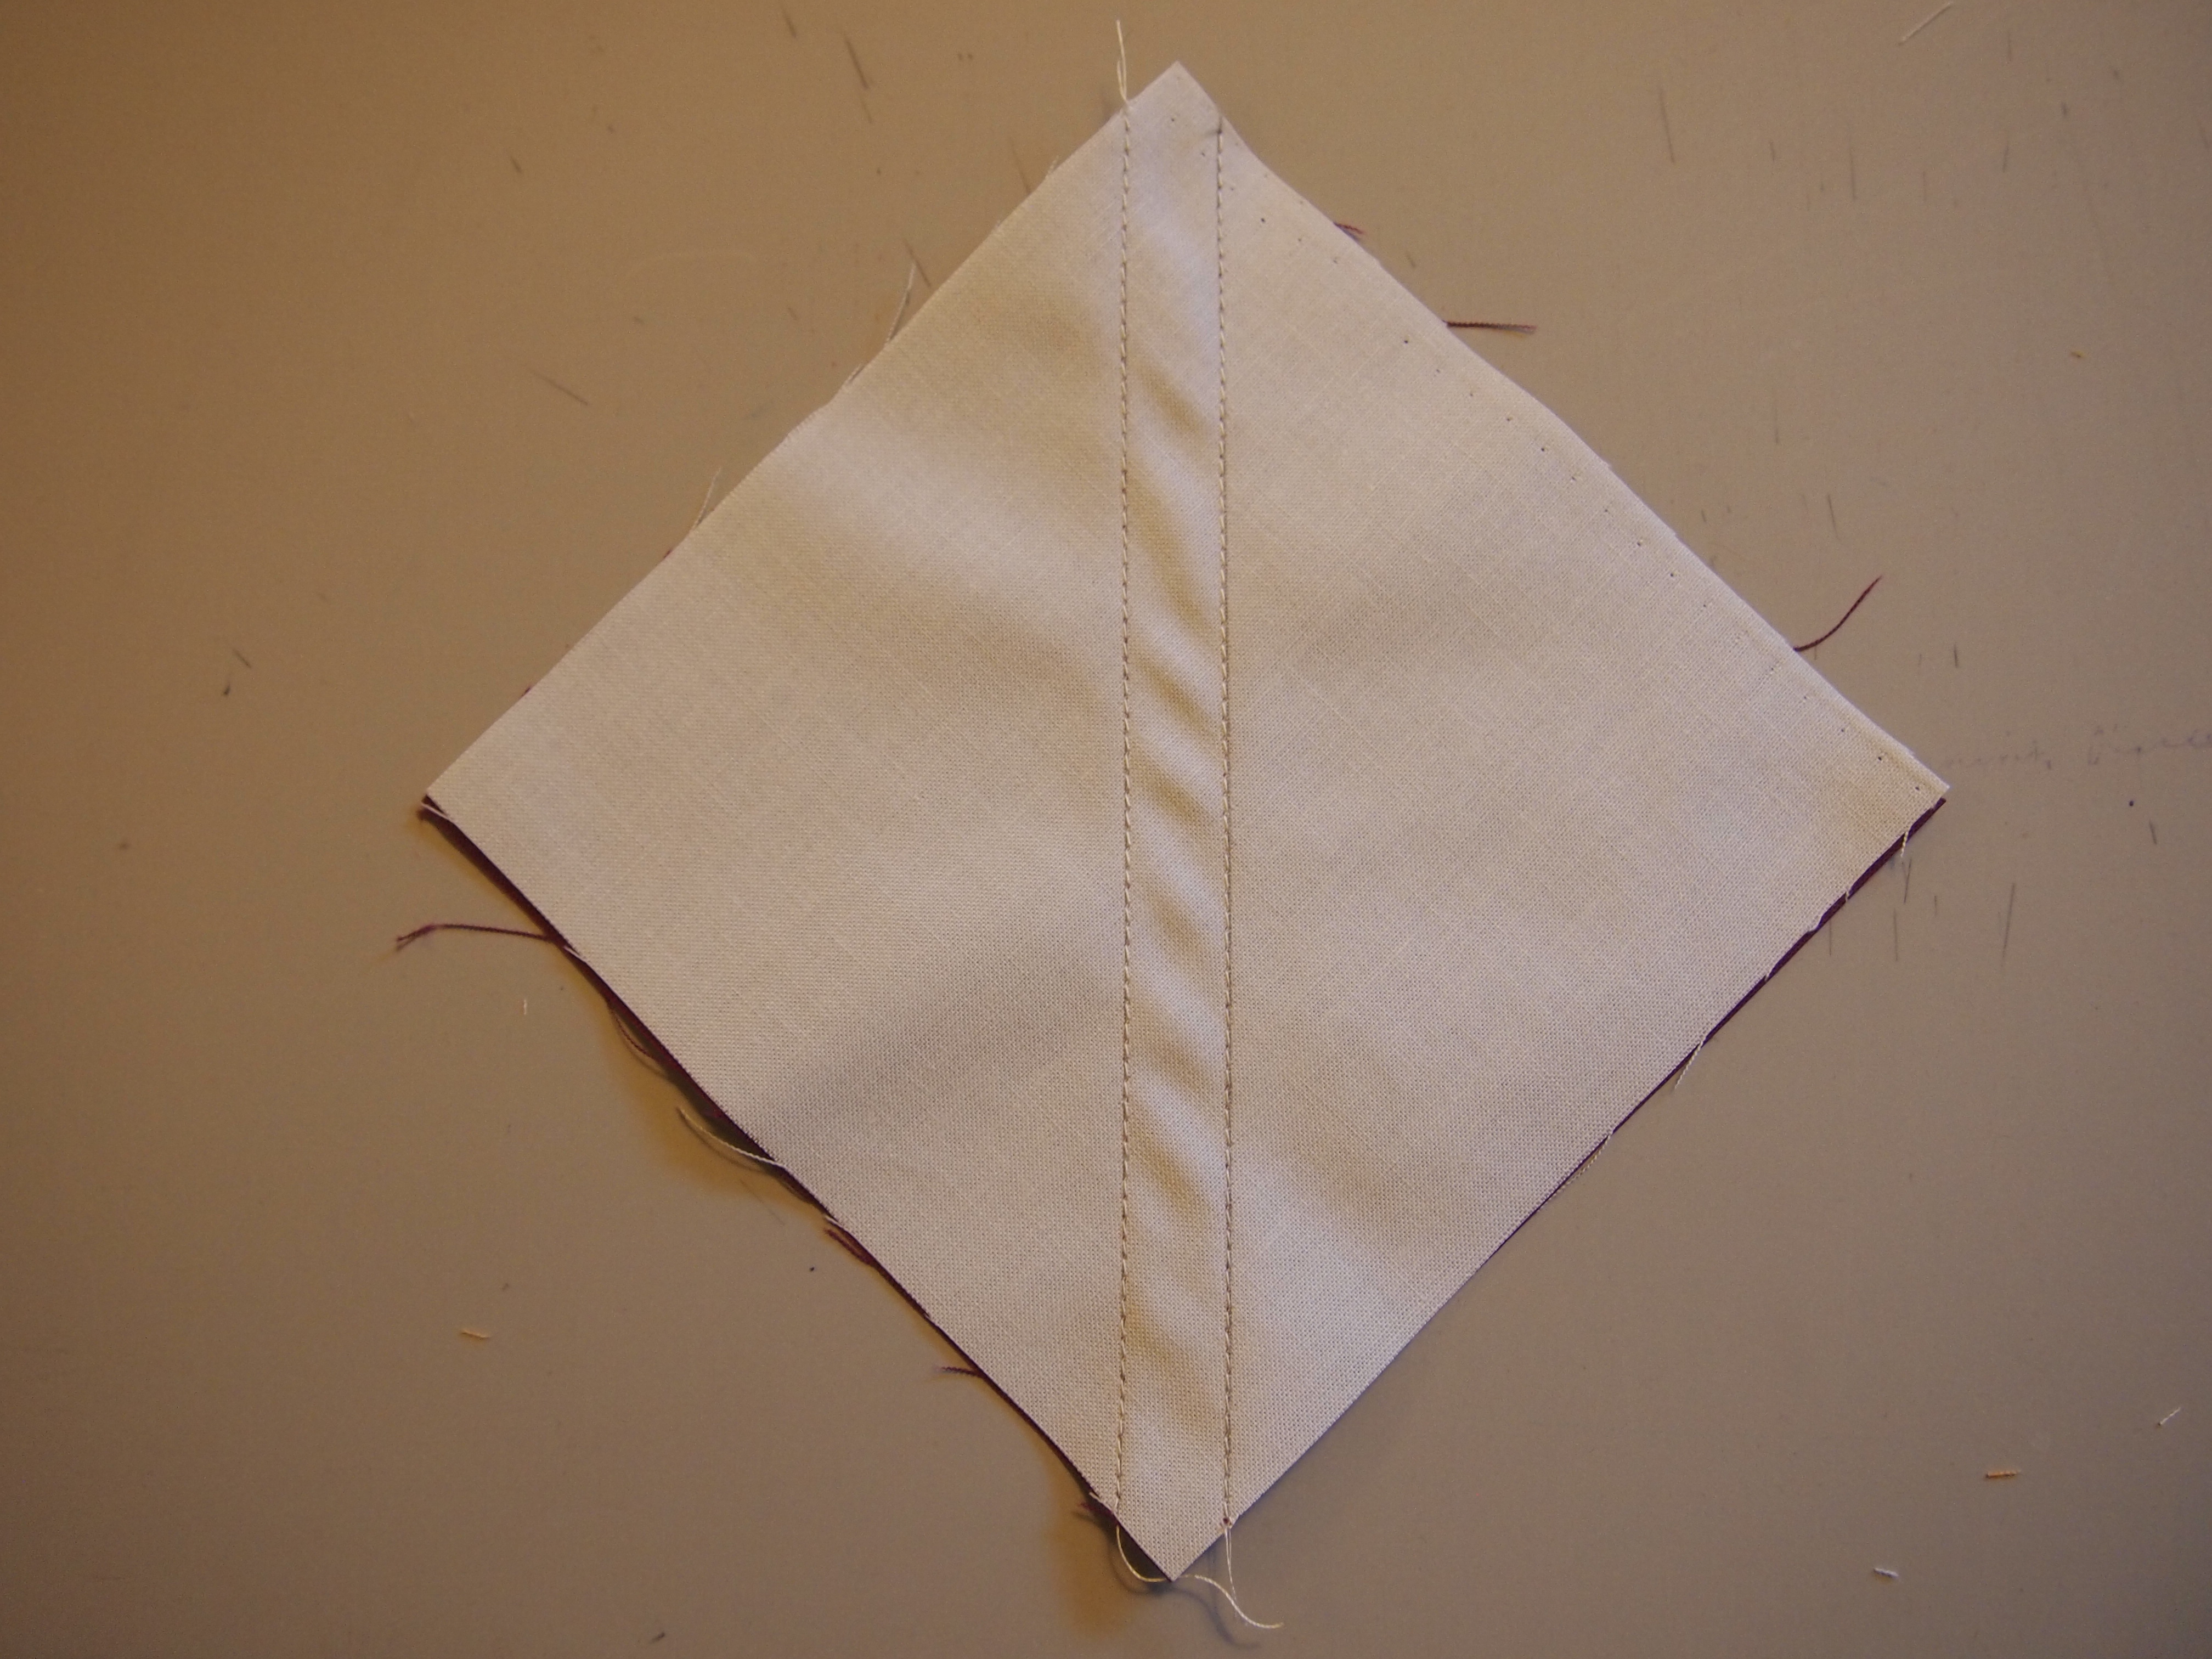
2nd cut.  Move the cut triangles off to the side and flip the strip over and fold the fabric strip deep enough to accommodate the slanted cut, trim.
OLYMPUS DIGITAL CAMERA

Per the instructions in the pattern, trim down the side triangles saved from the corner beam quilt and construct your units.  This is a companion pattern for the V Block, Corner Beam, and Squared2 Tools from Studio 180 Design.
OLYMPUS DIGITAL CAMERA

I Love a Pieced Border

I have been dying to make this quilt pattern.  It is called Twister by Deb Tucker from Studio 180 Design.  It is a companion pattern for the Tucker Trimmer Tool.  I chose a focus fabric by Allison Glass called Lucky Penny from Andover Fabrics.  My Twister is not yet quilted and measures 76″ by 96″.

Twister Block  OLYMPUS DIGITAL CAMERA

The twister block and the pieced border consist of combination units.  Following the detailed instructions I cut my fabrics. I positioned two fabrics, marked the stitch lines and sewed on the lines.

OLYMPUS DIGITAL CAMERA OLYMPUS DIGITAL CAMERA

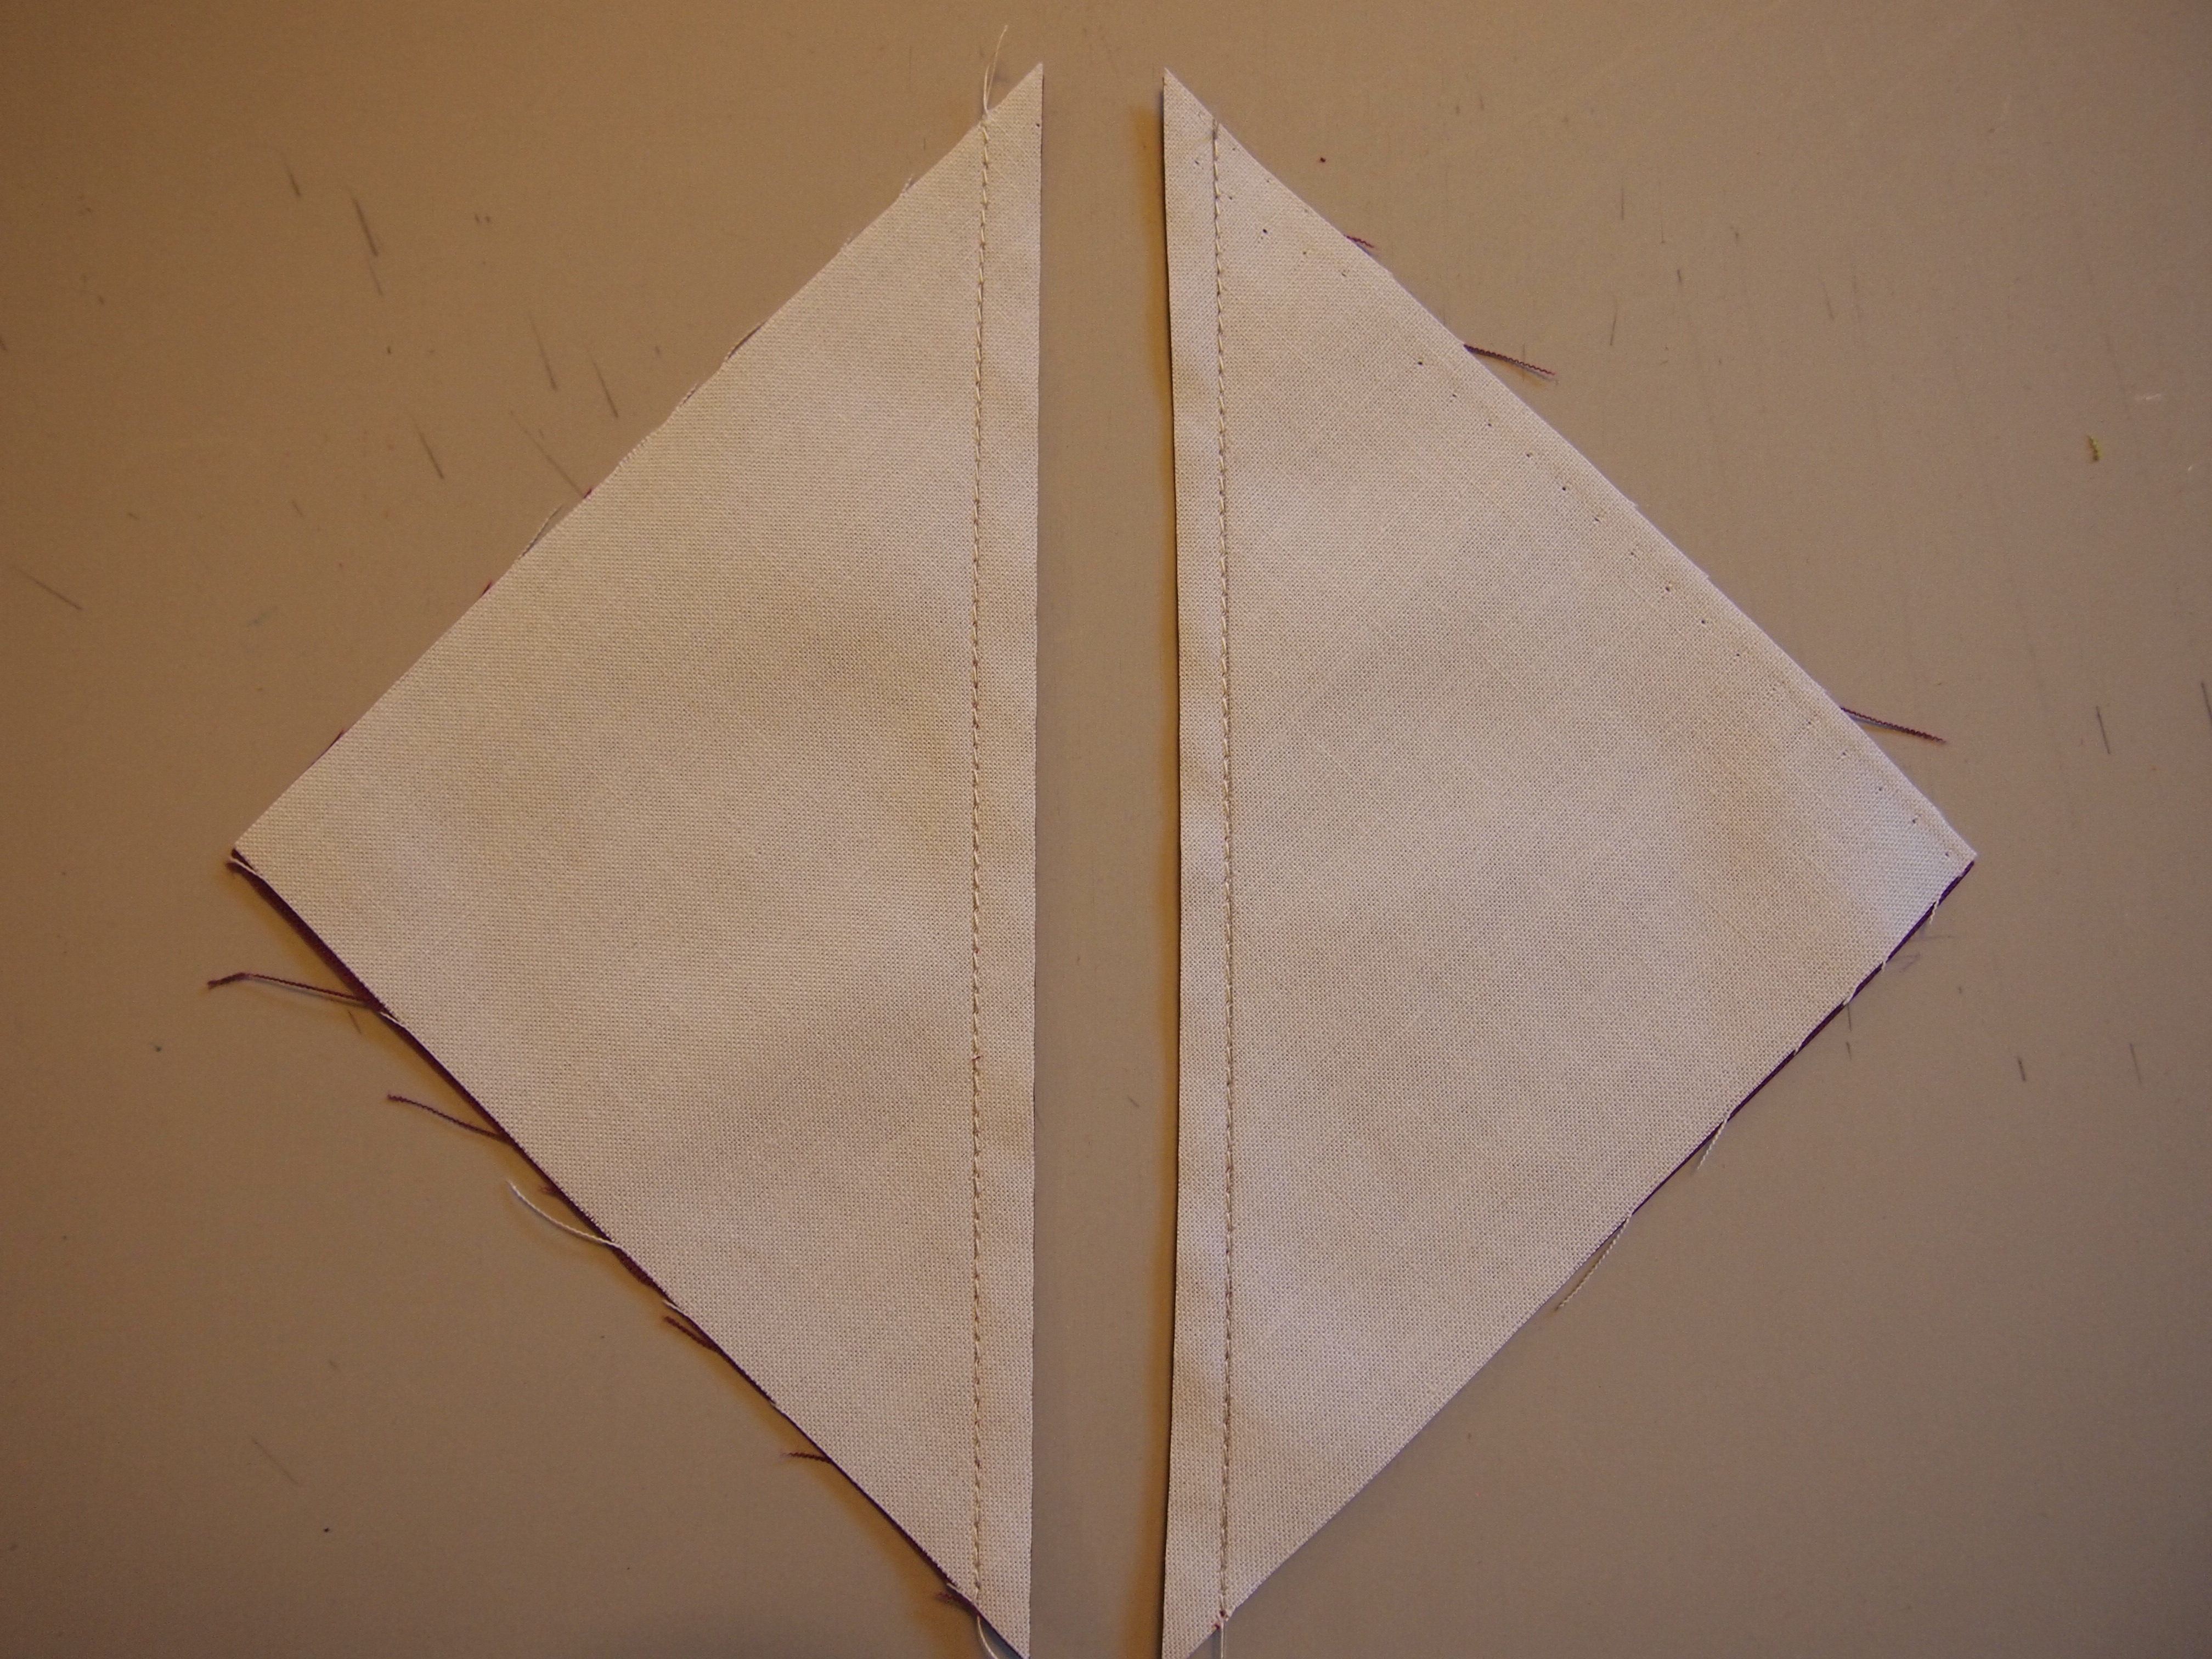
Cut apart  and press to the dark.

OLYMPUS DIGITAL CAMERA OLYMPUS DIGITAL CAMERA

Position the half square triangles on another square, mark the stitch lines.

OLYMPUS DIGITAL CAMERA OLYMPUS DIGITAL CAMERA

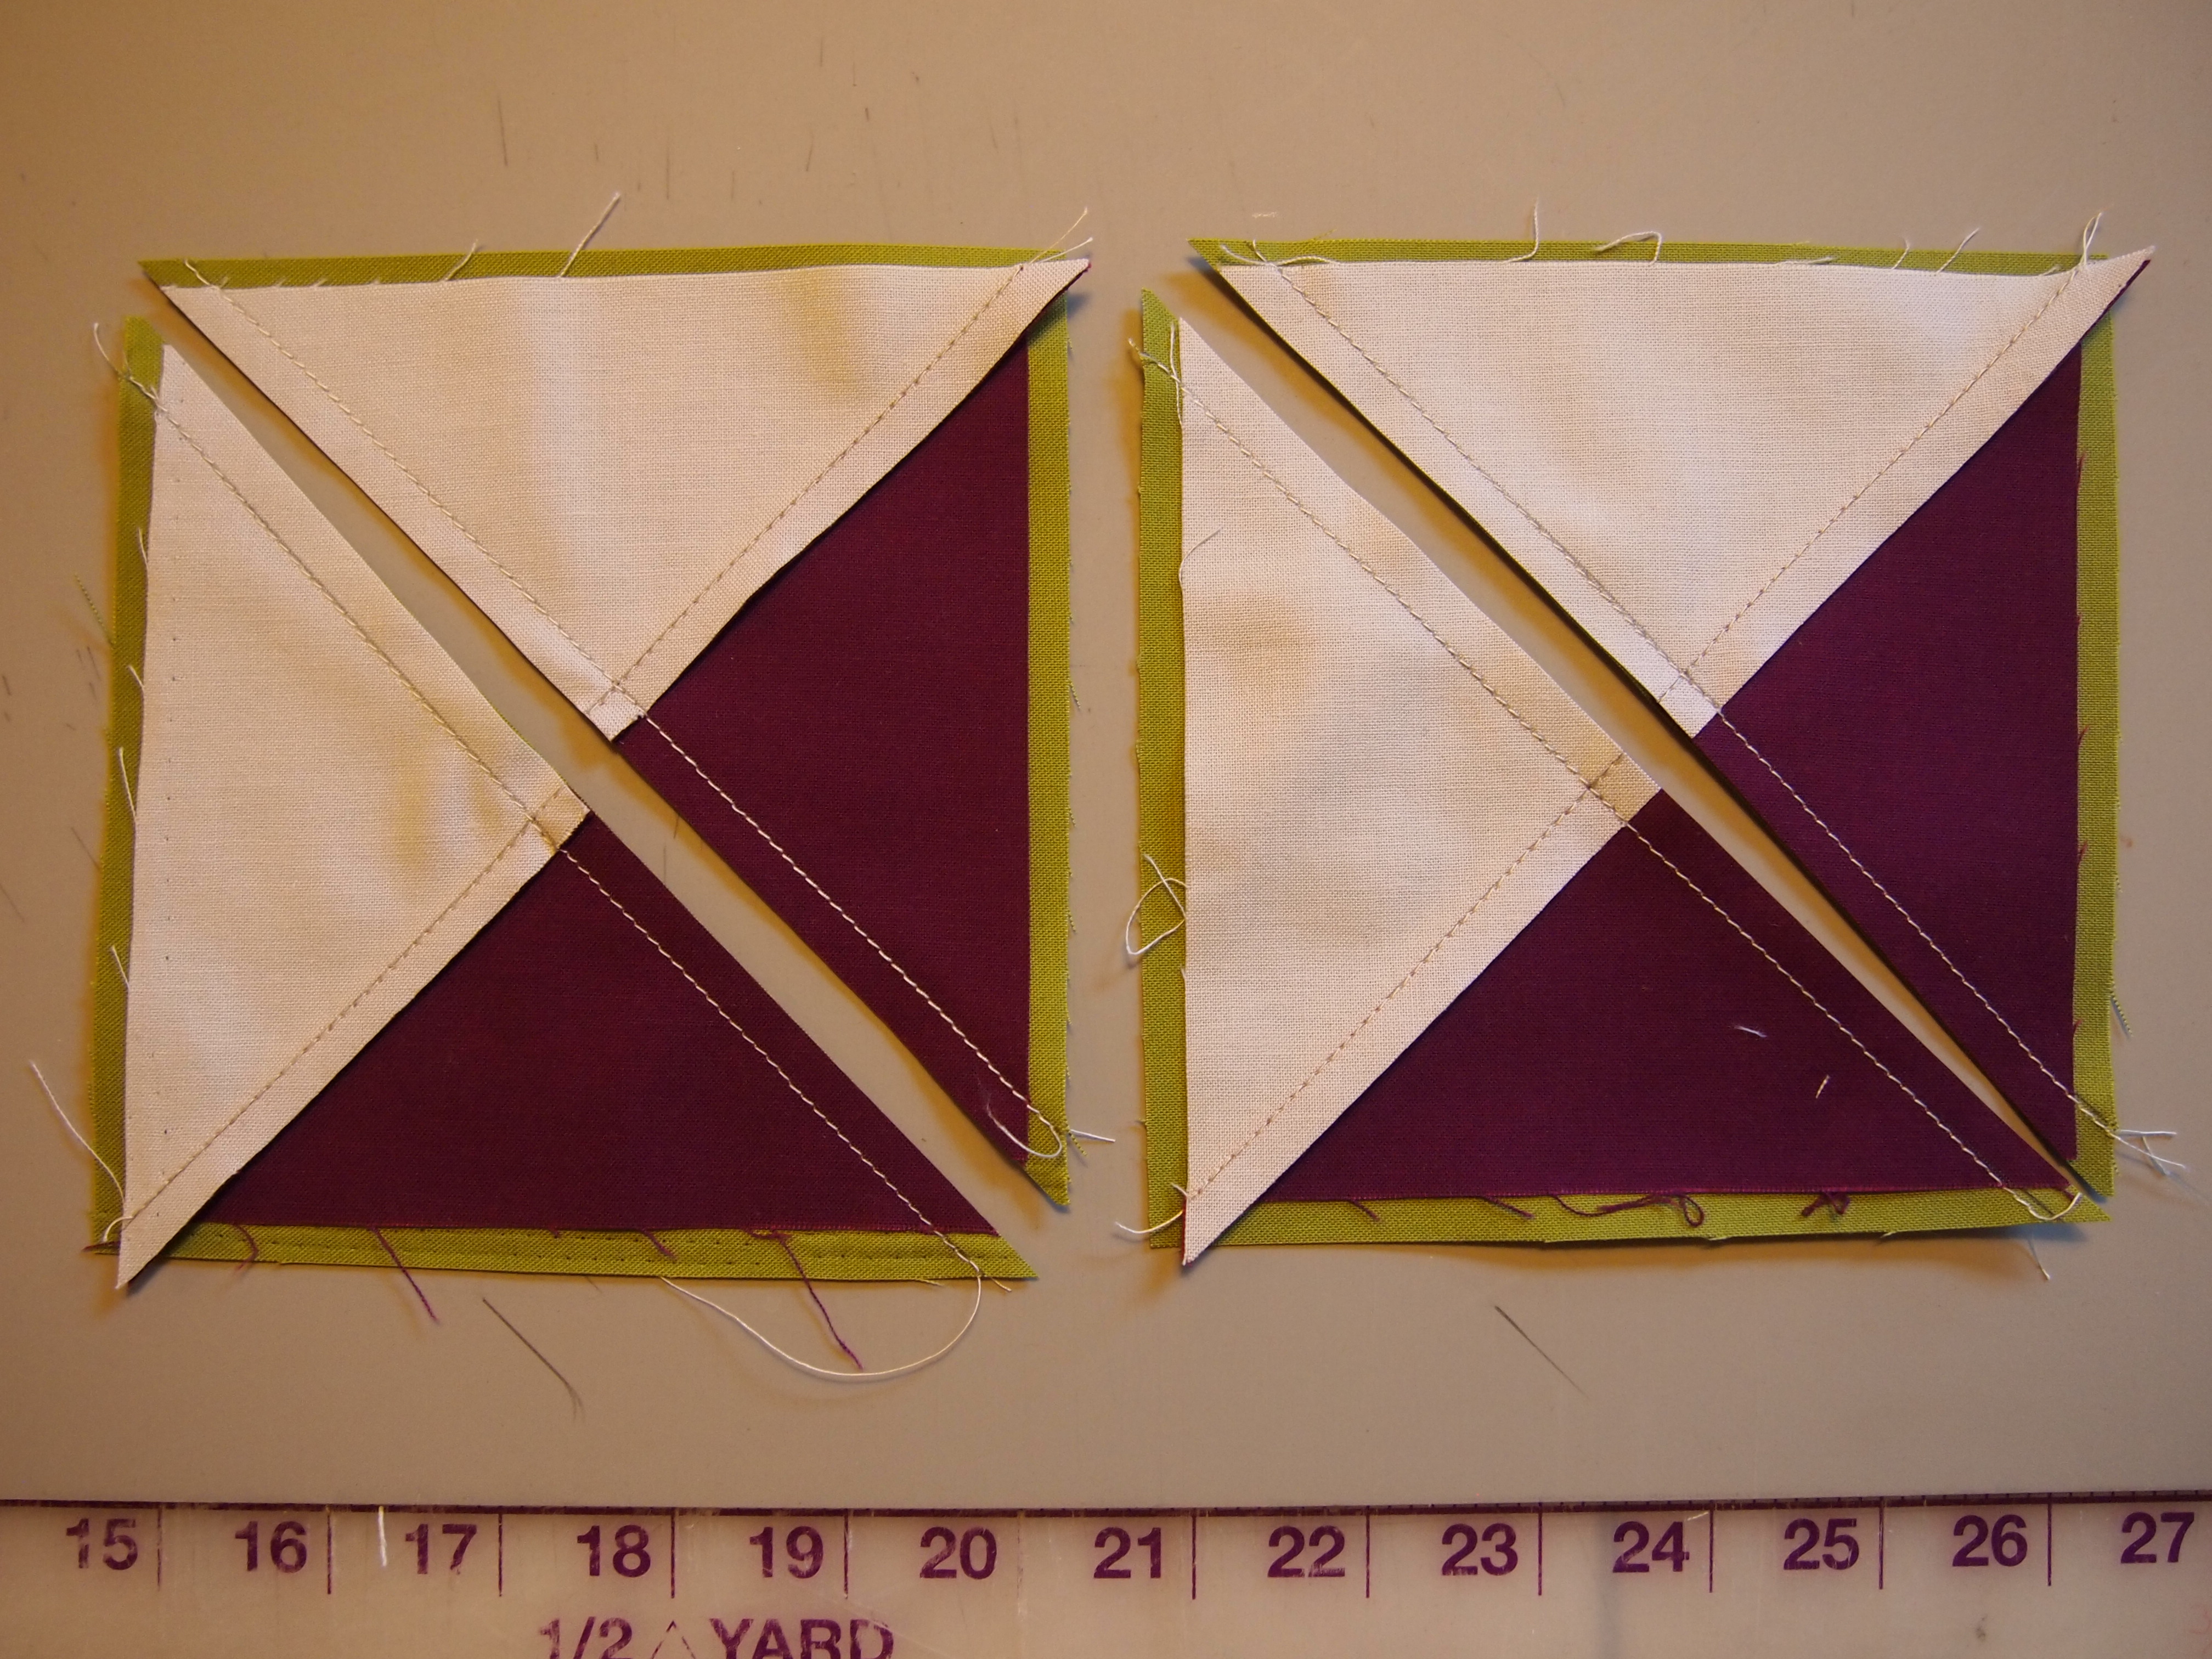
Sew on the stitch lines and cut apart.

OLYMPUS DIGITAL CAMERA OLYMPUS DIGITAL CAMERA

Press toward the larger triangle and square up to 4 1/2″ using your Tucker Trimmer I.

OLYMPUS DIGITAL CAMERA OLYMPUS DIGITAL CAMERA

Position a small square, mark it and sew on the line.

OLYMPUS DIGITAL CAMERA OLYMPUS DIGITAL CAMERA

Trim and press.

OLYMPUS DIGITAL CAMERA OLYMPUS DIGITAL CAMERA

This pattern requires 136 combination units.  Sort the mirror image combination units into two groups.  Group 1 will be used for the Borders and group 2 will be used for the blocks.  I know it sounds like a lot of combination units but it goes very fast.  The pieced border went together beautifully!  The instructions are detailed and very easy to understand.  I will be teaching it this spring.

OLYMPUS DIGITAL CAMERA OLYMPUS DIGITAL CAMERA

Frankly My Dear…….

Frankly My Dear

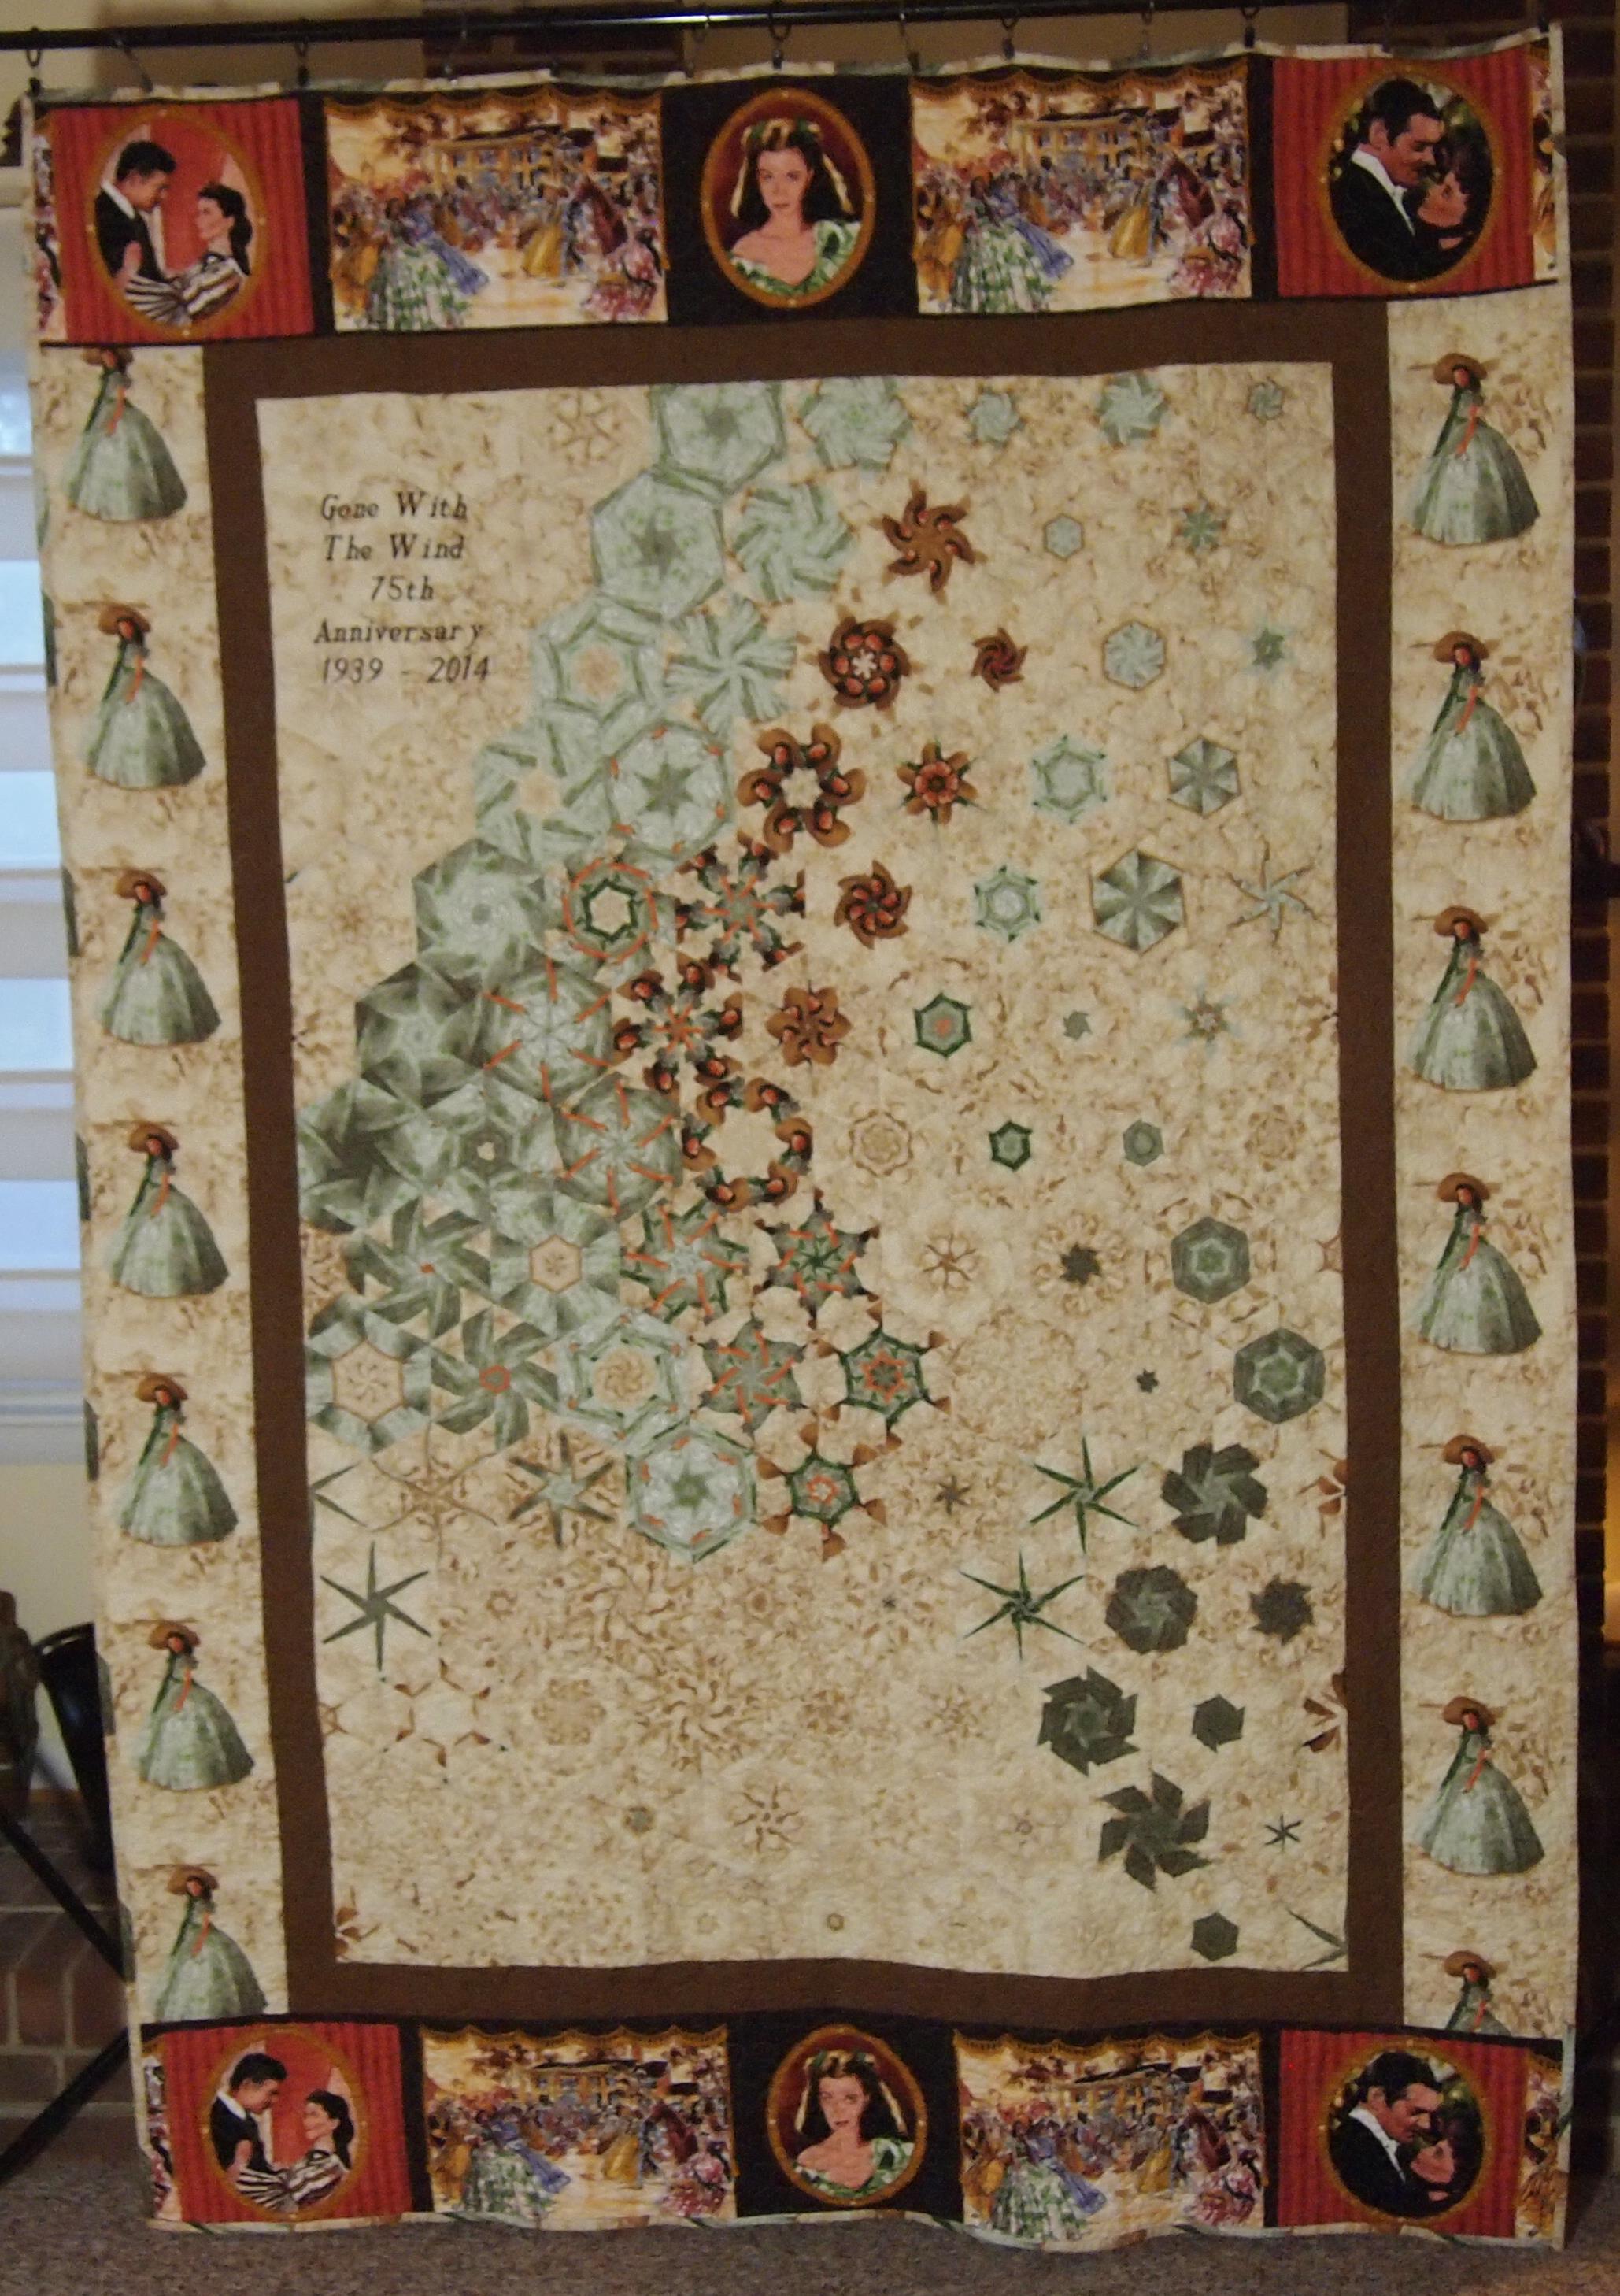
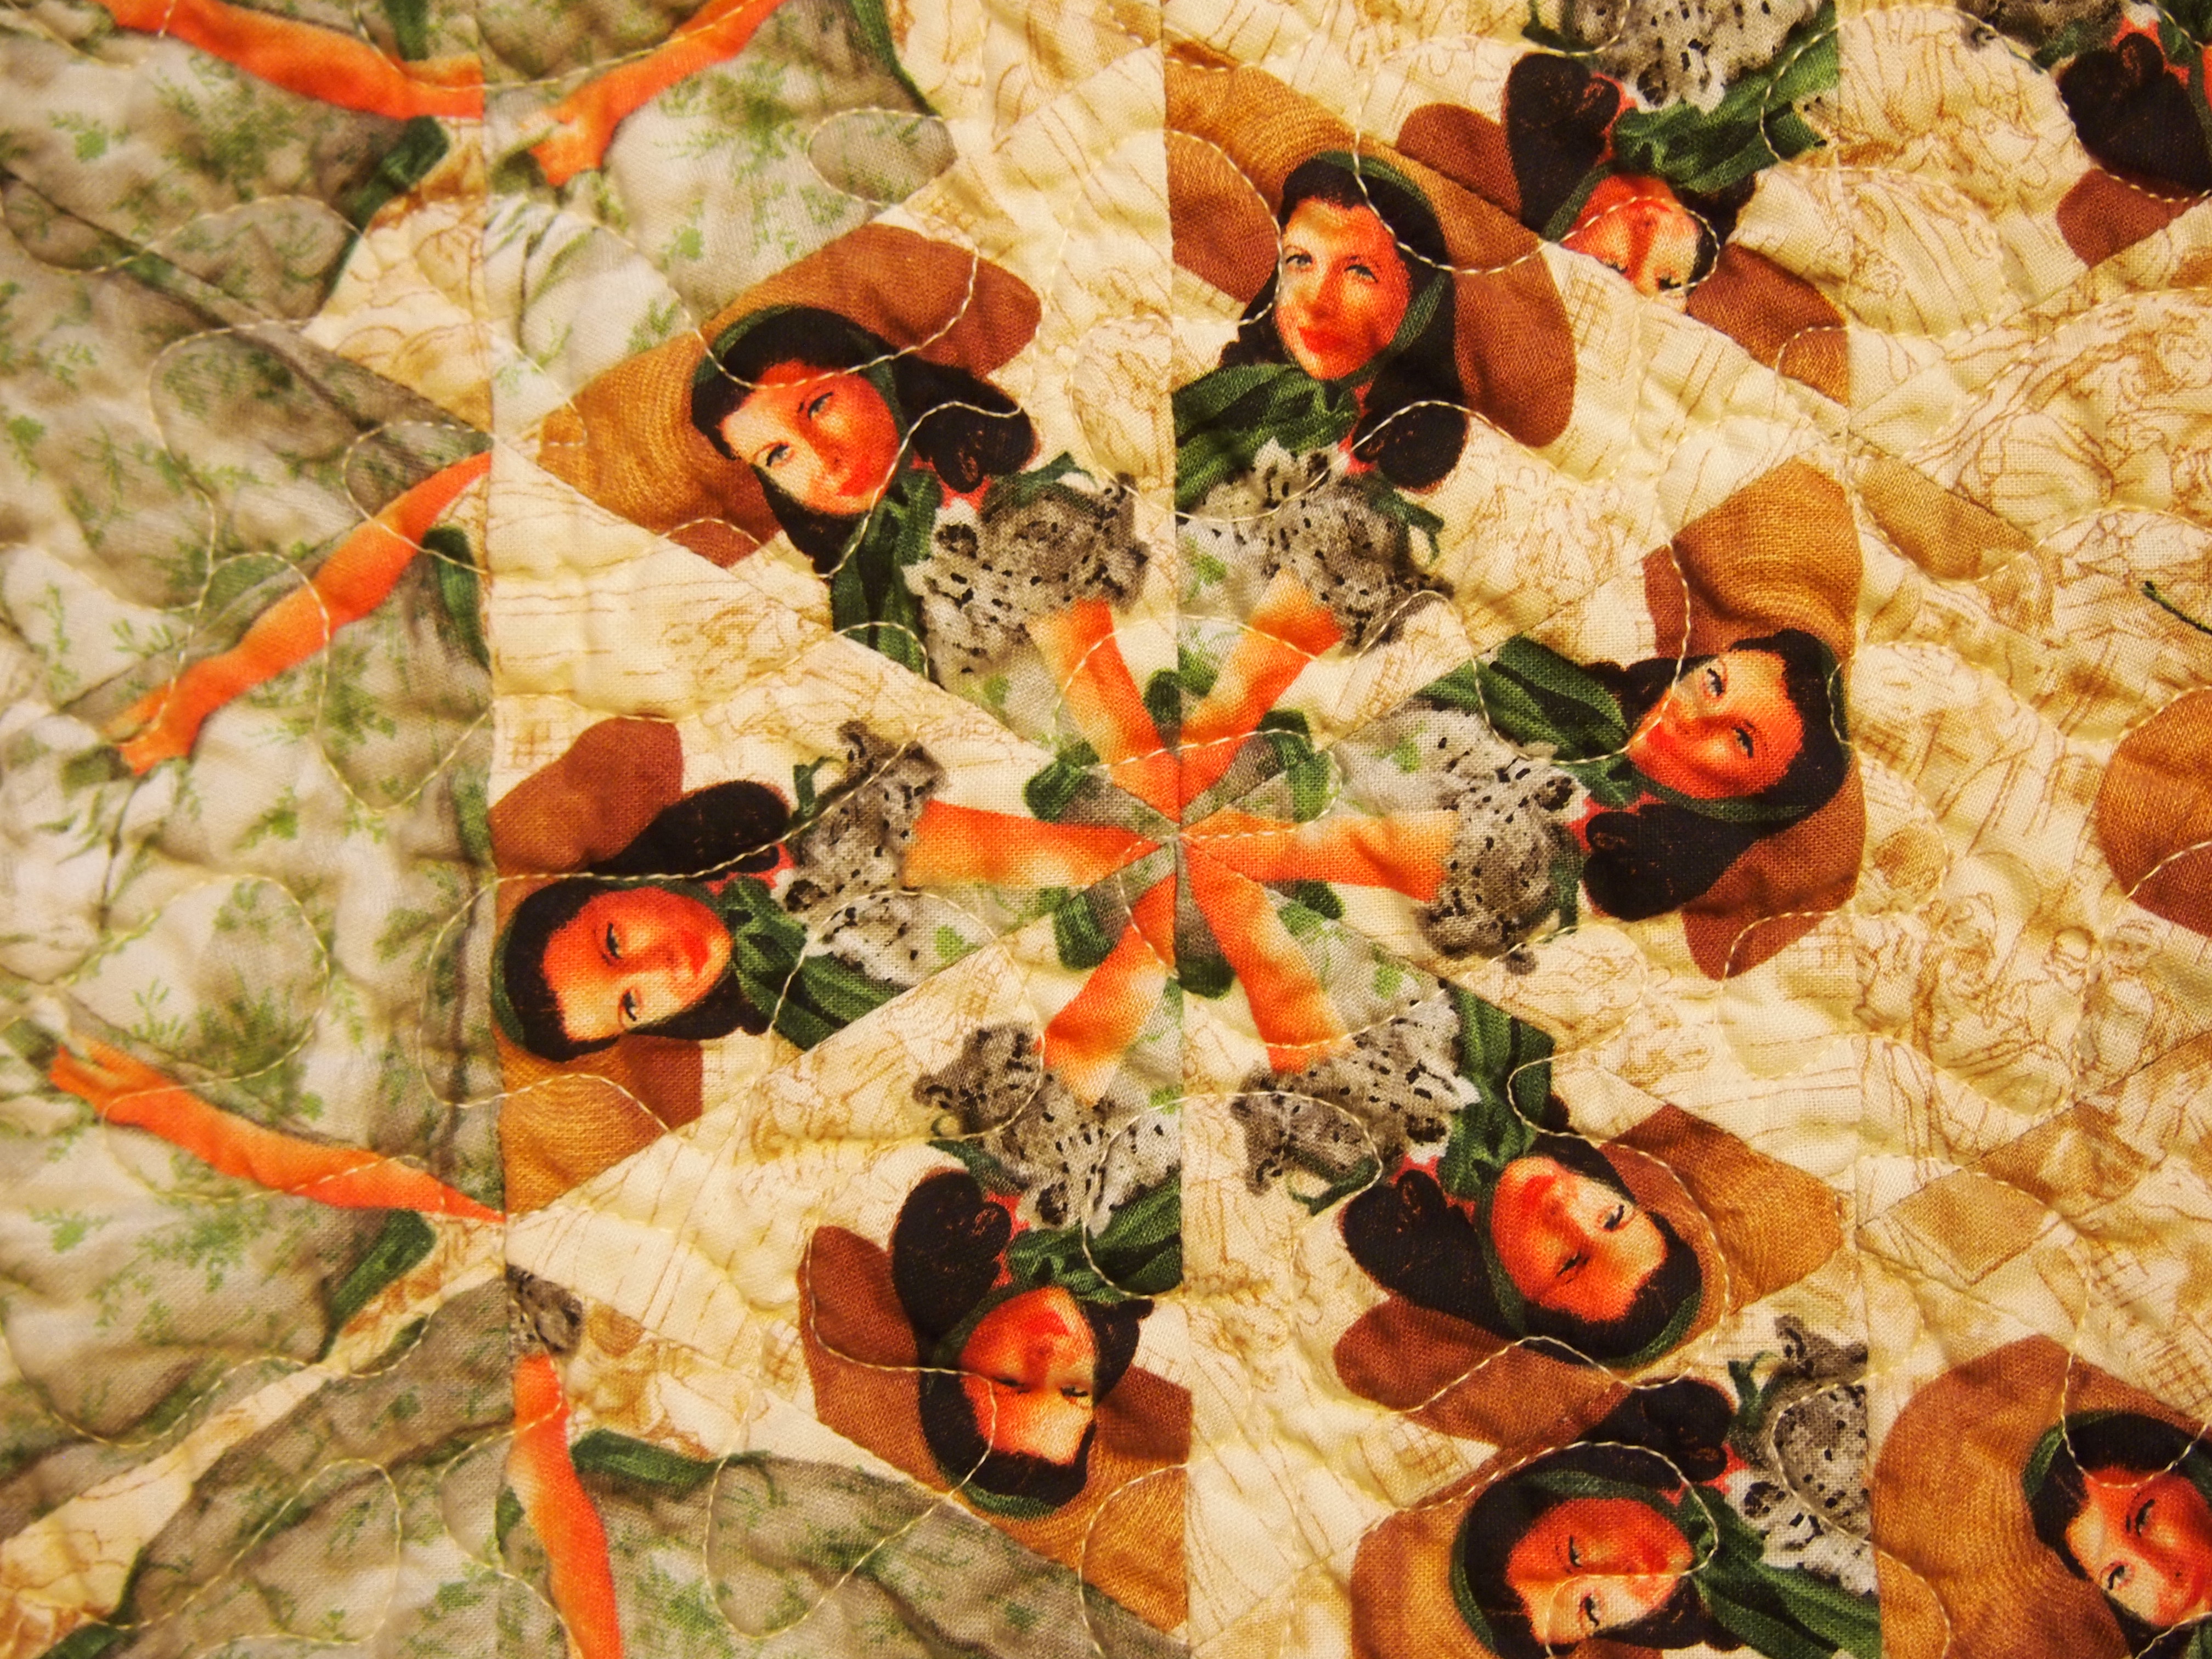
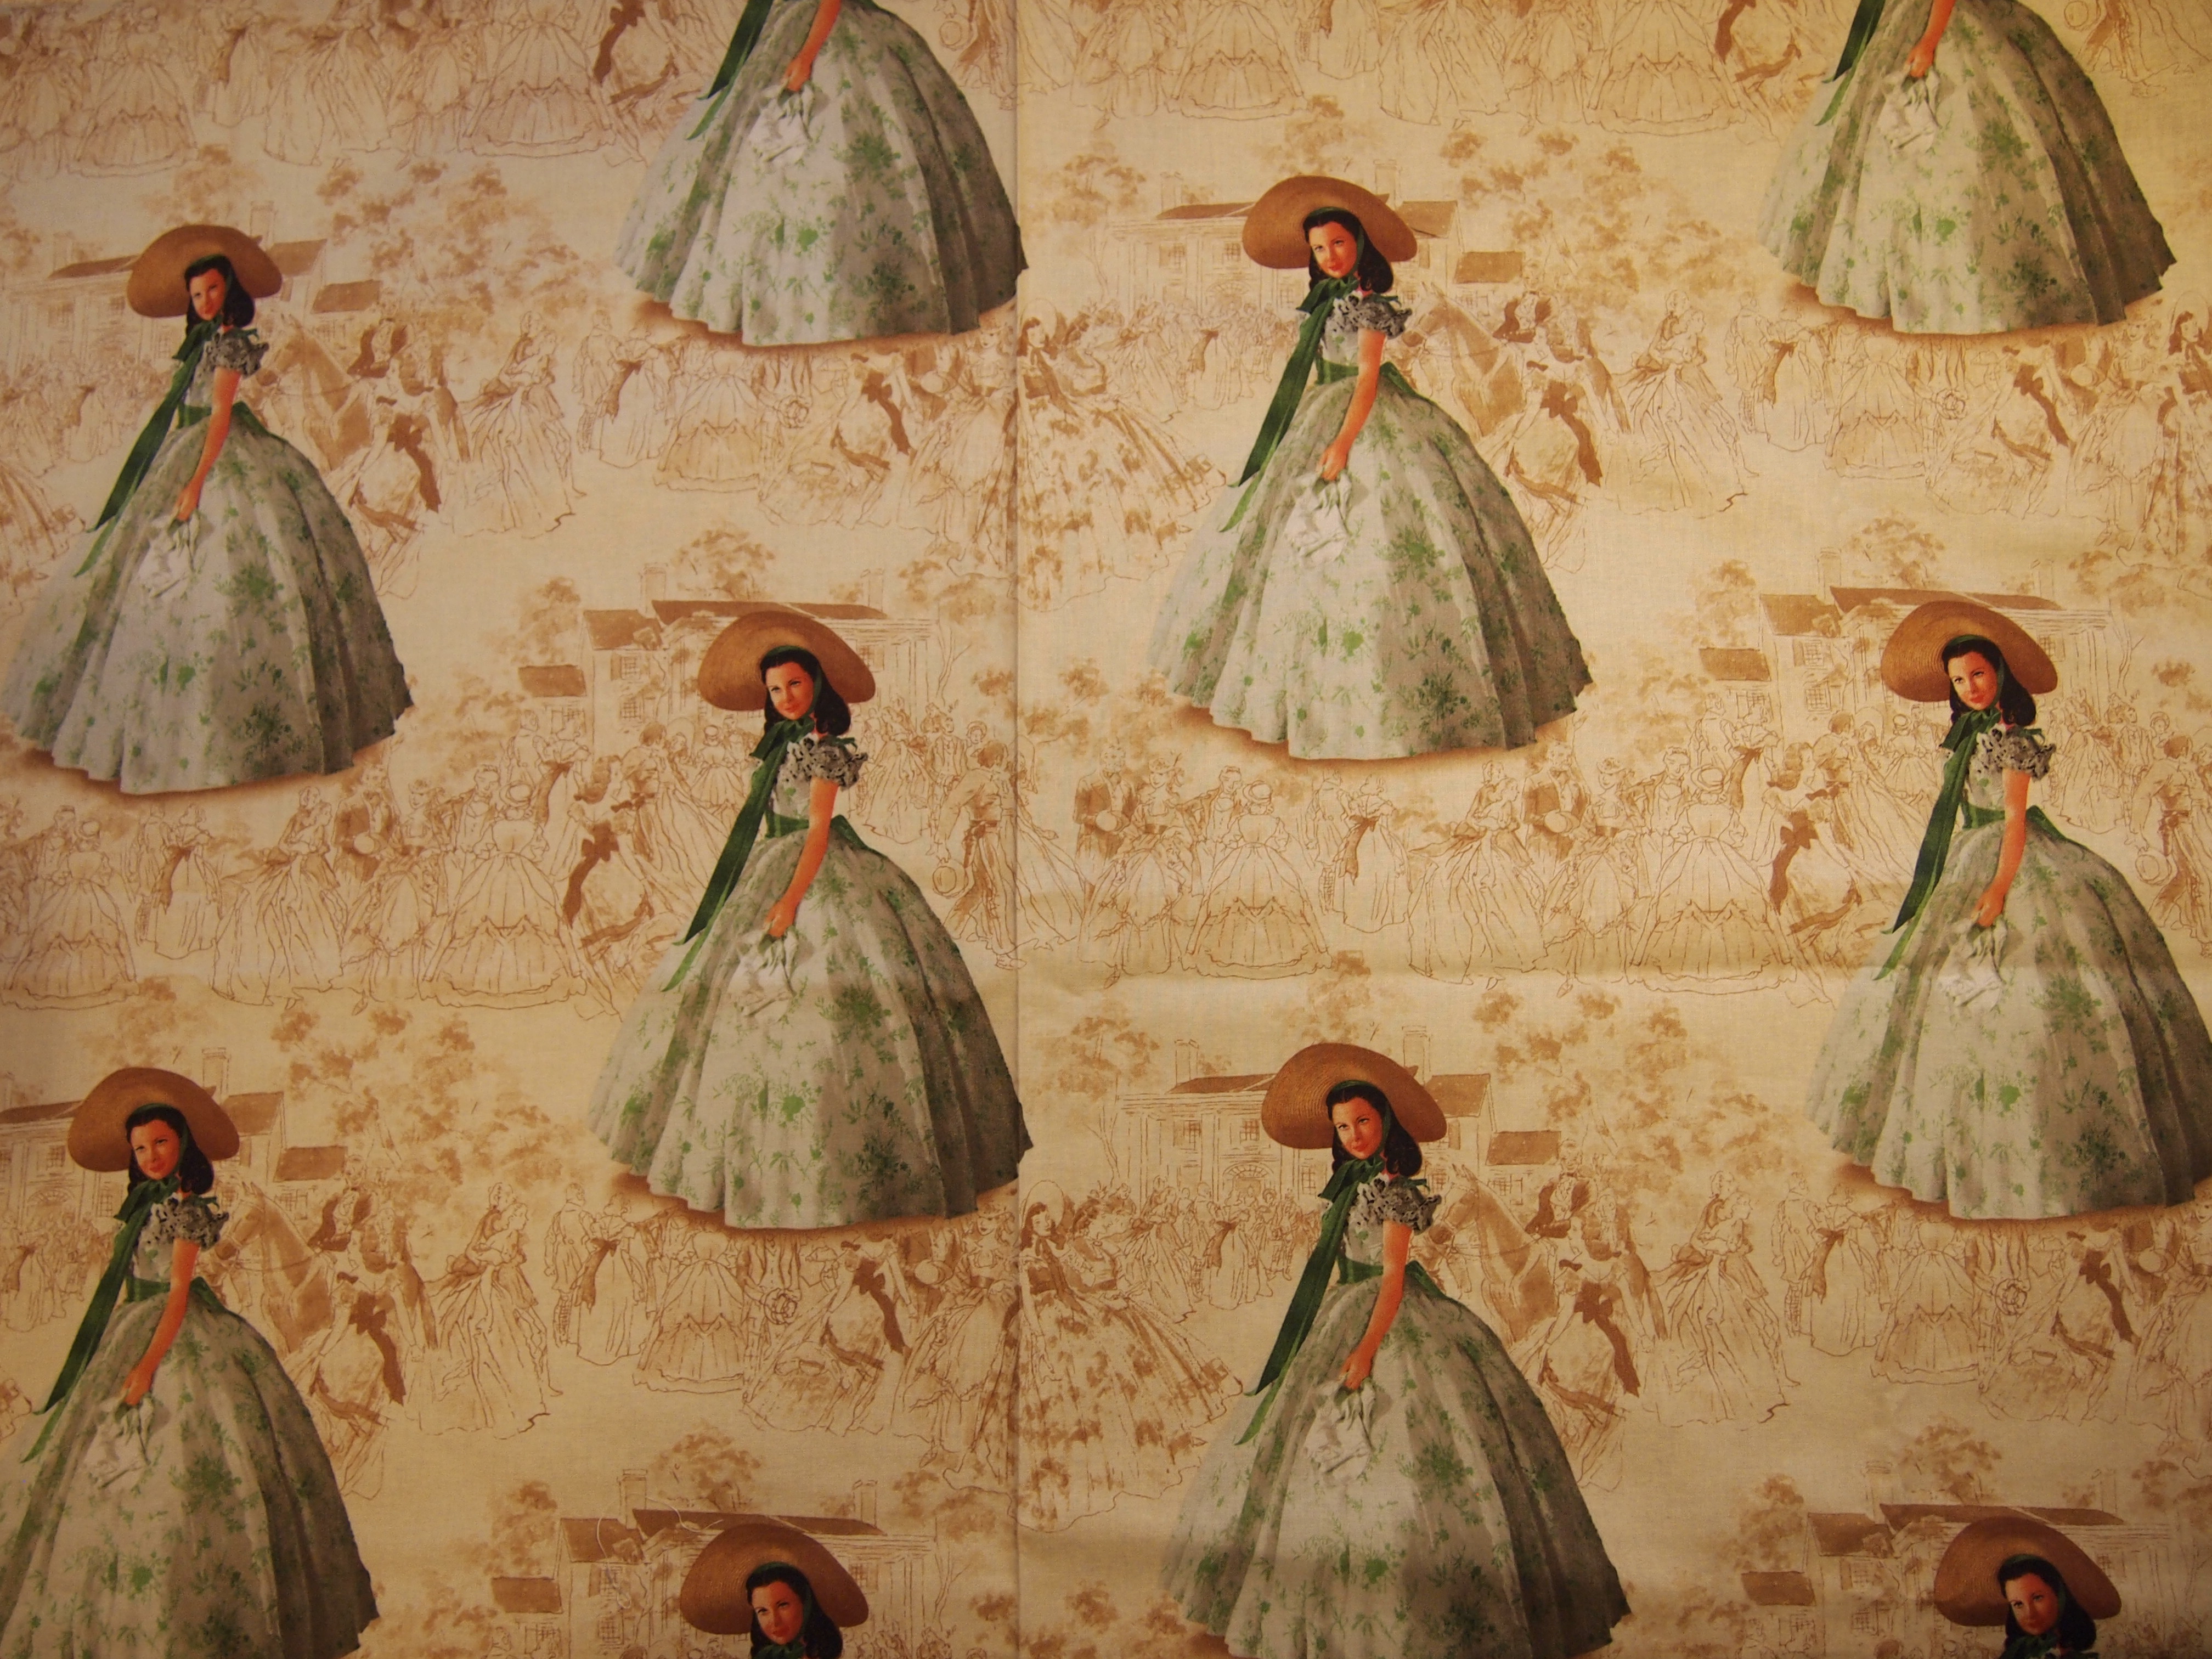
I love old movies.  One of my favorites is “Gone with the Wind”.  2014 marks the 75th Anniversary of the release of Gone with the wind”.  So, of course I made a hexagon quilt out of Scarlett.  This fabric came out 5 years ago, I was just letting age till it was ripe.  This quilt measures 68″ by 98″.  I’m not sure what I think of it yet.  Next I will have to make a “Yellow Brick Road with a Twist”  hexagon quilt as the Wizard of Oz also was released in 1939.

OLYMPUS DIGITAL CAMERA

Scarlett’s outfit for the BBQ.

OLYMPUS DIGITAL CAMERA

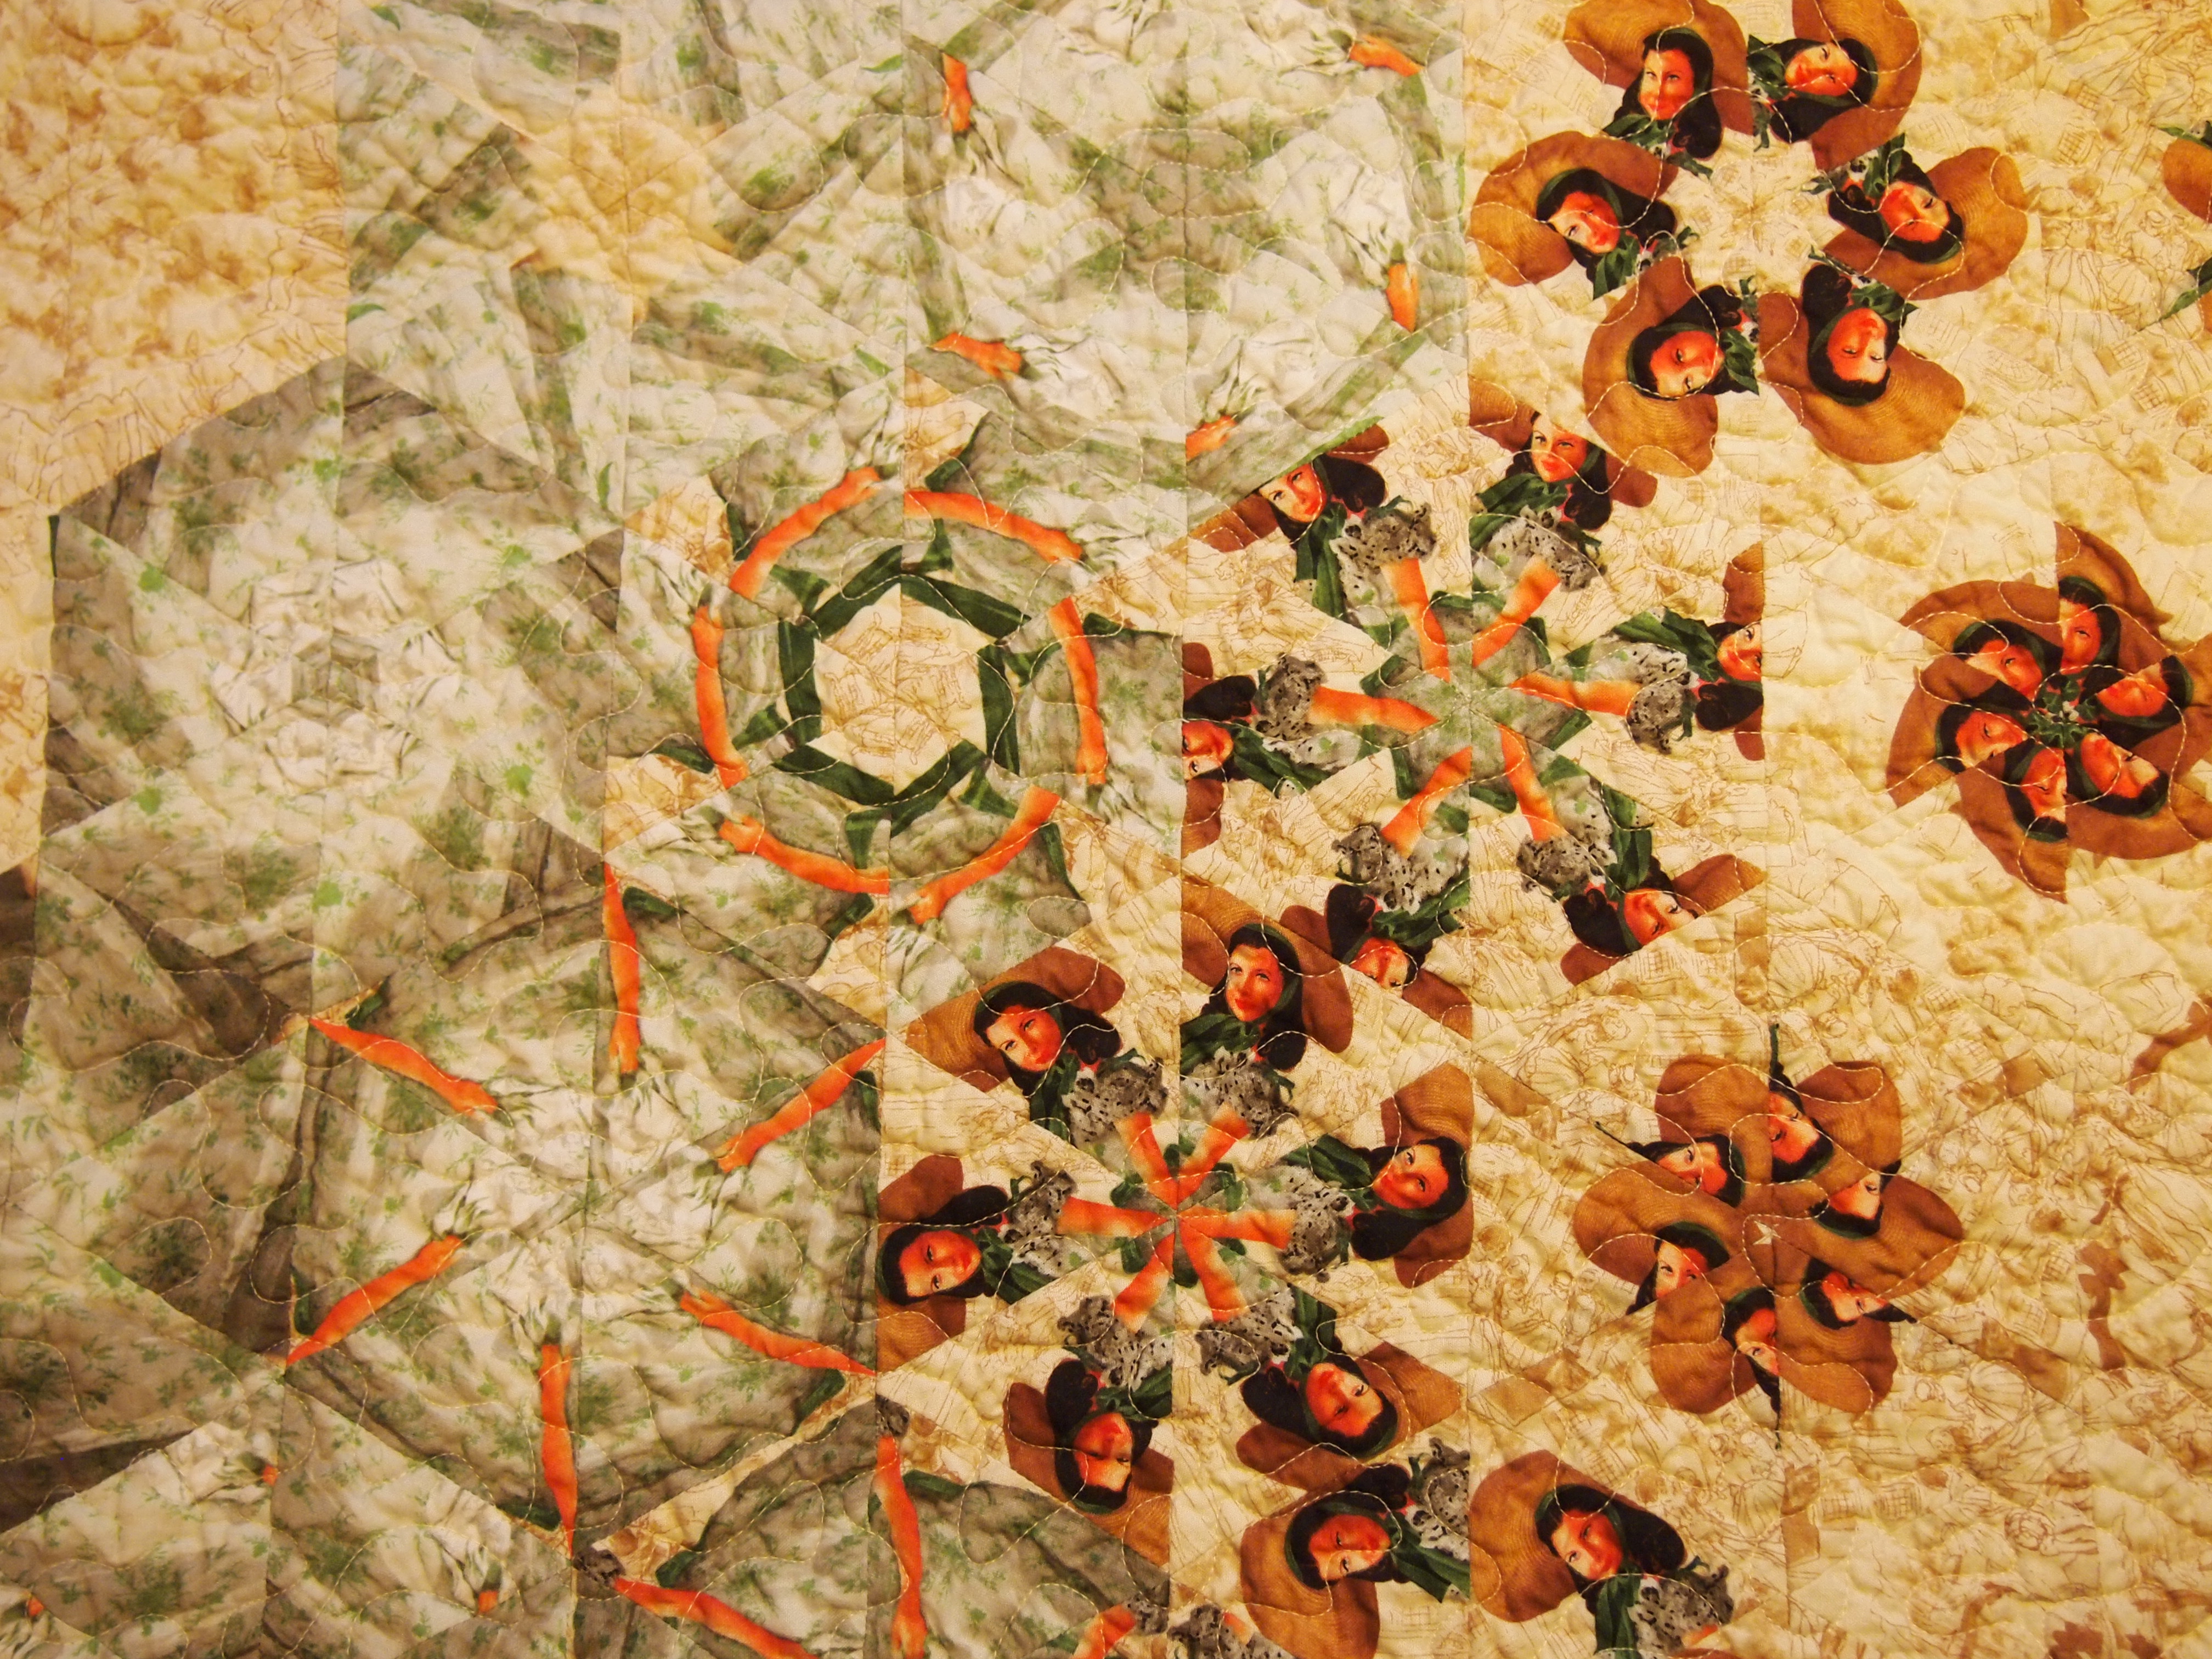
Cutting up people is the most fun!

OLYMPUS DIGITAL CAMERA

OLYMPUS DIGITAL CAMERA

This fabric is a good example of “not much going on in the background”, but there is enough to make it an interesting hexagon quilt.

OLYMPUS DIGITAL CAMERA

OLYMPUS DIGITAL CAMERA

Are You A Block Detective

I love to figure out how a block was made. I saw this quilt online and thought “I bet I can make this quilt without a pattern”.
02 Idea Quilt

So I drew the block on graph paper so I could identify each unit. With the tools from Studio 180 Design you can make just about any block in any size, easily. For this block I would use the Studio 180 Design Wing Clipper I & the Tucker trimmer I.

Draft

To make a 20” finished block I determined that each square on the graph paper would represent a 2” square. I chose a black print for the center star, white background and red for the surrounding units.

Black Center Star:
The center square would measure 4” finished so I cut one 4 ½” square.  I would need 4 flying geese units.

All I had to do was check the chart in the Wing Clipper tool instructions. It lists finished sizes for flying geese units and then tells you what size to cut your fabric to achieve the results you want. I needed a finished size of 2” by 4” so I cut one 5 ½” square and four 3” squares. From this I would get 4 flying geese.

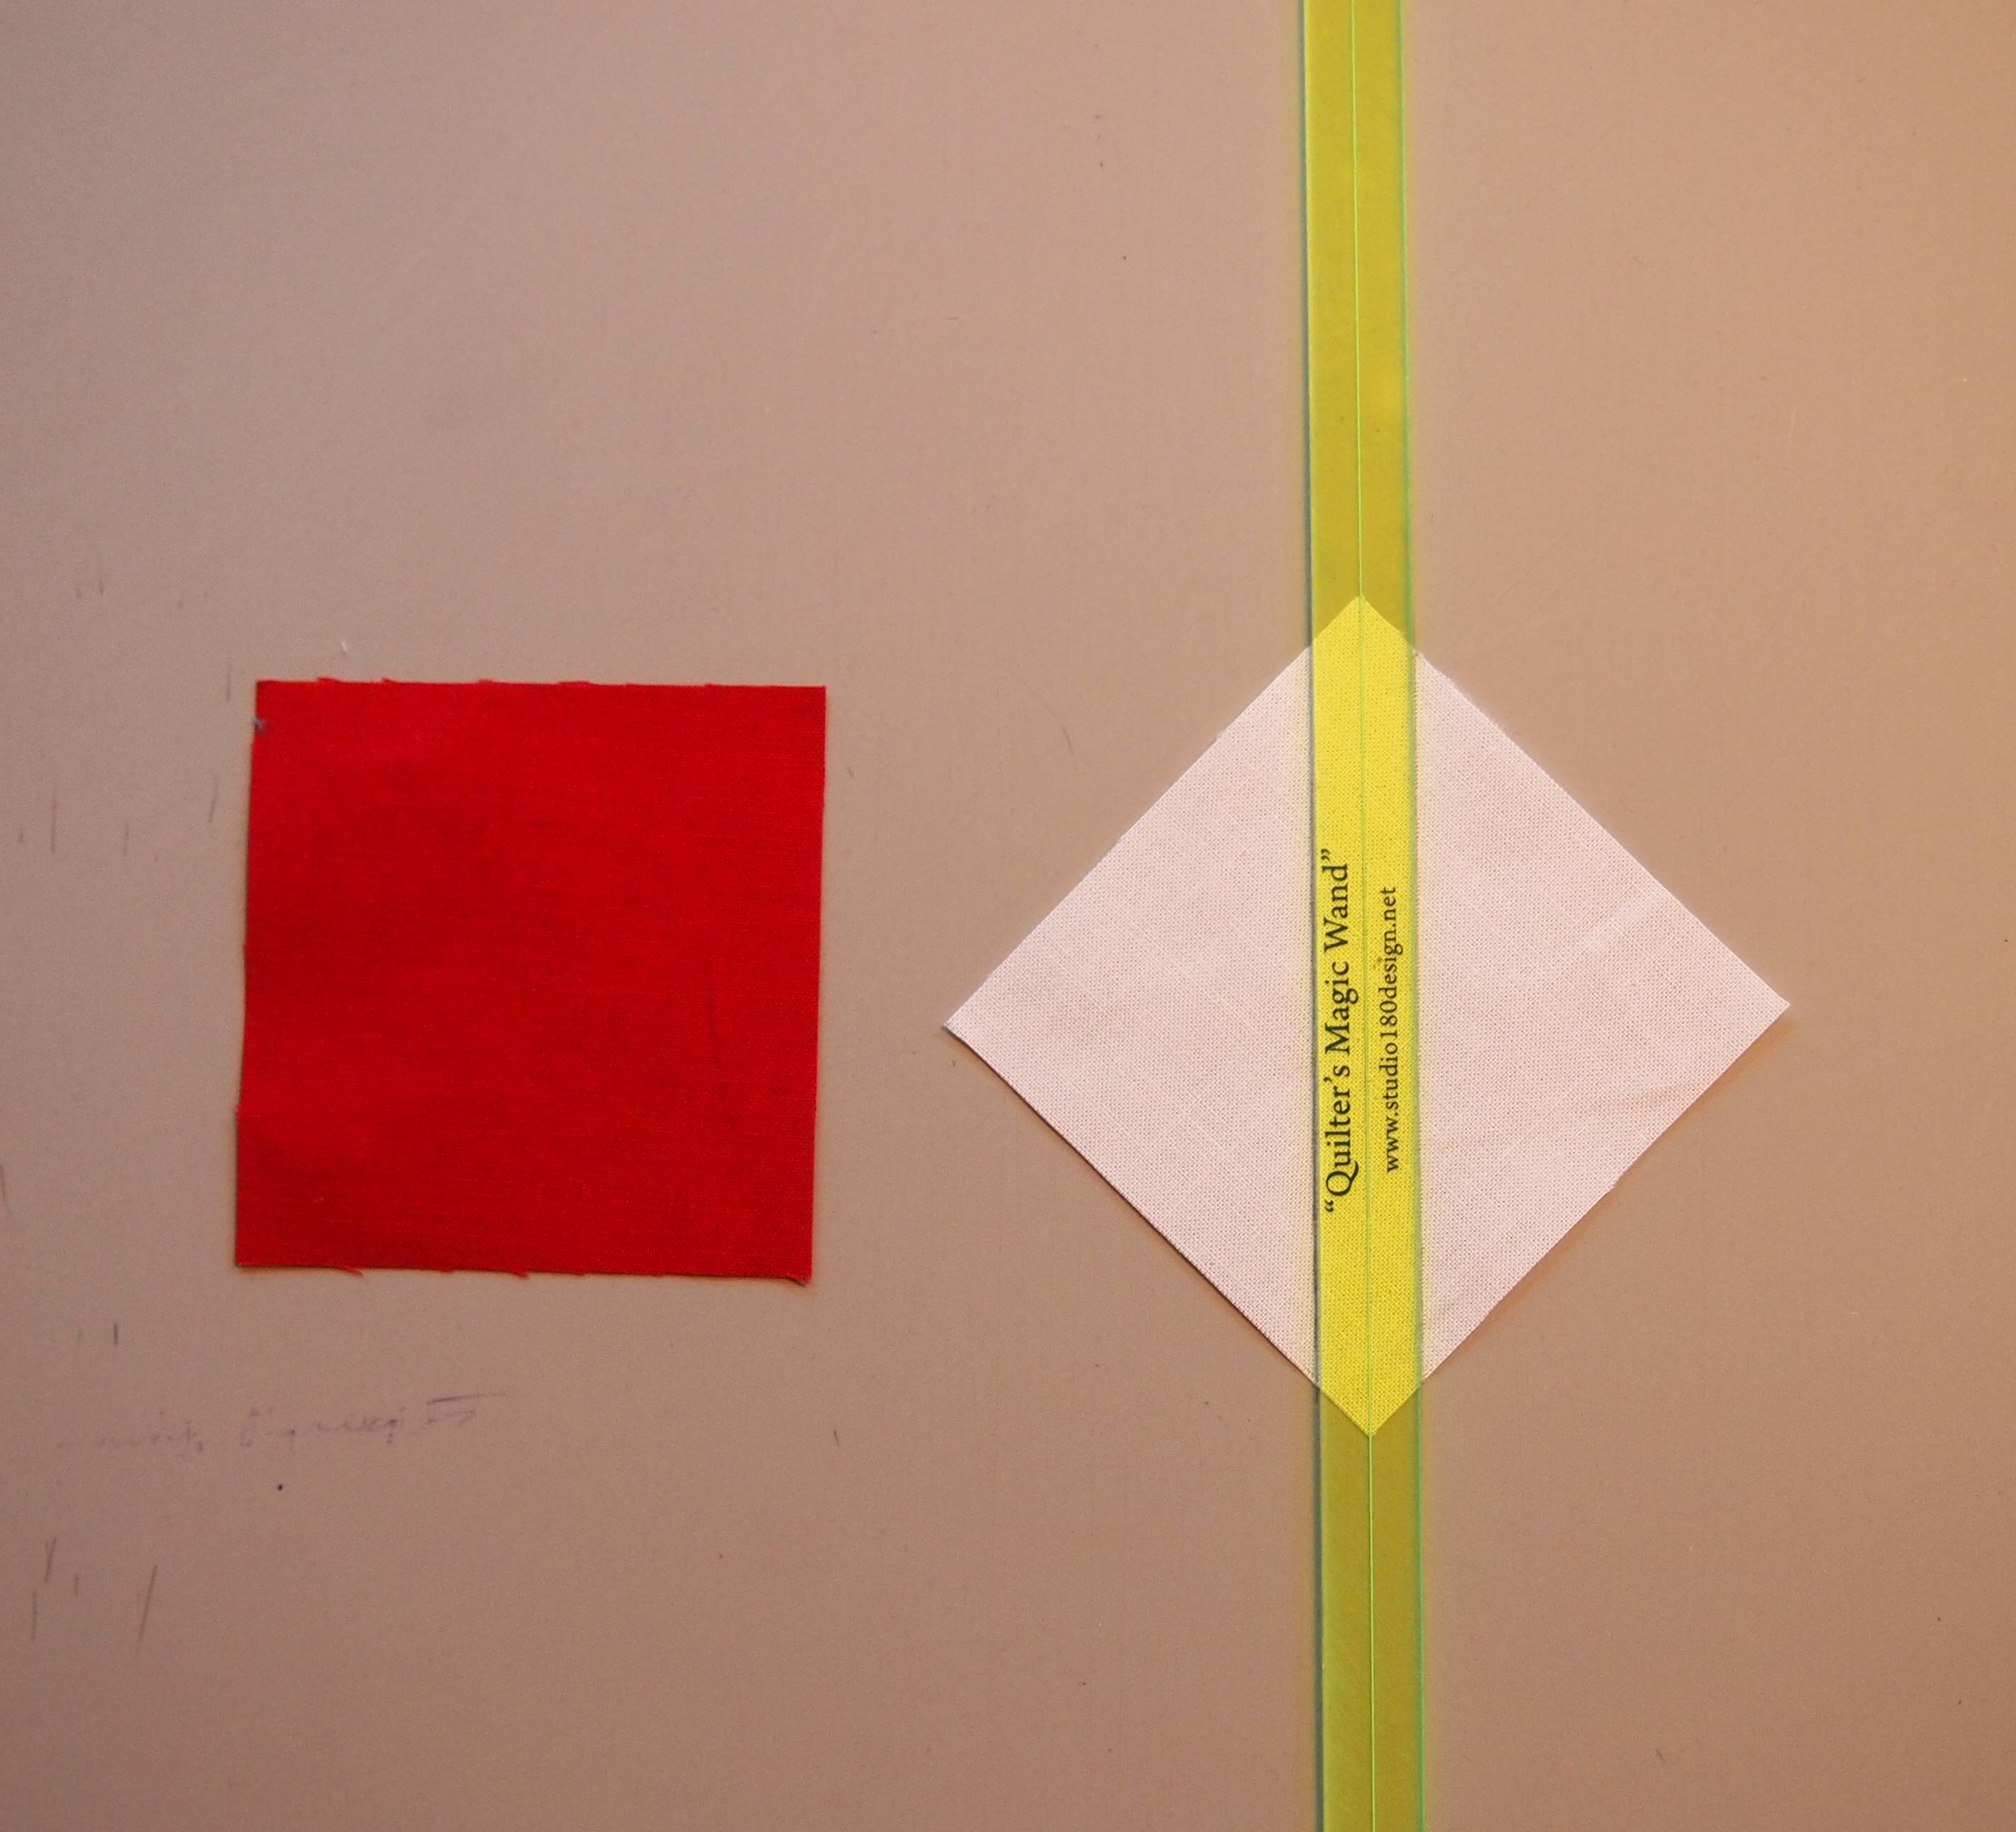
Using my Magic Wand trace a line on either side of all the 3” squares.

Magic Wand

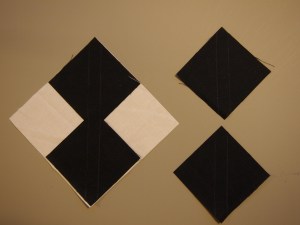
Place two 3” squares diagonally on the white 5 ½” square as shown.
OLYMPUS DIGITAL CAMERA

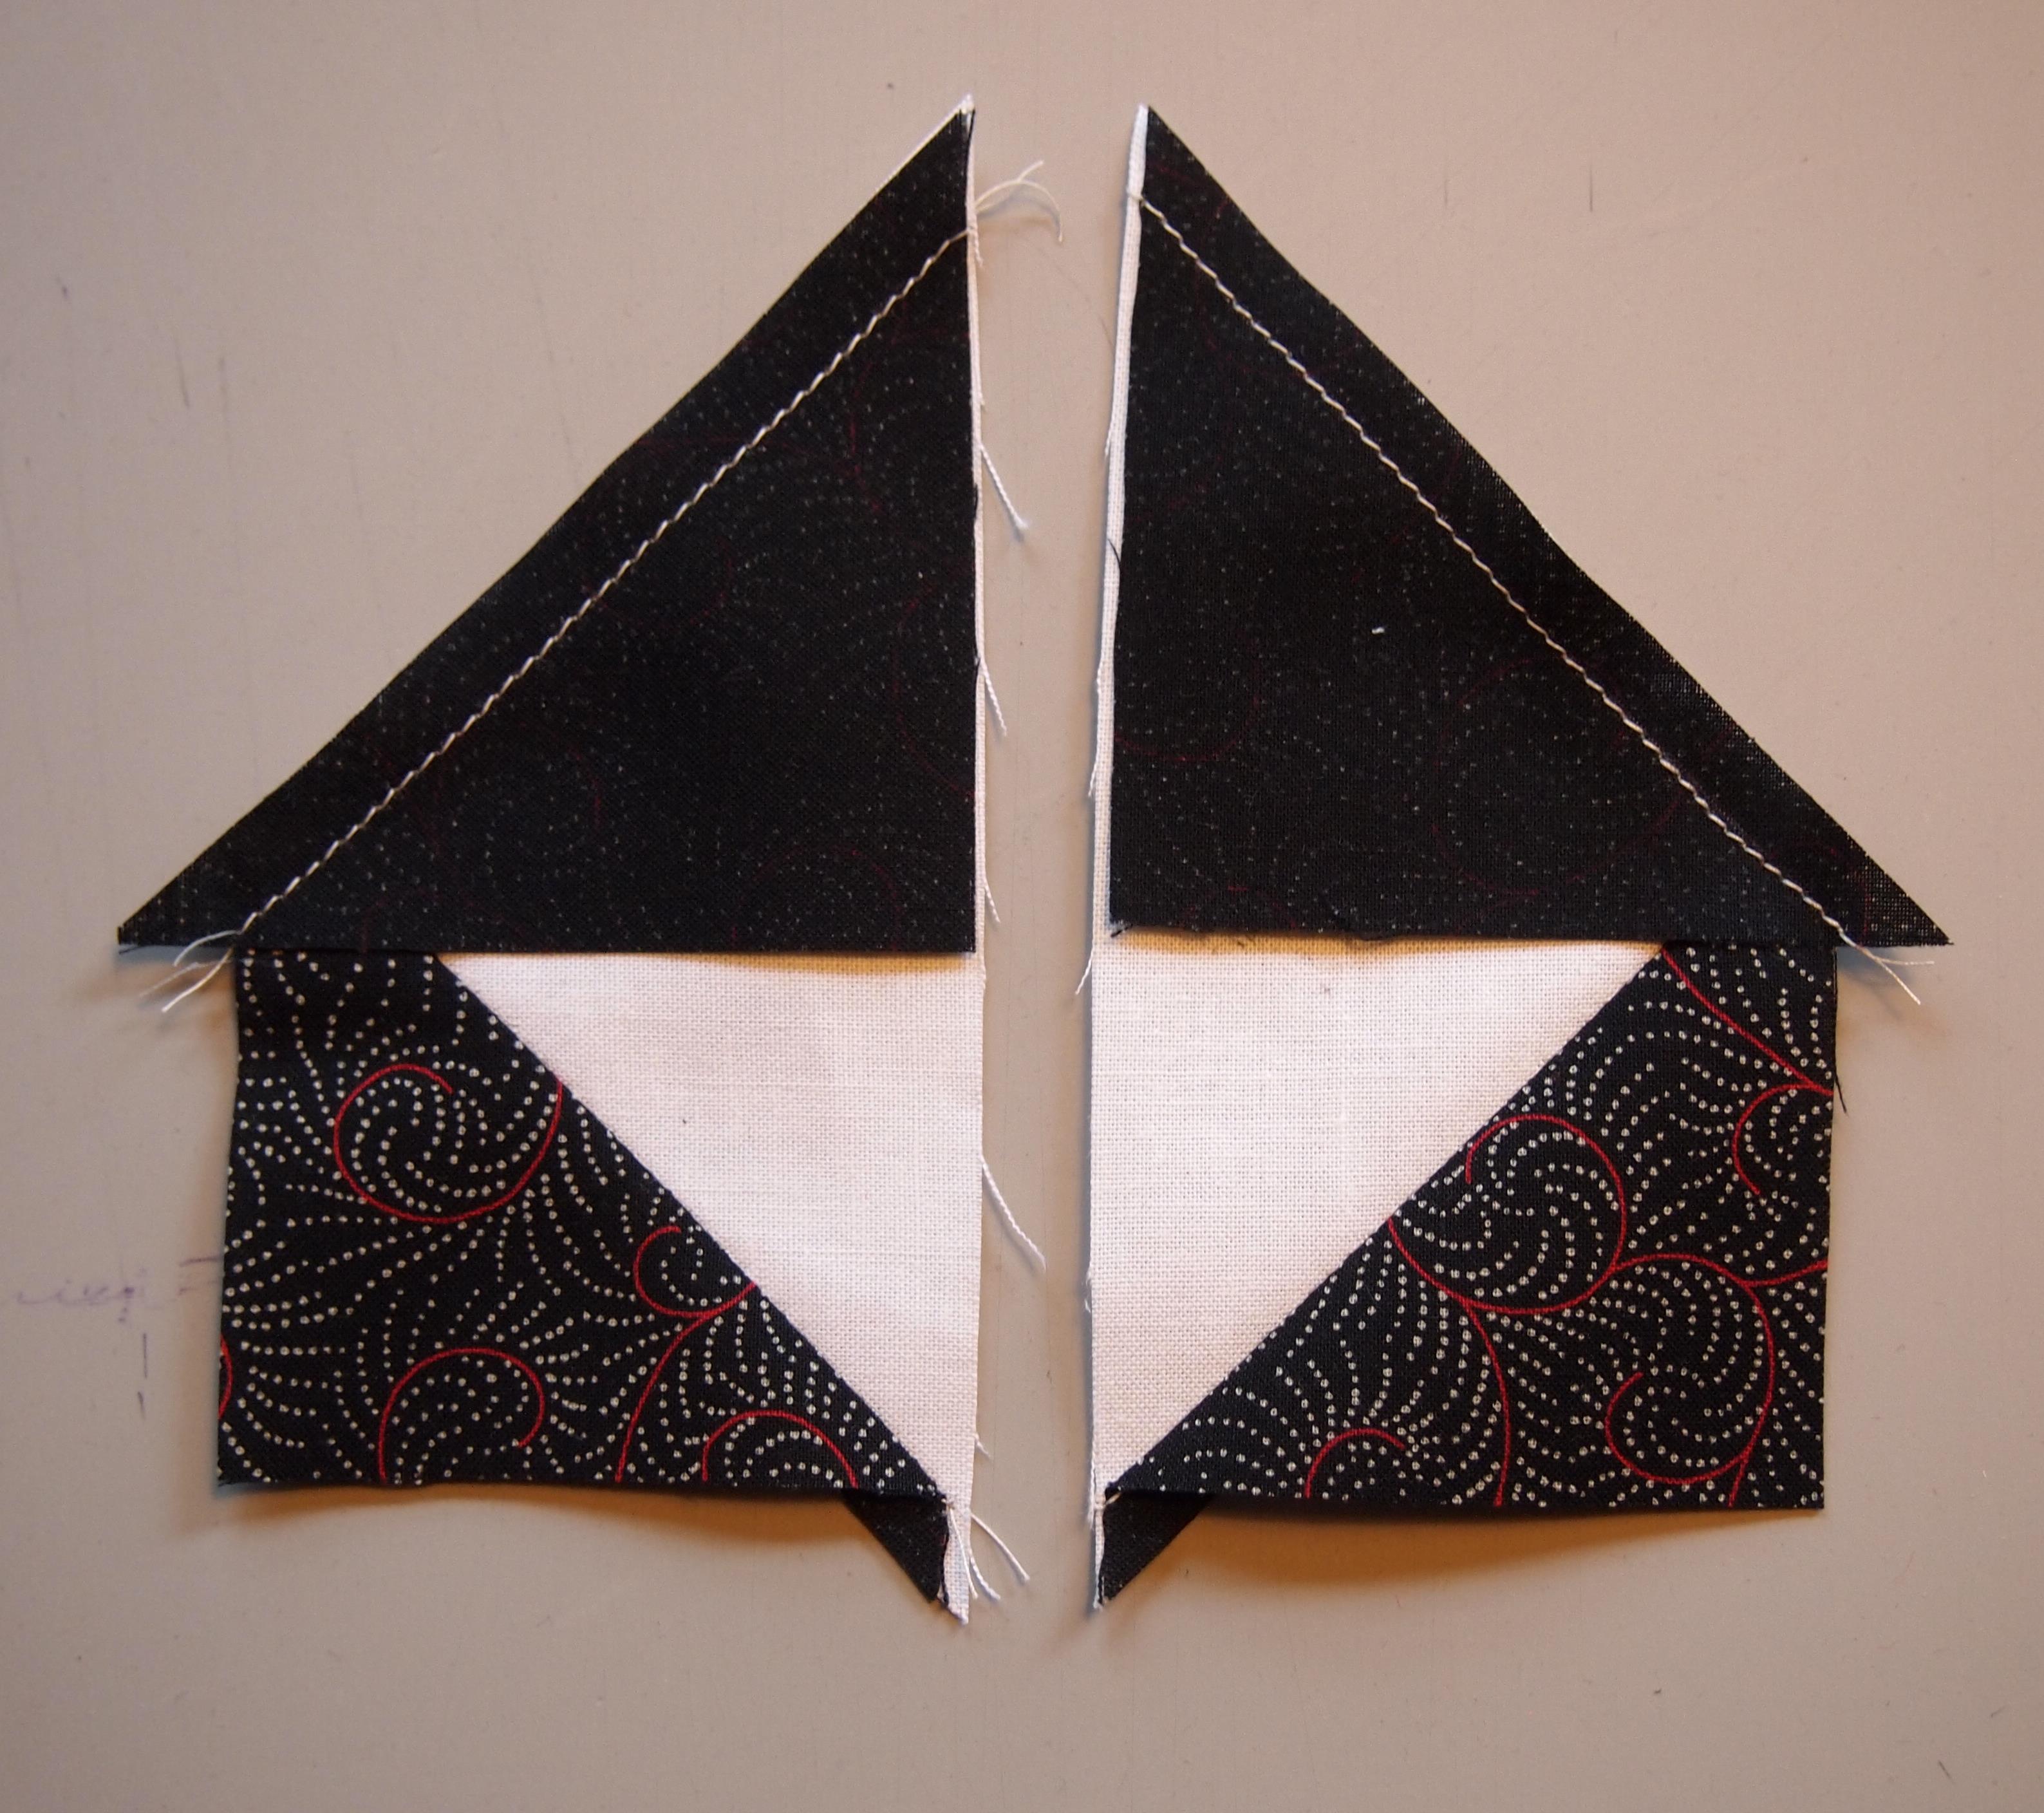
Sew on the lines, cut apart and press toward the small triangles. (See Wing Clipper instructions for complete info)
OLYMPUS DIGITAL CAMERA

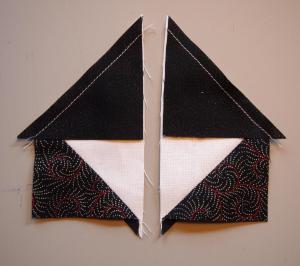
Place another square on the unit, sew on the lines.
OLYMPUS DIGITAL CAMERA

Cut apart. Press toward the small triangle.

OLYMPUS DIGITAL CAMERA

OLYMPUS DIGITAL CAMERA
Square up using your Wing Clipper.

Red Fabric:
I needed eight 2” by 4” finished flying geese units, so I cut two 5 ½” (white) squares and eight 3” (red) squares to produce 8 flying geese as before.

Cut four 2” by 4” red rectangles.

I needed 20 red and white Half Square Triangles (HST).  Once again I consulted the chart on my Tucker Trimmer instructions.  To end up with twenty 2 ½” unfinished HST, I cut 10 red 3″ squares and 10 white 3” squares.

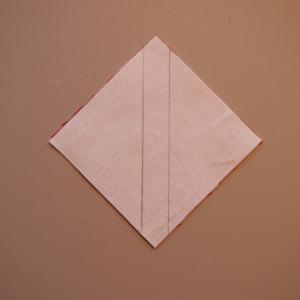
Using my Magic Wand I traced a line on either side of the white squares.
OLYMPUS DIGITAL CAMERA

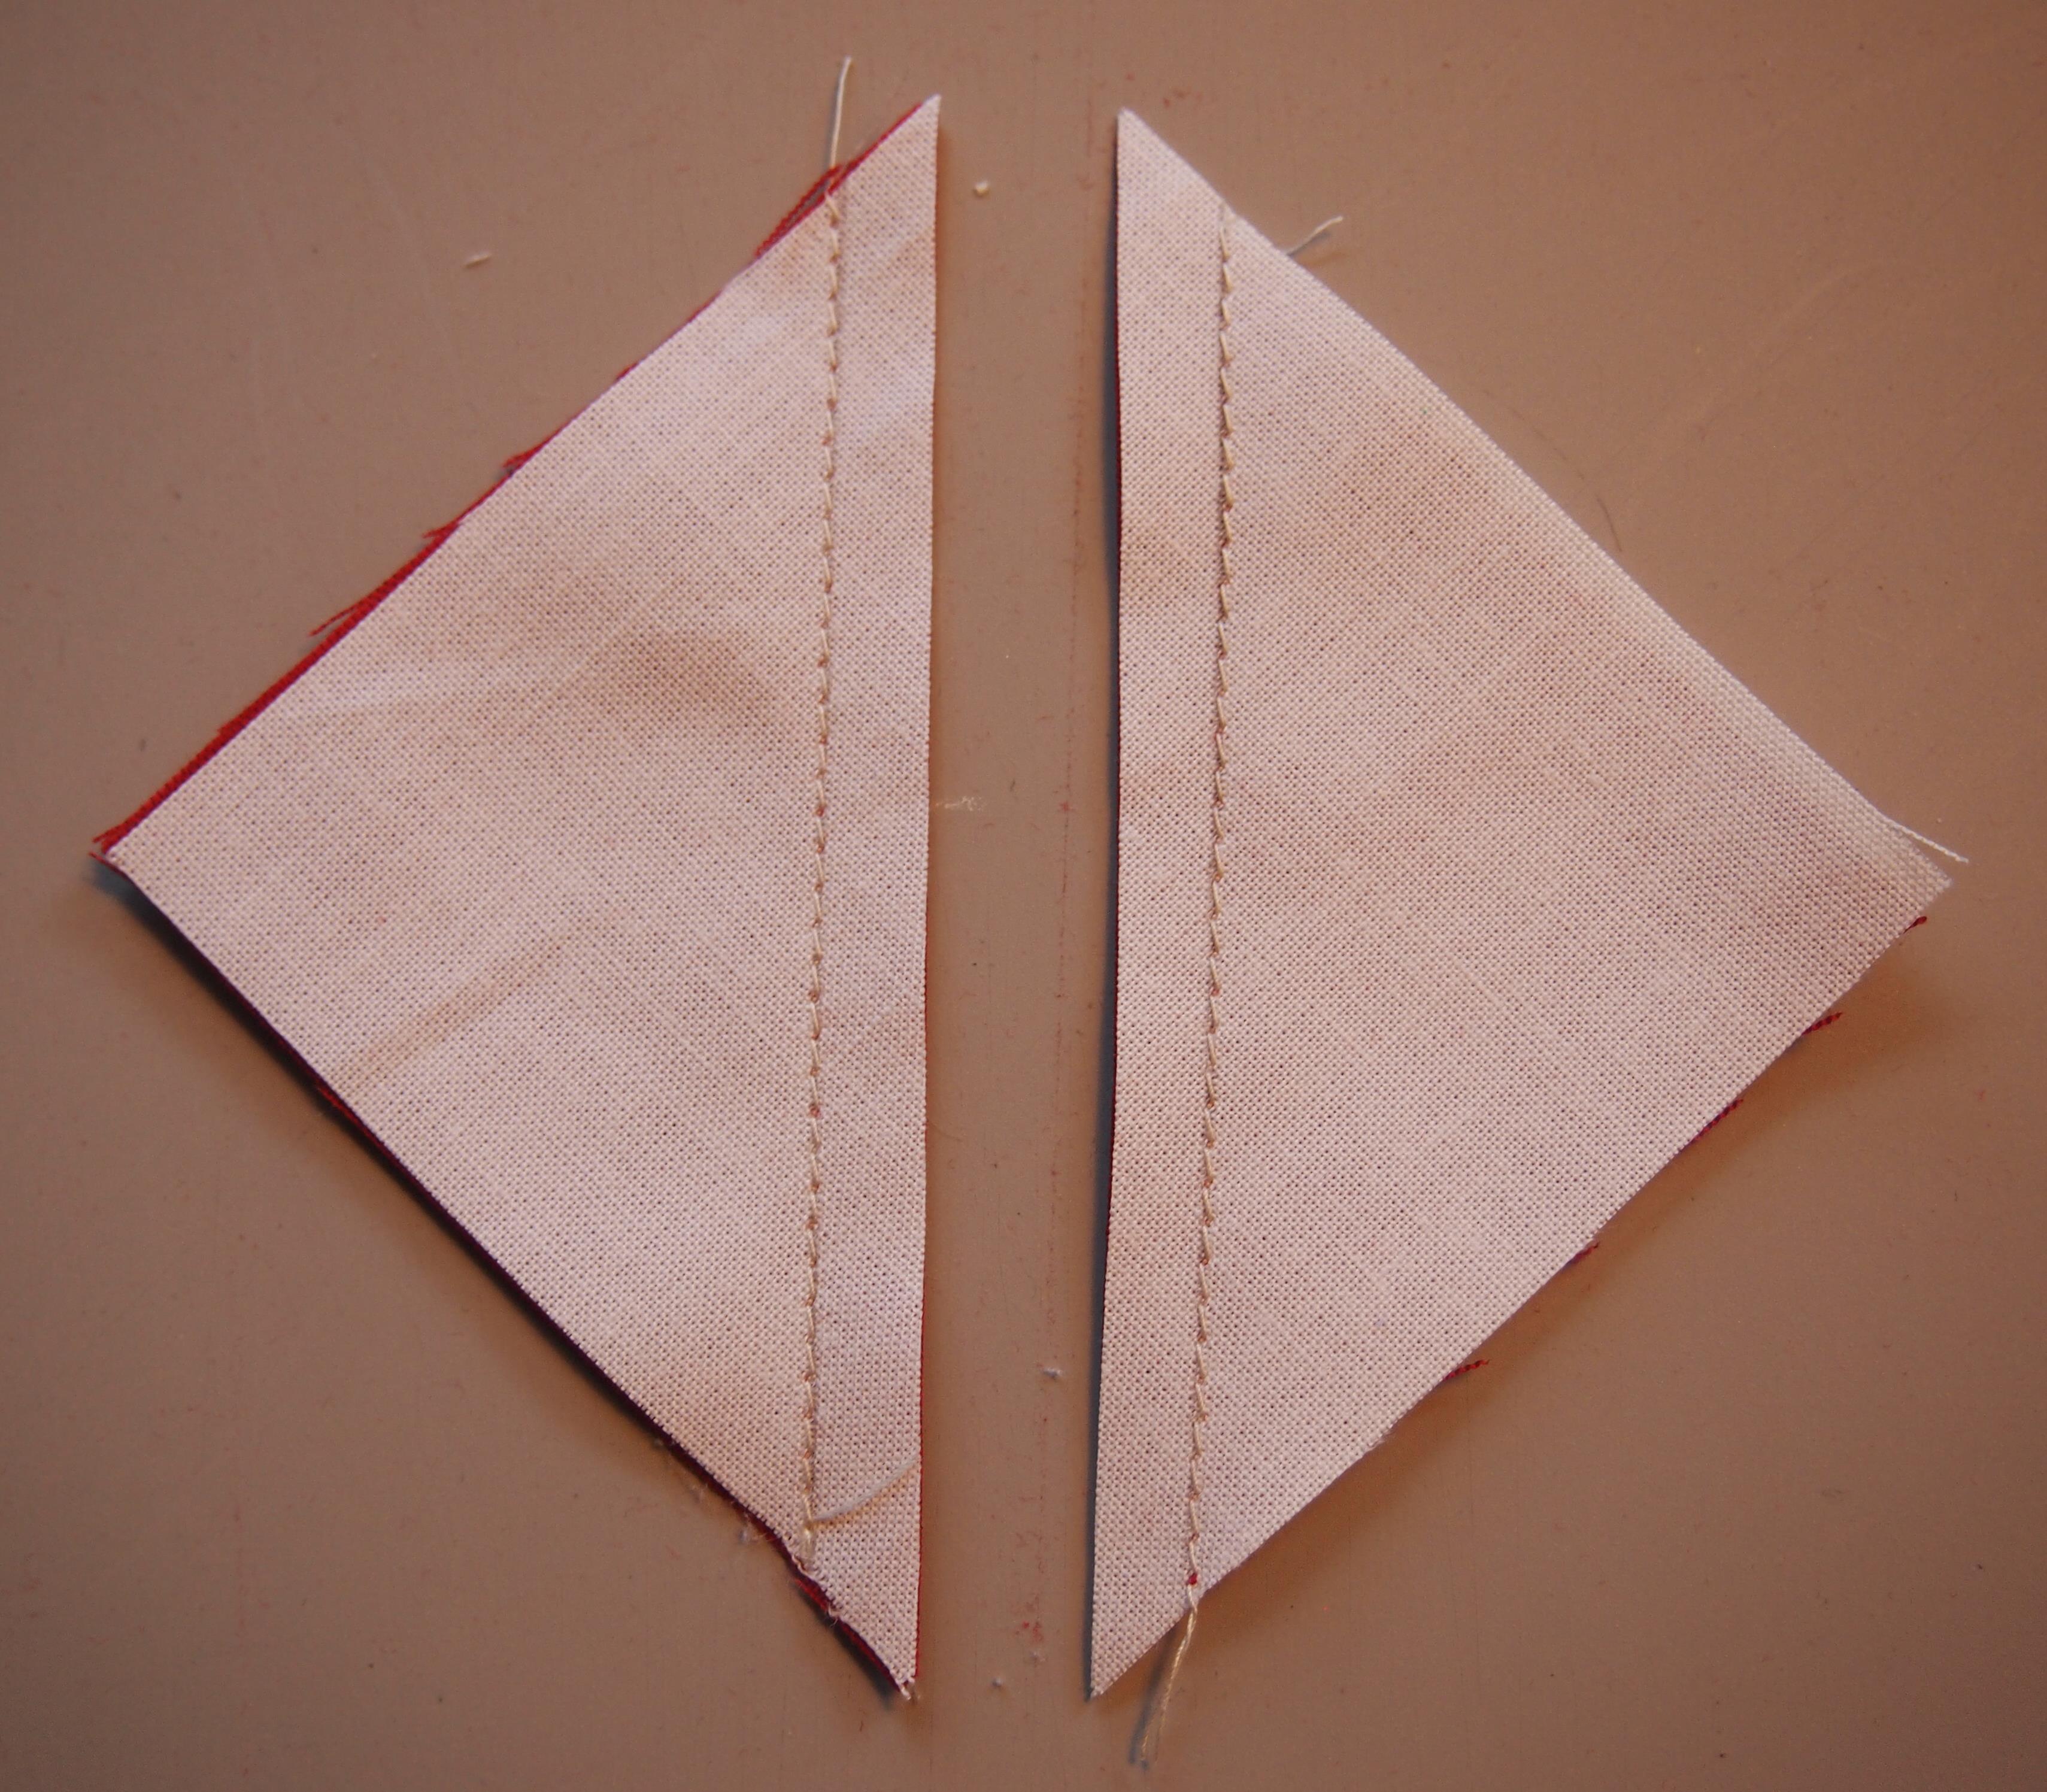
Place one red and white square together and sew on each line.
OLYMPUS DIGITAL CAMERA

Trim in half diagonally press toward the dark.

OLYMPUS DIGITAL CAMERA

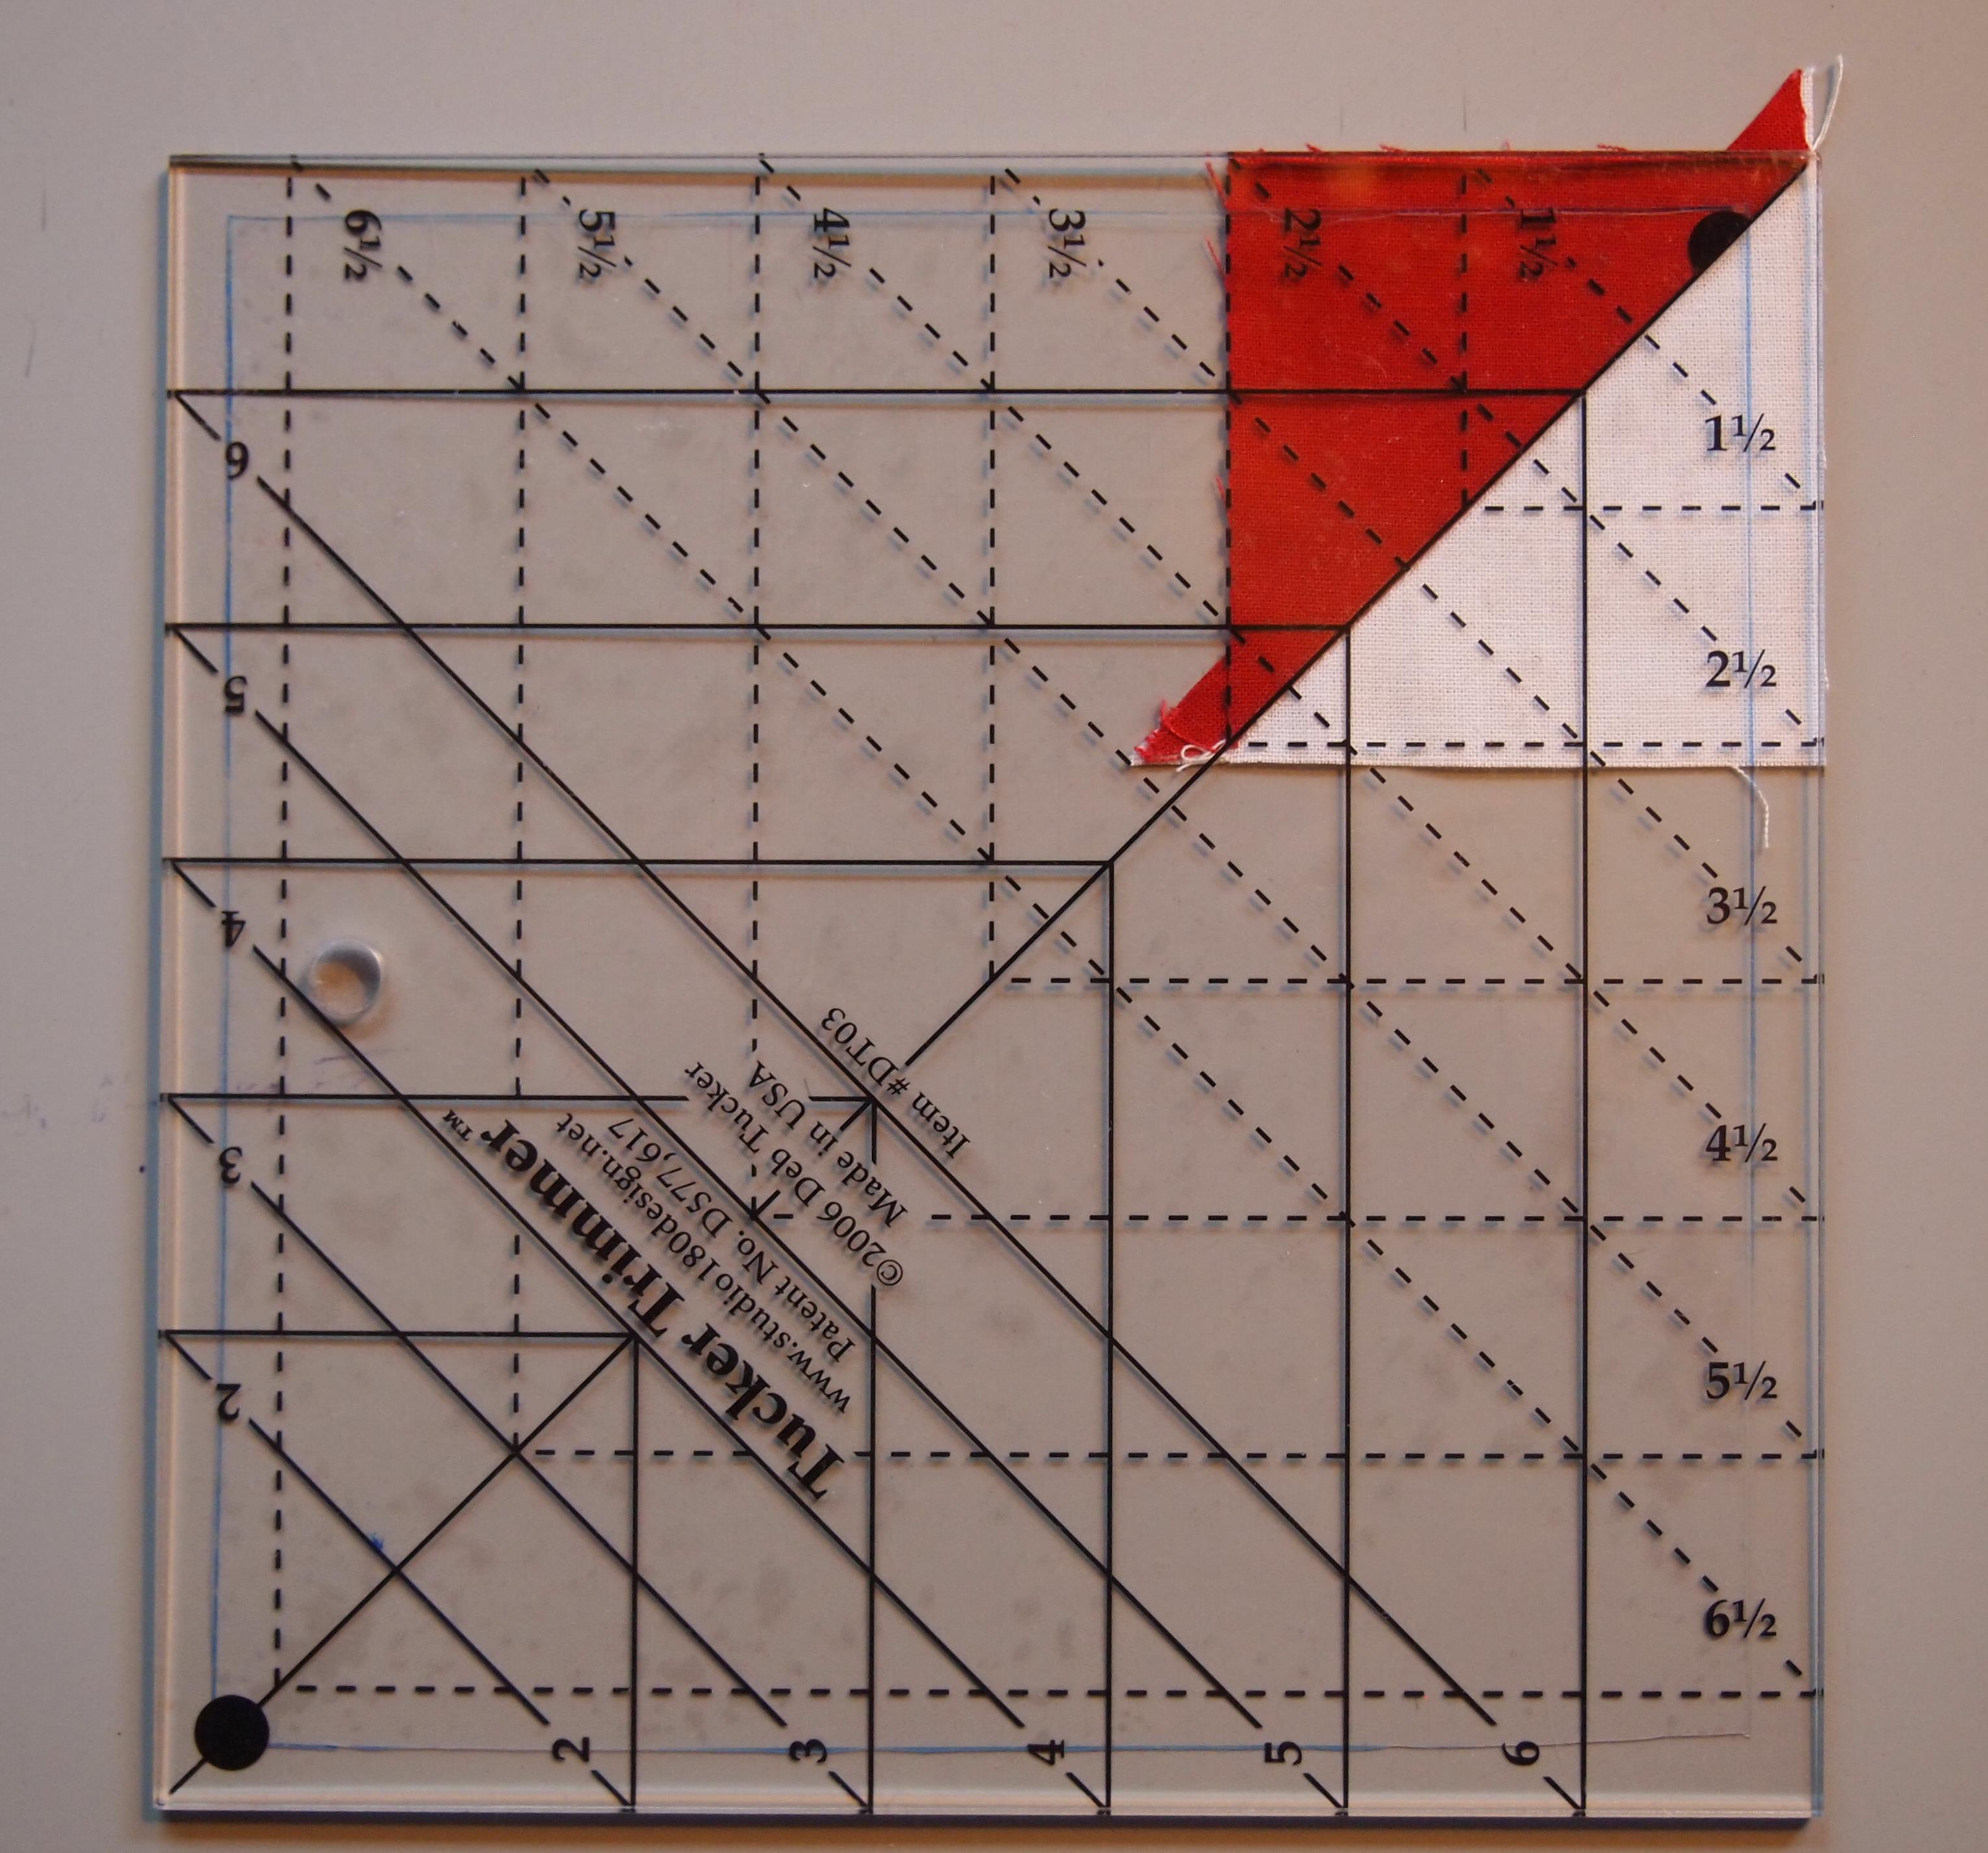
Square up using your Tucker Trimmer.

OLYMPUS DIGITAL CAMERA

White Fabric:

Cut four 6 ½” squares for the corners and

Cut eight 2 ½” squares for either side of the red flying geese.
OLYMPUS DIGITAL CAMERA

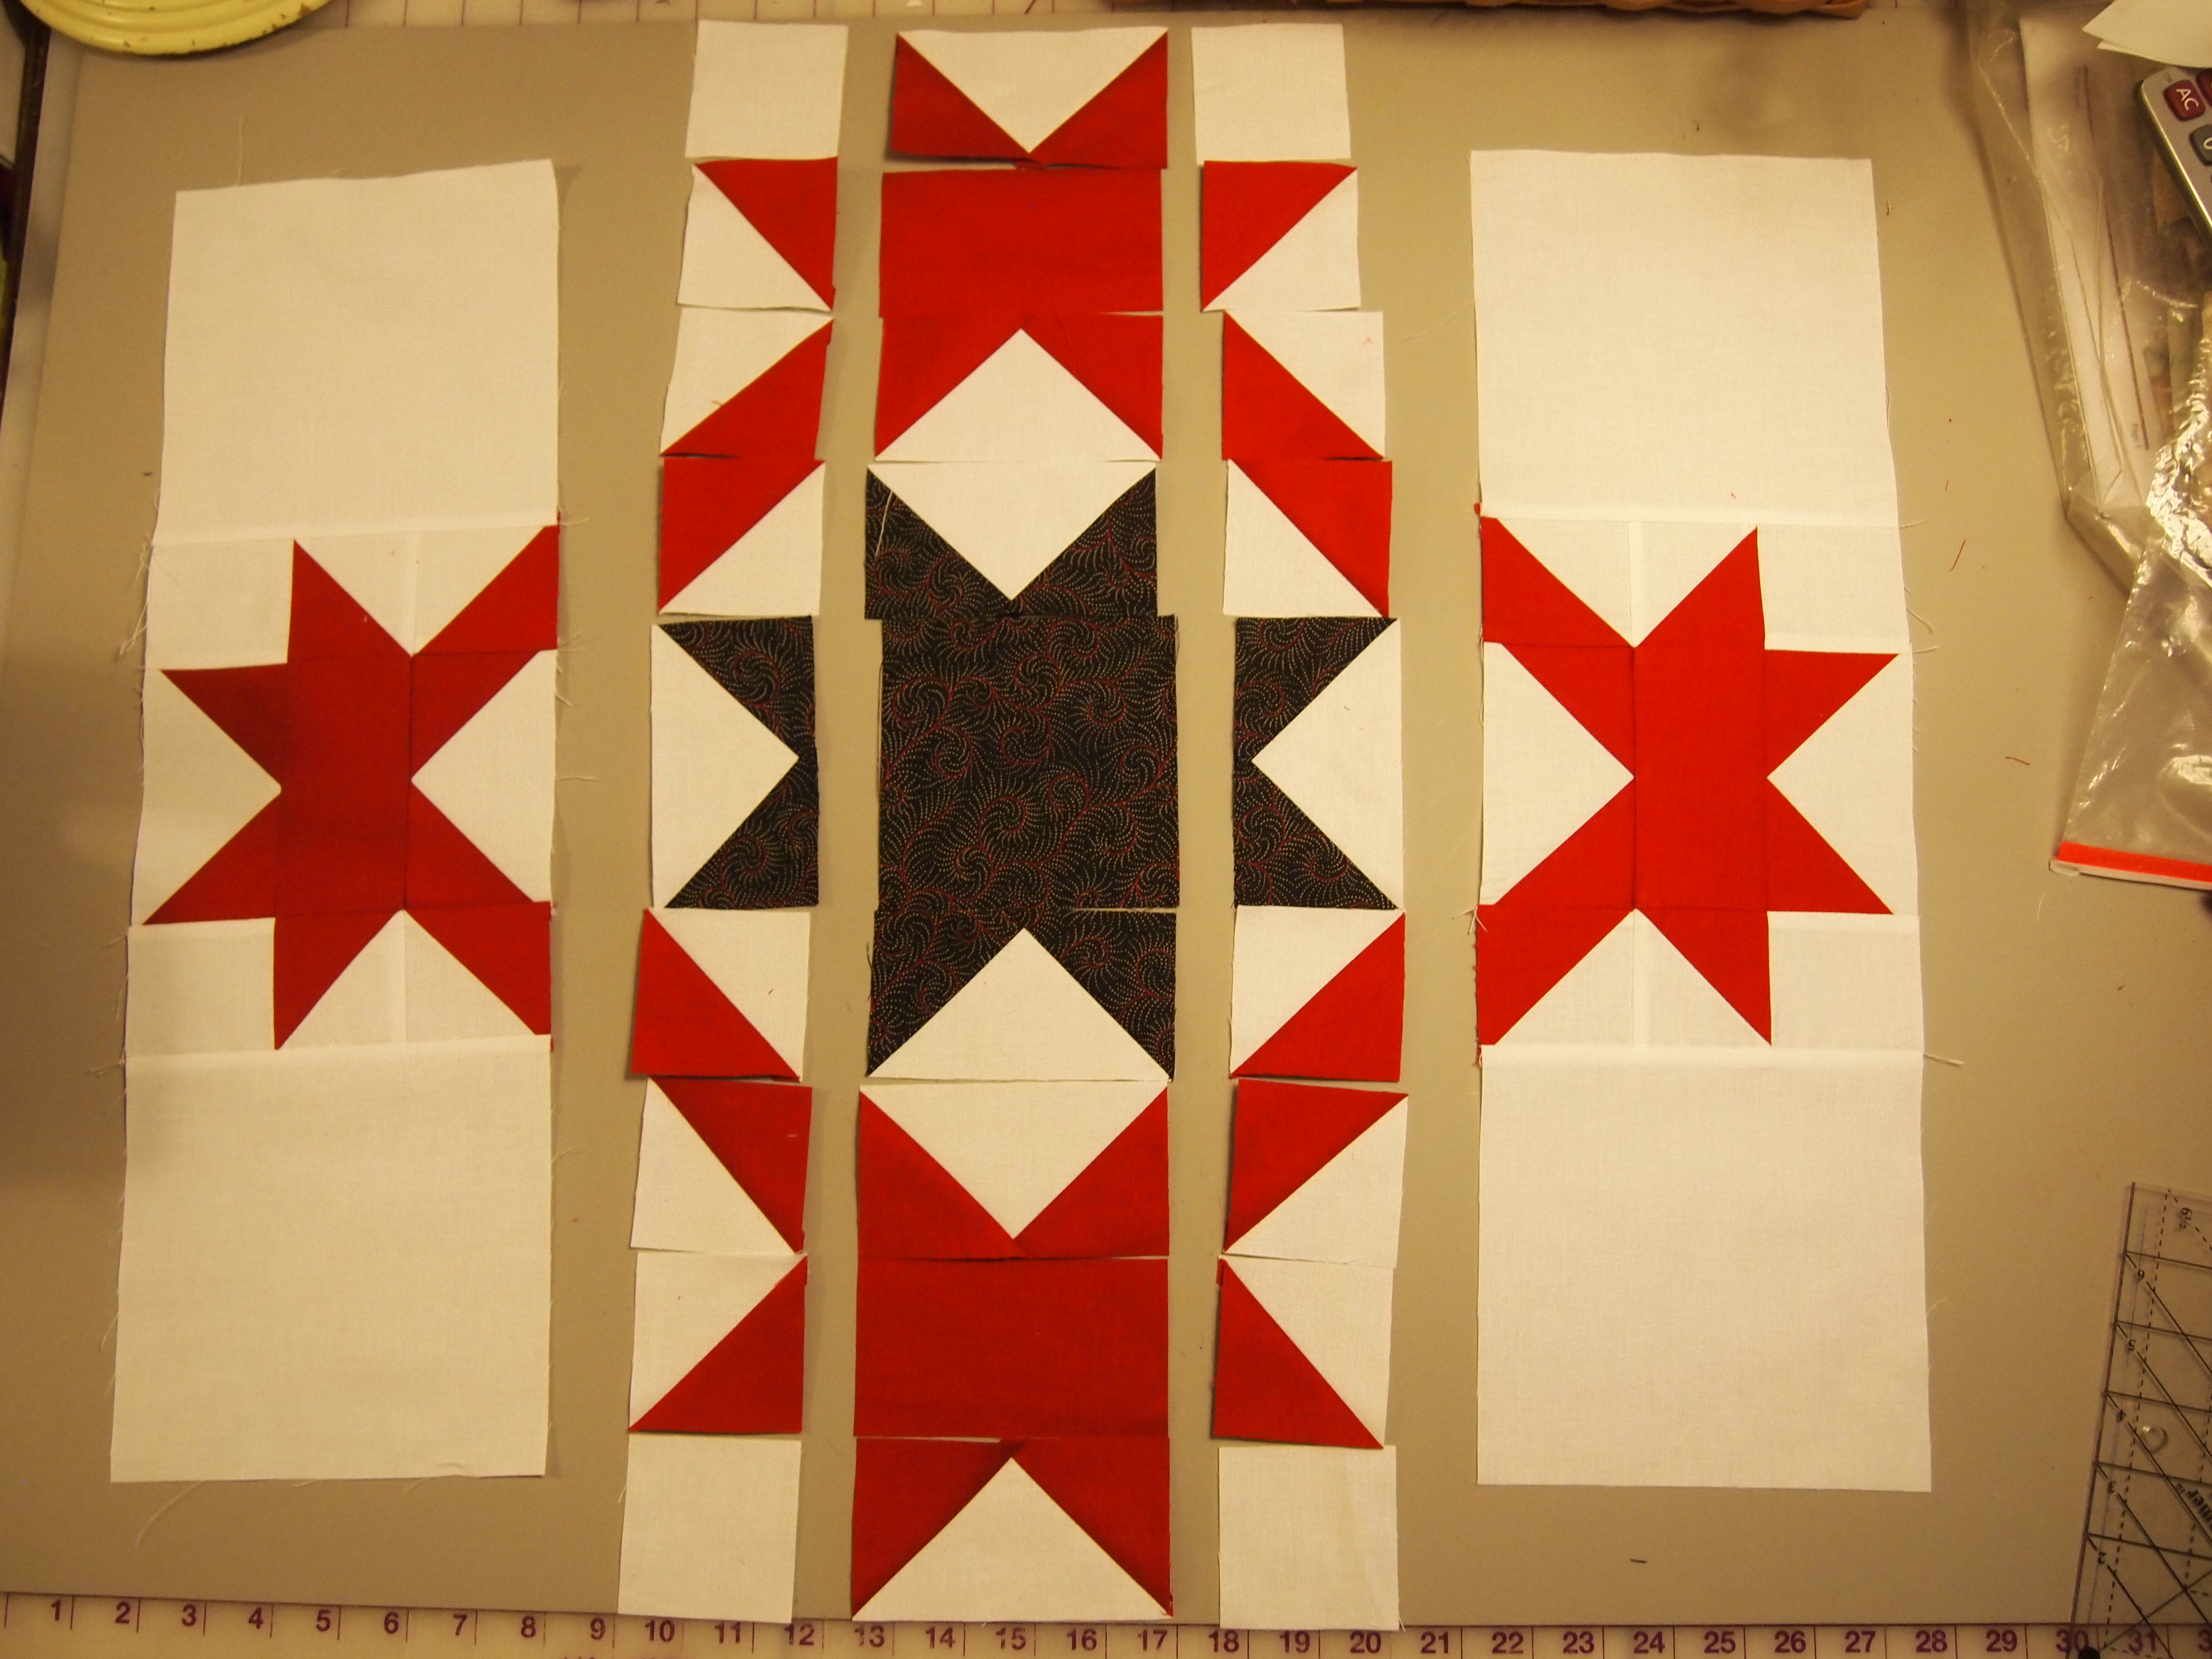
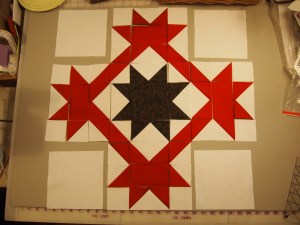
Layout your completed units

OLYMPUS DIGITAL CAMERA

I started on the right side and sewed the above units into rows.

OLYMPUS DIGITAL CAMERA

Join the rows into a block.

OLYMPUS DIGITAL CAMERA

Add the 6 1/2″ corner blocks. Repeat on the left side.

OLYMPUS DIGITAL CAMERA

As shown above, I divided the block into 4 sections. Above I sewed the right and then the left sections together.    Next I joined the units right of the center and left of the center into rows and then joined the center units together.  Finally I joined the four sections together for the finished block.  You can decide how big to make your own blocks and how many blocks to make.

OLYMPUS DIGITAL CAMERA

Quilting is a Pressing Matter

Constellation
I am getting ready for a Rapid Fire Lemoyne star class using the pattern that comes with the ruler. It is called “Constellation”, you end up making every size Lemoyne star from 3″ to 12″.
OLYMPUS DIGITAL CAMERA
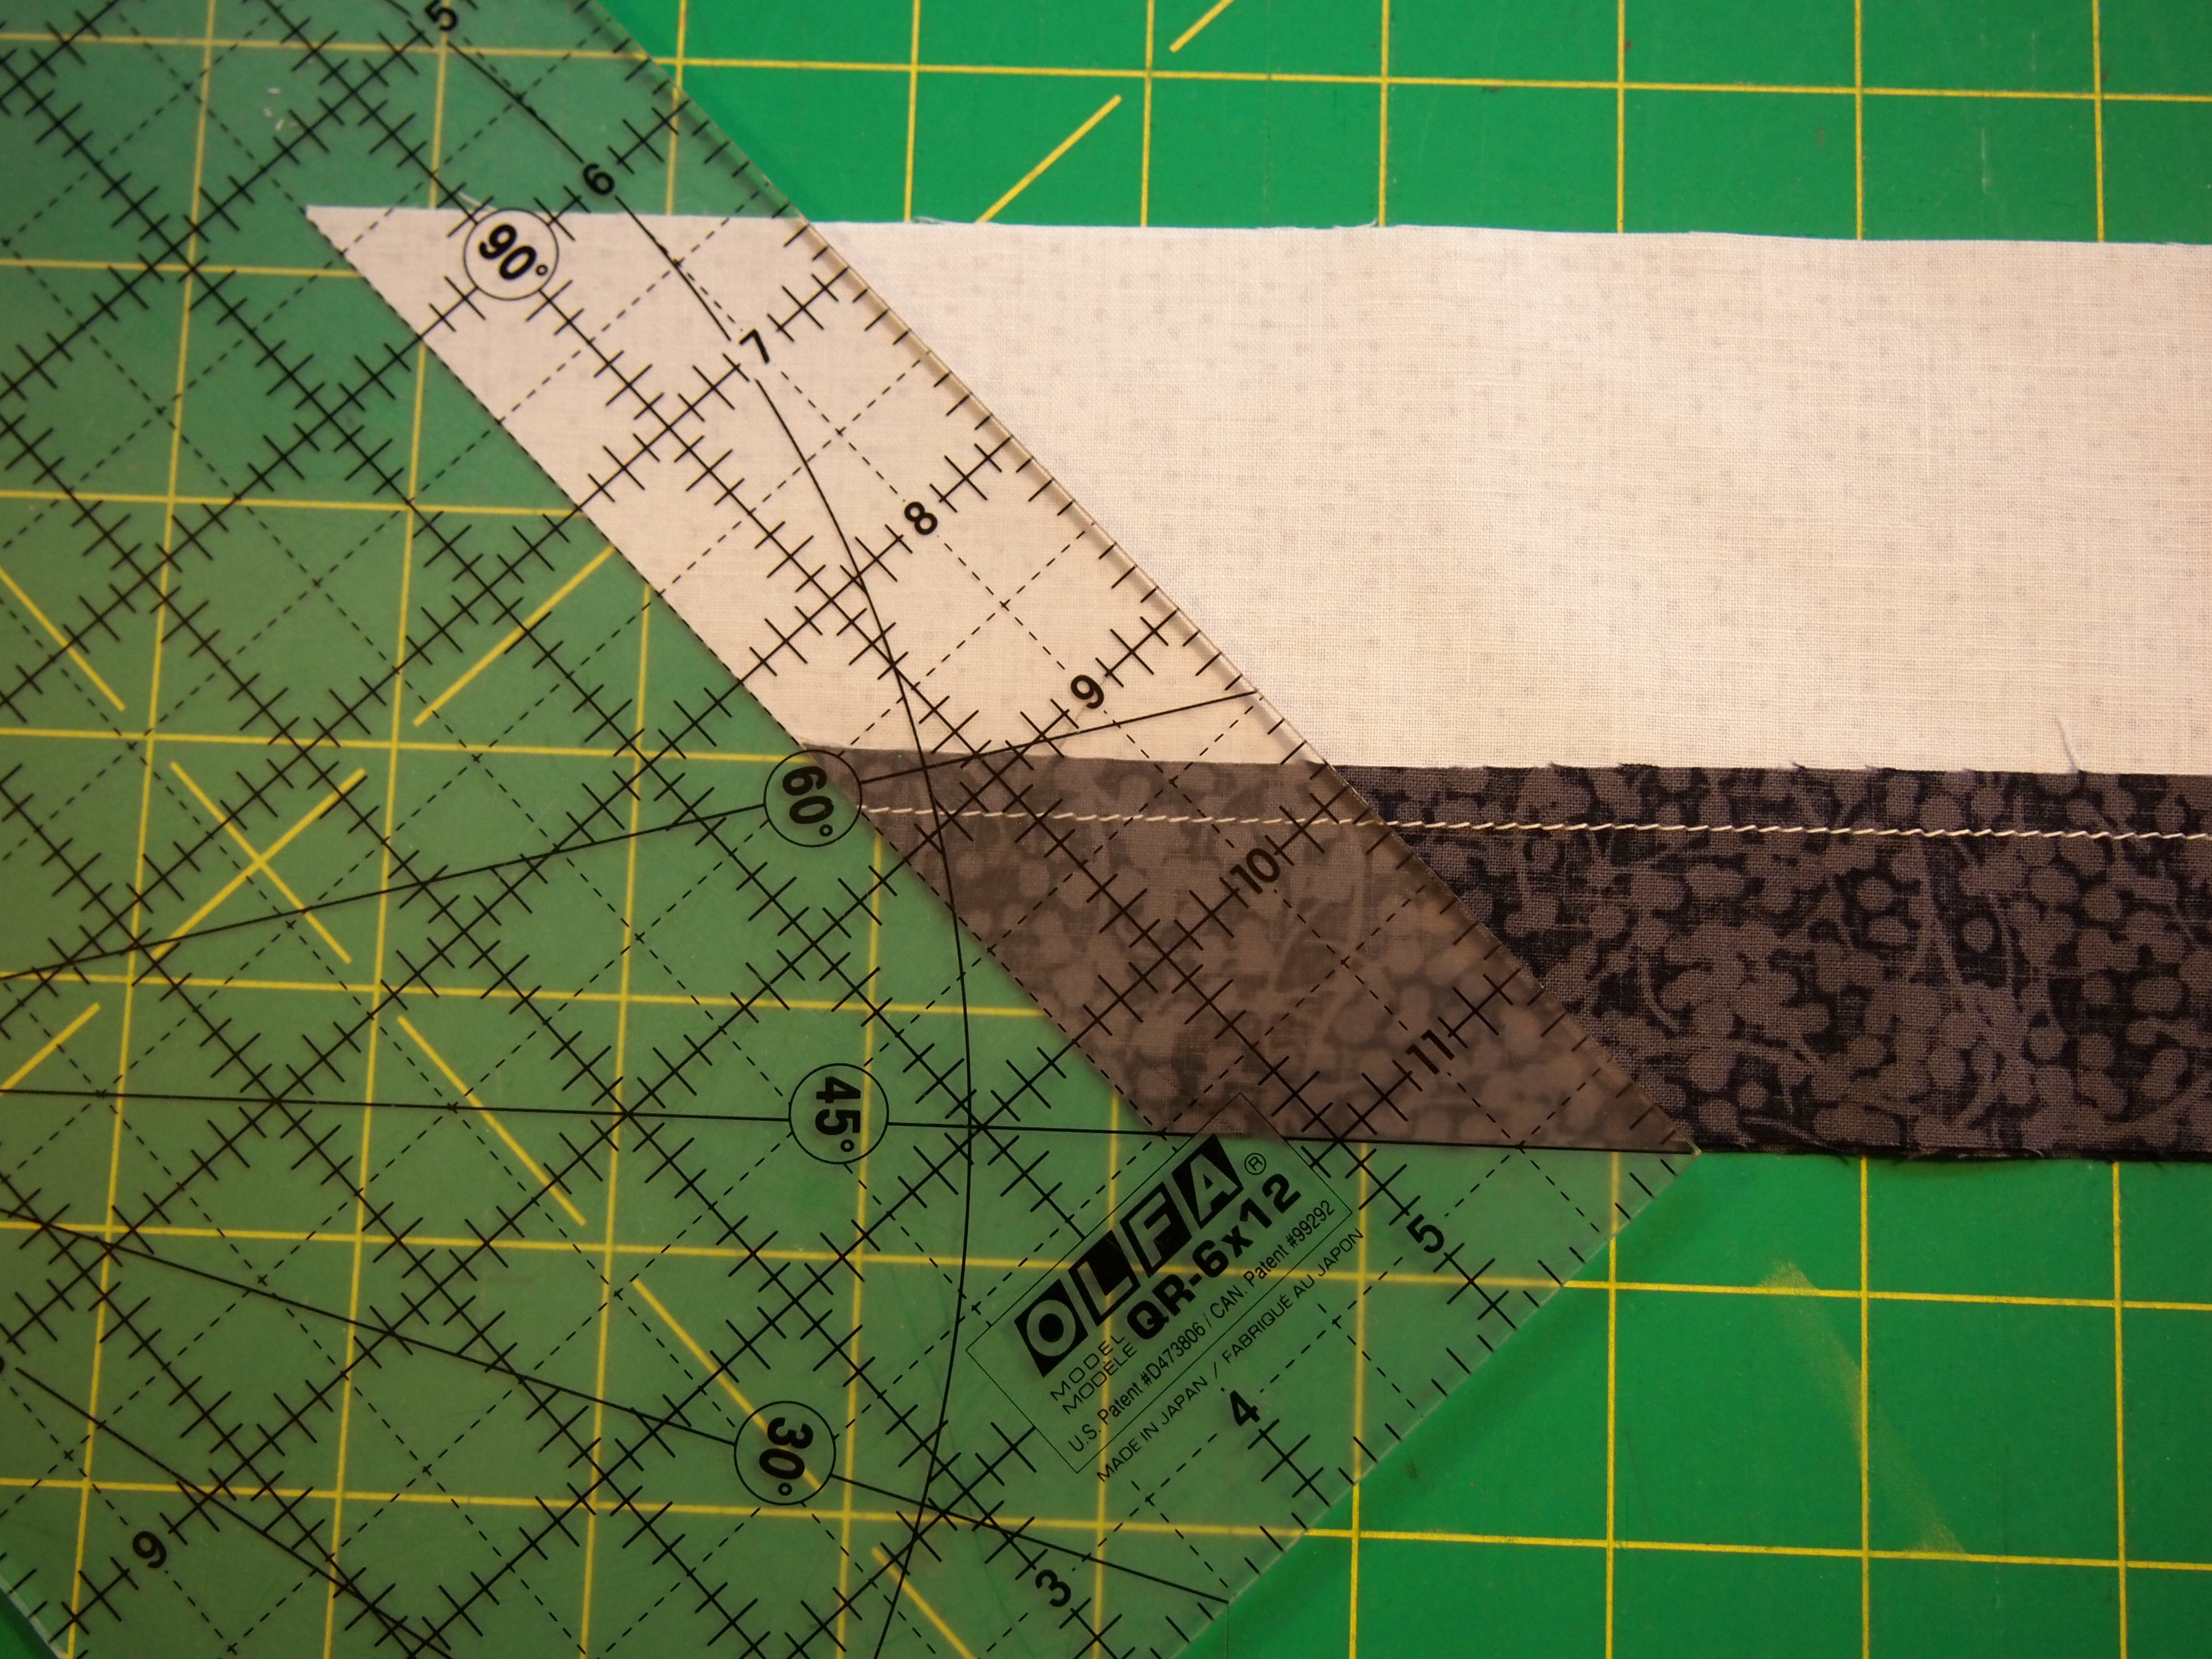
I wanted to share some organizational tips for making this block. Good pressing skills will make this block a breeze. (For complete details check your ruler instructions) We begin by making our 45 degree cuts.
OLYMPUS DIGITAL CAMERA
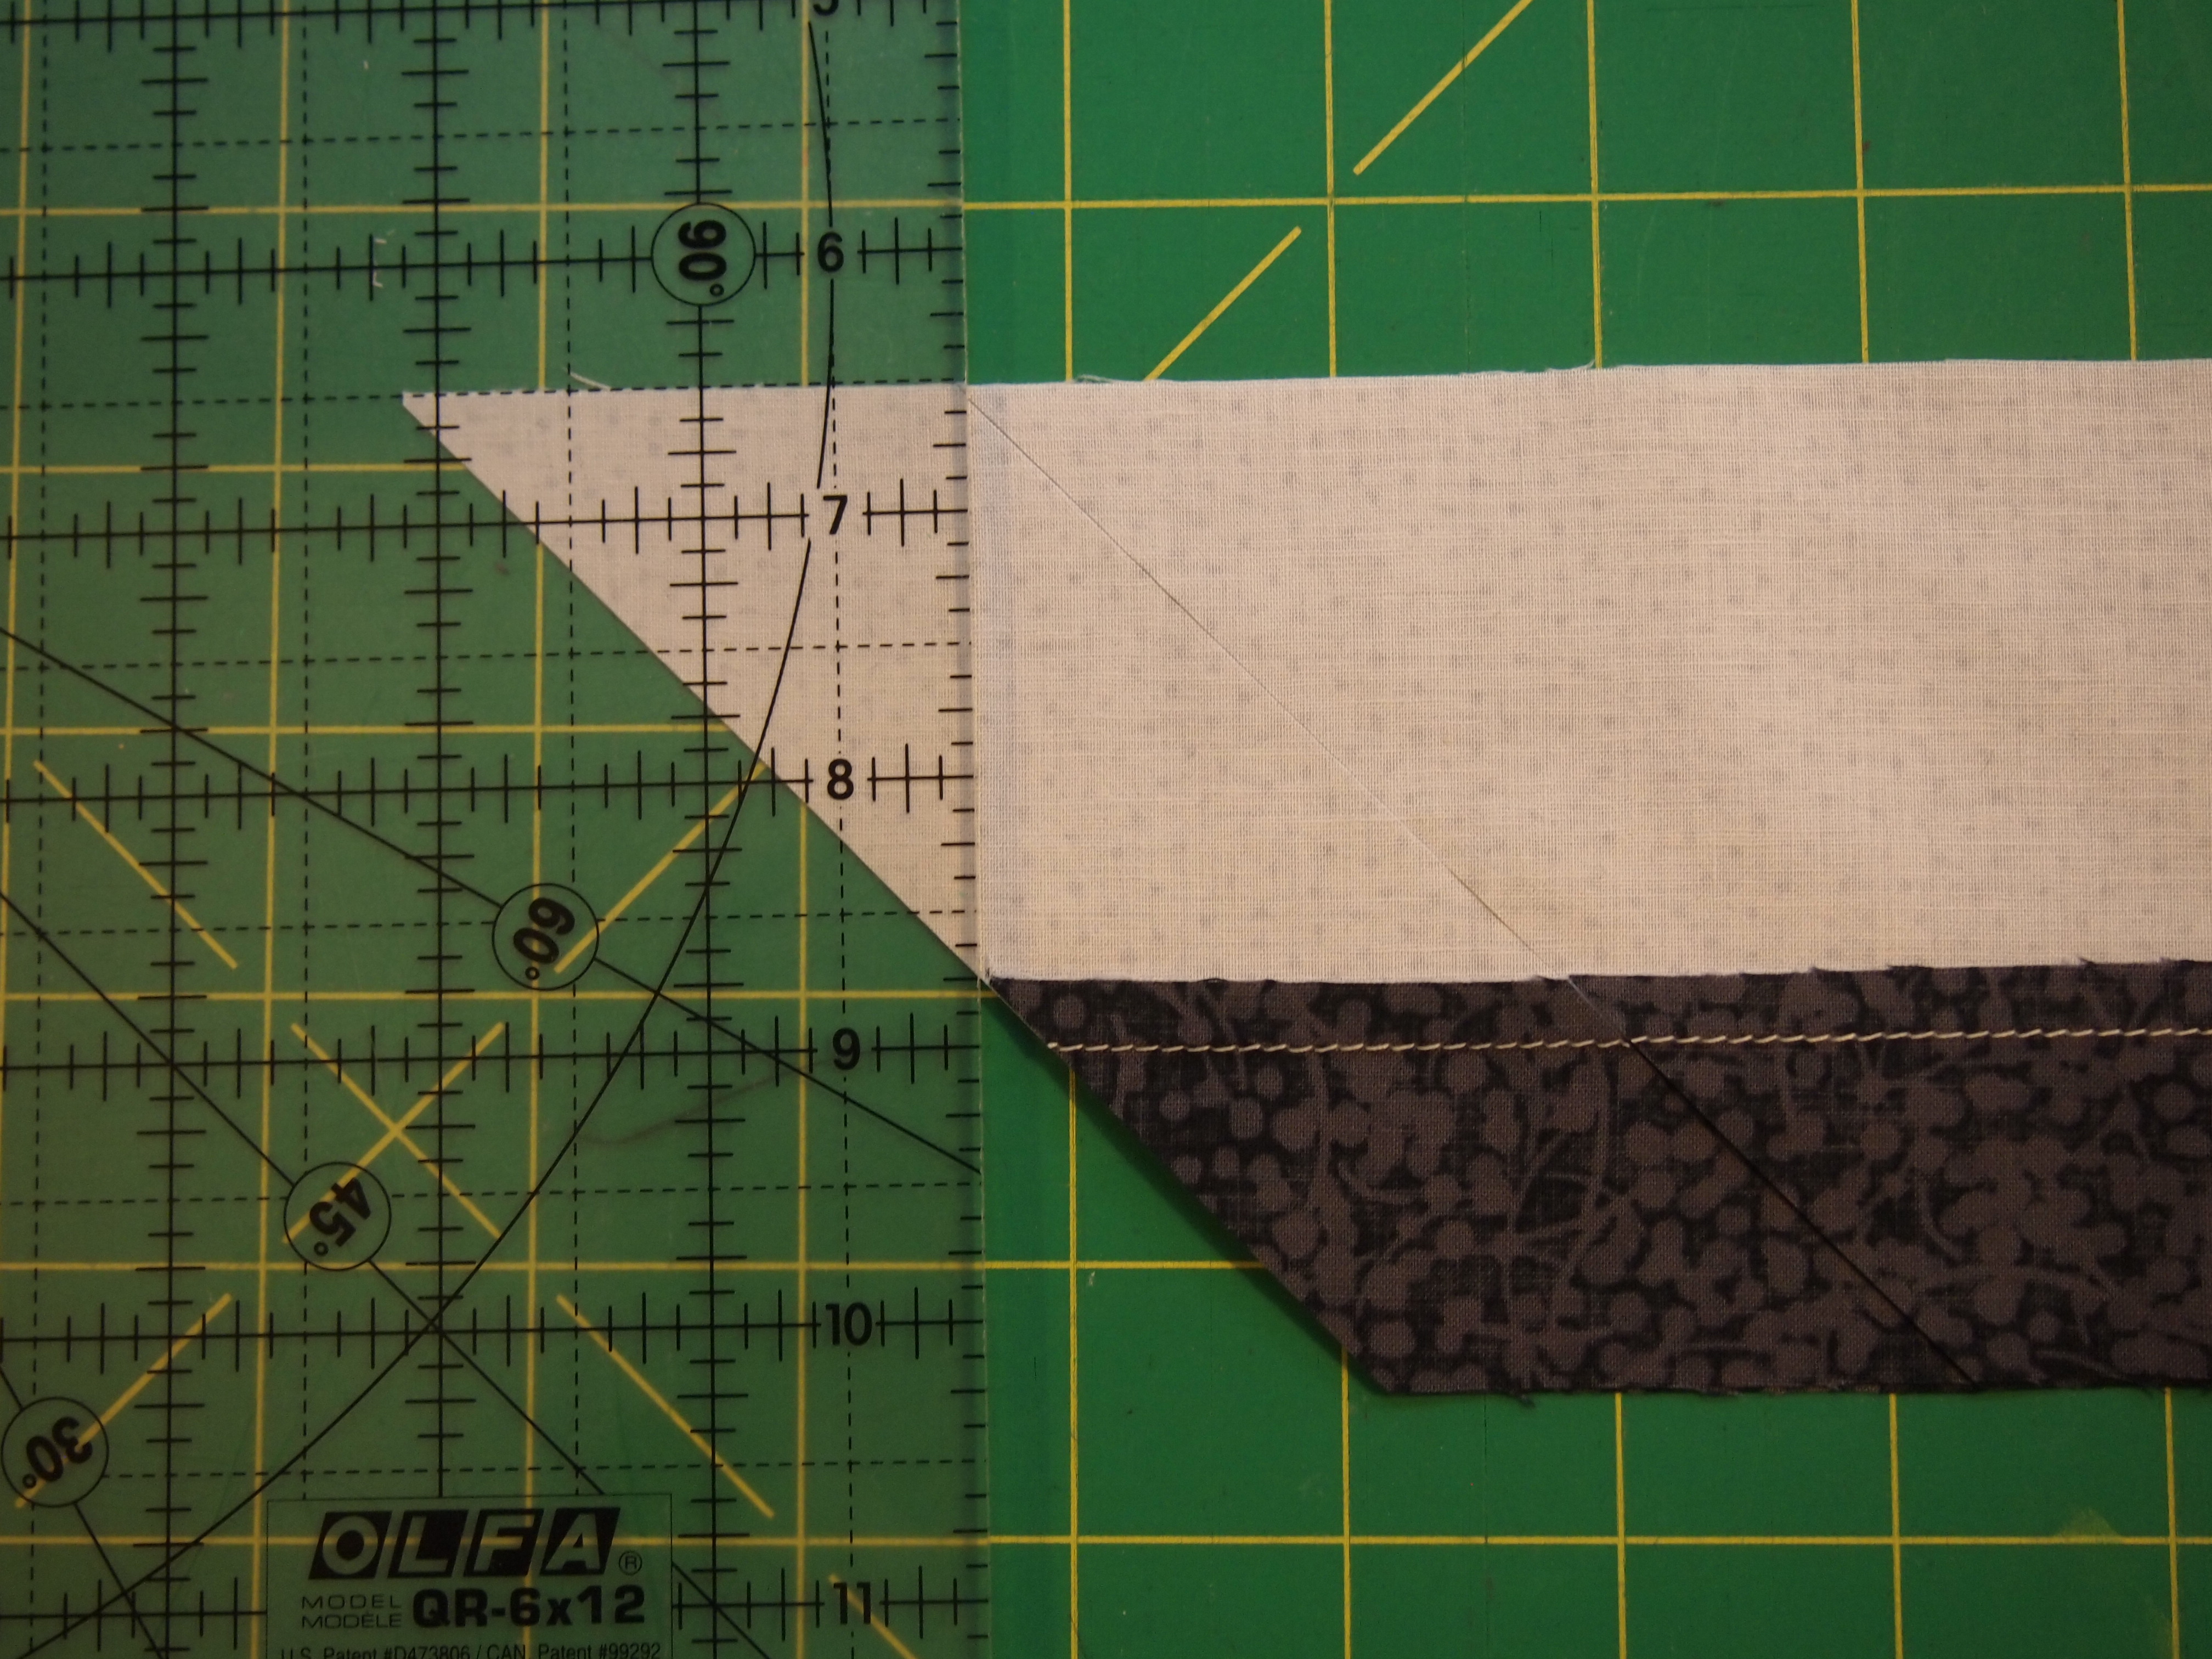
After the first cut, move the ruler to cut the side triangle .
OLYMPUS DIGITAL CAMERA
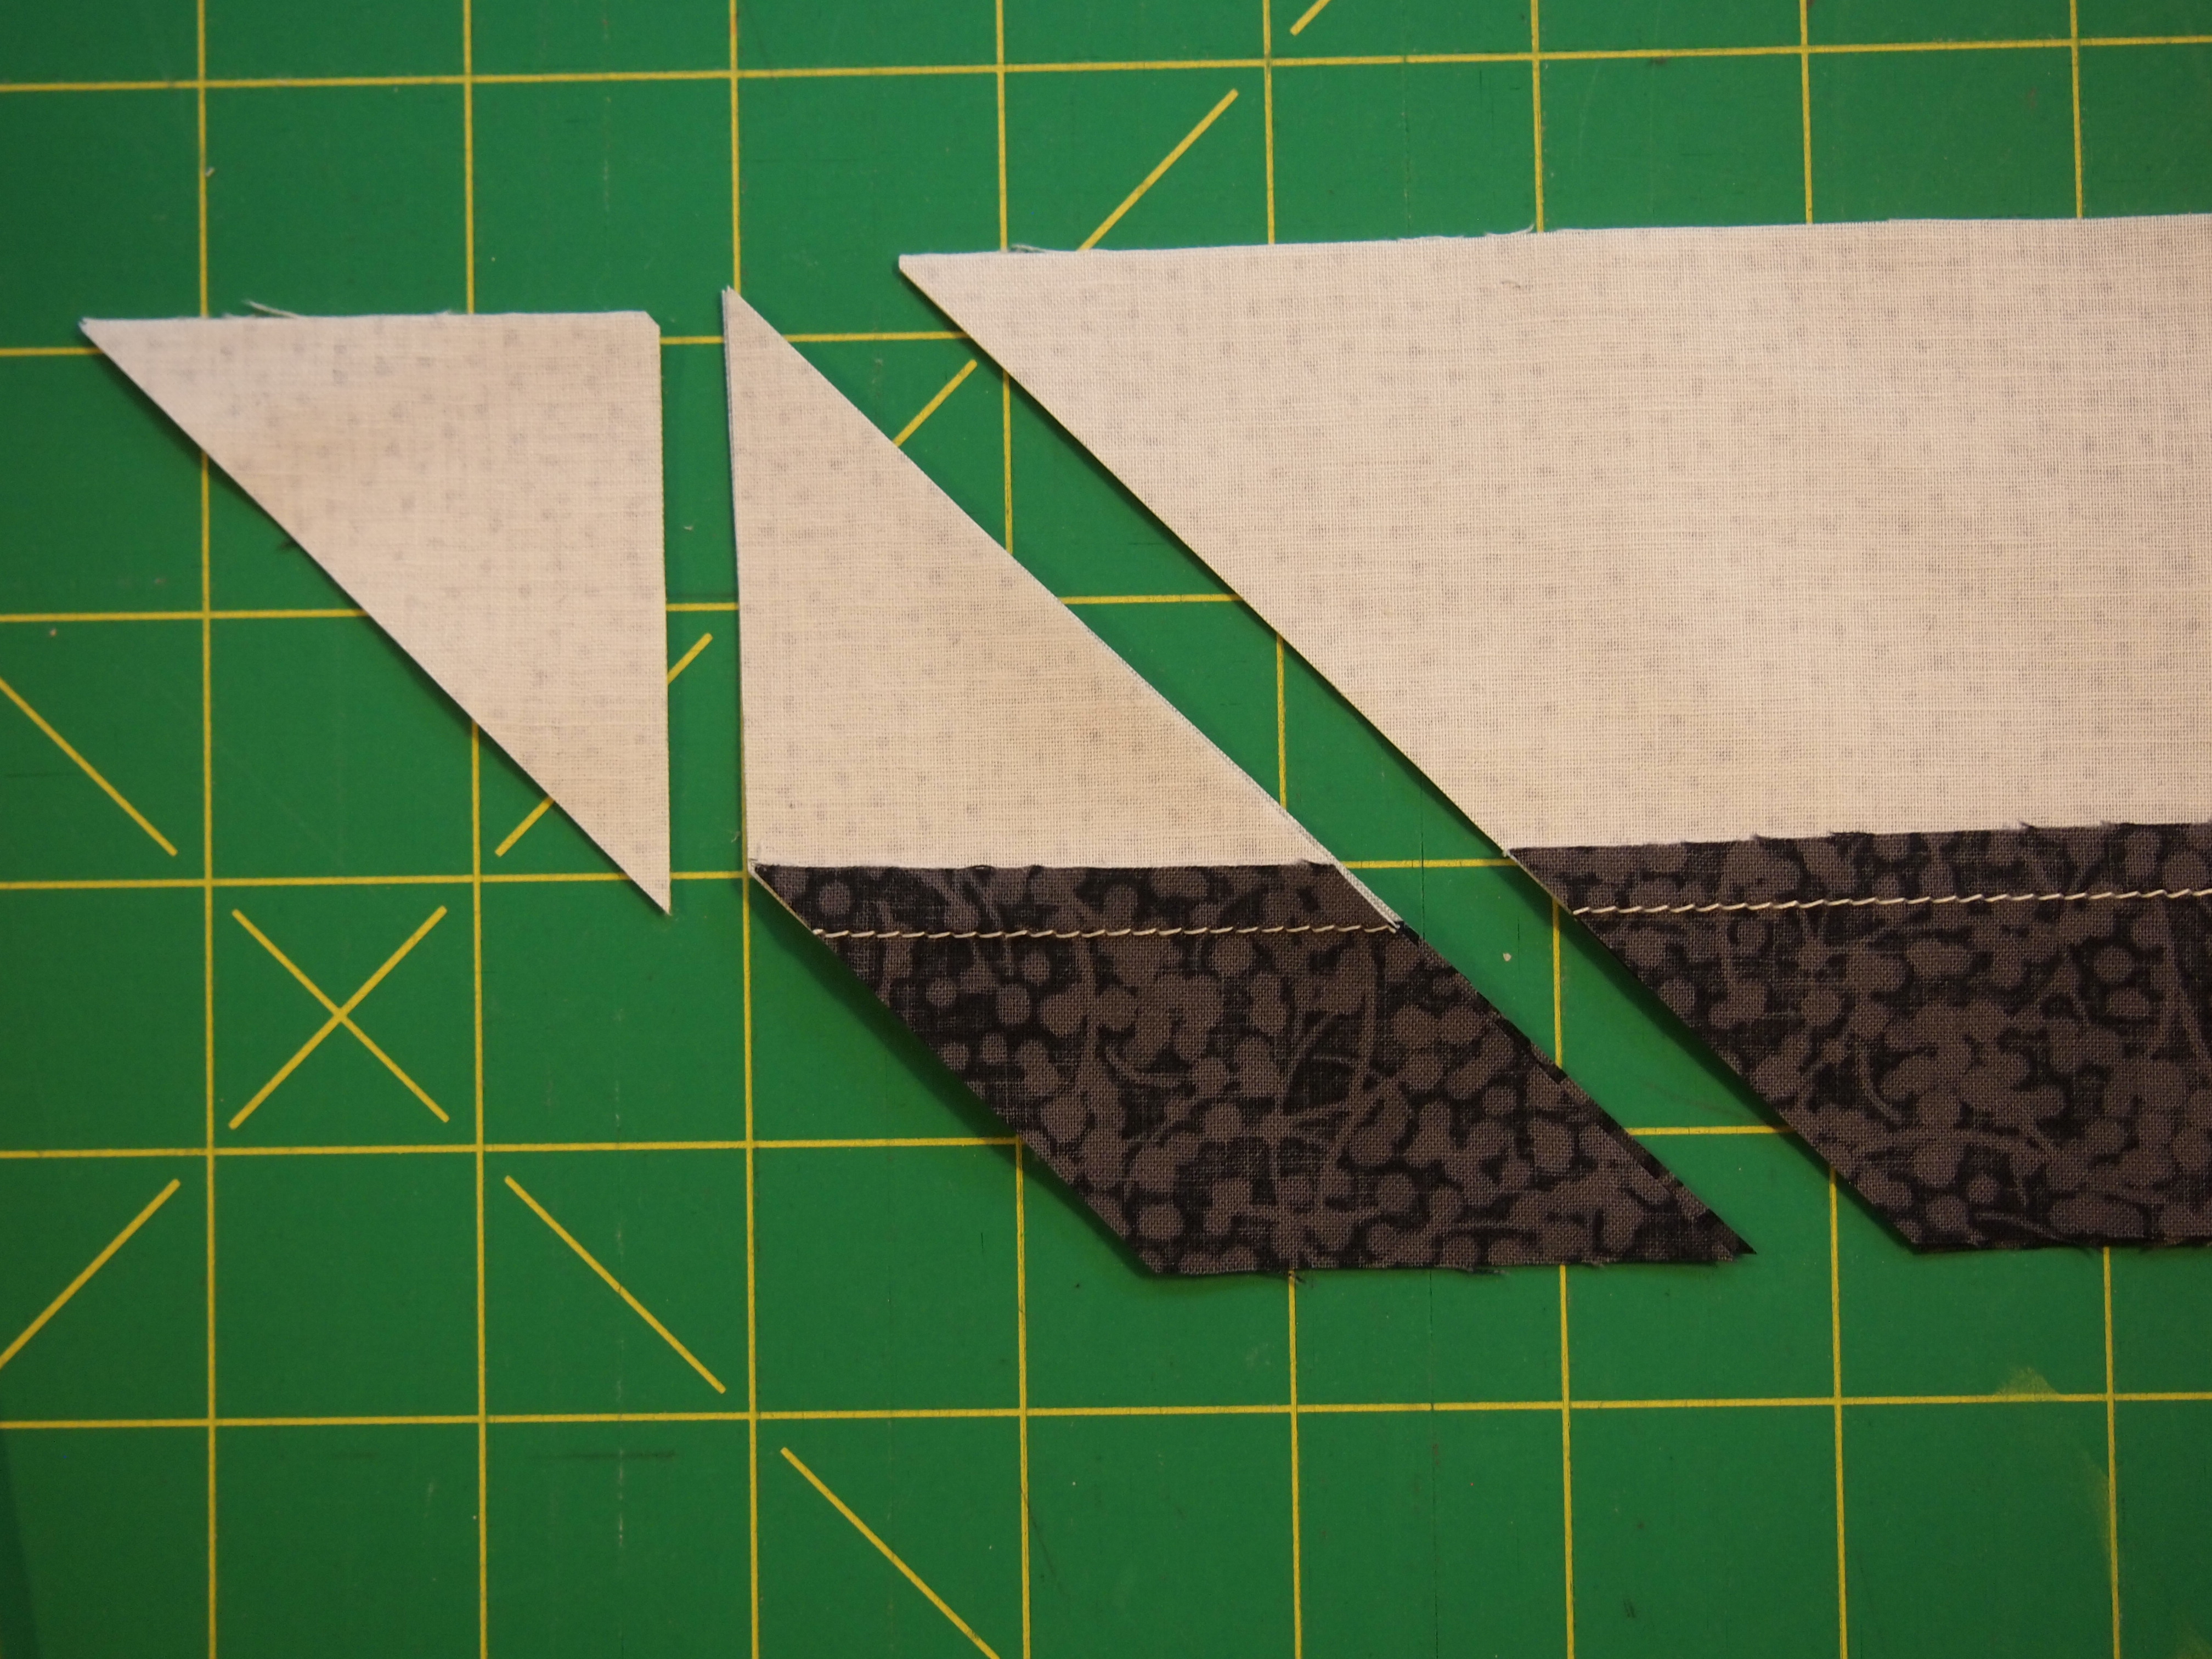
This shows the complete cut.
OLYMPUS DIGITAL CAMERA
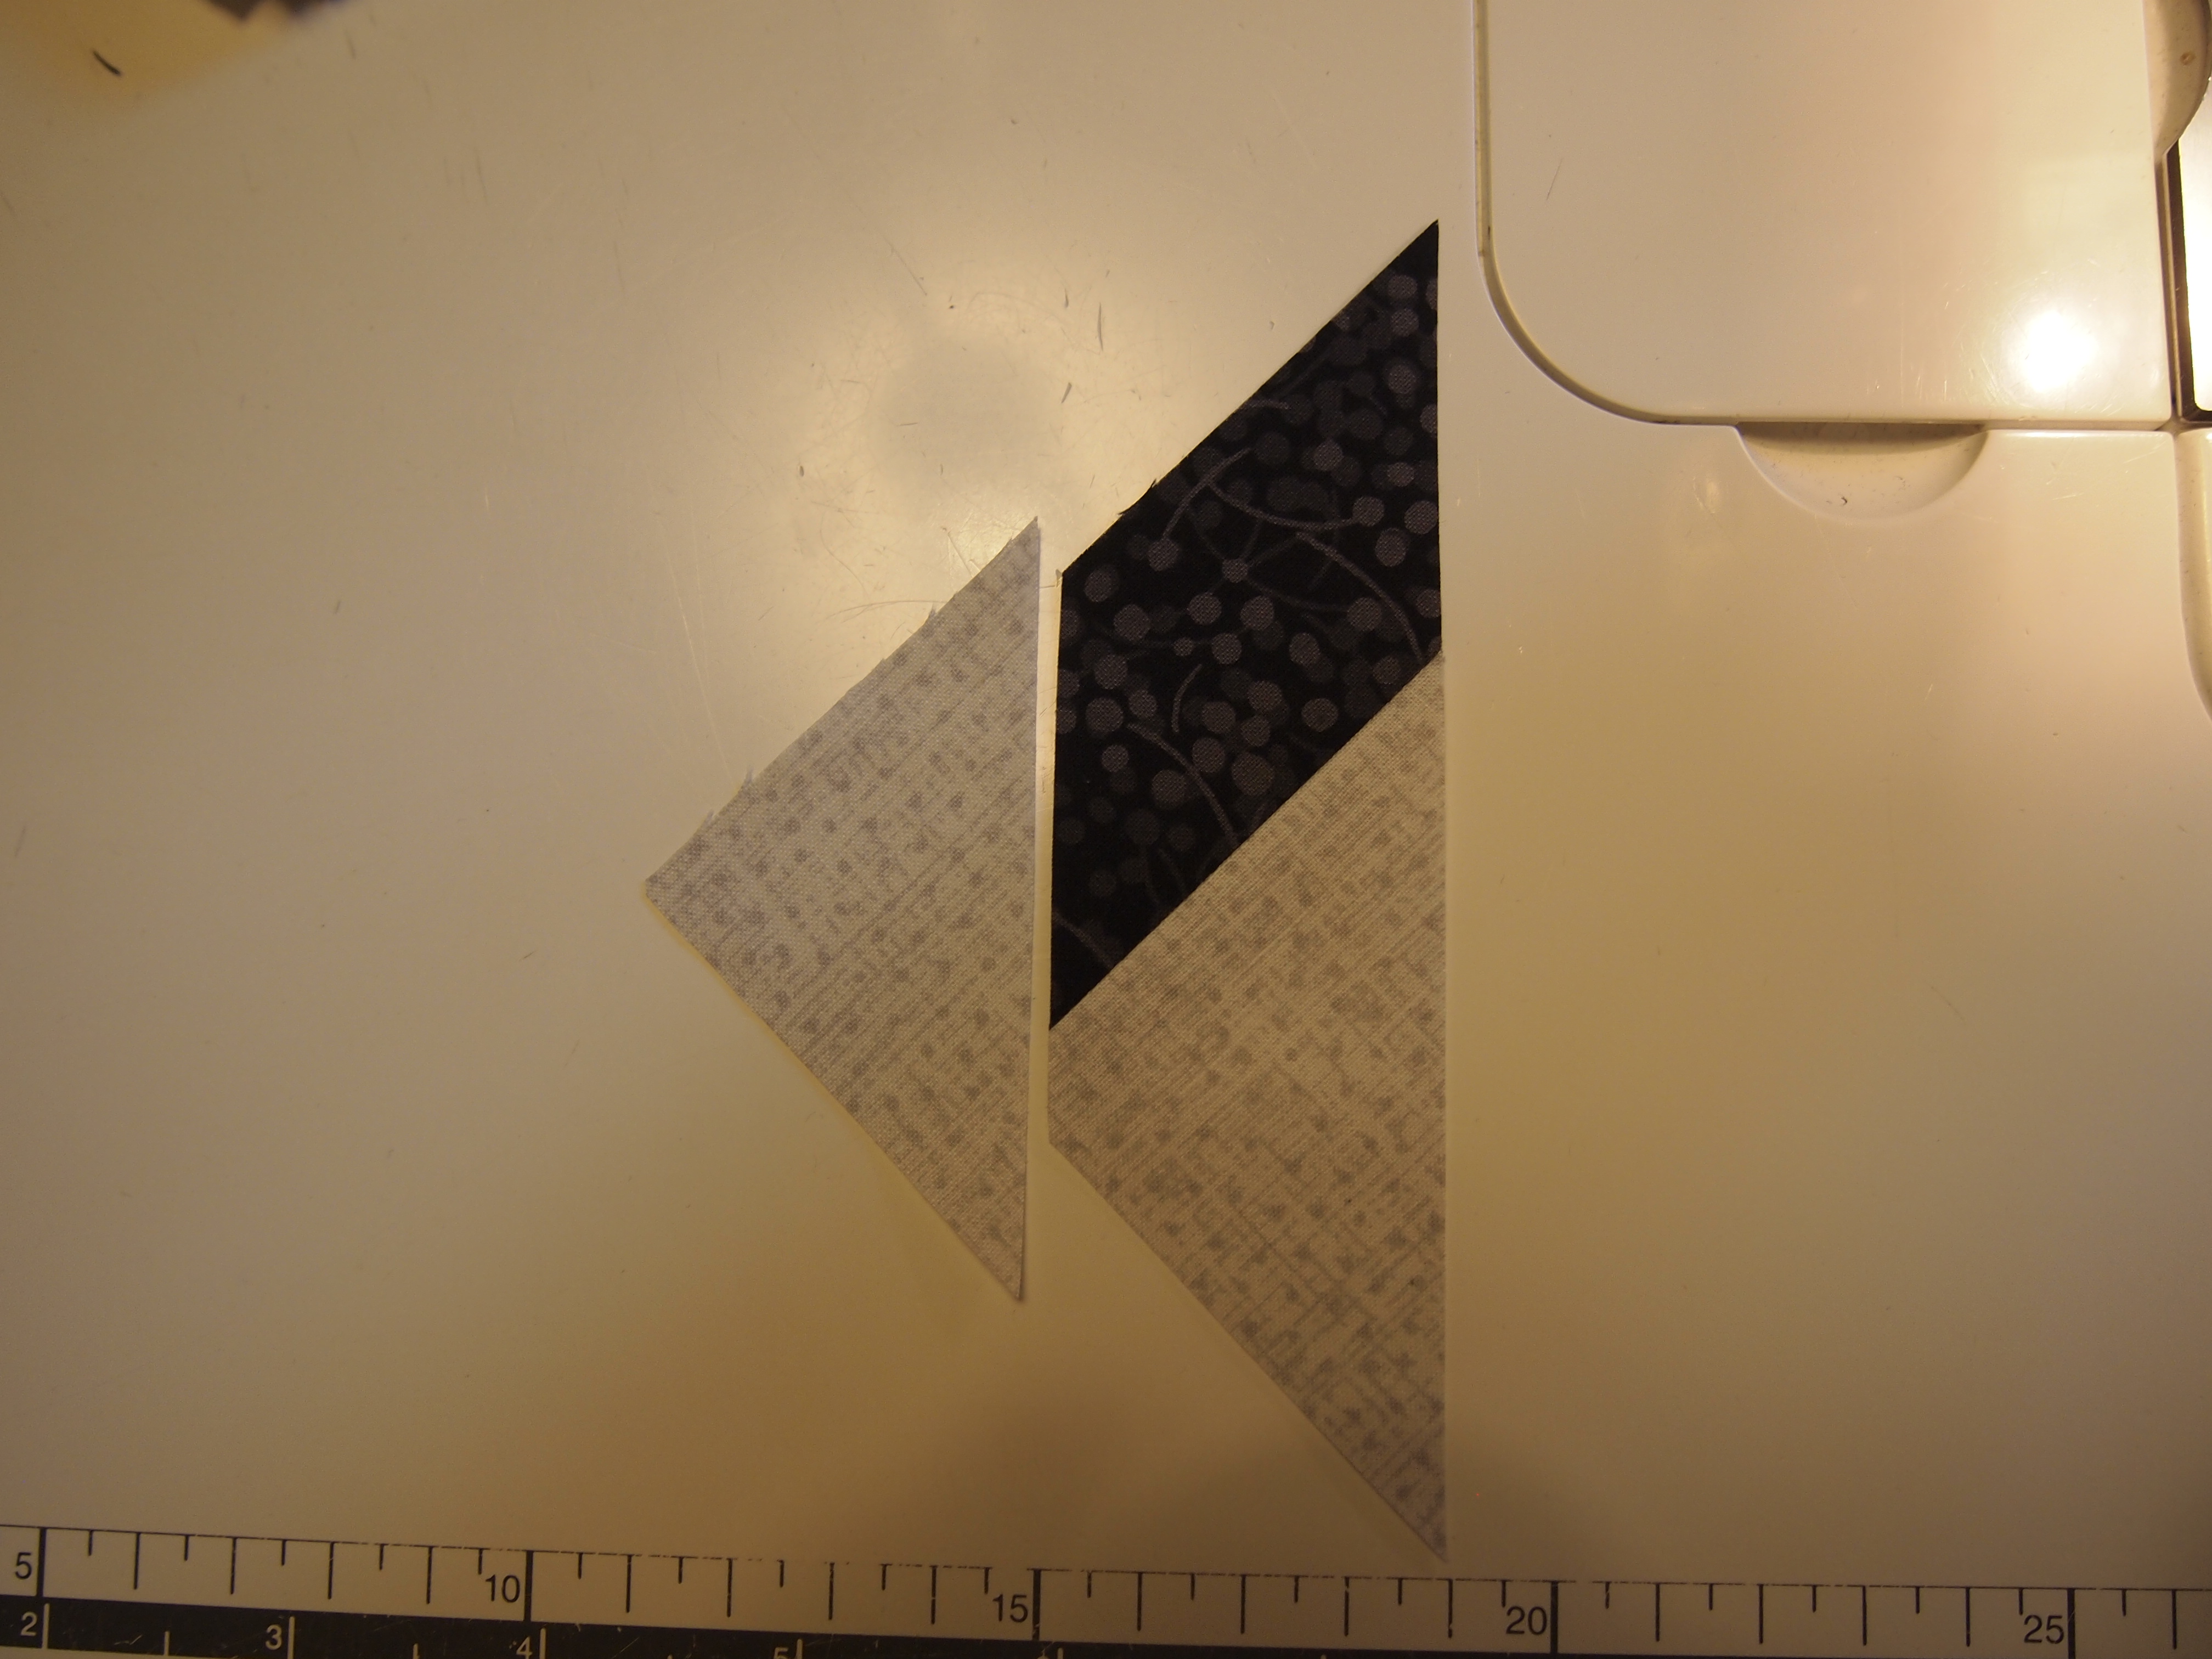
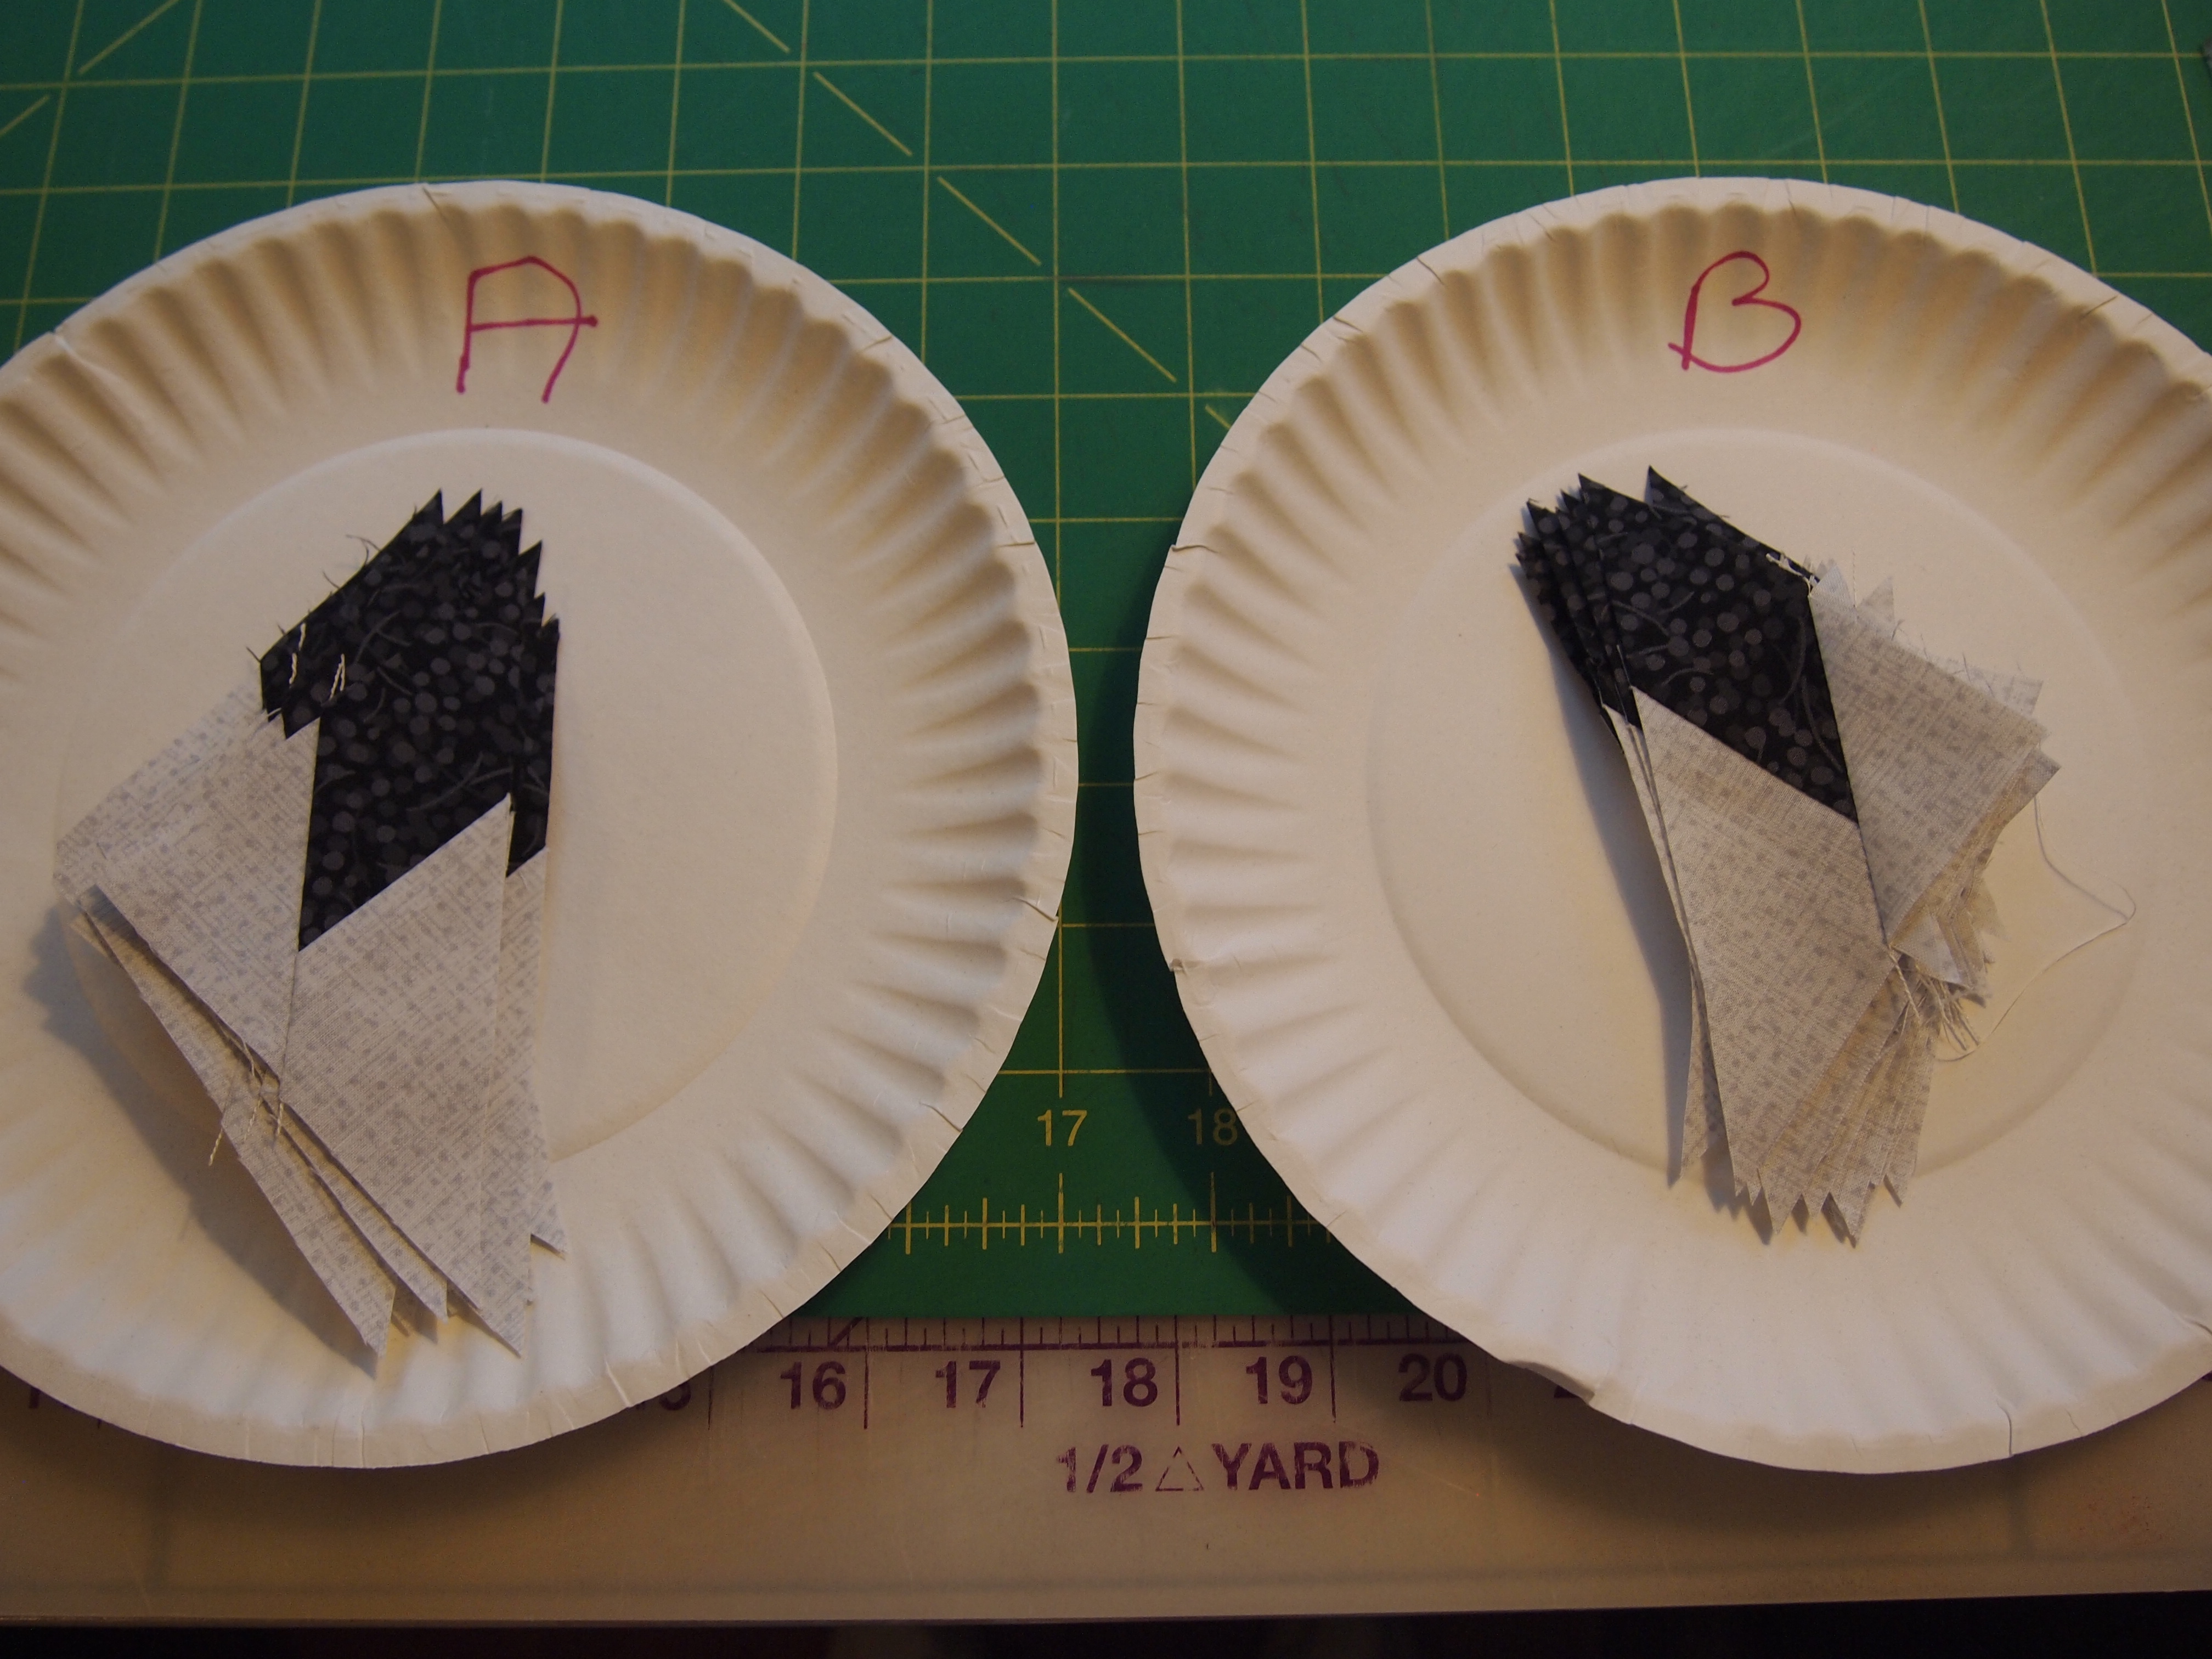
This is what I find very helpful. I take 2 paper plates and mark one “A” and one “B”. If you are right handed then the top strip was “A” and the bottom strip was “B”. Place the “A” units on the plate marked “A” and the “B” units on the plate marked “B”. Continue cutting your pieces and placing them in the appropriately named plate. Stack up the side triangles to be added later.
OLYMPUS DIGITAL CAMERA
This is where we sew on the side triangles.
OLYMPUS DIGITAL CAMERA
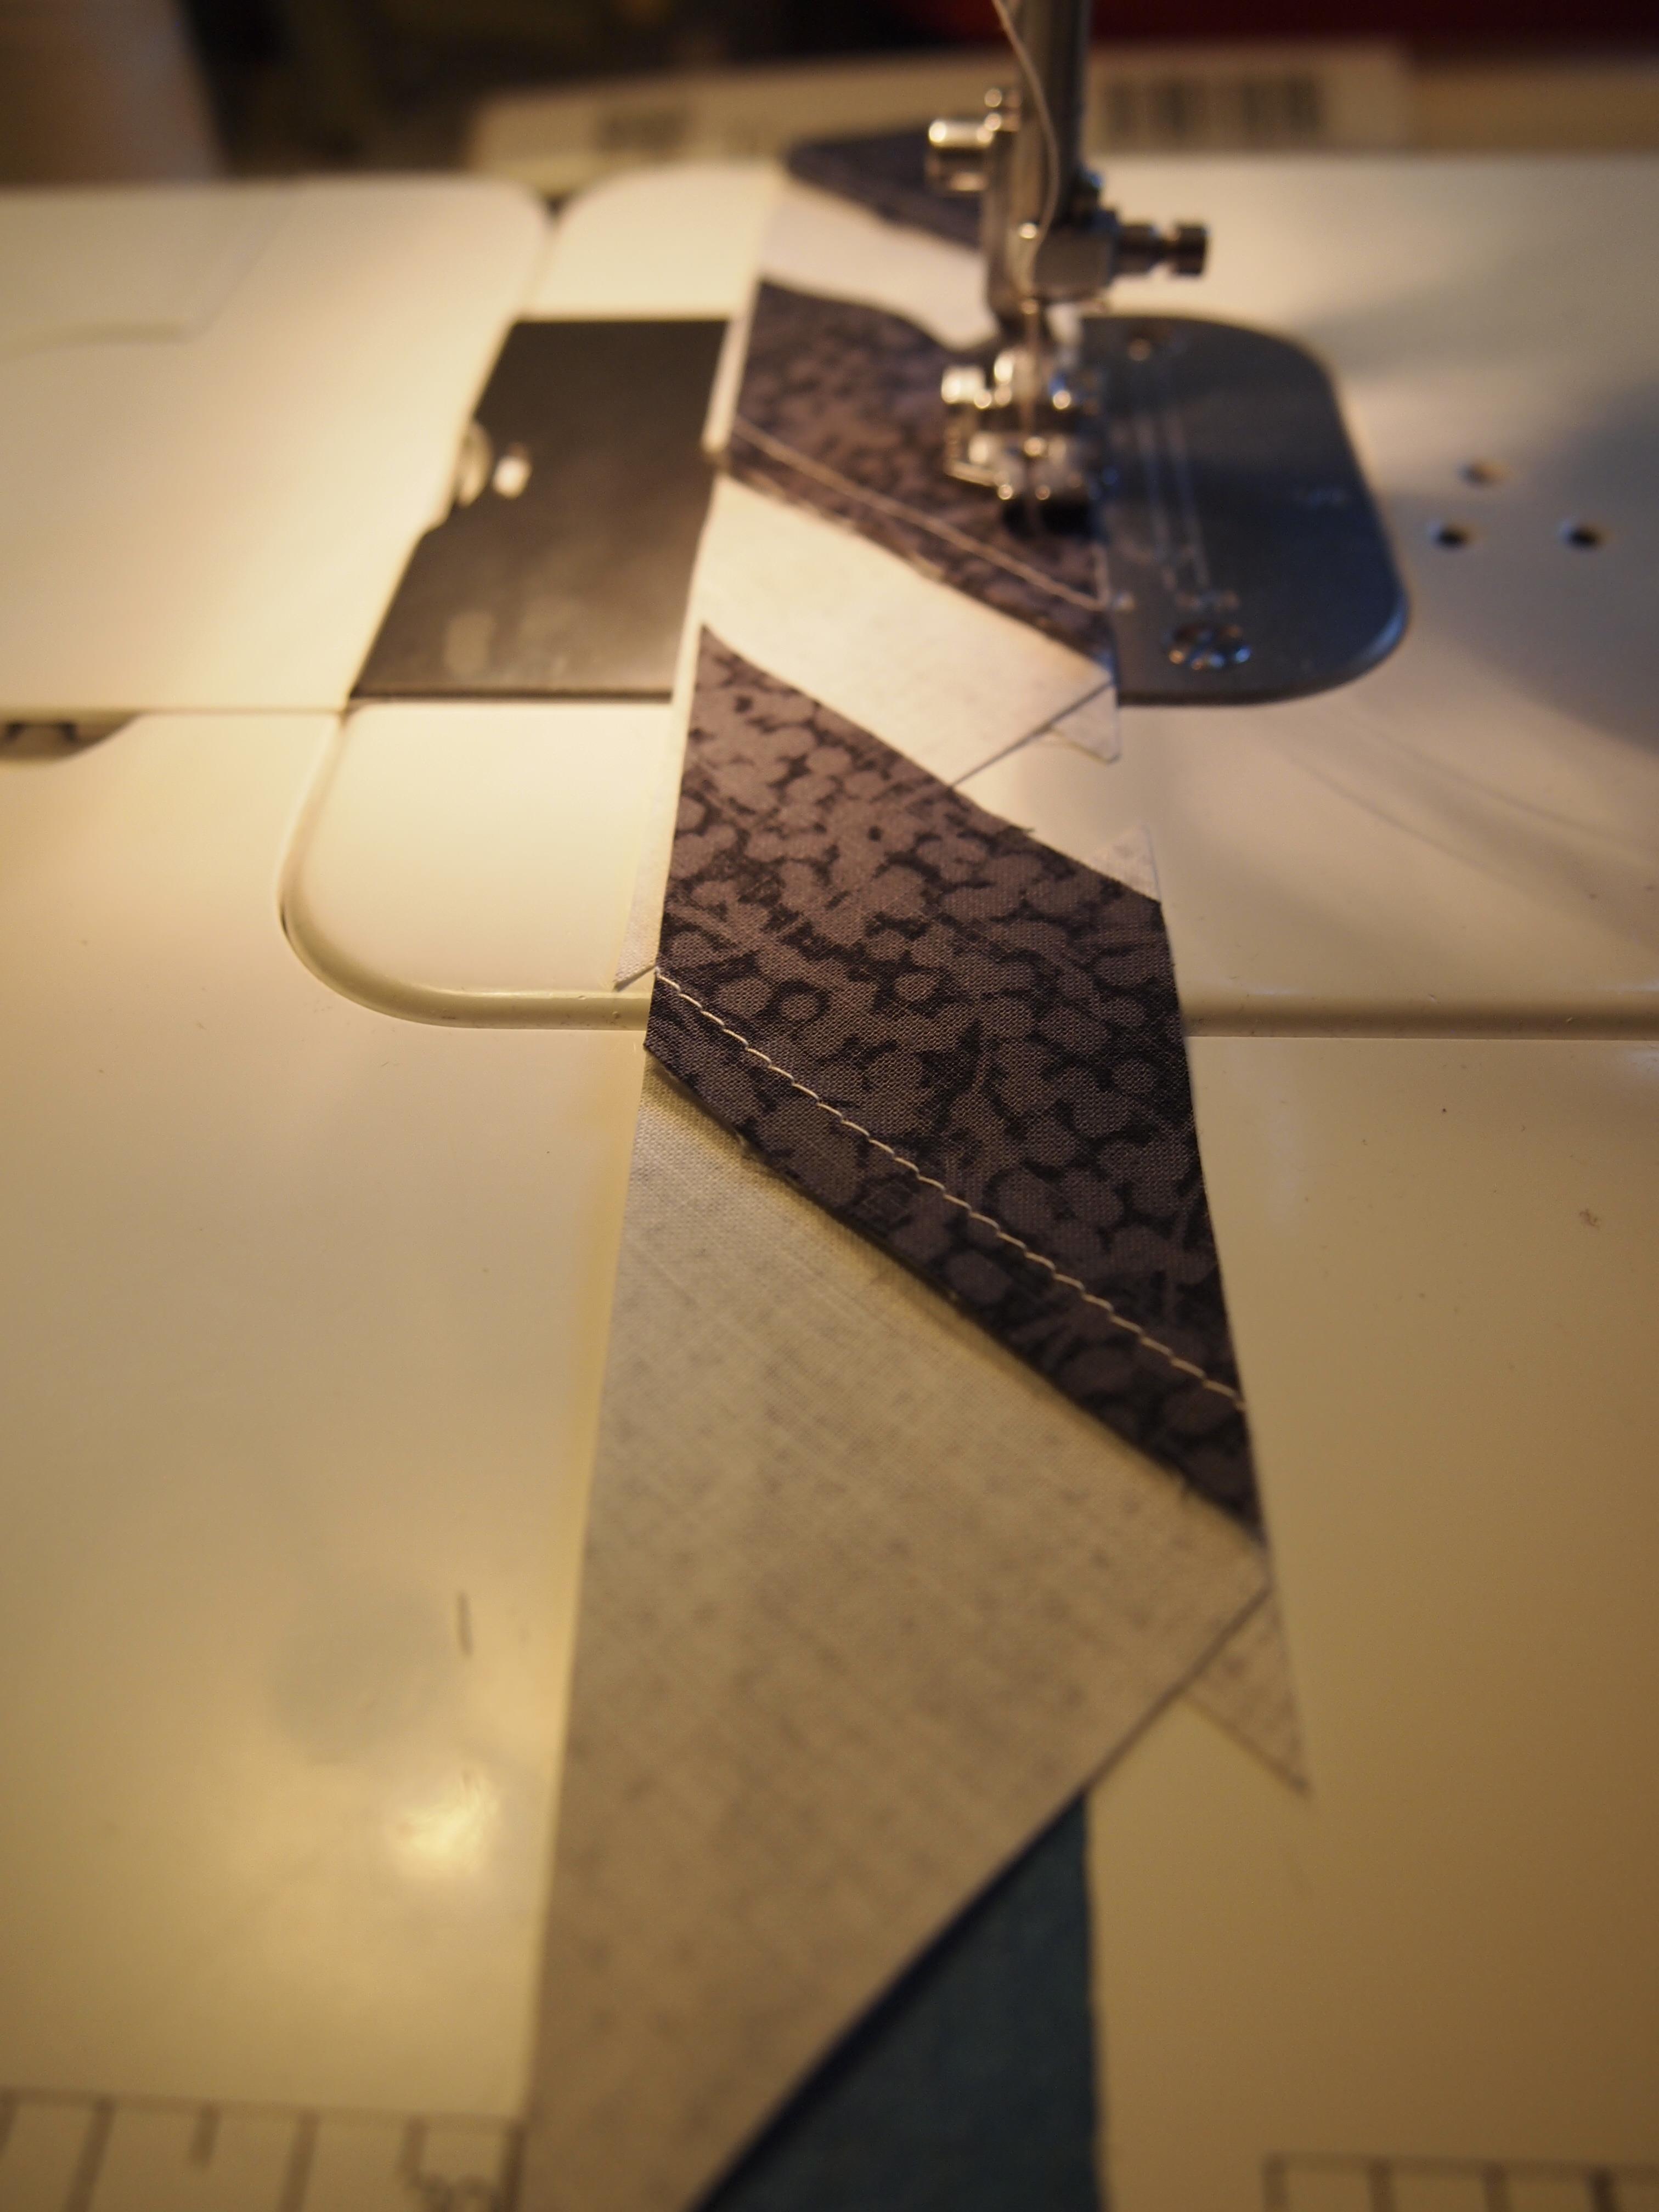
The best way to accomplish this is to take the “A” units and strip piece the side triangles one after the other.
OLYMPUS DIGITAL CAMERA
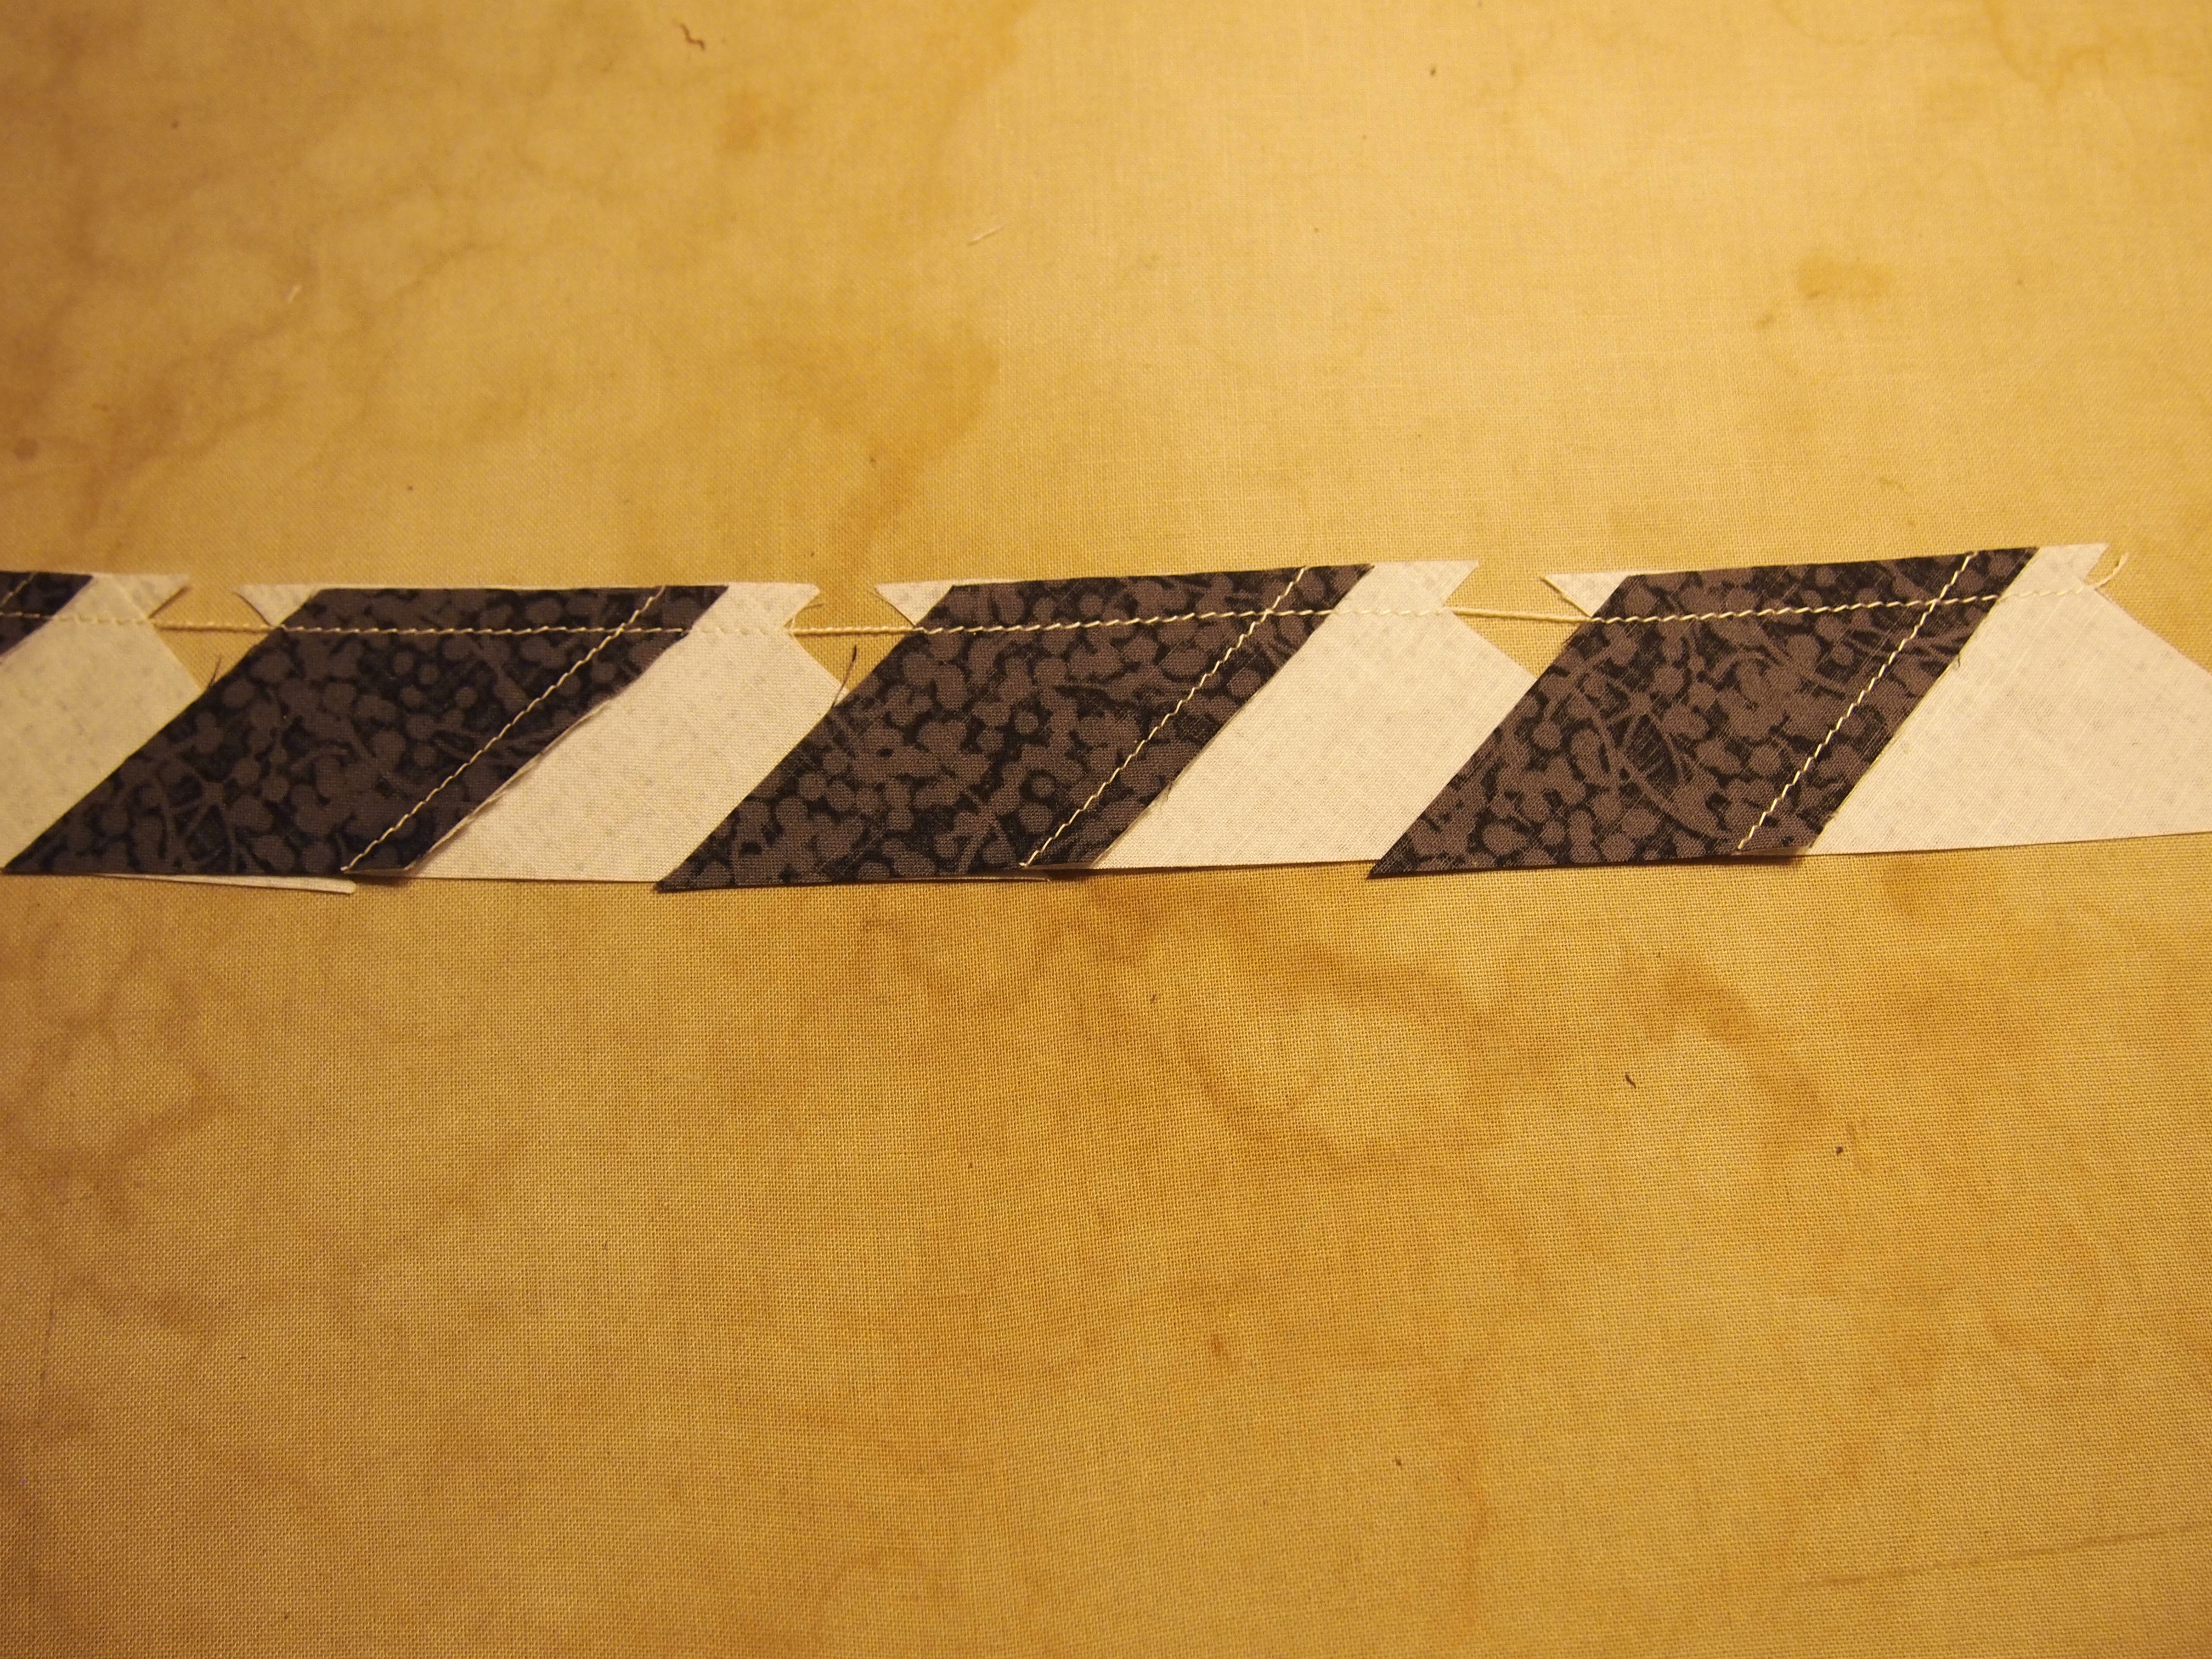
When you are done take the strip pieced units to the ironing board. (I know mine needs to be washed). When pressing, “what you are pressing toward always goes on top”! So, for the “A” units I placed the star point side on top, and set the seams.
OLYMPUS DIGITAL CAMERA
Then begin to flip back and press. By strip piecing and taking all the units to the iron you avoid the confusion of what way to press the seams.
OLYMPUS DIGITAL CAMERA
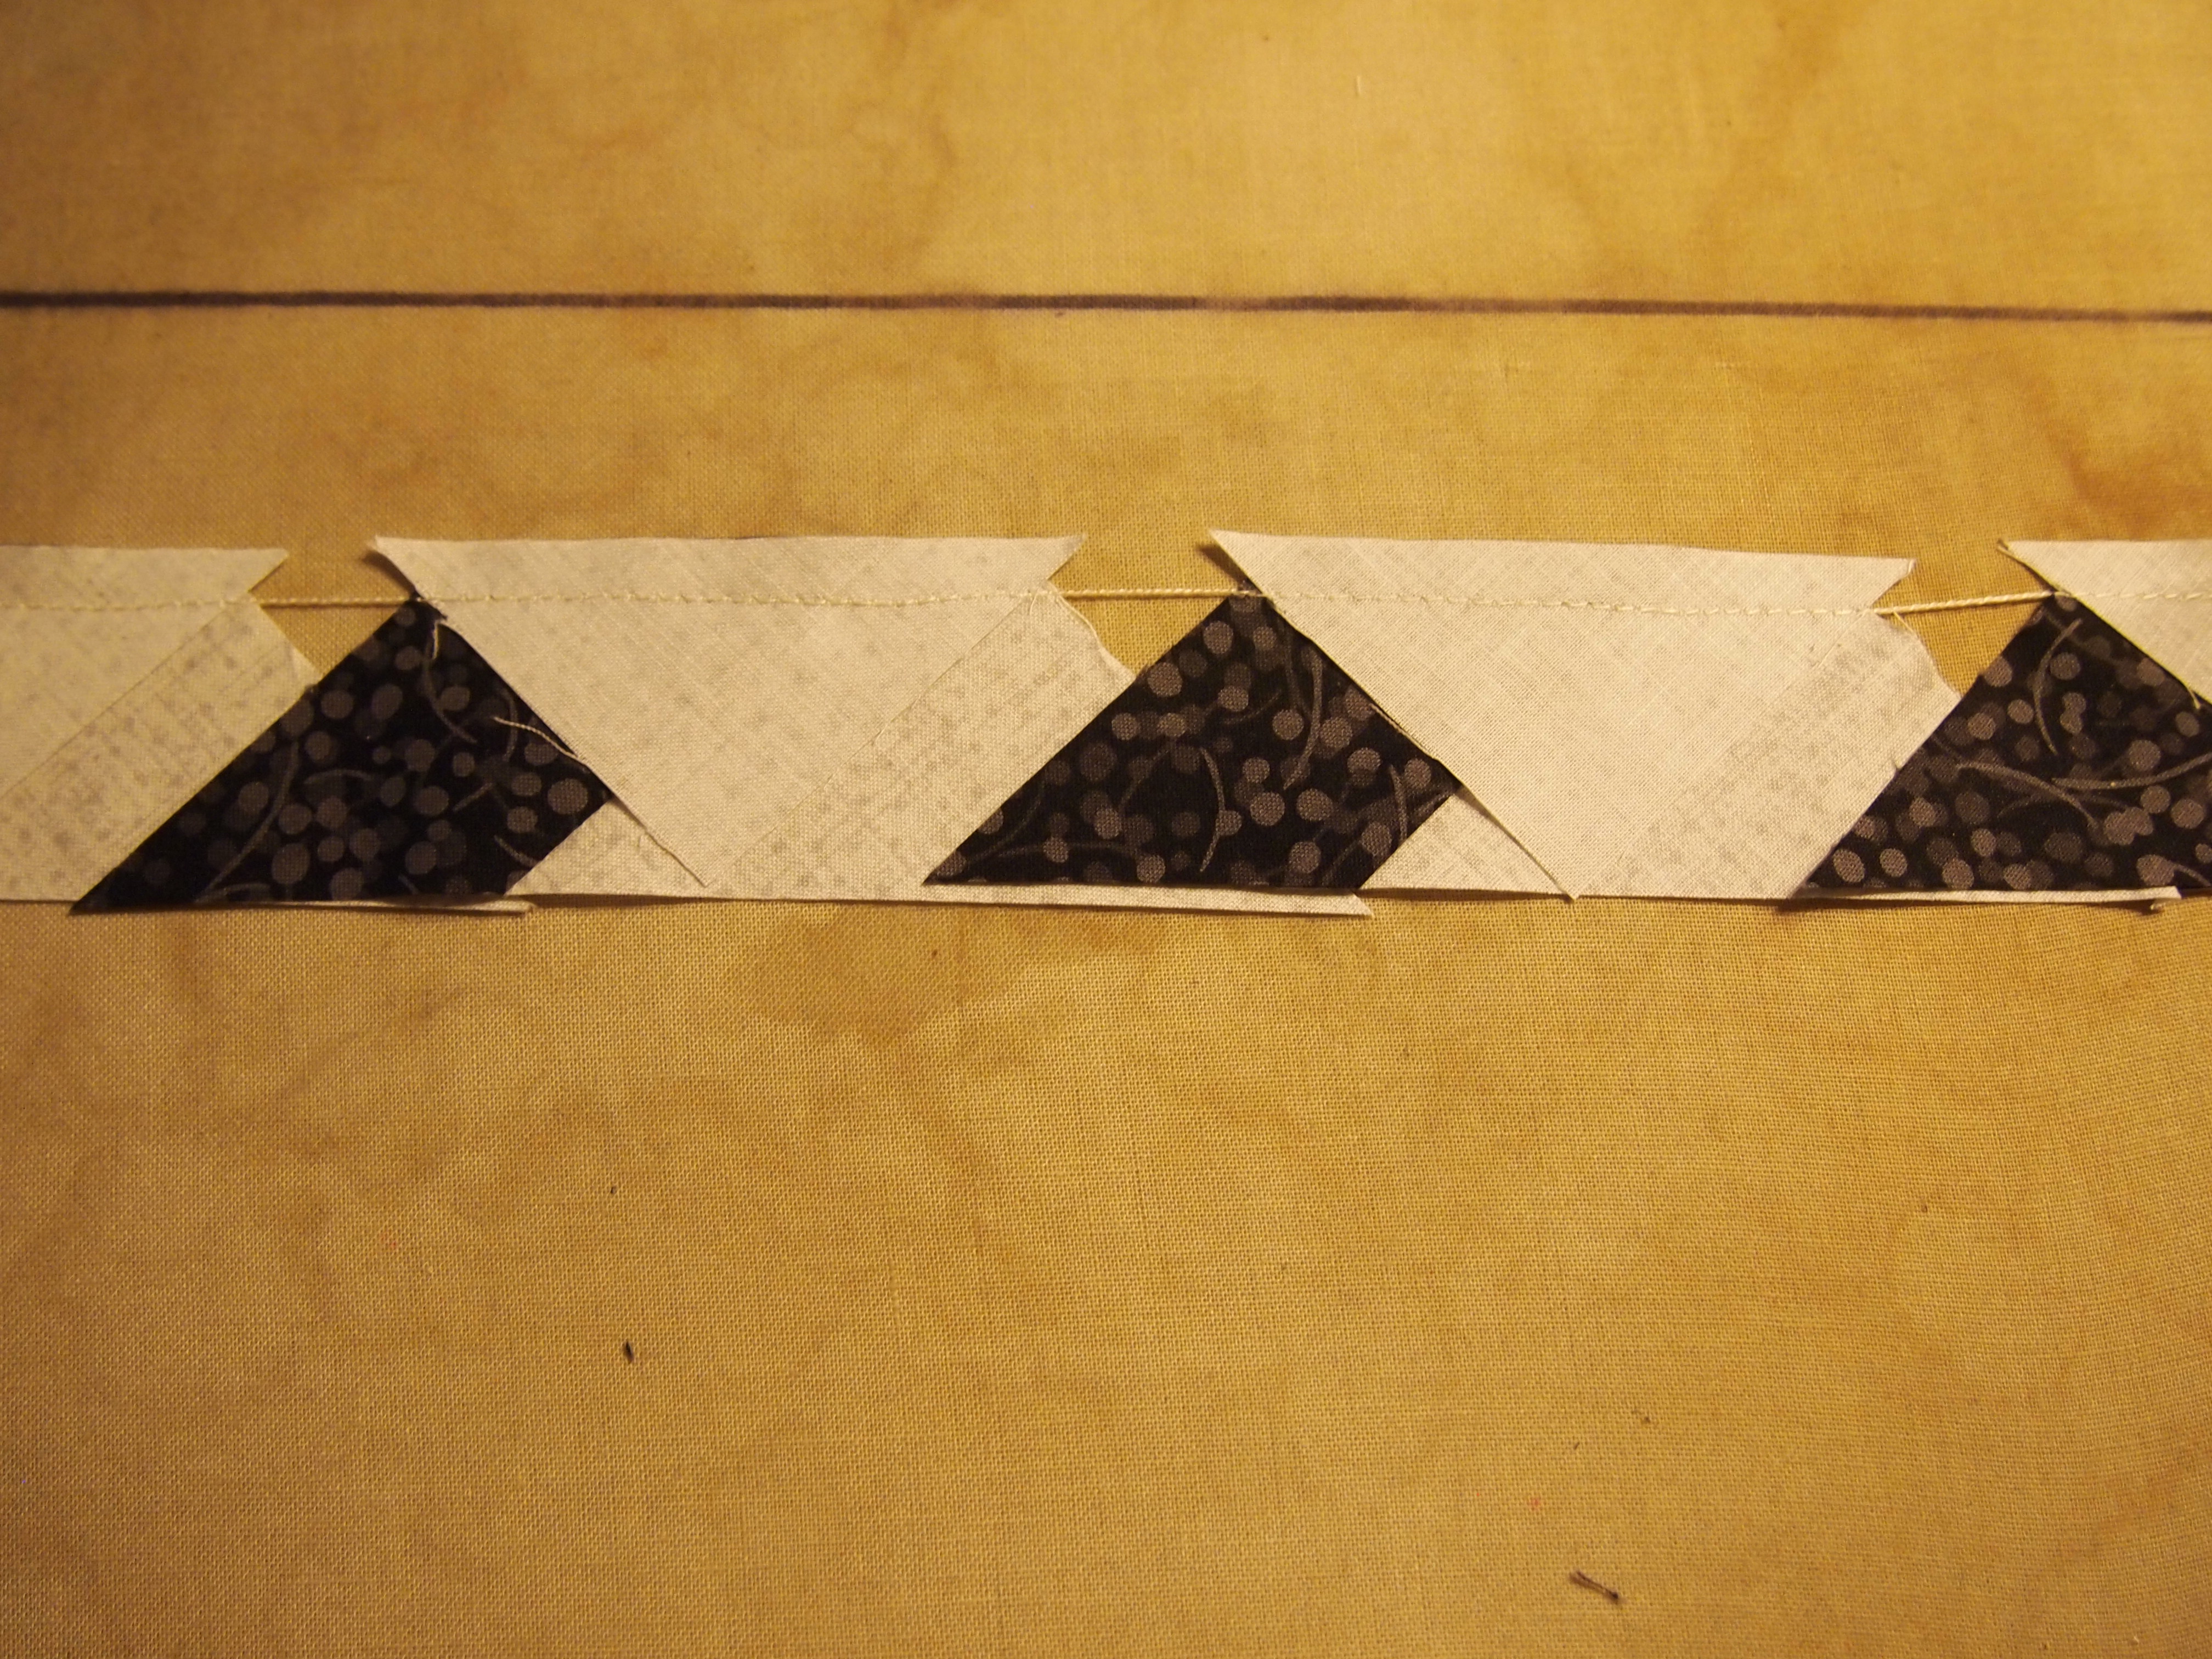
Take the “B” units to the ironing board and set the seams.
OLYMPUS DIGITAL CAMERA
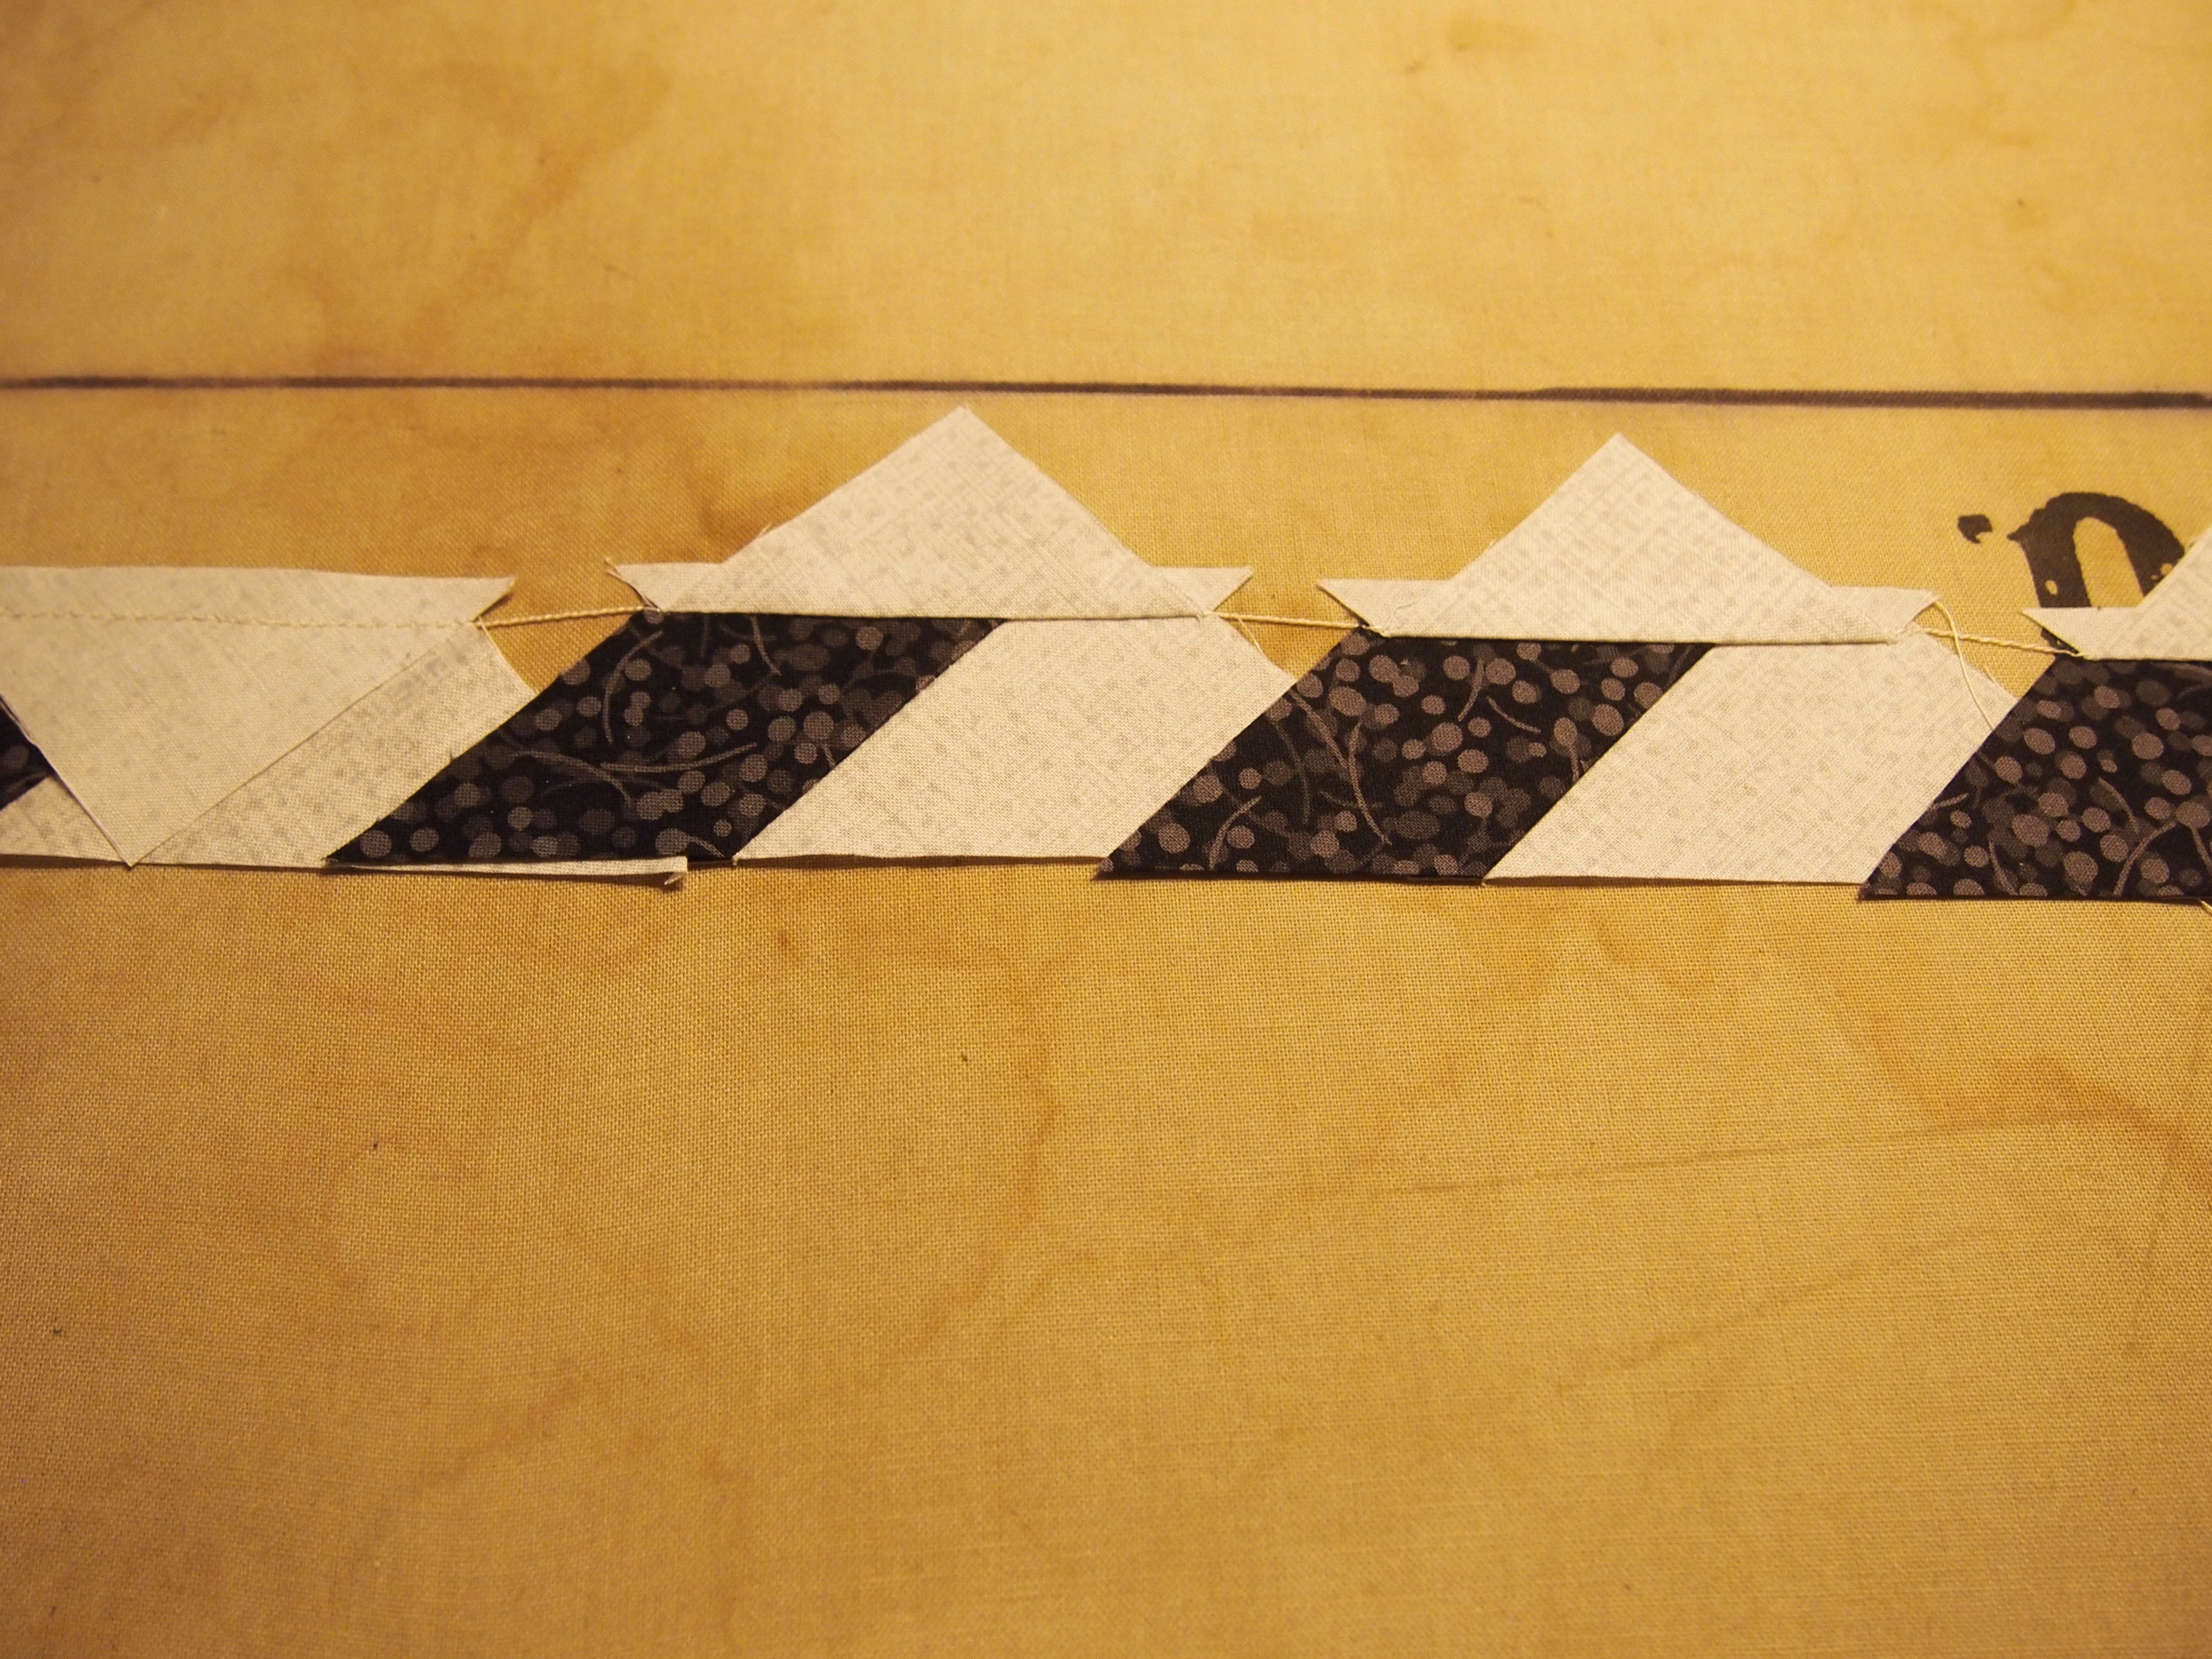
For the “B” units we are press toward the side triangle so that goes on top.
OLYMPUS DIGITAL CAMERA
We are now ready to trim the units to size.