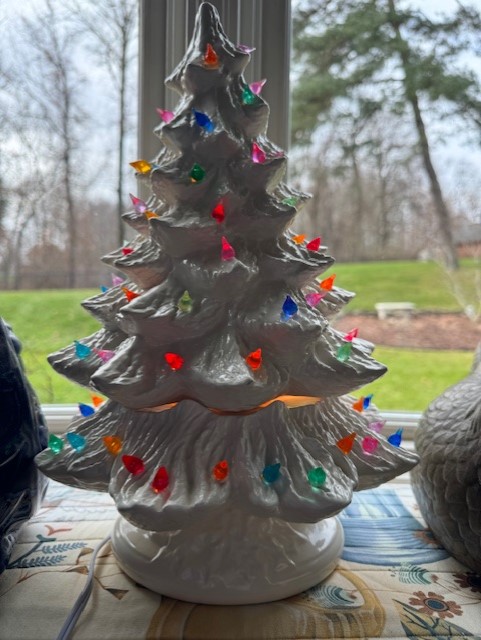
I don’t know about you, but in our house Christmas decorating begins after dinner on Thanksgiving! My house is full of Santa’s & Christmas trees.


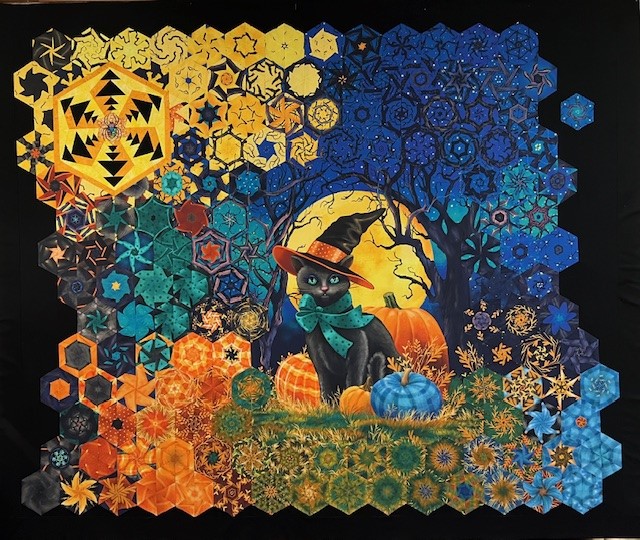
I love Santa’s. I had this panel for over a year, but got a chance to work on it before Thanksgiving.

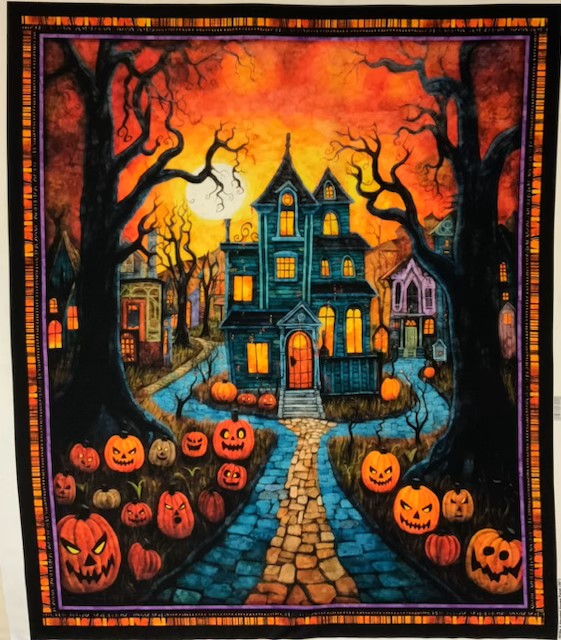
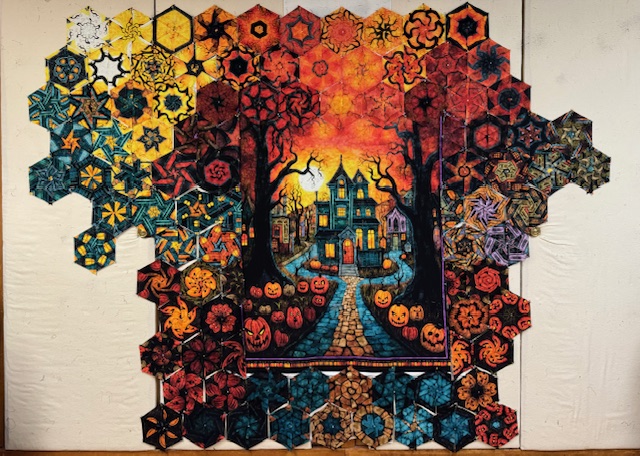
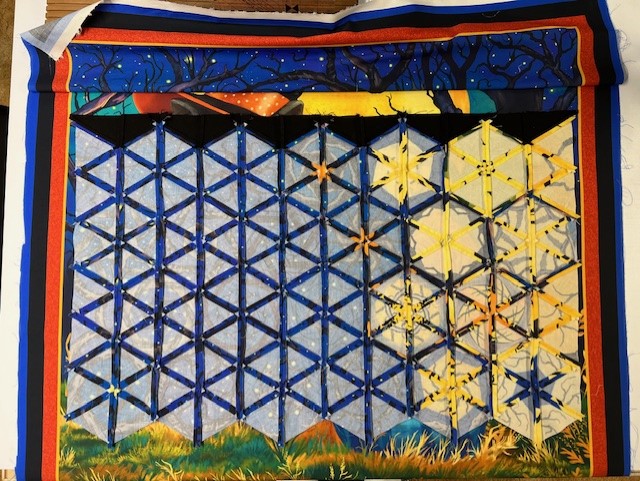
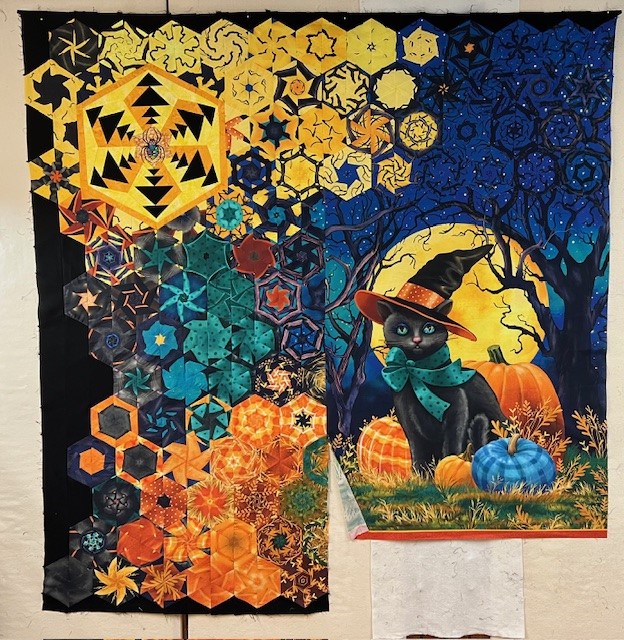
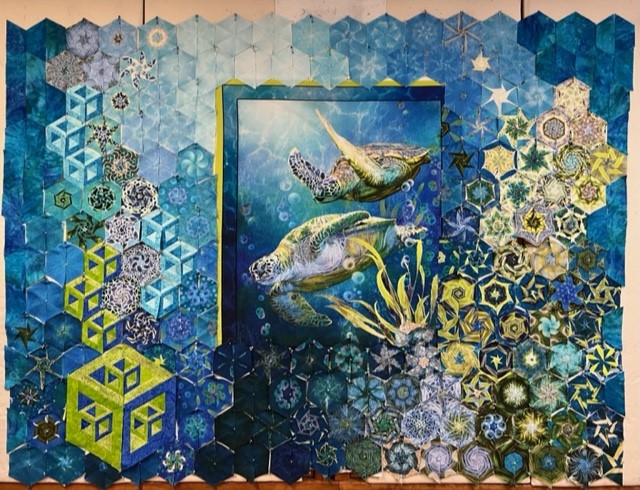
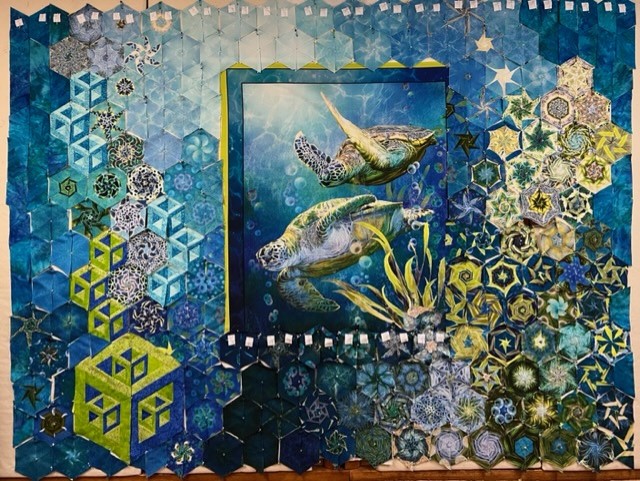
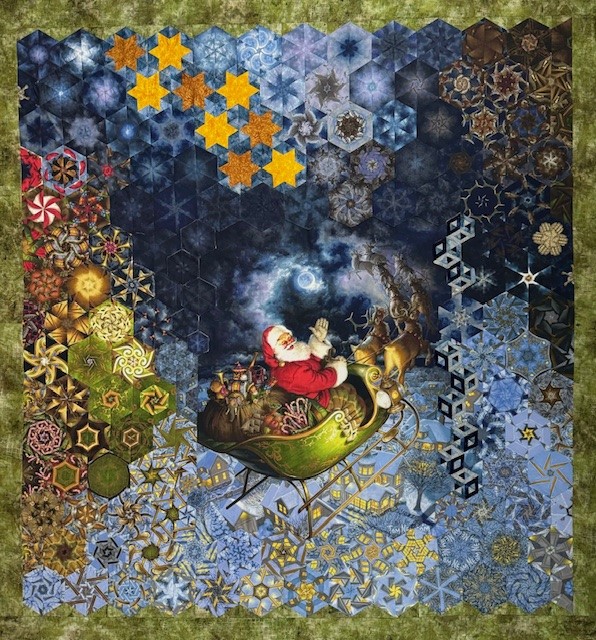
This panel is called “Merry Christmas to All” by Marshall Dry Goods. The inside of the panel measured 29.5″ x 37″. I cut 3.25″ strip for 5″ finished hexies.
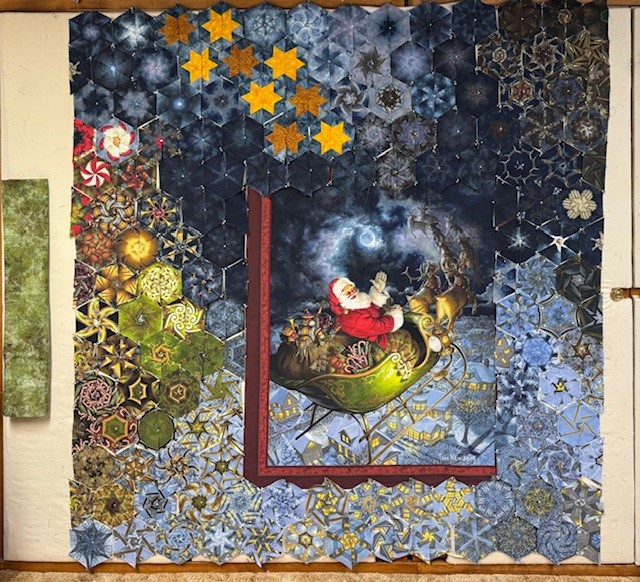
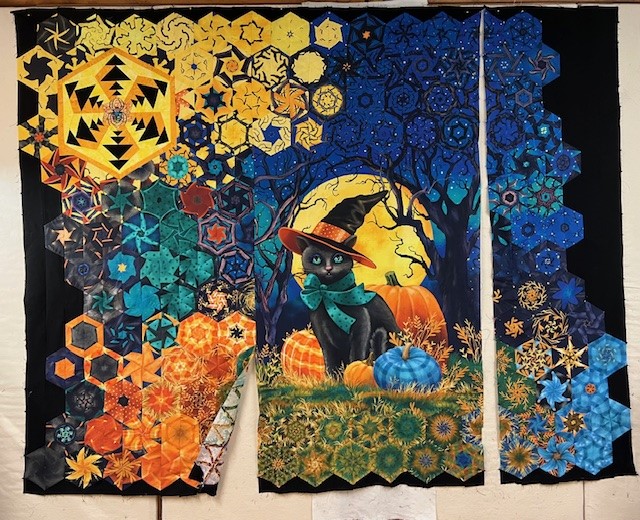
The odd width of 29.5″ left me with a 1″ wide red strip I would have to hide later.

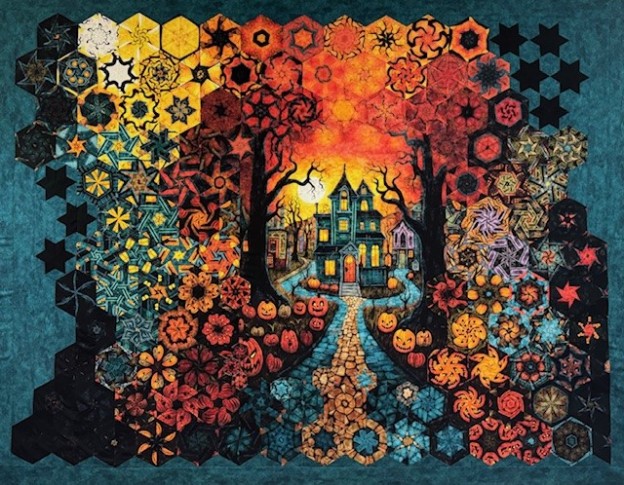
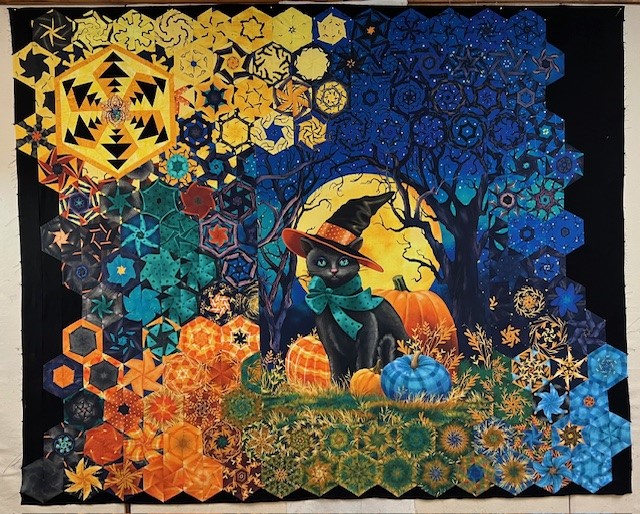
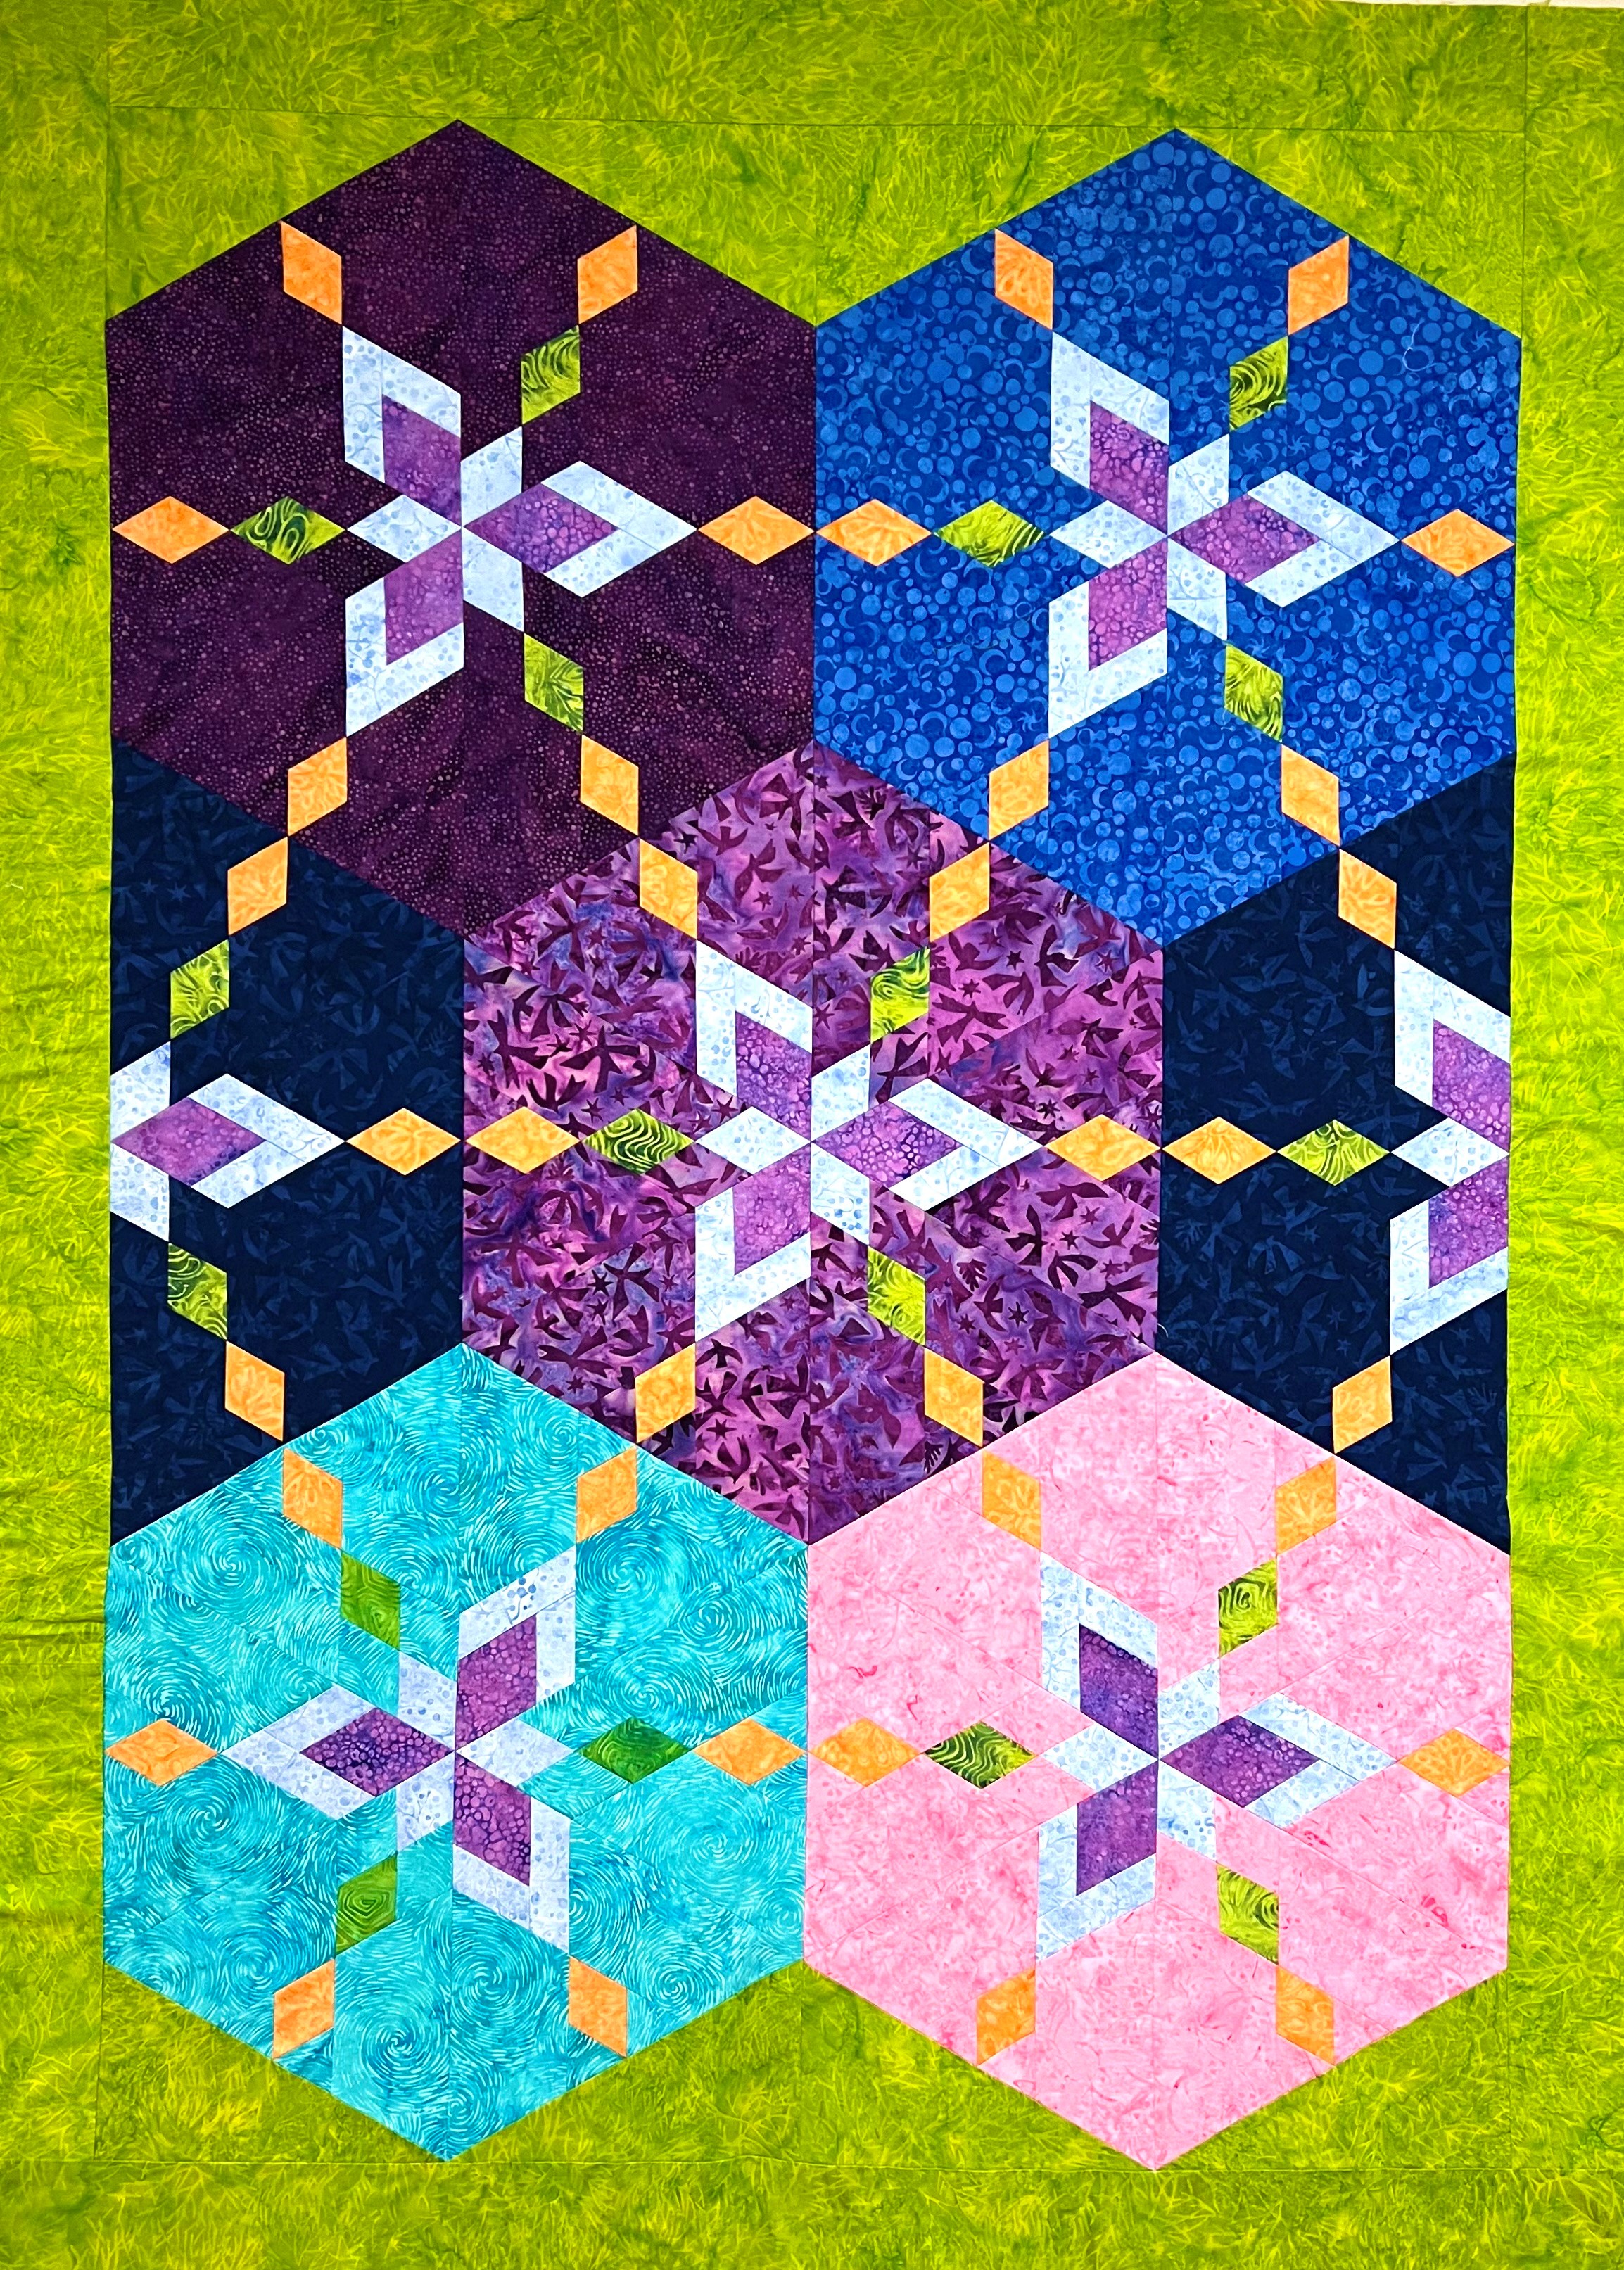
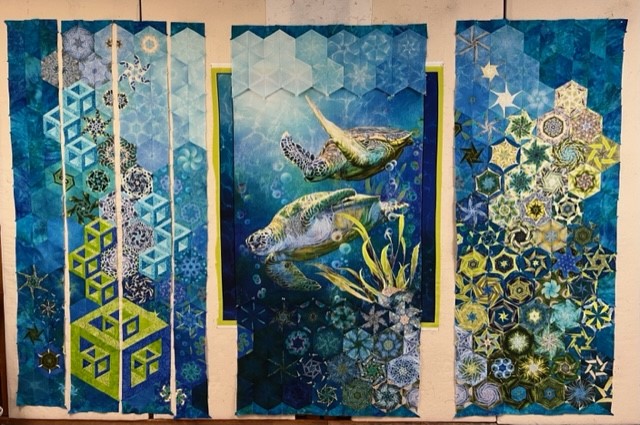
I attached the top portion, then I decided to attach the left section first instead of the right. That left me with a 1″ red strip I had to hide. I did that with 3″ finished Hollow Cube 60 units made with my Star 60 Tool by Deb Tucker. I added 5″ Stars in gold to give Santa a destination and to follow the curve of the Reindeer.
I love the colors in this quilt. It reminds of me of going out after dinner to play in the snow and go ice skating at the rink behind my Grandparents house. This quilt measures 70″ x 75″.
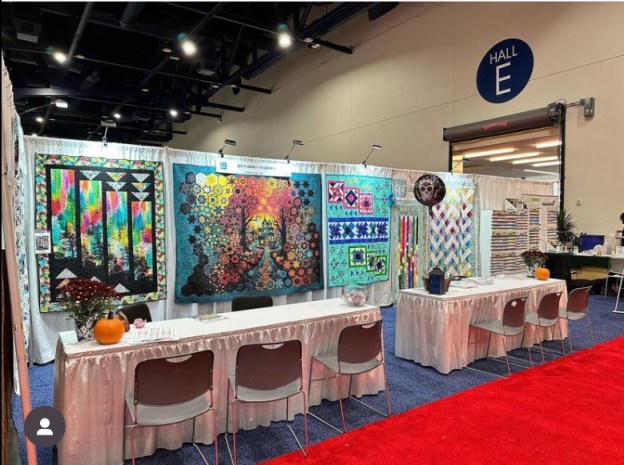
Give yourself a gift and join me for a One Block Wonder Retreat at Strong House Inn, Vergennes, Vermont April 25 – 28, 2024.
Besides being pampered by our hosts you will learn about:
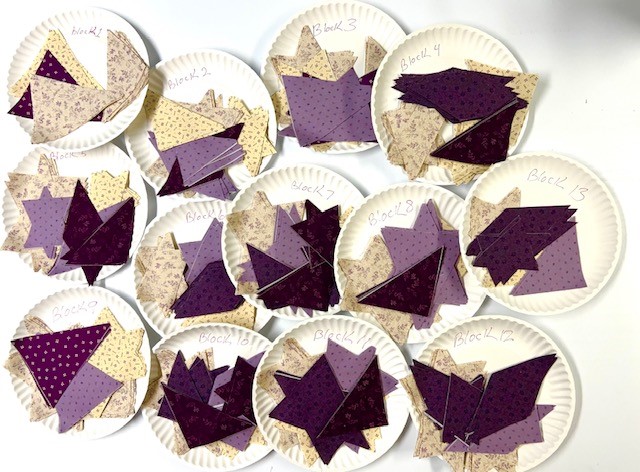
- Identifying and cutting your repeats.
- Aligning repeats including difficult fabrics.
- Choosing a ruler and understanding the difference between pointed & blunt tip rulers.
- Deciding what strip widths to cut
- And of course, cutting all your equilateral triangles.
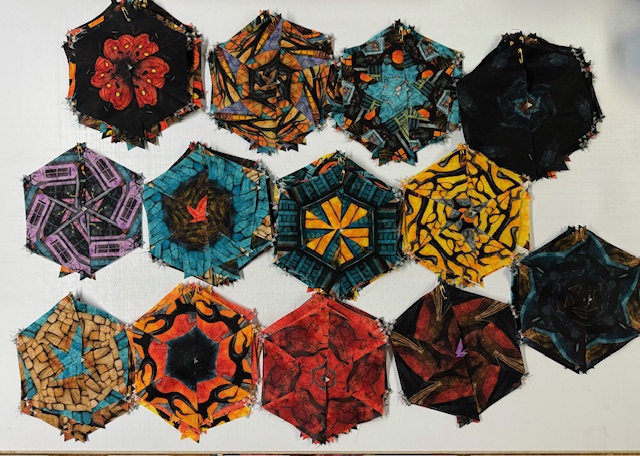
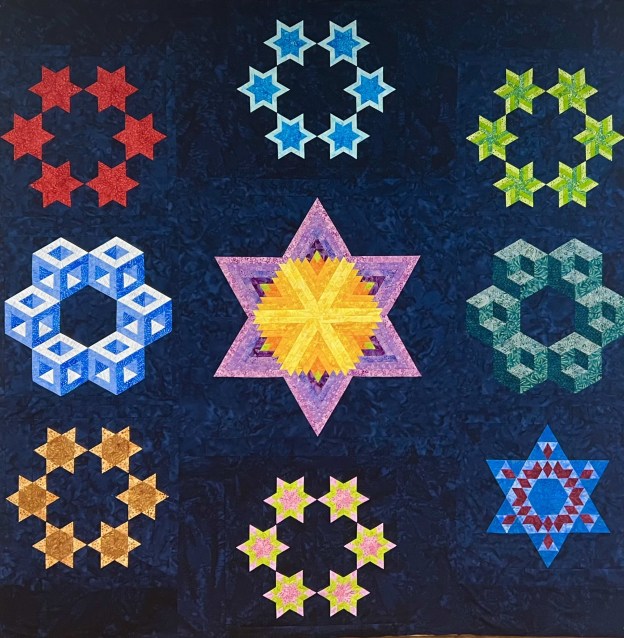
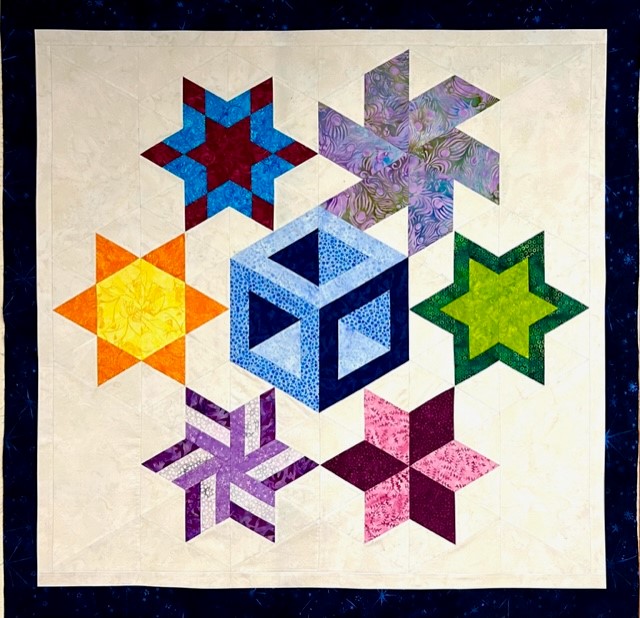
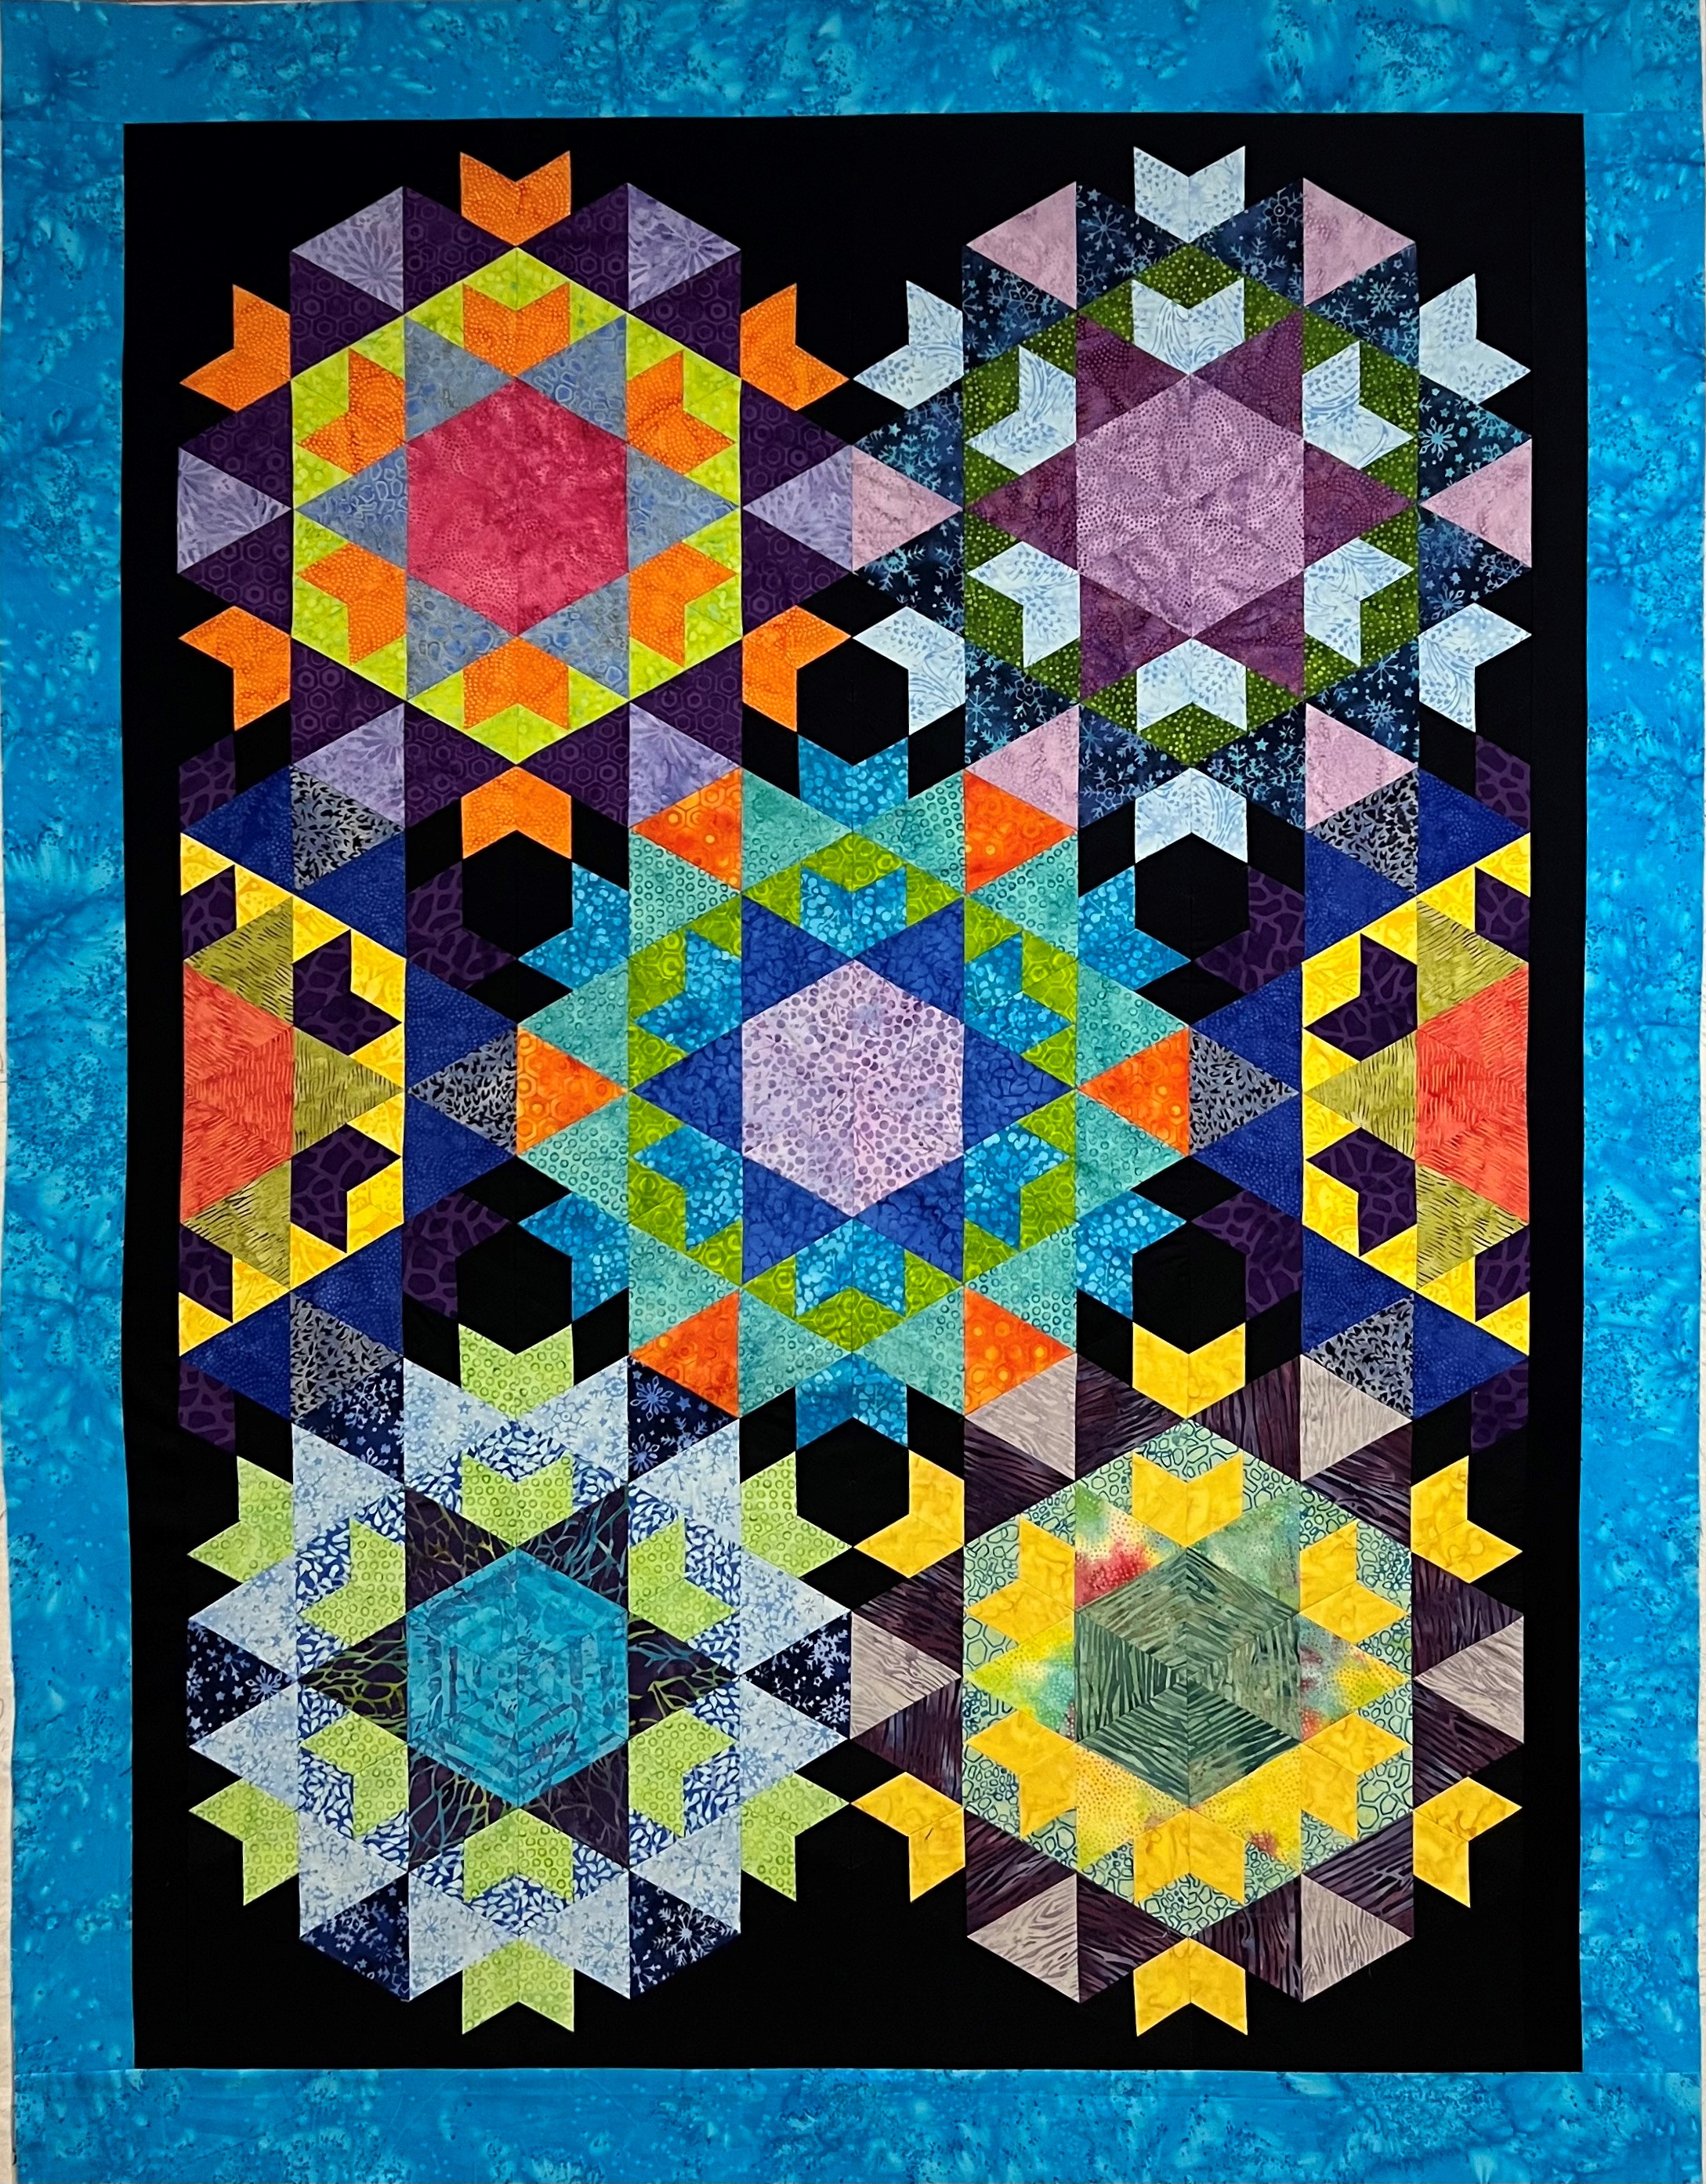
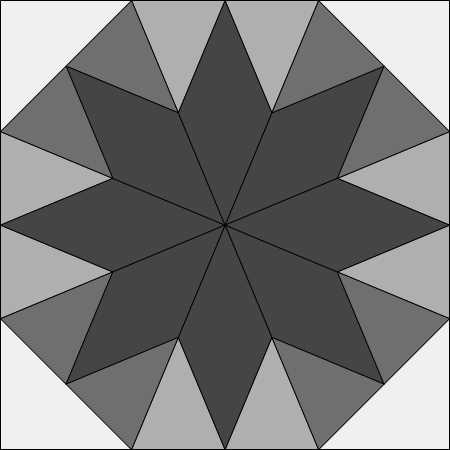
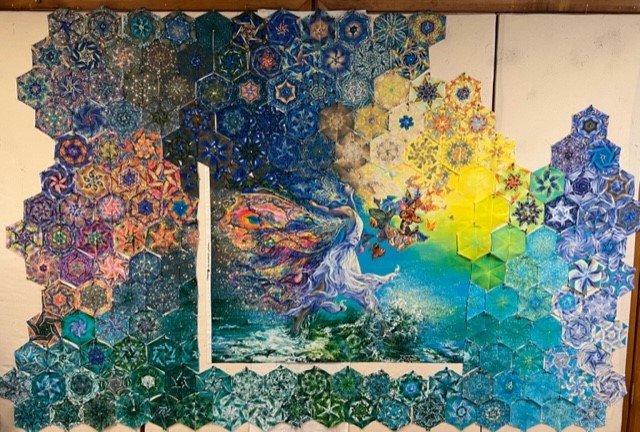
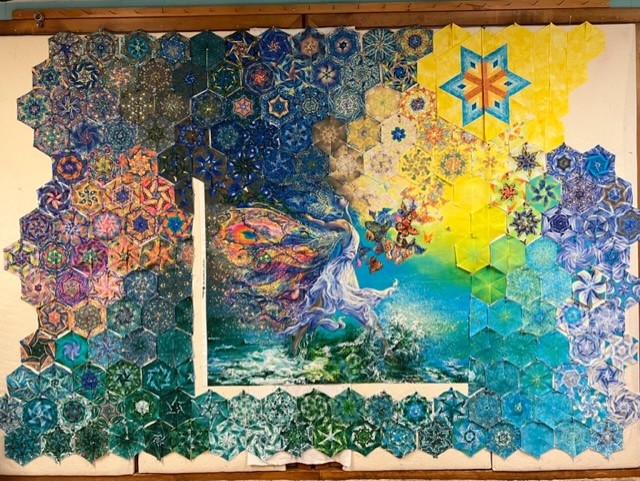
- Designing with the hexagons,
- Integrating stars & cubes
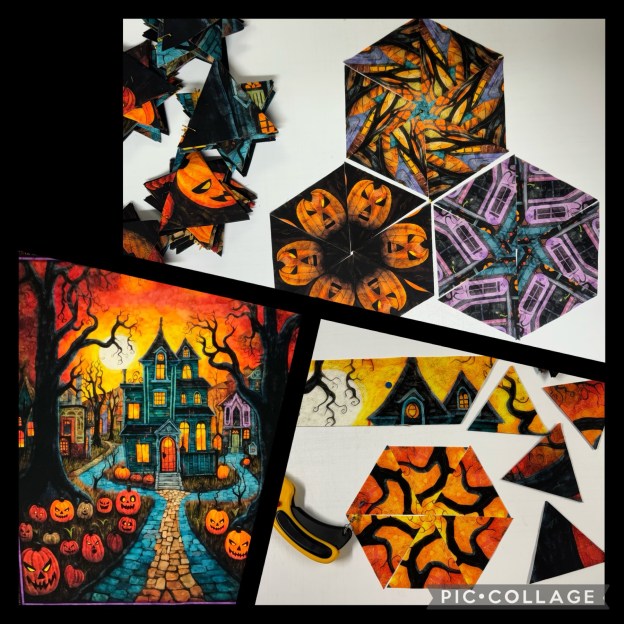
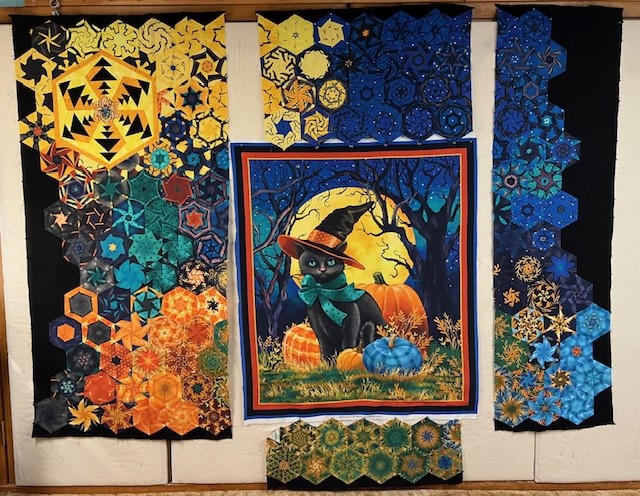
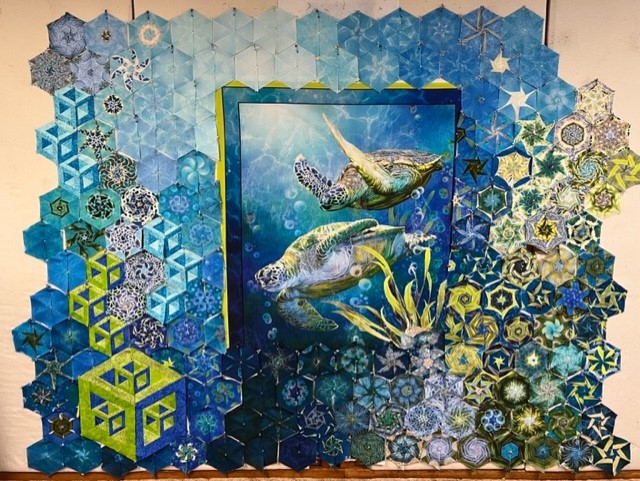
- Designing around a panel
Happy Holidays!