Terri Butler and I have created a new video to help you to align and cut your strips to prepare you for making a OBW quilt or jacket.
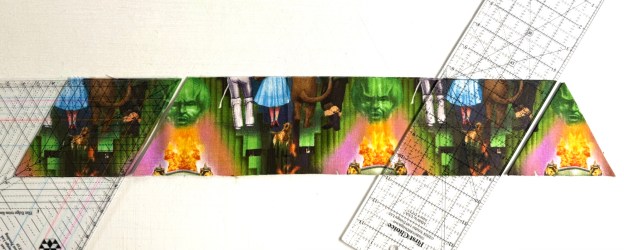
New Video for Aligning & Cutting Panels for a OBW
2 Replies
Terri Butler and I have created a new video to help you to align and cut your strips to prepare you for making a OBW quilt or jacket.

I’m so excited to be teaching at AQS Paducah 2026. I will be teaching:
If a workshop is sold out, keeping checking back. Sometimes people cancel.

I saw this panel depicting the 4 Seasons of the Ukraine and loved the soft colors. These Ukrainian figures, costumed in traditional dress, collect Easter baskets in spring, dancing in summer and autumn, and keeping warm by candlelight in winter.

Digitally printed, 29″ panel, includes four 14″ x 21″ frames, 4 Seasons of Ukraine by the Rubin Design Studio, designed exclusively for eQuilter.

I prefer one large panel, so I cut apart the four scenes and stitched them together starting with Winter, Spring, Summer and Autumn.

I cut my strips 3.25″ to yield 5″ finished hexies. This panel yielded 160 hexies to build my design.

I placed 11 – 5″ hexies across the top, and then added hexies down the right side of the panel.

To avoid cutting off the dancers feet, I had to place hexies past the bottom of the panel. The hexies will shrink upwards once stitched together.

I added a strip of fabric to the bottom of the panel that would need to be hidden later.

I used leftover hexies and appliqued them over the added strip of fabric.

My 4 Seasons of Ukraine measures 93″ x 60″ It would make a nice wall hanging, table cloth or bed runner.
@RubinDesignStudio @eQuilter #4SeasonsofUkraine #OBW#111
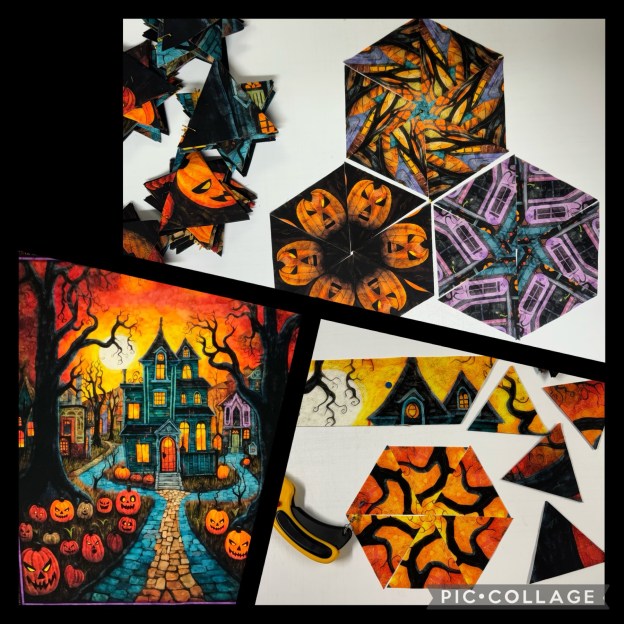
What are you working on this weekend?

I’m working on a One Block Wonder, using “Creepin it Real” by QT Fabrics.
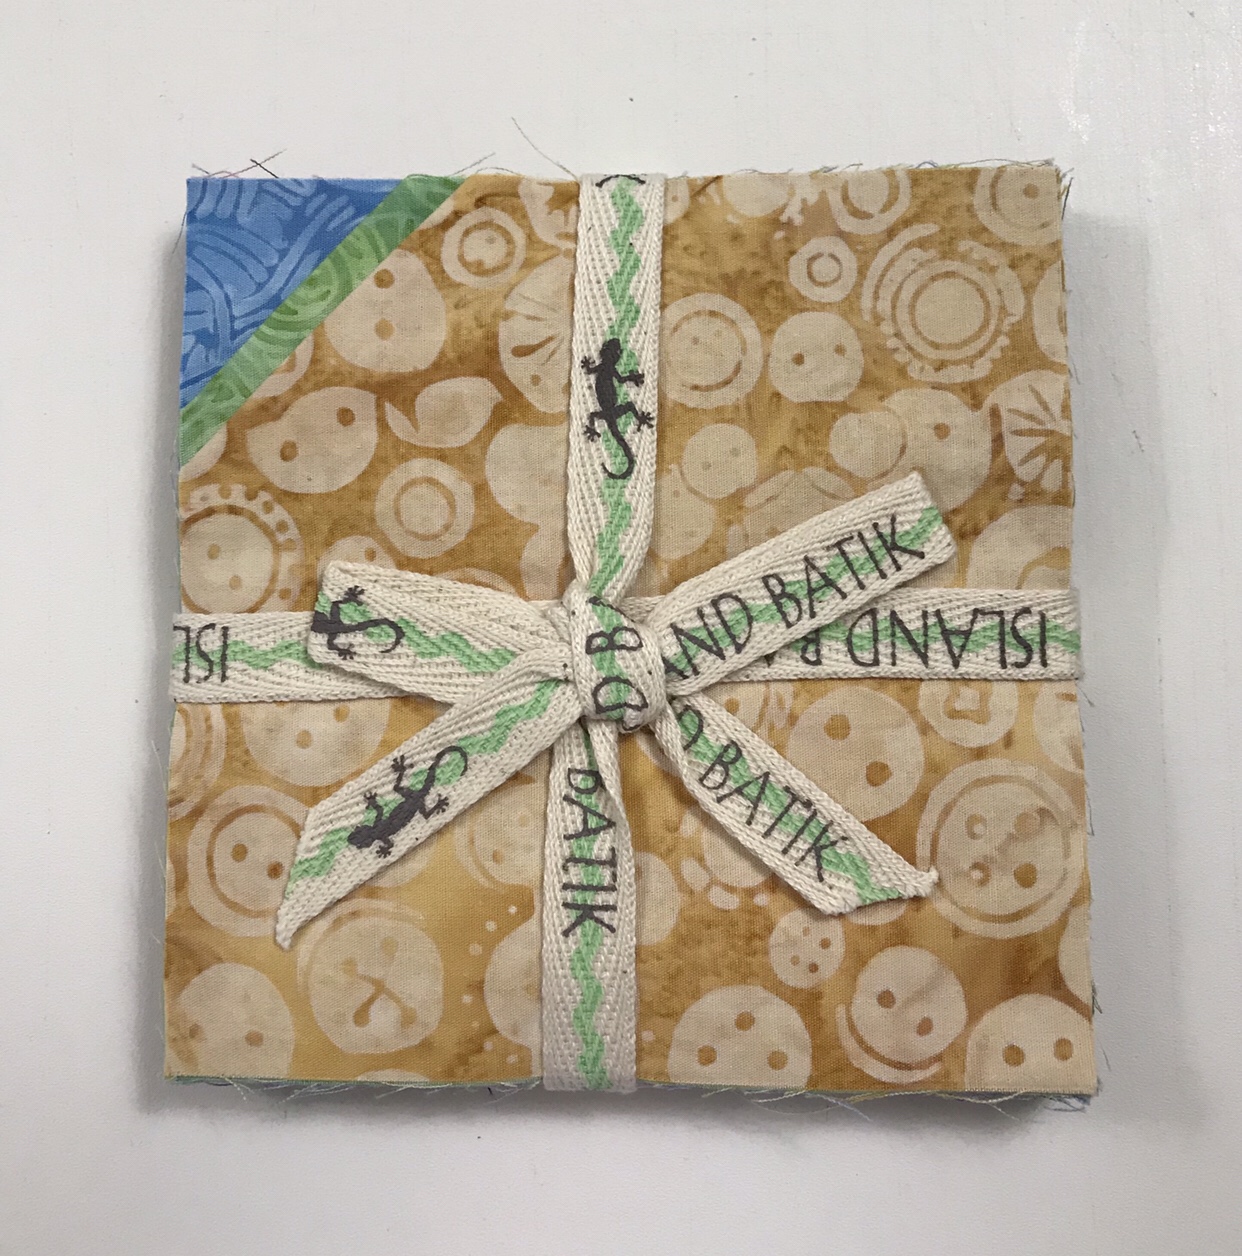
The products and fabrics used in this post were given to me by Island Batik.
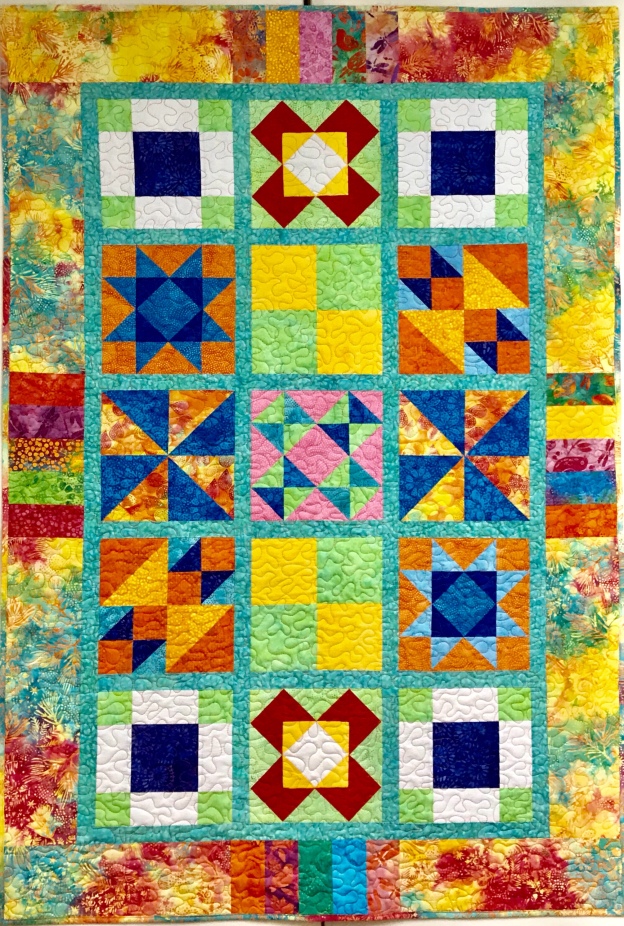
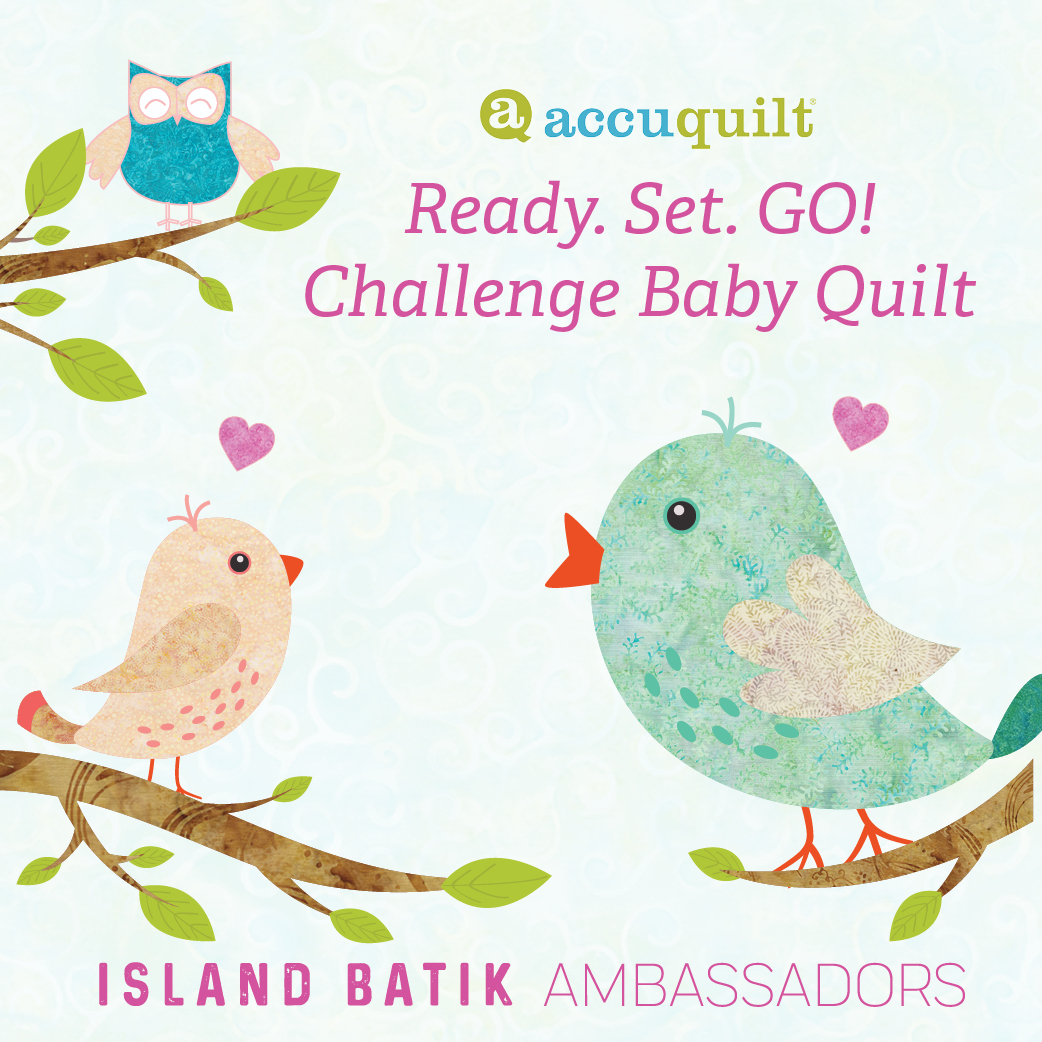
I’m so lucky to be an Island Batik Ambassador! Especially this year. This year Island Batik has partnered with Accuquilt! We were given an Accuquilt Go Cutter and dies. I received the Mix & Match 8″ Block set of dies (Go Cube!). We were tasked with creating a Baby Quilt.
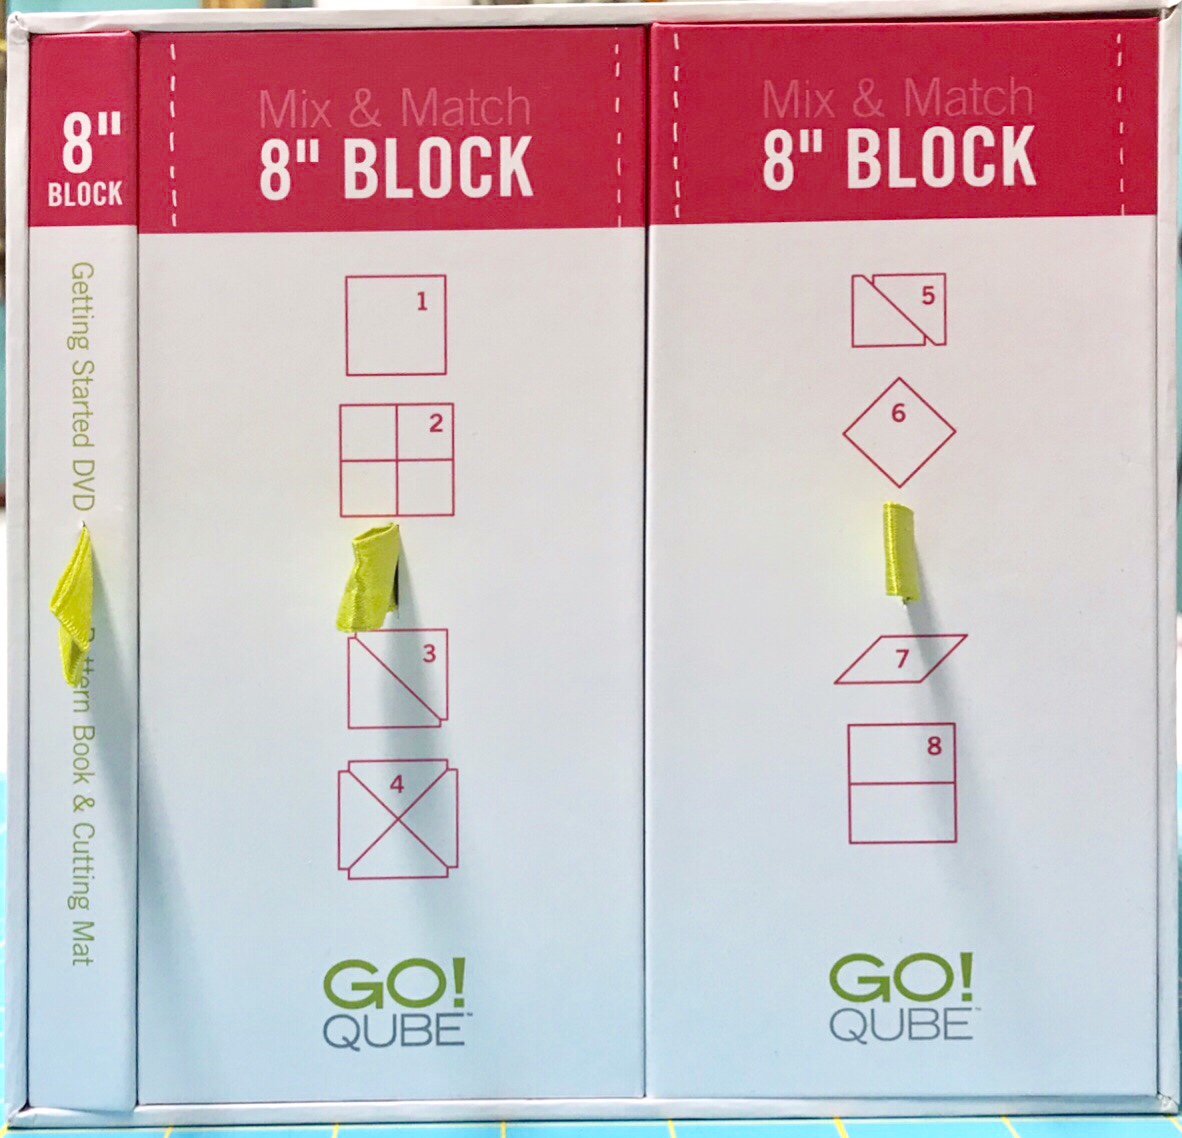
This set includes 8 dies & 13 block patterns. With these dies you can make 72 different block designs! Wowza!
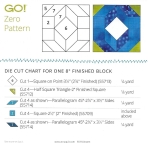
I chose my blocks and started designing in EQ8 to see what it would look like.
When I was satisfied with the fabrics and balance I started cutting.
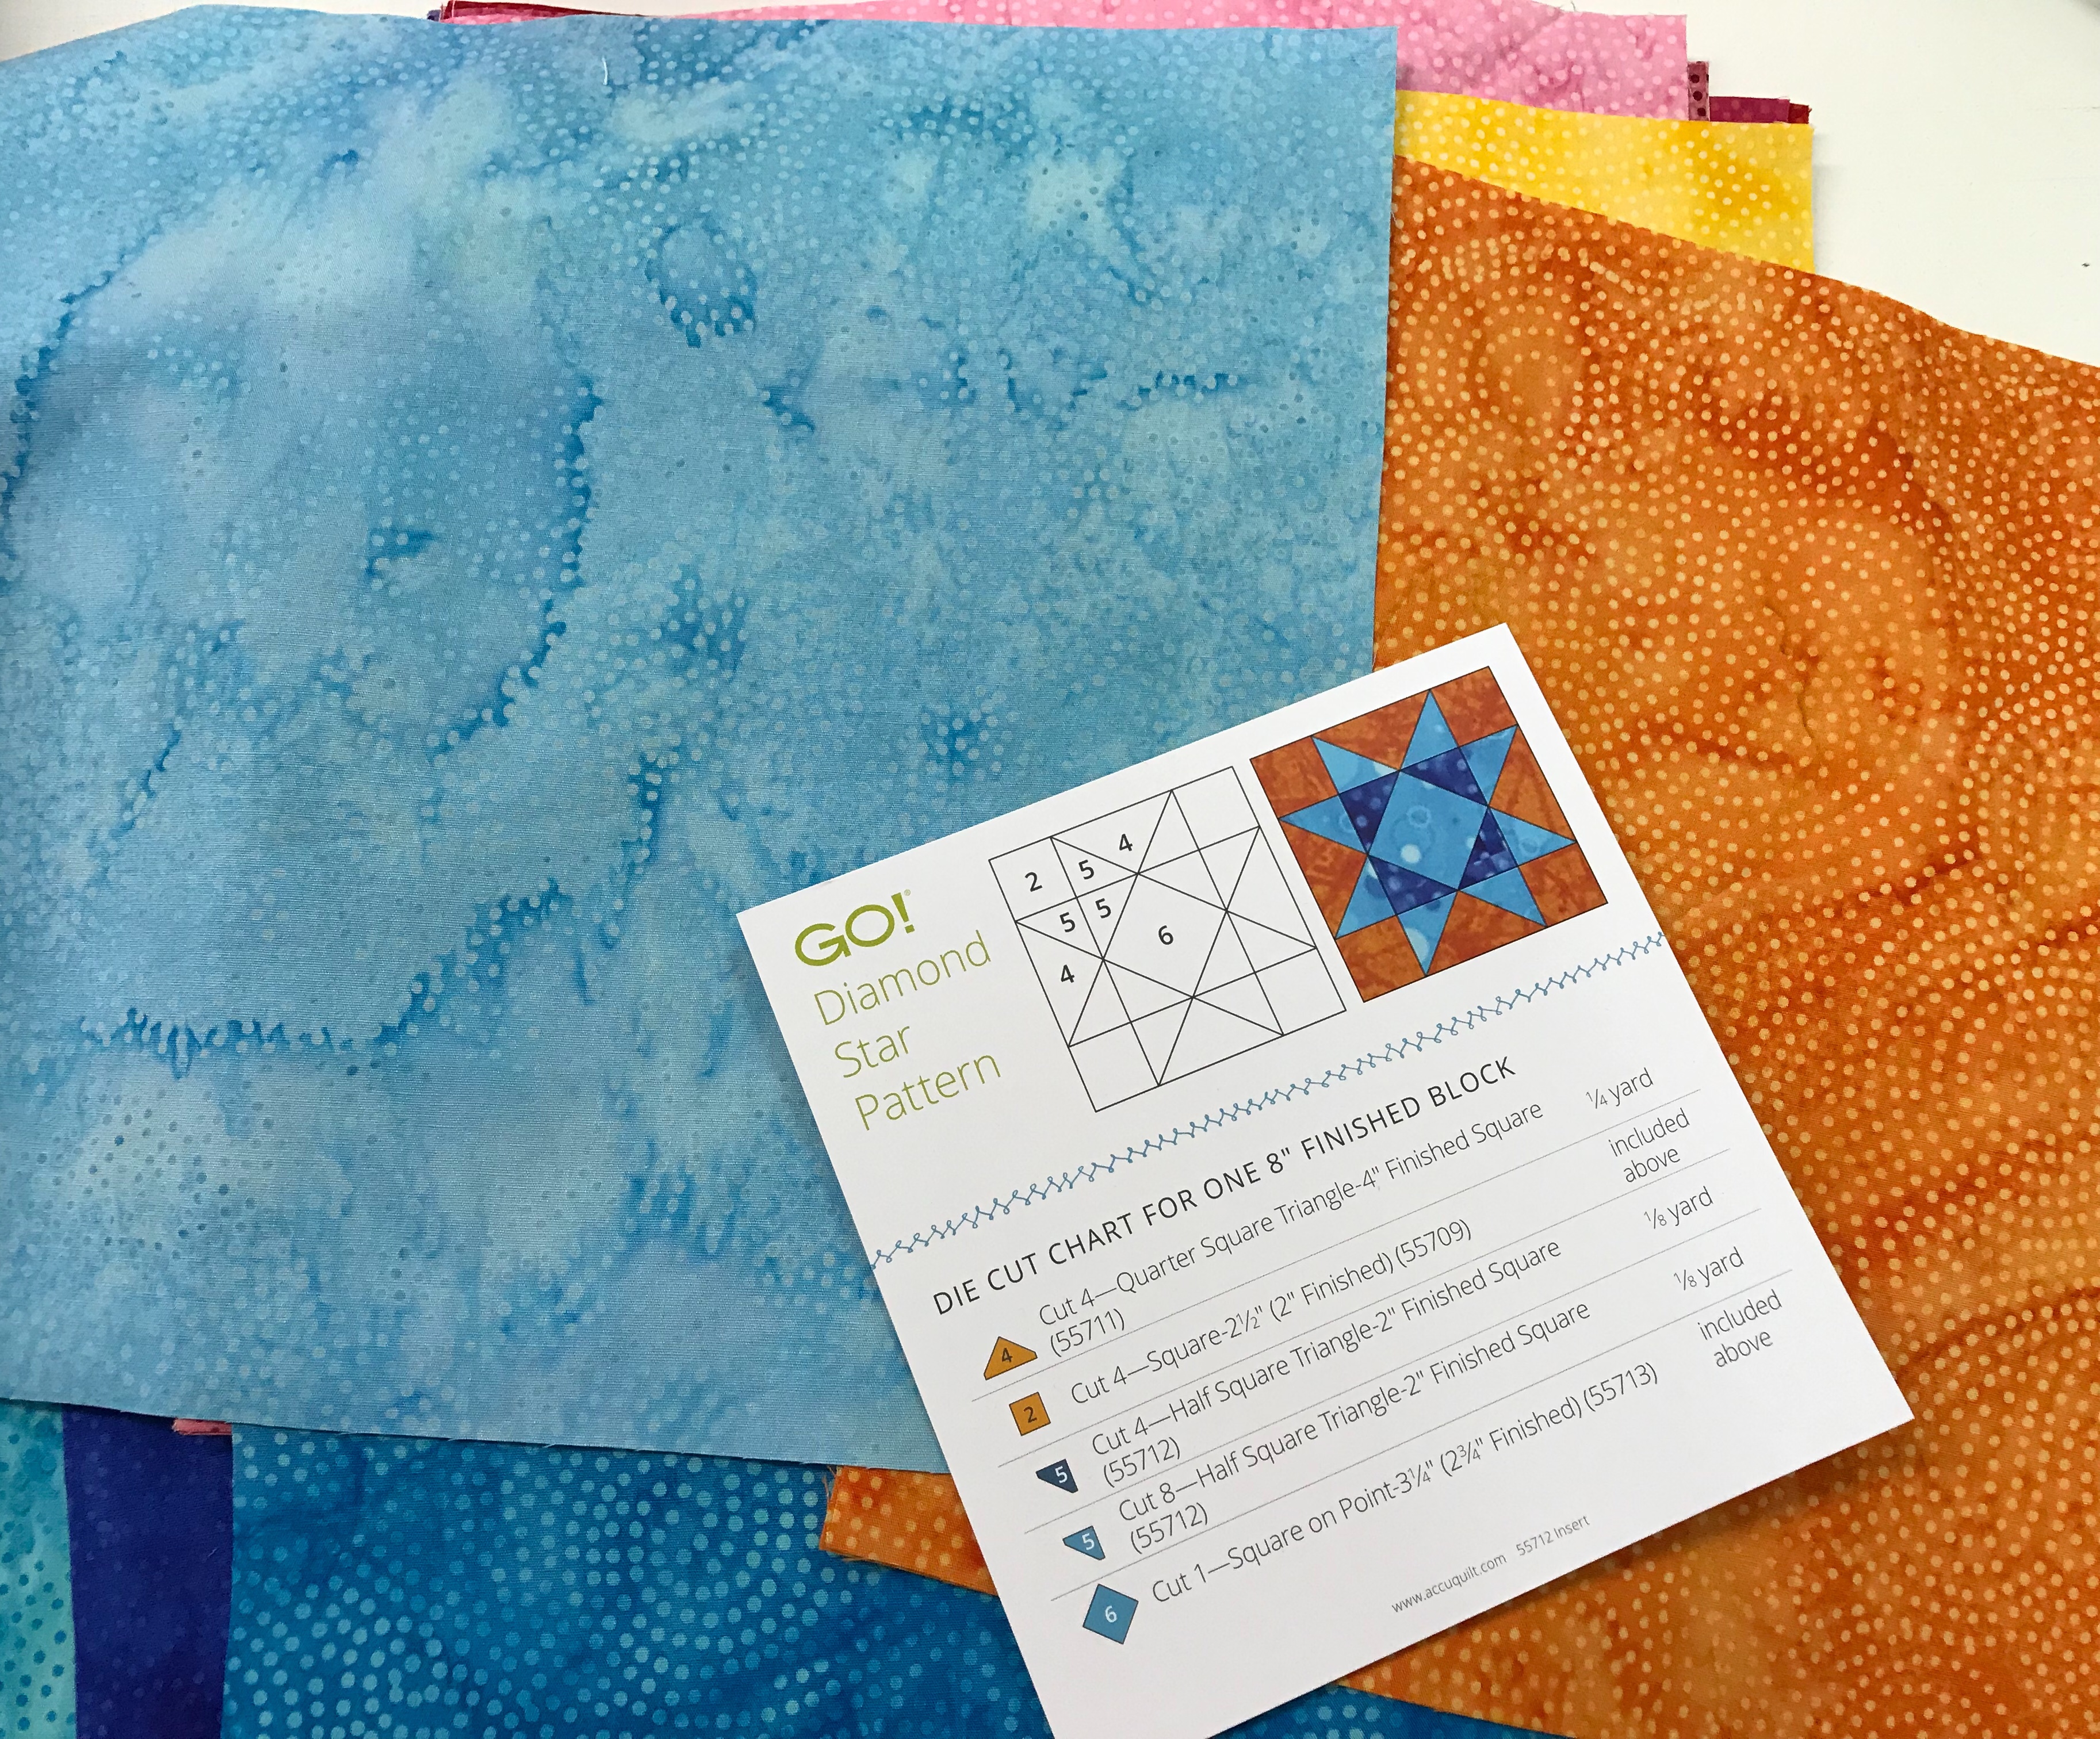
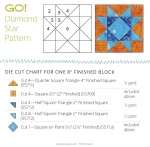
I pulled my Island Batik fabrics and started with the Diamond Star Block Pattern.
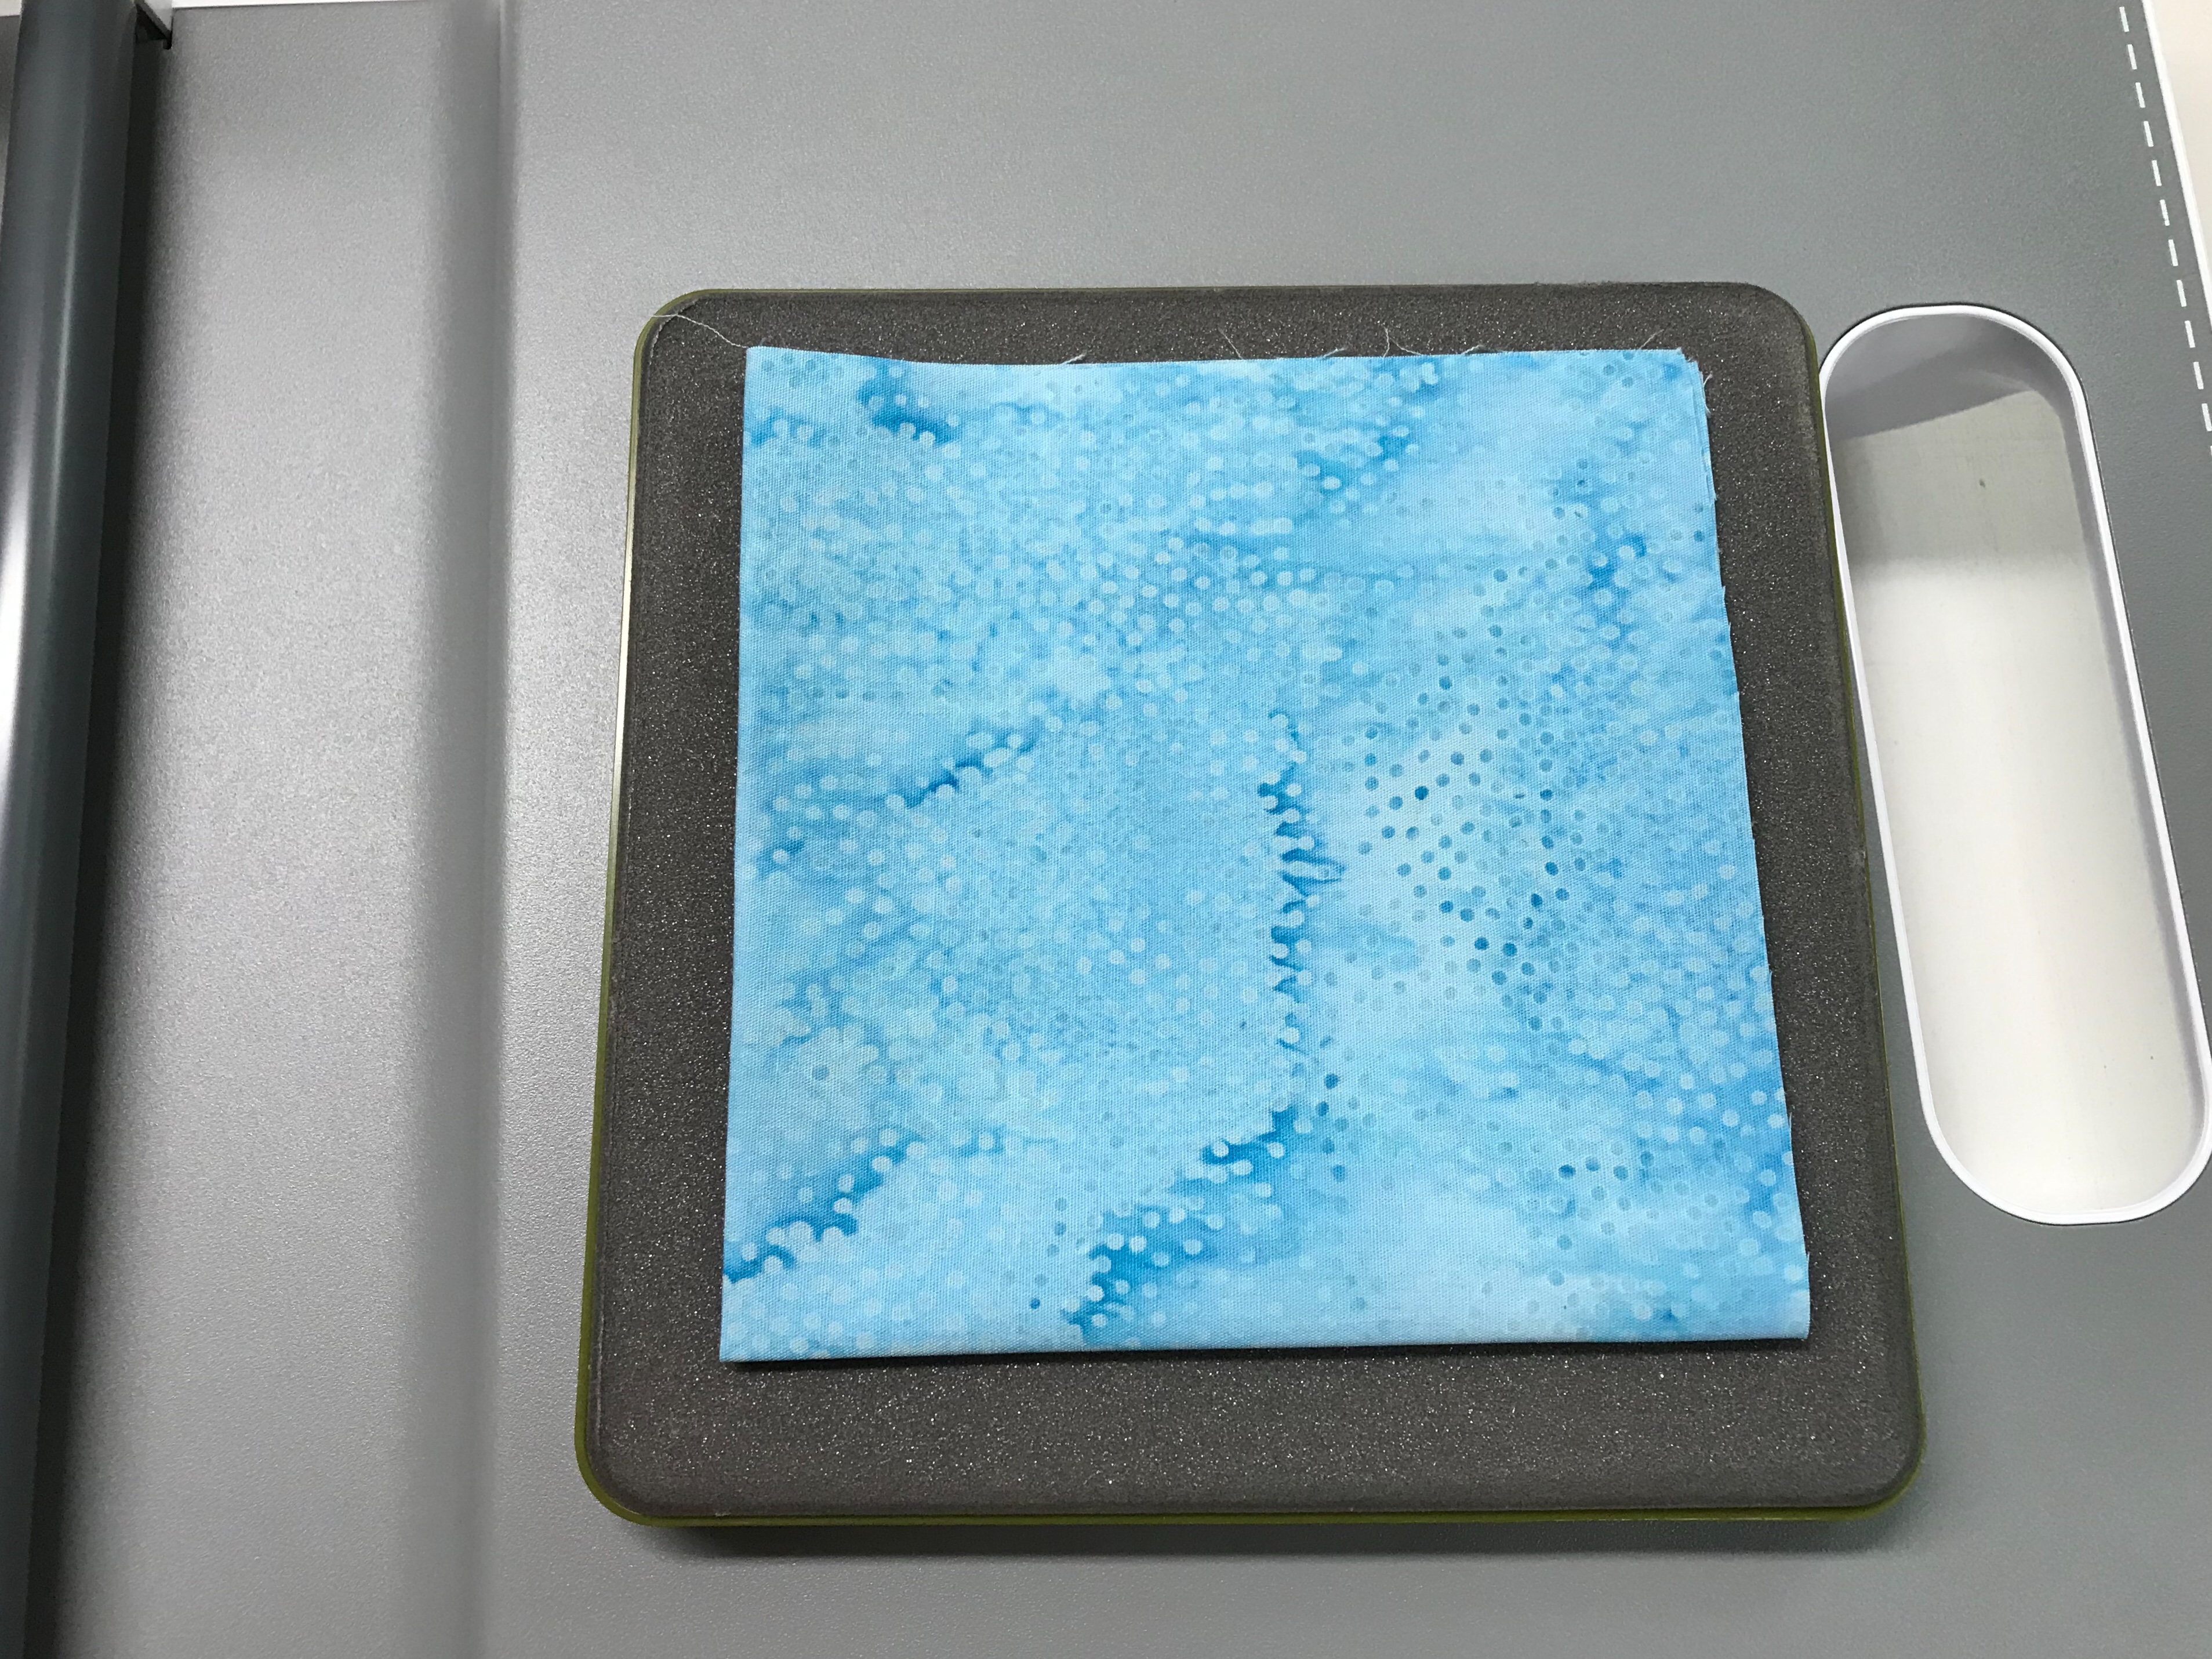
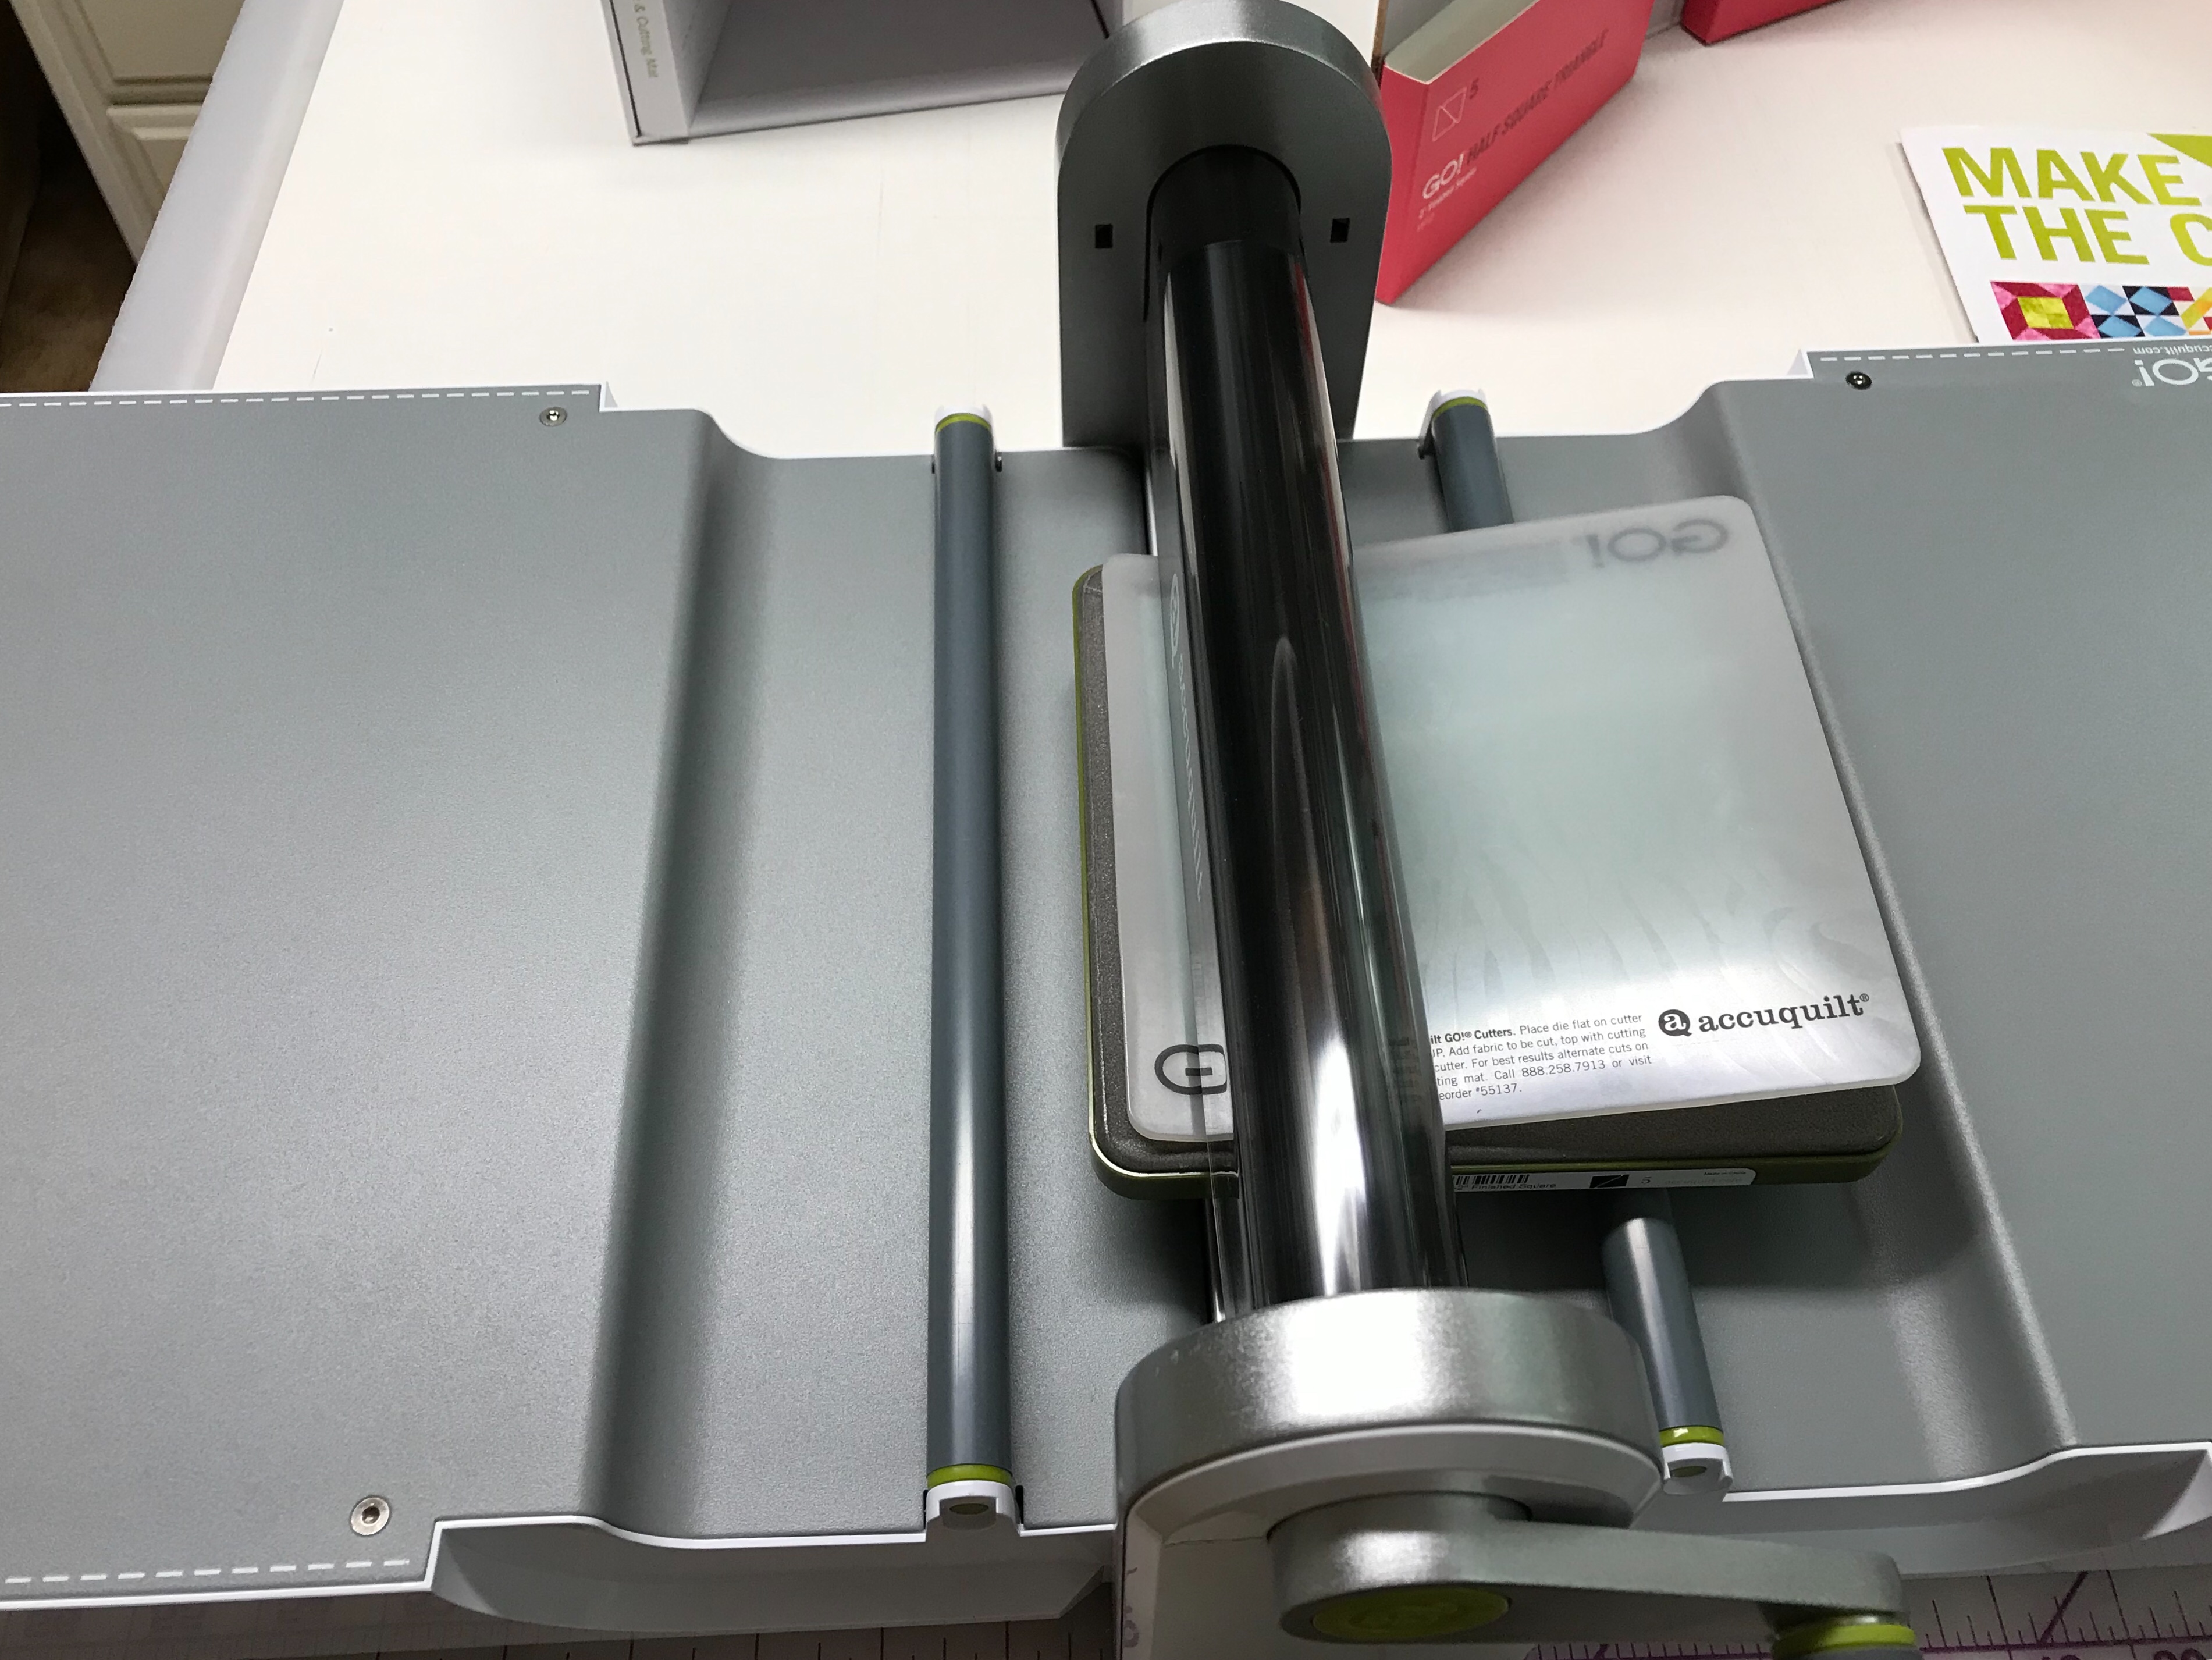
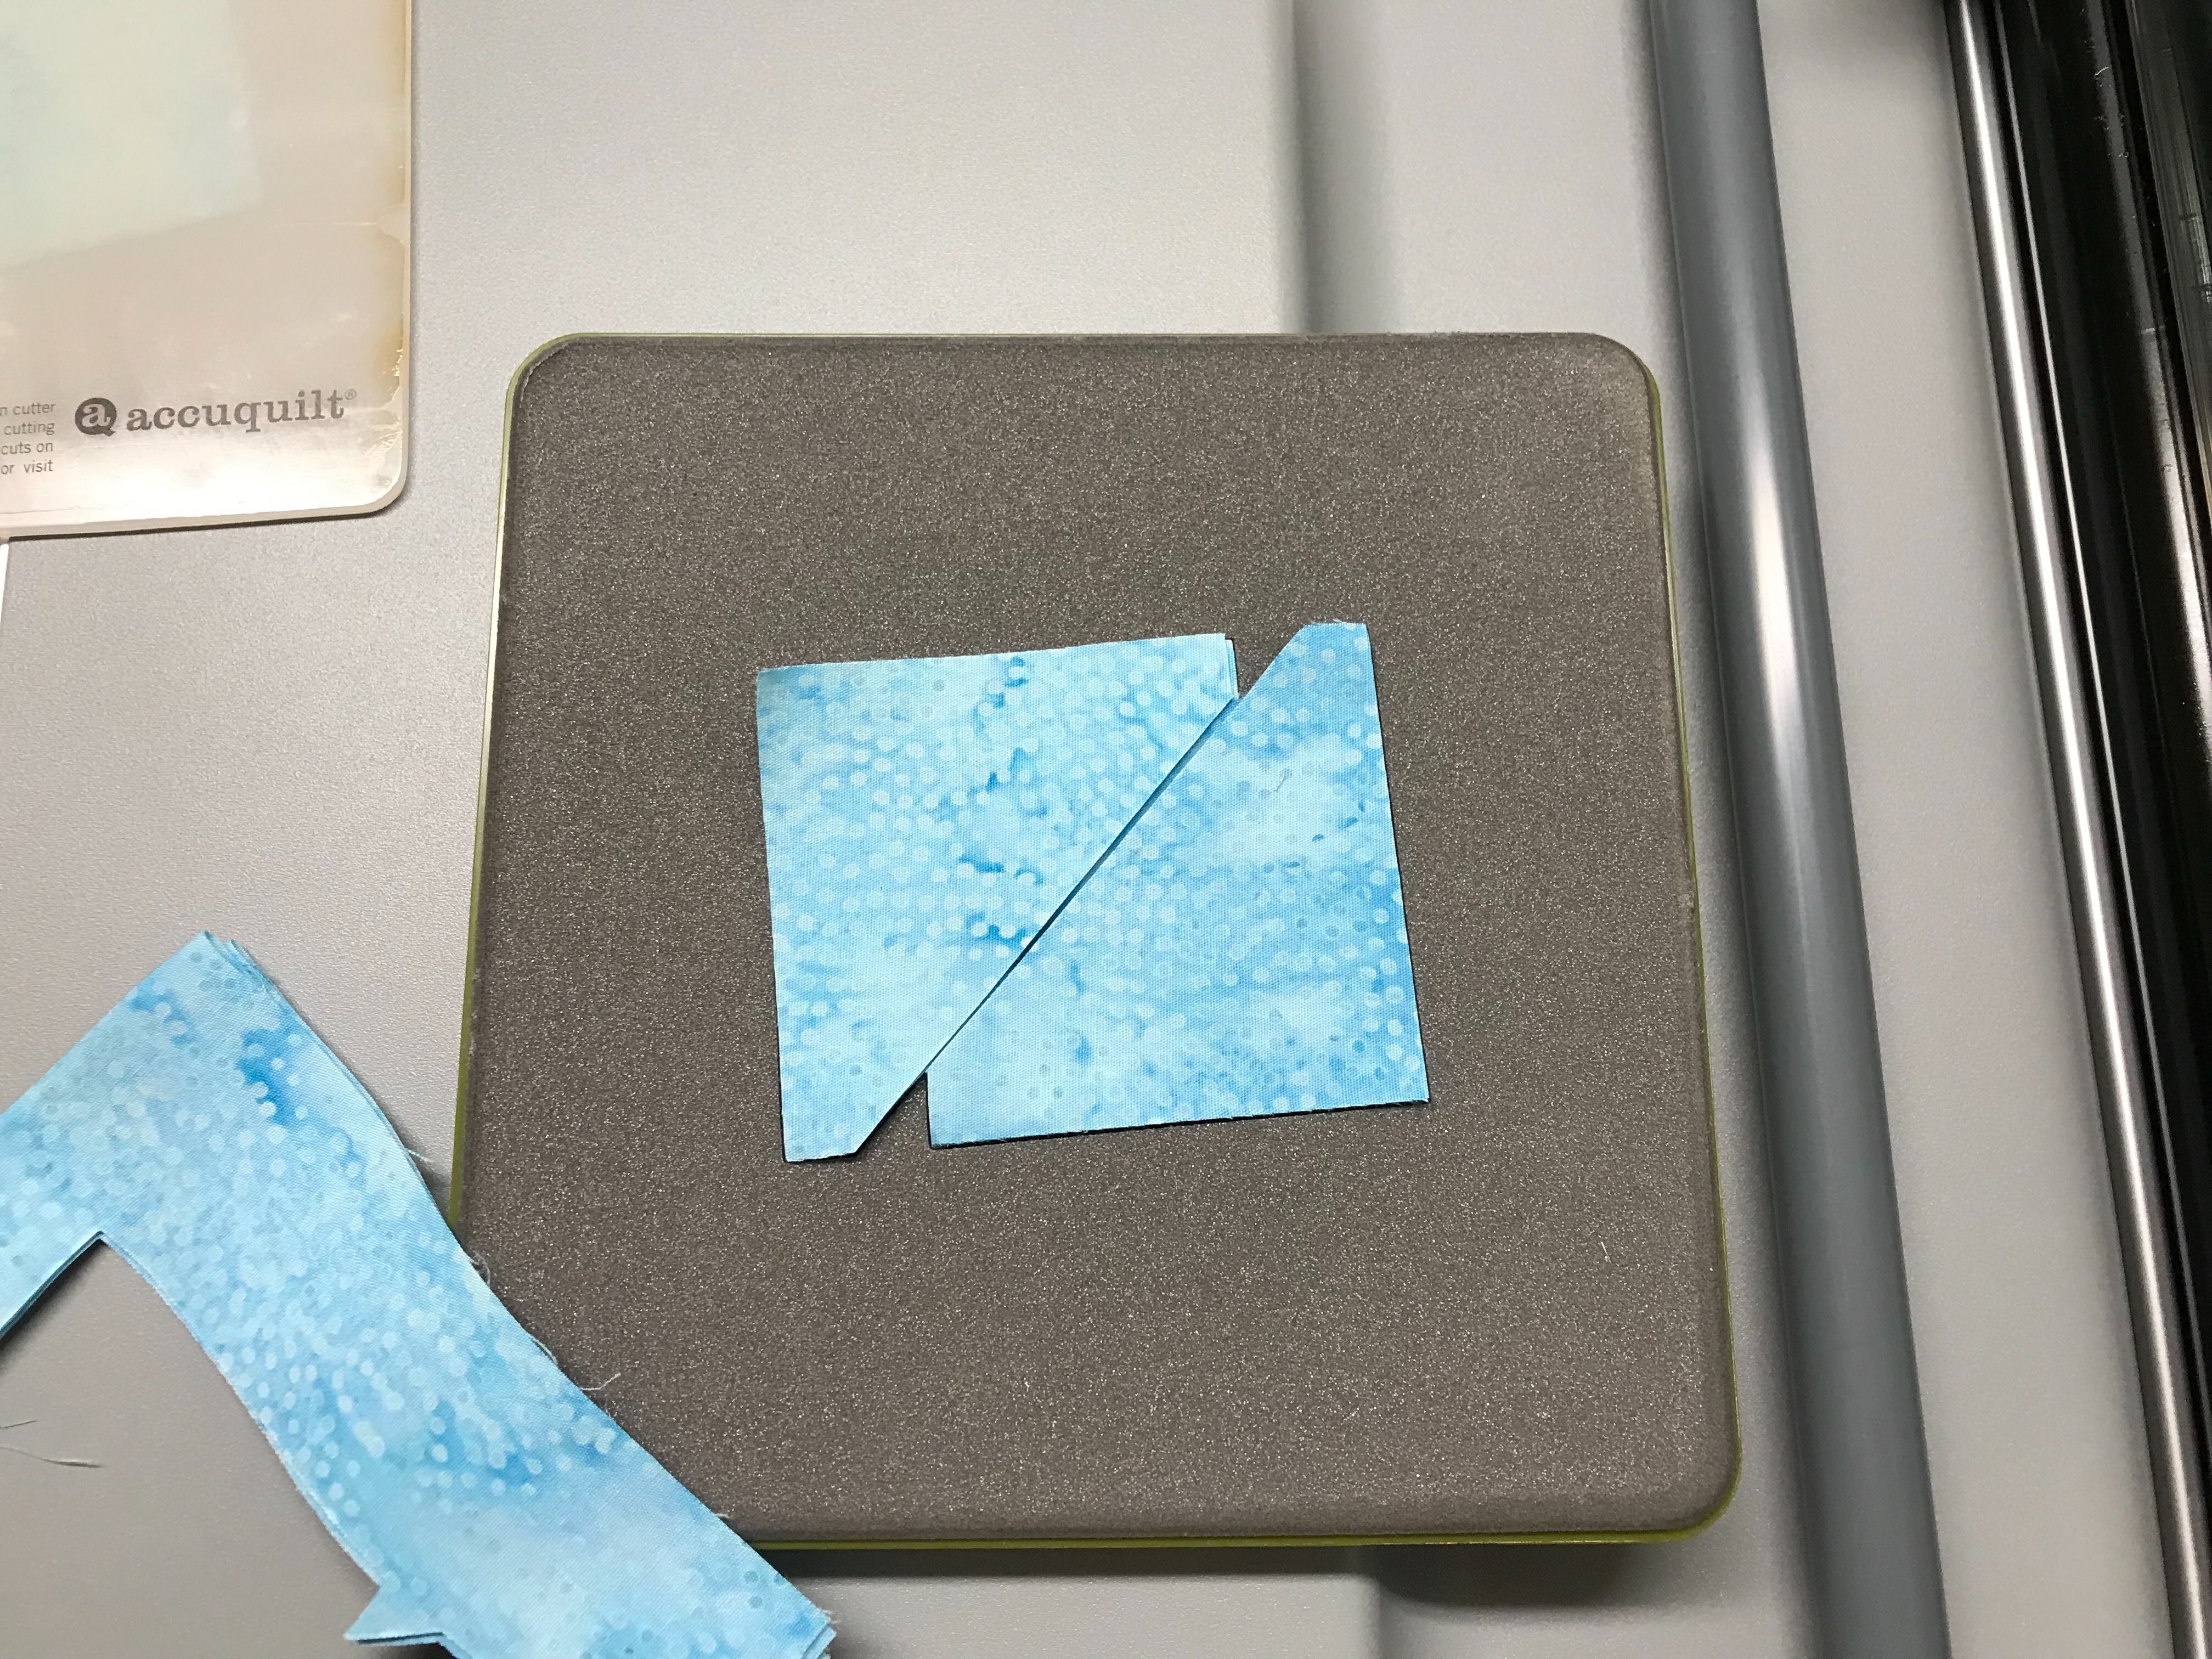
I needed 8 side triangles for my flying geese units, so I folded my fabric into quarters, centered it over the die, placed the cutting mat on top and rolled it through the cutter. Presto – 8 side triangles.

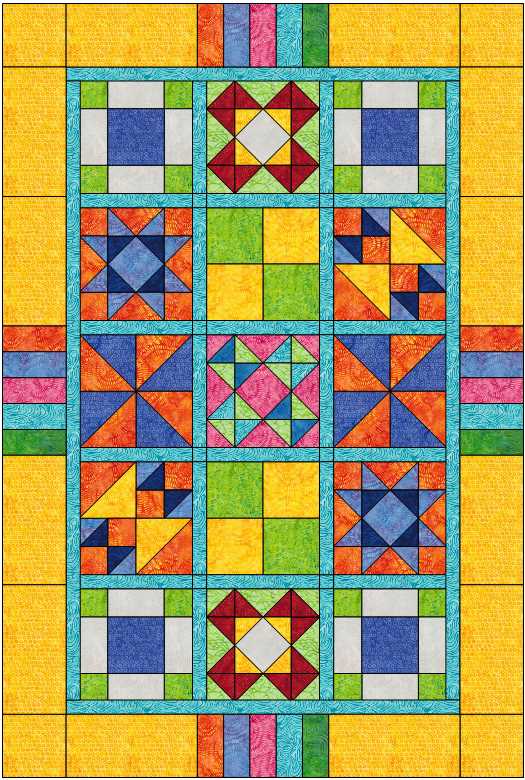
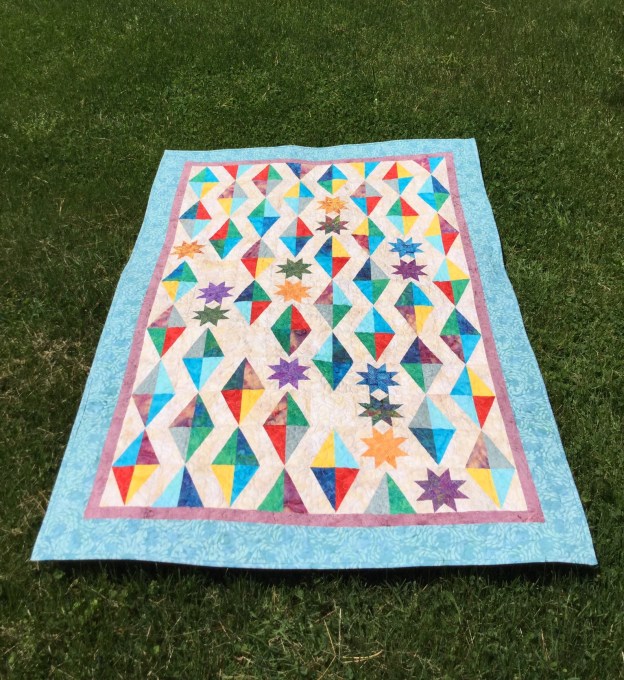
Now this is a fun “Gender Neutral Color Palooza” Baby Quilt! It measurers 38″ x 56″. It was lovingly pieced with Aurifil Thread, filled with Hobbs Heirloom Premium Cotton Batting and creatively cut with my Accuquilt Go Cutter! Not to mention these fabulous colorful fabrics from Island Batik!
#islandbatik #Aurifilthread #Hobbsbatting #Accuquiltgocutter #GoCube

It all started in 2008. I went to the Virginia Consortium of Quilters (VCQ) “Celebration” at Smith Mountain Lake. That year they were sponsoring an “Apron Contest”.


I chose a sewing themed fabric that was too busy to embroider so I embroidered black Kona fabric and made many pockets including a license plate. Sometimes my brain can be a scary thing. I got an idea to make a pocket like a quiver for my back to hold a ruler & a pocket on the front to hold a rotary cutter.
This video sort of shows my Ninja powers. A friend Lisa Burgess and I were challenging each other to a “Pillowcase Off”. We had a race to see who could make a pillowcase the fastest. I think Lisa won!

Anyway, back to my story. I won 1st Place in the apron contest and my alter ego was born. Everywhere I went people wanted to see the “Quilt Ninja”. I even named her “Myrtle May, the Quilt Ninja” (said with a deep southern accent)!!!
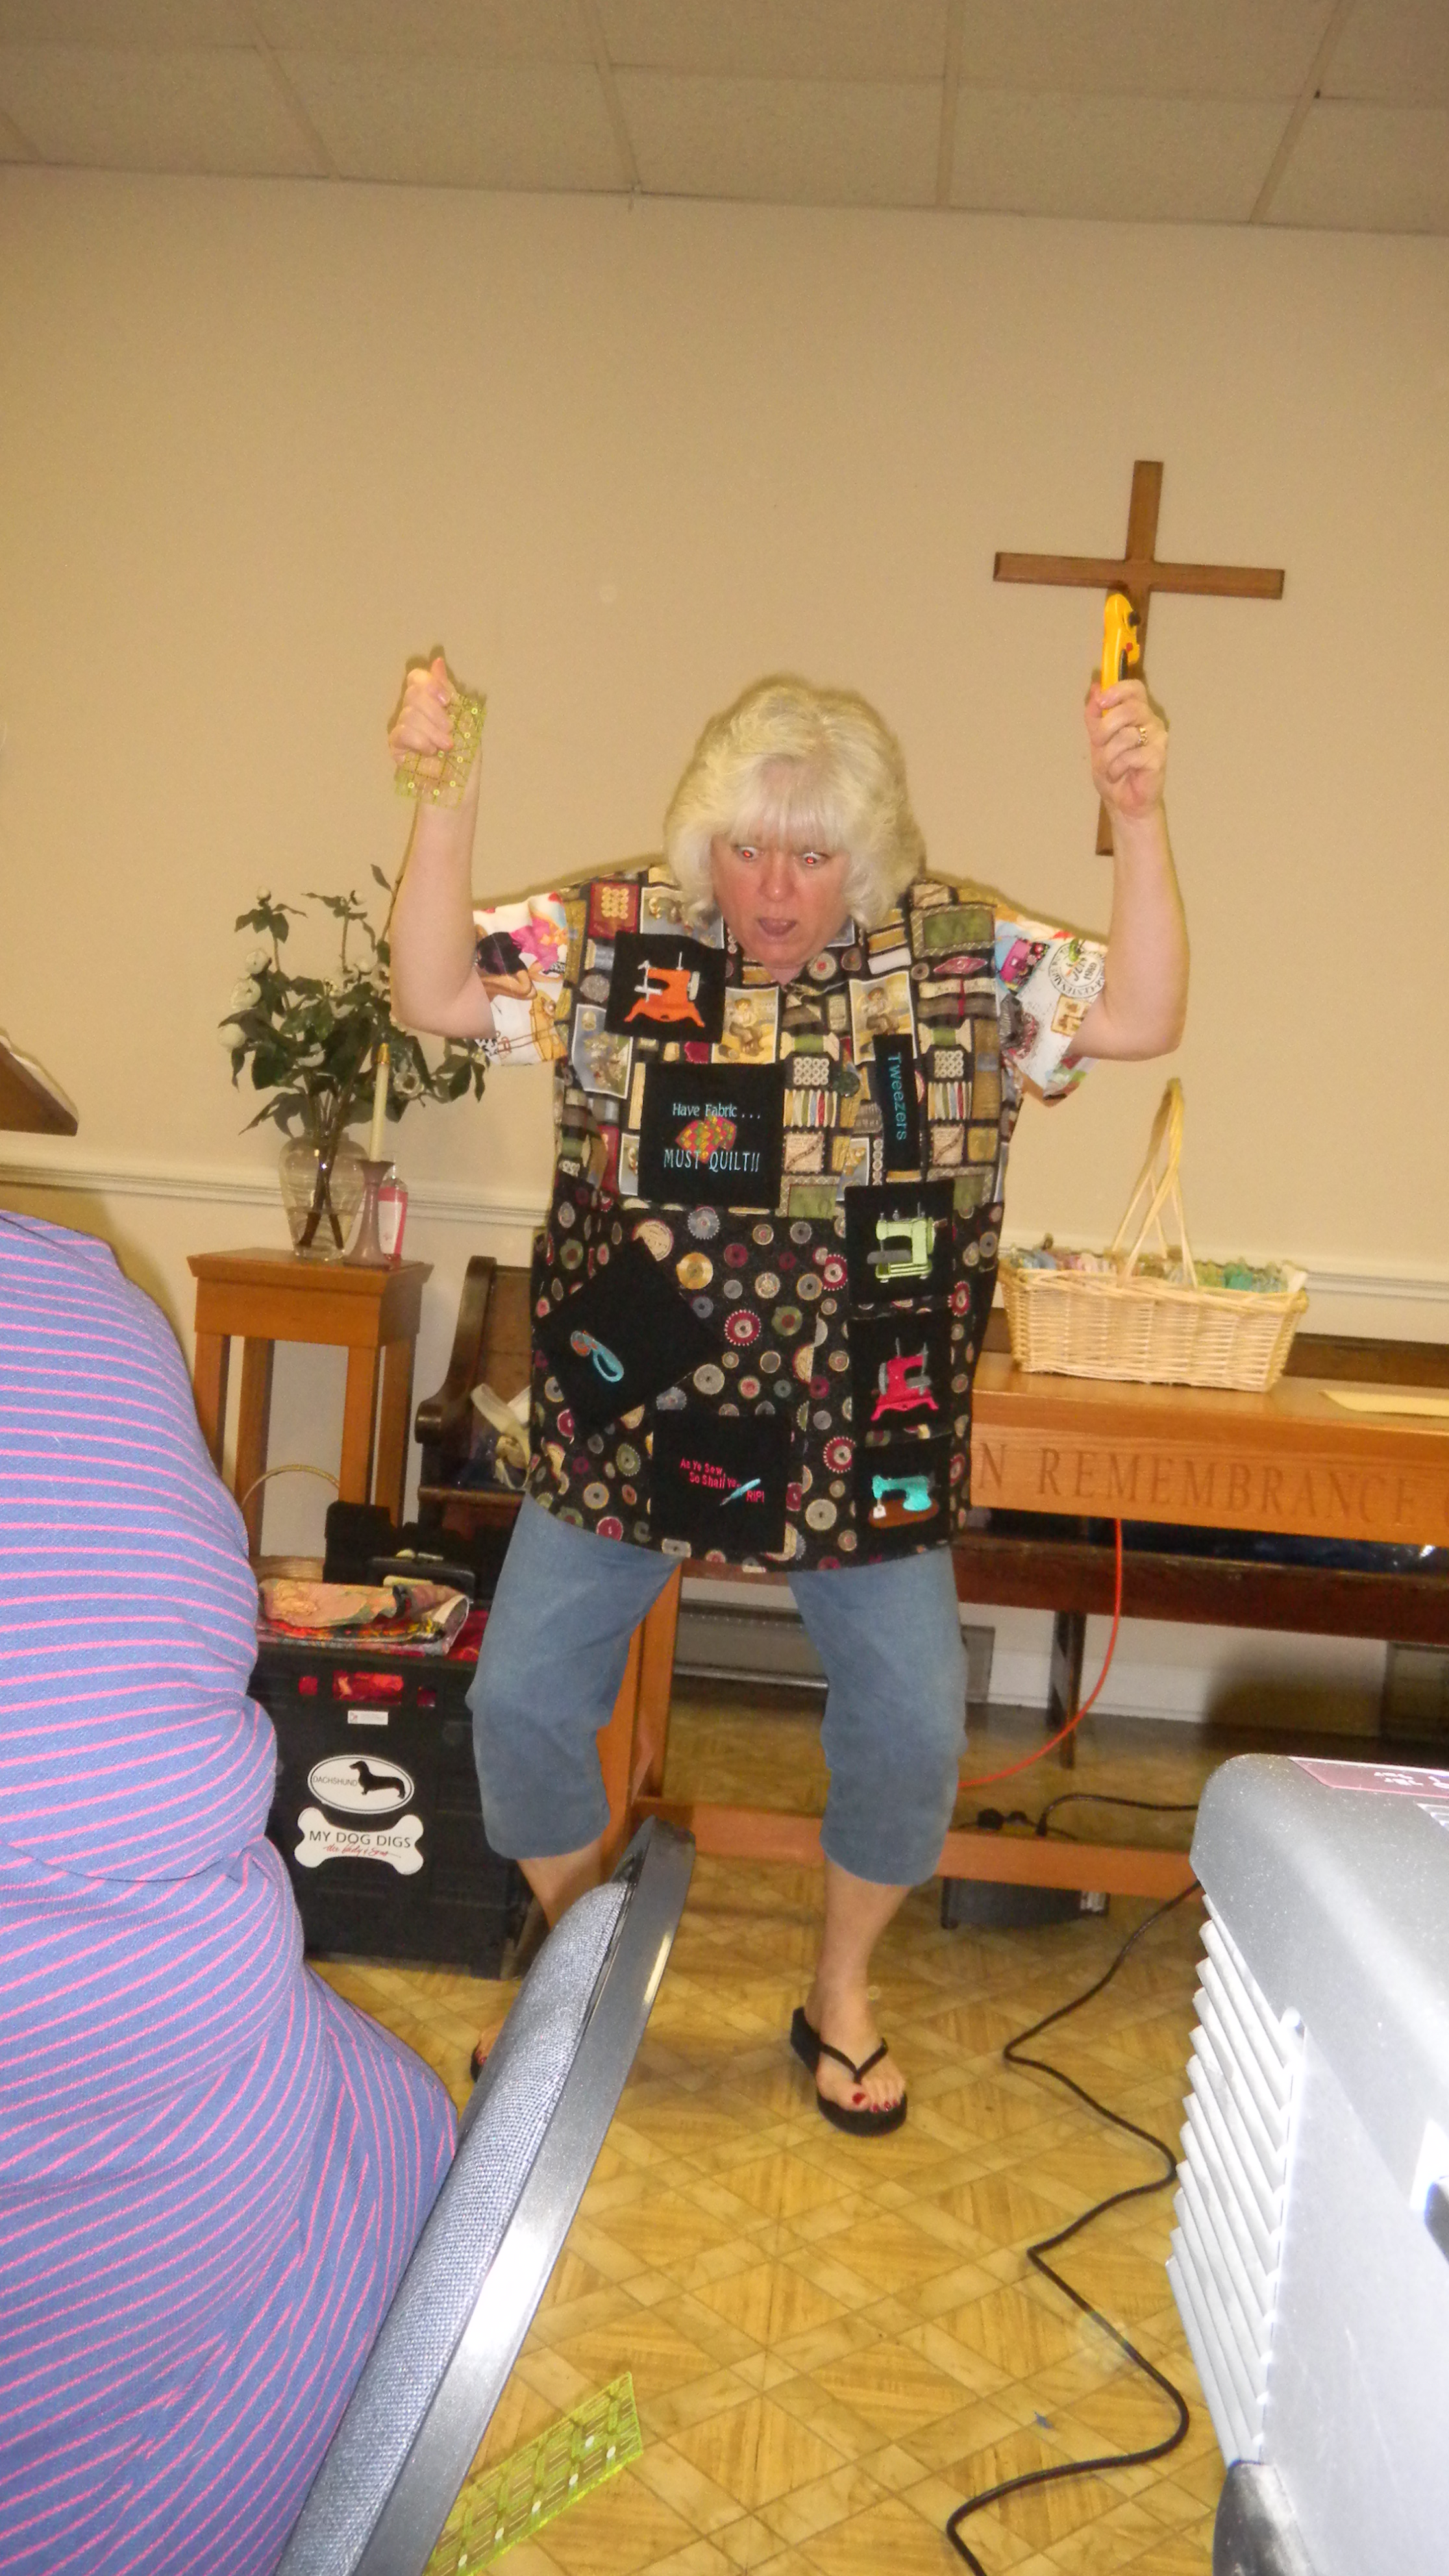
This photo is hysterical. I was giving a trunk Show to the Deltaville Stingrays Quilt Guild when I whipped out my ruler and it broke! I scared the crap out of myself and everyone else! Just look at my face!


Needless to say Myrtle May the Quit Ninja needs a new wardrobe from time to time. (She even dyes her hair now and then too.)


Then there was this version that was later altered…


I became a Studio 180 Design Certified Instructor in 2013 and now needed a place for my Magic Wand.
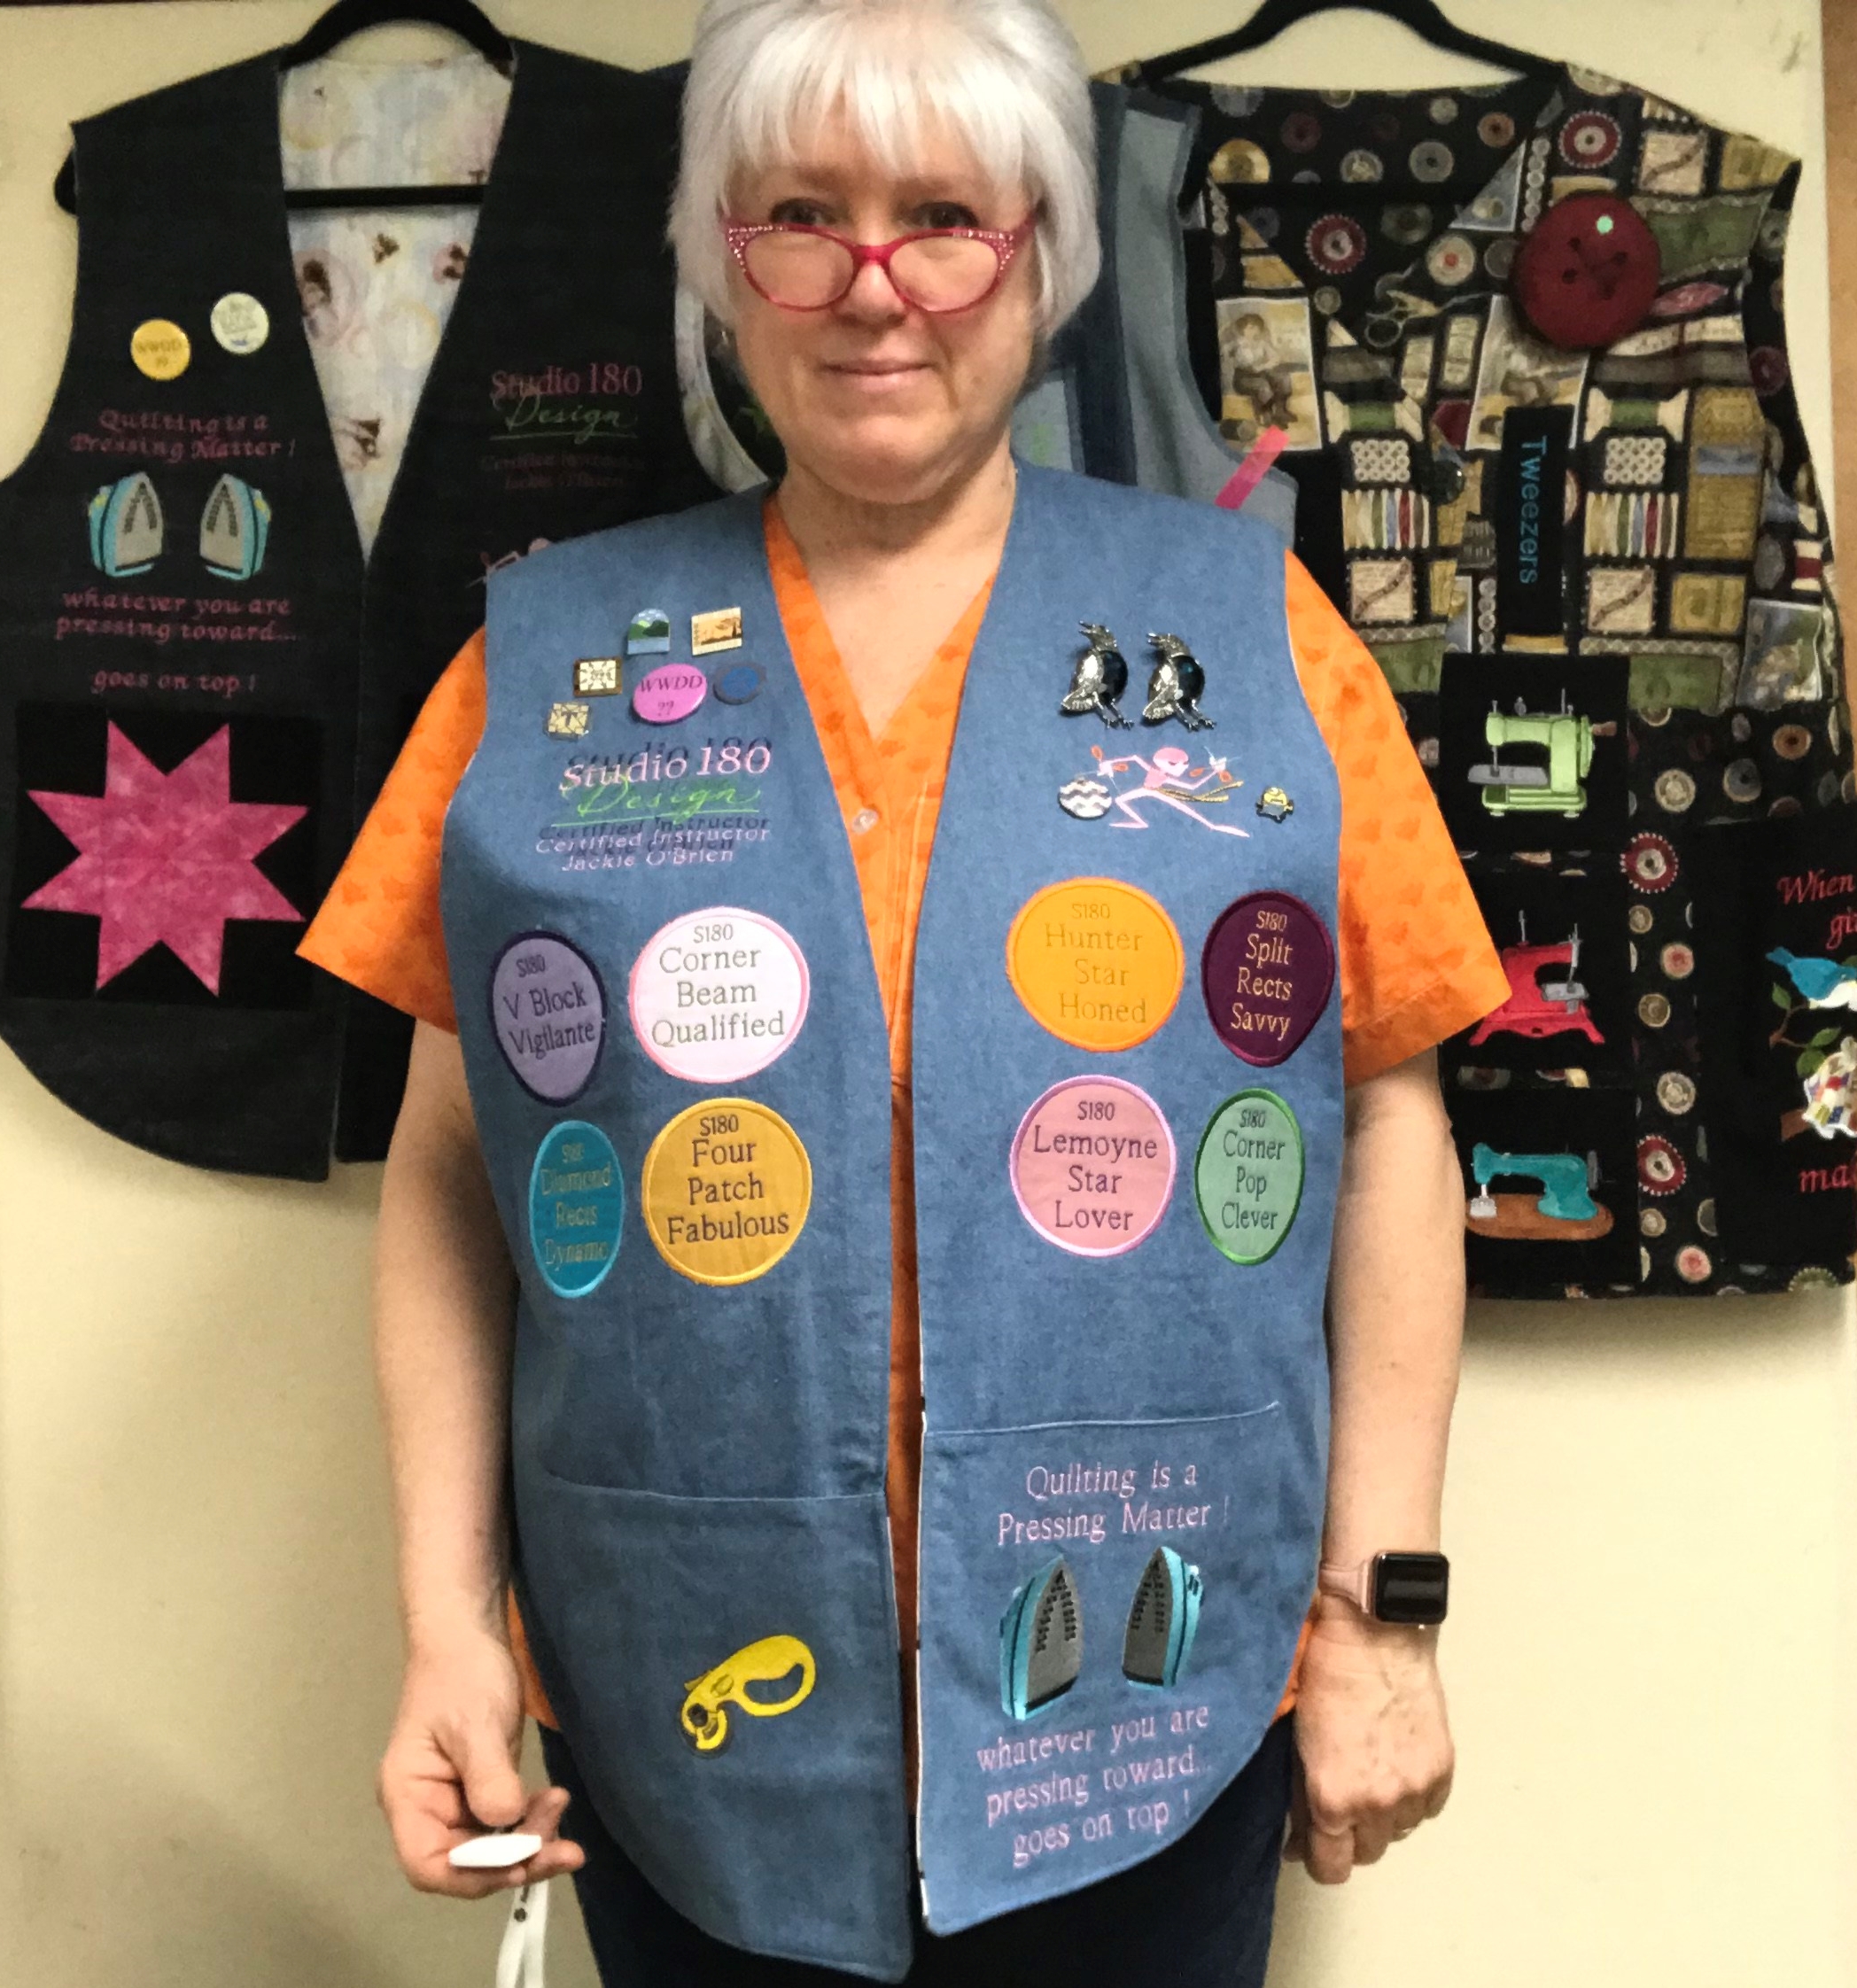
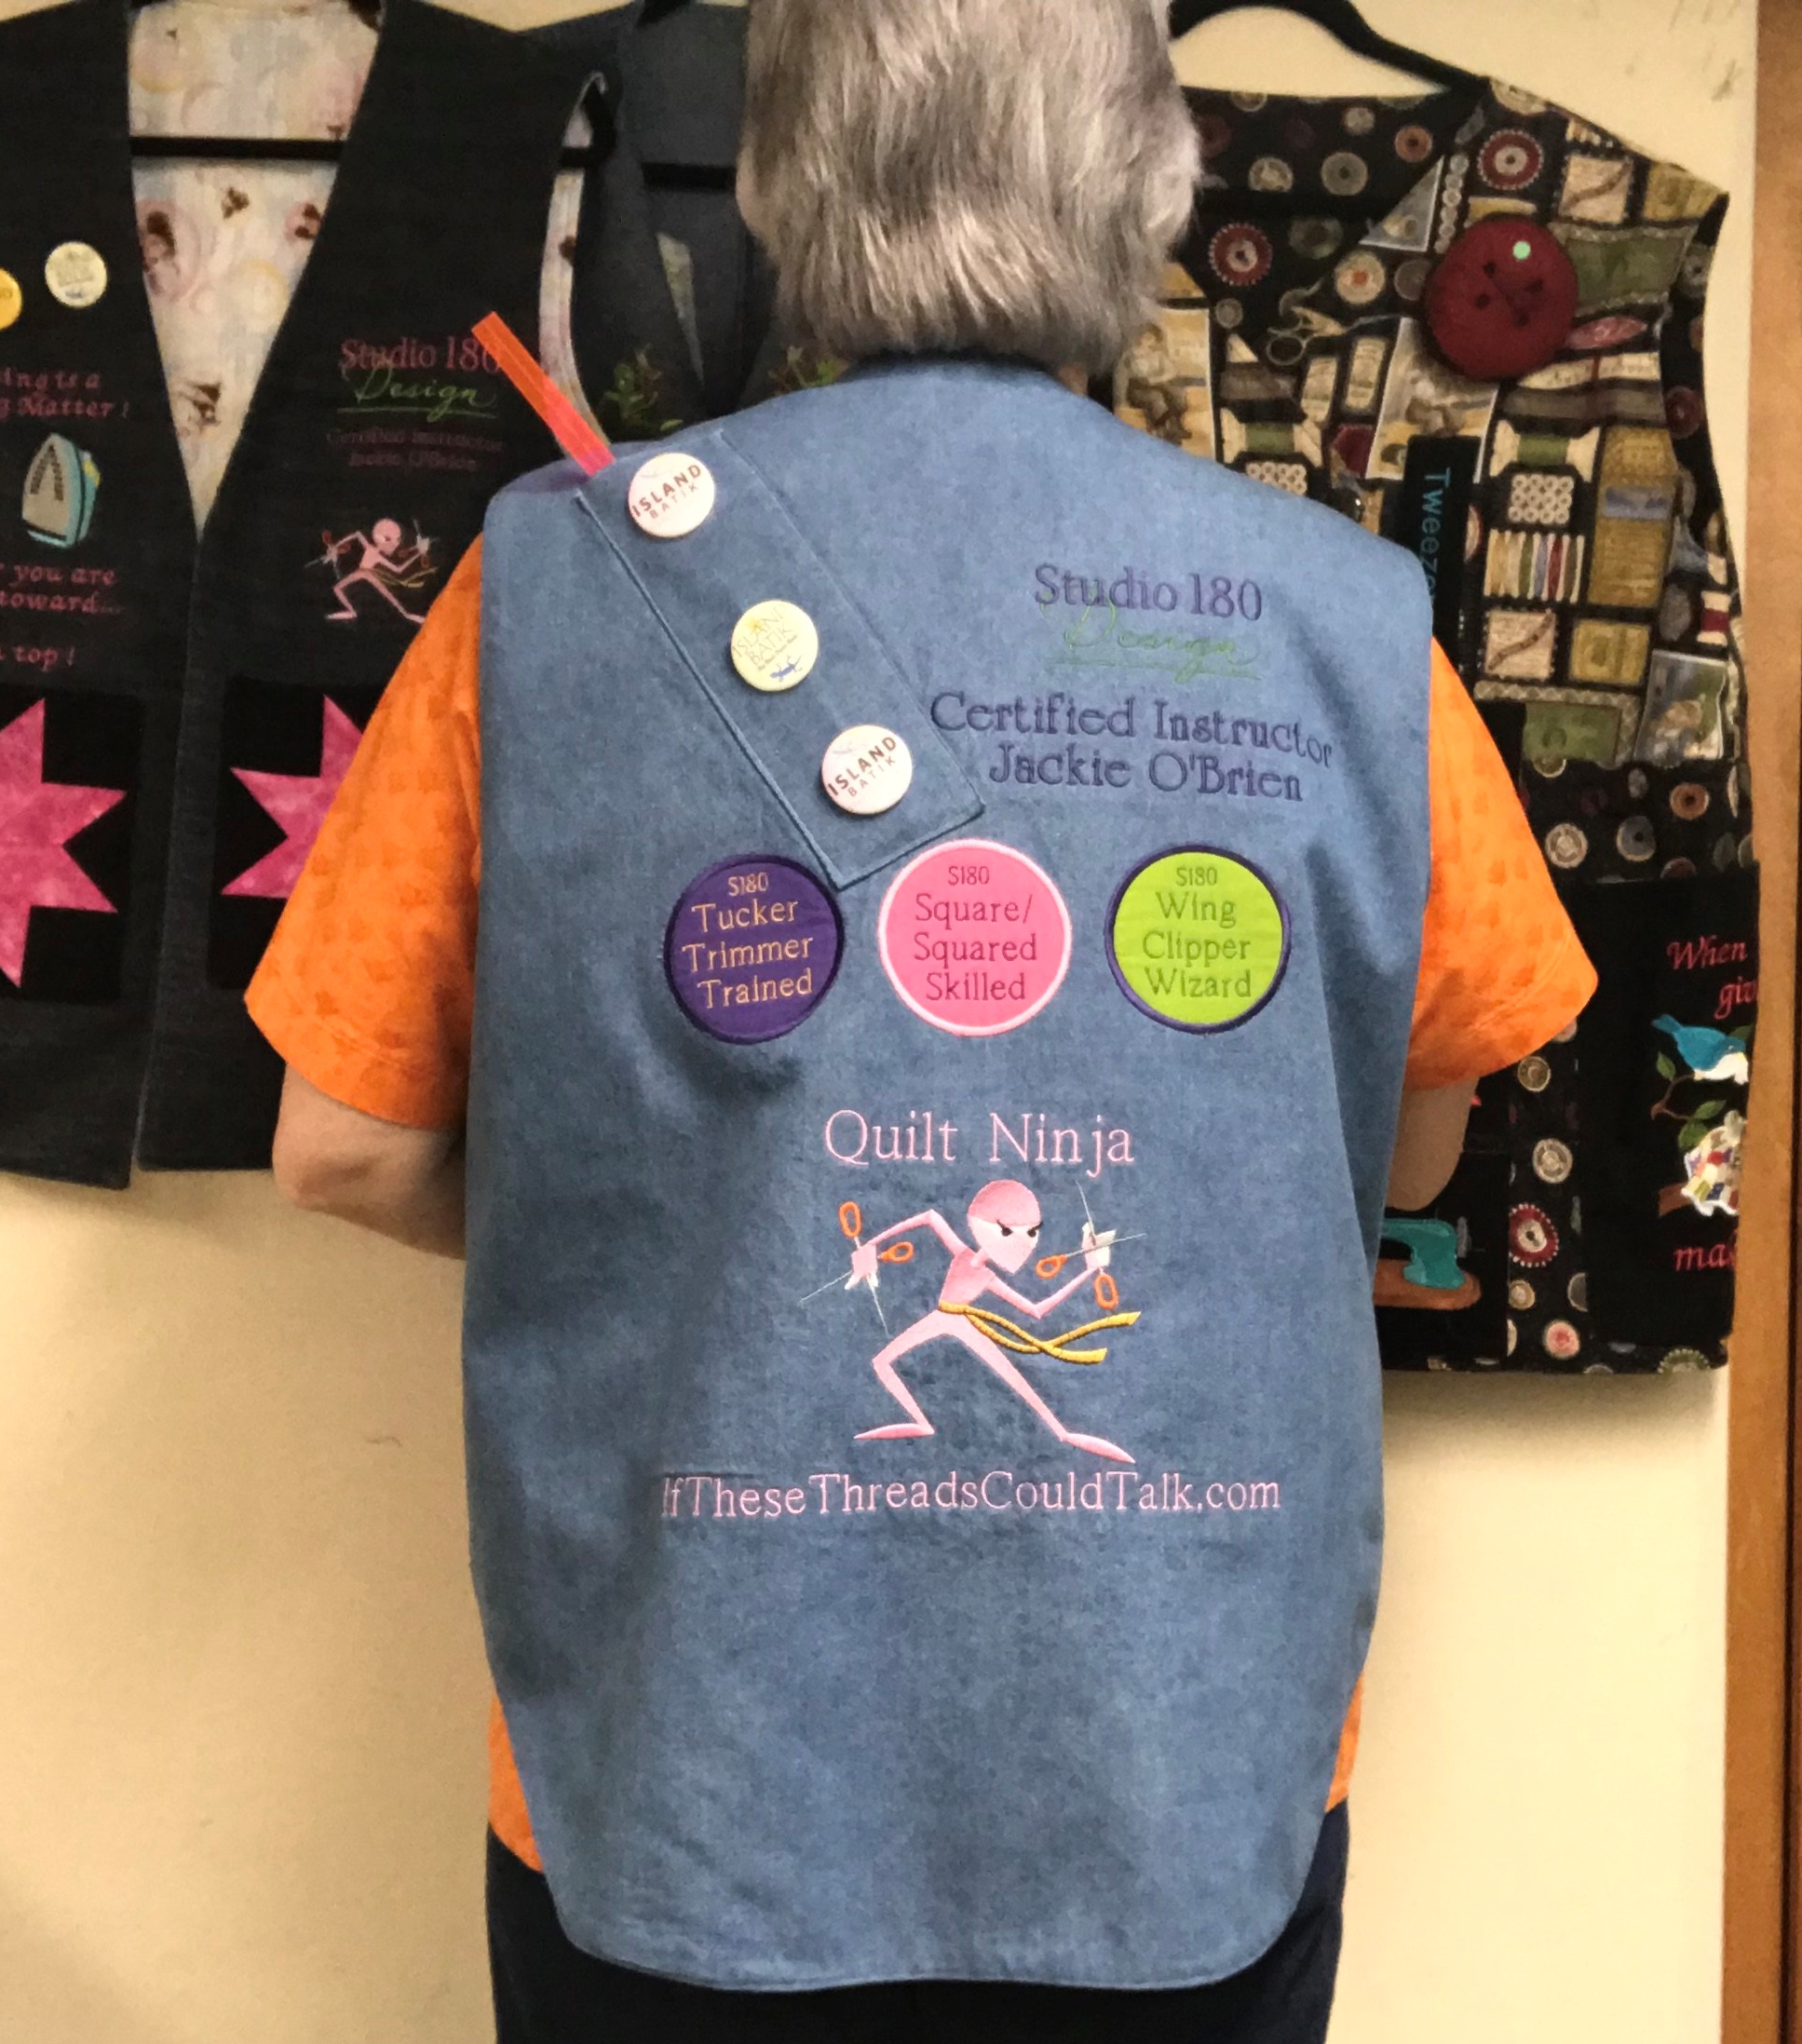
This version is a prototype. I’m playing around with Studio 180 Design Merit Badges for tool expertise!


Life is good!

I saw a post on Facebook that asked the question “how many quilts did you make in 2018”. So I went back and started counting.

")
February included GAlentines day Mug Rug and Mini Love for Island Batik Ambassadors


March included my infamous attempt at a mini tuffet , Hunter Star – Tortola from Royal Treasures Book, Scrapodopolis using the first 6 BlockBuster patterns and Whirling Dervish.


April included Prism and Refraction


May was Pillow Possibilities and The Heron.


June included A Blast form the Past and Crossfire.


July was A Field of Popped V’s & Paris OBW # 64.


August included Split Personality and Firefly.


September was New Years Star & Sue Nami.
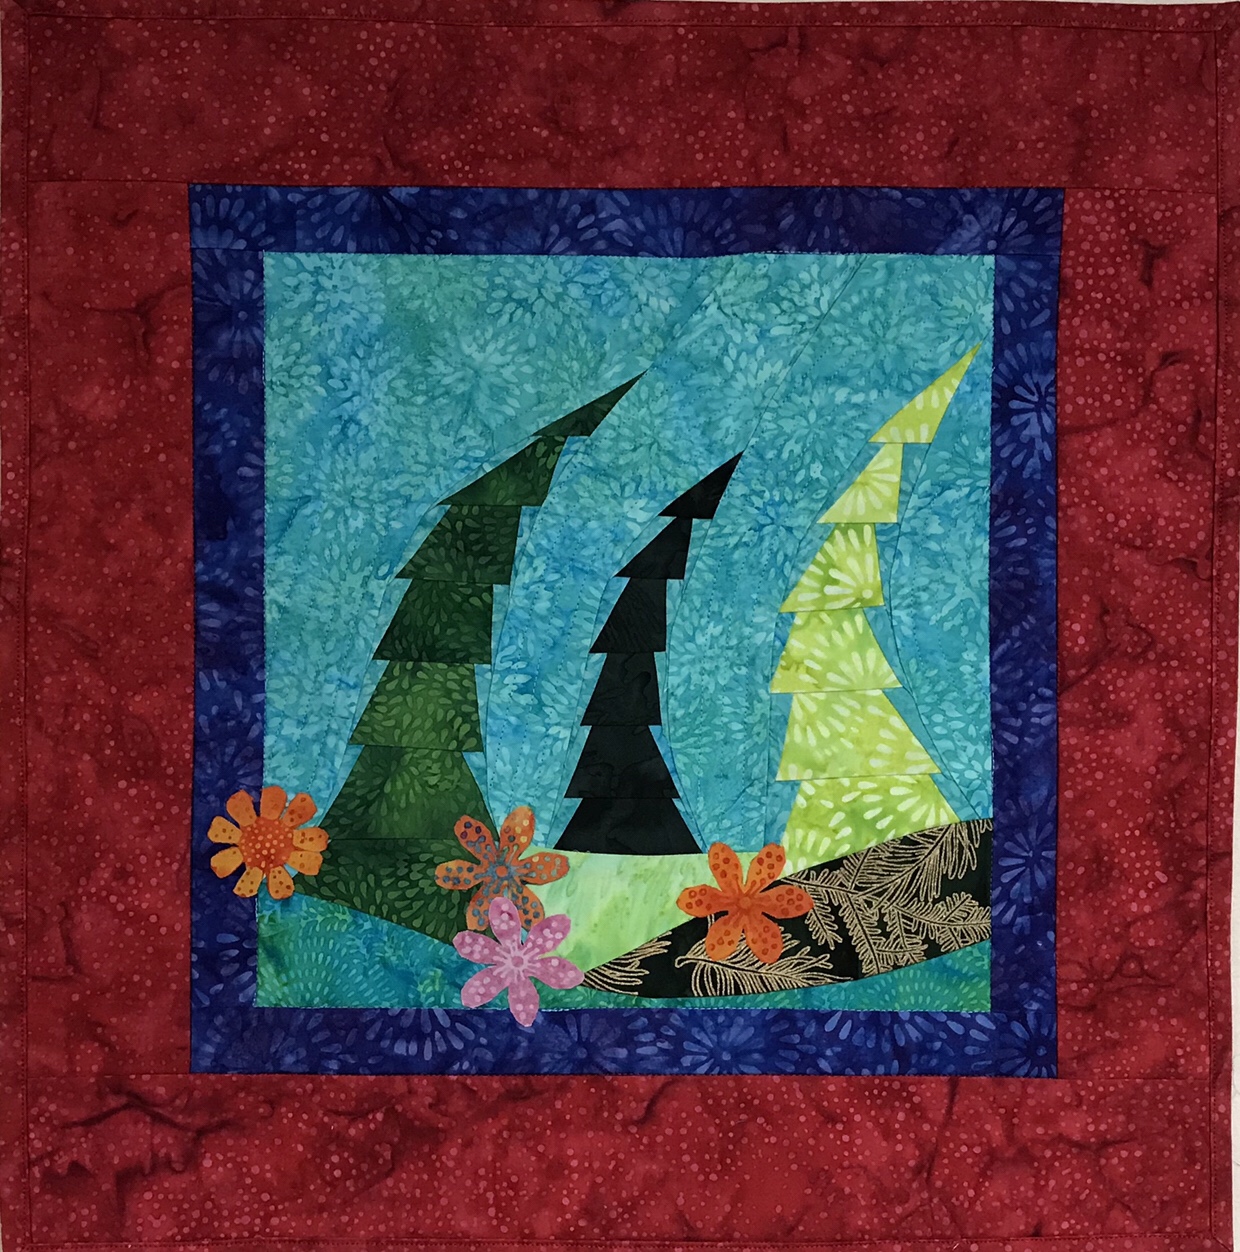
October was paper pieced trees wall hanging.


November included Paisley Cats OBW #65, Evening Elegance & Converging Geese


December ended the year with Plume OBW #66, Calm Seas & Holiday Tipsy Tree .
Phew, I’m tired but I’m already working on more projects.
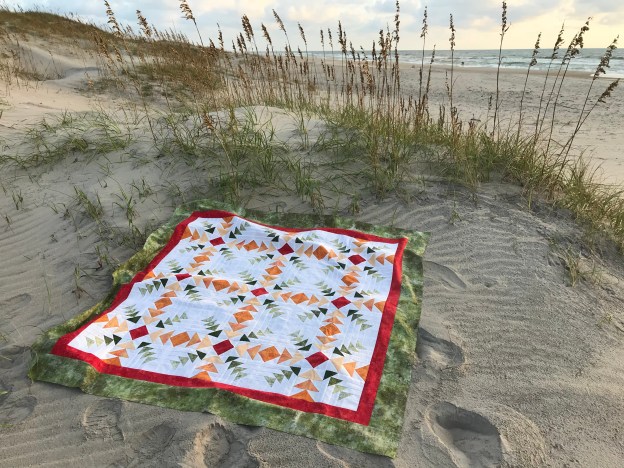
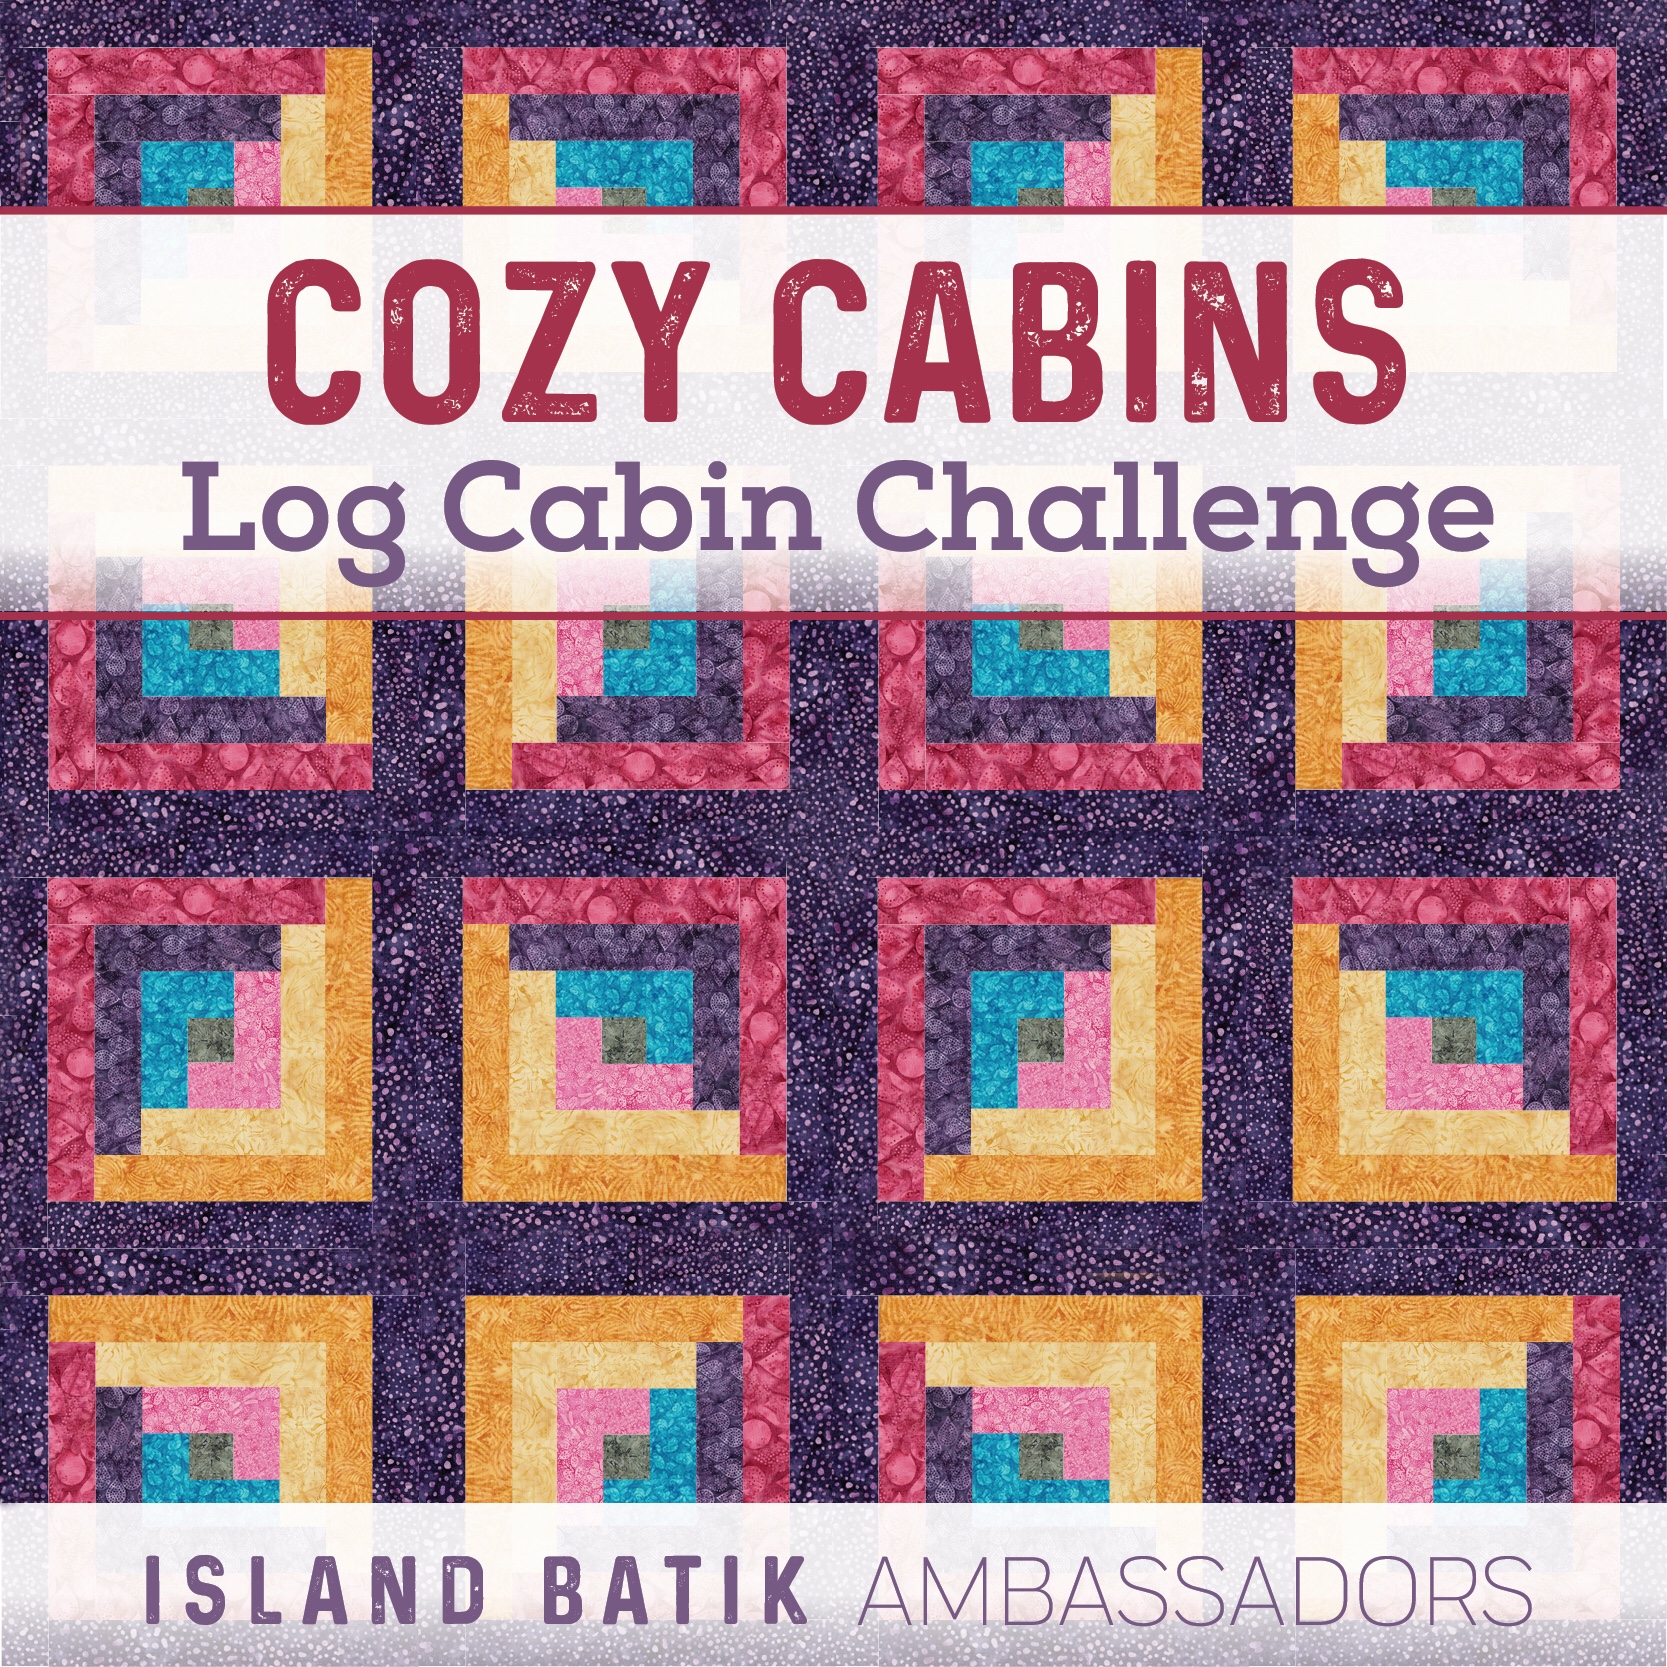
The Island Batik challenge for November is to incorporate a log cabin block or variation into my project. I decided to use Studio 180 Design’s Geese on the Edge Technique Sheet. This is a variation on the Log Cabin block and is a fun way to use your Square/Squared tool, Tucker Trimmer I & Wing Clipper I.
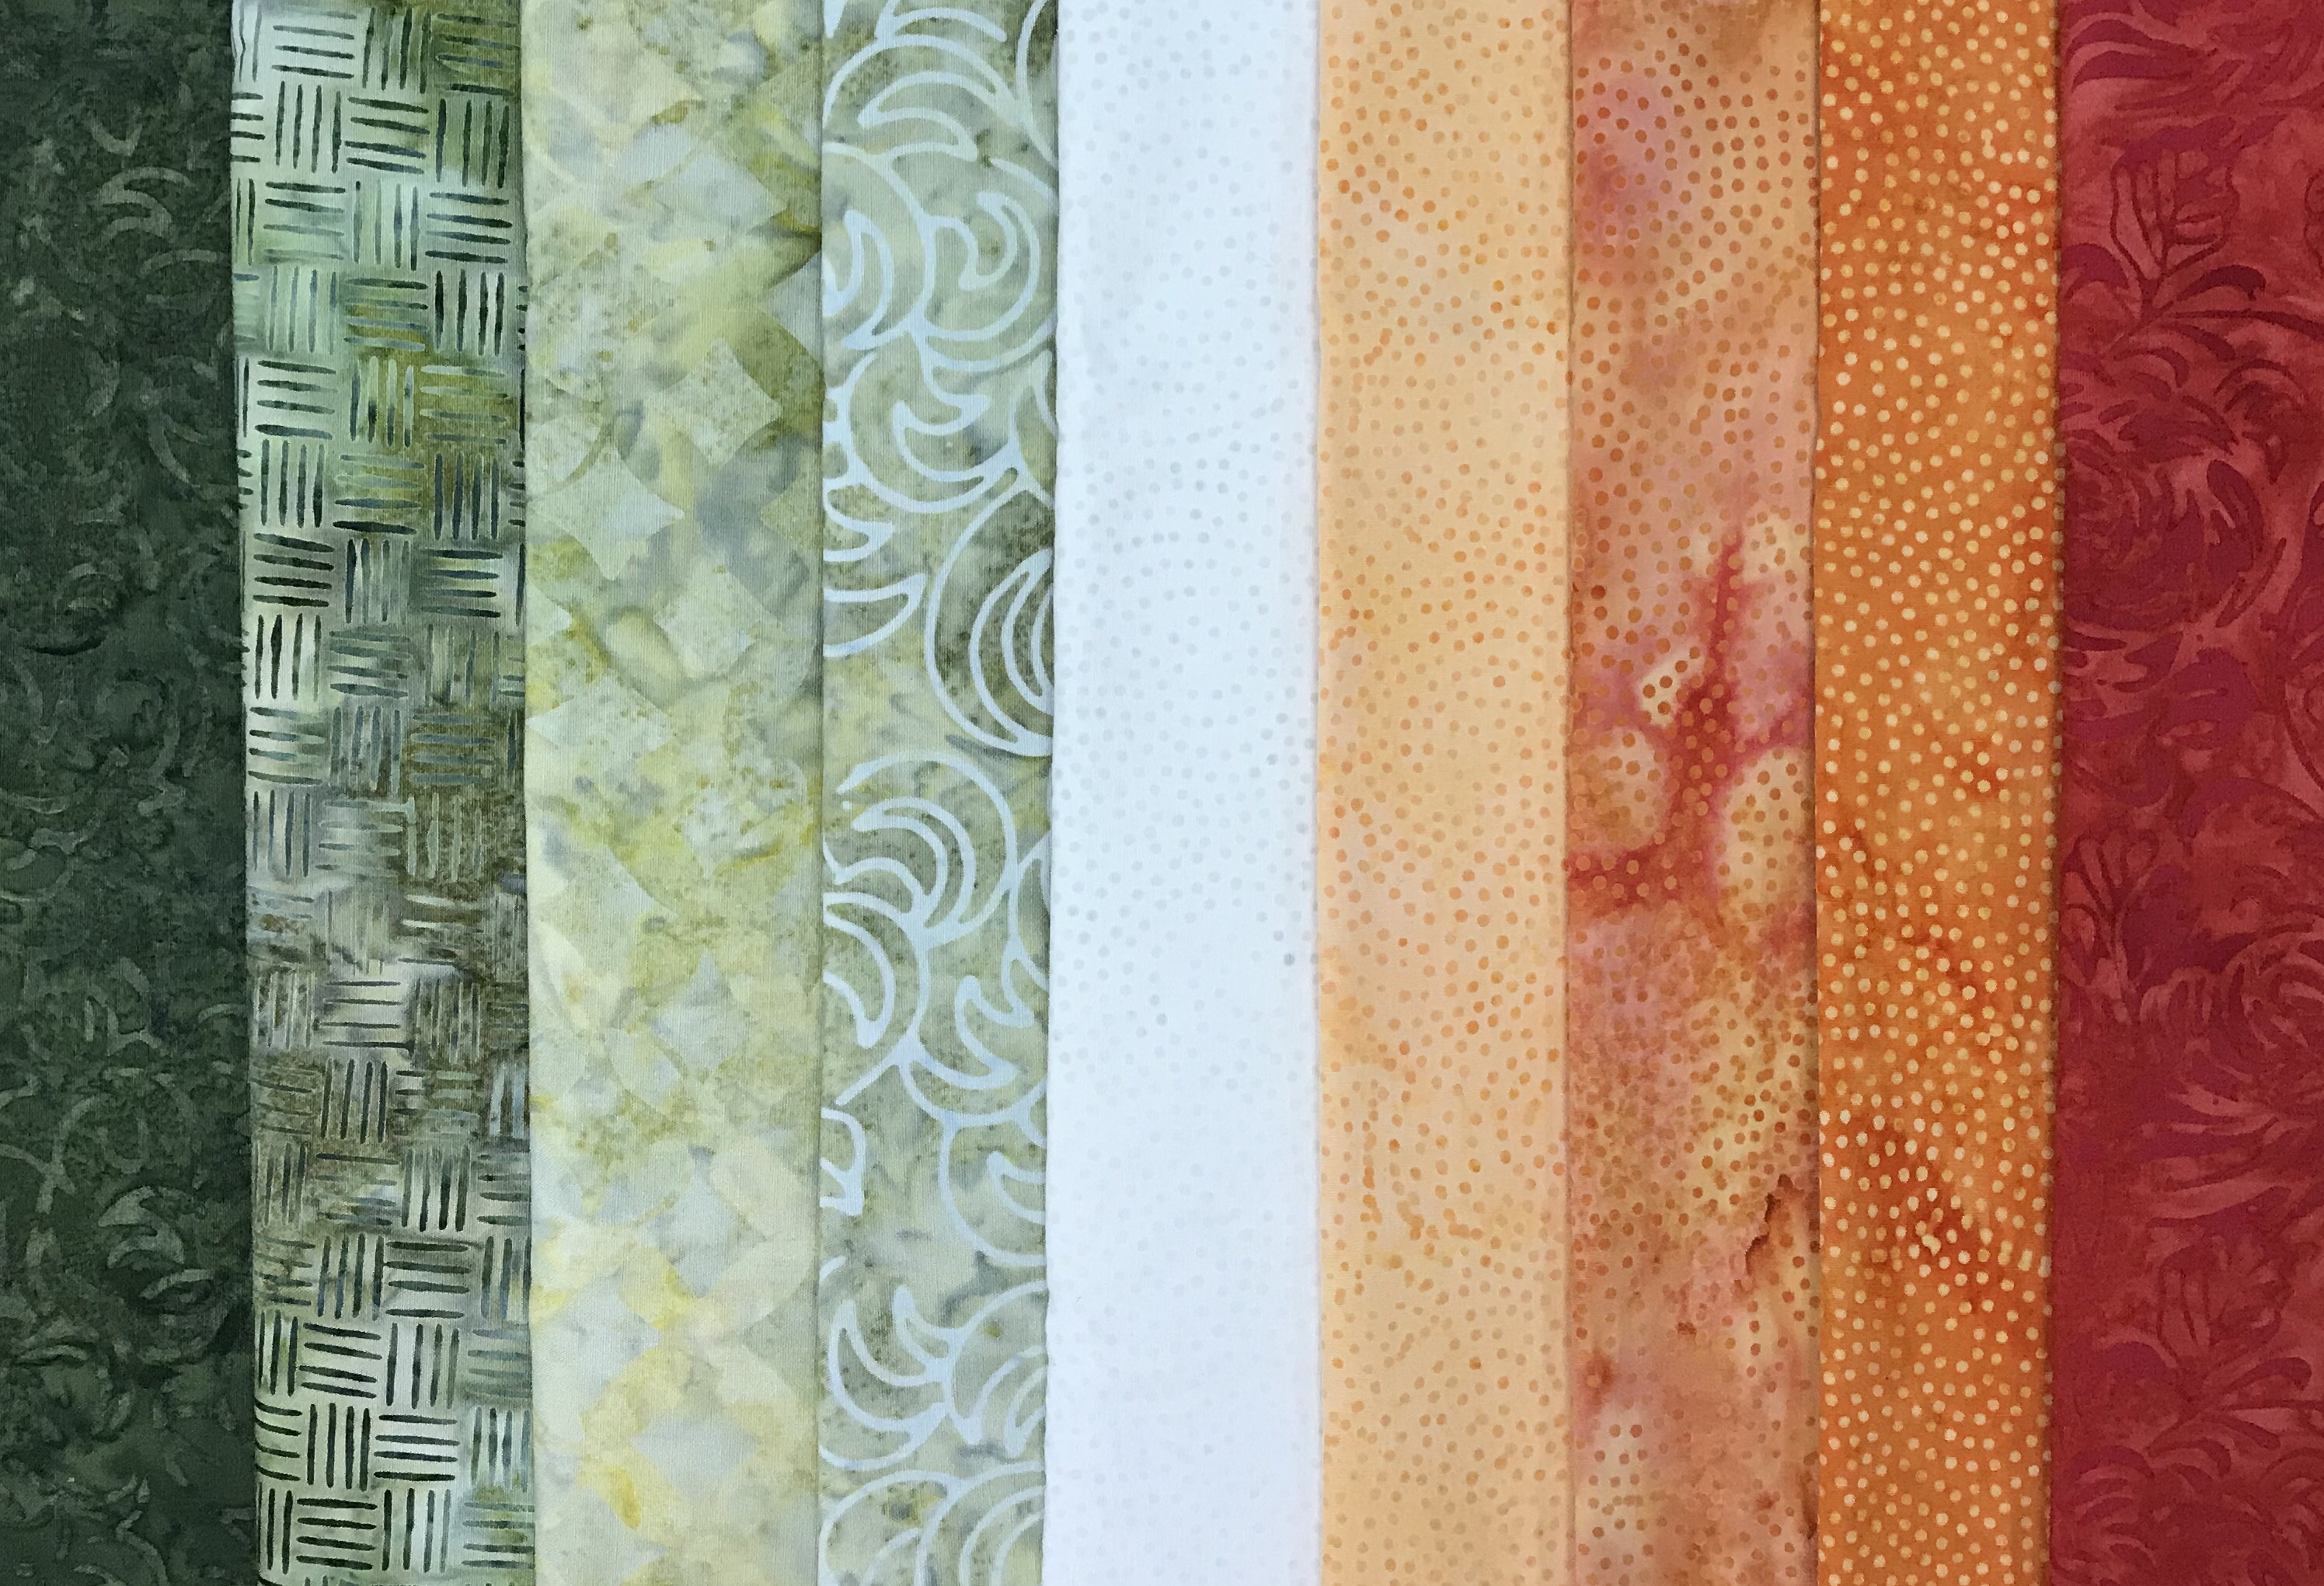
My beautiful Island Batik fabrics from left to right: Mr. T Blocks: Arc Pine Needle, Dash-Grasshopper, Seed Circle Custard, Arc Waves Grasshopper, & Sprinkles Playful Pachyderm, & Paisley Dot: Apricot, Candy Corn, Nasturtium, & Item number 121412189.


I have named my original design “Converging Geese” because each block has Flying Geese & Geese on the Edge units, along with Square/Squared units.
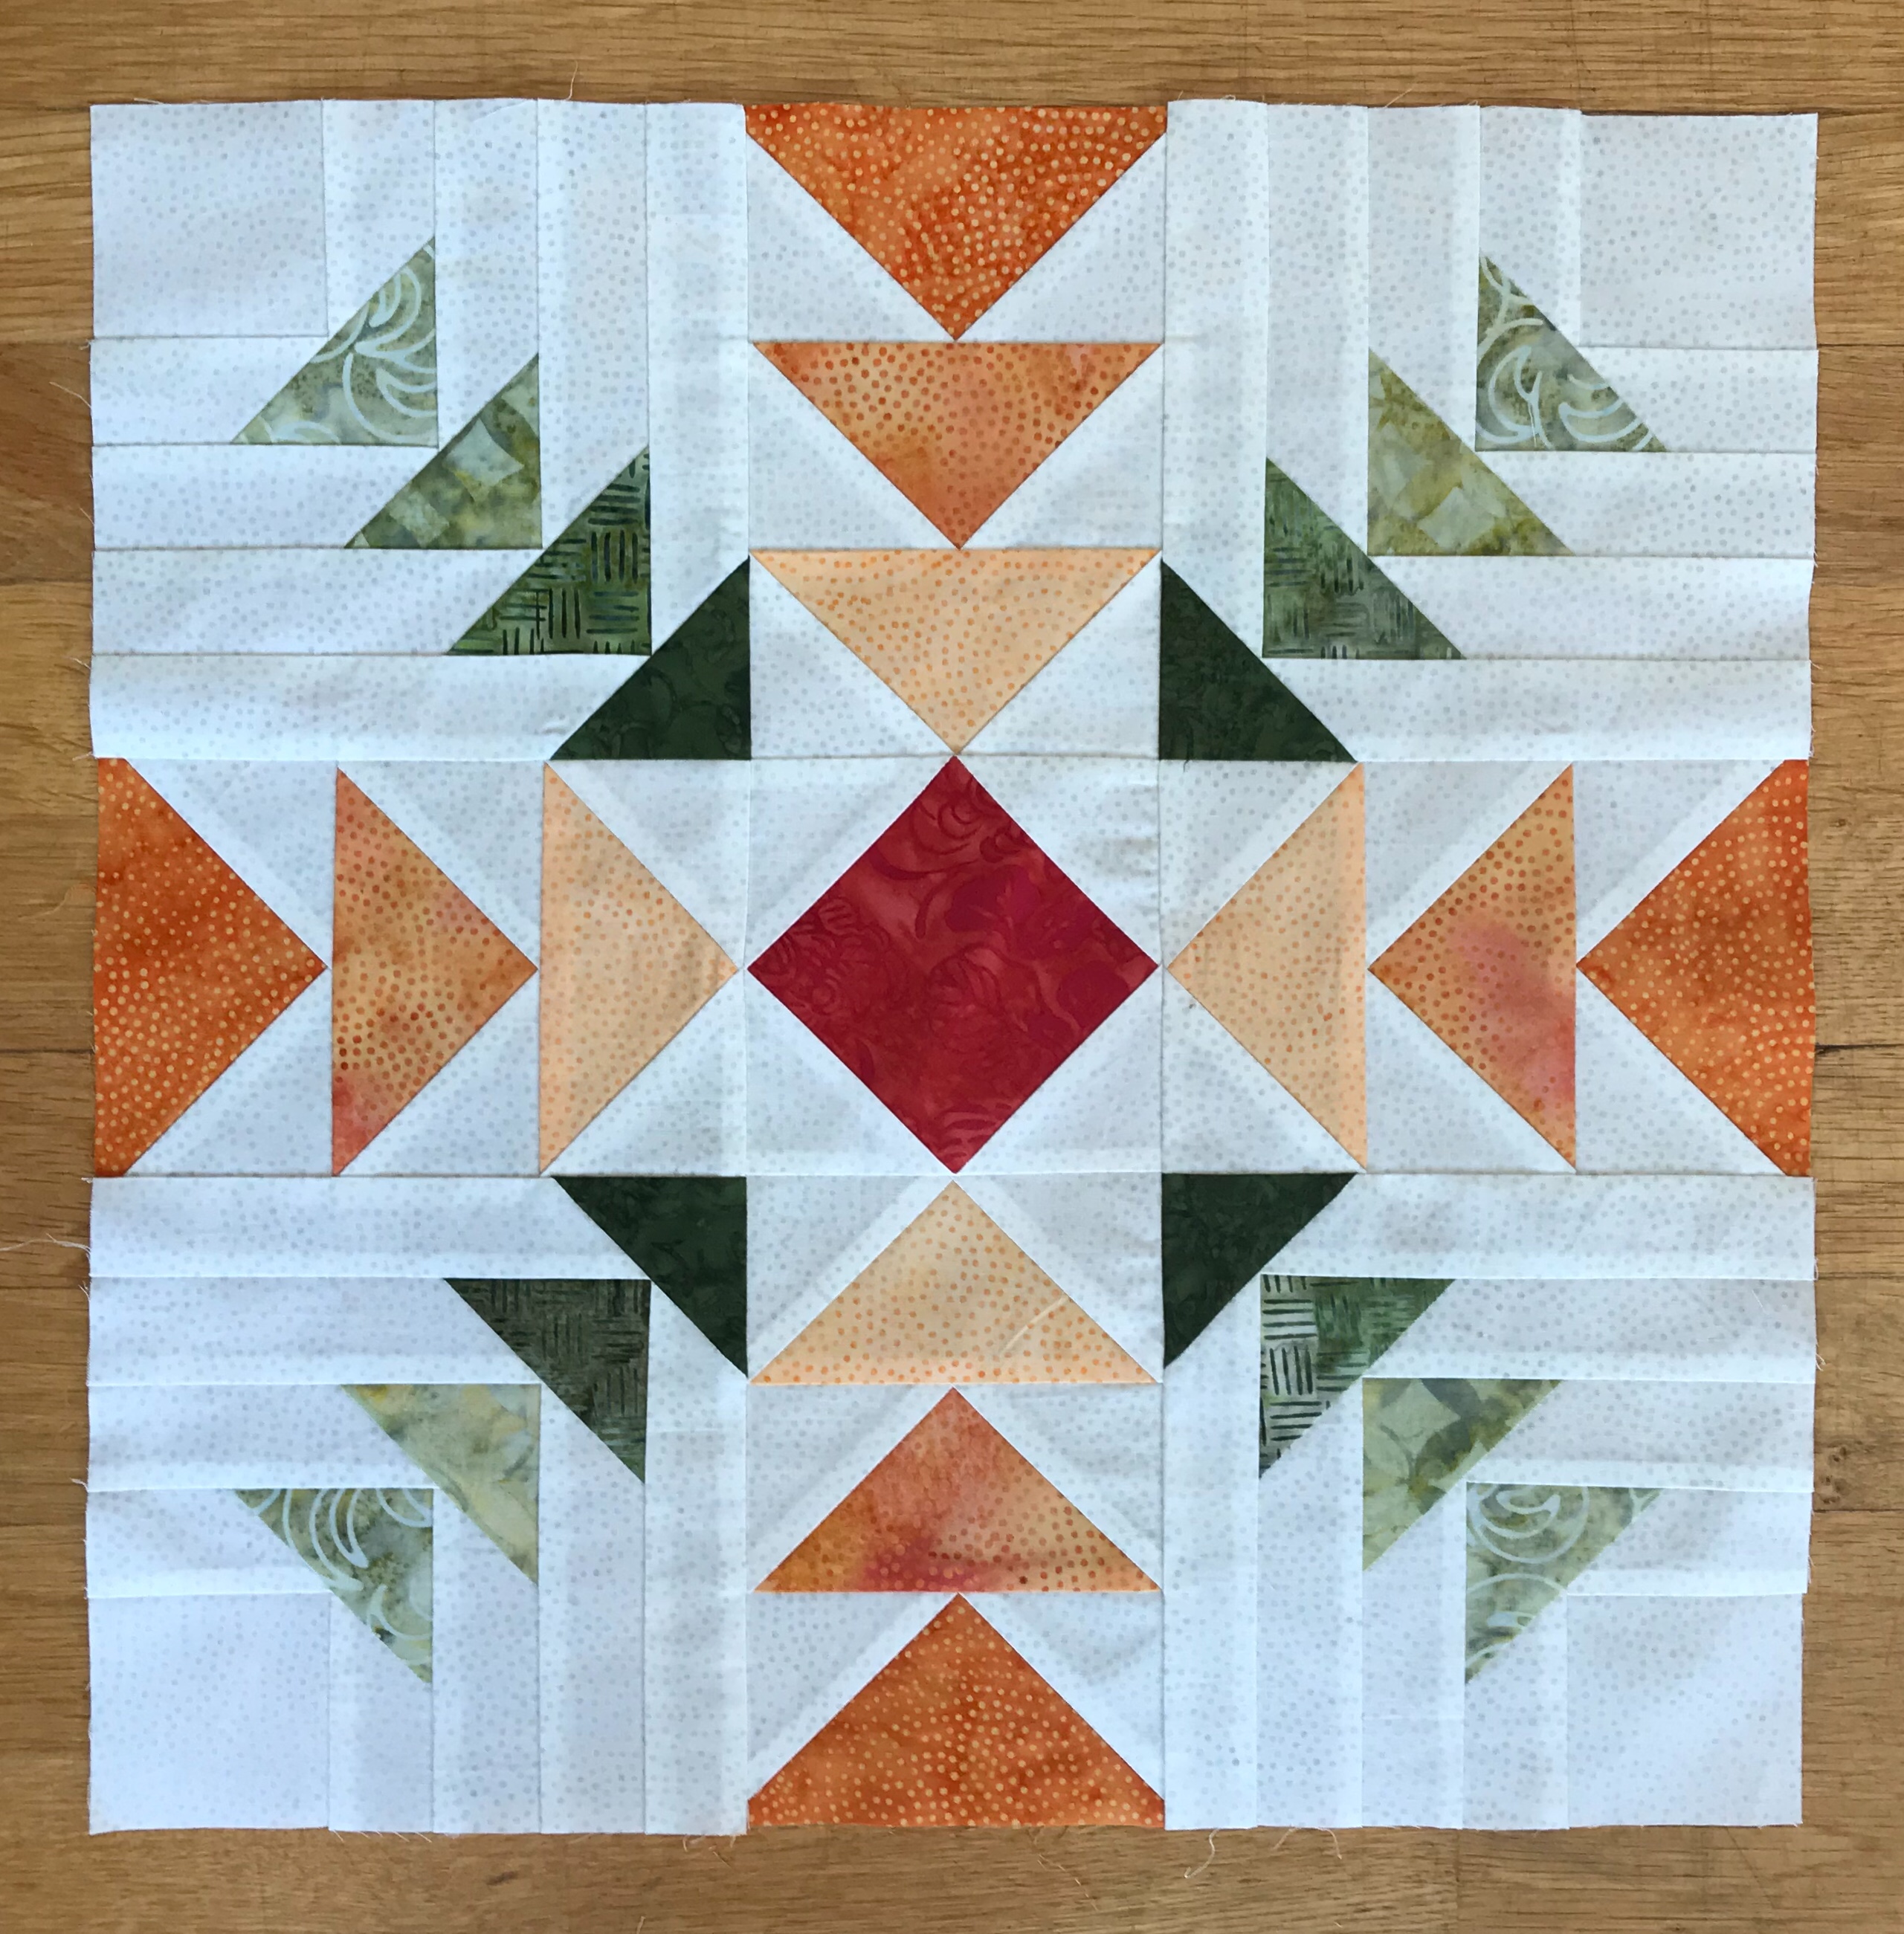
Each 16″ block contains 12 – 2″ x 4″ finished flying geese, 4 – 6″ finished geese on the edge & 1 square/squared unit. These Geese on the Edge units are soooo much fun to make! The technique sheet gives instruction for making geese on the edge in 10 sizes from 3″ to 12″!


You begin with starter squares, add logs by chain stitching, square up two sides with your Tucker Trimmer.


Trim apart.


Using your Wing Clipper trim the corner leaving a 1/4″ seam allowance.


Add a replacement triangle and press toward the triangle.


Trim after every addition of a replacement triangle. Add more logs.


The final trim down is performed when I have four rounds of logs for a 6″ finished geese on the edge unit.
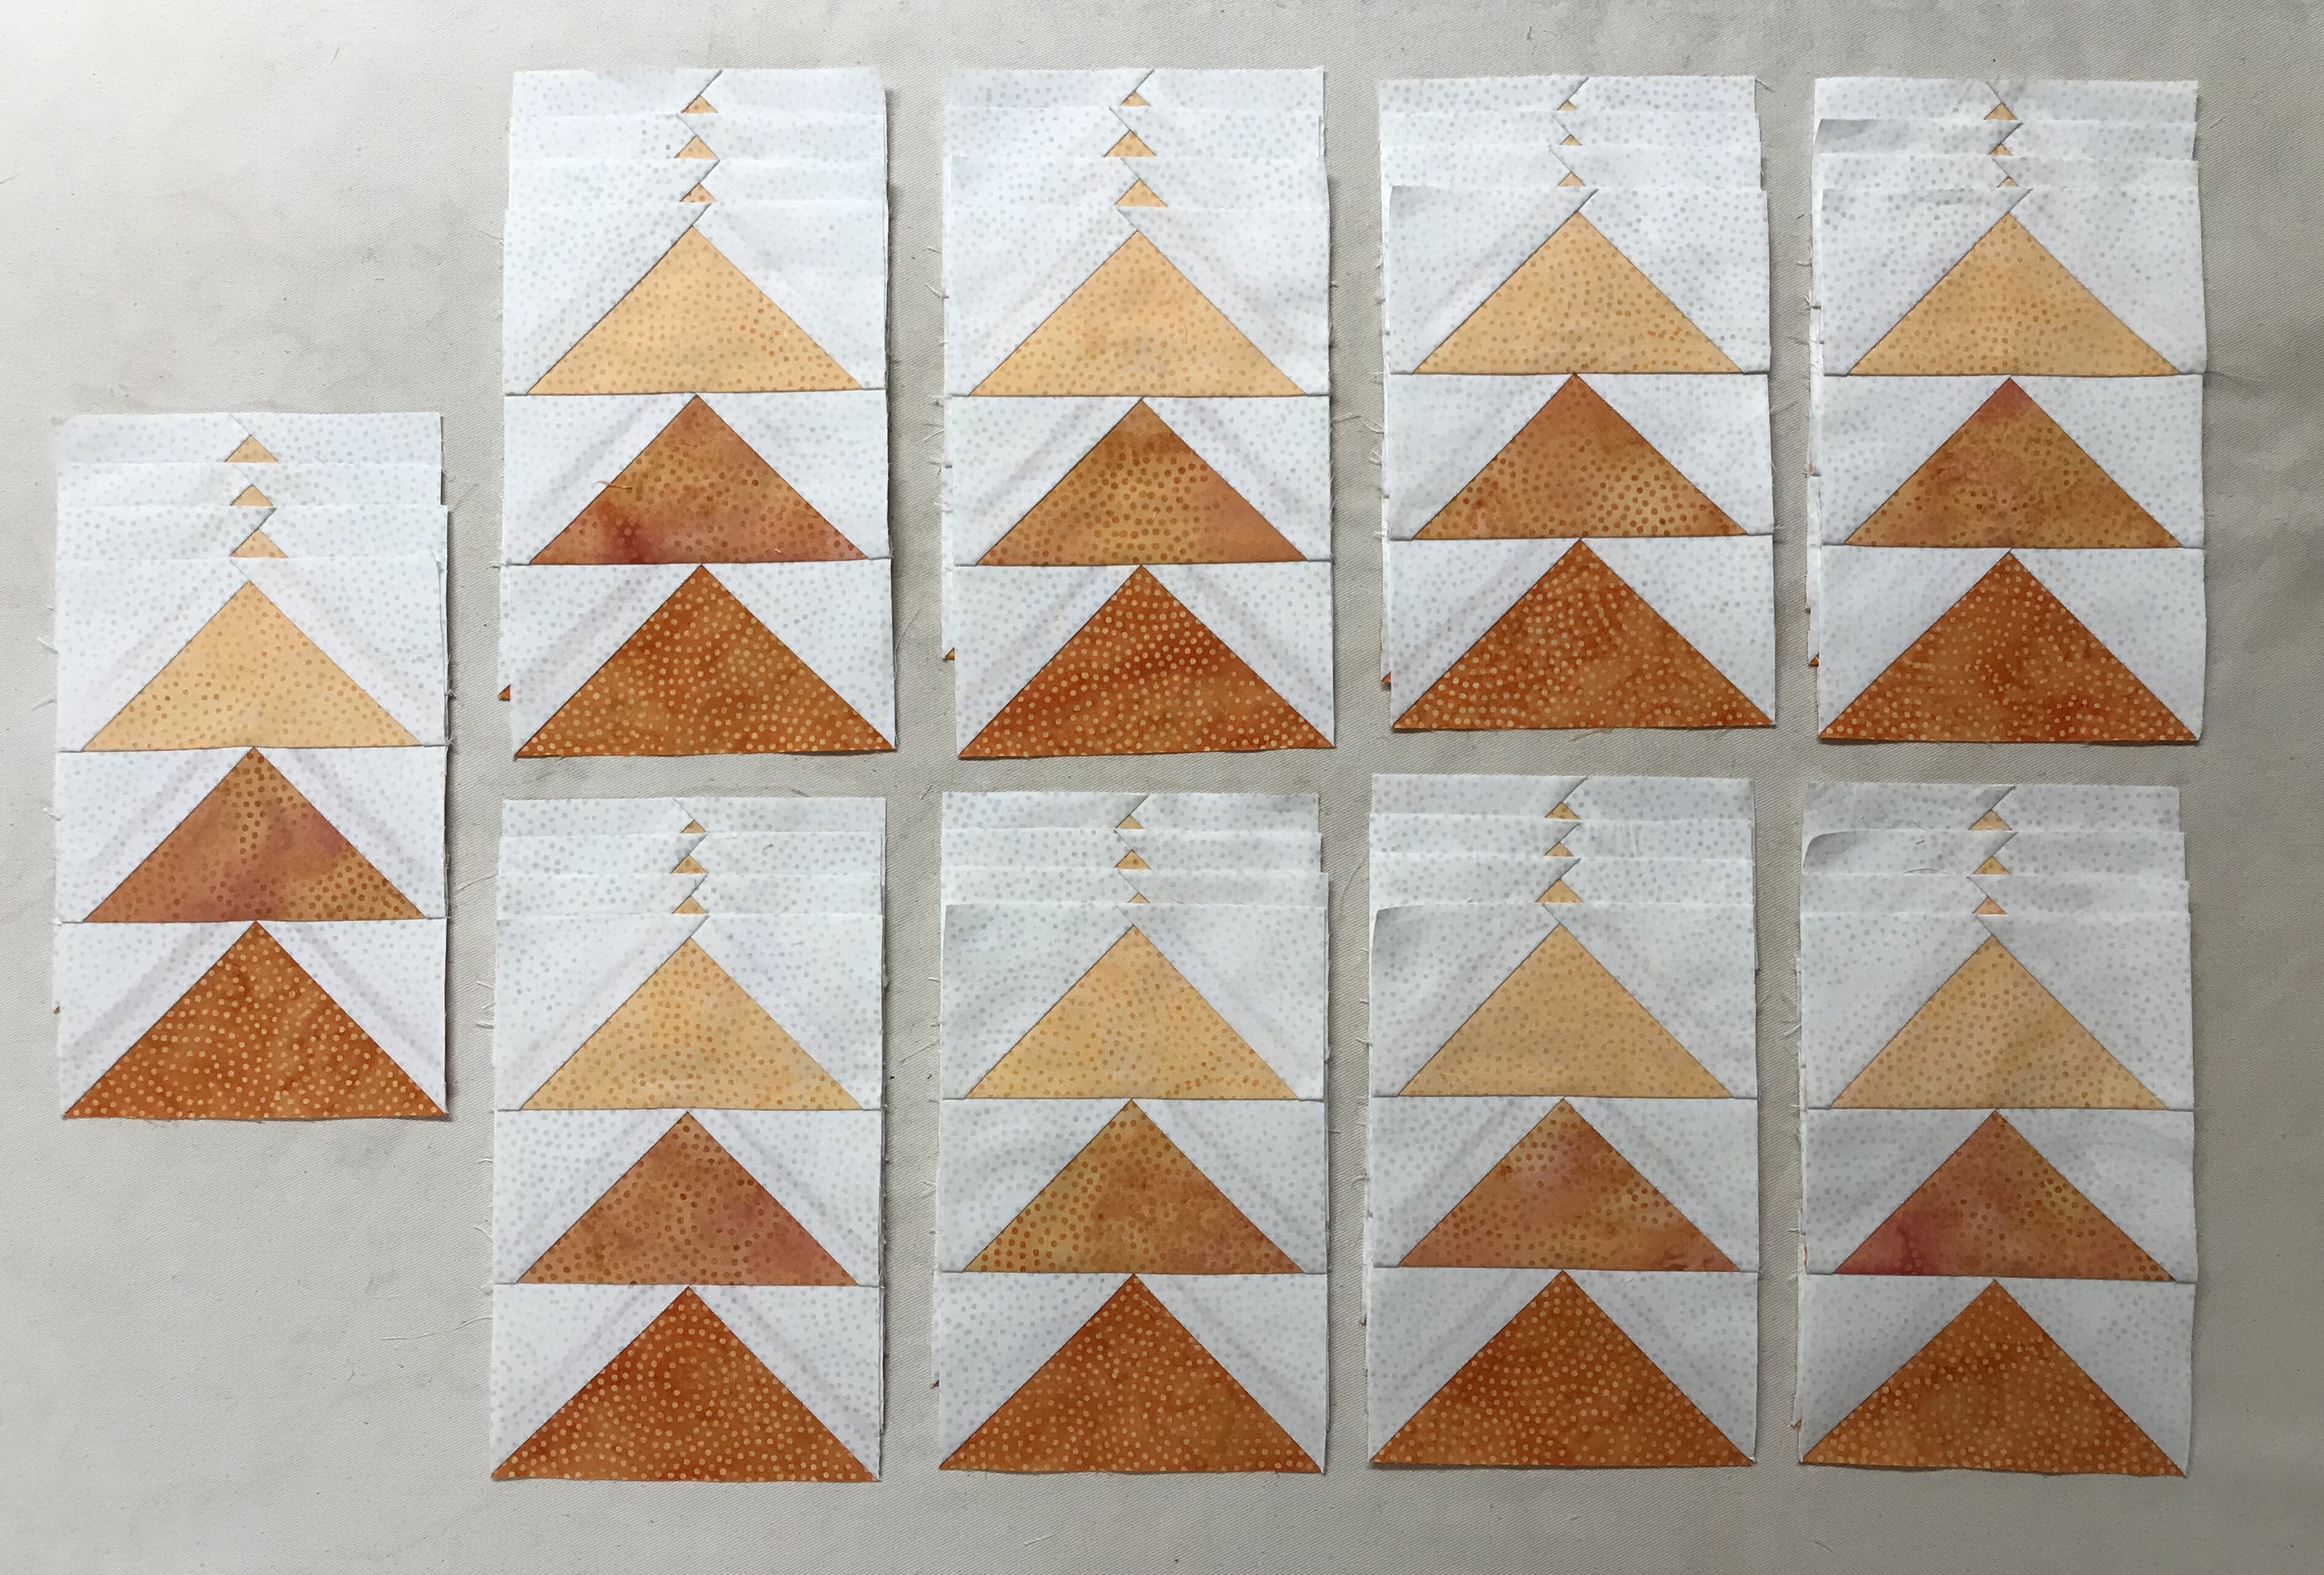
Stitch the flying geese units into sets containing 3 each.

Block layout.
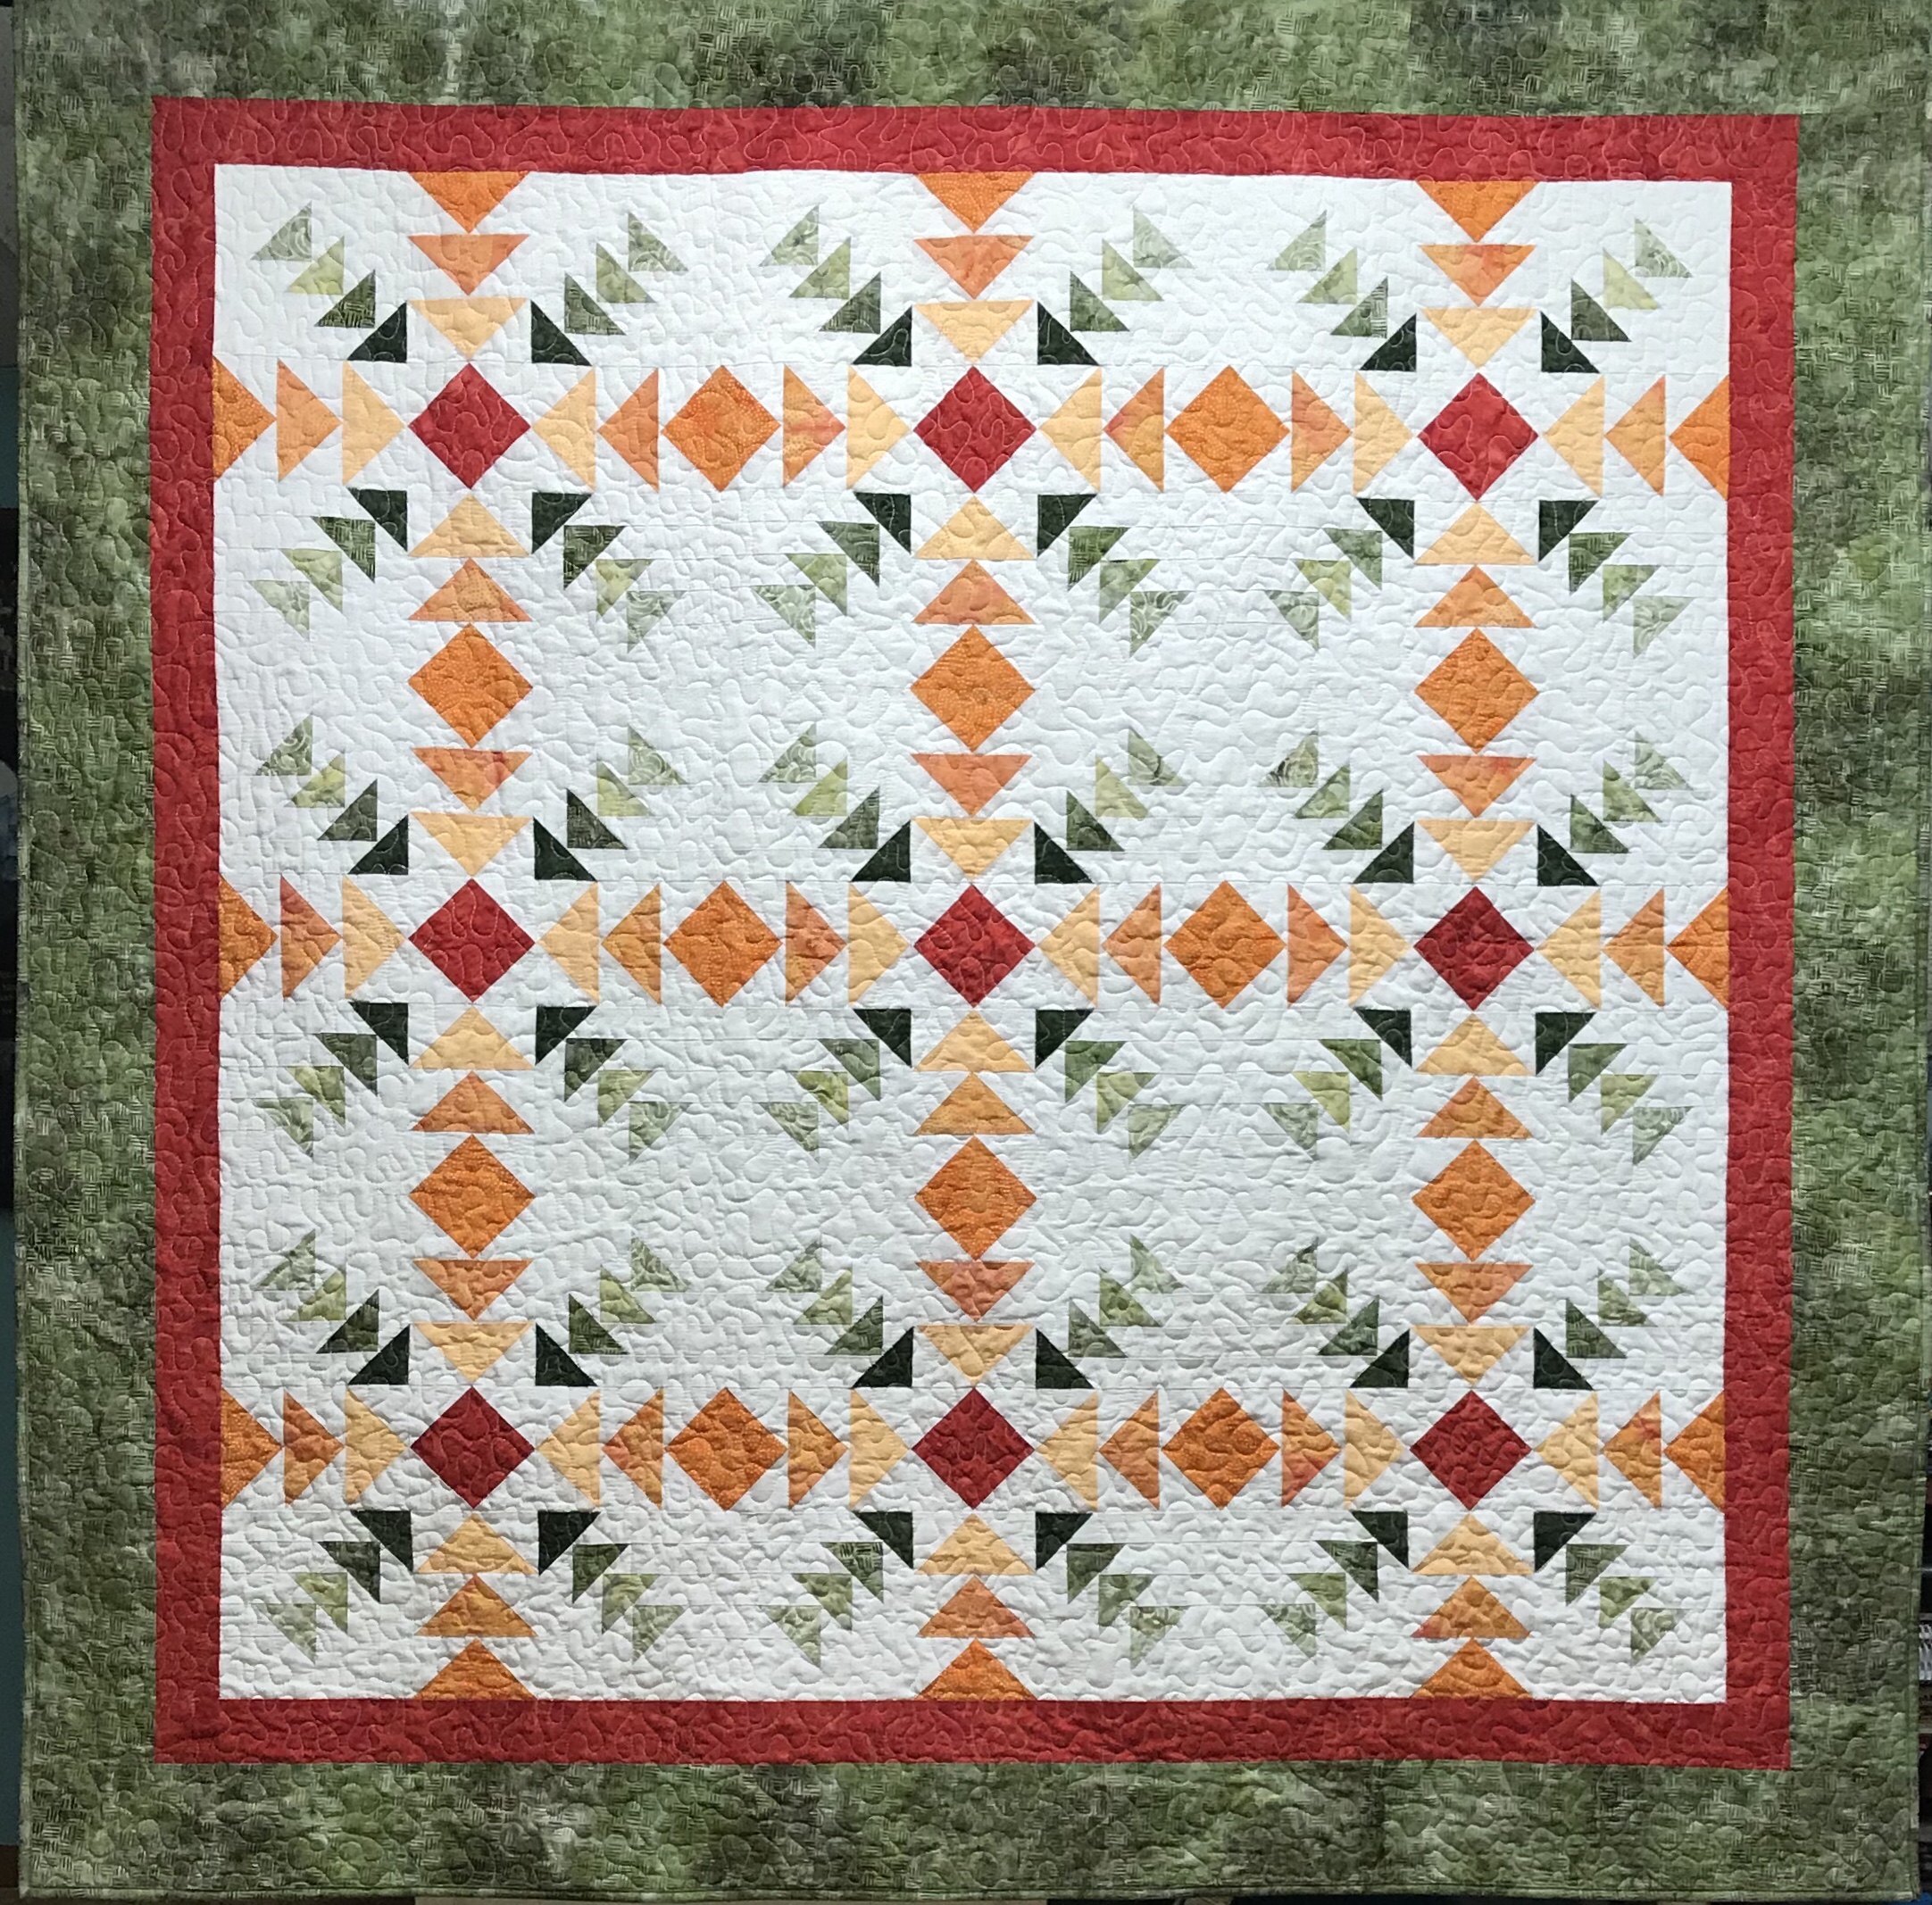
I have created a down loadable pattern for Converging Geese (measures 60″ x 60″) that can be purchased on my If Threads Could Talk Etsy Shop.
#islandbatik #bestofbali #studio180design #debtucker #geeseontheedge

Thank you all so much for taking the time to read and comment on my blog for Island Batik’s Great Outdoor Blog Hop!
The winner of the Island Batik “Spoolin Around” charm pack is Elizabeth S. from California! Thank you Elizabeth!
Stay tuned, we will be having another Island Batik Blog Hop in January 2019!
#IheartIslandBatik
The fabrics featured in this post were given to me by Island Batik.

The Island Batik Ambassador’s challenge for June is “Modern Batik”. Lord have mercy! I had no idea what to do. I love all types of quilts. For some reason I wondered……what colors were popular in 1953? A search on Pinterest revealed an O’Brien Paints Color Card from 1953! It must be a sign!


I racked my brain. I had these really cool precut rolls of 5″ WOF strips I’d received in my box “O” fabric from Island Batik.
Last year I was constantly looking for quilt blocks containing Shaded Four Patch units. This year it seems to be Split Rects units that have my mind whirling.
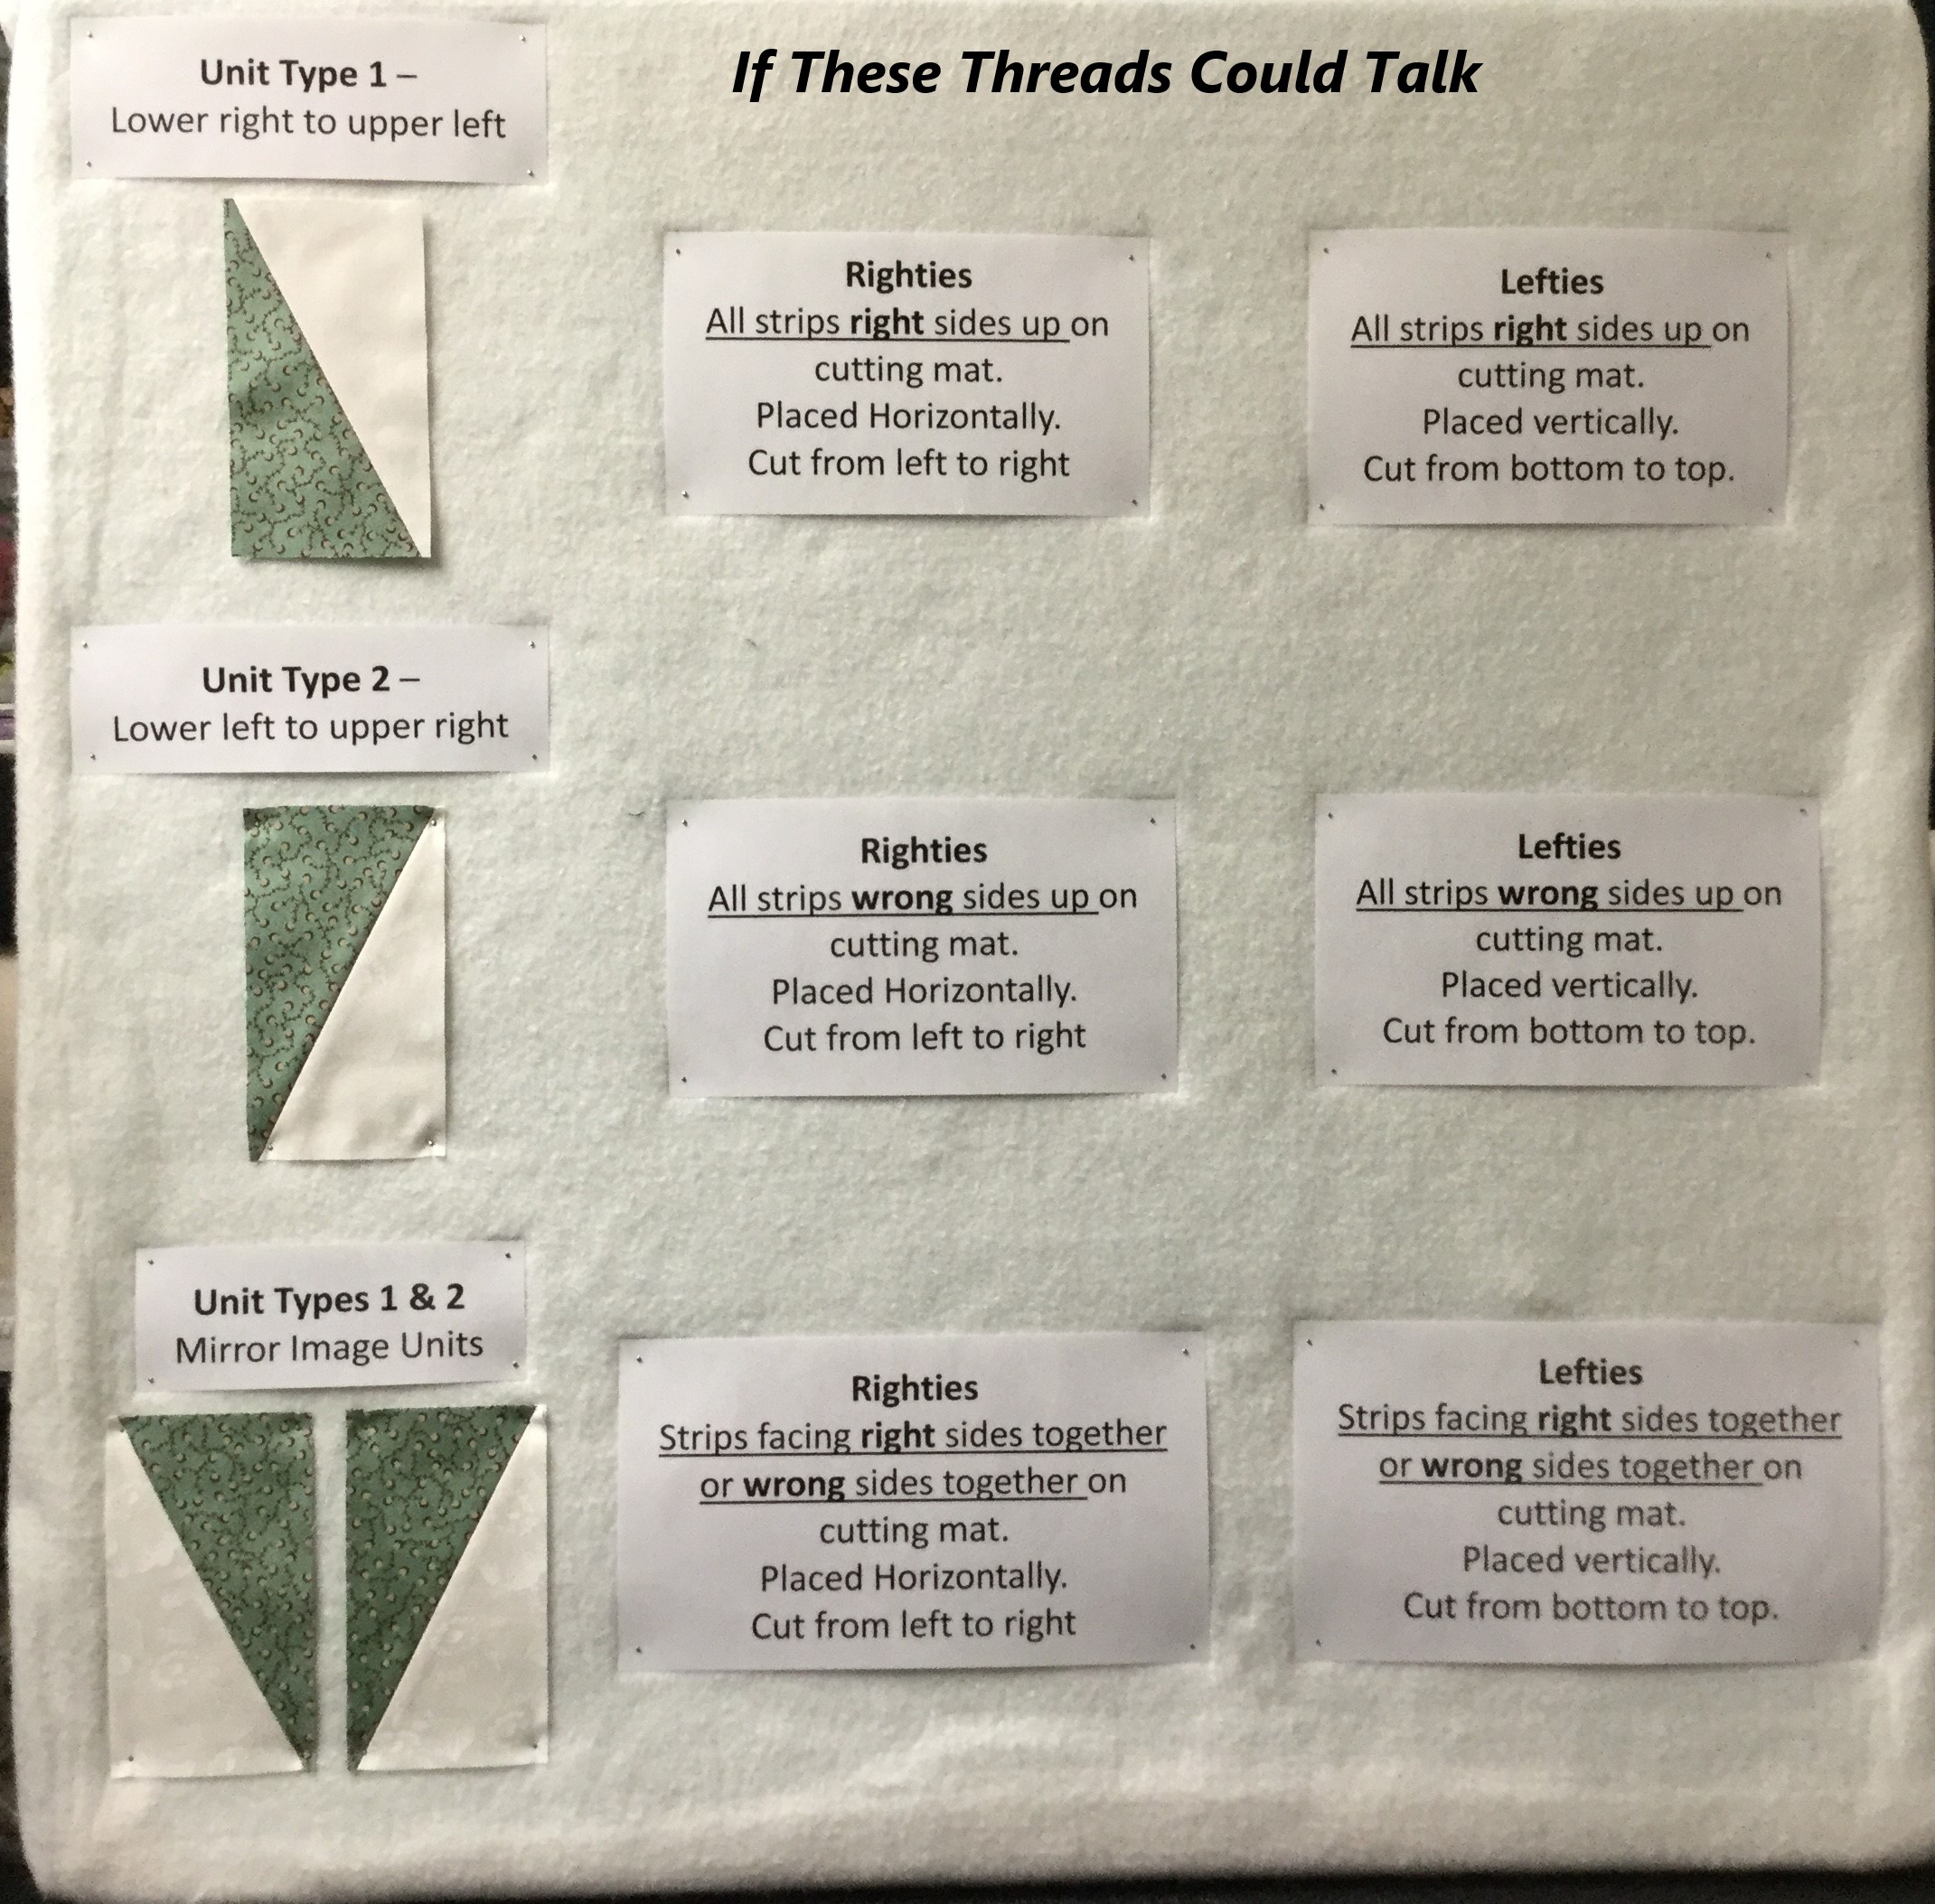


The above photo’s are my teaching step outs that explain the process of making Spilt Rects Units in case you weren’t sure what I was talking about.

I chose 8 – 5″ WOF strips of color & cut 8 – 5″ strips of neutral. Each strip yielded 12 pair mirror image elongated triangles for a total of 192 – 2″ x 4″ finished Split Rects Units that I will put together to make a multi-faceted Diamond unit.
I Combined the Split Rects units to make multifaceted diamonds.


I was very closely supervised during this part.
I had an idea of what I wanted, but wasn’t sure how to get there. I had 48 diamond units but needed to add something more. I decided on Rapid Fire Lemoyne Stars.

I went to Island Batik stash and used 2 1/2″ strips from Spoolin’ Around. These beautiful pieces of batik have been hand dyed by skilled fabric artists in the garden village of Sanur, Bali.

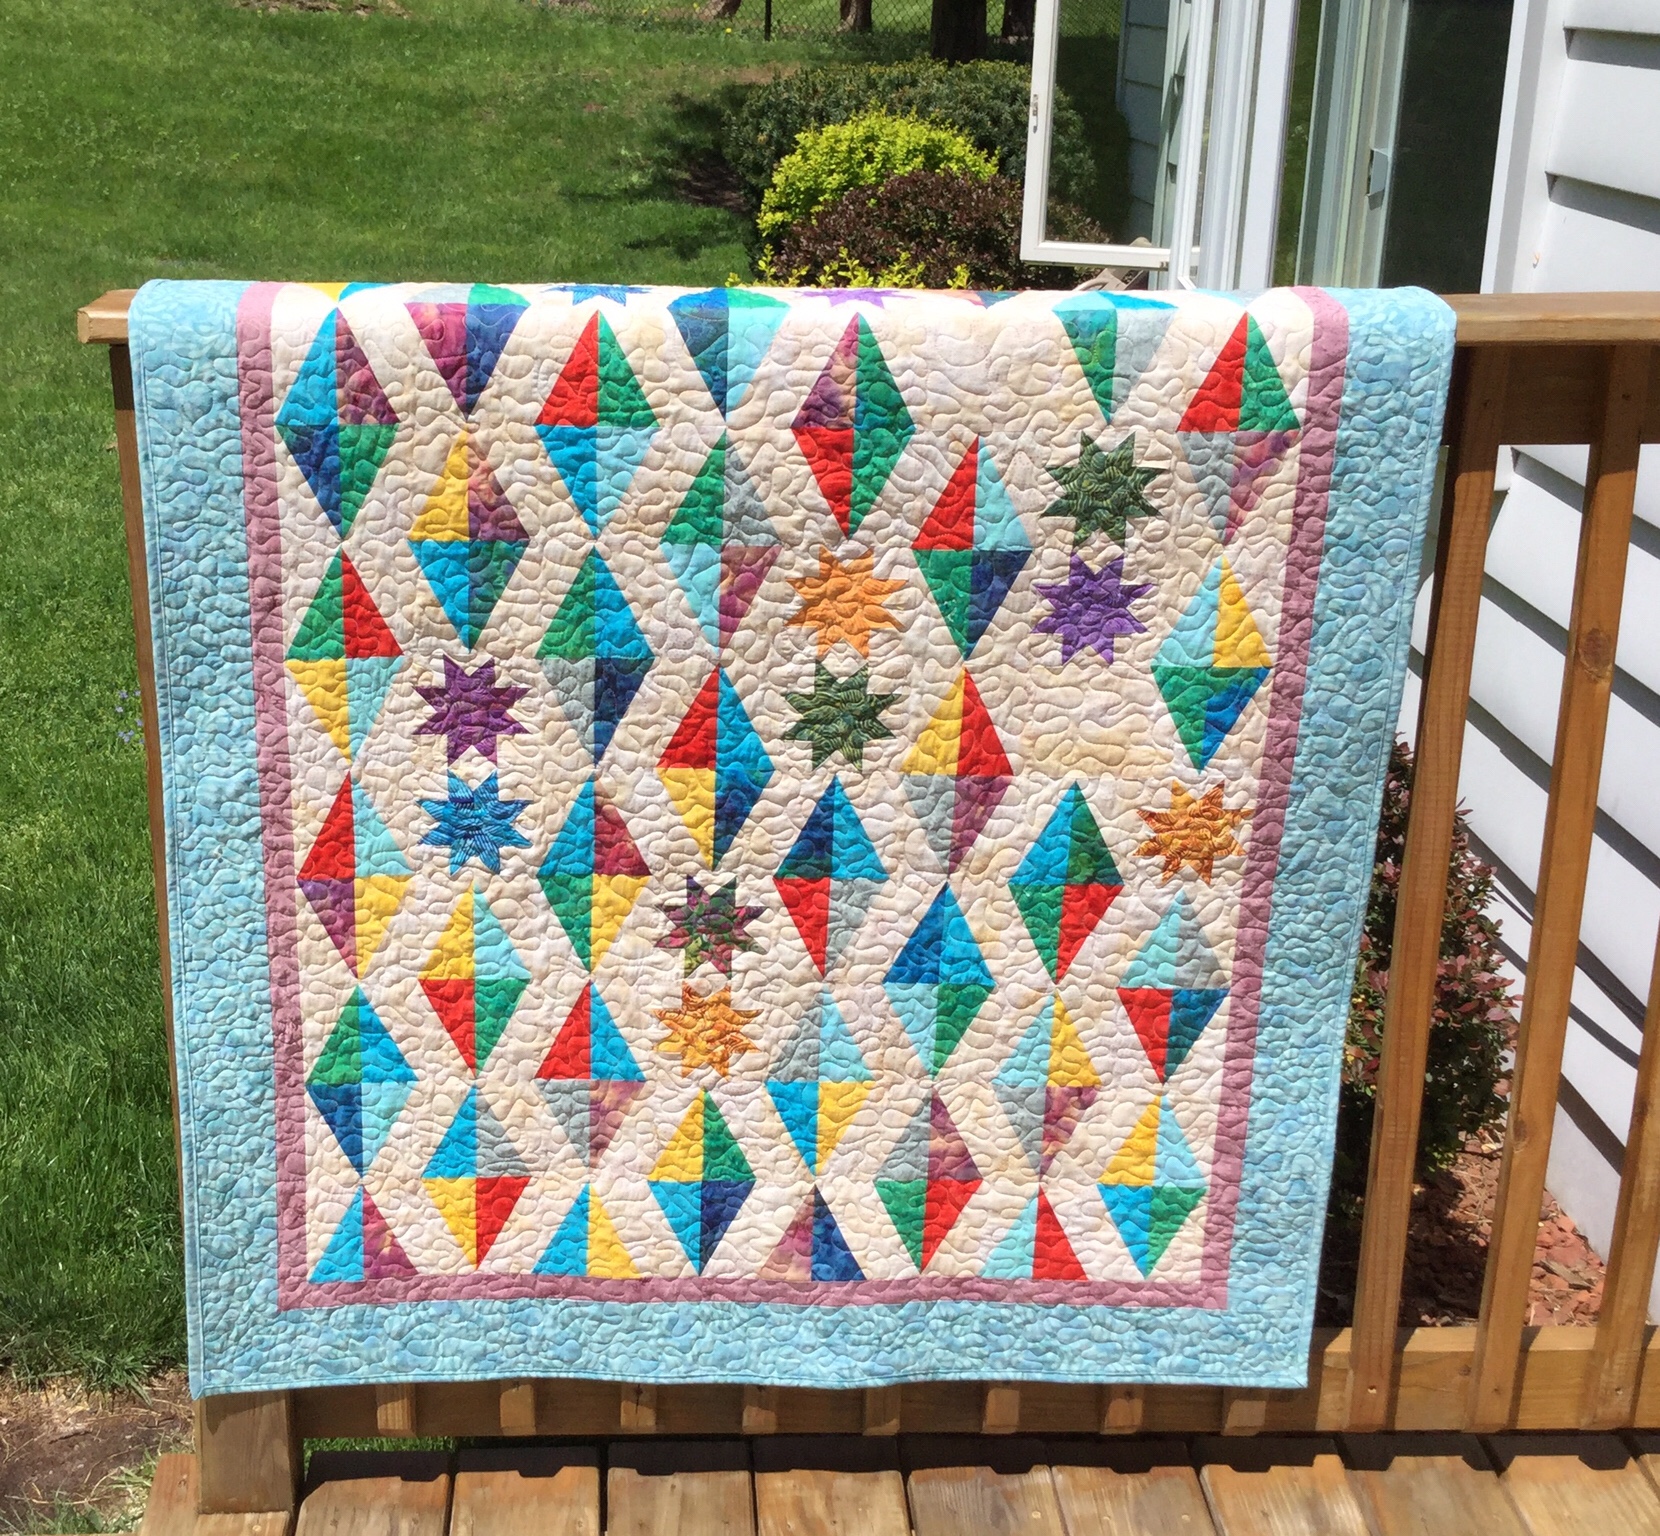
This is what I came up with. Is it modern? The challenge description was “must incorporate ONE of the characteristics of modern quilts as defined by the Modern Quilt Guild: the use of bold colors & prints, high contrast & graphic areas of solid color, improvisational piecing, minimalism, expansive negative space, alternate grid work”.
I may have hit one or two points! But if you look to the past for inspiration what can you expect! “Blast From The Past” measures 42′ x 62″.

As always, my quilts are lovingly pieced with Aurifil thread!
#islandbatik #debtucker #studio180design #aurifilthread
