Category Archives: One Block Wonder

OBW Fabulousity

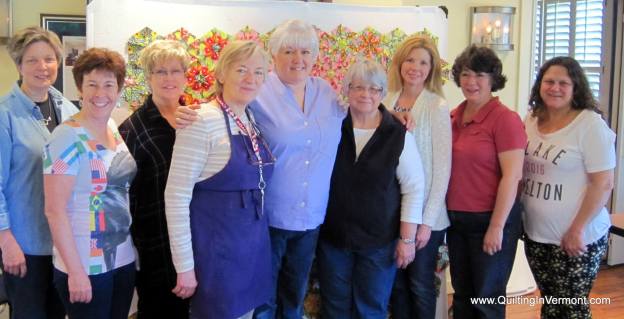
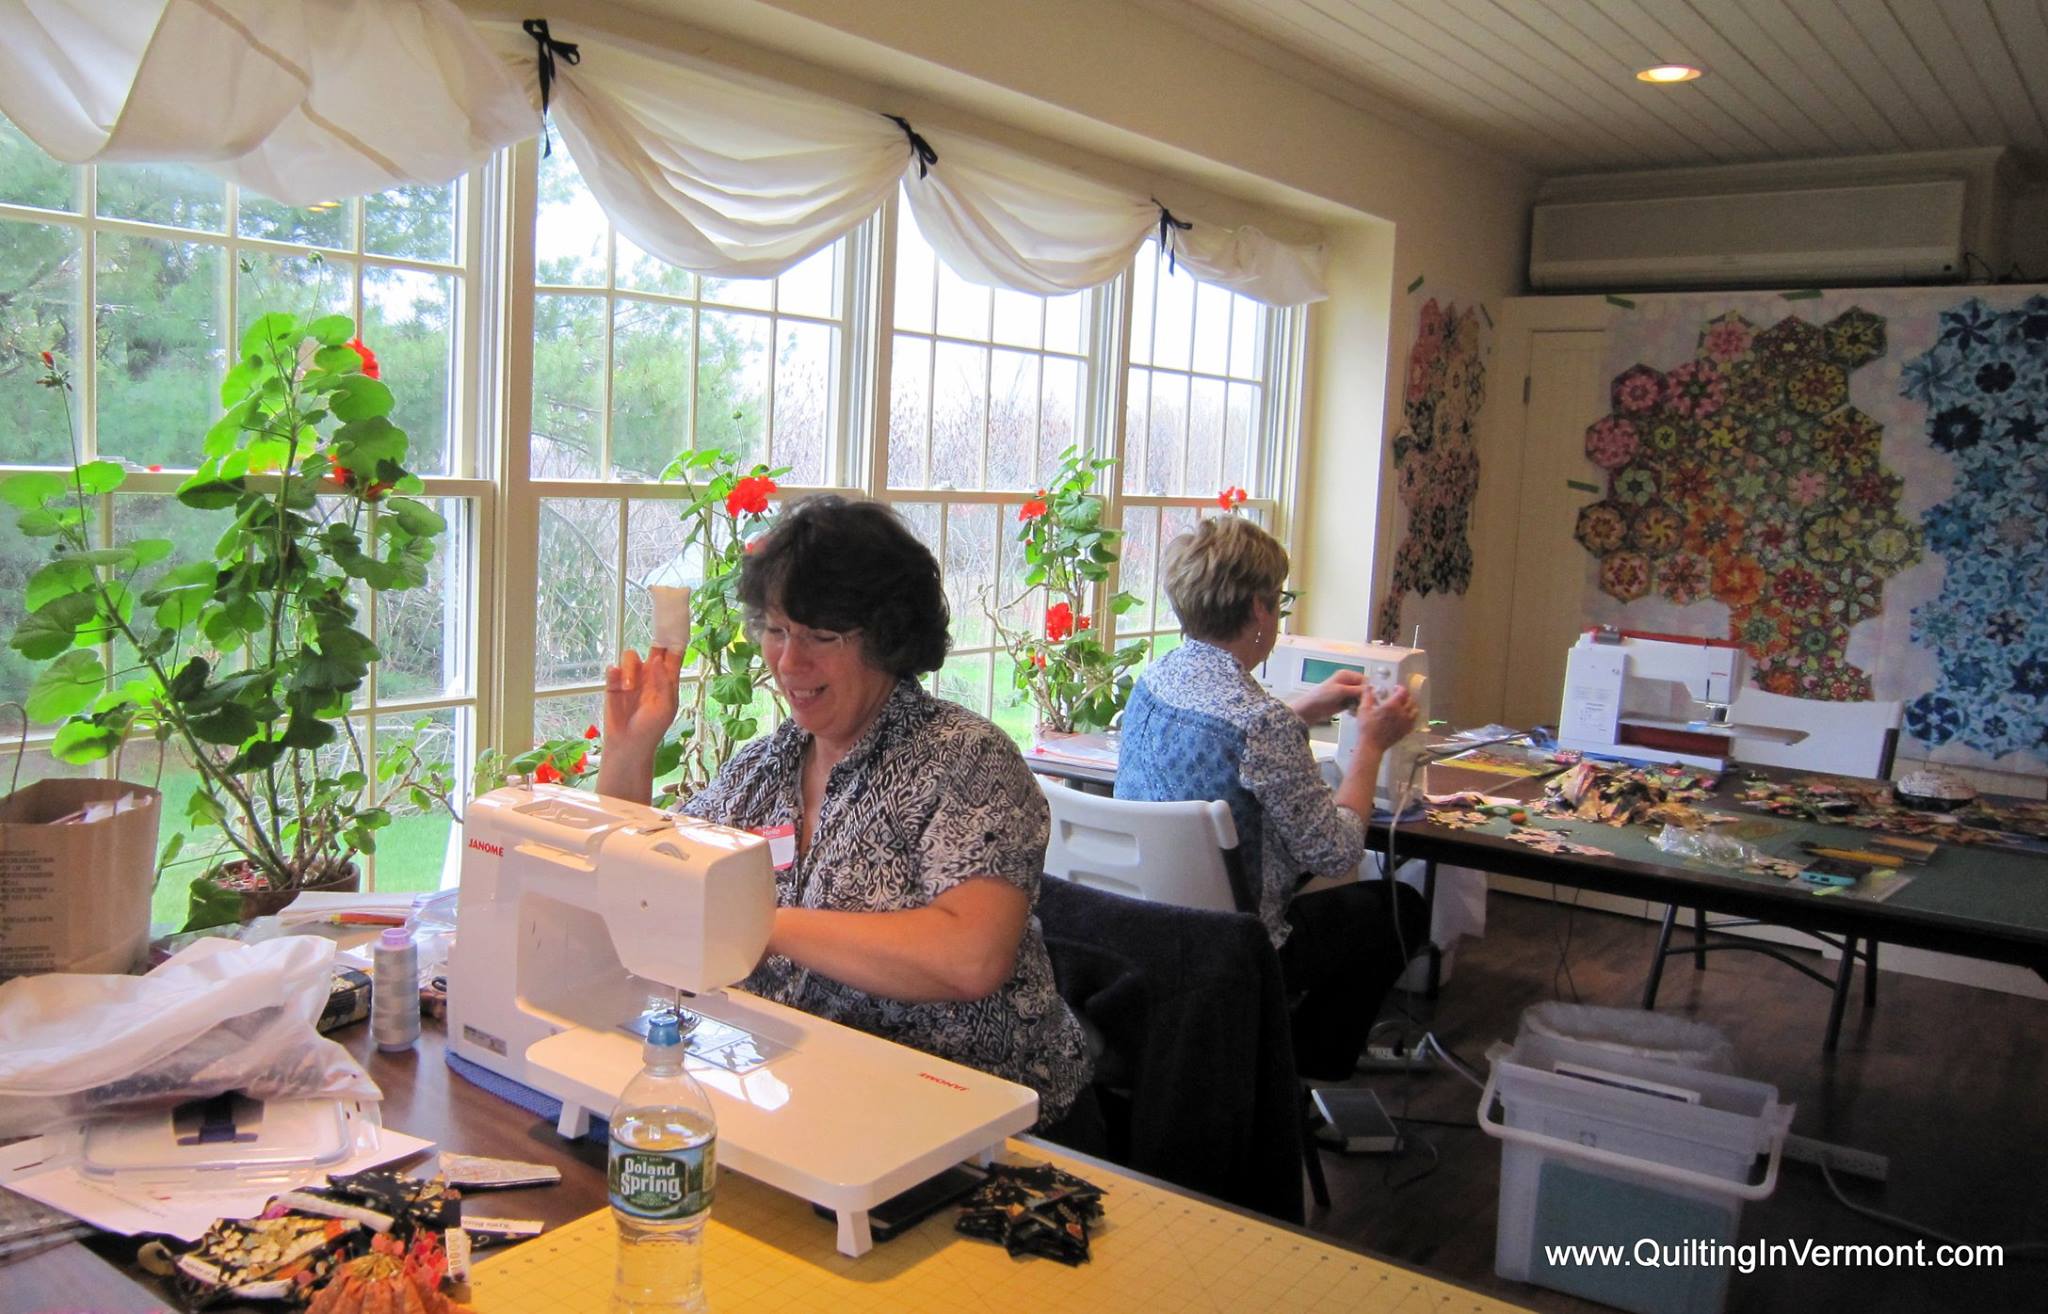
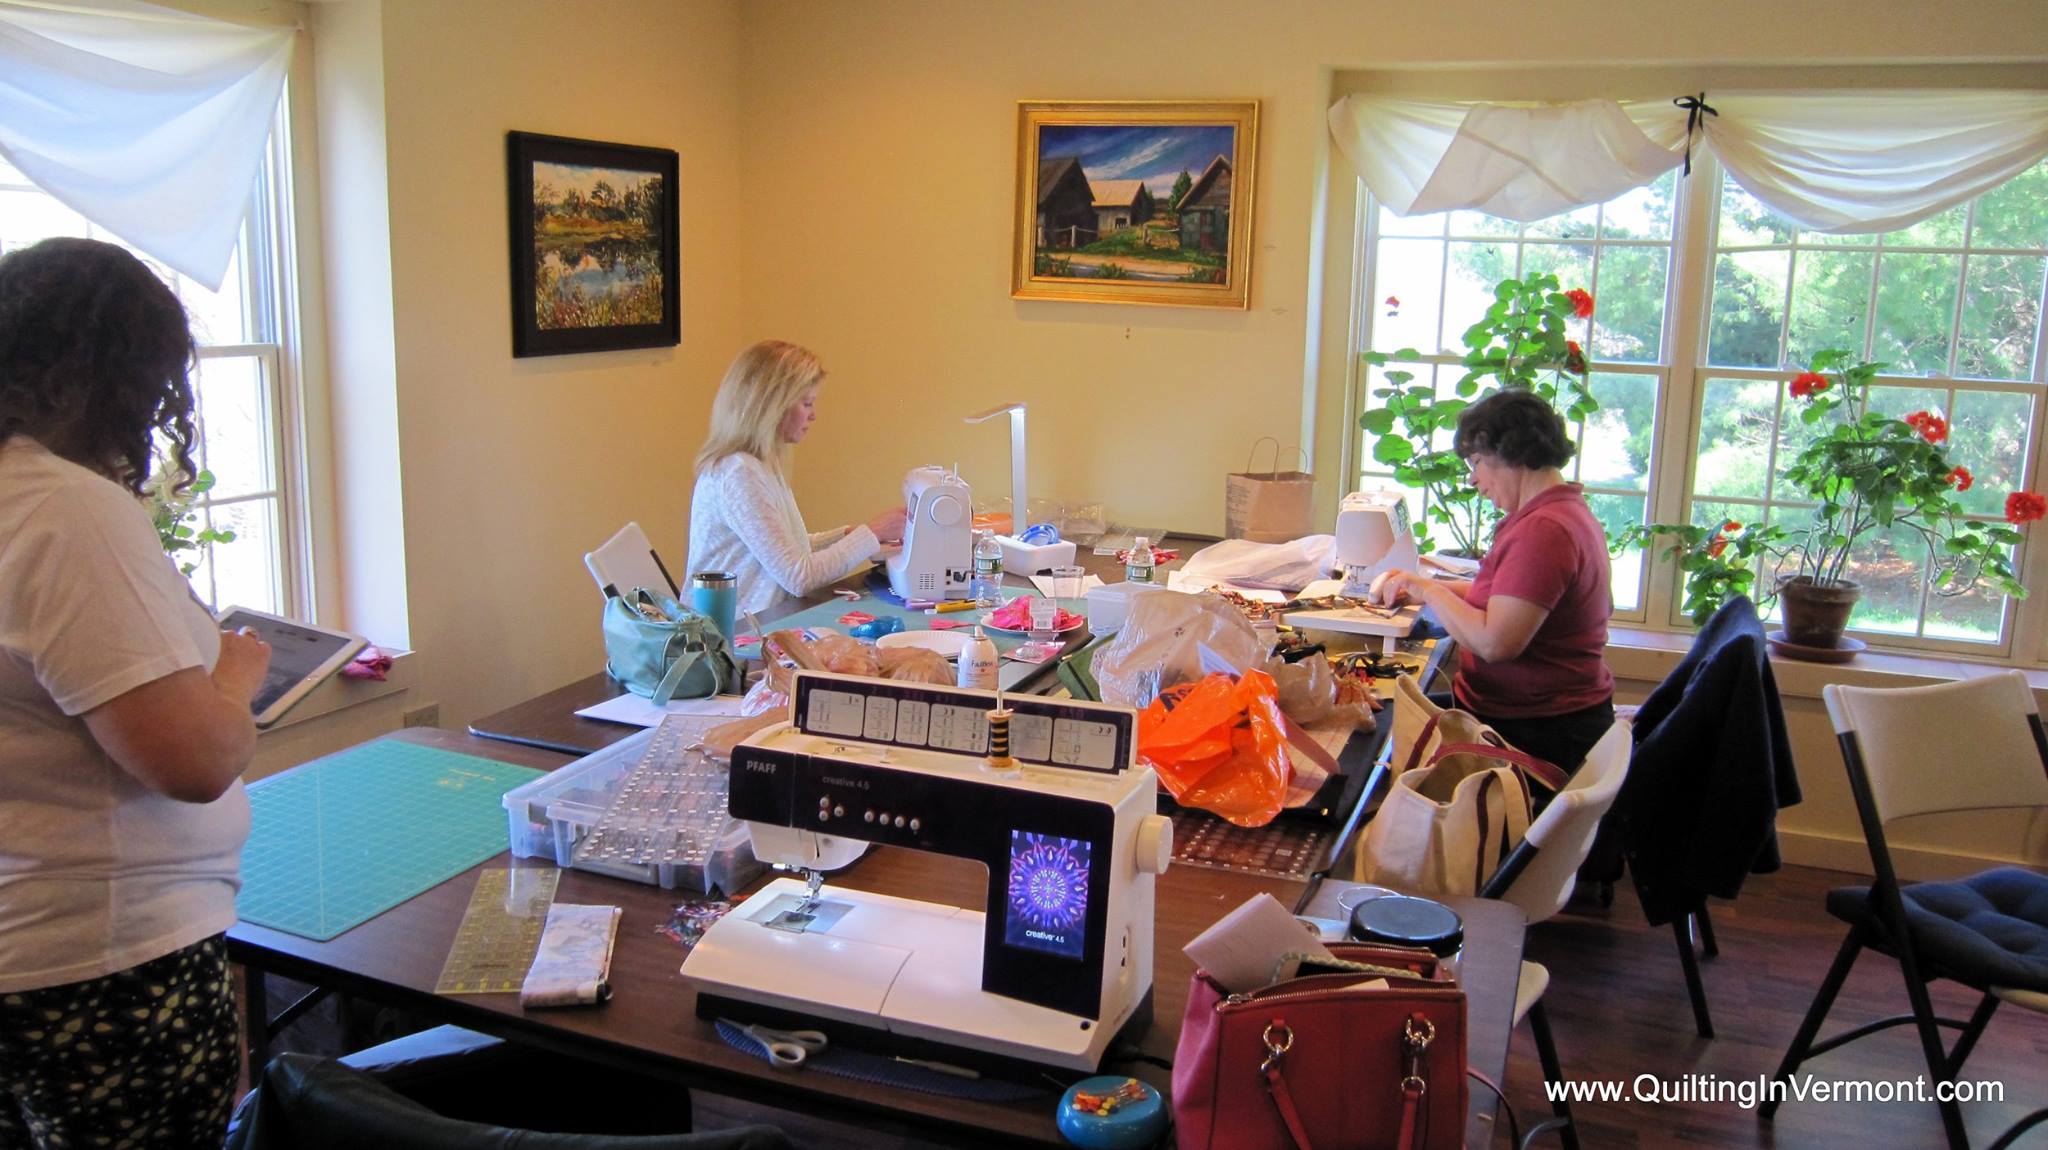
Wowza, I just got home from teaching a One Block Wonder workshop to a great group of quilters whom I think of as friends!  We gathered at the Strong House Inn in Vergennes, Vermont, where Innkeepers Mary, Hugh & Betsy spoil us with care.


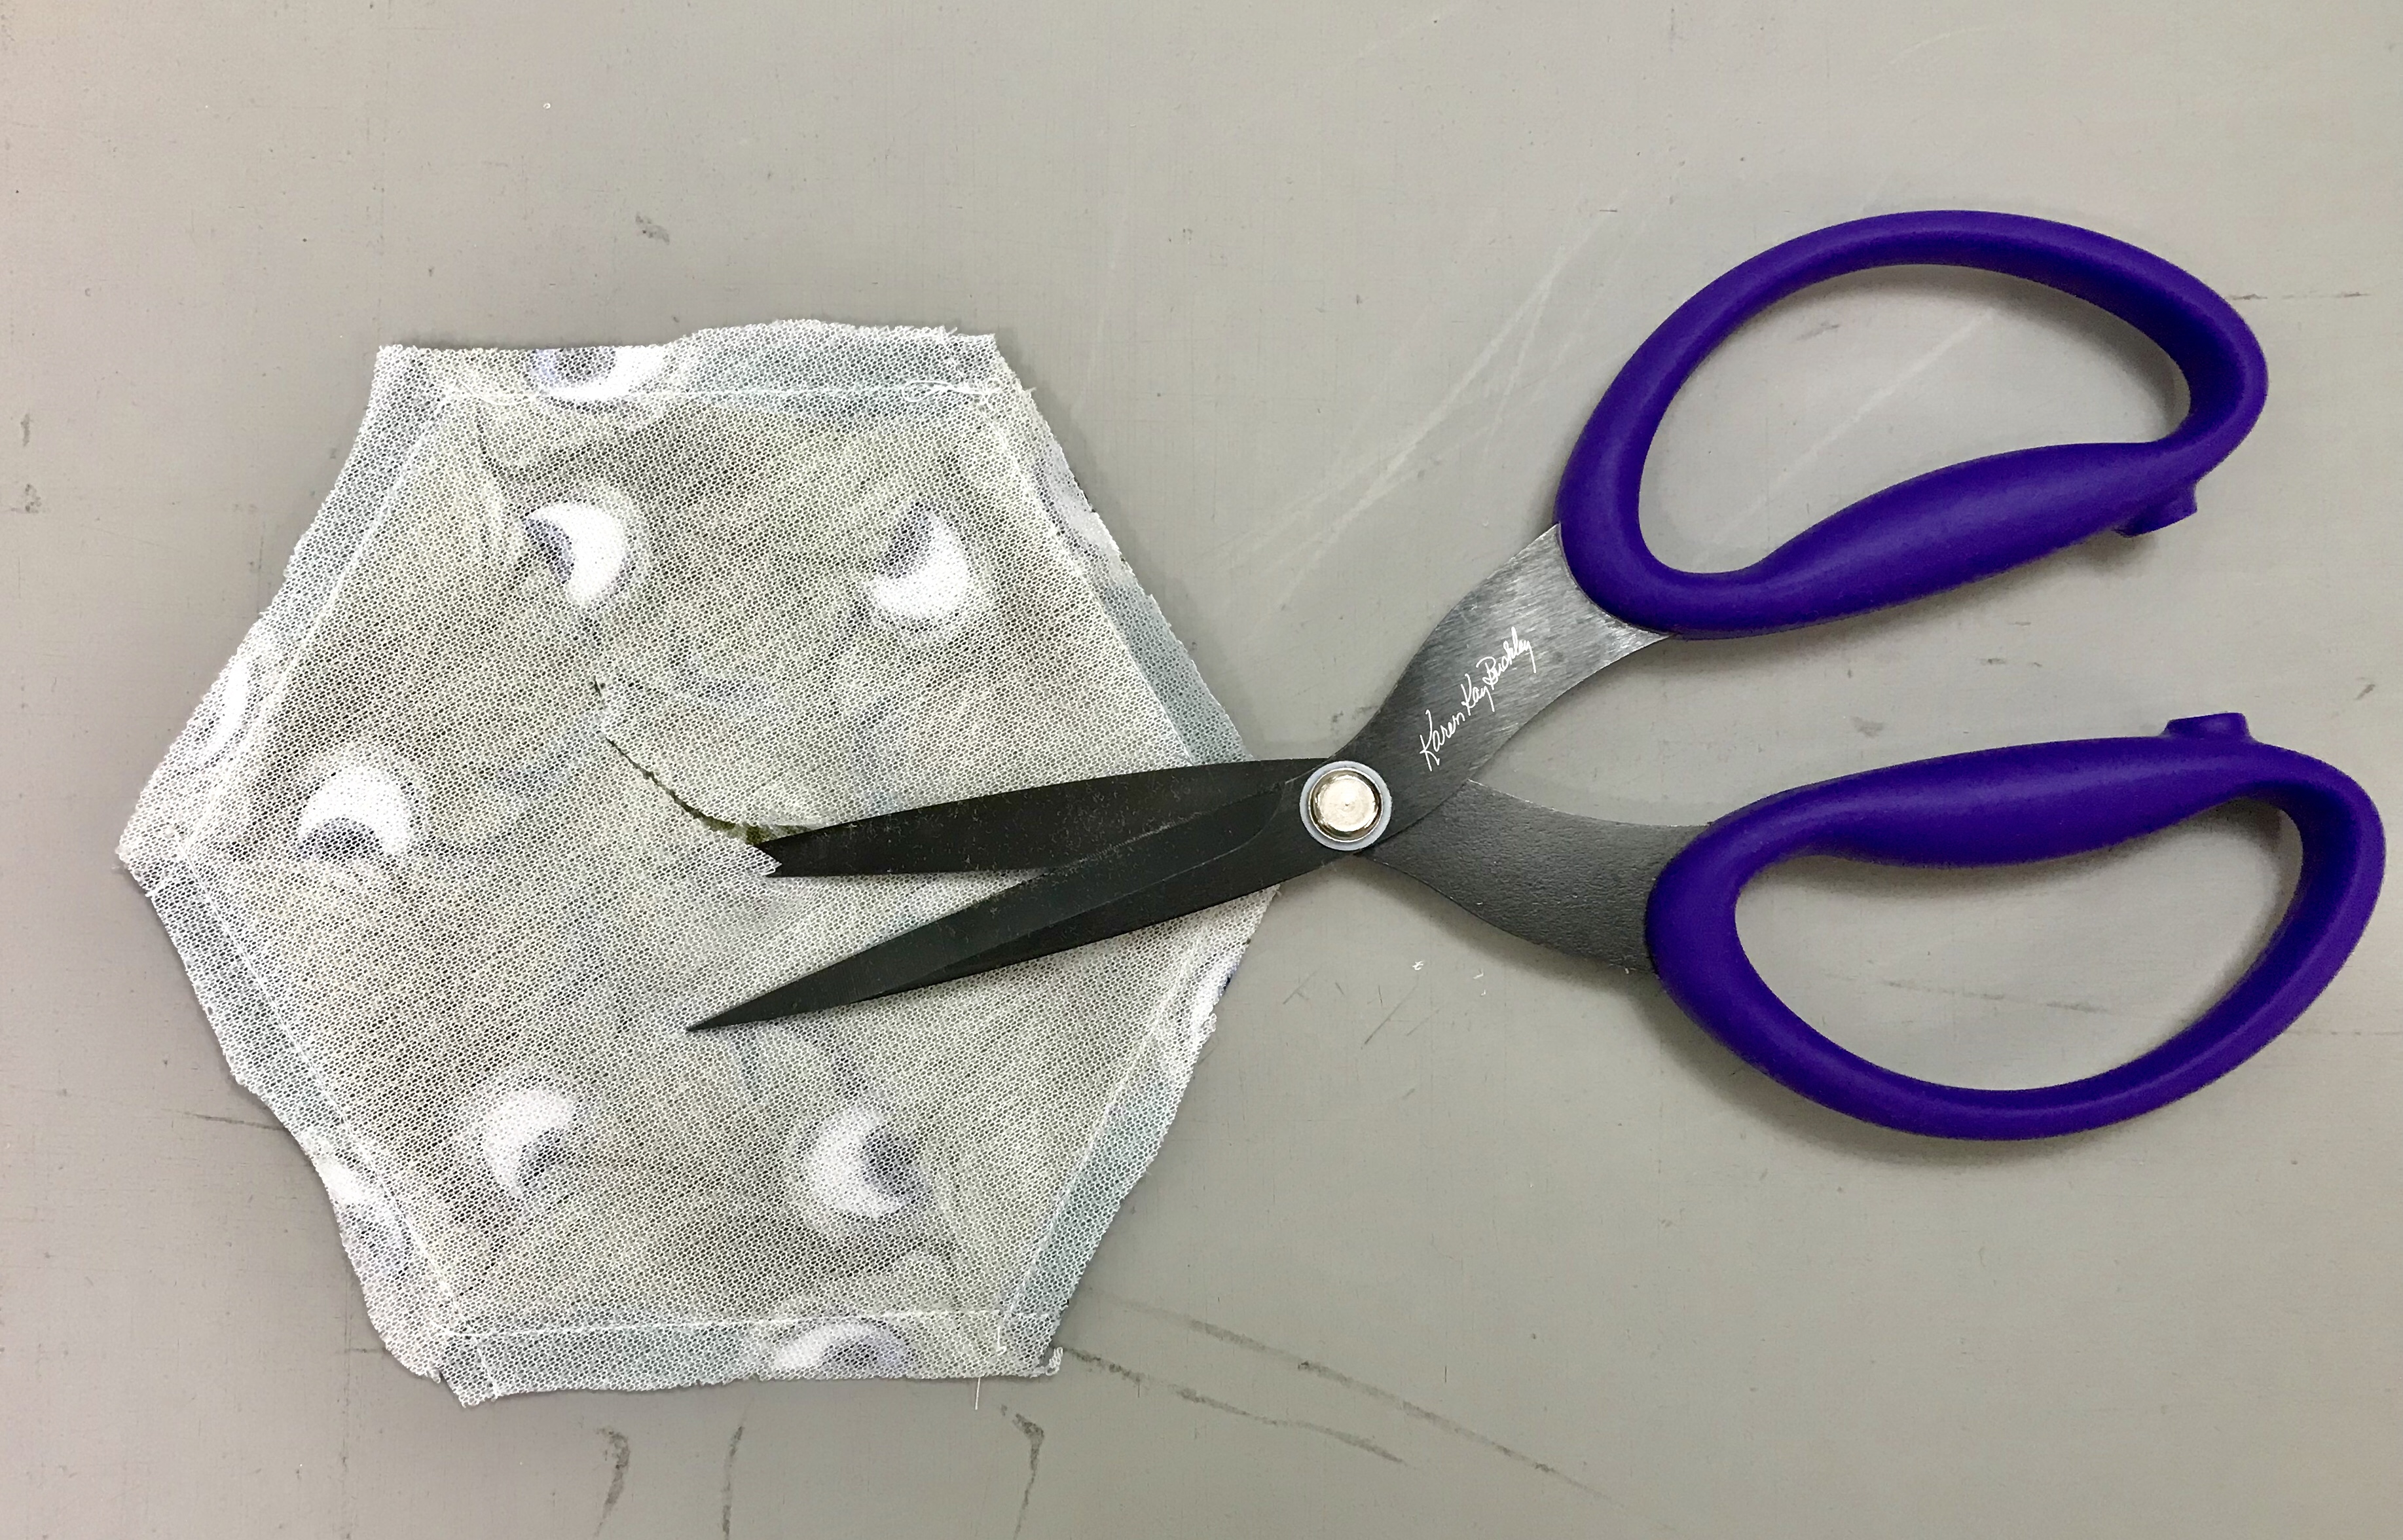
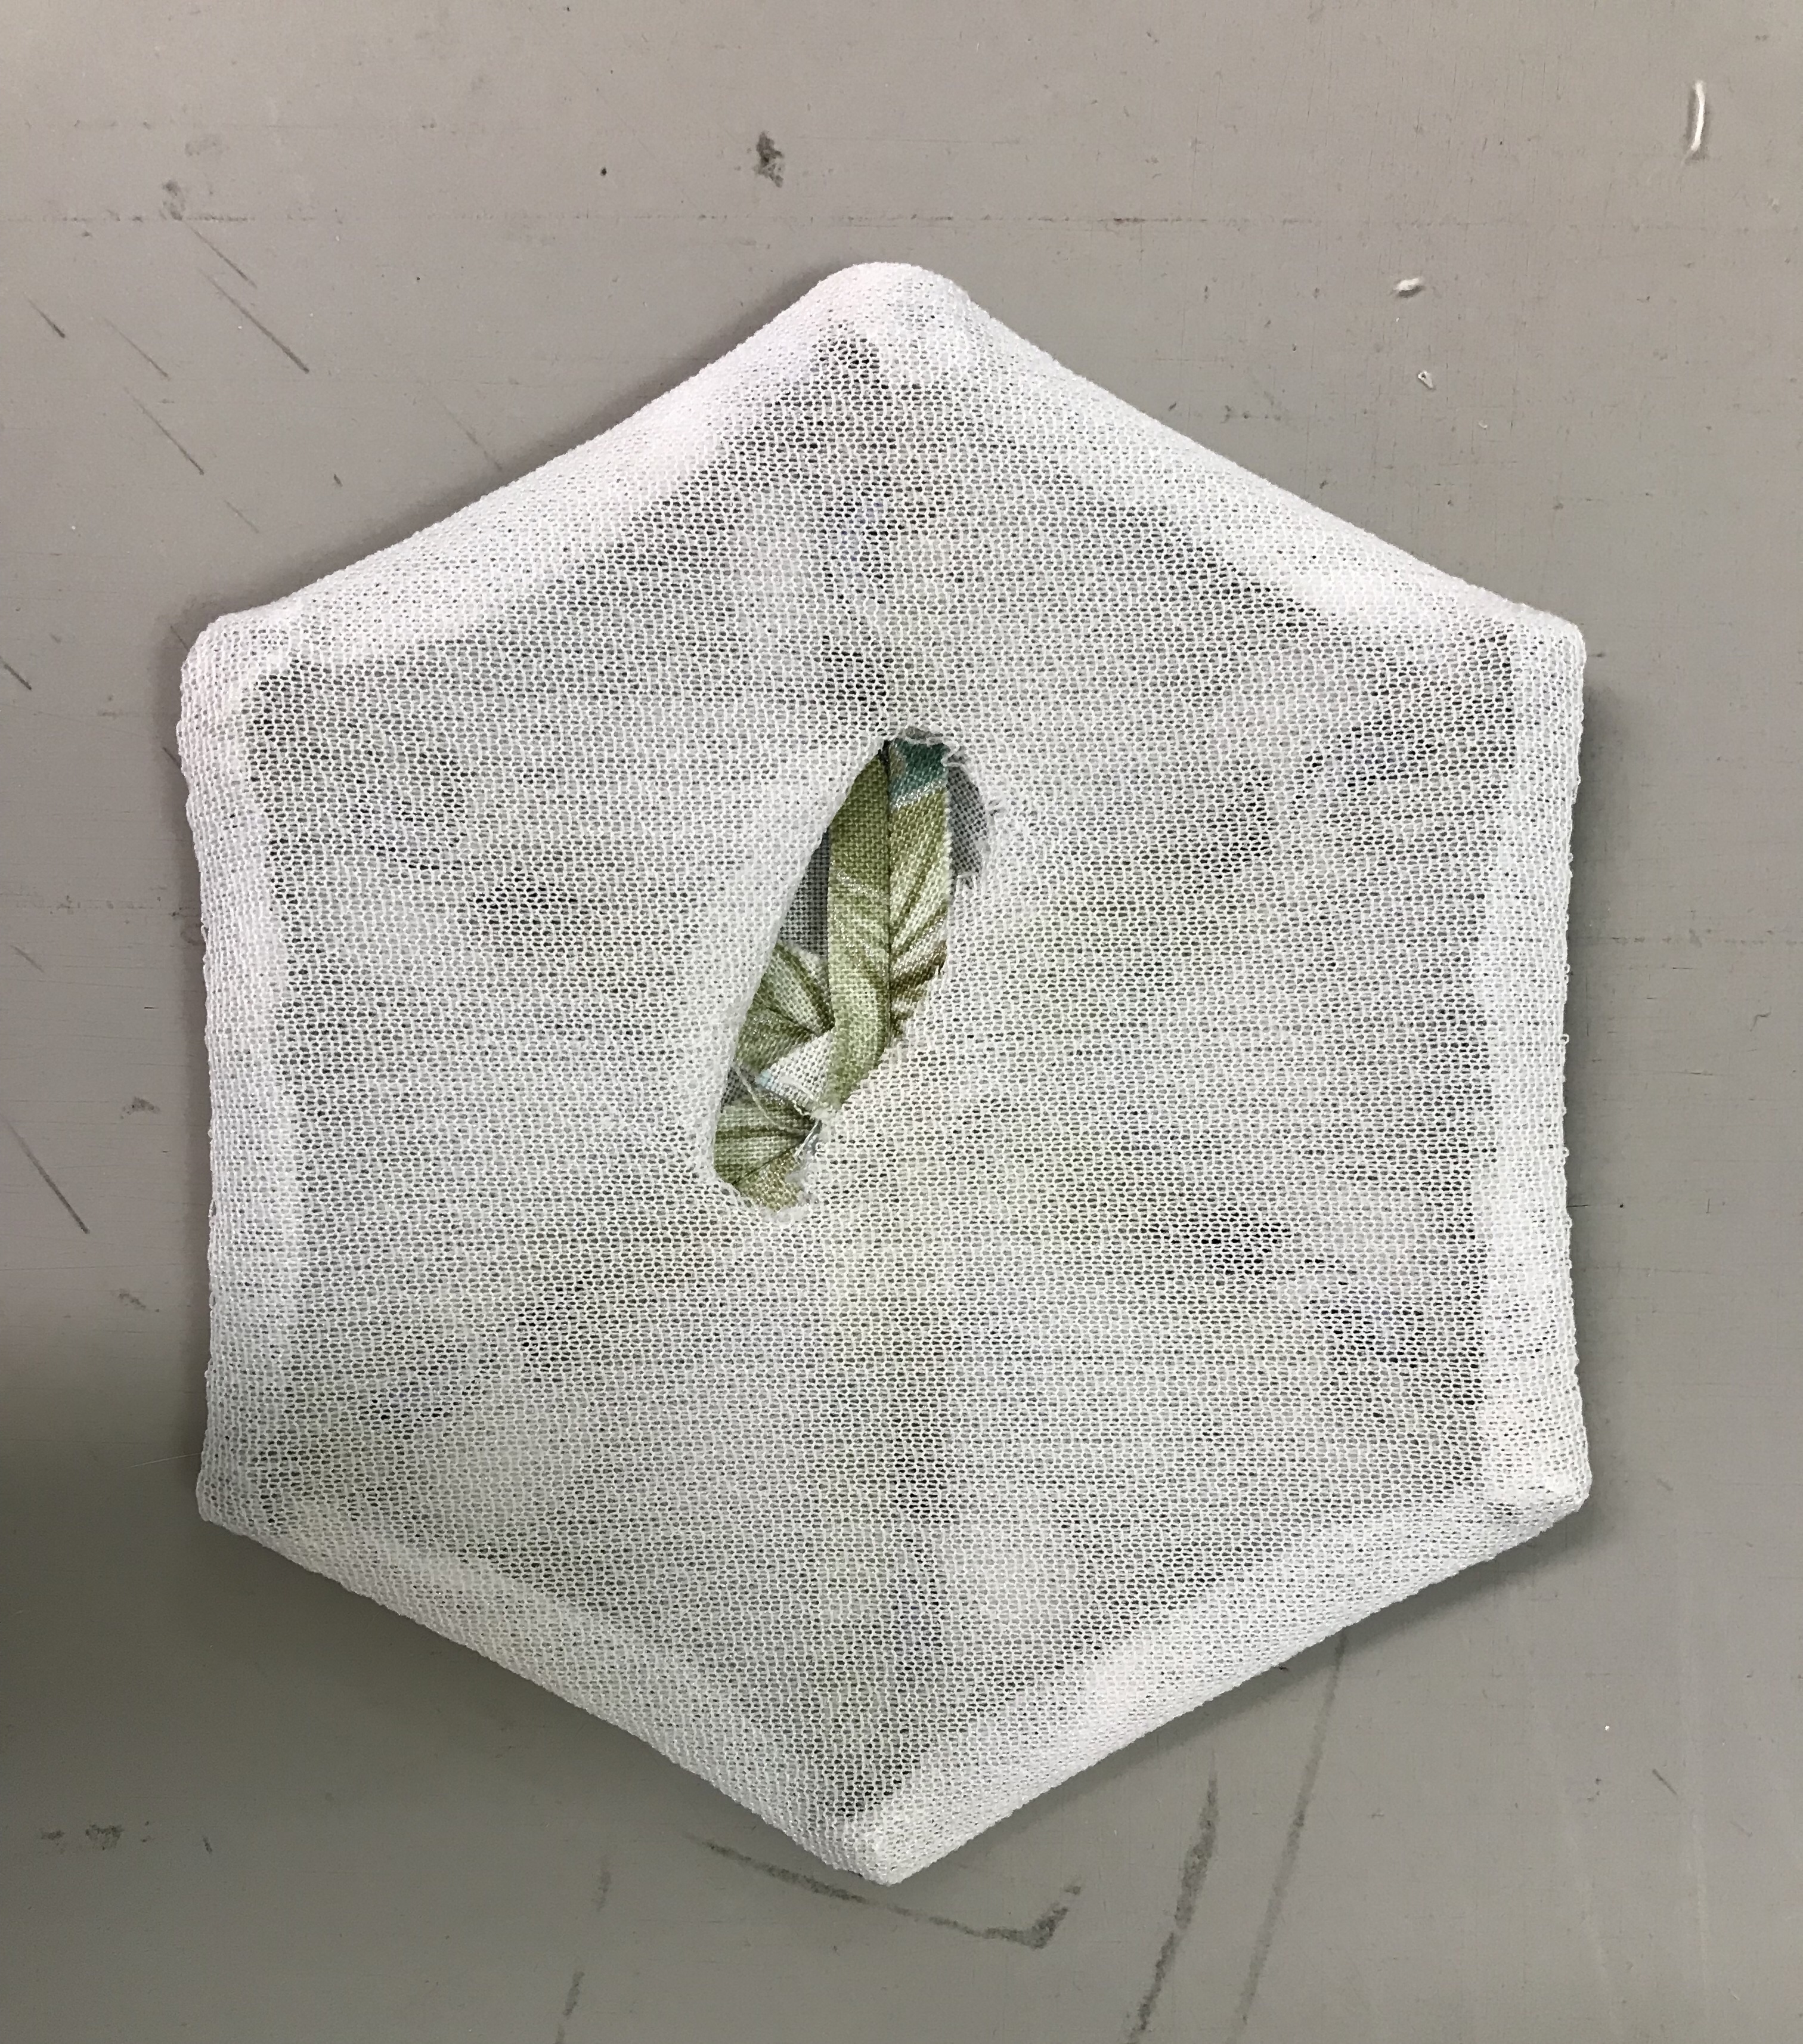
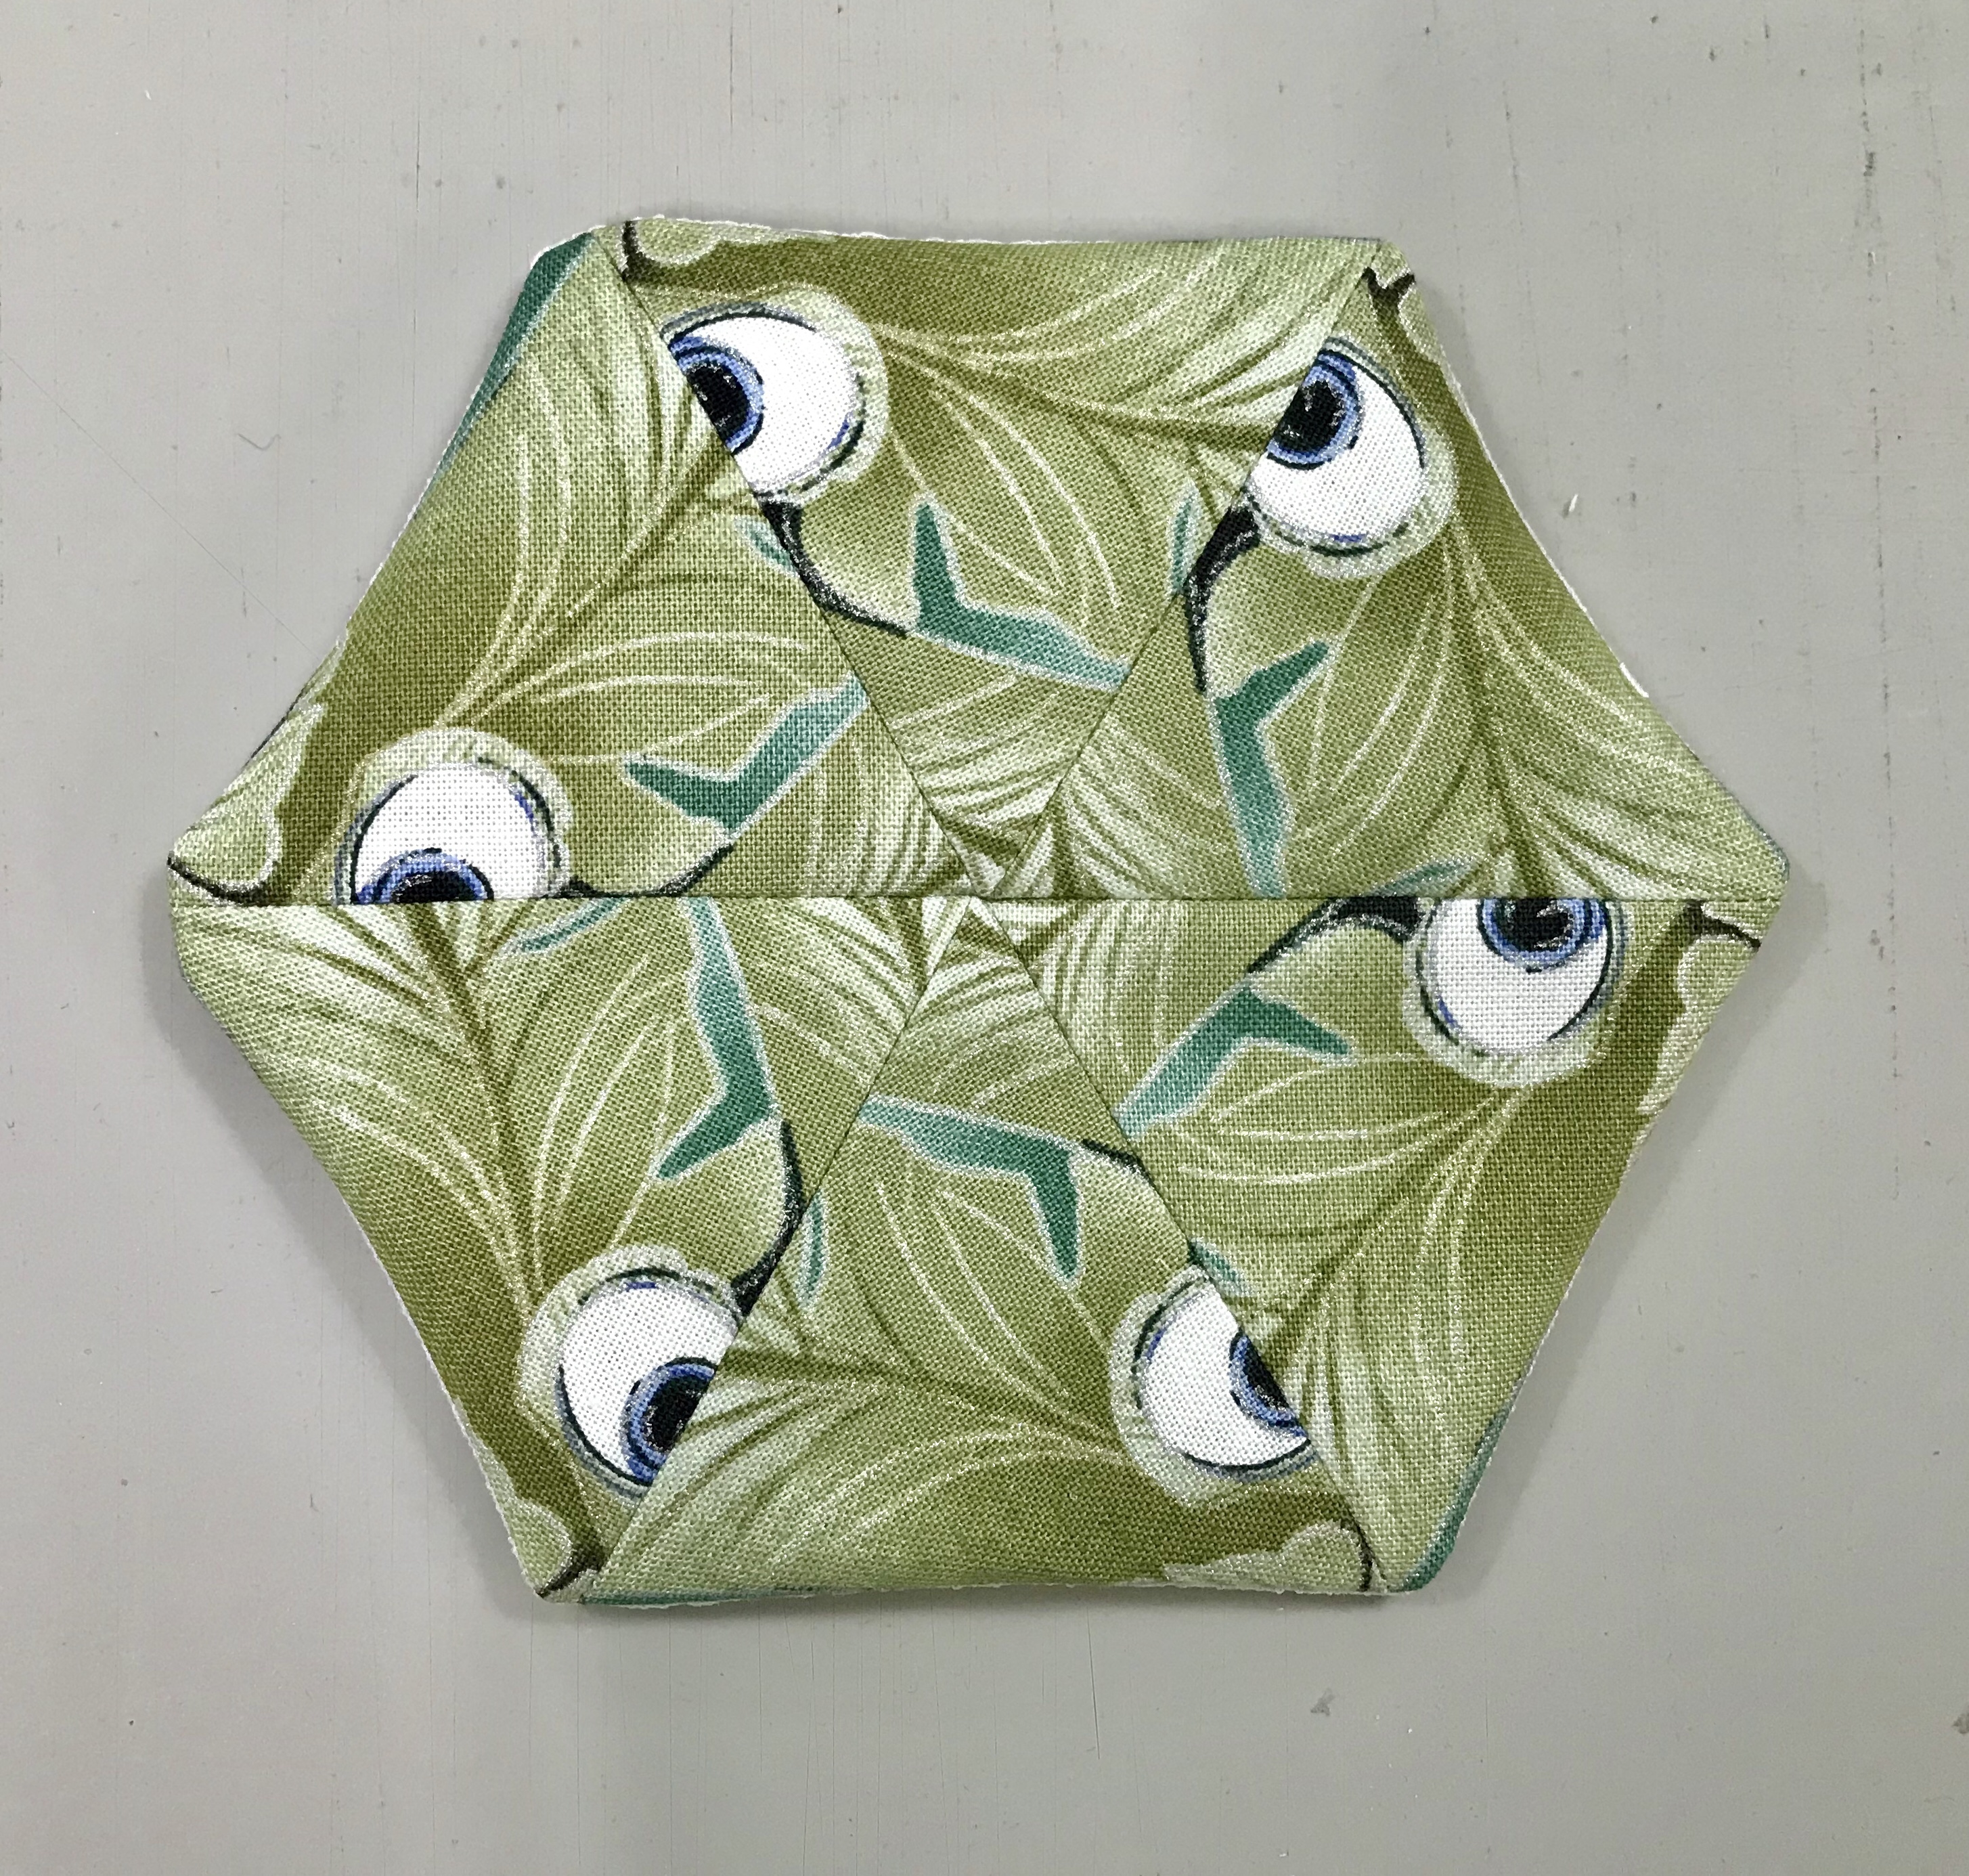
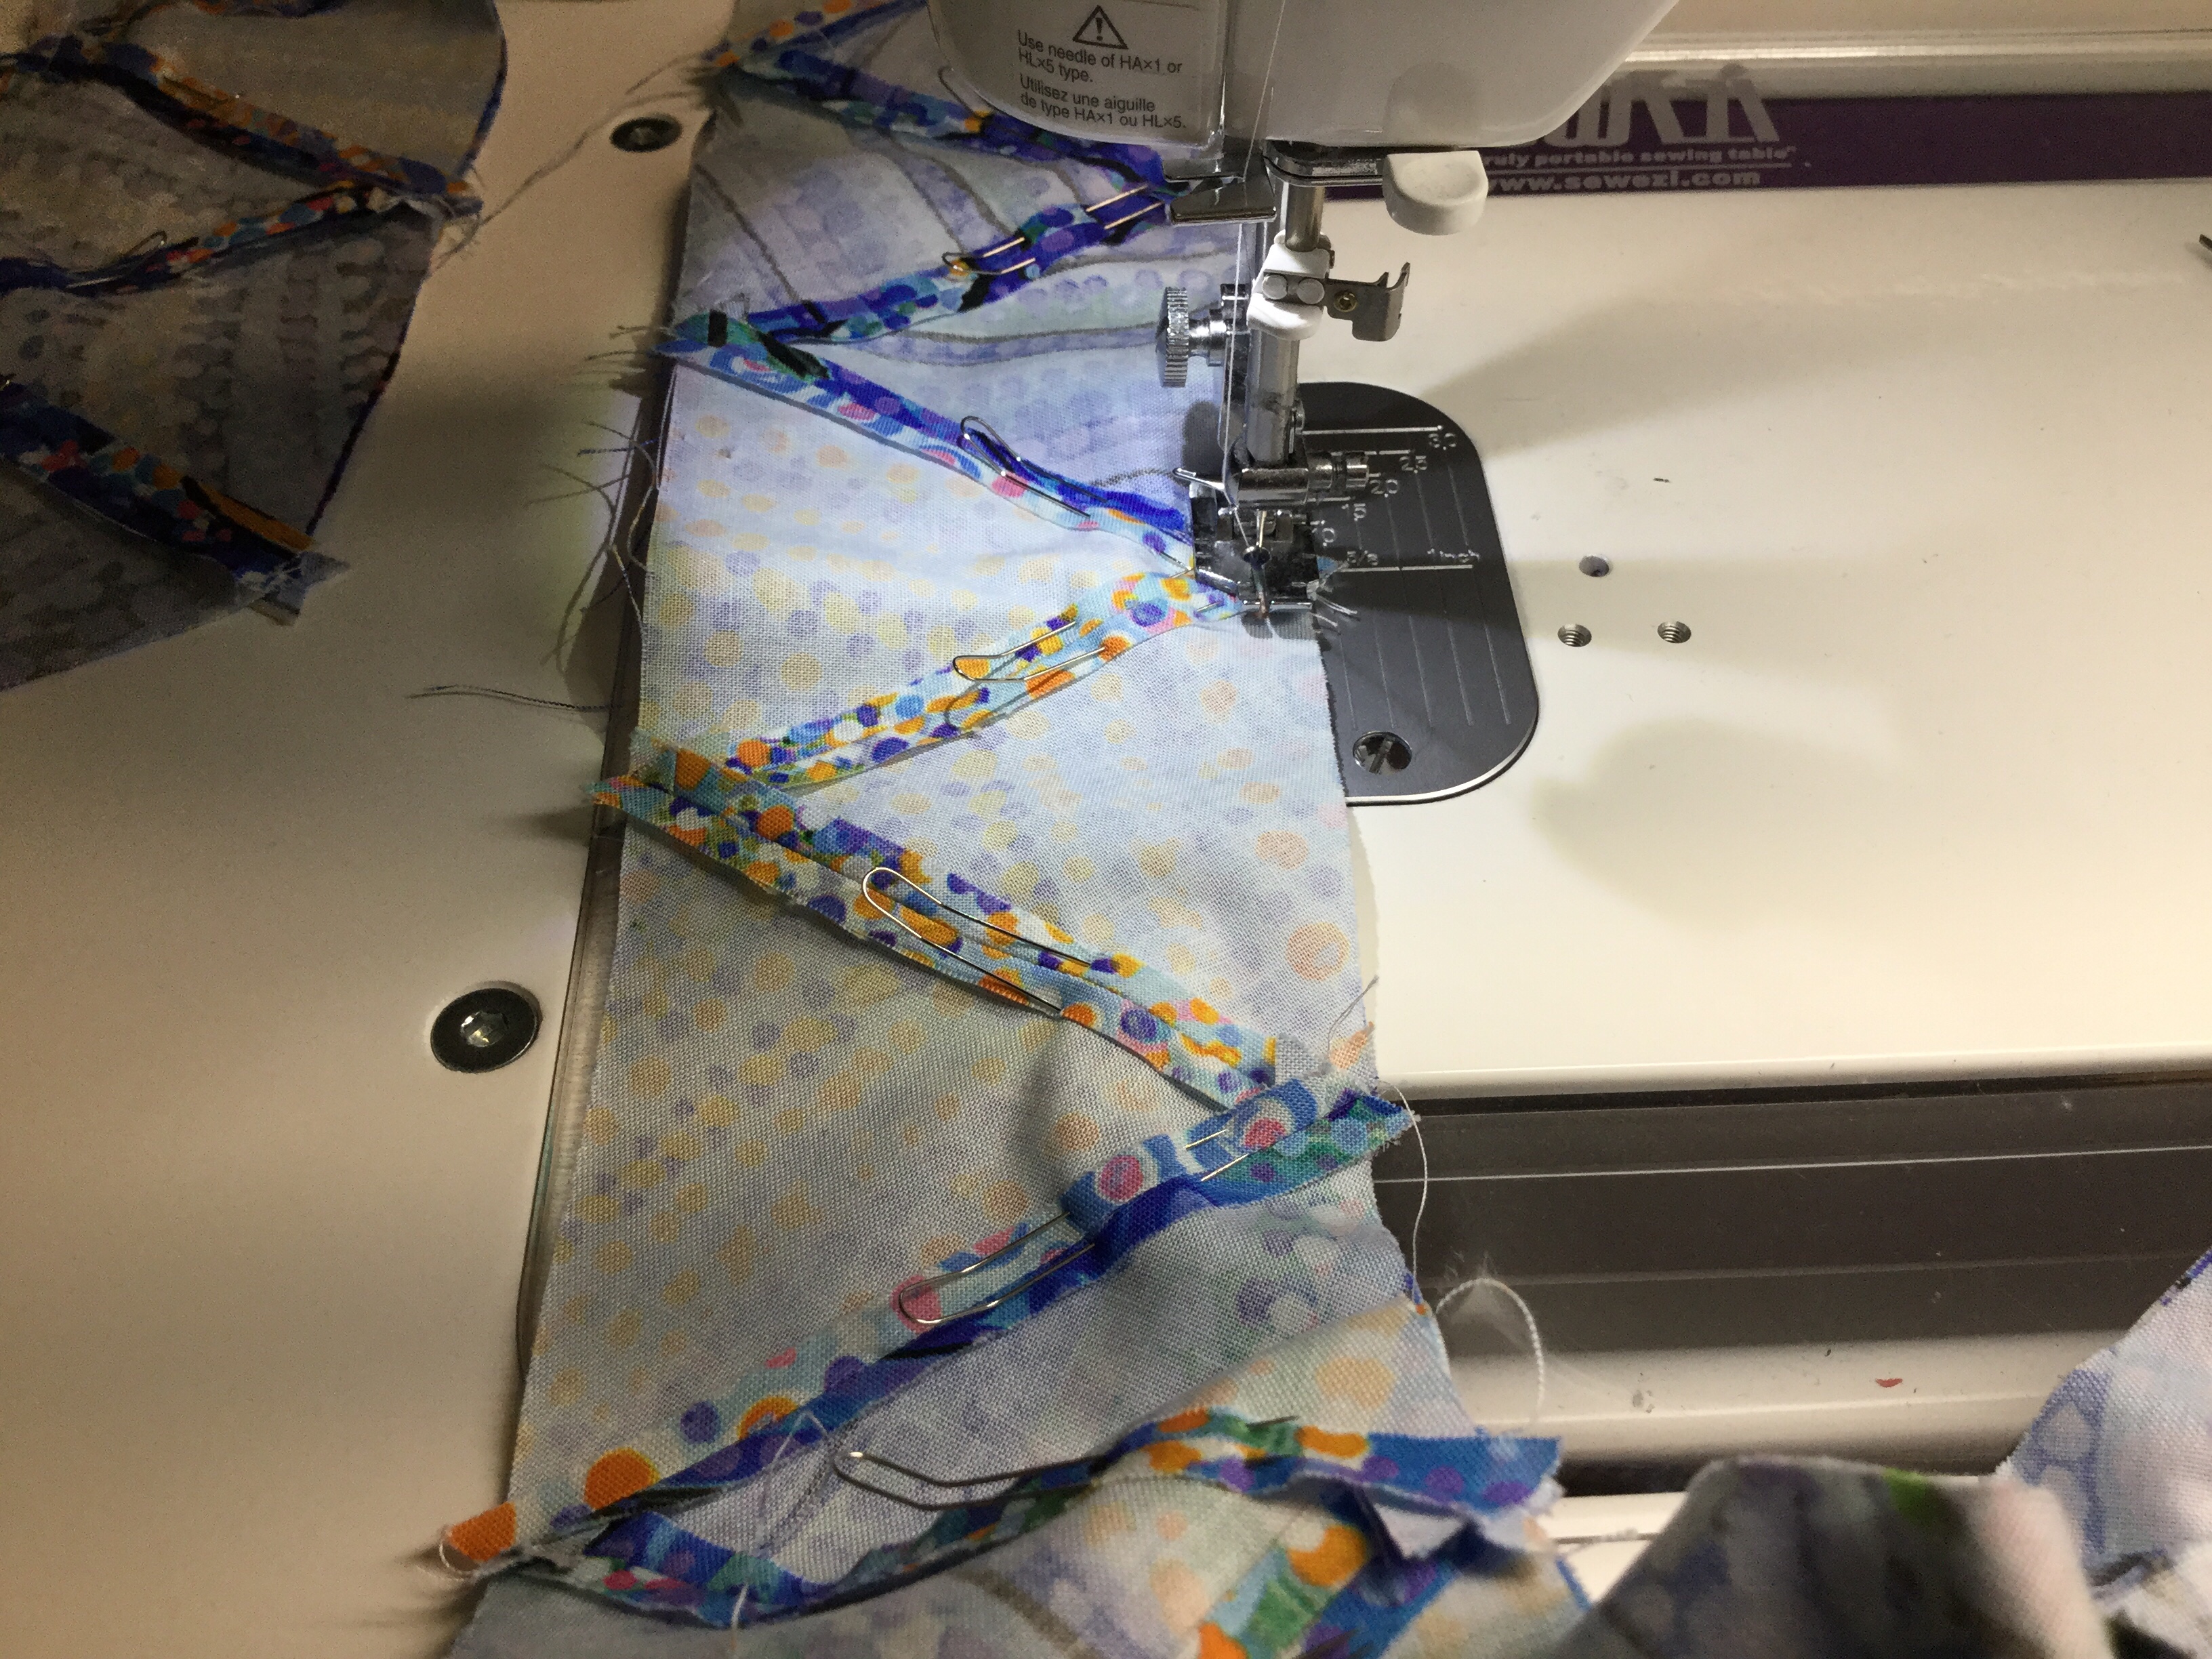
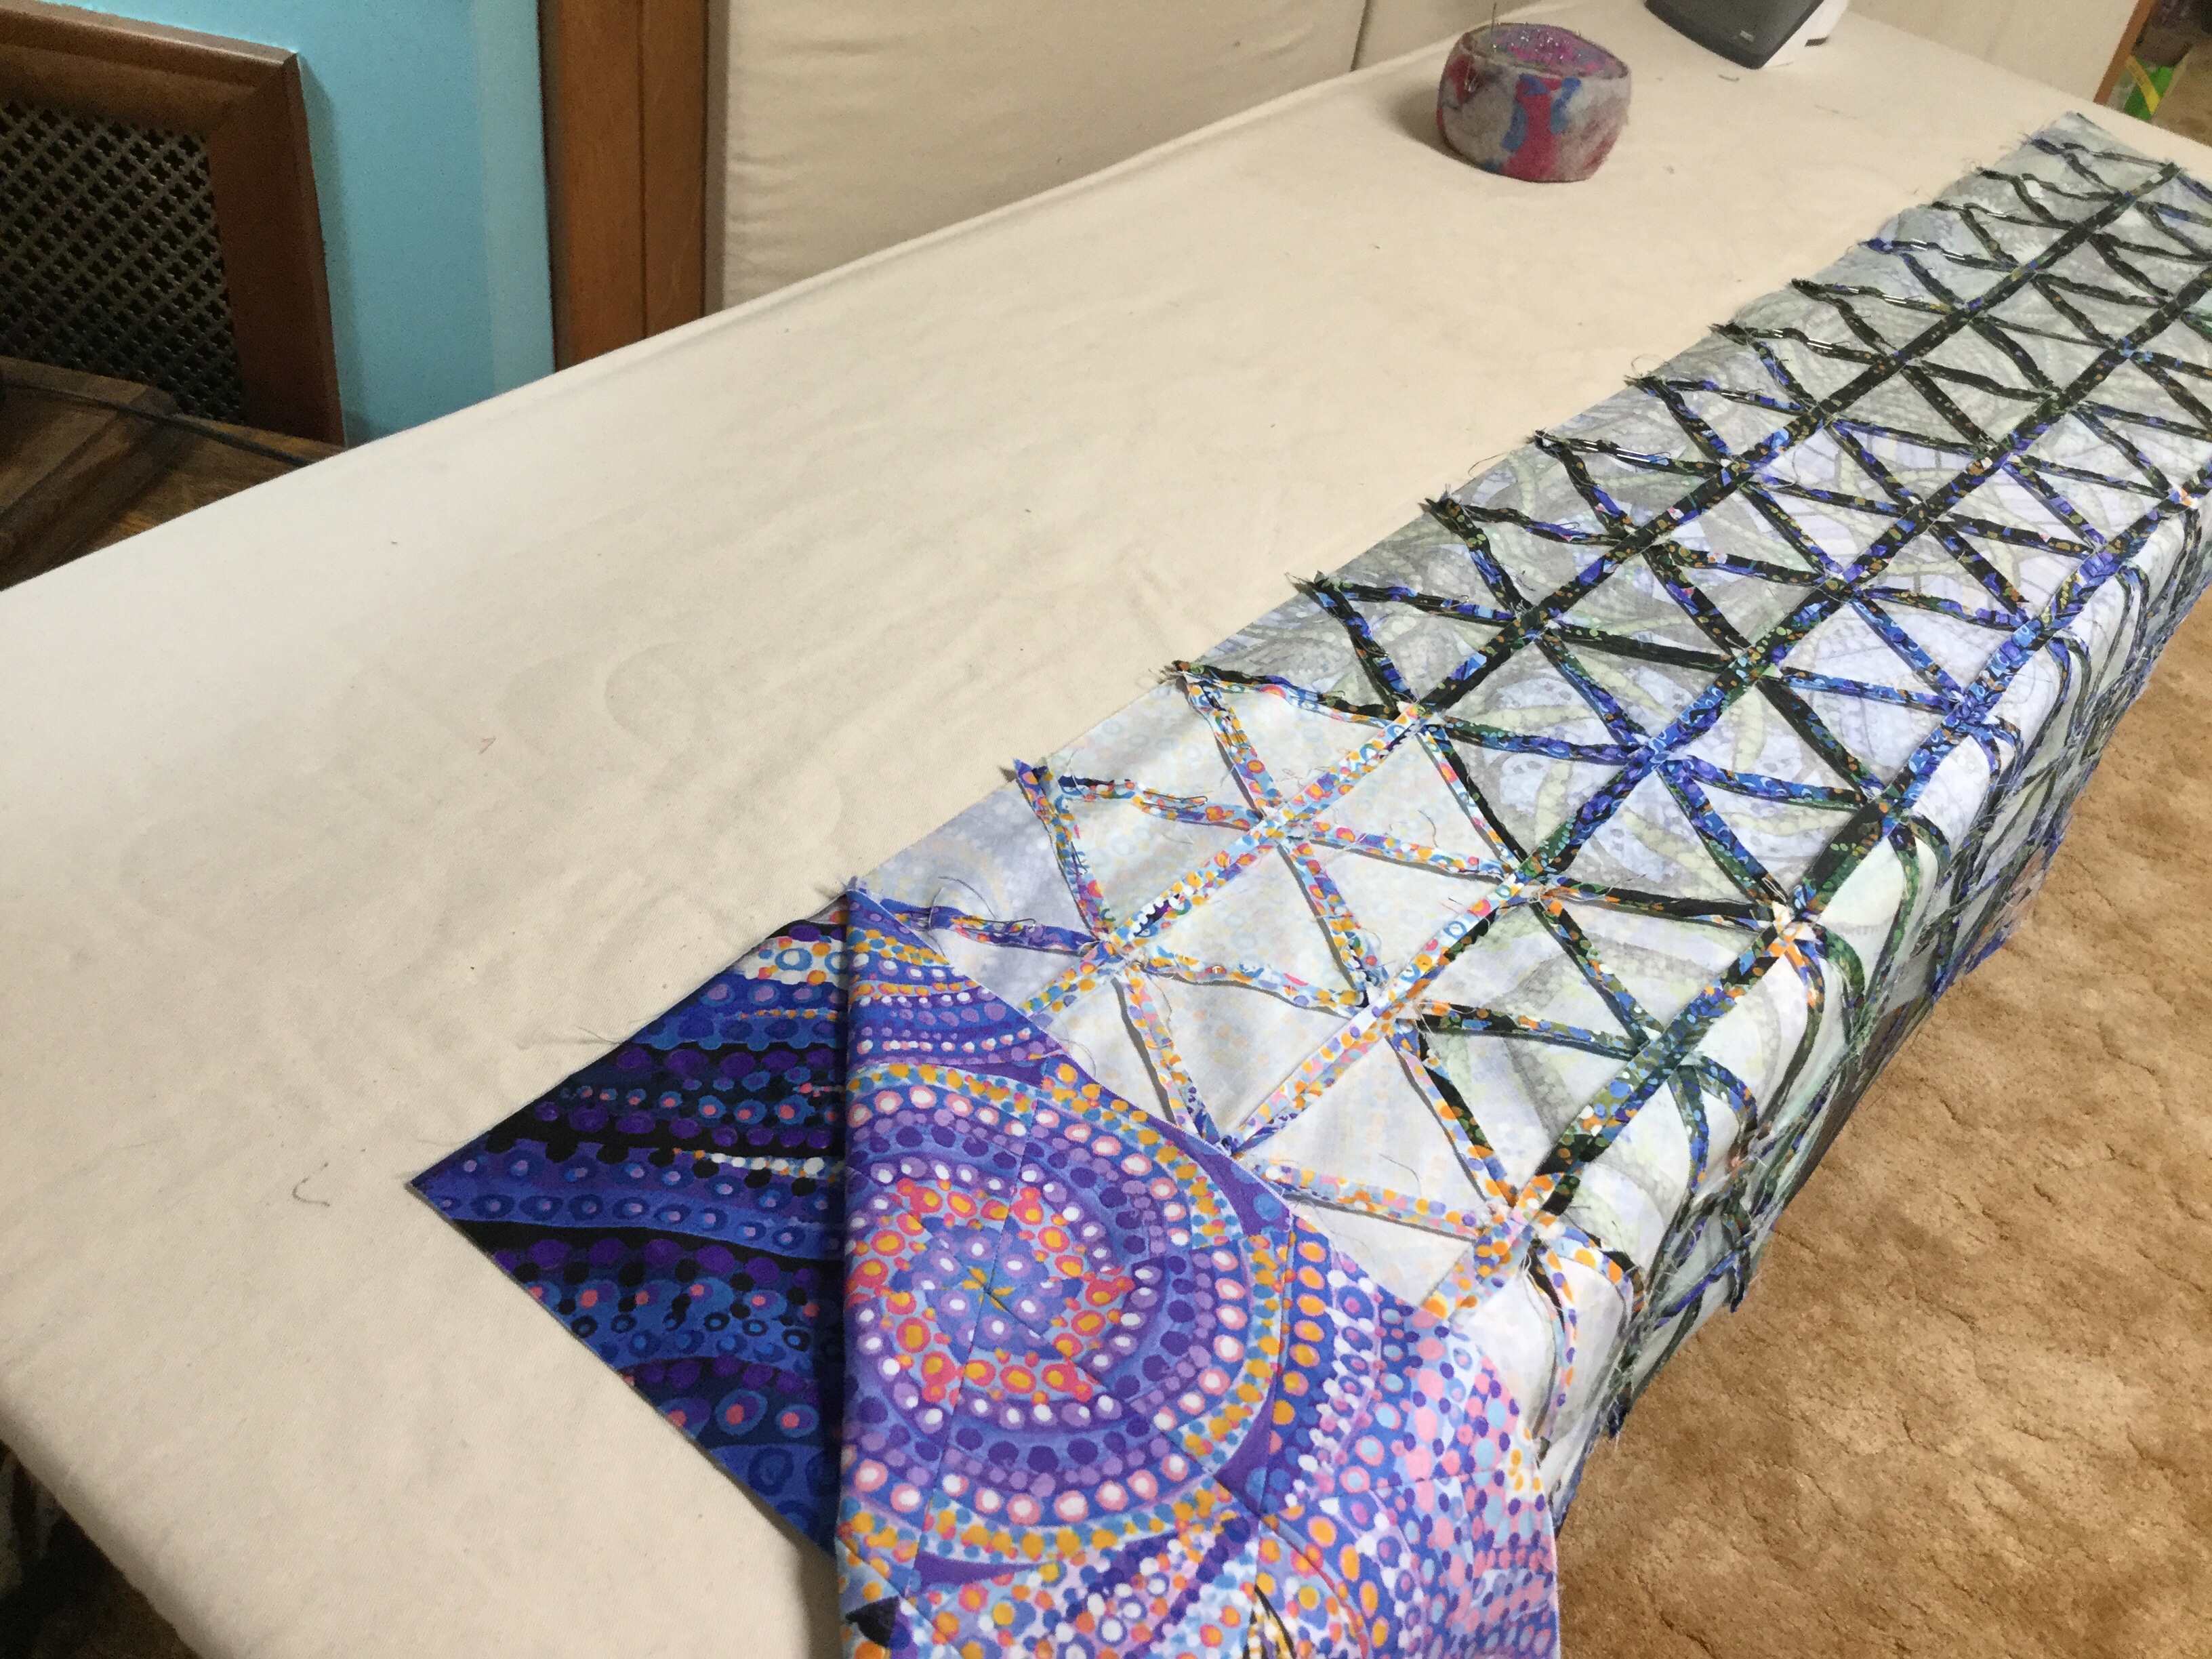
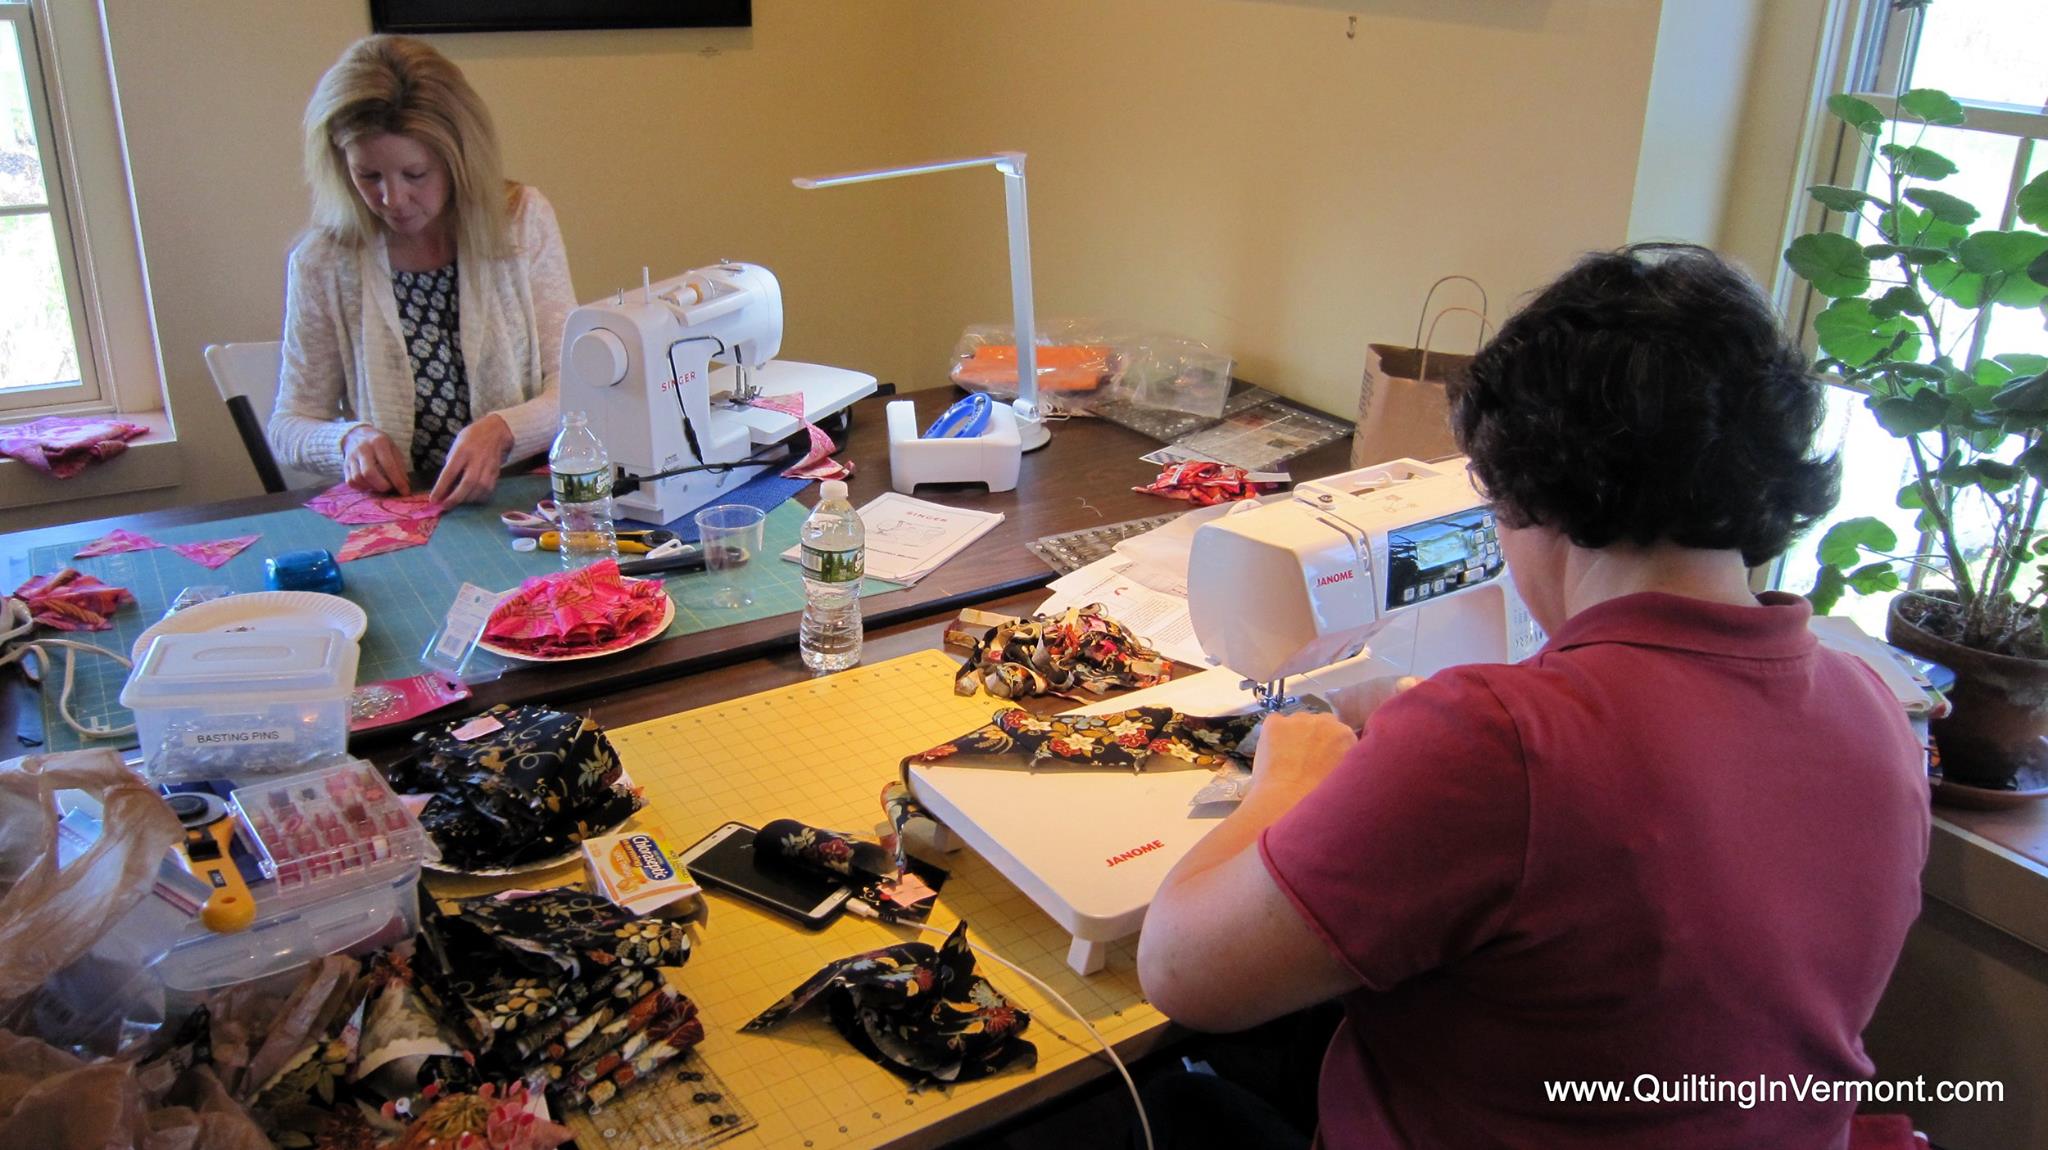
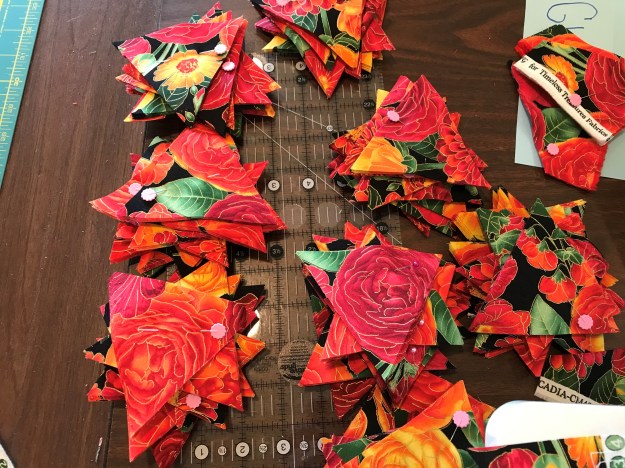
We hit the road running on Thursday afternoon, almost as soon as I got in the room the cutting of the repeats began.

cce1fbda-3be7-4ed4-b052-24fc2f25d969img_2543

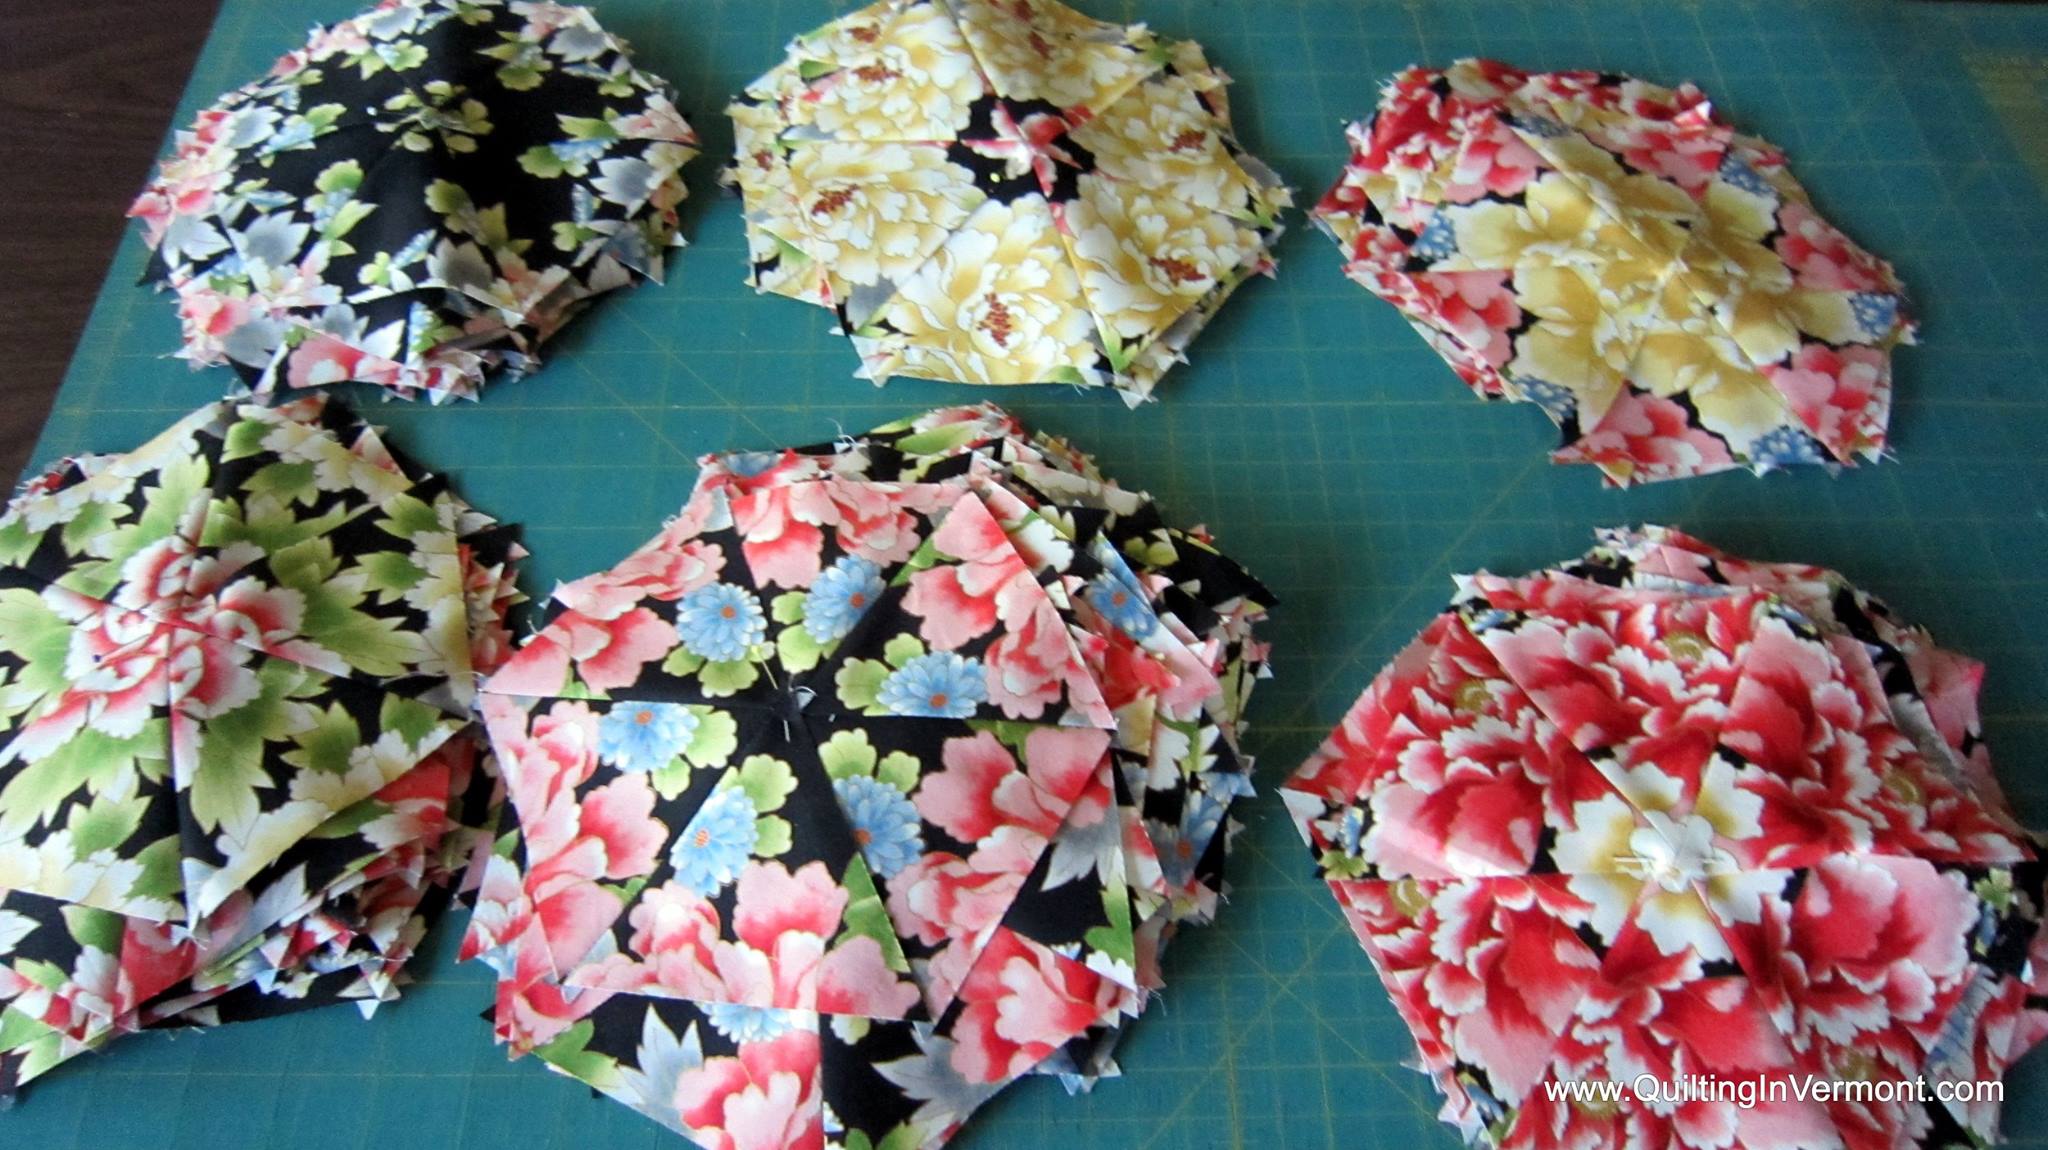
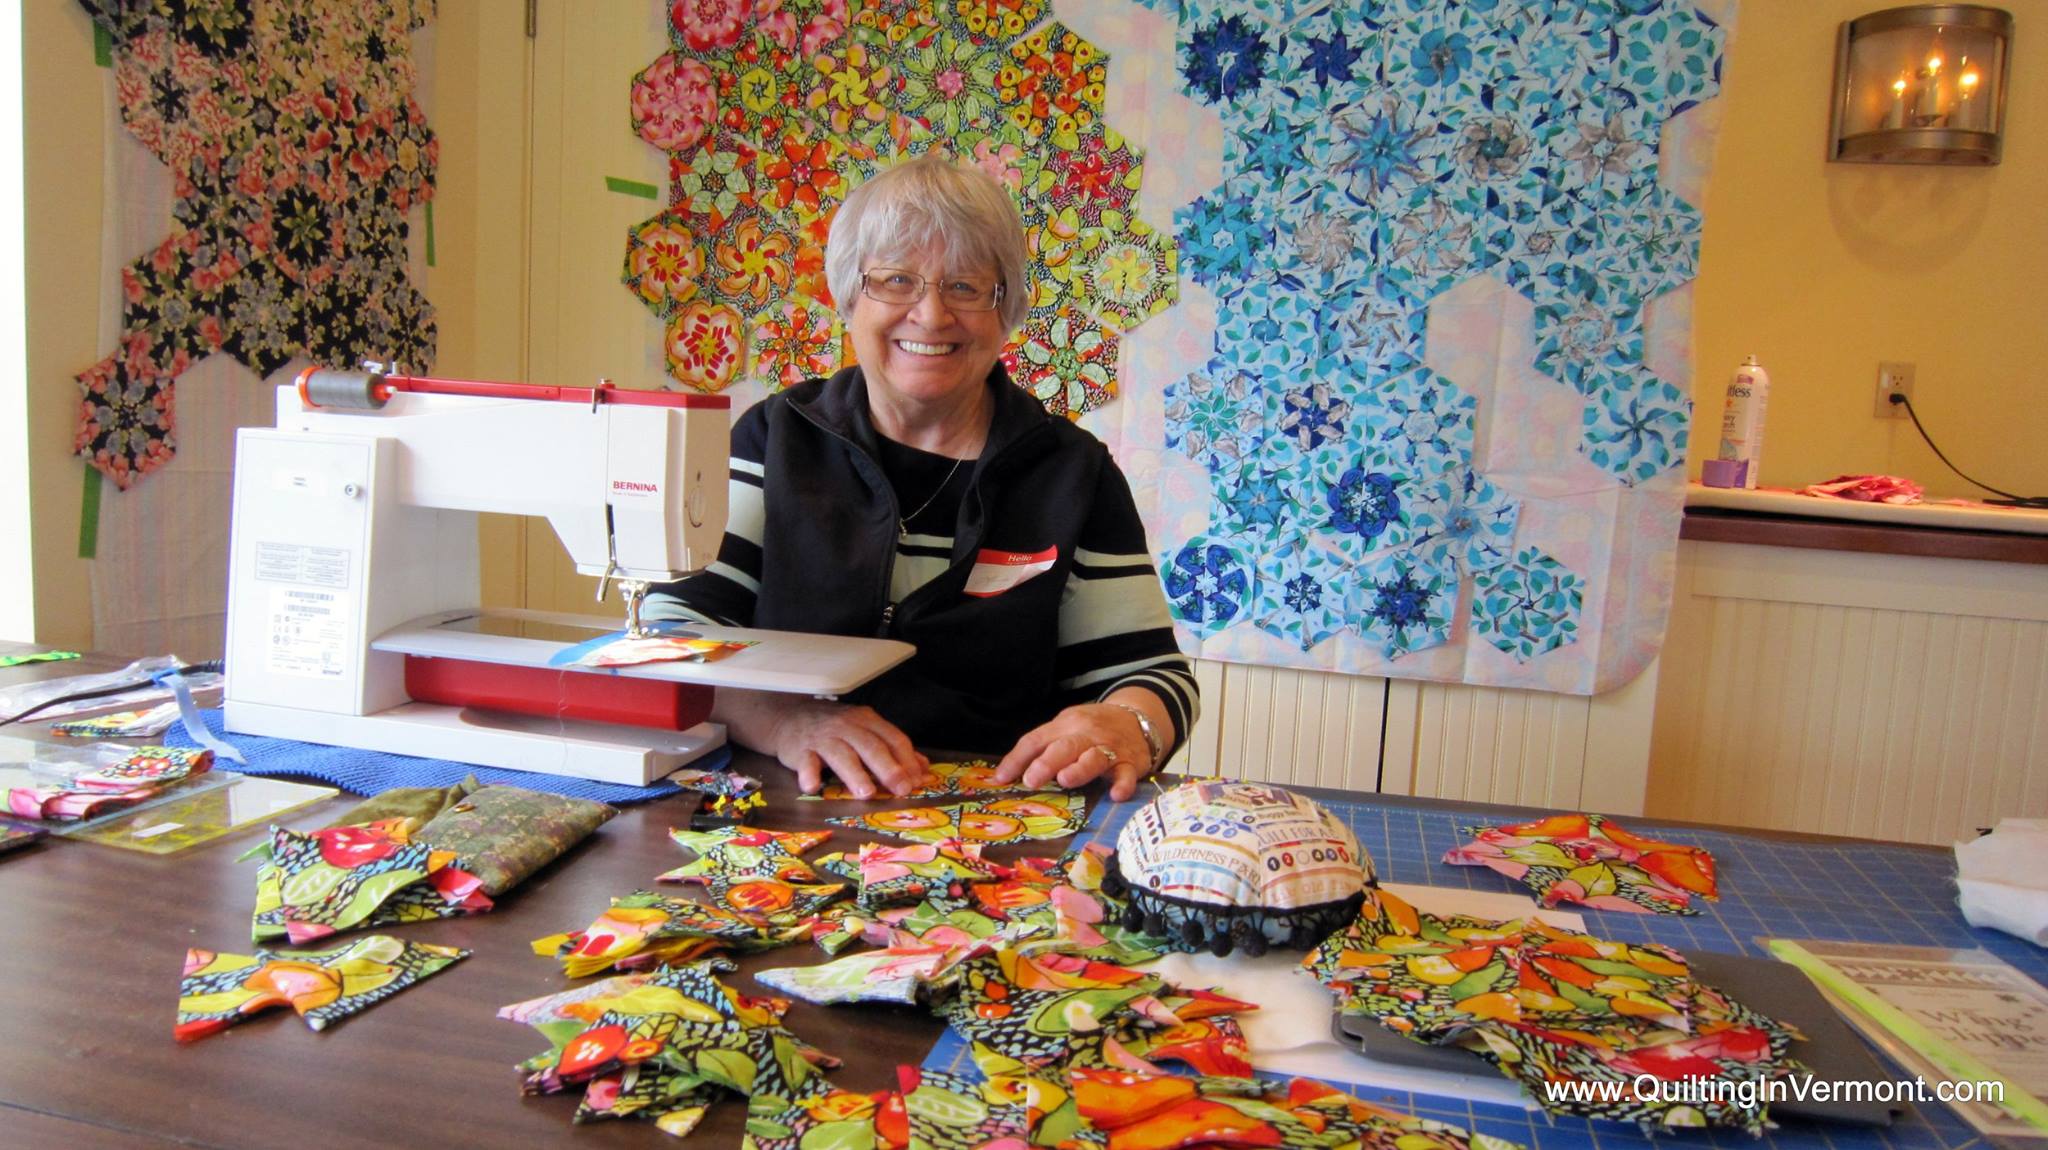
Carol had started hers hexies at home so she designed first, and what an awesome job she did!

img_2521img_2534

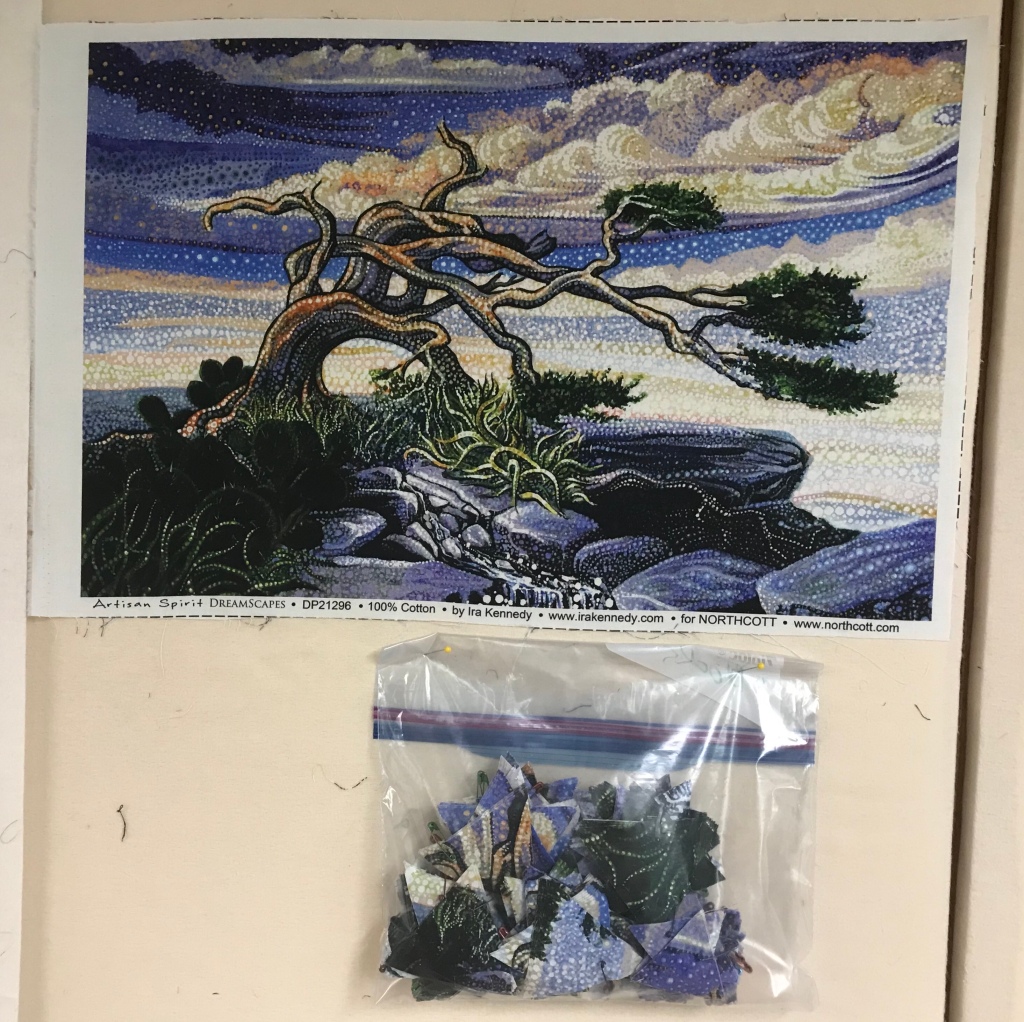
I did not get a picture of Sally’s original fabric.  It was motorcycles, racing flags and flowers on a bright clear blue fabric.  Her design is so very cool.  Ride Sally Ride!


img_2530

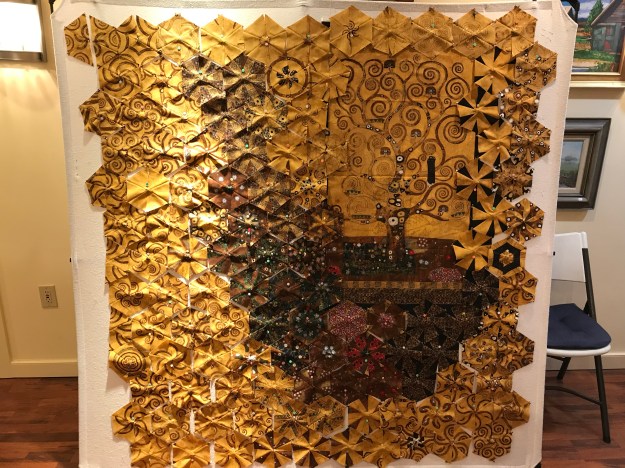
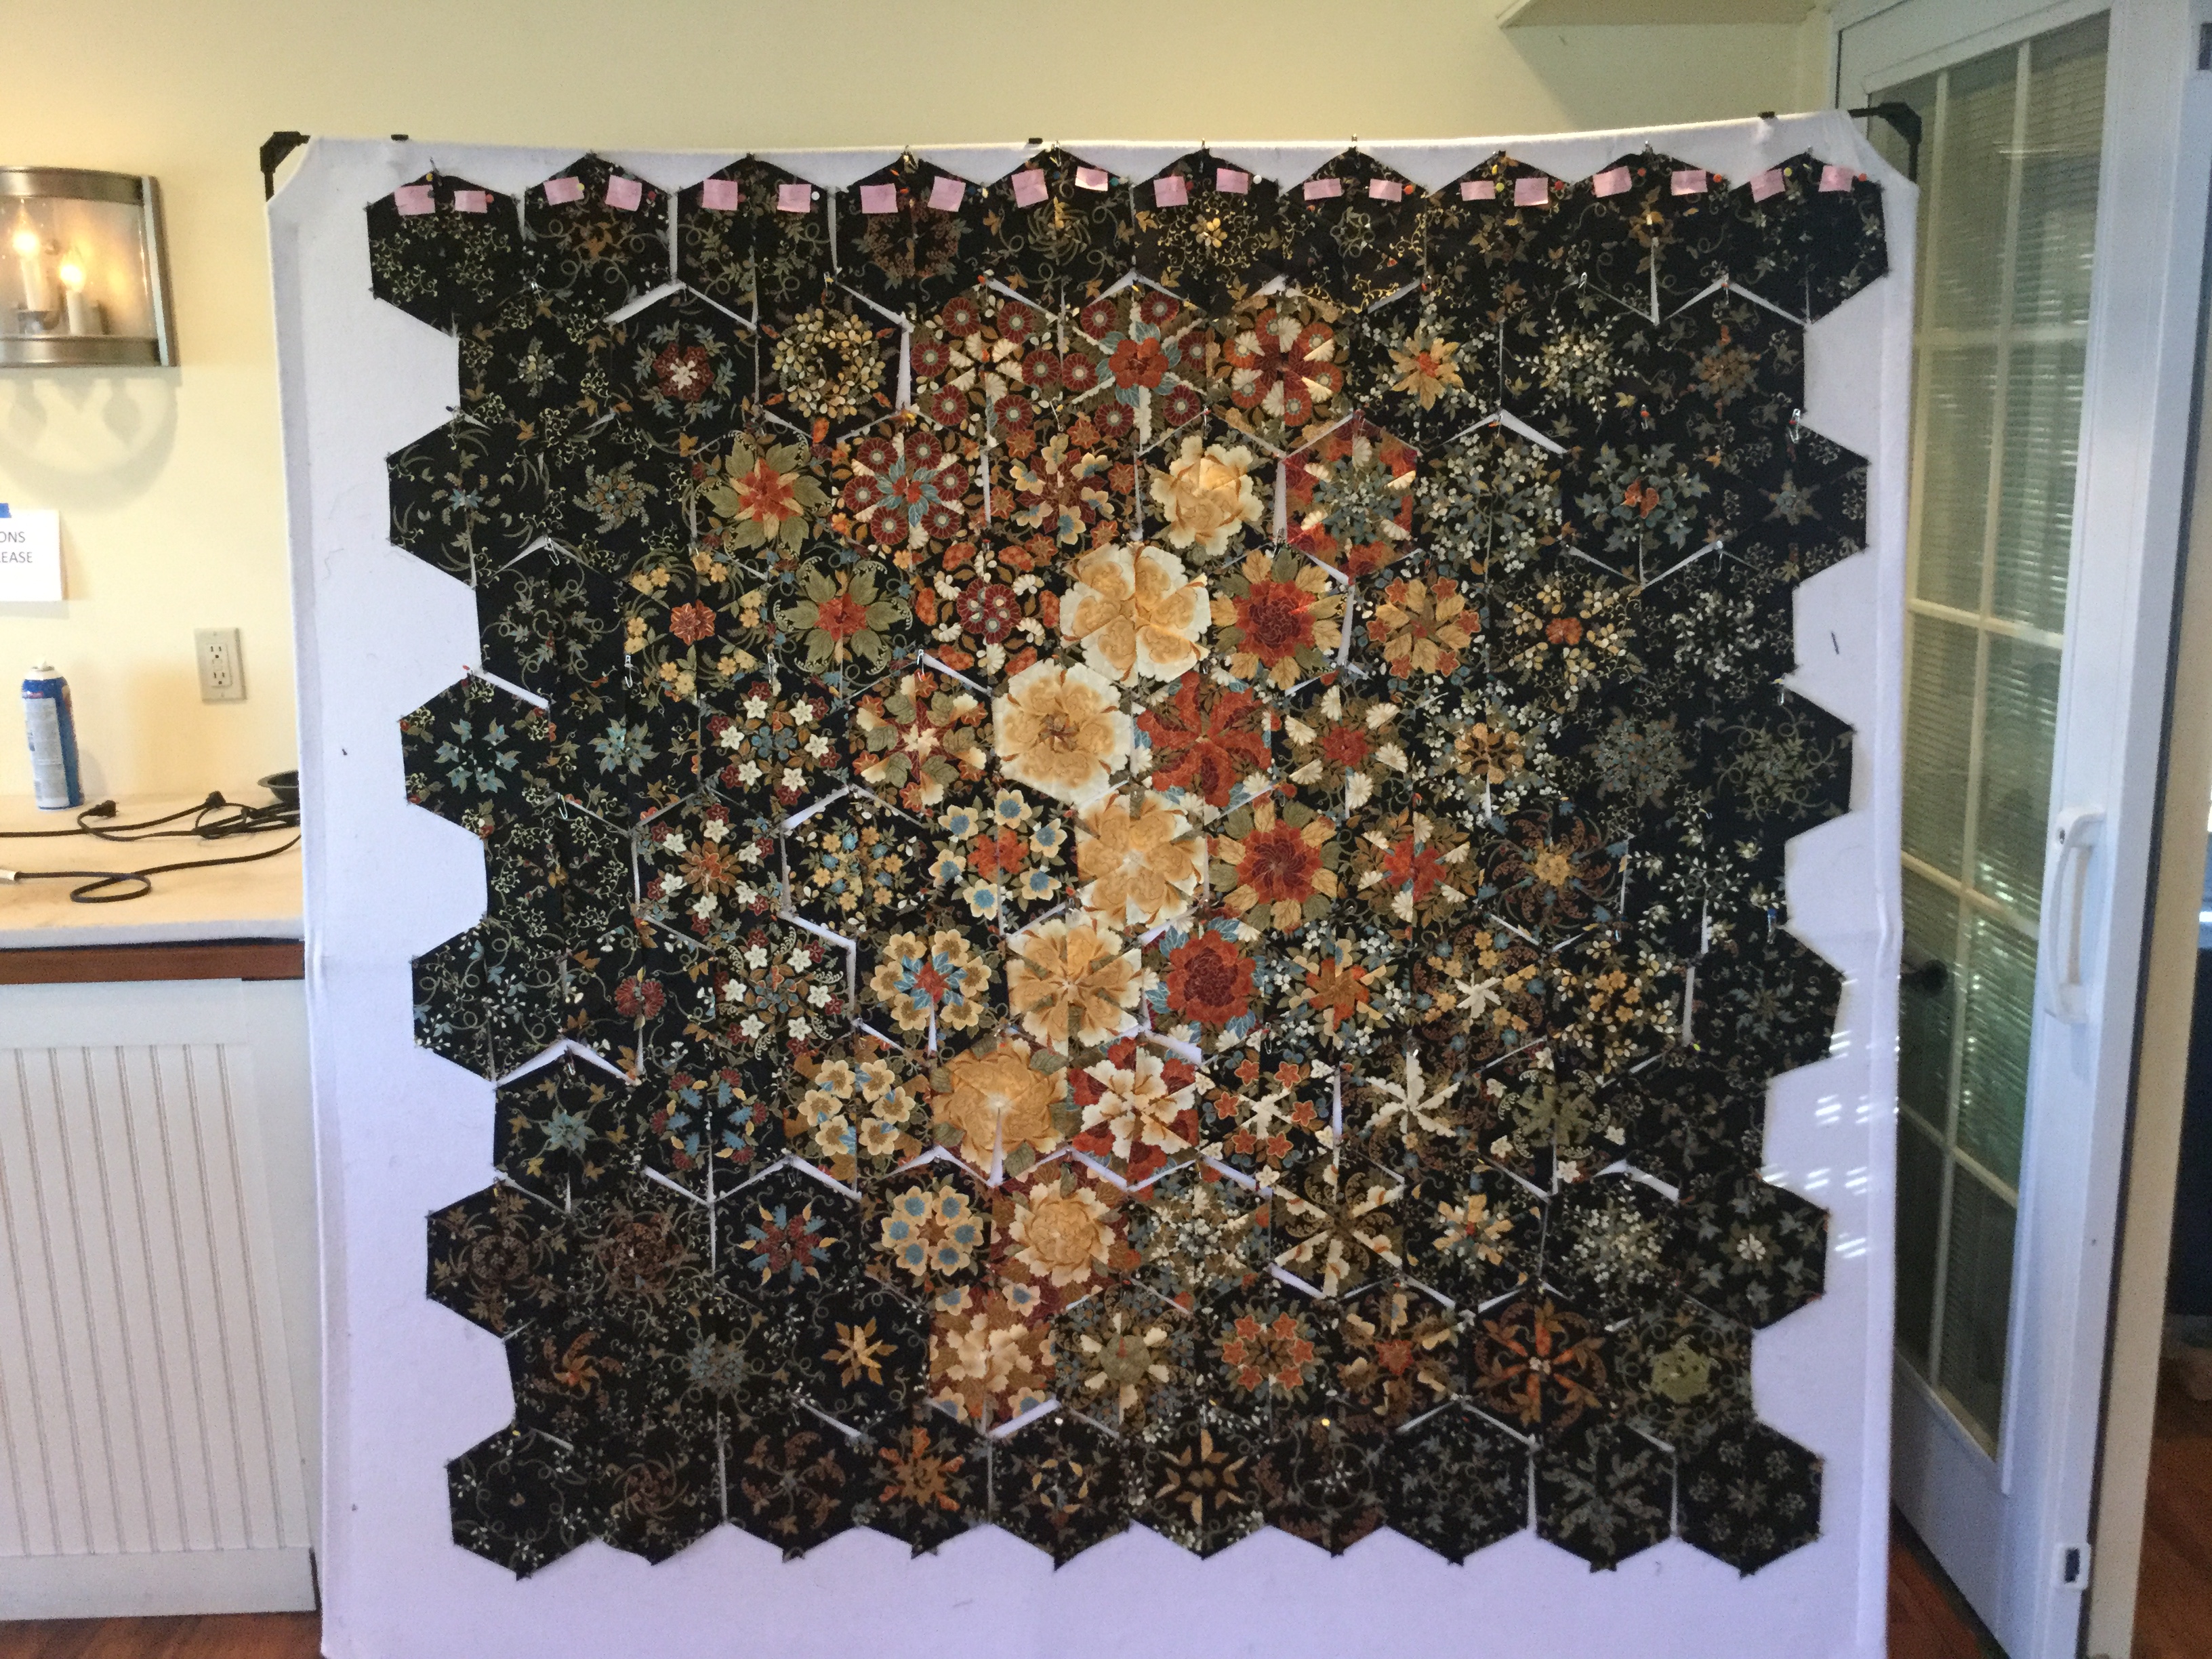
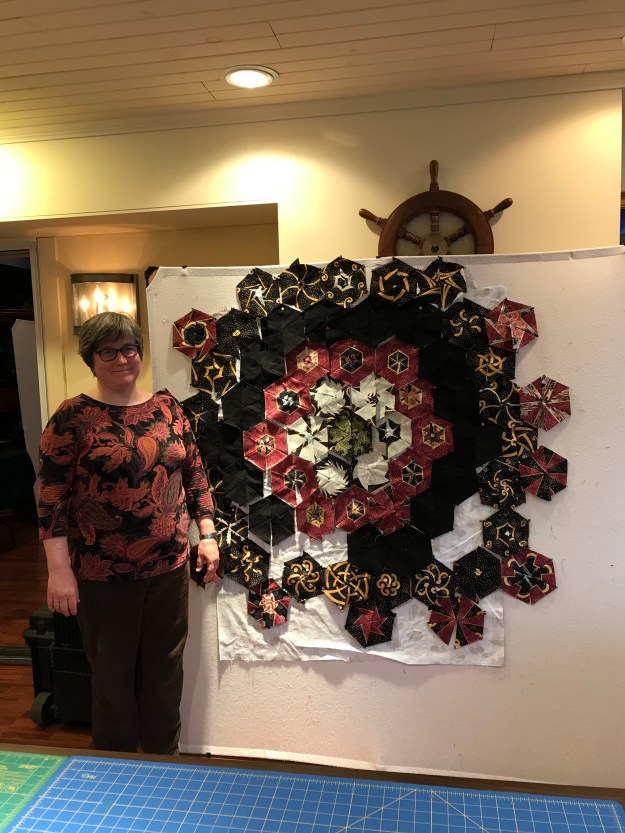
Joan’s panel is in deep golds and rich colors.  It seems one of her favorite blocks was very plain that she called “the Tortilla”!  Can you find it?

img_2518

Joan’s sister Sharon had a small aboriginal print from an 8″ repeat that she cut 2 1/2″ strips for a smaller hexie.  Somehow I missed getting a picture of her final design which was totally awesome.

img_2525img_2542

Deb’s panel is awesome and her hexie design is totally awesomeness!

img_2519img_2545

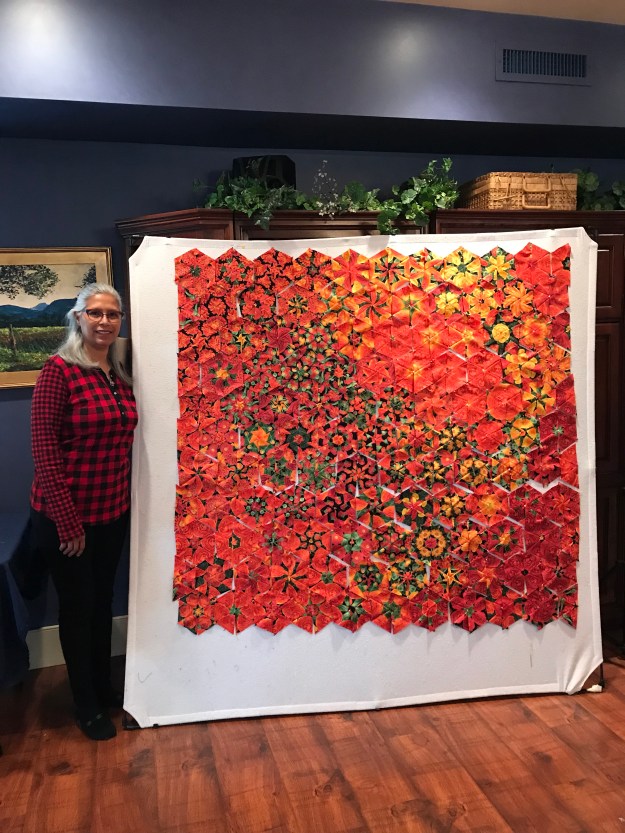
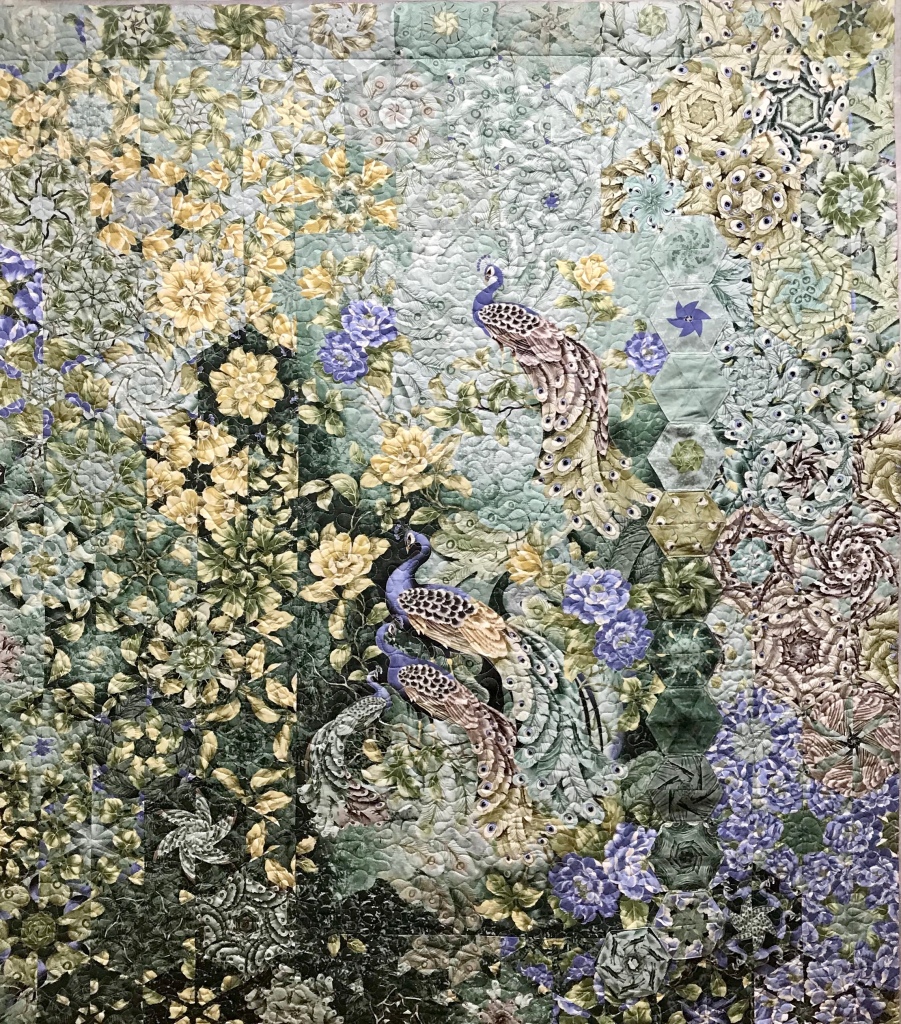
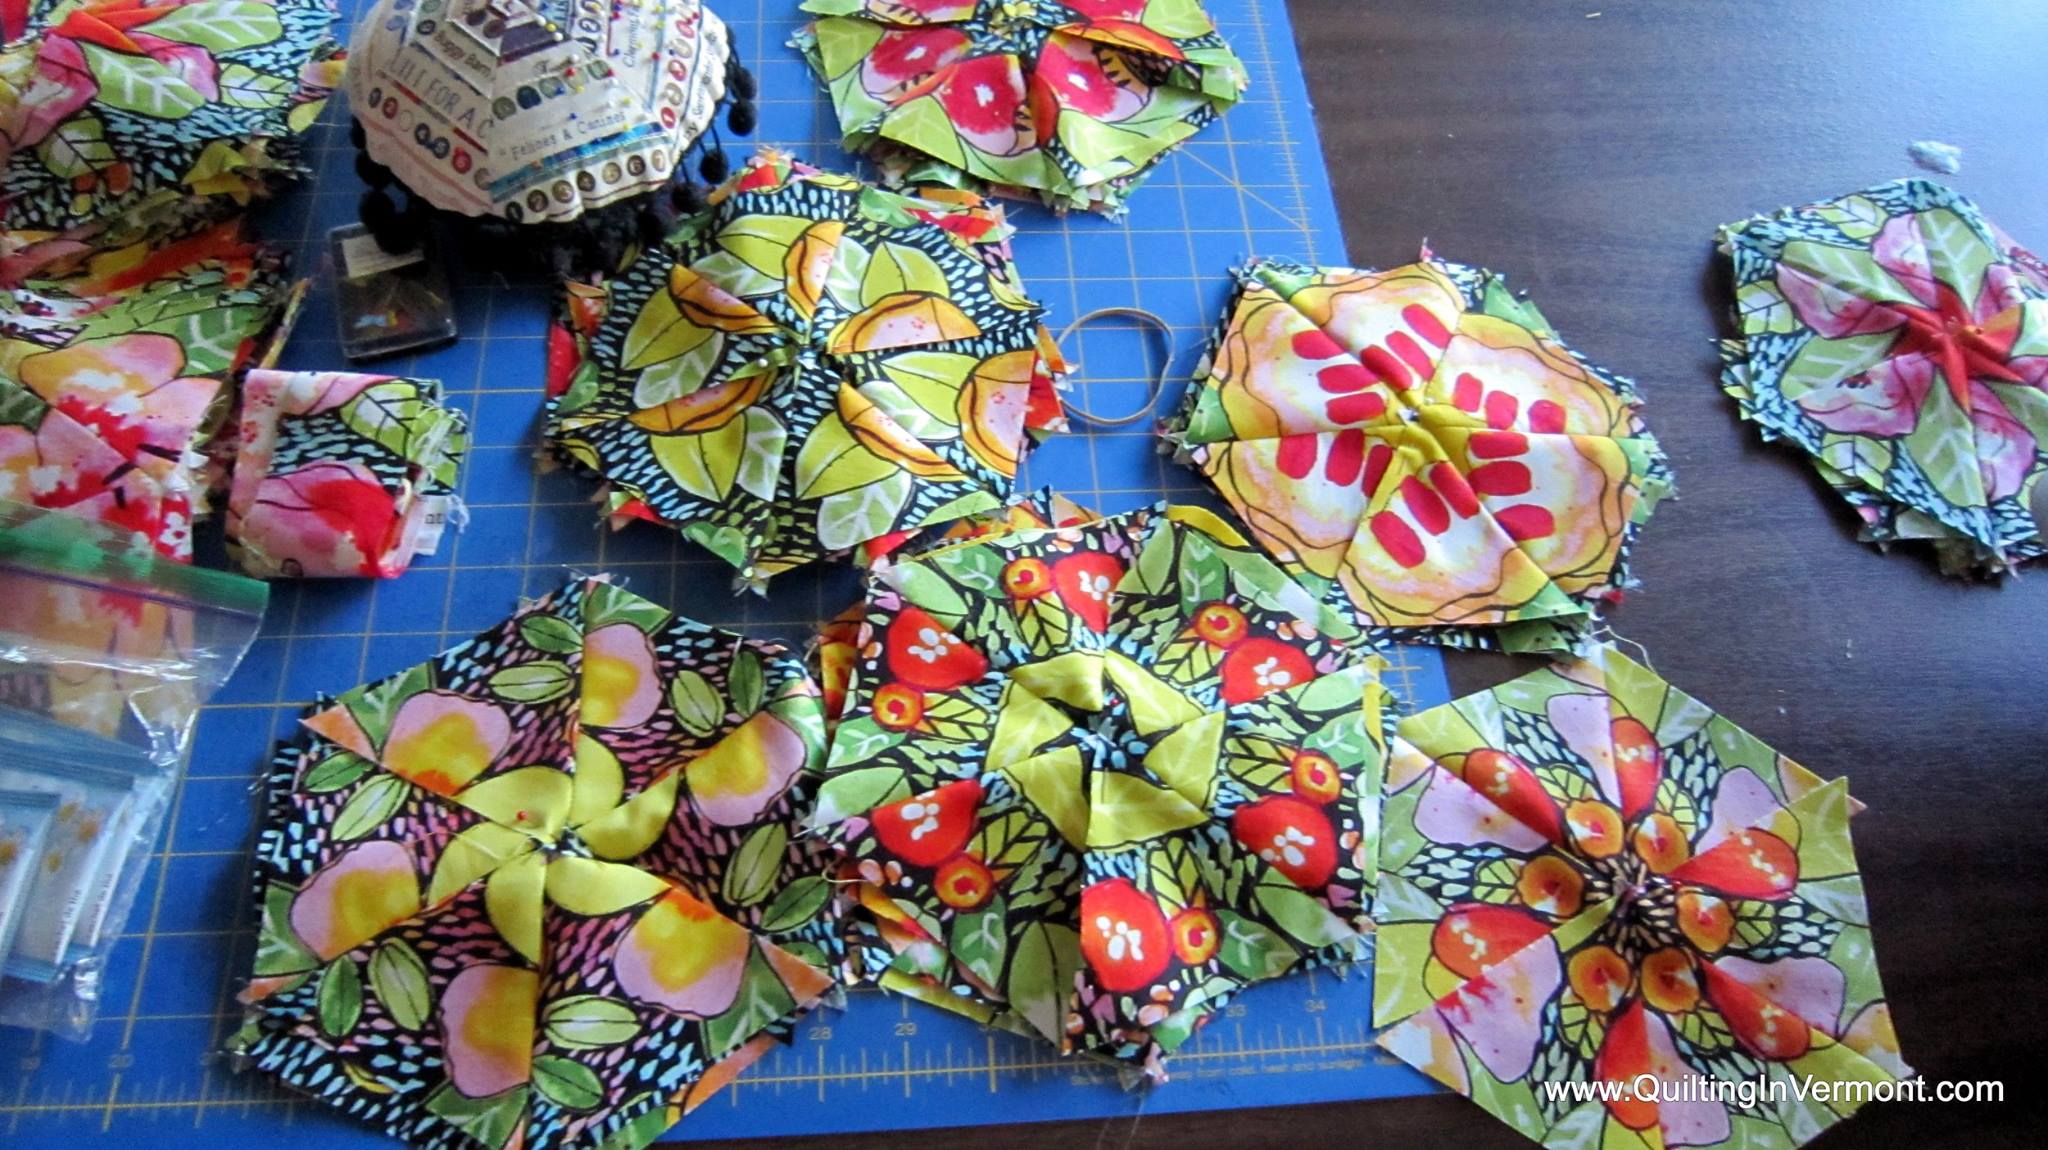
Gladys’ fabric is so bright and cheerful.  Her design is a true celebration of color!


img_2547

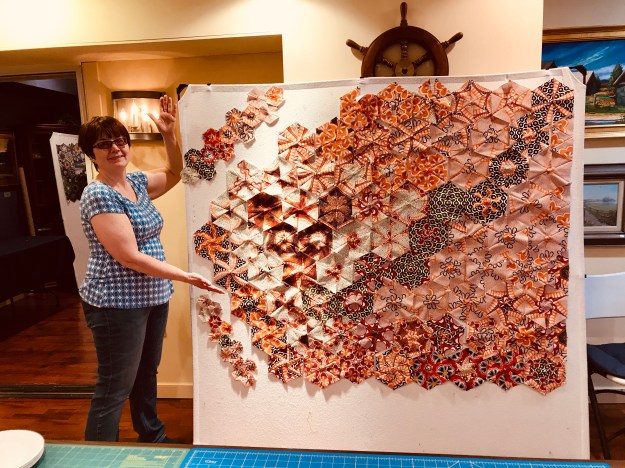
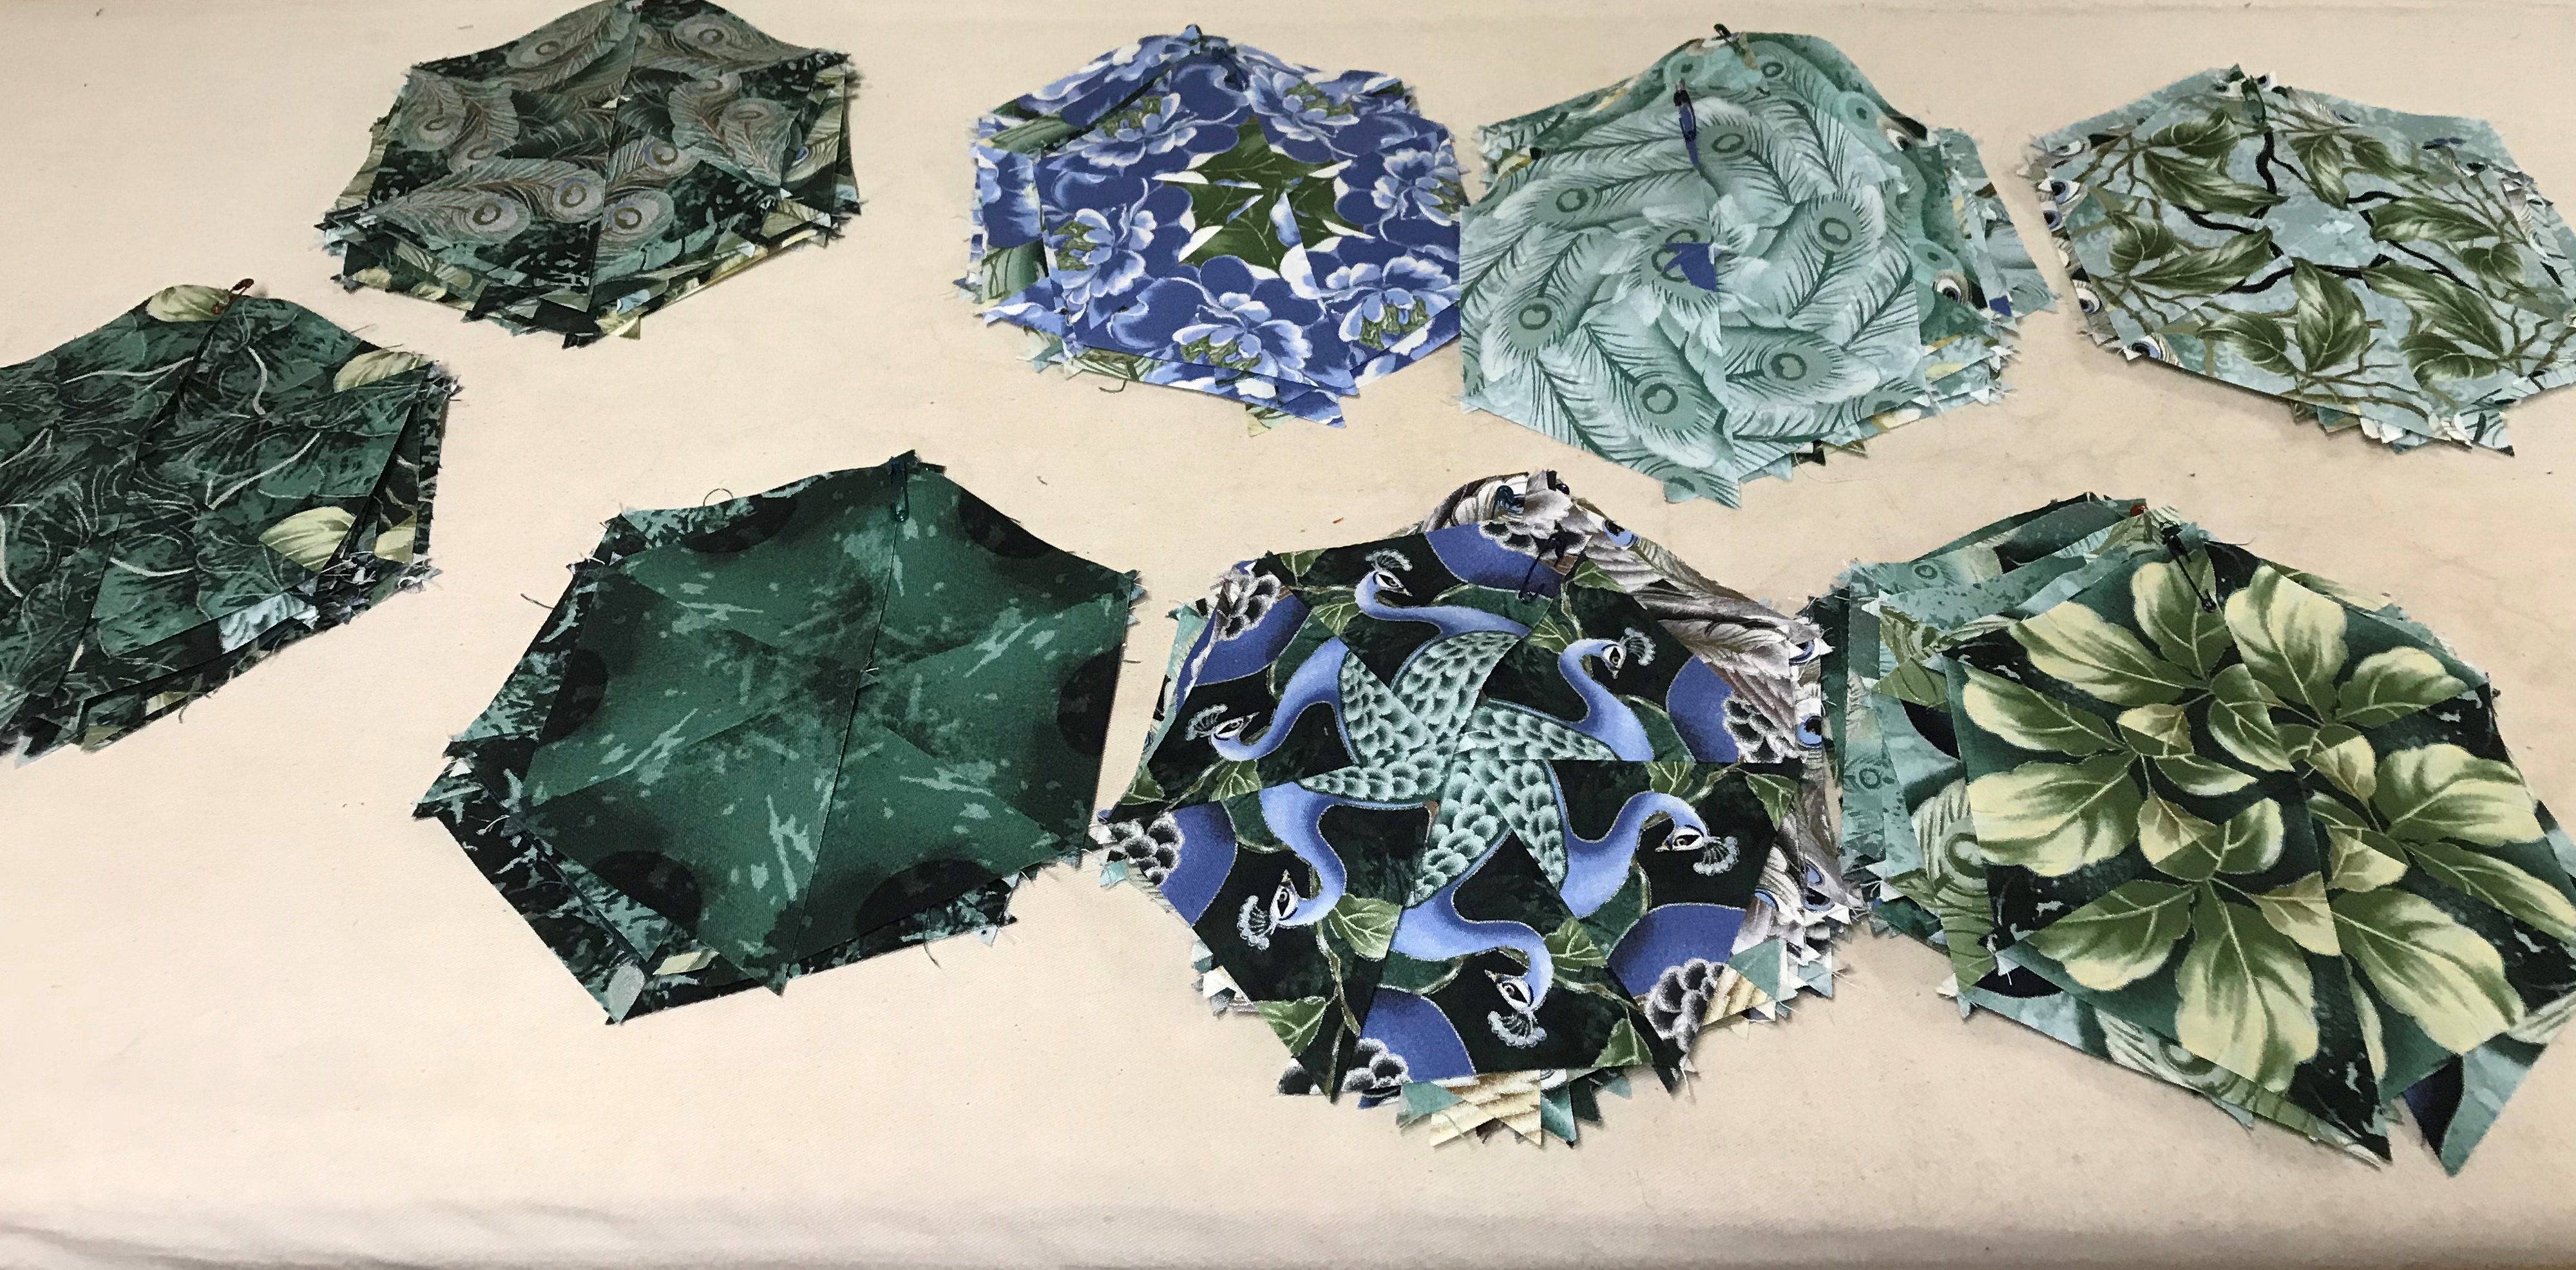
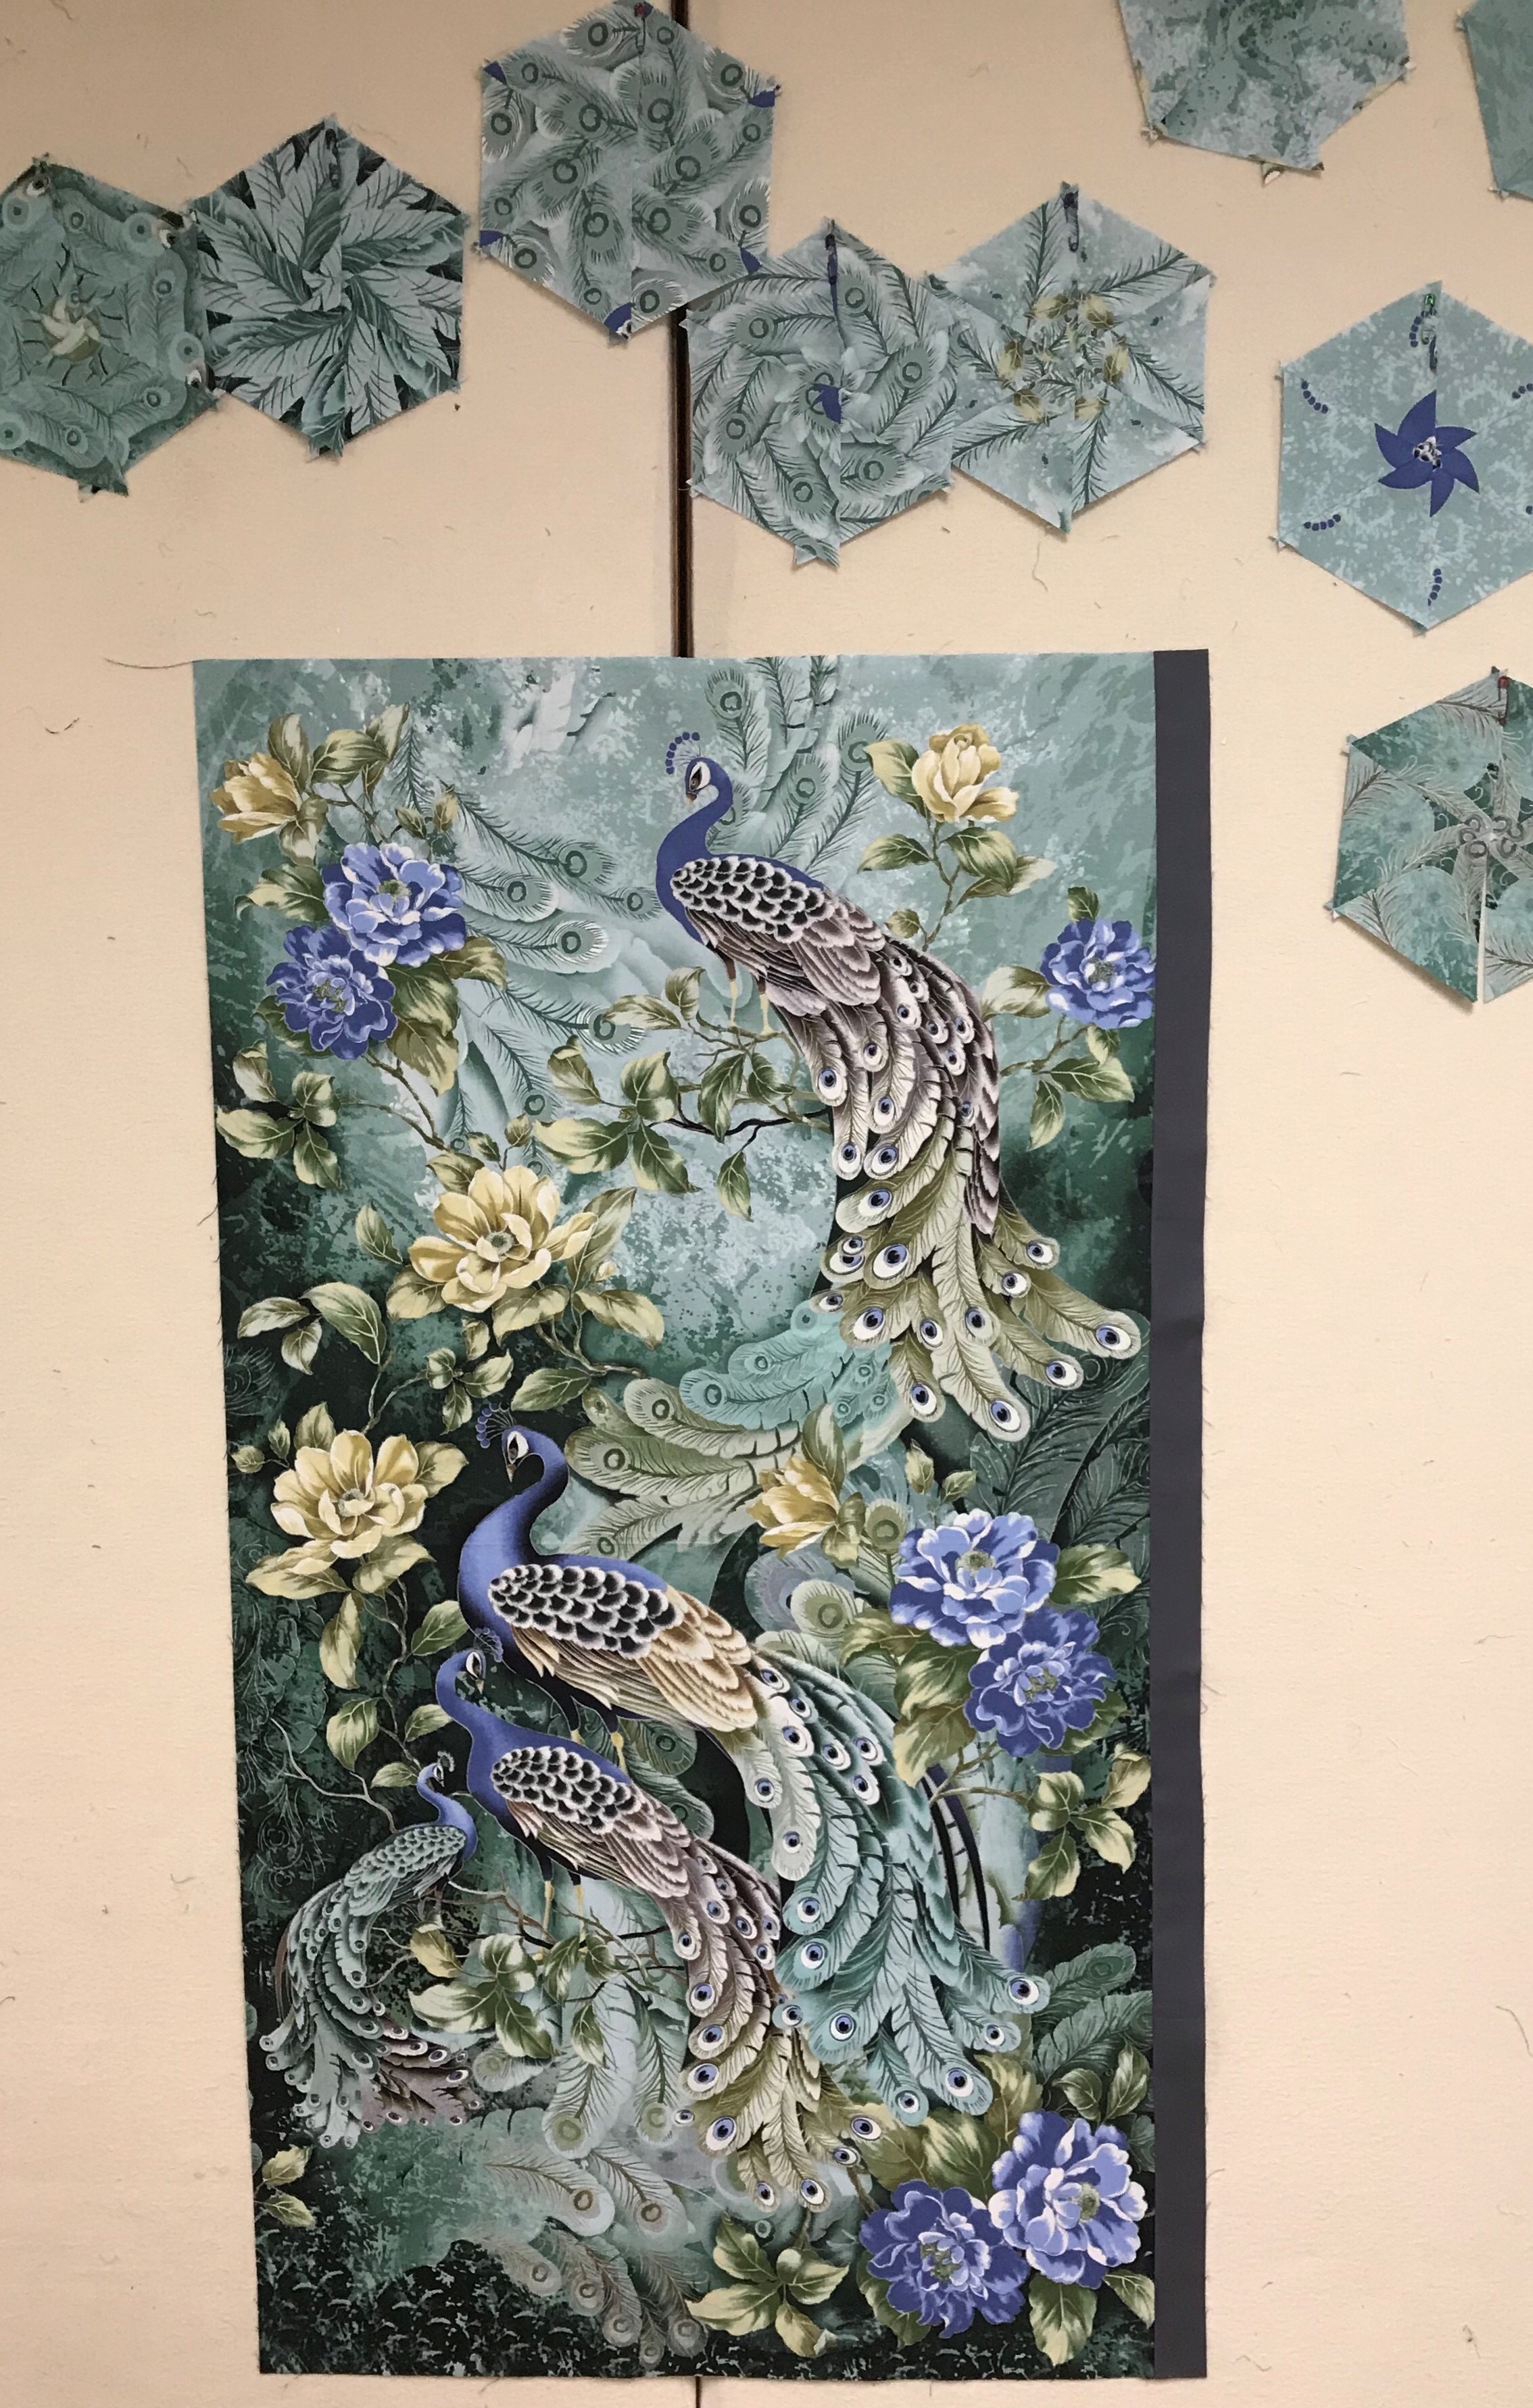
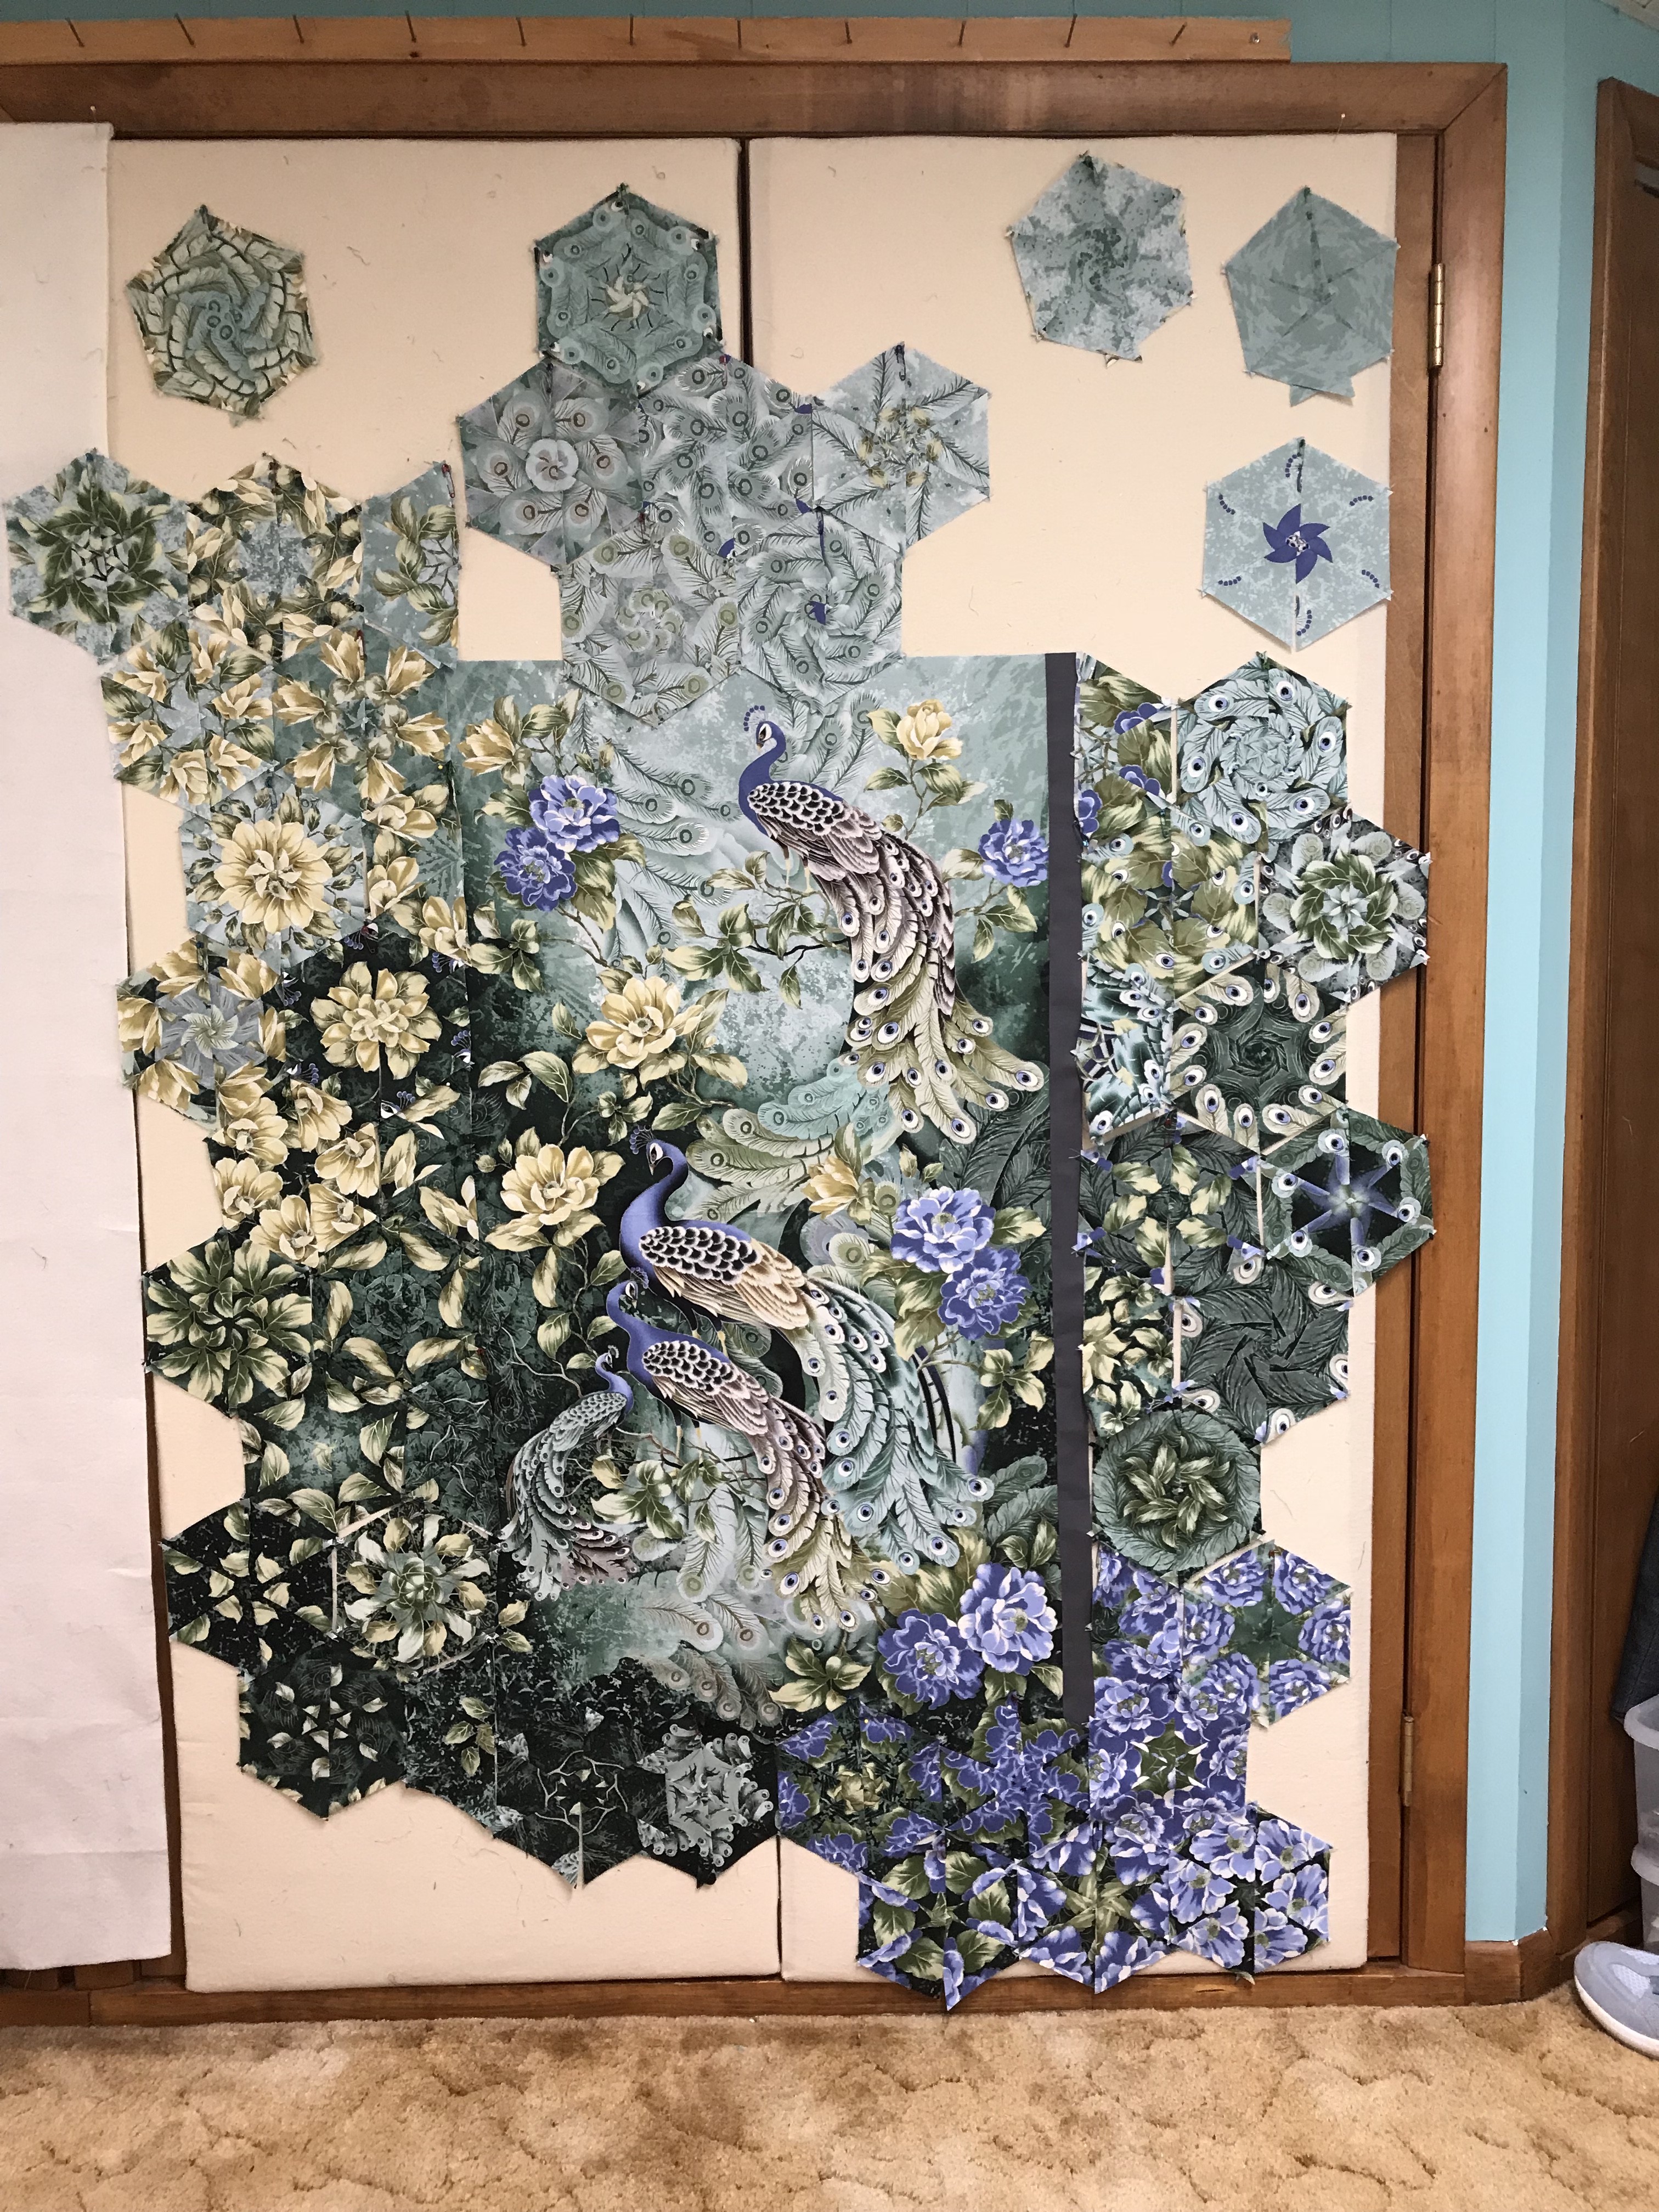
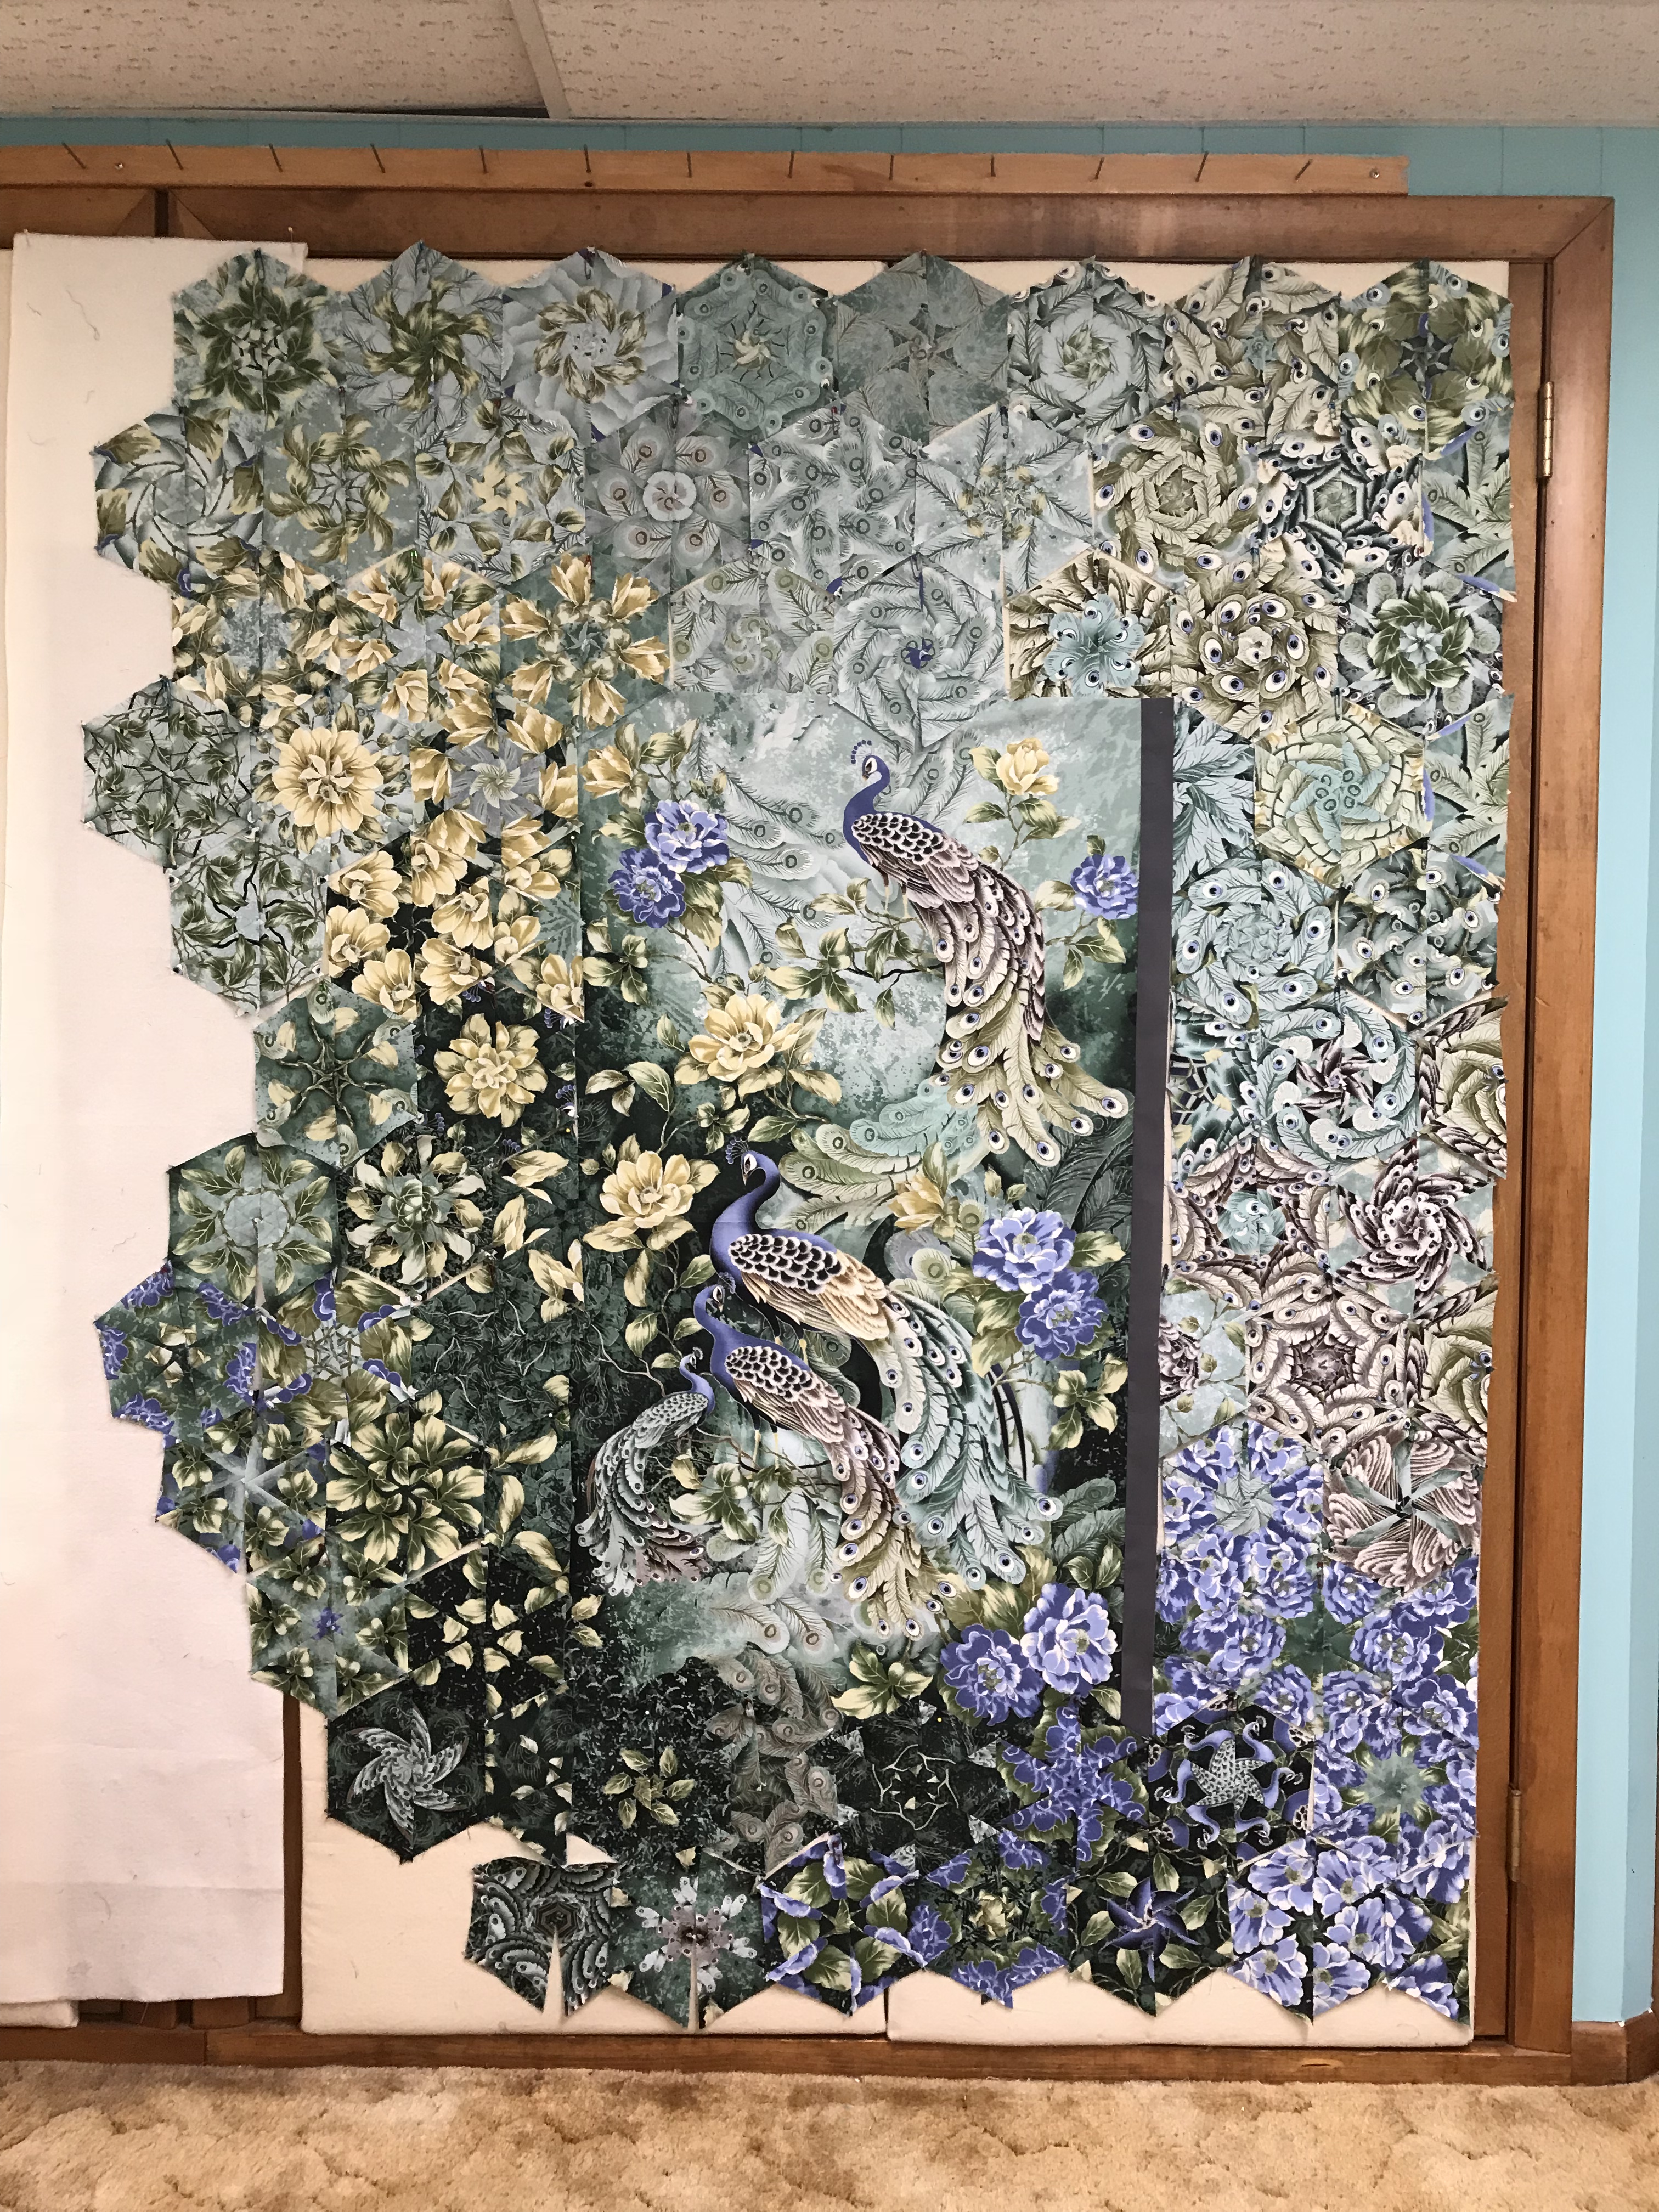
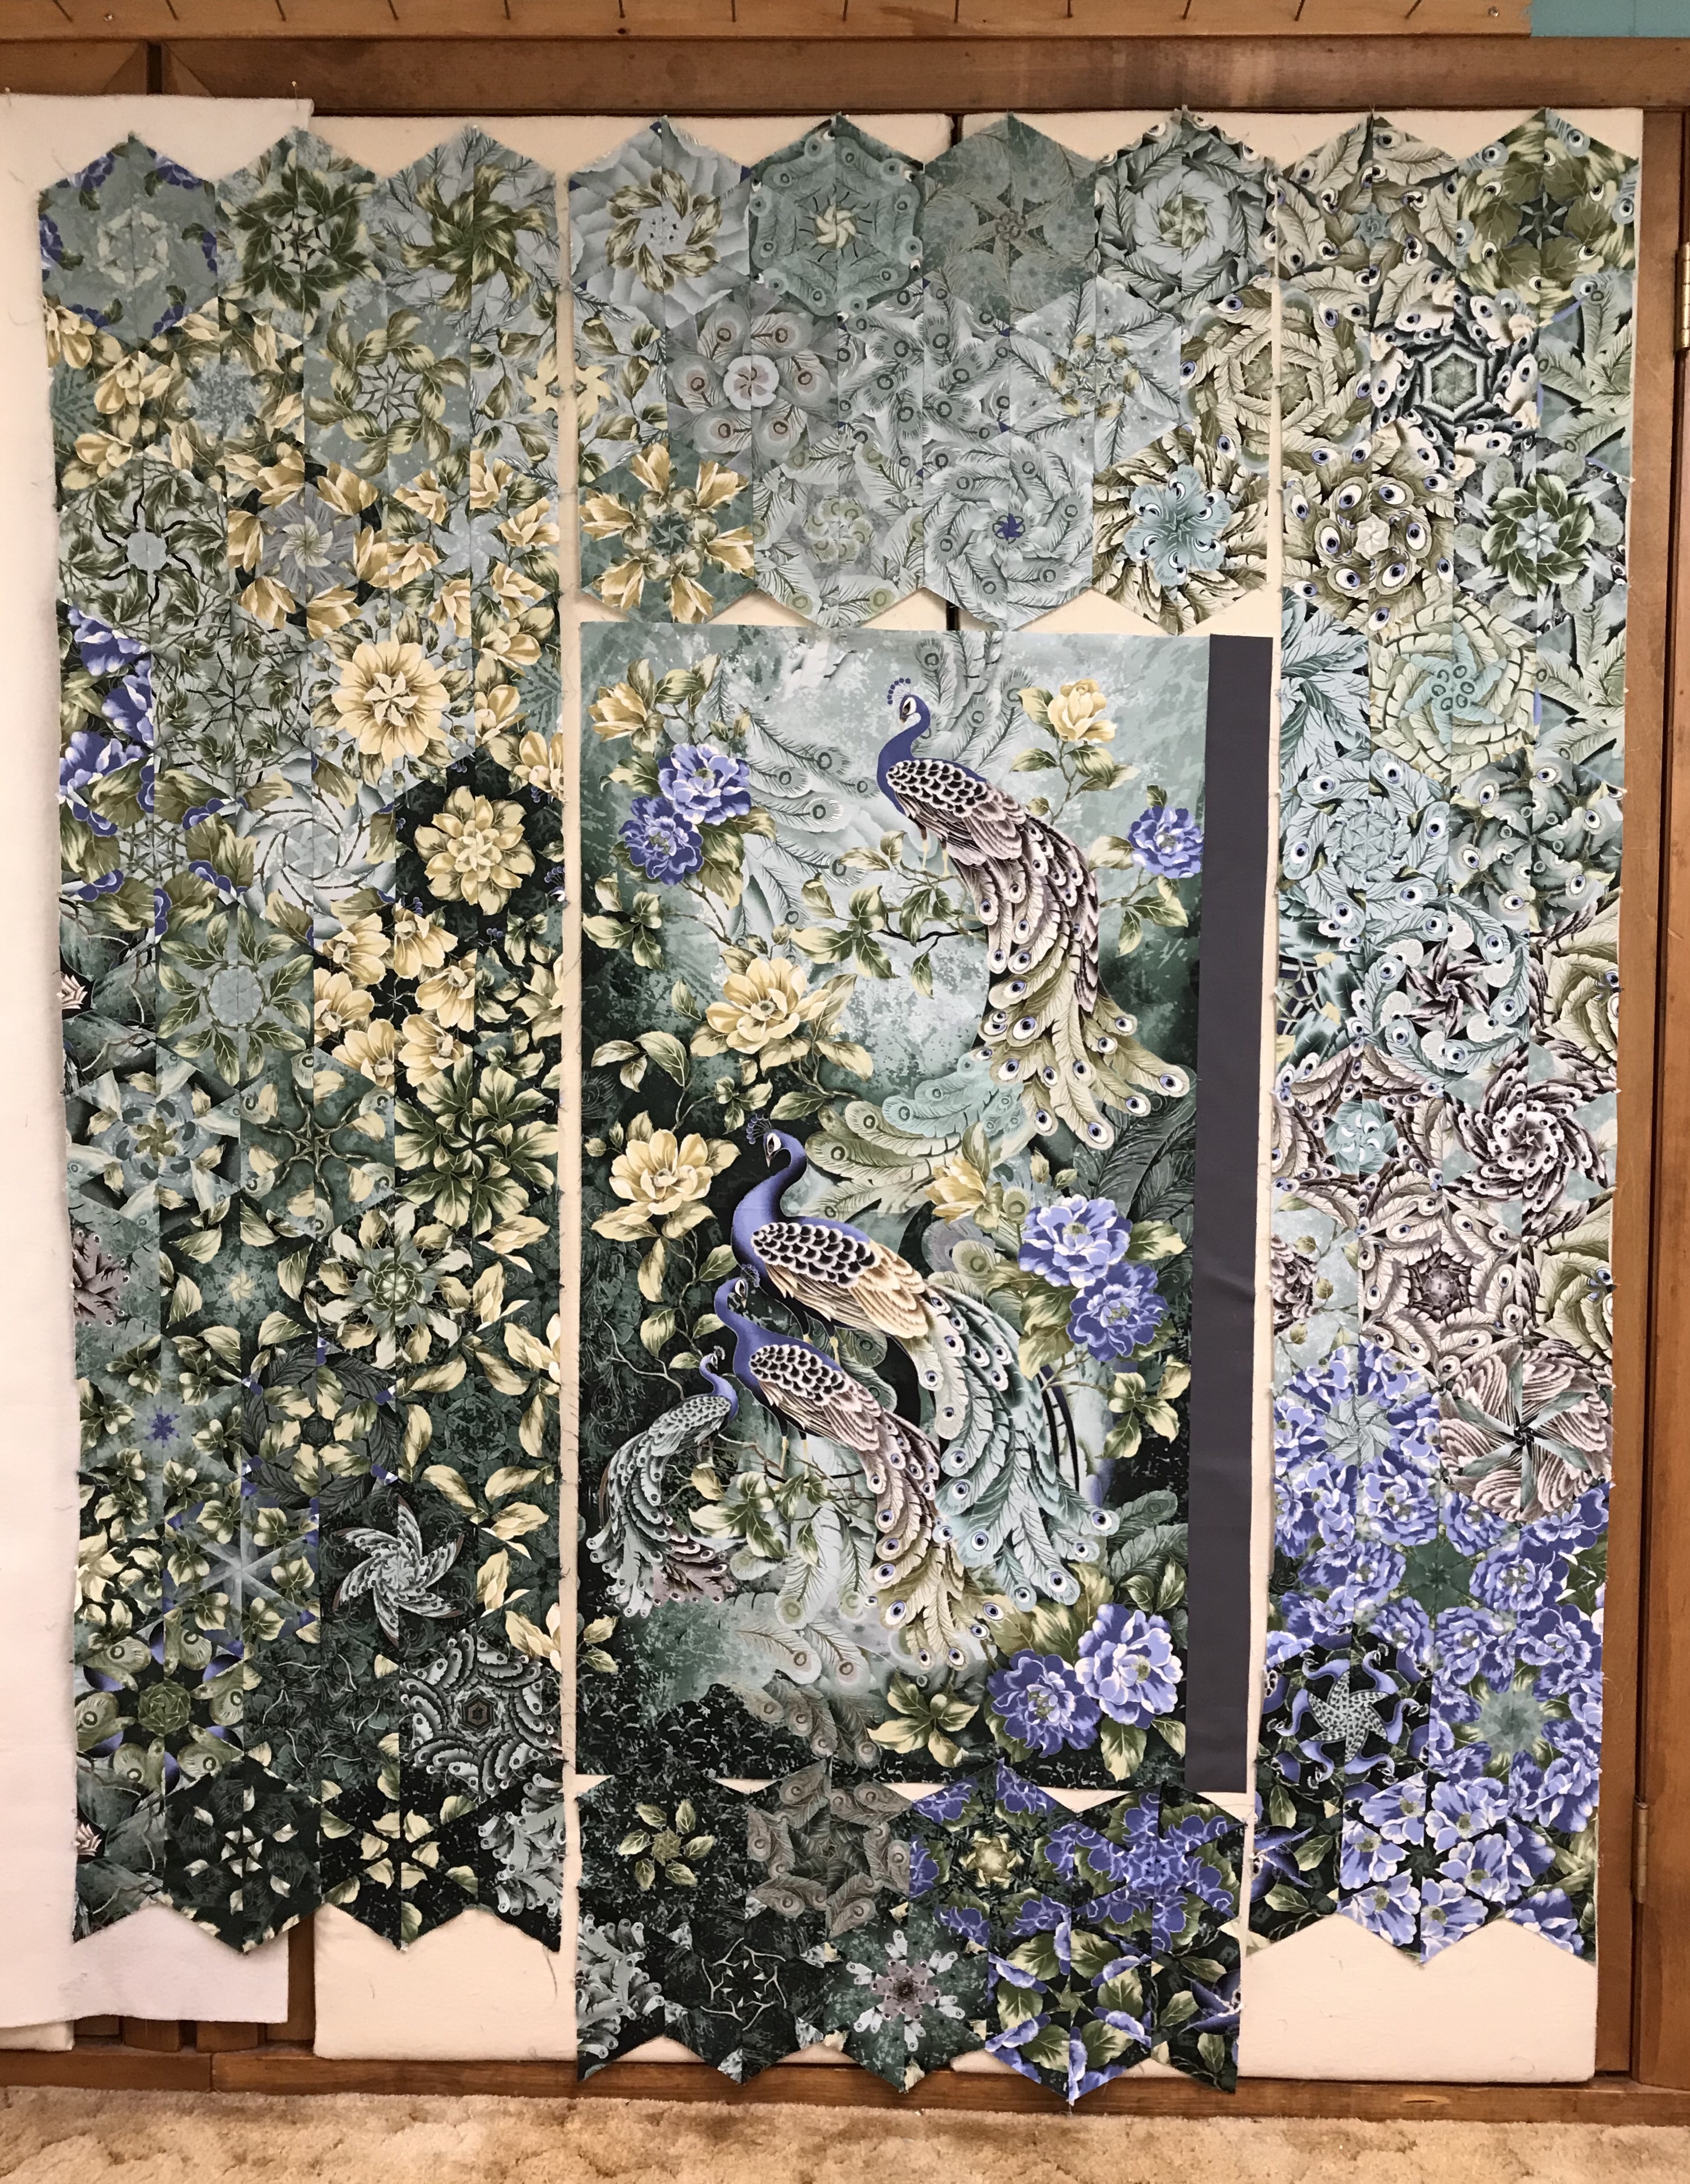
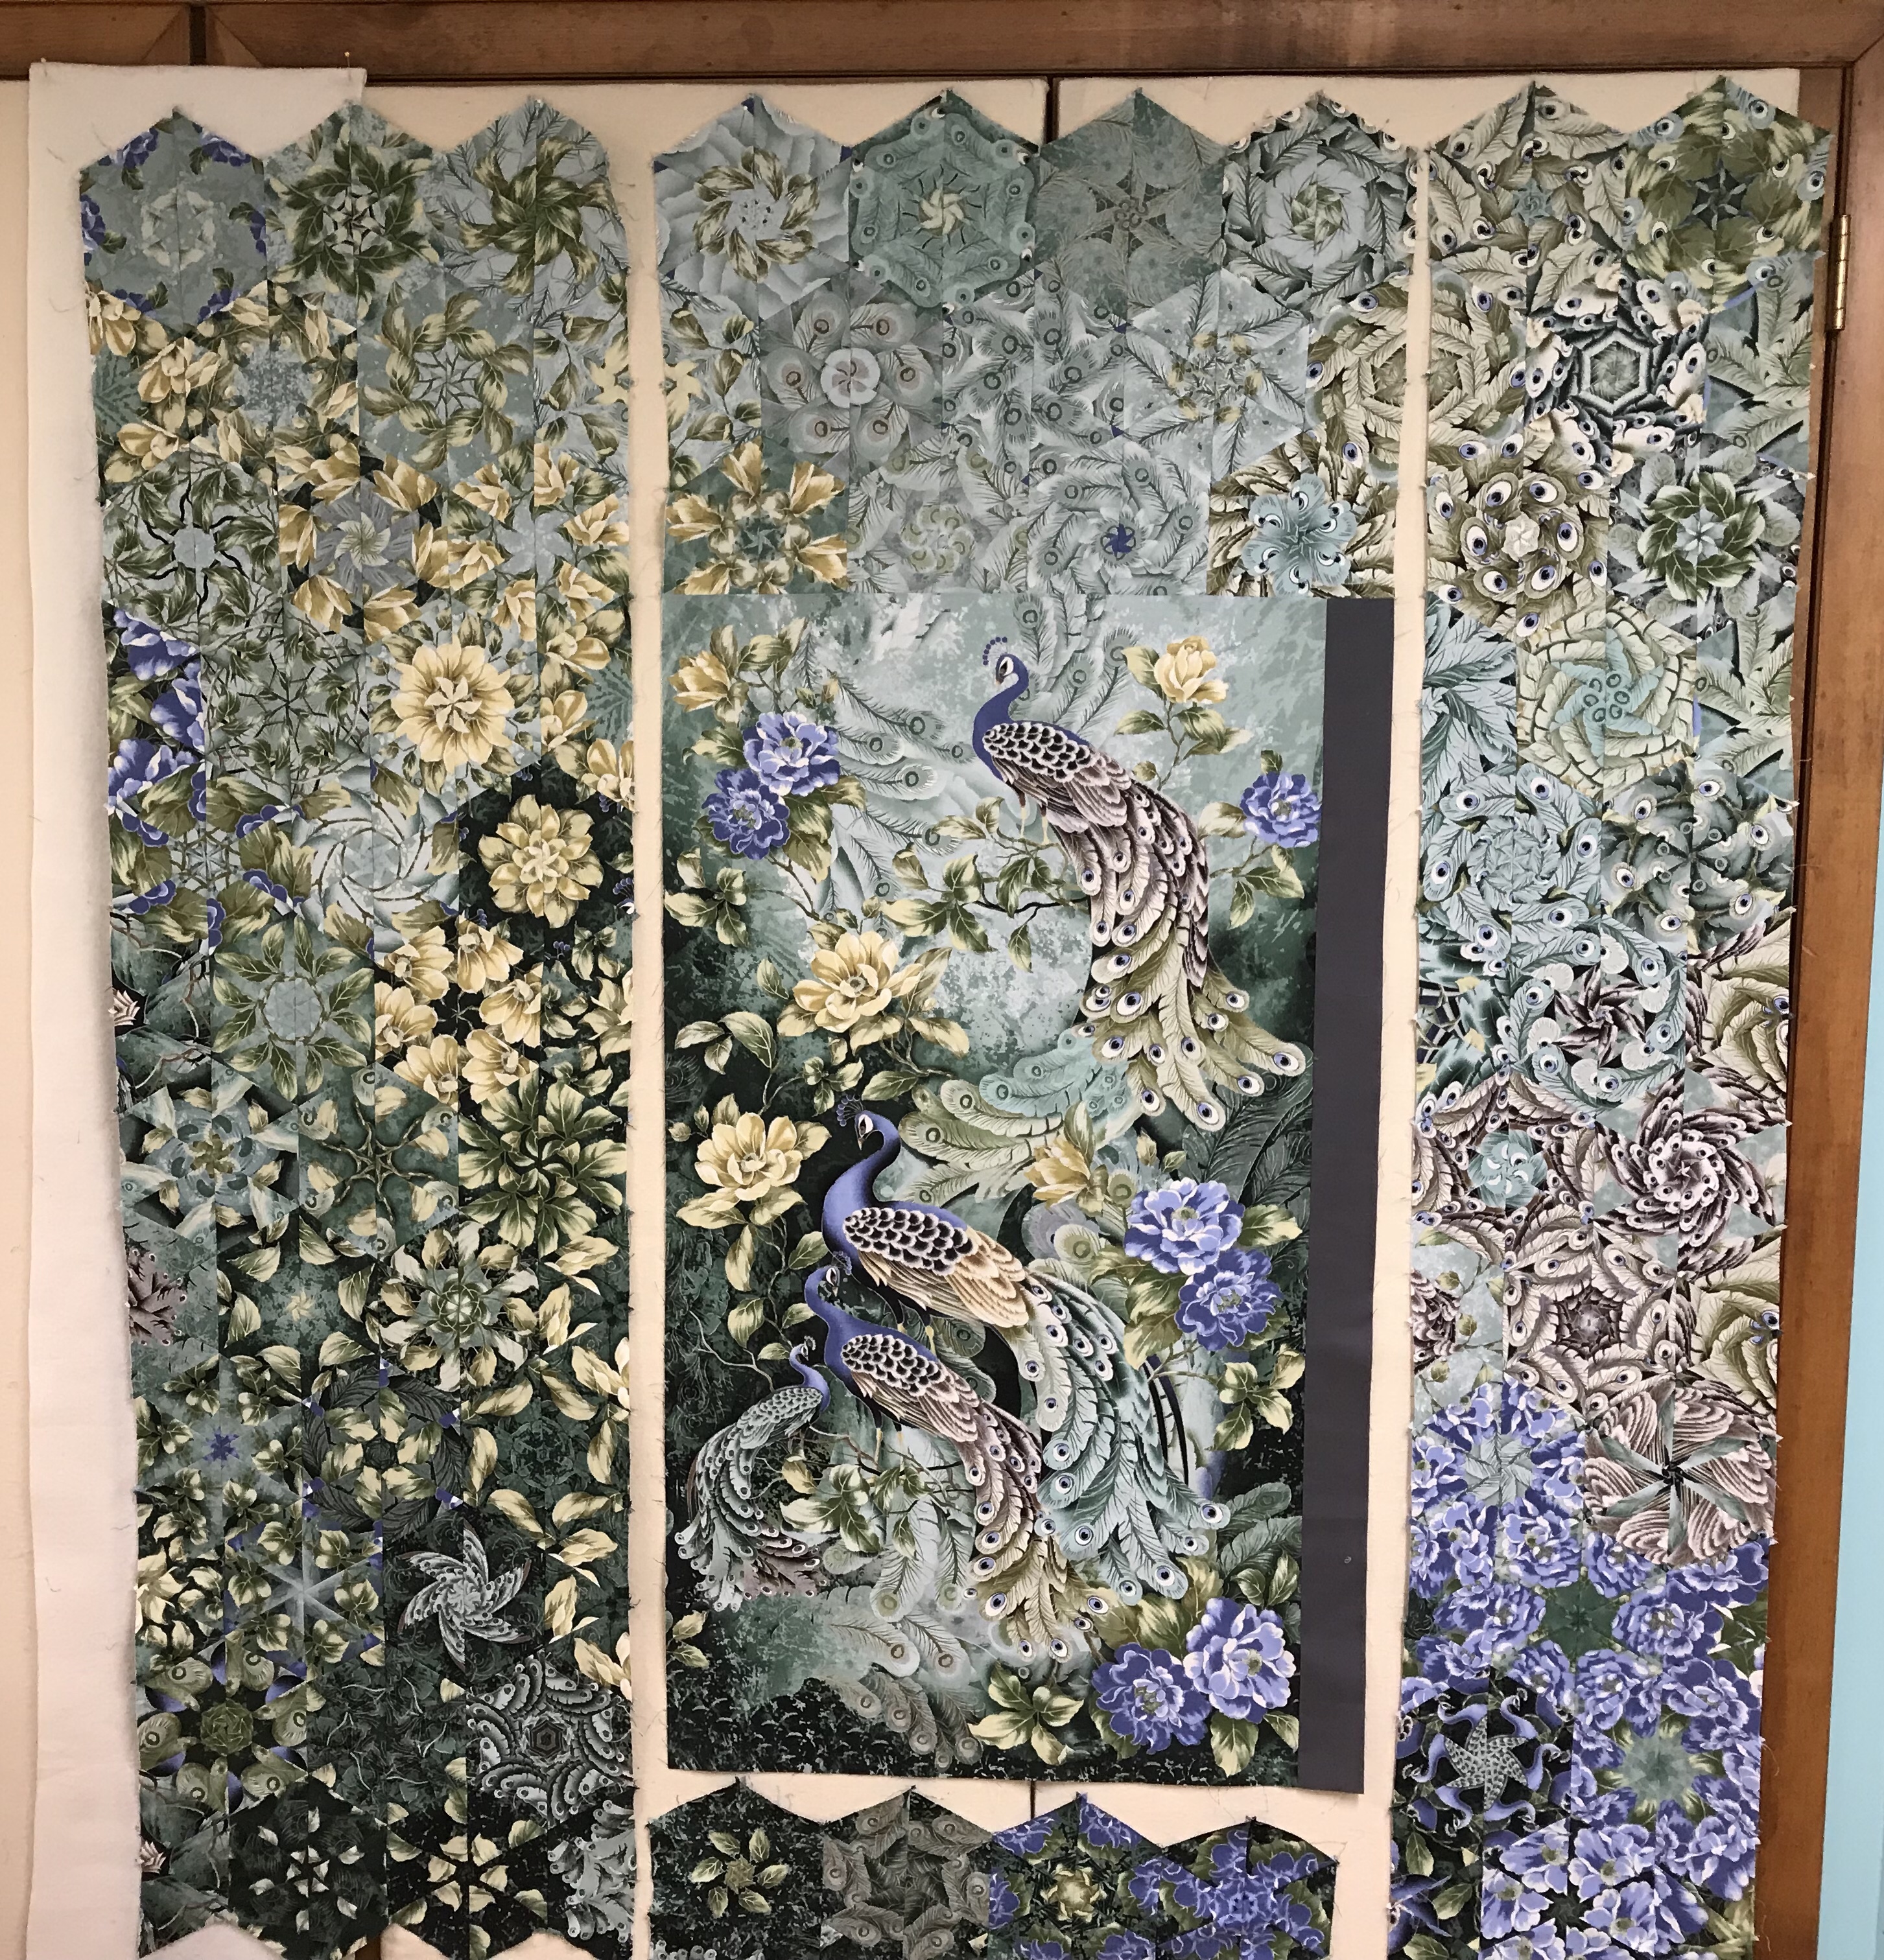
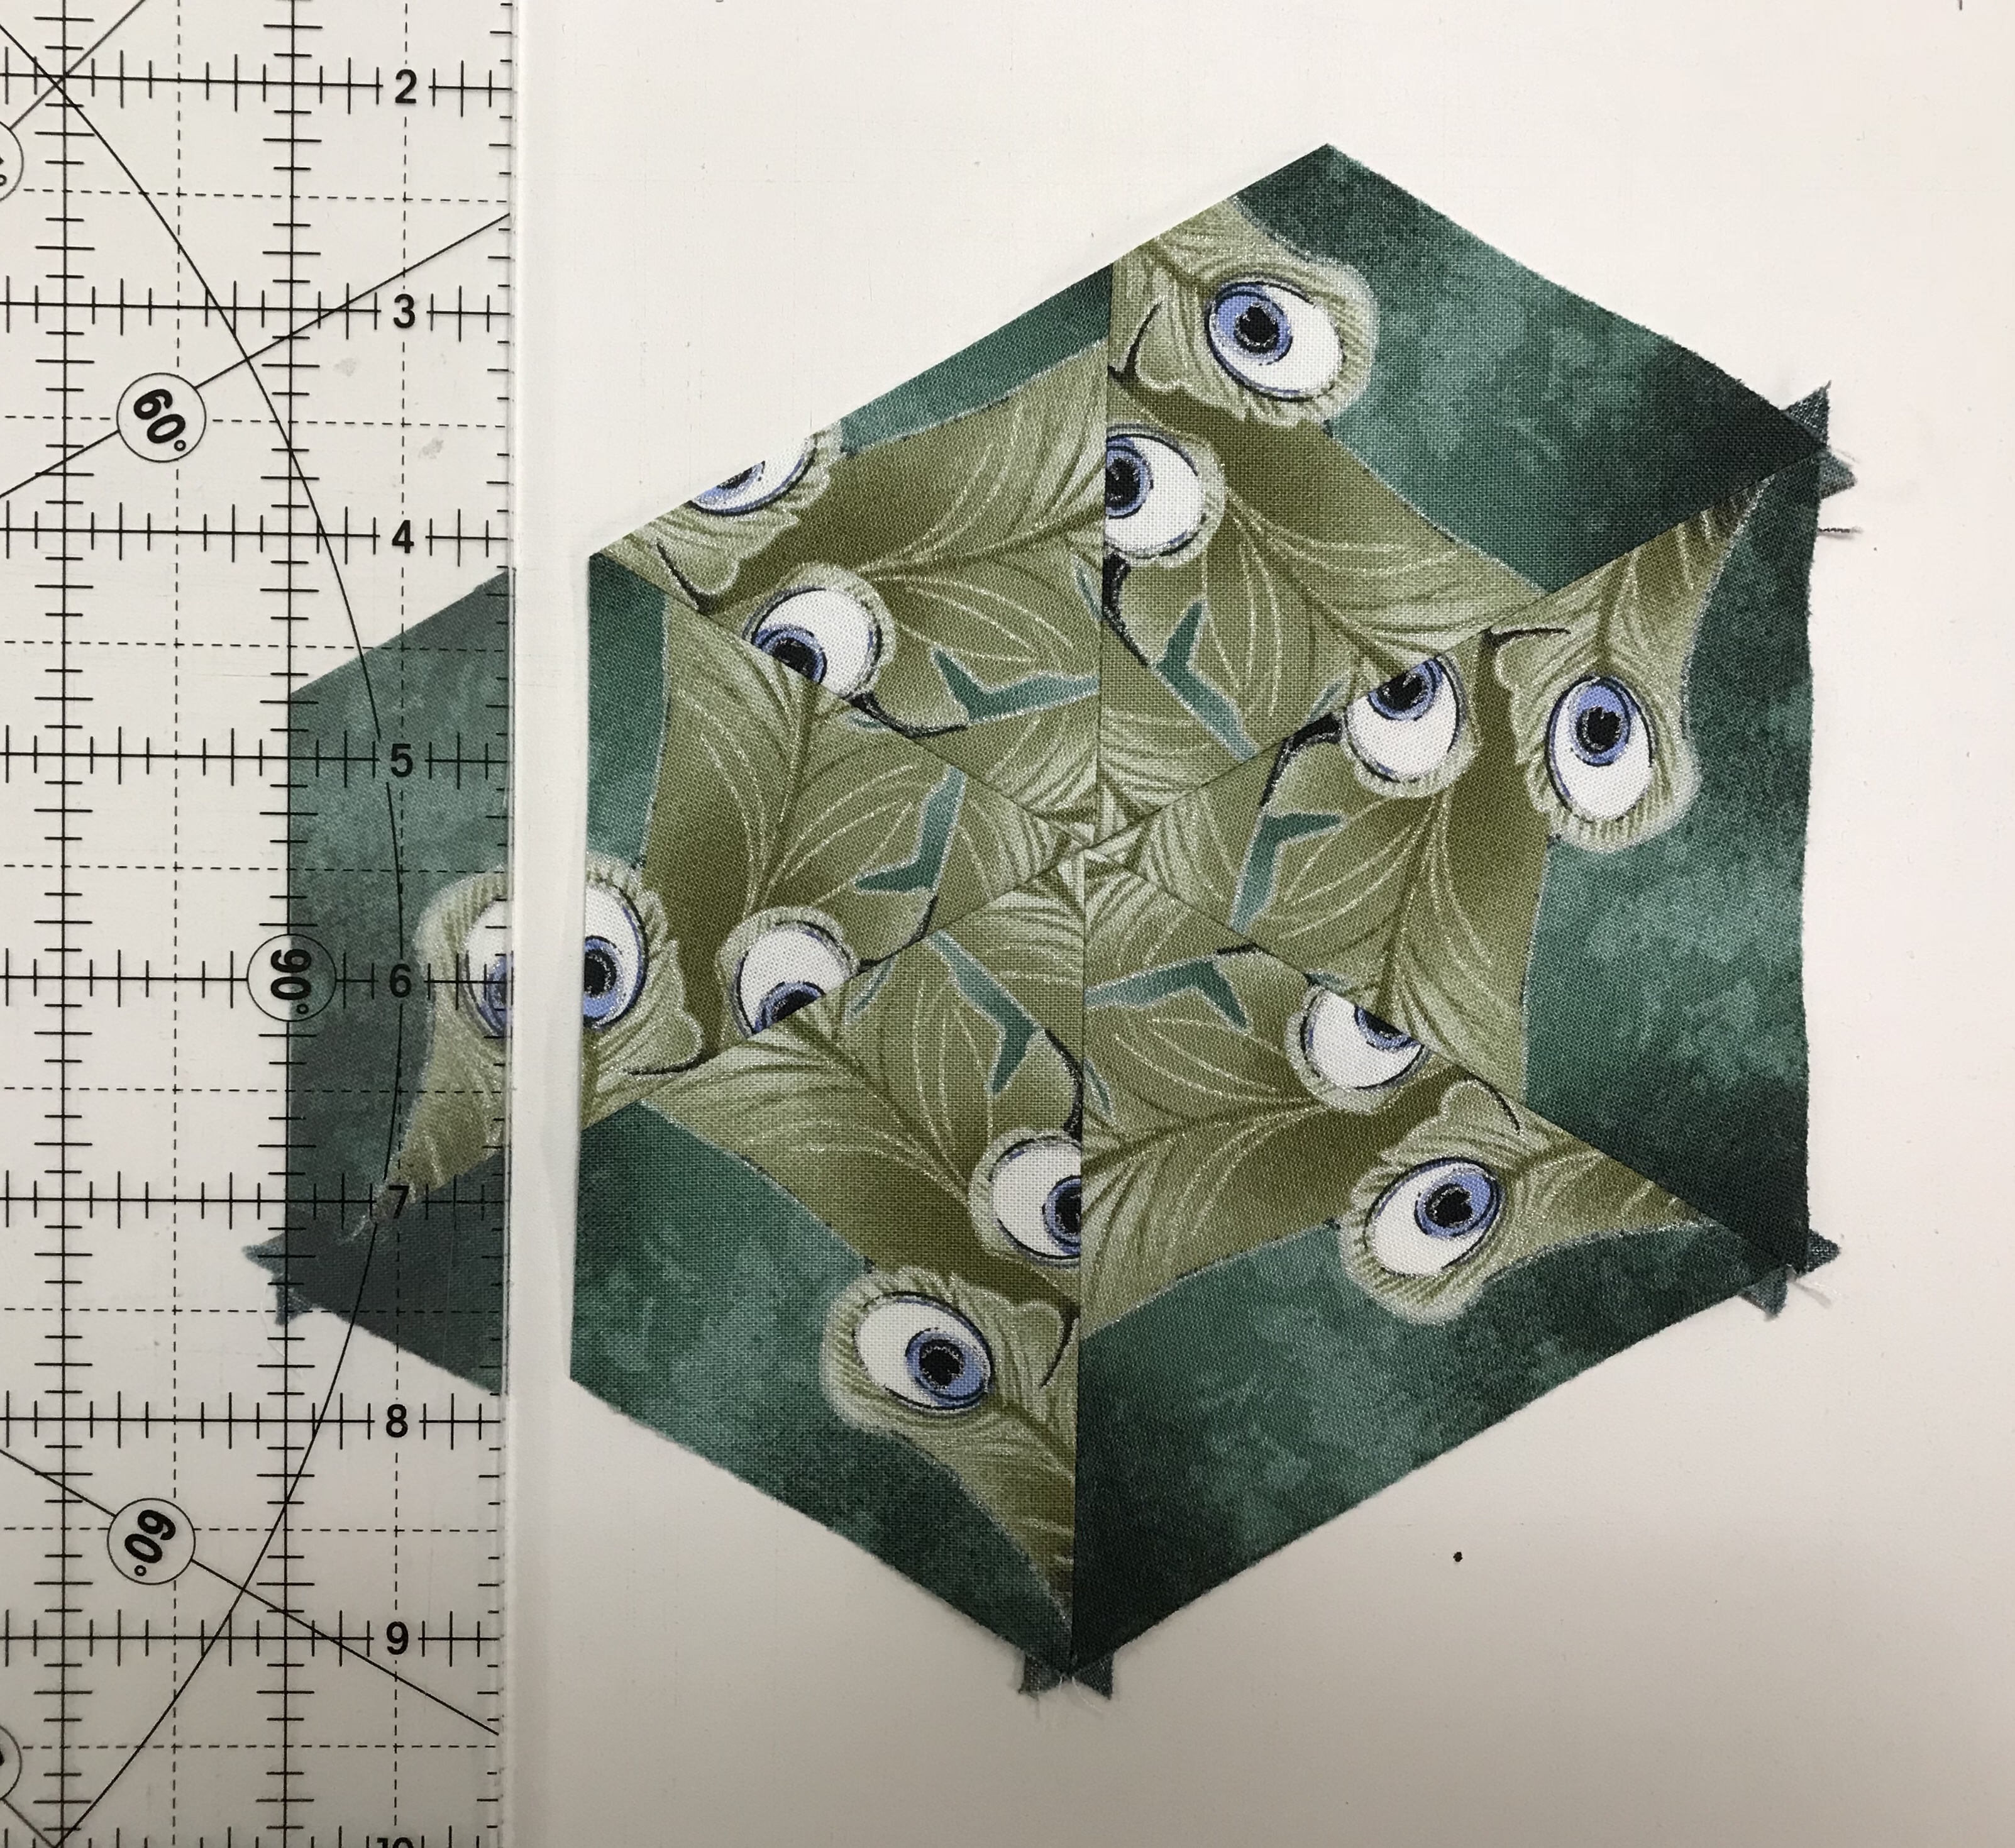
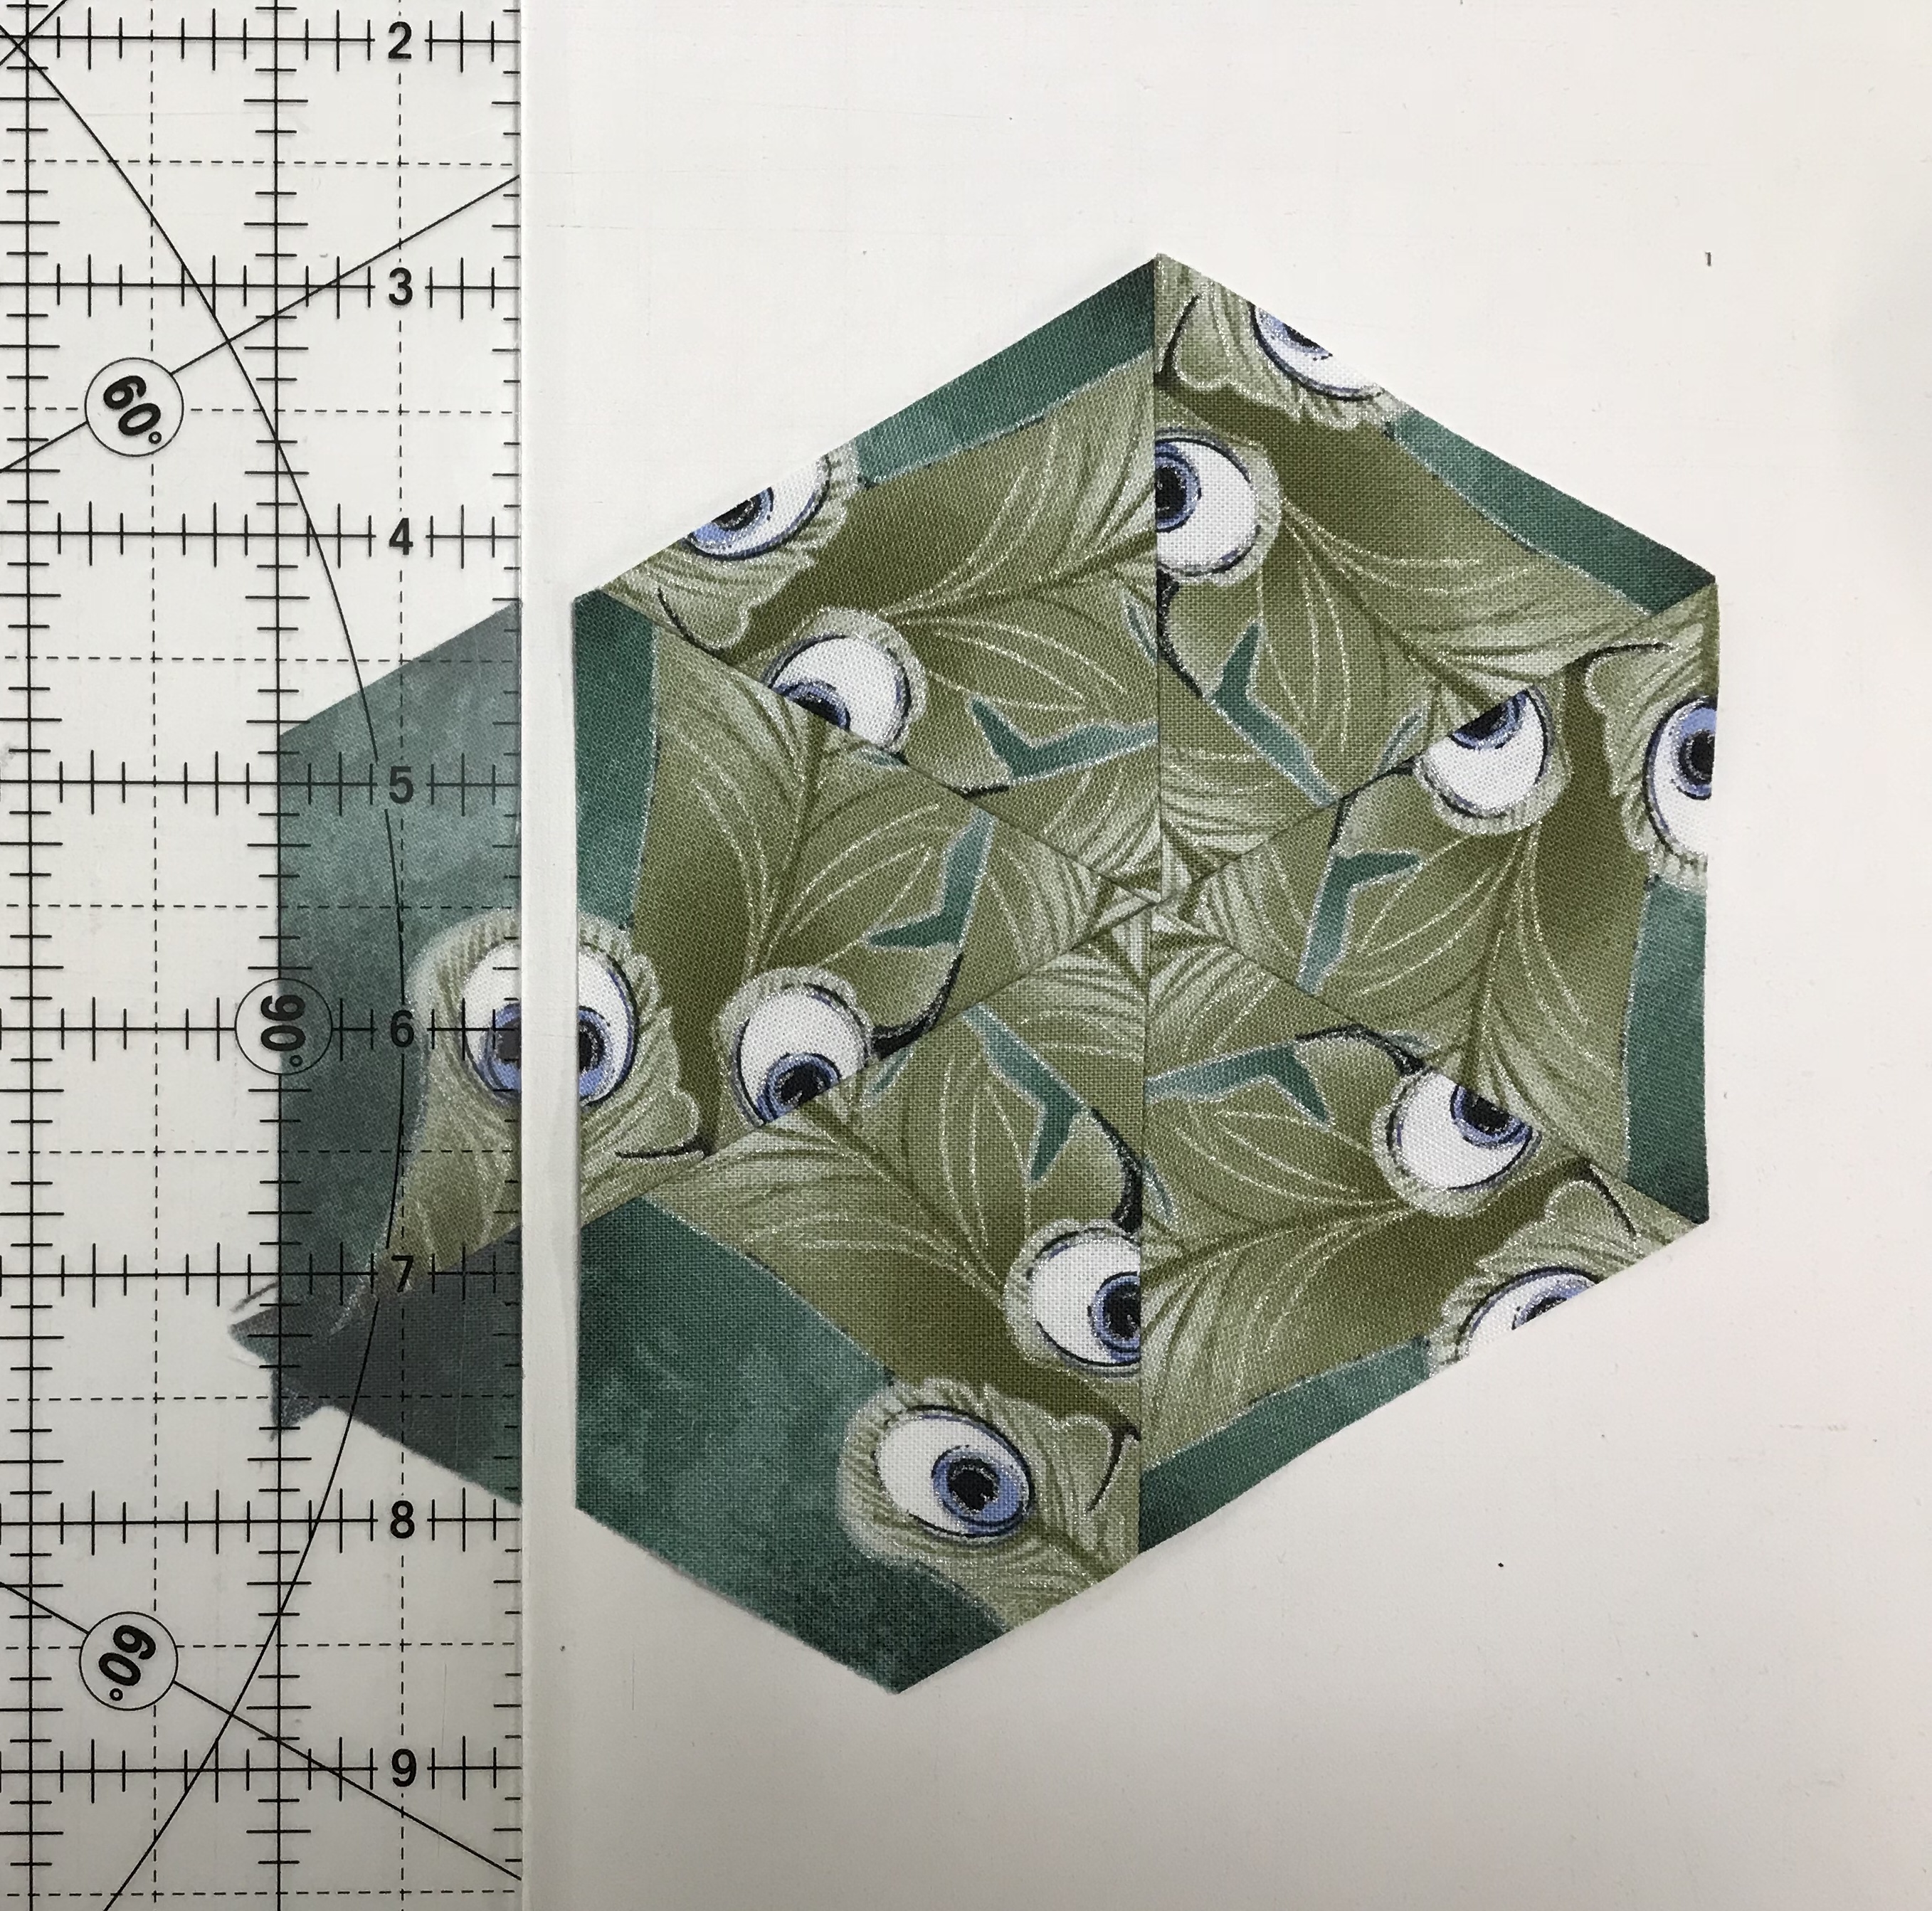
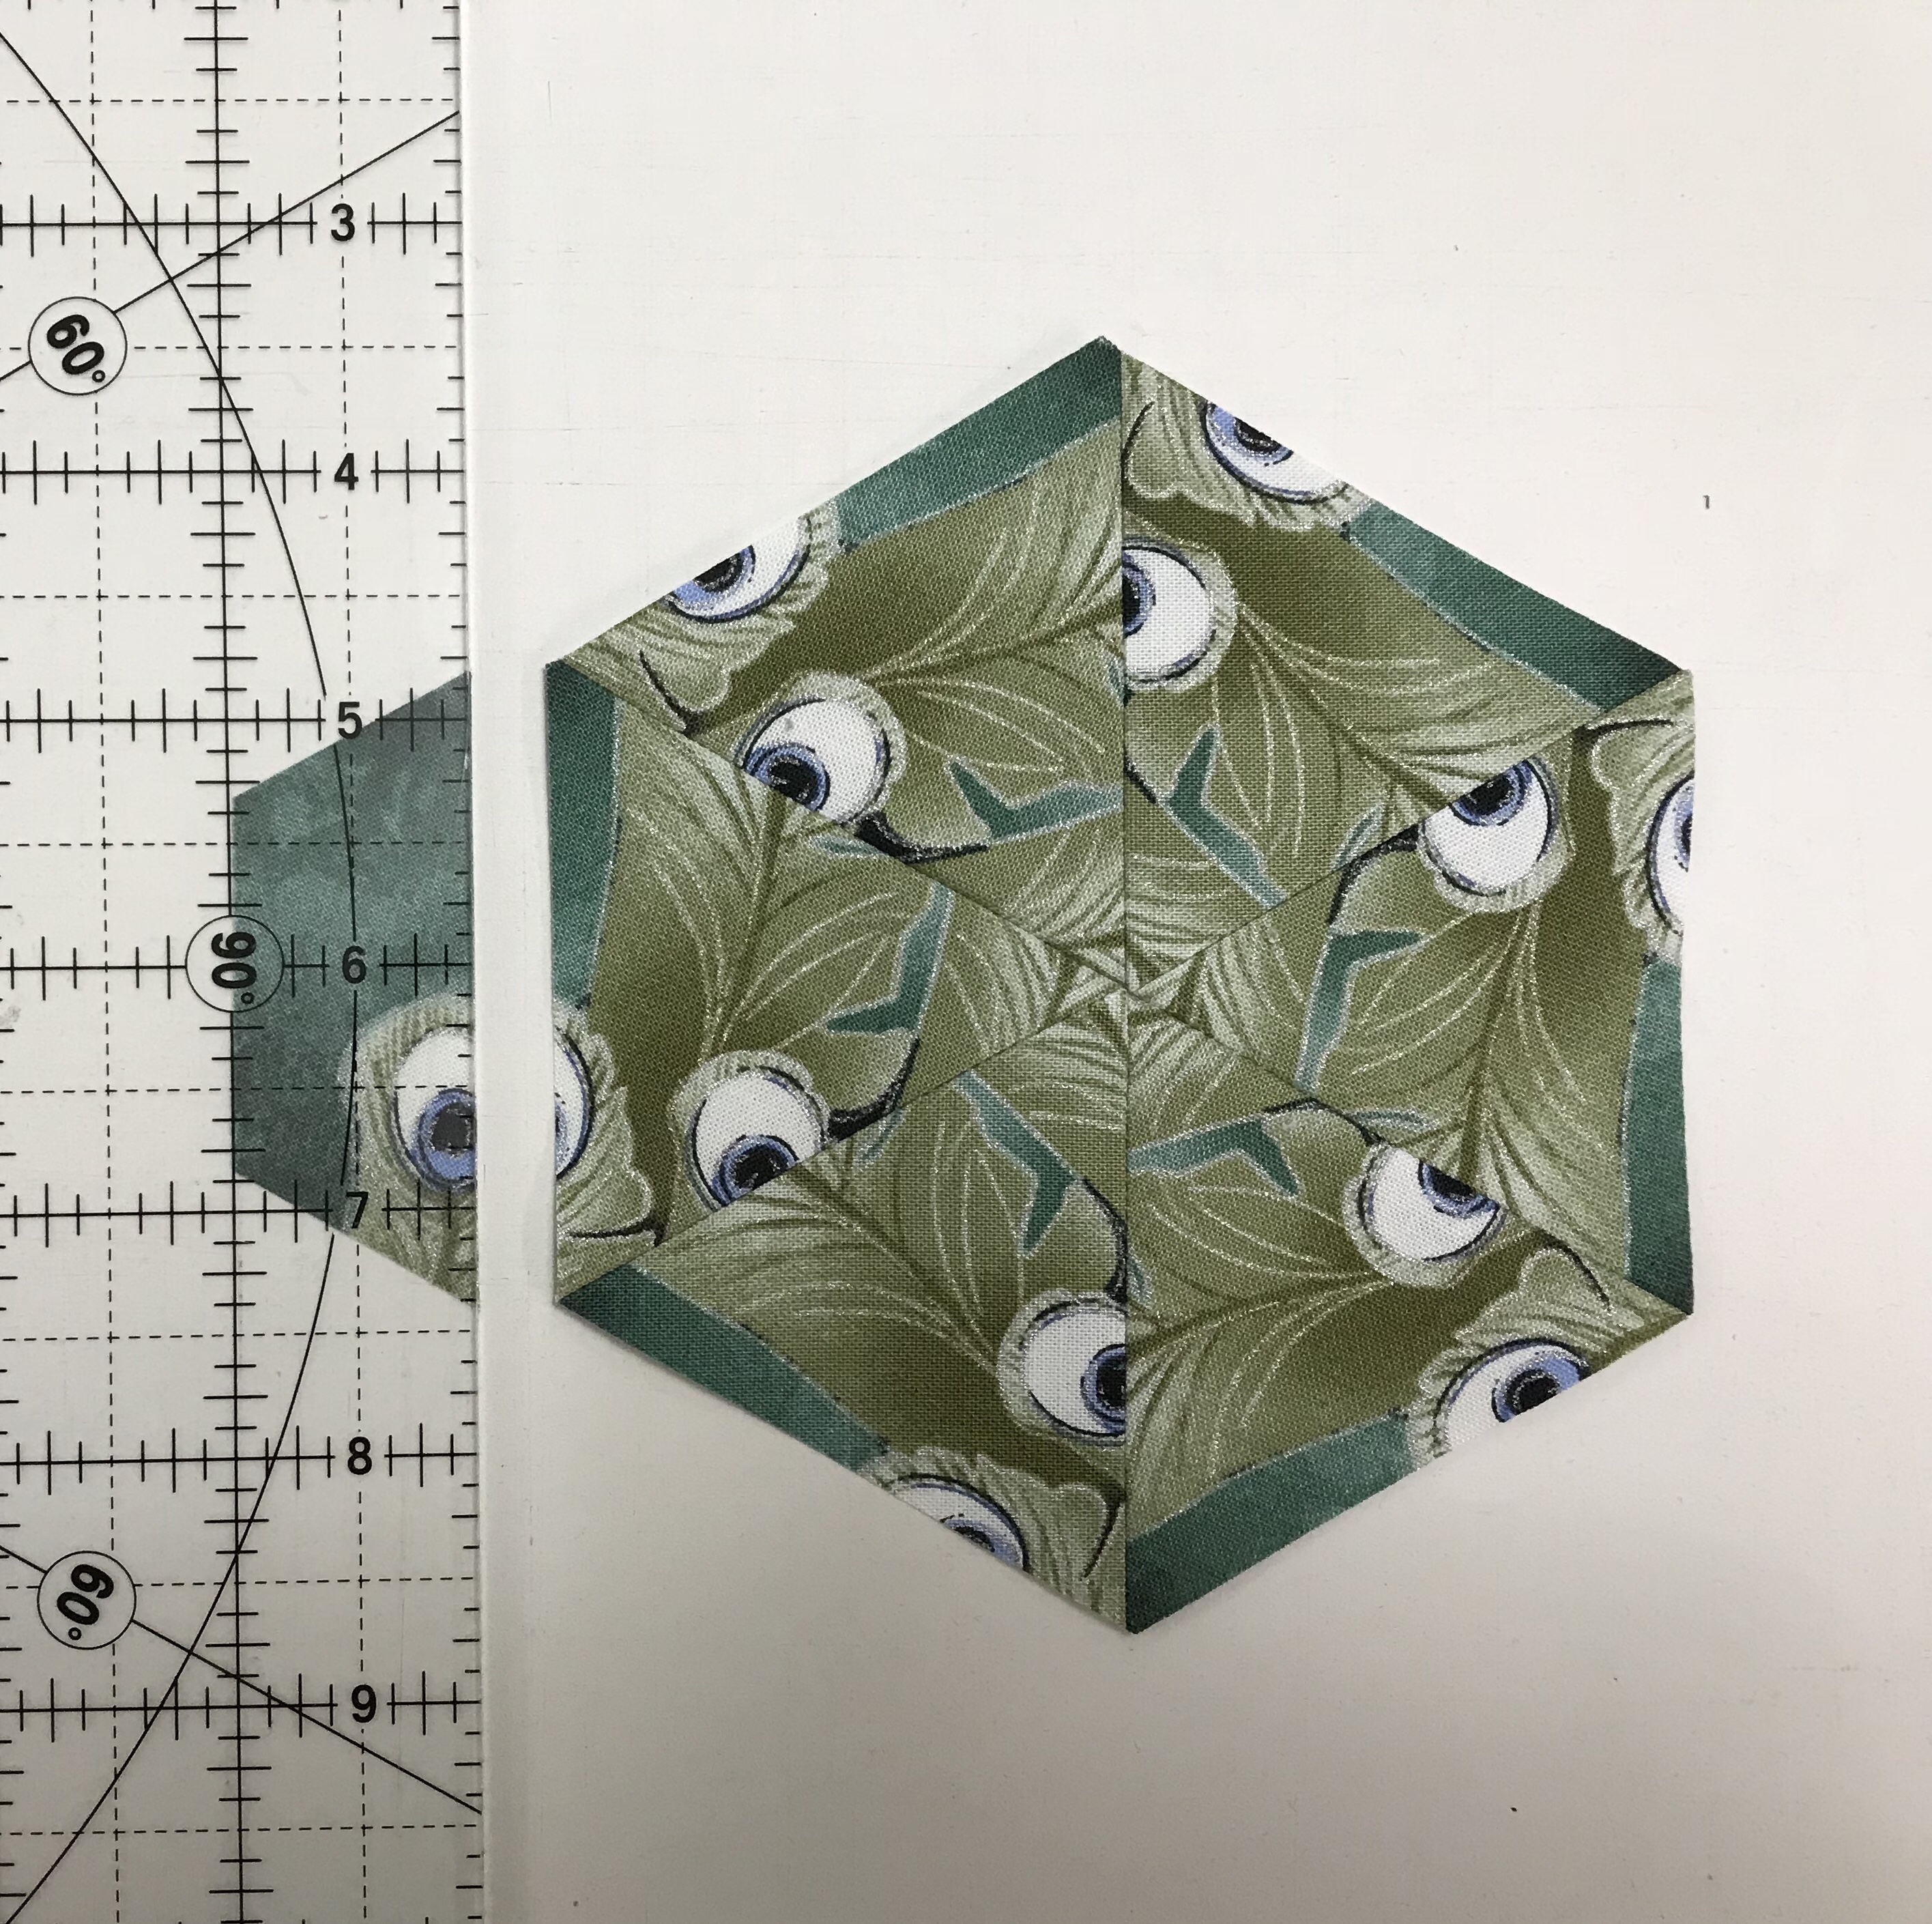
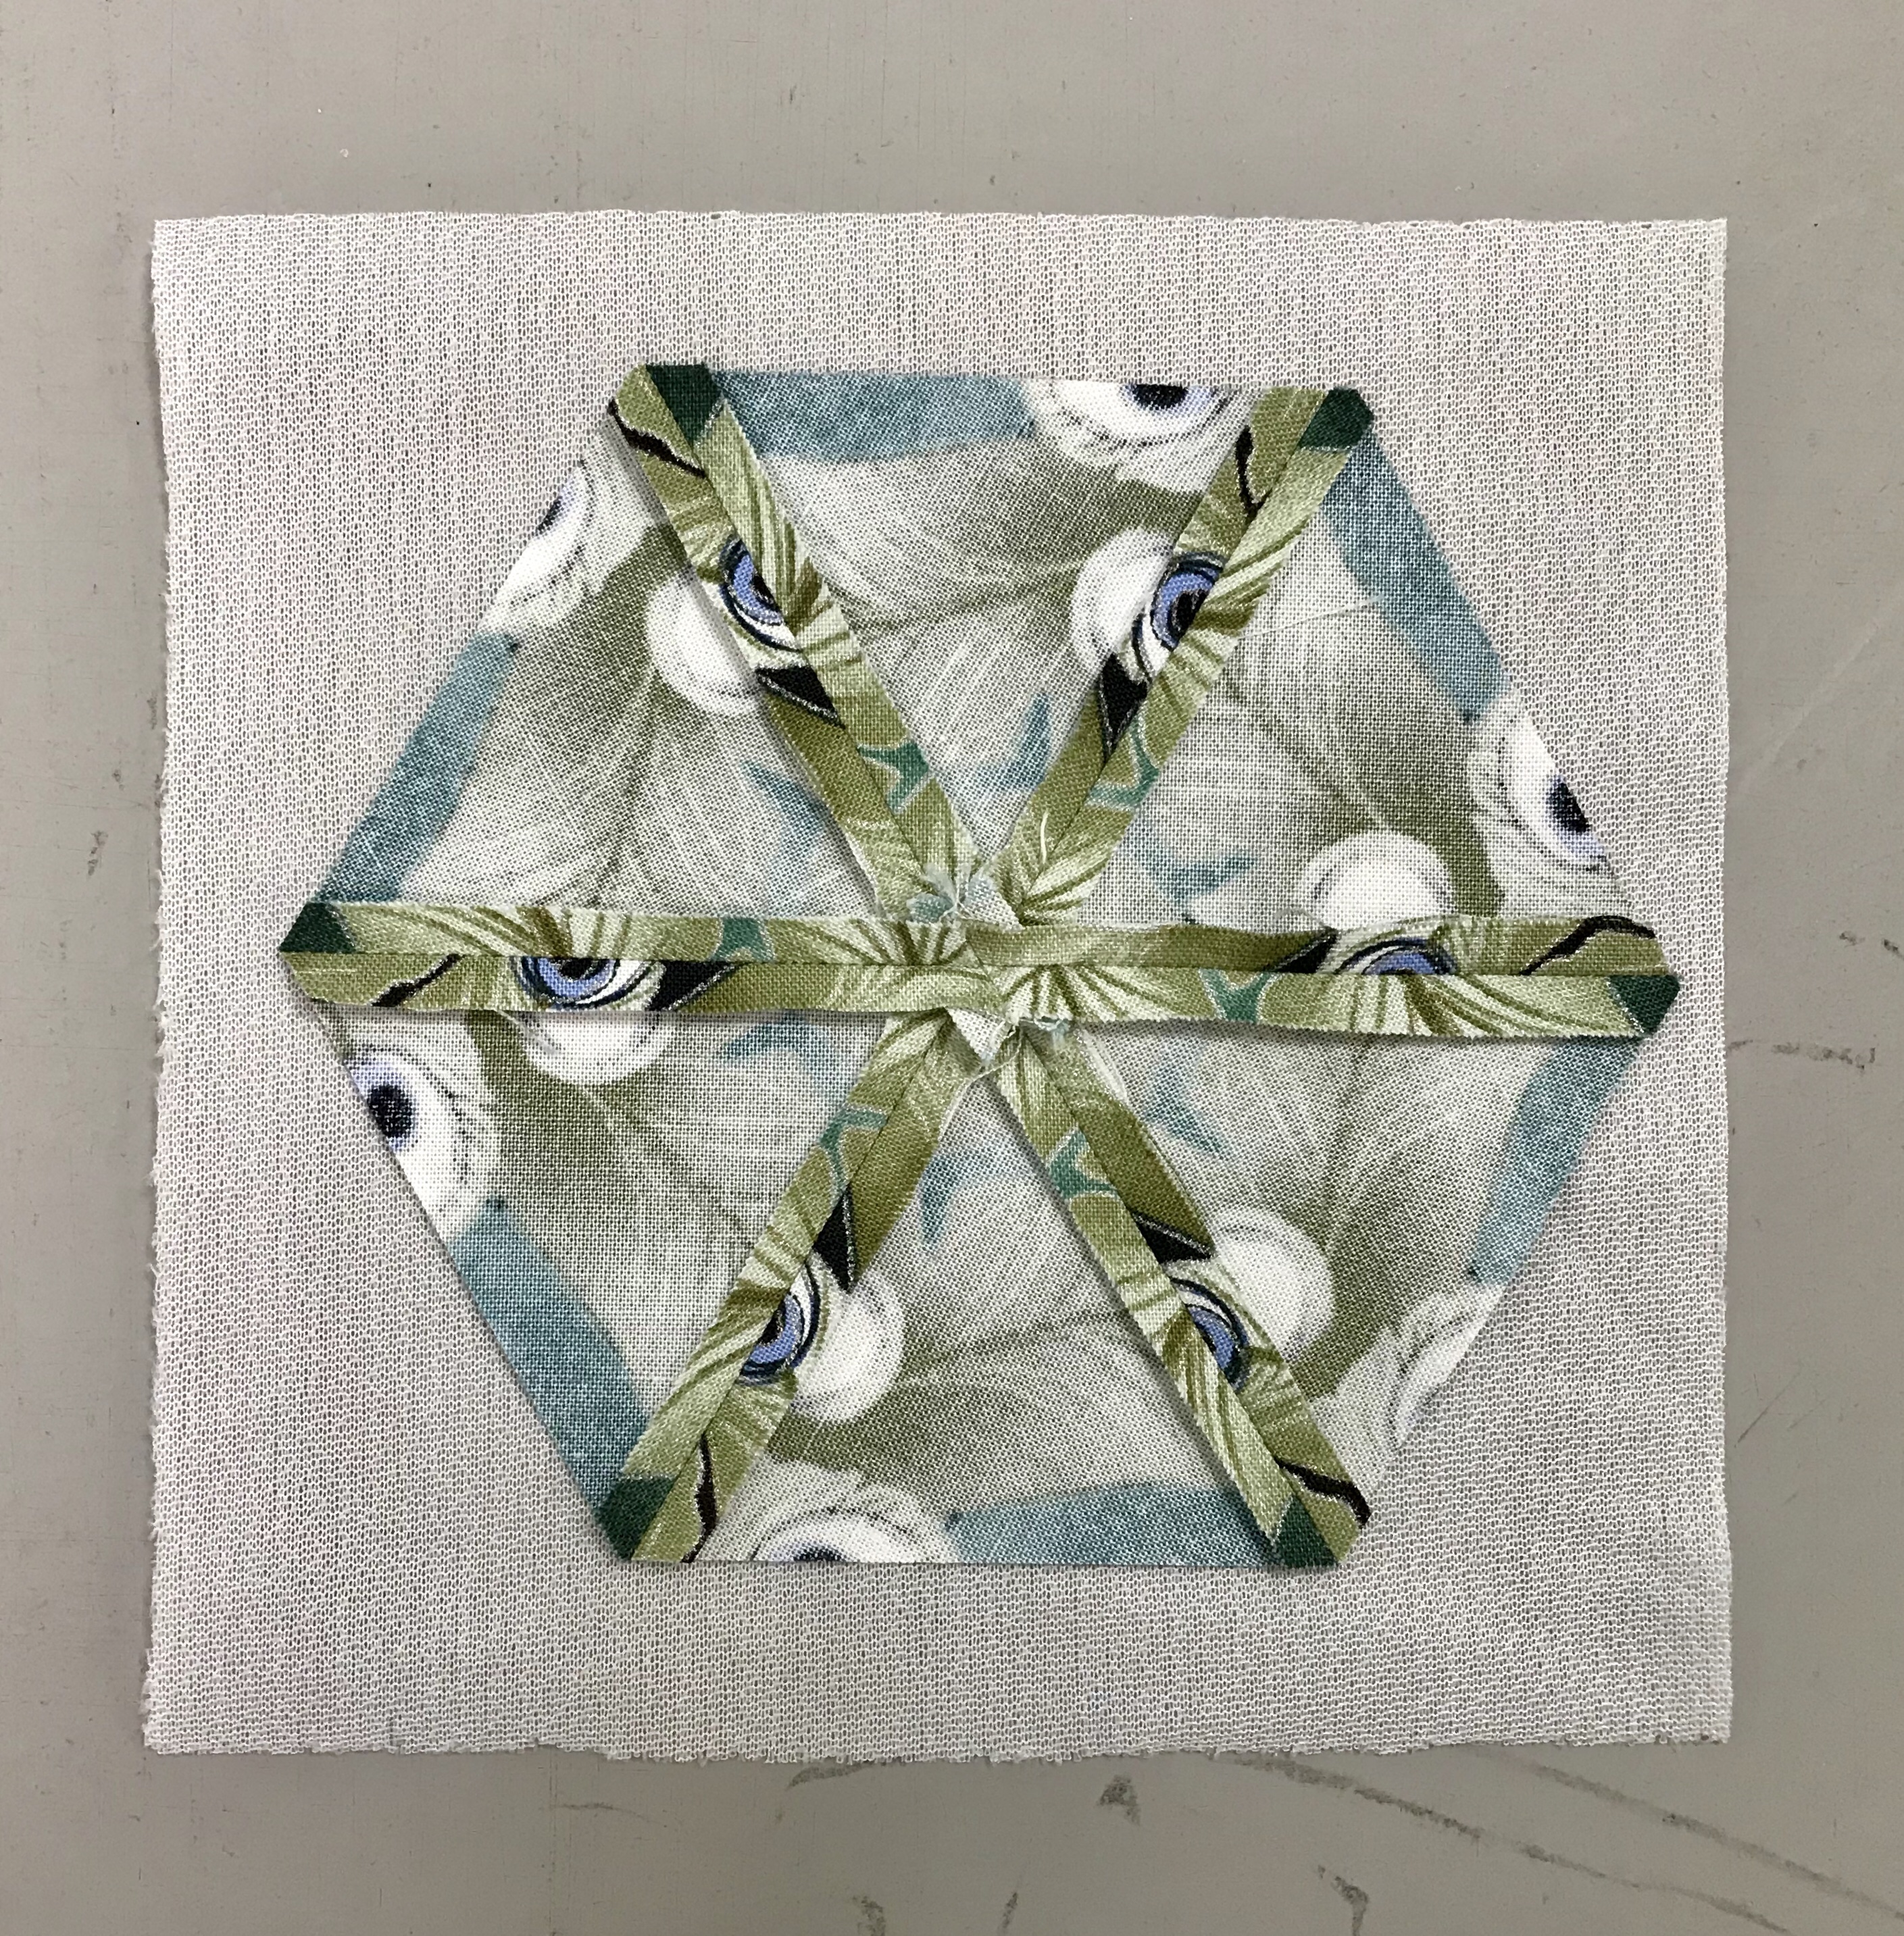
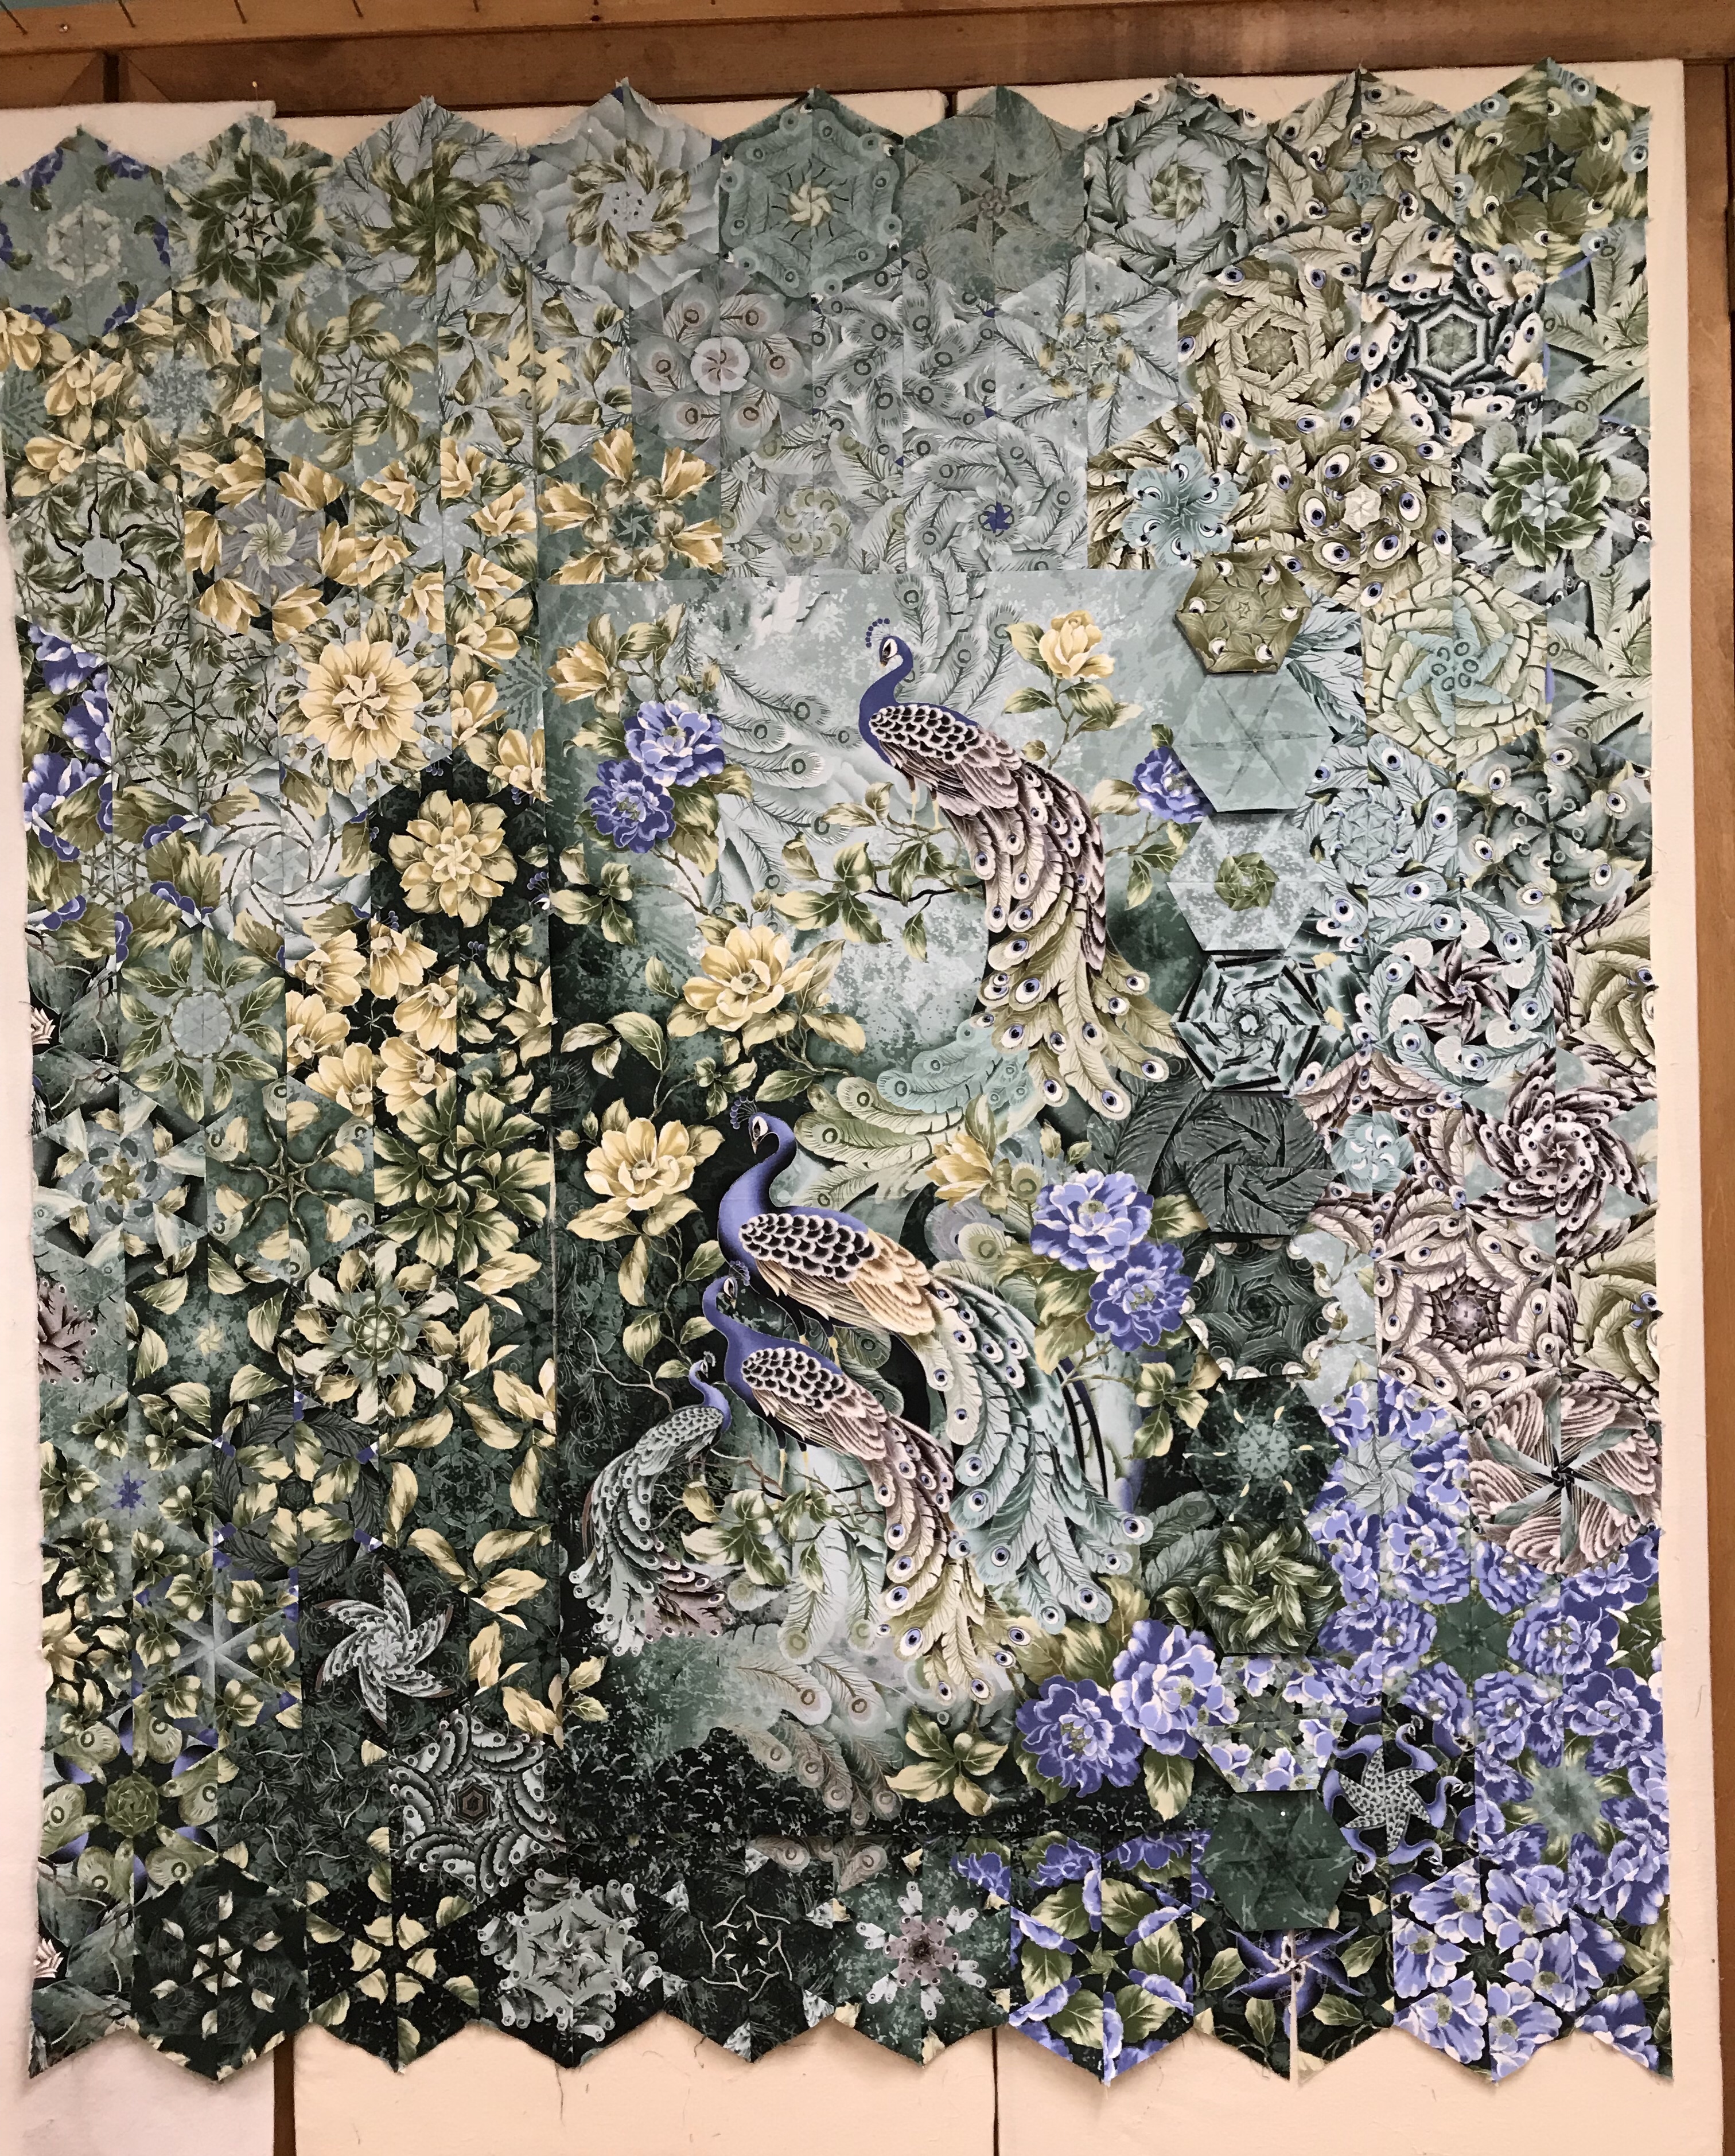
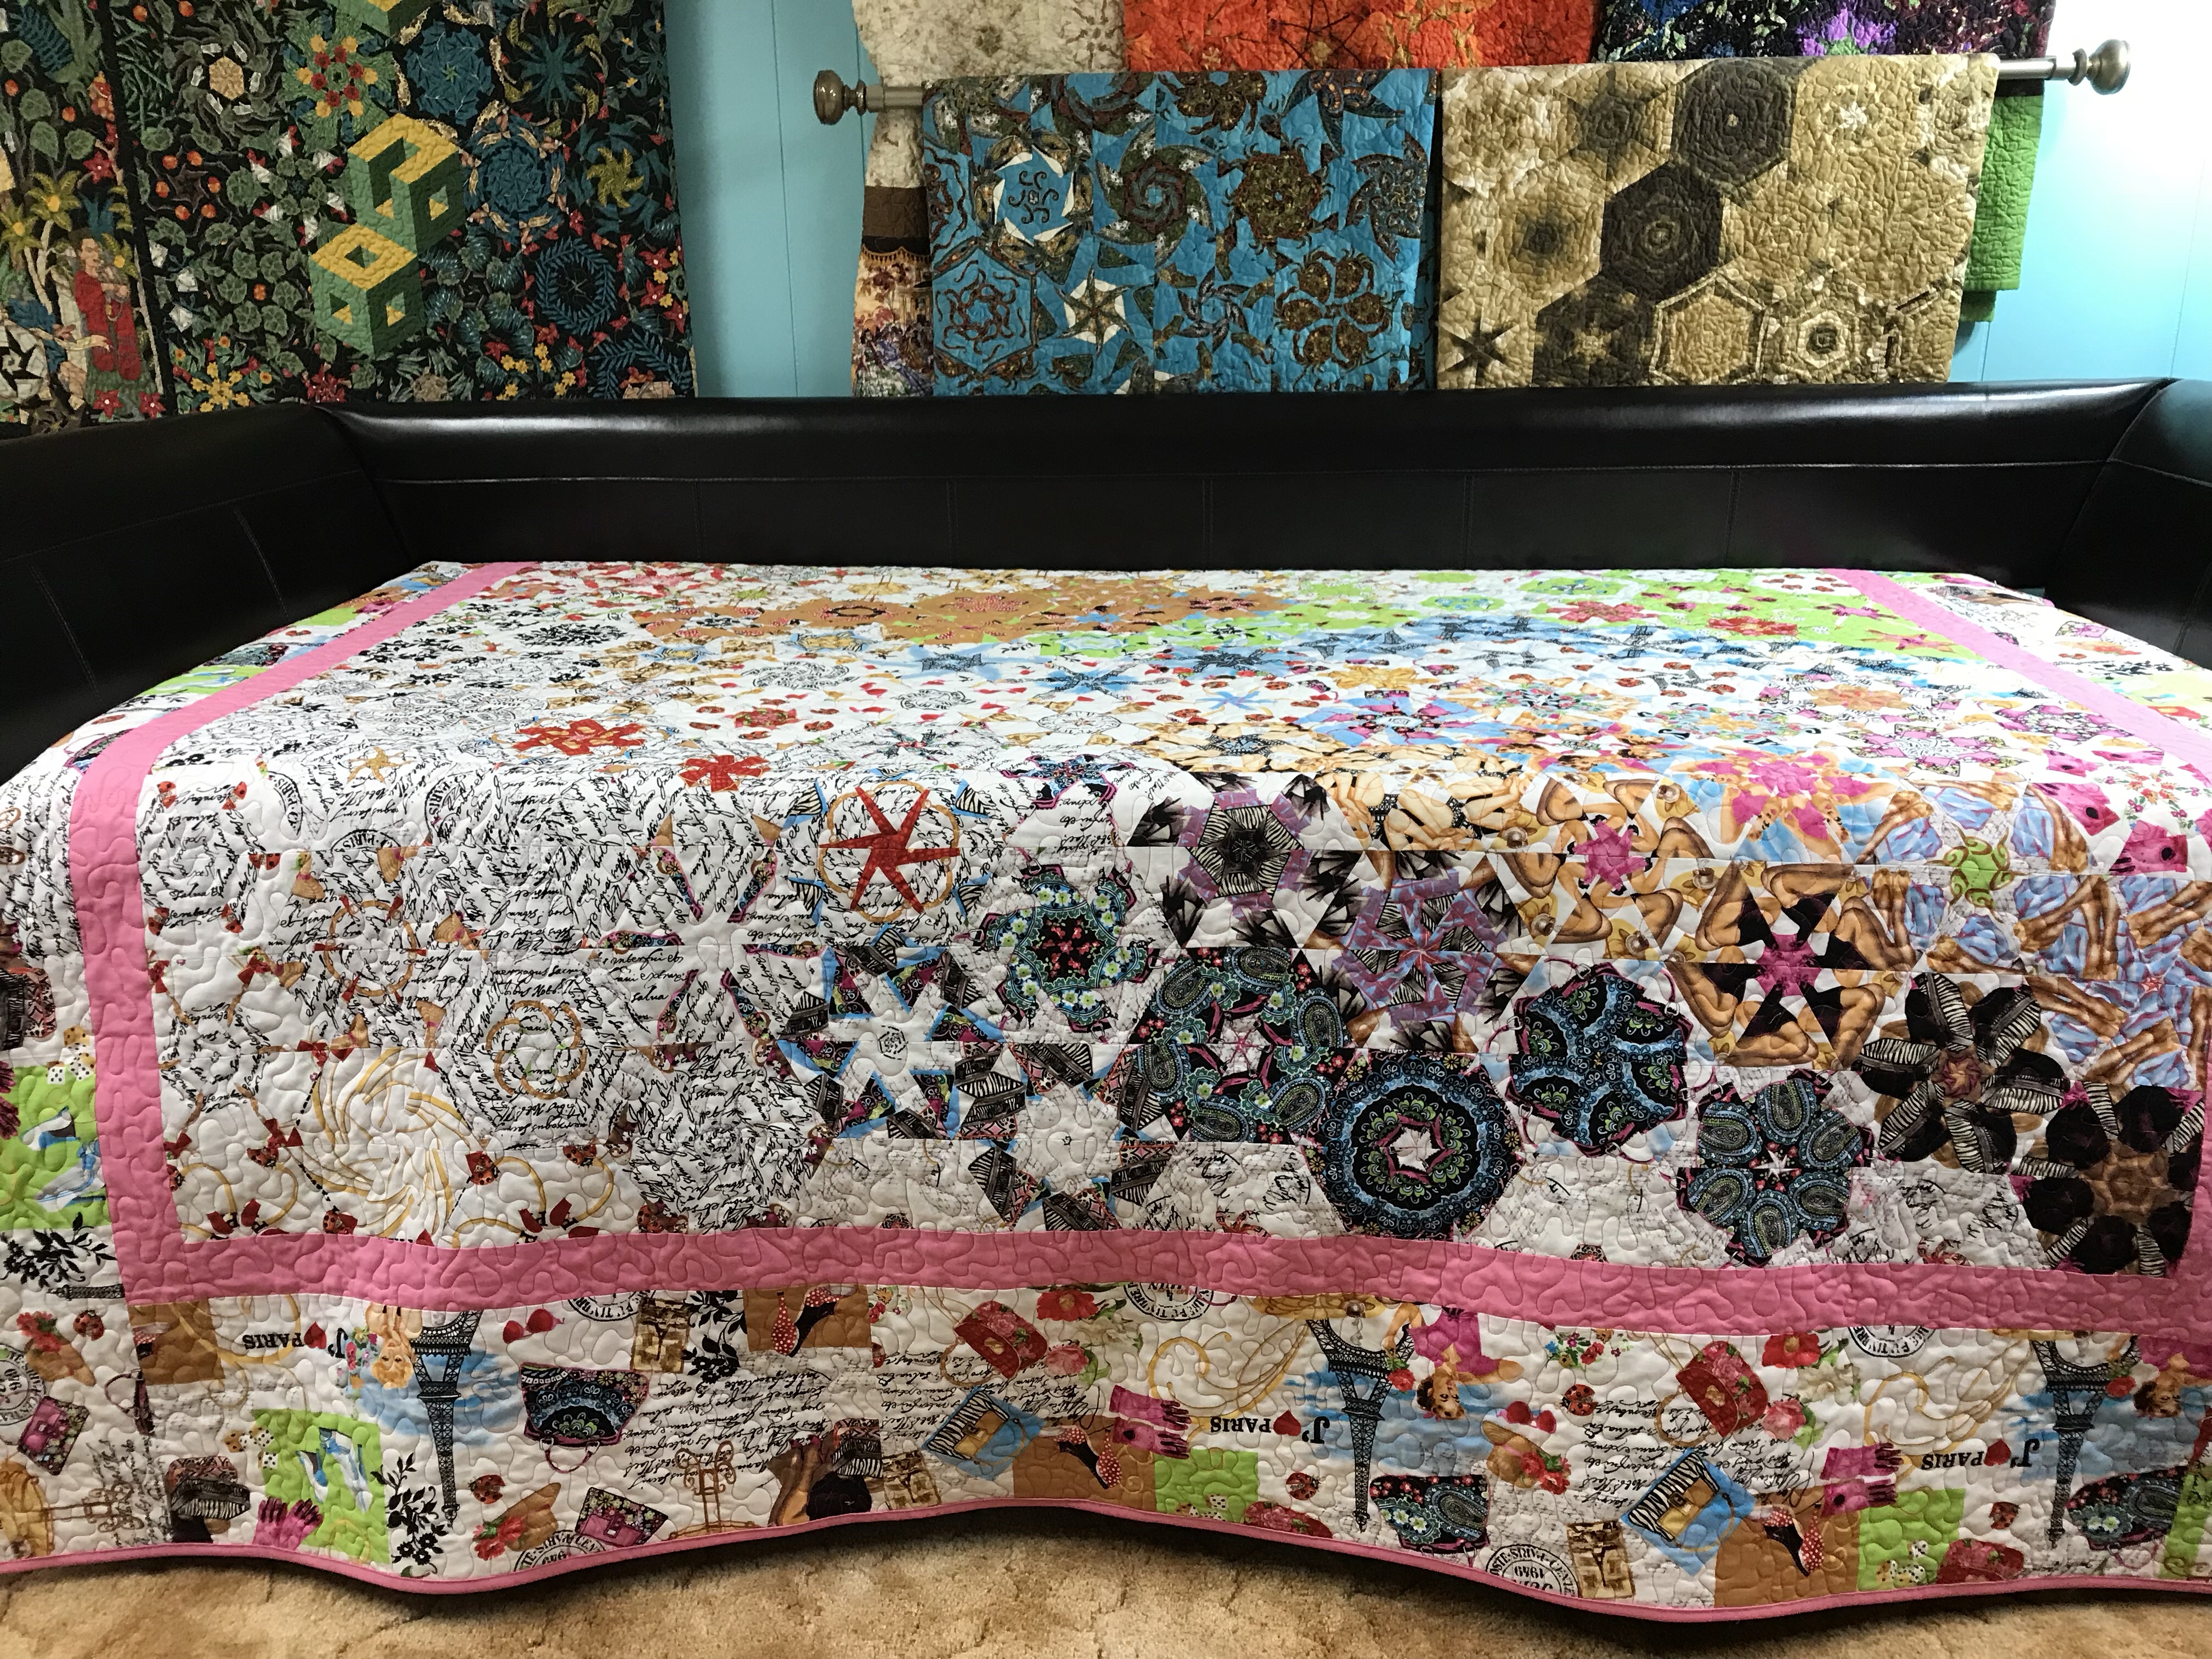
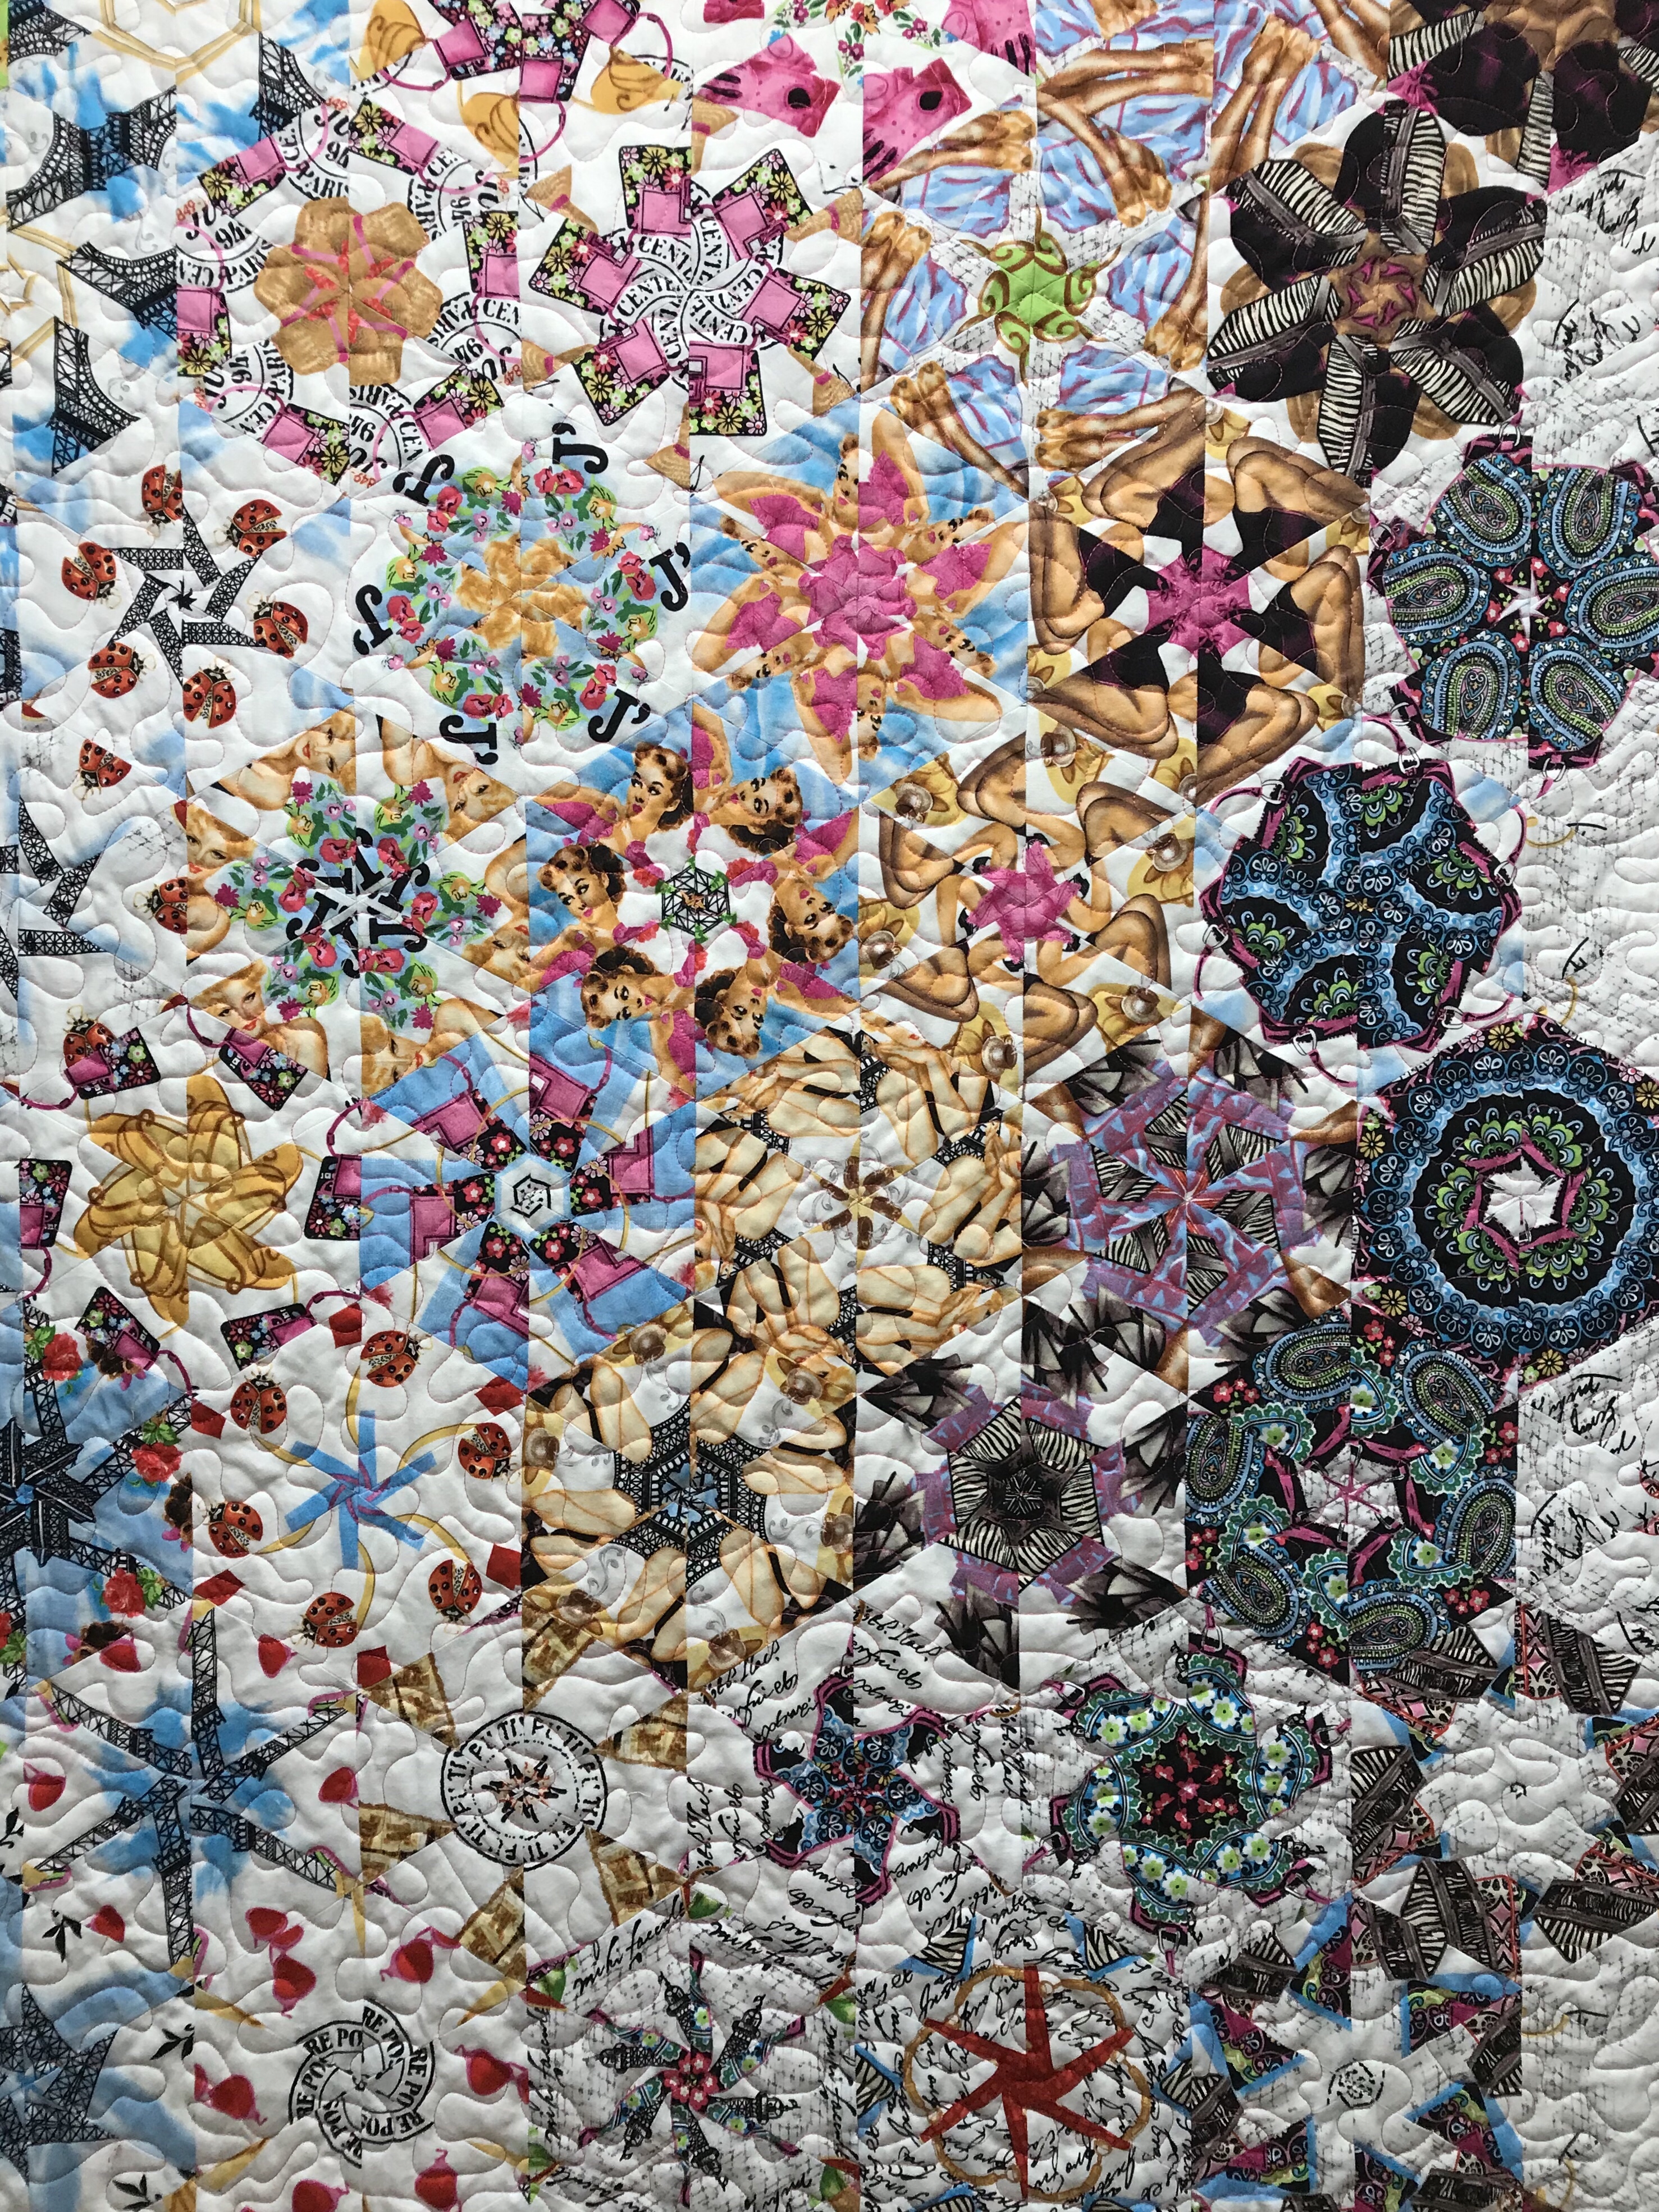
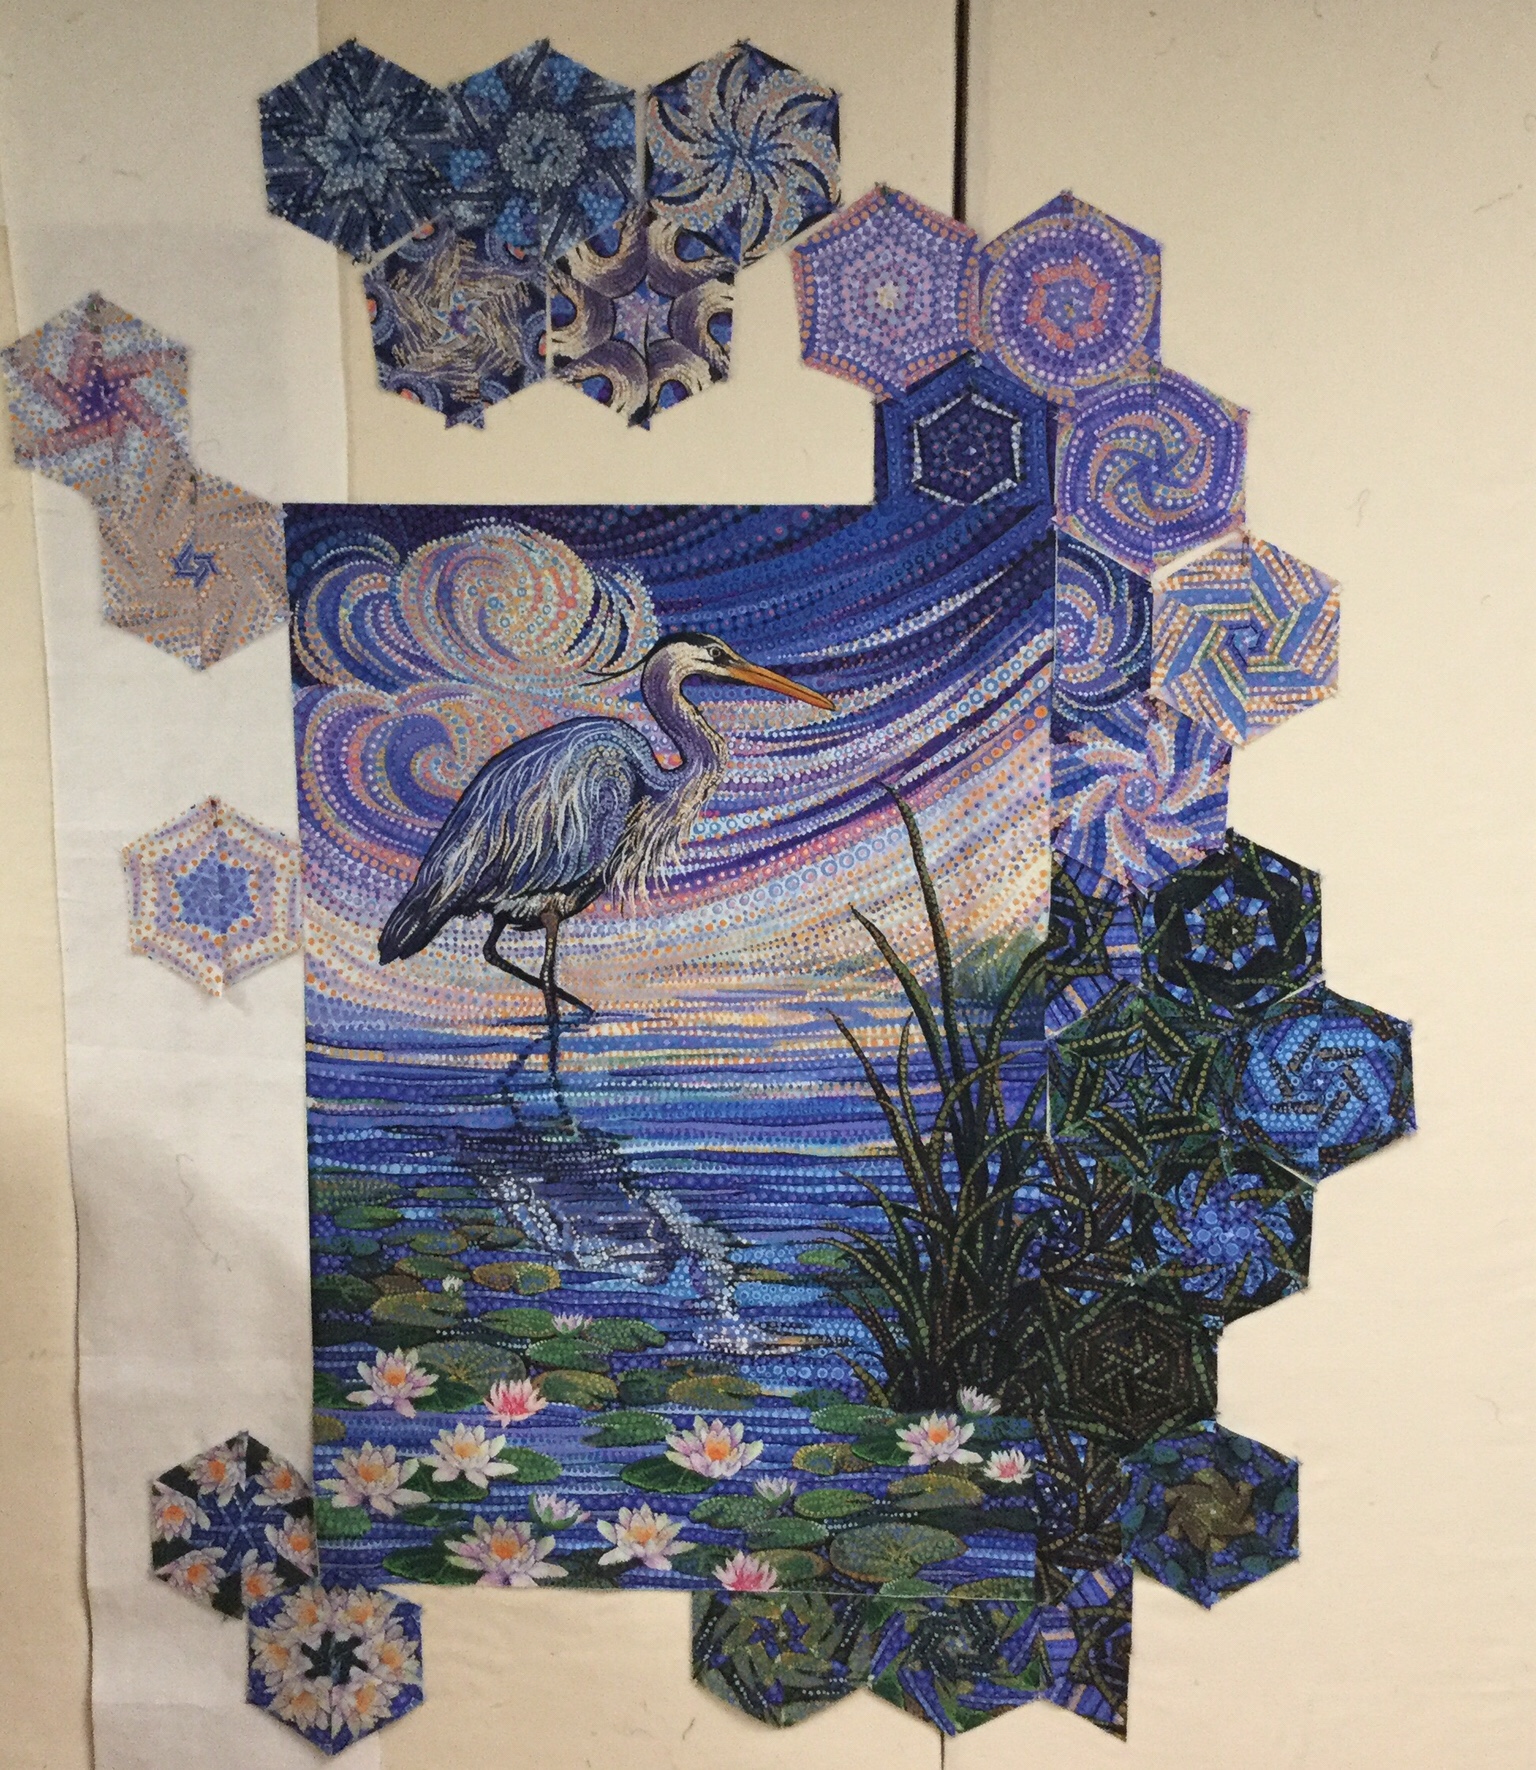
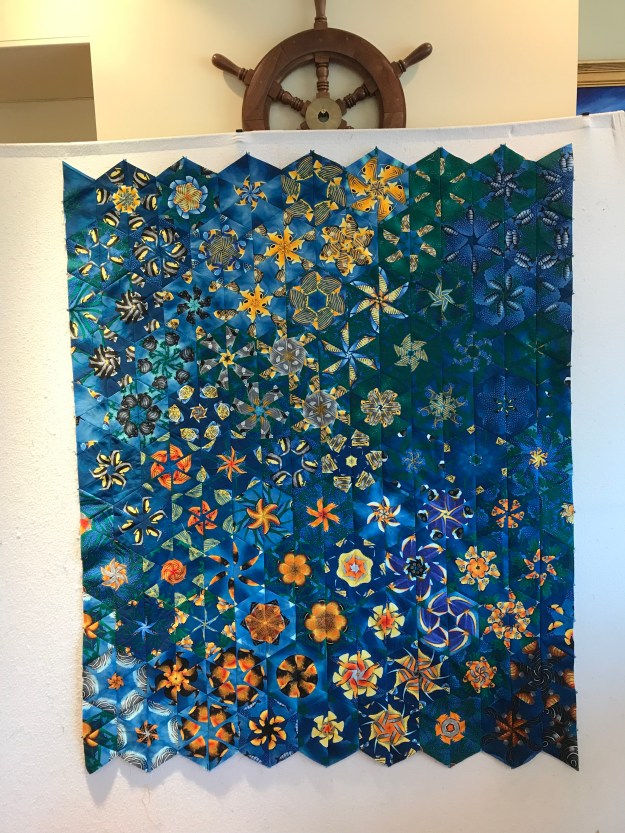
Our very own Kathy Gannon had a fabulous large aboriginal fabric. The light in this photo does not shown how wonderful this design is.  Kathy took the darker greens and fashioned a caterpillar crawling across the design.  She also made great use of her left over fabric by making several size hexies to add a unique creative flair to her quilt.  I can’t wait to see it finished.


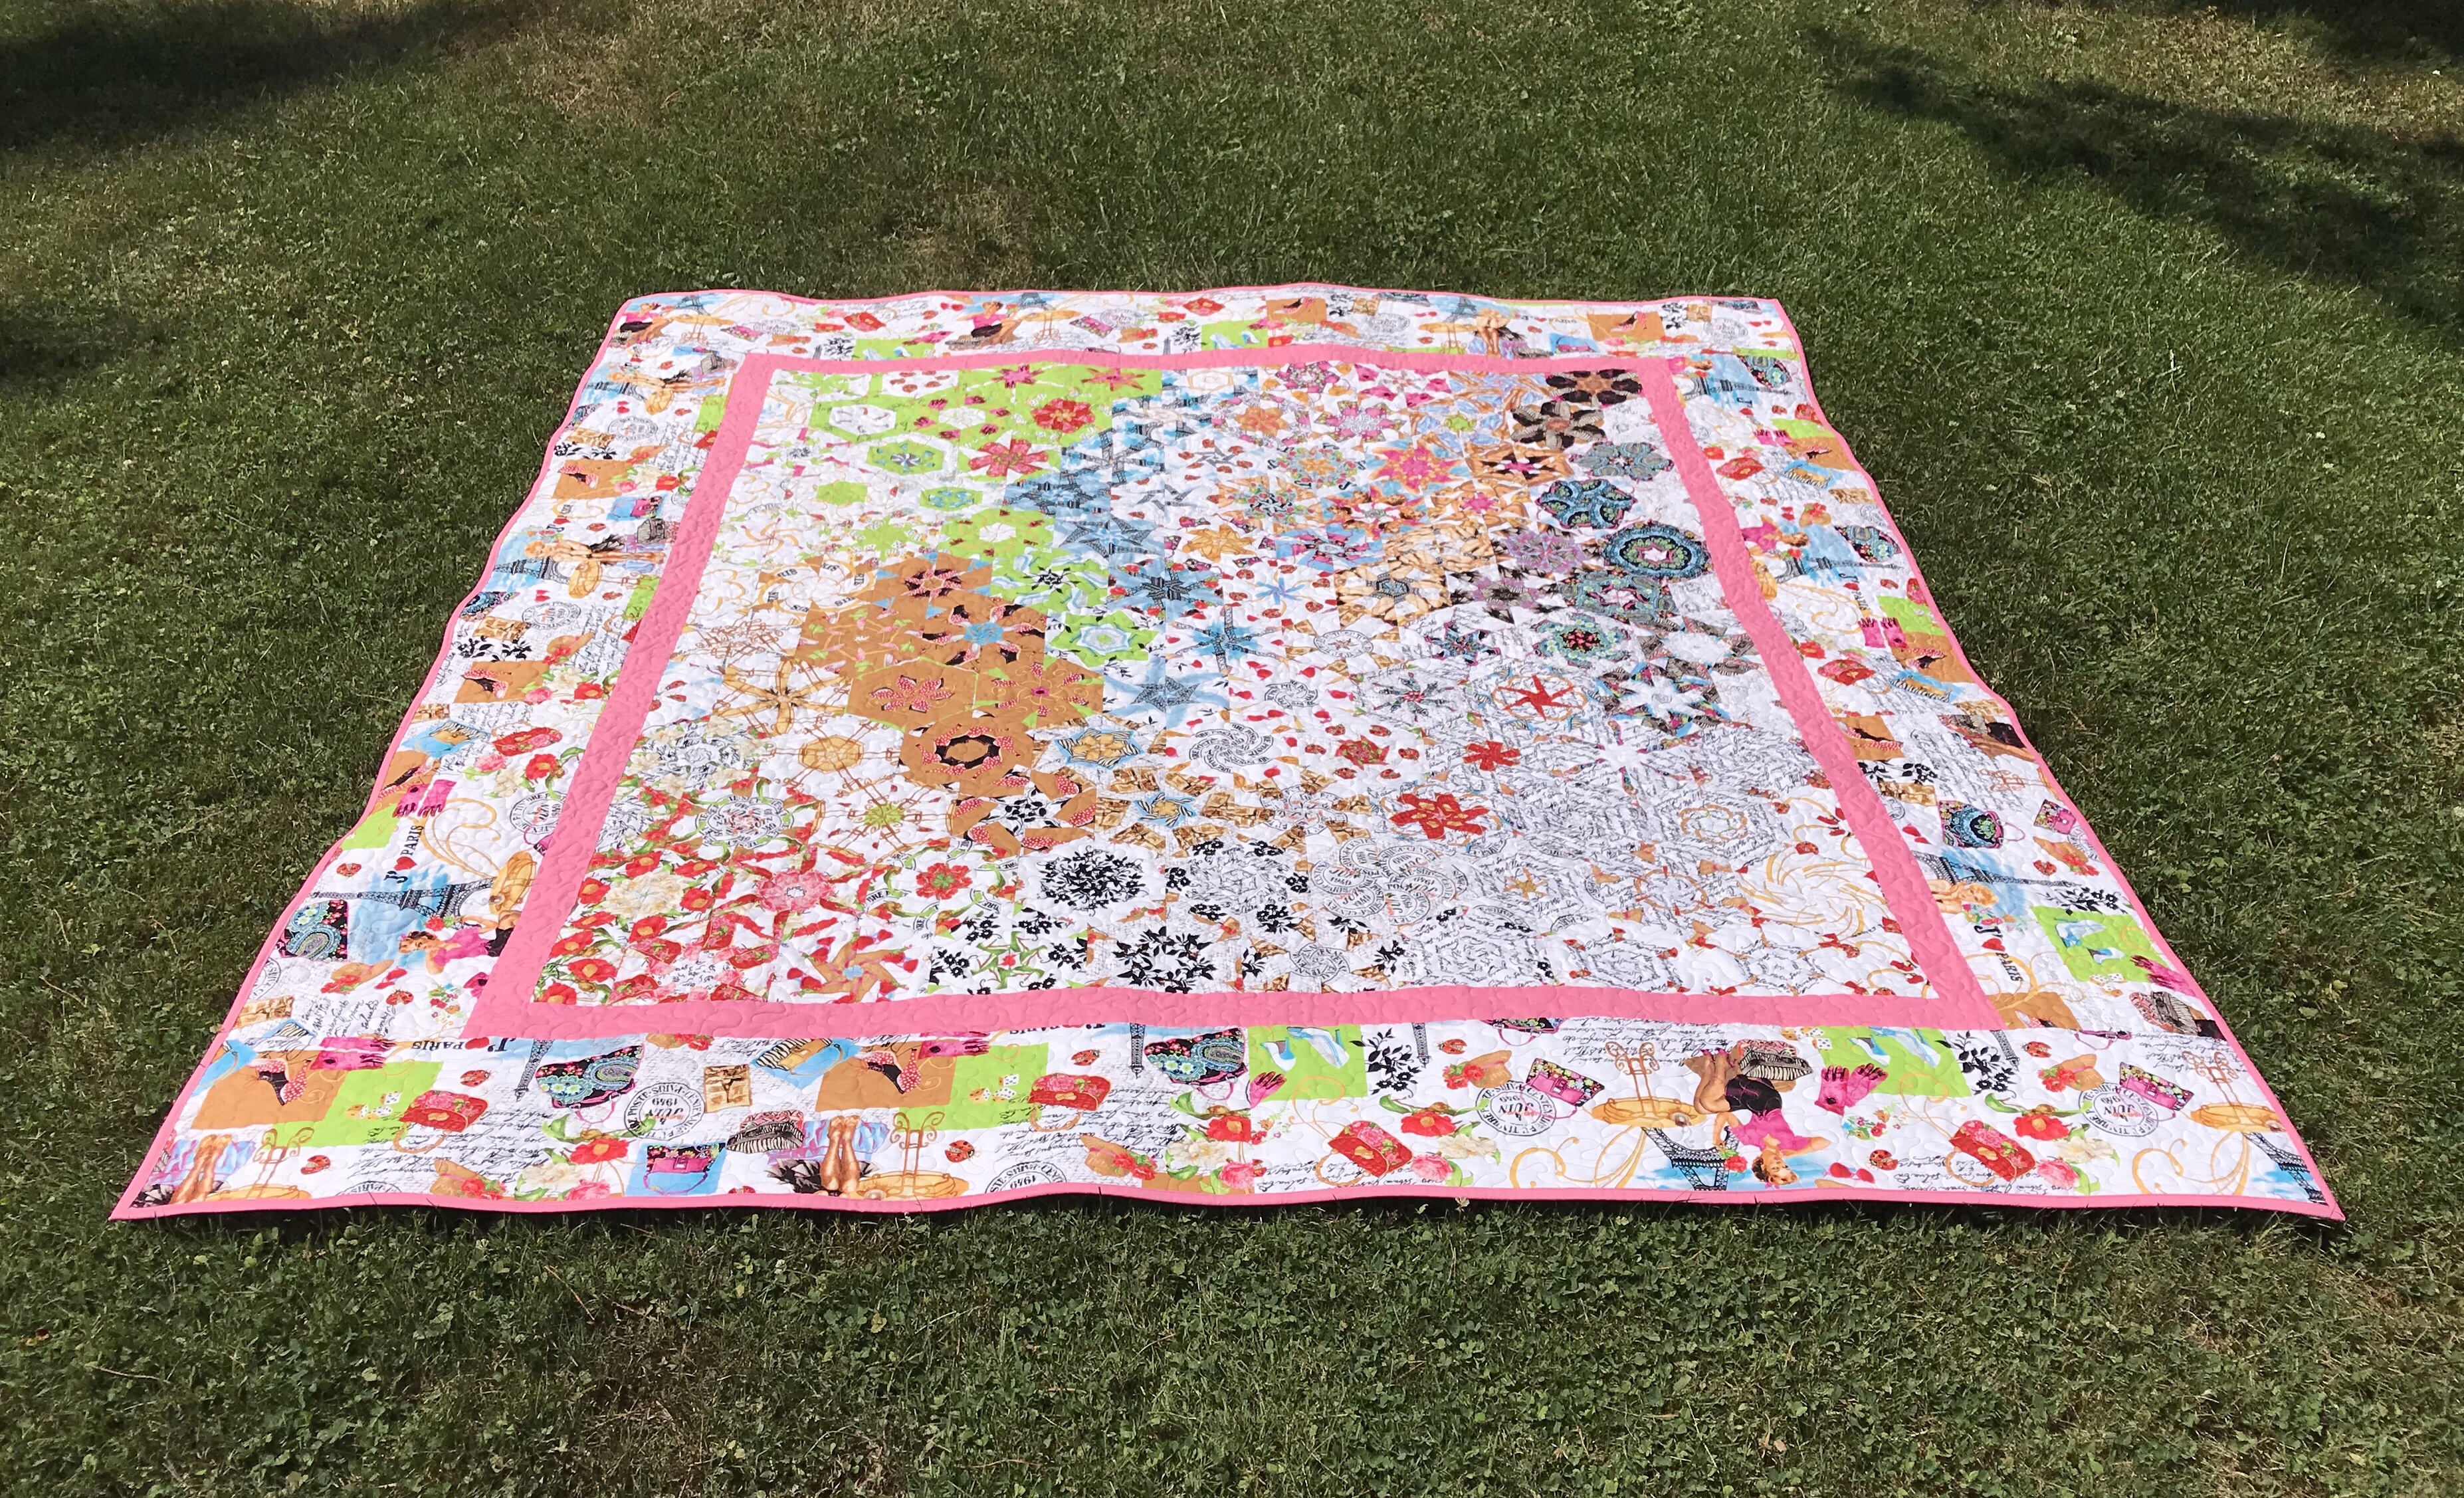
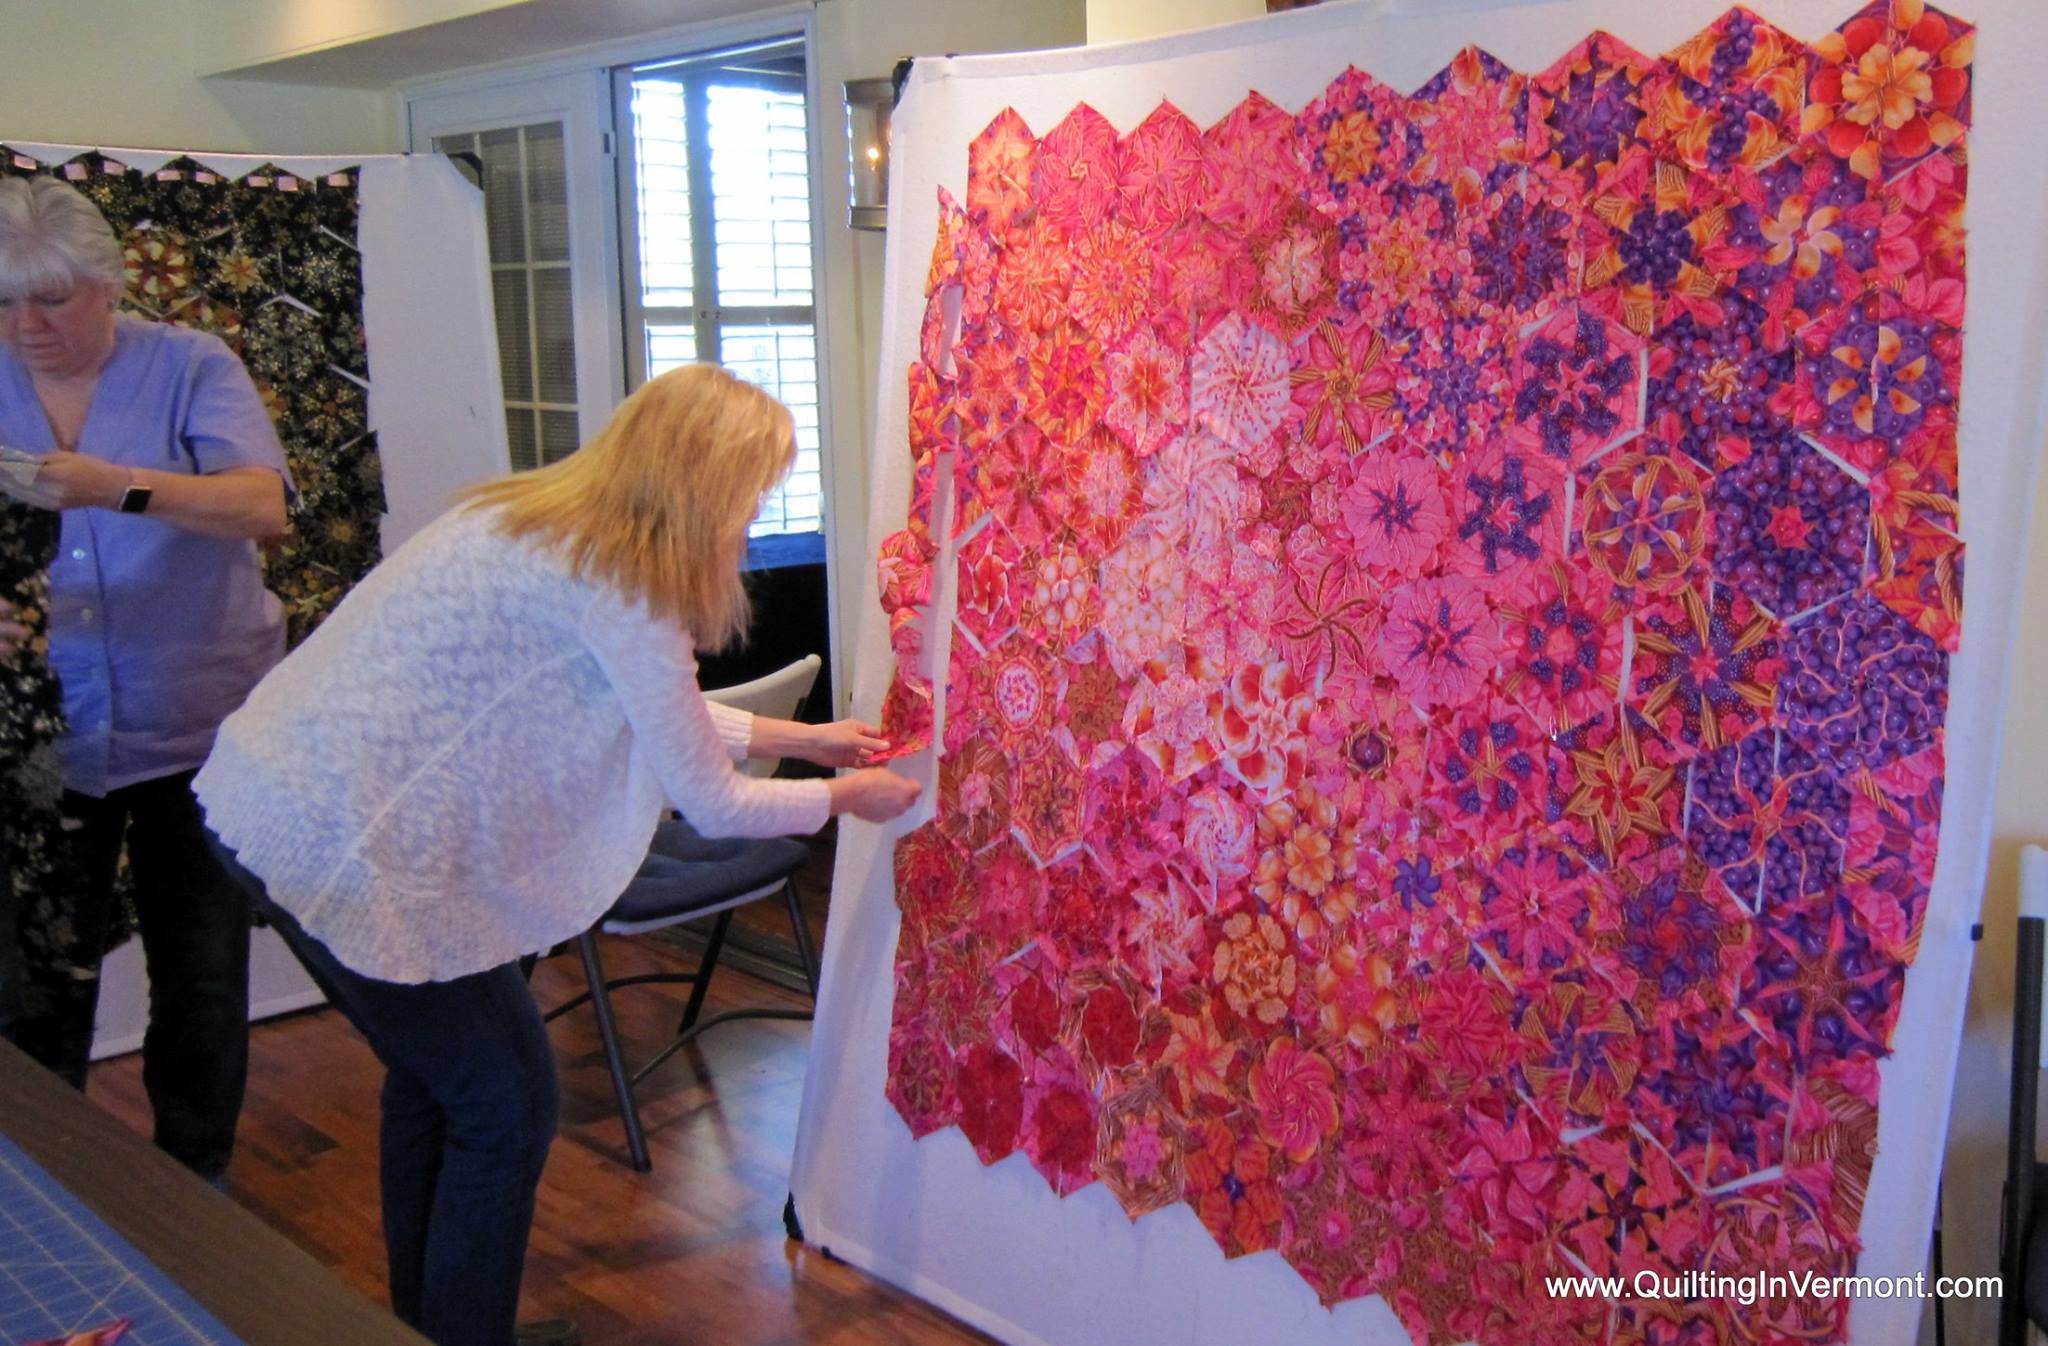
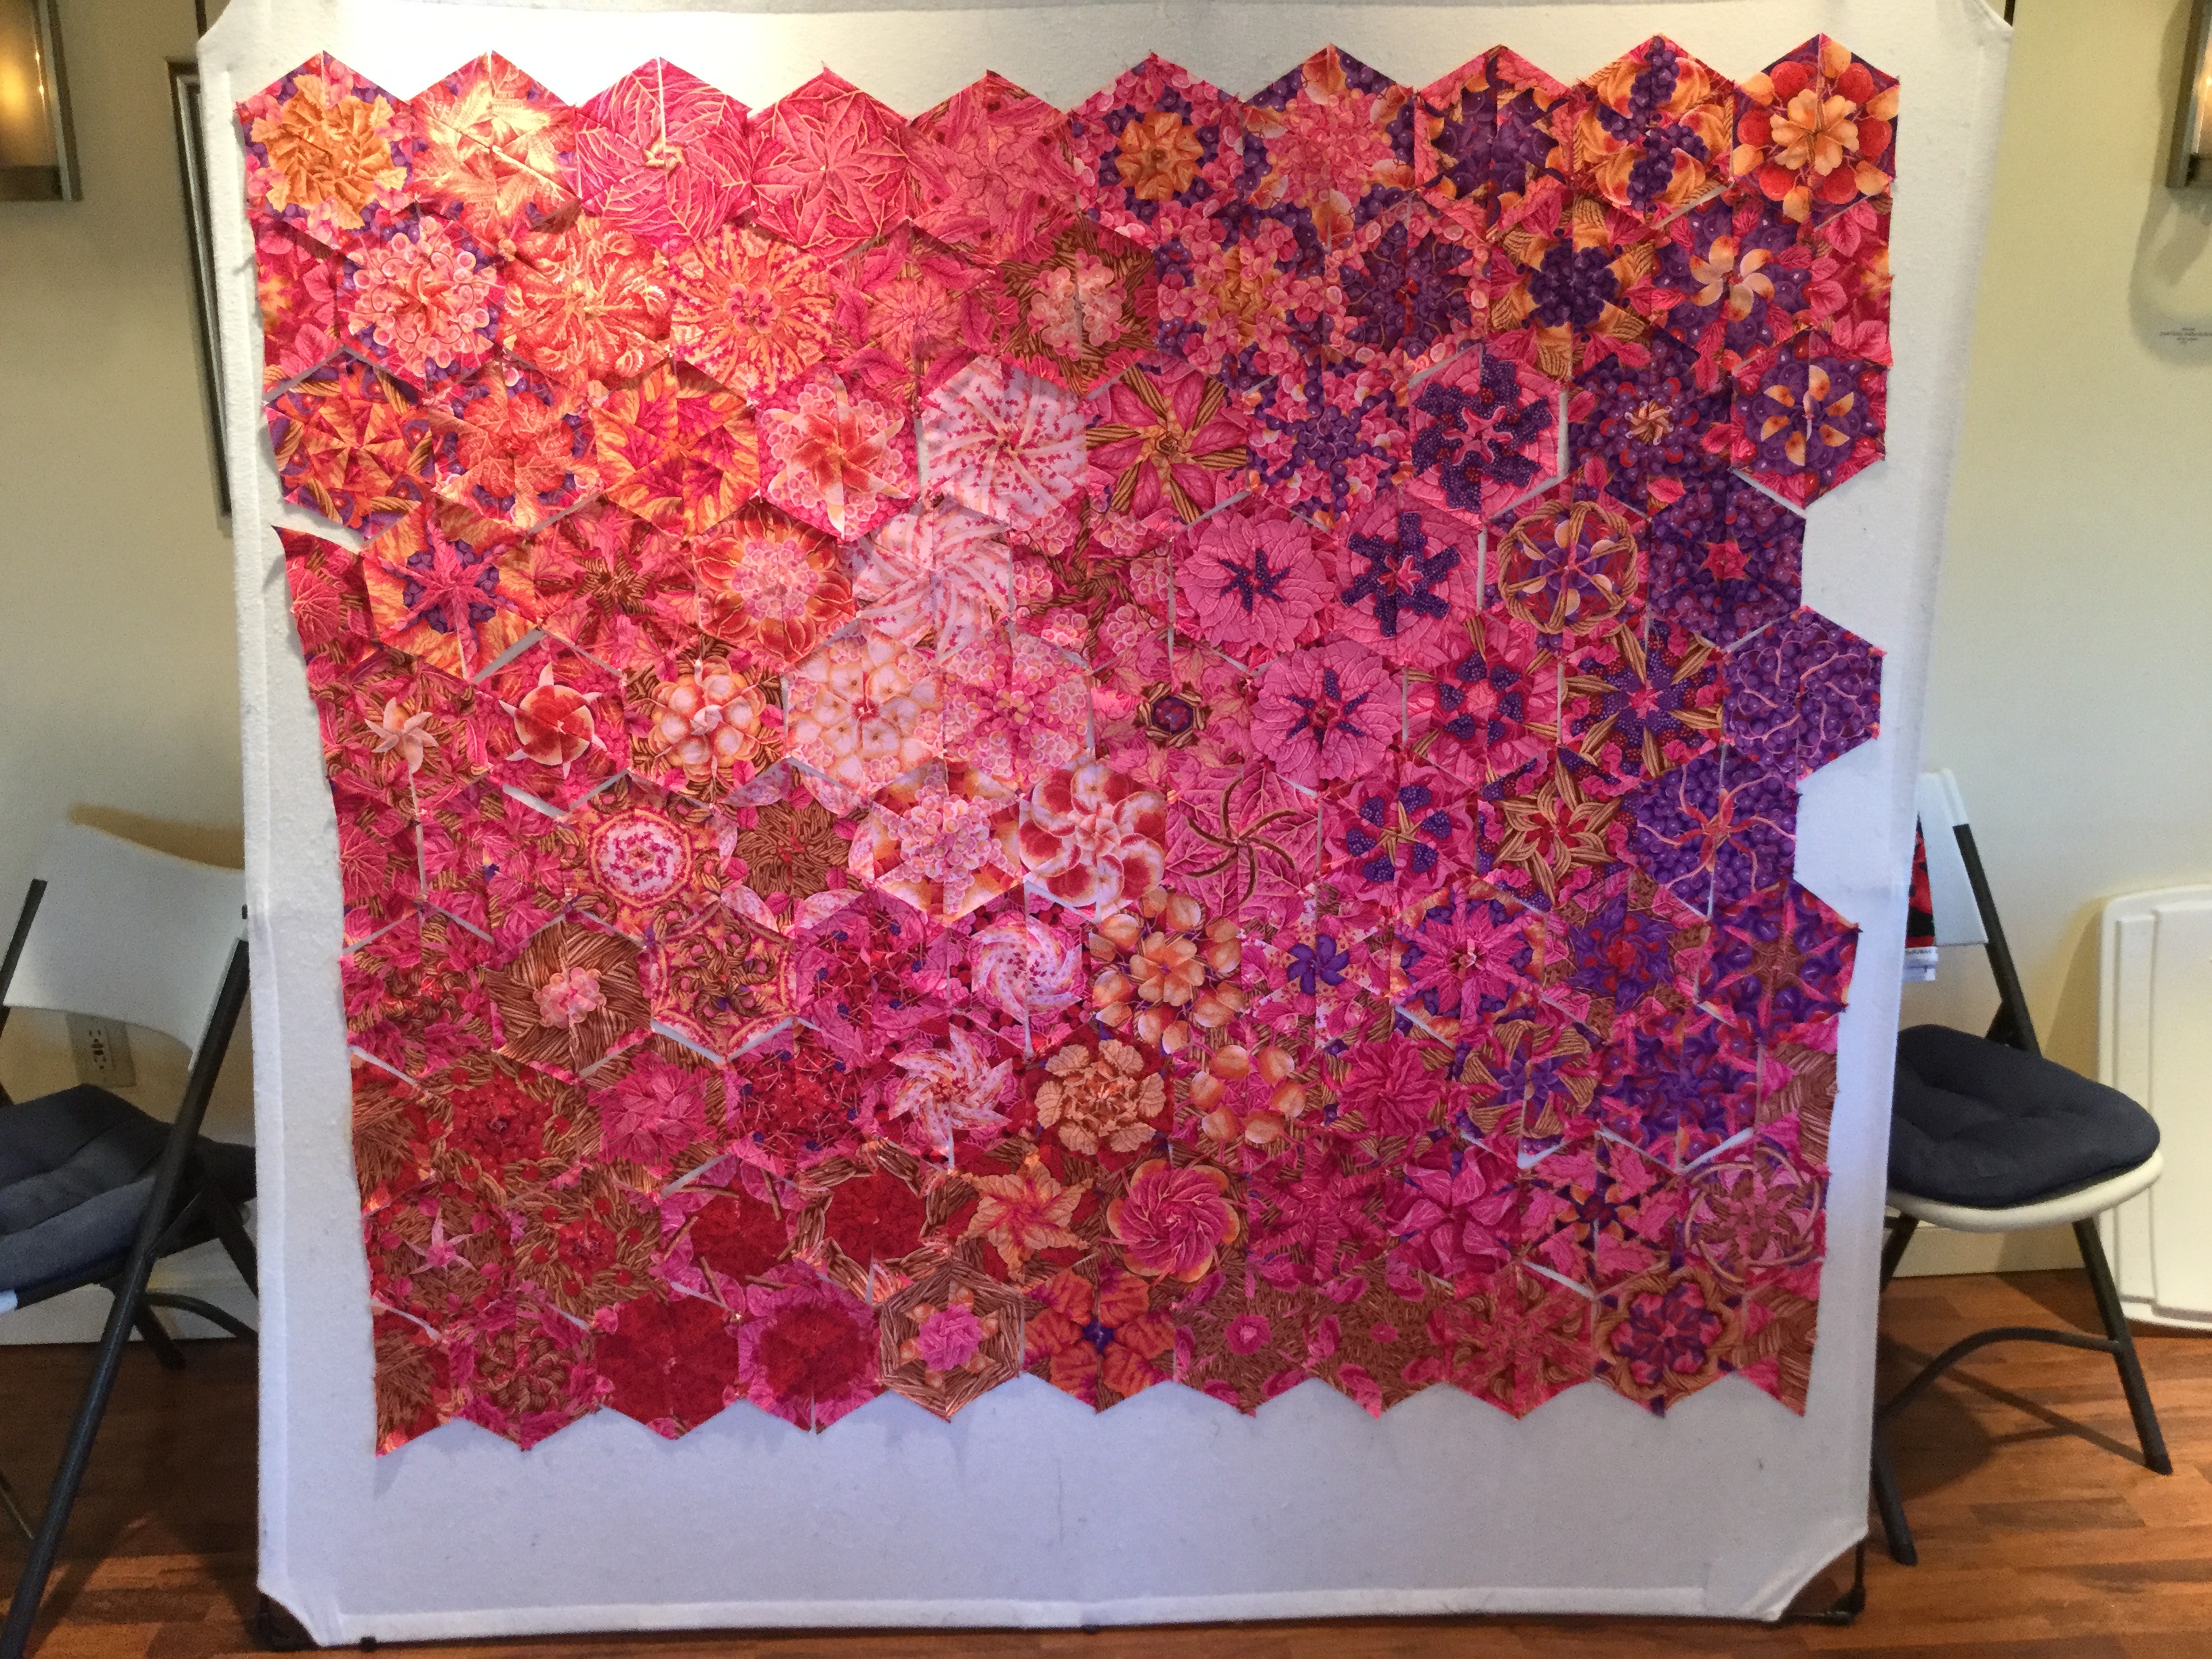
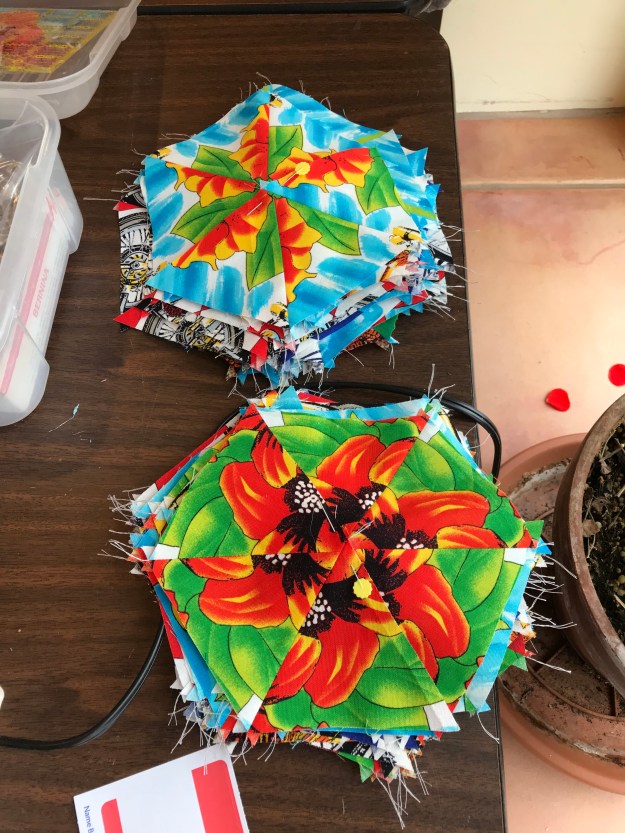
Wonderful Jane found her fabric strips needed to be cut smaller to make best use of the design.  She thought she would never get to the end of sewing her Mardi Gras hexies together.

img_2552img_2555

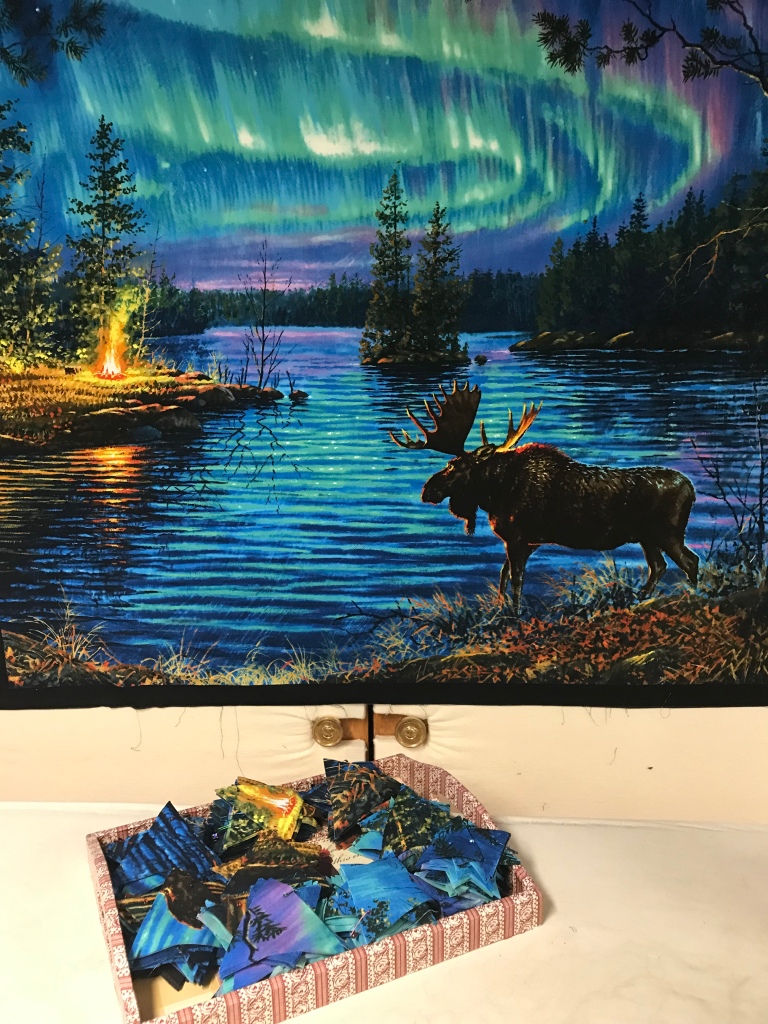
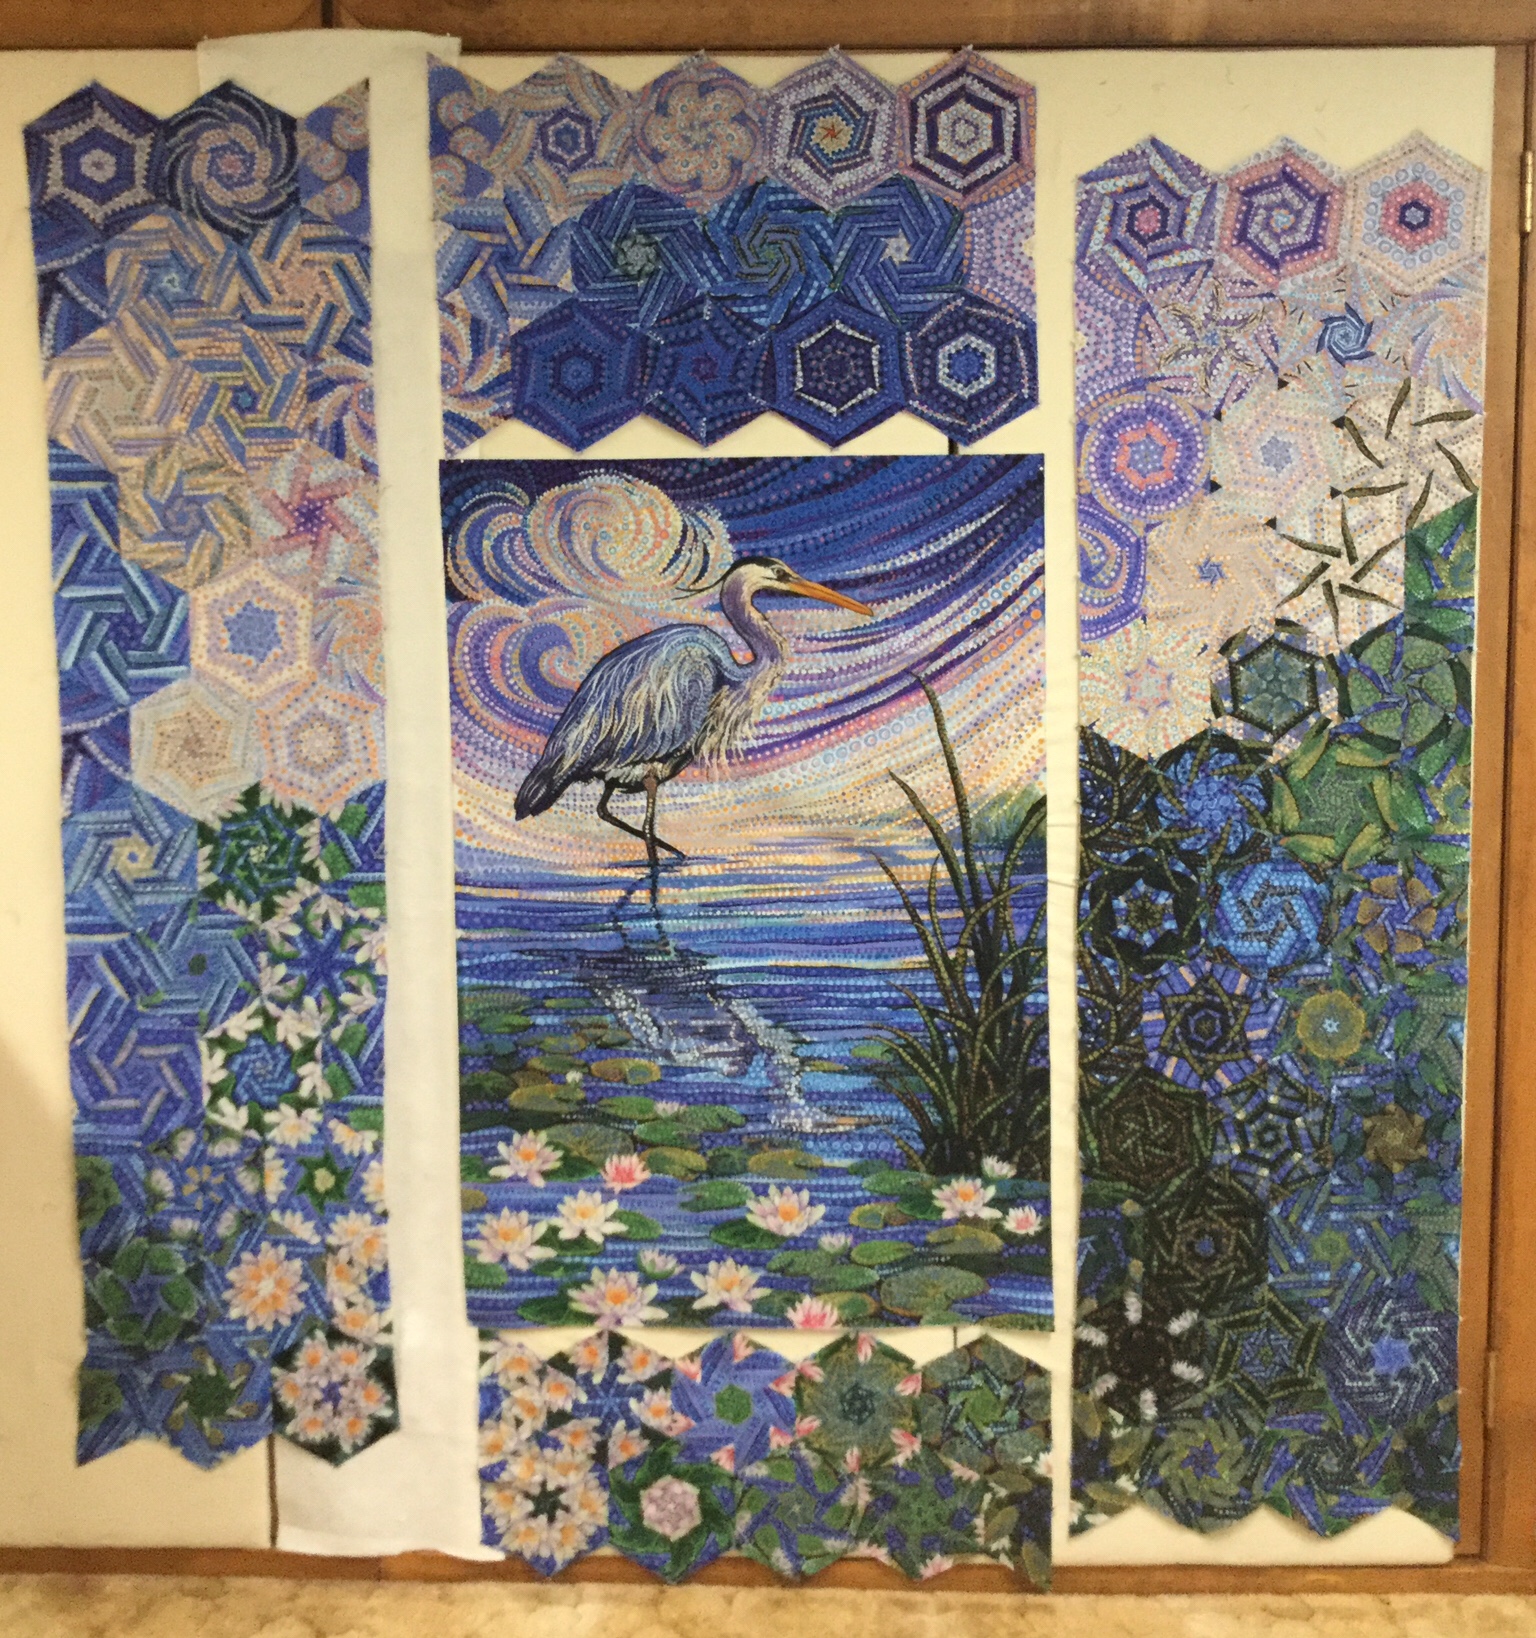
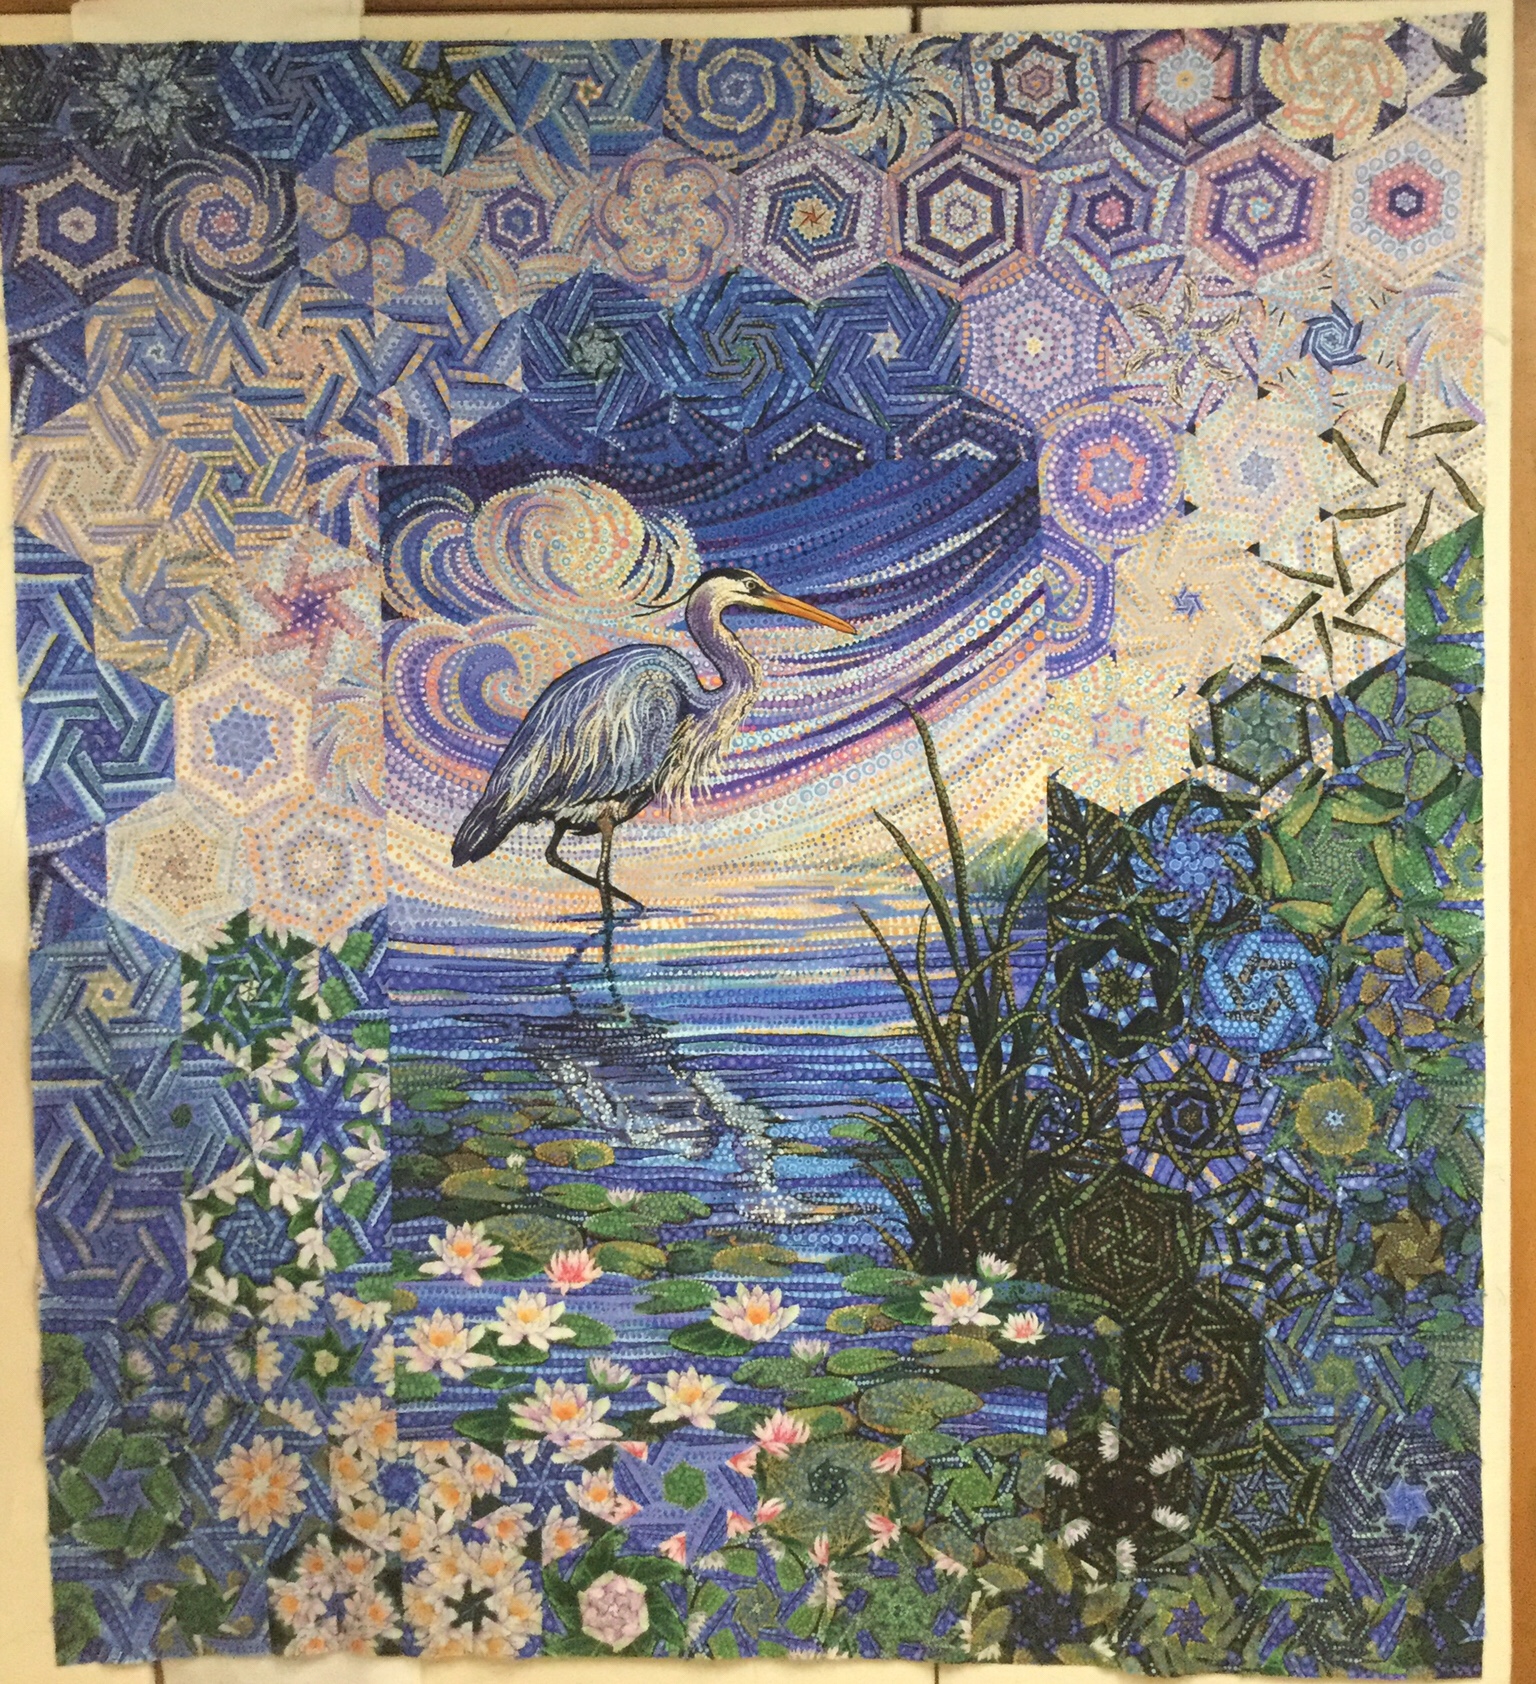
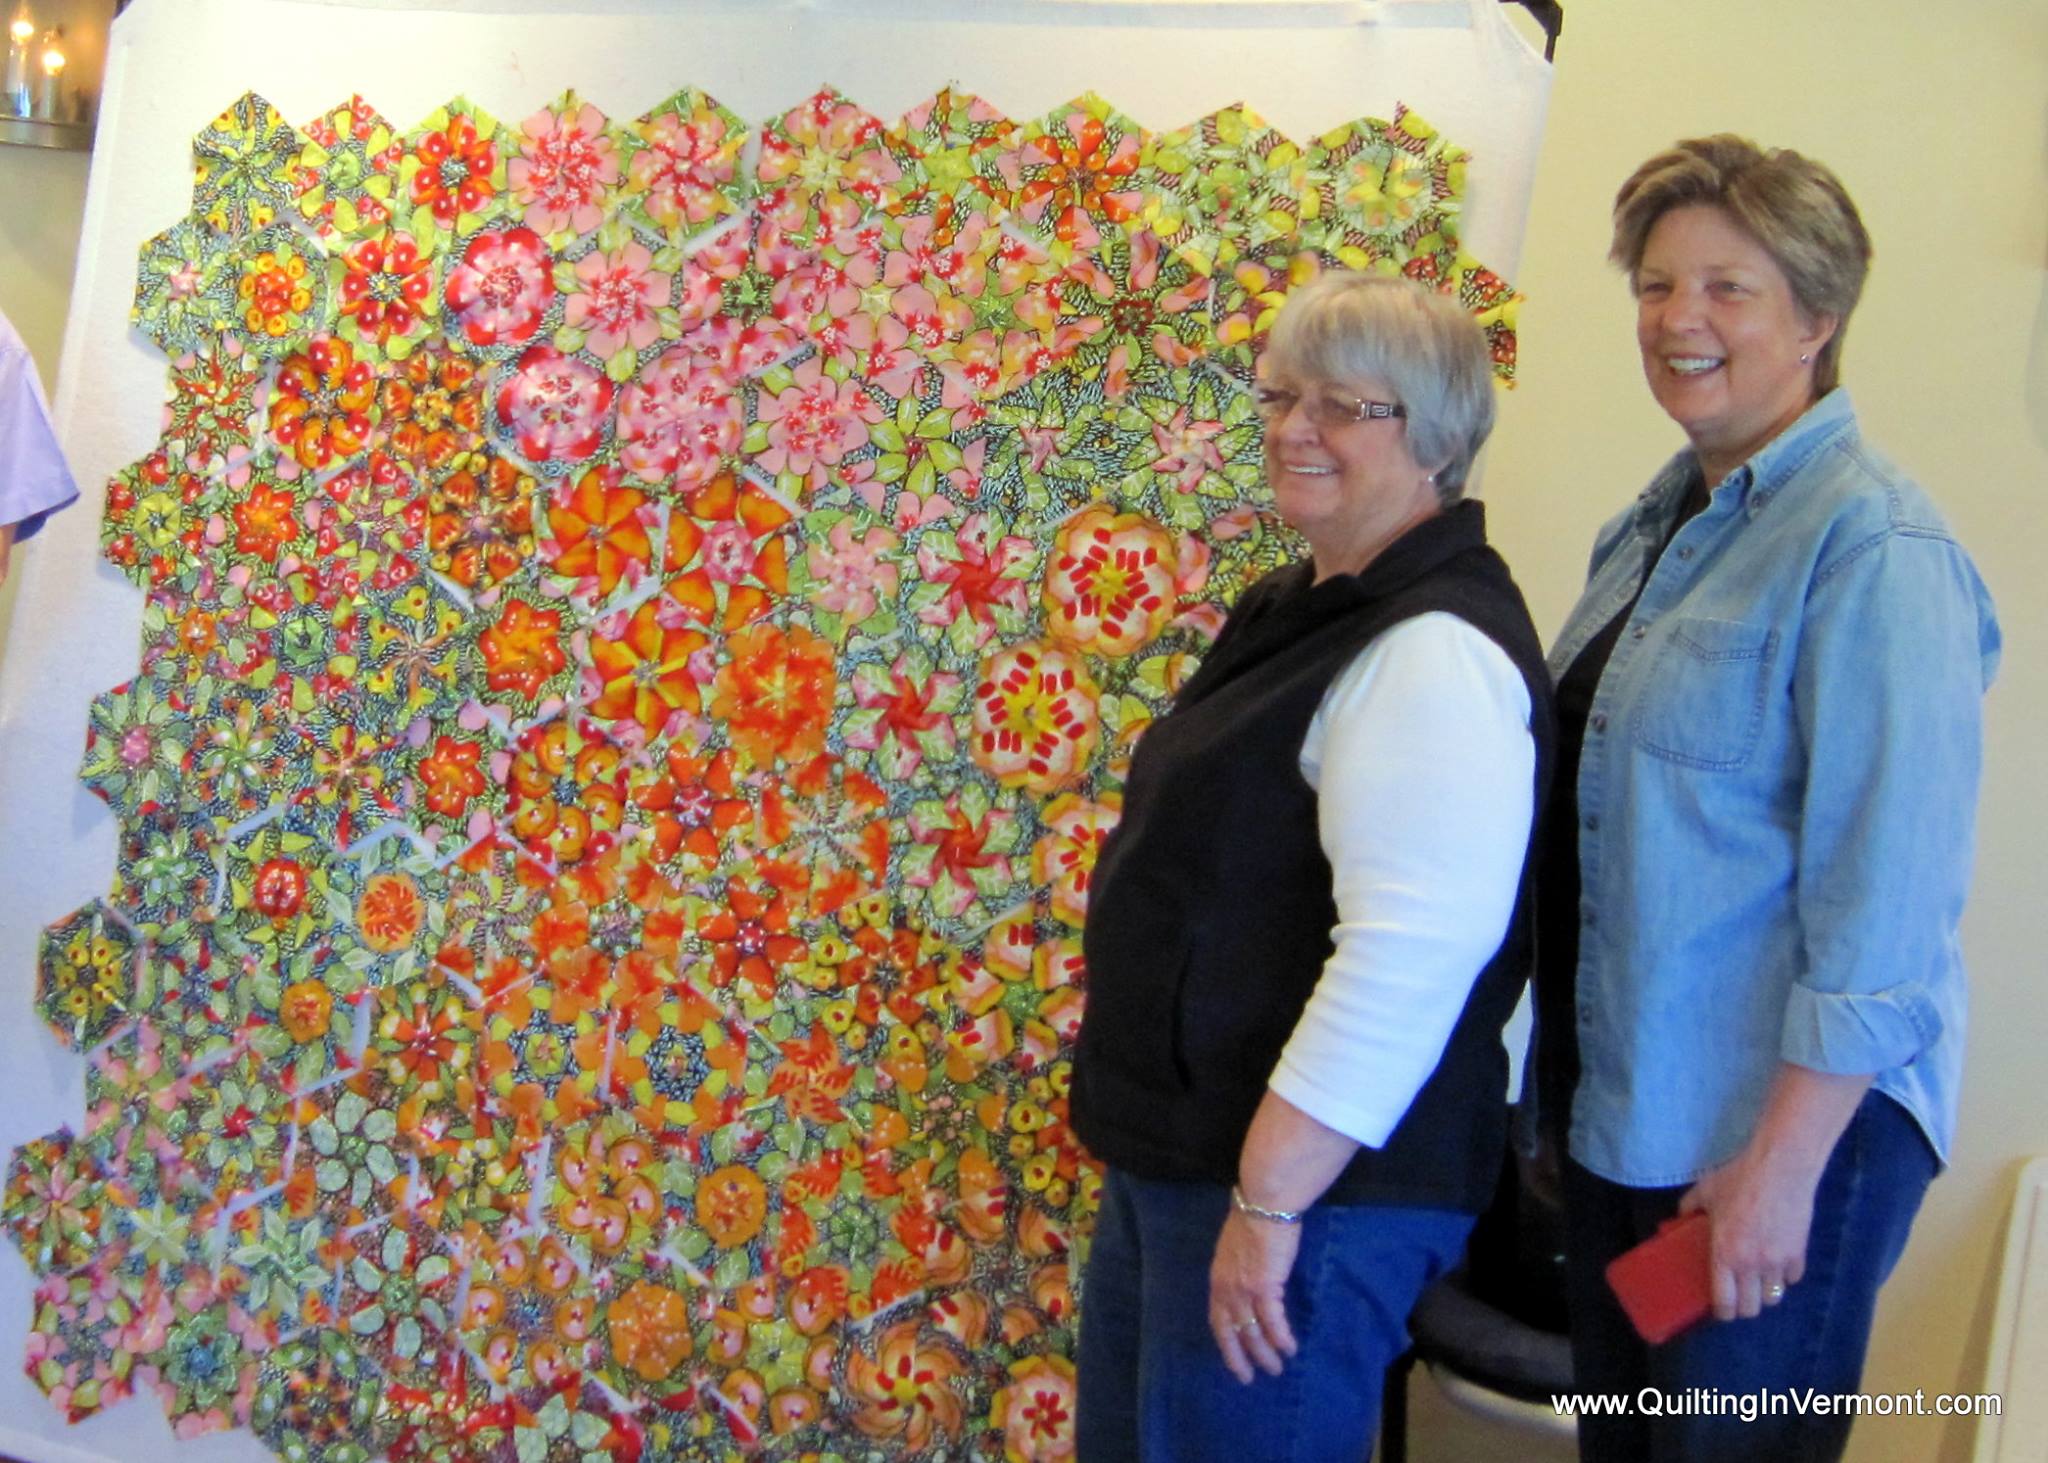
Martha started with a great panel and came up with a very creative design.  She loving calls some of her blocks “desert plates” that surround the center of light hexies.

img_2523img_2549

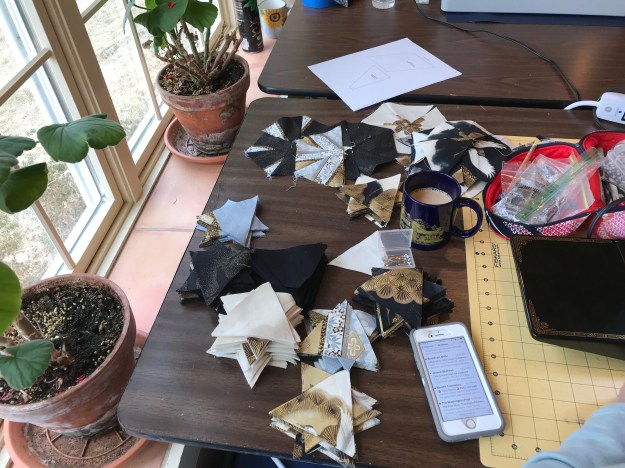
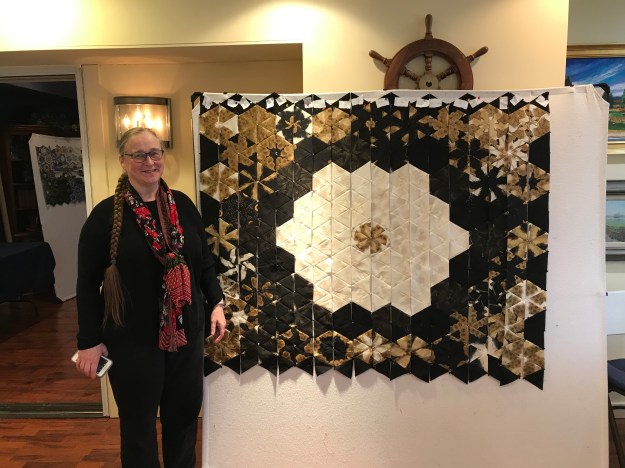
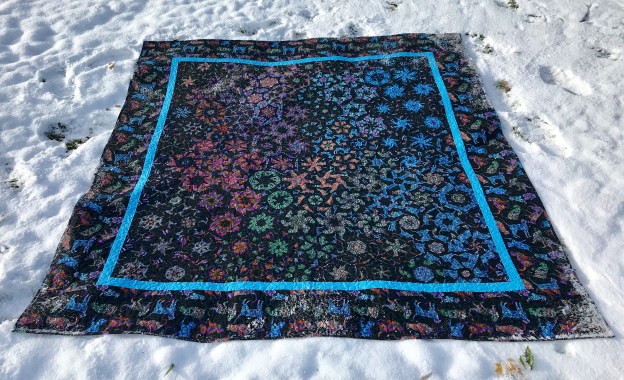
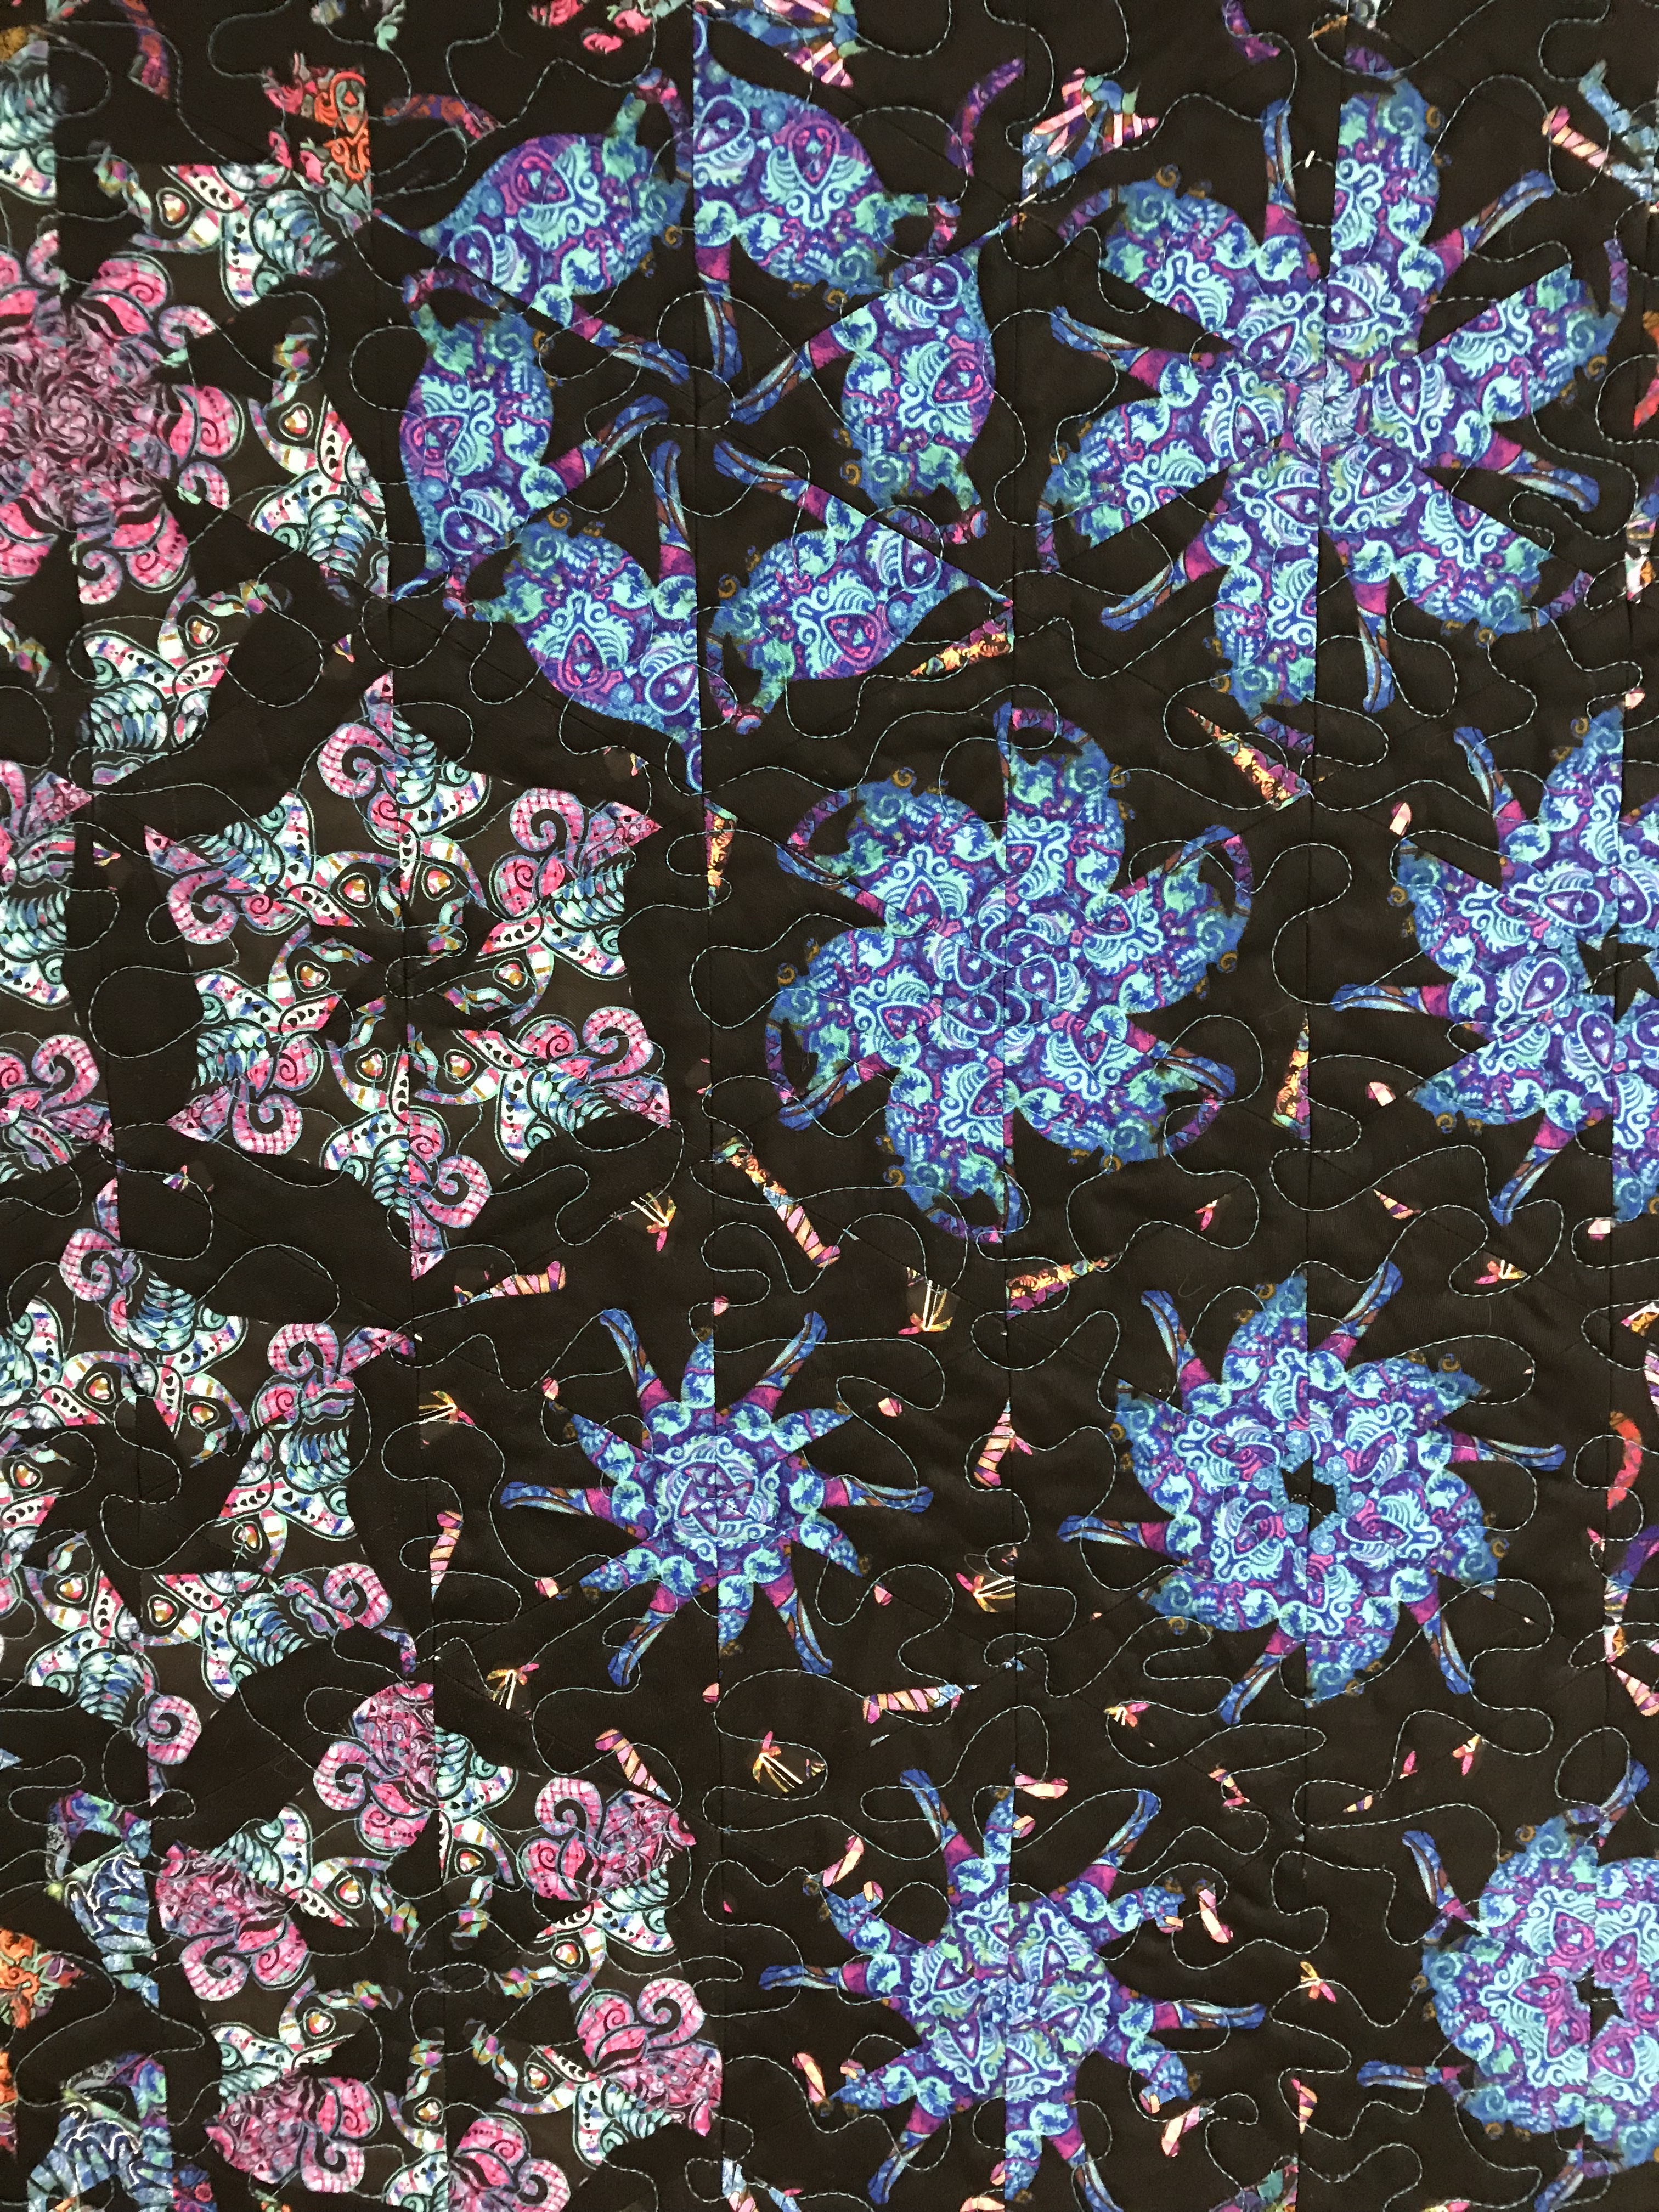
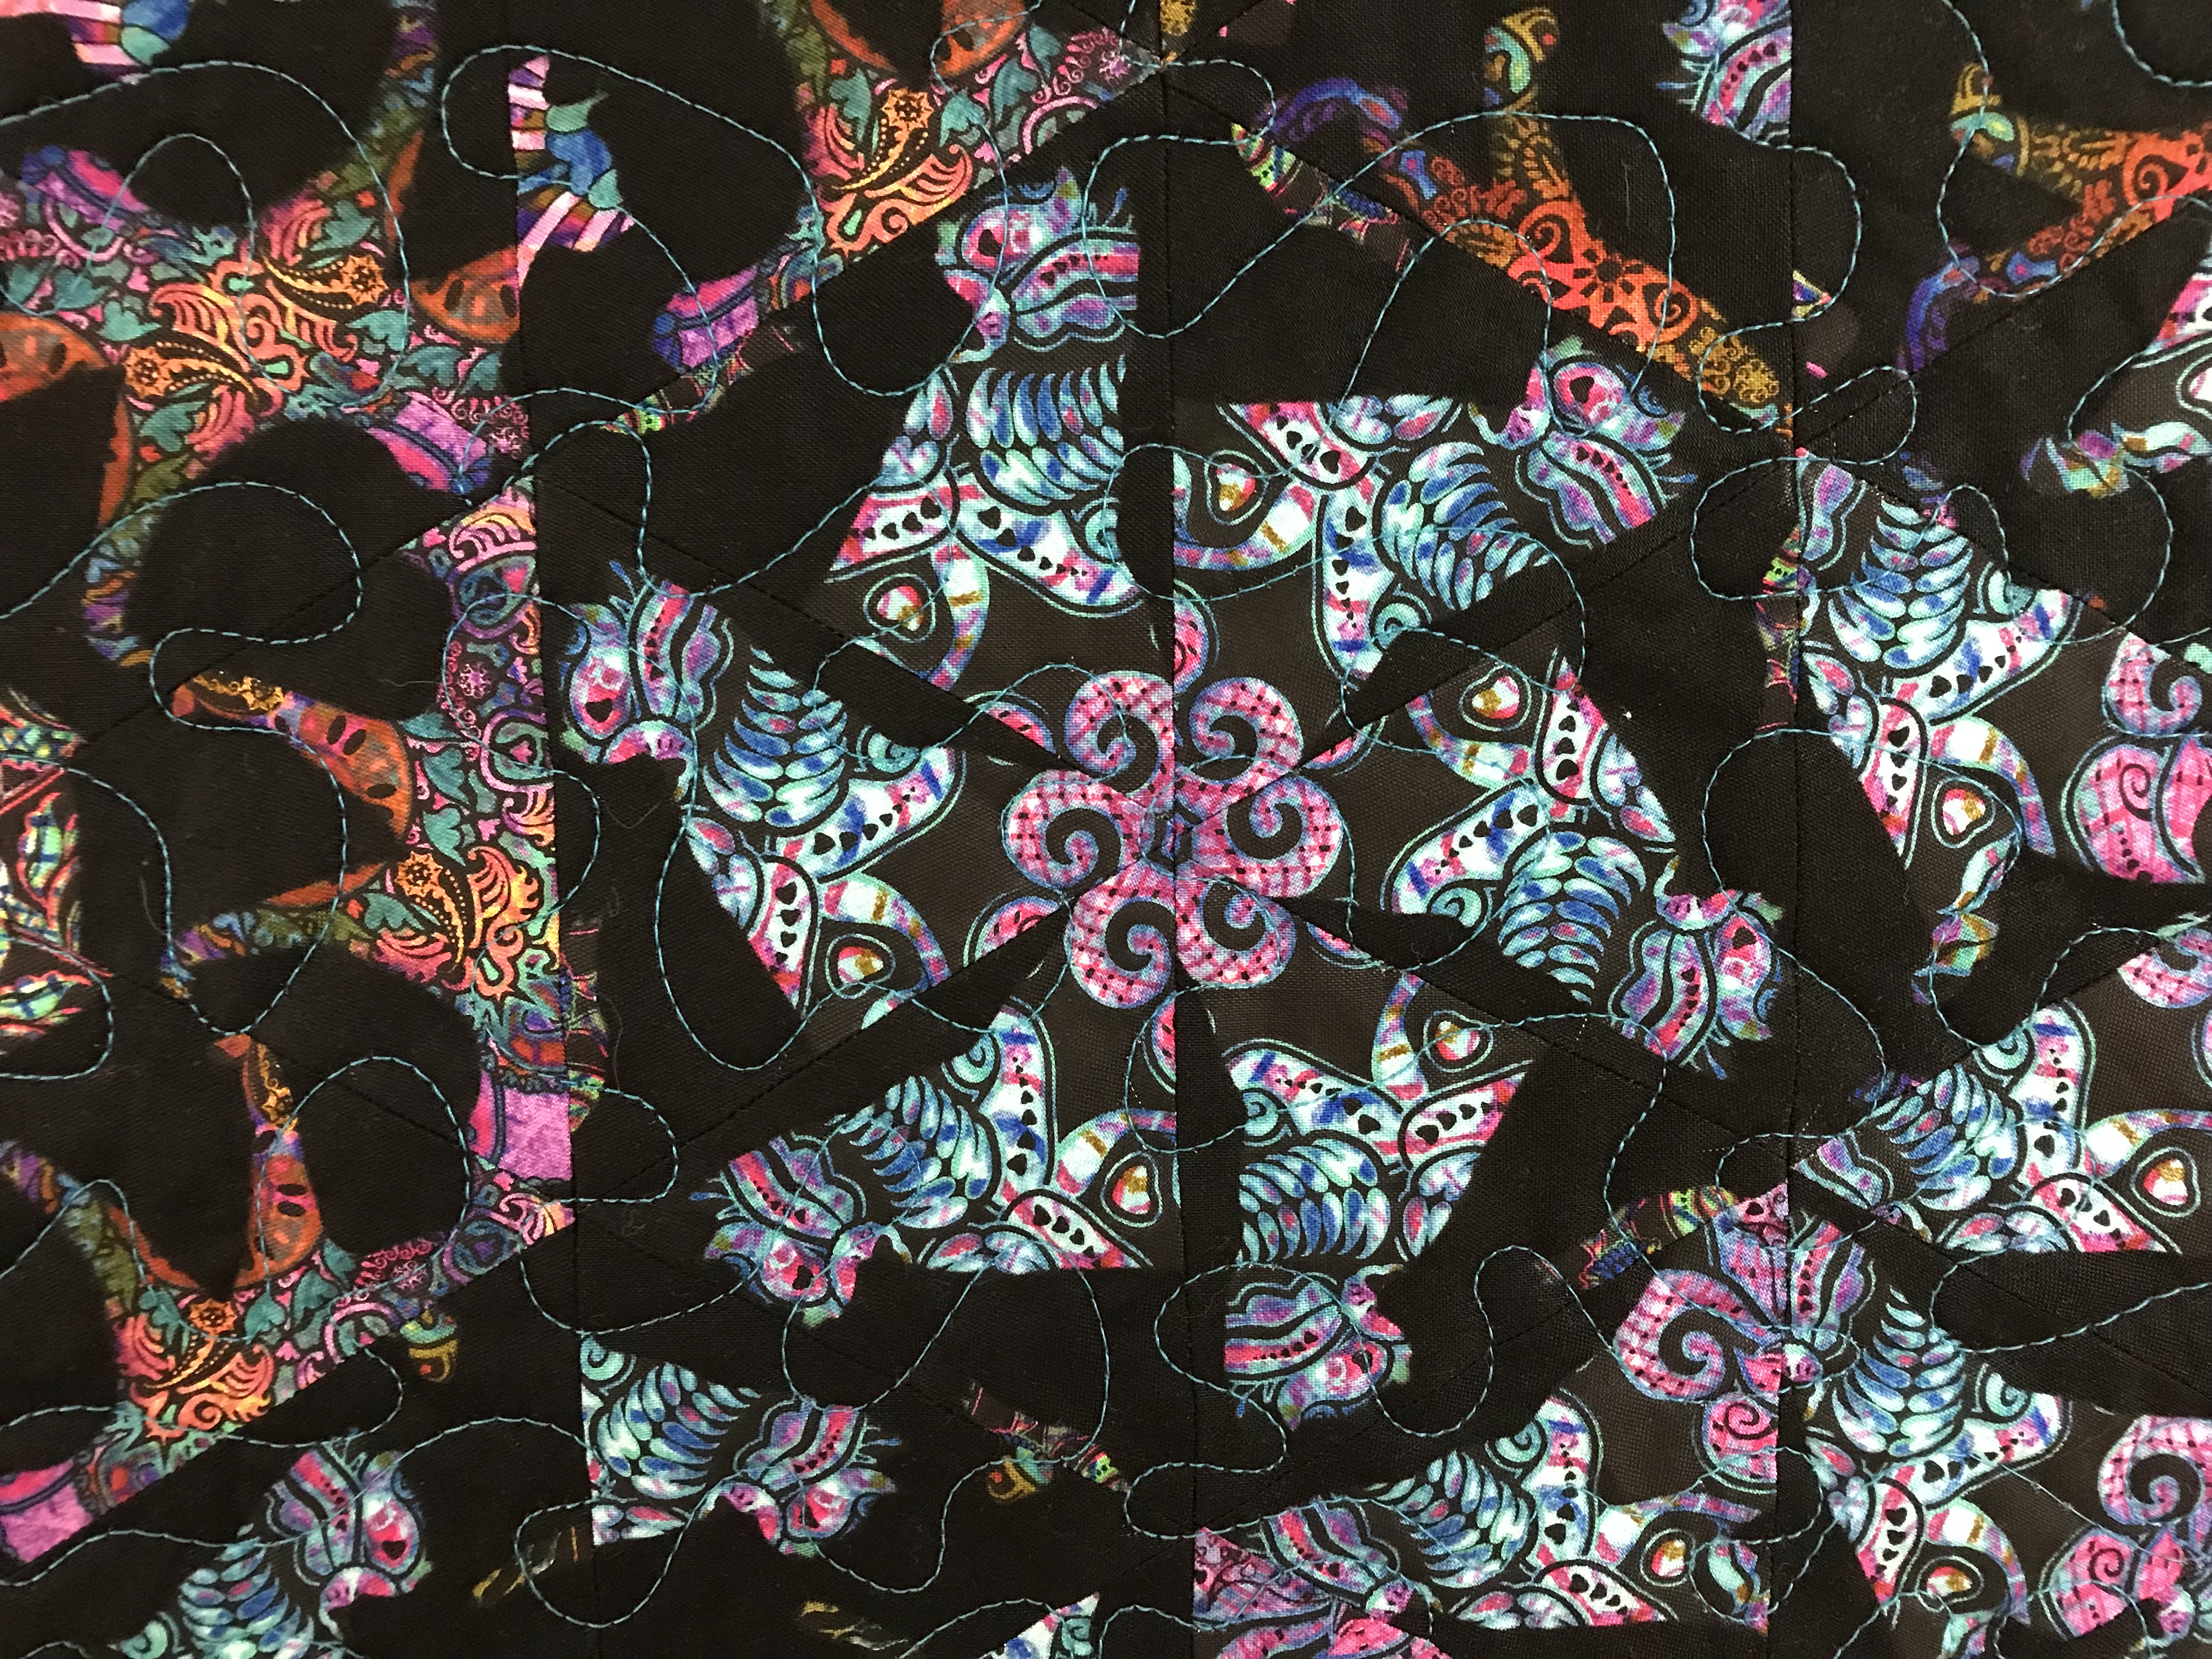
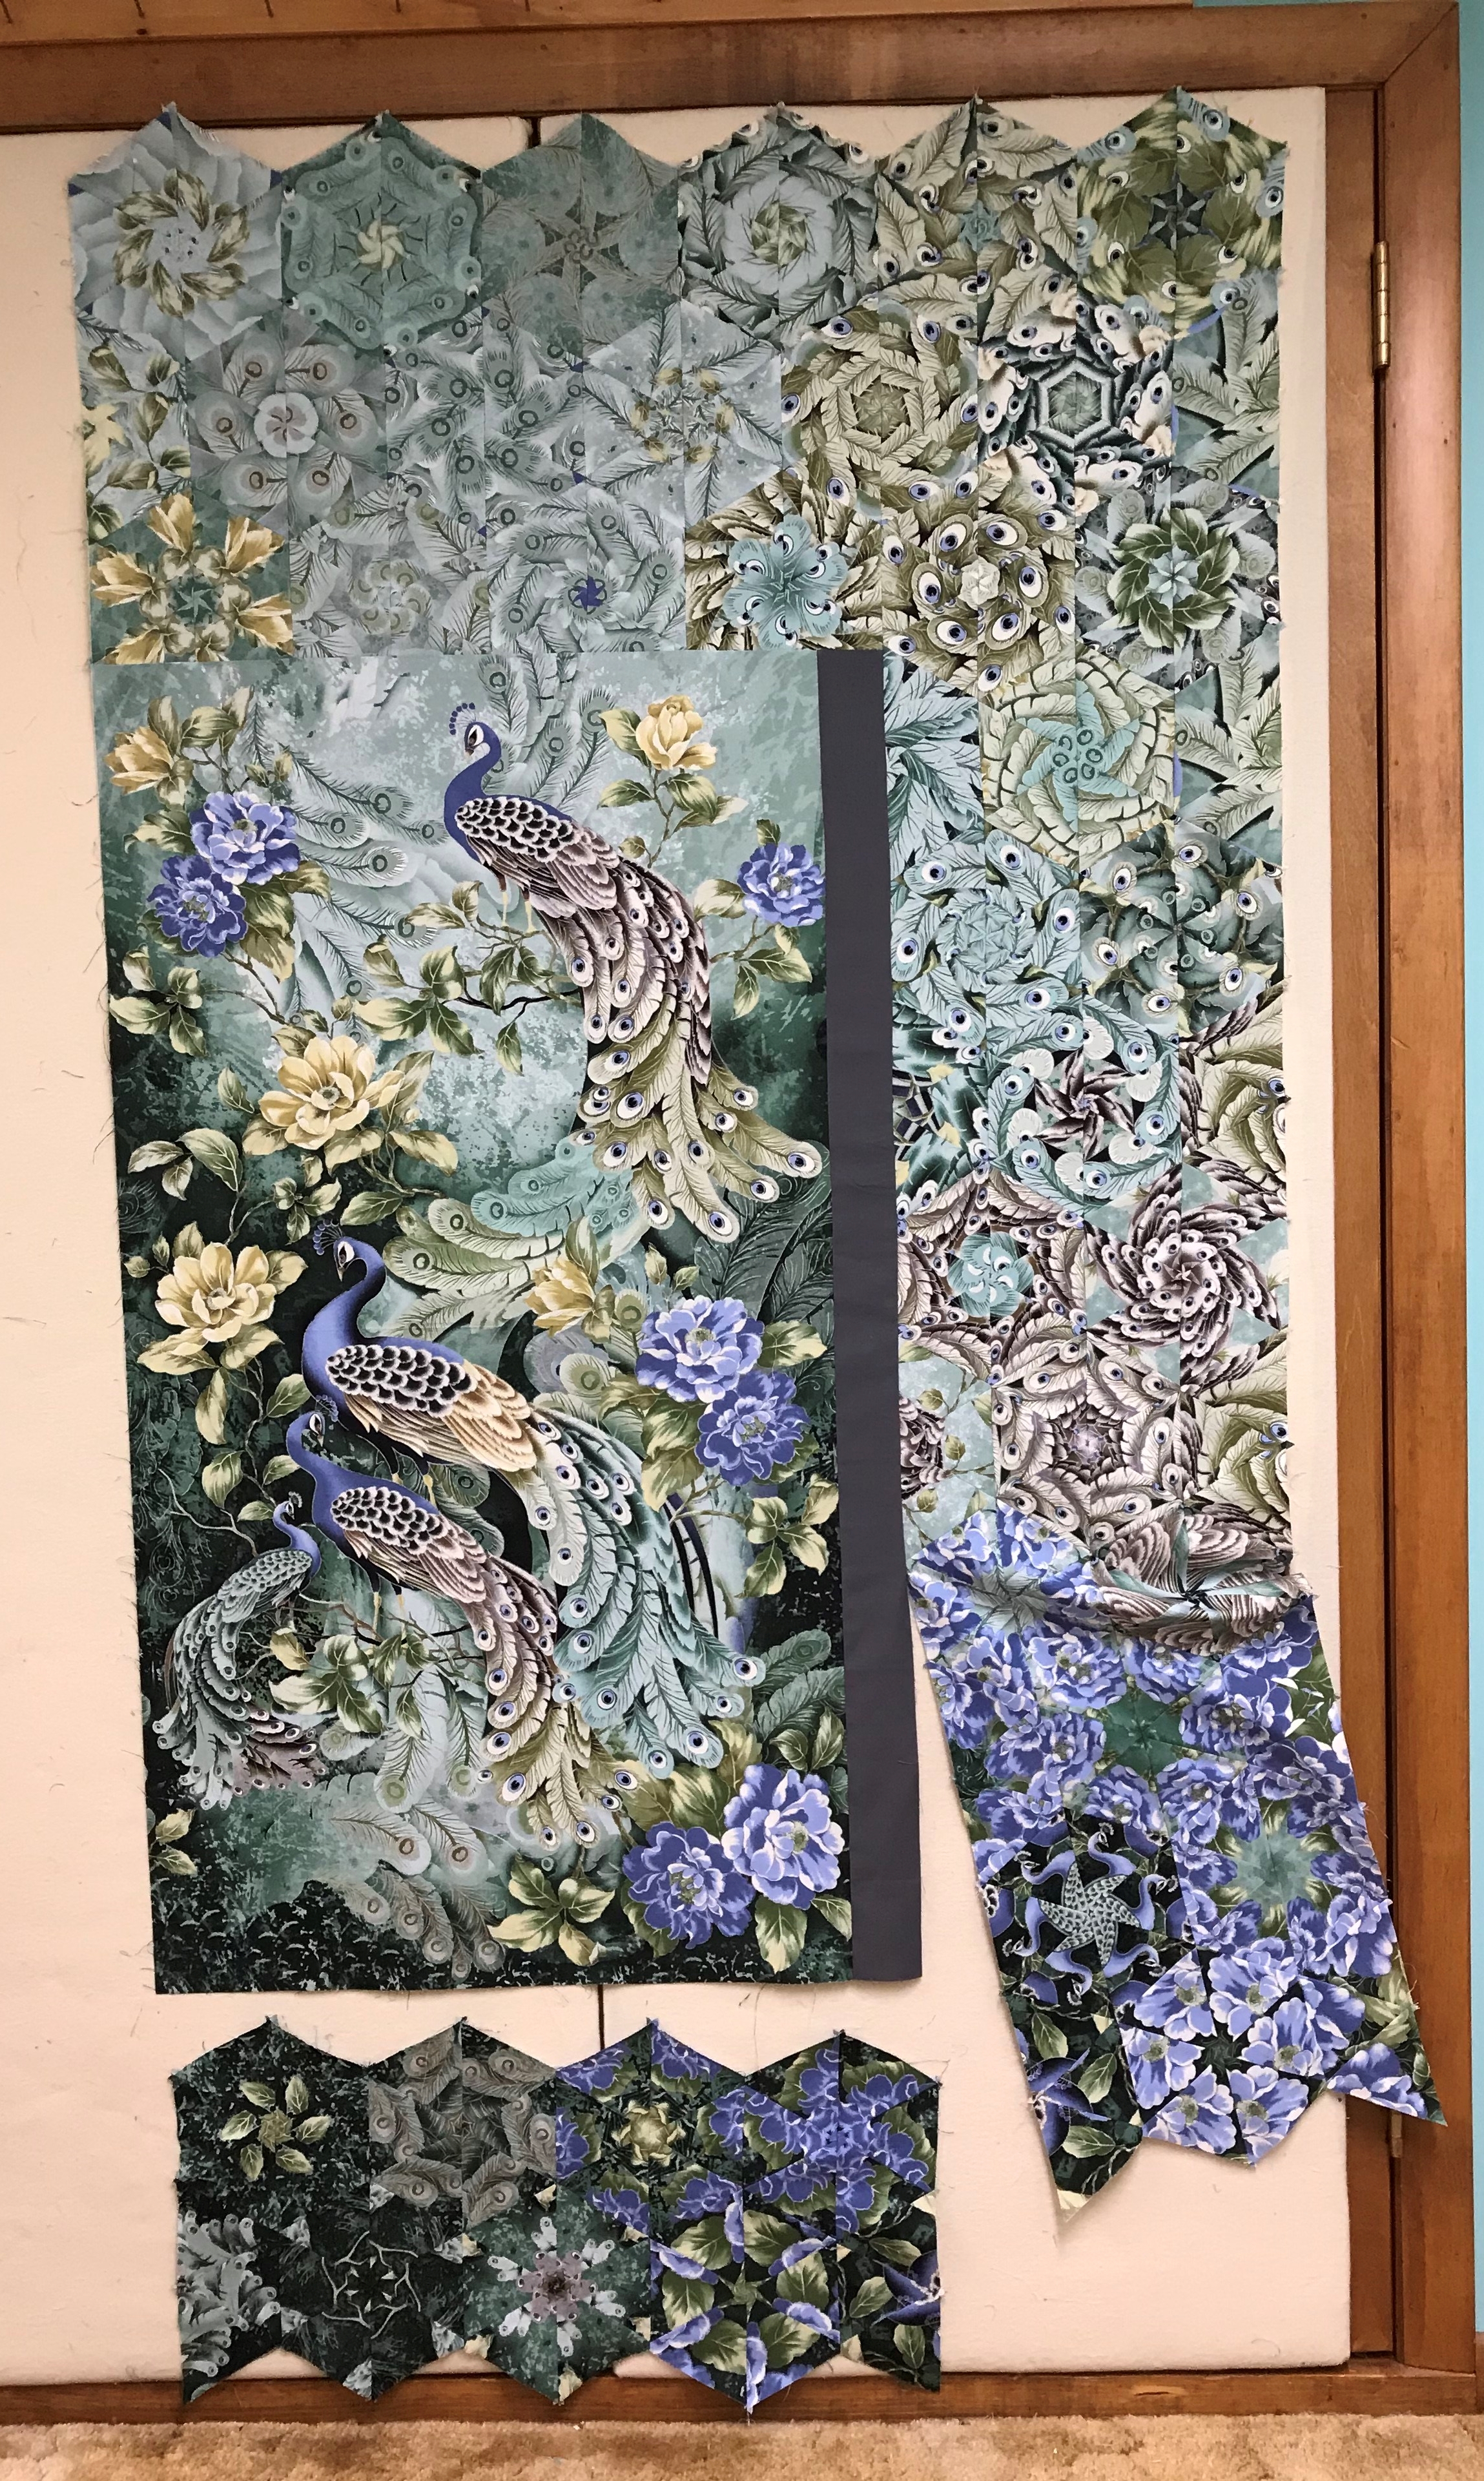
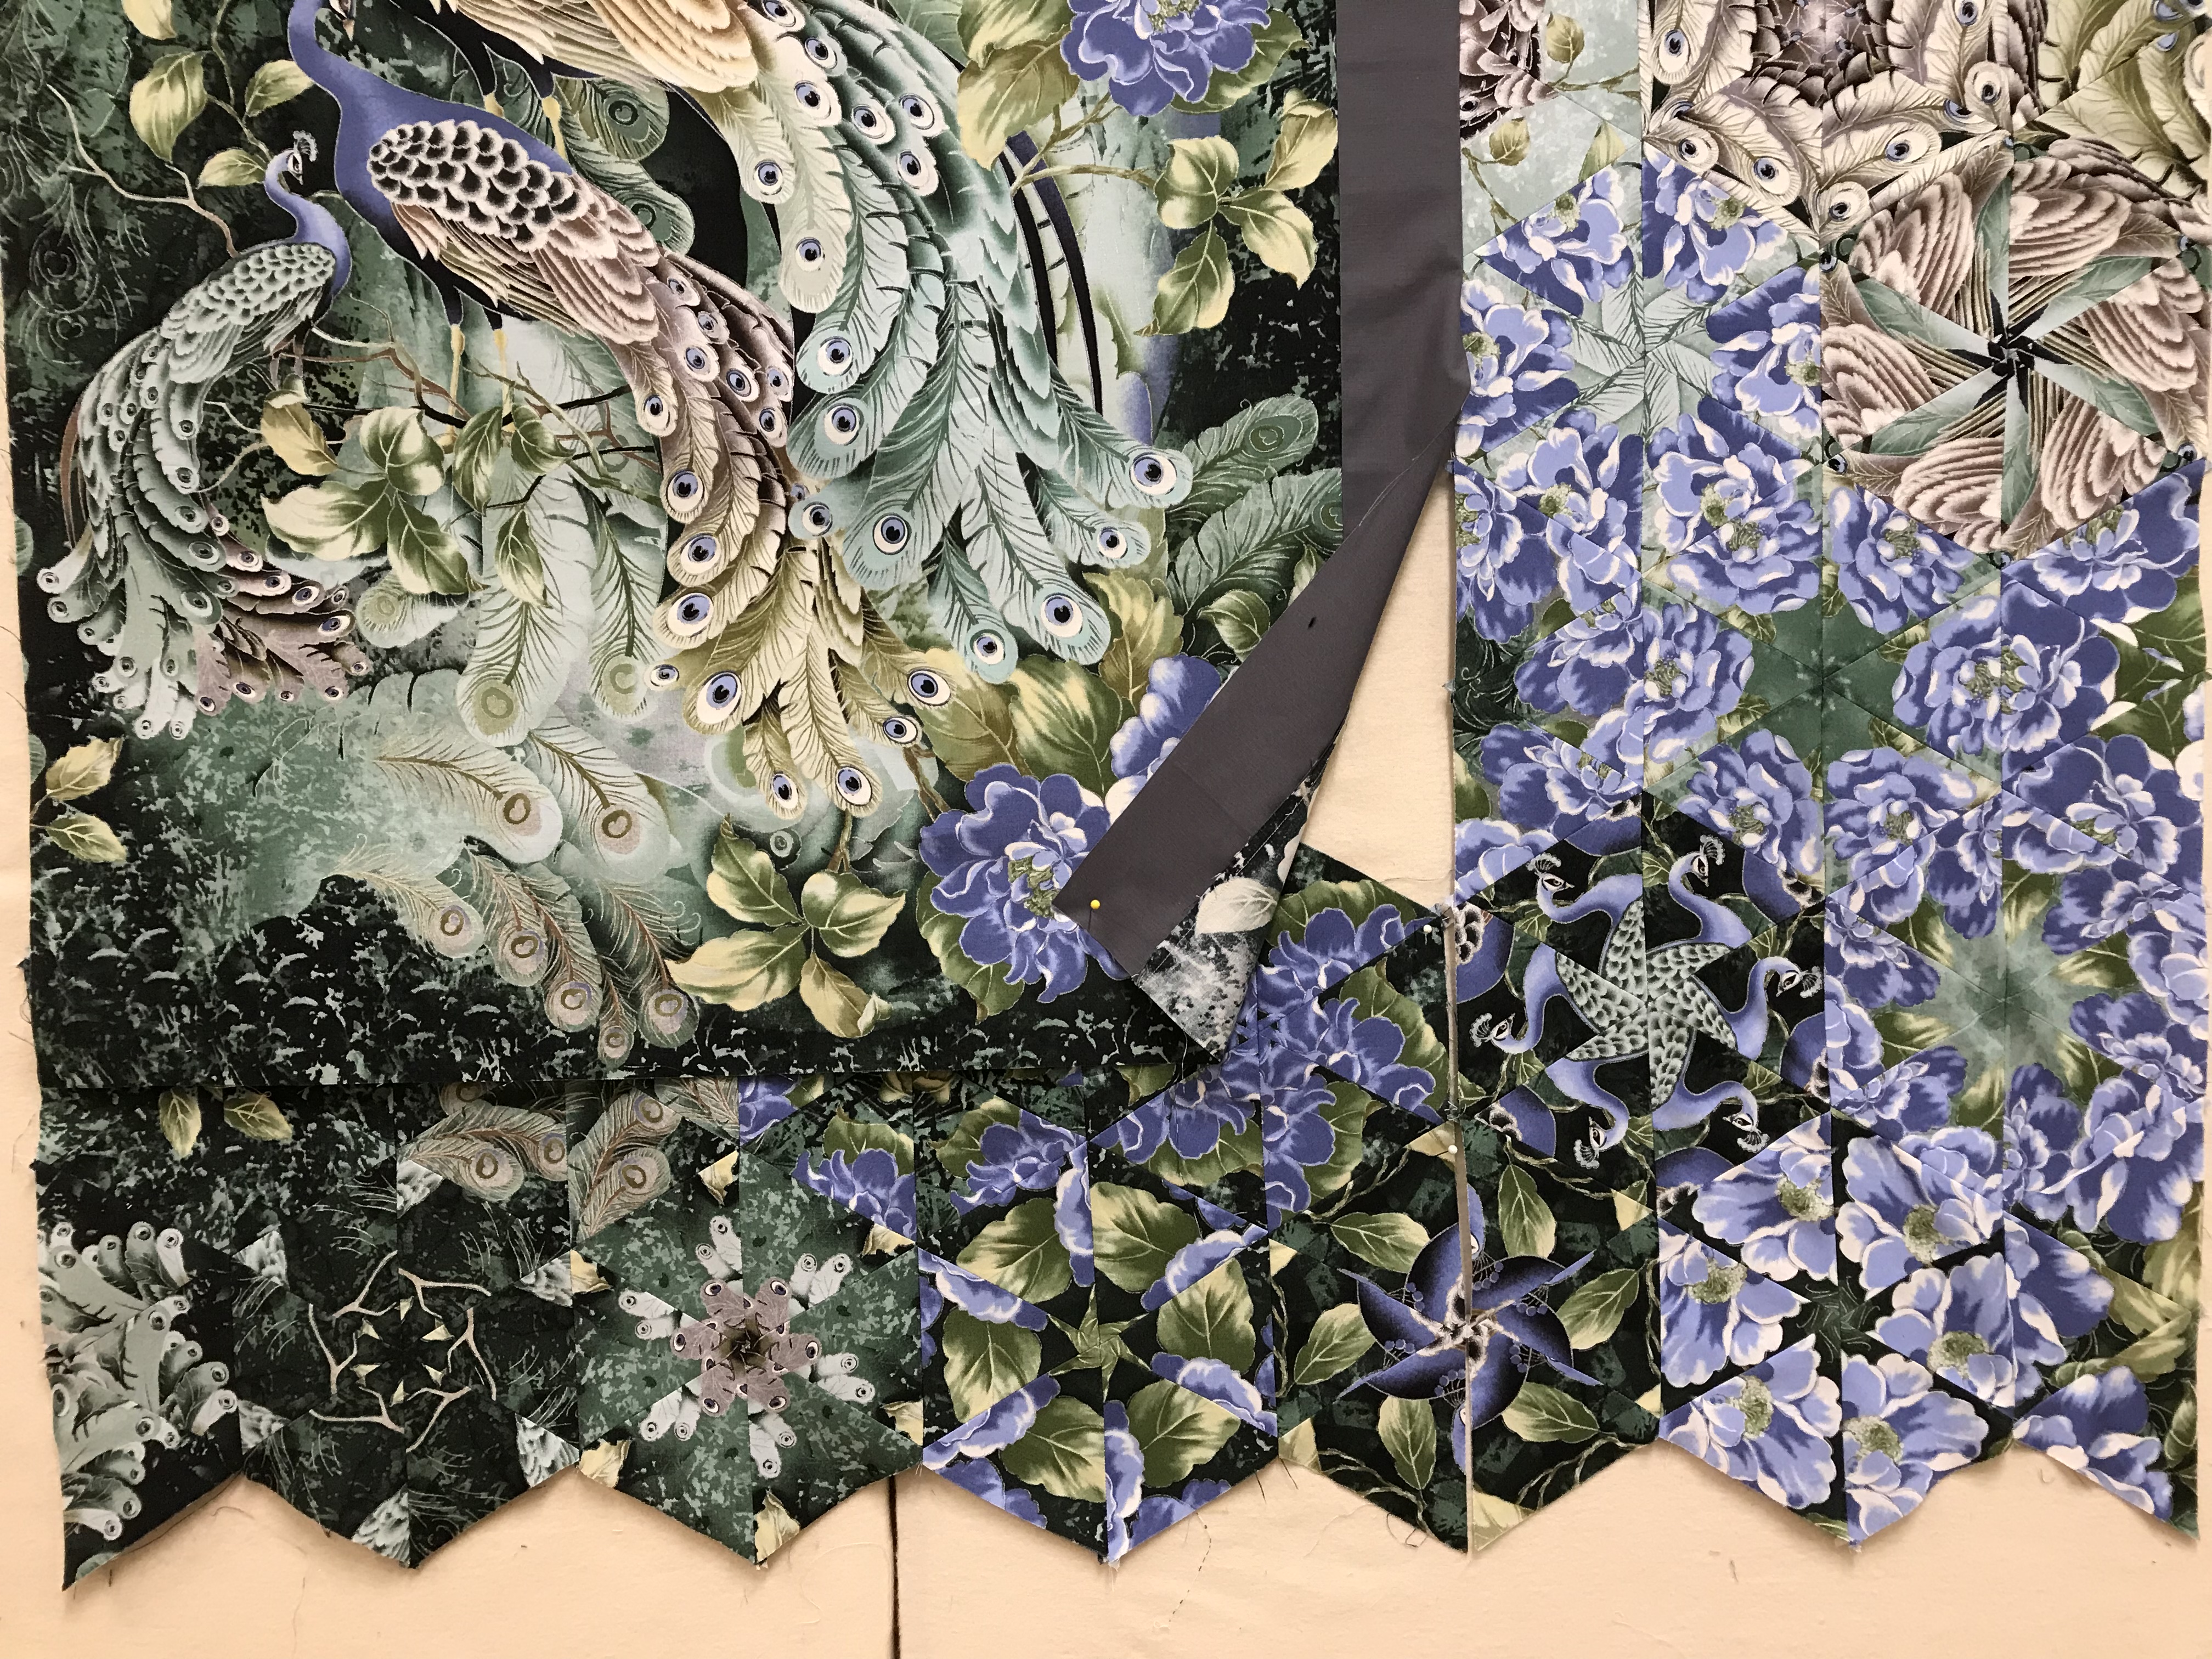
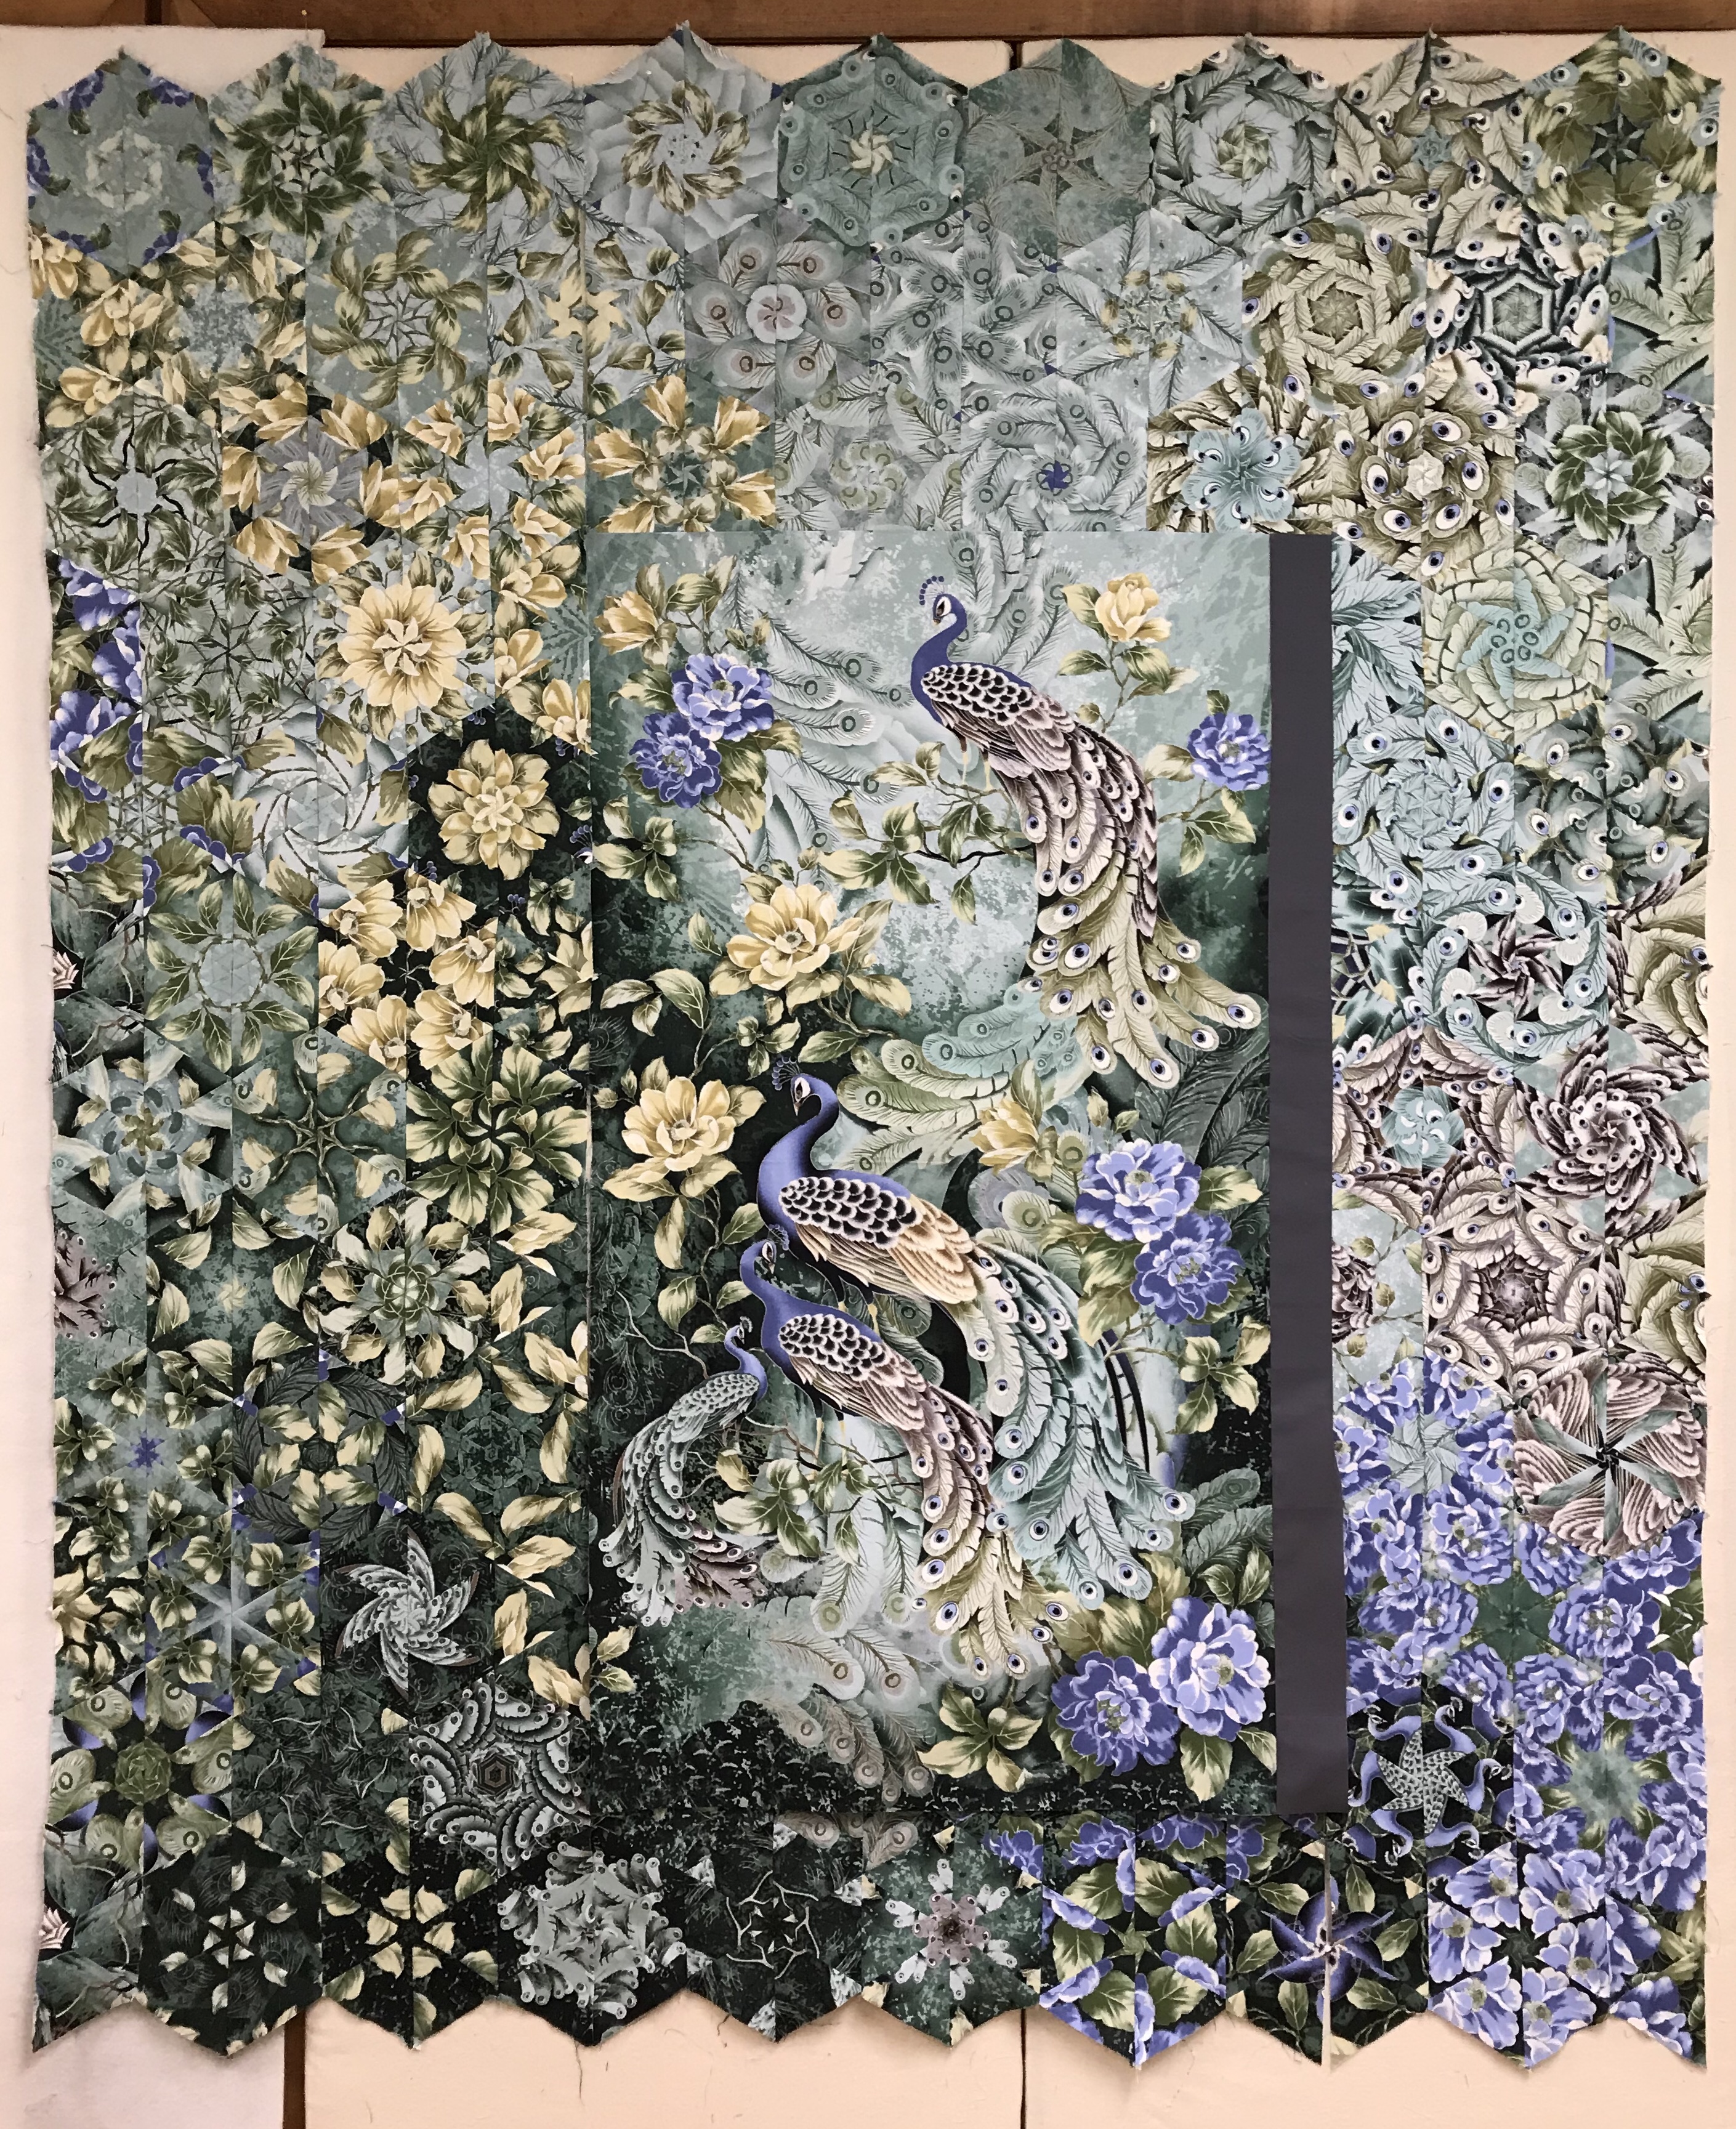
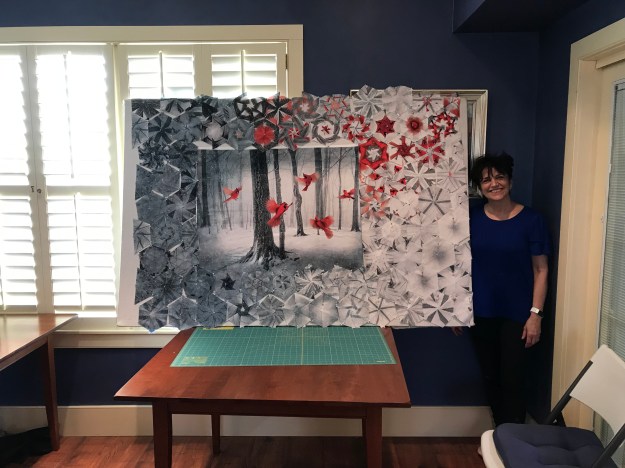
Anne was not too sure about a One Block Wonder Retreat, but she went along with her sister Martha’s choice.  What a completely awesome job she did.  She is calling this quilt “Moon over Kyoto”!

img_2511

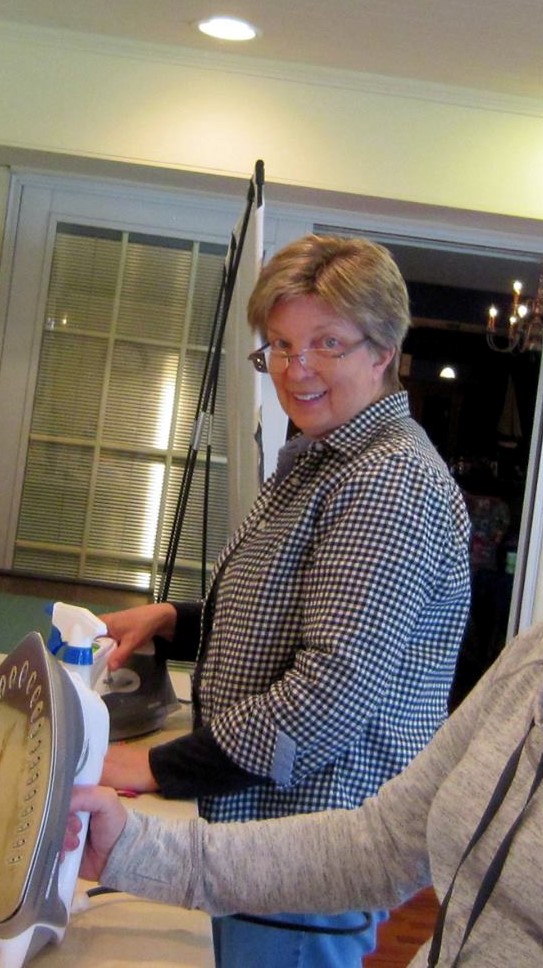
Me at the end of the day laying in my bed exhausted!

img_2553

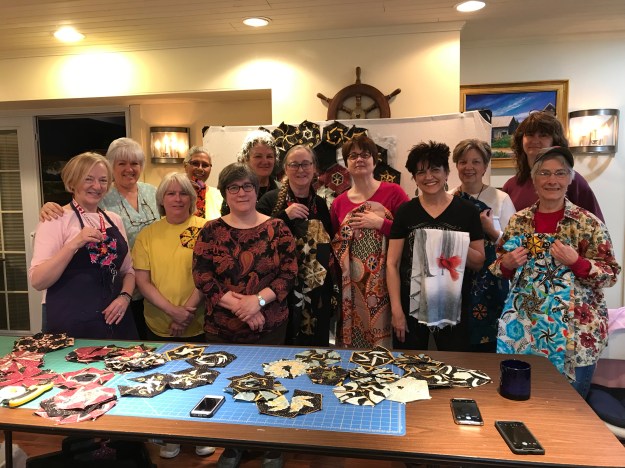
What a great group of quilting friends.  I miss you guys already!

I hope you ladies will share your completed quilts on our Vergennes OBW Class 2019.

And don’t forget to join the One Block Wonder Quilt Forum for inspiration.

I’ll be back at the Strong House Inn October 24, 25, 26 & 27, 2019 for “Everything You Wanted to Know about the Tucker Trimmer, But were afraid to Ask” workshop.  We will make at least 4 blocks showcasing what units you can make, a table runner and a wall hanging, so make your reservations soon!  Happy Quilting everyone.

Plume – OBW #66

I am very goal oriented. Today is December 23rd and is One Block Wonder Day for me. Tomorrow I bake!

I used Plume for my example in my post “Using Panels in a One Block Wonder”. I also used it this fall in several OBW workshops. I wanted to get it finished so it wouldn’t get too beat up.

I also cut out two more OBW projects.

I’m going to use this panel in workshops to show how I integrate the blocks and the panel. It measures about 13″ x 20″ and will be much easier to work with in class than Plume. It is called Dreamscapes by Ira Kennedy for Northcott. I actually bought 14 panels, 7 panels for the class example and another 7 panels so I can finish one for me.

I also cut 6 of these spectacular panels that measure 34″ by 40″. I got 8 strips from these panels which yielded about 144 blocks. This is called Abraham Hunter for Elizabeth’s Studio’s.

Not a bad days work finishing Plume and cutting out two more OBW’s.

Of course I was supervised by Tucker, as always! Happy Holidays everyone!

OBW #65 Paisley Cats

I just finished my 65th One Block Wonder “Paisley Cats” by Quilting Treasures.  It measures 77″ x 82″.

img_2087

I feel this fabric design was borderline acceptable size for 3.75″ strips.

The original fabric design is not that big…..but

img_2088

img_2089


img_2090

If the print was larger the overall design would have been more dramatic. But the individual blocks are just beautiful. 

This is a gift I finished just in time!

Using Panels for a One Block Wonder

Have you seen some of the wonderfully creative One Block Wonders (OBW) made using precut panels?  If you haven’t you should join the Facebook group “One Block Wonder Quilt Forum”!  This is my third OBW using panels and I wanted to share how I put them together.

img_6248-1

My last OBW using panels “The Heron”, was so much fun I couldn’t wait to make the next one.  Start by purchasing 7 Panels.  One to be incorporated into the top and 6 to be aligned for making the hexagon blocks.

Plume Blocks

The process is same whether you are using yardage or panels.  The only difference is the repeats are already cut for you.  I don’t trim the panels, I just press them and layer them assuring they are all going in the direction.  Align them as directed in Maxine Rosenthal’s book One Block Wonders or One Block Wonder Encore.

Once the repeats/panels are aligned, trim one long edge so all the layers are ending in the same place.  This panel has a good size design, so I cut my strips 3 3/4″ wide by Width of Fabric (WOF).  Then using my ruler with a 60 degree line I cut my equilateral triangles and made my blocks.  Once the blocks are sorted by predominate color it is time to design.

img_1983

I know that when I cut my strips 3 3/4″ wide, my finished hexagon block will measure 6″ wide.  I squared up the panel and measured the width.  This panel after squaring up was 23″ wide.  This means 3 finished hexagon blocks would measure 18″ and 4 finished hexagon blocks would measure 24″ wide.  At this point I had two choices, trim the panel to 18″ wide or add fabric to make the panel 24″ wide.  I decided to add fabric that I will hide later.  You can decide to center your panel or offset it in any way.

I place the panel on my design wall and start the designing process.  I always place my blocks on the design wall so the opening is north and south.

I have established that I will need four  blocks wide across the top and the bottom.  How deep it goes depends on me.  I chose 4 blocks wide and 3 blocks deep on the top, and 4 blocks wide and 2 blocks deep on the bottom.

When placing the blocks on the side of the panel, every other block remains whole, while everything other is a half of a block.  I don’t remove the half until I’m sure the block will remain there, I just fold it in half.

img_2010

When I am satisfied with the design I number the rows as always and stitch the rows together in four groups: the top, bottom, right side & left side.  I think of this as a giant block that has a rectangle in the center and will be constructed using a partial seam.

Decide whether to attach the top or bottom first.  I am going to attach the top rows first by trimming the points that will be stitched to the panel, leaving a 1/4″ seam allowance.

img_2014

Once I have stitched the top rows to the panel I need to choose which side to attach next, matching up dog ears as you would when joining the rows and stitch three quarters of the way down (partial seam).

img_2017.jpg
img_2020

By using a partial seam, it allows you to match up the dog ears of the bottom of the side rows.  I will them mark where the panel hits the bottom rows, add a 1/4″ seam allowance and stitch to the bottom and then finish the partial seam.

img_2023

It is now easy to stitch the remaining side rows to the panel matching the dog ears at the top and bottom.  I have not finished this top yet as I’m teaching several classes soon and wanted to have a good visual example to show the class.

Now to hide my added fabric.

I made sure I had several left over blocks.  I stitched the two halves together, pressed the seam open and using my ruler, trimmed 1″ off every side.  This reduces my hexagon to about 4″ wide.

I use a Fusible Knit Interfacing, cut a square slightly larger than the hexagon.  Place the bumpy side of the interfacing with the right side of the hexagon.  Stitch around the hexagon using a 1/4″ seam allowance.  Trim off the excess interfacing and snip a hole about 1″ wide.

Turn the hexagon right side out.  Now the fusible ‘bumpy side is on the outside.  Finger press the edges to flatten it out.  This is a great way to get a perfect finished edge.  Once I have decided where to place my smaller hexagons, I can use my iron and press them in place and finish them by stitching them down.

img_2029

See how well the small hexagons hide my added fabric?  I will post this OBW once I finished it.

img_1980

I was closely supervised while making this OBW by my quilting buddy Tucker!

Paris – One Block Wonder #64

I had this fabric for quite awhile.  It is called Paris by Timeless Treasures.  I really loved it and wanted to make a One Block Wonder (OBW) with it.  While I was making it I wasn’t sure if I liked it for a OBW.  Up until today I didn’t care for it.  I was sure it would end up gifted.  But after finally getting finished and photographed – I love it!

img_1452

It had a 24″ repeat and the print wasn’t too small.  Sometimes you have to wait till the quilt is put together to decide if the fabric worked or not.

img_1456

I put it on the daybed in Tuckerville, (Tuckerville is my quilt studio) This is where Tucker (the Mayor of Tuckerville) keeps an eye on me.

img_1454

It is fun to look at how the hexies came together.

Tucker approved!

This slideshow requires JavaScript.

It took me awhile to get a design I liked!  Now onto the next project!

The Heron

The Artisan Spirit, Water Garden fabric in this post was given to me by Northcott Fabrics for the Creators Club.

This is my 63rd One Block Wonder, and I love it!  It came out better than I had anticipated.  This OBW started as a 28″ x 42″ panel.

When choosing fabric for a One Block Wonder (OBW)  I look  for a large repeat and a large design in colors that I like.  OBW’s require 6 repeats of fabric plus more if you want to put the original fabric in the border.  With a panel, the repeat is pre-determined.  I bought 7 panels, one to integrate into the top of the quilt and 6 for the blocks.

img_6213

The process starts with aligning your repeats, evening up one end and cutting them into 3 3/4″ WOF strips.  With a 24″ repeat I get 6 strips, but this had a 28″ repeat. Bonus, I got 7 WOF strips.  I was able to cut equilateral triangles for  127 .hexagon blocks

img_6214

There are several 60 degree rulers out there.  I prefer to cut my triangles using a 6″ x 12″ Olfa ruler with a 60 line.

img_6216

Each stack of six triangles is a kaleidoscope giving you 3 choices on how to stitch your block together.  I have free, detailed video tutorials available here on my site and on YouTube that guide you through the process of making a One Block Wonder.  Plus you should check out Maxine Rosenthal’s books, One Block Wonder’s, One Block Wonders Encore, One Block Wonders Cubed and One Block Wonders of the World (2 of my OBW’s are included in that book).

img_6226

Usually I wait till all my blocks are sewn before going to the design wall.  I was so excited that every few blocks I had to start designing.  When constructing OBW blocks, you stitch 3 triangles together, pressing all seams open and then sew the other 3  triangles together.  DO NOT sew the center seam.  Simply overlap the halves at the center and pin it.  My goal with this panel was to design it so it seemed the colors were swirling right off the panel.

img_6234

Once you have a design you like it’s time to sew the blocks into rows.

img_6236

Un-pin the blocks one row at a time and sew into rows, press all seams open.  I love my pressing stick.  It makes it much easier to press all the seams open without disturbing what was previously pressed.

img_6235

Stitch your rows together.  I love my Clover Fork Pins.  They are thin and grip and hold the fabric in place.

img_6237

Did I tell you to press all seams open?  That pressing stick really helps.

img_6240

Putting together a One Block Wonder made using a panel in the quilt top is a little trickier than with just stitched rows.  I divided rows into four sections to attach them to the panel.  It is like making a log cabin block.  I wanted the rows to attach in certain places so color seemed as though it continued right off the panel.  I began by trimming the bottom section first and attaching it to the panel.

img_6242


I could now attach the rows to the right to the panel, using a partial seam and leaving room to adjust the top section of triangles and then add the rows to left of the panel.

img_6243

I trimmed the edges of the quilt to square it up.  I love it, but still wanted to soften the panel edges.

img_6244

I did not use all the blocks in the quilt top design.  I sewed the left over blocks together and trimmed them to make smaller hexagons.  I randomly placed them along the edges of the panel and appliqued them down.

img_6248

The finished quilt measures 60″ x 68″.  I did not feel it needed a border.  Thank you to Northcott Fabrics and Water Garden designer Ira Kennedy. I really love this quilt.

For OBW inspiration check out the Facebook page “One Block Wonder Quilt Forum”.  I am available to teach One Block Wonder Workshops. 

#northcottfabrics # Northcottcreatorsclub #oneblockwonders #OBW #Watergarden


What’s on My Design Wall Today!

img_6223

I am having so much fun!  I don’t even have all the blocks designed yet, I keep going to the design wall.  This panel is Artisan Spirit, Water Garden by Northcott.  I am making it as part of Northcott’s Creative Club.  I can’t wait to finish it!  Have you ever made a One Block Wonder using panels?

I Love New York OBW #62

I had a really busy Fall teaching schedule this year.  I am so looking forward to 2018.  I got a jump start by making a quilt for Granddaughter Bailey’s 19th birthday.  She absolutely loves New York City.  We have visited there several times and walked from one end of the city to the other.  I had this fabric from Timeless Treasures for several years.  It just occurred to me that I must have been saving it for Bailey.

img_0983

It is about 9 degrees in Central NY today.  This is my 62nd One Block Wonder.

img_5491

The back also has a New York City themed fabric.  Happy Birthday Bailey!

I Love NY

Deb Tucker had a busy year also, Studio 180 has many new patterns out.  I’m working on one now called Whirling Dervish that is so fun.  I will be posting about it soon.  There are also new Studio 180 Design Technique Sheets to expand our skills.

Stacked Squares

“Stacked Squares” is a technique that will allow you to make the “Economy” block perfectly every time without using paper foundation piecing. Like all Studio 180 Design processes, you’ll be constructing oversized units and then trimming them down.  Above I made a block using the “Stacked Squares” technique sheet and the required Large Square/Squared Tool to make a square in a square, in a square in a square, in a square in a square, in a square in a square, in a square in a square, in a square in a square, in a square! Whew!

img_5349

You have heard of the “Shaded Four Patch”, well here is a sample of what you can do with the “Shaded Nine Patch” units.  The Shaded Nine Patch is an amazing unit that has endless possibilities all by itself or it can be combined with other fundamental units to create even more designs. With the Shaded Nine Patch Technique Sheet you can make this unit in 7 sizes.

img_5352

I made this block using  the Bird of Paradise Technique Sheet.  This techniques requires the Large Square/Squared tool, it is so very cool.  You can make this unit in 6 sizes from 1″x 2″ to 6″ x 12″.

img_5353

I love this new “Eight at Once” technique sheet!  With the Tucker Trimmer I you can make Half Square Triangles (HST) 2 at a time.  With this technique you can make 8 HST’s at a time in 11 different sizes! Wowza!

Deb also gave us a new tool, the Four Patch Square Up.  Four Patches are basic units that seem so simple to make. Just stitch 4 squares together and you’re good to go.  But anyone who attempted these units knows they are notoriously difficult to make.  The Four Patch Square Up tool is the solution.  The tool’s perfectly engineered lines are designed to quickly locate and align with the unit center and sewn seams, allowing for easy trimming on all four sides.  You will be able to make Four Patch Units in 12 sizes!

img_5384

I played with the Four Patch Square up using Deb Tucker’s BlockBuster #24 Compounding Four block pattern. I love the design it makes when you put 4 blocks together.

I wish you all a Happy & Healthy New Year!  Let’s go quilt something!

One Block Wonders of the World

Early in 2006 I was looking through the Hancock’s of Paducah catalog I had received that day.  I poured over every page not wanting to miss a thing.  I got to section where the new books were being offered…and there it was “One Block Wonders, One Fabric, One Shape, One-Of-A-Kind Quilts”!  I was intrigued and ordered it right away.  I couldn’t  wait for it to arrive.  When I got it I immediately went shopping for fabric.  I attacked the online fabric sources and ordered several fabrics.  I read the instructions over & over.  I must admit I struggled with section on “Aligning the Fabrics”.  But I didn’t give up until I figured it out.  When I designed the first block I literally jumped for joy!  I will admit, I was so excited I sewed three hexagon’s together and then sewed the other three hexagon’s together, and the proceeded to sew the halves together.  I learn everything the hard way!  A little “un-sewing” and I was on my way.  When I got all my hexies on my design wall I almost hyperventilated.  I was so excited I took pictures and emailed them to every quilter I knew (this was before Facebook).

2006 Schwarzys Garden

This was my first One Block Wonder (OBW), “Schwarzy”s Garden made April 2006.  I cut my first strip set the wrong size.  But I didn’t let that deter me.  I cut the next five strips sets correctly and used the first strip to make small hexies for the border.   I entered 2 OBW’s in my local quilt show and have been teaching how to make them for 11 years now!

I have had a love affair with this process ever since.  Sixty-two One Block Wonders later and I have the privilege and great honor to have two of my OBW’s included in Maxine Rosenthal’s & Linda Bardes newly released book  “One Block Wonders of the World”!

One Block Wonders of the World

I am so proud to be included in this collection of outstanding OBW’S!  This book is awsome!  In case you dont know, there is a group on Facebook called “One Block Wonder Quilt Forum”.  We are fast approaching 10,000 members.  Linda Bardes is one of the group’s organizer’s with a great deal of help from Kathy Gannon.  The people in this group are off the chain creative.  I am always amazed with what they come up with.

If you have not picked up your copy of One Block Wonders of the World, dont delay!  It is available on Amazon at CT Publishing and your local quilt shops.

If you don’t have Mazine’s other books, you need them!


The first book introduces you to the process. The second still covers the process but introduces you to cubes.  The third, gives you the best recipes for cubes.  All 3 book give fabulous design ideas.

I have 3 OBW’s cut out and another 19 waiting to be born!


One Block Wonders at Strong House Inn

I had the most wonderful weekend!  I was privileged to teach a One Block Wonder (OBW) workshop at The Strong House Inn in Vergennes, Vermont.  The women that attended this workshop were nothing less than amazing!  I referred to them as The League of Extraordinary Women!  They arrived late afternoon on Friday and by noon Sunday each and every one of them had their OBW quilt blocks cut, sewn and tops designed!  Wow, were they committed!  We had so much fun!  The Strong House Inn was a great venue.  It is a beautiful historic Inn in Vergennes, VT.  You can see by the pictures how pleasant it was.  The staff is very attentive, it is a wonderful place for a quilt retreat.

Mary B and Jackie

Thank you Mary Bargiel & Strong House Inn for a great OBW Workshop/Retreat!

Tina and PatIMG_4562

This is Tina and her beautiful OBW, everyone was coveting it!  Tina owns Vermont Quilter’s Schoolhouse Quilt Shop in Troy, VT.

April 02IMG_4563April Tina AnitaApril and Tina

April’s OBW was another hit!

PatIMG_4566Pat 01

Pat’s was just lovely!

LindaLindas blocksLinda and Carol

Linda’s was so much fun!

Jane and CarolJane 01IMG_4561

Jane’s OBW was awesome. Her fabric has birds on it. We tried to fashion a tree from the dark blue blocks, but it has been interpreted as a large bird!


Anita’s fabric had colorful butterfly’s, it was like lightning in a bottle.

Carol

Carol made a stunningly beautiful OBW.


Great Group of Ladies

From left to right: Carol, Jane, Pat, Mary Bargiel (Innkeeper) Jackie (Teacher), Linda, April, Tina, and Anita.  Thank you ladies for a memorable weekend.