Tag Archives: Deb Tucker

I Love New York…. & Sew Much More

I’m getting excited. Next week I head south to the Mid Atlantic Quilt Festival in Hampton Virginia.  I will be helping out Deb Tucker at the Studio 180 Design Booth, so please, if you are there stop by and say hello.  I’m sorry I will have to miss my local guild “The Mohawk Valley Quilt Club’s” 35th Anniversary celebration.  Congratulation to a great group of quilters.

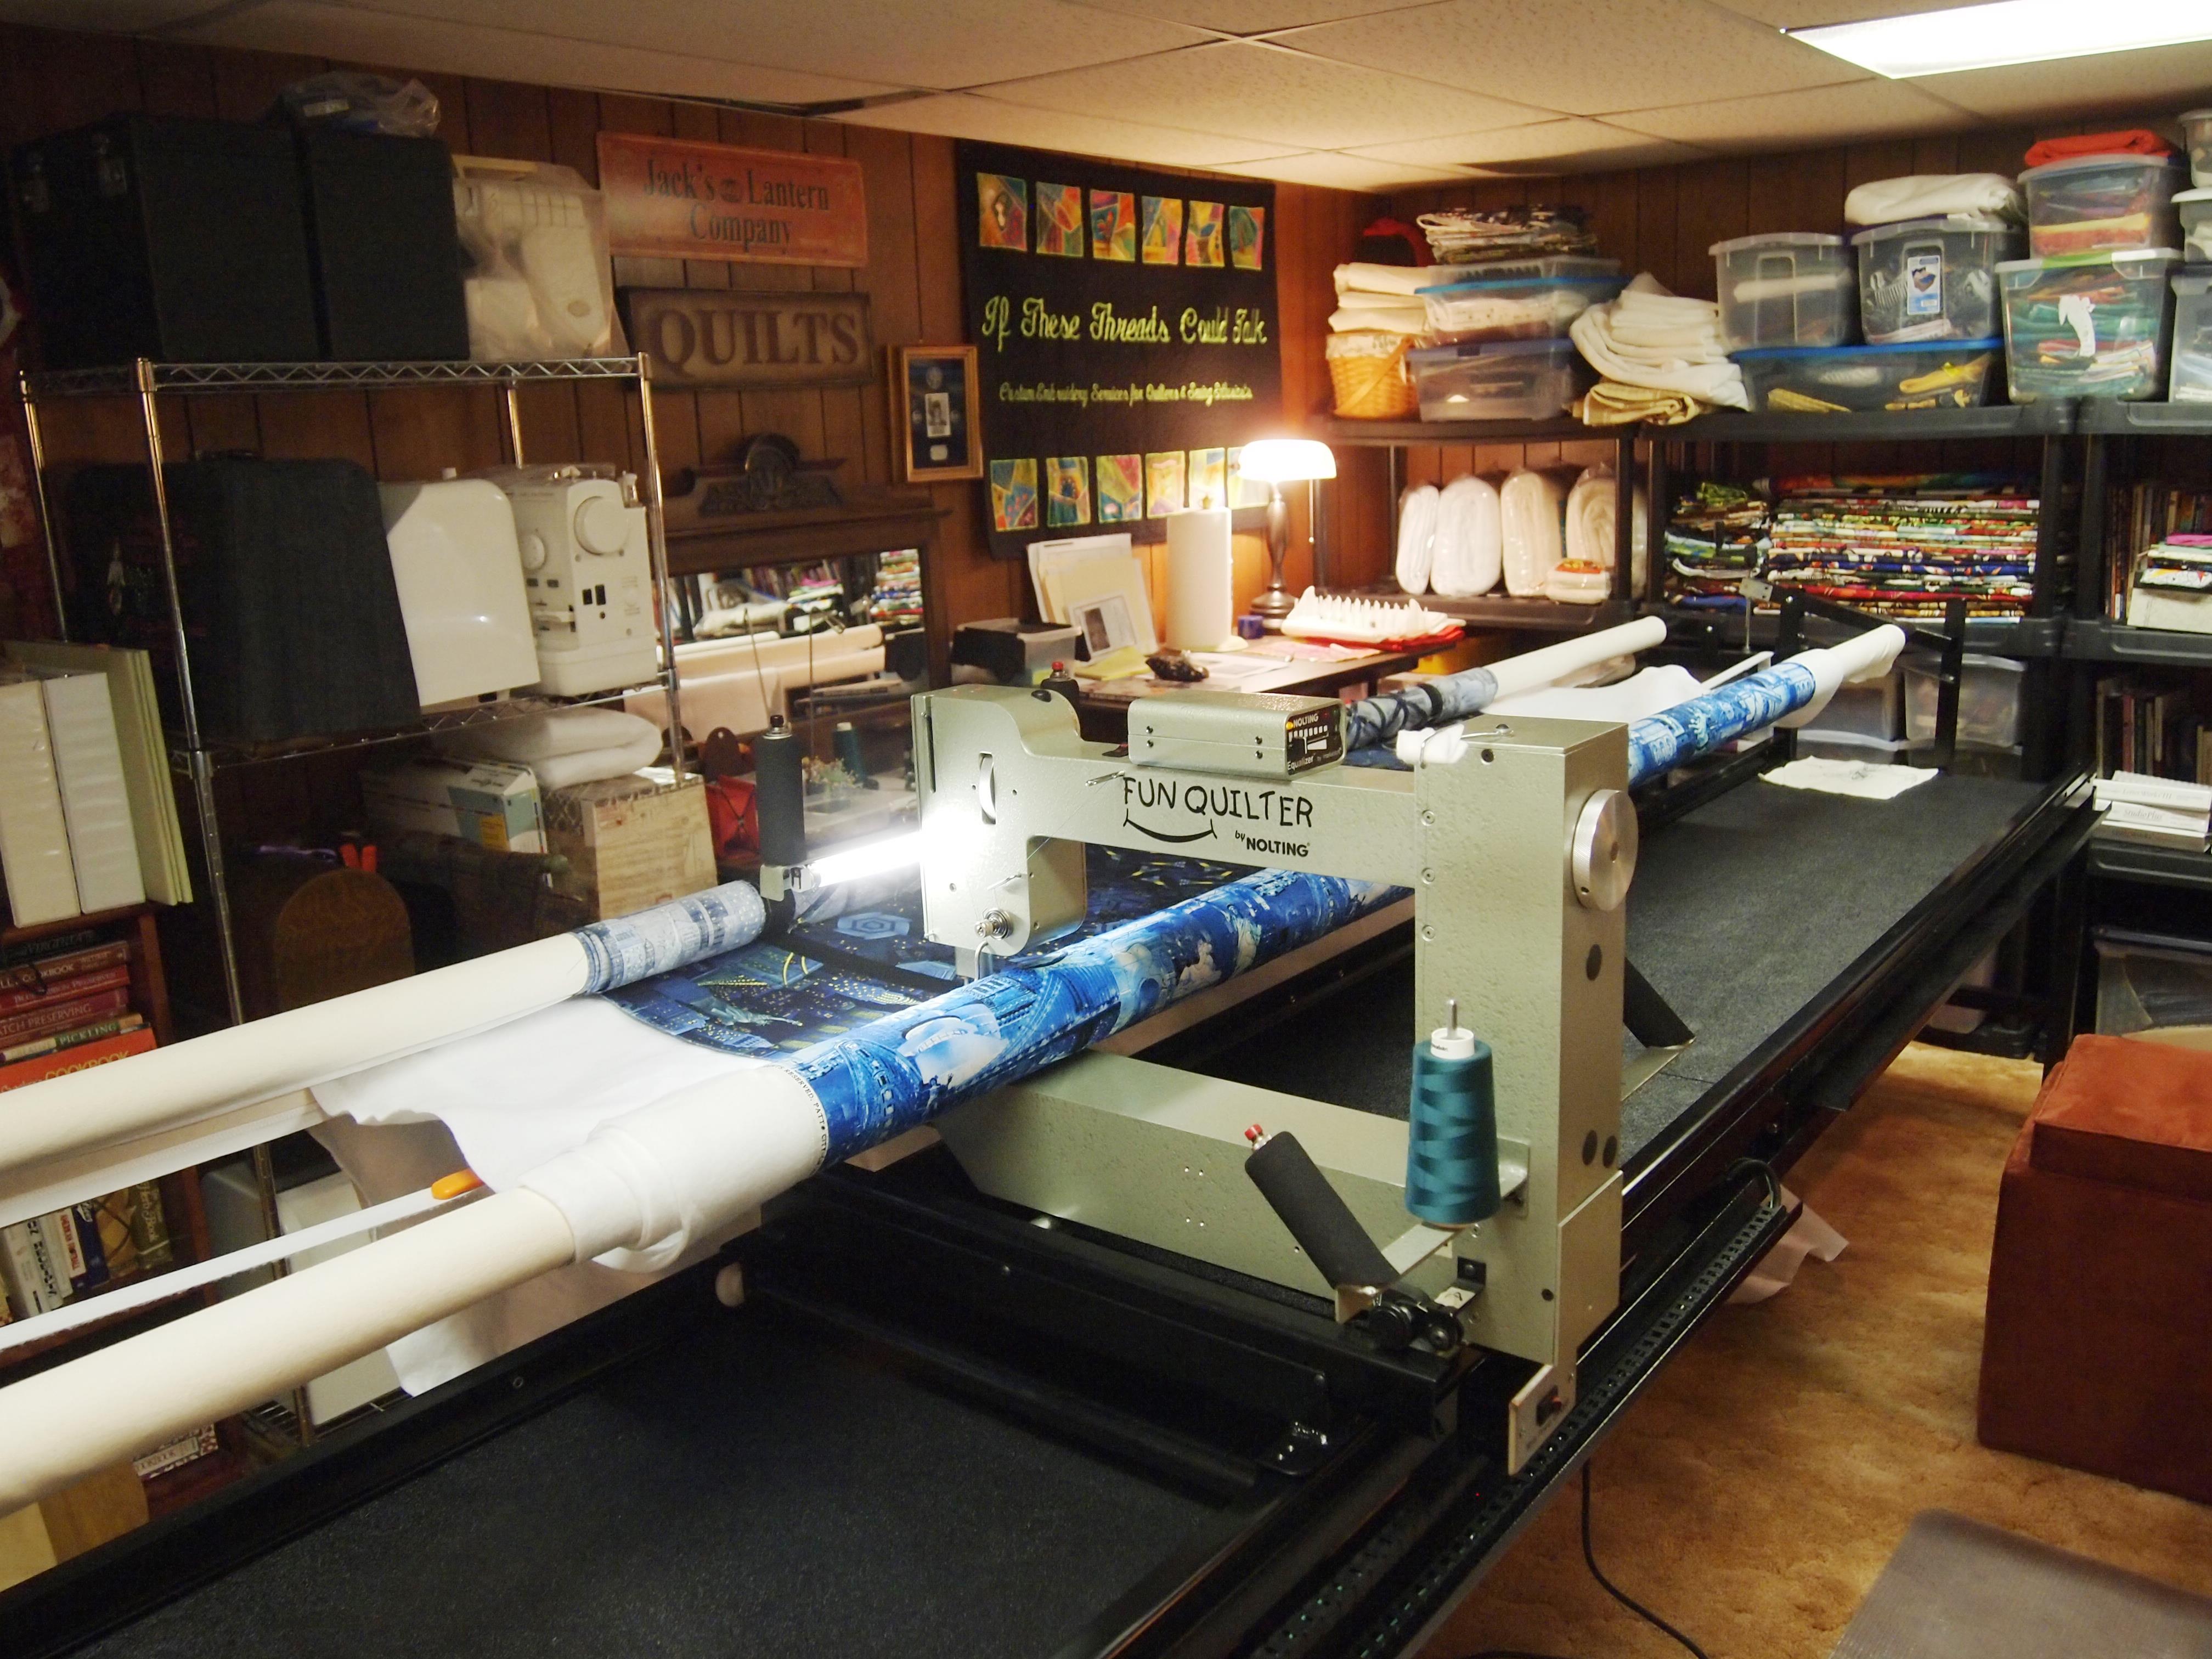
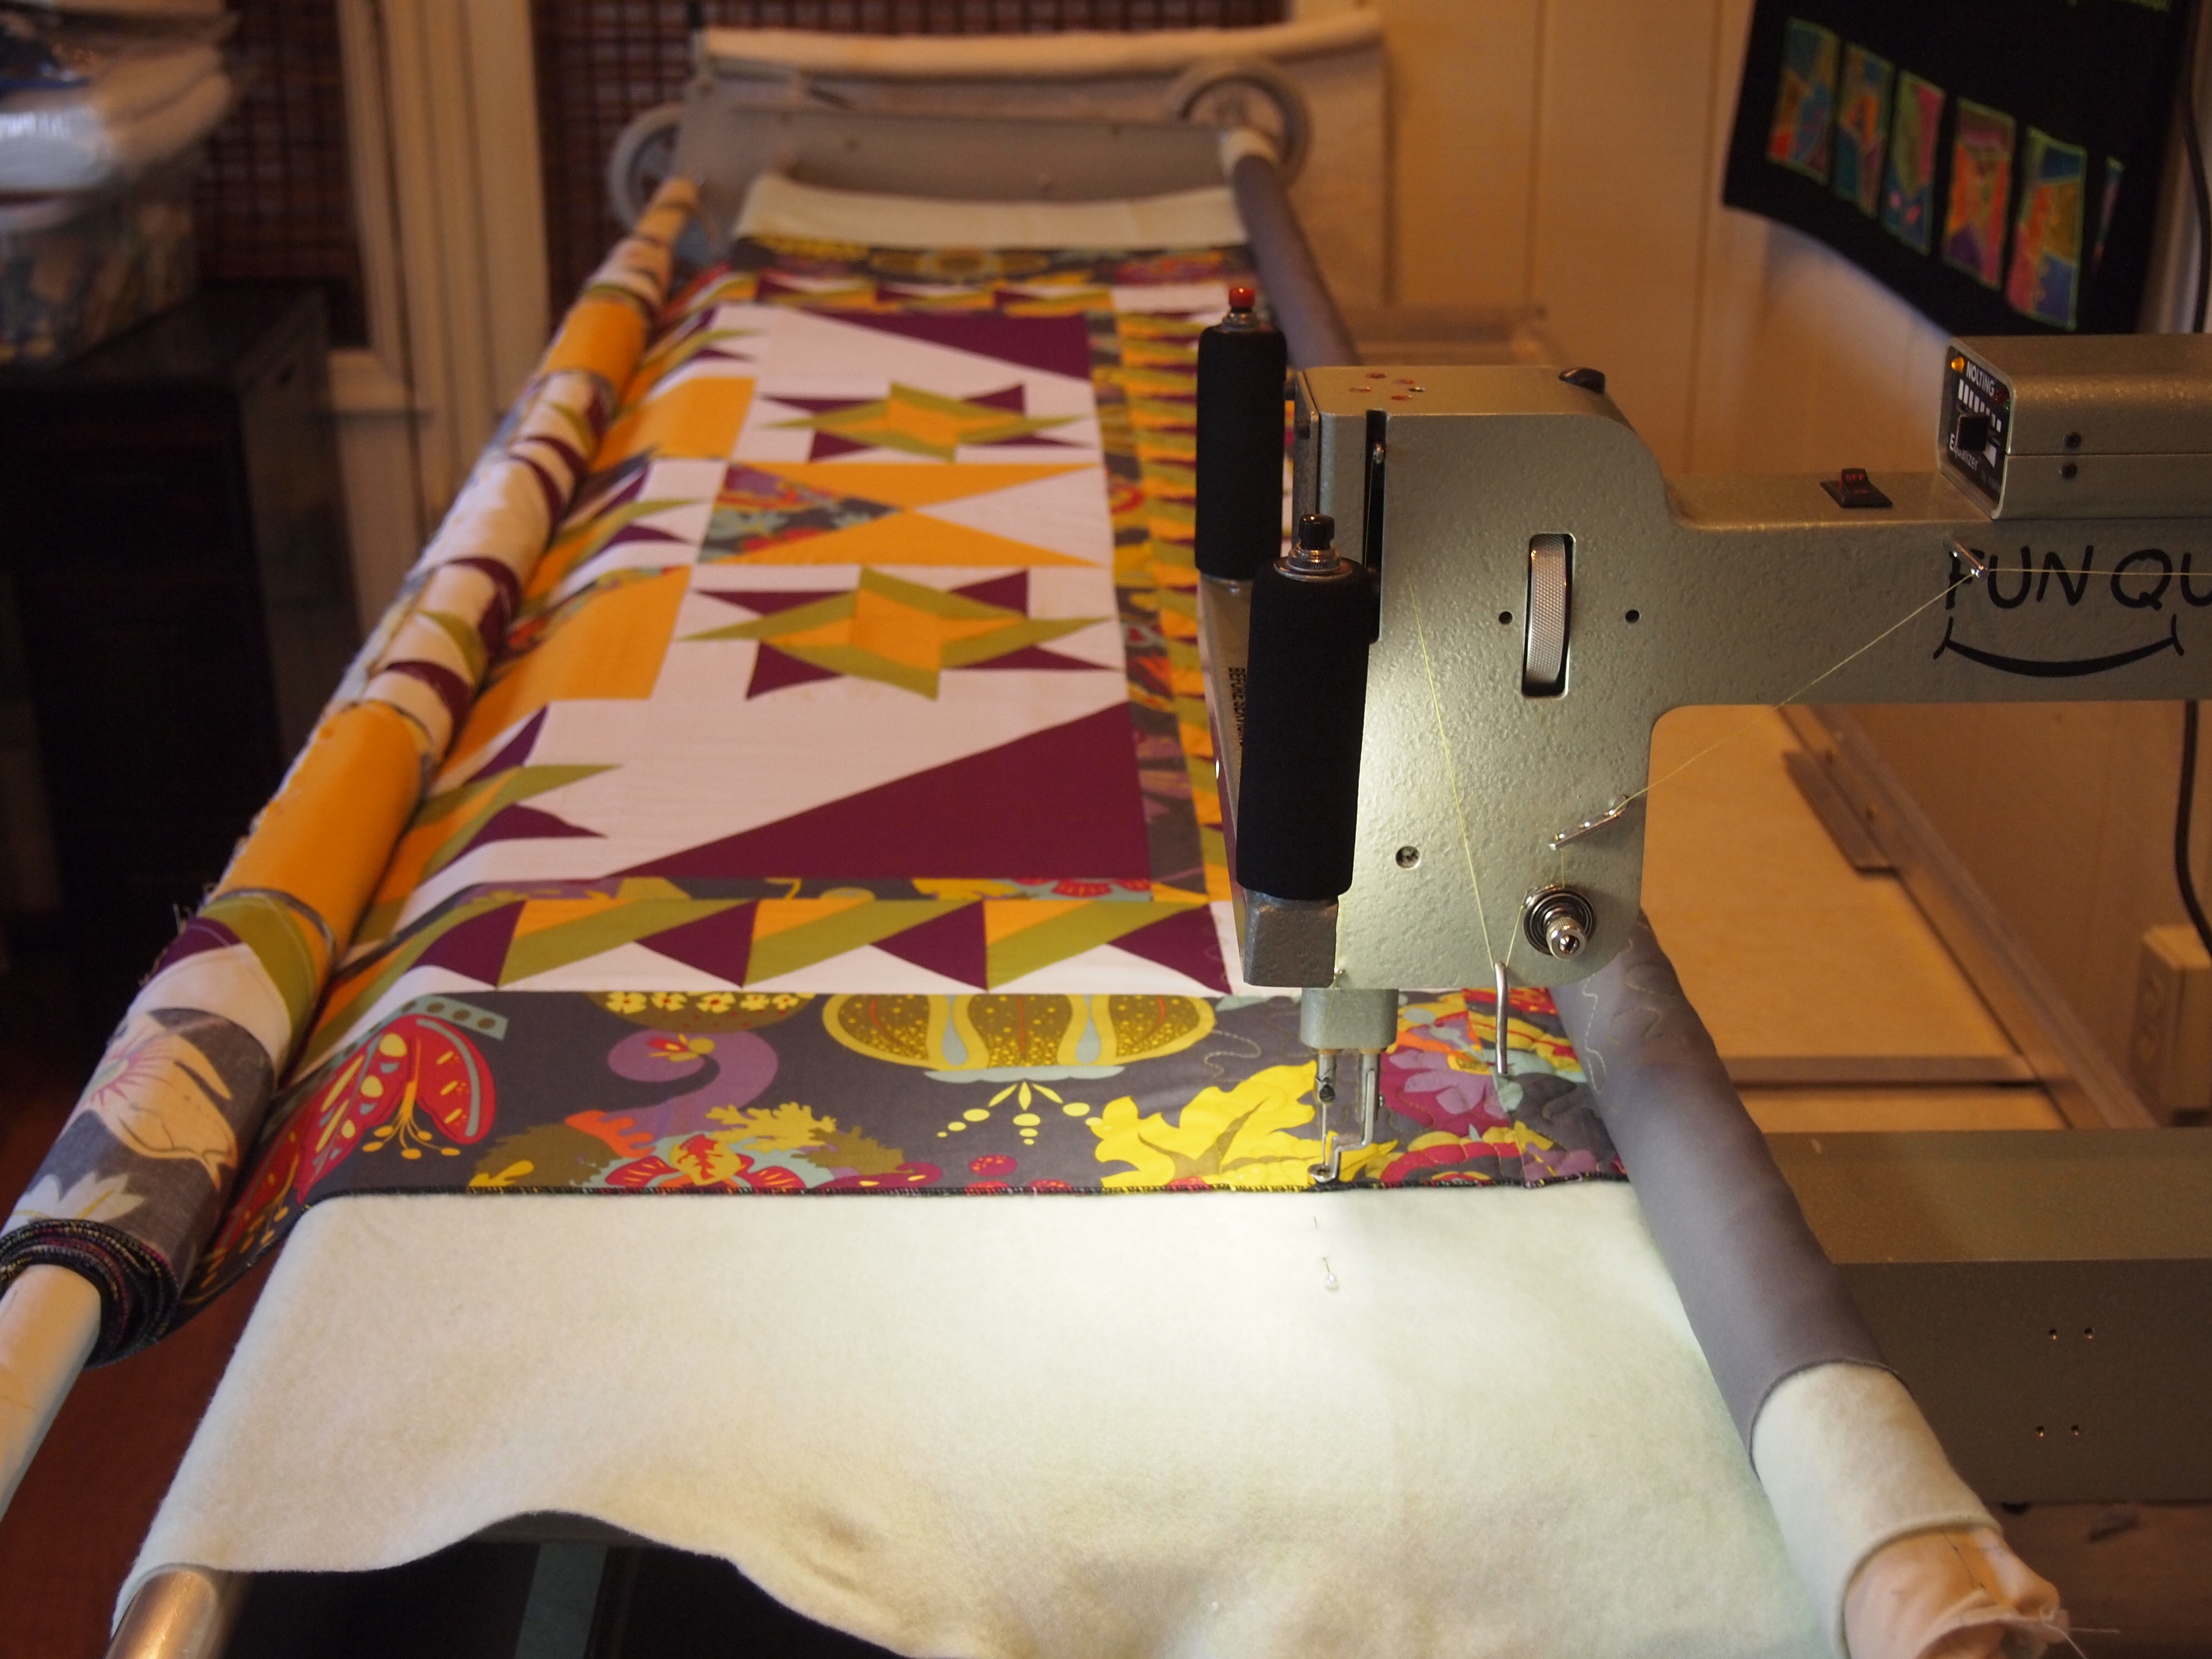
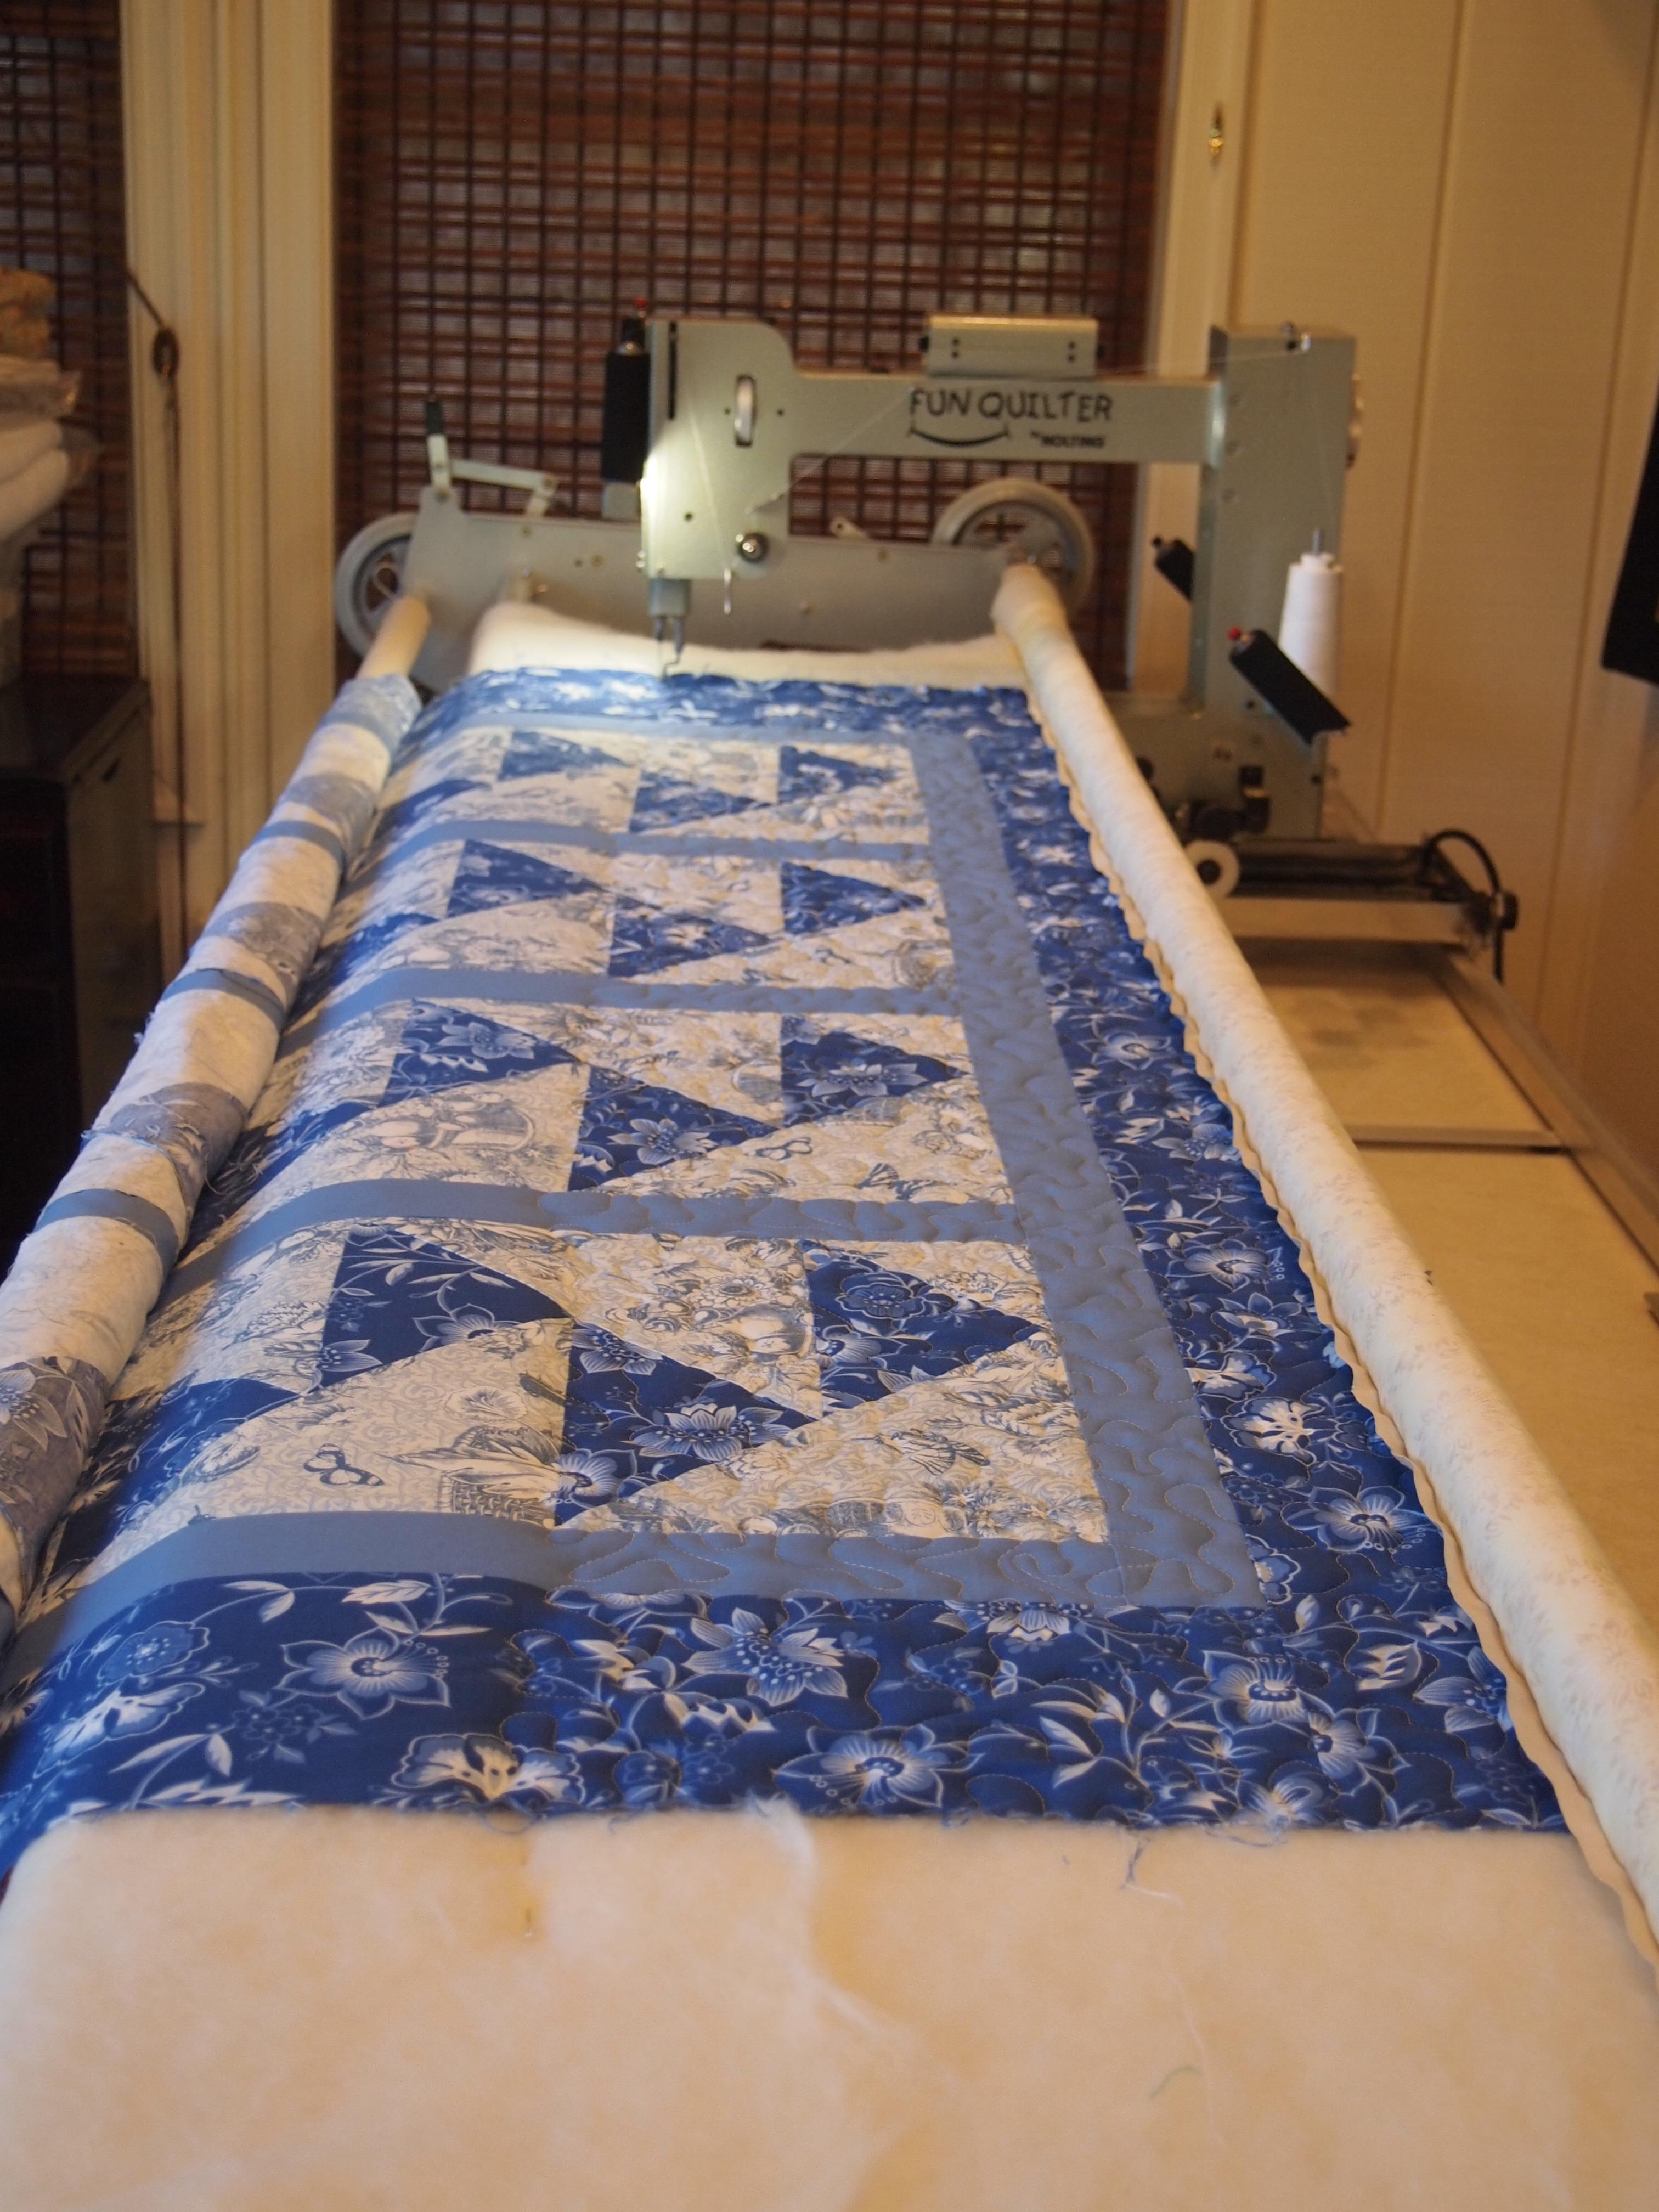
I’m test driving my new Nolting quilt frame. It is pretty spectacular.  Having a commercial frame makes my mid-arm work better.  I have dreams of improving my quilt skills immensely.  I bought the frame from Delightful Quilting & Sewing. Joyce and Ron Blowers are Nolting Dealers and drove 3 hours to my house in a snow event and set it up for me. I really liked them a lot!  I need to take some lessons from Joyce.

OLYMPUS DIGITAL CAMERA

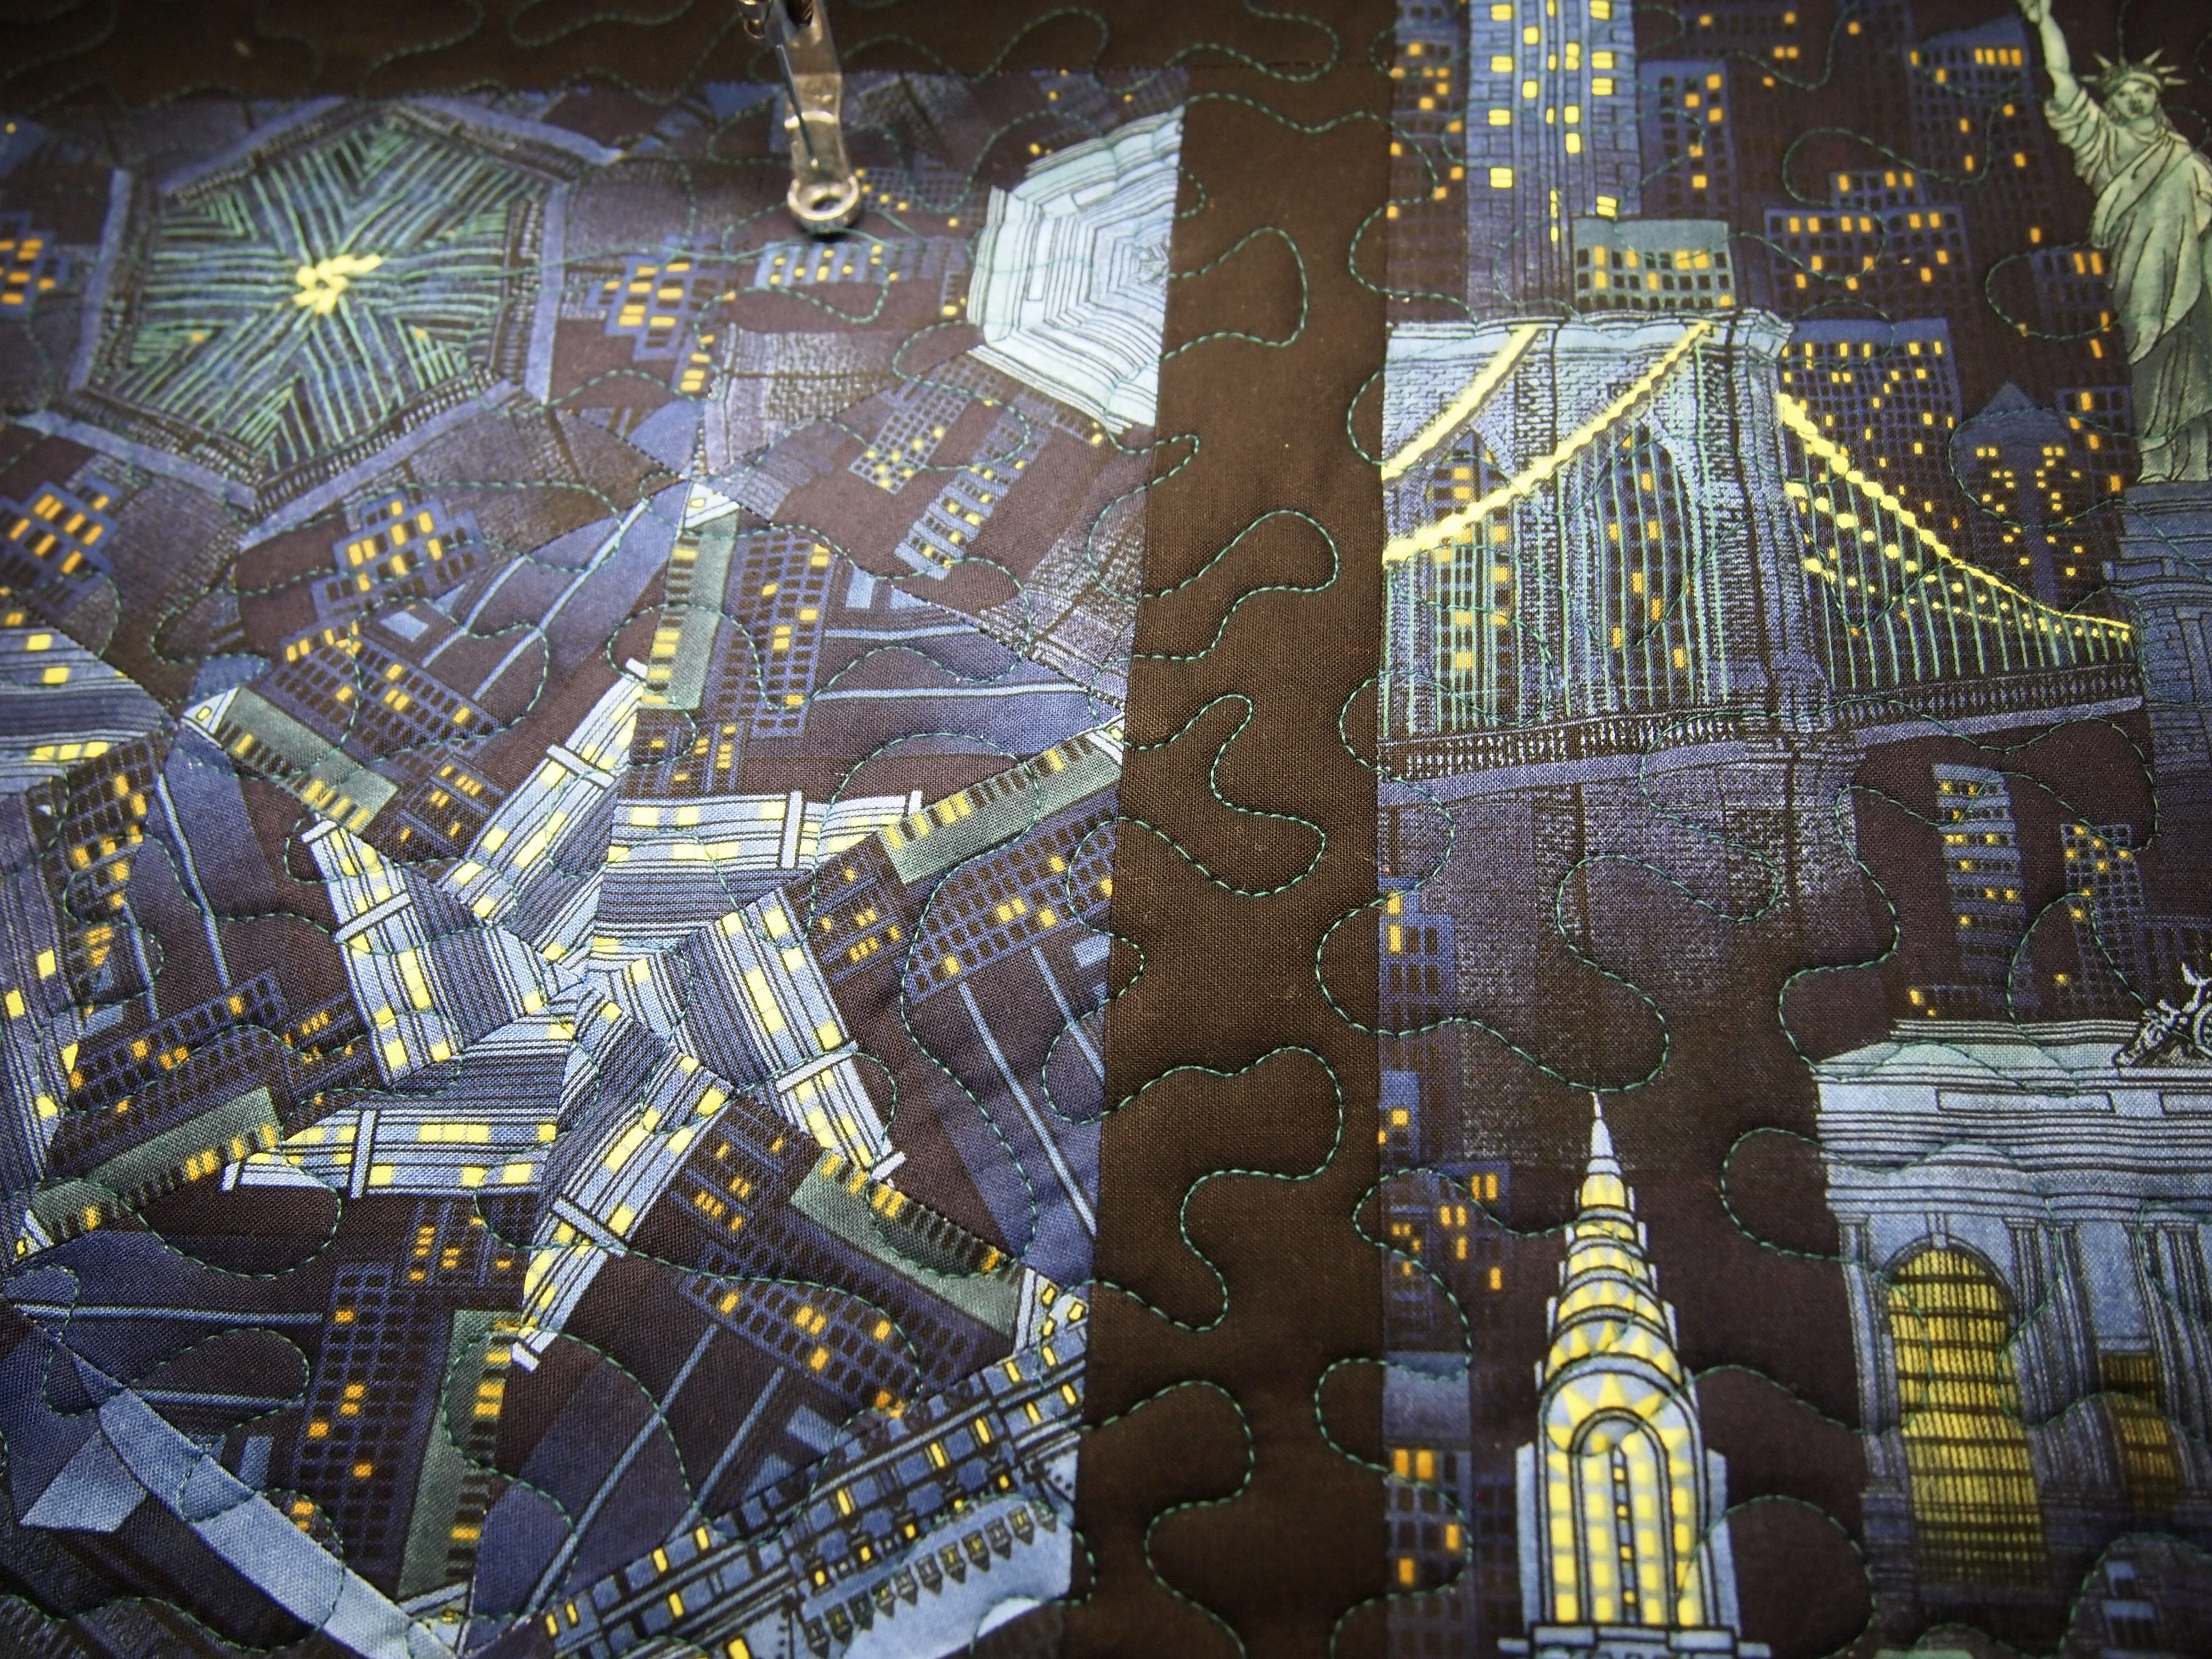
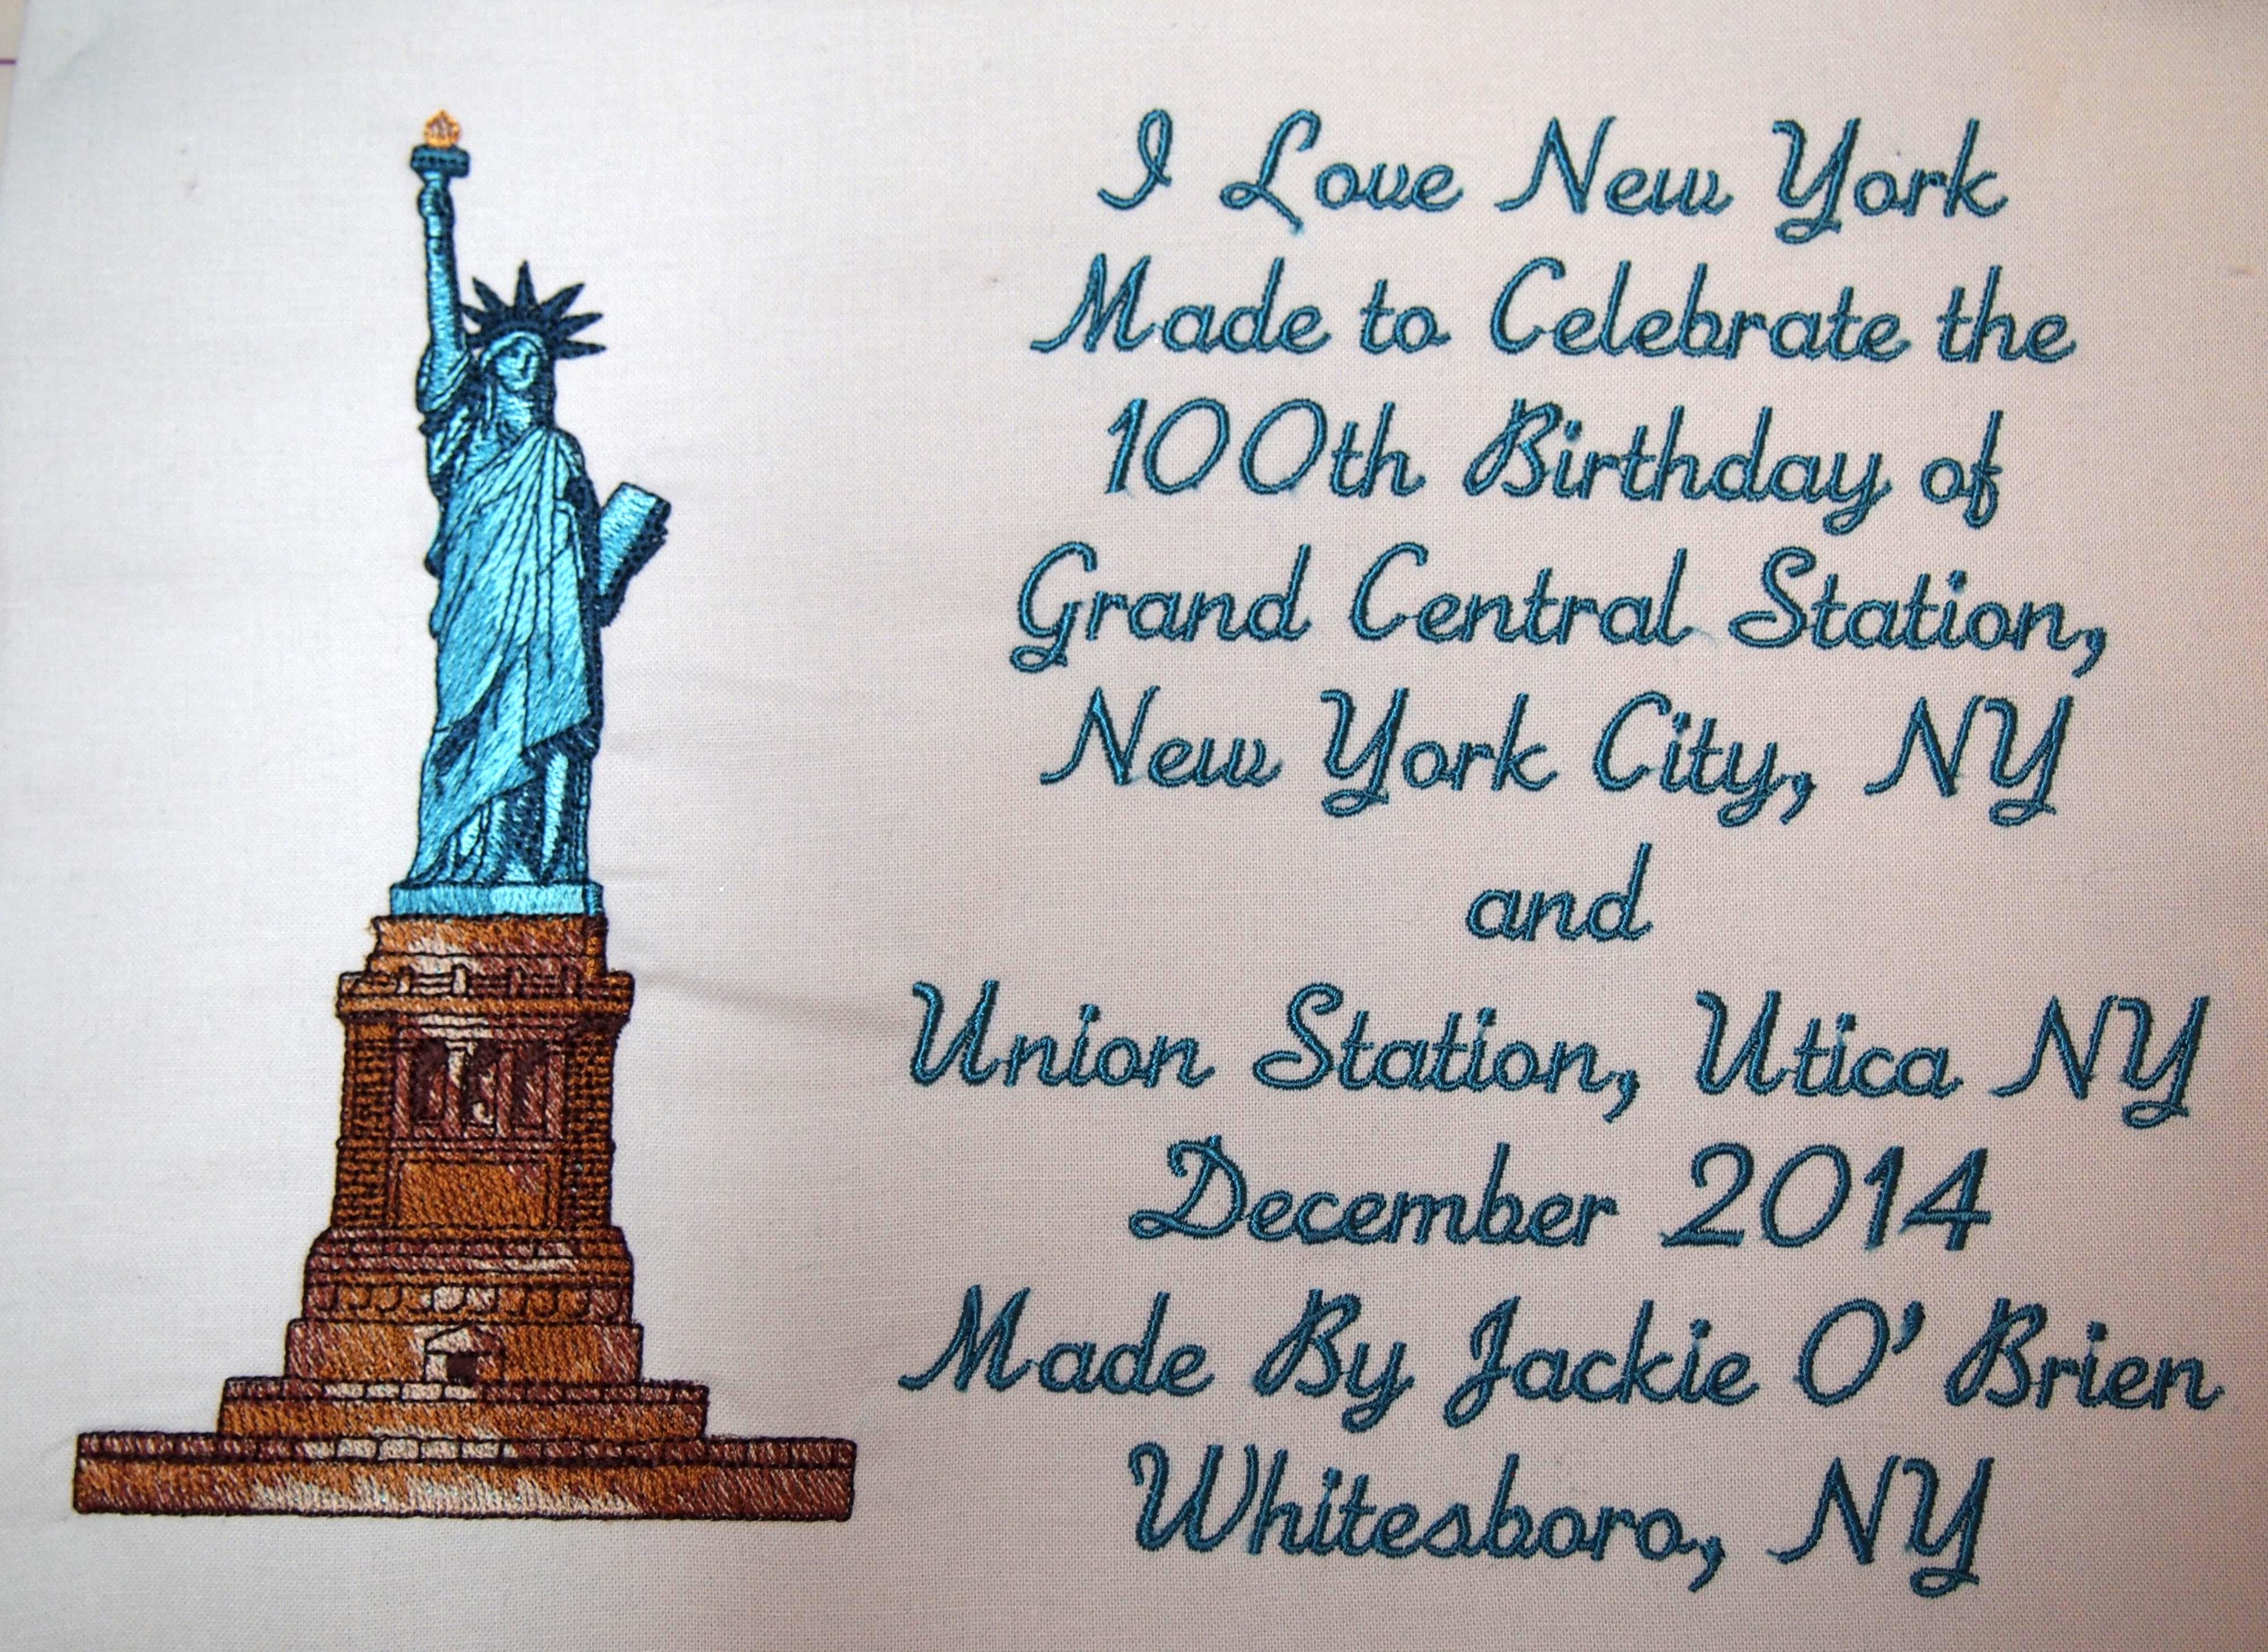
I usually finish my quilts in the order they are pieced, (just a little OCD) but I wanted to finish “I Love New York” to celebrate the mountains of snow we have, with more on the way.  There is a group on Facebook called “One Block Wonder Quilt Forum”.  Someone asked me how I quilted my hexagon quilts.  I meander mine, not just because that’s all I know how to do, but by going over every seam and center they lay nice and flat.

OLYMPUS DIGITAL CAMERA

I was trying to be arty and photograph my quilt out in the snow, but there is so much snow (close to 3 feet in parts of my yard) I had a very difficult time getting a good angle.

OLYMPUS DIGITAL CAMERA OLYMPUS DIGITAL CAMERA

So I gave up, scraped off mounds of snow and came inside.

OLYMPUS DIGITAL CAMERAOLYMPUS DIGITAL CAMERA

No Pattern??? No Problem !

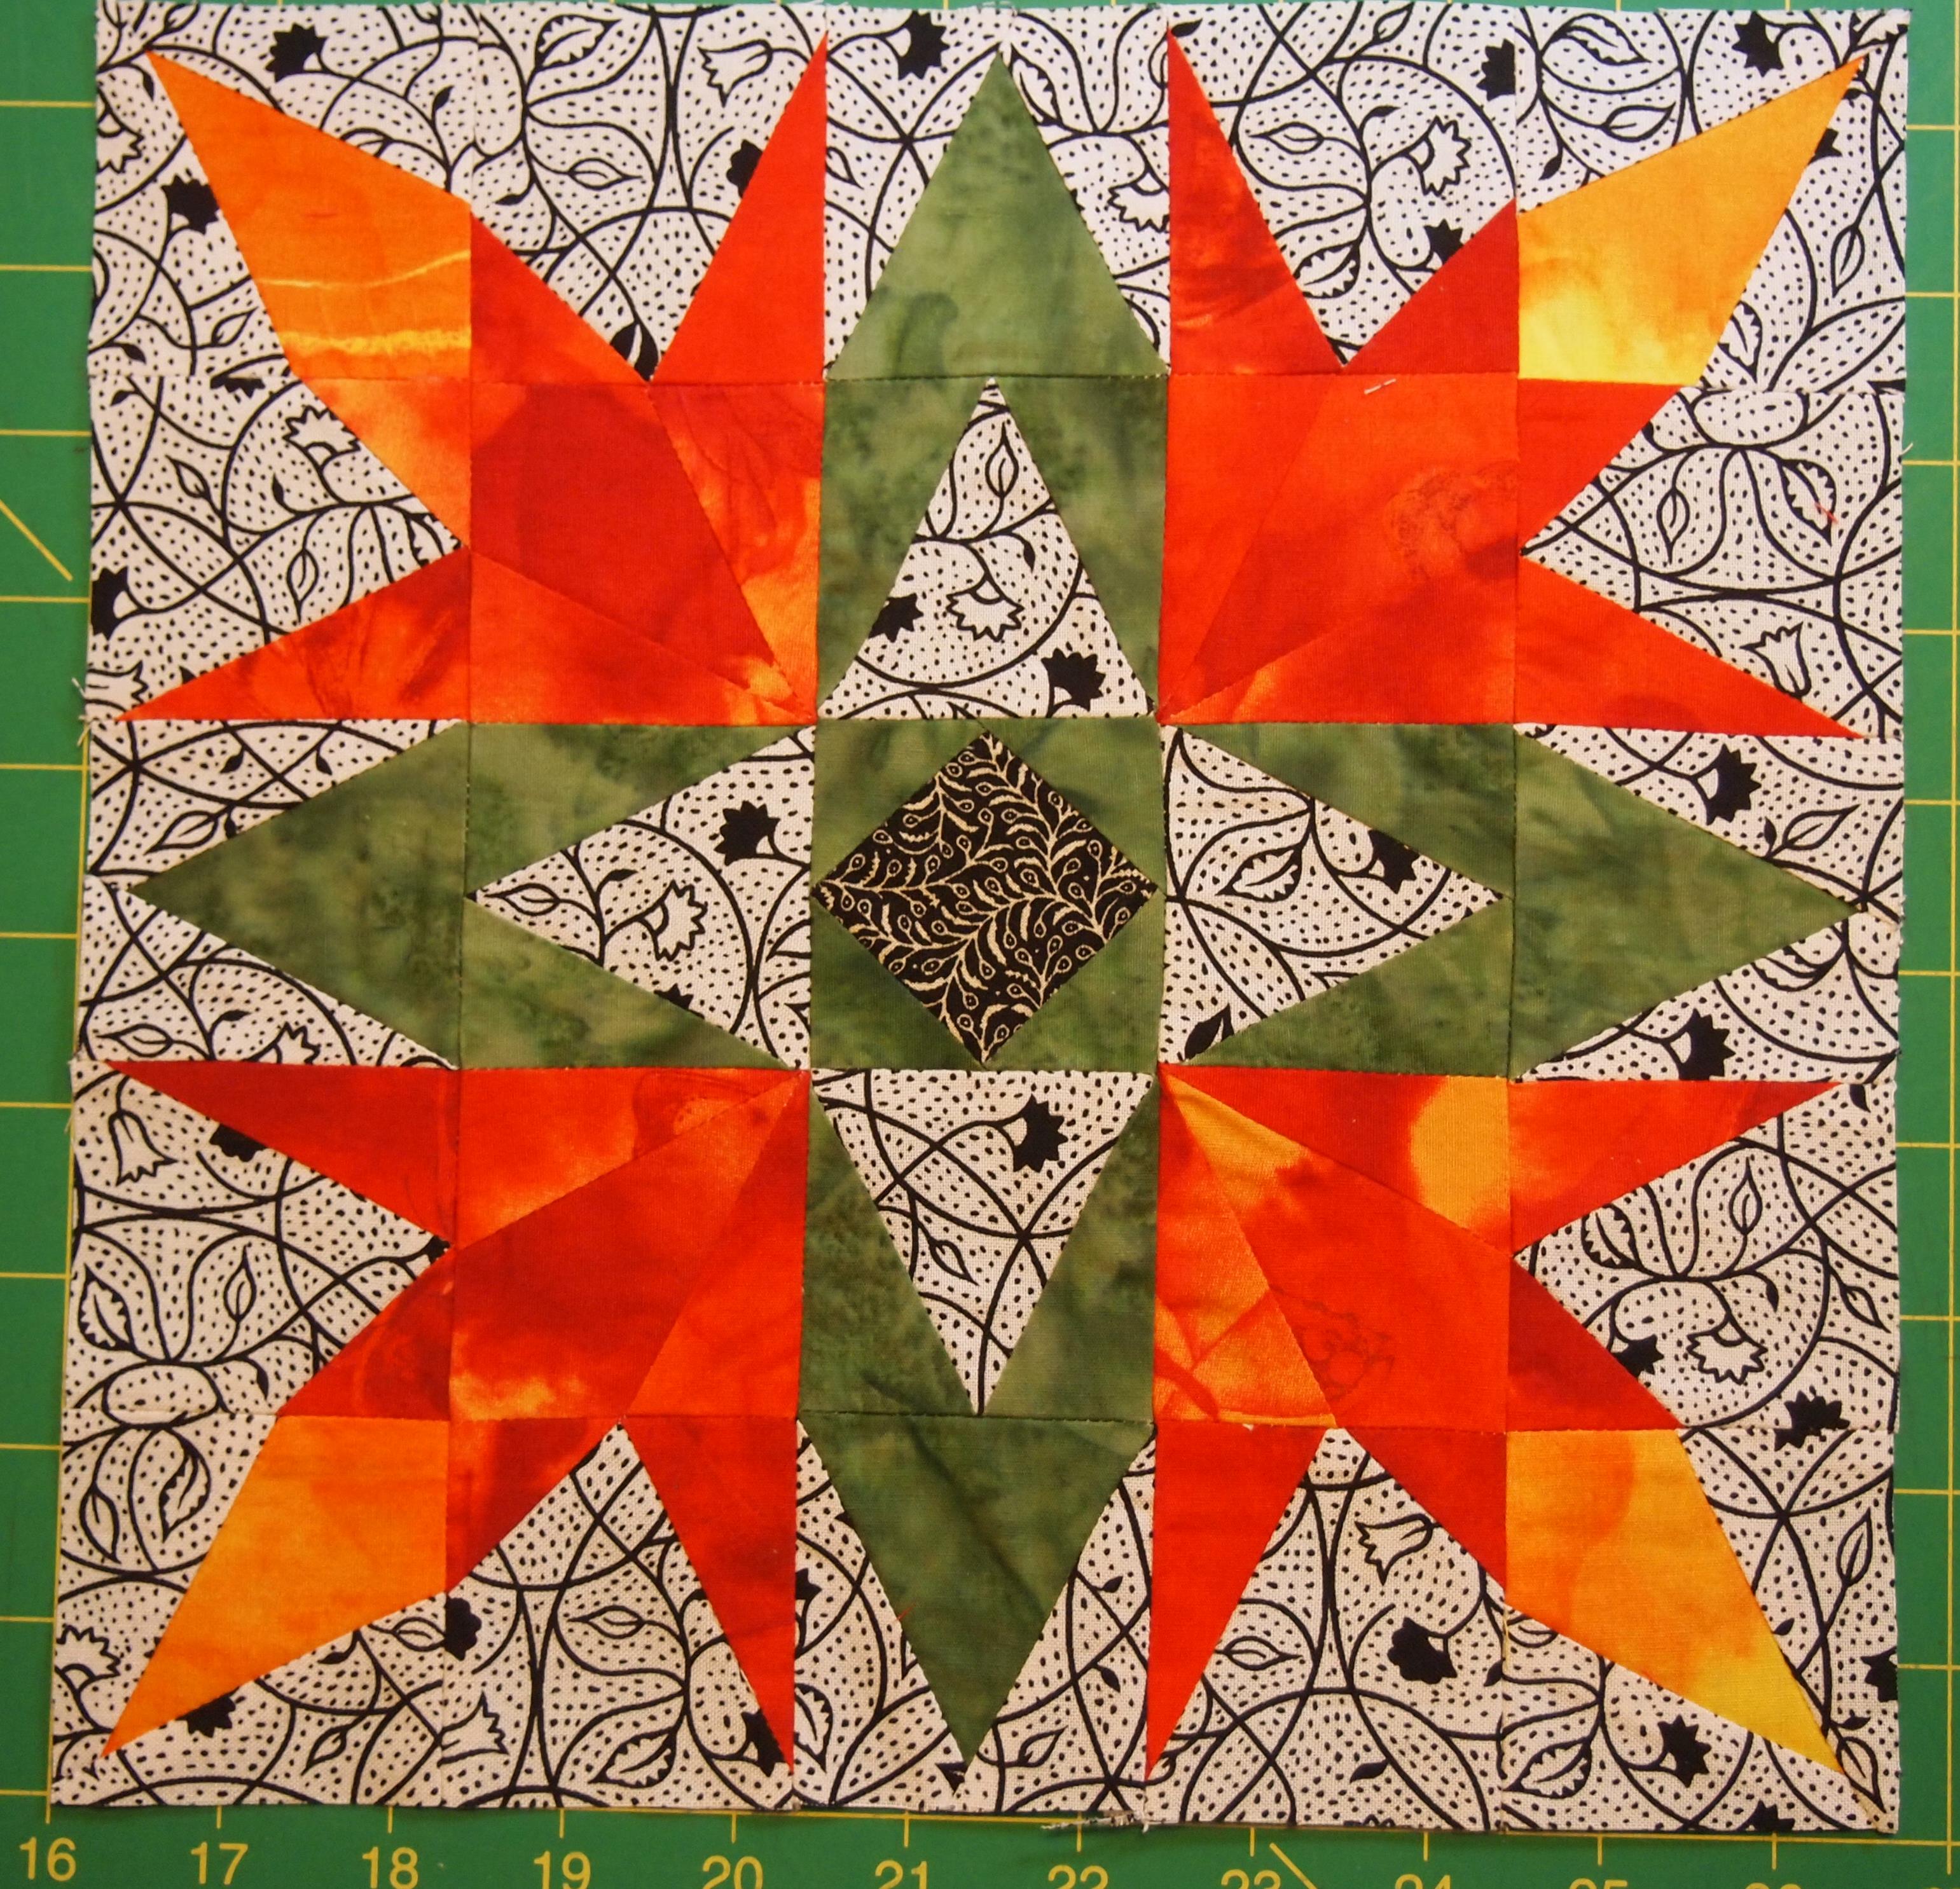
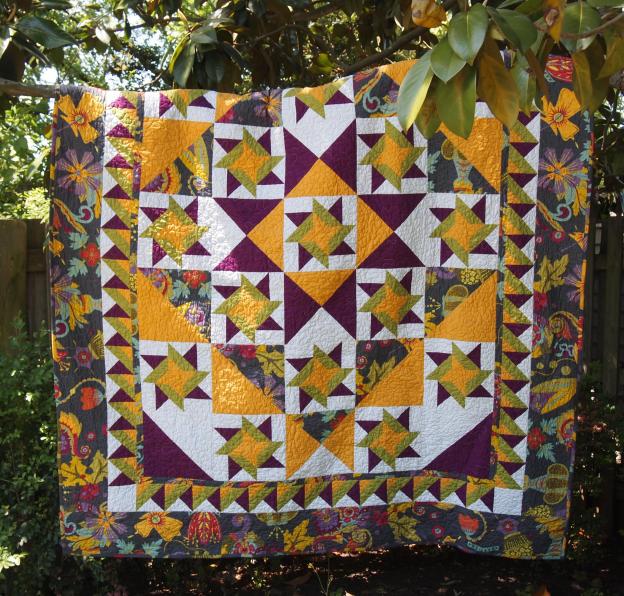
Did you ever see a picture of quilt that you really wanted to make but couldn’t find the pattern? If you can identify the units that make up the block, you don’t really need the pattern. Last year I blogged about being a “Block Detective”.  I saw this quilt in a book By Doreen Speckmann.  I loved it and wanted to make it, but not with the paper templates that the author suggested.

OLYMPUS DIGITAL CAMERA

So, being a Certified Deb Tucker “Block Detective” I decided to try it out by making a block with 2″ finished units.  I loved the bright colors against black & white backgrounds.

OLYMPUS DIGITAL CAMERA

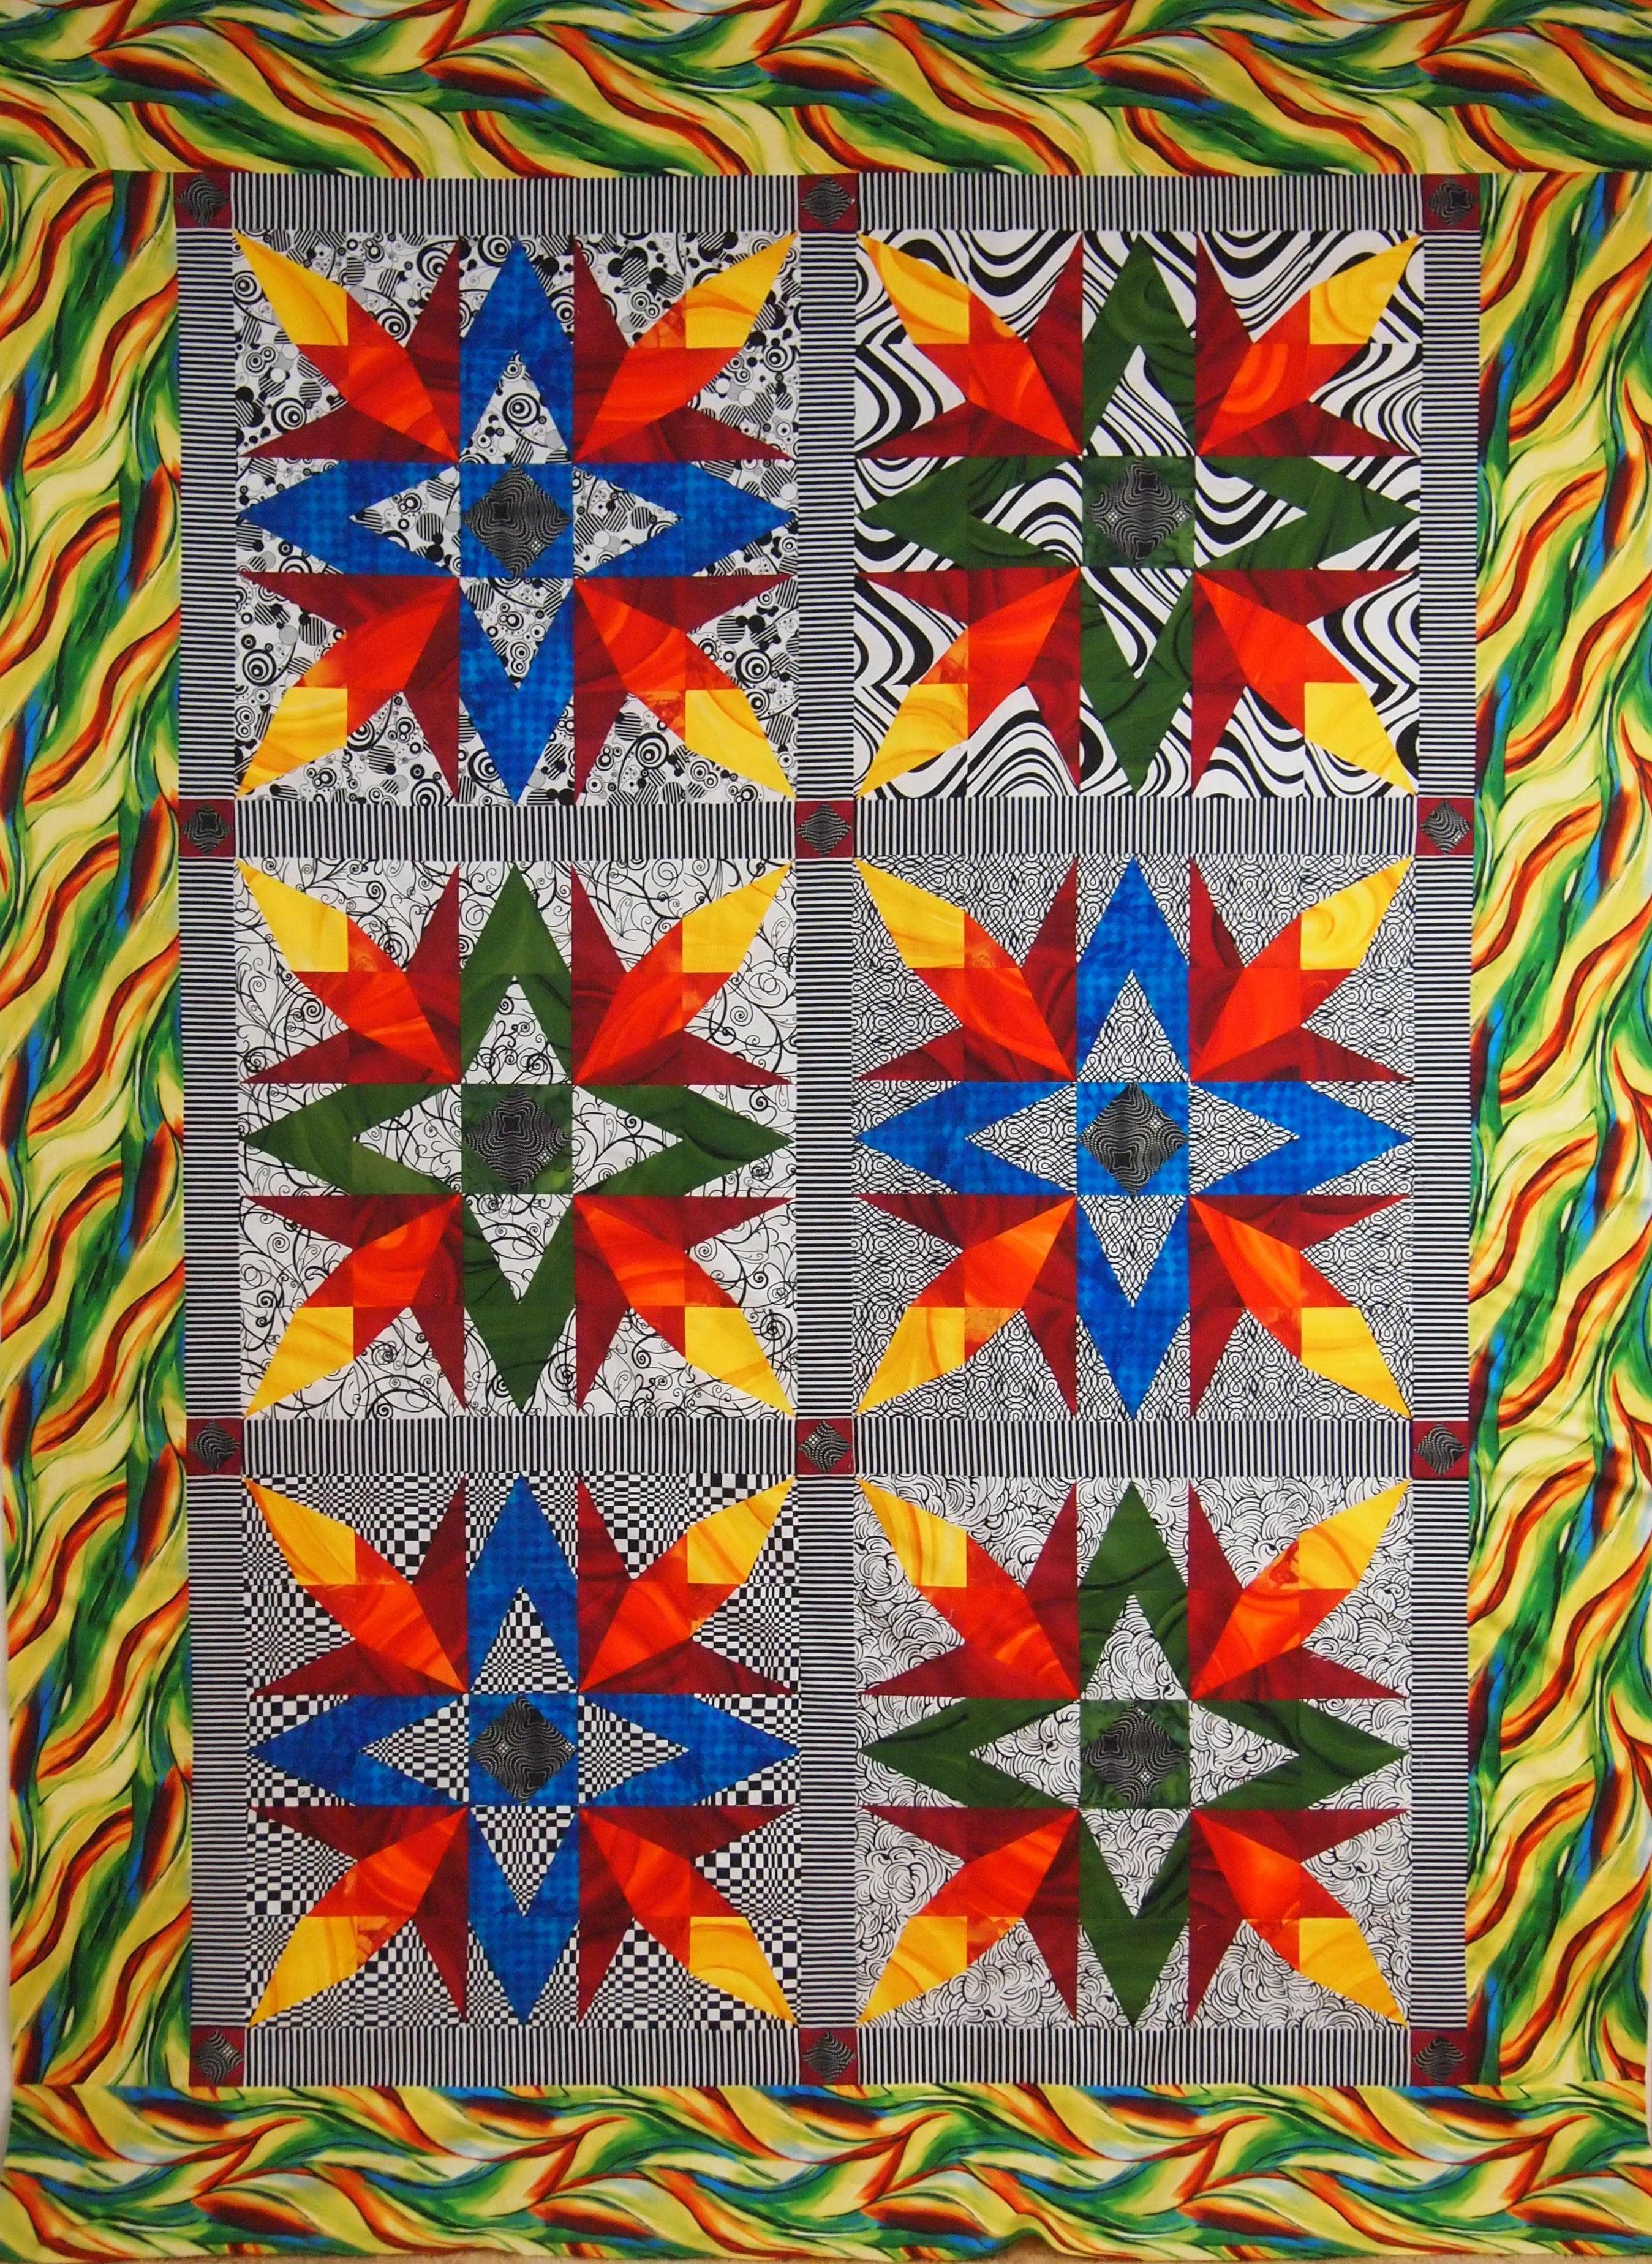
Now the search was on for fabric to make a whole quilt this time.  I found the outer border fabric first and then pulled the colors for the block from that.  I decided to make six 20″ finished blocks containing twenty-five 4″ finished units.

I initially chose yellow, orange, red and green fabric but later added a blue fabric .   I also needed 6 different black & white prints for the block background.

OLYMPUS DIGITAL CAMERA

The tools required were Studio 180 Design V Block, Squared 2 & Corner Beam Rulers and the Technique Sheet for making Sidekicks and High/Low units and don’t forget your Magic Wand!

OLYMPUS DIGITAL CAMERA

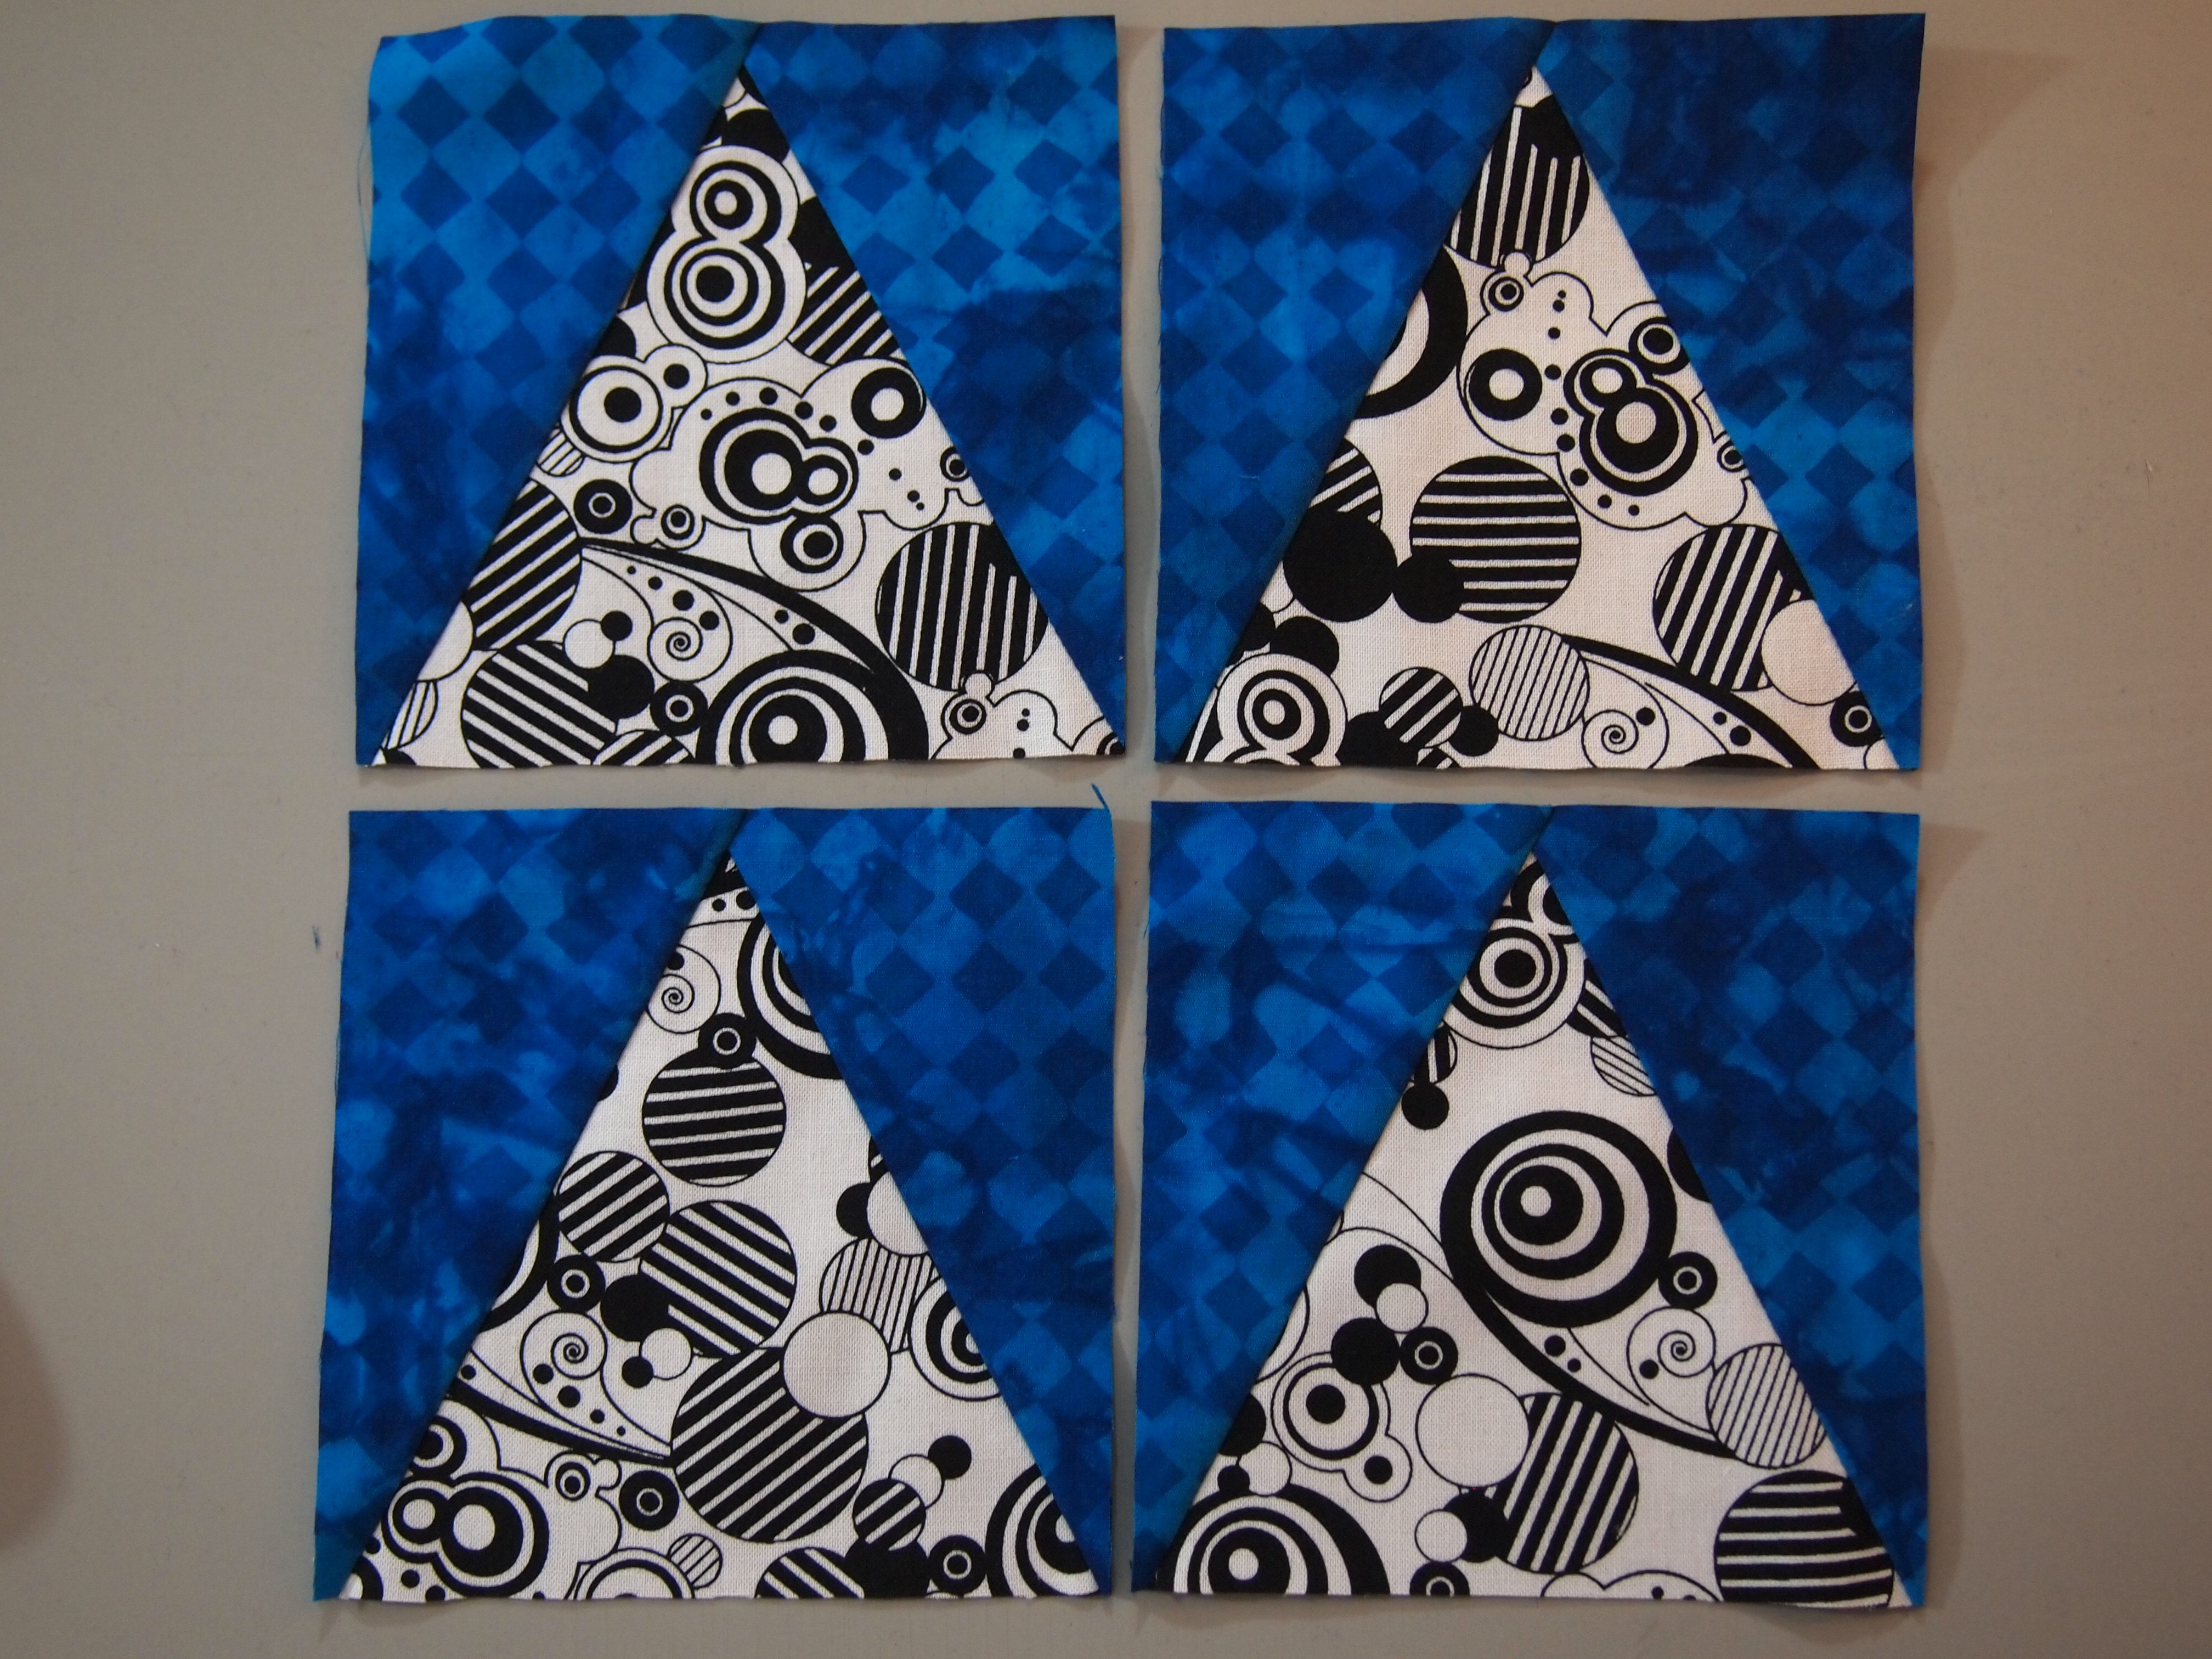
Each Block contains 4 V Blocks with black & white side triangles,

OLYMPUS DIGITAL CAMERA

and 4 V Blocks with black & white center triangles.

OLYMPUS DIGITAL CAMERA

Each Block contains 4 Corner Beam Units with yellow center beams,

OLYMPUS DIGITAL CAMERA

and 4  orange and red Corner Beam units.

OLYMPUS DIGITAL CAMERA

The center of each block contains 1 Squared 2 unit.

OLYMPUS DIGITAL CAMERA

There are 2 High/Low Left & 2 High/Low Right Units in each block.

OLYMPUS DIGITAL CAMERA

I cut all my pieces first then laid them out one block at a time.  I constructed the corner flowers as shown below.

OLYMPUS DIGITAL CAMERA

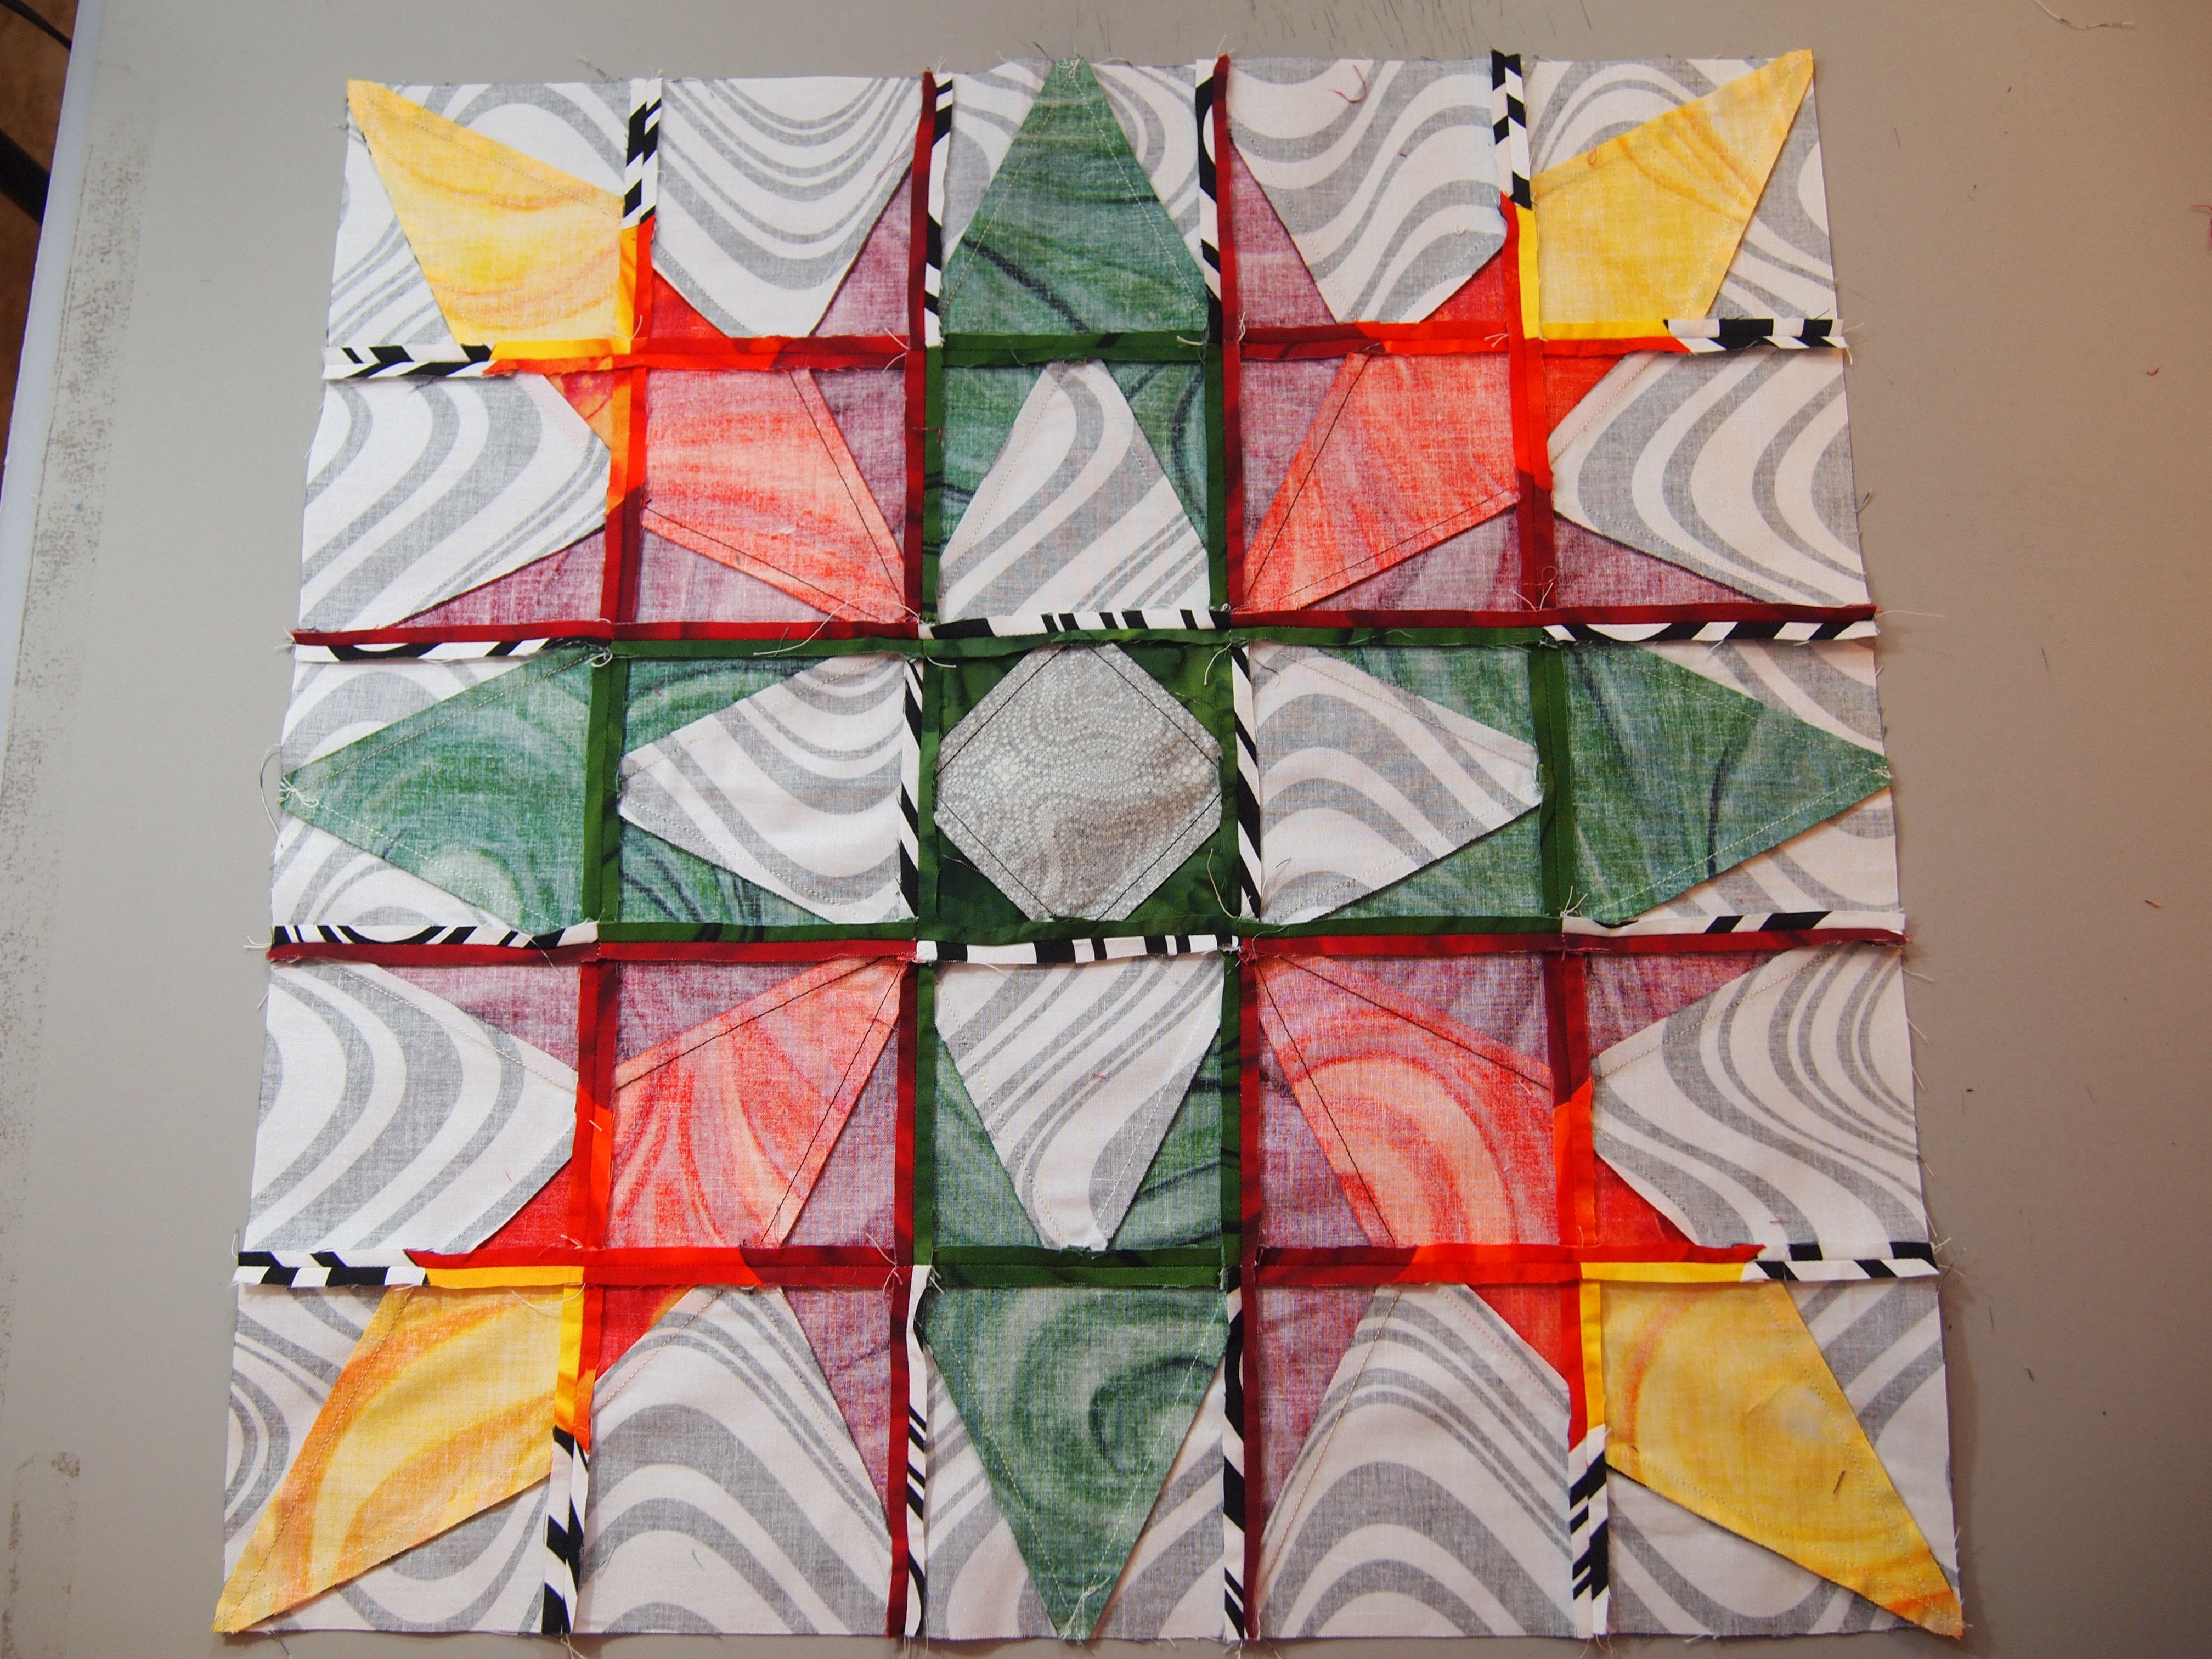
I press the seams as instructed for each of the units, but when I joined the units into the block I pressed my seams open.

OLYMPUS DIGITAL CAMERA

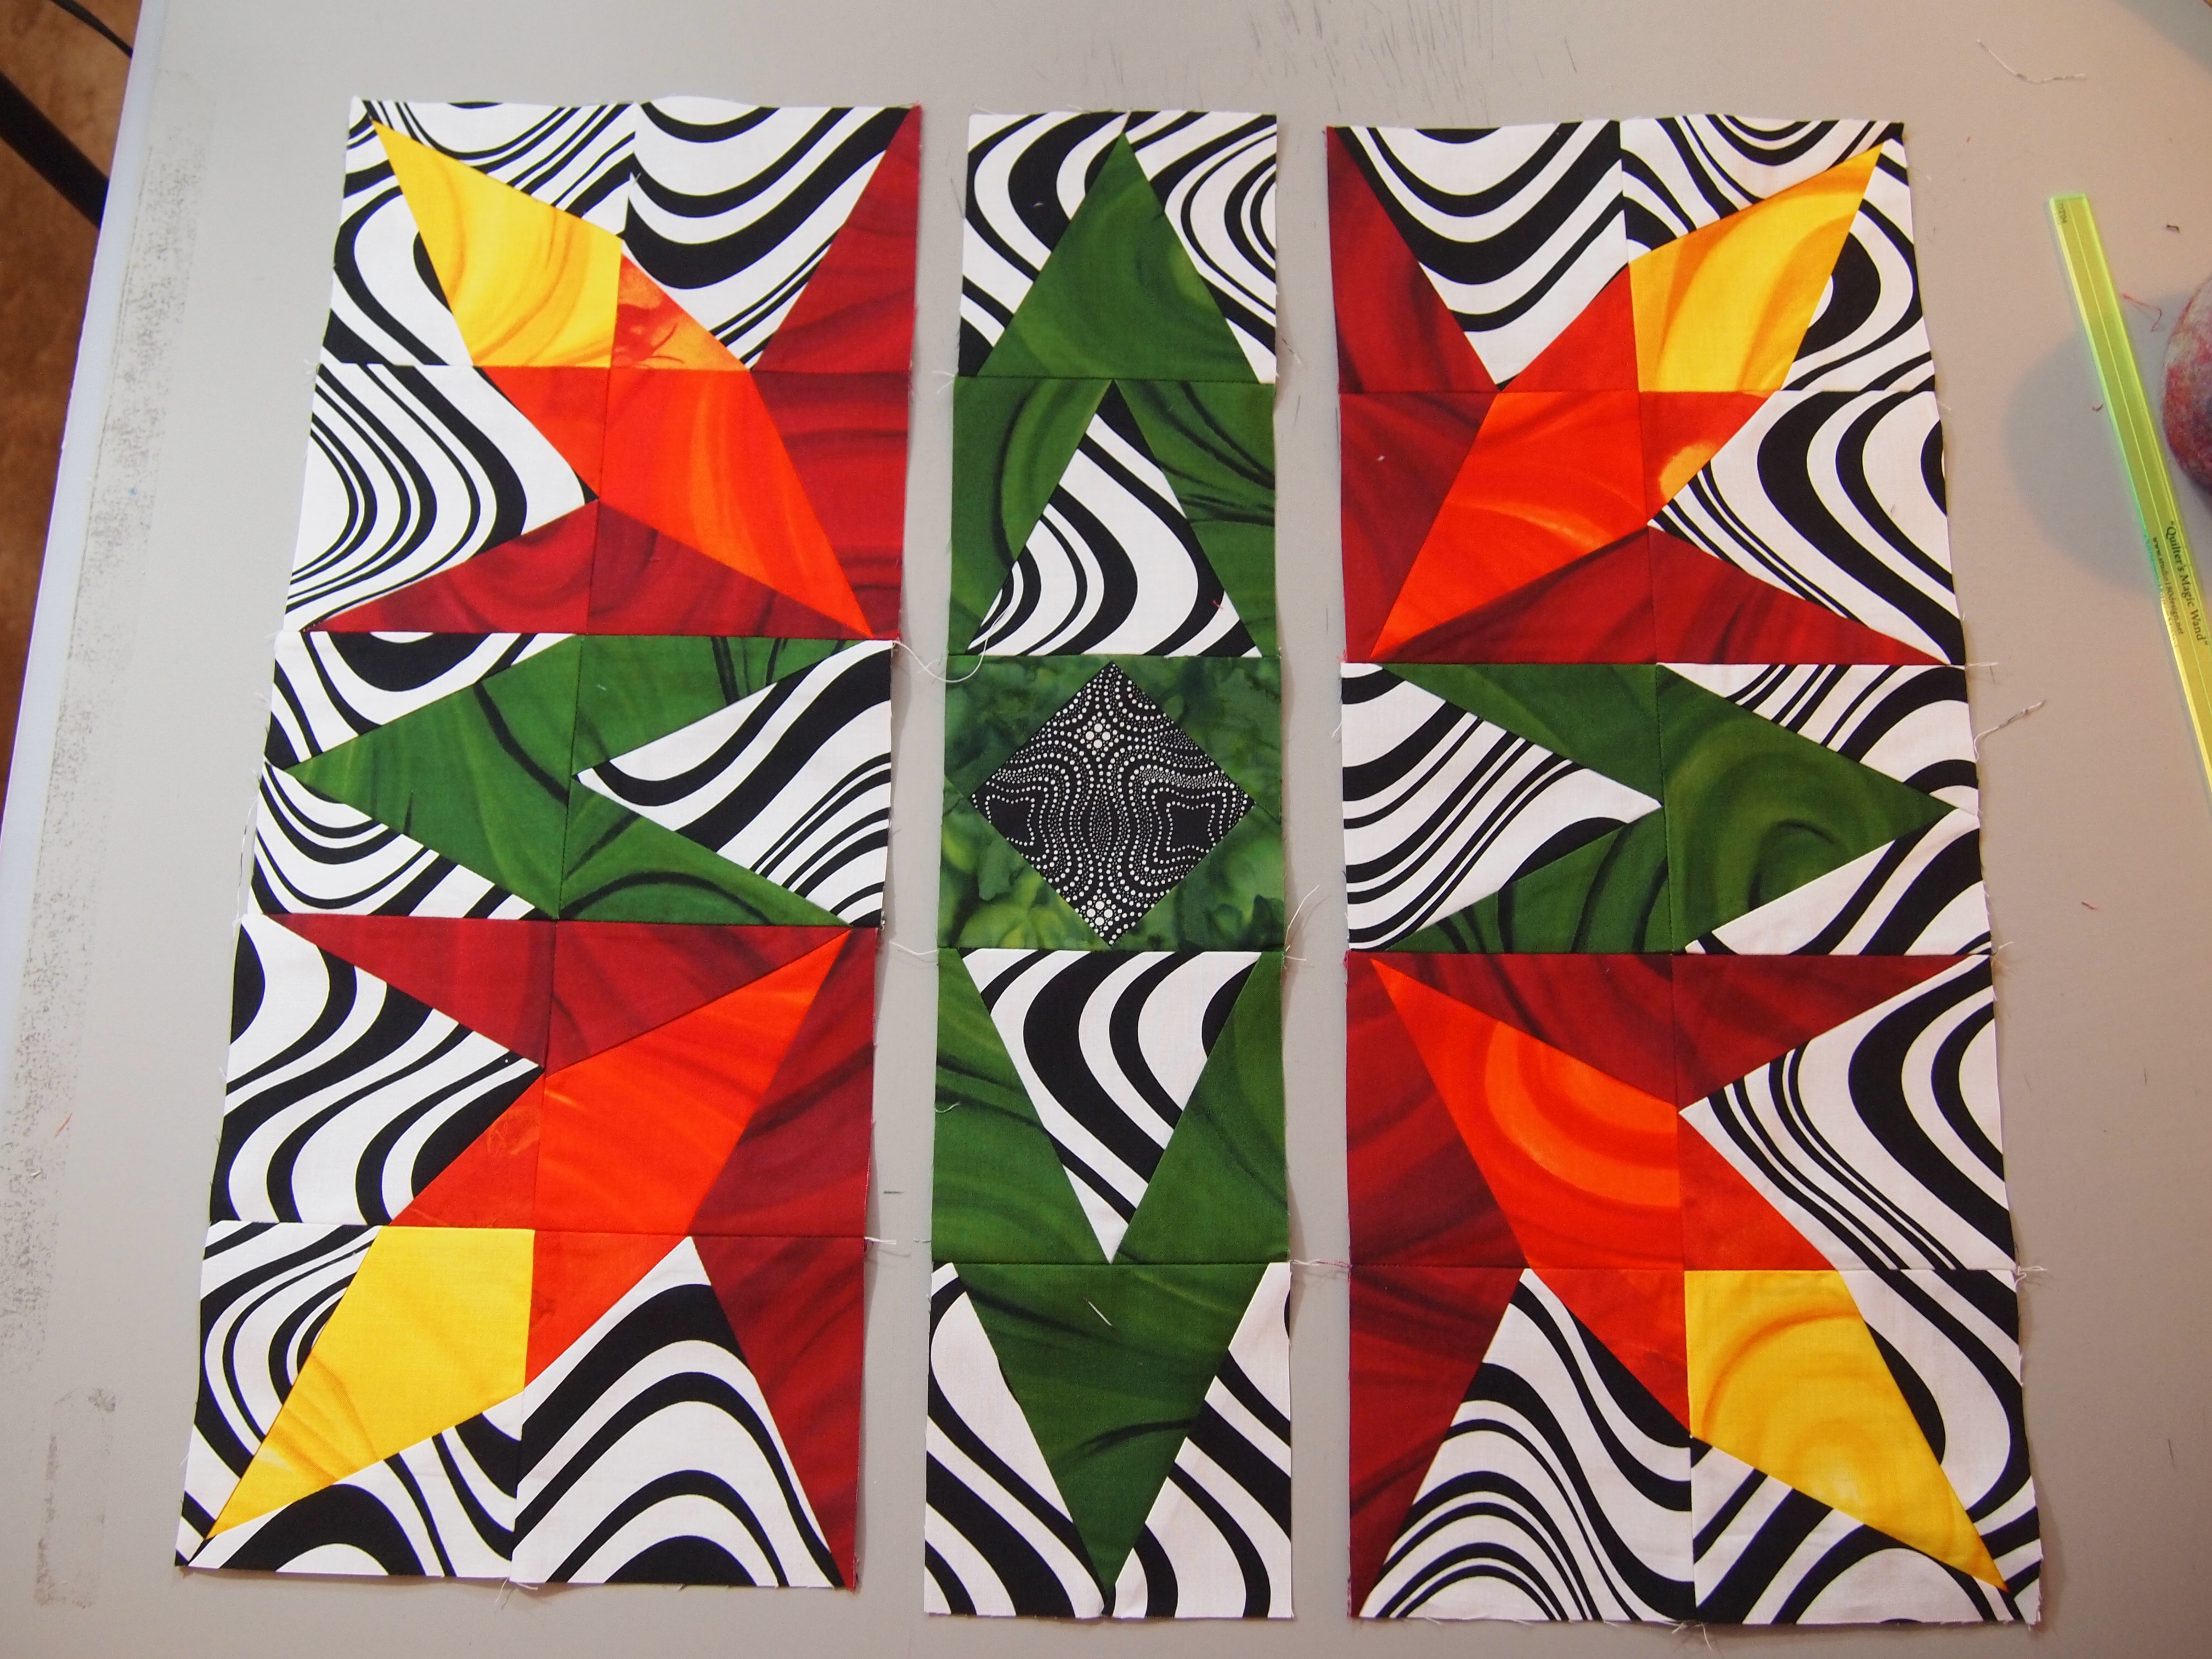
Join the units into rows.

OLYMPUS DIGITAL CAMERA

Then join the rows to form the block.

OLYMPUS DIGITAL CAMERA

OLYMPUS DIGITAL CAMERA

These are some wild colors.  This quilt was fun to make.  So next time you want to play “Block Detective” get out your graph paper and Studio 180 Design tools and discover what you can do!  If you have any questions don’t hesitate to contact me.

OLYMPUS DIGITAL CAMERA

Someone Dropped a House On My Sister

The tune “Back in the Saddle Again” is playing in my head as I stare into the Shultz & Dooley mirror hanging over my sewing machine.

OLYMPUS DIGITAL CAMERA

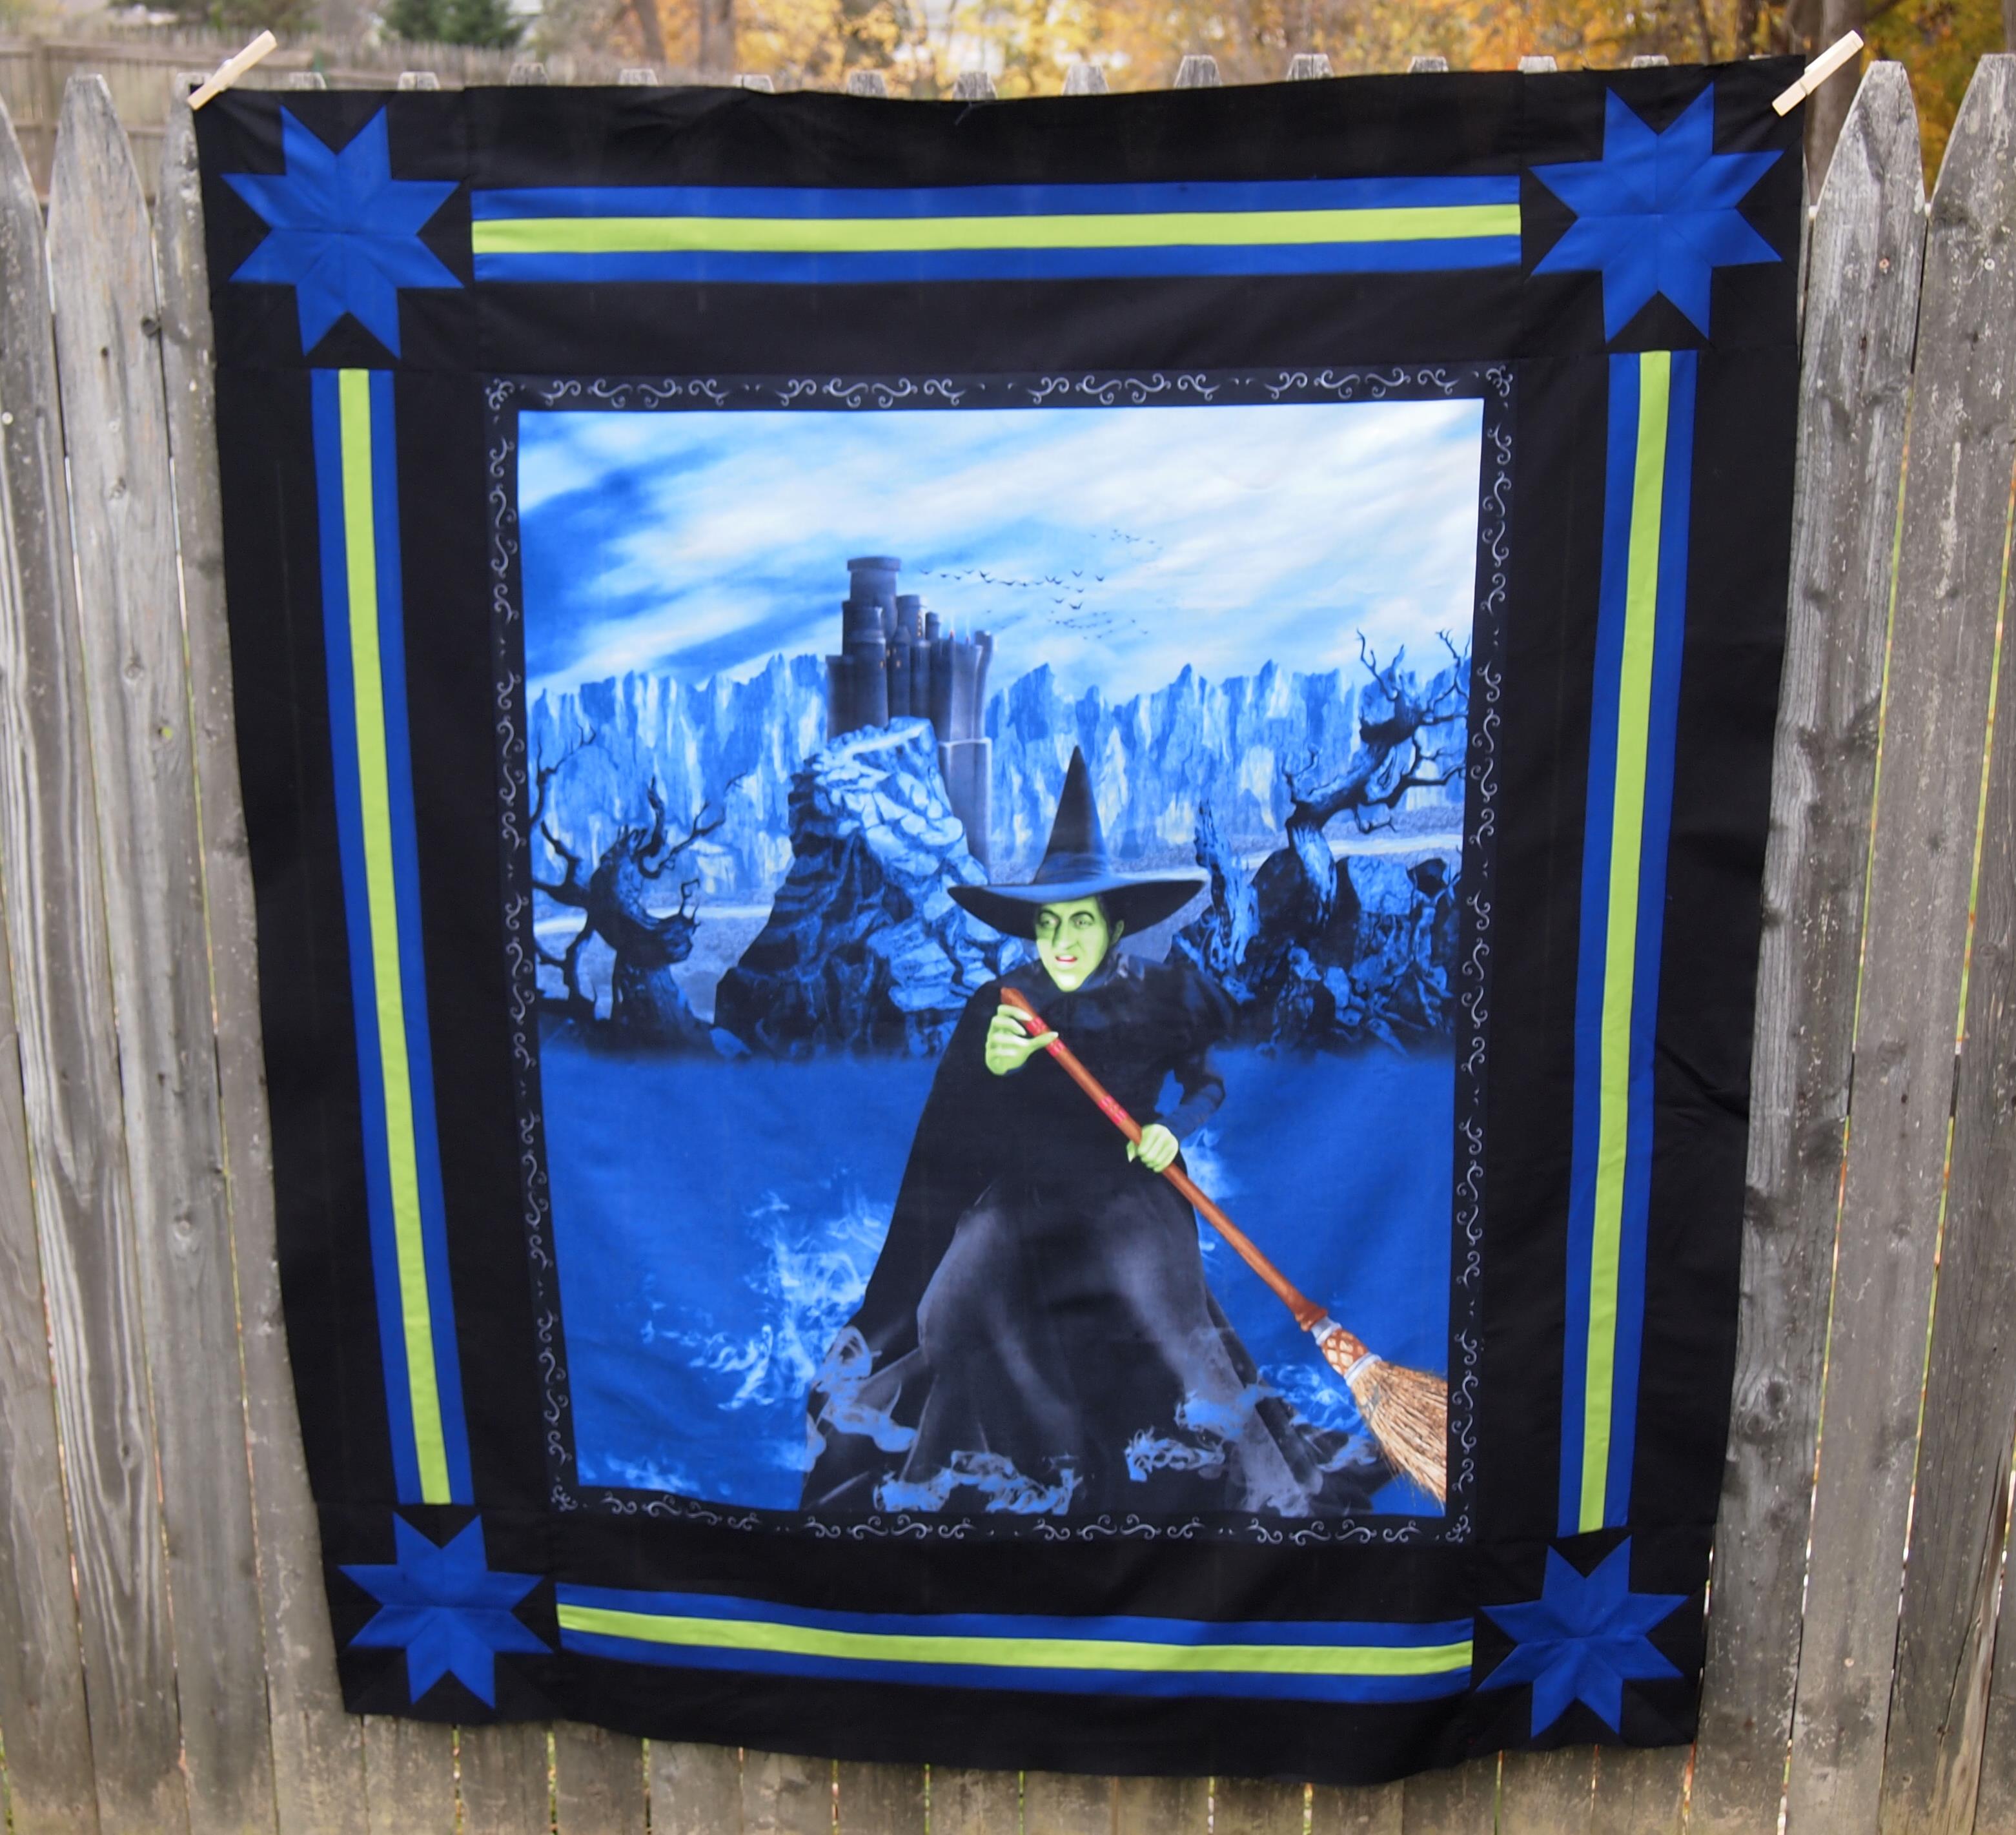
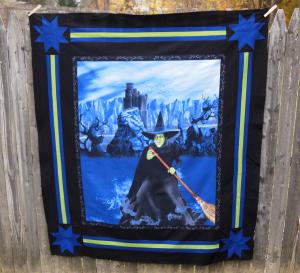
I’m getting ready to work on the Wicked Witch Panel below. I’m a Wizard of Oz fan!  This is my first project in the new house.  The panel measures 34″x42″.  I decided to add Lemoyne Star cornerstones and stripped borders.  I pulled the colors from the panel, Kona Black, Midnight Blue and Grass green to match the Witch’s Skin.

OLYMPUS DIGITAL CAMERA

I know I have blogged about the Rapid Fire Lemoyne Star Ruler before but thought I would reiterate some tips.

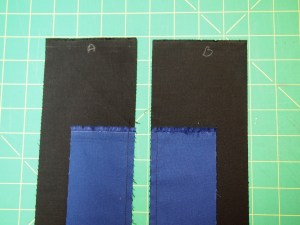
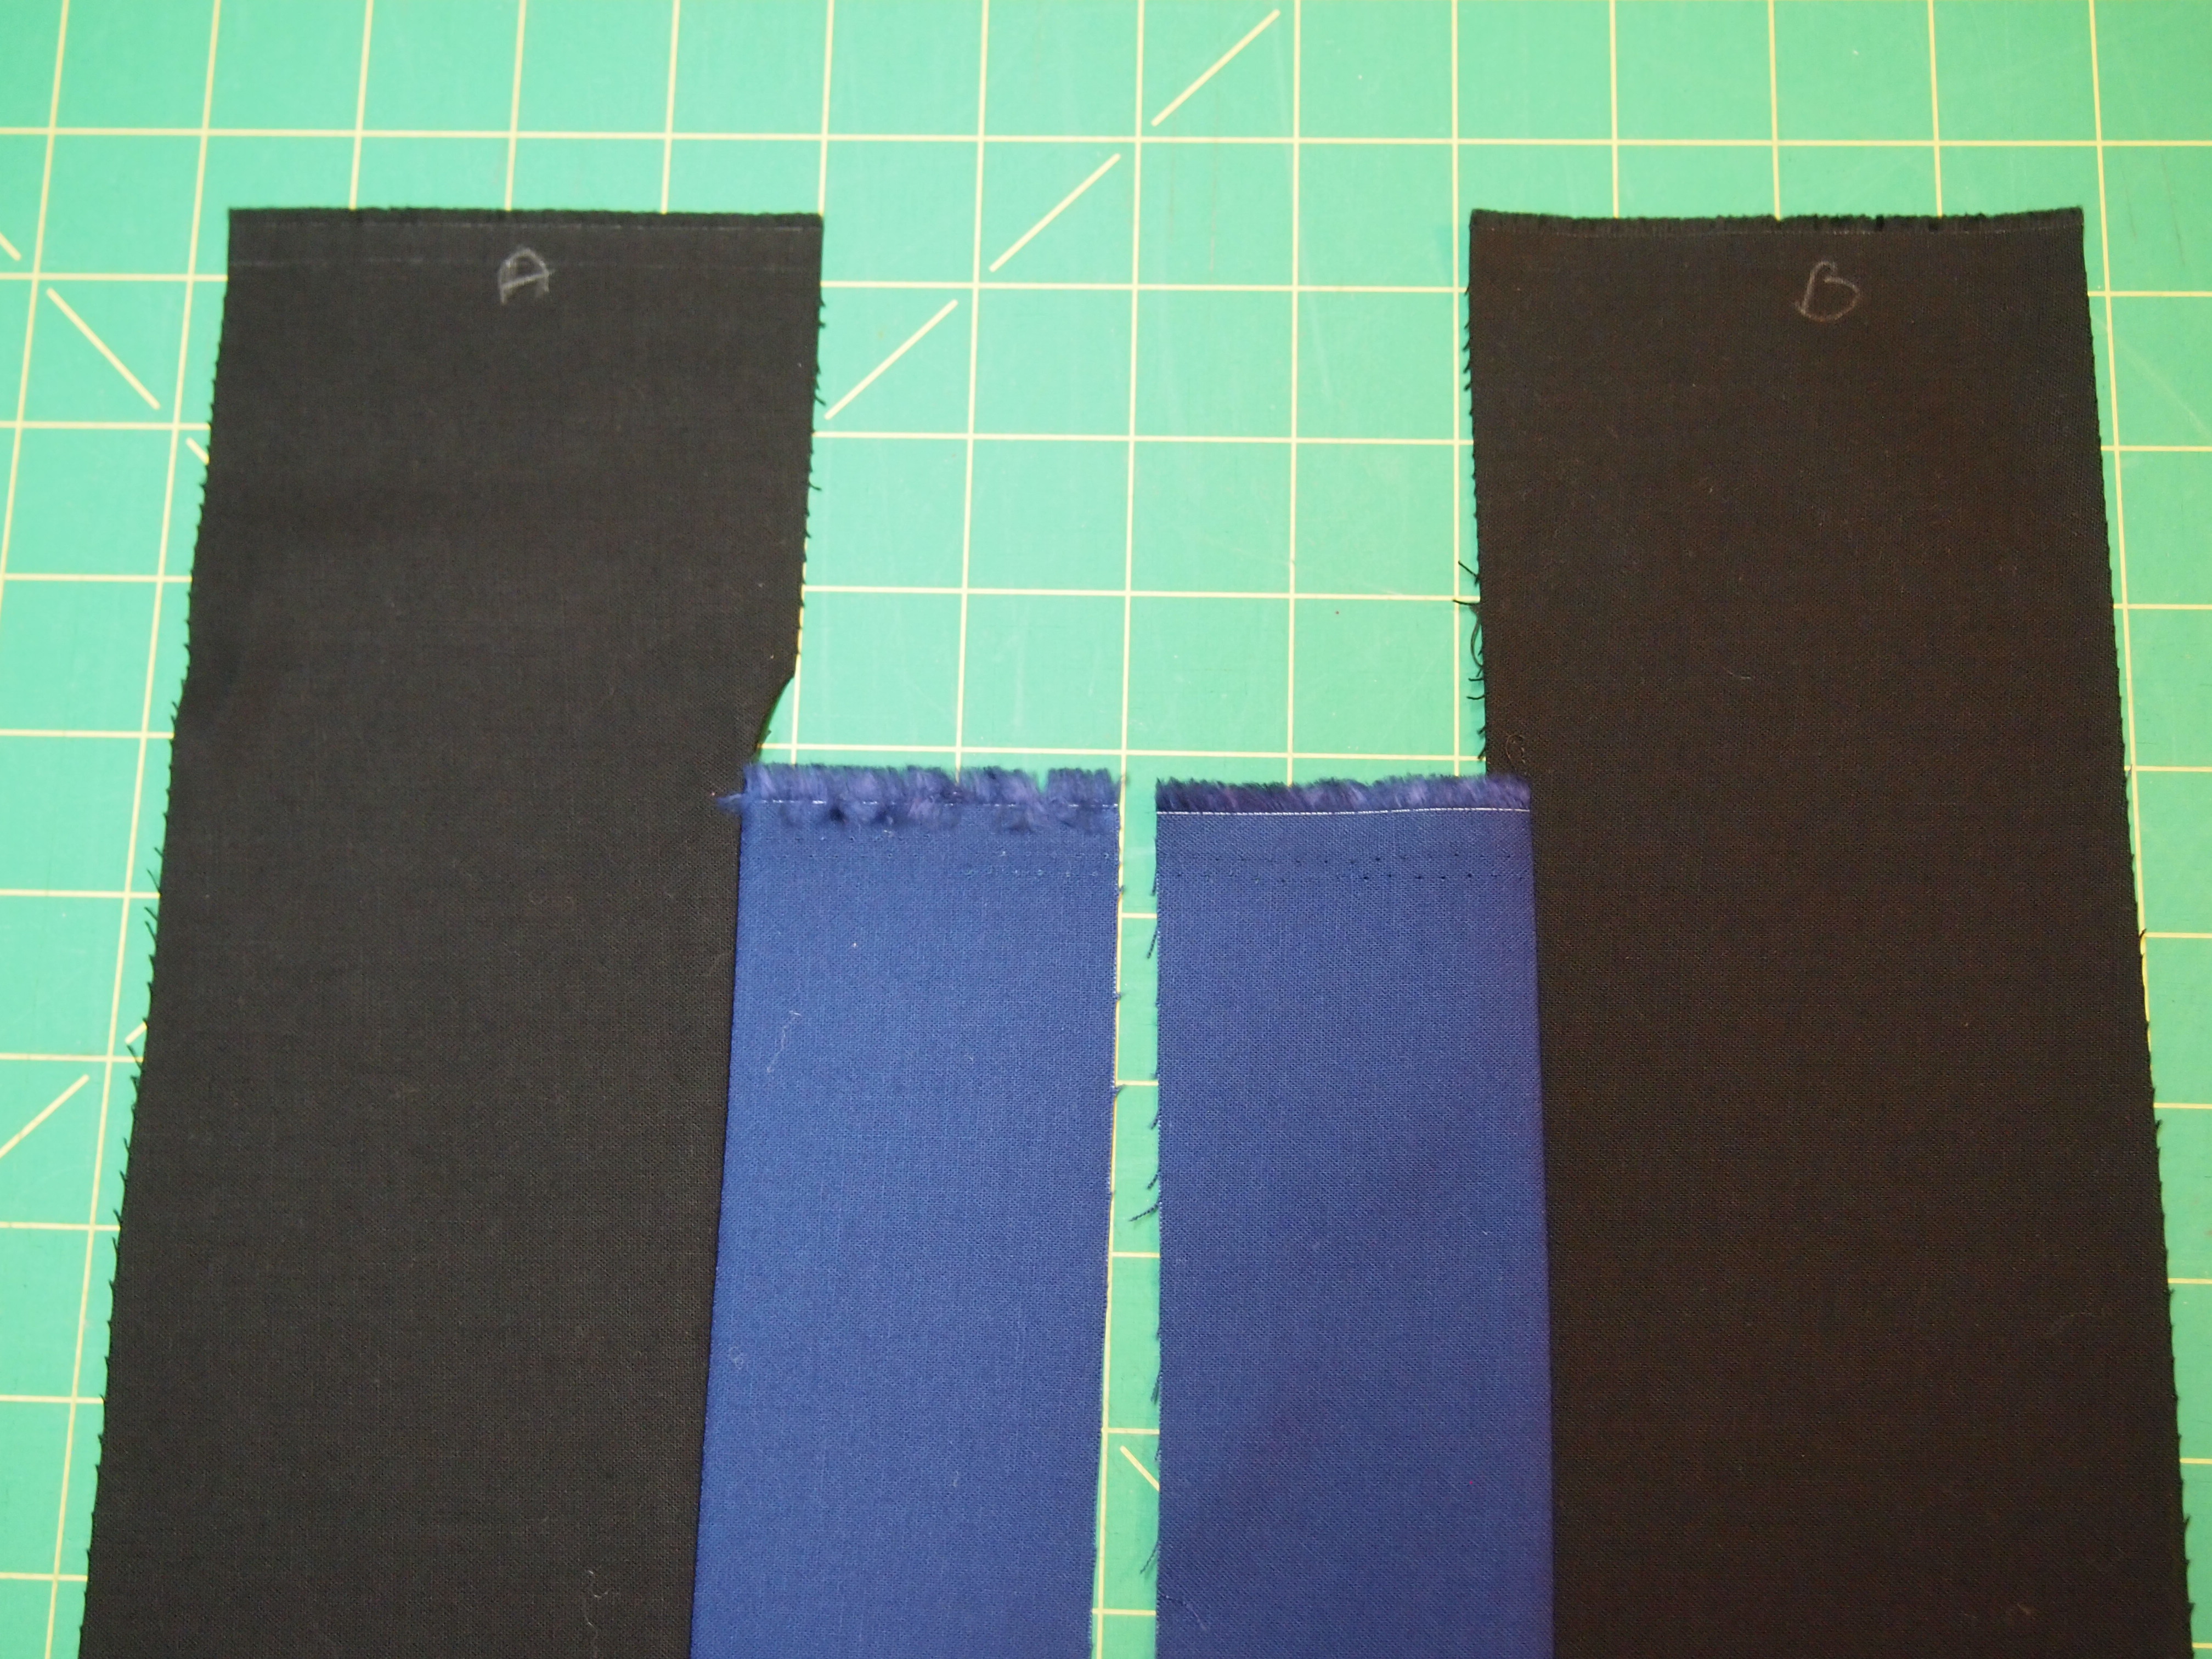
Below I have cut 2 background strips and two star strips. I know these are dark colors but I like the way they work with the panel.  I have marked my background strips A and B and 2 additional  marks down from the top of the strips on the adjacent, inside edges the same distance as the strip is wide.  What that means is; I chose to make an 8″ finished Lemoyne star so I cut my background strip 3 3/4″ wide by width of fabric (WOF).   So I marked the inside edges down 3 3/4″.  With right sides together I place the star strips on the marks as shown.
OLYMPUS DIGITAL CAMERA

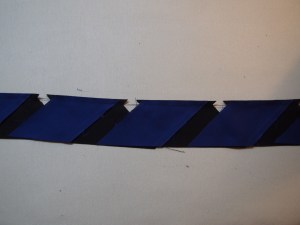
Stitch the strips as shown.

OLYMPUS DIGITAL CAMERA

Quilting is a Pressing Matter!!!  What I love about Studio 180 Design Tools is the care Deb Tucker takes in telling you how to press your seams.  I did not know this until I was Studio 180 Design Teacher Certification Training, “Whatever You Are Pressing Toward – Goes On Top”! Genius!

When pressing strip A, the seam gets pressed toward the background strip. I then place the strip on the ironing board with background side on top and press.  Strip B seam is pressed toward the star strip, so then the I place the strip with star strip on top.  We now have mirror images.

OLYMPUS DIGITAL CAMERA

Place Strip B right up on the table, then place strip A on top, right sides together. I start by just matching up the edges.  Then using my fingers feel along the seams to determine if the seams are nesting properly.  I always gently peel back each end to see if the seams are nesting.  If we pressed the seams correctly it will nest nicely.

OLYMPUS DIGITAL CAMERA

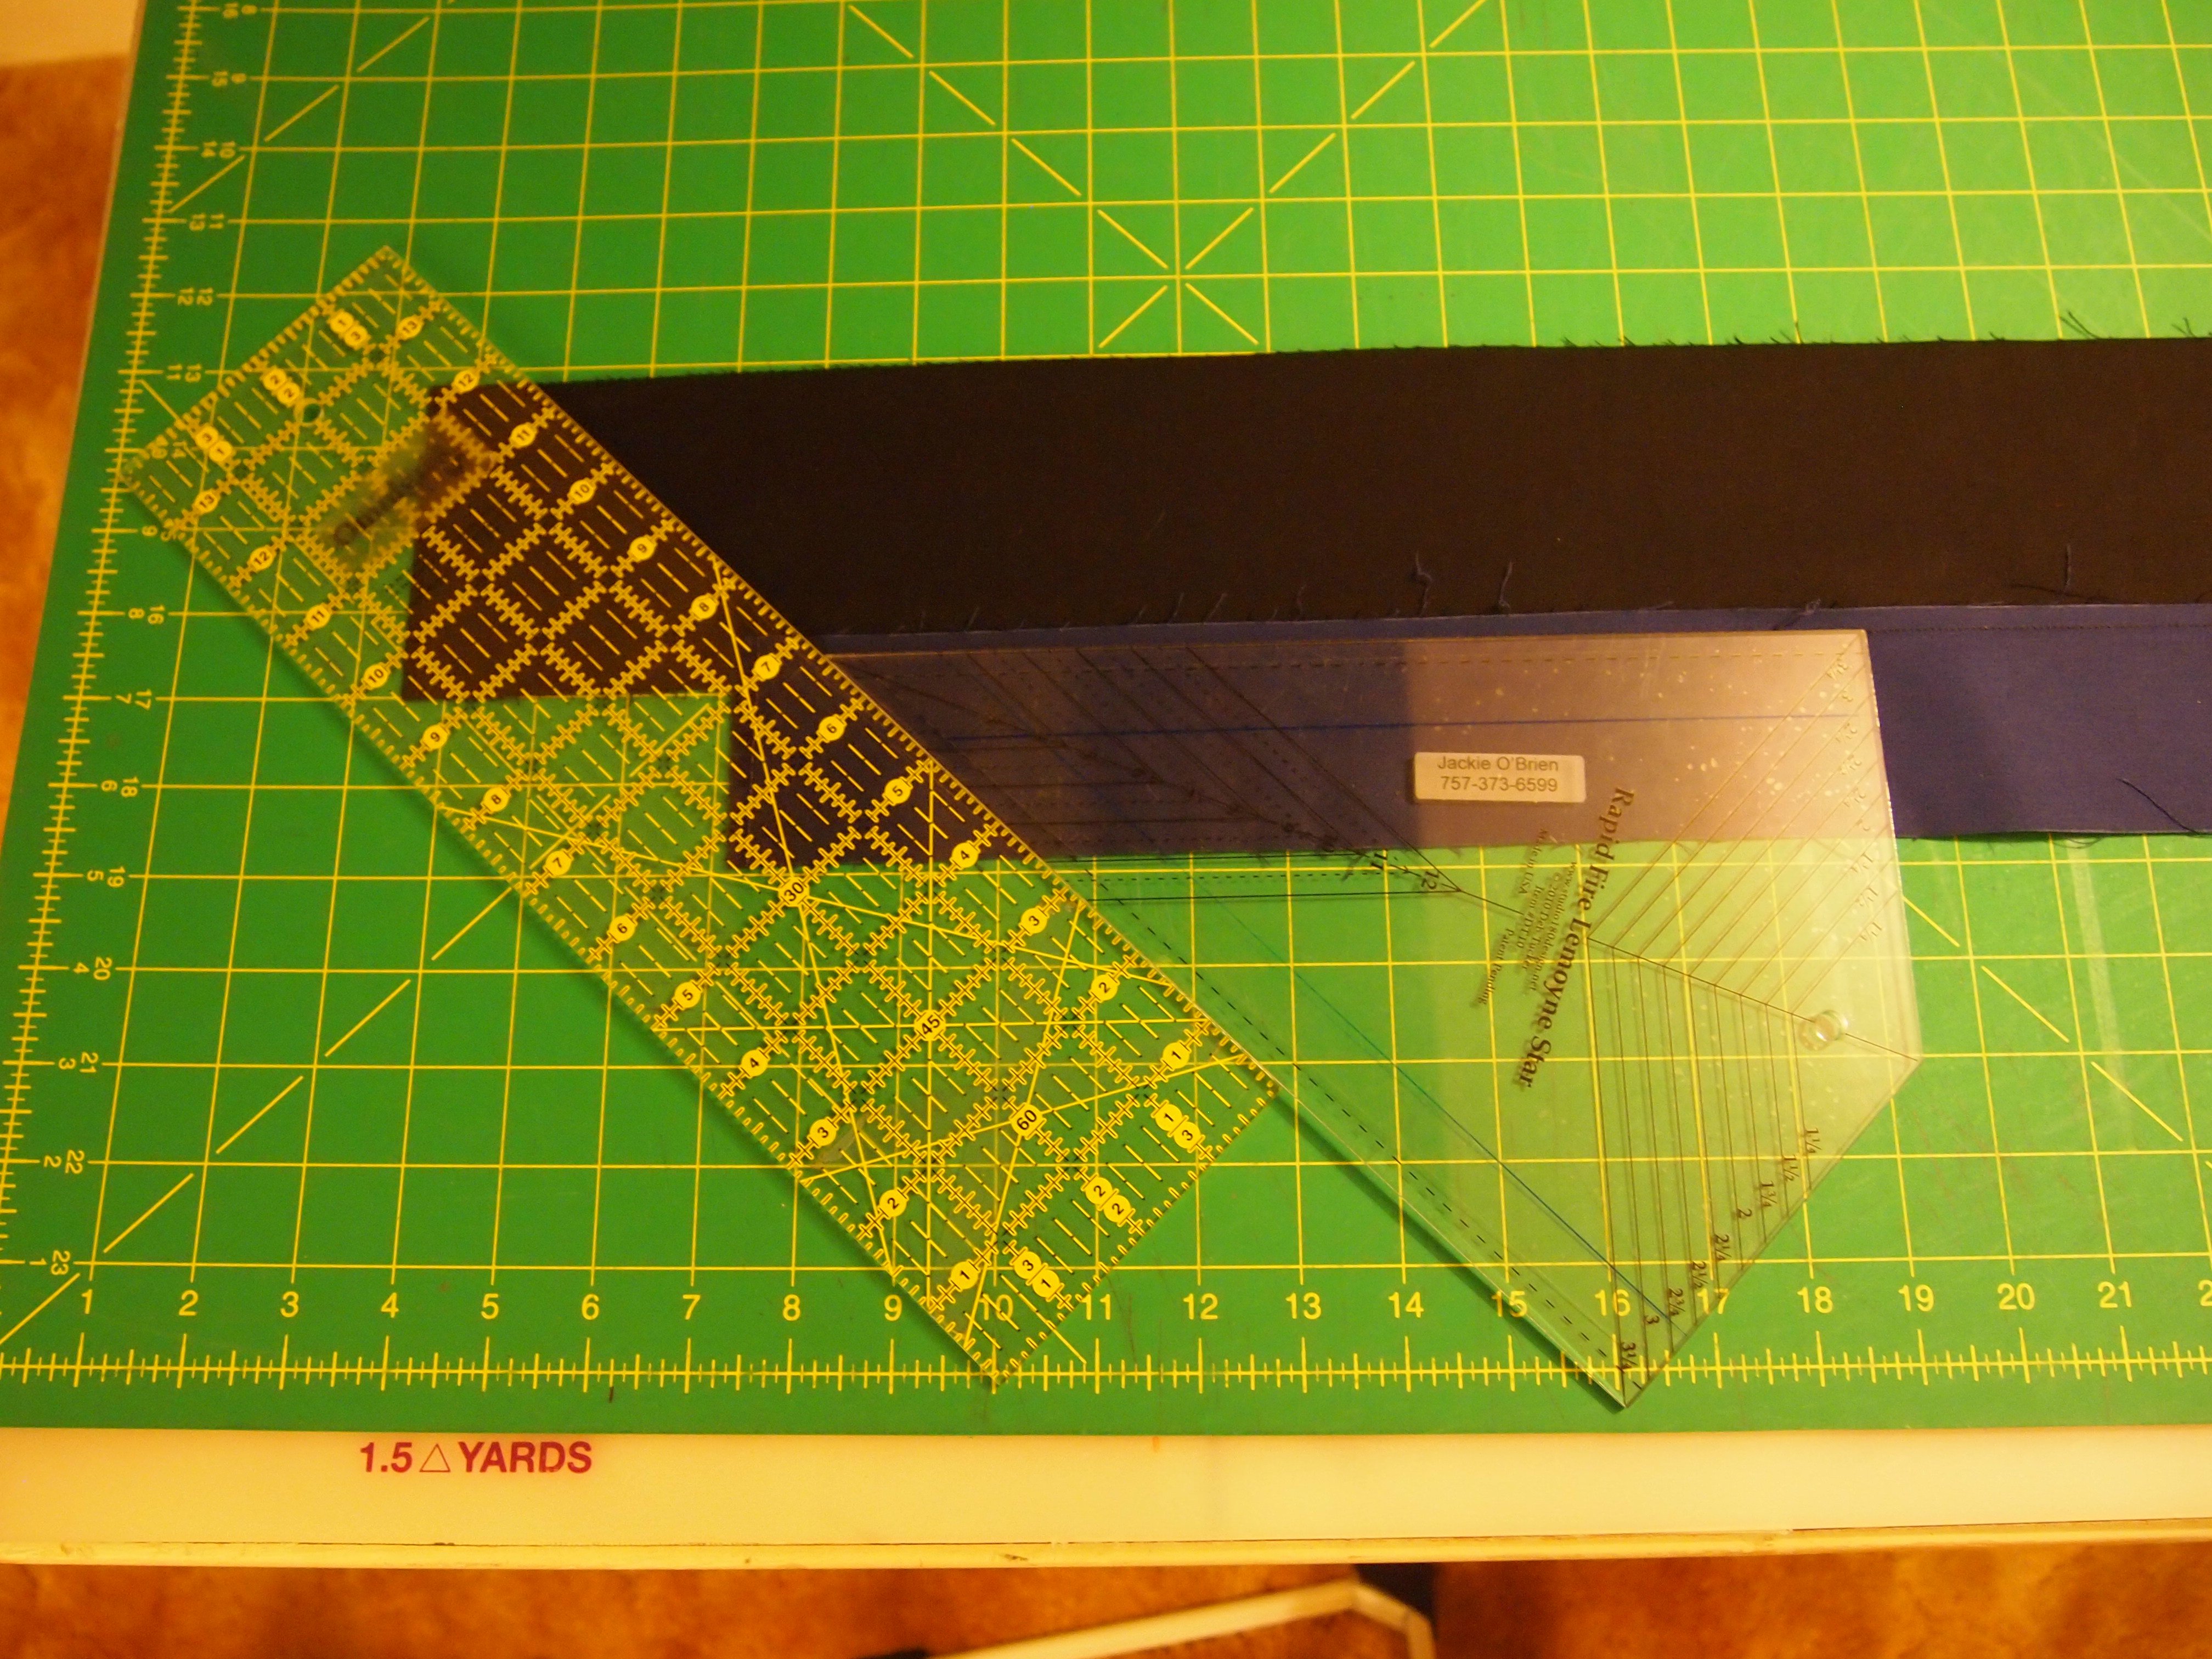
Now we are going to establish a 45 degree angle by placing the edge of the Rapid Fire Lemoyne Star ruler on the stitched seam line and then bump up another cutting ruler against the angled edge.

OLYMPUS DIGITAL CAMERA

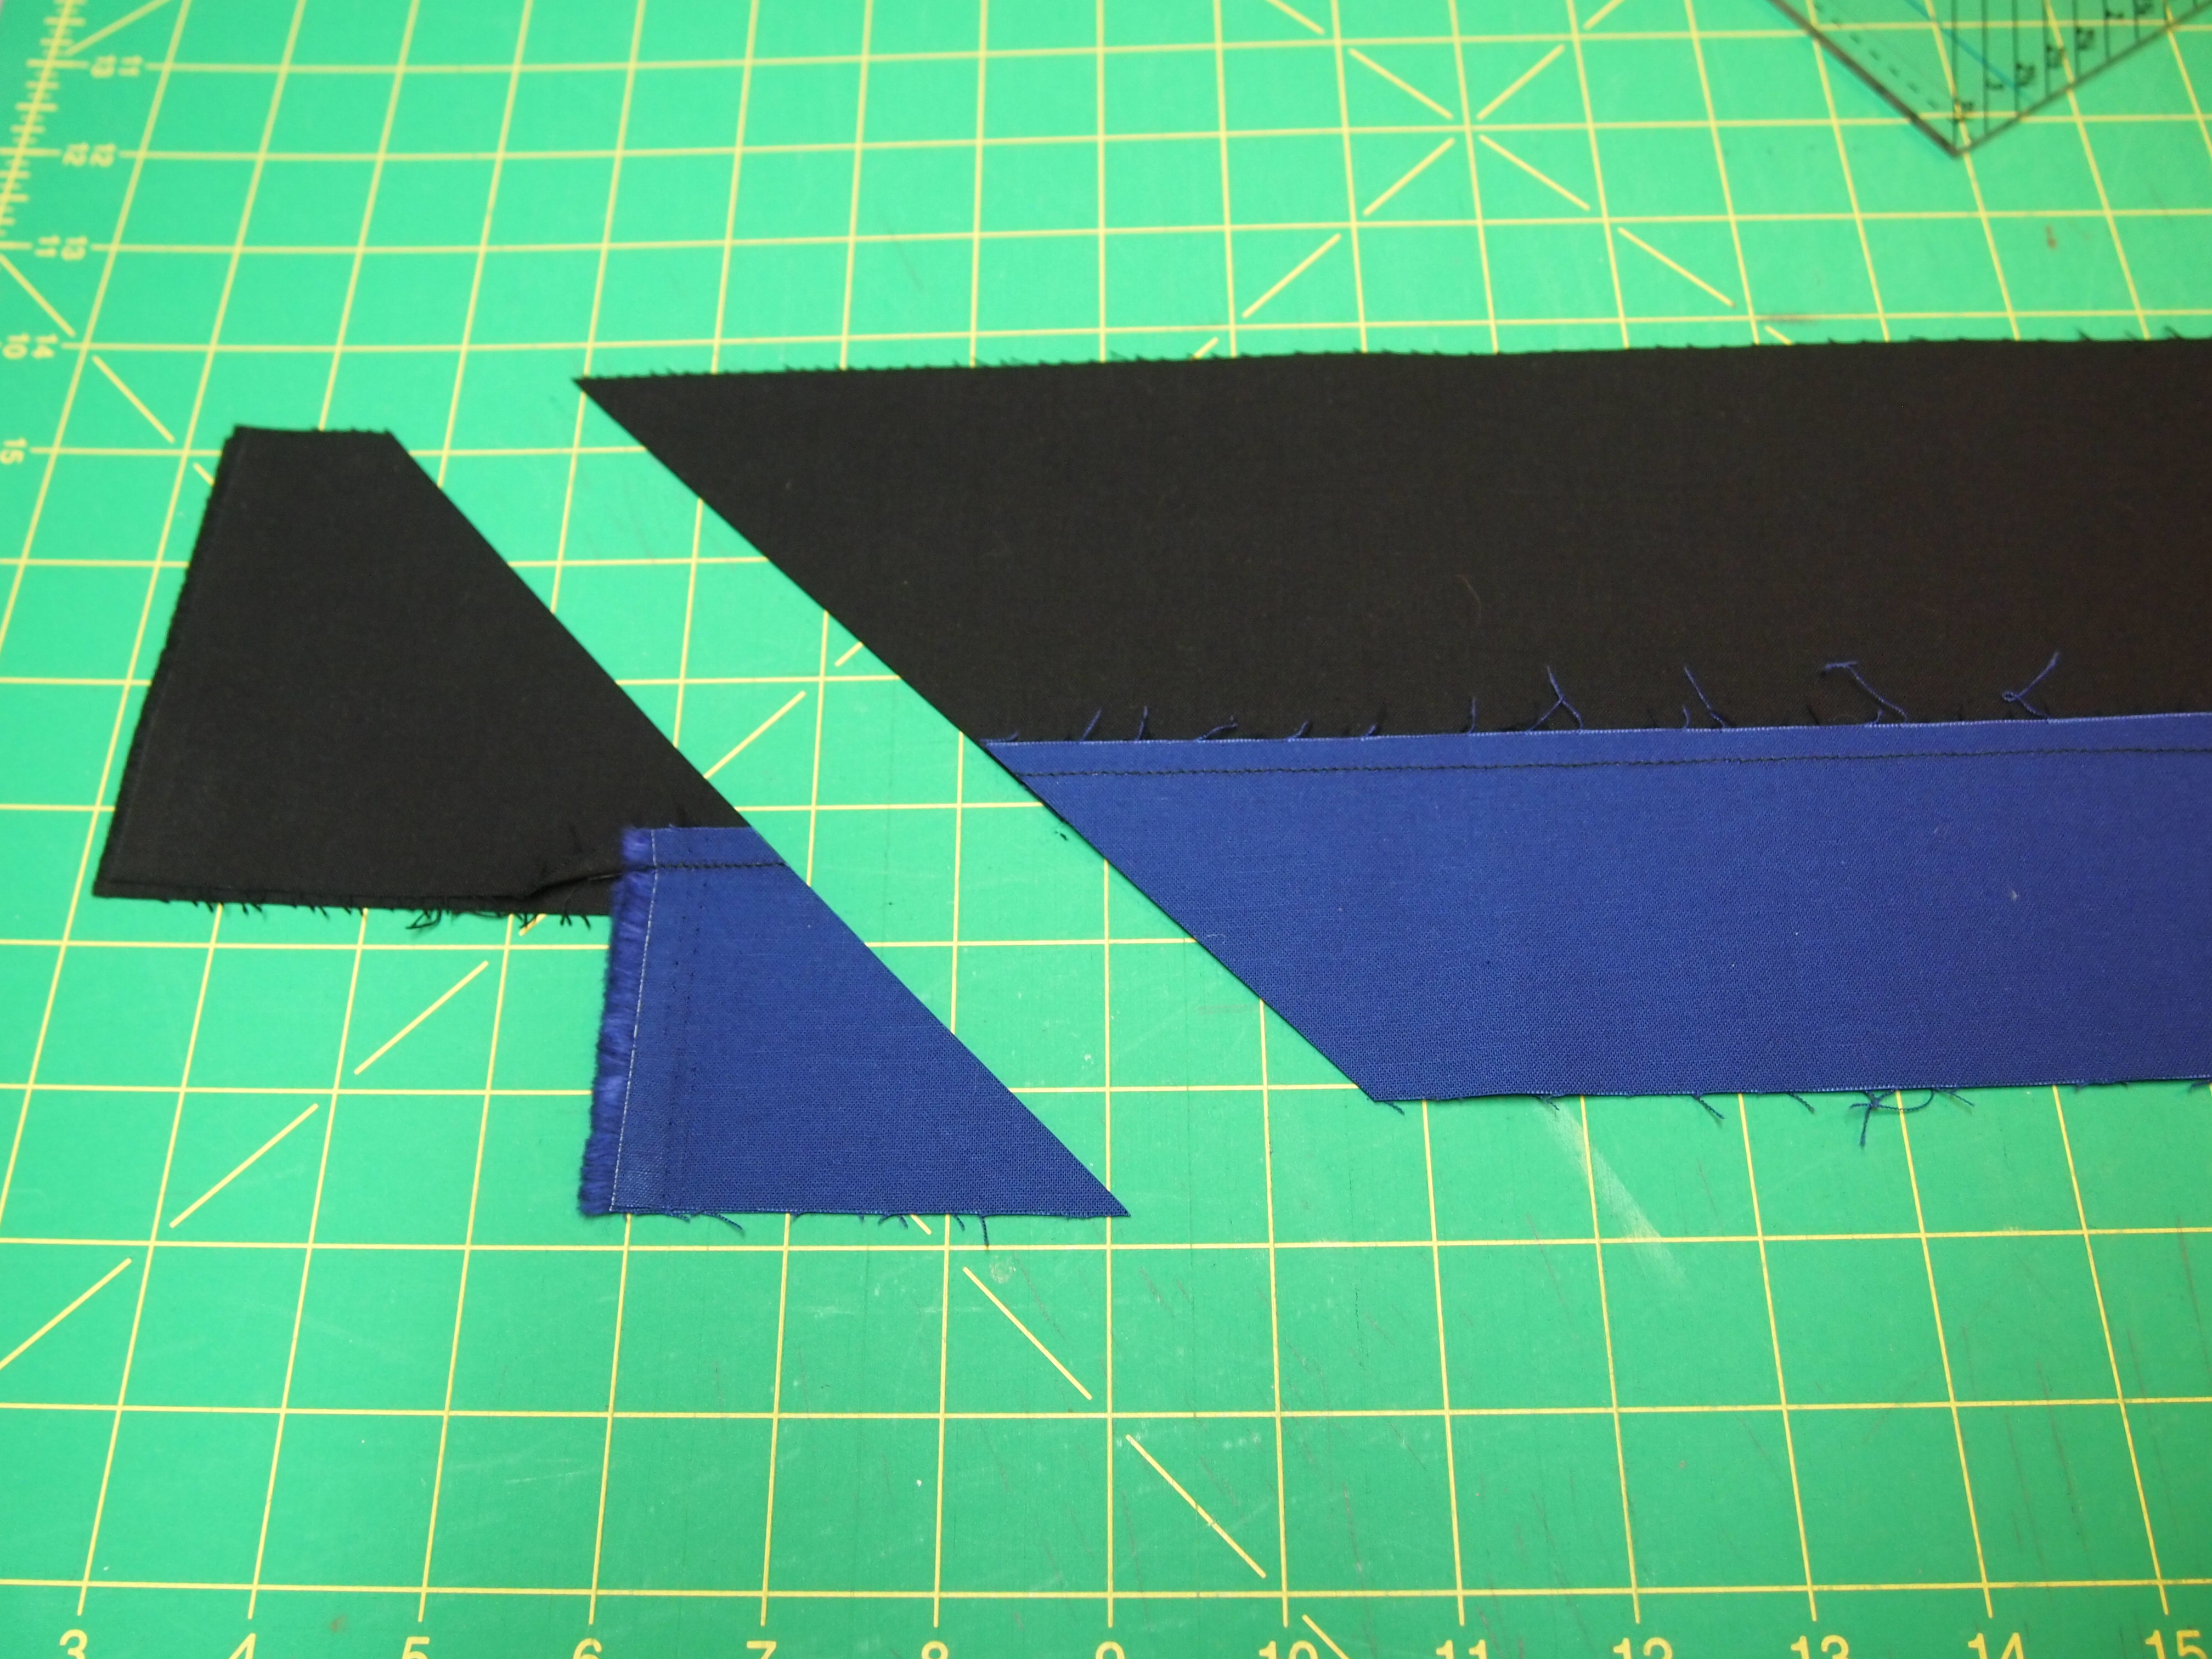
Make the first cut.

OLYMPUS DIGITAL CAMERA

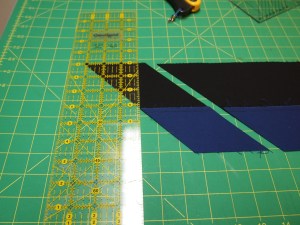
Place the cutting ruler on that beautiful 45 degree angle and cut strips the width of your star strip.  For an 8″ Lemoyne Star I cut 2 1/5″ strips. So I make a 2 1/2″ cut.

OLYMPUS DIGITAL CAMERA

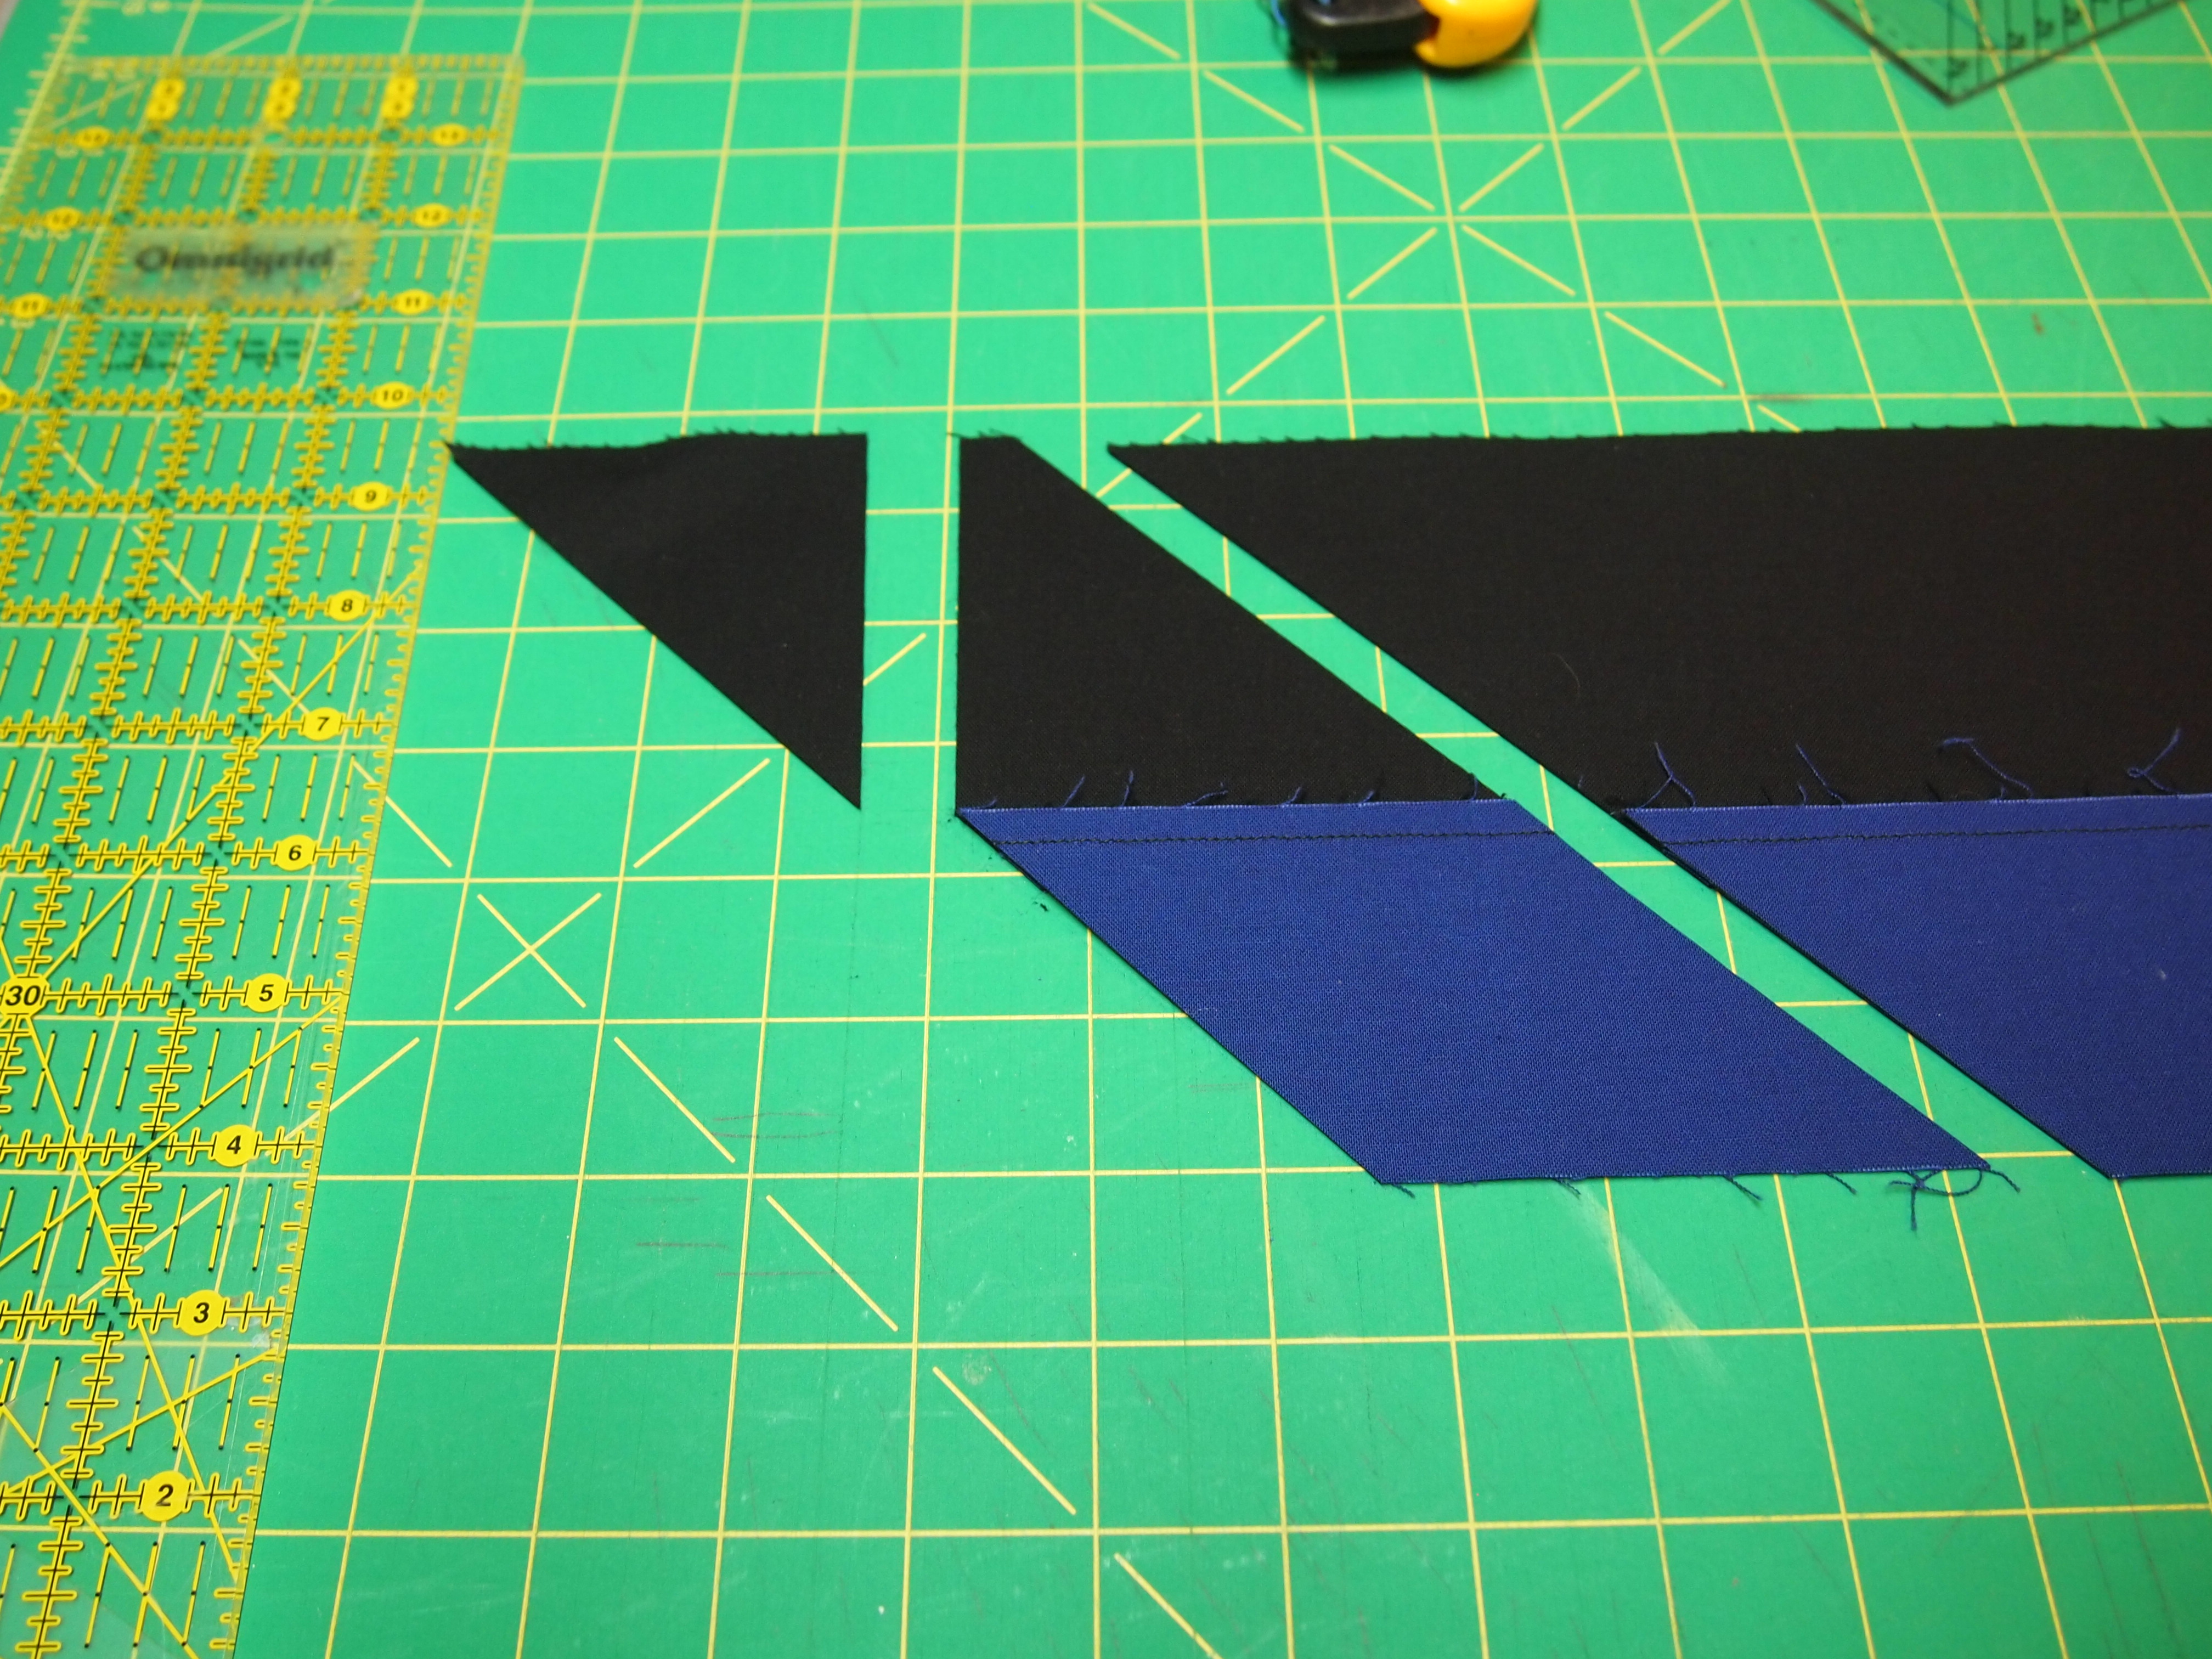
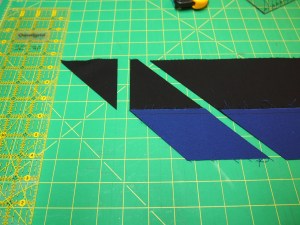
You can go ahead and make all your 2 1/2″ cuts, but I prefer to make the  first cut and then make the second cut by going vertically south to north and position the ruler edge at the tip of the star point and trim straight up.
OLYMPUS DIGITAL CAMERA

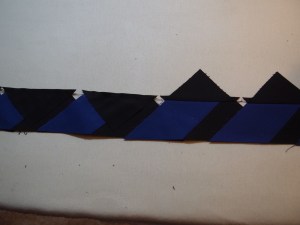
These triangles will be the side pieces for your unit.
OLYMPUS DIGITAL CAMERA

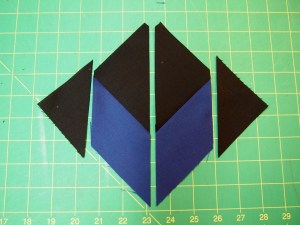
Once all your units are cut, open your units with A on the right and B on the left as shown below.
OLYMPUS DIGITAL CAMERA

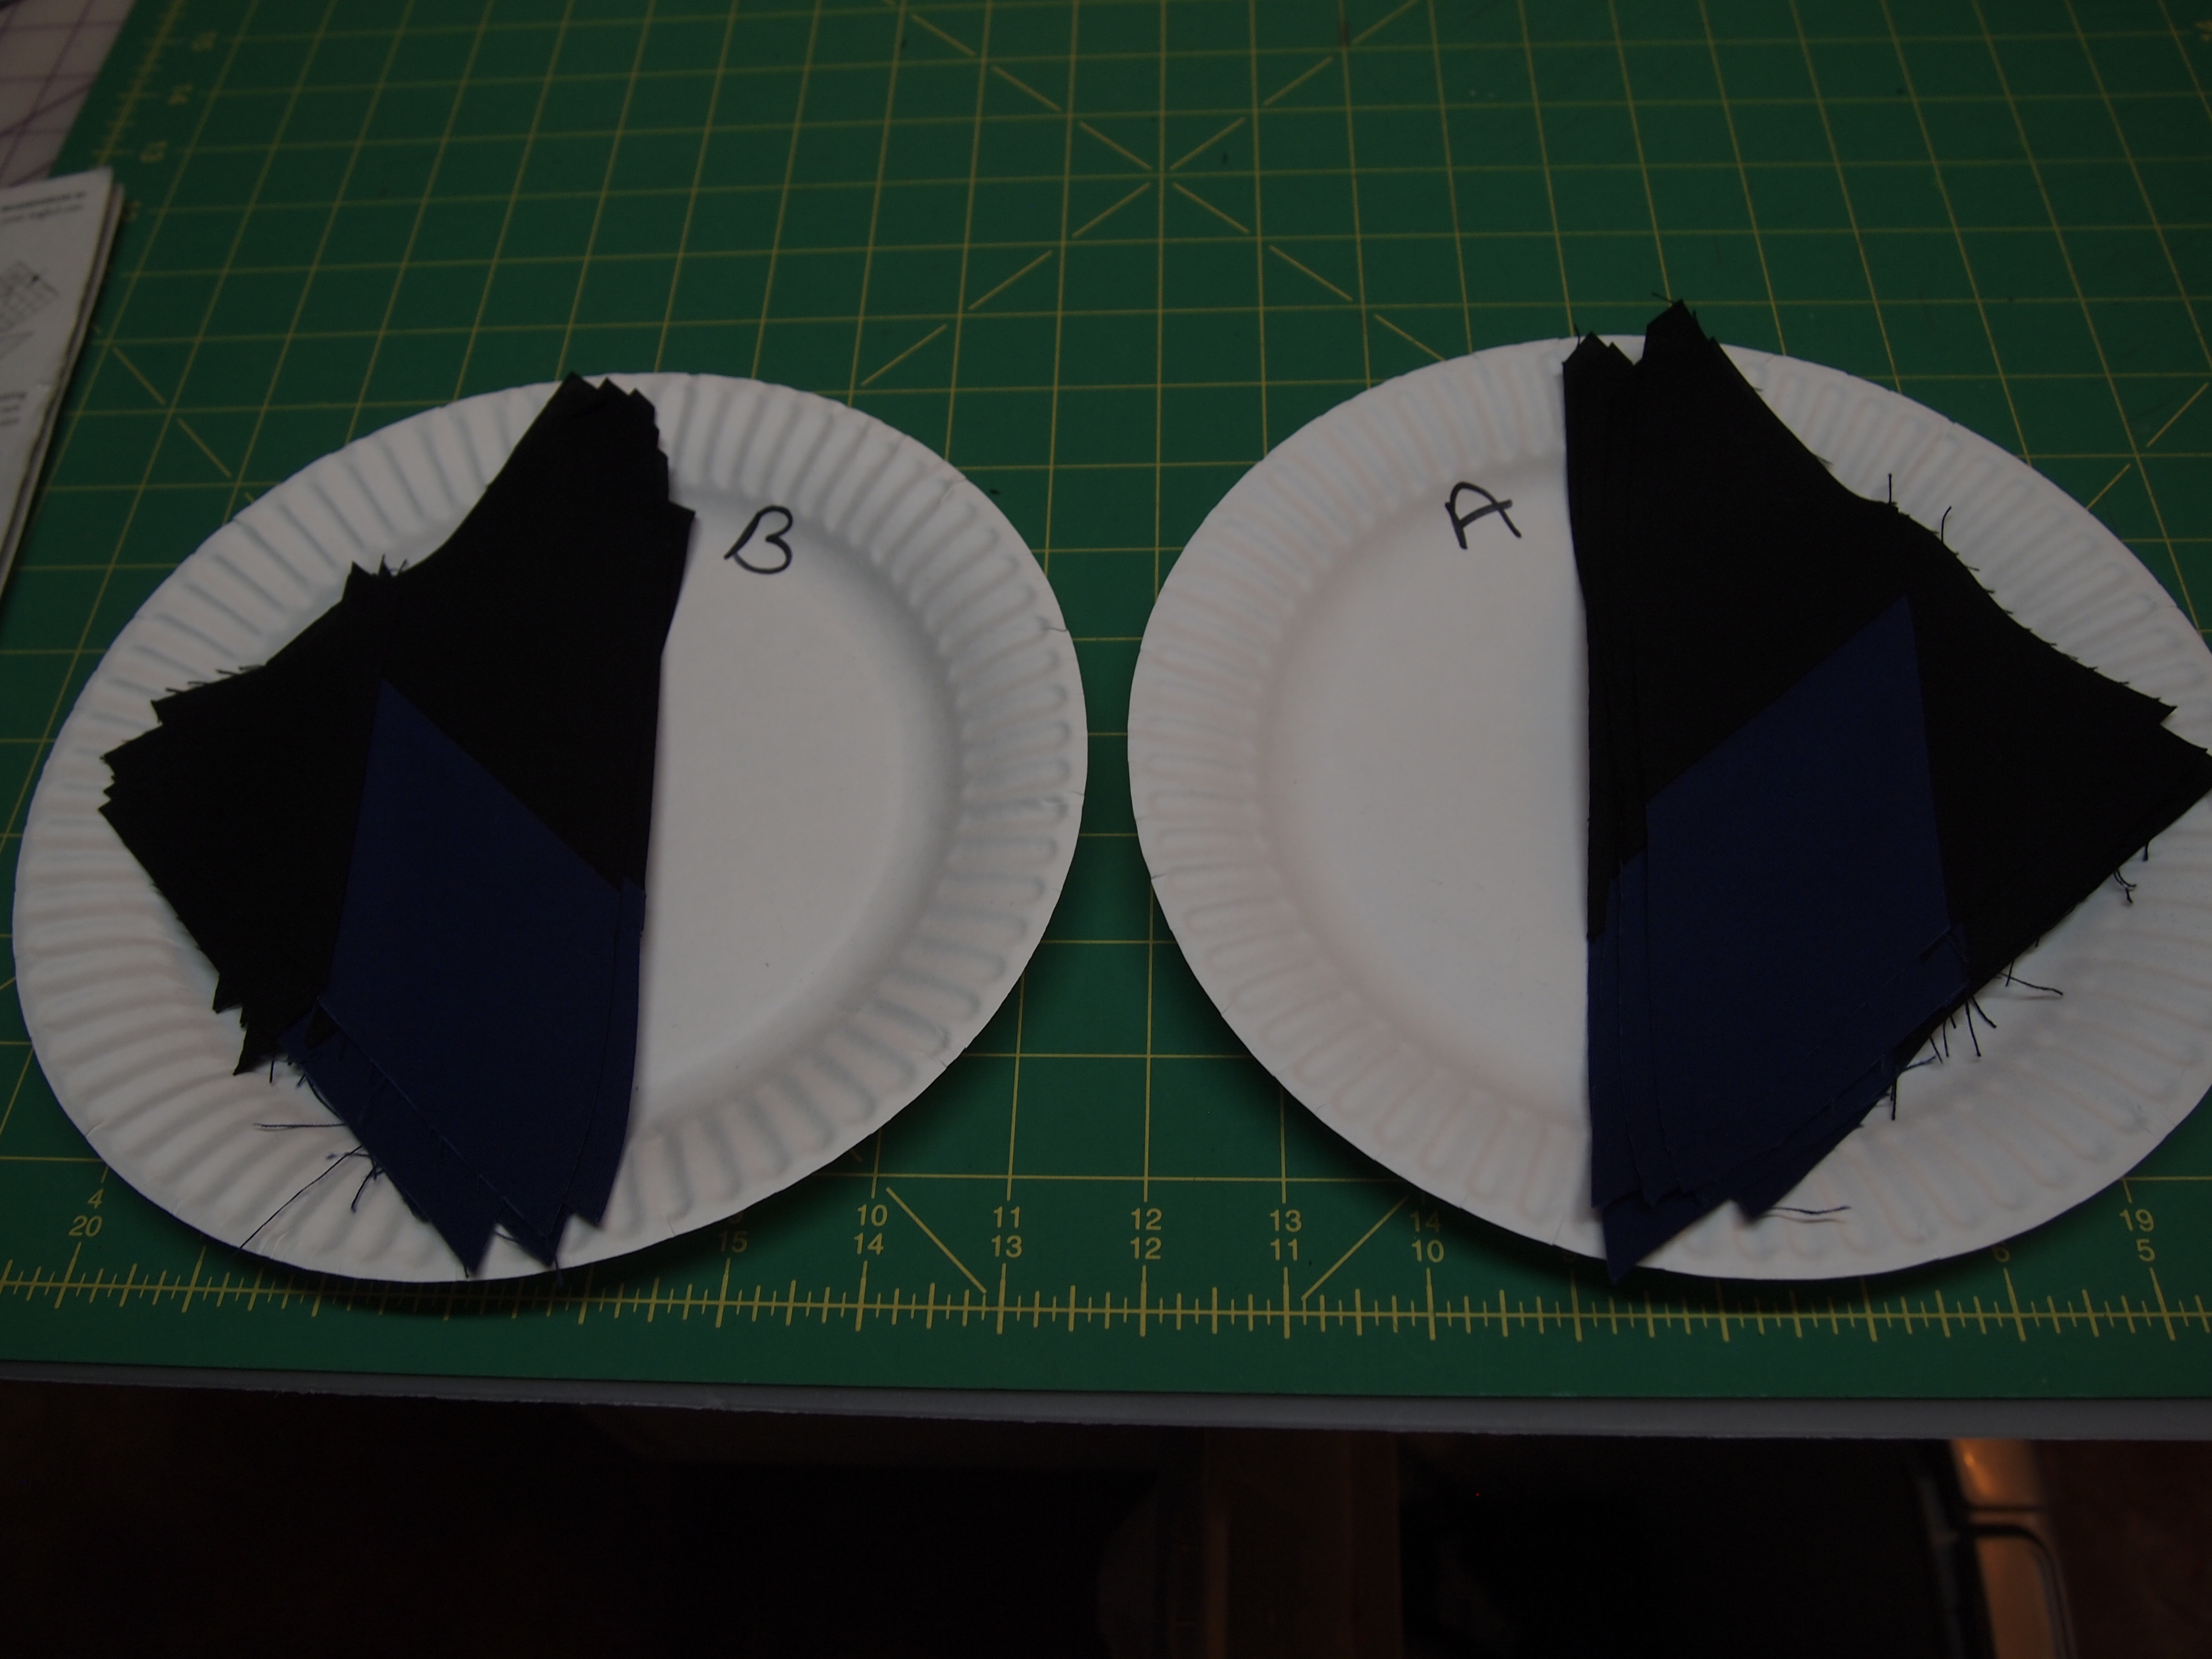
This is a great tip from fellow teacher Jane Godshall:  Take two paper plates, label one A and one B.  Open your units as shown above place all the A units on one plate and B units on the other.  This will save you from confusing them.

OLYMPUS DIGITAL CAMERA

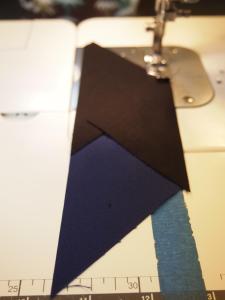
Take plate “A” to the sewing machine, center and stitch one side triangle to each unit.
OLYMPUS DIGITAL CAMERA

Chain stitch all the “A” Units.

OLYMPUS DIGITAL CAMERA

Take the chain to the ironing board.  “A” pieces will be pressed toward the star point fabric so lay the chain with the star point fabric on top.

By chain stitching the “A” units together and pressing, it keeps your brains from falling out trying to keep straight what unit you are working on.

OLYMPUS DIGITAL CAMERA

Now chain stitch the side triangles to the “B” units with the side triangles on top.
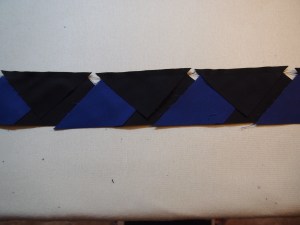
OLYMPUS DIGITAL CAMERA

Press.

OLYMPUS DIGITAL CAMERA

Our “A” and “B” units are ready to trim.

OLYMPUS DIGITAL CAMERA

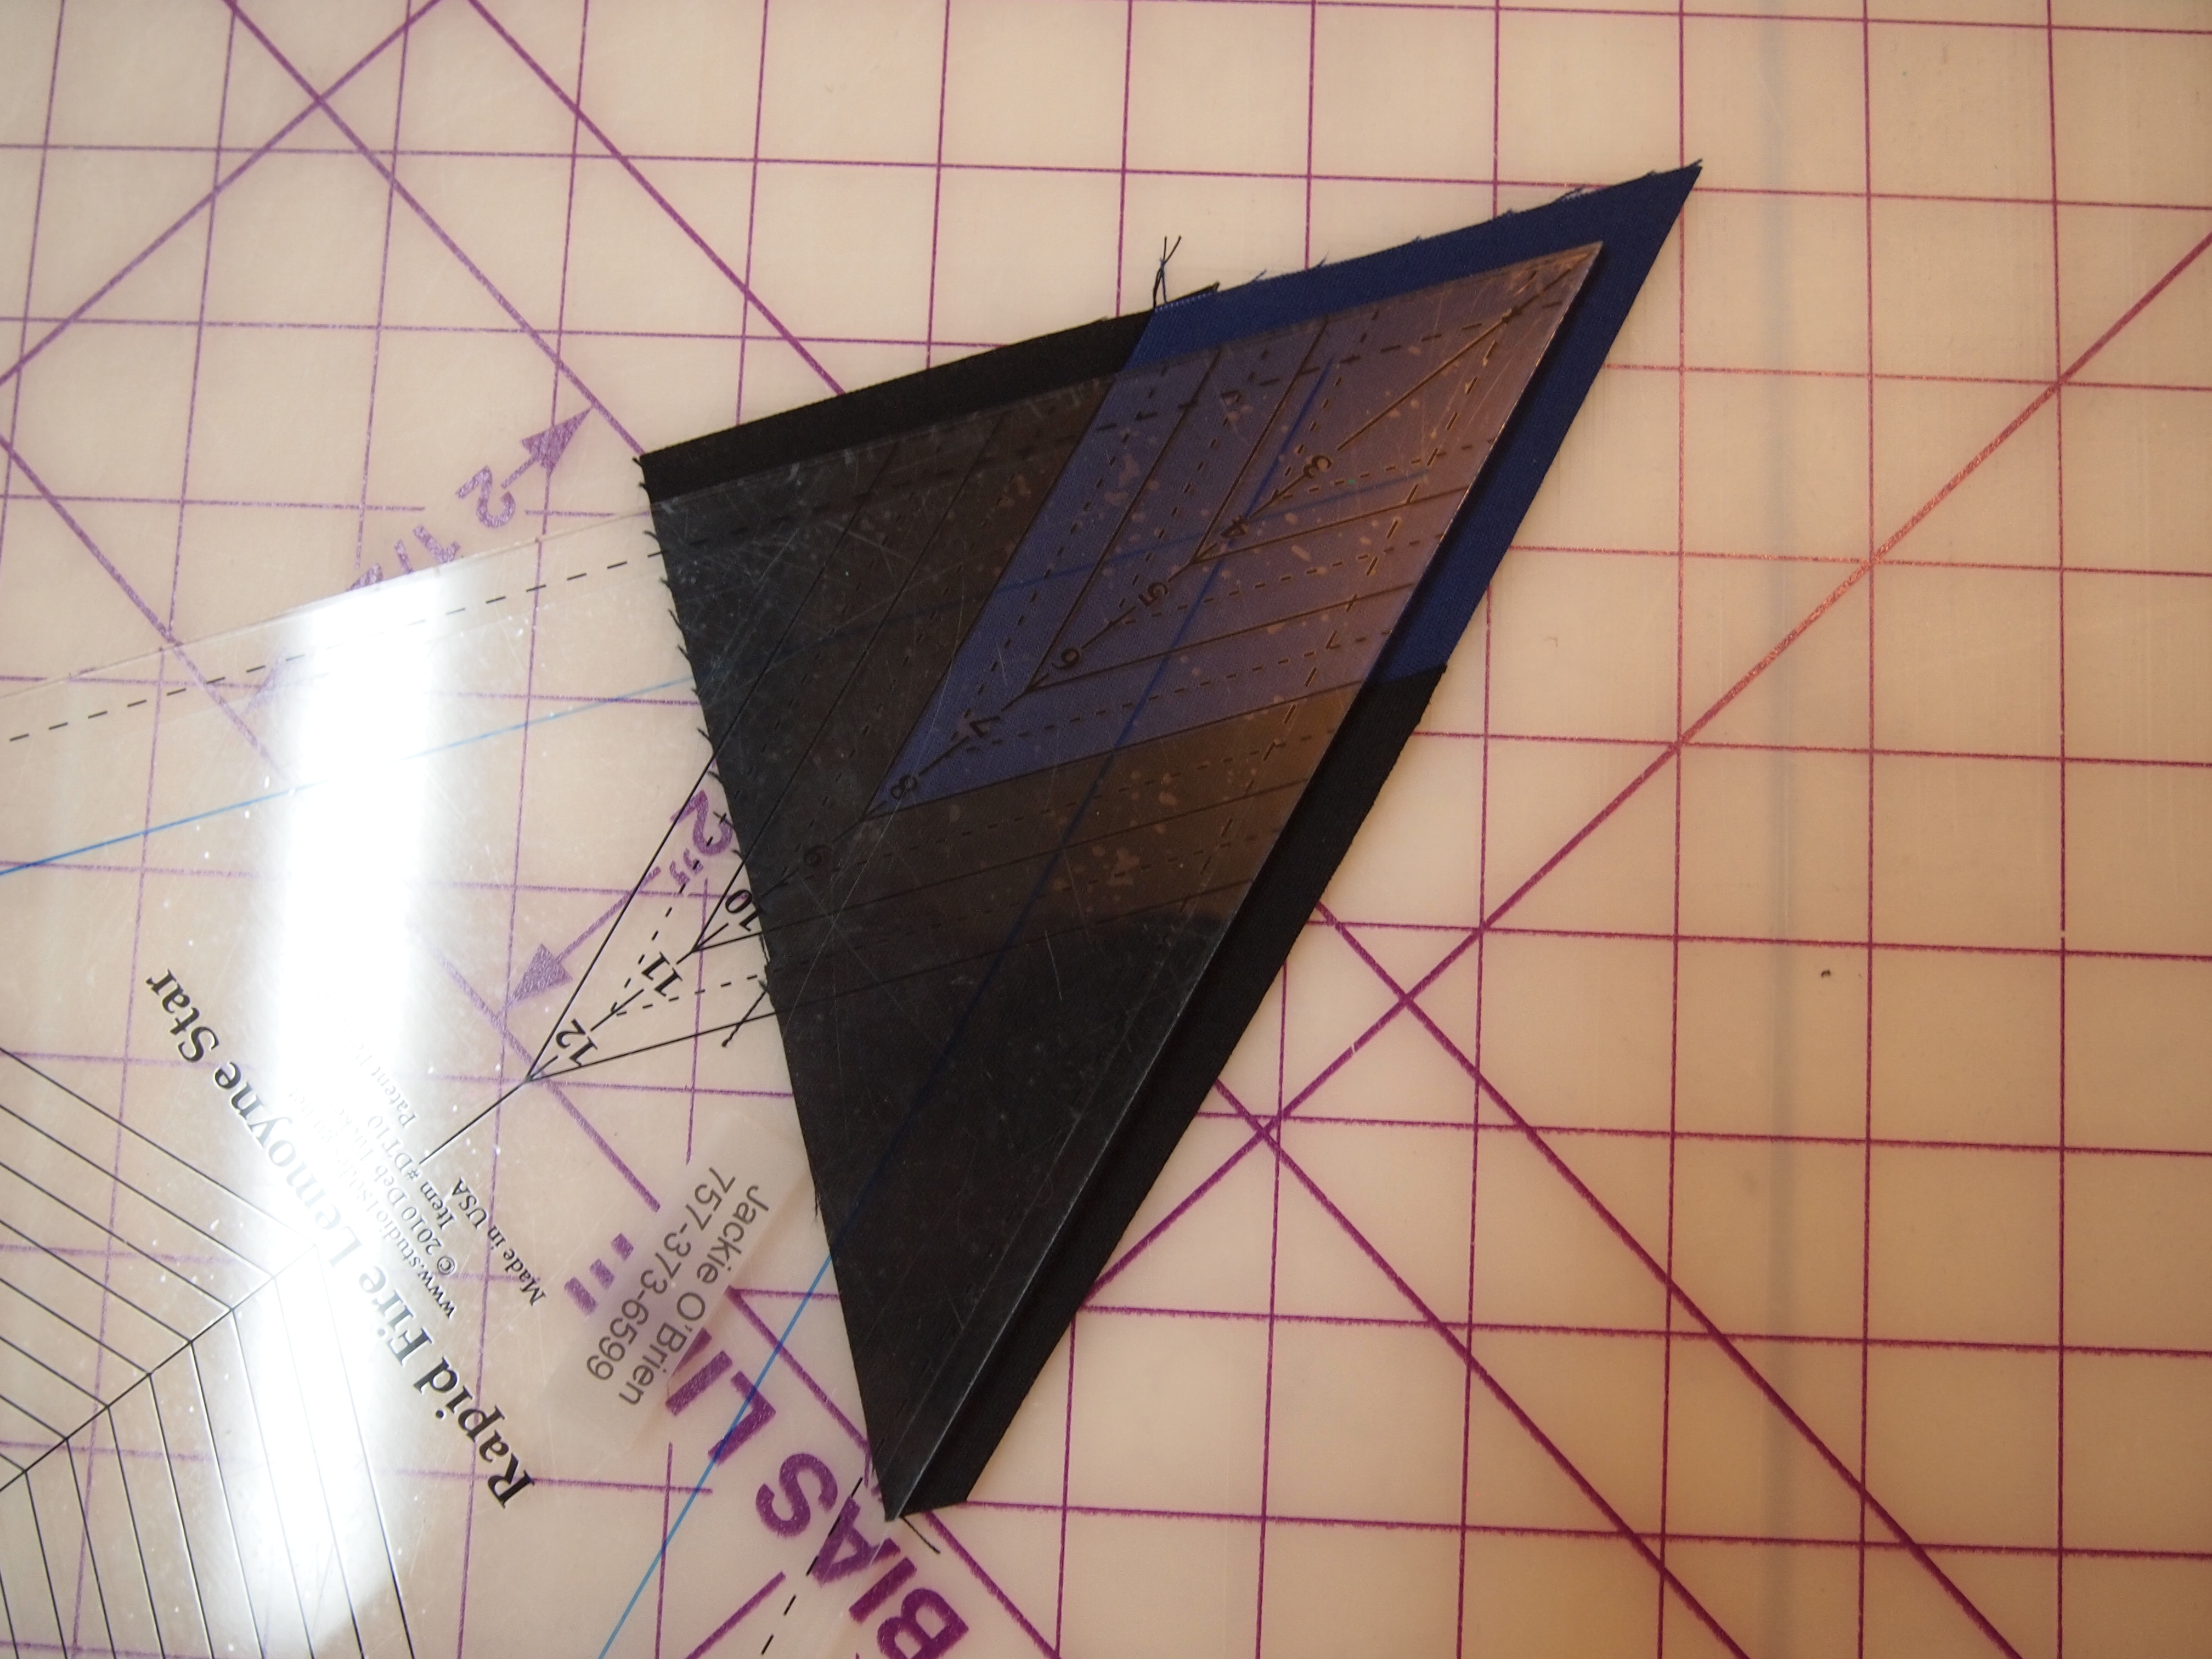
Sorry for the glare, I’m having lighting issues.  I don’t care for most ruler gripping products but I love InvisiGrip.  This product helps keep your ruler from sliding with bunching up your fabric when you are positioning the ruler.  You will definitely want to use some on your Rapid Fire Lemoyne Star Ruler.  As you put pressure on the ruler toward the point it will keep it from moving.

Sorry my fabric is so dark.  Place your unit with the star point facing towards 2 o’clock, this helps with trimming both sides without repositioning the unit.  I am making 8″ Lemoyne stars so I align the desired block size lines with the sewn seam lines.  You really want a sharp blade in your rotary cutter for this trim!

OLYMPUS DIGITAL CAMERA

Trim all your units before sewing the “A” and “B” together.

OLYMPUS DIGITAL CAMERA

OLYMPUS DIGITAL CAMERA

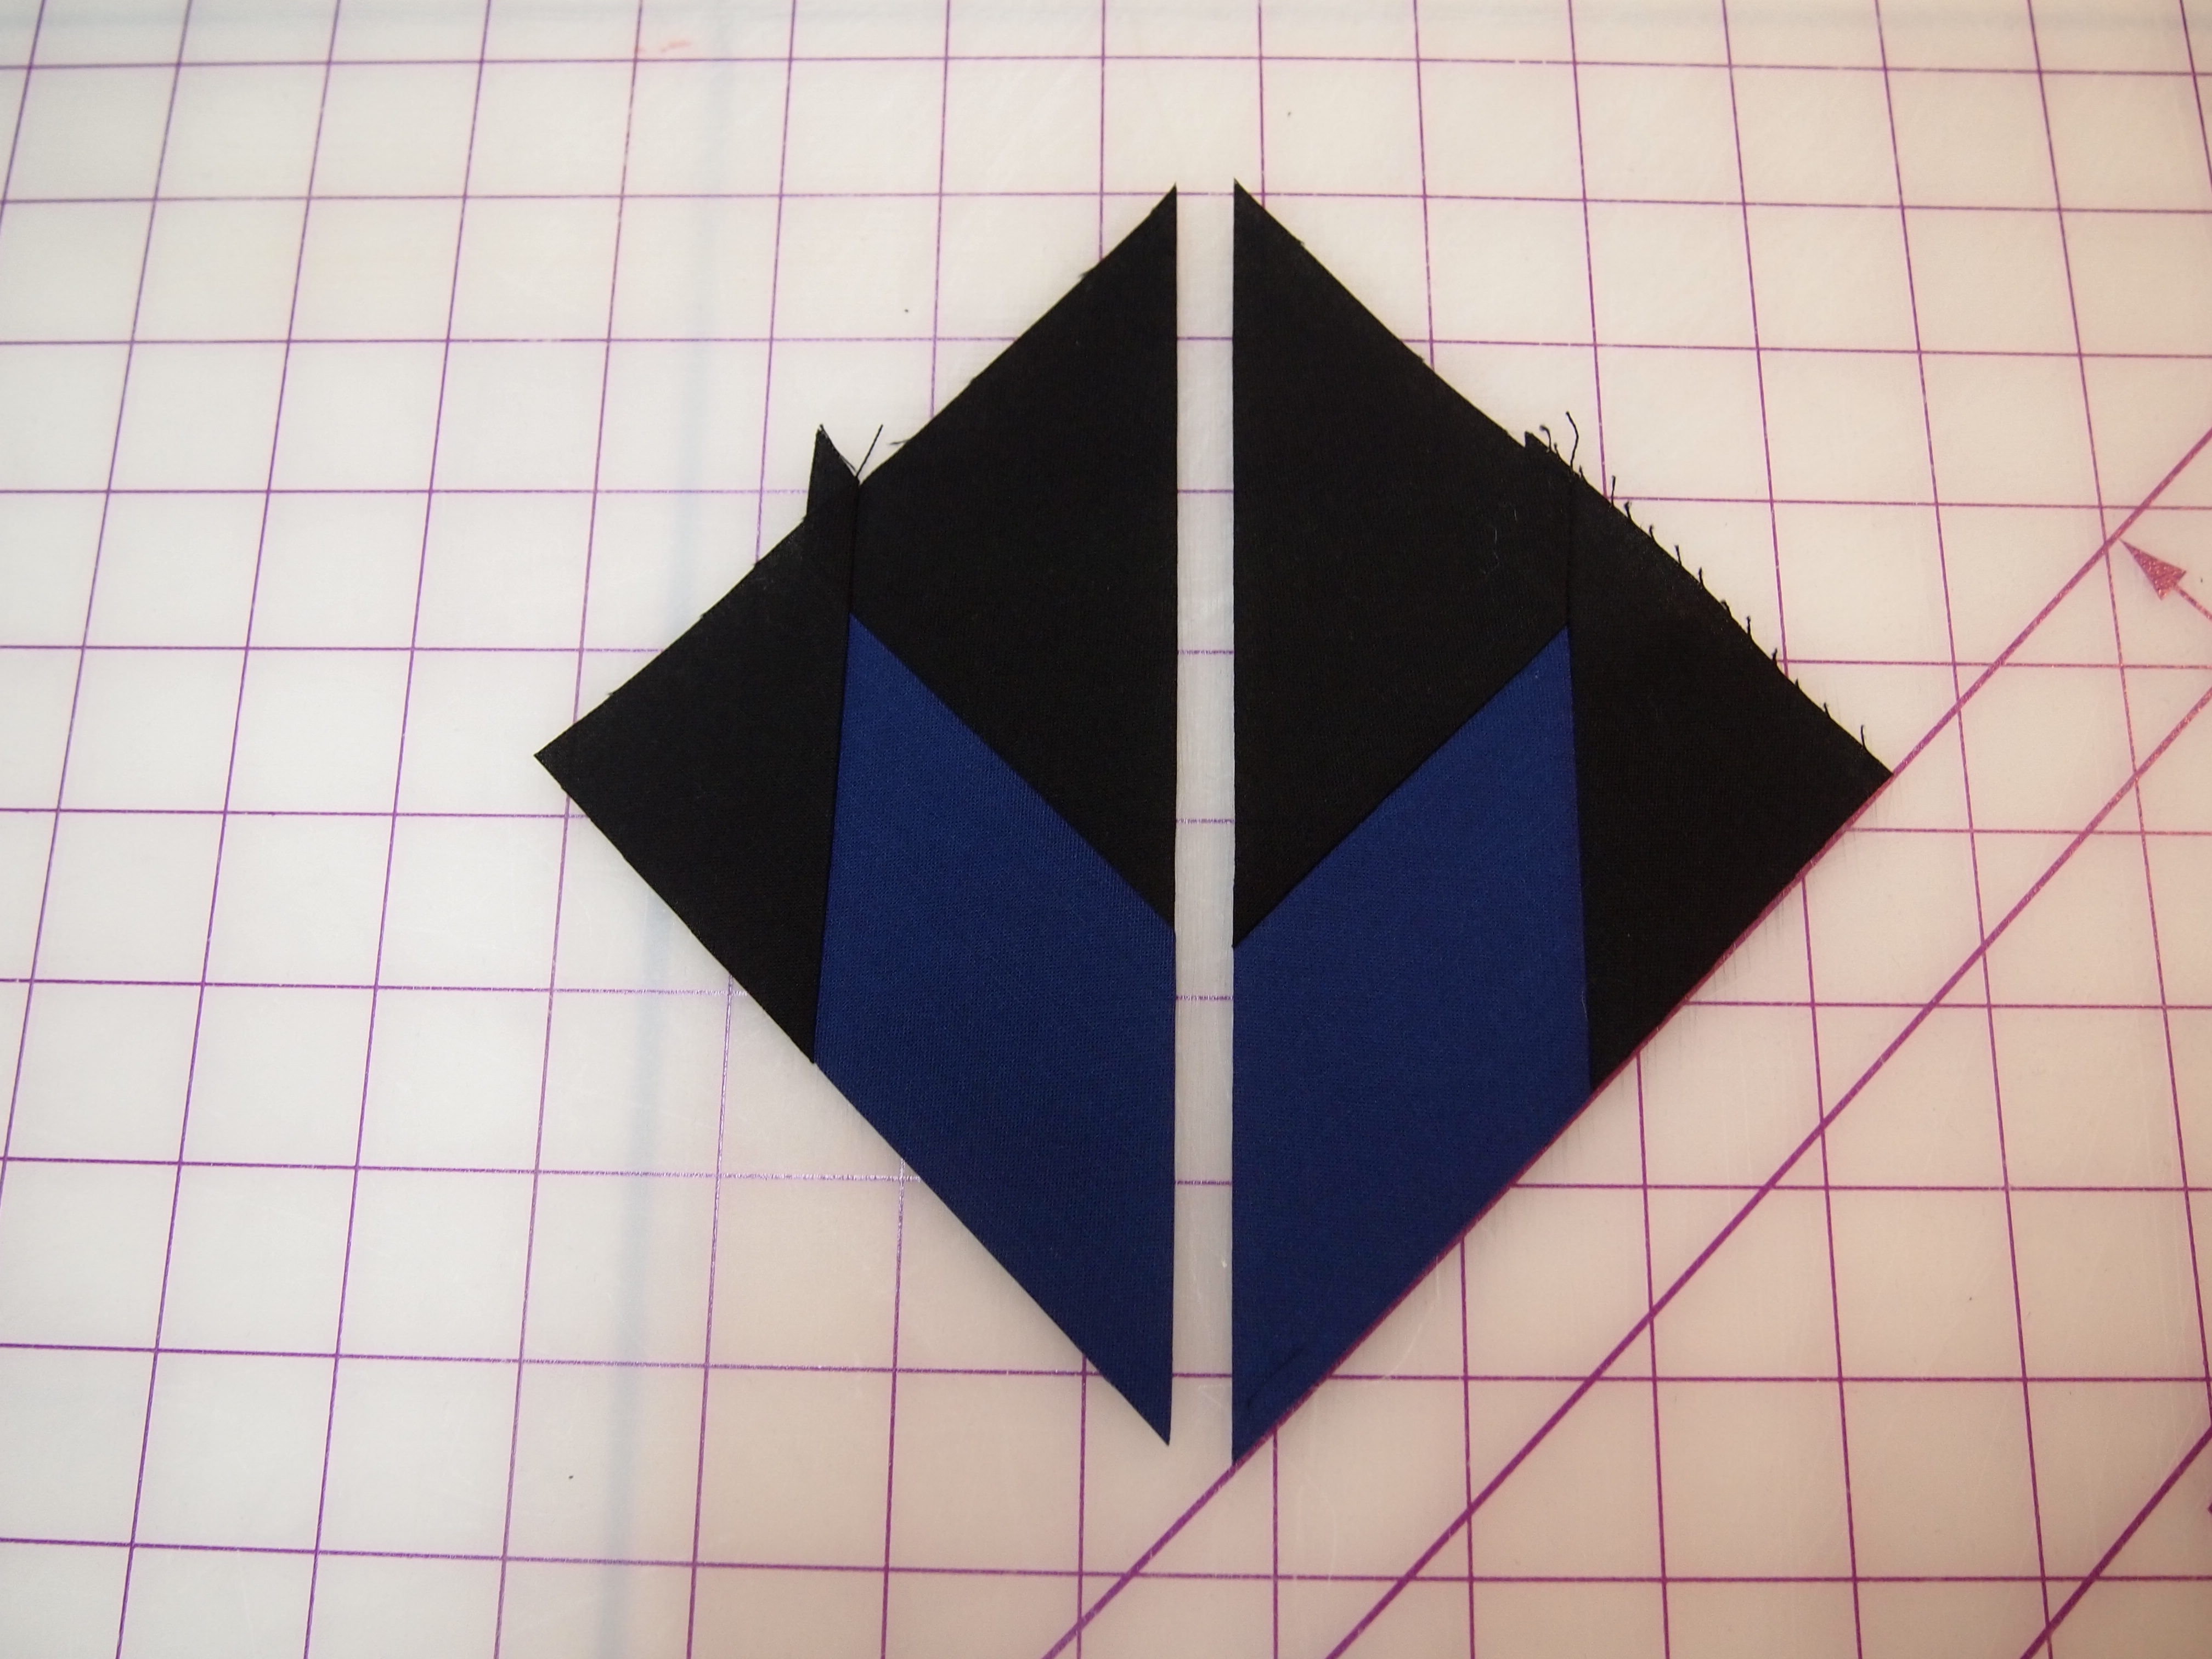
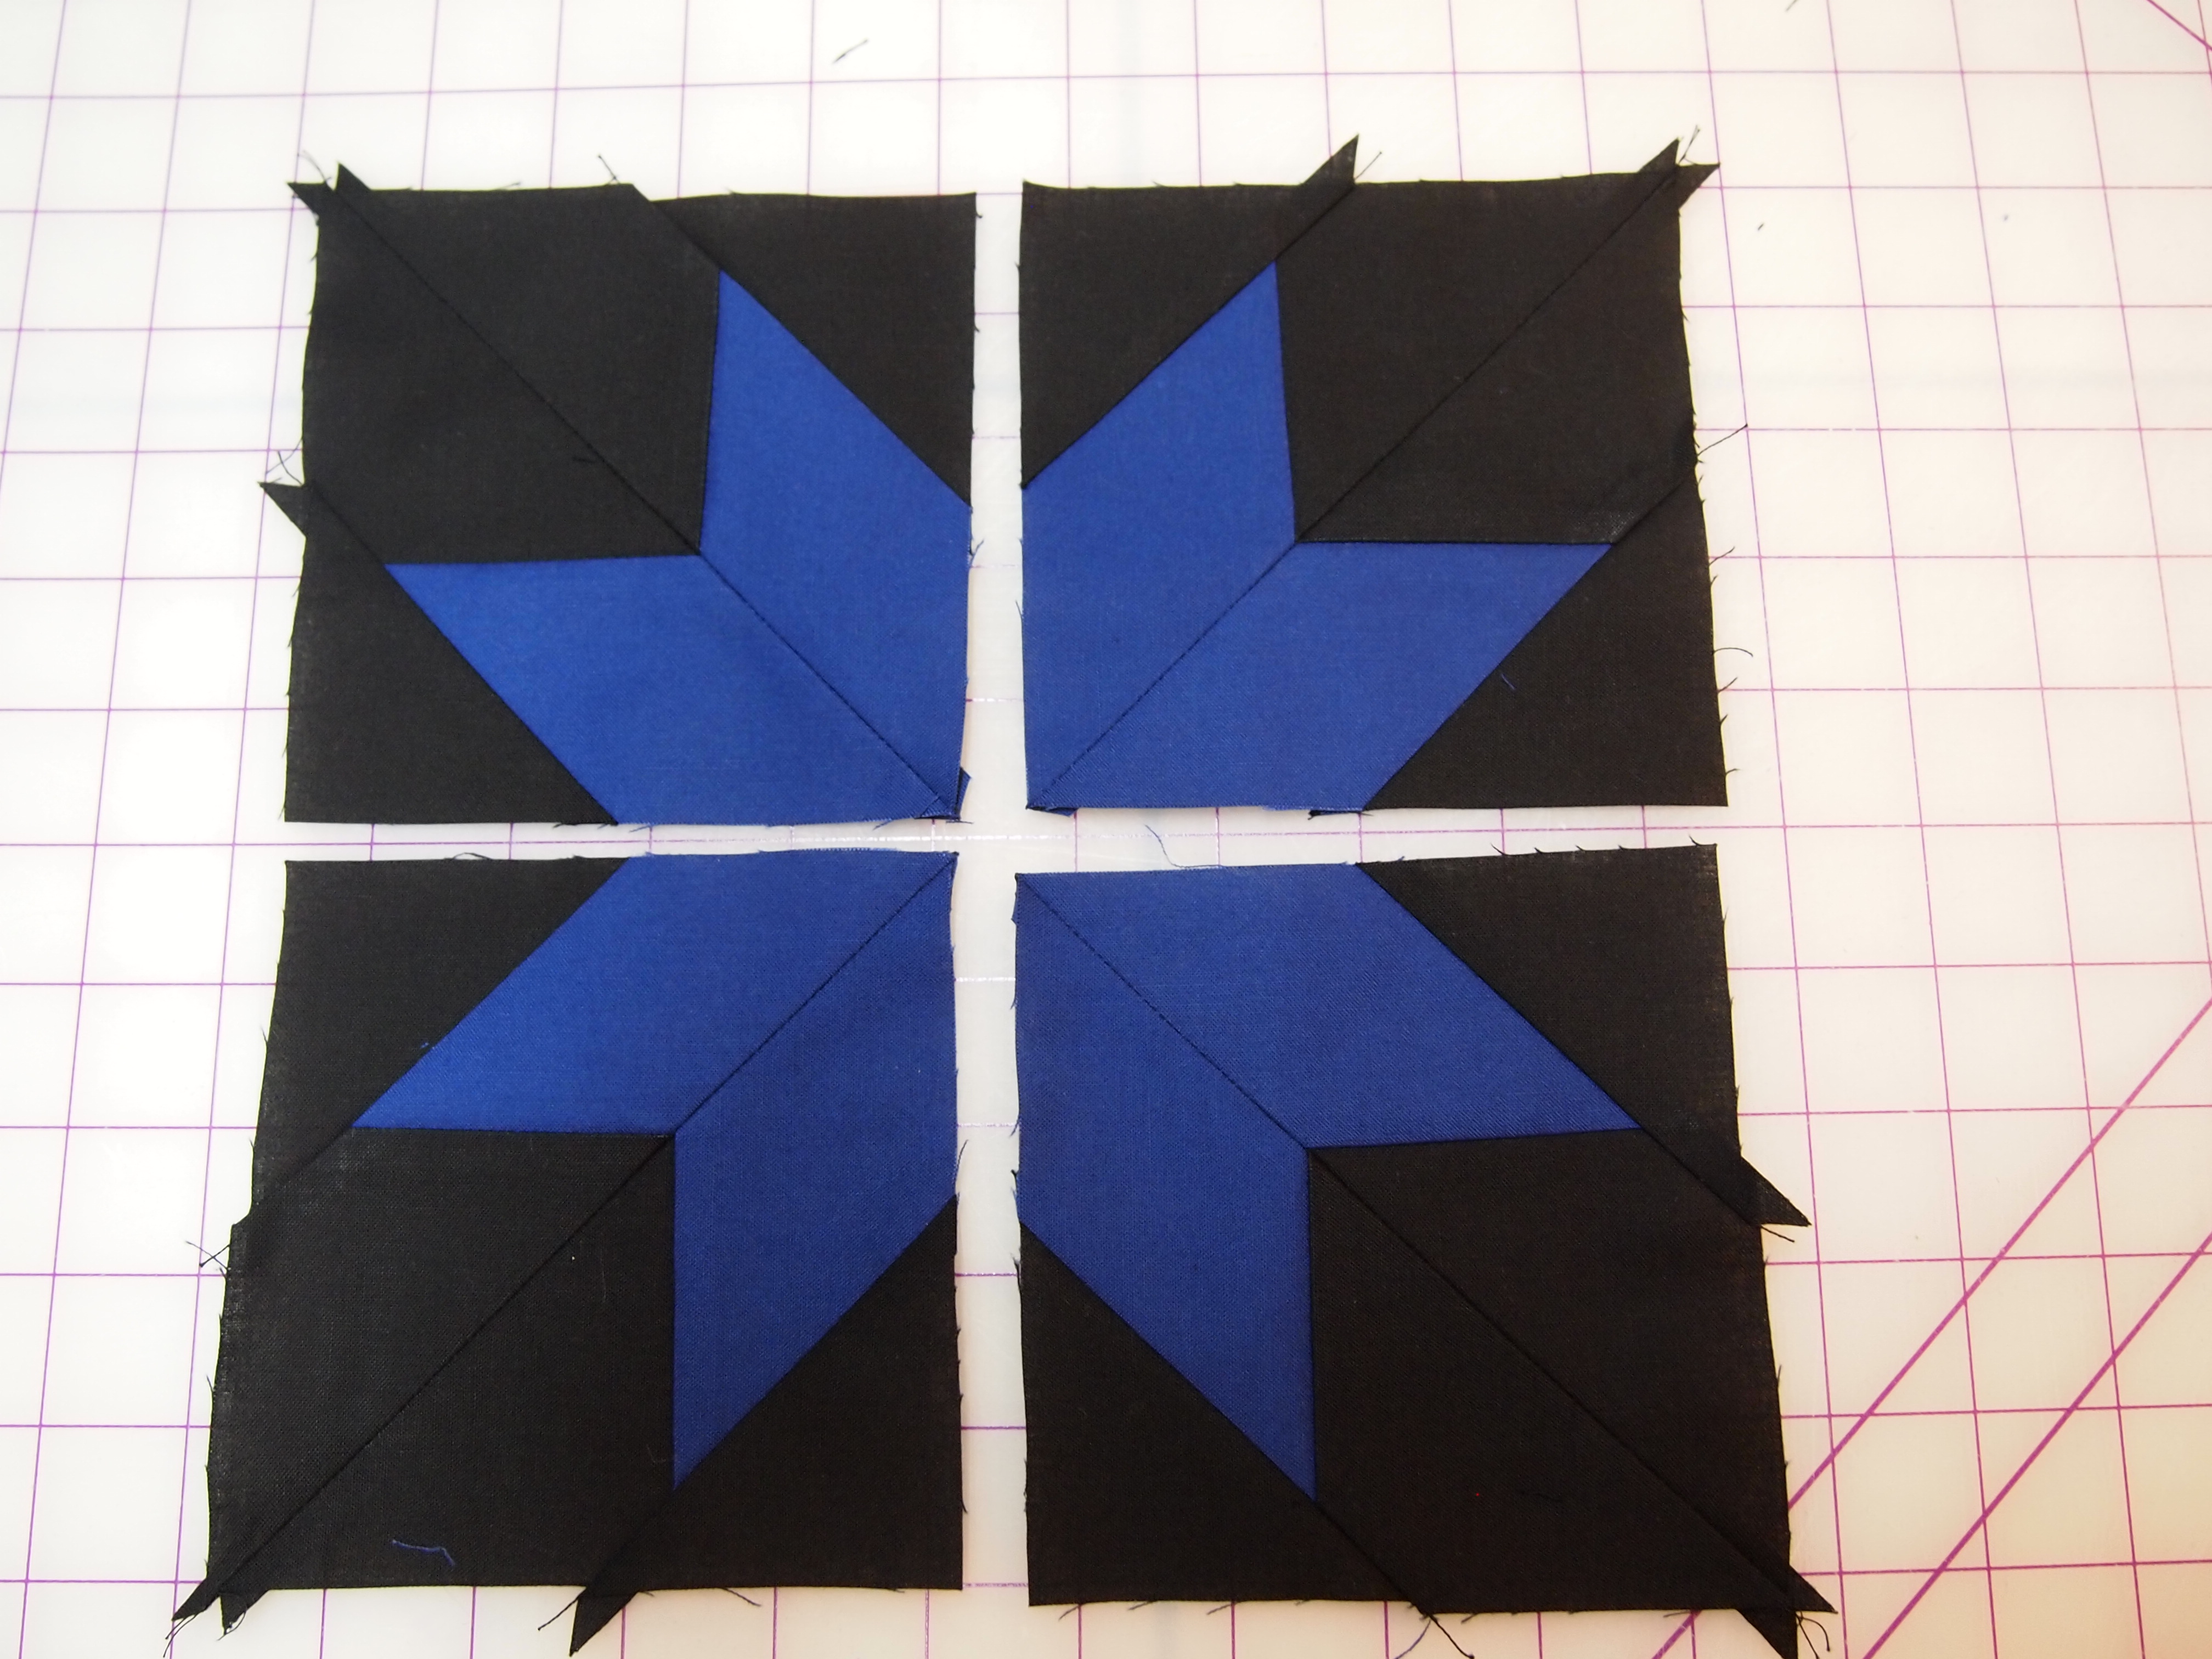
Once the “A” and “B” units are sewn together, trim the dog ears from the star points. Sew 4 units to make a block.

OLYMPUS DIGITAL CAMERA

Square up using your Tucker Trimmer 3.

OLYMPUS DIGITAL CAMERA

I think it came out pretty good.  it measures 52″x60″.
OLYMPUS DIGITAL CAMERA

My last Quilt Class in Virginia

Today I taught my last quilt class in Virginia. In about 6 weeks I will be moving to Upstate NY, Utica to be exact, my hometown. Today we finished up our Doubly Charmed class where we first made the Corner Beam quilt.

Doubly Charmed

We saved our side triangles to use in our V Block quilt.

OLYMPUS DIGITAL CAMERA

I want to thank Nancy, Denise, Carol and Karen for a great last class!
image image  imageimage

image image

Jennifer Griffin will be taking over the Studio 180 Design Tool Demo classes in Virginia Beach.  She is happily holding up the Diamonds Rects tool.  In her first demo class she will teach you to make a simple Storm at Sea using the Studio 180 Design Diamond Rects and Squared2 rulers.  I know she will do a great job!  Look out NY, get ready for One Block Wonders and Deb Tucker’s spectacular rulers and quilt patterns.

image

Green with Envy????

No, just green with batting.  Quilters Dream Green that is.  I completed “Twister” a Studio 180 Design pattern for a class I was teaching several months ago, but I just now found time to quilt it.  I love this pattern, it is a companion pattern for the Tucker Trimmer I.  There is nothing like a pieced border to give your quilt eye catching appeal.  I used a focus fabric by Alison Glass called Lucky Penney in the border.  It was my jumping off point for the colors I chose.

Twister and Dream Green

This was my opportunity to try Dream Green earth friendly batting, made from 100% recycled plastic bottles.  Recycled plastic bottles are cut into chips, washed, melted and extruded into fine polyester fibers.  Processed using the close-the-loop recycling chain, it is pro-environment in both its raw material source and its manufacturing process.  Each pound of Dream Green Batting keeps 10 plastic bottles out of our landfills.

OLYMPUS DIGITAL CAMERA

Dream Green loaded easily and stitched beautifully.  There is no scrim or resins, yet you can stitch up to 12″ apart.  I machine washed it in warm water and dried it on a medium heat.  I thought it behaved very much like cotton batting.  There was very little shrinkage.  I was pleased with Dream Green and will use it again.

OLYMPUS DIGITAL CAMERA

Twister is a great skill building pattern.

I Am No Longer a Wool Virgin

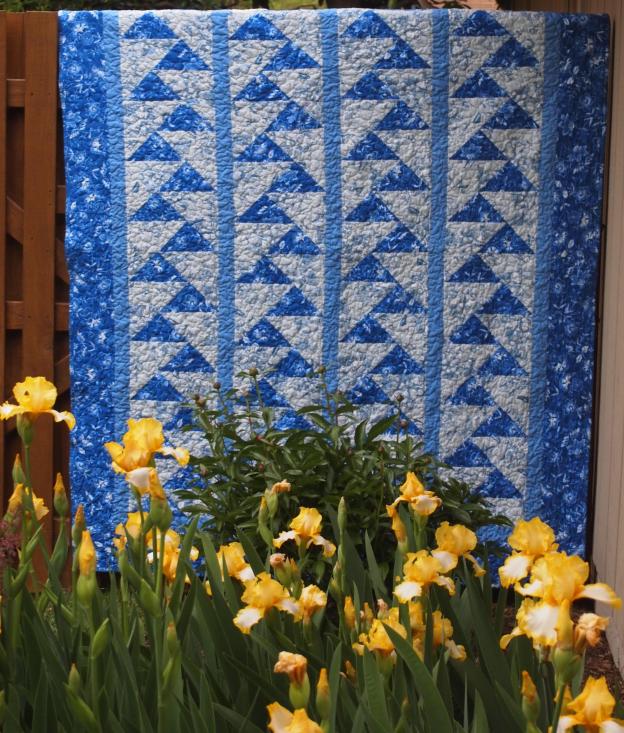
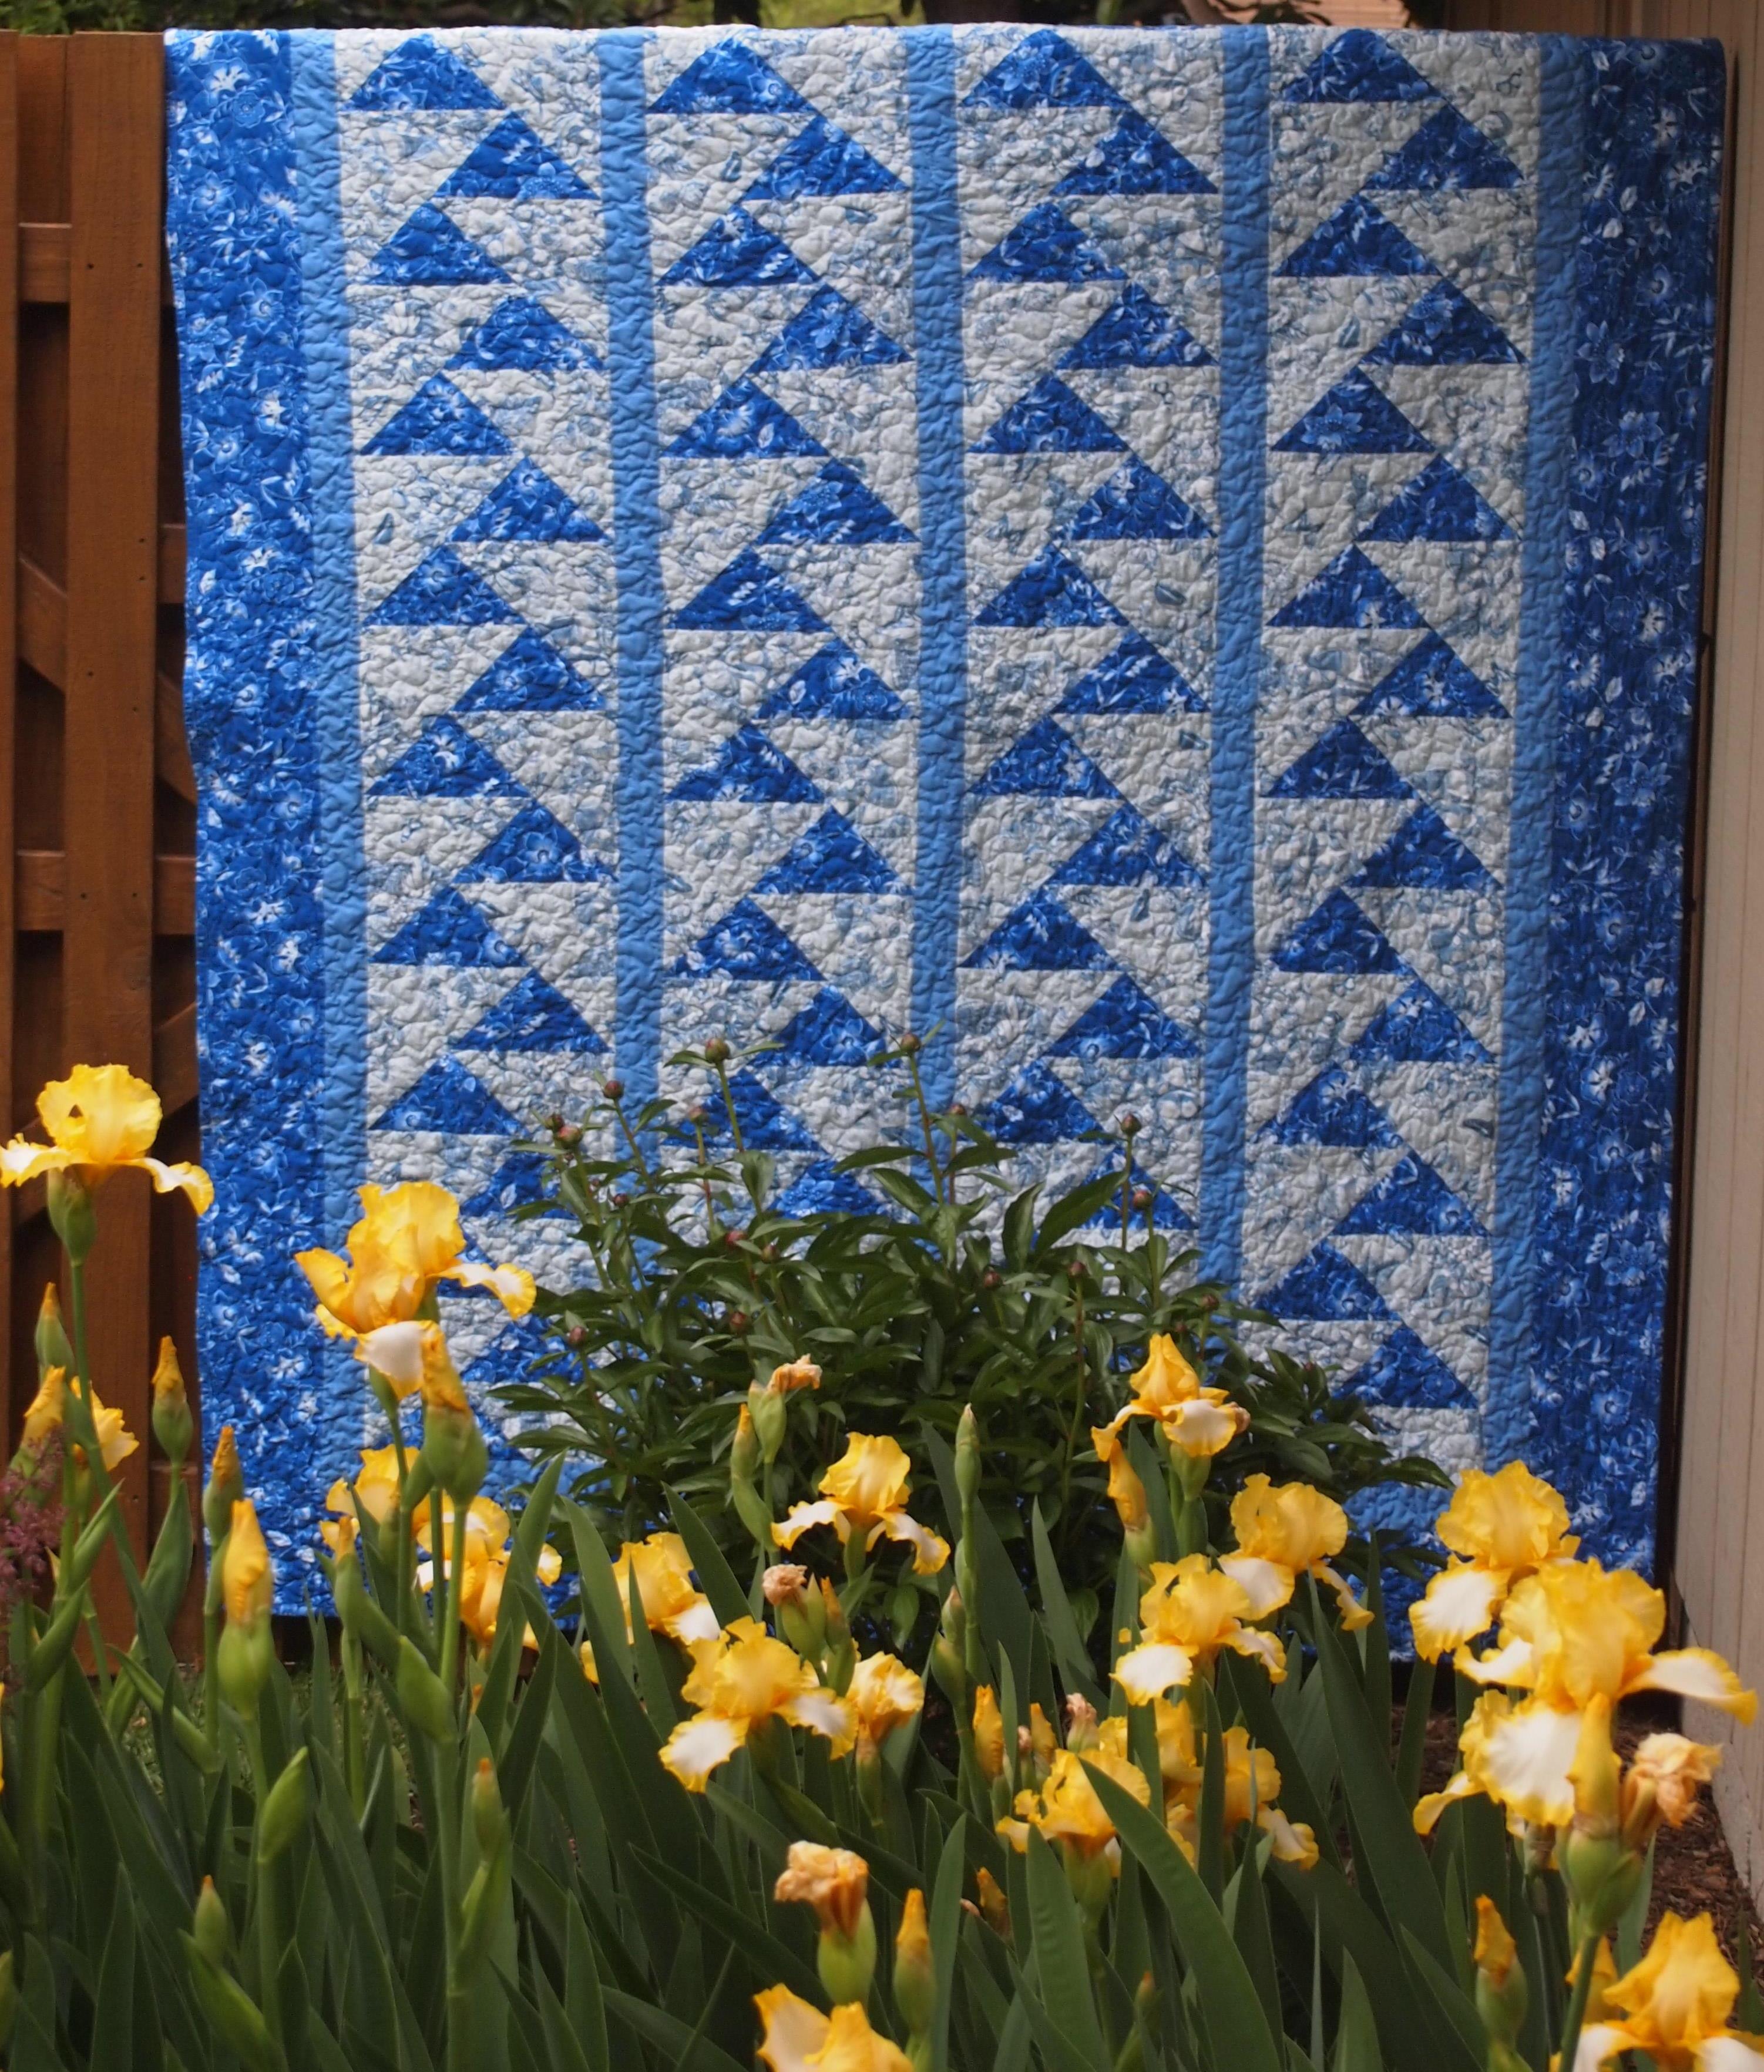
If you have ever wanted to make migrating geese, I am here to tell you they are not difficult. You do not need a special tool. This process is a Precision Technique so be sure to use your best skills when cutting, marking, stitching & pressing.  Deb Tucker has a Technique sheet that shows you a quick easy and fun way to make these migrating geese in 7 different sizes.
Blue Geese

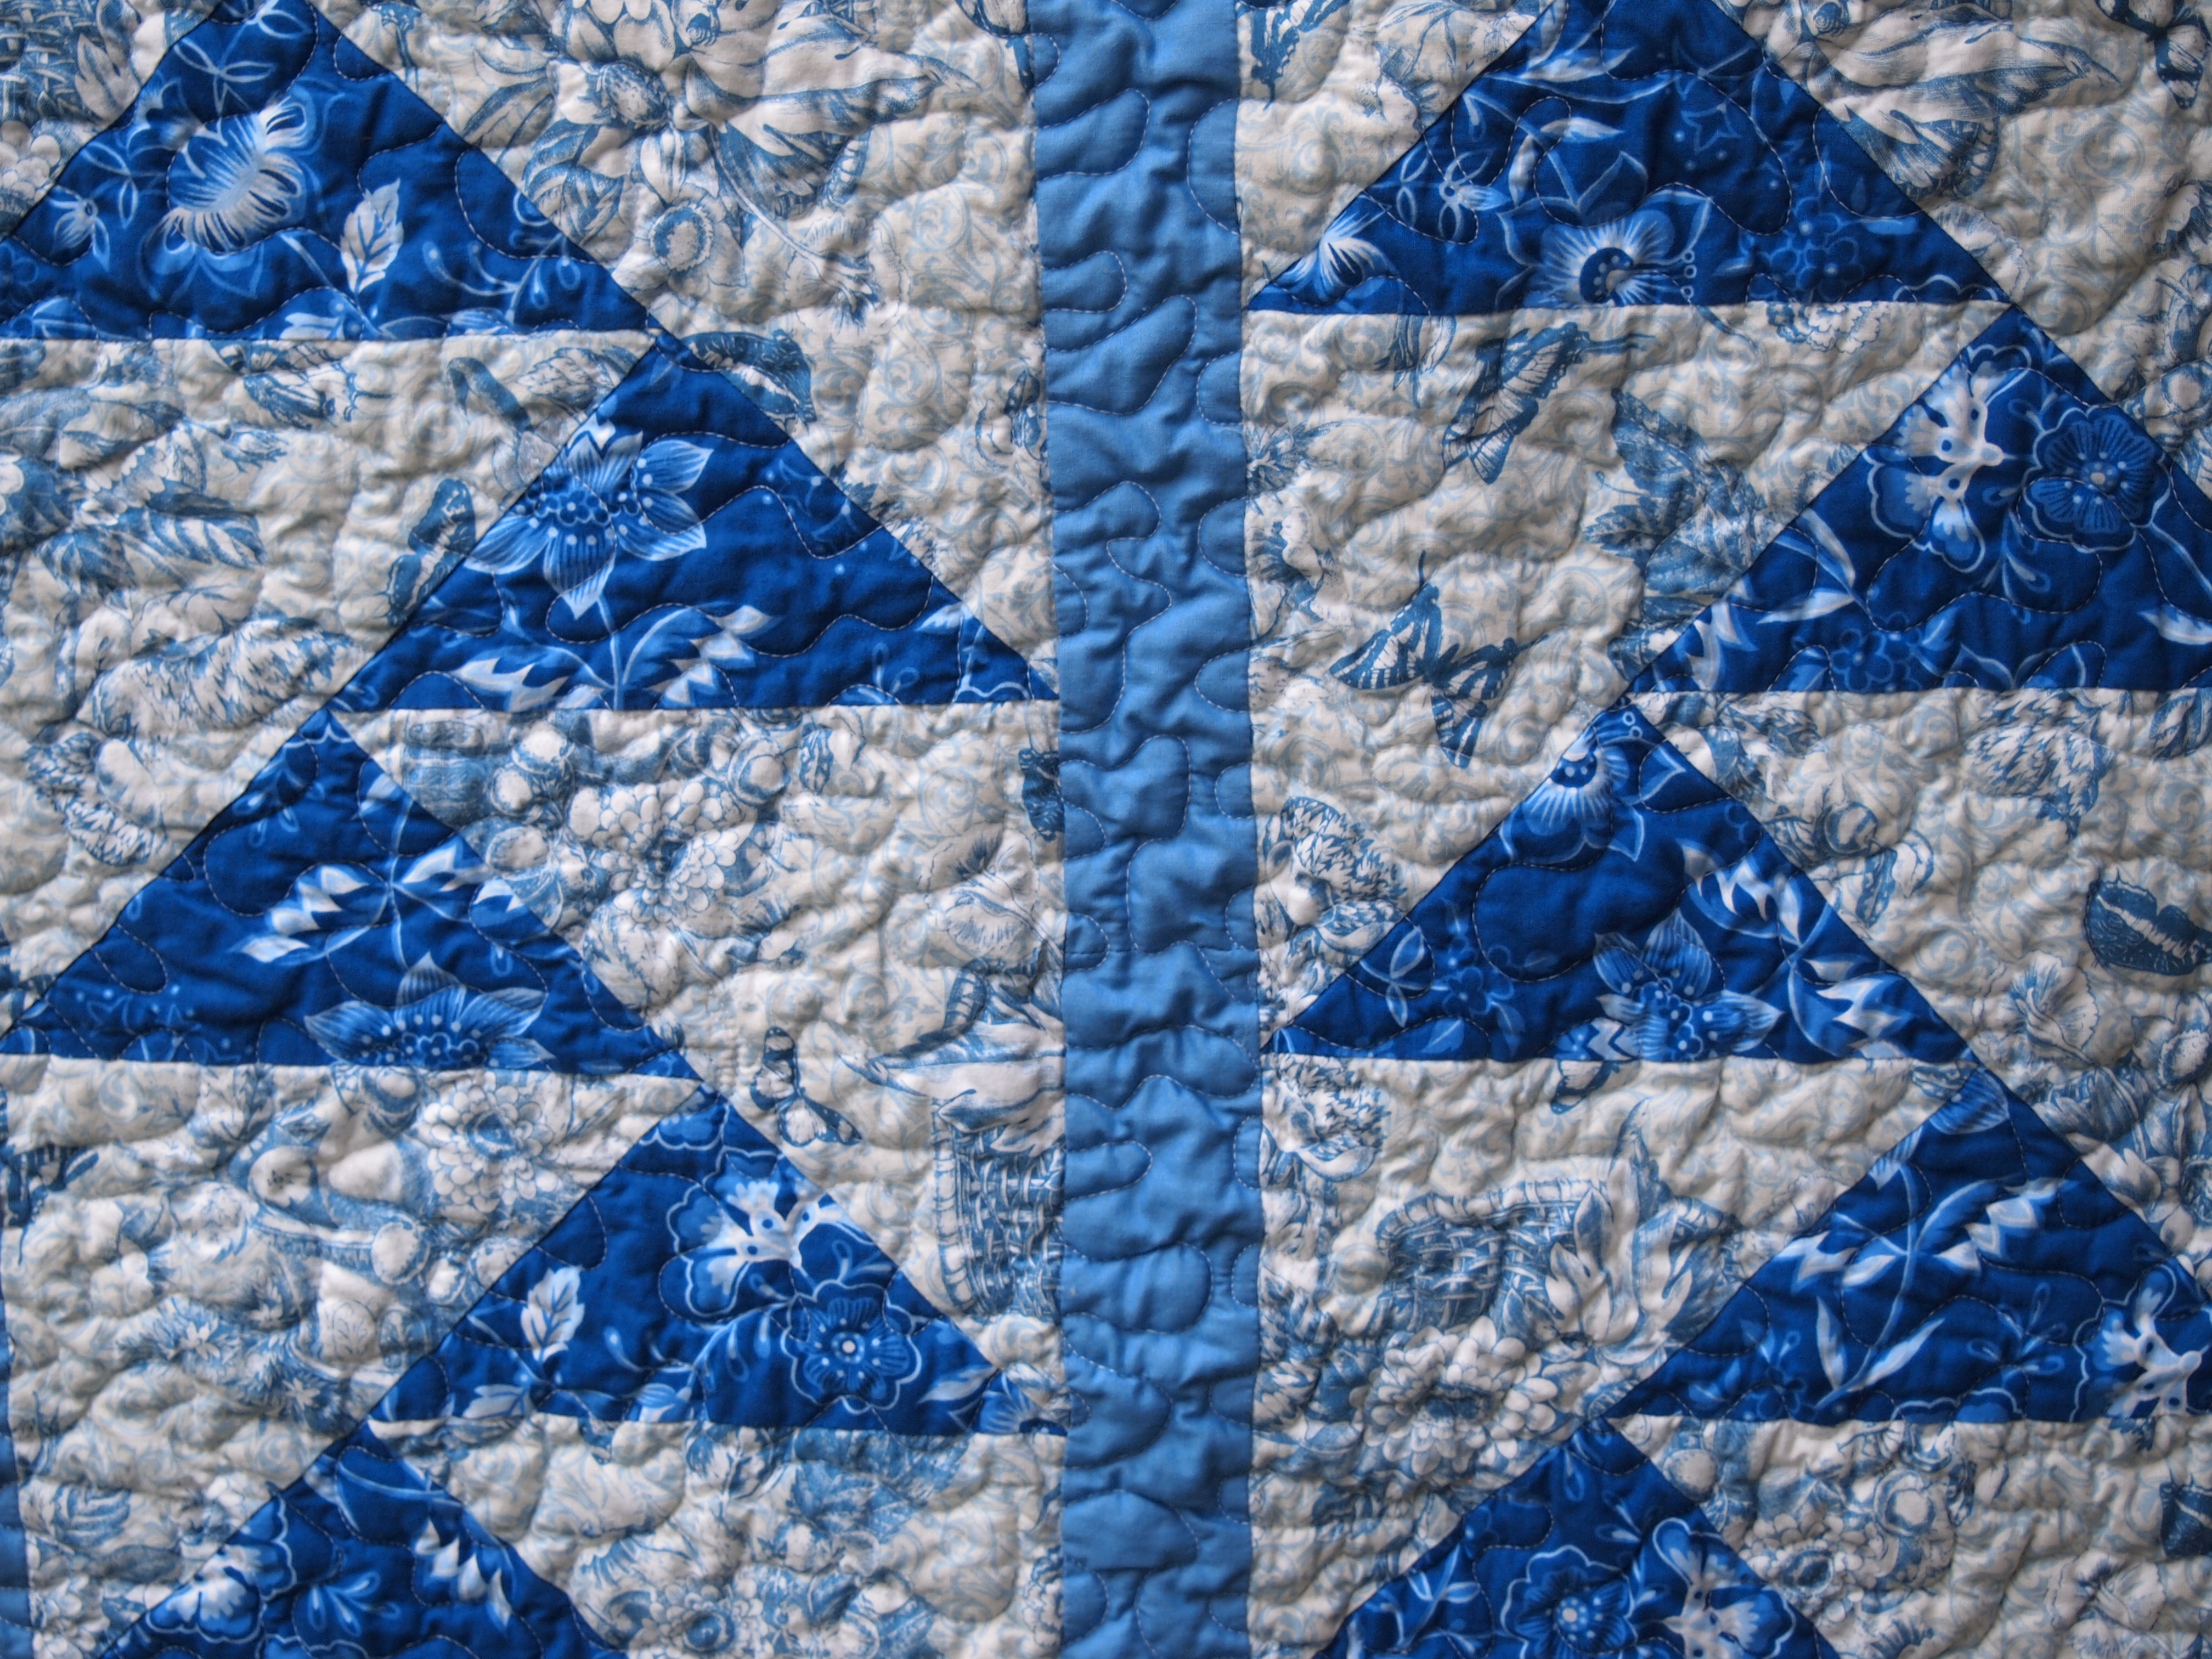
I decided to try (for the first time) Dream Wool by Quilters Dream Batting.  Dream wool is made in the USA, from a blend of fine domestic and Merino wool.  Dream Wool contains no scrim or resins, it is carded, crosslapped and thermally boned for uniformity and strength.  It was like quilting on air

Blue Goose

Quilts made with Dream Wool may be machine washed and dried with little shrinkage using cool water and a cool dryer.  Of course I did not follow these instructions because that is how I roll.  I did wash it in cold water, but I dried it normally, as I would any quilt.  It did shrink, but not dis-similar to a quilt with 100% cotton batting.

OLYMPUS DIGITAL CAMERA

I love this process for making Migrating Geese and encourage you to try it.


Victorious

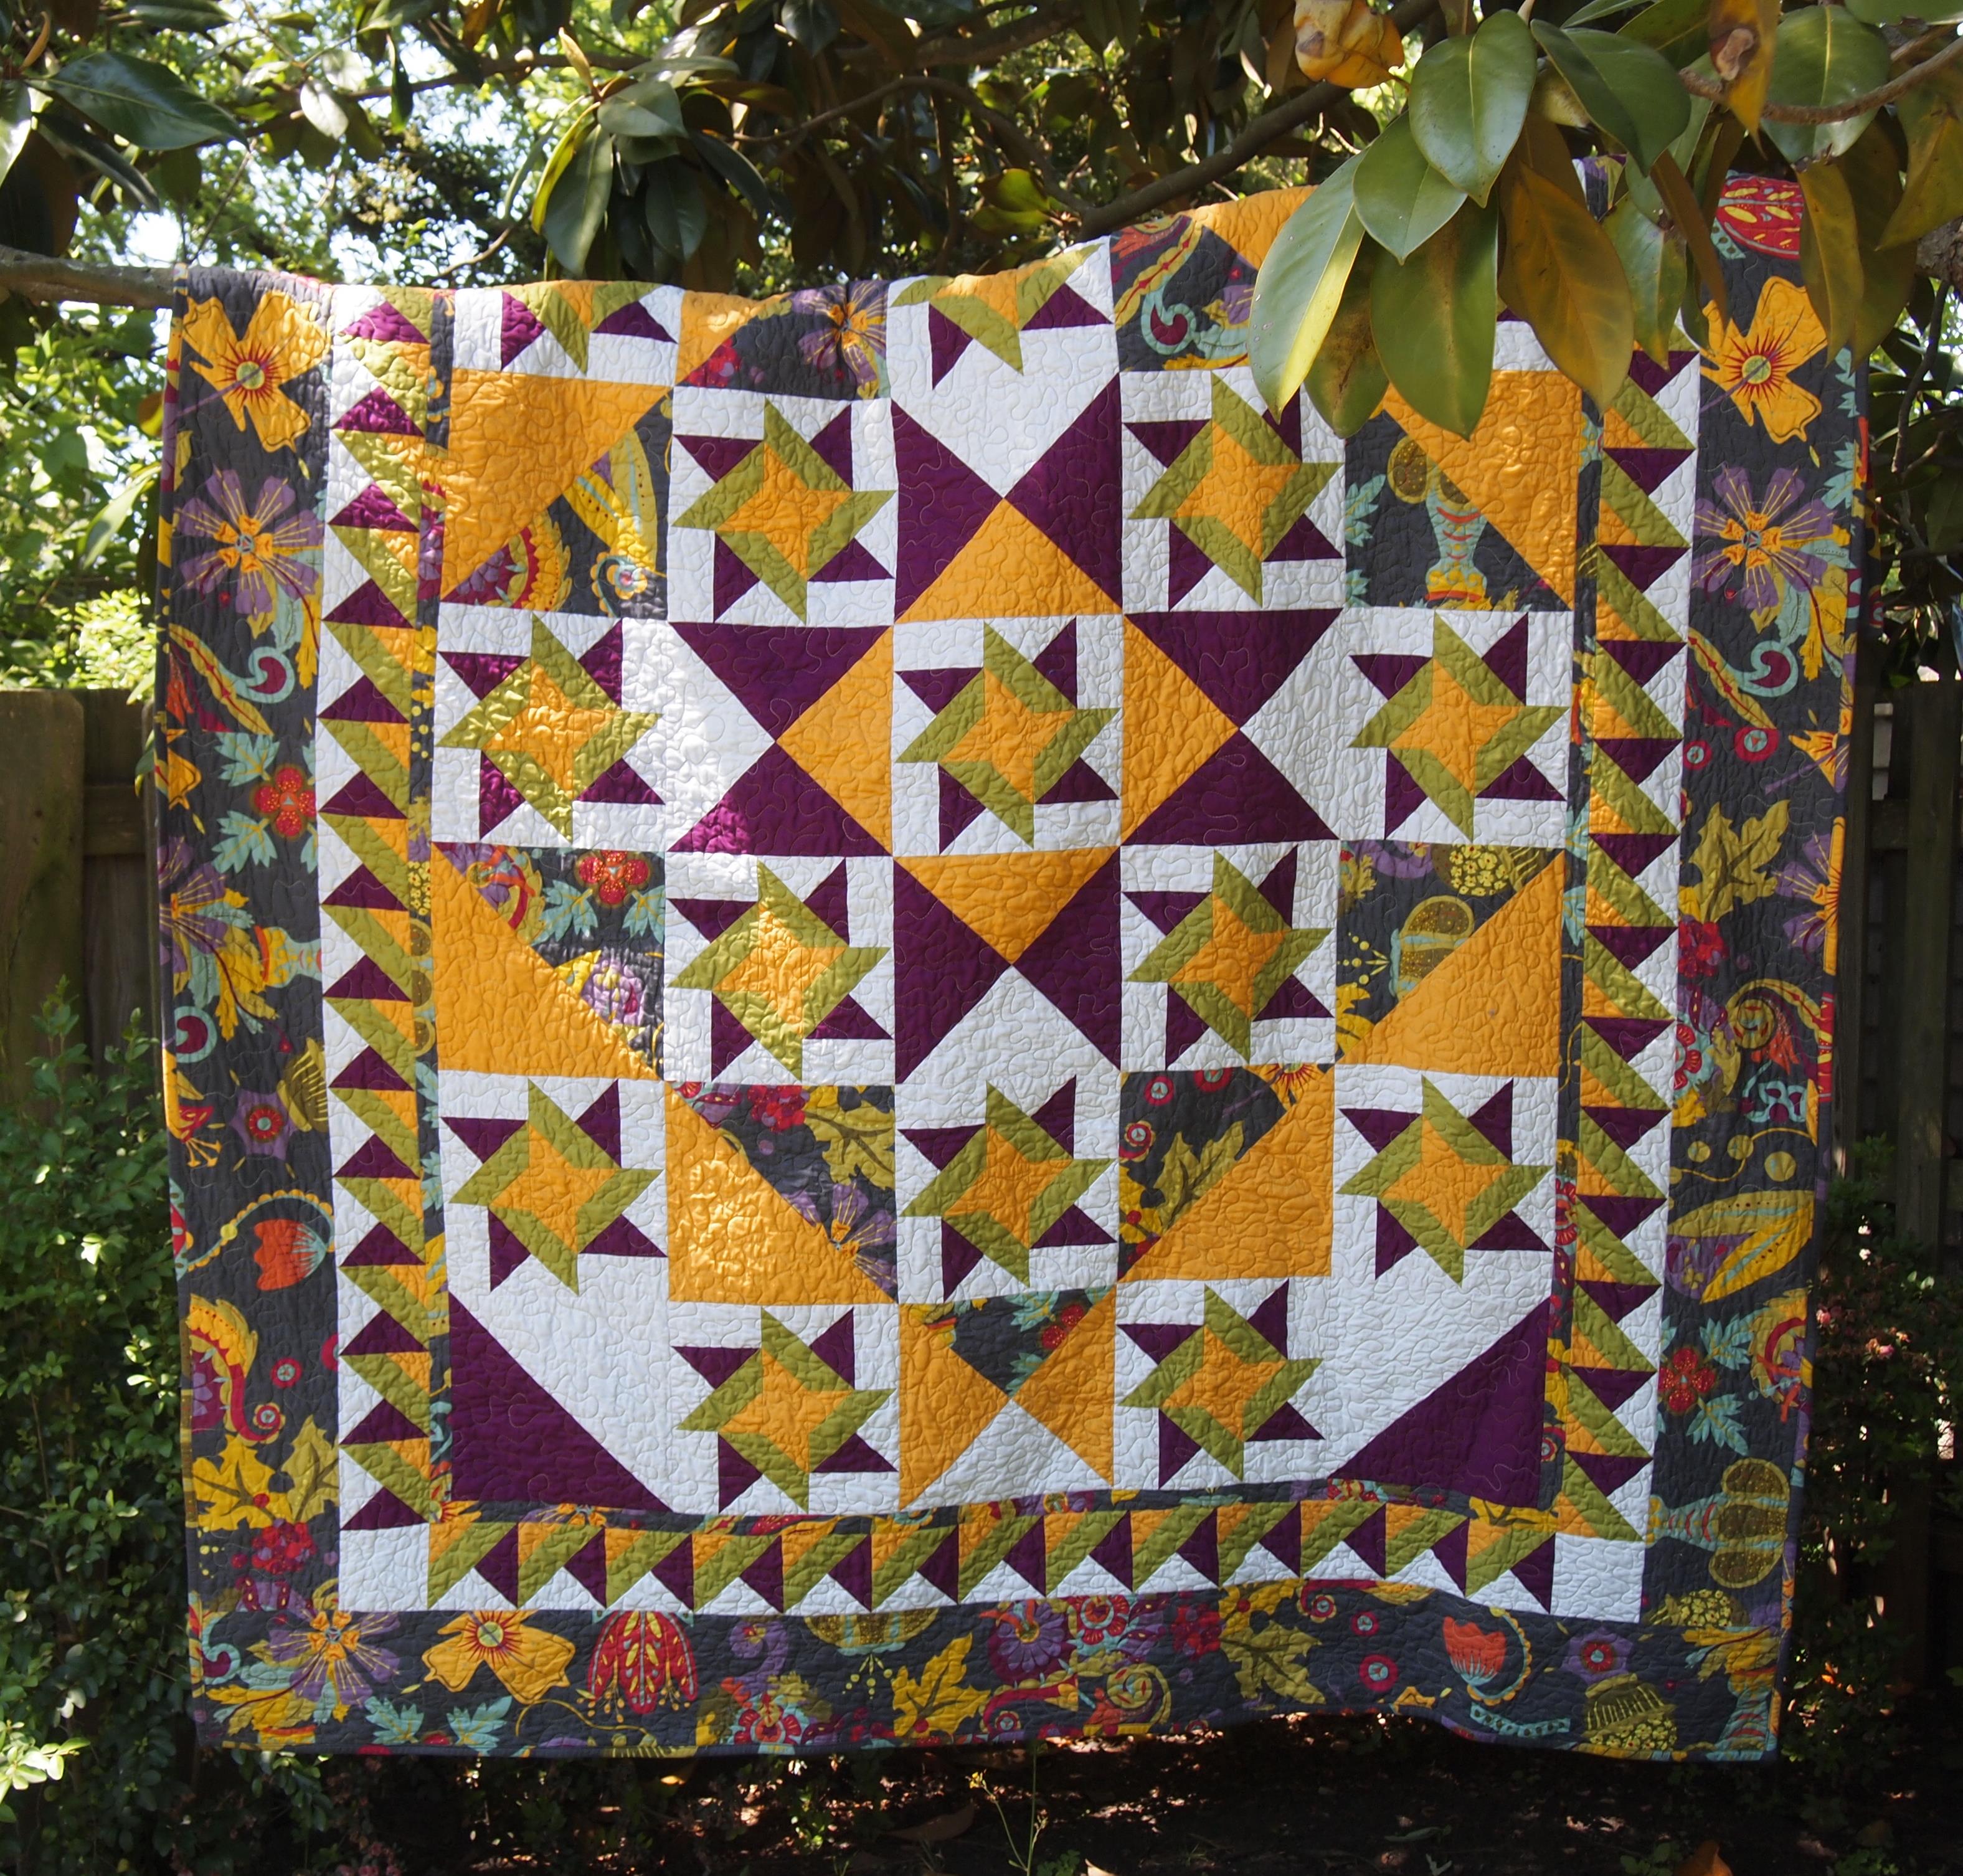
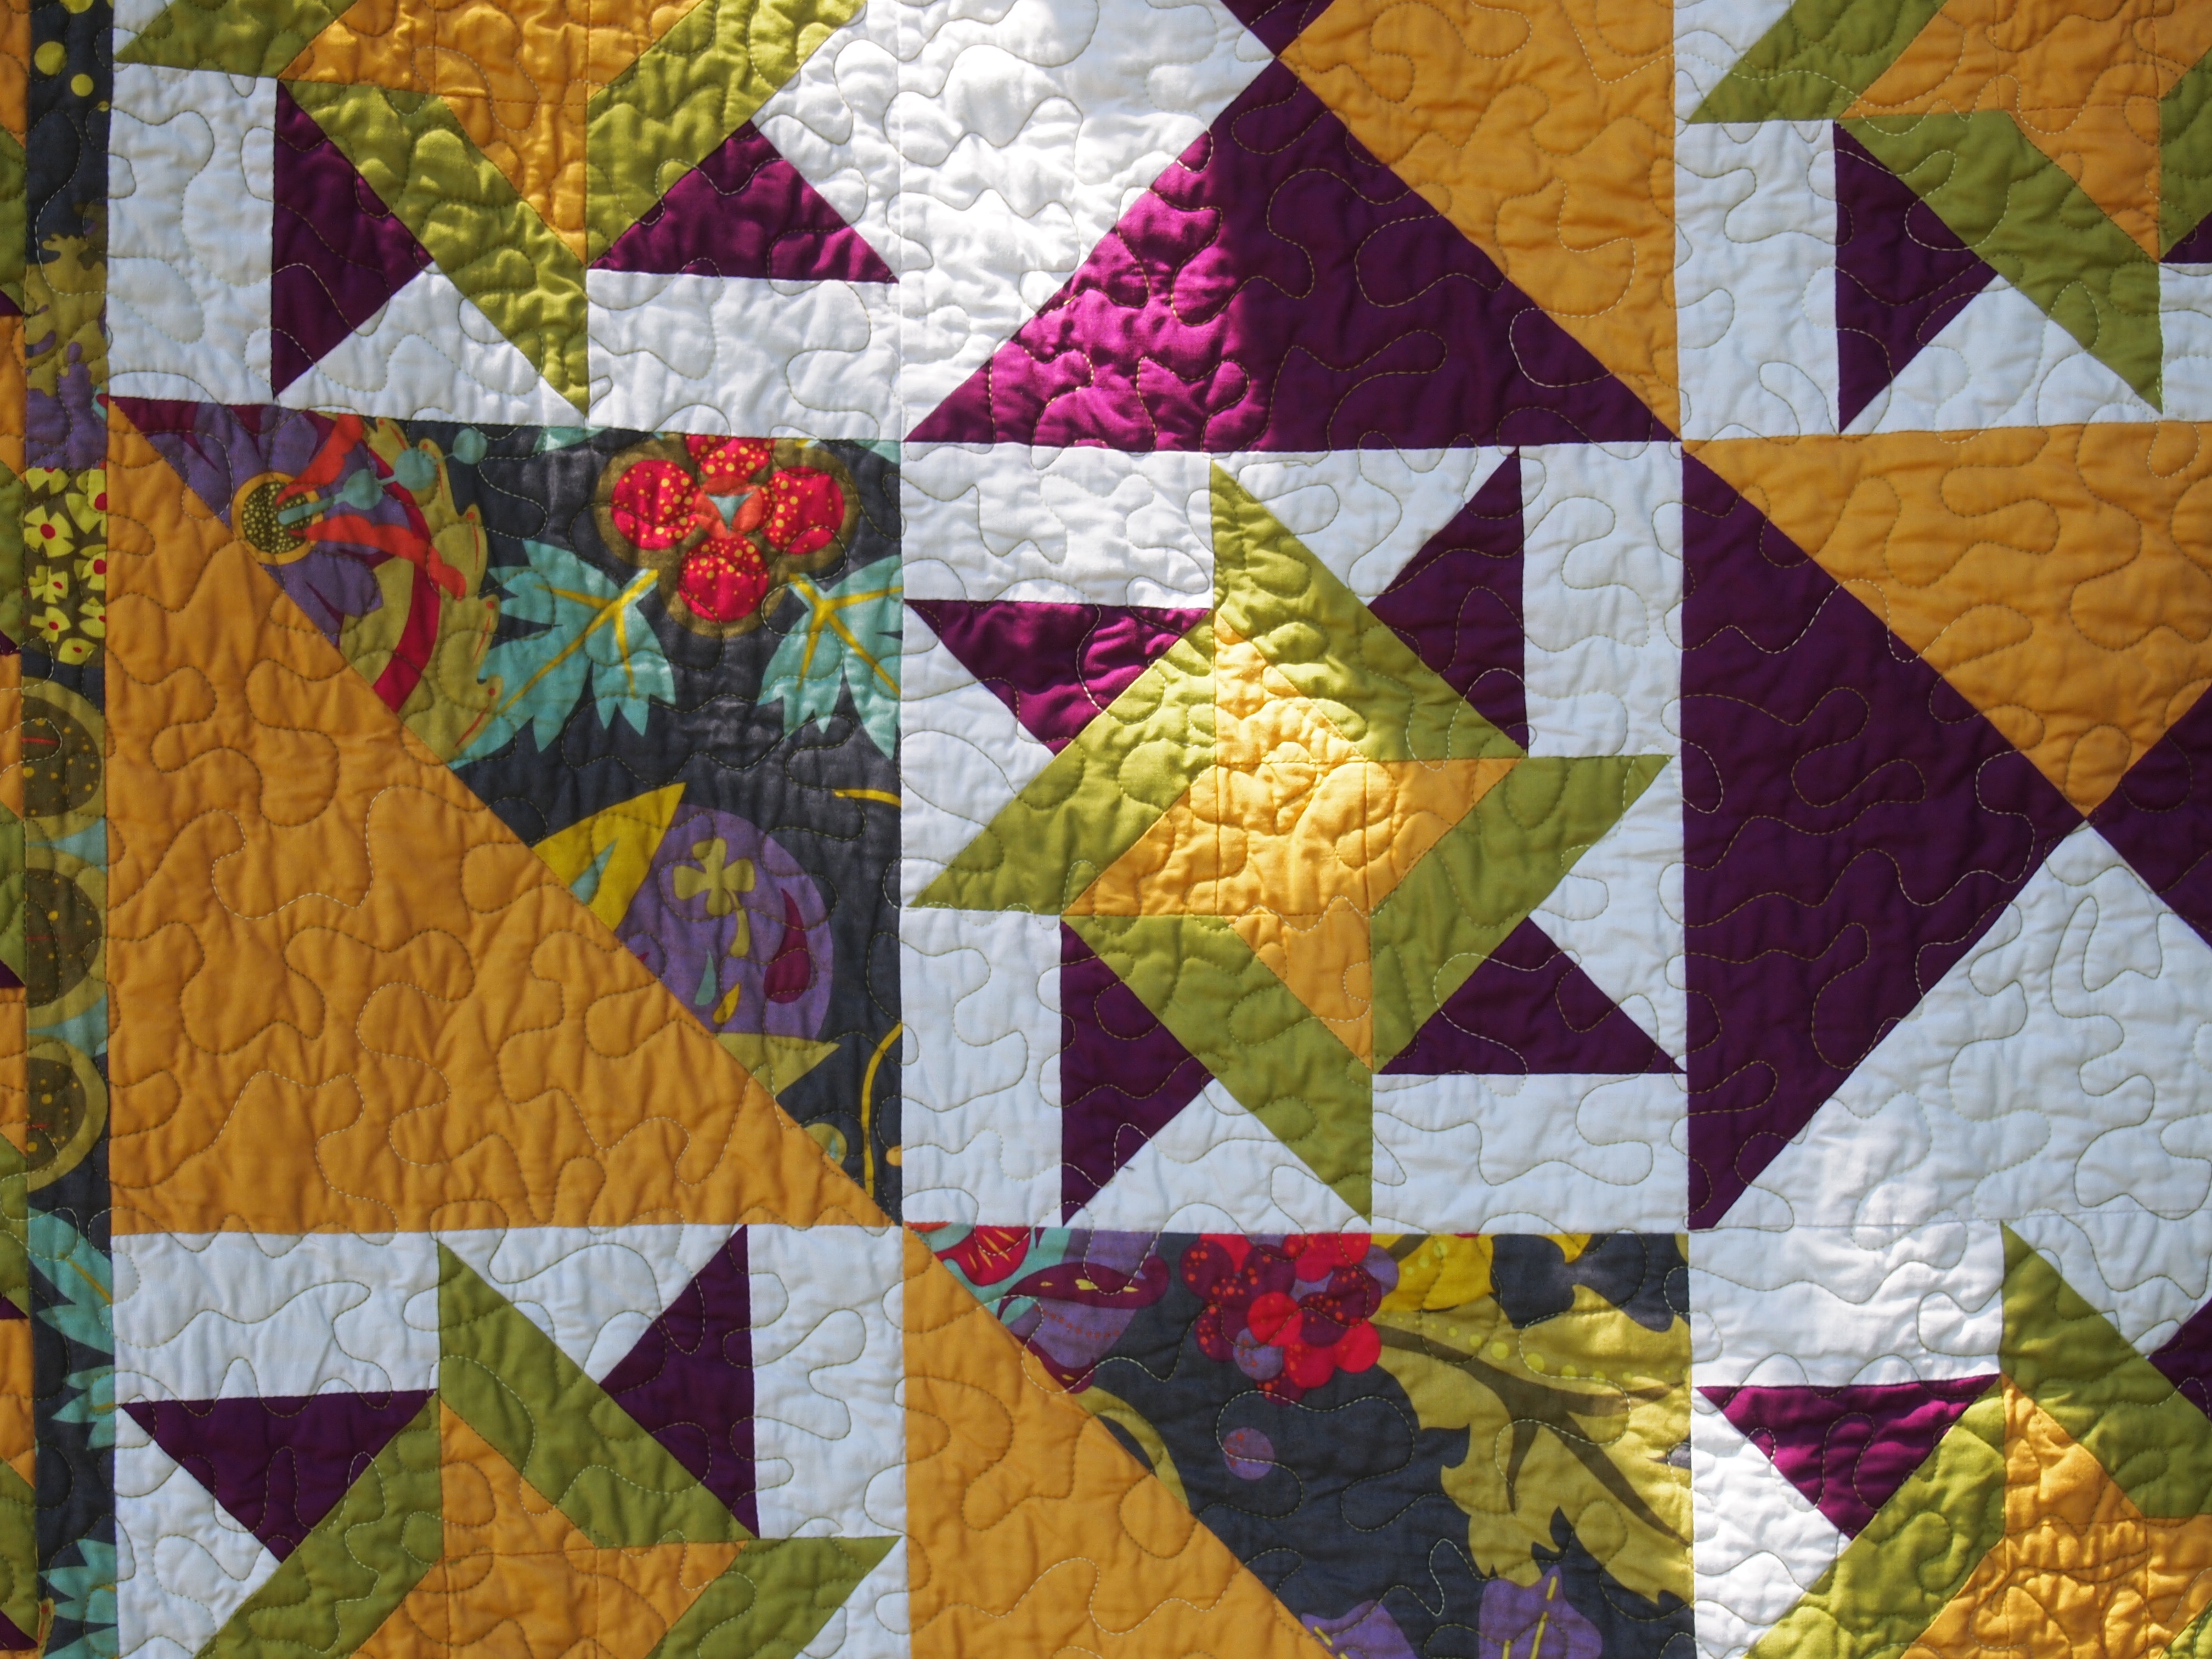
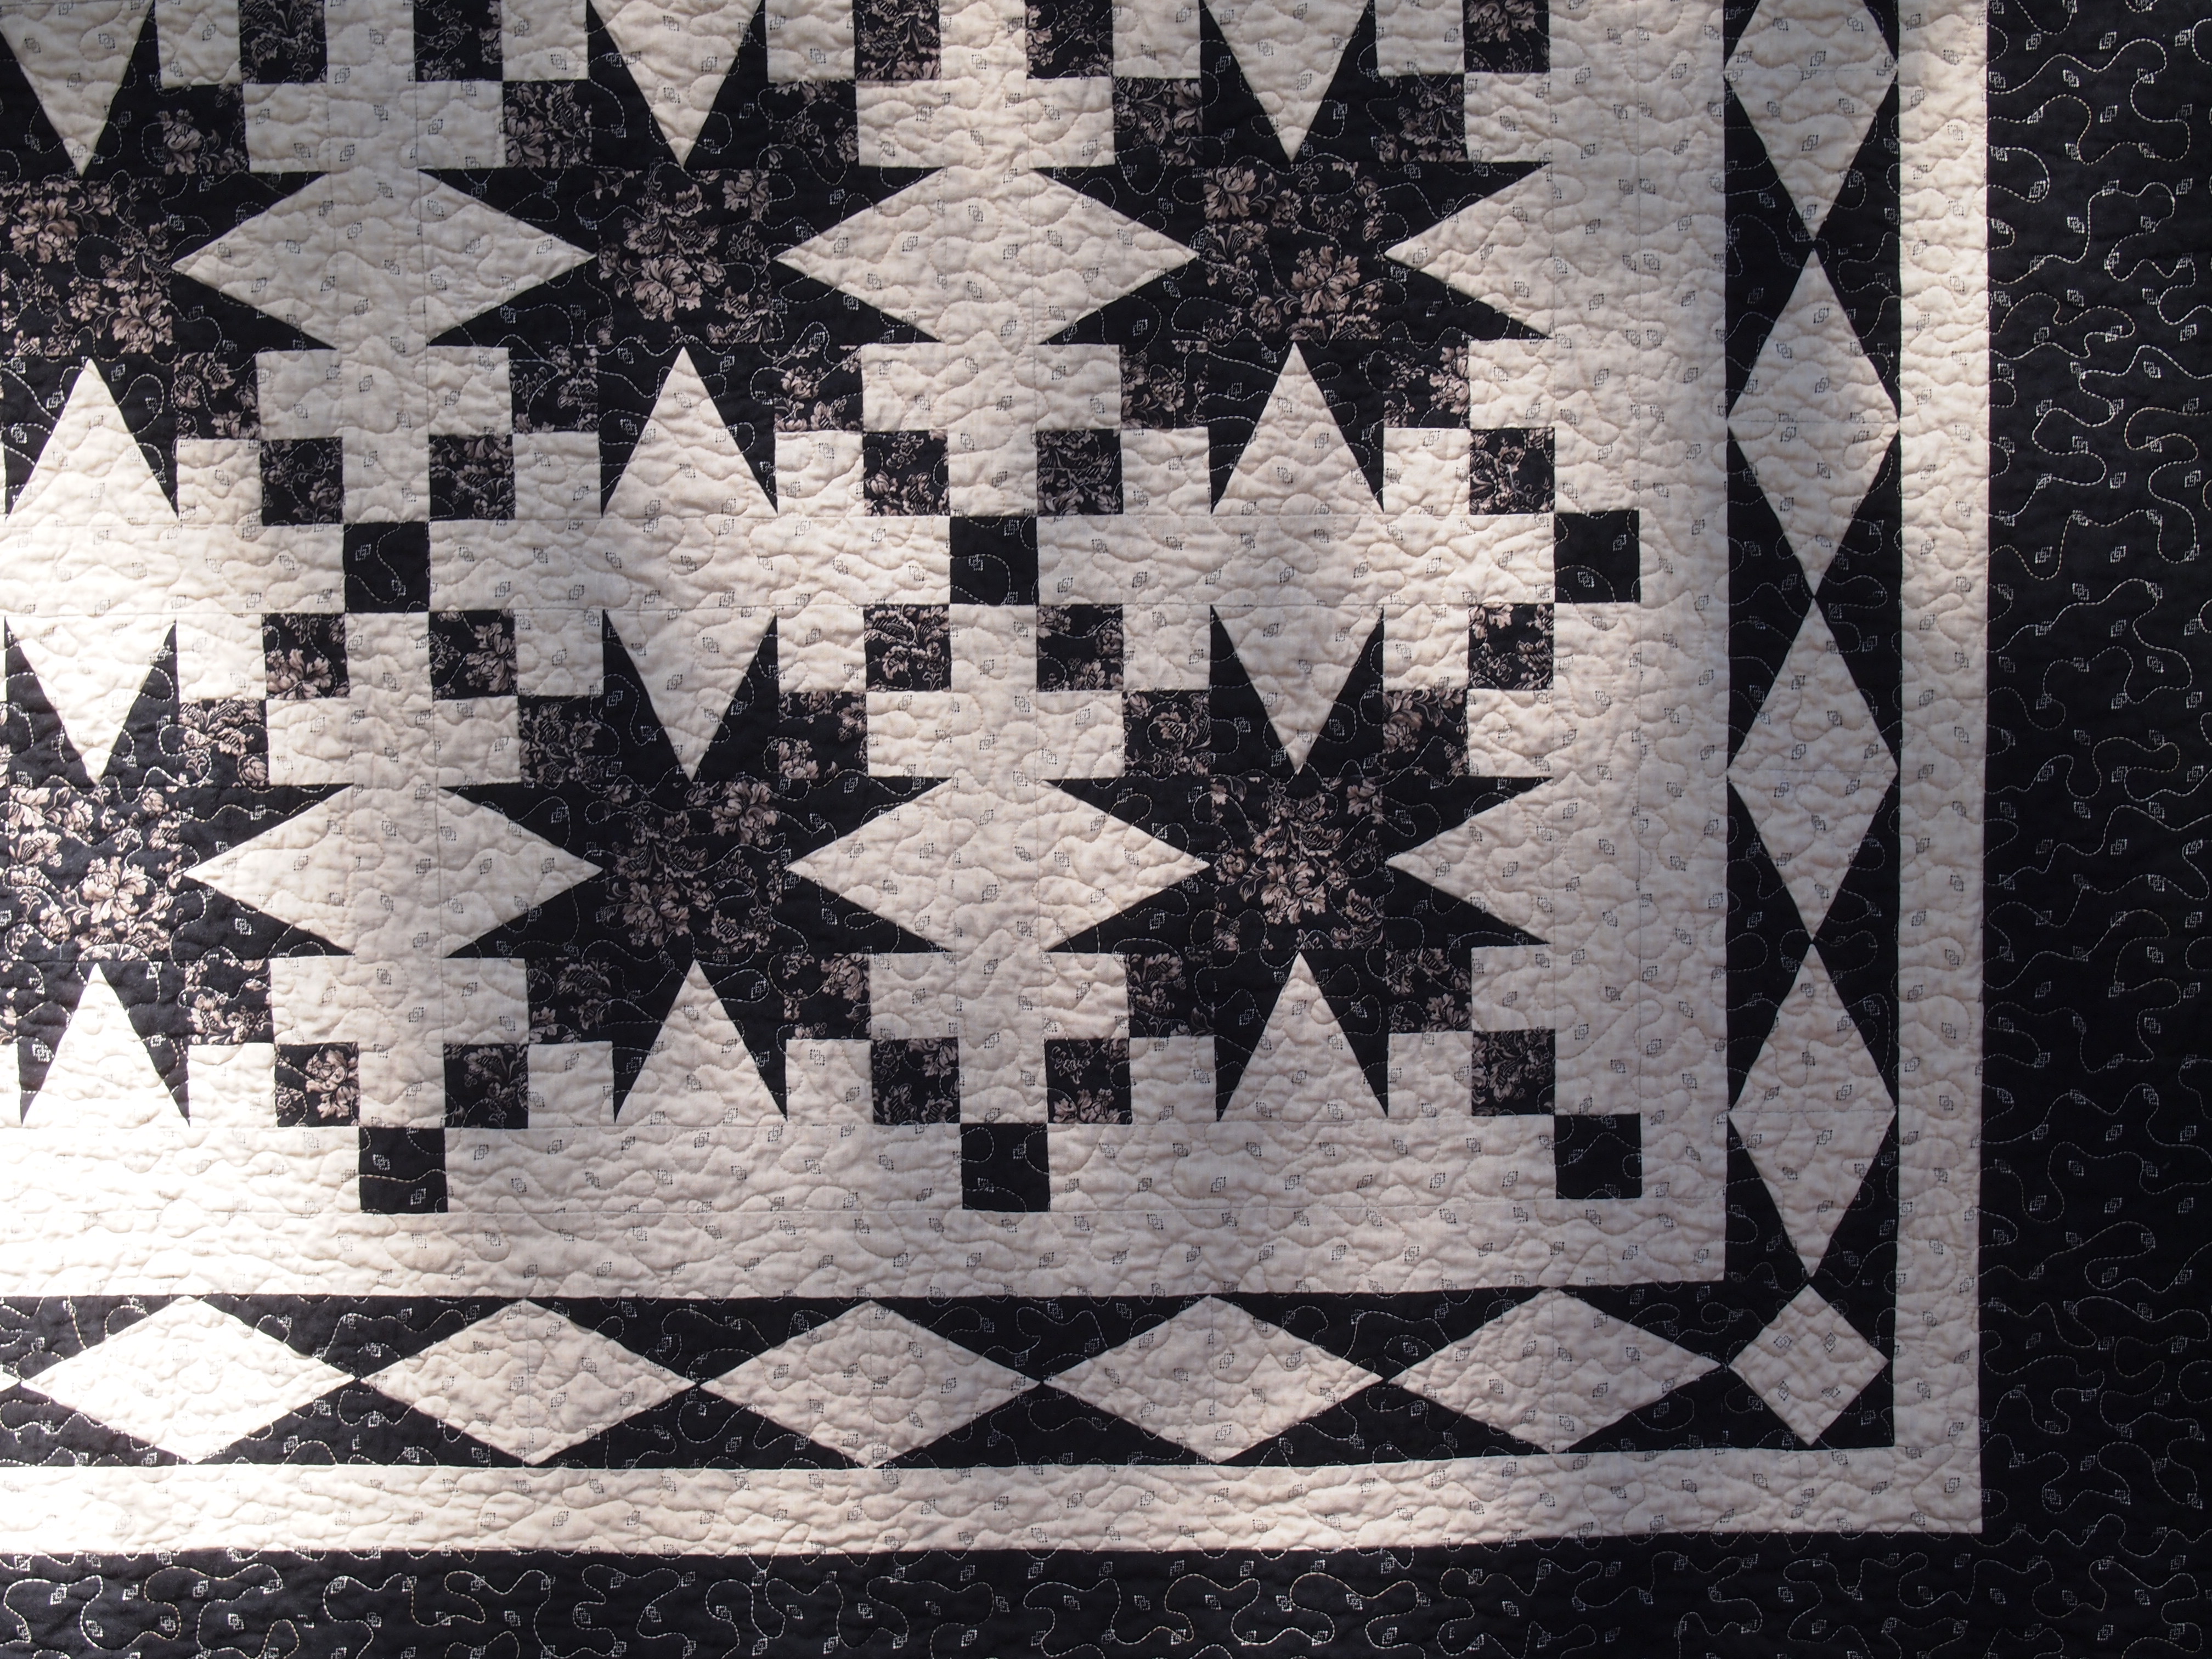
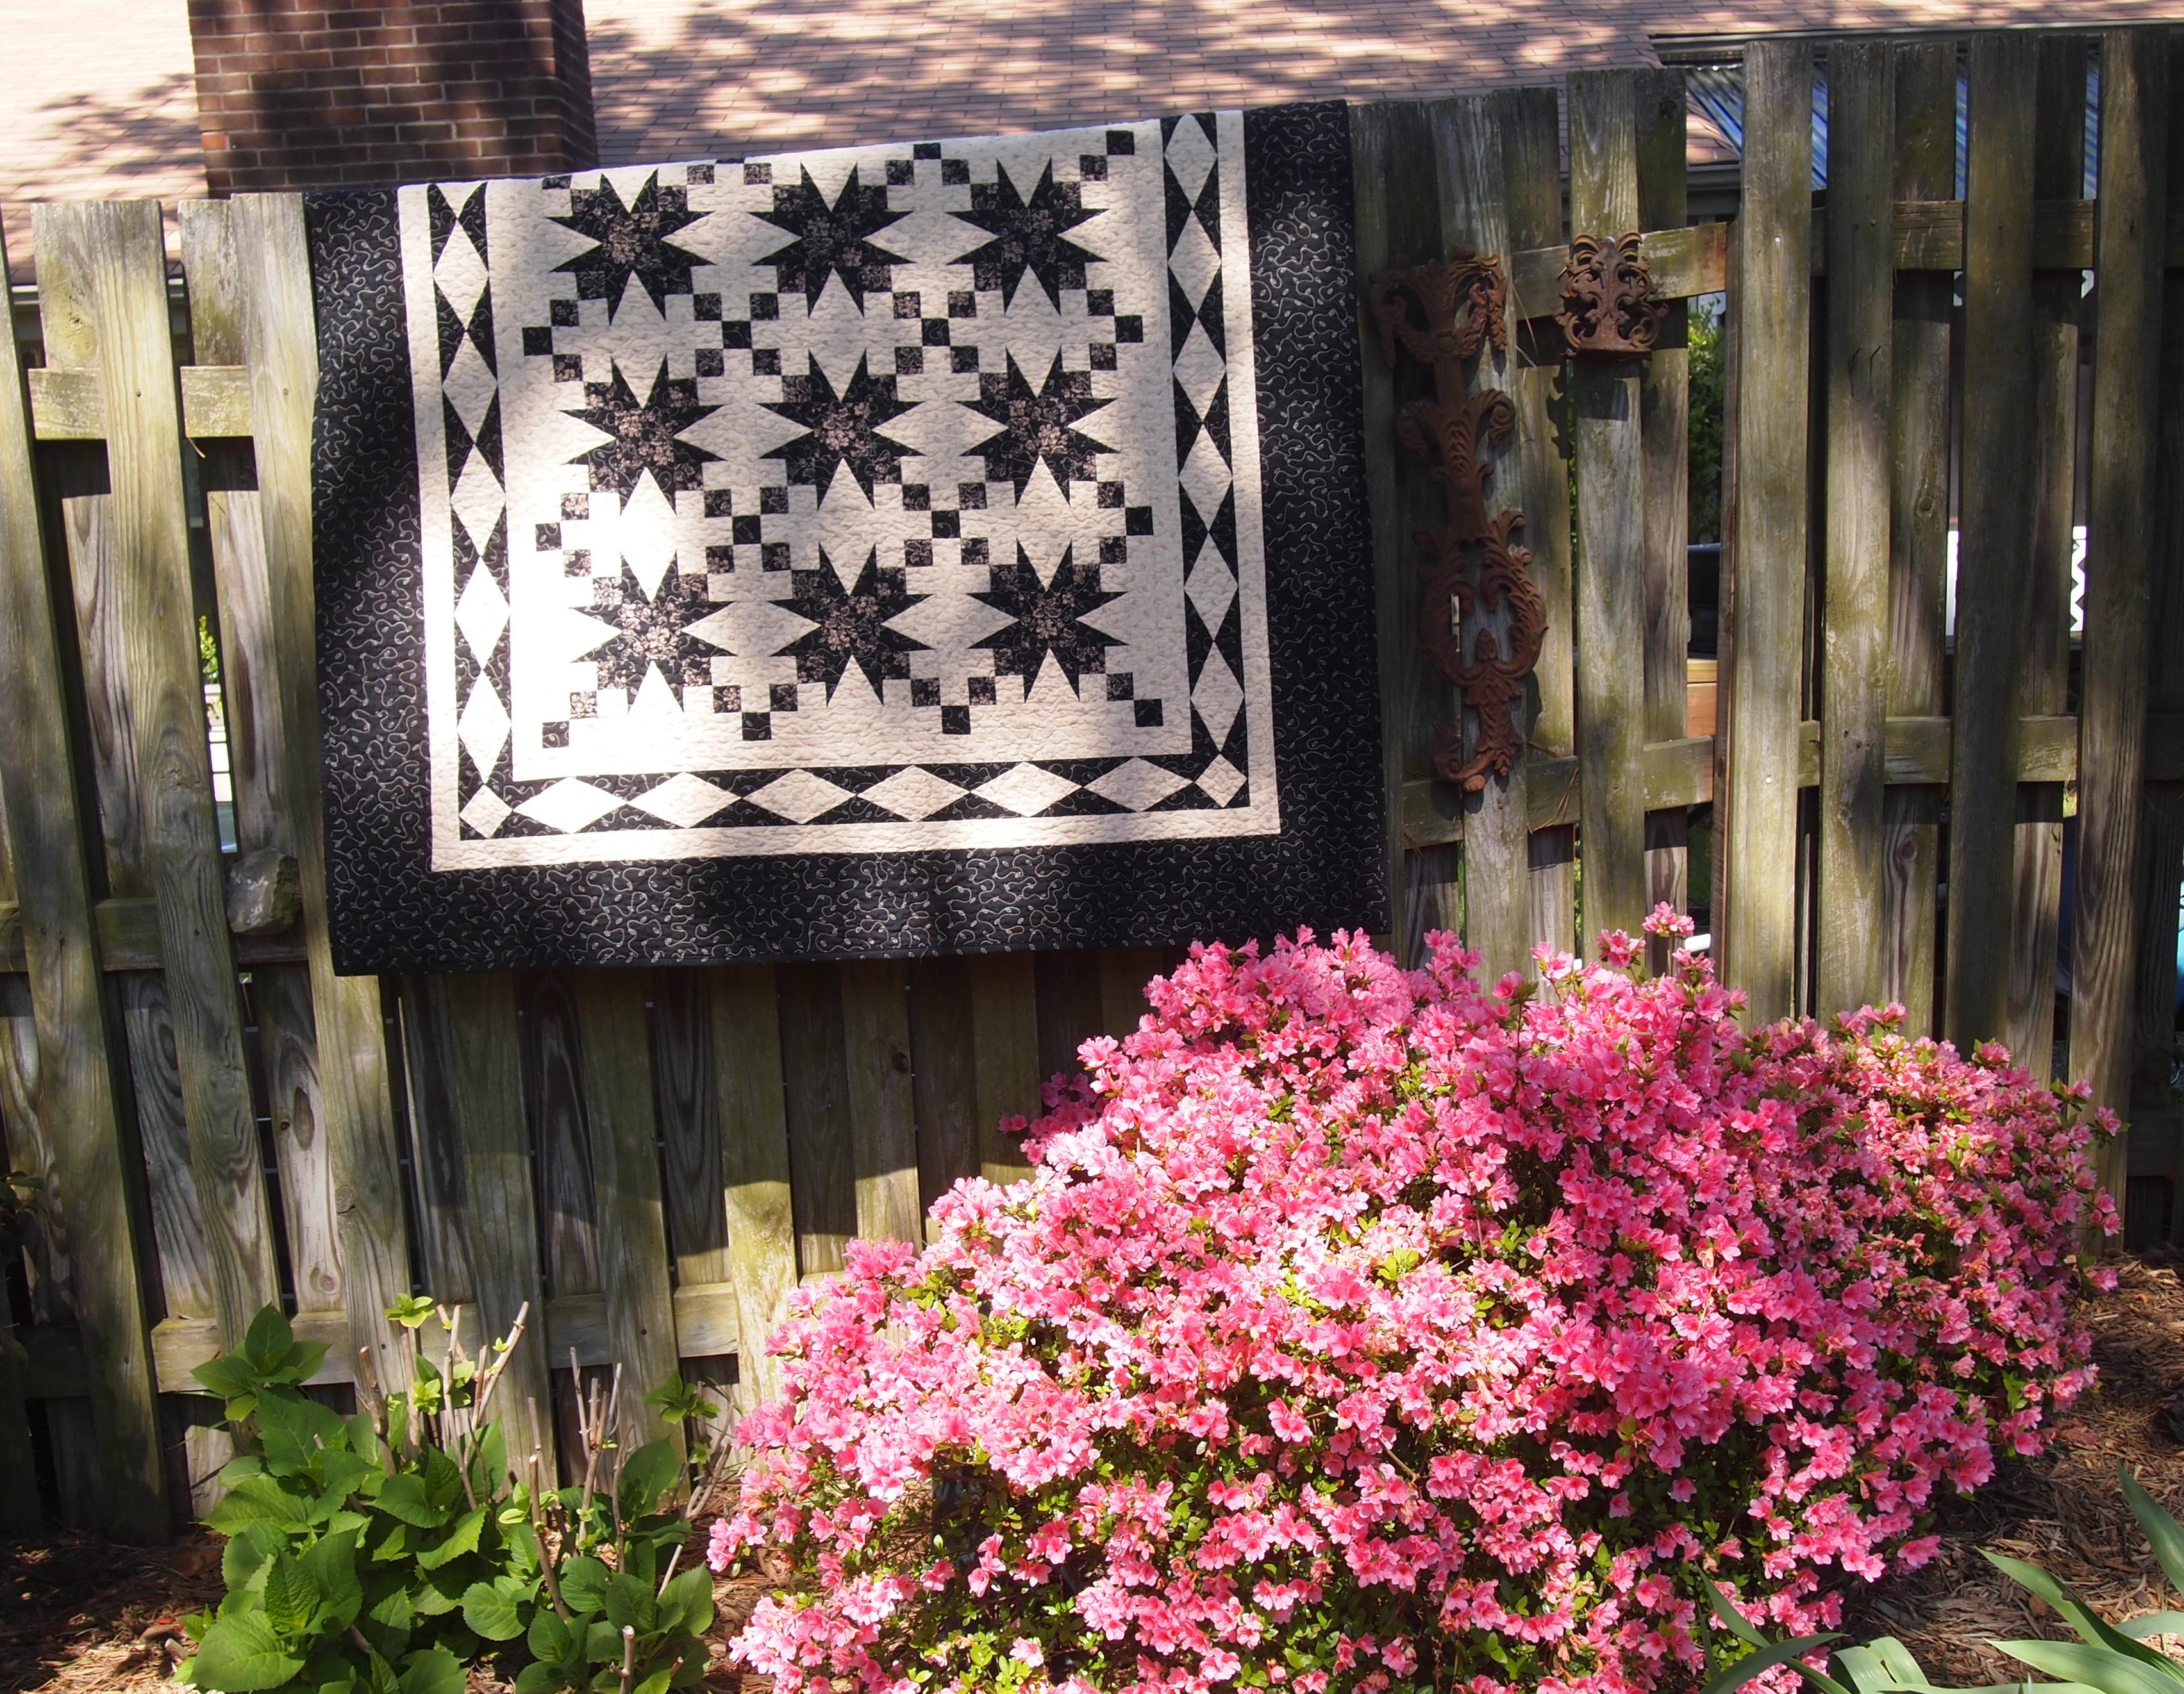
I just finished quilting and binding my Studio 180 design pattern “Victorious”  I’m on my quest to branch out and try other battings.  Of course my preference is any batting by Quilters Dream.  This time I used the “Blend”, 70% cotton & 30% polyester, needle punched onto an ultra light scrim base.  It was created especially for machine quilters.

Victorious

It was very nice to work with.  It didn’t stretch out of shape at all.  It stitched beautifully.  It held its shape throughout the washing and drying process.

OLYMPUS DIGITAL CAMERA

Victorious is a beautiful traditional quilt pattern that uses the Deb Tucker V Block tool and the Squared2 tool for units in four corners of the border.  The V Block tool was also used to create the diamond shapes in the border.  Although, now Deb has created the Diamond Rects tool that could also be used to create the border units.

Dreaming of the Orient, (Batting that is)

I’m a cotton girl. I’ve always used 100% cotton batting. But, this year this Batt Girl is breaking out of her Batt Cave! Today I quilted my Studio 180 Design quilt “Wish Upon”, but I used Dream Orient by Quilters Dream Batting. This batting is made of bamboo, silk, tencel and cotton. When I opened the package the first I noticed was how luxuriously soft it was. It seemed a little thicker than Dream Cotton Select.  It was wonderful to touch.
Wish Upon

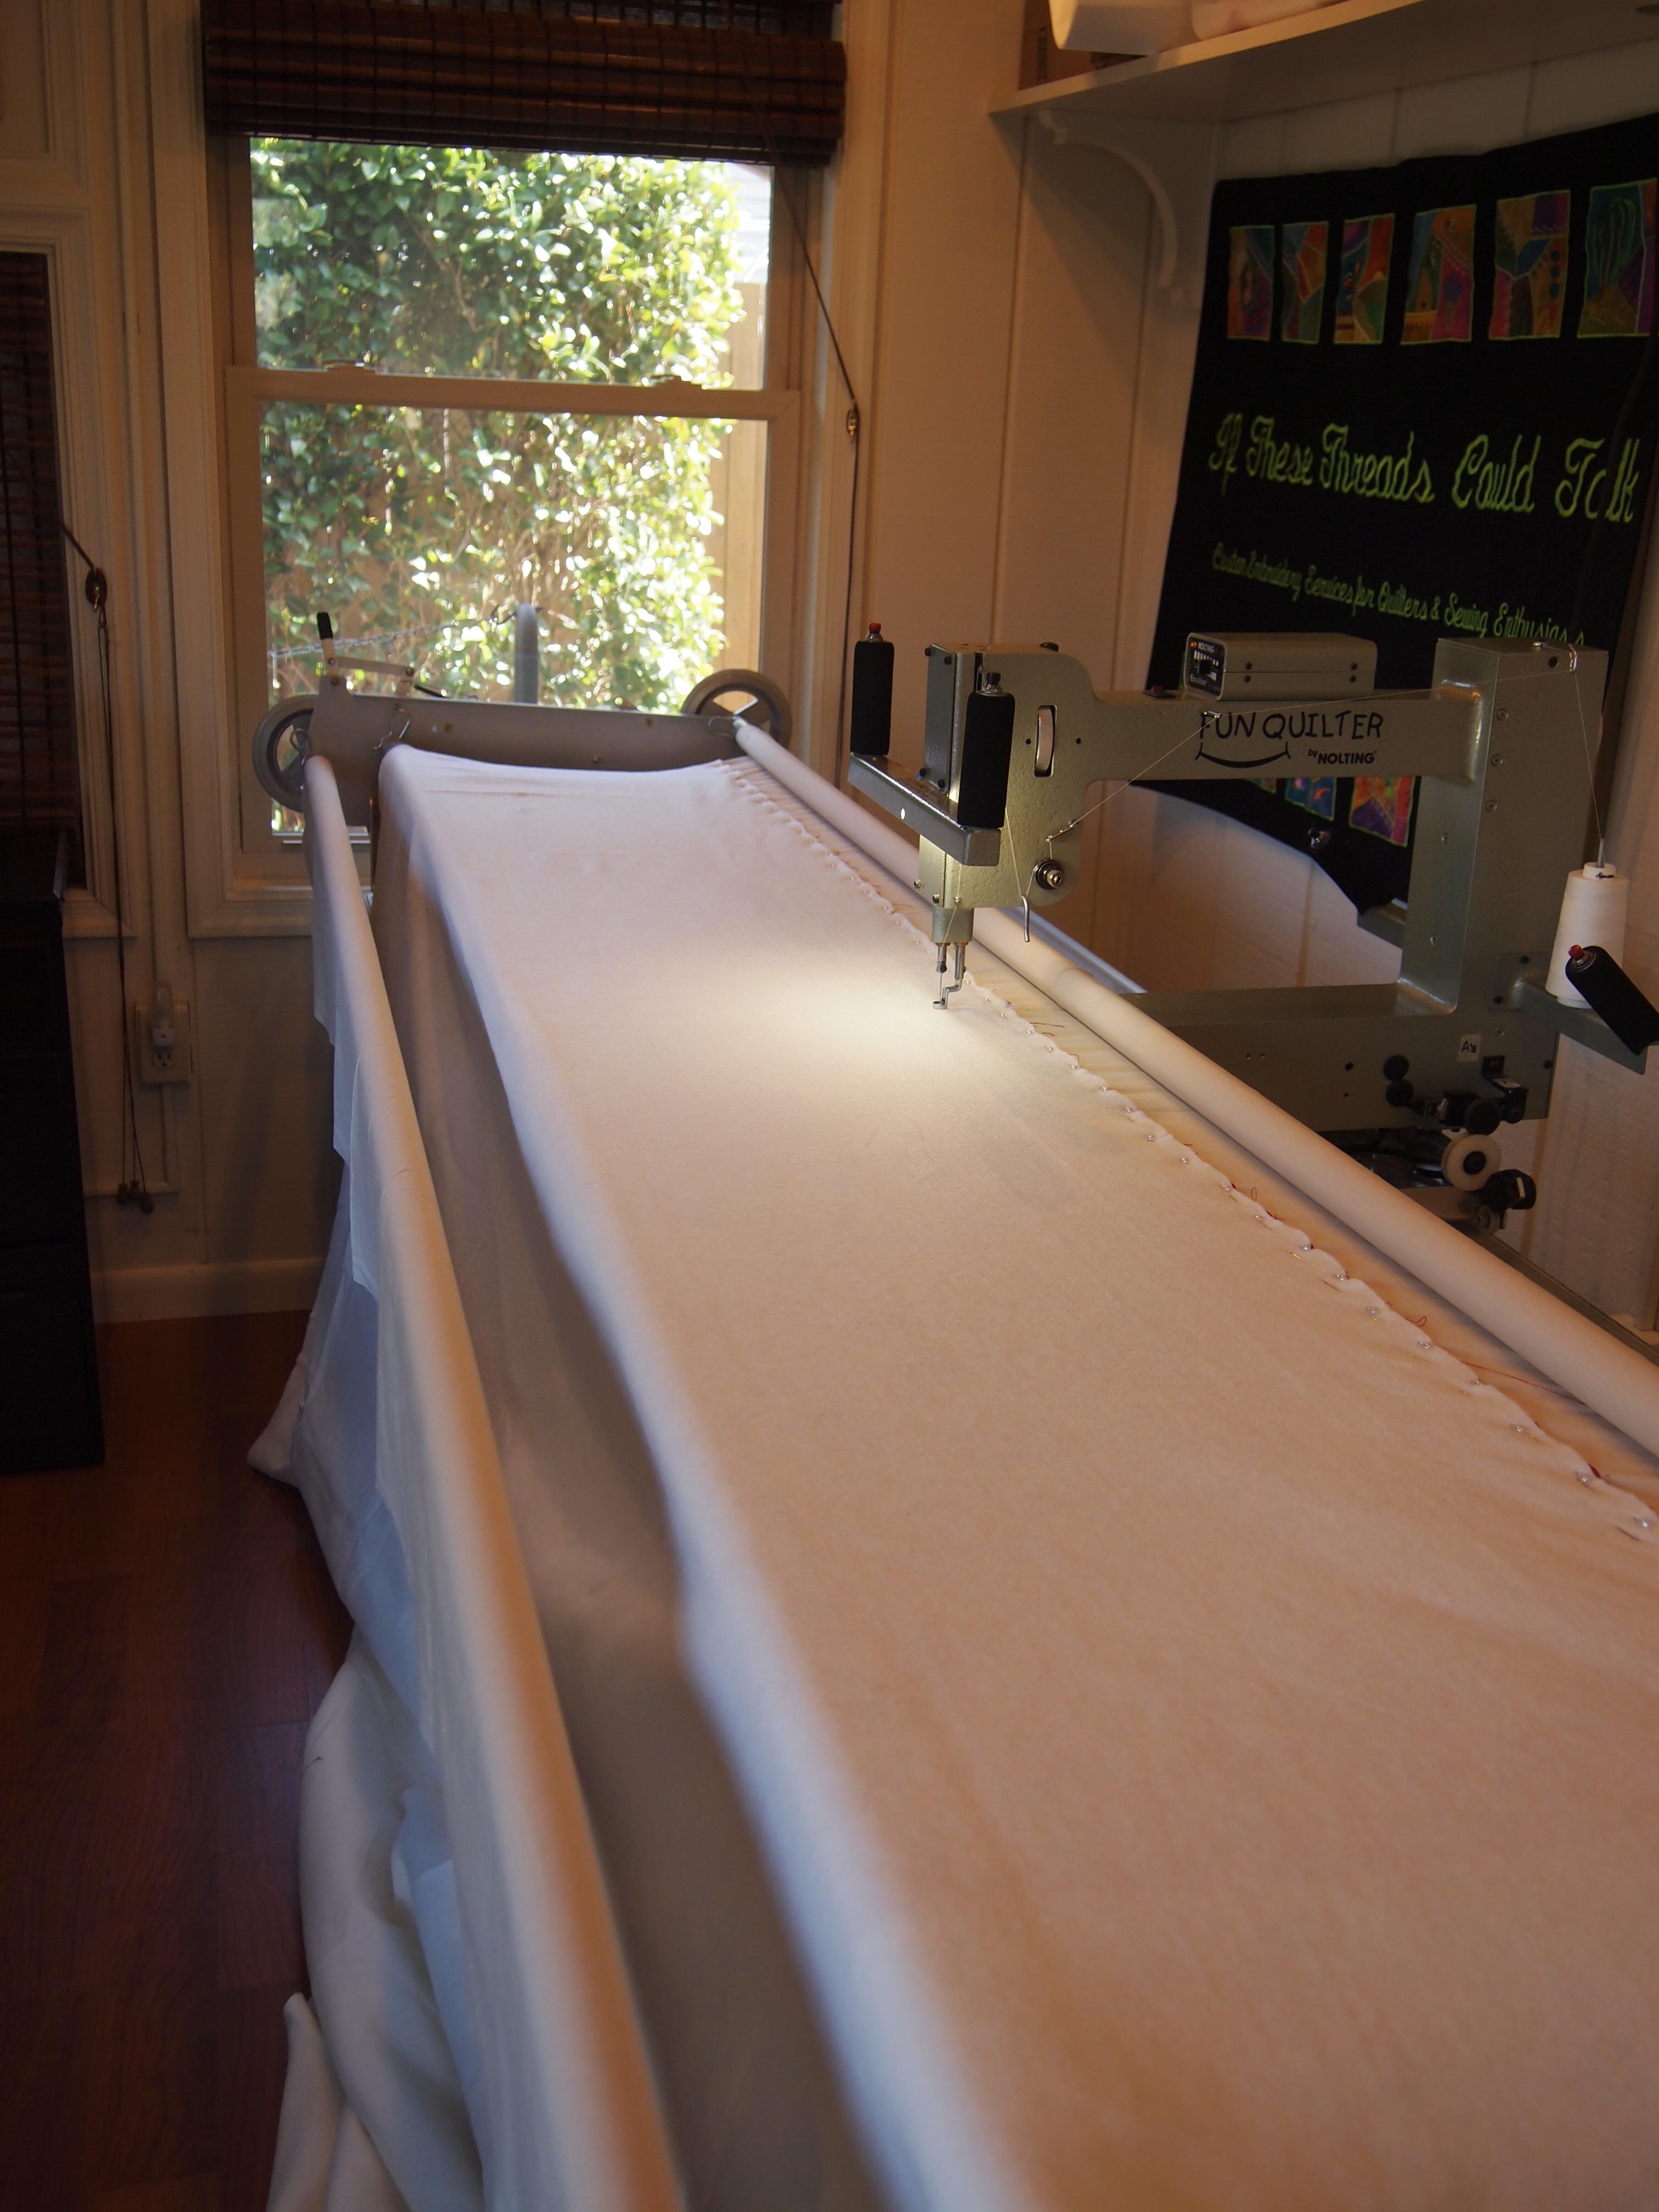
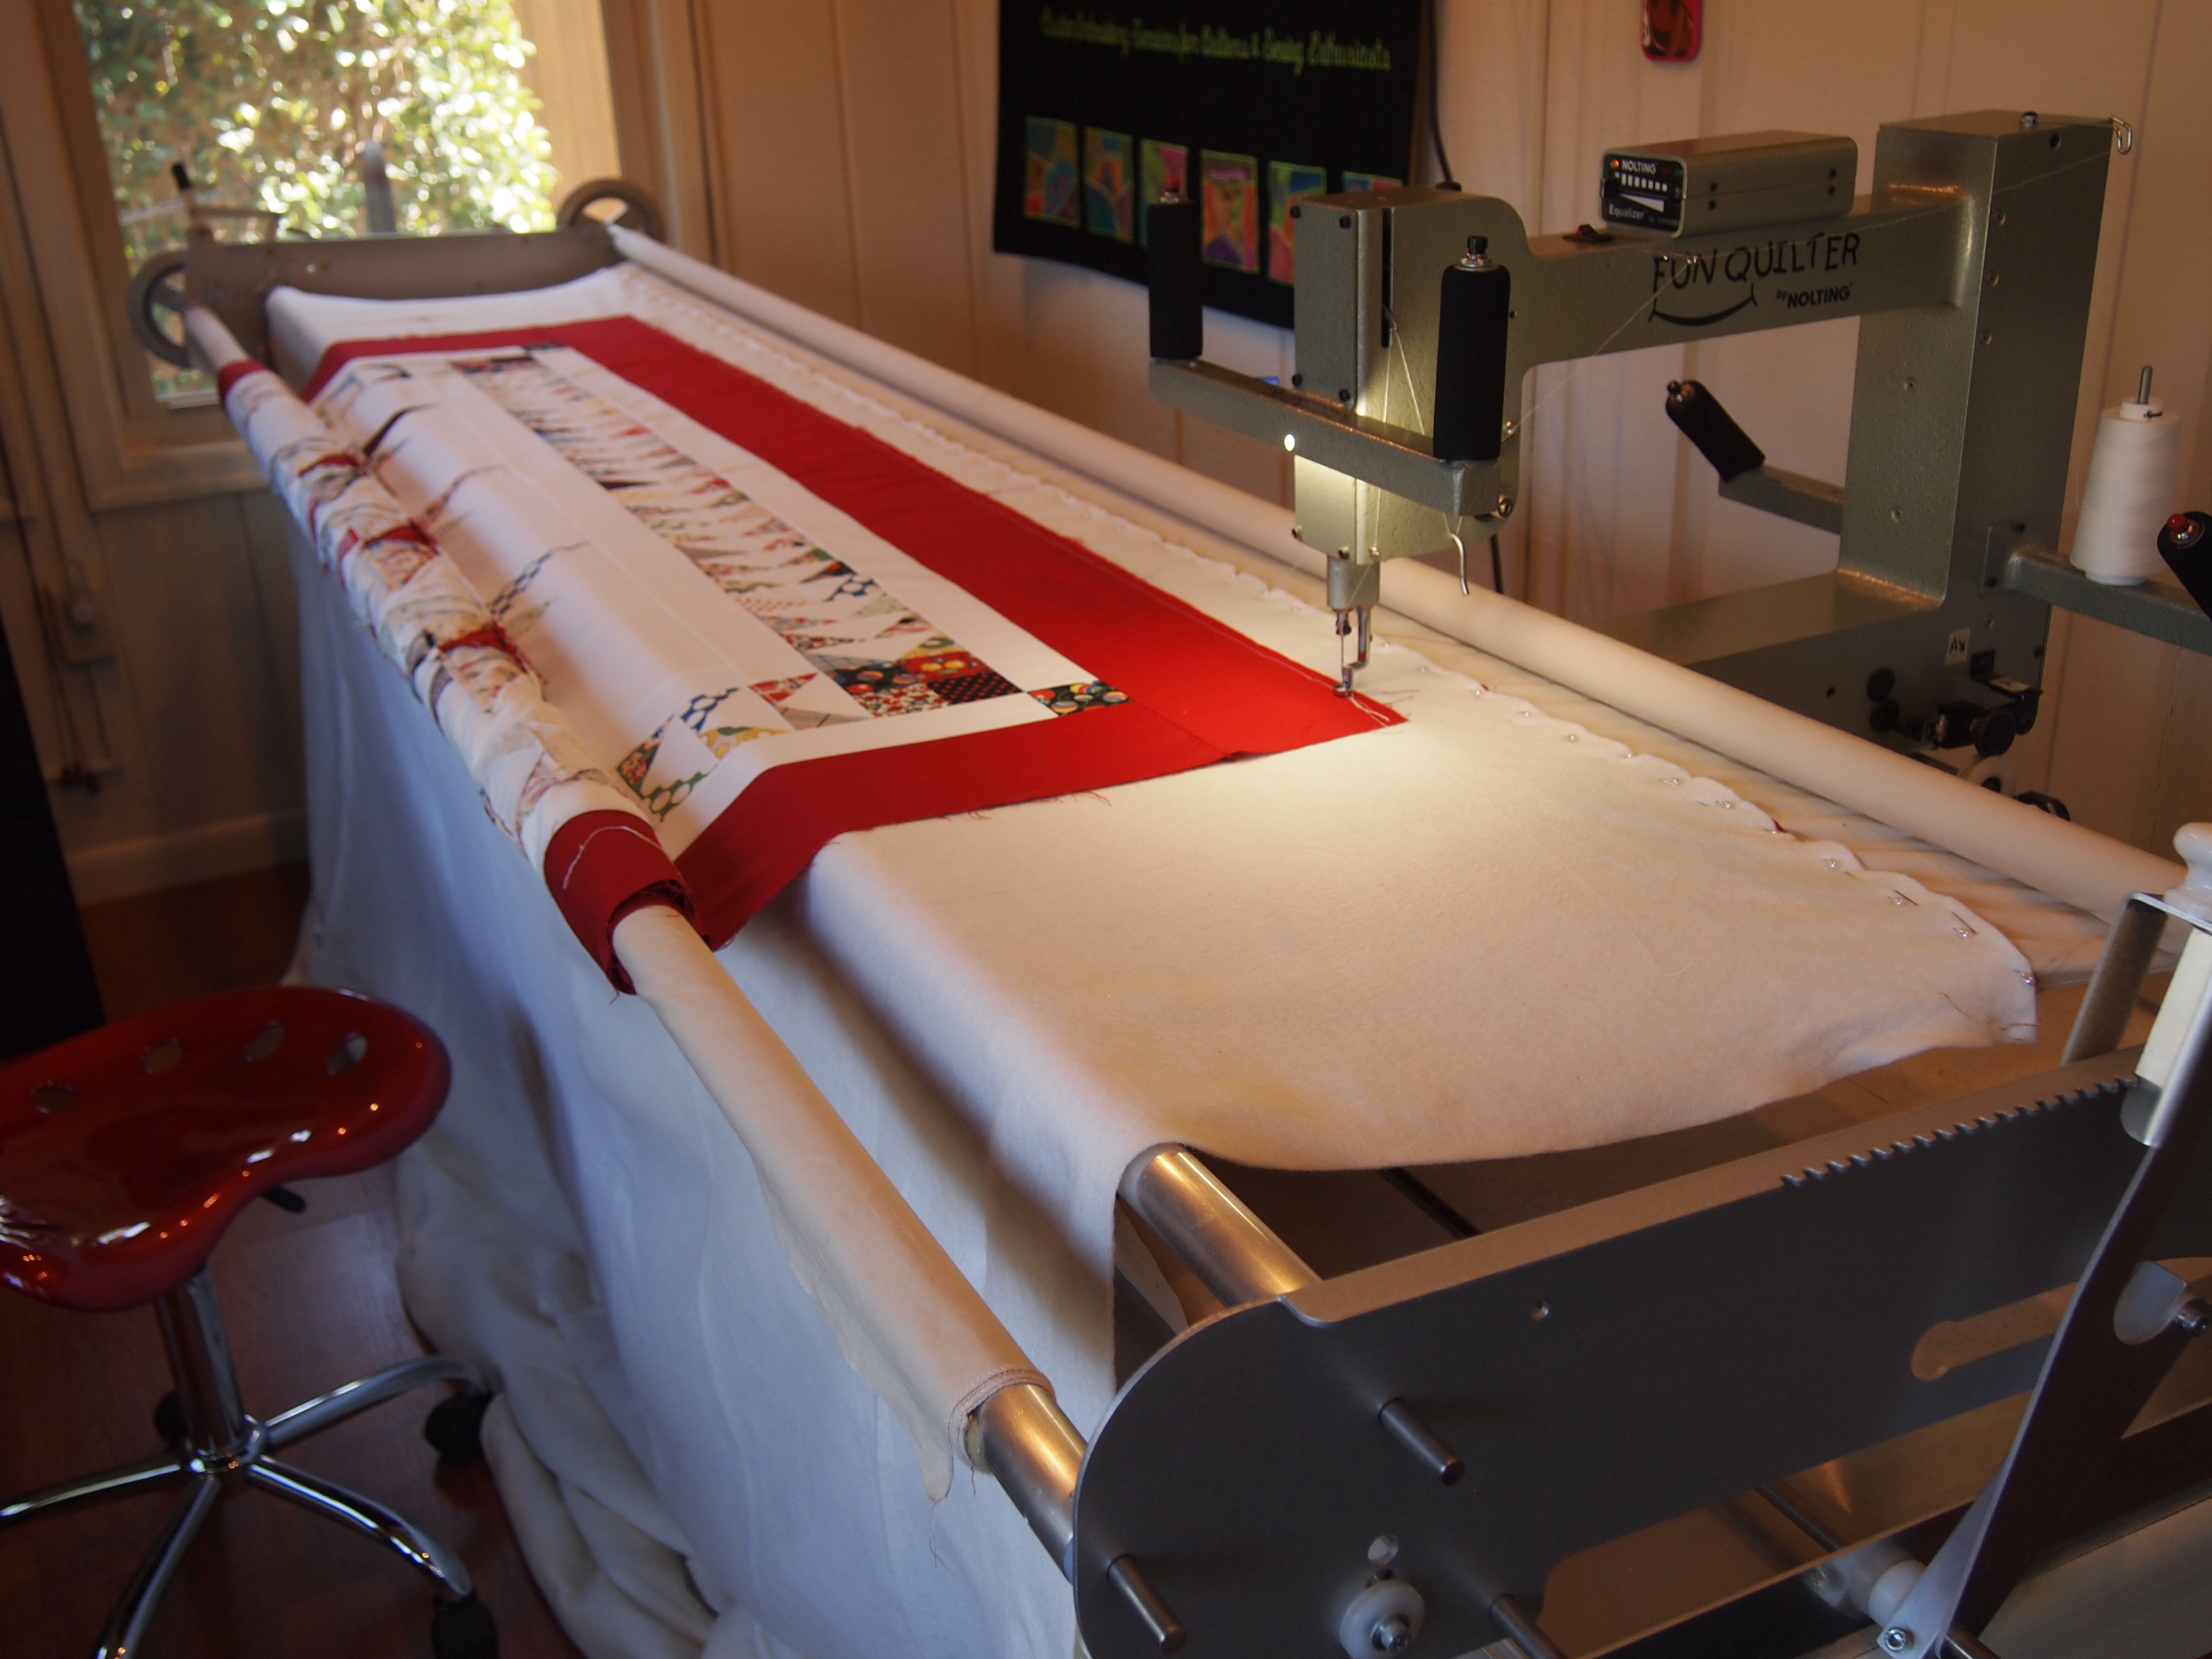
I have a small house. I was determined to find a way to get a long arm.  I bought a queen size “John Watts” quilt frame from Australia.  It only weighs 50 pounds, so when I wasn’t using it, it hung on the wall of the garage.  I bought a Nolting “Fun Quilter”  It weighs 40 pounds.  It has a 17″ throat and has a speed and stitch control.  After 7 years of lugging the frame in and out of the house, my husband finished the back pork so I could leave it up full time.

OLYMPUS DIGITAL CAMERA

For today’s adventure, I have loaded the backing.

OLYMPUS DIGITAL CAMERA

I then loaded the Dream Orient.  It handled really nicely, didn’t stretch out of shape at all.  It feels great.
OLYMPUS DIGITAL CAMERA

I have the top loaded.  See my tractor seat stool?  It is great for rolling back and forth while I pin the backing etc. to the leaders.
OLYMPUS DIGITAL CAMERA

I am now ready to quilt.  Like butta, I tell ya, smooooth!
OLYMPUS DIGITAL CAMERA

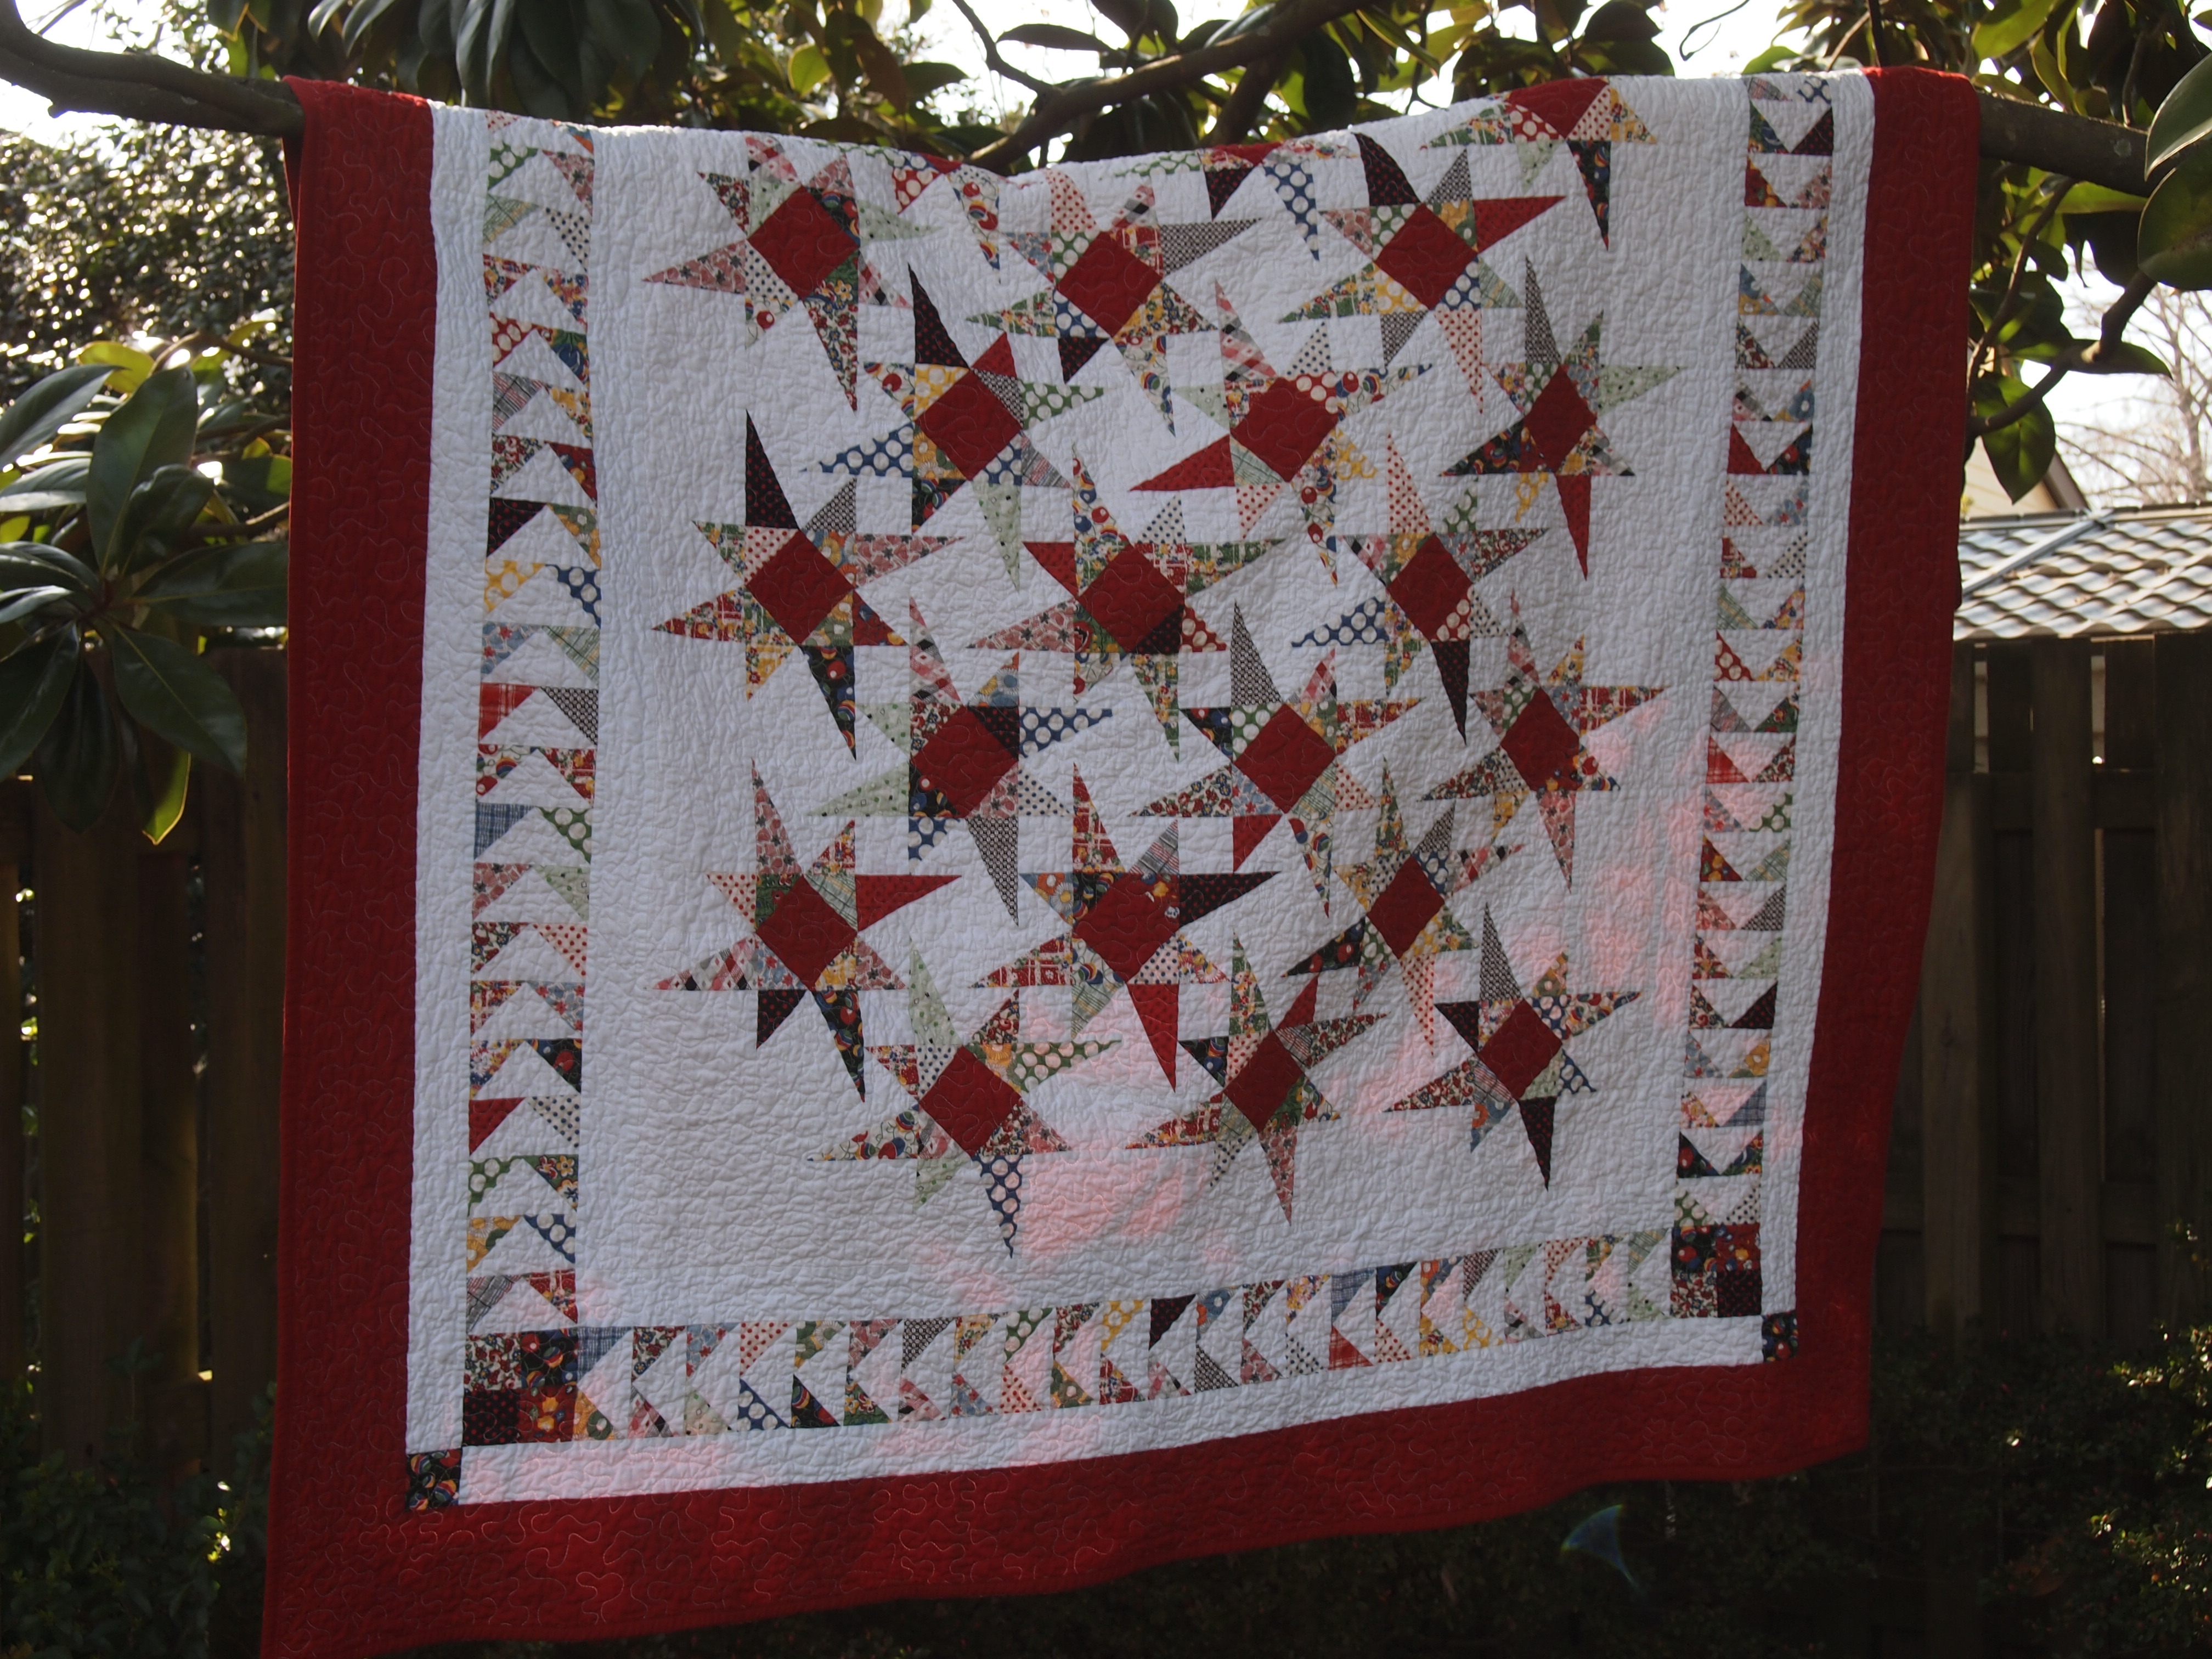
Last row done.  It looks wonderful.  I’m off to trim off the excess batting and sew the binding on.  There was so much red in this quilt that when I washed it I put in 10 color catchers (they came out pink, so I’m glad I did).  I washed the quilt in cold water and dried it normally.  When I pulled it out the dryer, I noticed immediately how soft it was.  They say quilts quilted with Dream Orient drape beautifully, and they are right!  I am definitely using Dream Orient again.
Wish Upon

This pattern is by Deb Tucker.  We just had a Studio 180 Design Certified Instructor Reunion.  Deb gave this to us as a mystery, but she will making the pattern available sometime this summer.  It uses the Split Rects Tool and the Wing Clipper I and the Tucker Trimmer I.  I love this quilt.

Do You Ever Pop Off?

….Corners that is. Deb Tucker is at it again, and is about to release a new Studio 180 Design Tool. At the certified teacher reunion we were given the chance to play with the “Corner Pop”. We were given permission to blog about it but I can’t show a picture of the ruler until it is released, hopefully by Spring Market in May.

Corner Pop

Above are blocks made using the Corner Pop ruler, made by Deb Tucker.  This ruler makes it so easy to pop off a corner without having to draw any lines.
02 Corner pop student samples

Above are blocks made using the Corner Pop ruler by the certified instructors.
03 Corner pop 2 jacks

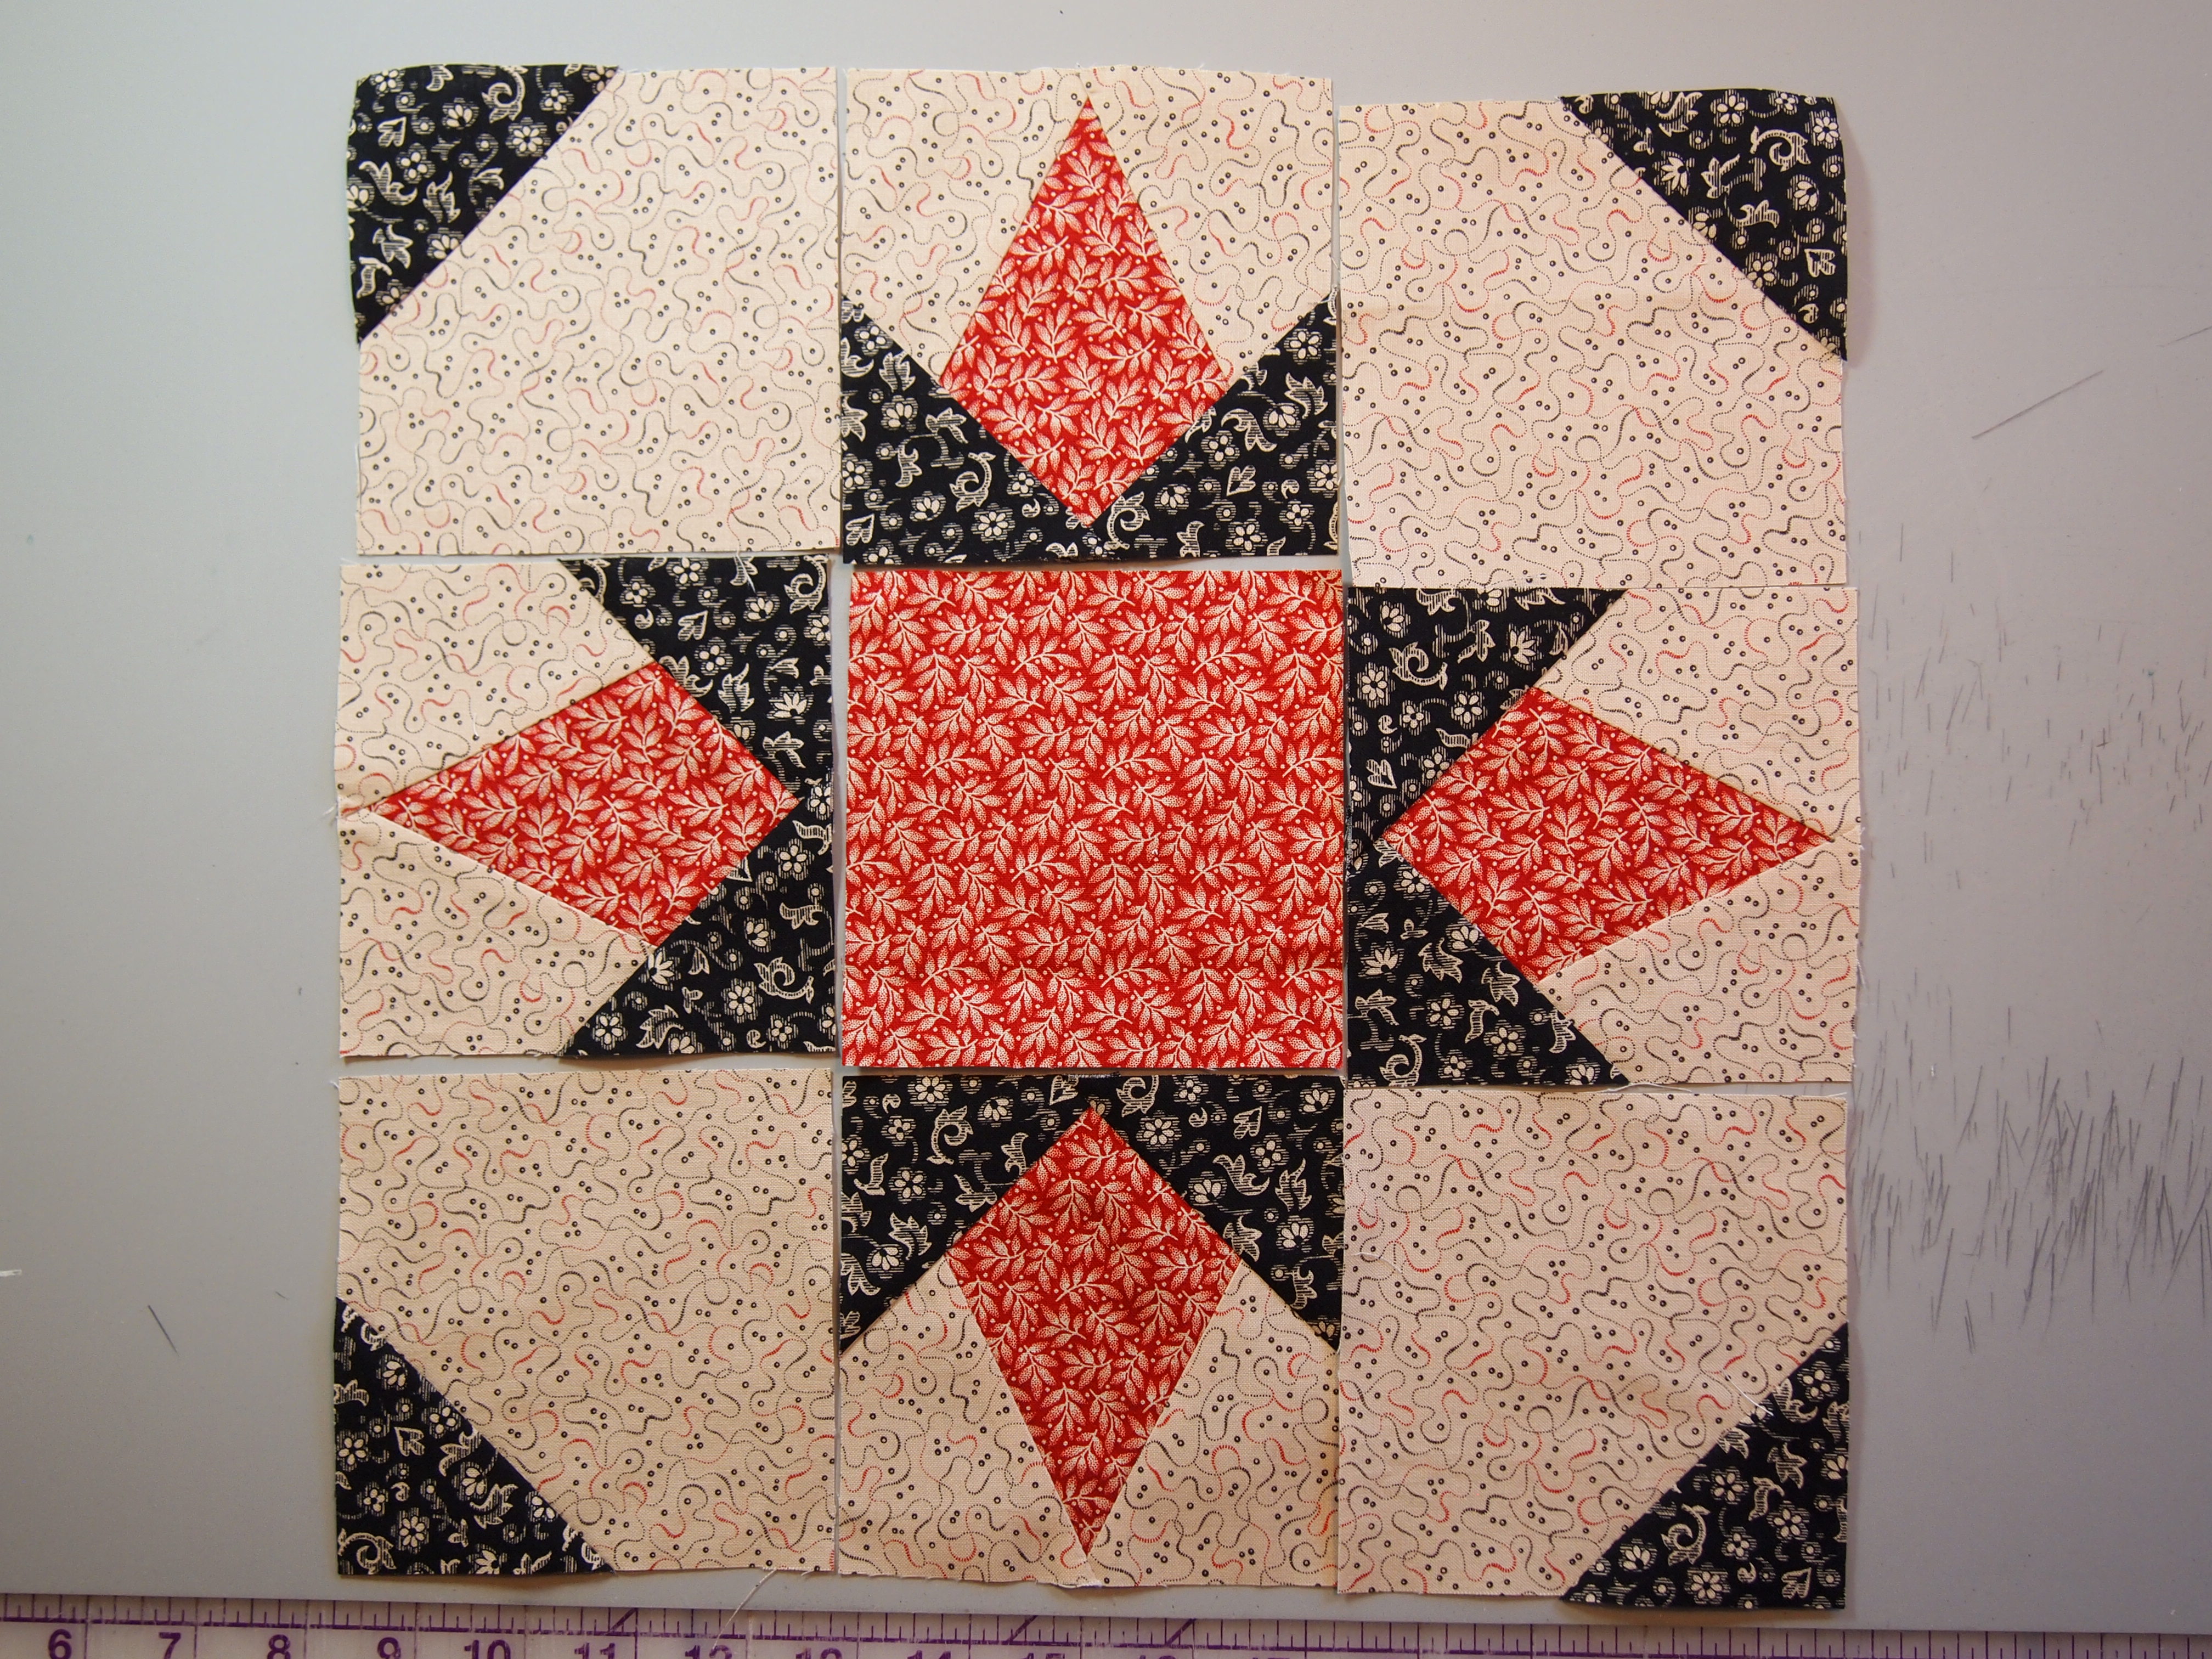
I made the block above using the V Block, Corner Beam and Corner Pop rulers.
04 Michelle H block

Above is a Hunter Star with the corners popped off and a strip added before sewing the popped off corner back on.  This was made by Michelle Hiatt of “Sew on the Go“.  I love what she did.

Below I will describe how to use the Corner Pop ruler:
OLYMPUS DIGITAL CAMERA

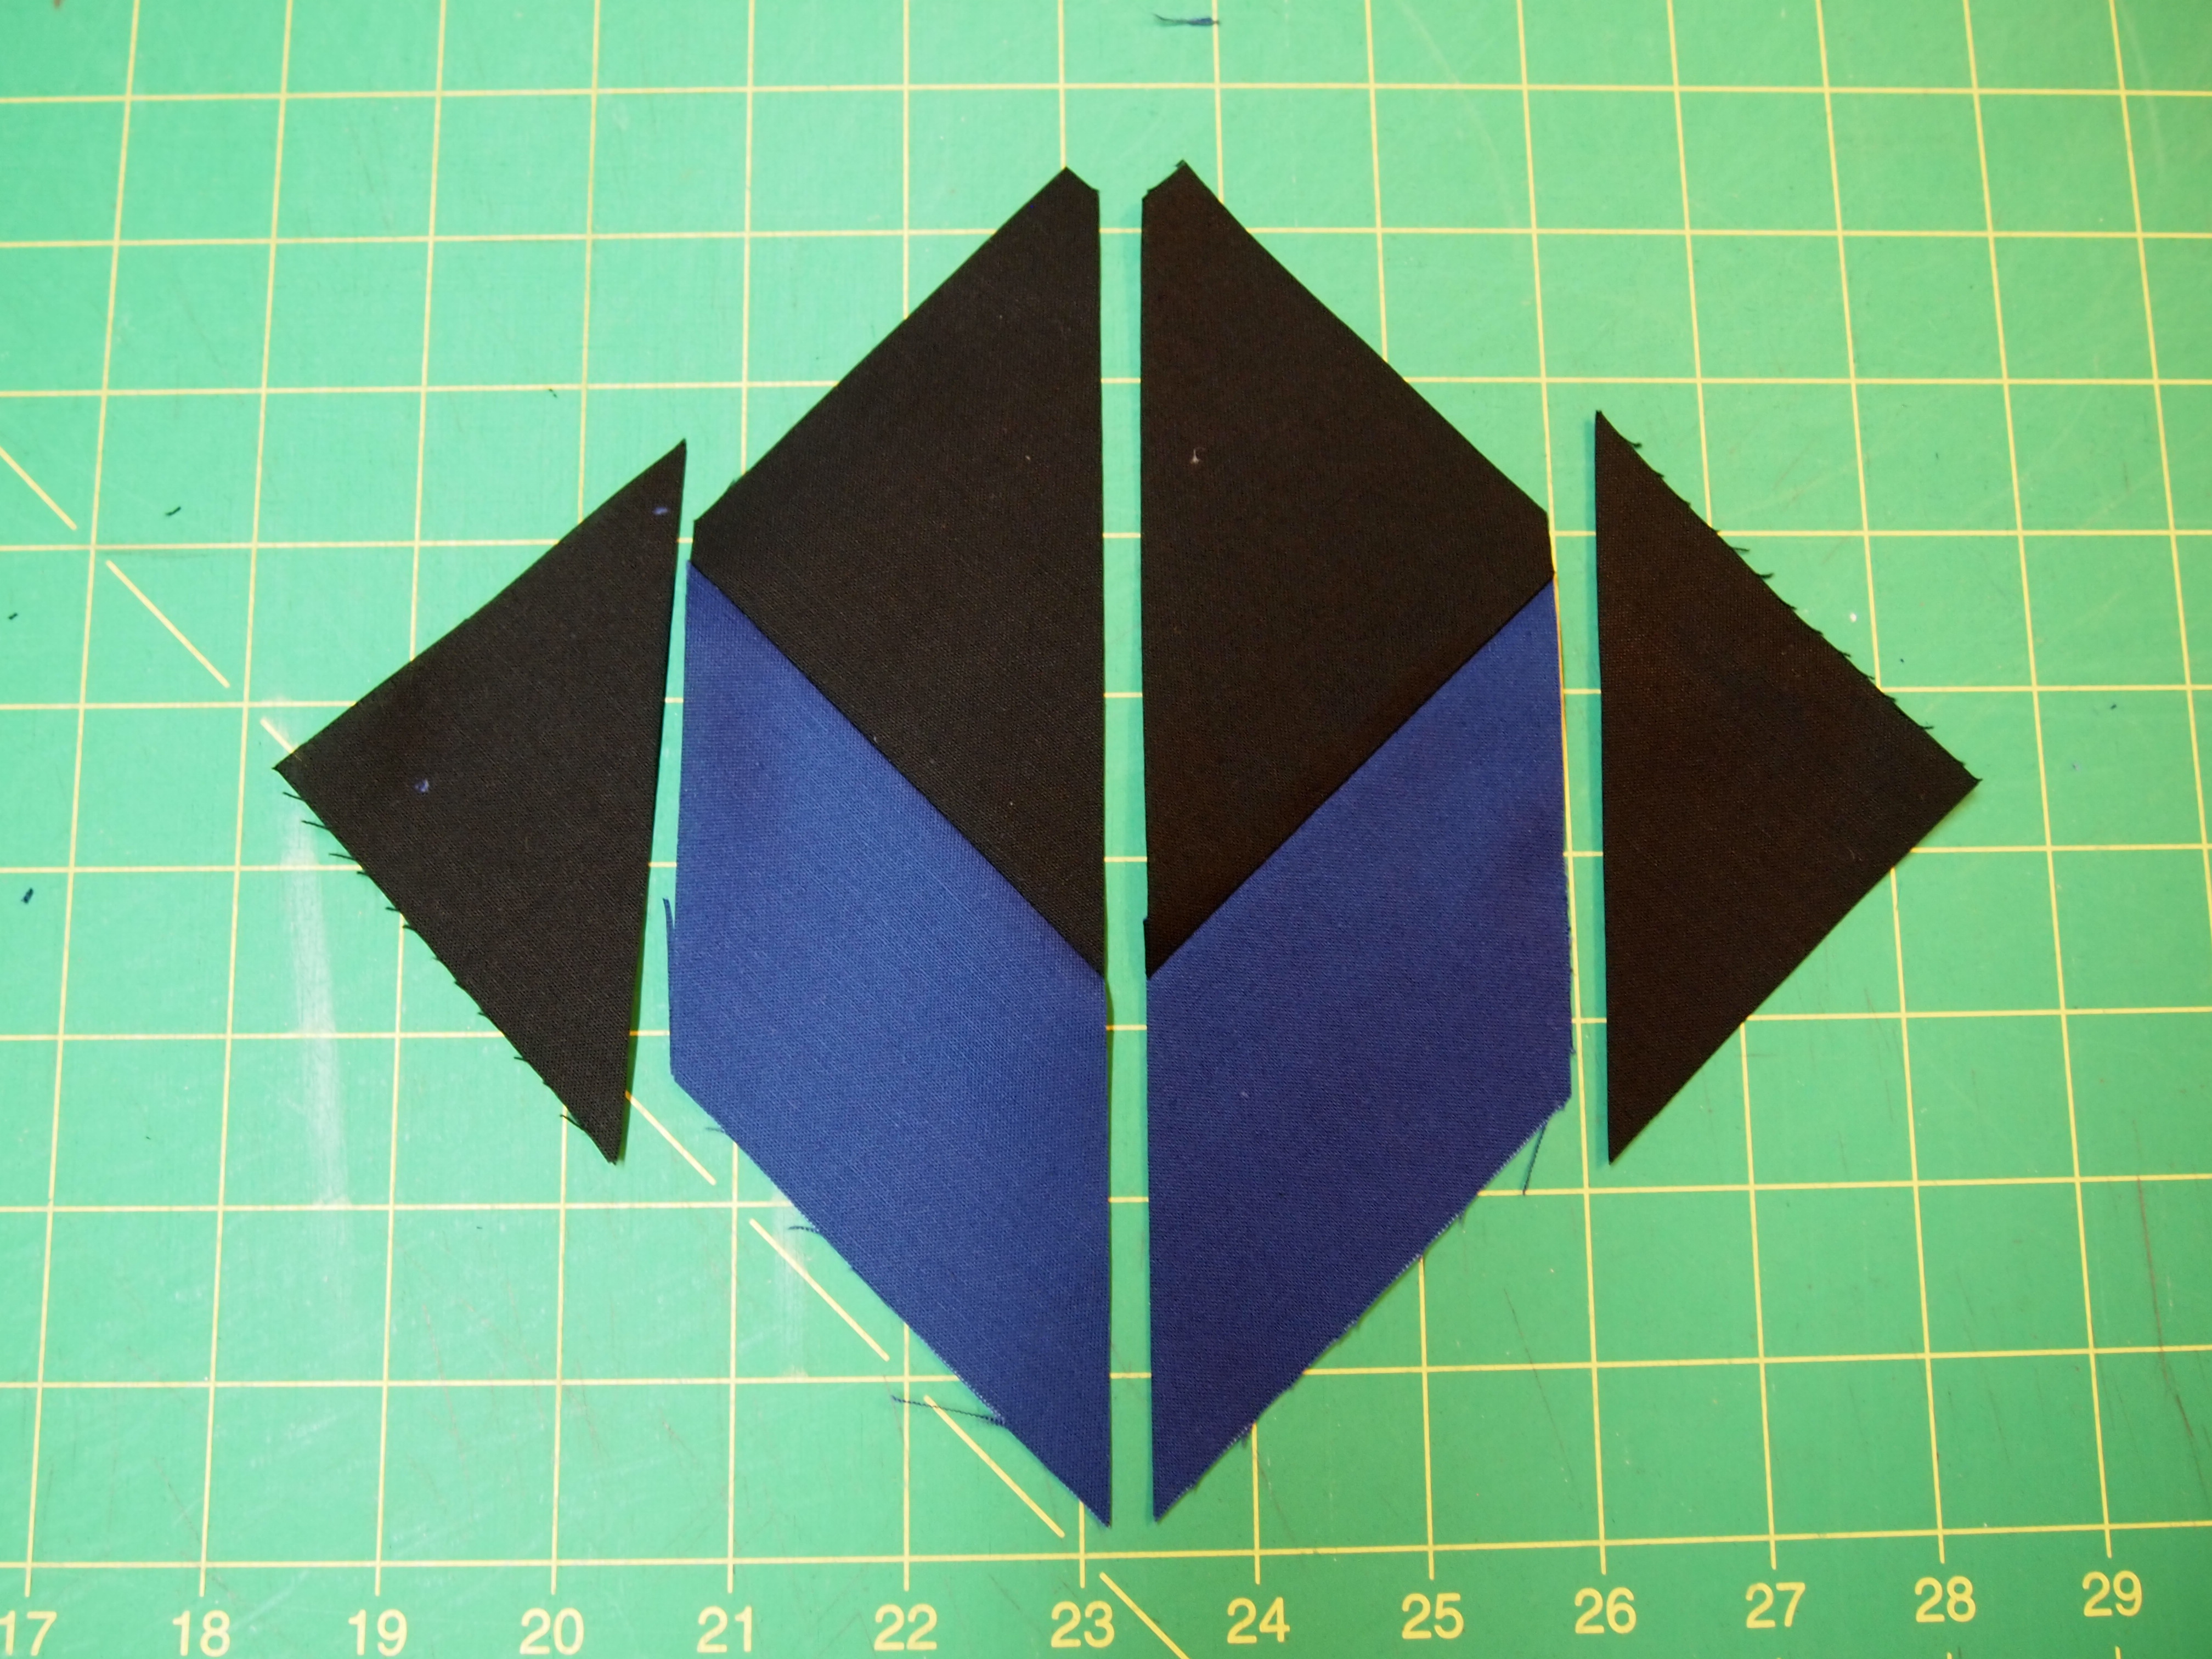
To begin, I made four 4.5″ unfinished V Blocks.
OLYMPUS DIGITAL CAMERA

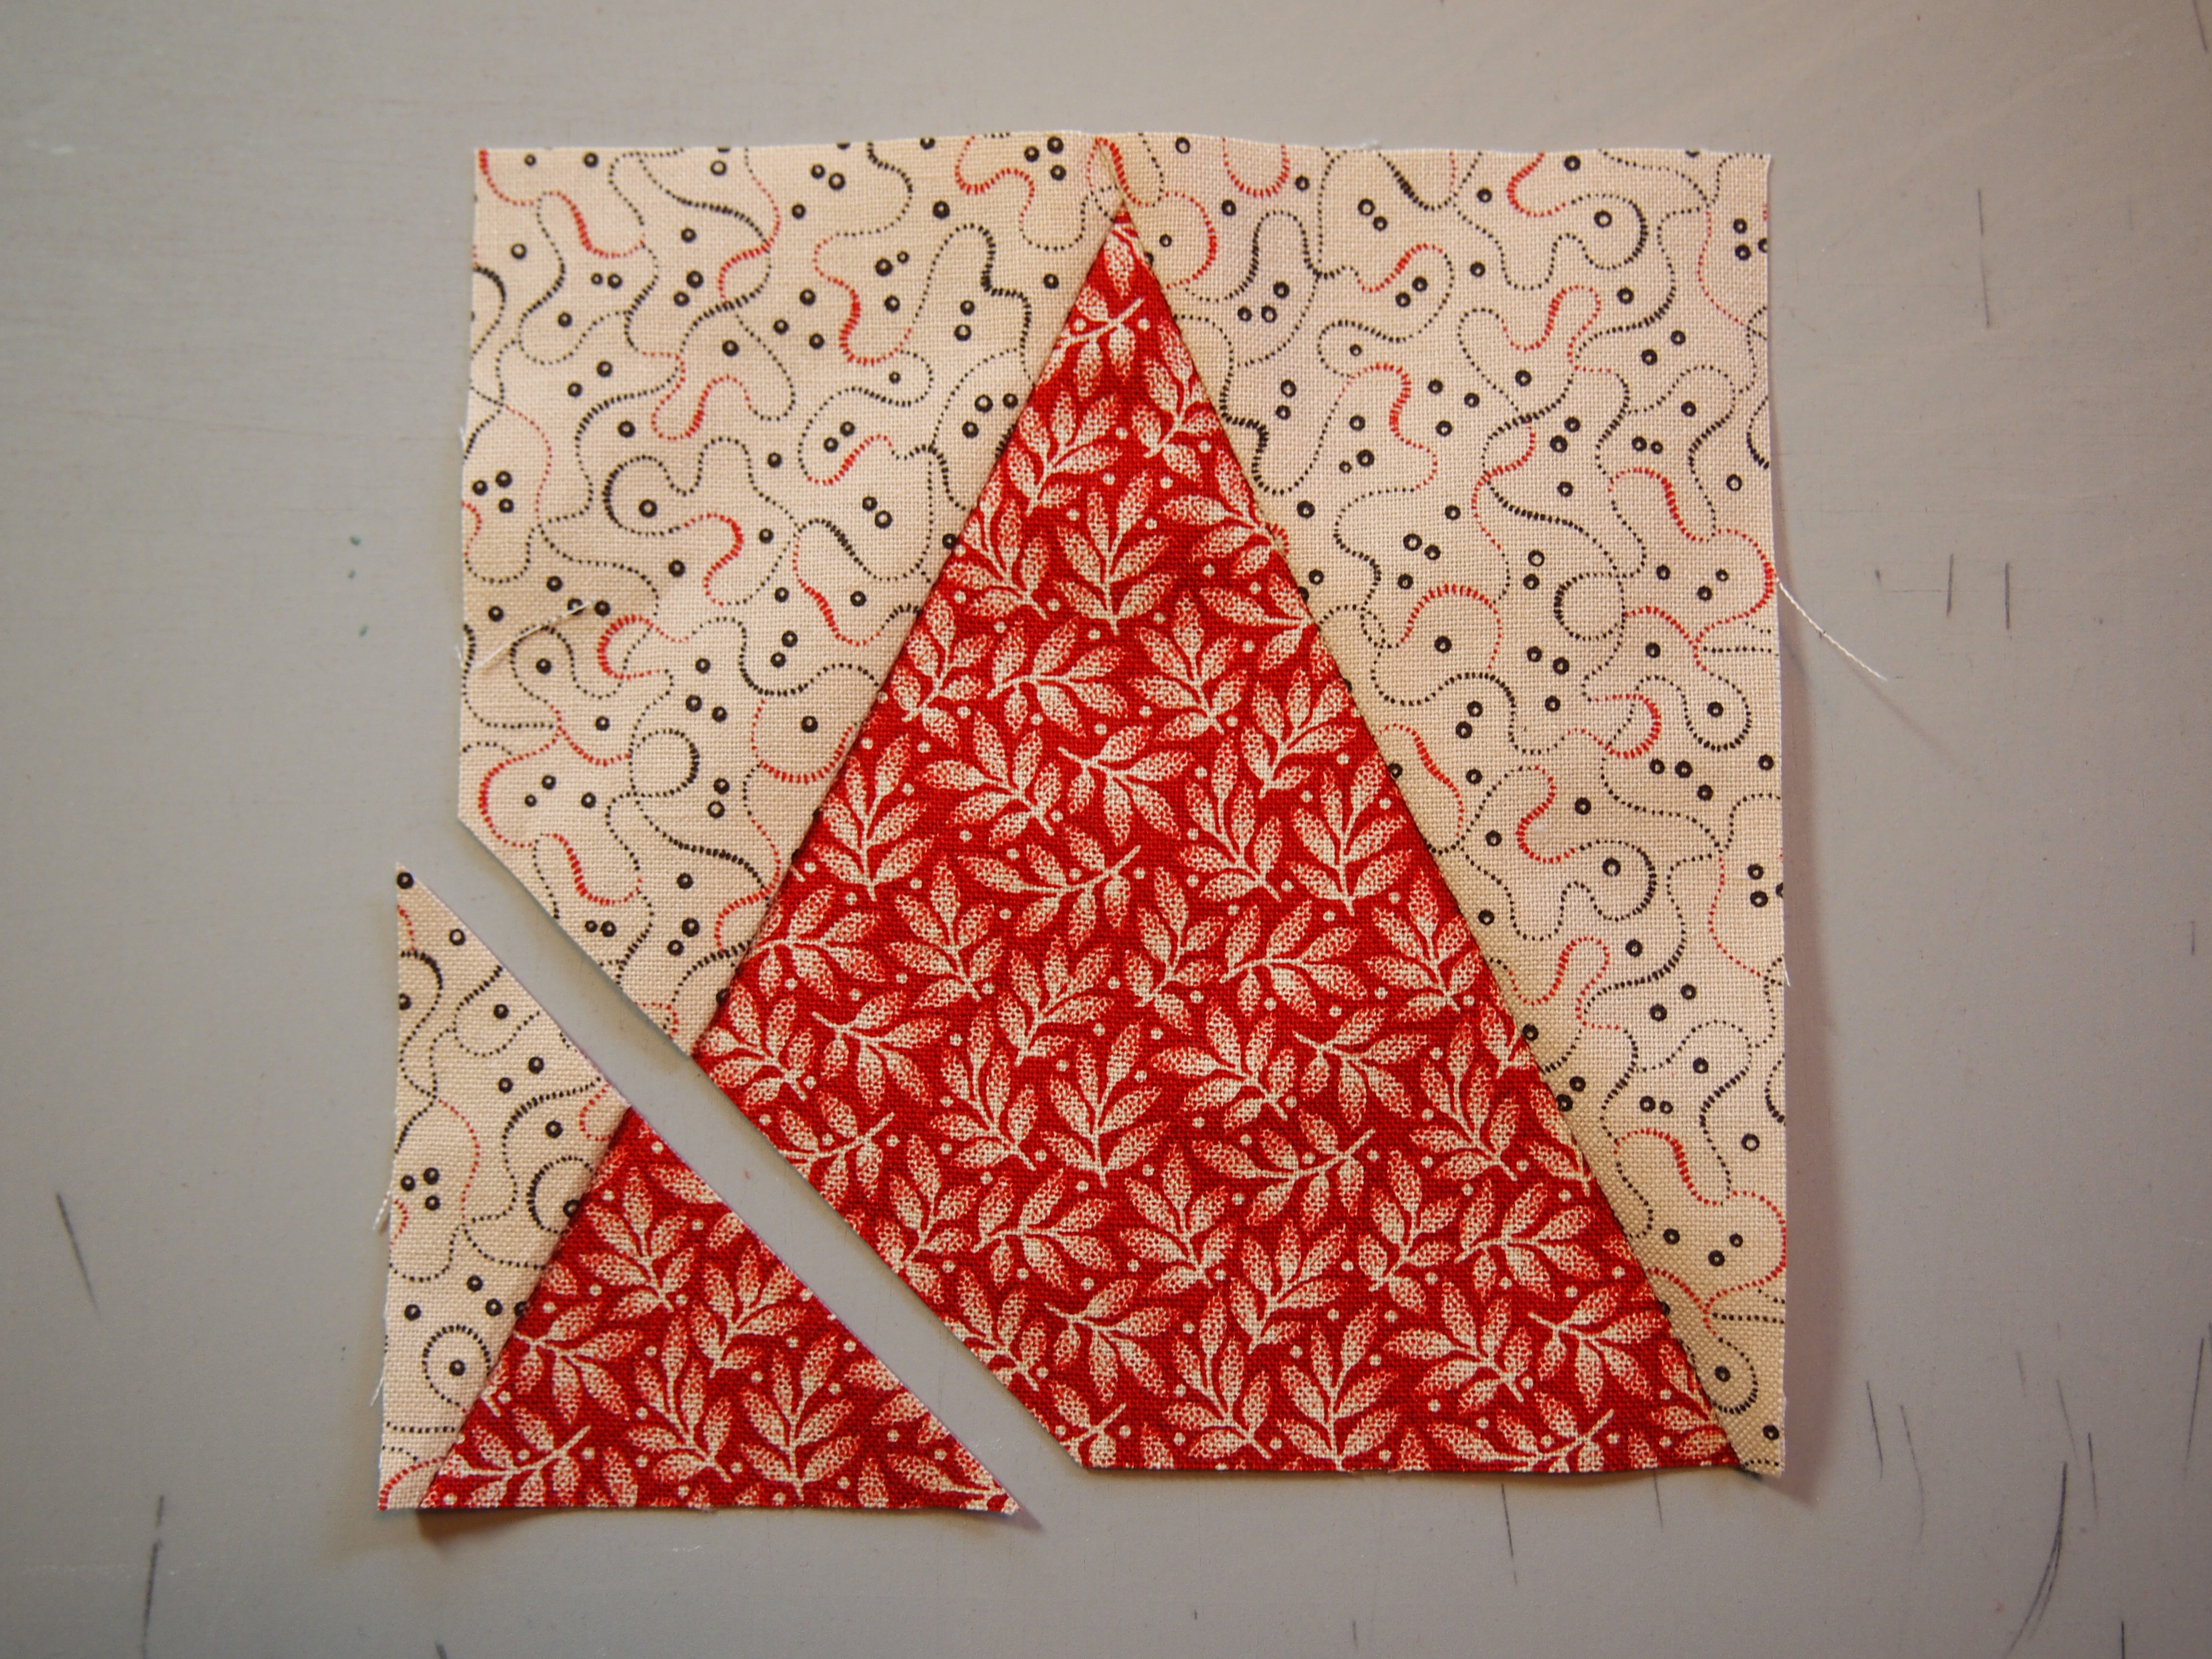
The Corner Pop ruler has measurements for popping off the corner in 1/2″  increments from 1″ to 6″, and 1/2″ increments from 3/4″ to 5 3/4″.  It is also used for trimming down.  To determine how much to pop off divide the “Finished” size of your unit in half.  My V Blocks will finish at 4″, so I place the 2″ line placement on my unit and popped off the corner.
OLYMPUS DIGITAL CAMERA

I then flip the V Block unit over and pop off the second corner.
OLYMPUS DIGITAL CAMERA

What ever size you pop off add 1  1/4″ to that.  I popped off 2″ so 2 + 1  1/4″= 3 1/4″.  I cut four 3 1/4″ squares.
OLYMPUS DIGITAL CAMERA

Cut each square in half diagonally.
OLYMPUS DIGITAL CAMERA

Center a triangle on one side of the Corner Popped  V block and stitch.
OLYMPUS DIGITAL CAMERA

Press toward the triangle.
OLYMPUS DIGITAL CAMERA

Center the 2nd triangle on the other side and stitch.
OLYMPUS DIGITAL CAMERA

Press toward the triangle and trim down using the measurements on the Corner Pop Ruler.
OLYMPUS DIGITAL CAMERA

I cut four 4 1/2″ squares and popped off the corner to make snowball units.
OLYMPUS DIGITAL CAMERA

I cut four more 3 1/4″ squares and cut in half diagonally, and stitched the triangle on the popped off side.
OLYMPUS DIGITAL CAMERA

Press toward the triangle and trim down.
OLYMPUS DIGITAL CAMERA

I cut a 4 1/2″ center block and laid out my units.
OLYMPUS DIGITAL CAMERA

Above is the finished block with the corners popped off the V Blocks and Snowball units WITHOUT DRAWING ANY LINES!

This tool can open up very creative ways to make intricate blocks easily.  Woo Hoo!

Northern Neighbors

Northern Neighbors
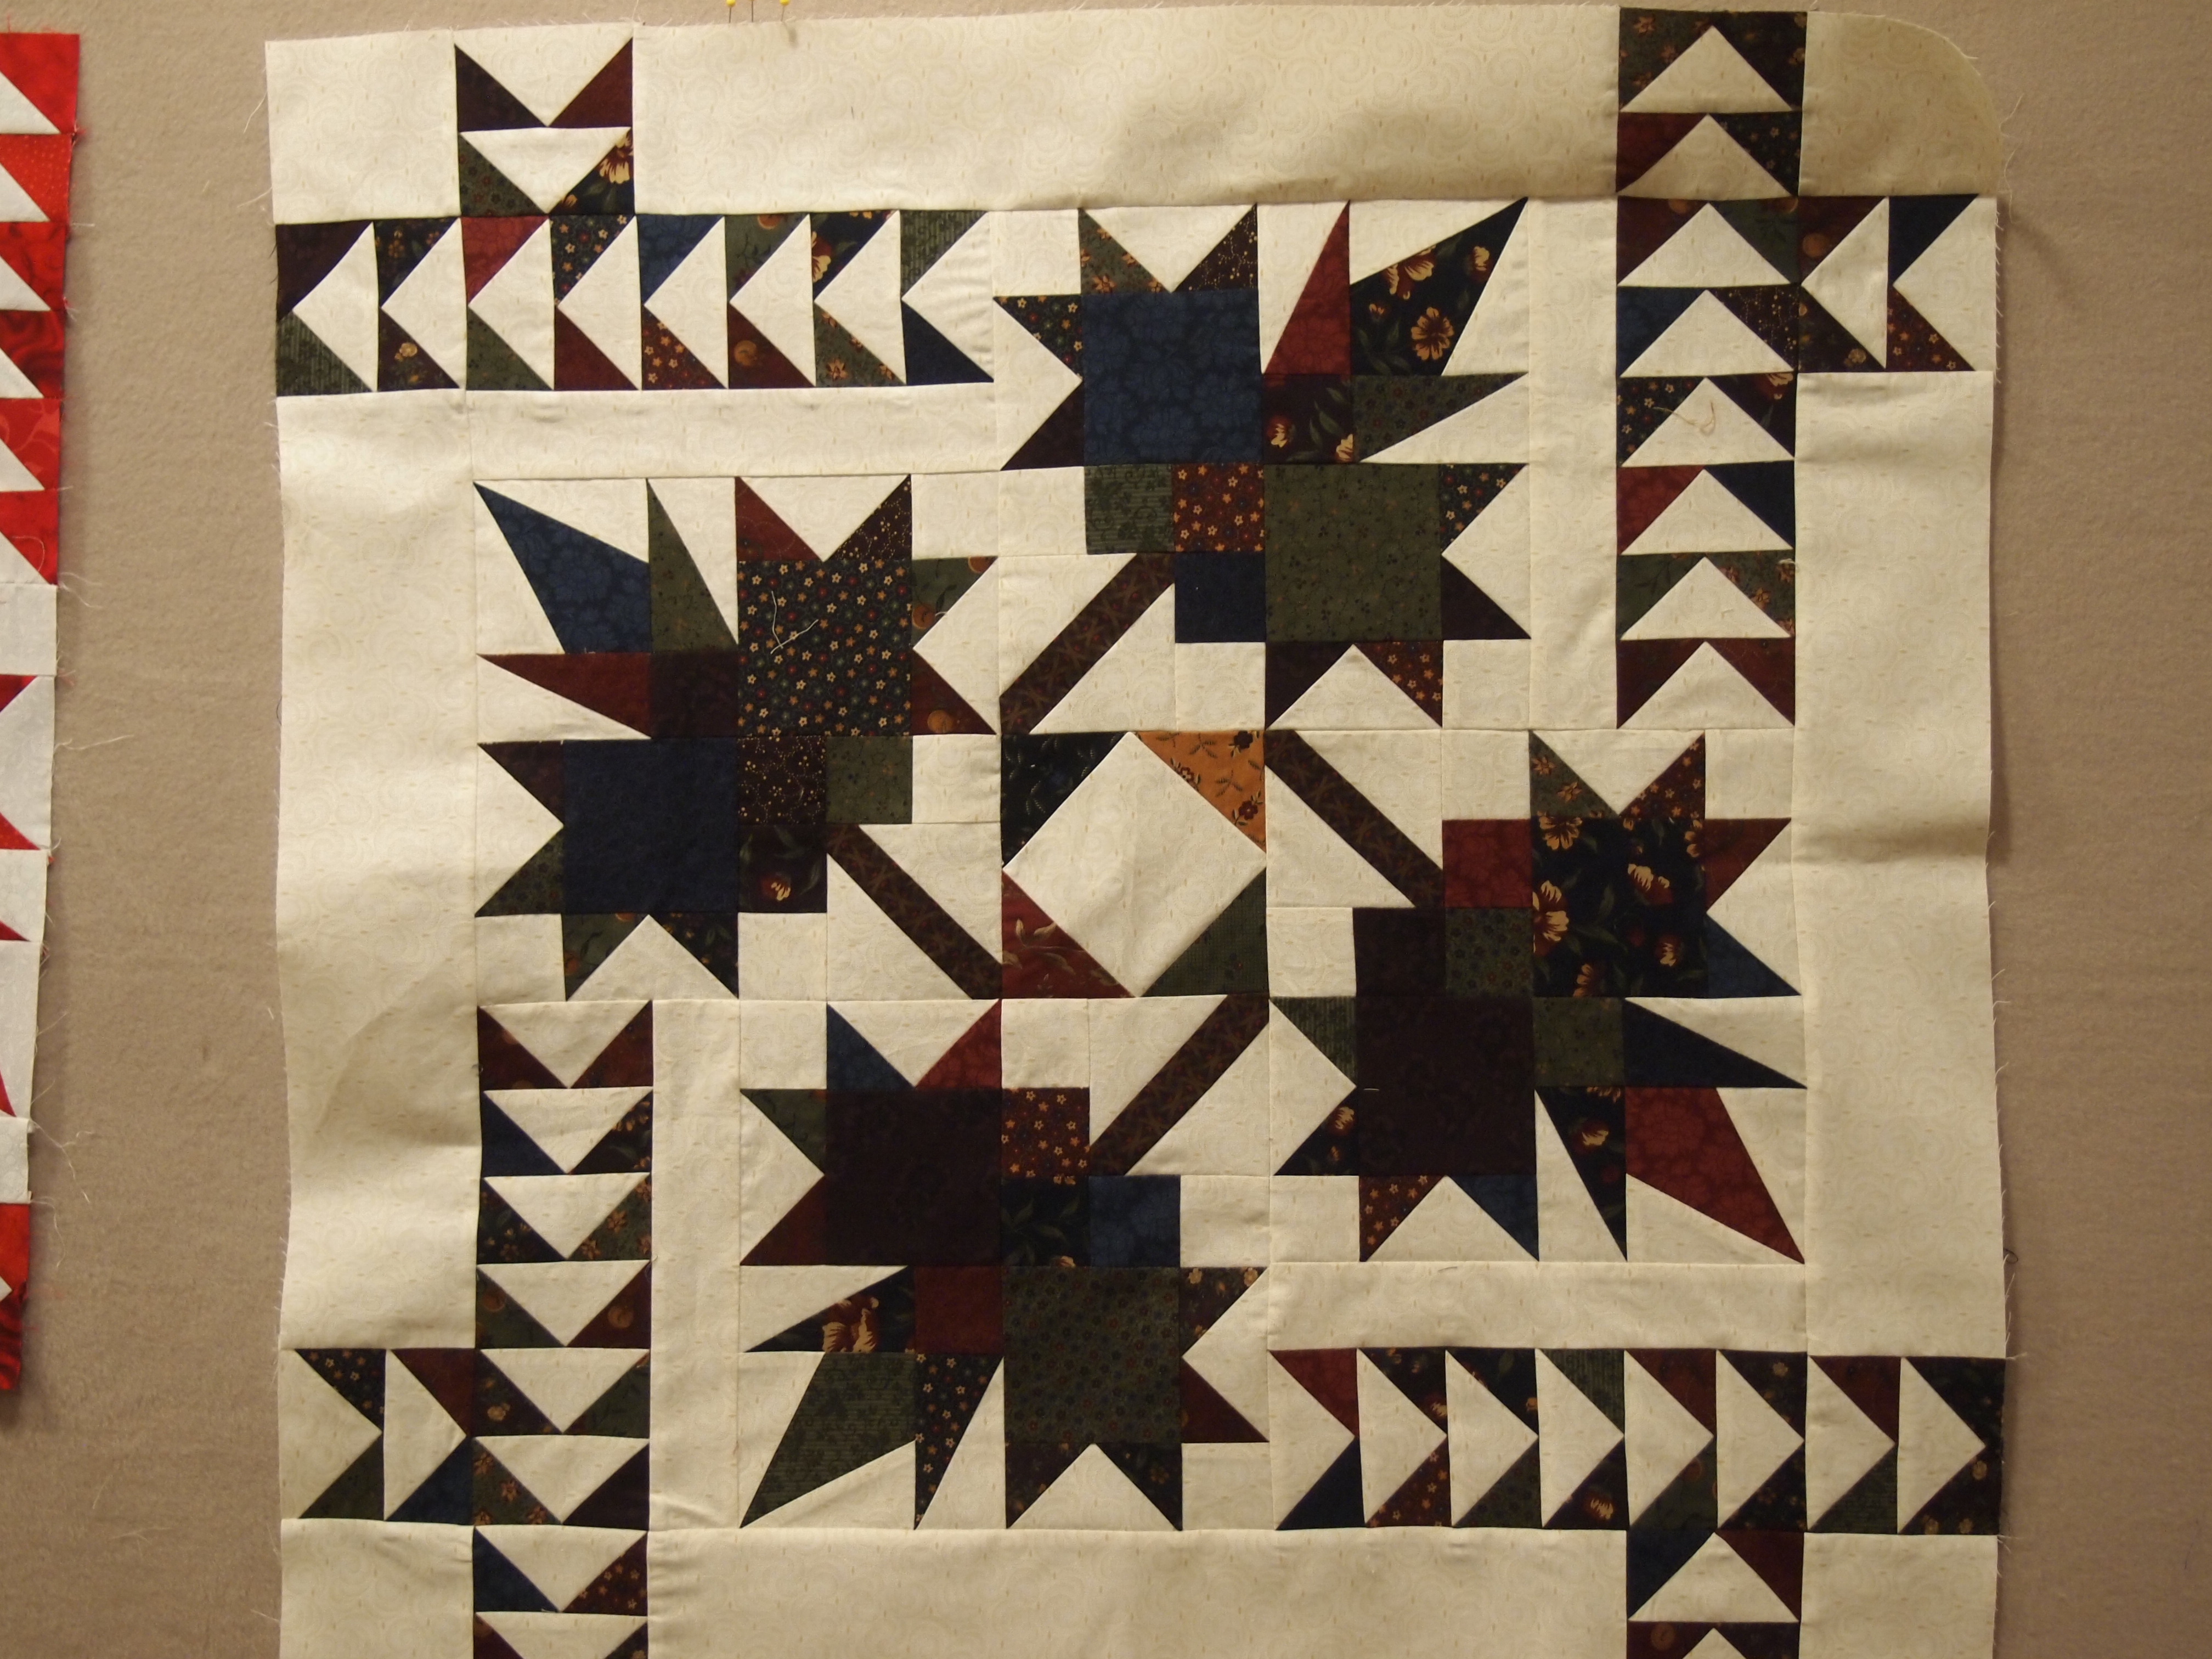
This is Deb Tucker’s new pattern she is calling Northern Neighbors. She has not decided how to finish the border yet. But it is stunning! We just had our Studio 180 Design Certified Instructor’s reunion and we got the chance to work on this pattern. Deb hopes to release it in May 2014.  This pattern uses Studio 180 Design Split Rects, Wing Clipper I, Corner Beam.  The diamond in a square block can also be made with Deb’s new tool called “Corner Pop”, more on that new tool later.

OLYMPUS DIGITAL CAMERA
Above are some of the instructor’s version of Northern Neighbors.

OLYMPUS DIGITAL CAMERA
These are Dan’s blocks. Dan and his wife own “Threads Galore Quilt Shop, in Rangeley Maine.

OLYMPUS DIGITAL CAMERA
This is Phyllis’ version using Kansas Troubles.

05 Donna NN
Donna’s are so beautiful using batiks.  I’m working on mine, I am using reds and white.  I’ll share when I get it put together.