Tag Archives: Hobbs Batting

Artsy Fartsy

The fabrics in this post were given to me by Island Batik.

The mission: Use any fabric art/non-traditional quilting/sewing/thread painting technique using 3 Aurifil thread weights. In my infinite wisdom, I chose thread painting (sigh).

About 10 years ago I took a thread painting class from Nancy Prince. She is a wonderful quilt artist.

As usual I get organized with paper plates!

I started by creating my background of land and sky and pinning it to a light weight stabilizer. I traced mountains onto Steam A Seam II to add to the country scene.

I outlined the mountains with Aurifil 12 weight.

I added a path and stitched the edges with Aurifil 30 weight.

I traced my tree onto a water soluble stabilizer, positioned and pinned it to the quilt top. I used Aurifil 28 weight, lowered the feed dogs, adjusted the upper tension, attached the open toed quilting foot and began thread painting the tree trunk until it was filled in. I changed thread to a dark green Aurifil 12 weight and outlined the tree and lightly filled it in. I changed the thread to a lighter green Aurifil 50 weight and finished thread painting the tree.

I traced the pine trees onto water soluble stabilizer, changed the thread to a dark green Aurifil 12 weight and thread painted my pine trees.

I used Hobbs Thermore batting for the quilt sandwich and attempted to quilt the sky with Aurifil 12 weight. Of course I had to add a little quilt to my country scene. My skills as a thread painter may be questionable, but Aurifil thread performed absolutely beautifully. It was strong, no breakage and hardly any lint. My project measure 13″ x 15″.

#islandbatik #Aurifilthreads #HobbsBatting

Lemoynes Lost in Space

Make It Modern

The products and fabrics shown in this post were given to me by Island Batik.

The Island Batik Ambassador’s challenge for May is to “Make It Modern”!  The Modern Quilt Guild defines ‘modern” as use of bold colors and prints, high contrast and graphic areas of solid color, improvisational piecing, minimalism, expansive negative space and alternative grid work.  I think I did pretty good.

I decided to make Lemoyne Stars.  Deb Tucker’s Rapid Fire Lemoyne Star tool was the very first Studio 180 Design tool I used and is one of my favorites!  This tool makes Lemoyne stars in 10 sizes from 3″ to 12″ blocks.

I went to my EQ8 and began to design.  The drawing above on the left shows the layout for the Lemoyne stars.  The drawing on the right with blue indicates the background I had to fill in.  I chose to use the “Add a Plain Block” option.  This allows me make a block the same size as the quilt center, color it, and move it to the back, behind the stars to fill in the blank spaces.  I also could have used the “Paintbrush” option to color in the background.   However, this does not give me the fabric sizes to cut.

I made my 10 different lemoyne stars and went to the design wall.  I worked on the right side first.  I measured and added a background rectangle to the left and above the green 11″ star.  I then added a rectangle to the blue 10″ star so it was the width as the 11″ star above it.

I continued on, adjusting and measuring, adding background fabric, piecing, tying it all together.

Somehow I couldn’t quite maintain the smooth circle.

acs_0016

I guess my stars are ricocheting instead of swirling!

I decided to quilt using a tight meander around the stars and then stitch in the ditch through the seams of the stars so they have a 3D effect.  I used the Hobbs Tuscany Cotton Wool Blend to give the stitches great definition.

acs_0011-2

AND then I liked it better turned upside down, so I flipped it!  Lemoynes Lost in Space measures 40″ x 50″.

The background of my quilt is a black batik from Island Batik, it really makes the colors pop!

acs_0021

Happy Spring!  As always my quilts are pieced with Aurifil thread.  If you want your stars to shine use Island Batik fabrics and your quilt colors will sing!

#islandbatik #Aurifilthread #Hobbsbatting #HobbsTuscanyCottonWoolBlend #DebTucker #studio180design #RapidFireLemoyneStar

Gender Neutral Color Palooza

Baby Quilt

The products and fabrics used in this post were given to me by Island Batik.

I’m so lucky to be an Island Batik Ambassador!  Especially this year.  This year Island Batik has partnered with Accuquilt!  We were given an Accuquilt Go Cutter and dies.  I received the Mix & Match 8″ Block set of dies (Go Cube!).  We were tasked with creating a Baby Quilt.

acs_0010

This set includes 8 dies & 13 block patterns.  With these dies you can make 72 different block designs! Wowza!

I chose my blocks and started designing in EQ8 to see what it would look like.

Gender Neutral Color Palooza

When I was satisfied with the fabrics and balance I started cutting.

img_2440

I pulled my Island Batik fabrics and started with the Diamond Star Block Pattern.

img_2441img_2442img_2444

I needed 8 side triangles for my flying geese units, so I folded my fabric into quarters,  centered it over the die, placed the cutting mat on top and rolled it through the cutter. Presto – 8 side triangles.

acs_0006

Now this is a fun “Gender Neutral Color Palooza” Baby Quilt!  It measurers 38″ x 56″.  It was lovingly pieced with Aurifil Thread, filled with Hobbs Heirloom Premium Cotton Batting and creatively cut with my Accuquilt Go Cutter!  Not to mention these fabulous colorful fabrics from Island Batik!

#islandbatik #Aurifilthread #Hobbsbatting #Accuquiltgocutter #GoCube

Bear Paws – Vintage Reimagined

The fabrics in this post were given to me by Island Batik.

Vintage Reimagined

Island Batik Ambassador assignment for March is “Vintage Reimagined”.  Hmmmm, I had several ideas, some just didn’t work out.  I started to look through my quilt book library.  I picked up Harriet Hargraves’ Heirloom Machine Quilting book.  I was intrigued by a small quilt, 35″ x 35″ called Bountiful Vineyard by Joanie Poole.  Turns out Joanie Poole teaches heirloom quilting.  This is ironic (more on this later).

bountiful-vineyard-poole-225x225

img_2309

I chose to use the Snow Berry collection, simple gorgeous.  I went to my EQ8 and started drawing.

Once I created the block I could also figure out the quilt layout.  I love this block!

First I made the Bear Paw unit.  I used Deb Tucker’s “Eight at a Time” Technique Sheet to make fast work of 80 Half Square Triangles.

Then add the side rectangles.

Pop off the corner of the rectangles using the Studio 180 Design Corner Pop tool.

Add replacement triangles according to the tool instructions and trim.  Easy peasy, the Corner pop tool trims the corner & leaves the seam allowance so adding the replacement triangle is accurate with plenty to perfectly trim.

Stitch the corner popped rectangles to the bear paw unit.  Make 20 – 10″ finished blocks.

I laid it out on my design wall, stitched it together and added the borders.

img_2372

I usually meander my quilts on my Nolting mid arm, but this time I decided to quilt each quarter diagonally with all seams going toward the center with my domestic Bernina 570.  It seemed like a good idea.  I have never tried this on a large quilt.  Bear Tracks measures 70″ x 70″.  I stitched in the ditch down the center vertically and horizontally.  Then corner to center diagonally.  Then stitch in 1/2″ increments, first to the left of the center diagonal then to right.  I did this in each quarter stopping at the inner border.  What I didn’t realize was how much this close stitching would shrink the center of the quilt, making the borders very wavy.  I loaded Bear Tracks onto my quilt frame and meandered the borders to try and shrink them down.  It helped a little but the edges of my beautiful quilt are wavy. Drat!

acs_0003
Bear Tracks is wavy, but oh so cuddly.  I love it!  I think I need a quilting class from Joanie Poole!

This quilt was pieced and quilted with Aurifil thread and finished with Hobbs batting.

Click here for Bear Tracks Quilt Supply List .

#islandbatik #aurifilthreads #hobbsbatting #studio180design #debtucker #joaniepoole #cornerpoptool #eightatatime

Magnificent Mini’s

The products shown in this post were given to me by Island Batik.

Magnificent Minis

Our assignment for February was to create a “Magnificent Mini” using any technique we chose.  The only criteria was the size: 24″ x 24″ or smaller.  It seems I’m always collecting quilt blocks for hearts and Christmas Trees. The first thing I do is fire up my EQ8 and start drawing.

Last year I made a heart mug rug.  The drawing above consists of mirror image split rects and two squares that have had the corners popped using Studio 180 Design Split Rects & Corner Pop tools.

Magnificent Mini 2

These hearts are made from a large flying geese and two smaller flying geese.  I used Studio 180 Design’s Wing Clipper I, Tucker Trimmer I & Square/Squared tools.  Click here for the fabric requirements for Hearts Abound Mini.

The center block contains:

1 – 6″ finished Square/Squared

4 – 3″ x 6″ finished flying Geese

8 – 1 1/2″ x 3″ flying geese

4 – 3″ finished Half Square Triangles

4 – 2″ x 6 1/2″ red rectangles

4 – 3 1/2″ x 6 1/2″ background rectangles

4 – 3 1/2″ background squares

acs_0004

I added 2″ finished borders with 2″ finished Square/Squared units for the cornerstones.  Hearts Abound measures 22″ x 22″.

img_2393

My Hearts Abound Mini was made from Island Batik fabric, with Hobbs 80/20 cotton batting. Pieced and quilted with Aurifil thread.

#islandbatik #hobbsbatting #aurifilthread #studio180design

Island Batik Ambassador Box Opening 2019

It’s that time again, a new year of challenges from Island Batik.  I’m blown away by the generosity of Island Batik, Aurifil, Hobbs Batting and Accuquilt Go Cutter!  We have some great projects to share with you this year.  I’m almost done with February and March’s challenges and can’t wait to share.  Here is a video of all the products given to me as an Island Batik Ambassador:

Thank you Island Batik!

The Reveal of Island Batik Box 2

I received my 2018 Box 2 from Island Batik and decided to video the reveal to share with you.  Thank You Island Batik, Aurifil & Hobbs for your generosity.

#islandbatik #islandbatikambassador  #Aurifil #hobbsbatting

Mini Love

As an Island Batik Ambassador the products featured in this post were given to me by Island Batik.

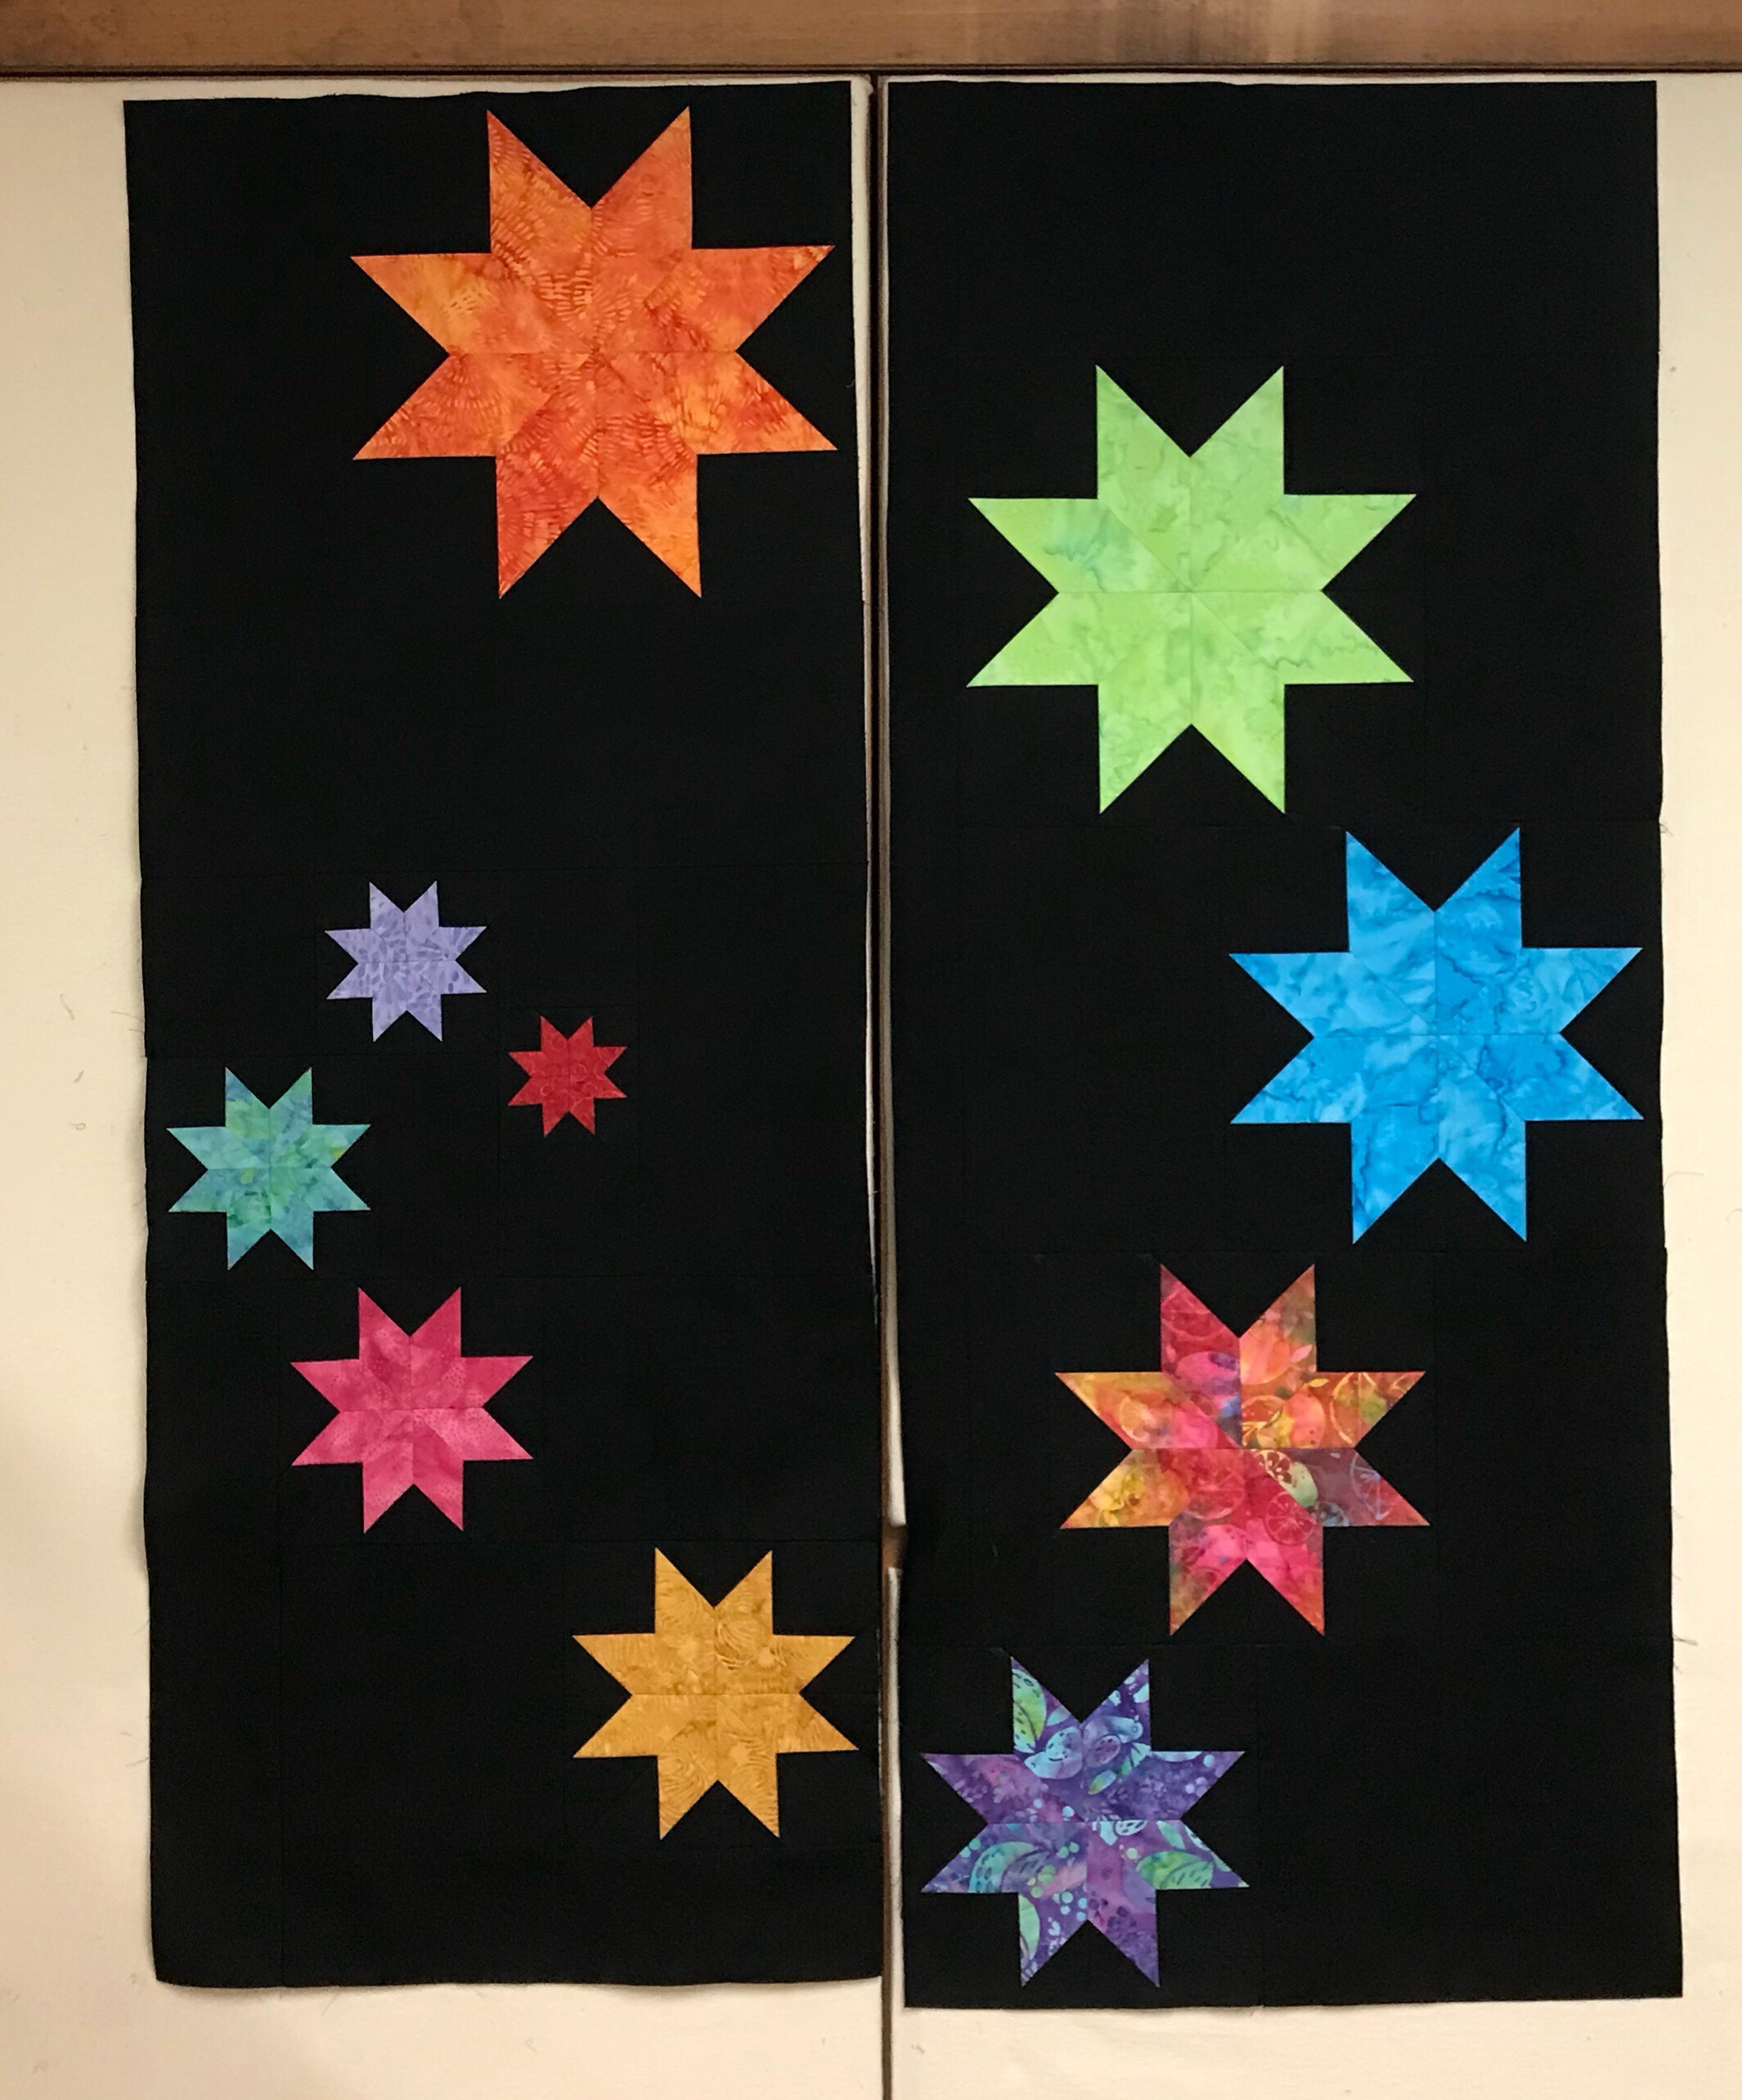
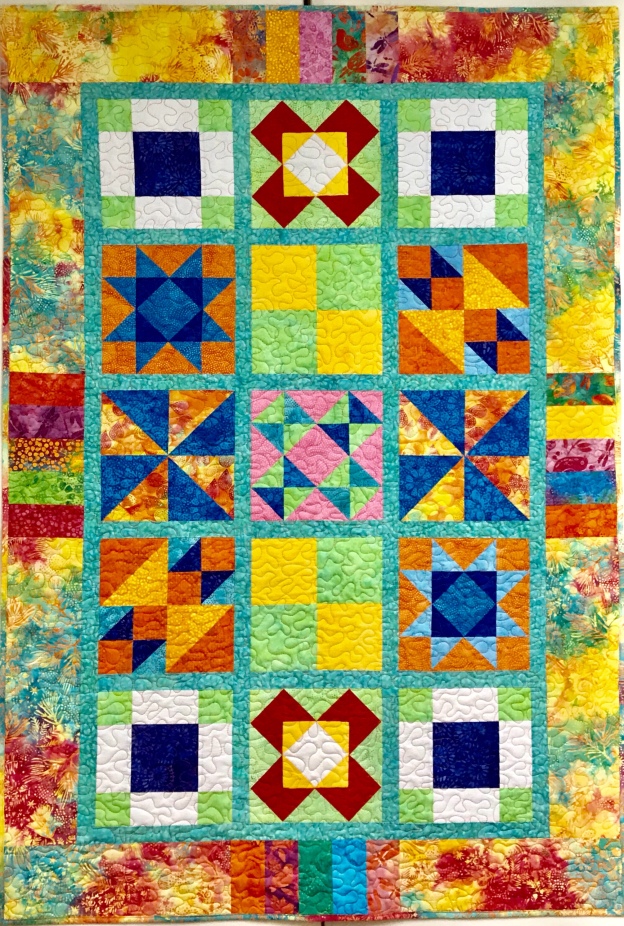
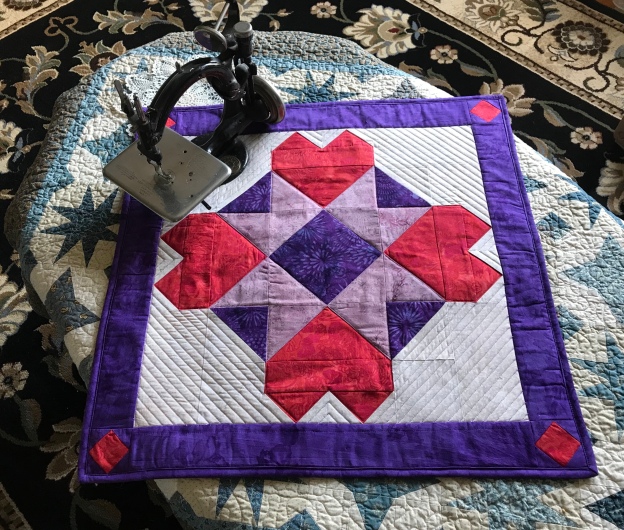
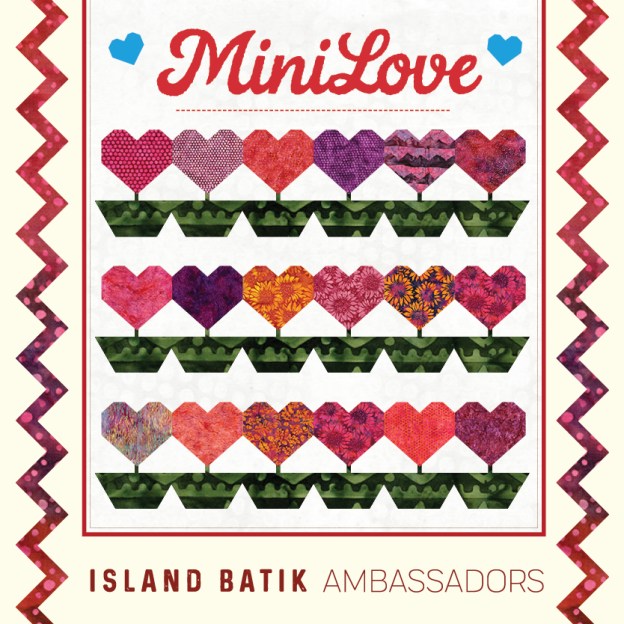
Do you like mini quilts?  Part two of Island Batik’s Ambassador February assignment was to make a mini quilt 24″ square or smaller.  I chose a simple block.

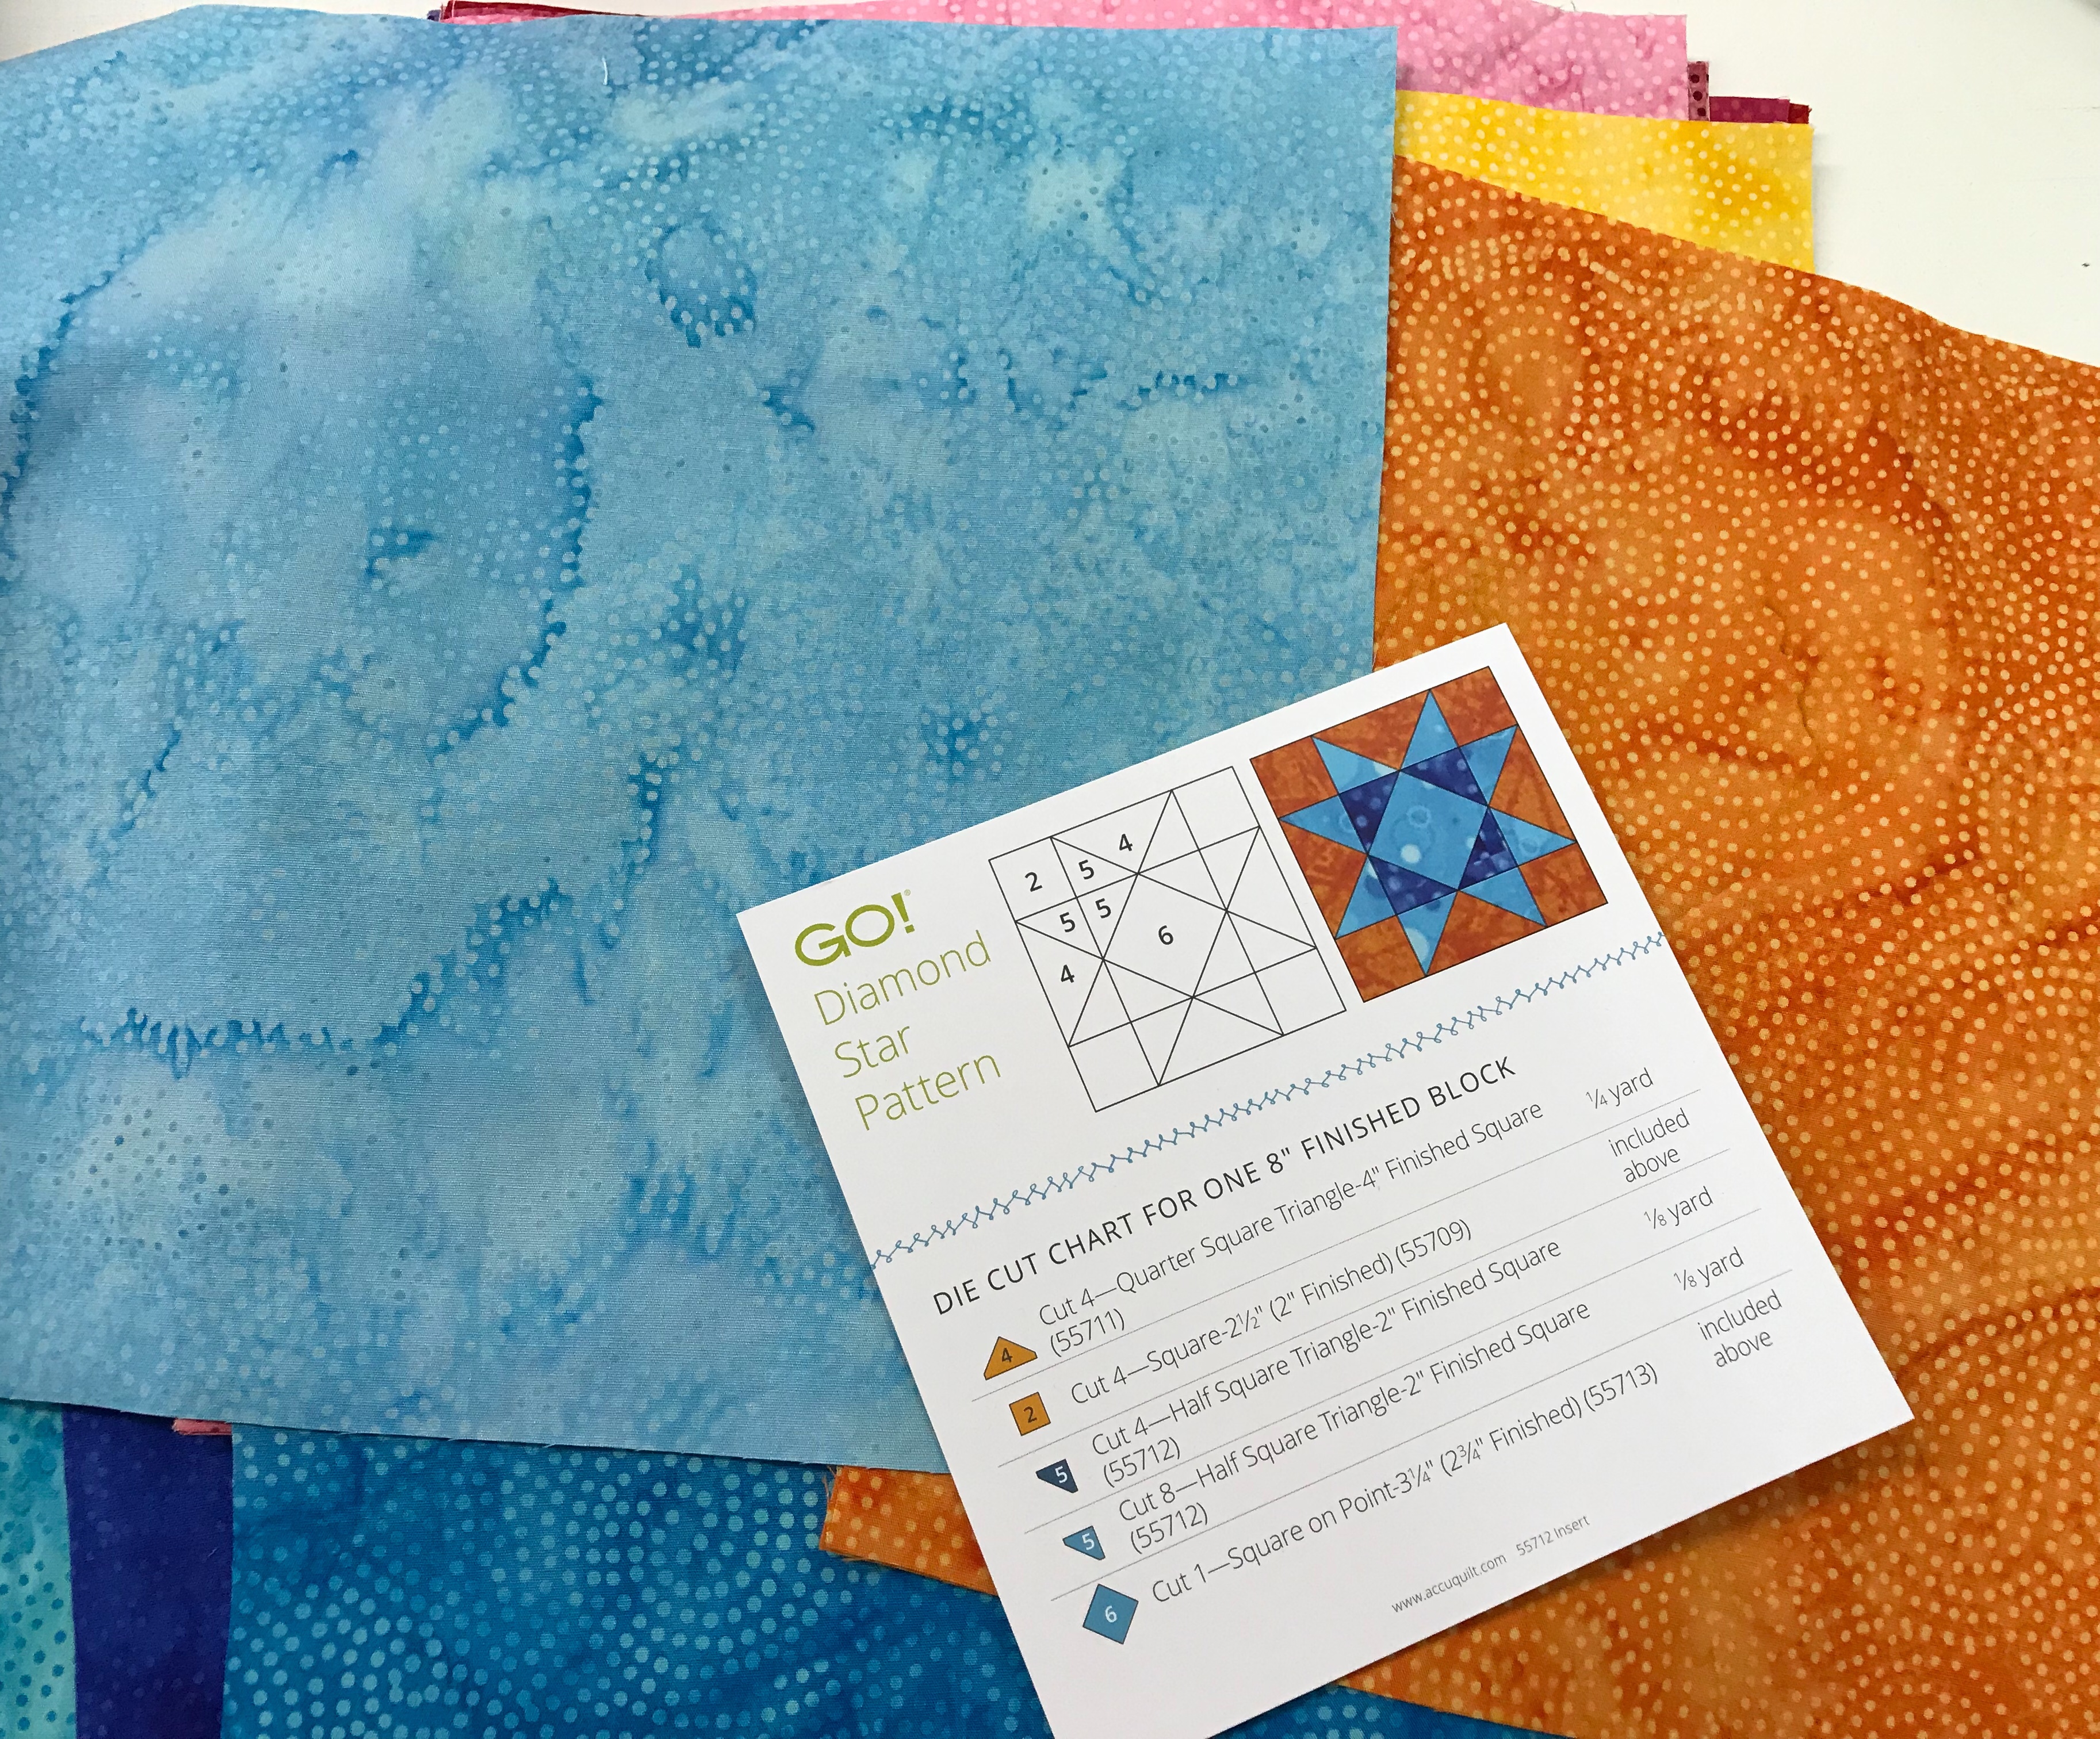
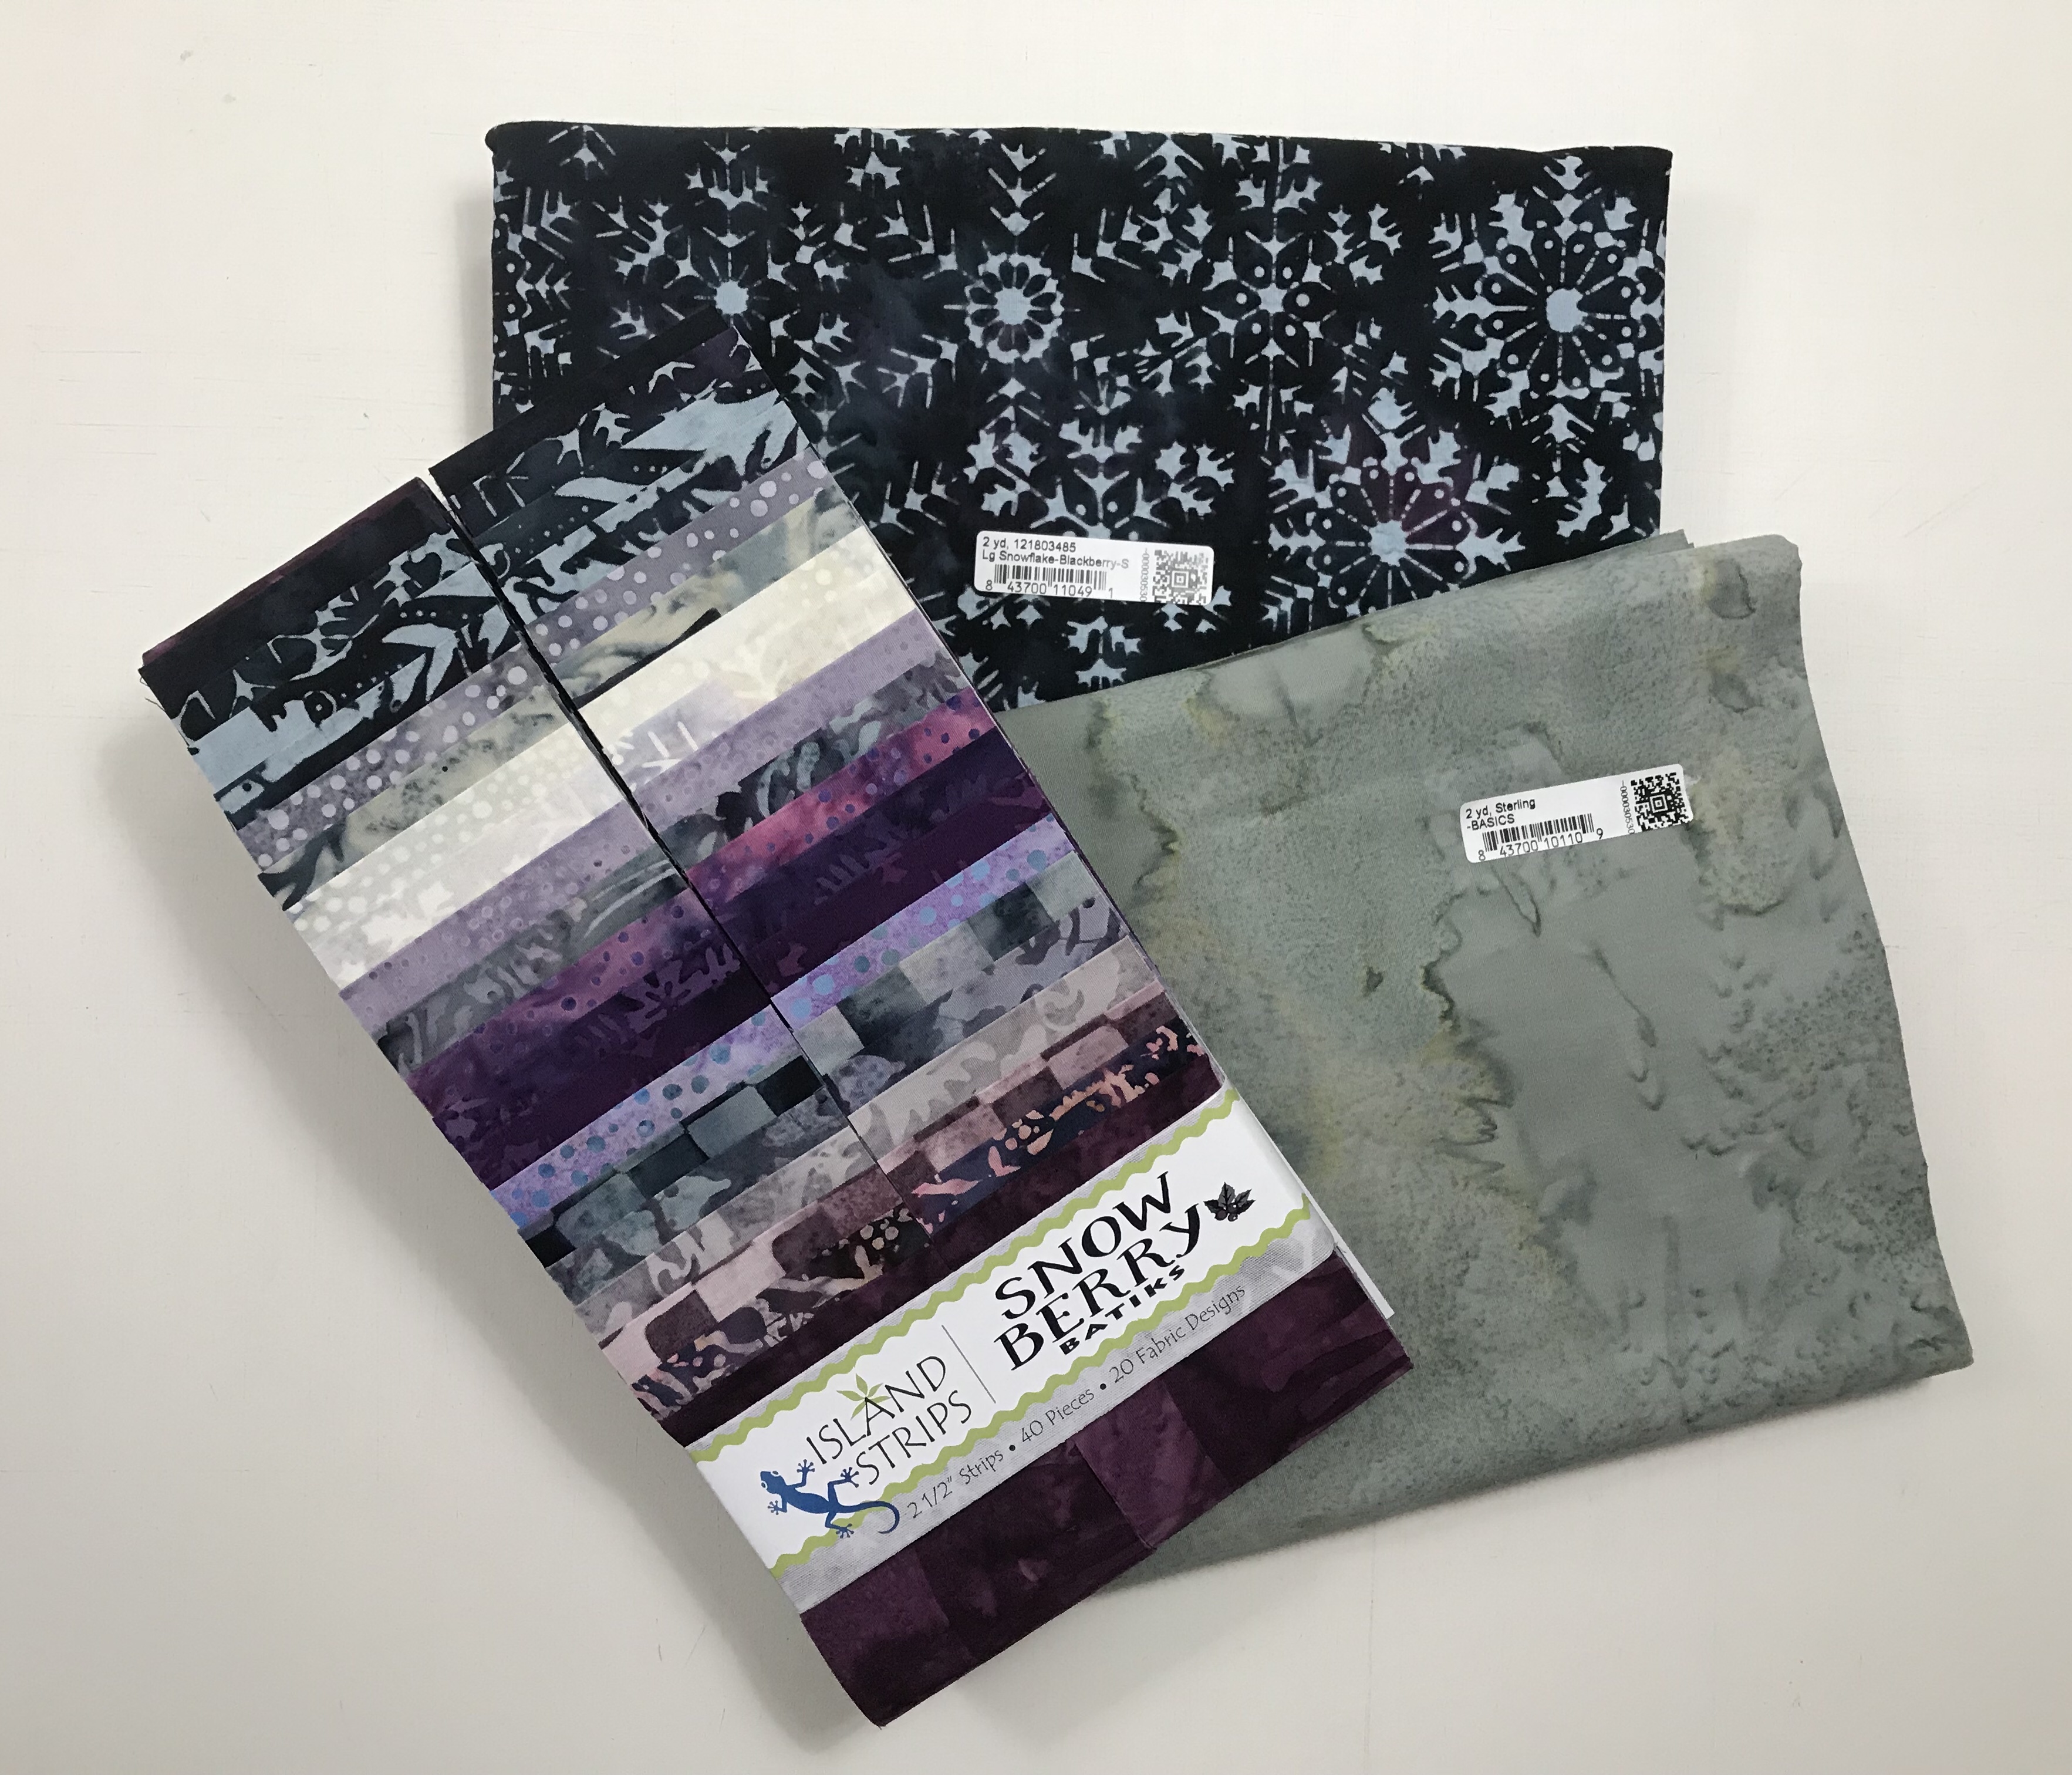
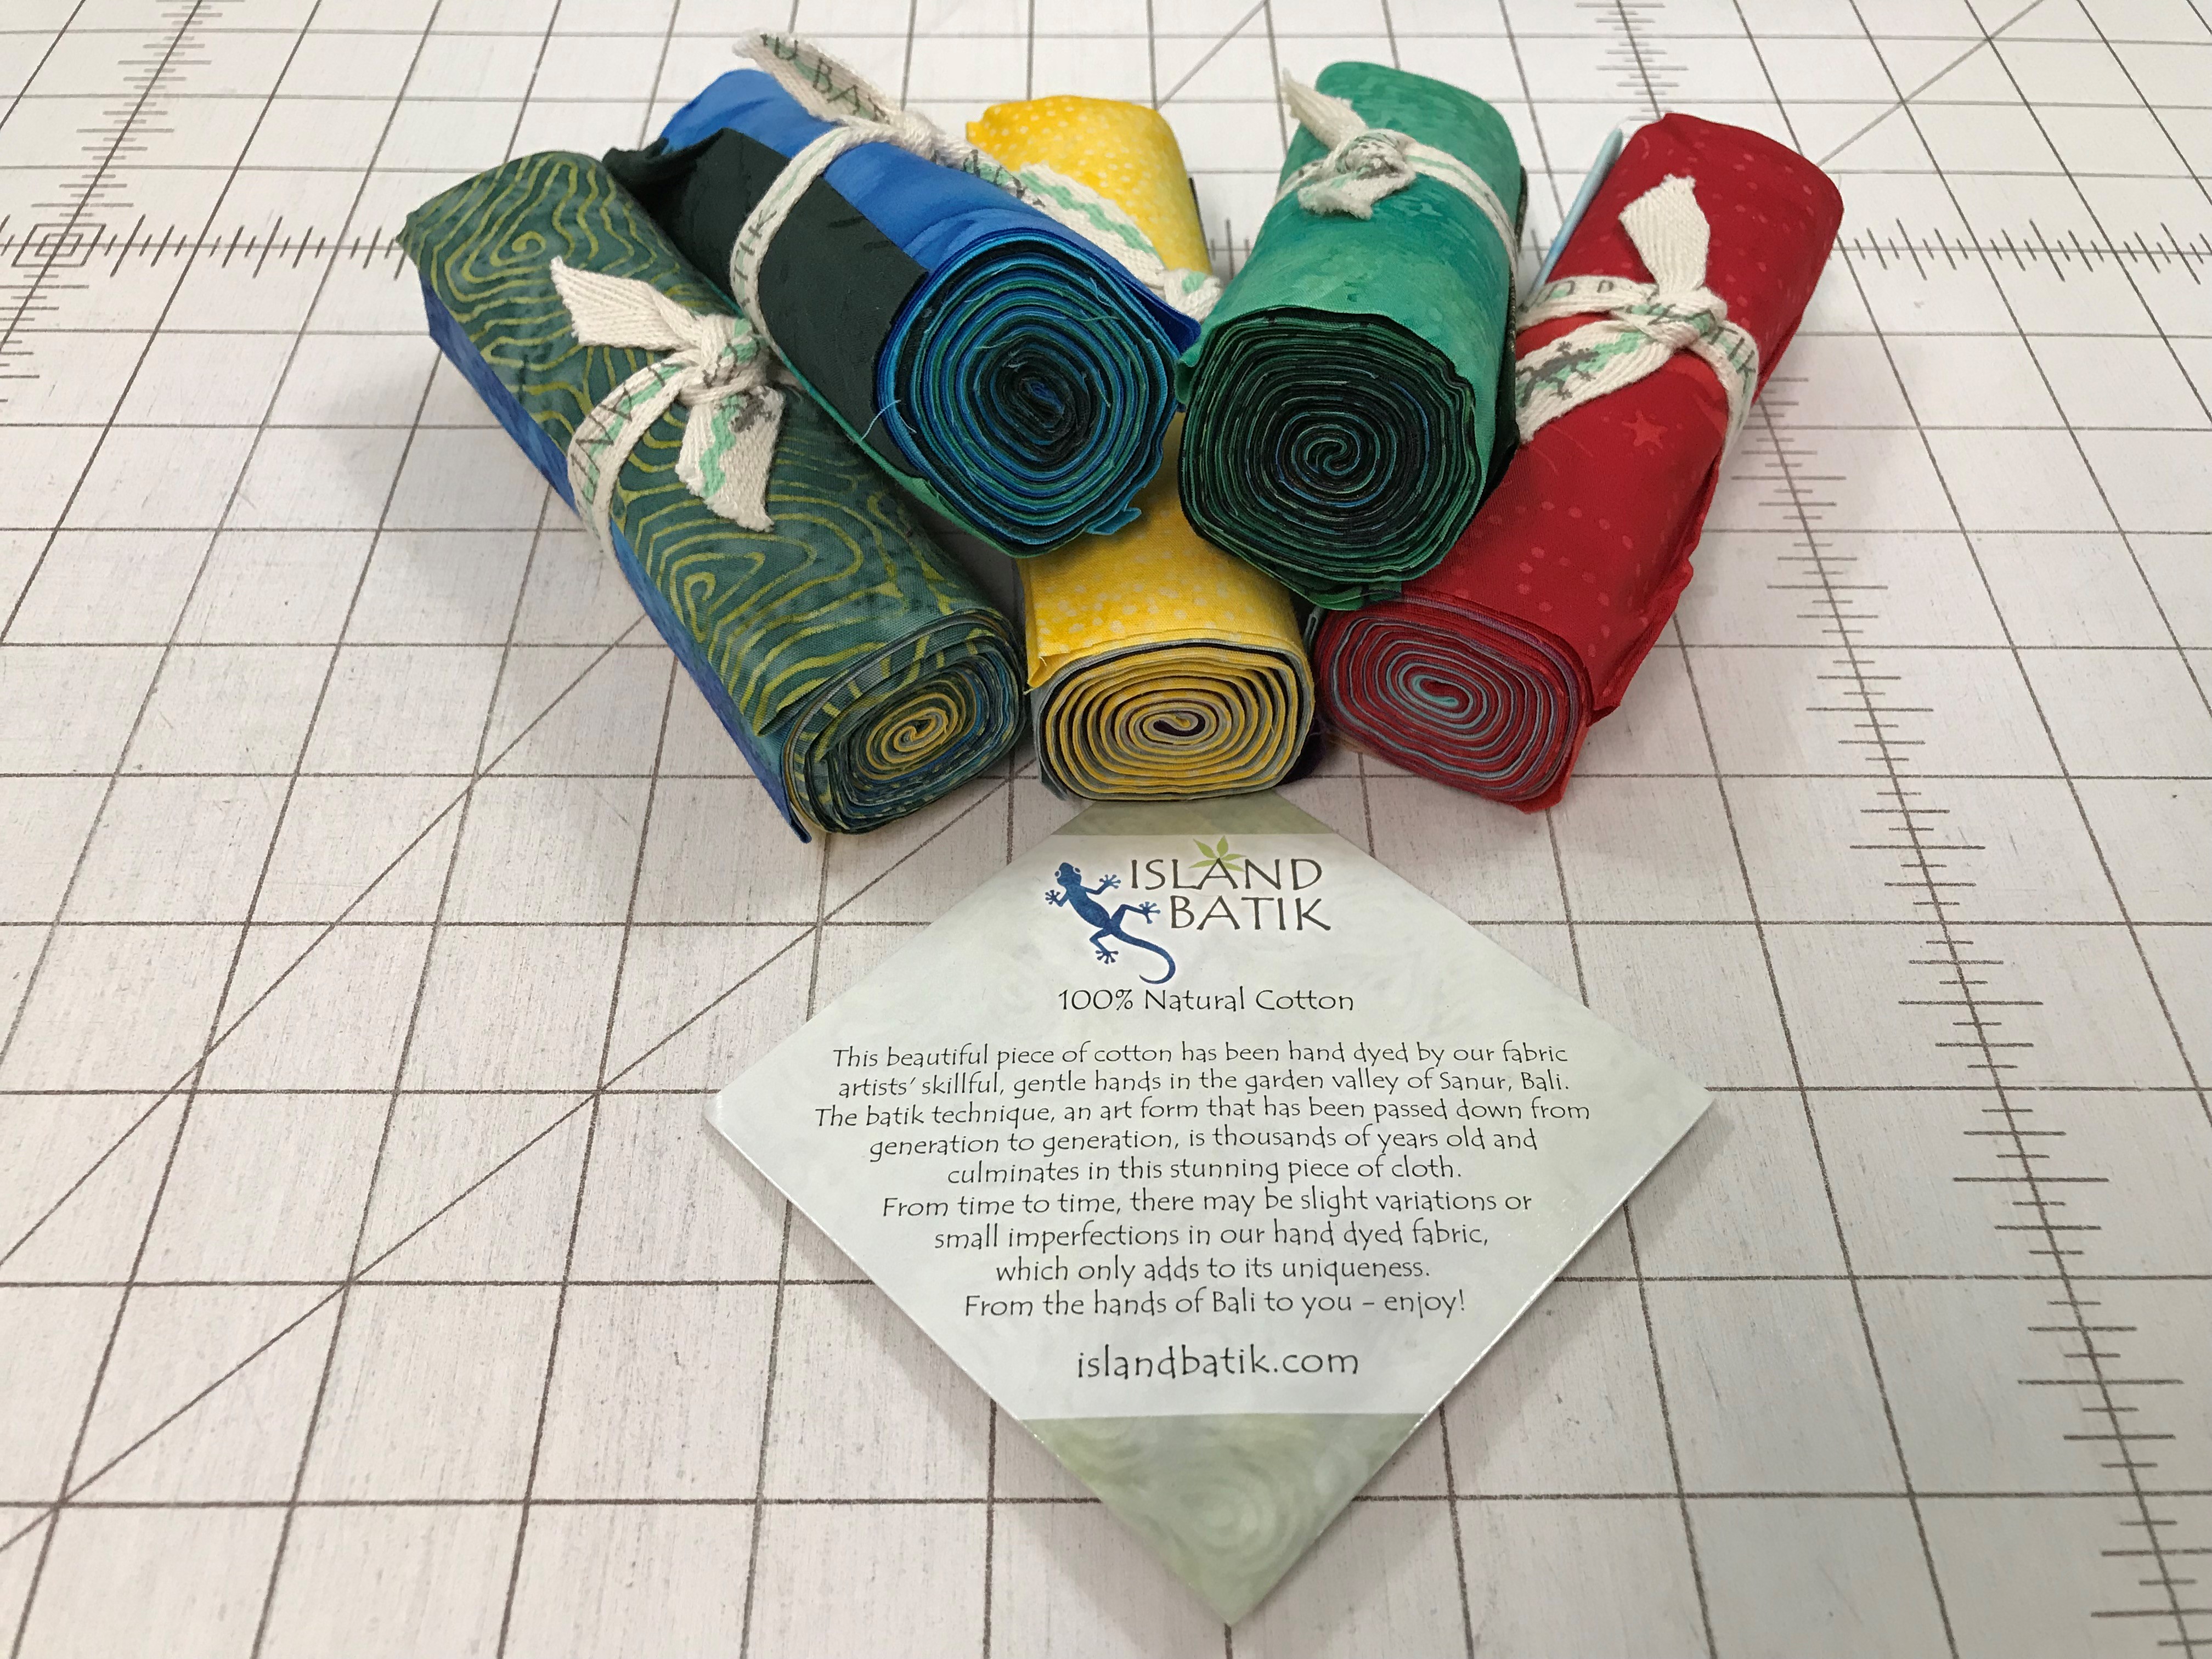
I used Island Batik Neutral Buttermilk & Mini Flower Carnation Pink, plus 2 fat quarters from  the Galentine Day Bundle, one red for the star points and another red for the border.

24 Block front

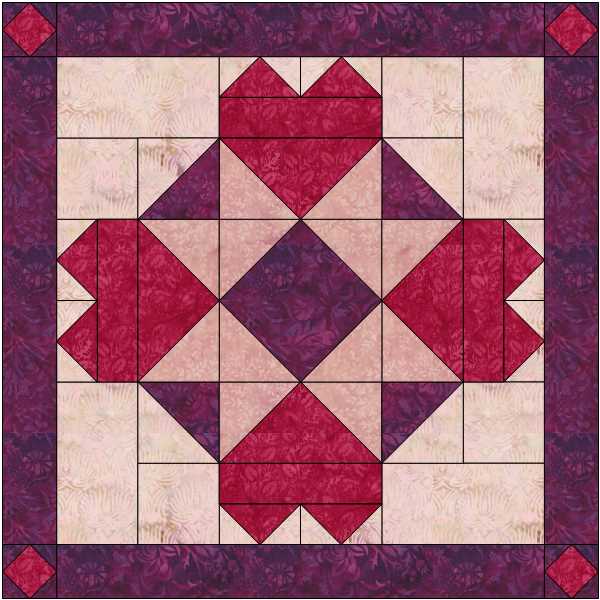
I decided to make 4 blocks.  Each block has a center square, 4 two color quarter square triangles for the star points and 4 half square triangles.  My block units are 2 1/2″ finished, and the block measures 7 1/2″ finished.  I decided to start with the half square triangles (HST).  For four blocks I would need 16 HST.  With my Tucker Trimmer I,  I can make two at a time.  Deb Tucker has a new Technique Sheet called “Eight at Once”.  This technique sheet has a chart that gives you the fabric requirements for oversized HST in 11 sizes.  For 16 – 2 1/2″ finished HST I would need two 7″ squares of the Mini Flower Carnation Pink and two 7″ squares of Neutral Buttermilk.

03 layer


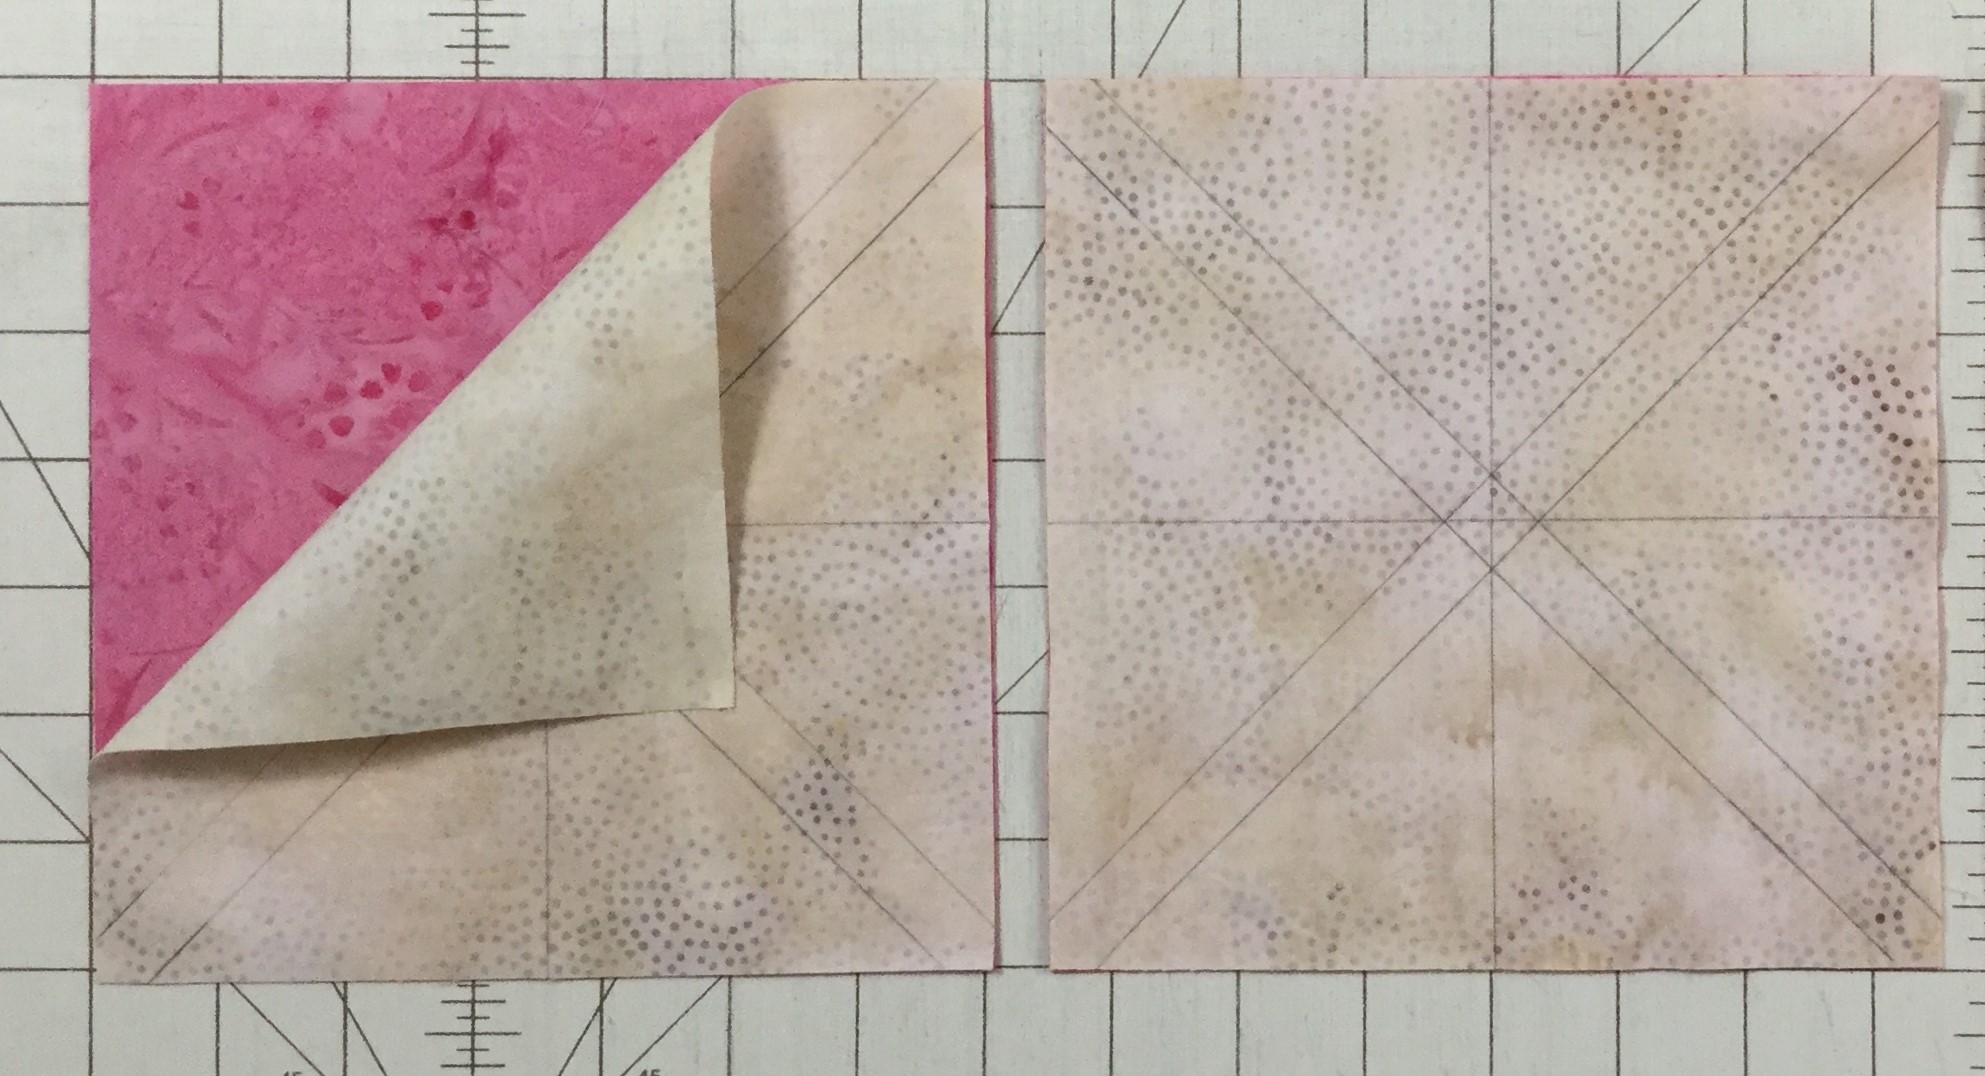
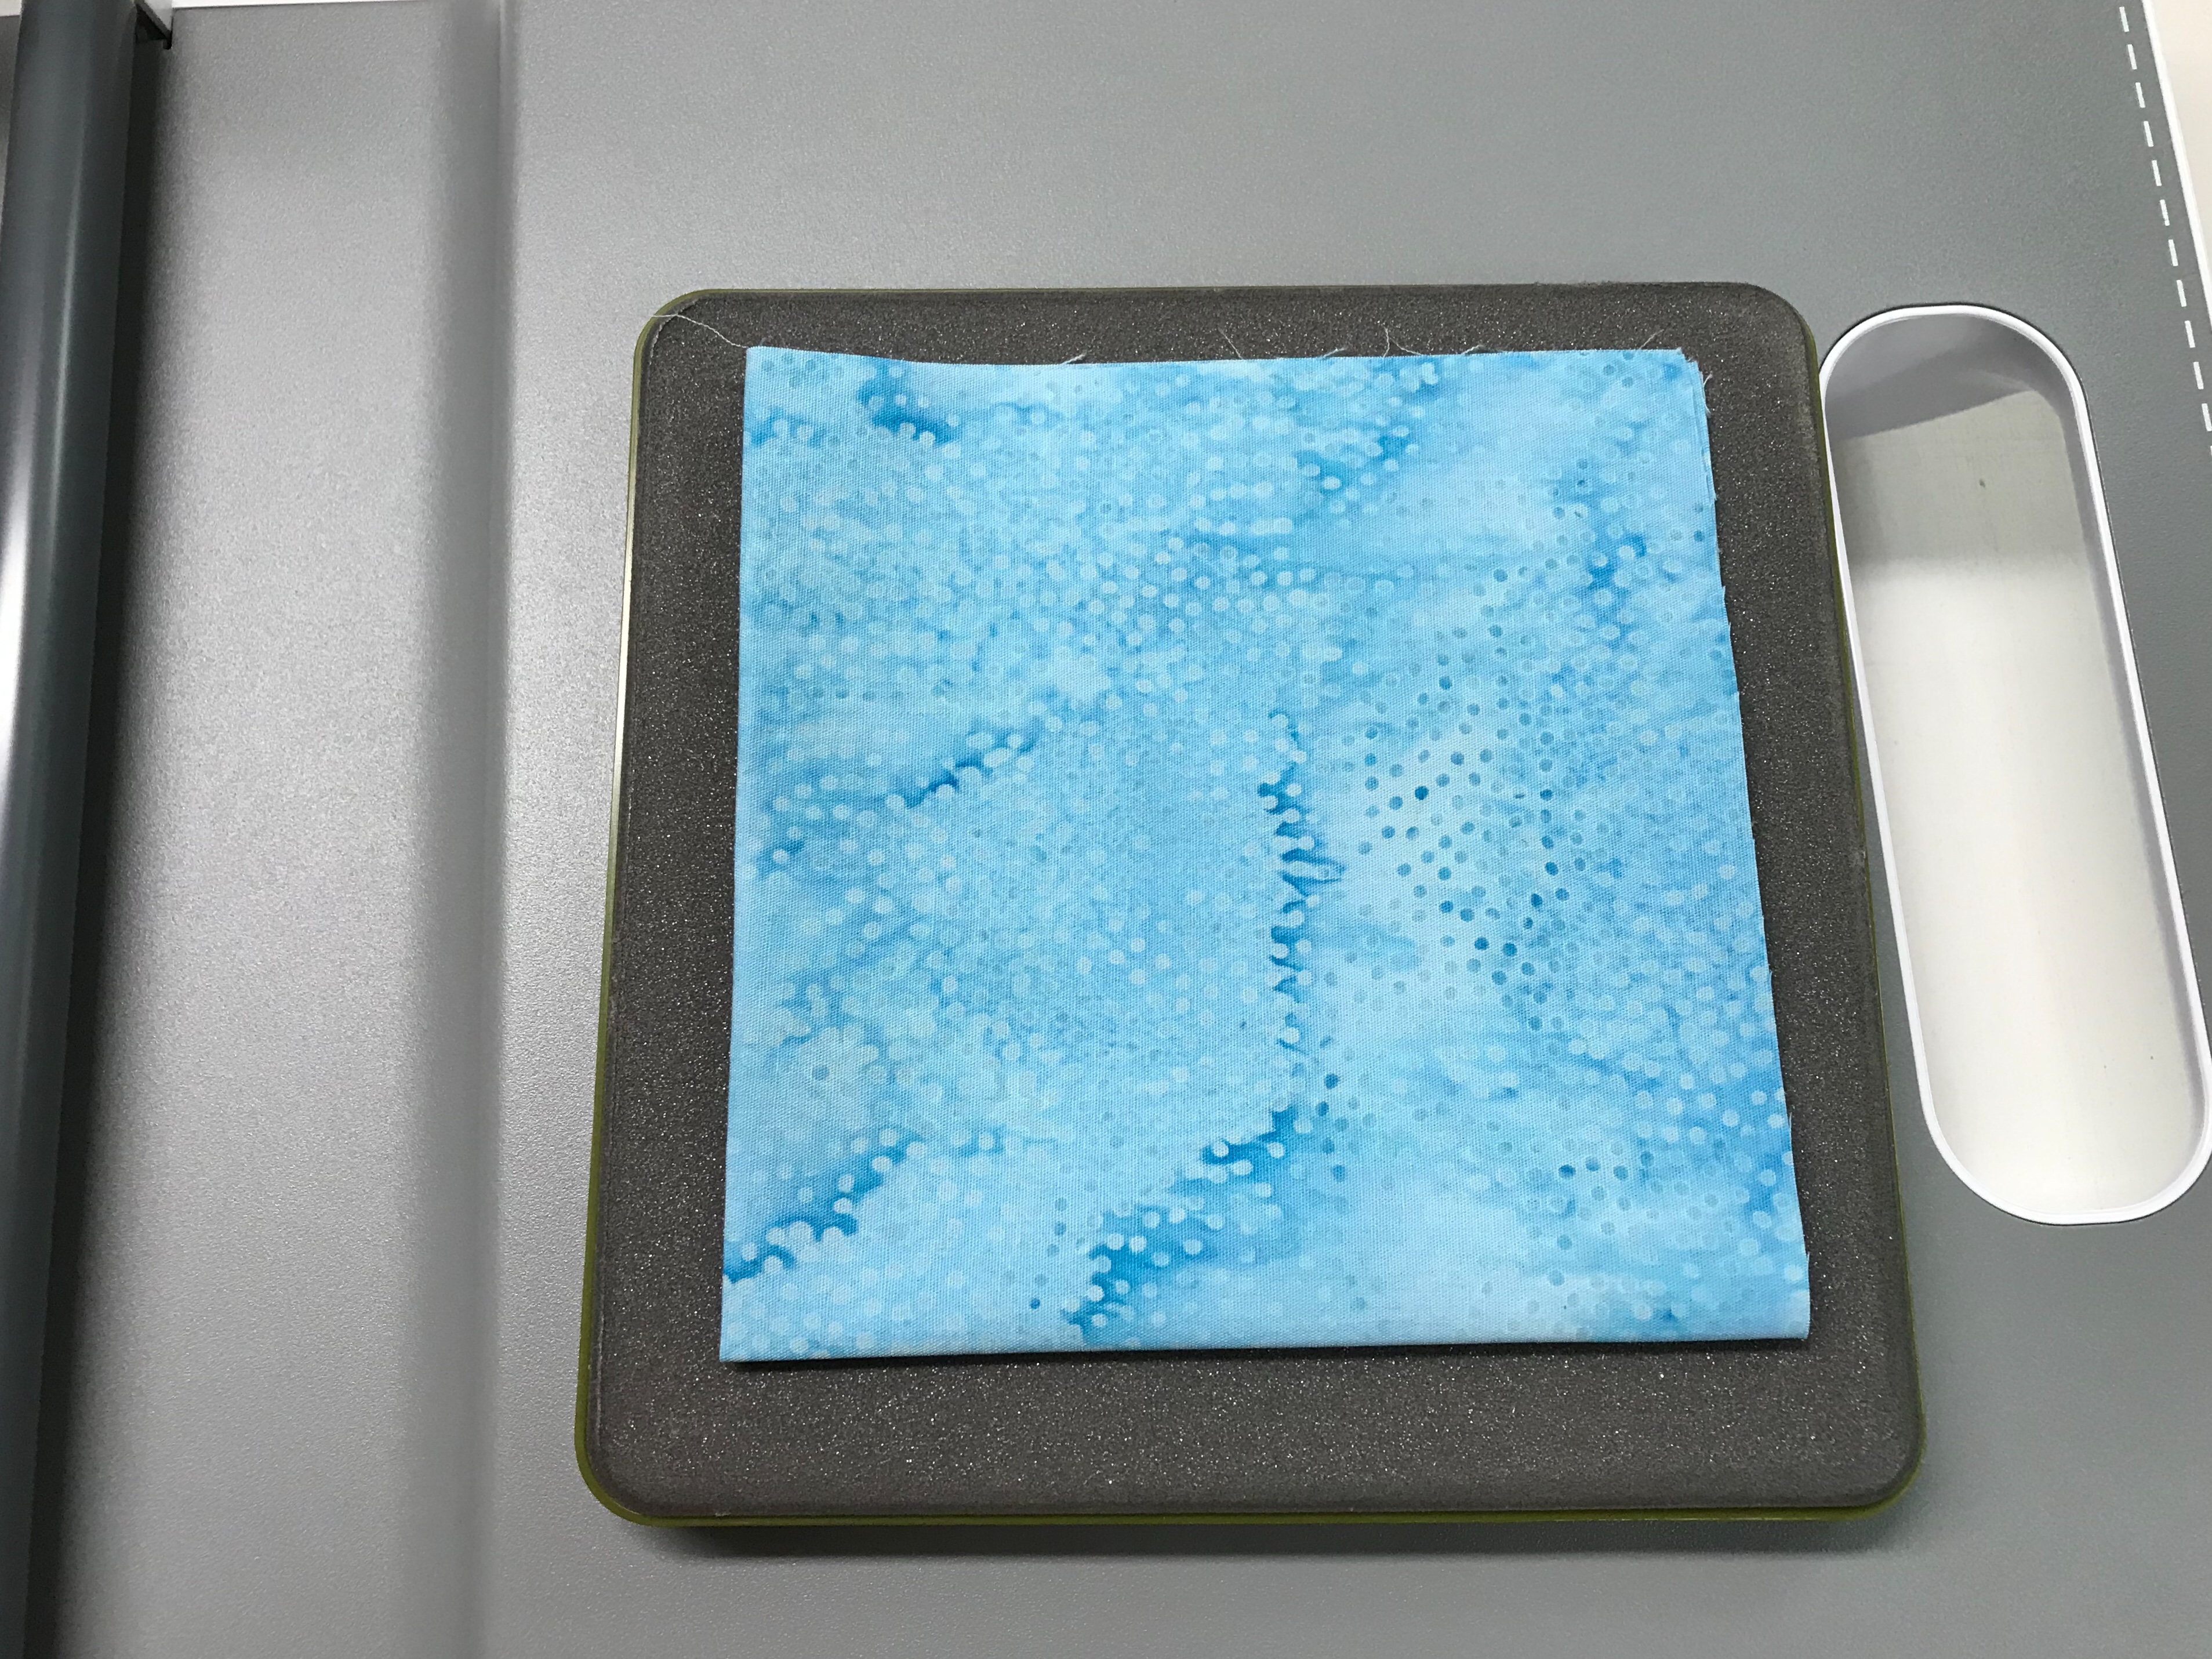
Using my Magic Wand, draw diagonal lines on the wrong side of the lightest fabric.  I also marked the vertical halfway mark & the horizontal halfway mark.

02 Mark

Stitch on all four diagonal lines only.

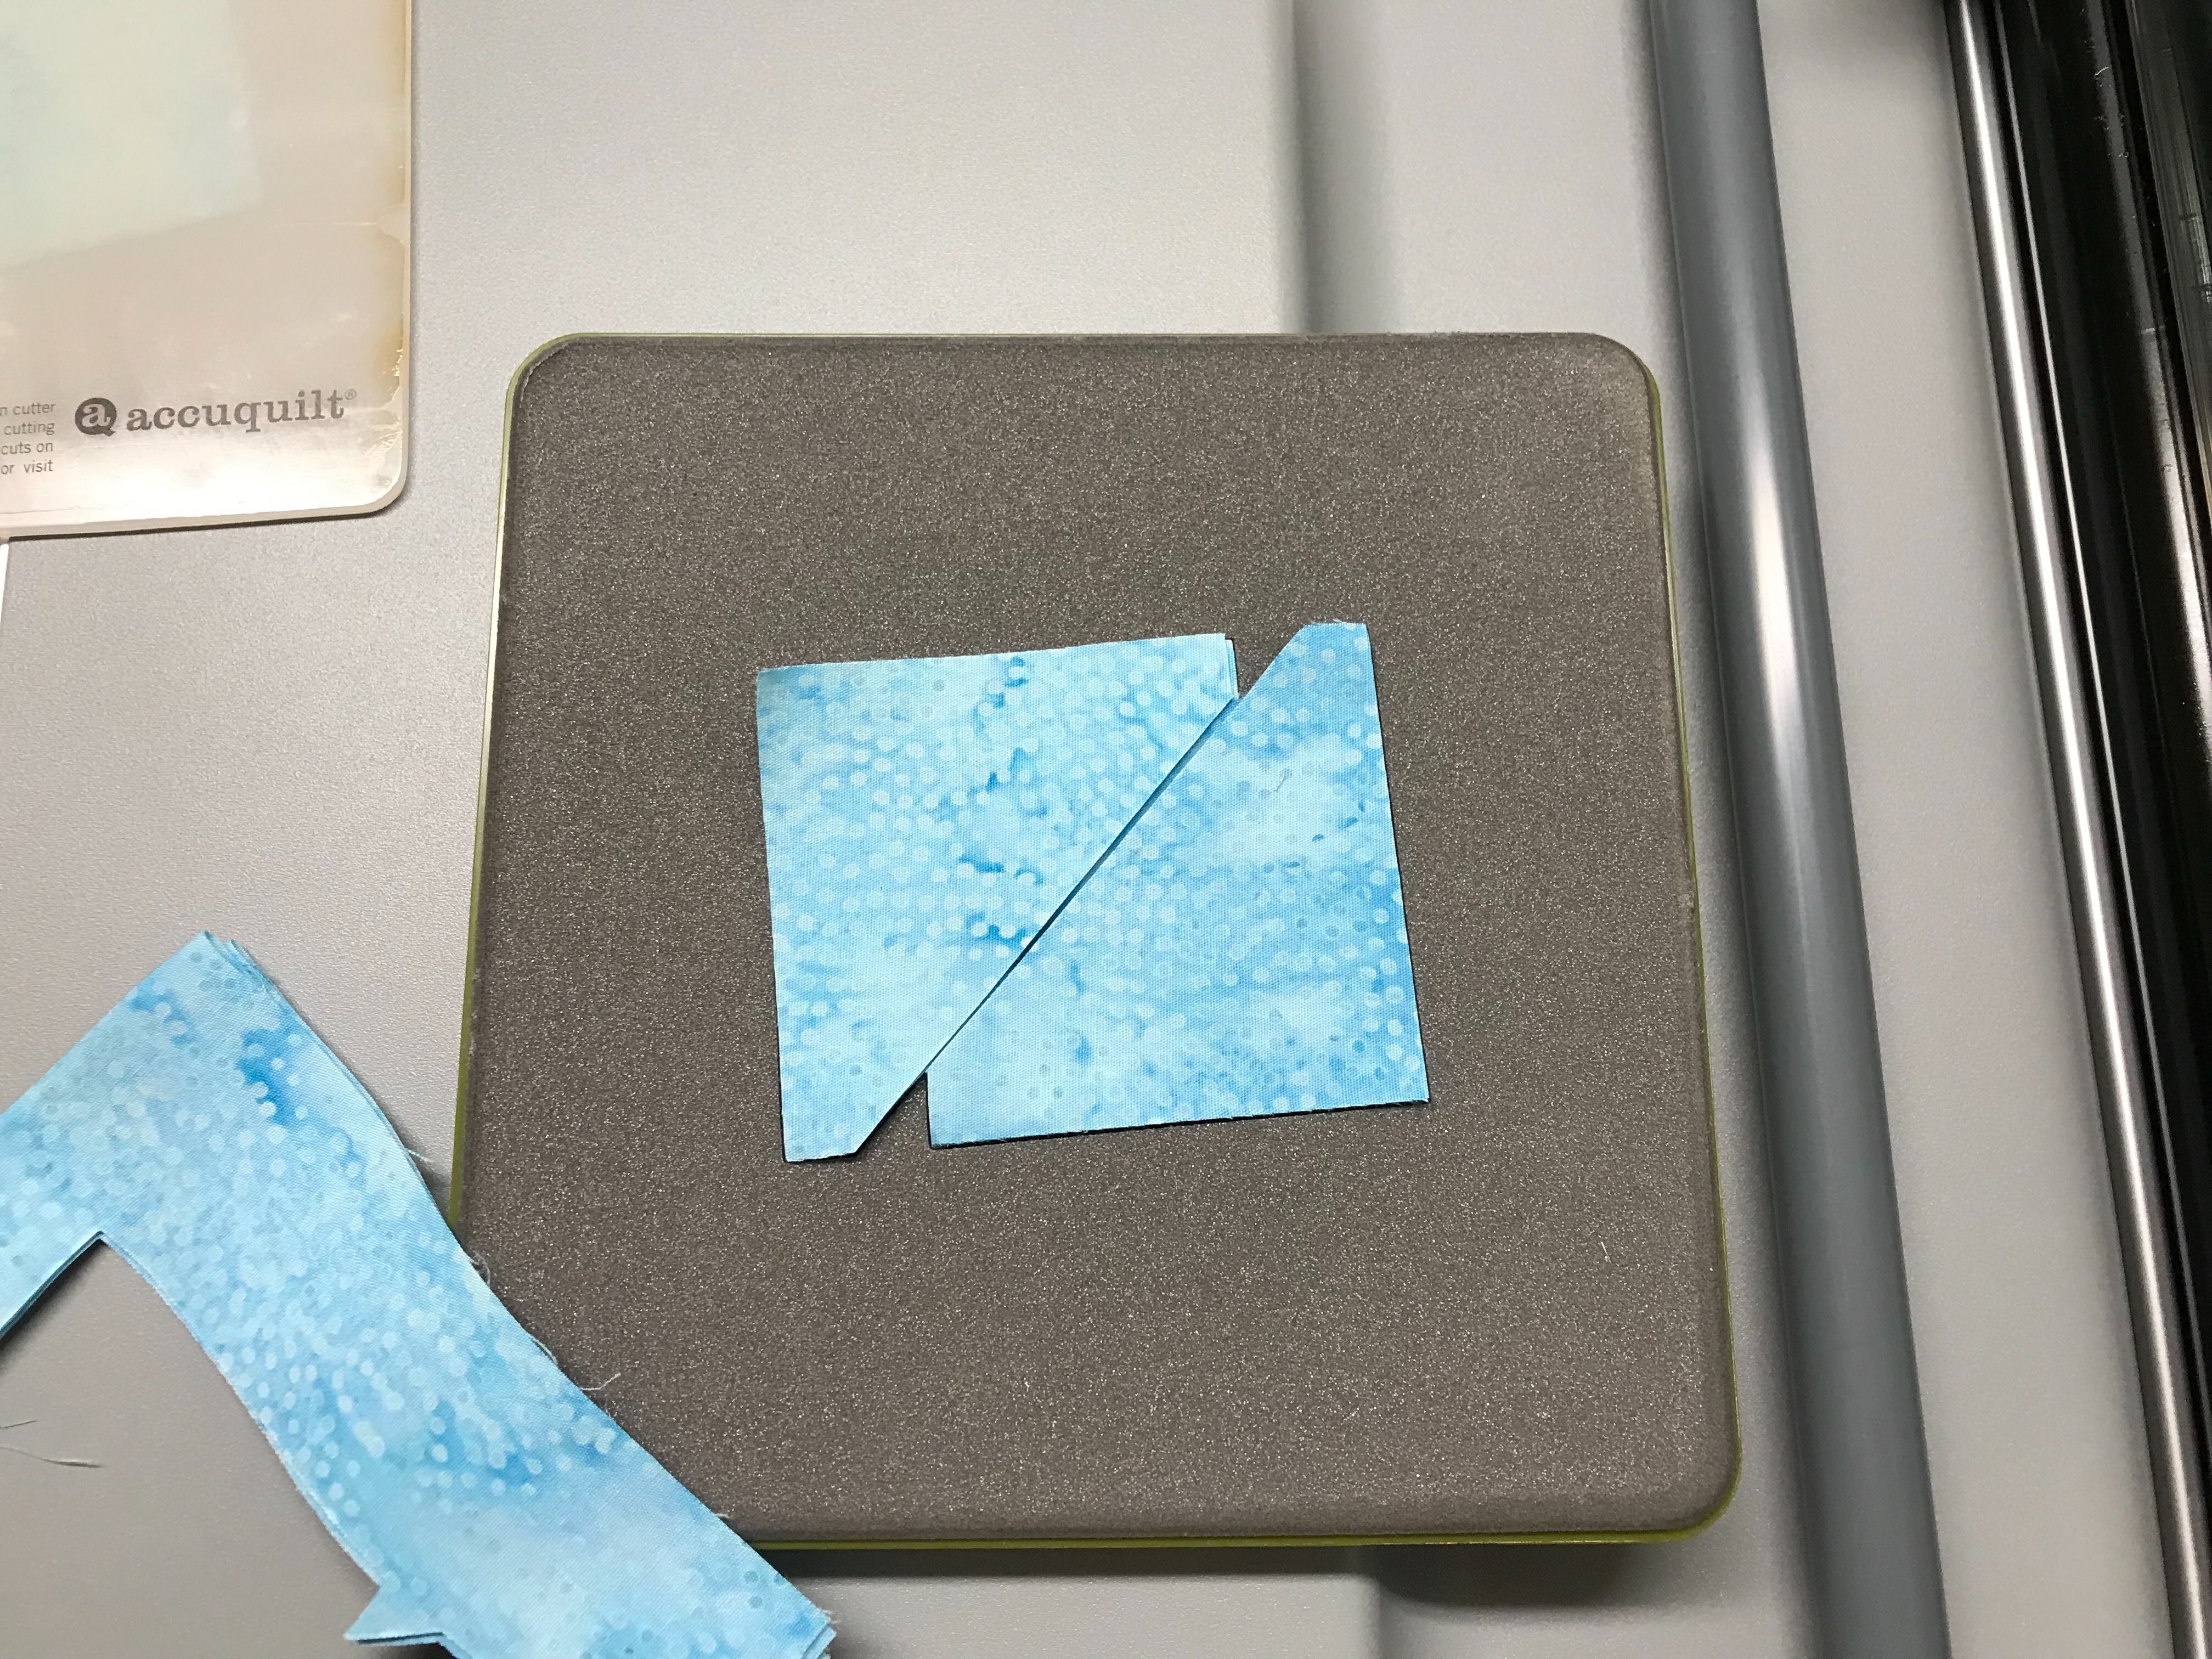
First trim  the vertical halfway mark & then the horizontal halfway mark.  Then trim in between the stitched diagonal lines. And, all at once you’ve got 8 HST.

06 Press

Press toward the pink.  Do you know that “what ever you are pressing toward…goes on top”?  That means lay your units with pink fabric on top.  Set your seams, then push over the pink fabric and press.

Lay your unit on the cutting mat.  We always trim our units to the cut size.  My units are 2 1/2″ finished, that means the cut size is 3″.  Find the whole circle on your Tucker Trimmer, align the 3″ diagonal line on the HST’s diagonal line and center it.  Trim up the right side and across the top.  Rotate the unit, align the just trimmed edge with the 3″ clean up line, again align the 3″ diagonal, trim up the right side and across the top.  If you are left-handed, position your unit to the left and the whole circle on your Tucker Trimmer would be positioned to the left also. You woud trim up the left side and across the top.

Now we will make our Quarter Square Triangles (QST).  I check the chart in my Tucker Trimmer instructions.  For 2 1/2″ finished units, my starter squares should be 4″.  For all four blocks I need Eight Red 4″ squares & Eight Pink 4″ squares.  Using my Magic wand I draw 2 diagonal lines on each pink square.  Layer one pink square with one red square aligning the raw edges.  Stitch on both diagonal lines and cut apart.

We are going to press toward the red , so lay your units red side up and press as before.  Divide your HST’s into two even piles.  Using your Magic Wand draw two diagonal lines as shown above on half of your HST’s.

Position one HST marked with the stitch lines with a HST without the stitching lines, right side together, and opposite colors facing each other.  Align and nest the center seams.

Stitch on the lines and cut apart.  Swirl the center as shown above and press.

Position the Tucker Trimmer over the pieced square.  Carefully align both the common diagonal and the 3″ size diagonal lines over the sewn seam lines.  Trim up the right side and across the top.  Rotate the unit, line up the Tucker trimmer again.  This time be sure to position both the diagonal lines and the outline of the square to the exact measurement of 3″, trim up the right side and across the top.

Cut four 3″ red squares for the block centers.  Lay out the block as shown above.

Stitch the units into rows, press the seam as shown.

Stitch the rows together and press as shown.

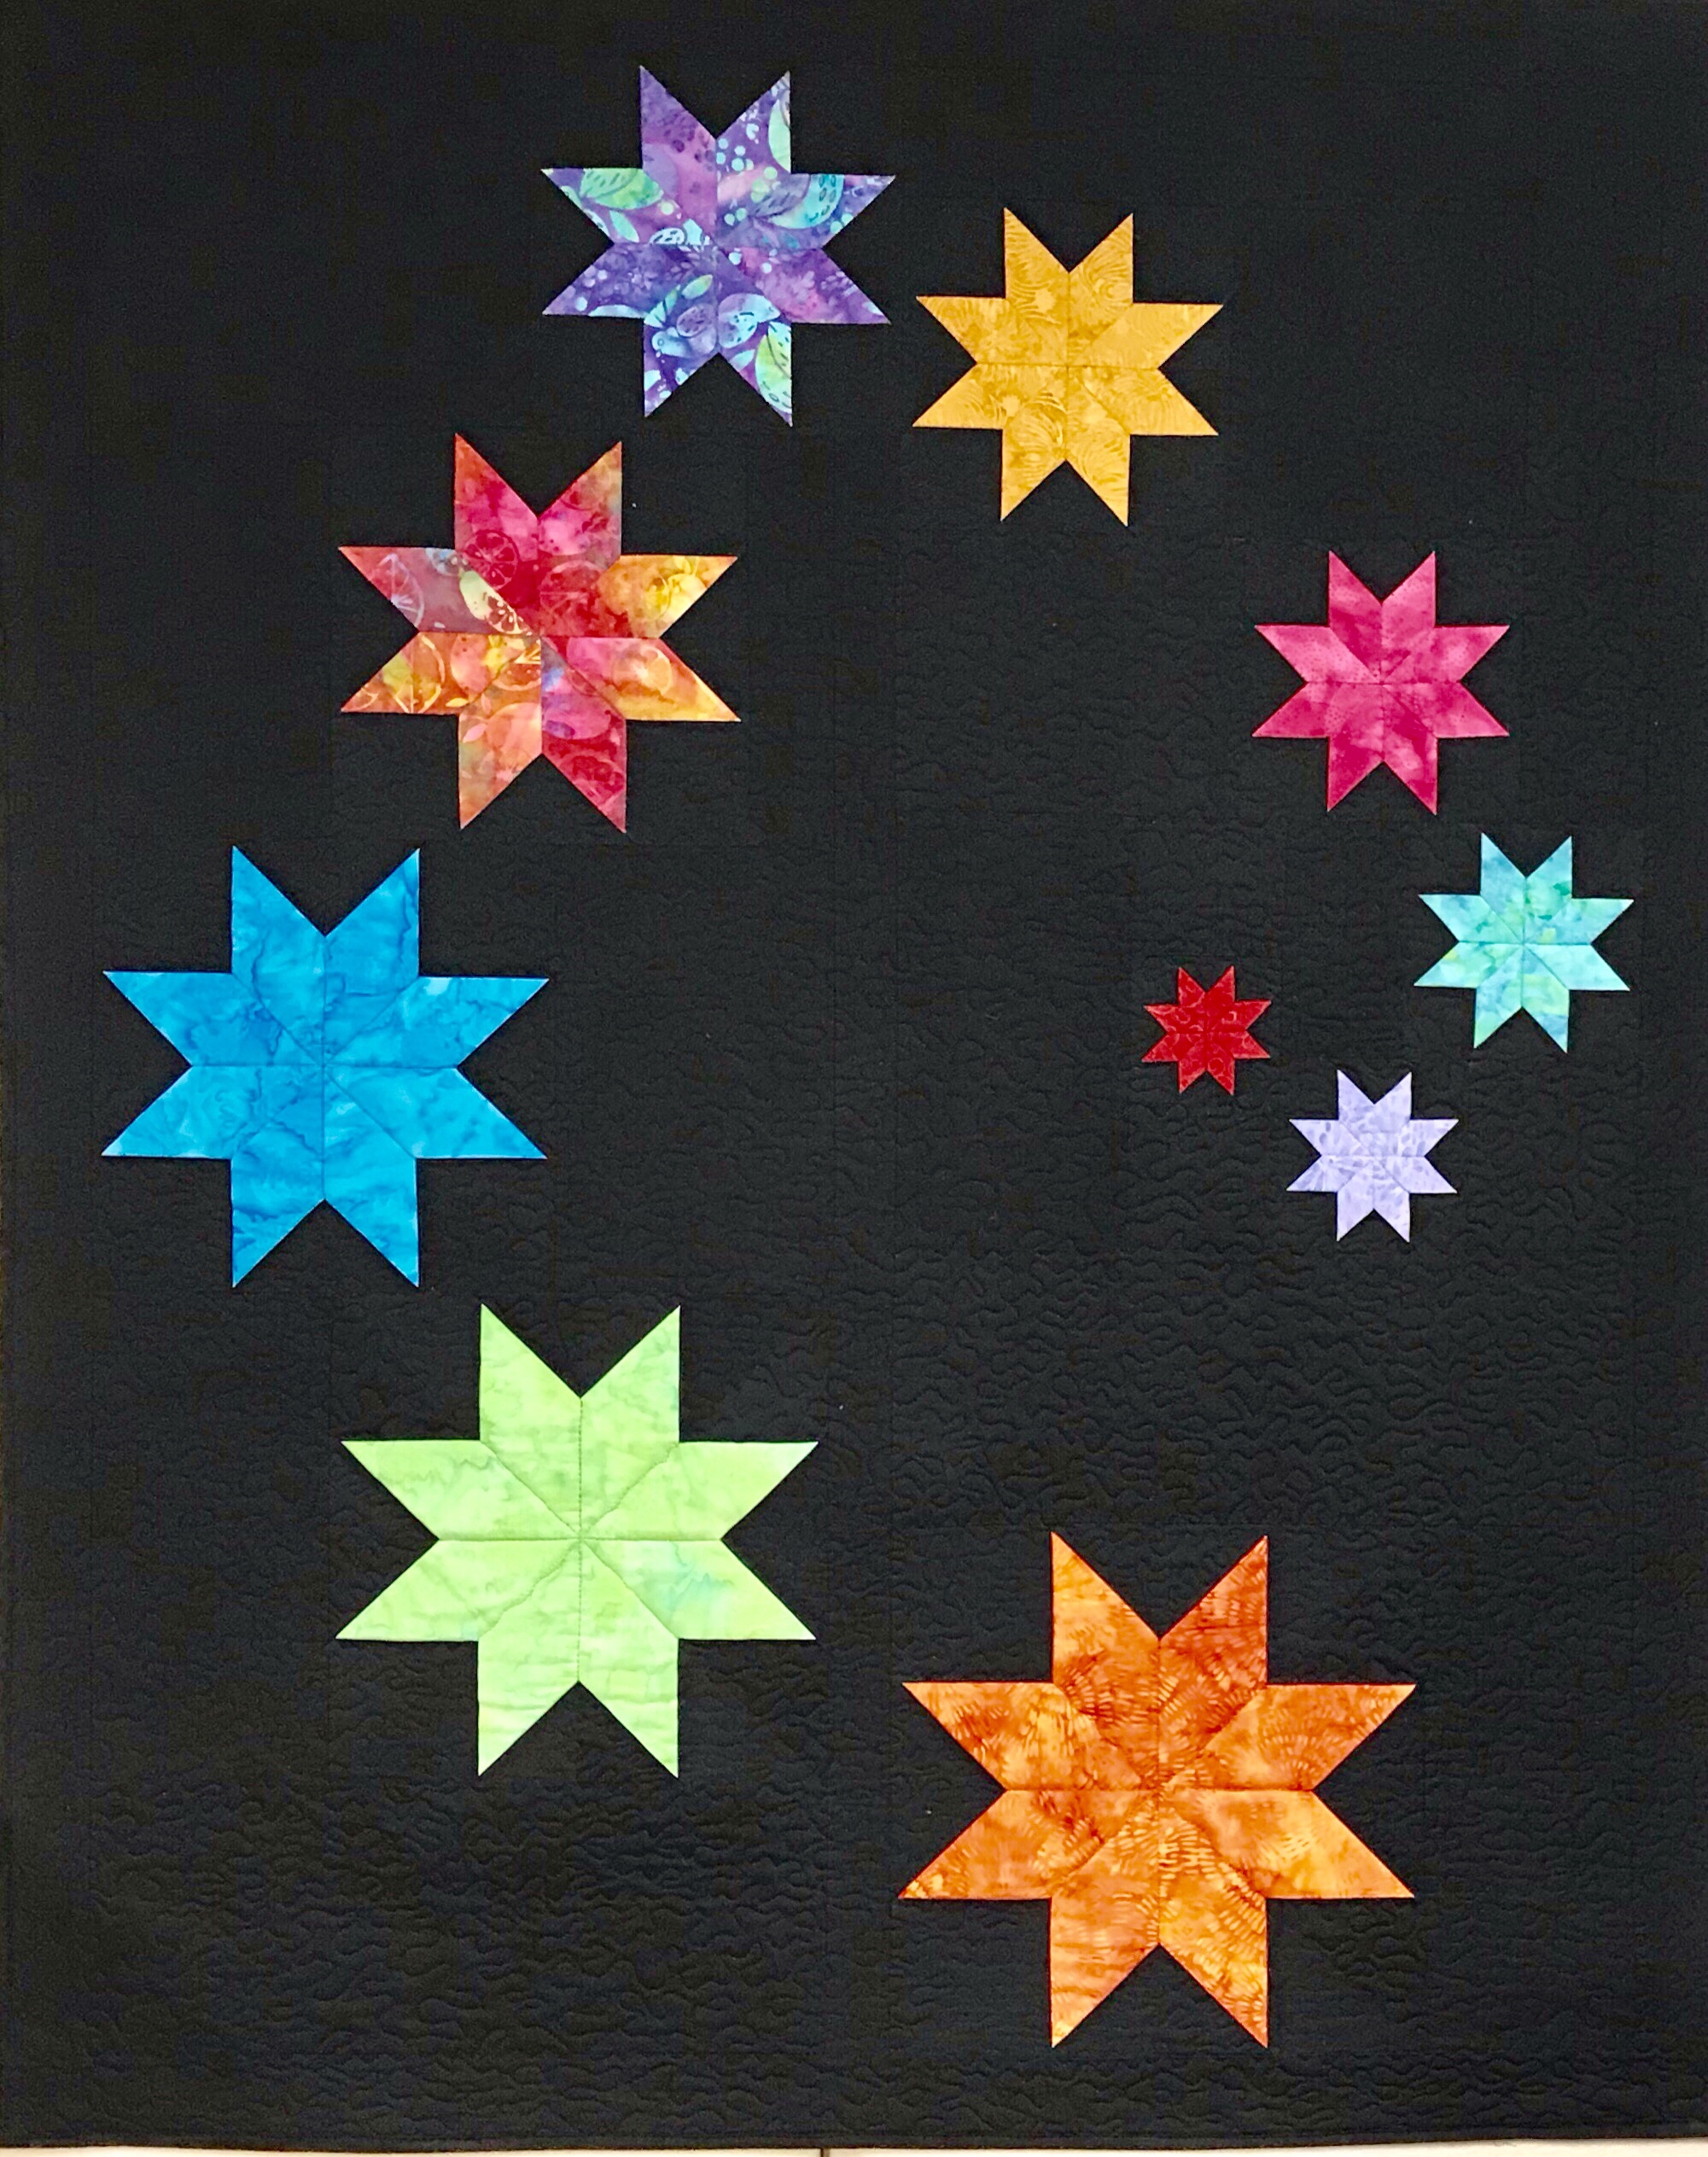
Make all four blocks.  I added sashing.  I cut two 1 1/2″ x 8″ strips and joined the two blocks on top row, and then the two blocks on the bottom row.  I cut three strips 1 1/2″ x 16 1/2″.  I joined the top row to the bottom row and added a strip on either side of the square.  Cut two strips 1 1/2″ x 18 1/2″ for the top and bottom of the square.  Note:  Always measure your blocks for accurate sashing measurements.  

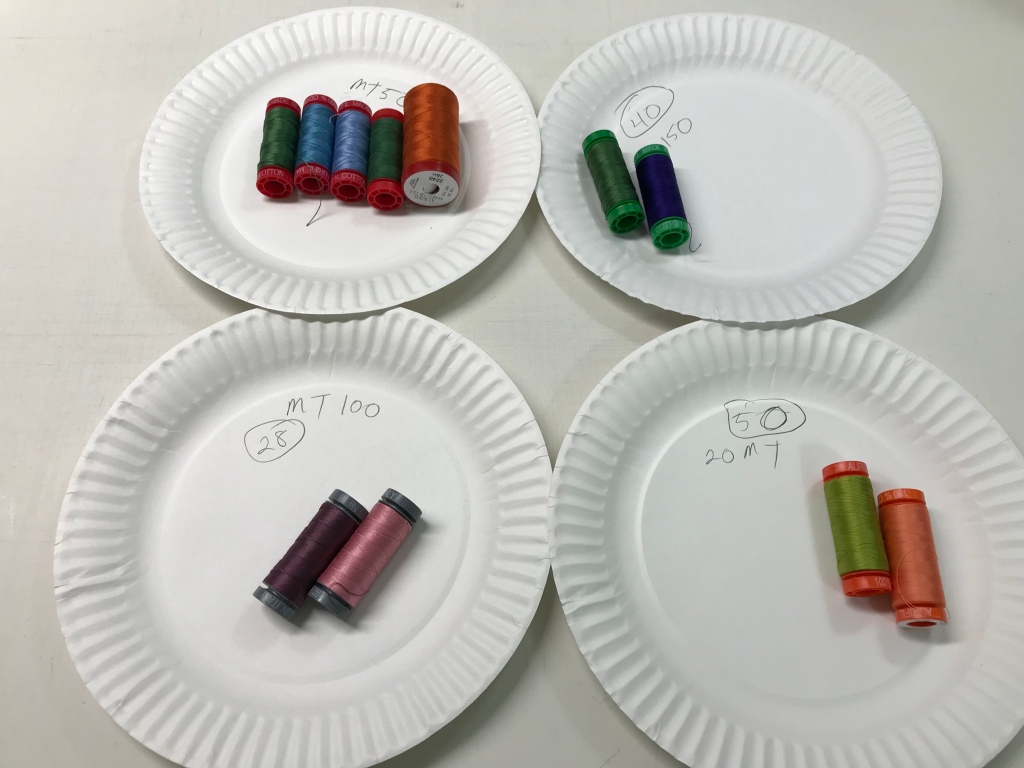
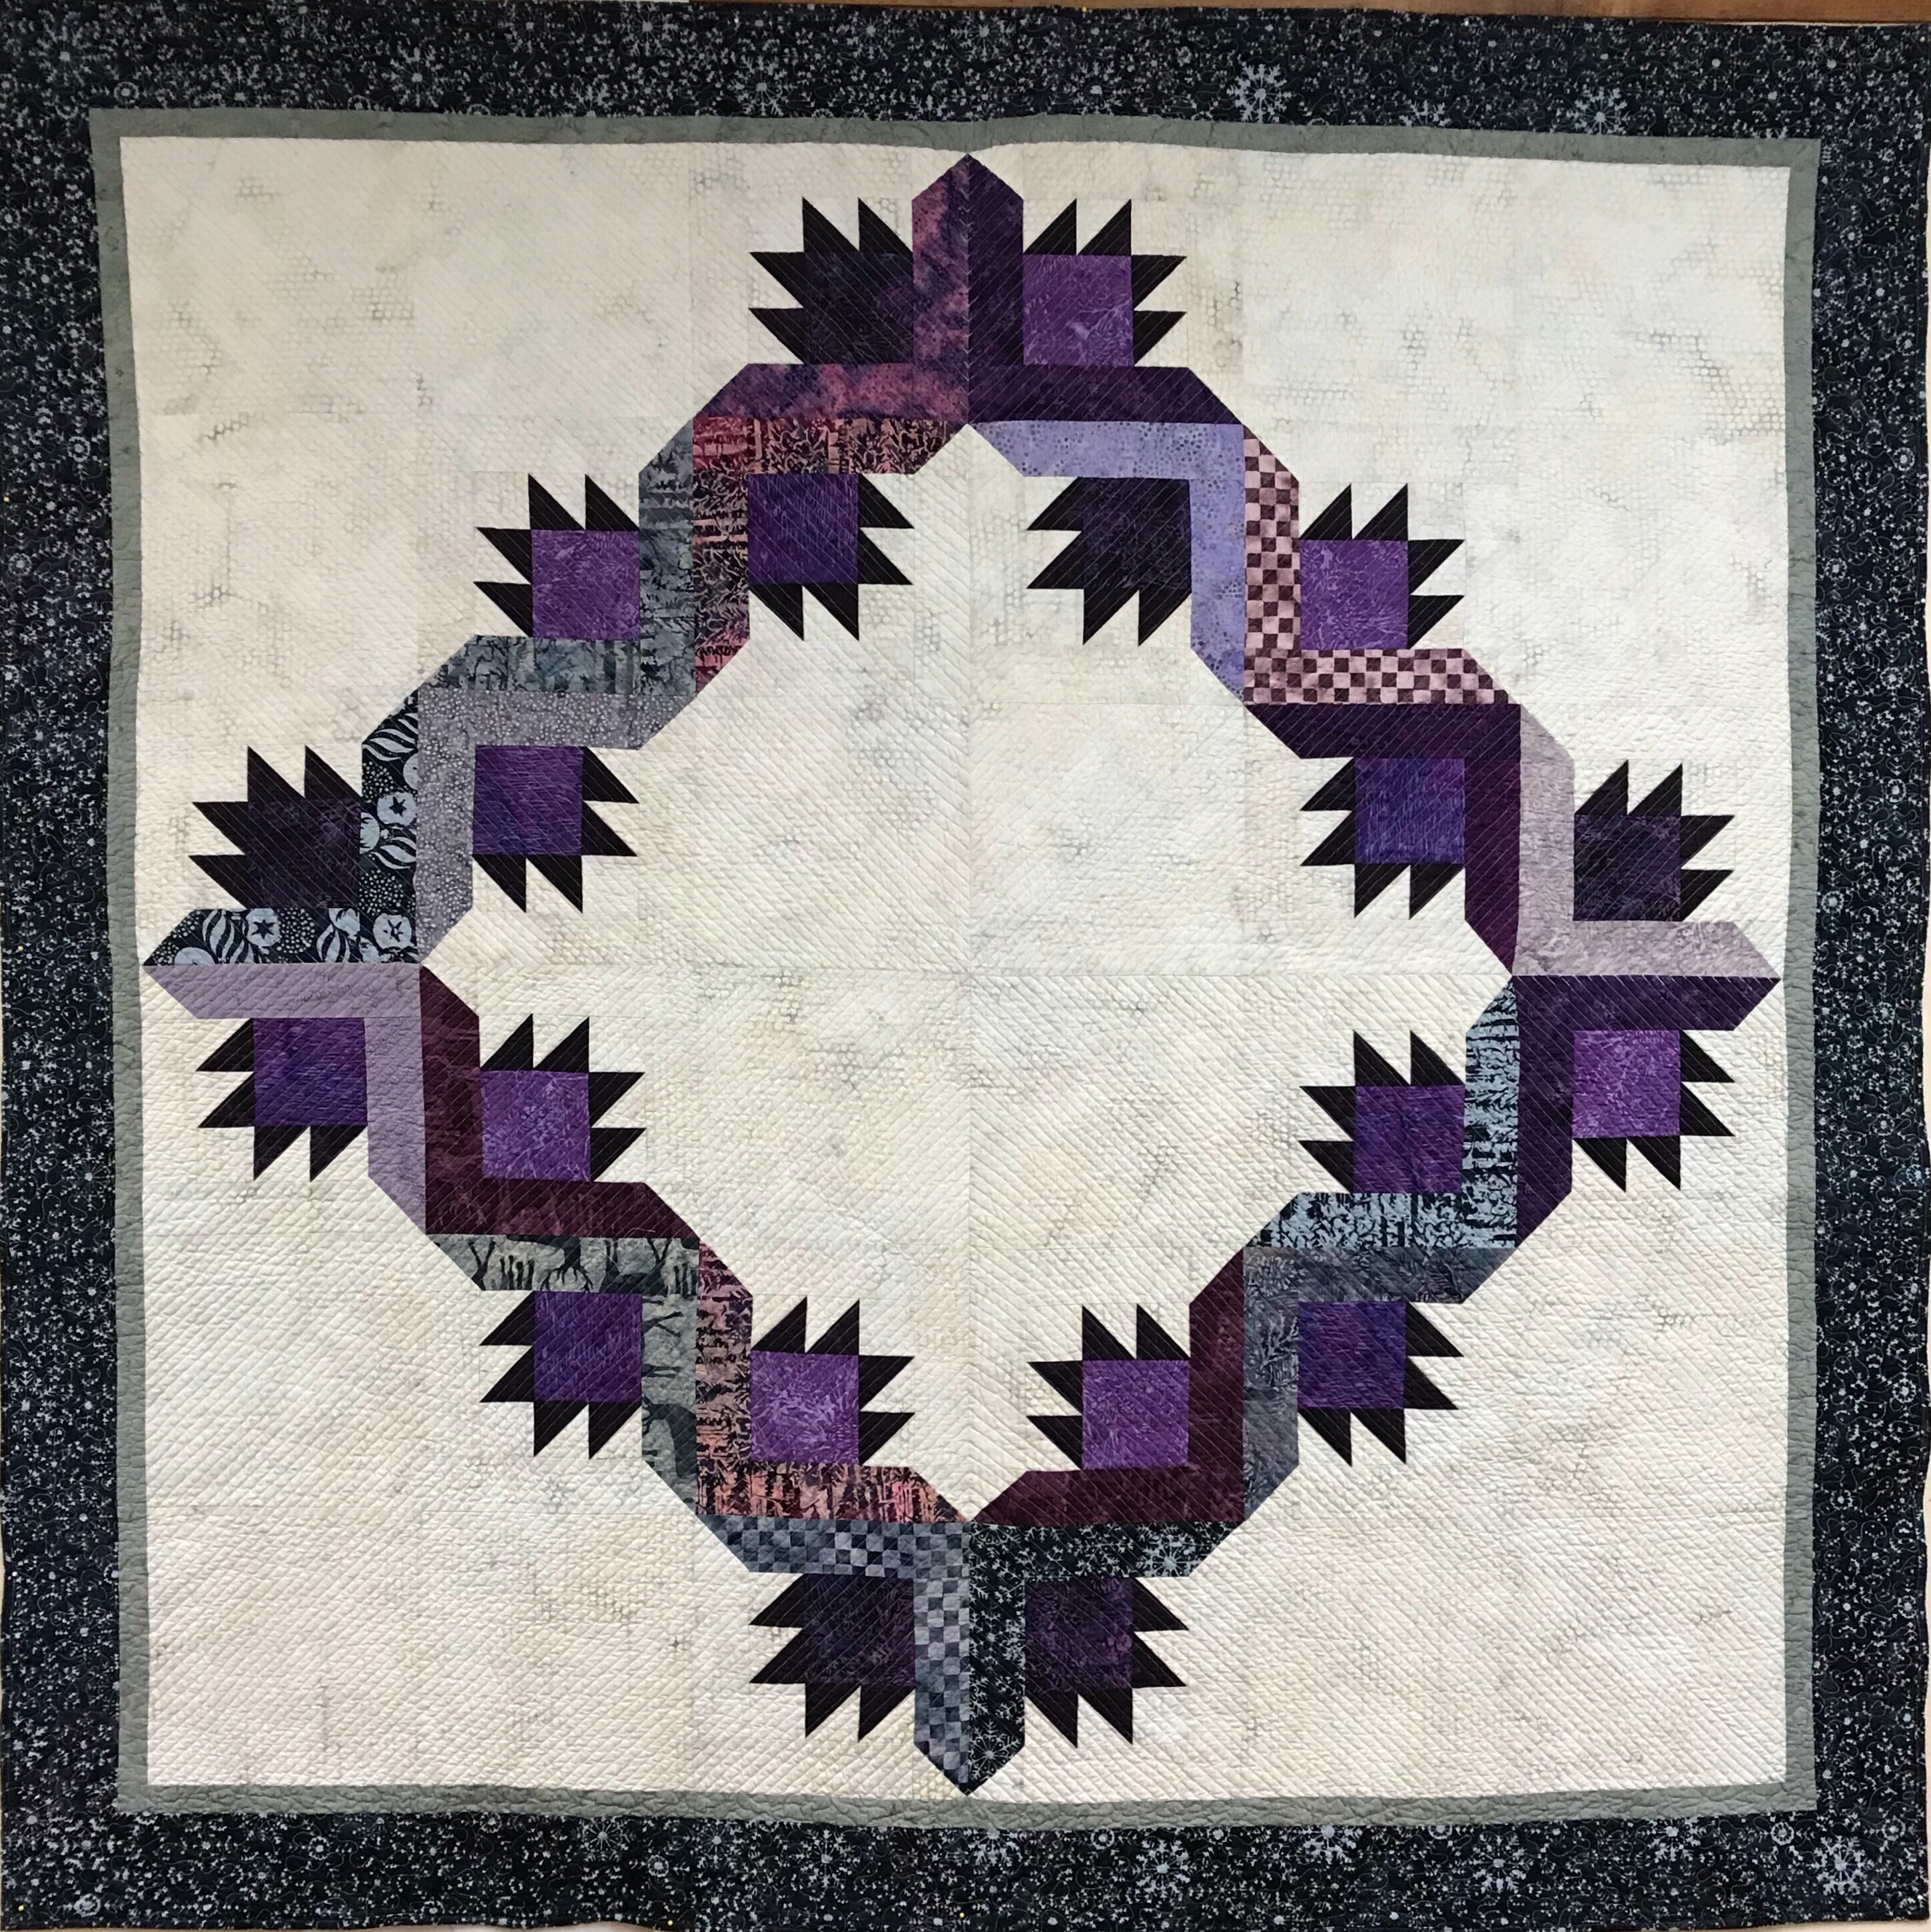
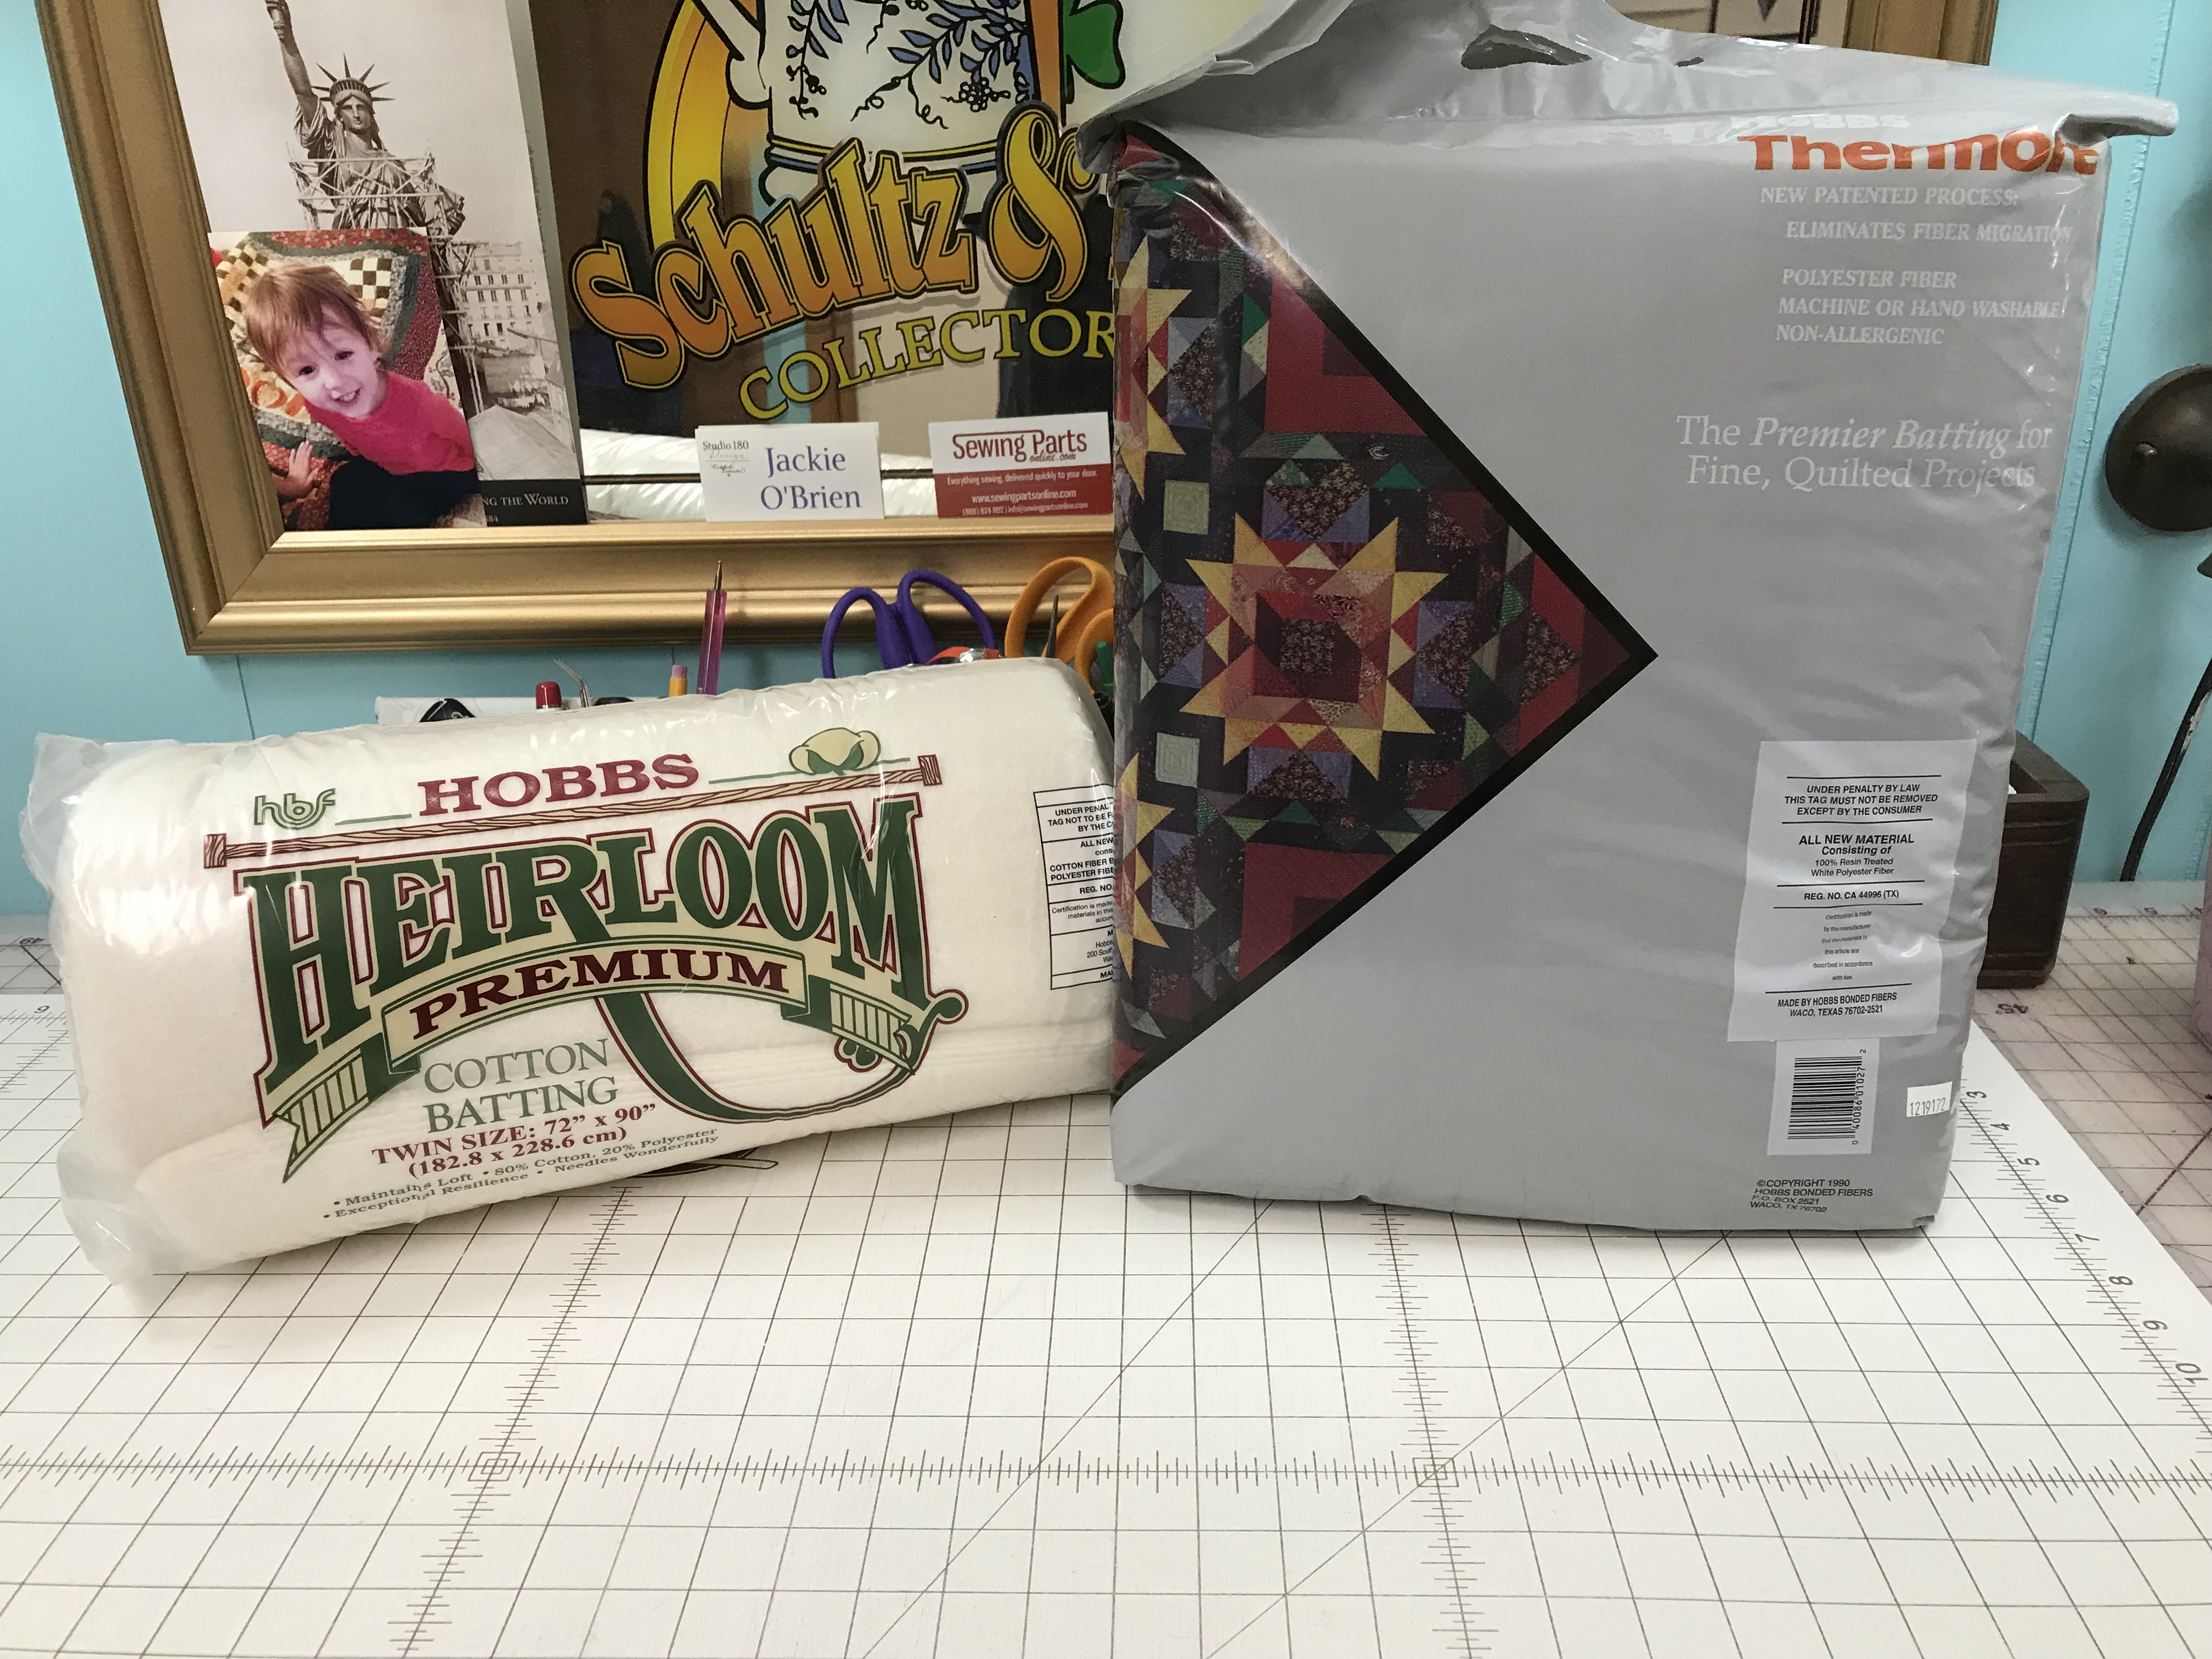
From another Galentine Day fat quarter  I cut 3″ outer borders.  I finished it with my Hobbs Cotton Batting.  I stitched in the ditch and bound it with some Island Batik Neutral Buttermilk.  It was pieced & quilted with Aurifil Mako 50 thread.

28 Top (2)

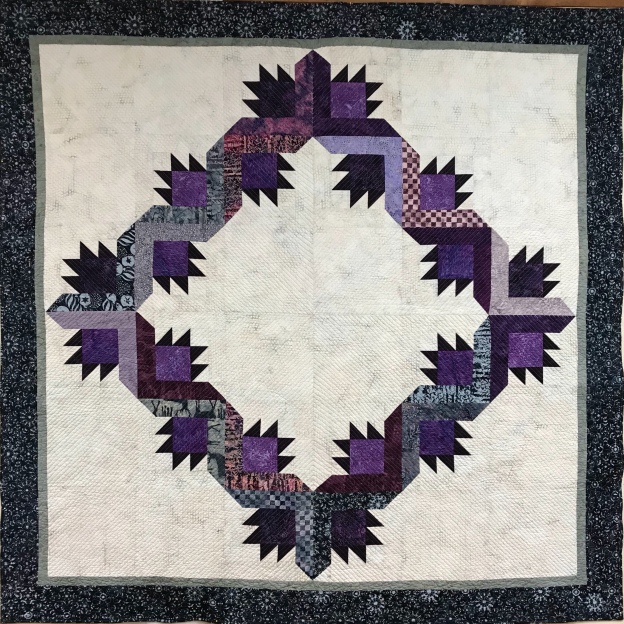
This is a sweet simple quilt.  Reminds me of Forest Gump, “Life is like a box of chocolates, you never know what you’re going to get”, these blocks look like nicely wrapped chocolates.  Happy February!


The Island Batik Box Has Arrived!

As an Island Batik Ambassador the products featured in this post were given to me by Island Batik.

My box from Island Batik has finally arrived.  I’m so excited to see and share the contents with you.

01 Tucker

My box is so special, I got a chihuahua !  No, that is my girl Tucker, she helps me with everything I’m doing whether I want help or not!

02 Surprise

First up is the wrapped bundle.  It is wrapped because it contains fabric from Island Batik’s new line to be launched at Spring Market.  I haven’t even opened it yet.

03 Batting

To help us create our projects Hobbs Batting has given us Premium Cotton Batting & Hobbs Thermore, it is a polyester batting that eliminates fiber migration.

04 Aurifil

Aurifil, my absolute favorite thread.  They are so pretty lined up like little soldiers waiting for their orders.   If you haven’t tried Aurifil thread you should.  This thread is thinner, stronger & produces less lint in the bobbin case.

05 Rayon

Island Batik’s product line also includes batik rayon for apparel use.  I was given 2 yards of Pomegranate Seeds Red and a rayon scarf in a beautiful blend of greens and purple!  Should look good with my white hair!

06 Neutral

3 yards of Switzerland, I mean Neutral.  You can never have too much neutral!

07 Batik Foundations Bundle

Batik Foundations 1/2 yard Bundle!  Wowza, those colors are yummy!

08 Alpine Jungle

Alpine Jungle Fat Eighth Bundle with 1.5 yards of coordinating fabric.  I love this bundle.  I can’t wait to make something out it.

09 5 inch strips

These little bundles of 5 inch strips will come in handy, I’m sure of it!


This fat quarter bundle was for Galentine’s day, which is today.  But I didn’t want to be late so I made mine from Island Batik’s Drizzle Collection.

11 City Culture 2

And last but not least, this is a layer cake from the City Culture 2 line & 1.5 yards of coordinating light and dark fabric.

So join Tuck & me on this year long adventure of discovering new fabrics and fun projects!

As I finish this post, Tucker is trying to put her scent all over my Island Batik’s!

#islandbatik #islandbatikambassador