The products featured in this post were given to my by Island Batik.

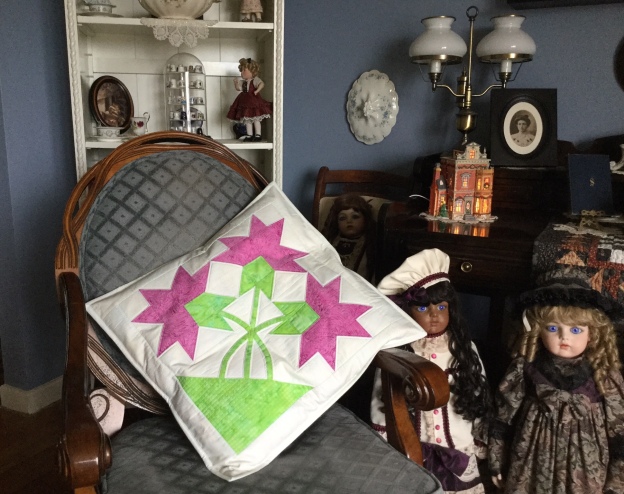
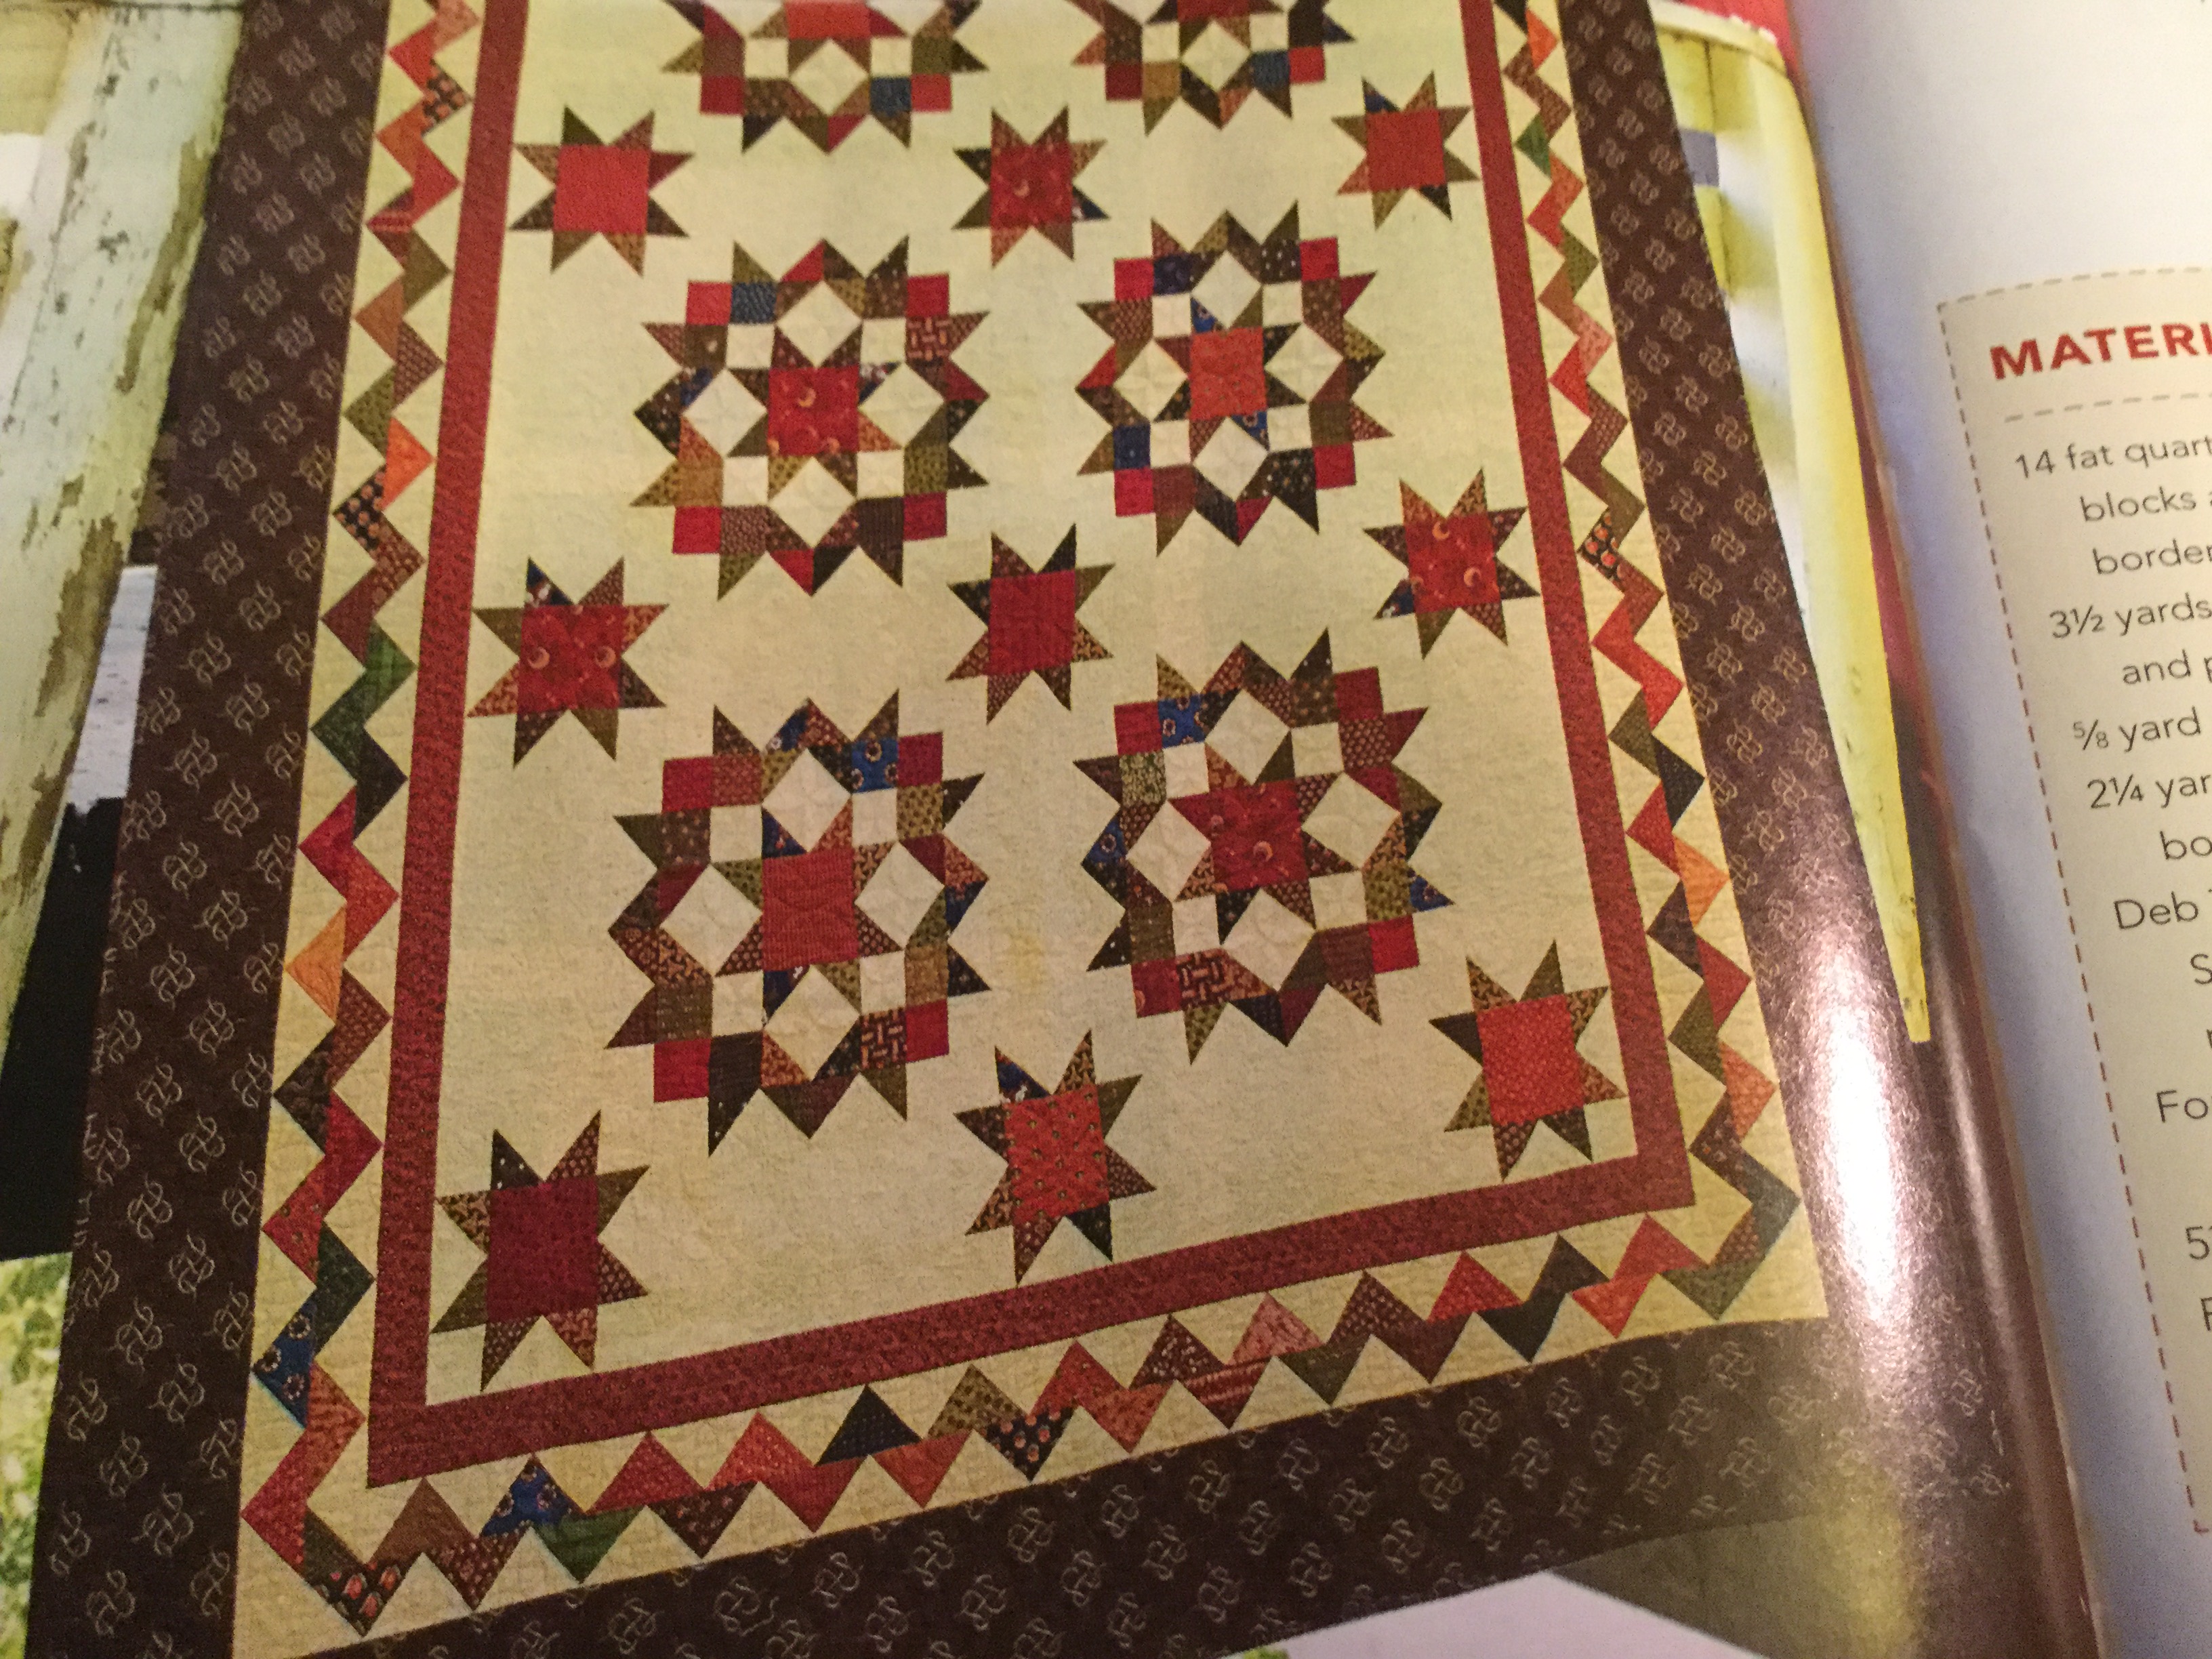
The Island Batik challenge for May is “Playful Pillows”. As I was thinking about what pillow design I would choose, it occurred to me I had a wealth of ideas at my fingertips. So many of my favorite quilt patterns have blocks large enough for a pillow. I decided I would make the center block from Deb Tucker’s “Carolina Lily: One Block” wall quilt pattern.
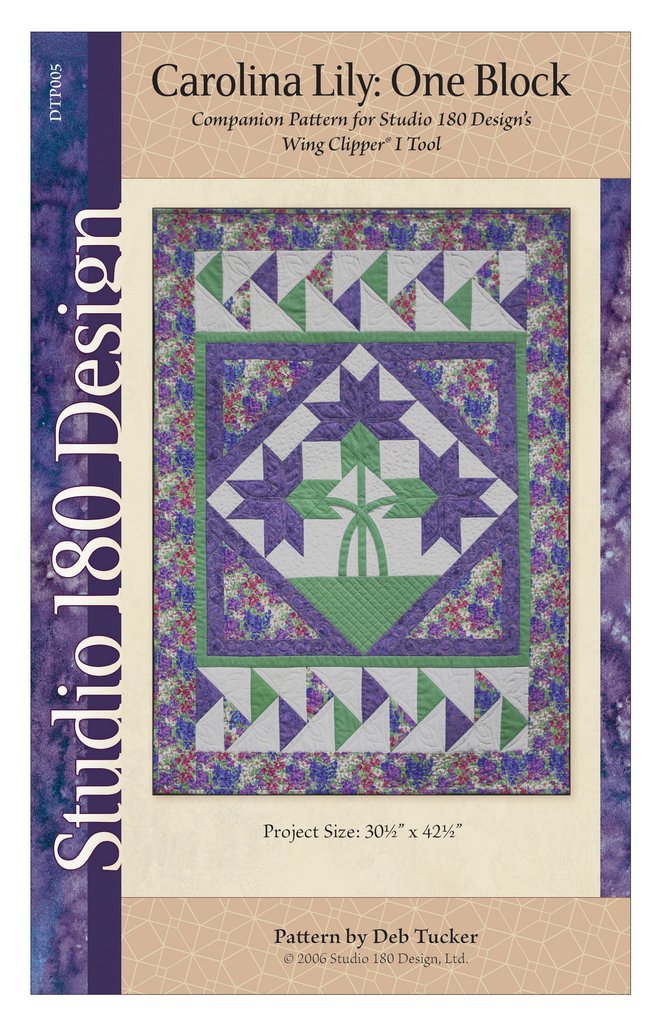 Carolina Lily is a companion pattern for the Wing Clipper I.
My fabrics from Island Batik & threads from Aurifil.
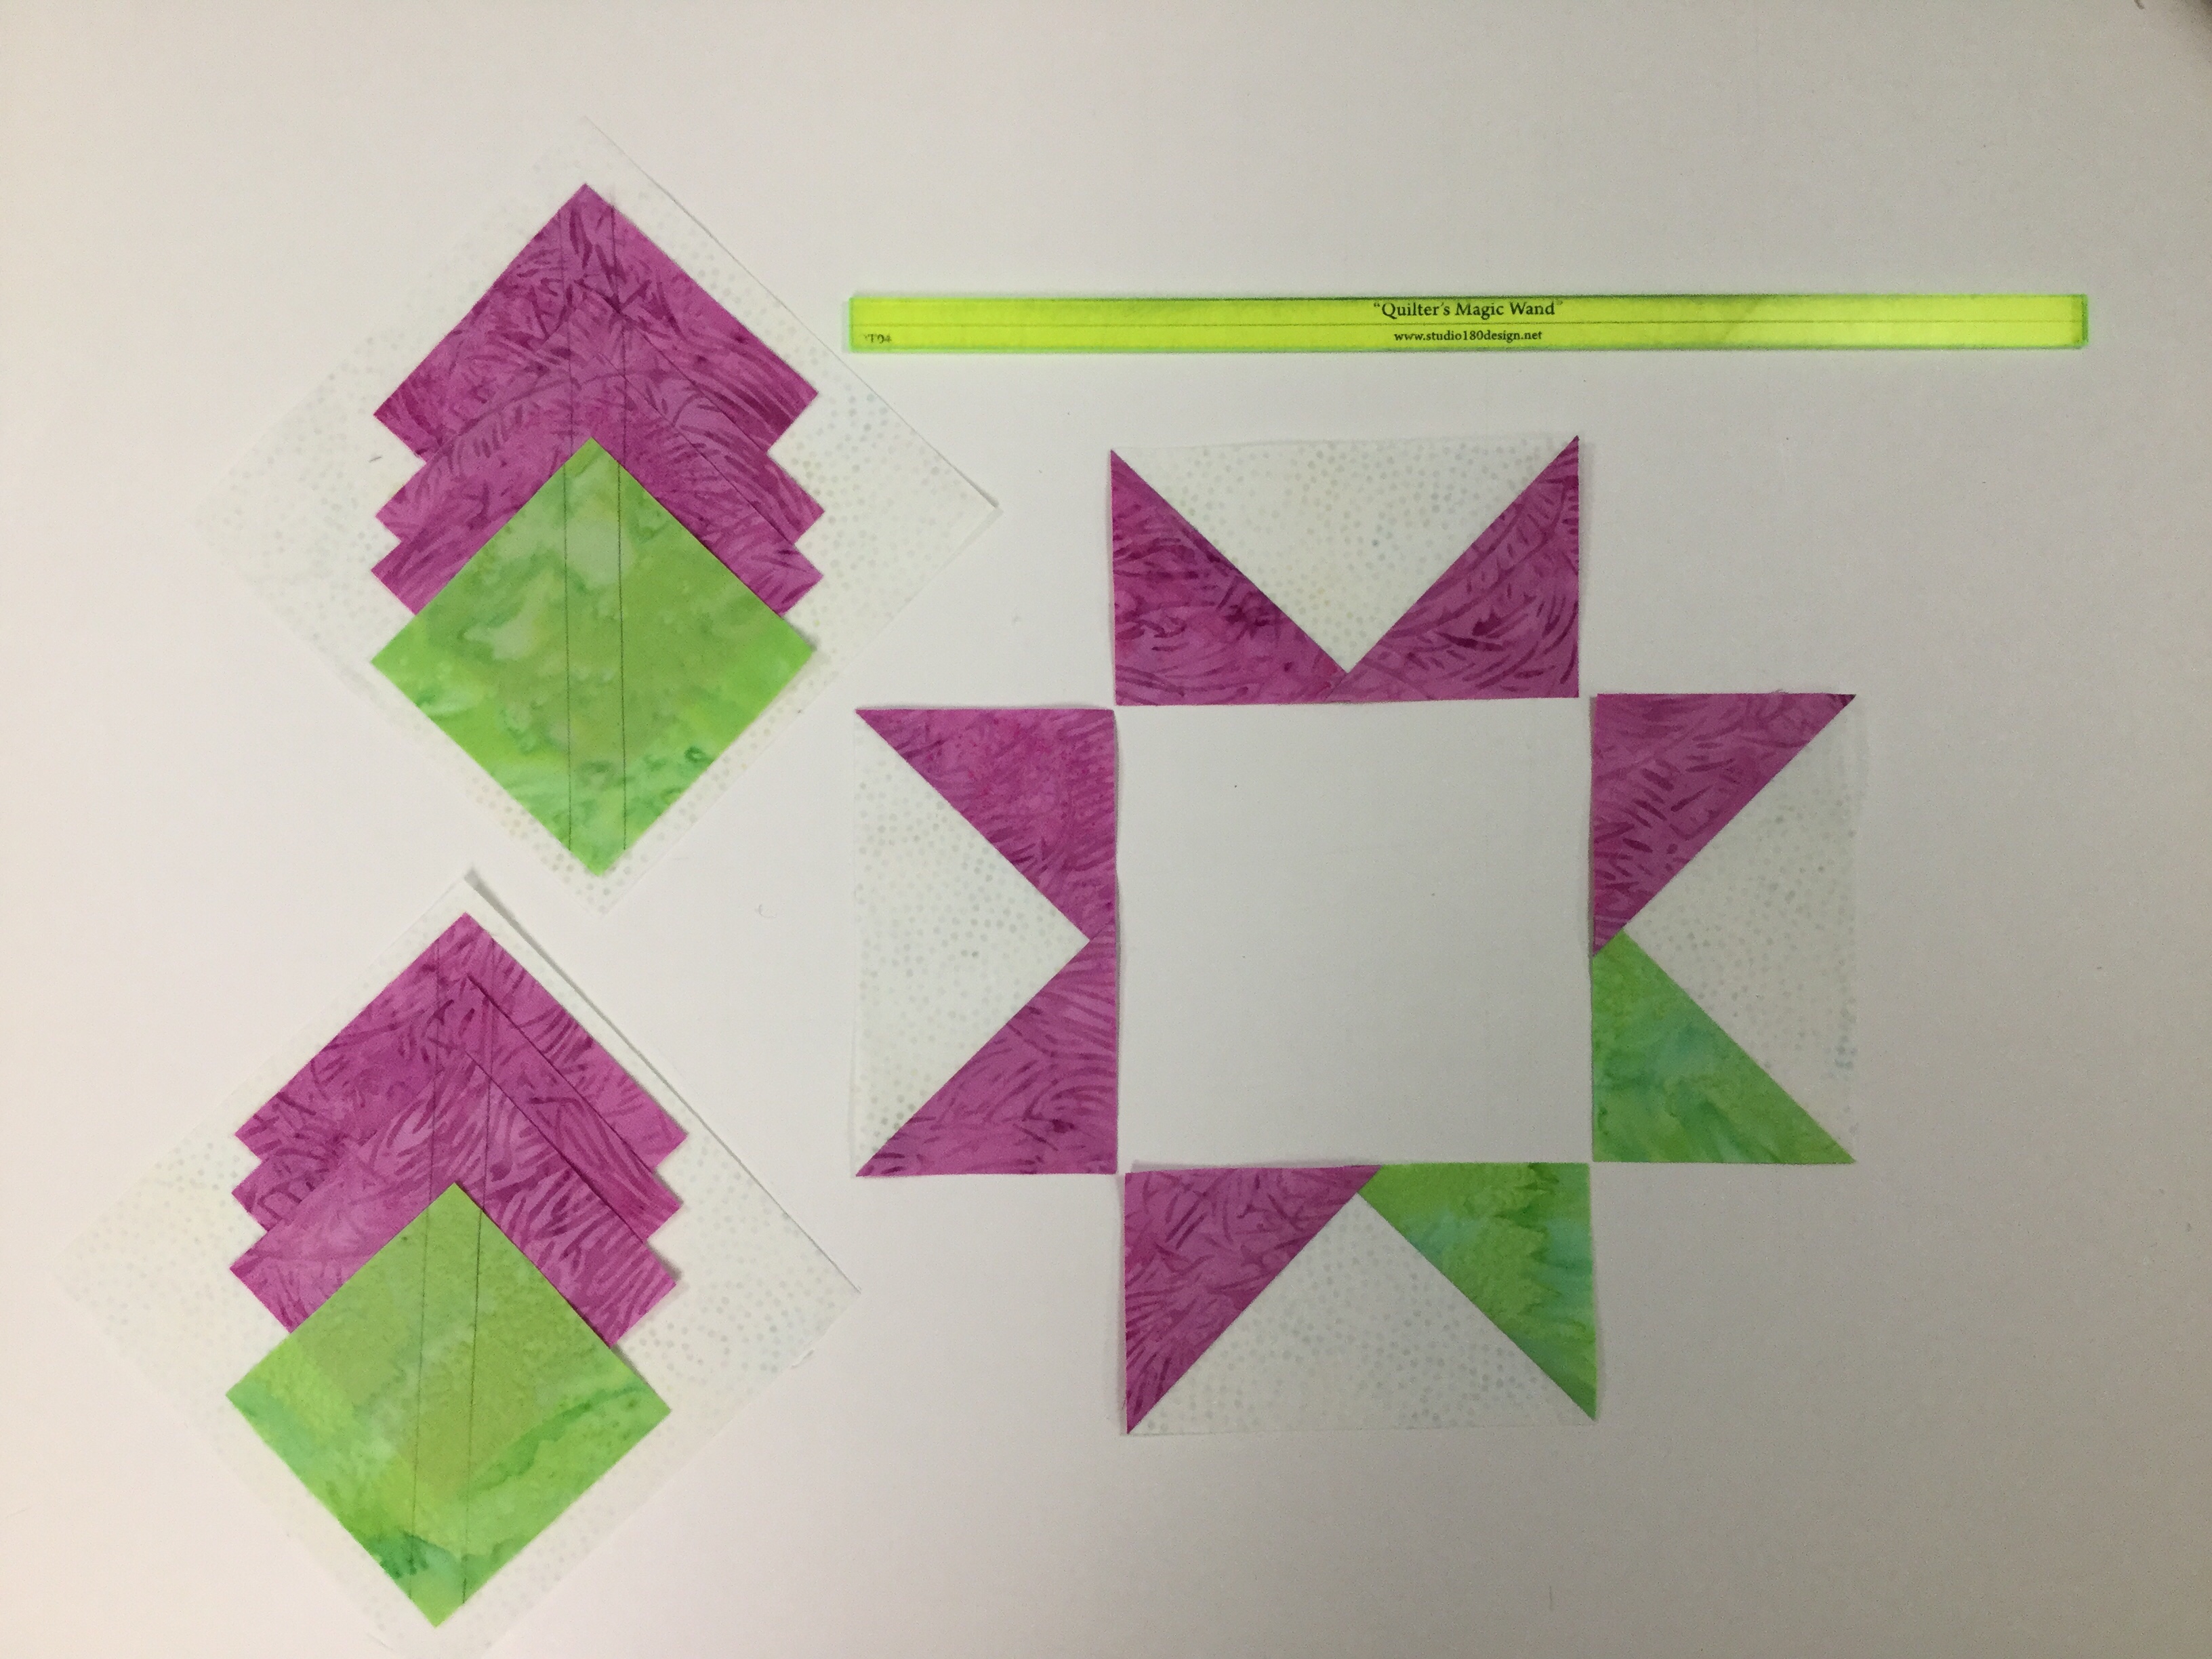
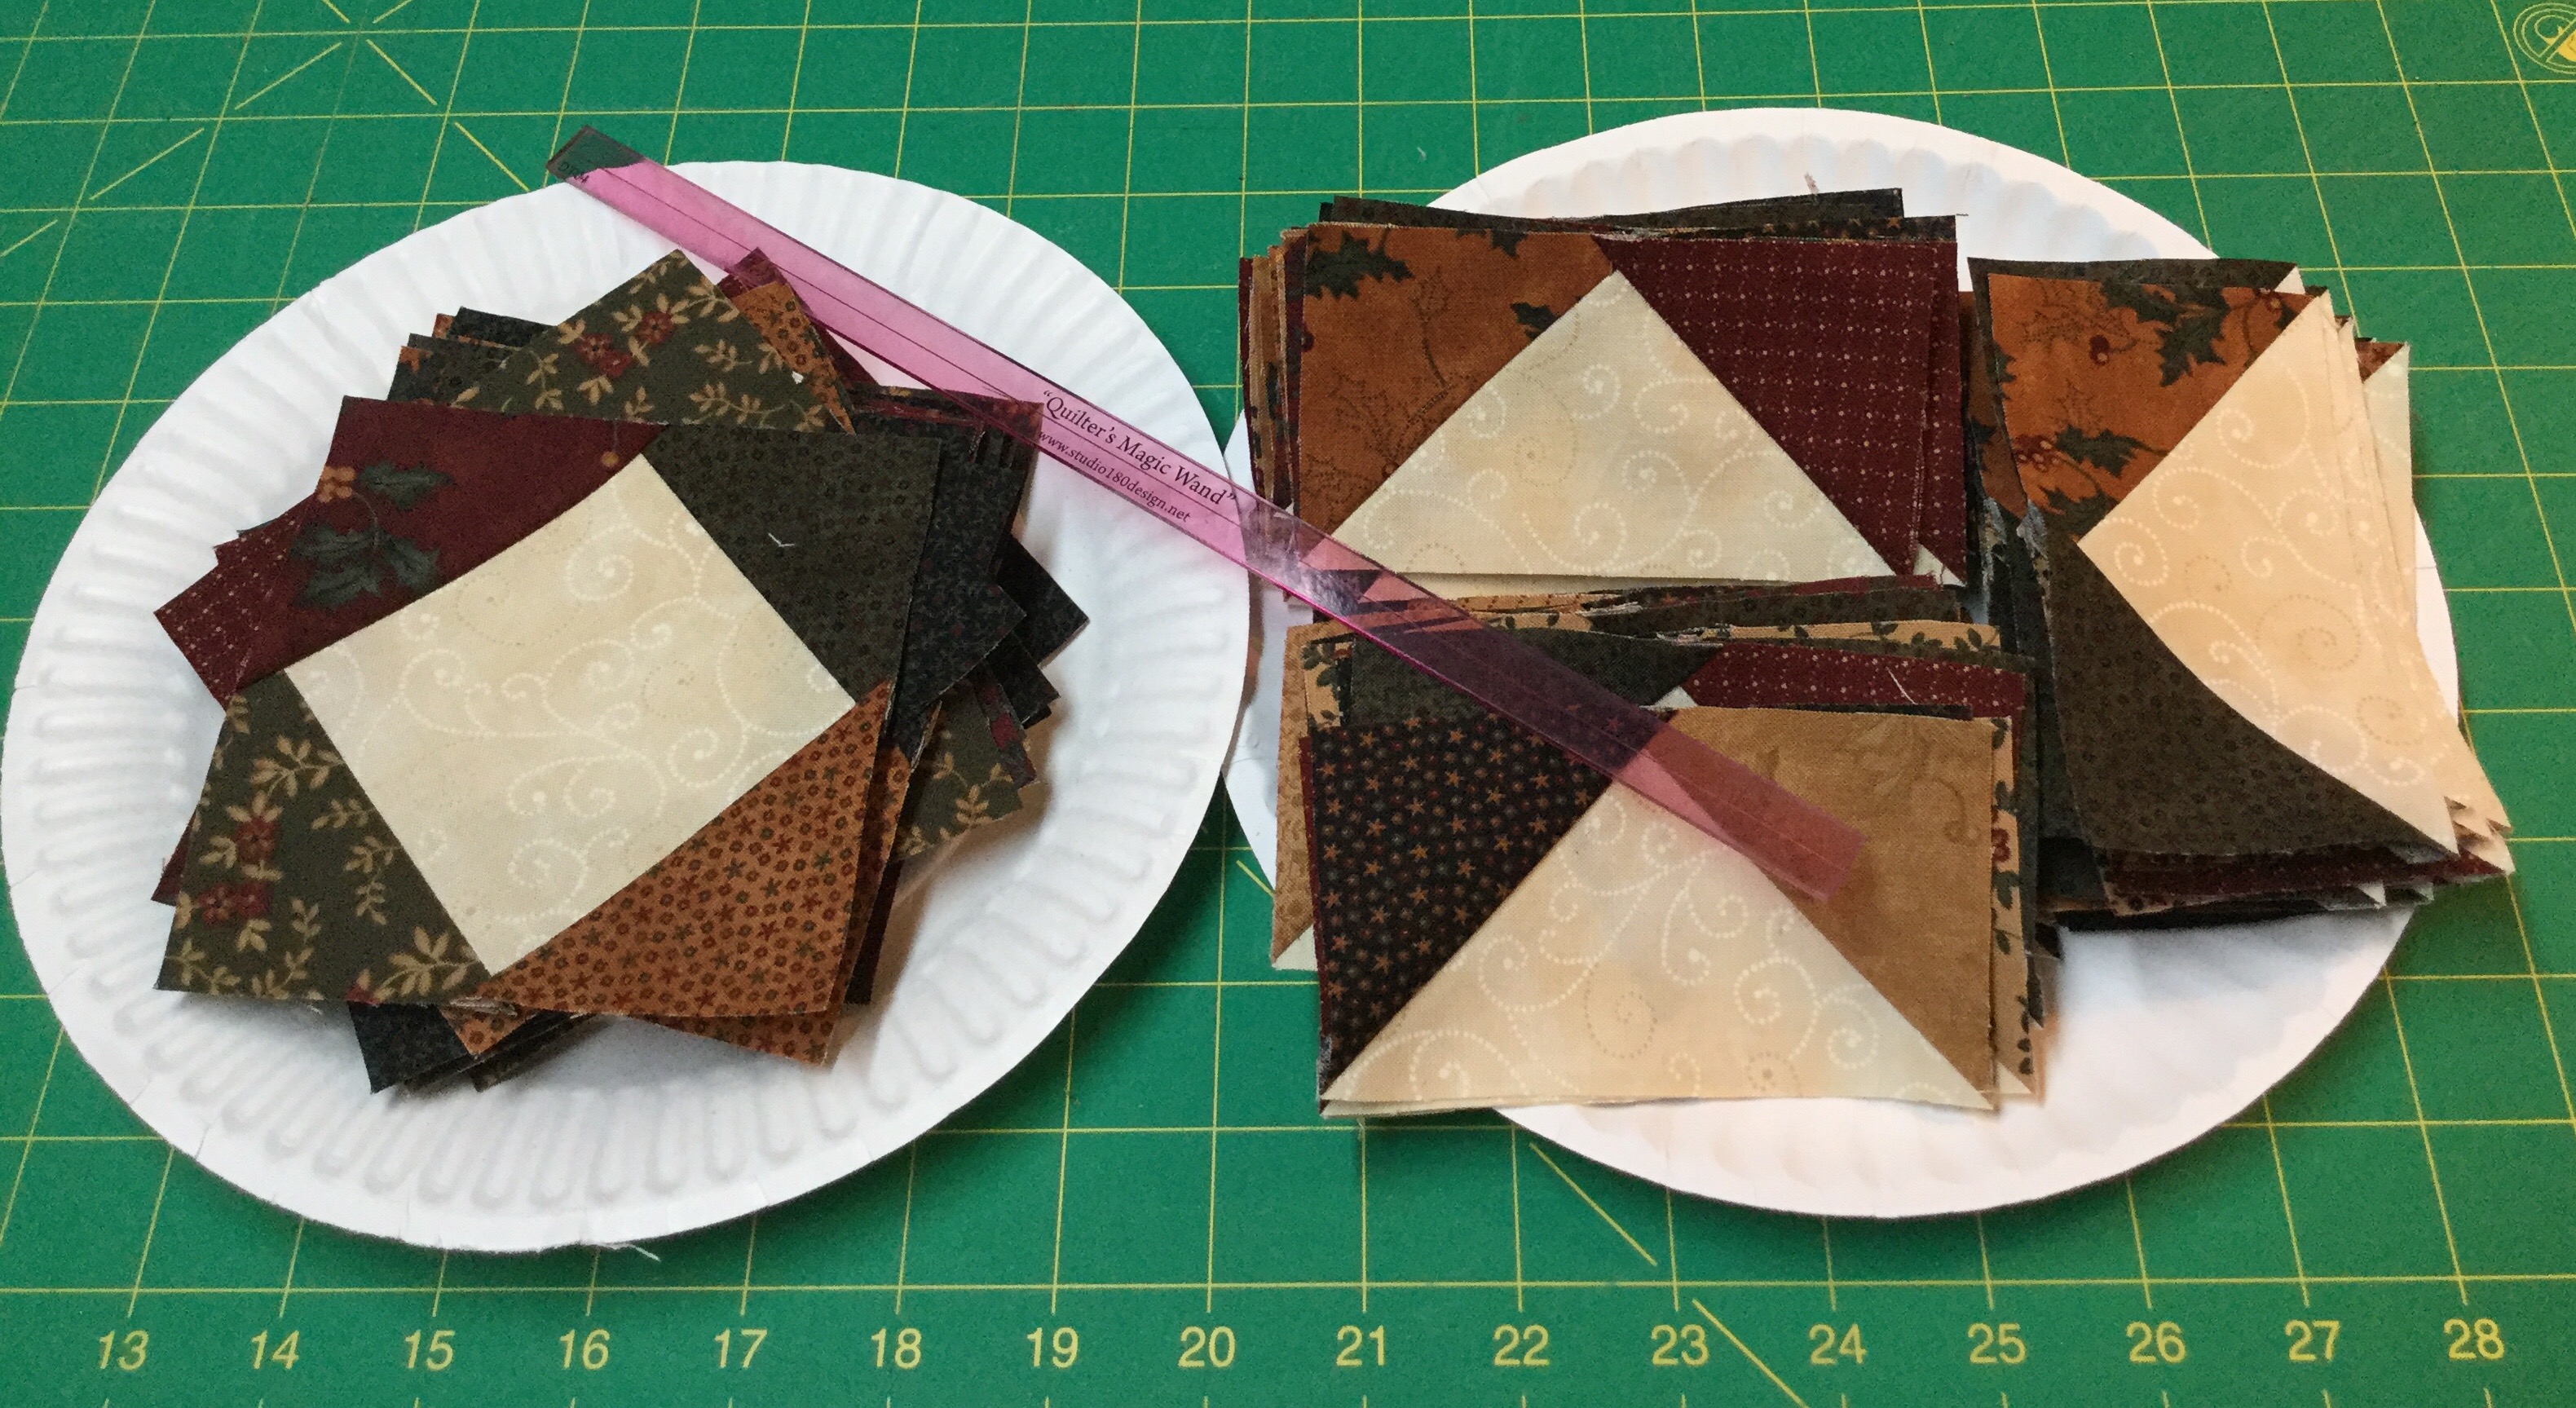
For each of the 3 flower blocks you will need 4 flying geese units. Two of the flying geese units will have one pink point & one green point as shown above. Deb Tucker’s method for constructing flying geese requires one large square and 4 small squares. The large square is my background fabric. Three of the small squares are my pink fabric, and one is the green fabric. Using your Magic Wand draw two diagonal lines on the back of your small squares.
To make a flying geese units position one green square and one pink square right sides together in diagonally opposite corners of the one large square. Do Not align the raw edges, instead nudge them in toward the center just a few threads & overlapping the two small squares. Stitch on the lines and cut apart.
Press the seams toward the smaller triangles.
Position the remaining pink squares in the corner of the previously pieced units. Nudge the squares as you did before. Stitch on the lines and cut apart as before.
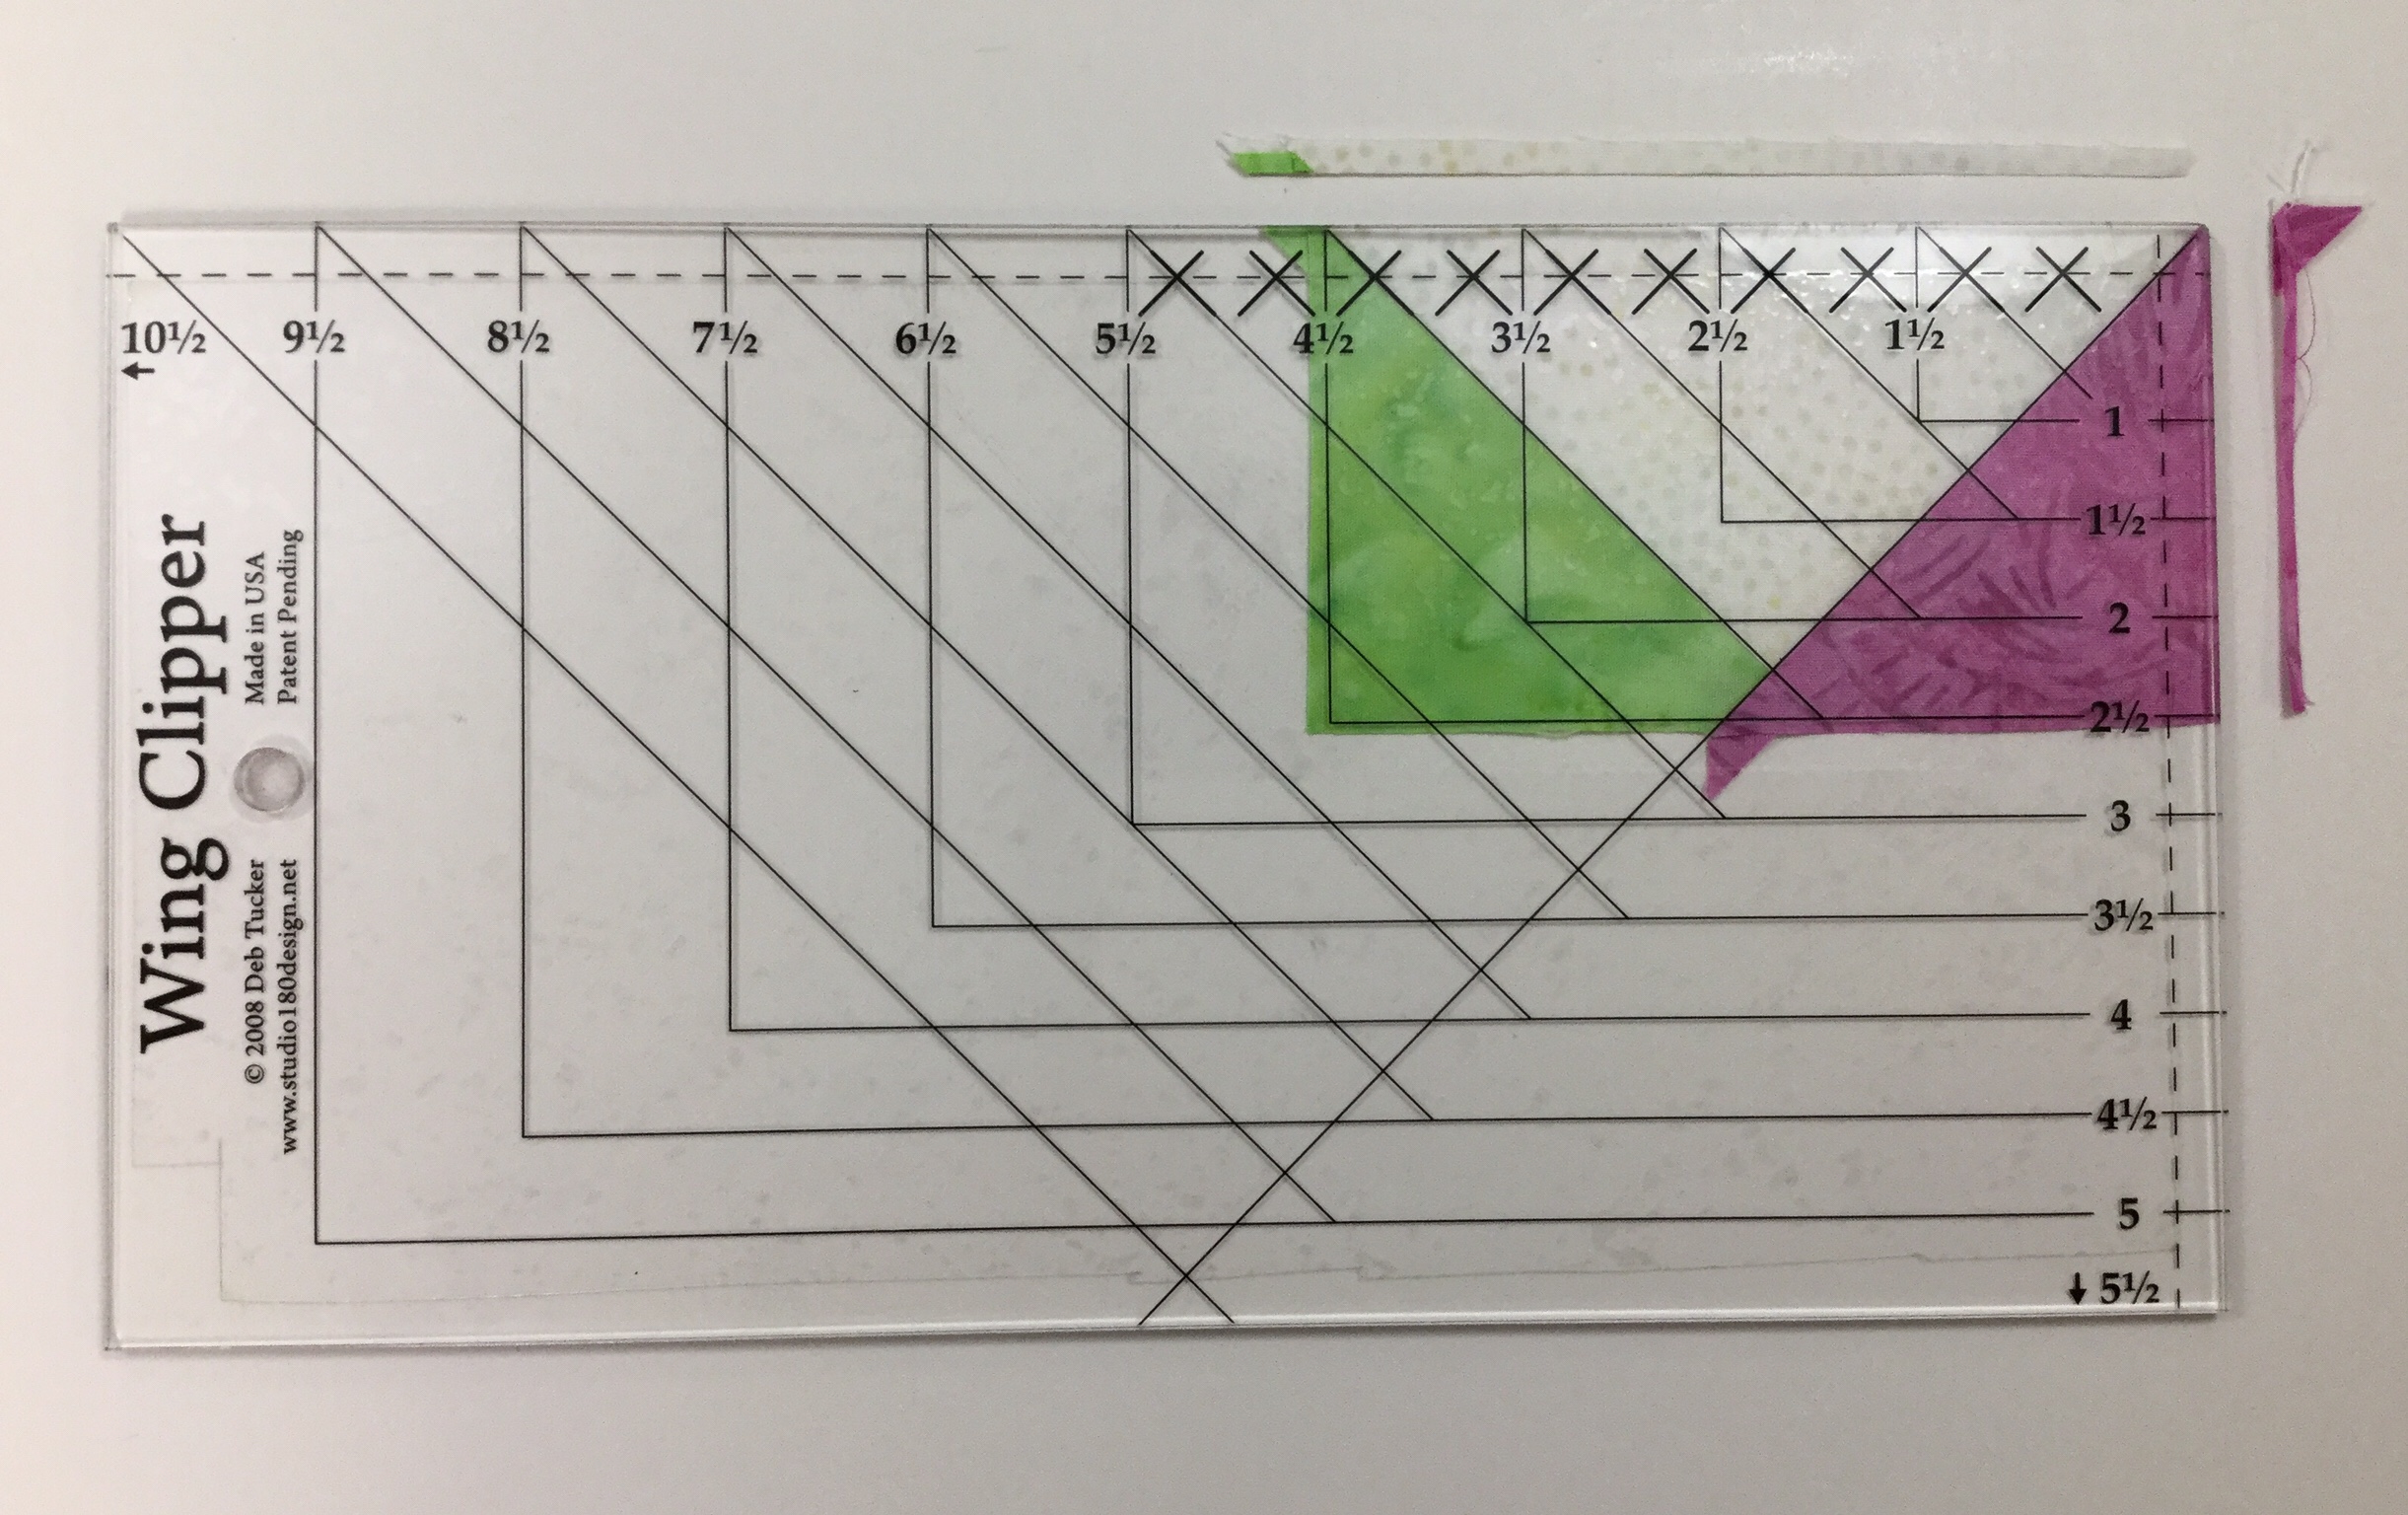
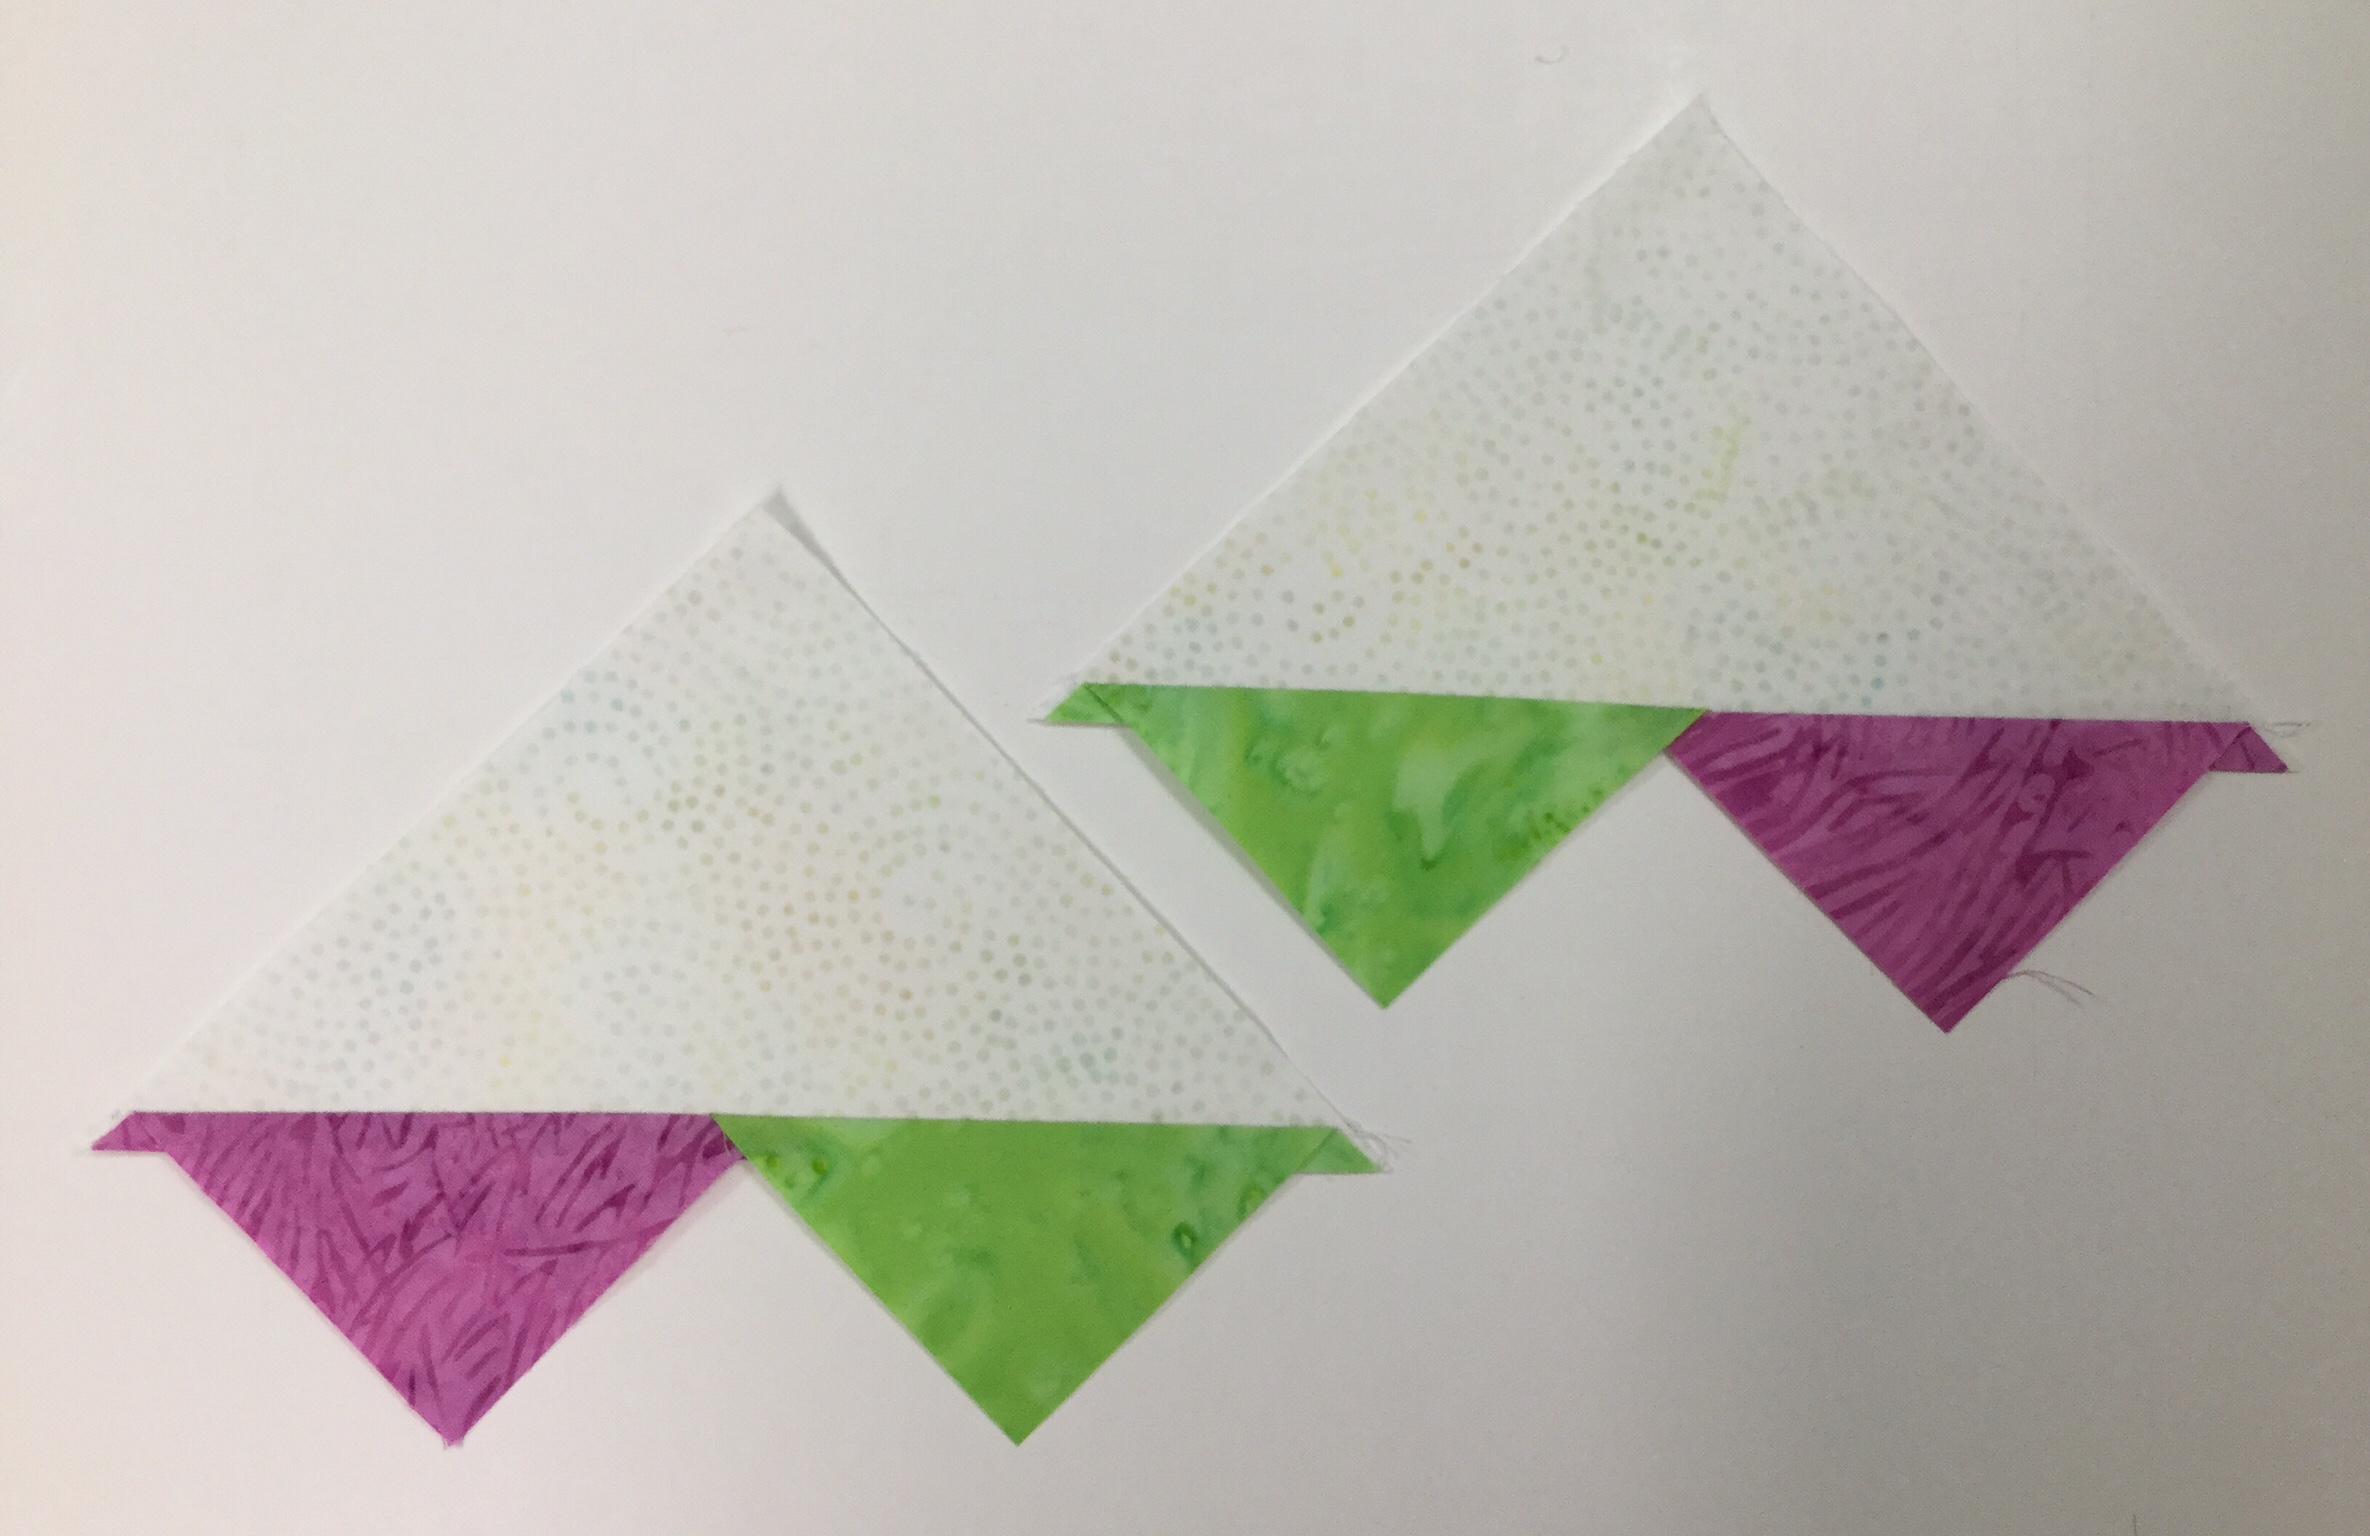
You now have four flying geese units, two with pink points and two with one green & one pink point. For Right handed cutting position your geese unit horizontally on the cutting mat so it points toward you. Align the diagonal guide lines of the Wing Clipper with the sewn seams of the flying geese unit. Trim up the side and across the top. (See your tool instructions for left handed cutting.)

Rotate the unit and reposition the Wing Clipper to align cleanup guidelines with the previously trimmed raw edges and the “X” at the top with the intersection of the seams. Trim up the side and across the top. Do this for all your geese units.
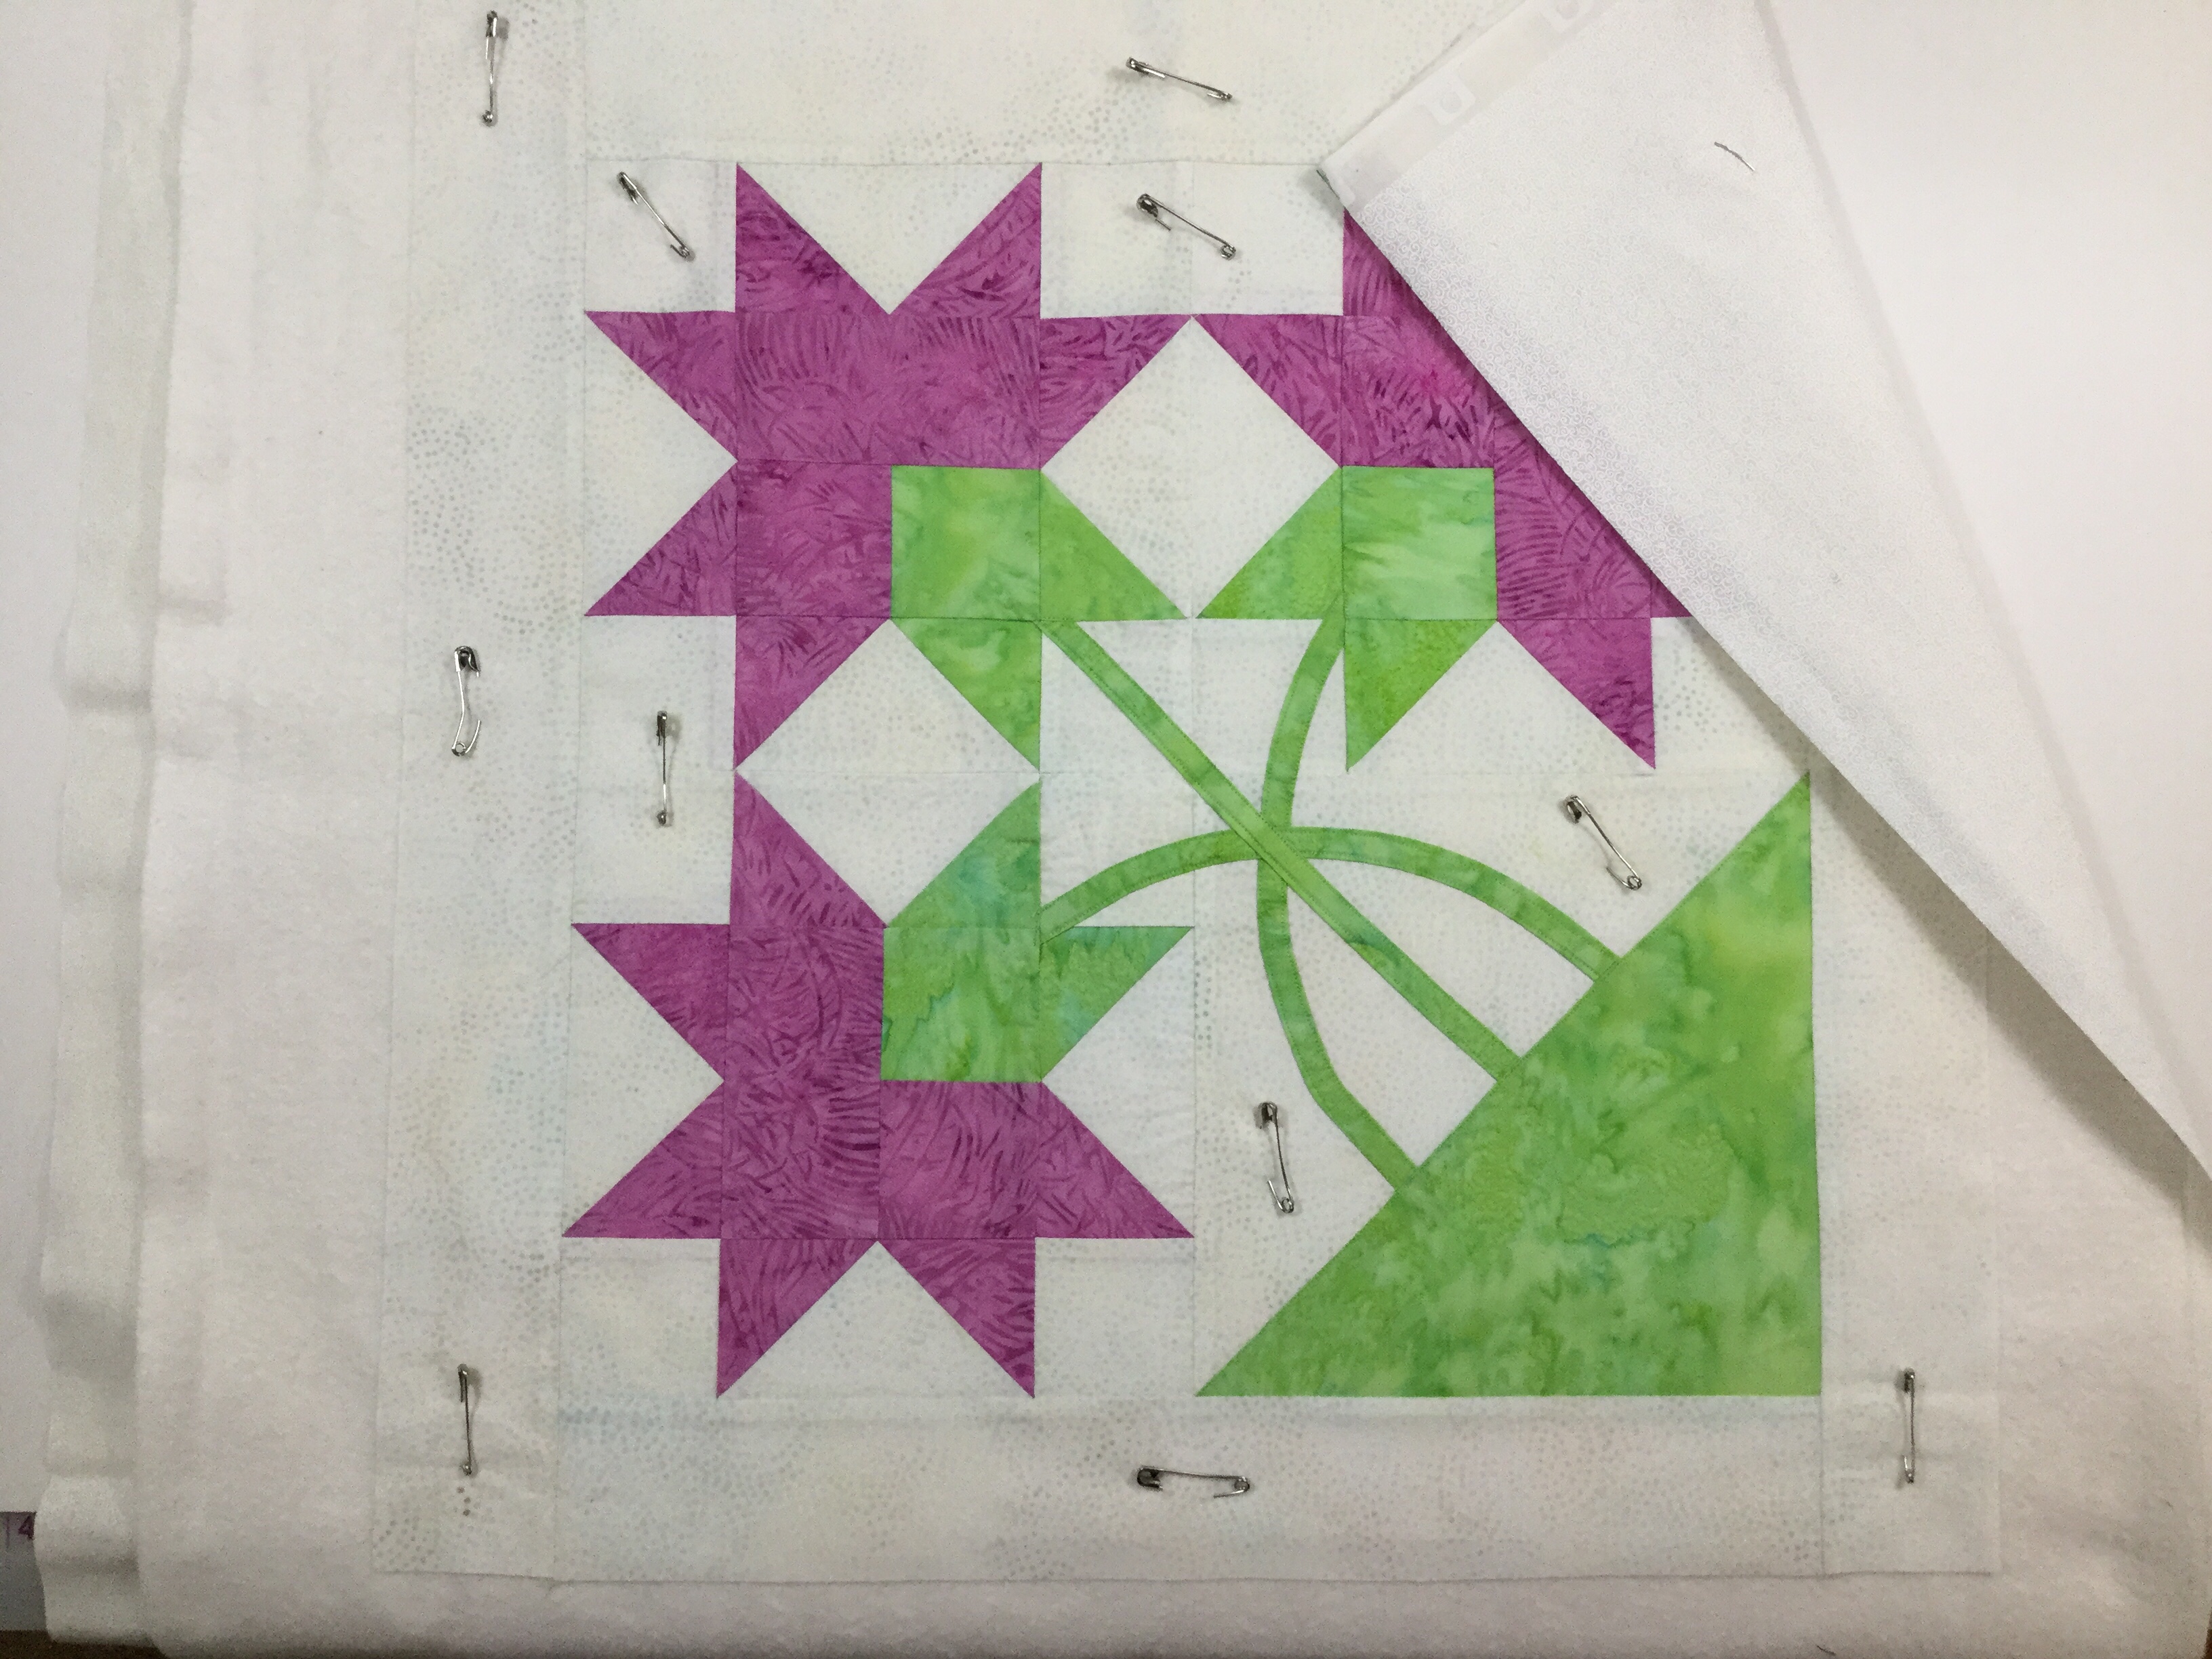
Construct your lily block according to pattern instructions. The lily block measures about a 16 1/2″, I added 2 1/2″ borders all around it. I like the inside of the pillow to be neat with no raw edges showing. I want to quilt this block so I cut a backing and batting larger than my block and pin basted it.
I used my walking foot and cross hatched the basket portion of the block.
I was carefully supervised during this process.
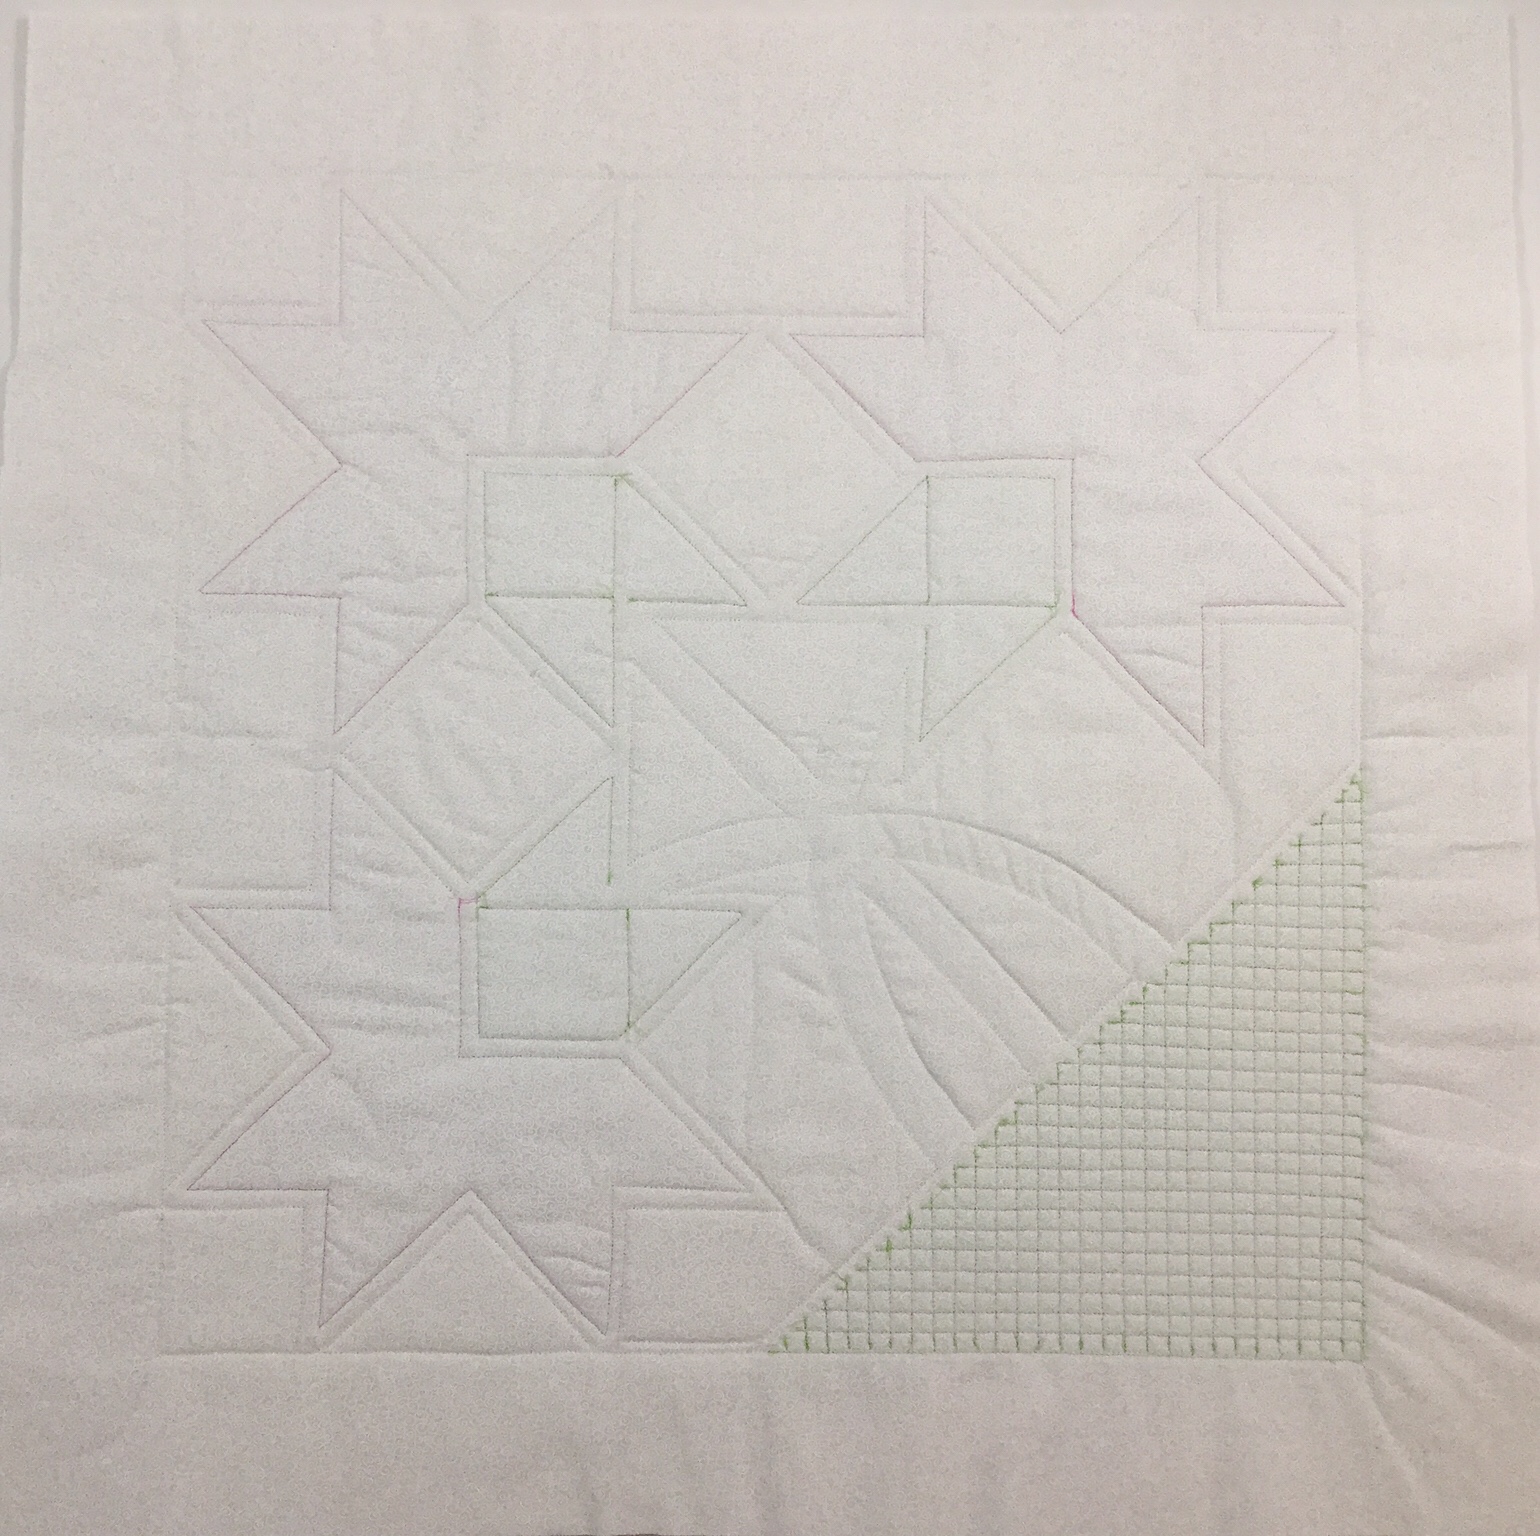
Once I finished with the basket, I outlined the flower parts and squared up the pillow top.
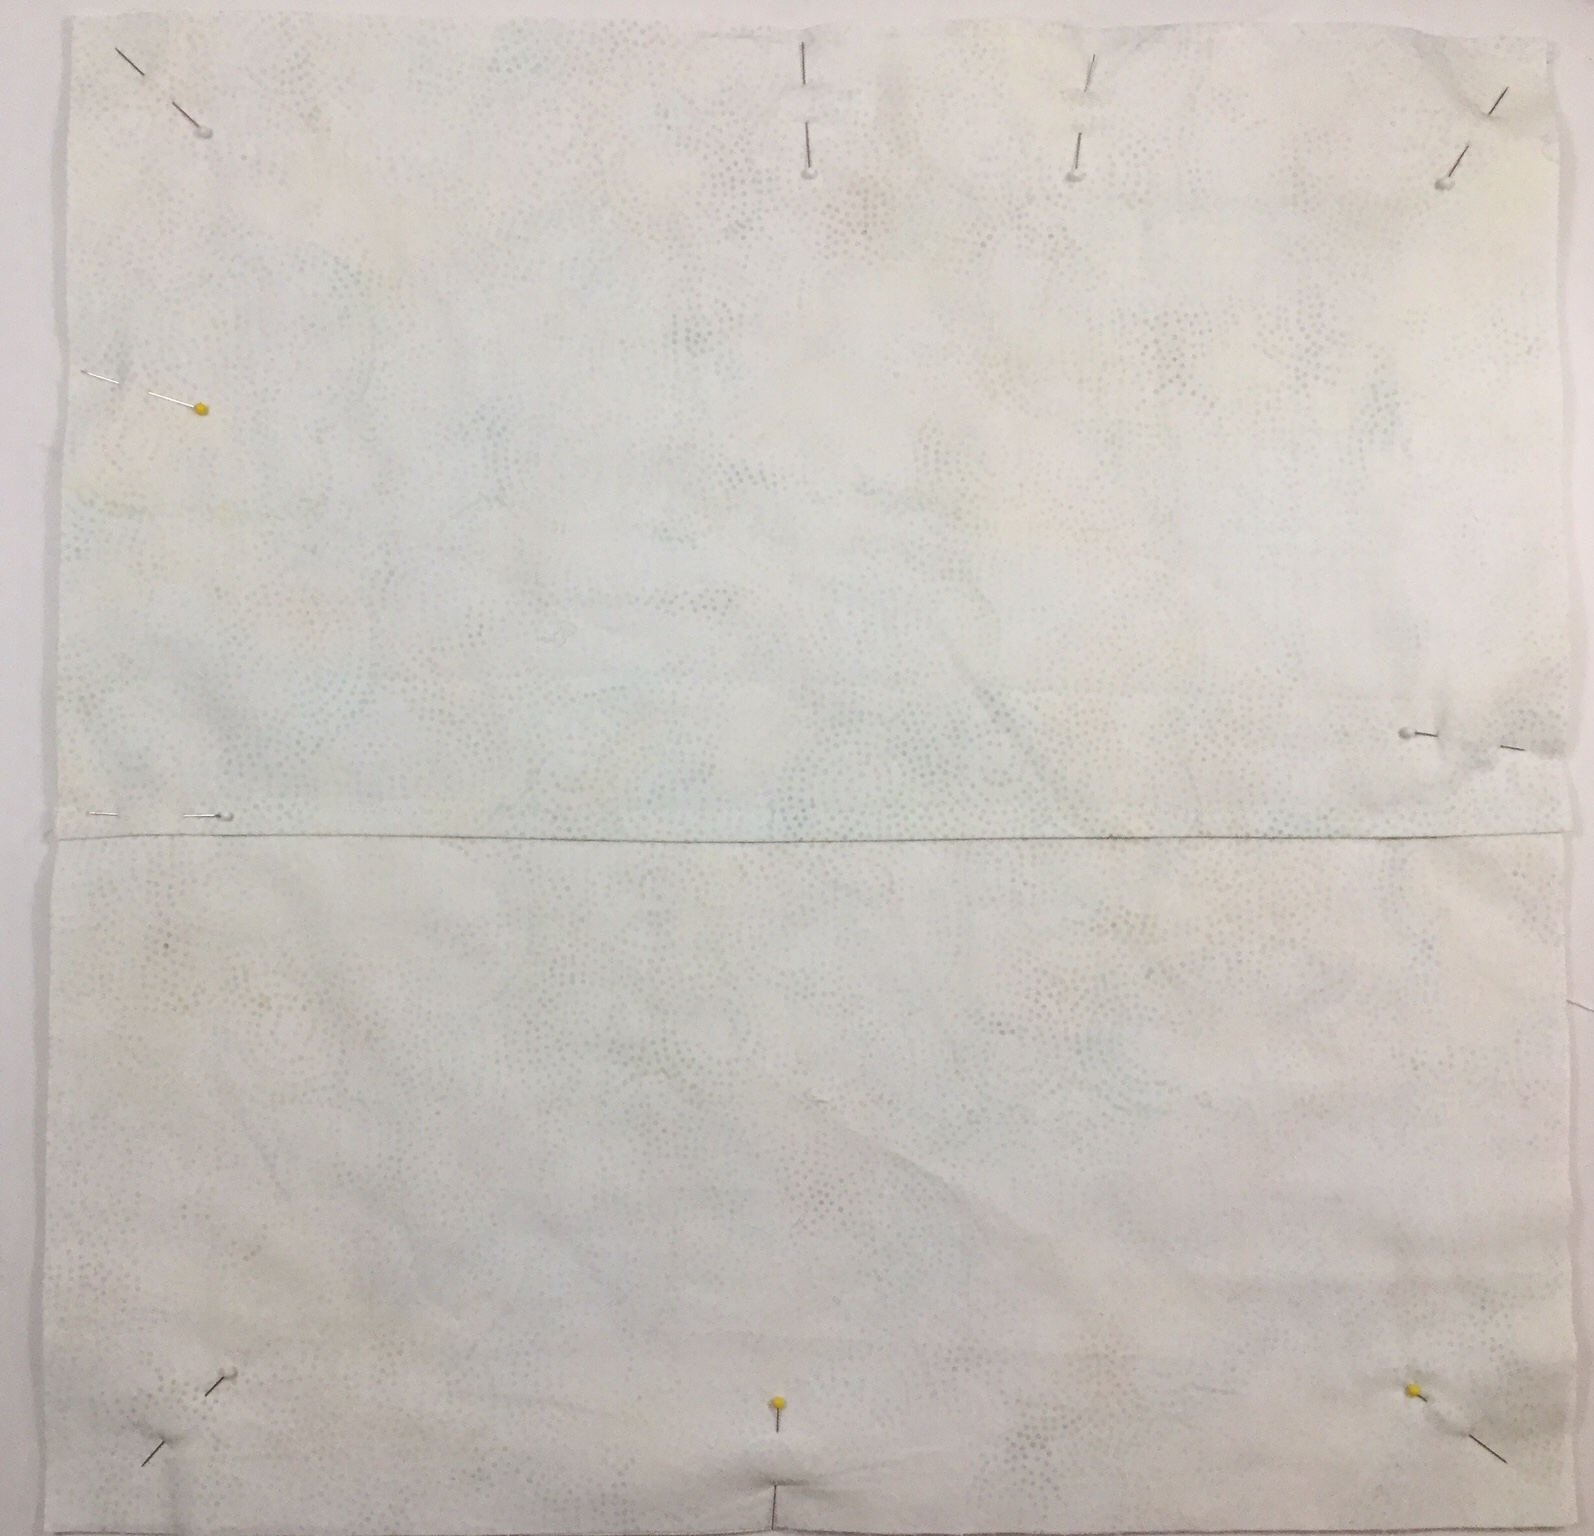
My pillow top now measures 20 1/2″. I cut two pieces of fabric 12″ x 20 1/2″. On each piece, along one of the 20 1/2″ edges fold it over about 1/4″, press it & fold it over again and press it. Stitch on the pressed over edges for a nice finish. Position these two pieces on the pillow with WRONG sides together aligning the raw edges so the finished edges overlap in the middle. Pin in place and stitch around the outside edges of the pillow using a 1/4″ seam allowance.
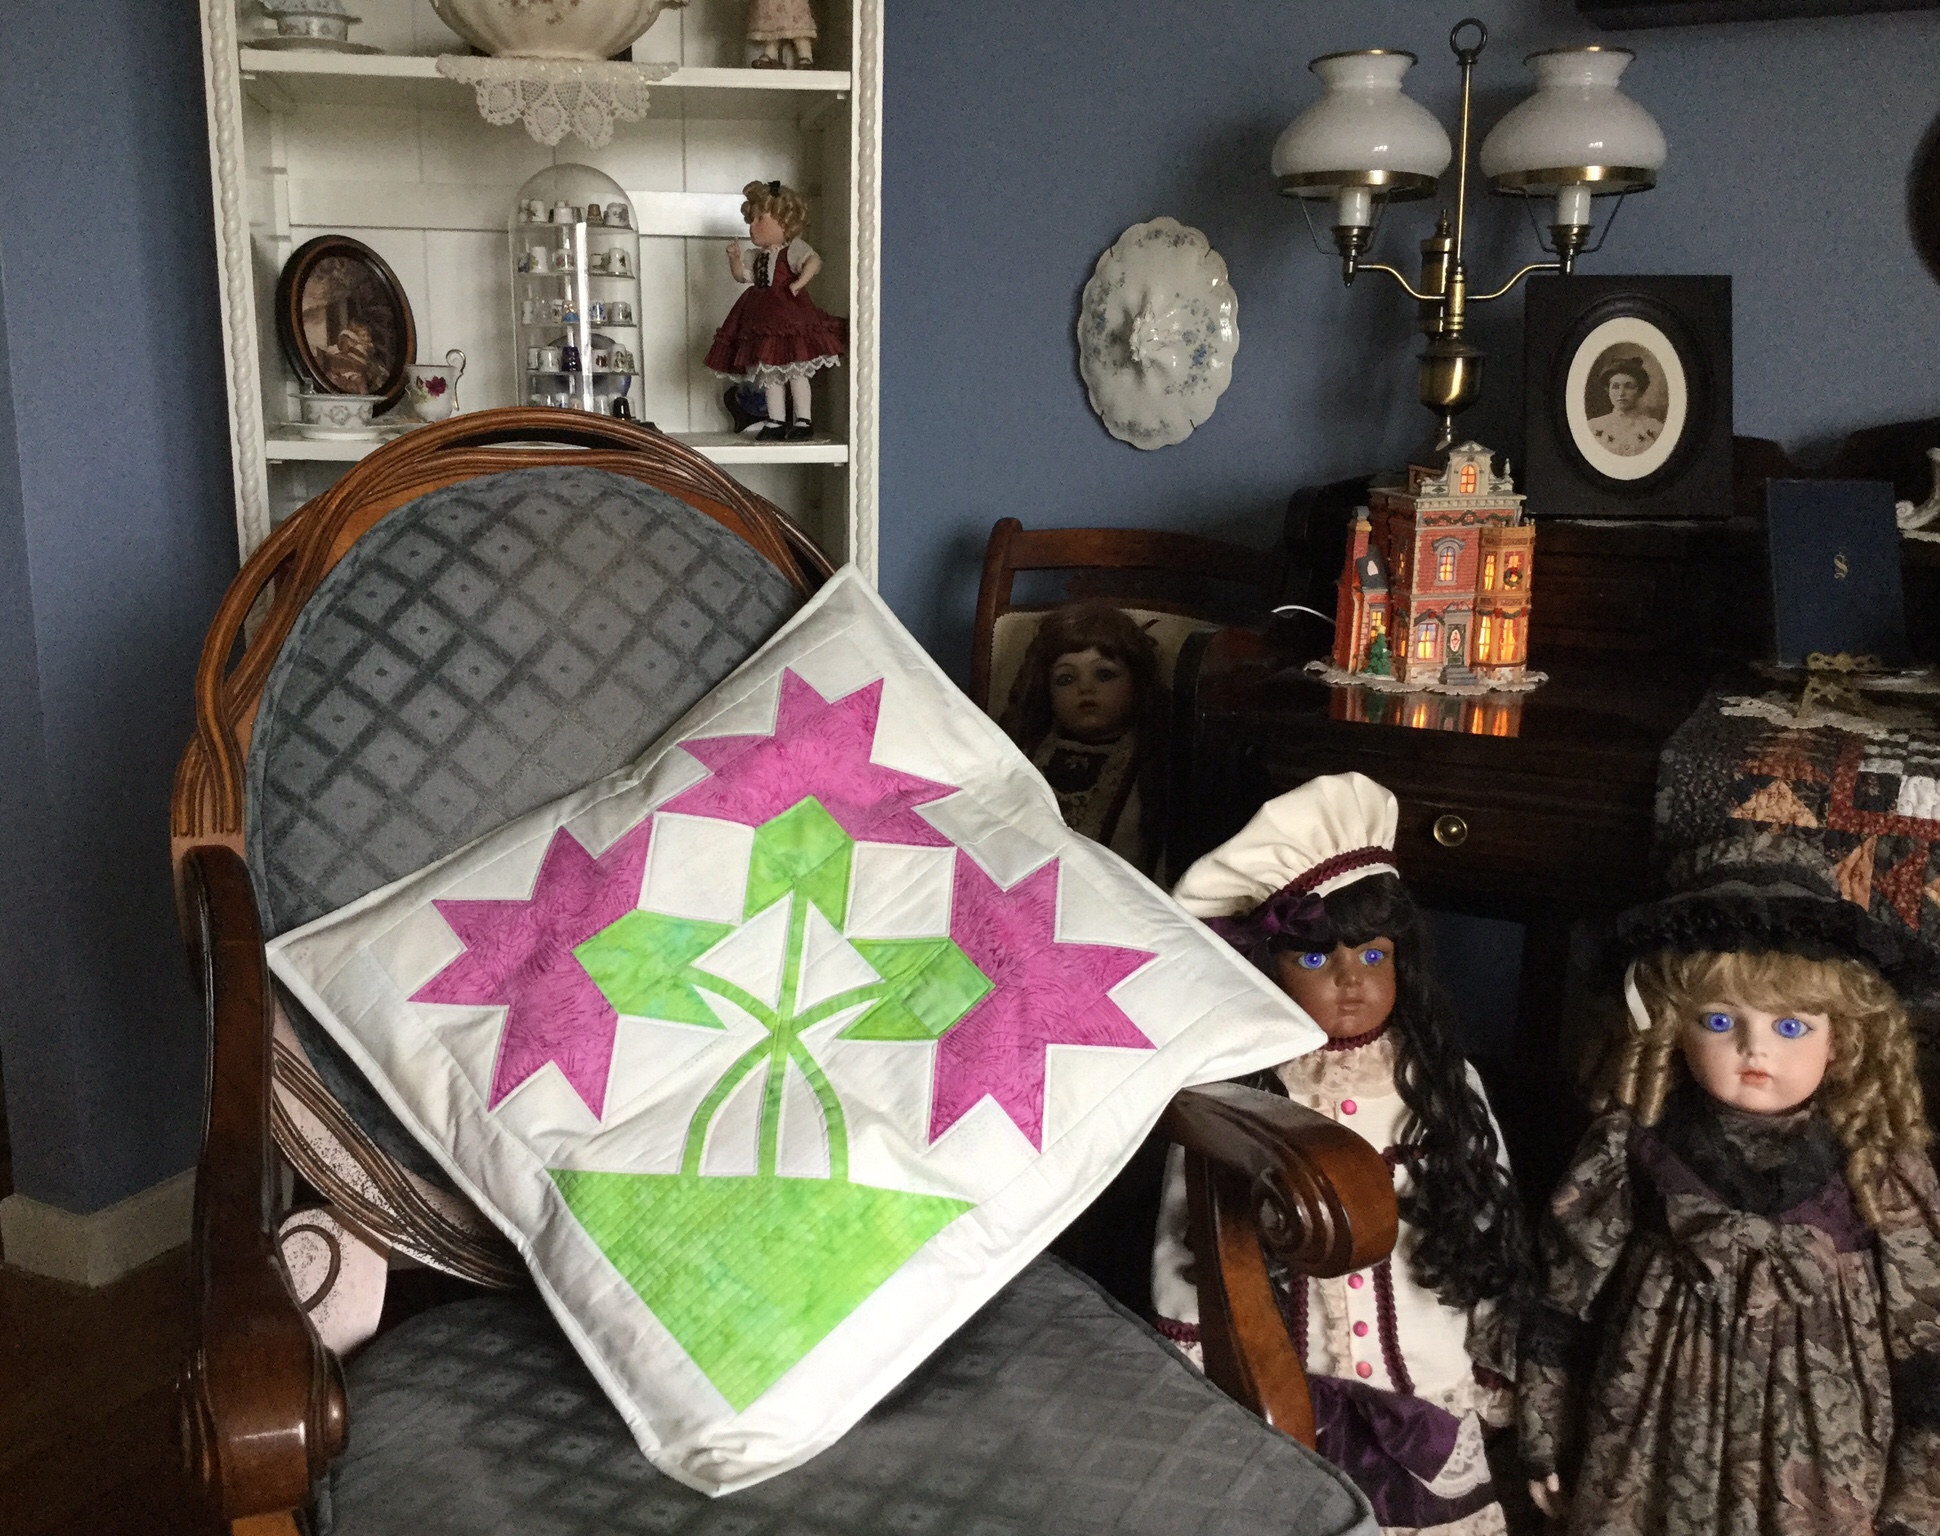
Now you have a pillow with raw edges around the outside edge. I like to add a binding just like it was a quilt. That way the inside of the pillow is completely finished with no unfinished edges, which is nice for washing the pillow case.

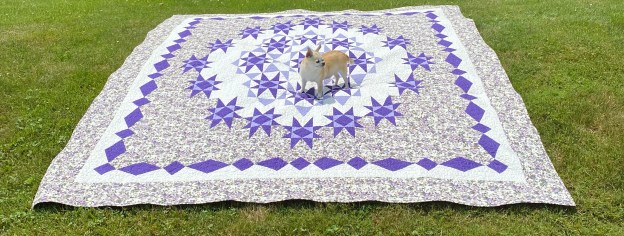
I made this pillow for my sister Mary, but I think Tucker & Zoey are claiming it!
#islandbatik #Aurifilthread #islandbatikambassador #debtucker #studio180design