Welcome to Stitchin Heaven’s Journeys BOM Month 4 – Winged Nine Patch. My helper for Month 4 is Diane Marvin, Certified Instructor for Studio 180 Design. This month you are going to learn to make Four Patches with Frames using prints 5, 6, 7 & 9, Center Square with print 8 and Chevrons using prints 5, 6 & 11. Required tools are the Four Patch Square Up and Corner Pop.
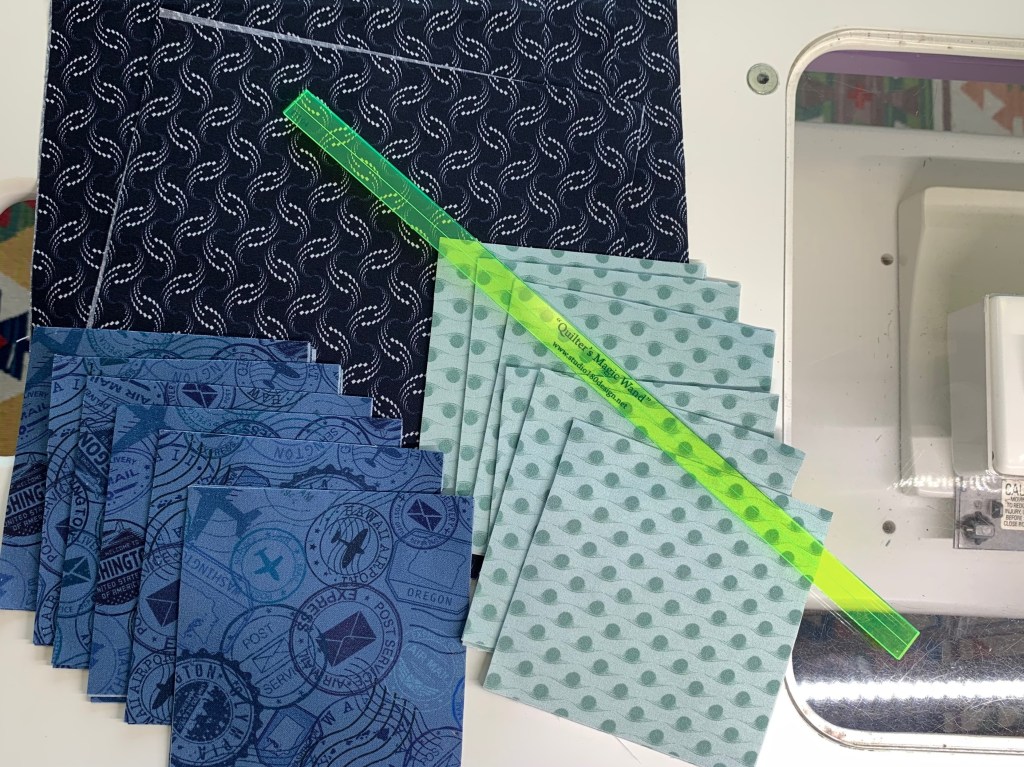
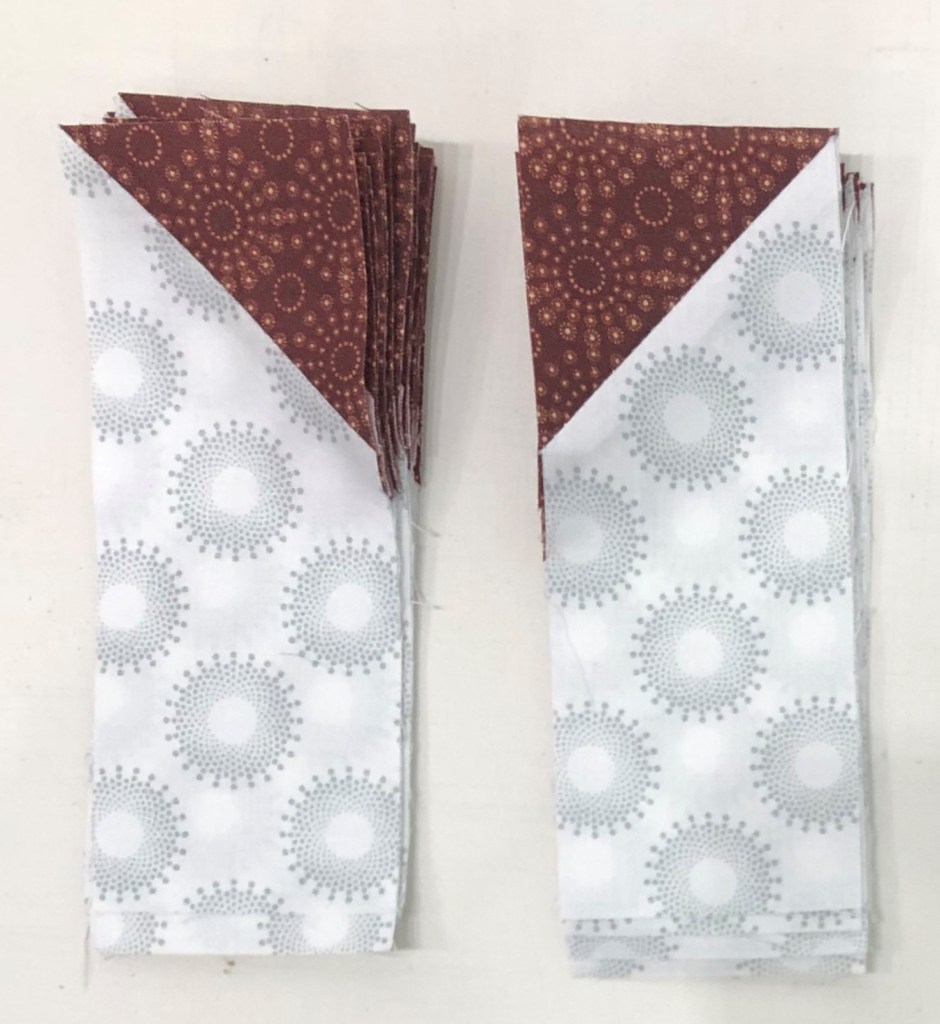
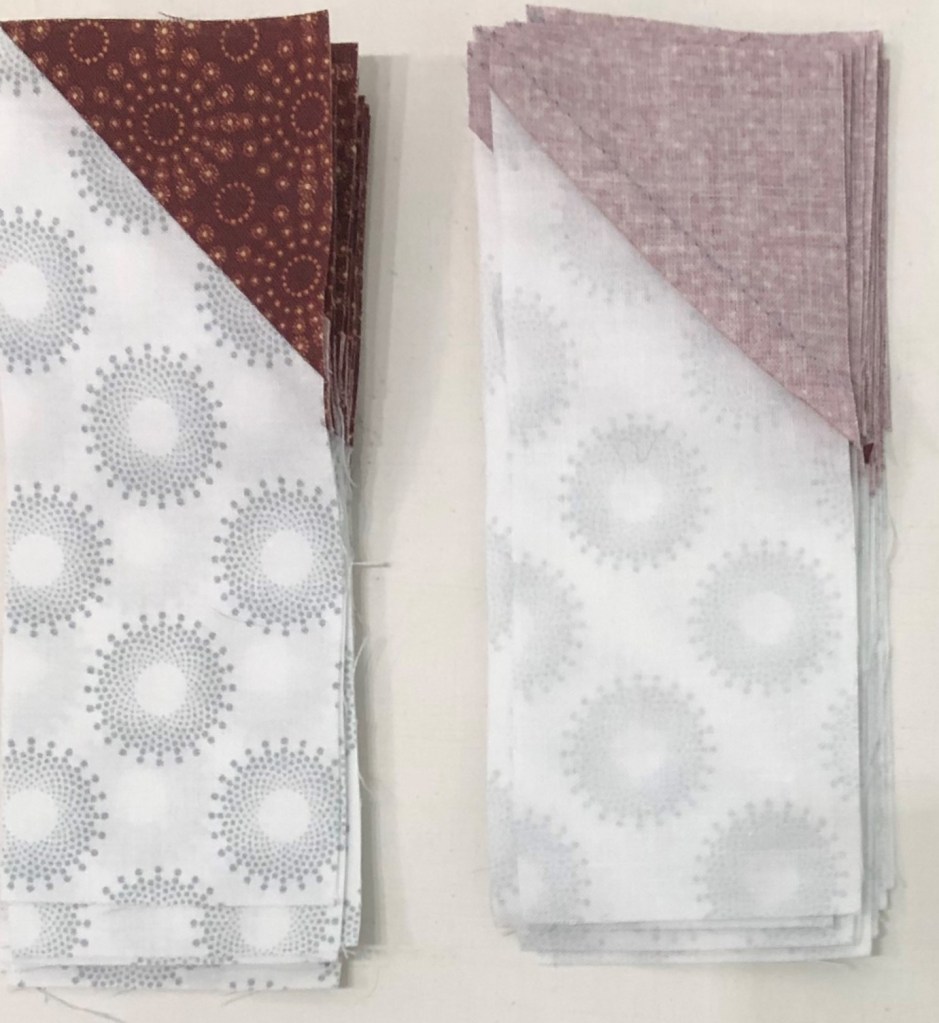
Carefully follow your cutting instructions for each print using your best cutting and measuring skills.
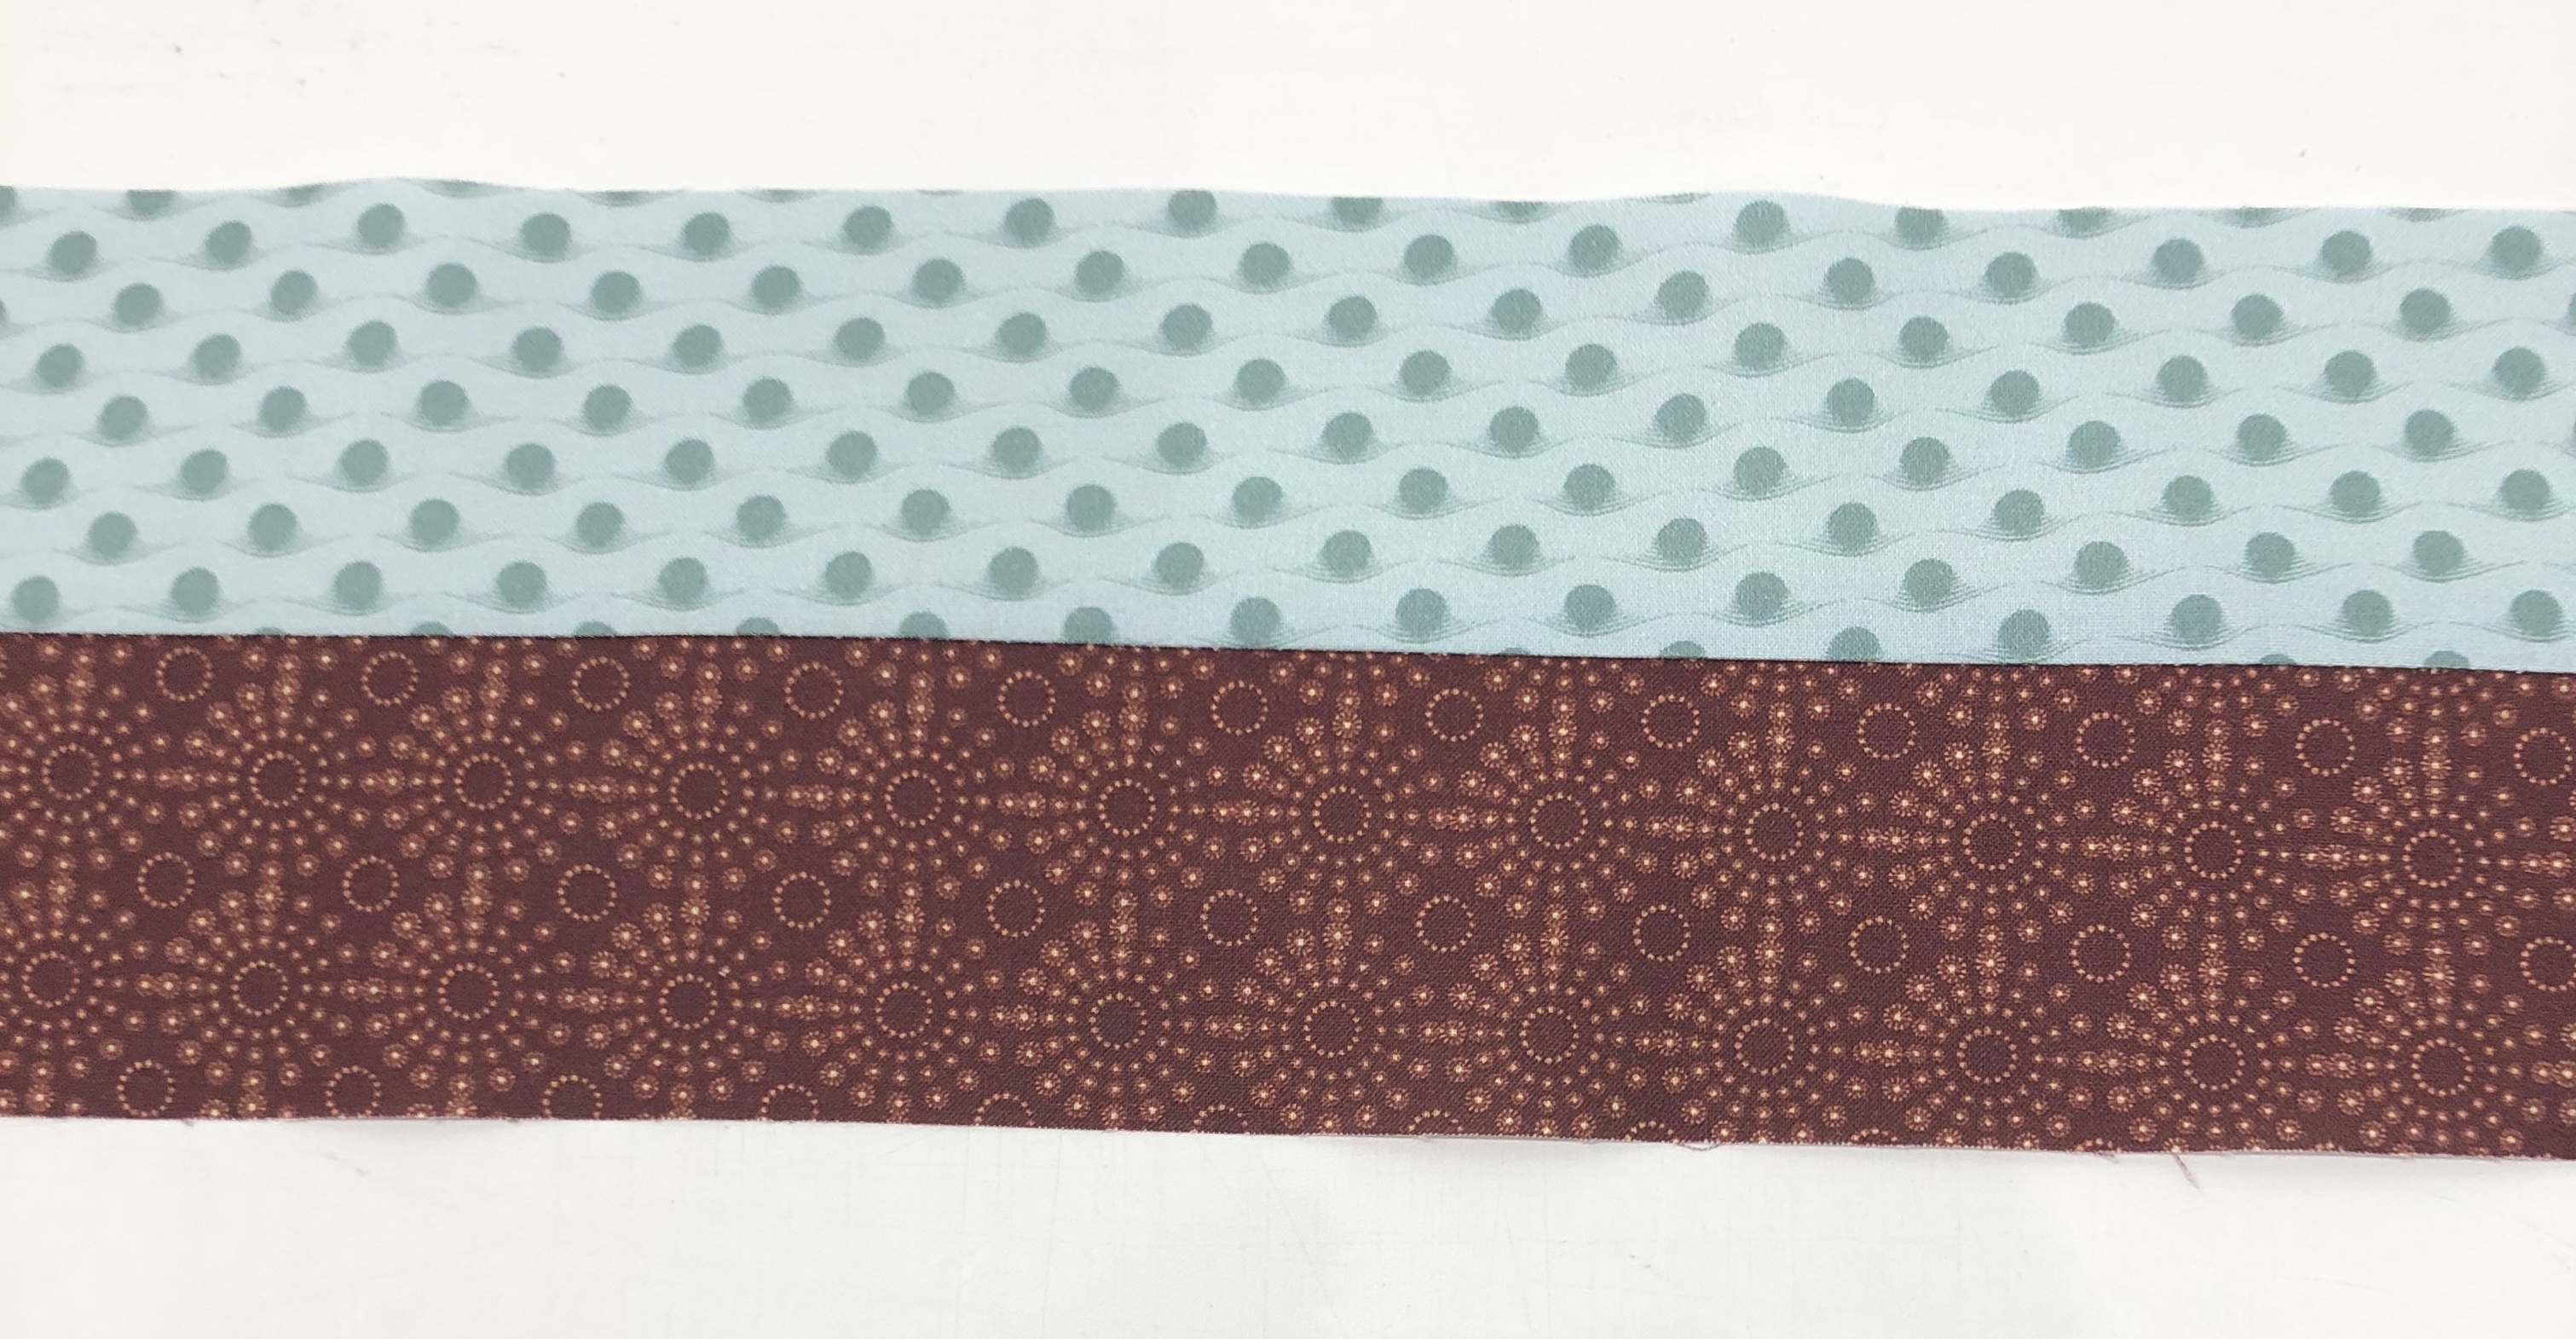
Jackie’s Note: To keep organized when cutting the same print for multiple units I labeled 3 plates for Print 5: one for “Four Patches Strip sets A & B. One for Four Patch Frames Strip Set C. One for Replacement Triangles.
Piecing Instructions
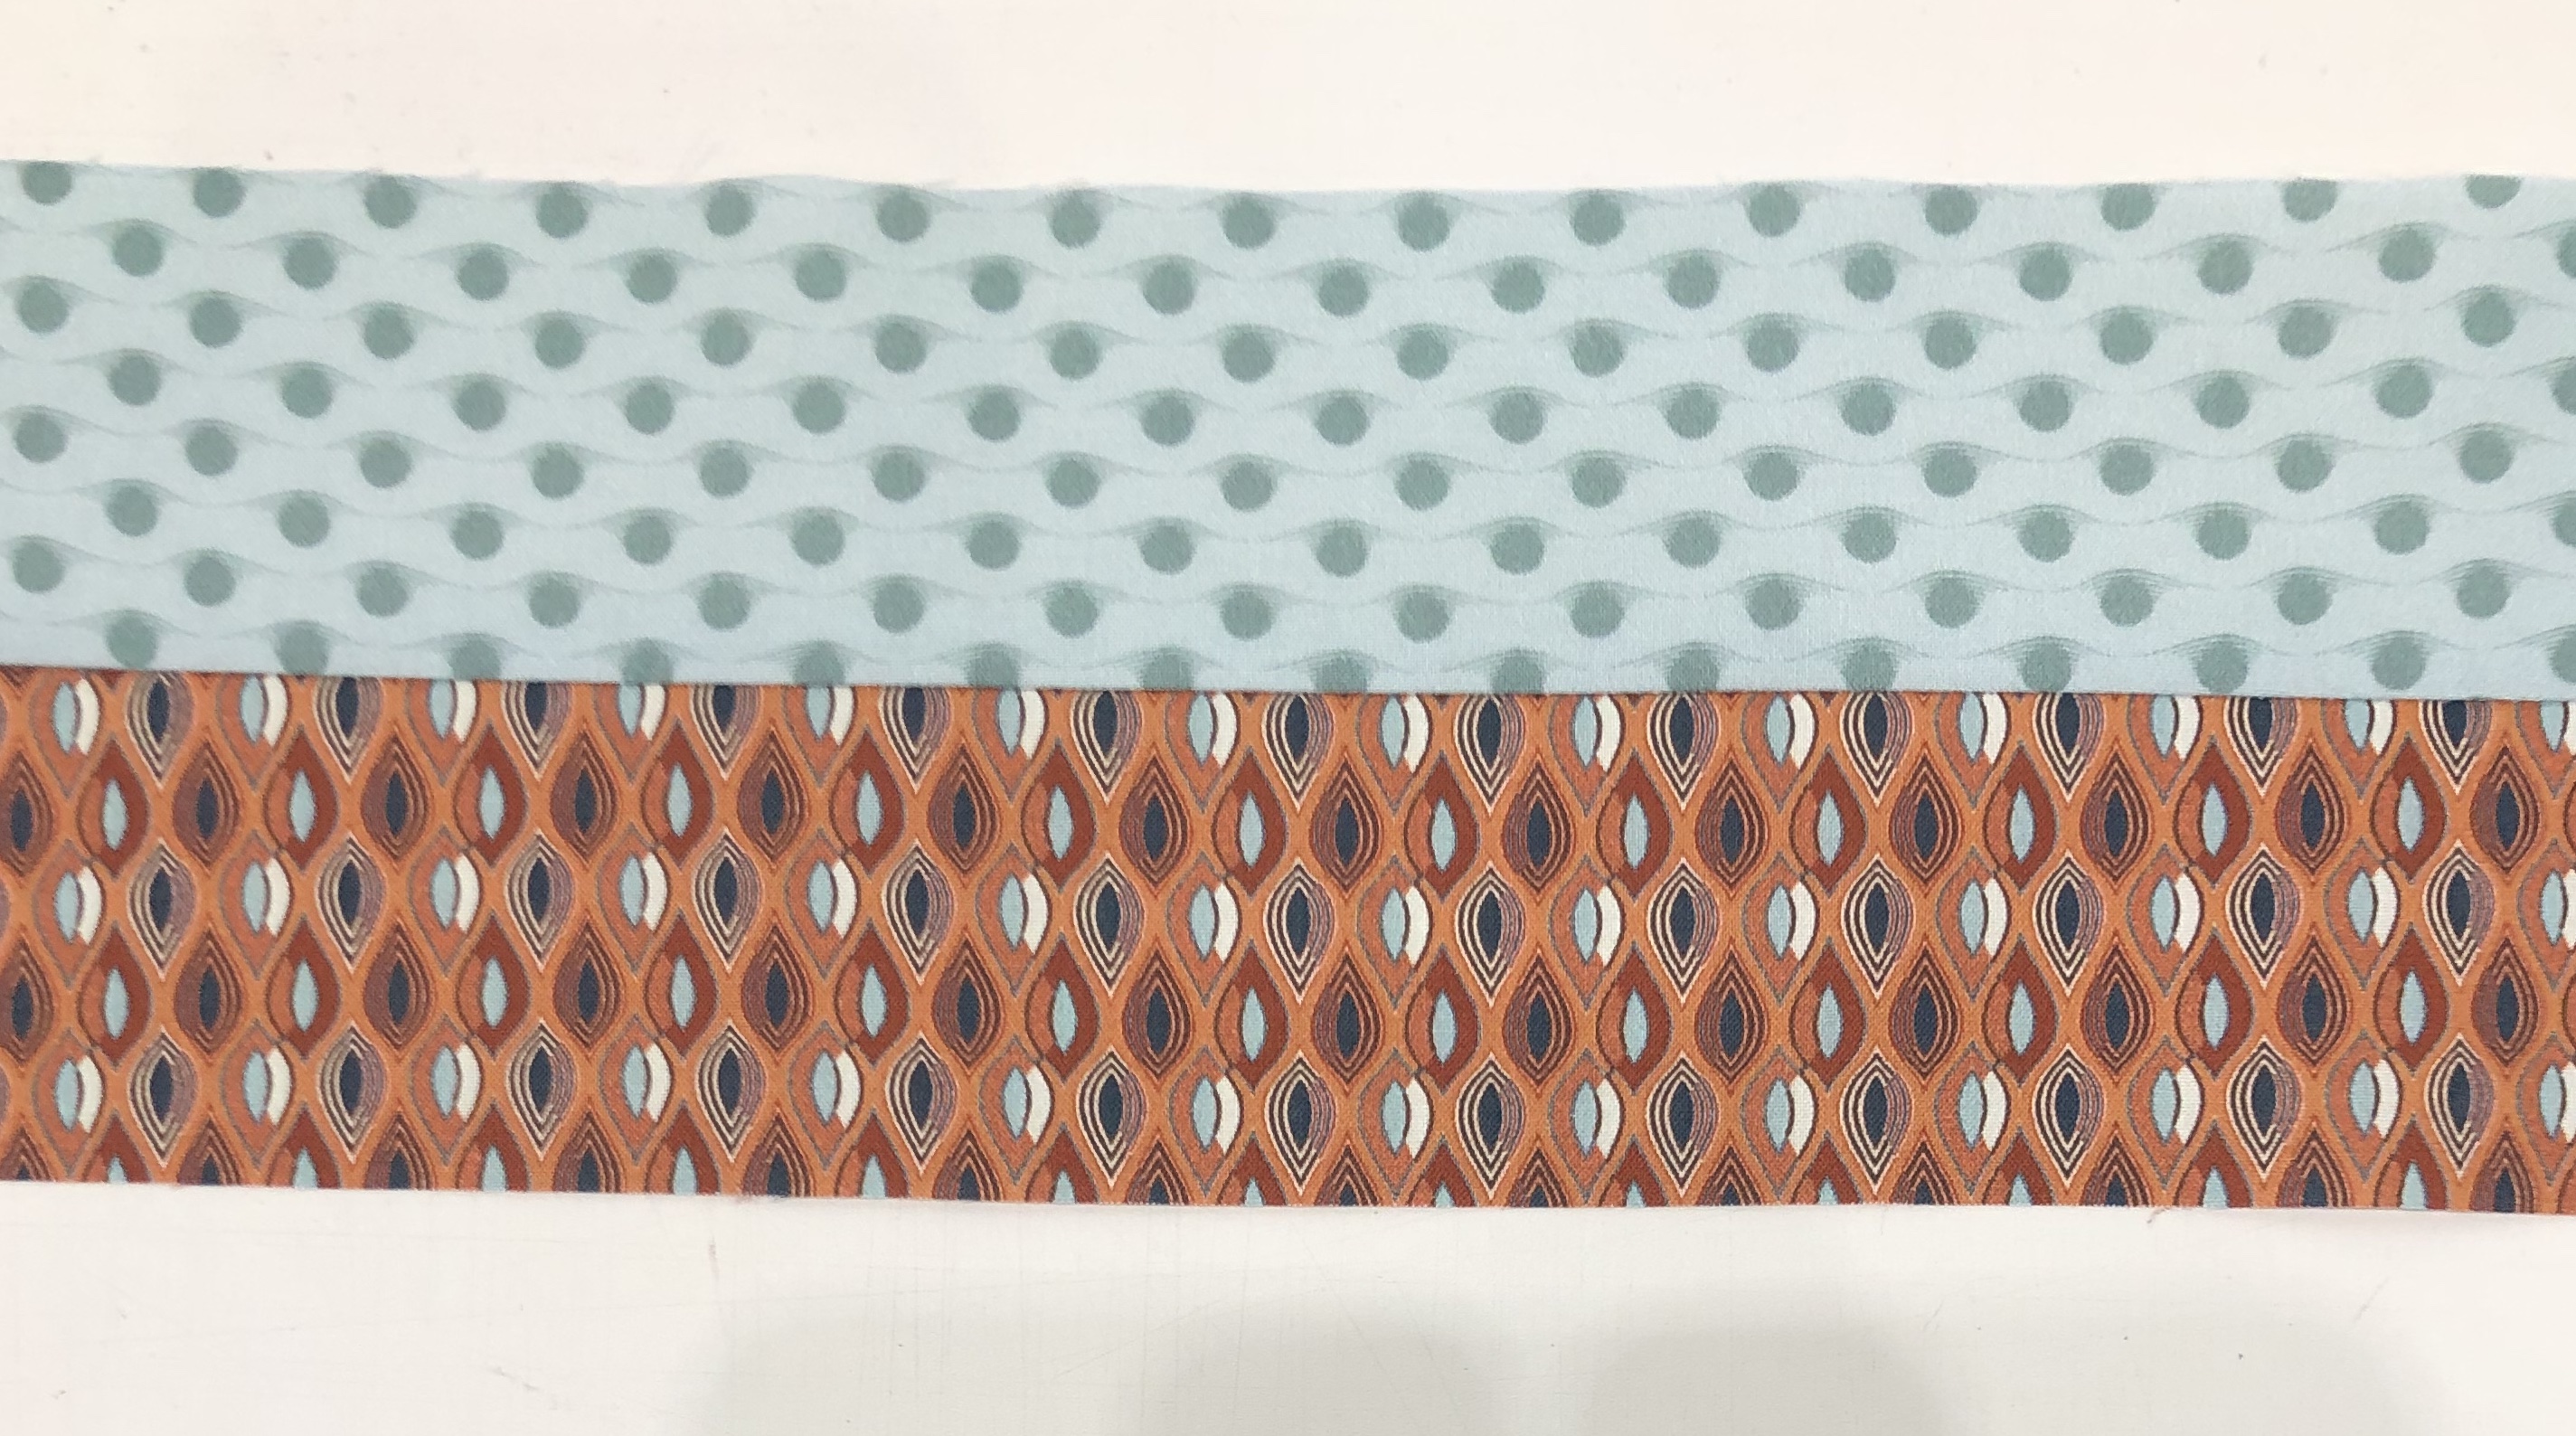
Step 1 – Use the diagram on page 9 to make your strip sets. Position two strips right sides together and align the long edges. Stitch with your best ¼” seam. Press the seam toward Print 5 in all strip sets.
Step 2 – Layer Strip Set A on top of Strip Set B, right sides together, making sure that the Print 5 fabrics are positioned as shown in the diagram. Nest the seams well. Sub-cut along the strip at 2¼” increments until you have 16 sub-cut pieces.

Step 3 – Sub-cut Strip Set C. Do not layer it with anything, just make cuts every 2” until you have 16 pieces.
Step 4 – Stitch down the long side of the layered A/B pairs. Consistently feed Print 5 under the machine first. This will make for a nicer alignment in the center.
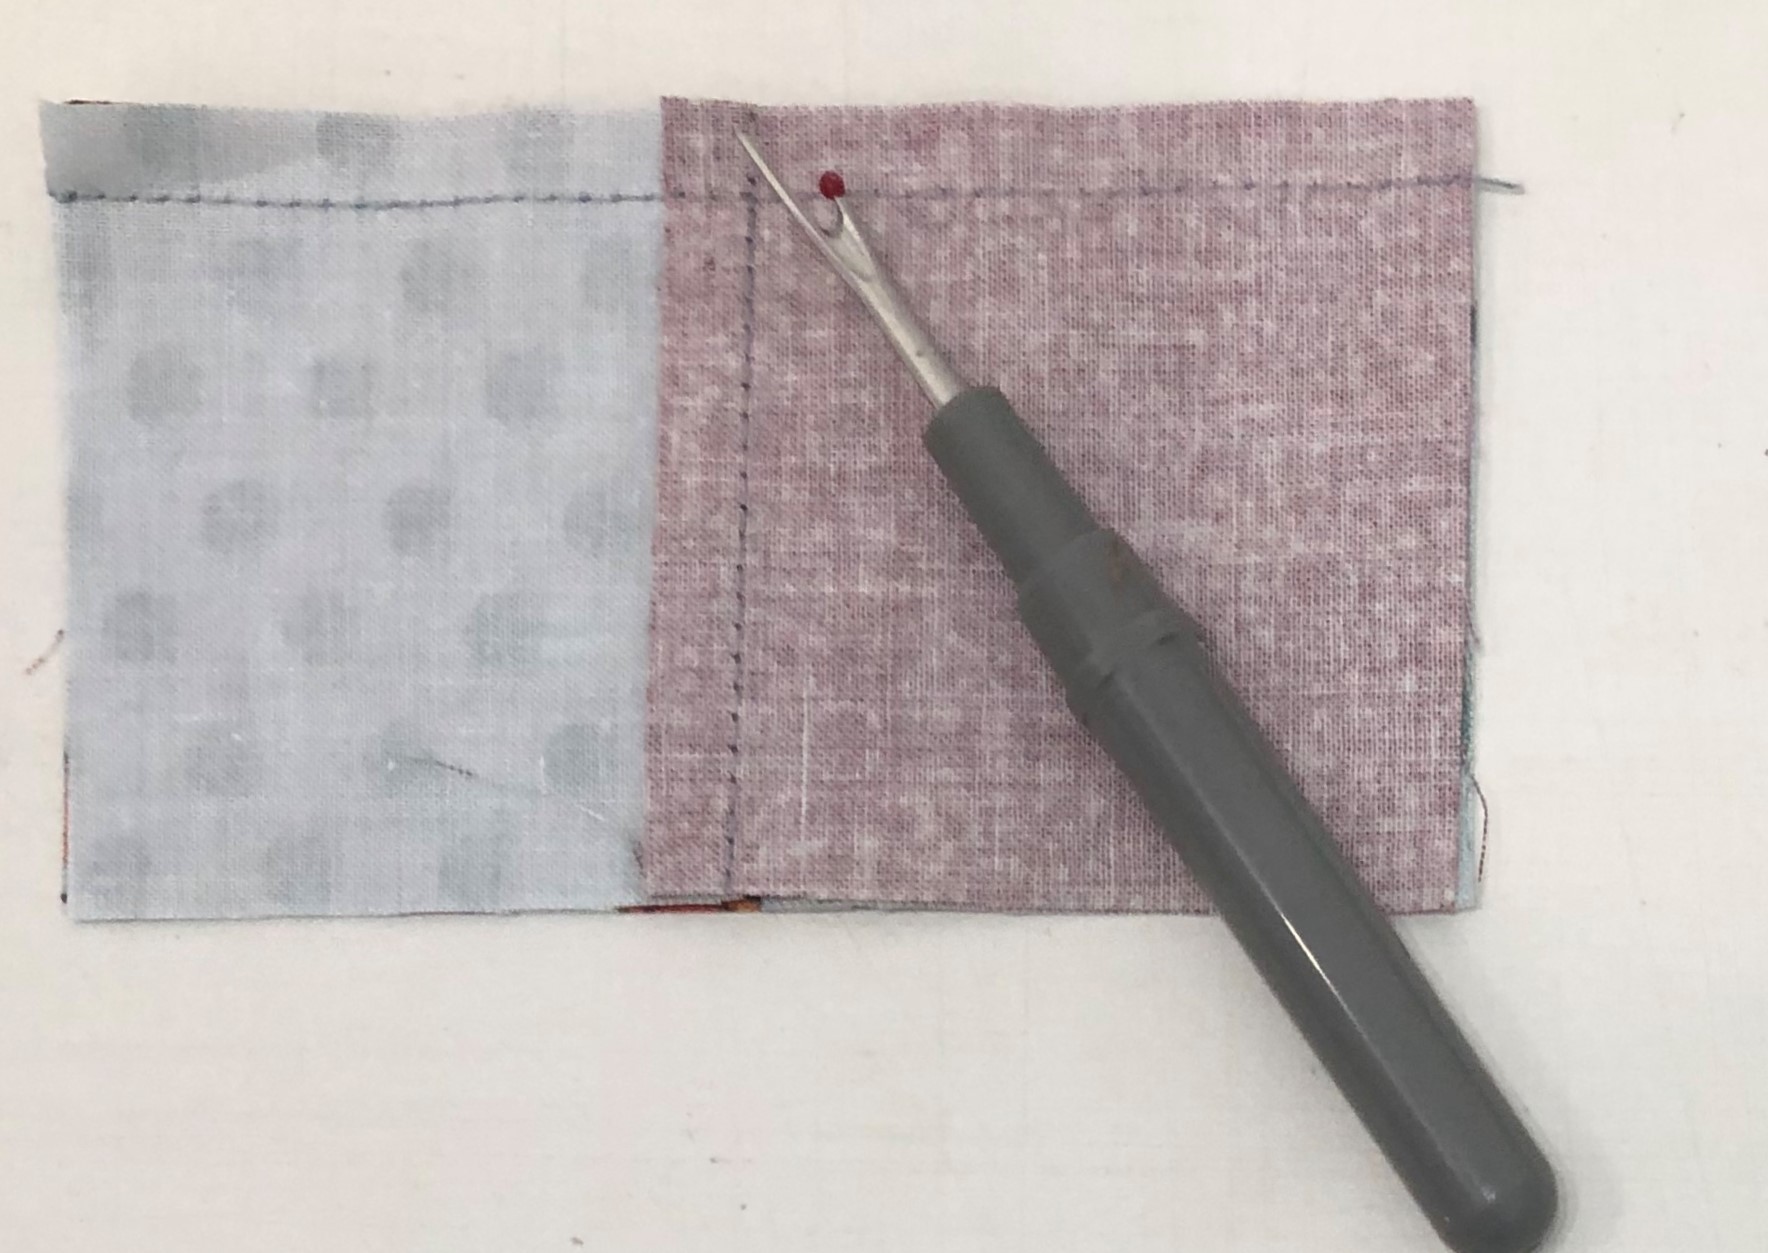
Step 5 – Press the unit so that the seams spin. To spin the seam, lay the sewn seam east to west on the mat, remove the stitches in the seams on both sides that run north to south. Press so that all seams go in the same direction.

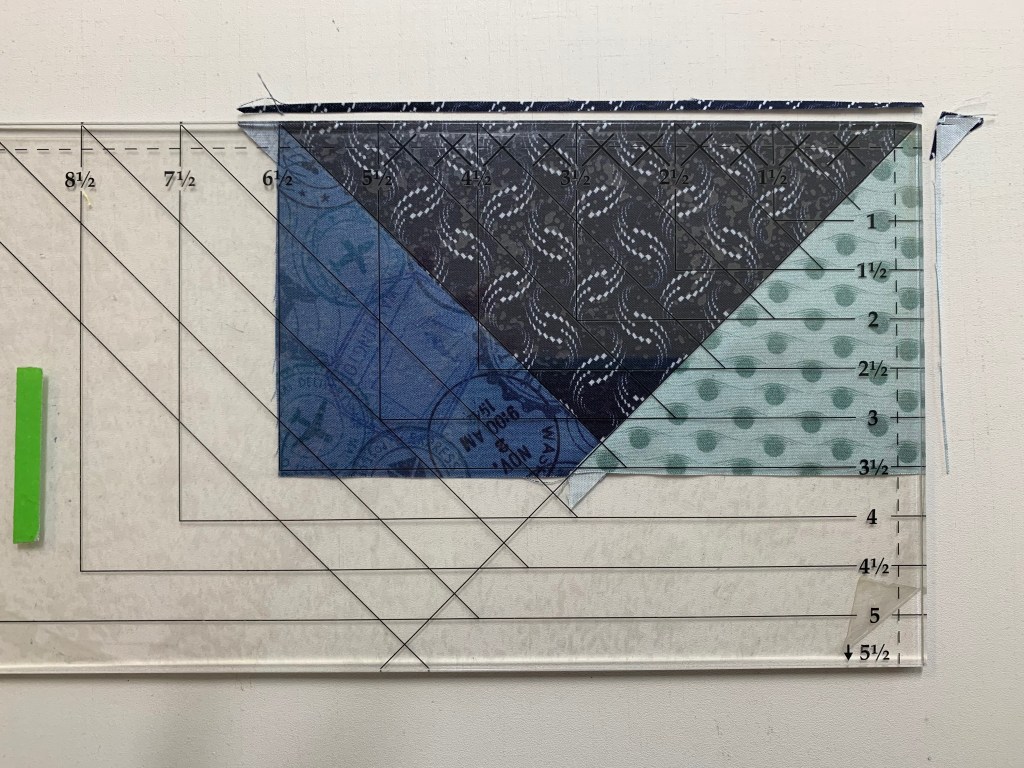
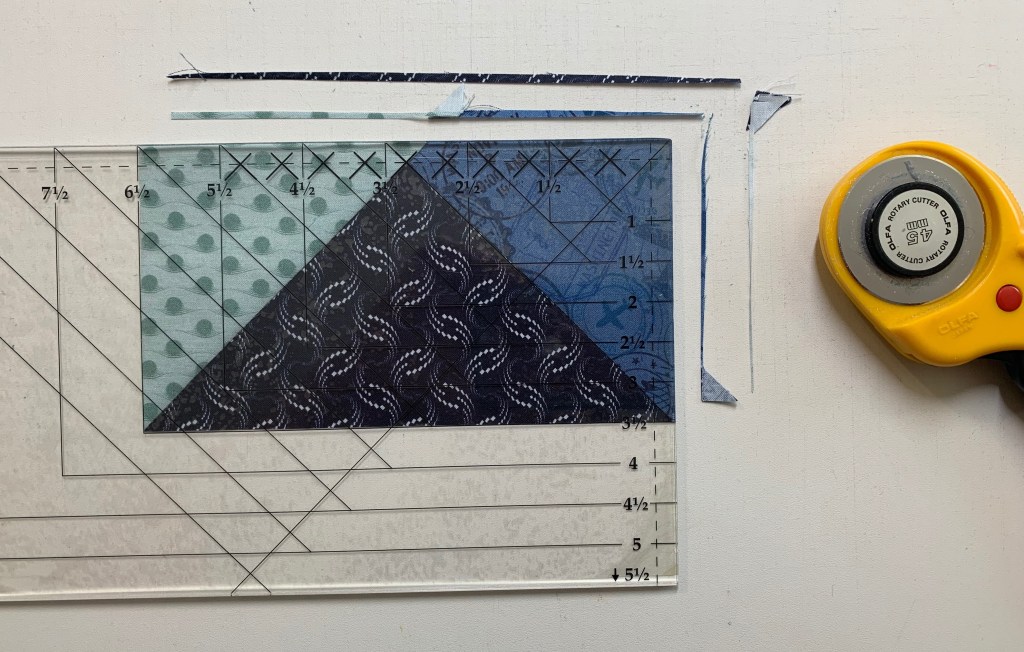
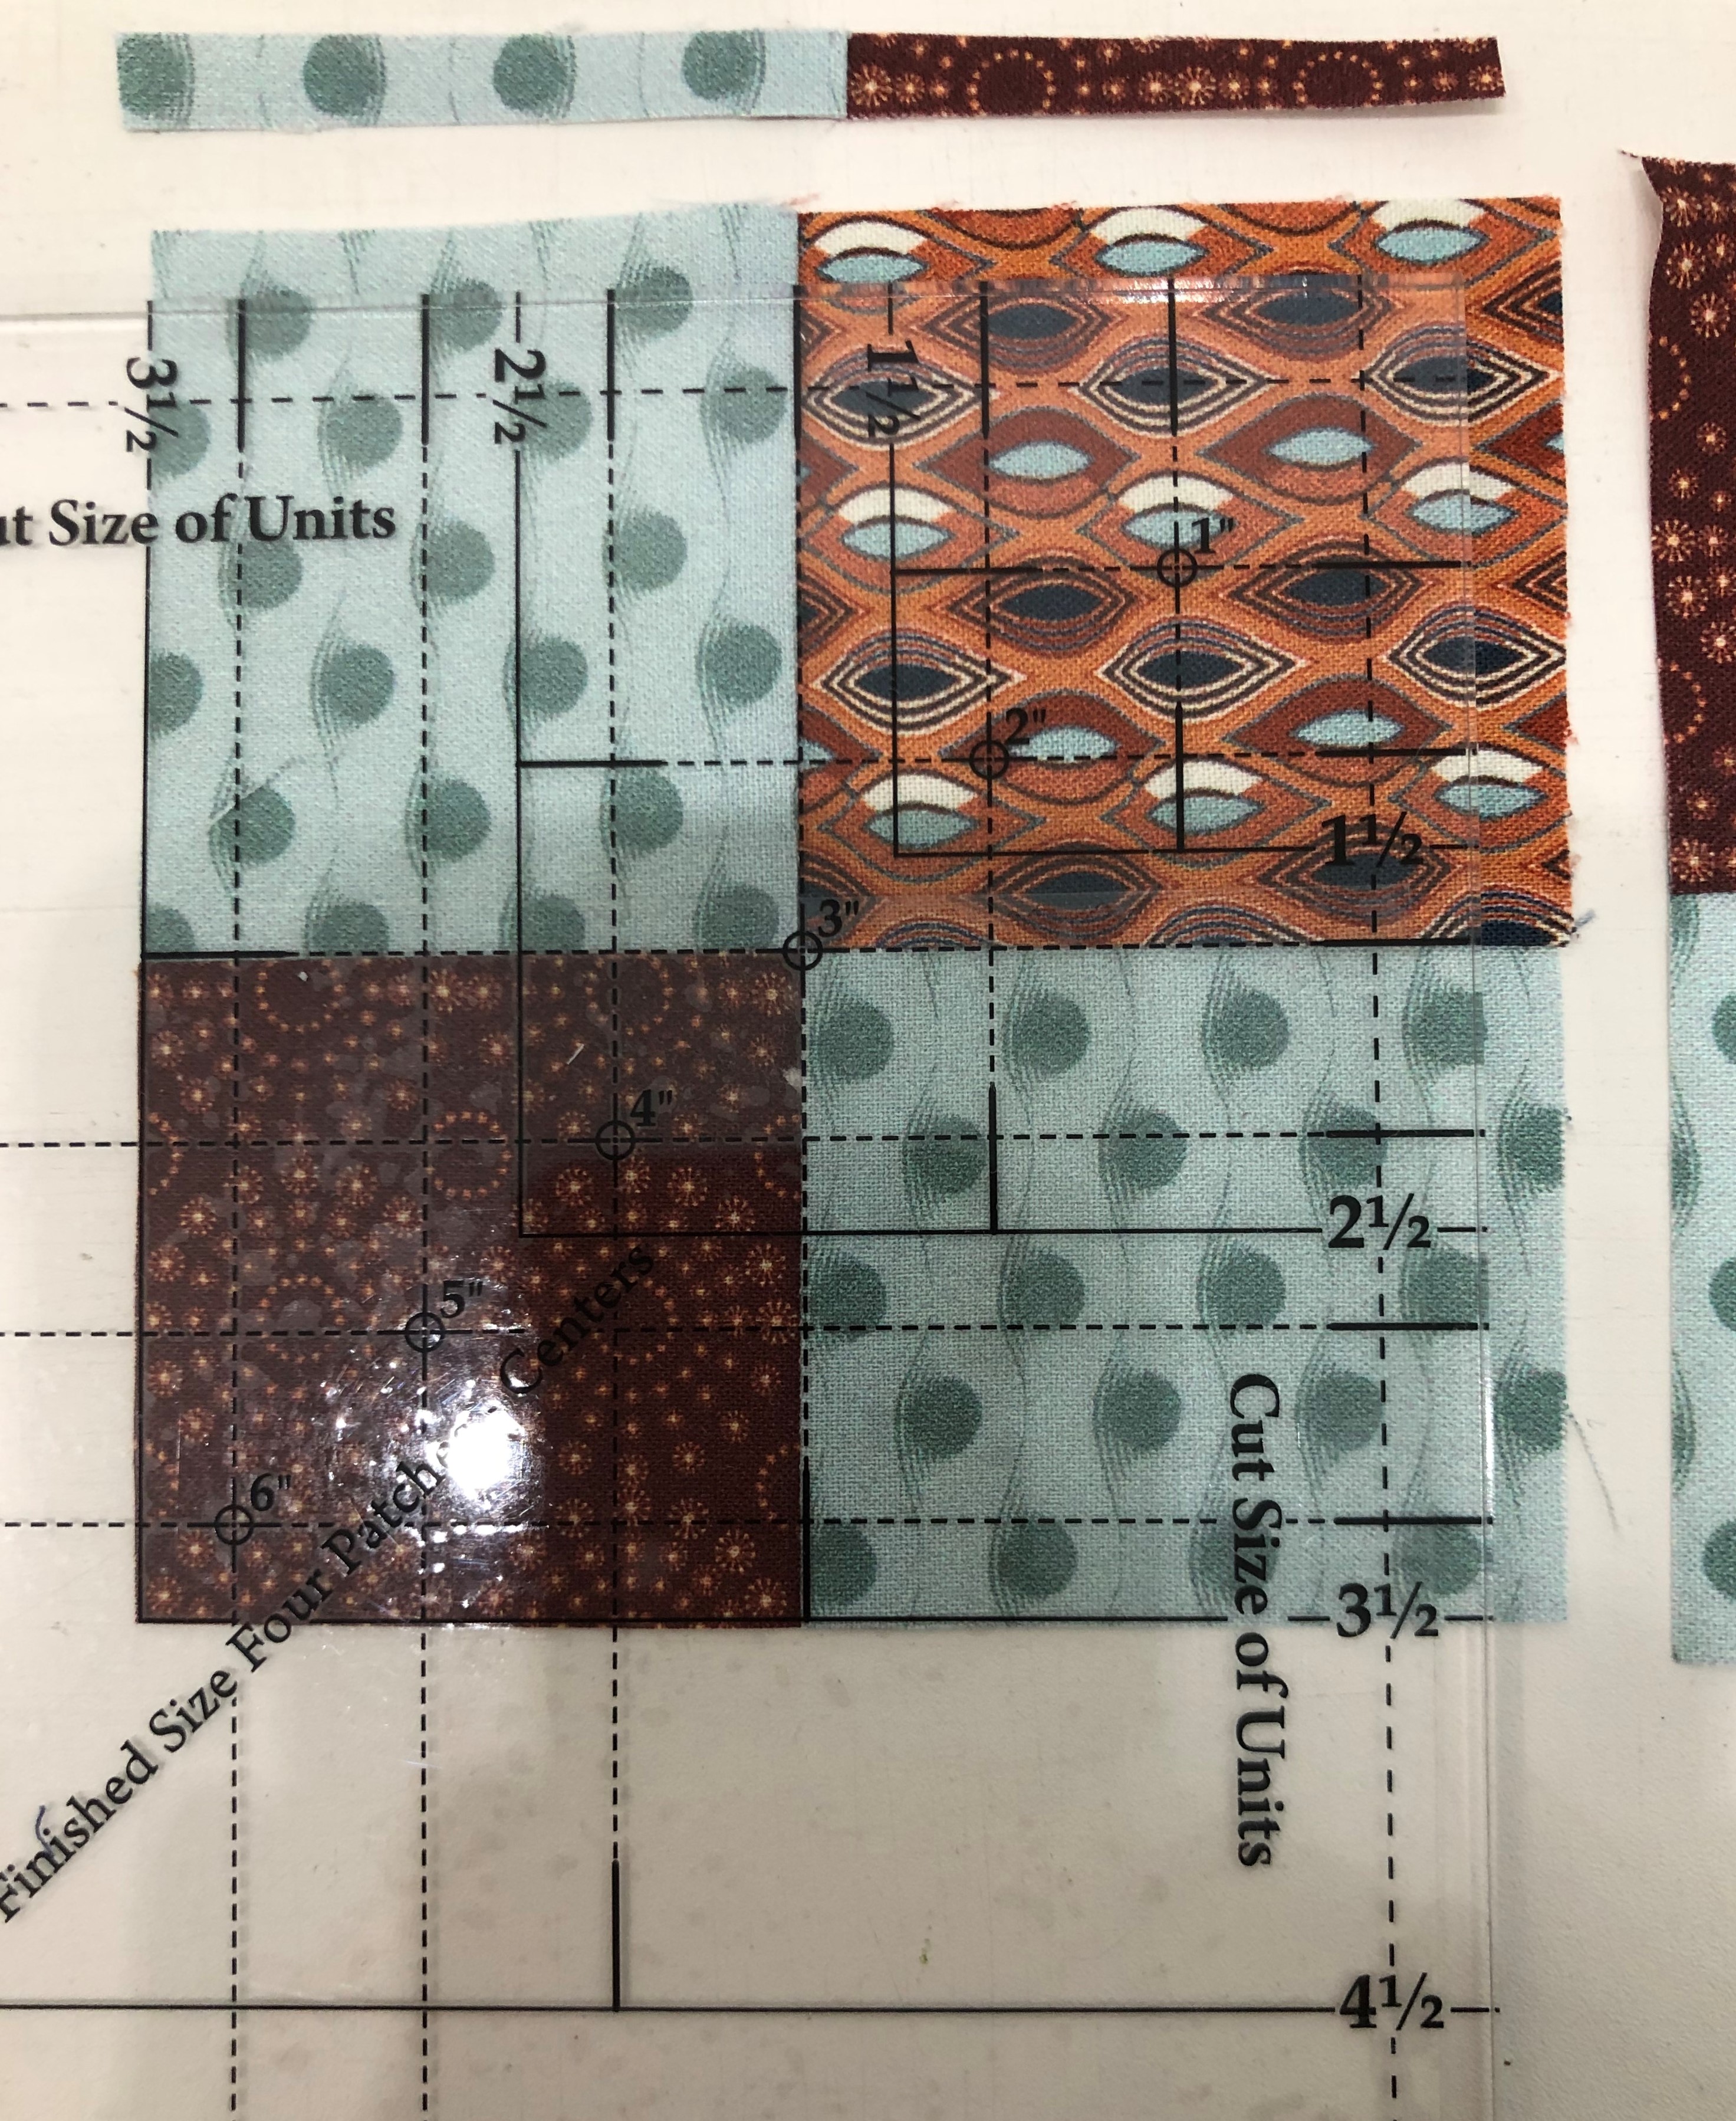
Step 6 – Trim. Locate the circle for the 3” finished size on your Four Patch Square Up® tool and position the circle over the sewn seam intersection in the center of your four patch unit, and the dashed lines with your seams. Trim the first two sides.
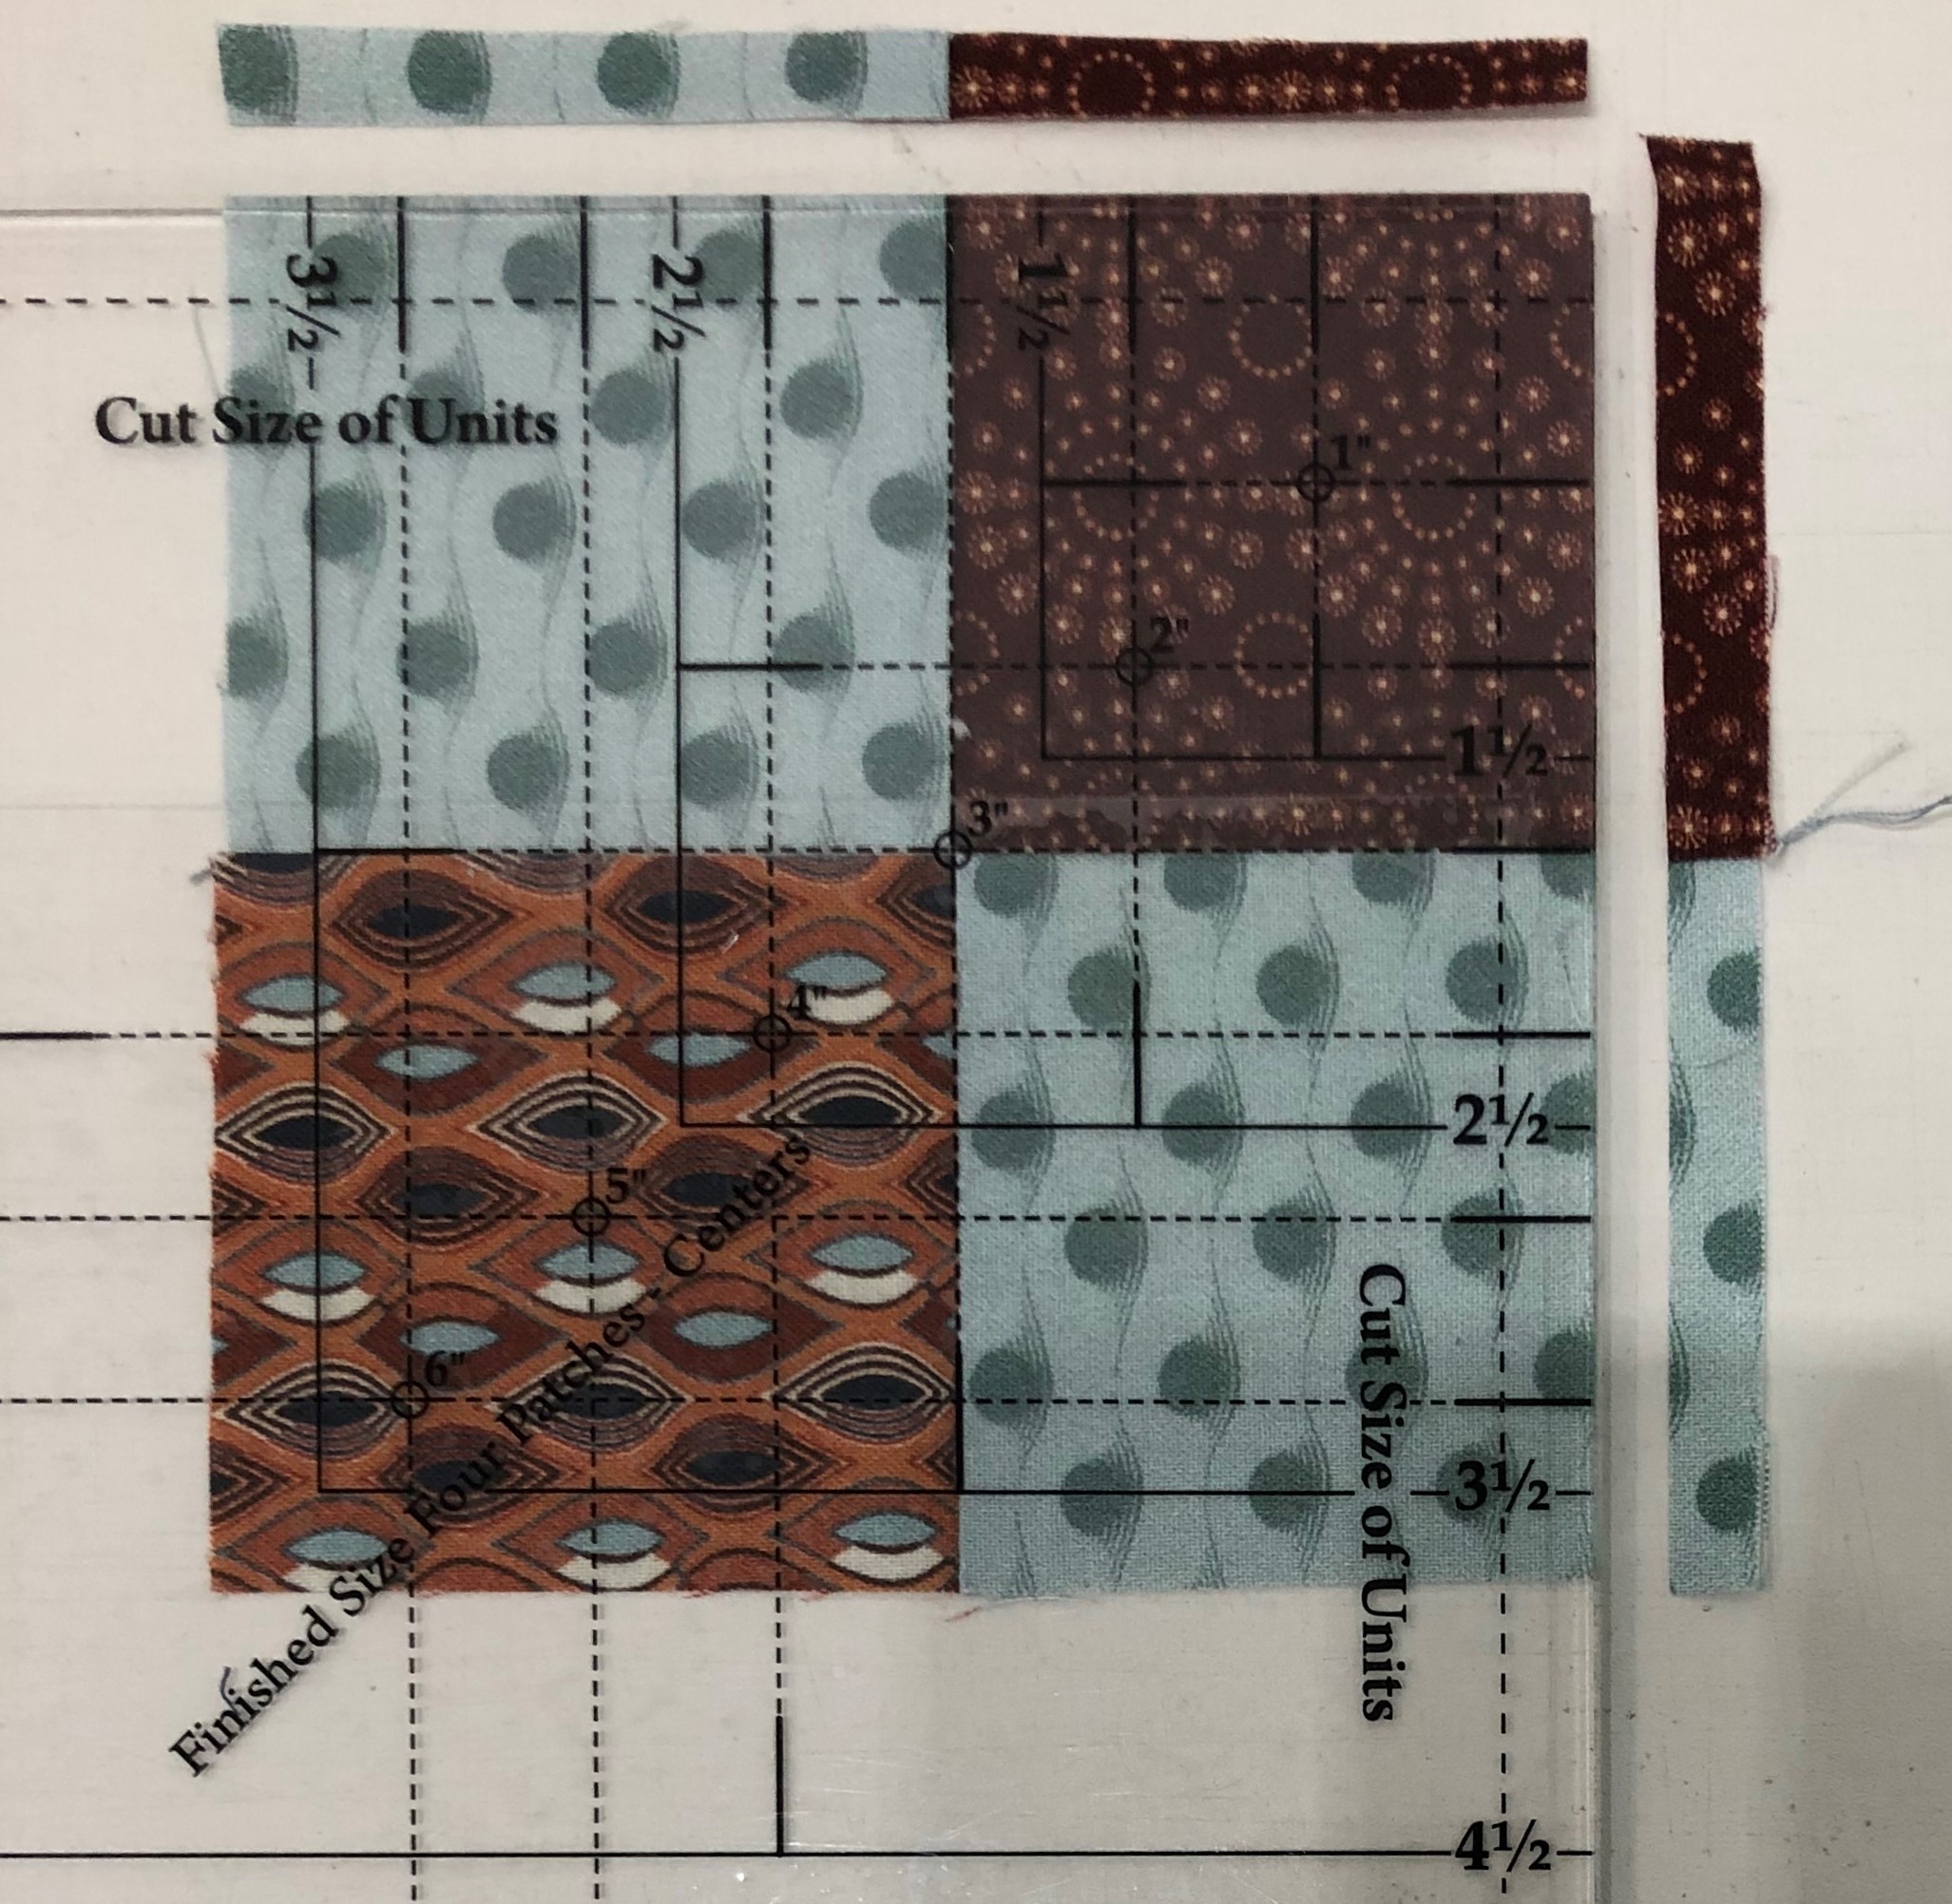
Step 7 – Rotate the unit 180 degrees . Realign the 3” Finished Size circle with the center and the dashed lines with your seams. Also make sure that the outside trimmed edge of the unit is aligned with the 3½” cleanup lines. Trim the final two sides. Repeat steps 6 and 7 for the remaining units.
Step 8 – Stitch a 2”x 3½” Print 5 rectangle to the side of each four patch as shown. Press toward the Print 5 rectangle.

Step 9 – Stitch a Strip Set C piece onto the pieced unit as shown. Press toward the C piece.

Chevrons
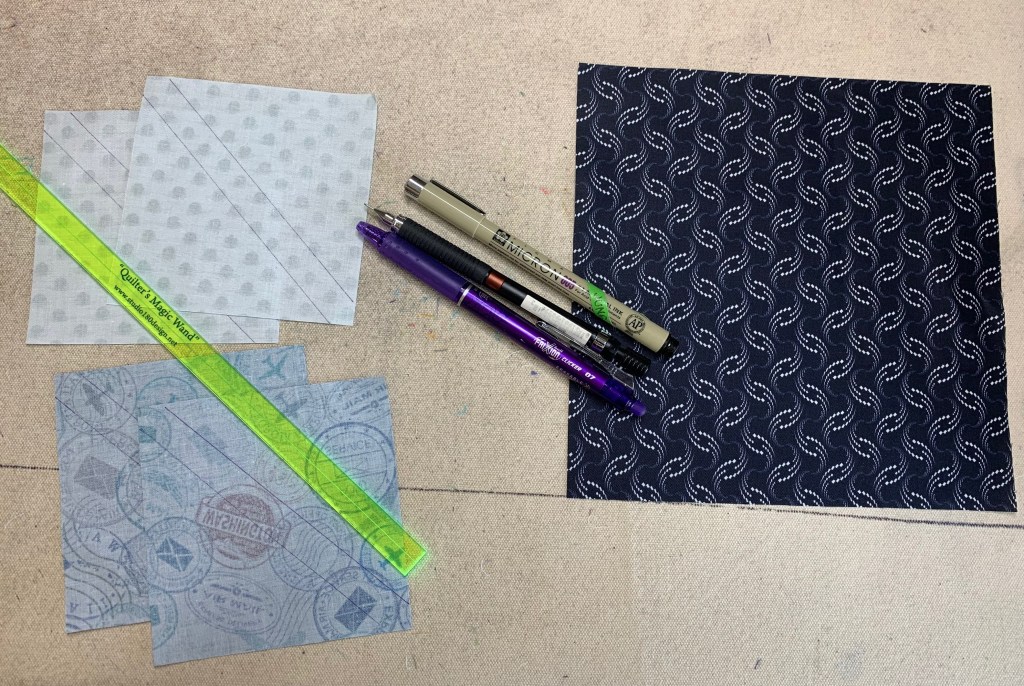
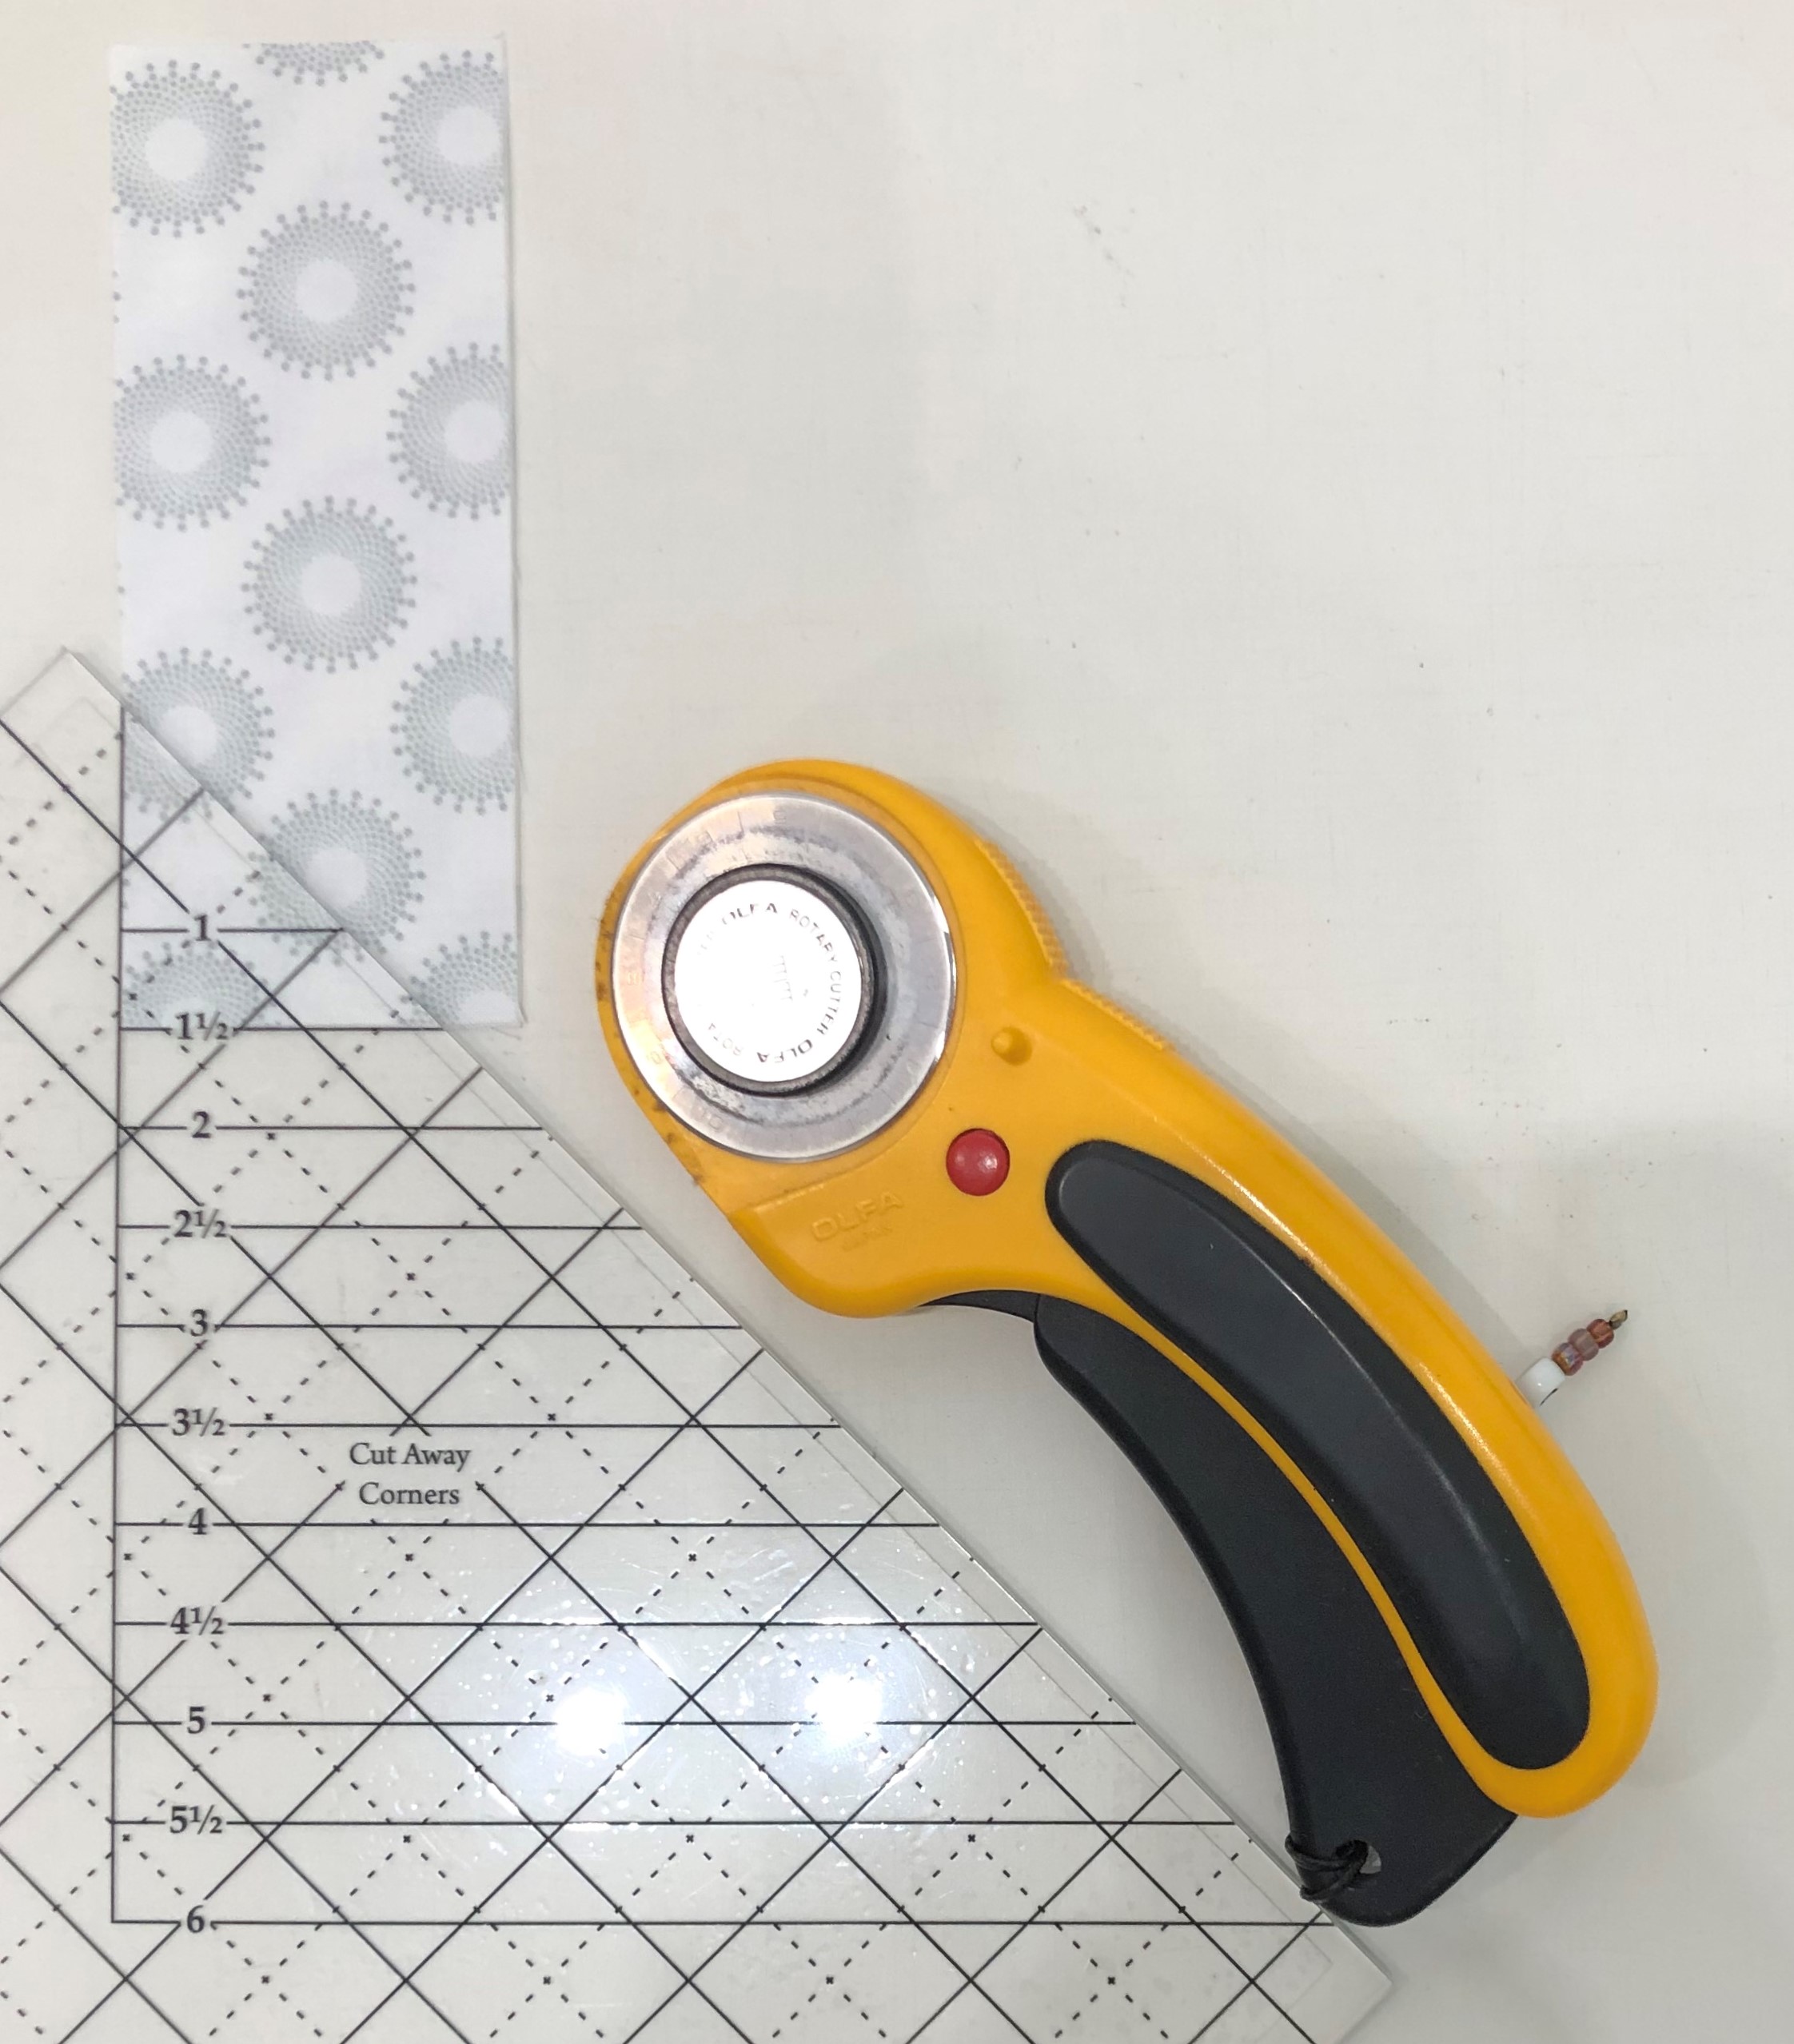
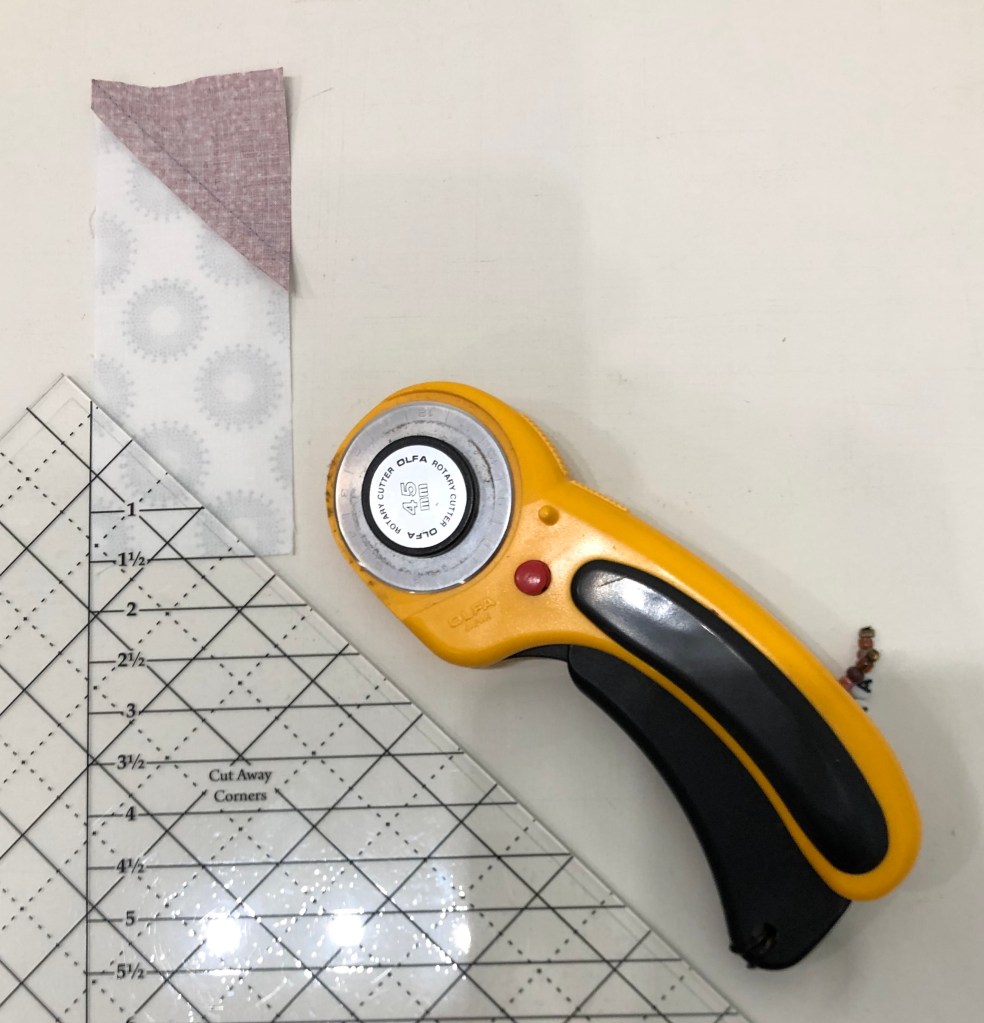
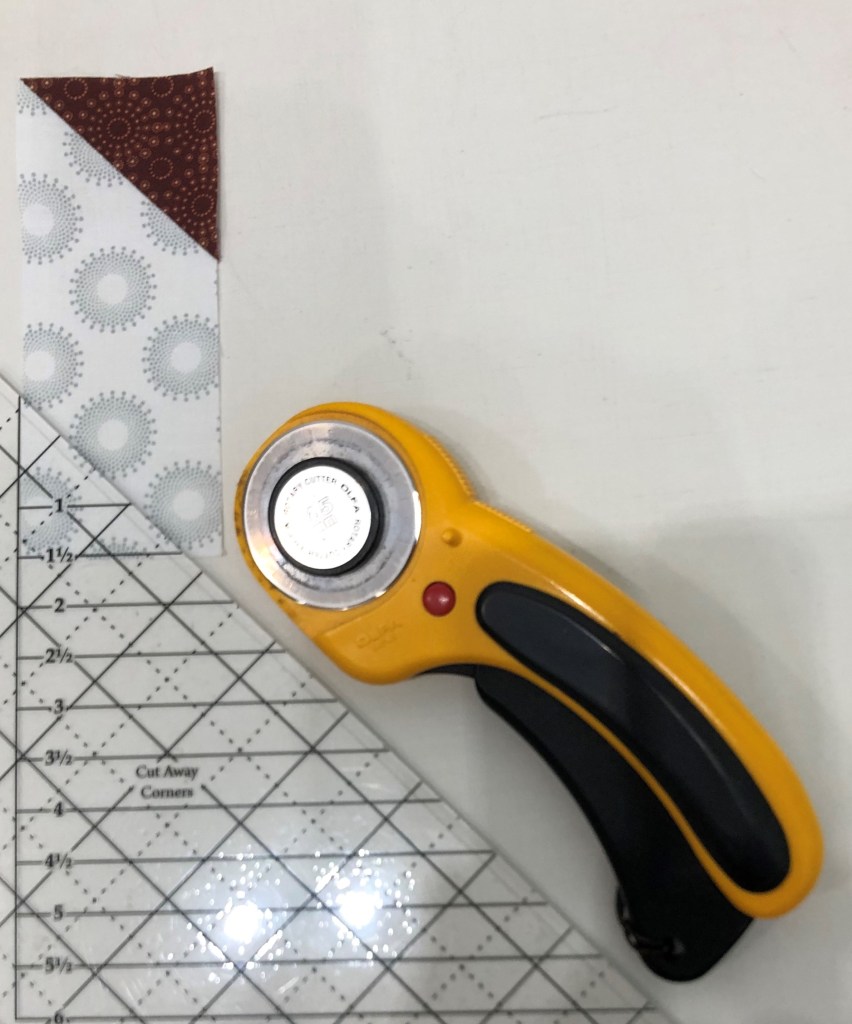
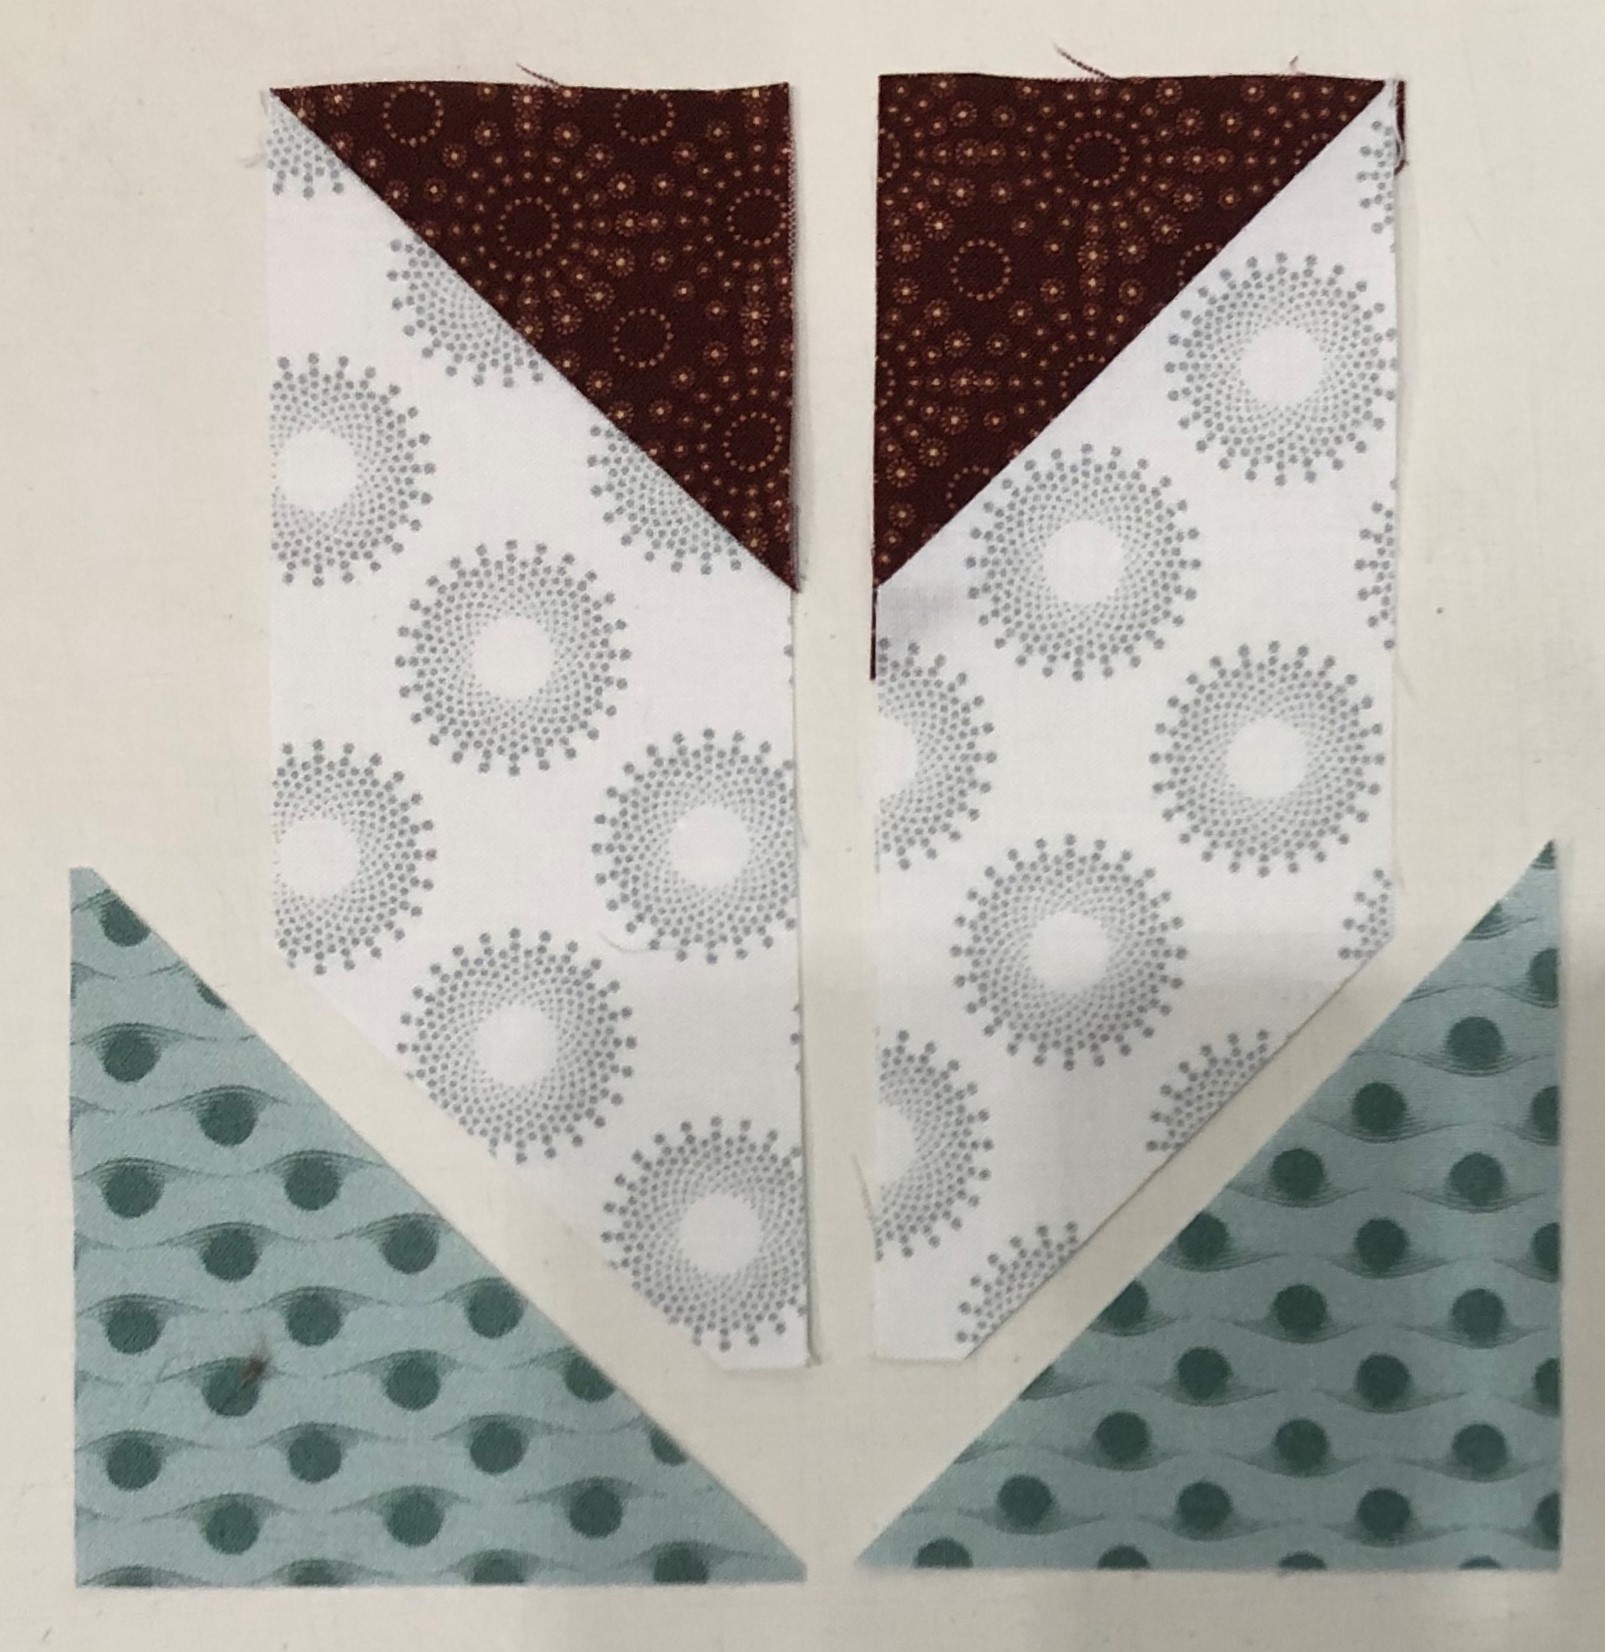
Step 10 – Layer two 2”x 5” Print 11 rectangles wrong sides together. Carefully align the edges. On your Corner Pop® tool, find the 1½” Cut Away Corners line. Position the 1½” Cut Away lines of the tool over the corner of the rectangles as shown. Trim. Repeat for the remaining rectangles.
Step 11 – Center the long edge of one 2¾” Print 6 replacement triangle on the trimmed corner of each rectangle.
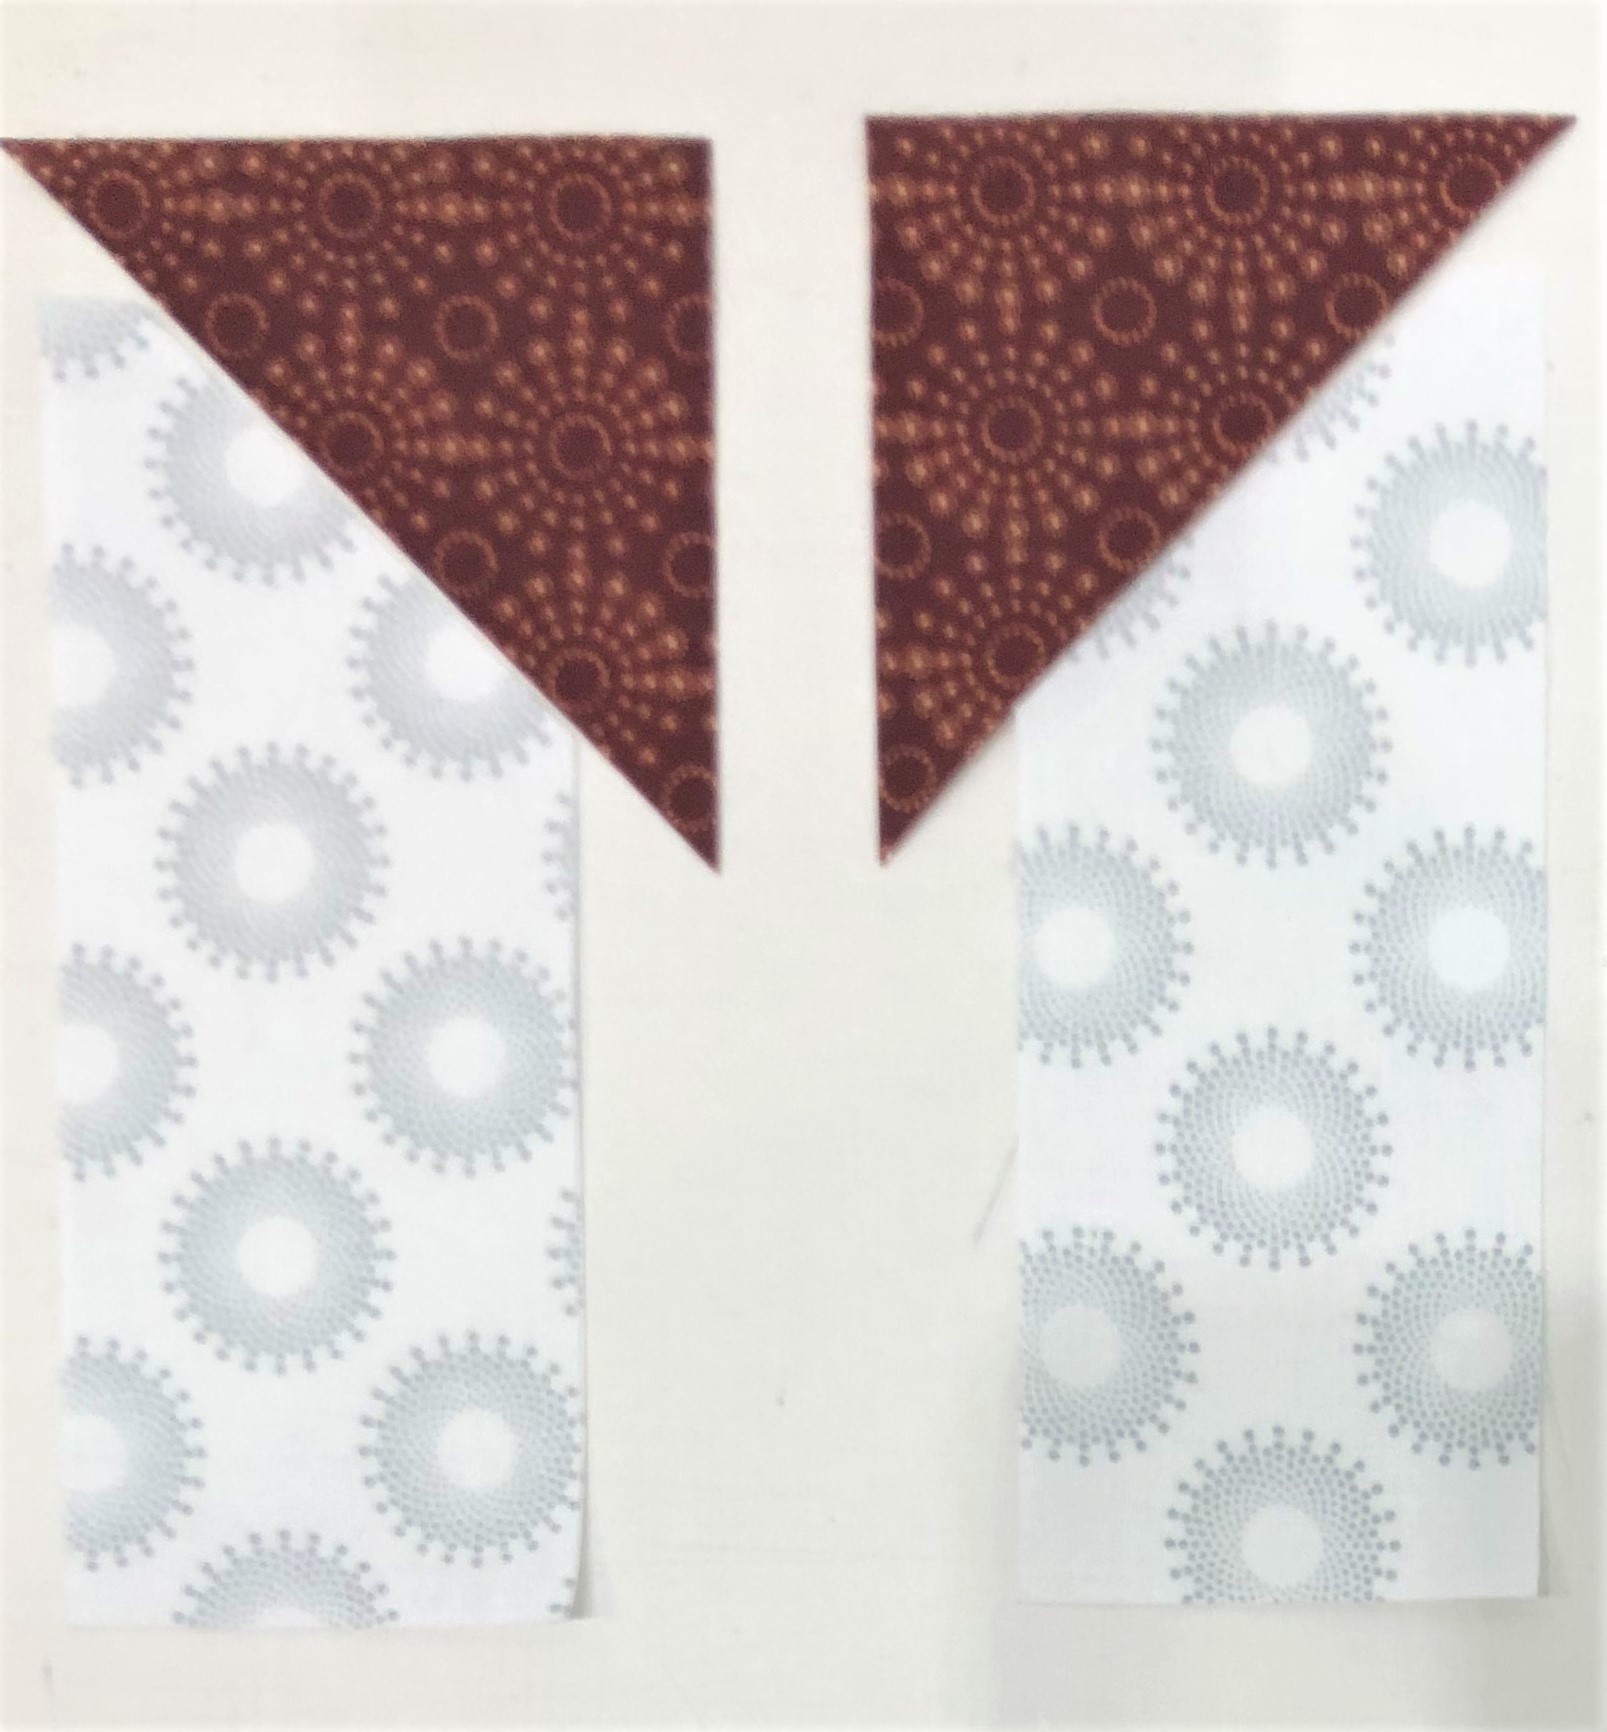
Step 11 Cont.: Stitch with the rectangle on top using an accurate ¼” seam. Separate the rectangles into two piles as shown in the diagram. Press the seams of the pile on the left toward the triangle and the seams of the right pile toward the rectangle.
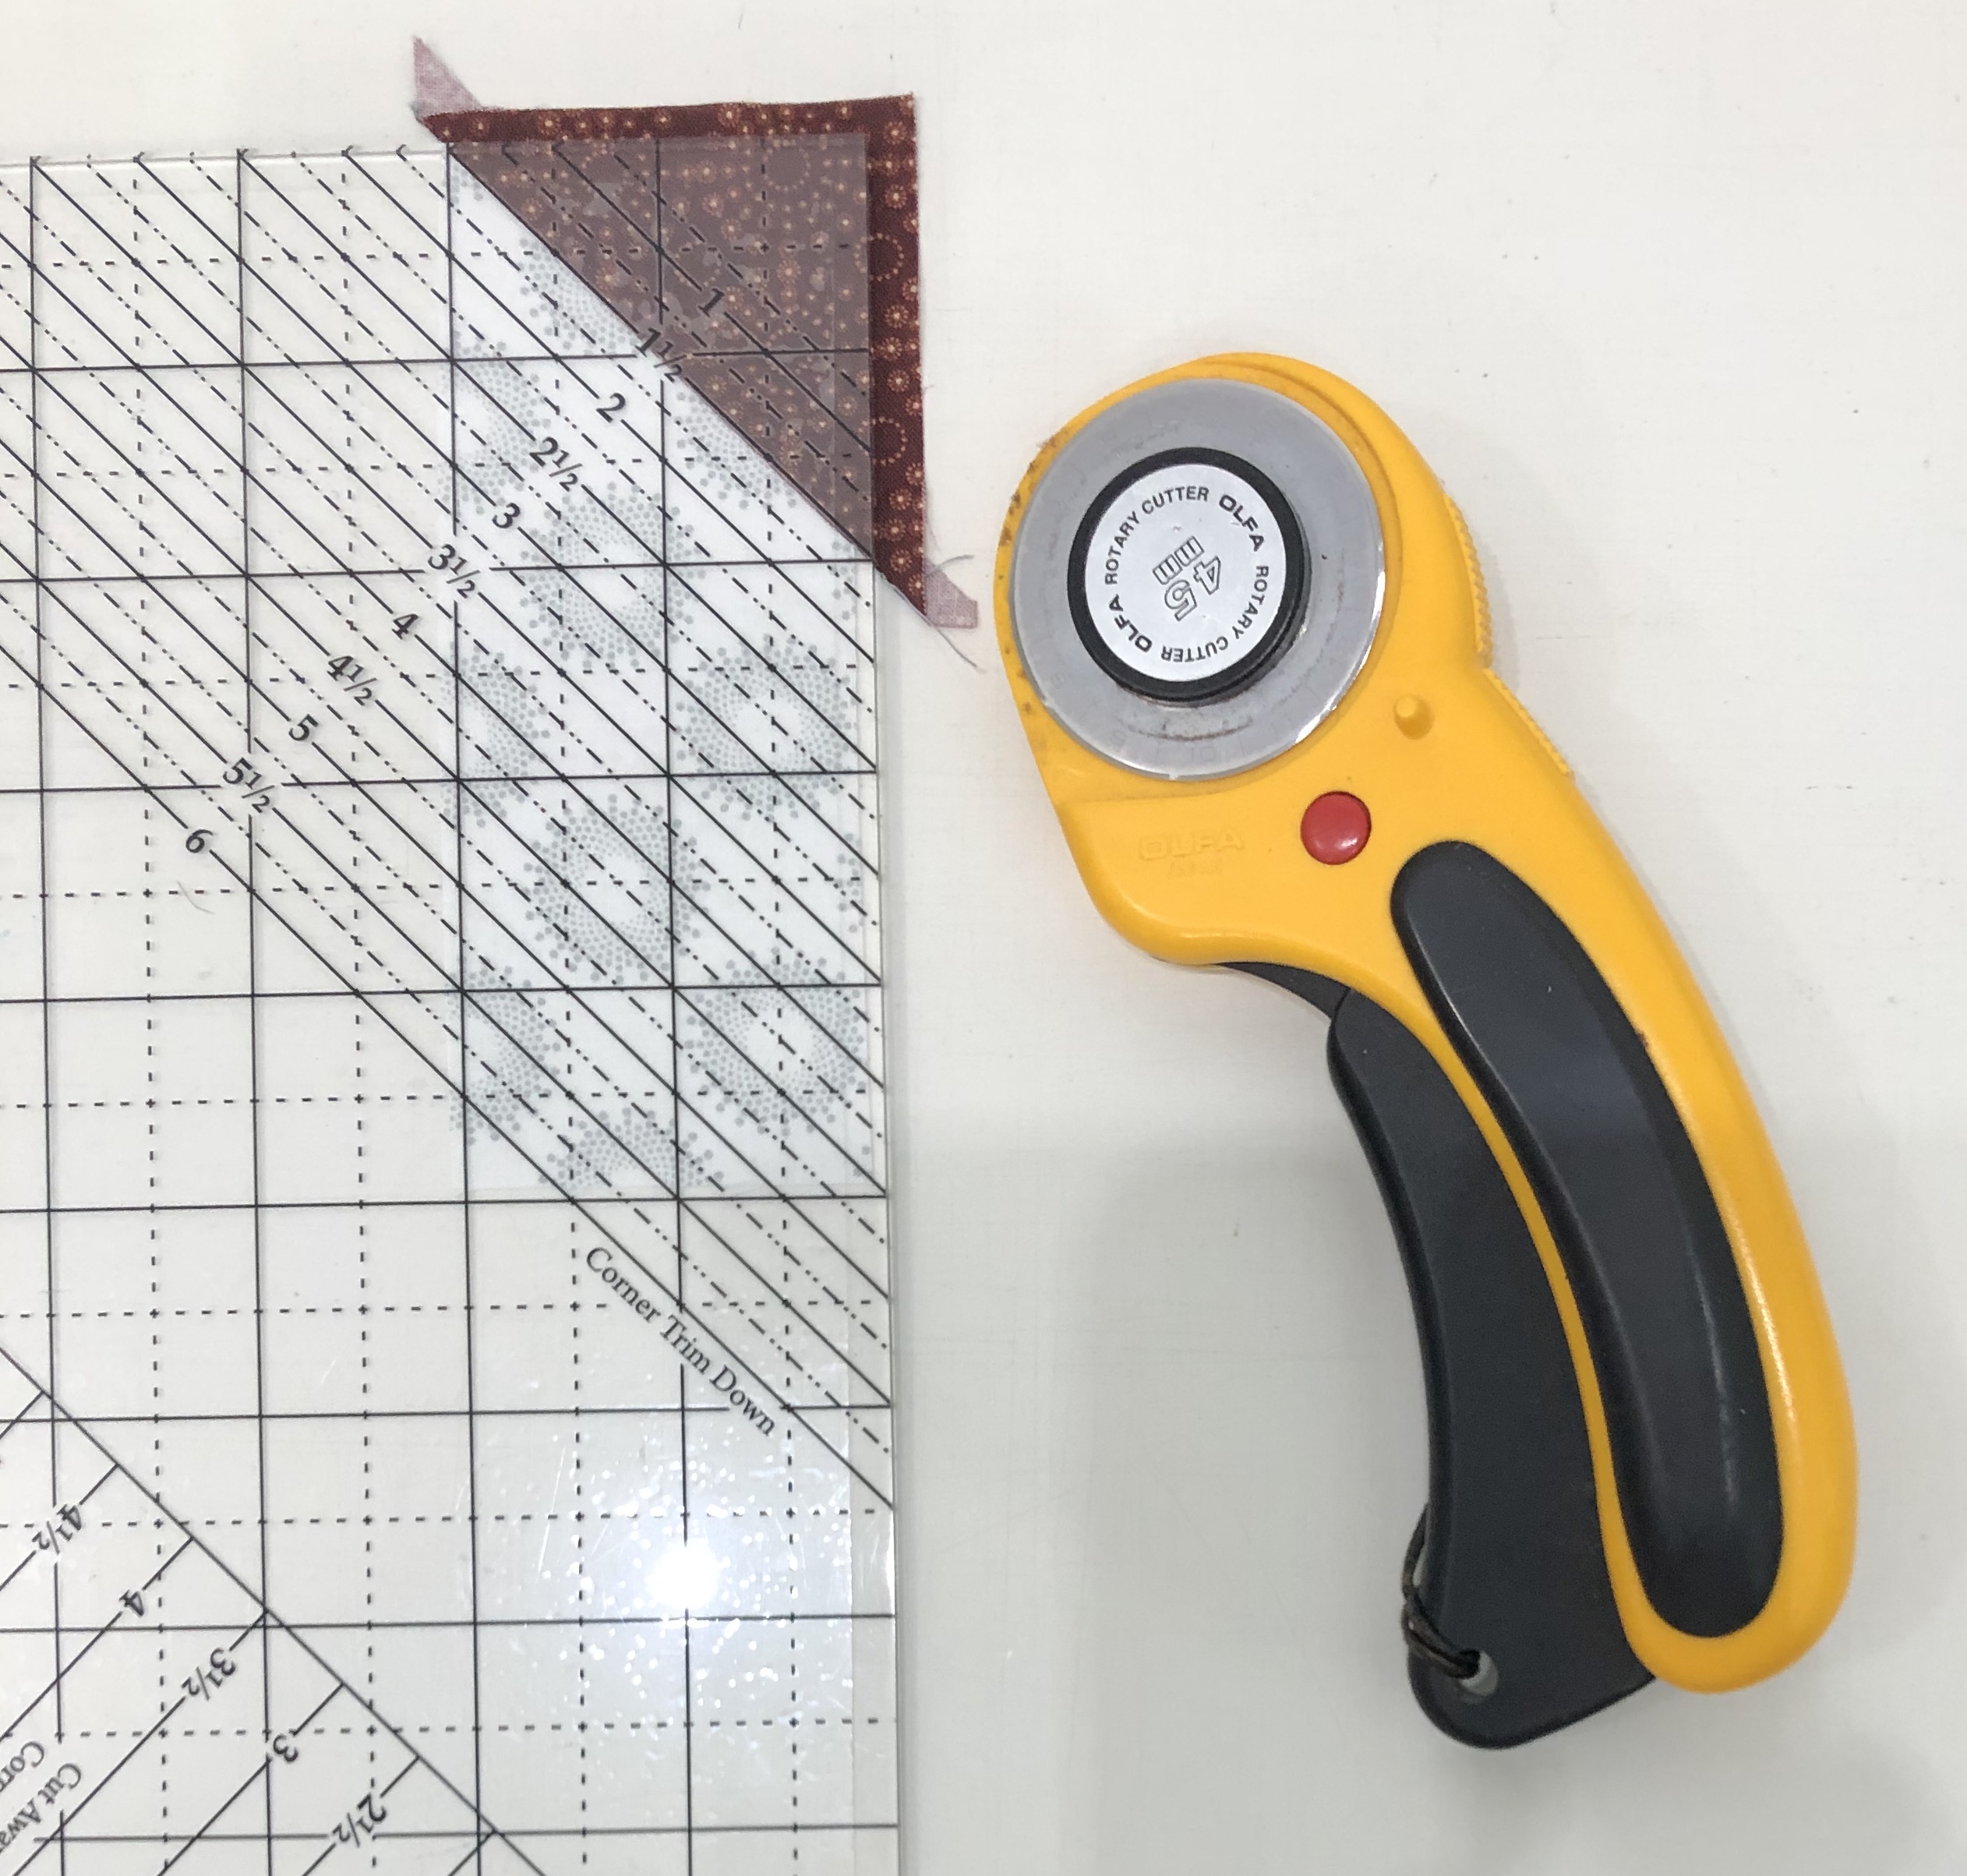
Step 12 – Position the 1½” Corner Trim Down line of the tool over the sewn seam. Align the diagonal guideline with the seam and the edges of the unit with the edge and lines on the tool. Trim the corner. Repeat for all the rectangles.
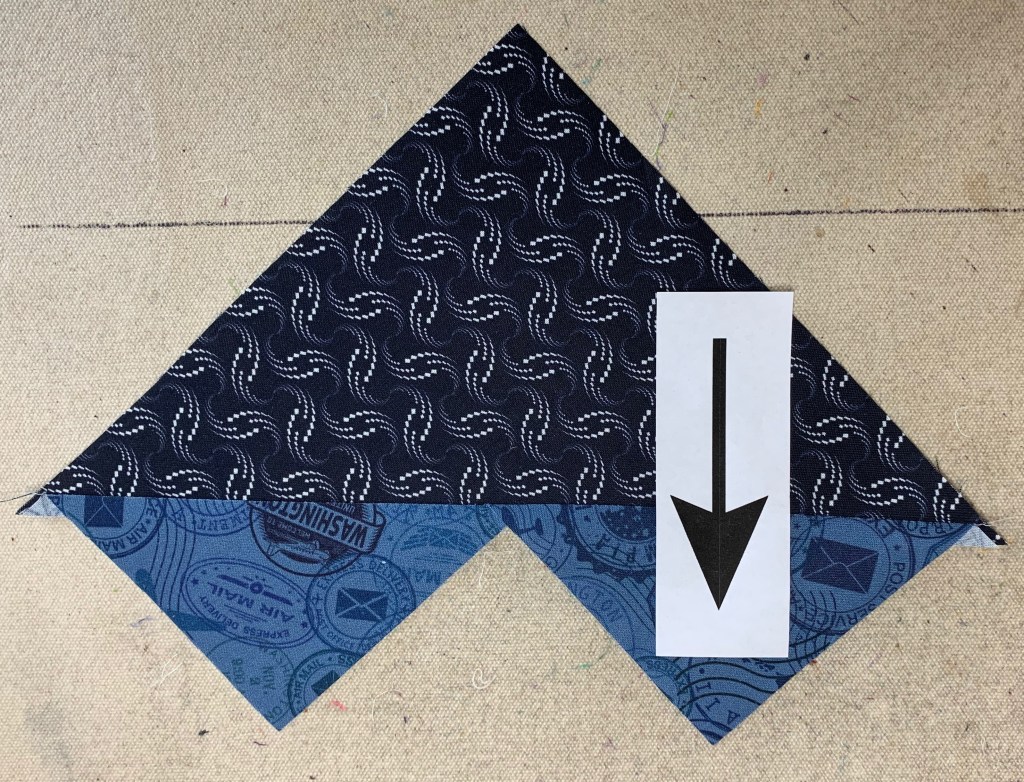
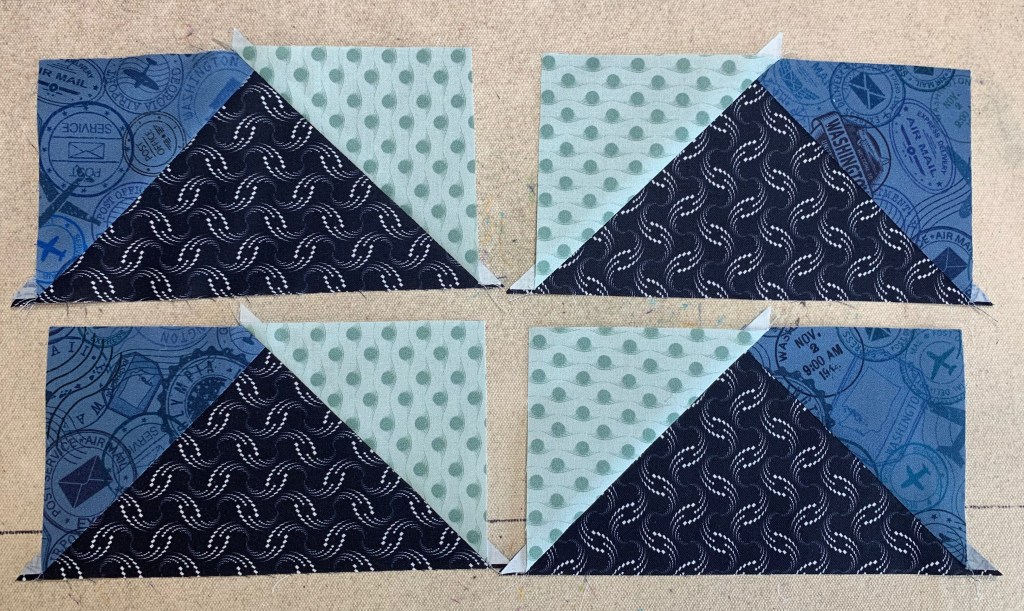
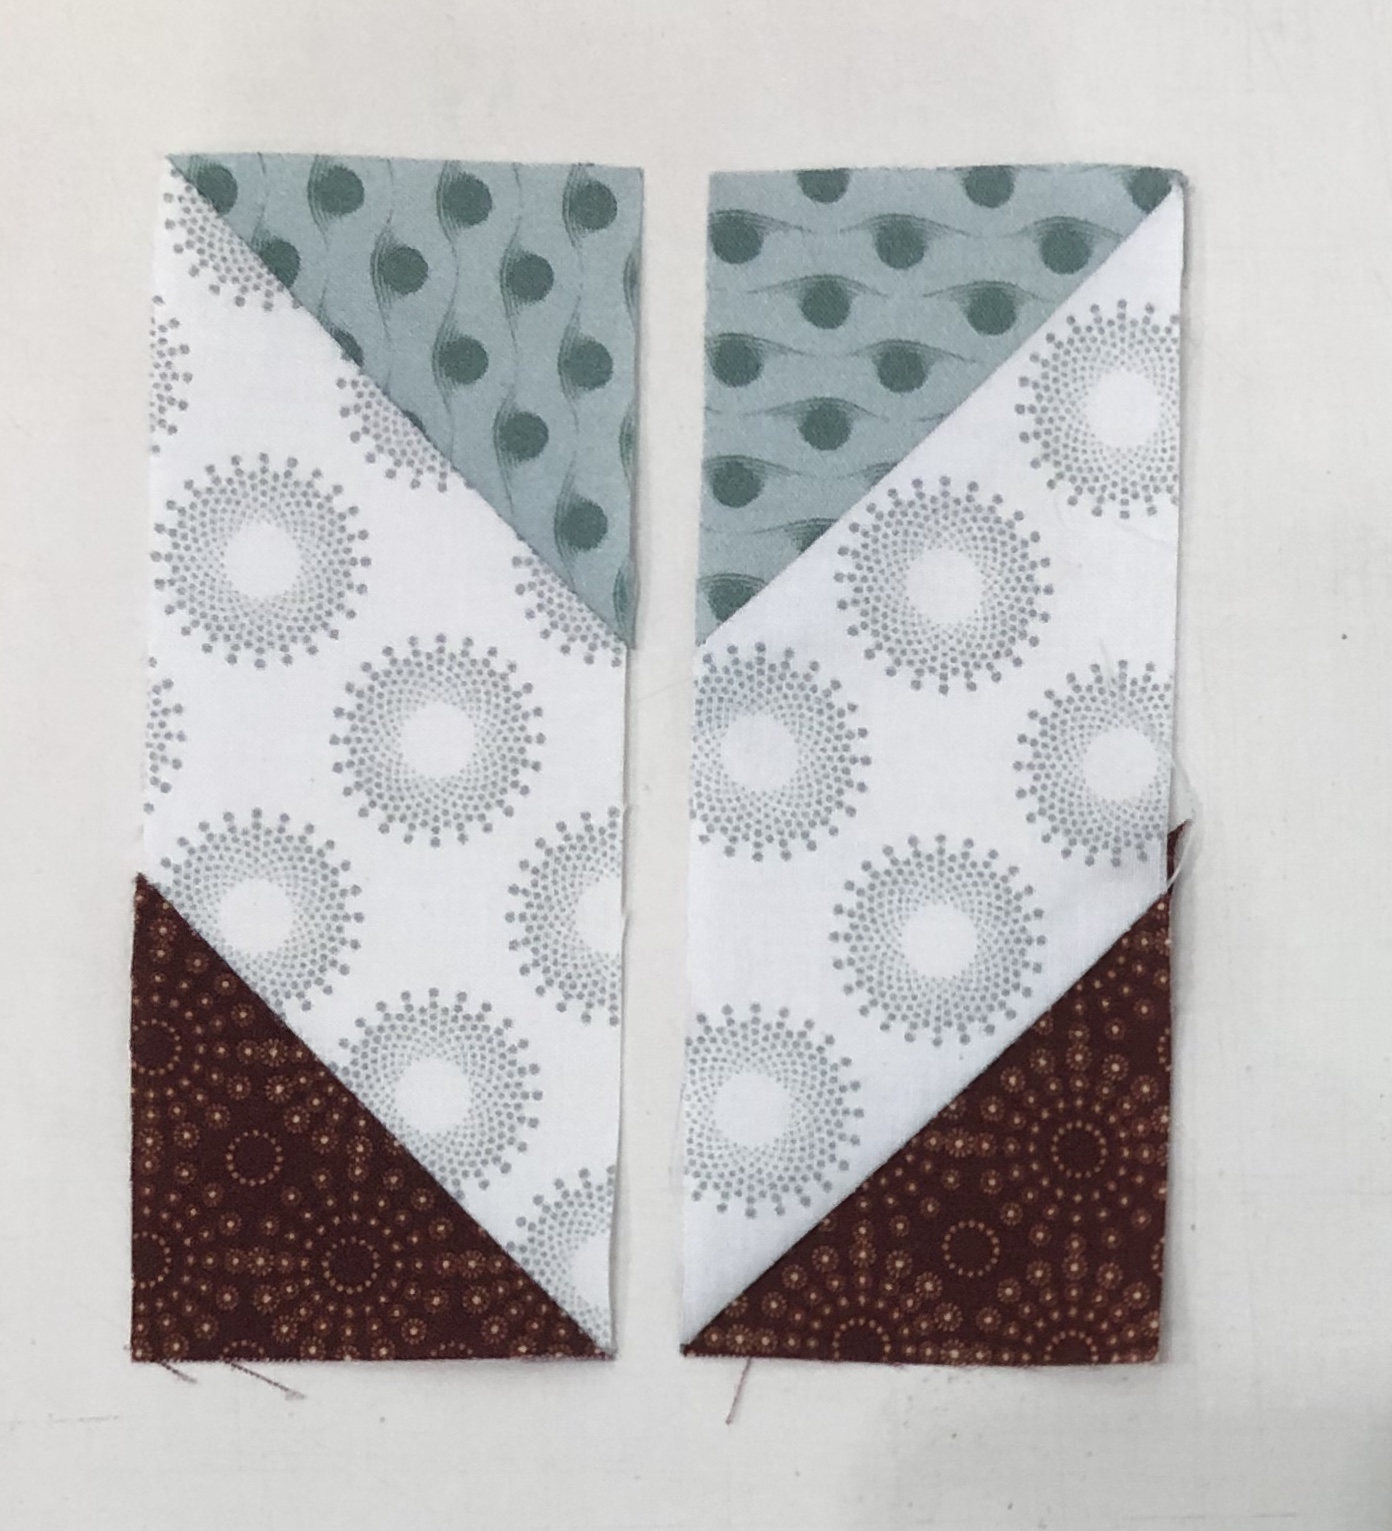
Step 13 – Separate the rectangles into two piles as shown. Turn the right pile (with the replacement triangle slanting from upper right to lower left) wrong side up.
Step 14 – Cut. Use the Corner Pop® tool and the 1½” Cut Away Corners line and cut away the corner opposite Print 6. Make sure that you have the piece positioned how it is in the diagram so that you are cutting off the correct corner to make the chevron. You will cut with 16 units right side up and 16 units right side down. Cut the corner off once you have confirmed that you are cutting in the correct spot.
Step 15 – Repeat steps 11 &12 for the cut away corner using the Print 5 replacement triangles.
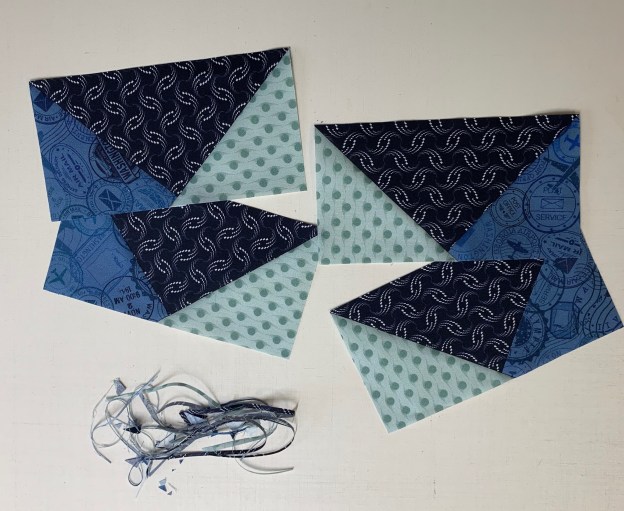
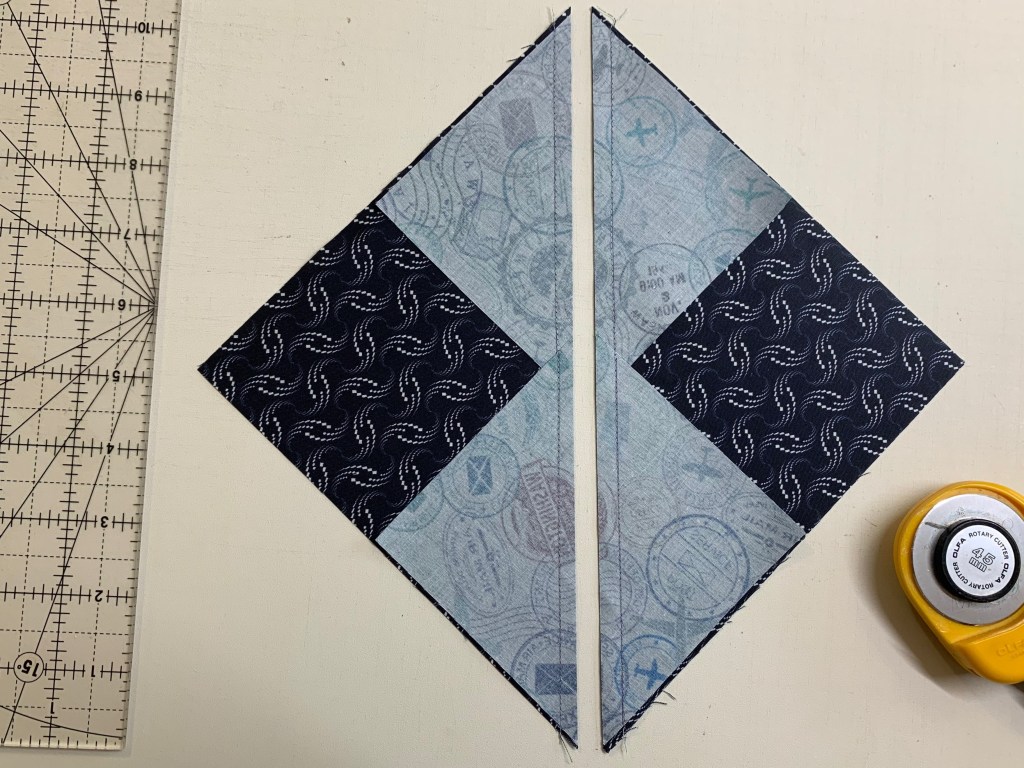
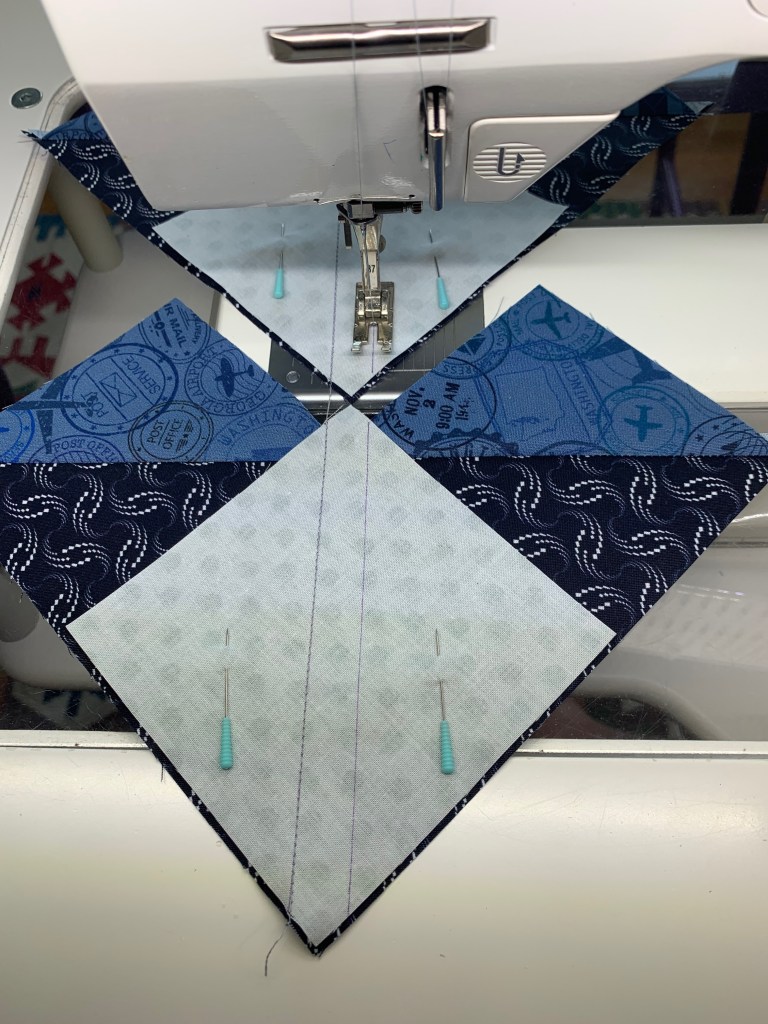
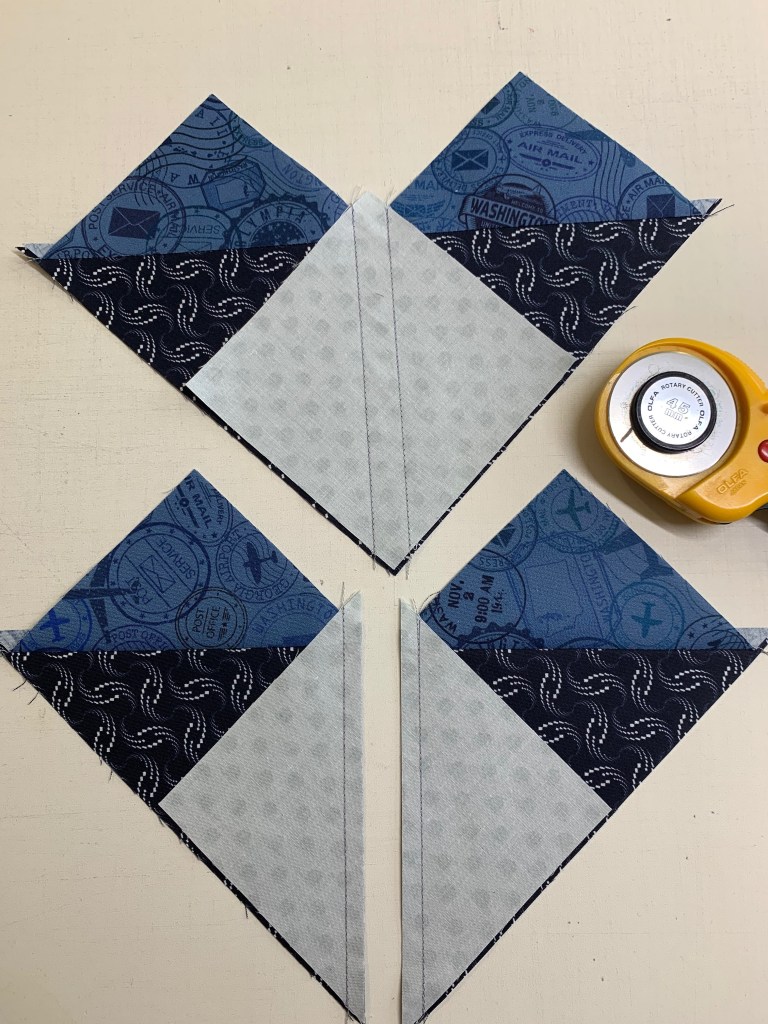
Step 16 – Lay out the pieced rectangles as shown. Position two of them right sides together leaving them in the same orientation and stitch down the long side. Press the seam open.
Block Construction
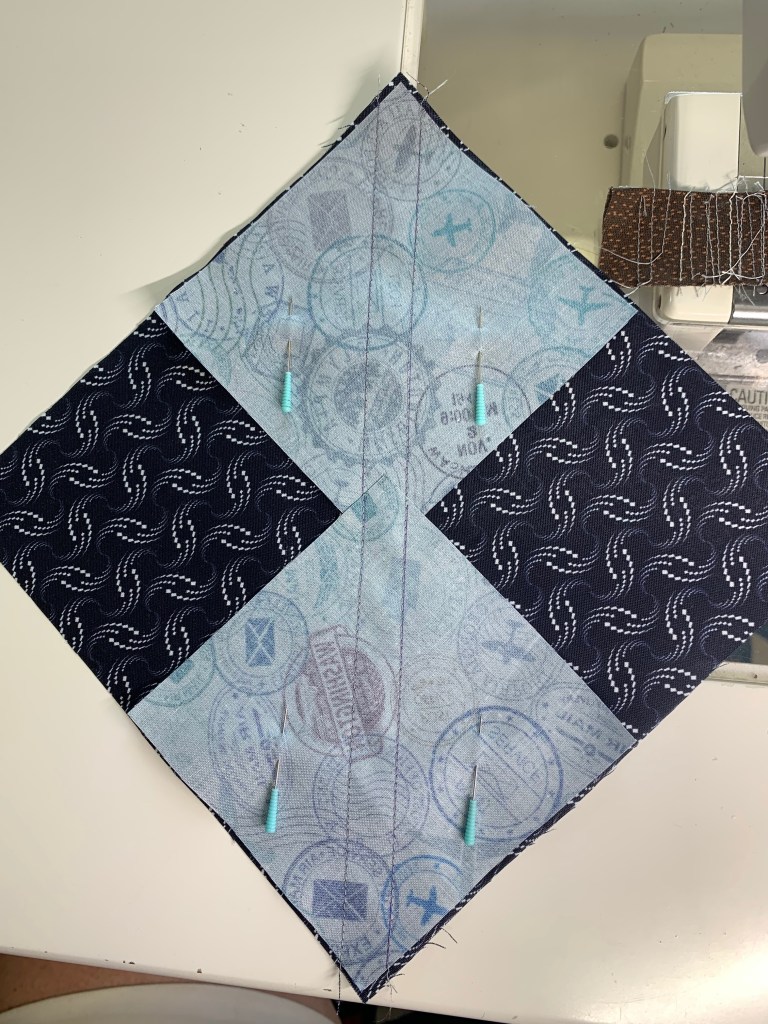
Step 17 – Lay out the framed four patches, chevrons, and center square so that it looks like the diagram.
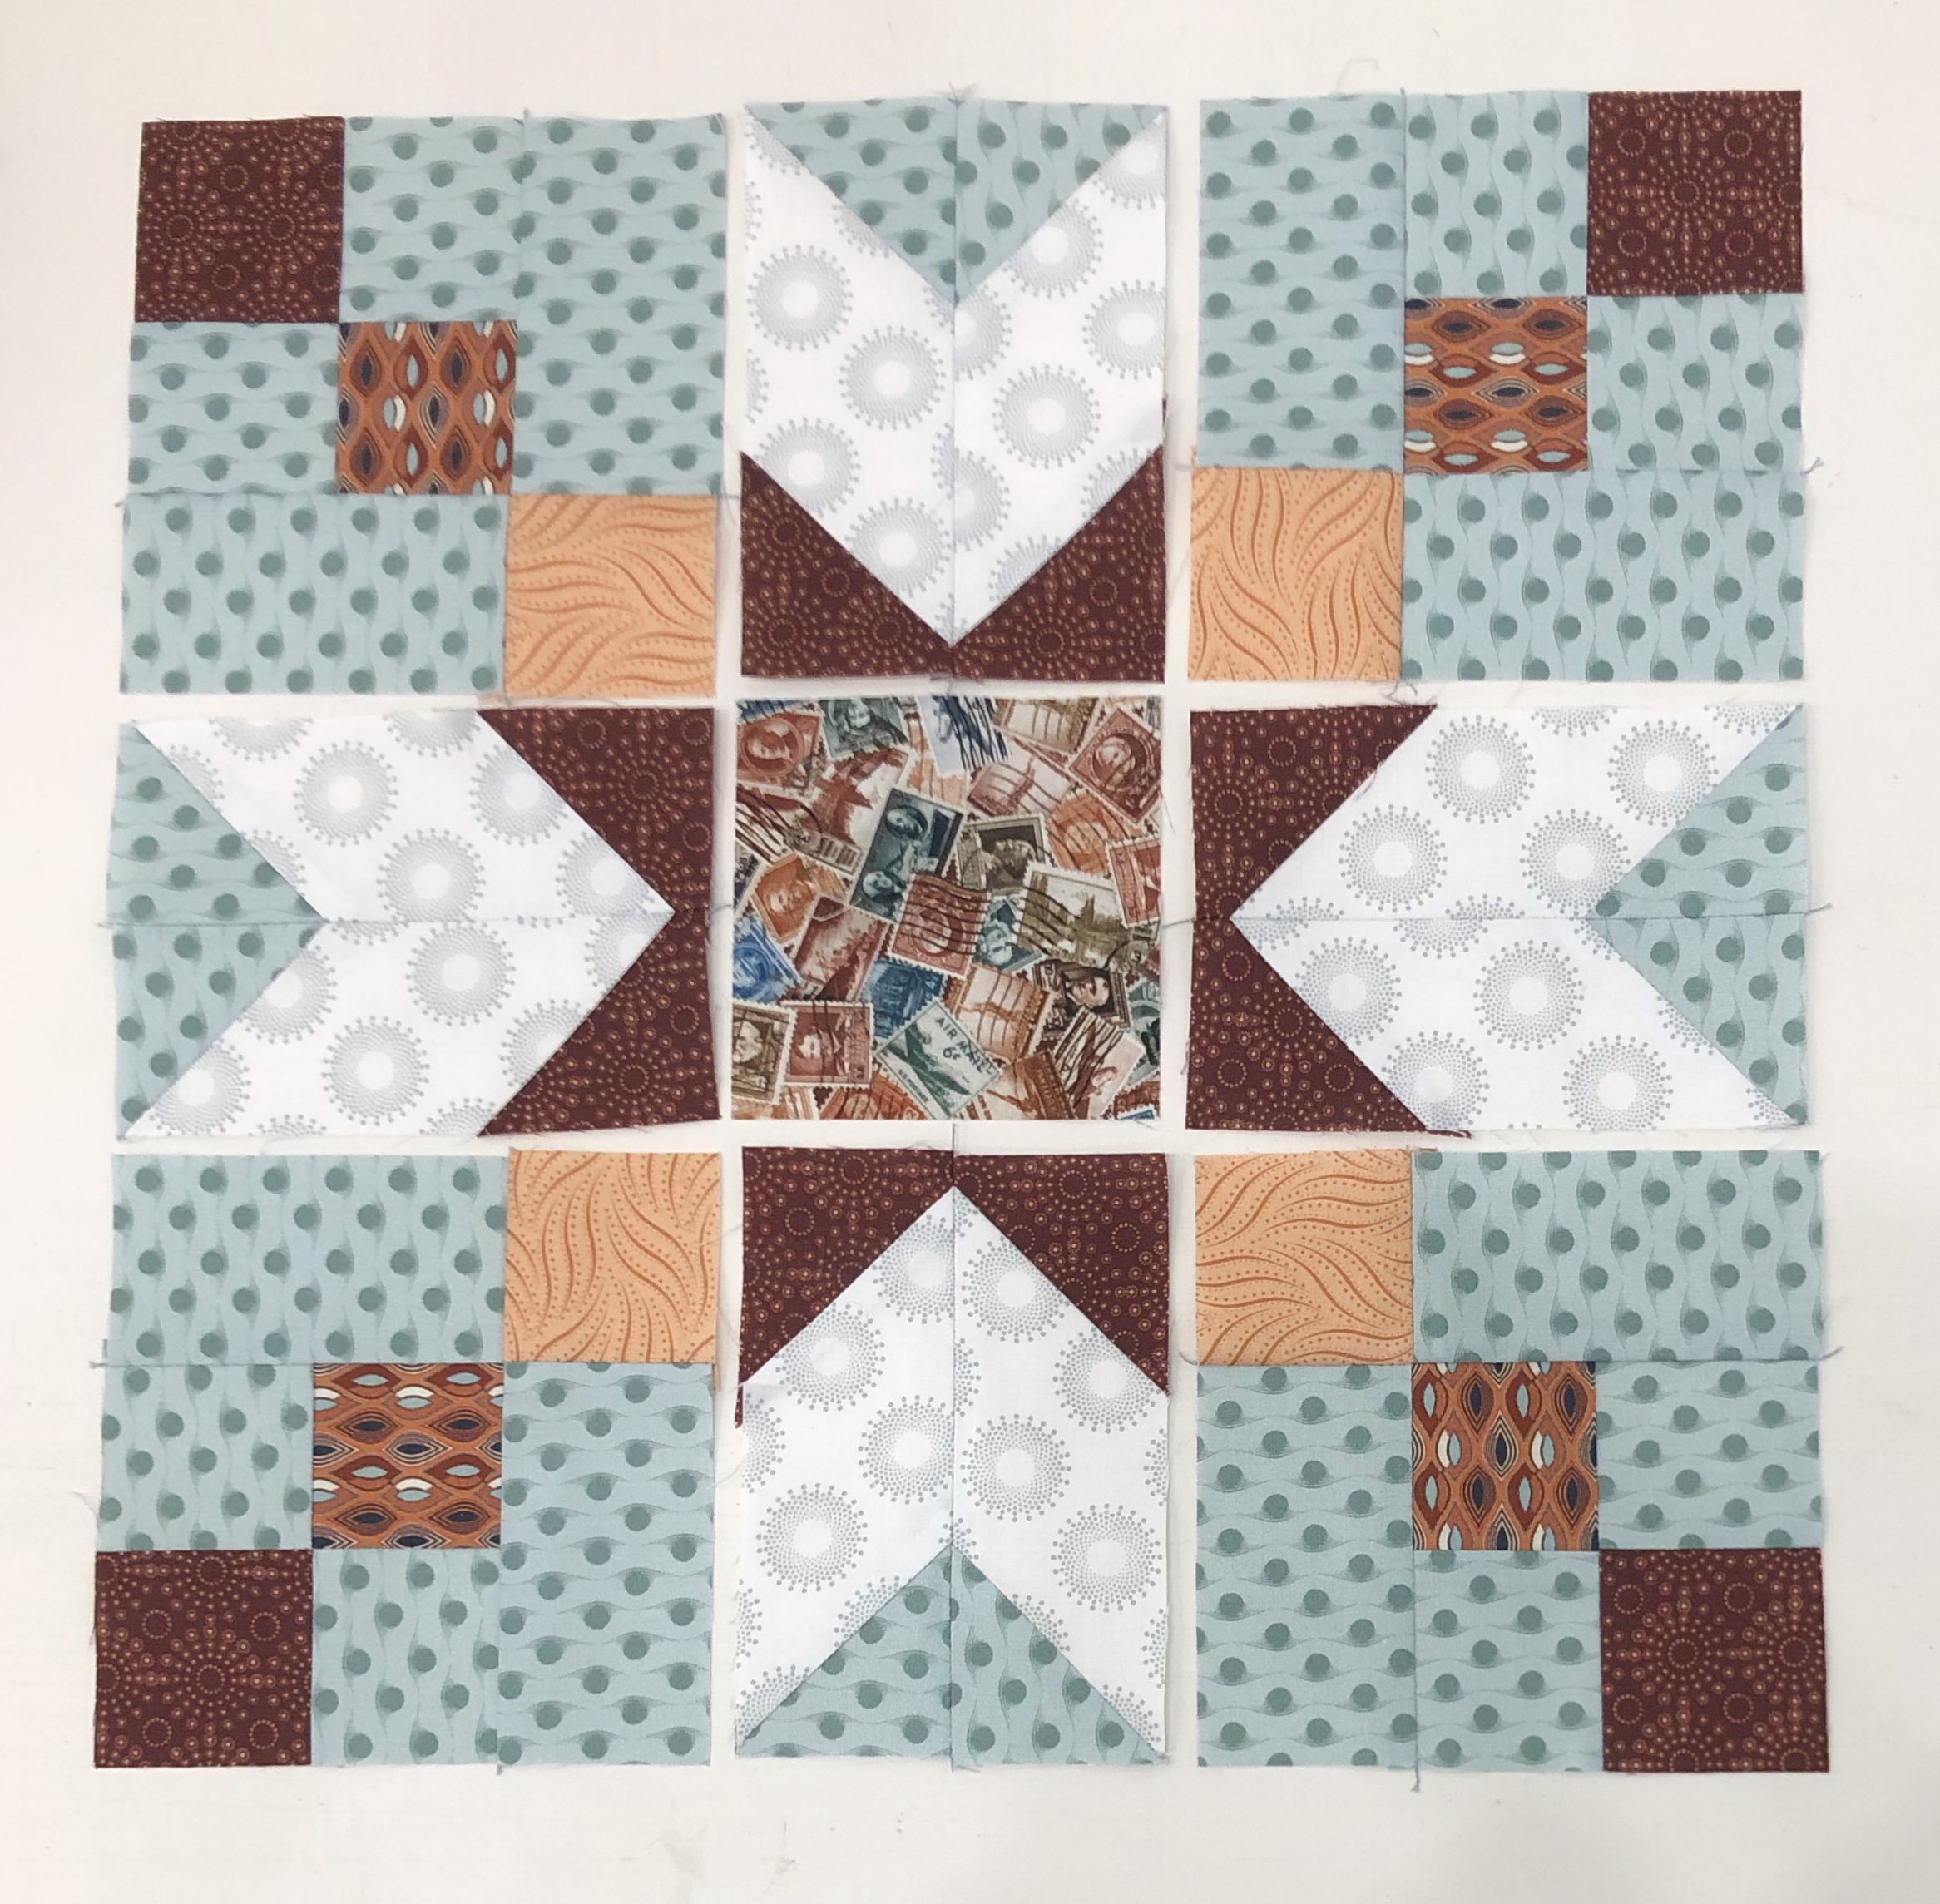
Step 18 – Stitch the units together into rows and then stitch the rows together to create the block. Press as shown in the diagram. You will have 4 blocks when you are done. Label them Block G.

Congratulations, not only did you expand your knowledge of the Four Patch Square Up tool by making Four Patches with Frames, you also learned to use the Corner Pop tool by making Chevron units!