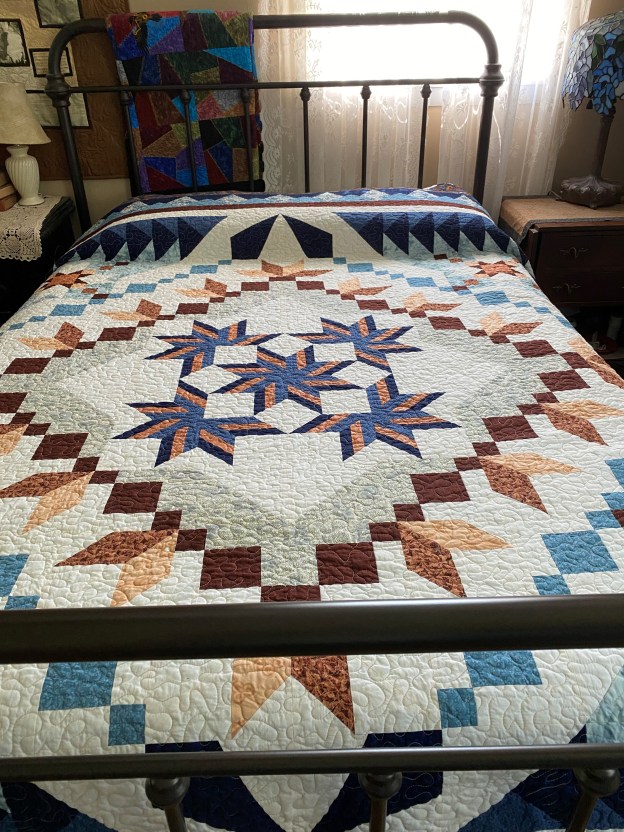
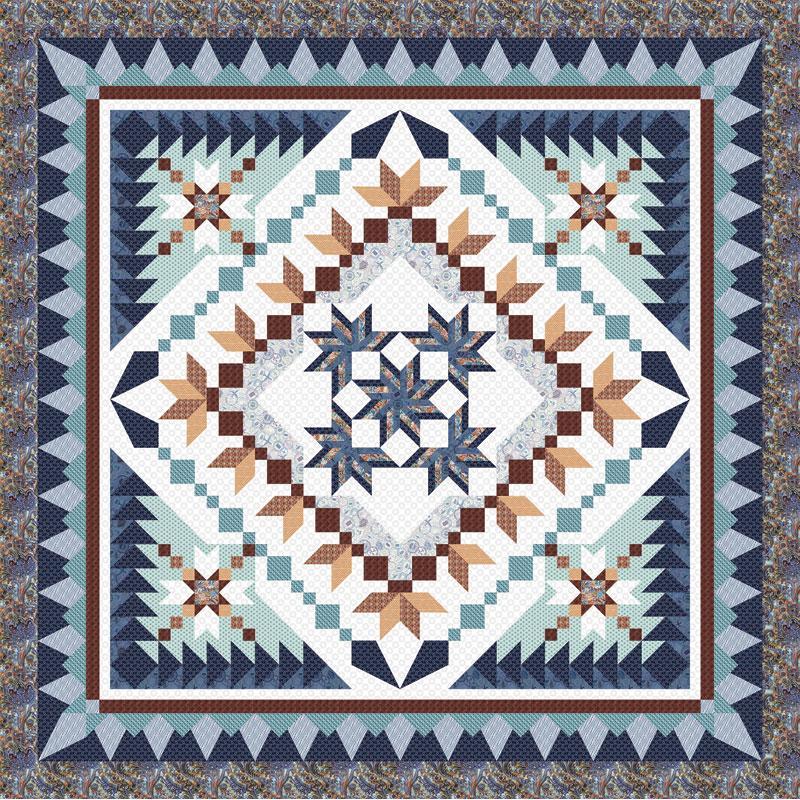
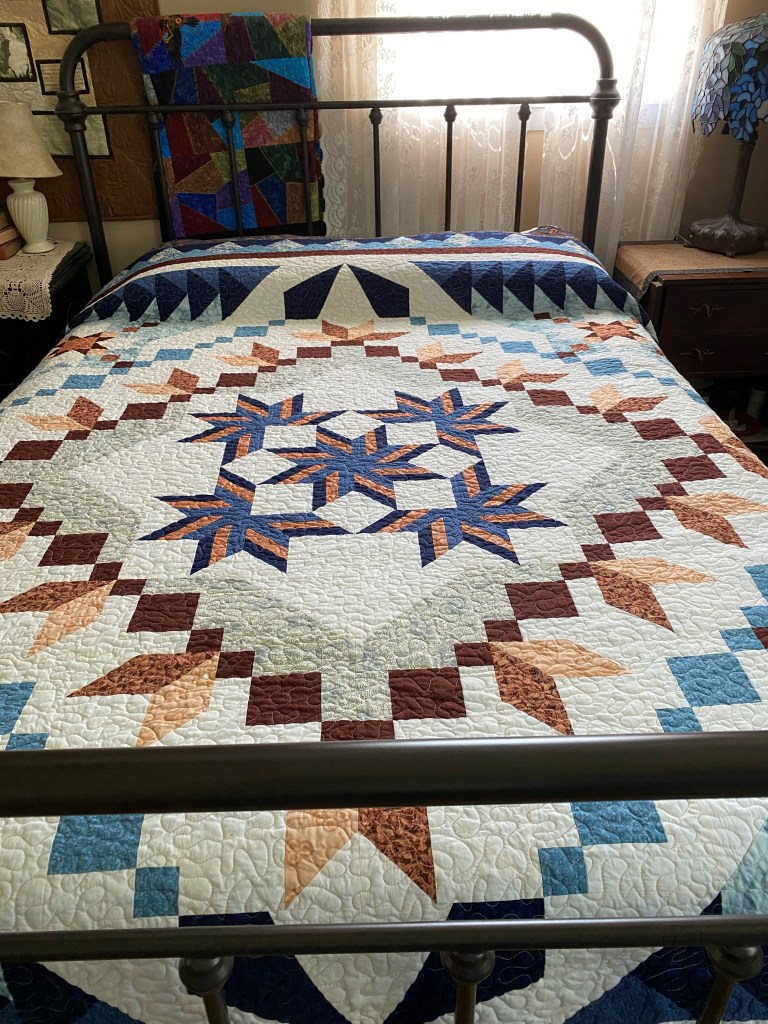
Welcome to Stitchin Heaven’s Journeys Month 2. My helper for Month 2 is Amy Lemke, a talented graphic artist for Studio 180 Design. This month you are going to learn to make Half Square Triangles (HSTs) and Combination Units with your Tucker Trimmer I with Prints 1, 2, 5, 10, & 11. Label your fabrics and use your best cutting skills when cutting your starter squares.

Tip: I use plain paper plates and write on them what it is I have cut out. For instance, if you are new to using a Tucker Trimmer, I would label 6 paper plates: one for each print. Using a pen or pencil label the first plate “Print 1, Combination Units (unit D)”, and so on.
Half Square Triangle Construction
Note: For more information and left handed cutting and trimming directions, refer to the instruction that came with your Tucker Trimmer.

Step 1 – Mark two stitching lines ¼” on either side of the center diagonal. Draw the lines on the wrong side of all the 7” squares from Print 11. I like to use my Quilter’s Magic Wand™ for this task.

Step 2 – Layer the 7” Print 11 squares right sides together with the 7” squares from Prints 5 and 10. Stitch on the lines, then cut down the middle. Press away from Print 11 or open.


Layer.


Press.
Step 3 – Trim the units to 6½” using the Tucker Trimmer® I. Align the 6½” Sizing Diagonal with the seam and trim the first two sides.

Step 4 – Rotate the unit 180 degrees and align the 6½” Sizing Diagonal with the seam as well as the 6½” cleanup lines with the outside edge. Trim the remaining two sides to create your precise Half Square Triangle units. Label the units made with Print 5 Unit C, and label the units with Print 10 Unit B.


Make 8 each from prints 10 & 11 and prints 5 & 11.
Combination Unit Construction

Step 5 – Repeat steps 1 and 2 using the 7½” squares from Print 1 and Print 2 to make 4 Half Square Triangles. Press away from Print 2 or open. Do not trim!

Step 6 – Mark two stitching lines ¼” on either side of the center diagonal line of the pieced Half Square Triangles.

Step 7 – Position the pieced squares right sides together with the 7½” Print 11 squares. Note that the edges are not intended to match. Stitch on the lines, then cut down the middle. Press toward the large triangle.

Step 8 – Trim the units to 6½” using the Tucker Timmer® I. Align the 6½” Sizing Diagonal with the long seam and the Common Diagonal with the short seam. Trim the first two sides.

Step 9 – Rotate the unit 180o and align the Sizing and Common Diagonals with the seam as well as the 6½” cleanup lines with the trimmed edge. Trim the remaining two sides to create your precise Combination units. Label them Unit D.


Congratulations, you have learned to make half square triangles and combination units using your Tucker Trimmer I.