Tag Archives: V Block Tool

It’s December! Time for Christmas Tree Quilts

I love Christmas & I love Christmas Tree Quilts! Over the years I have made several and decided to share some with you. Studio 180 Design tools gives you several ways to easily make Christmas Trees.

I Believe

I made this 7 years ago for my Granddaughter Samantha. I Believe uses the V Block tool. Below is the supply list:

Deck the Halls

I made Deck the Halls for Northcott Fabrics in 2019. It is made with Tucker Trimmer I & Wing Clipper I. Below is the supply list:

Split Rects Christmas Tree

The Split Rects Christmas Tree wall hanging is made with the Split Rects tool. The supply list is below:

Wing Clipper Wall Hanging

The Wing Clipper wall hanging is made with 4 Flying Geese using the Wing Clipper I. The supply list is below:

Kermits Christmas Tree

This Skinny Christmas Tree was made using all 10 sizes the Wing Clipper I makes. Supply List is below:

Happy Holidays everyone!

A Field of Popped ‘V’s”

Secondary-Pattern-Graphic

The Island Batik Ambassador’s Challenge for July is “Pattern Play, Secondary Pattern”.  I chose a simple design using BlockBuster  18 A Popped V  pattern from Deb Tucker which uses Studio 180 Design V Block & Corner Pop tool and the Side Kick High/Low technique sheet.

img_5382-1

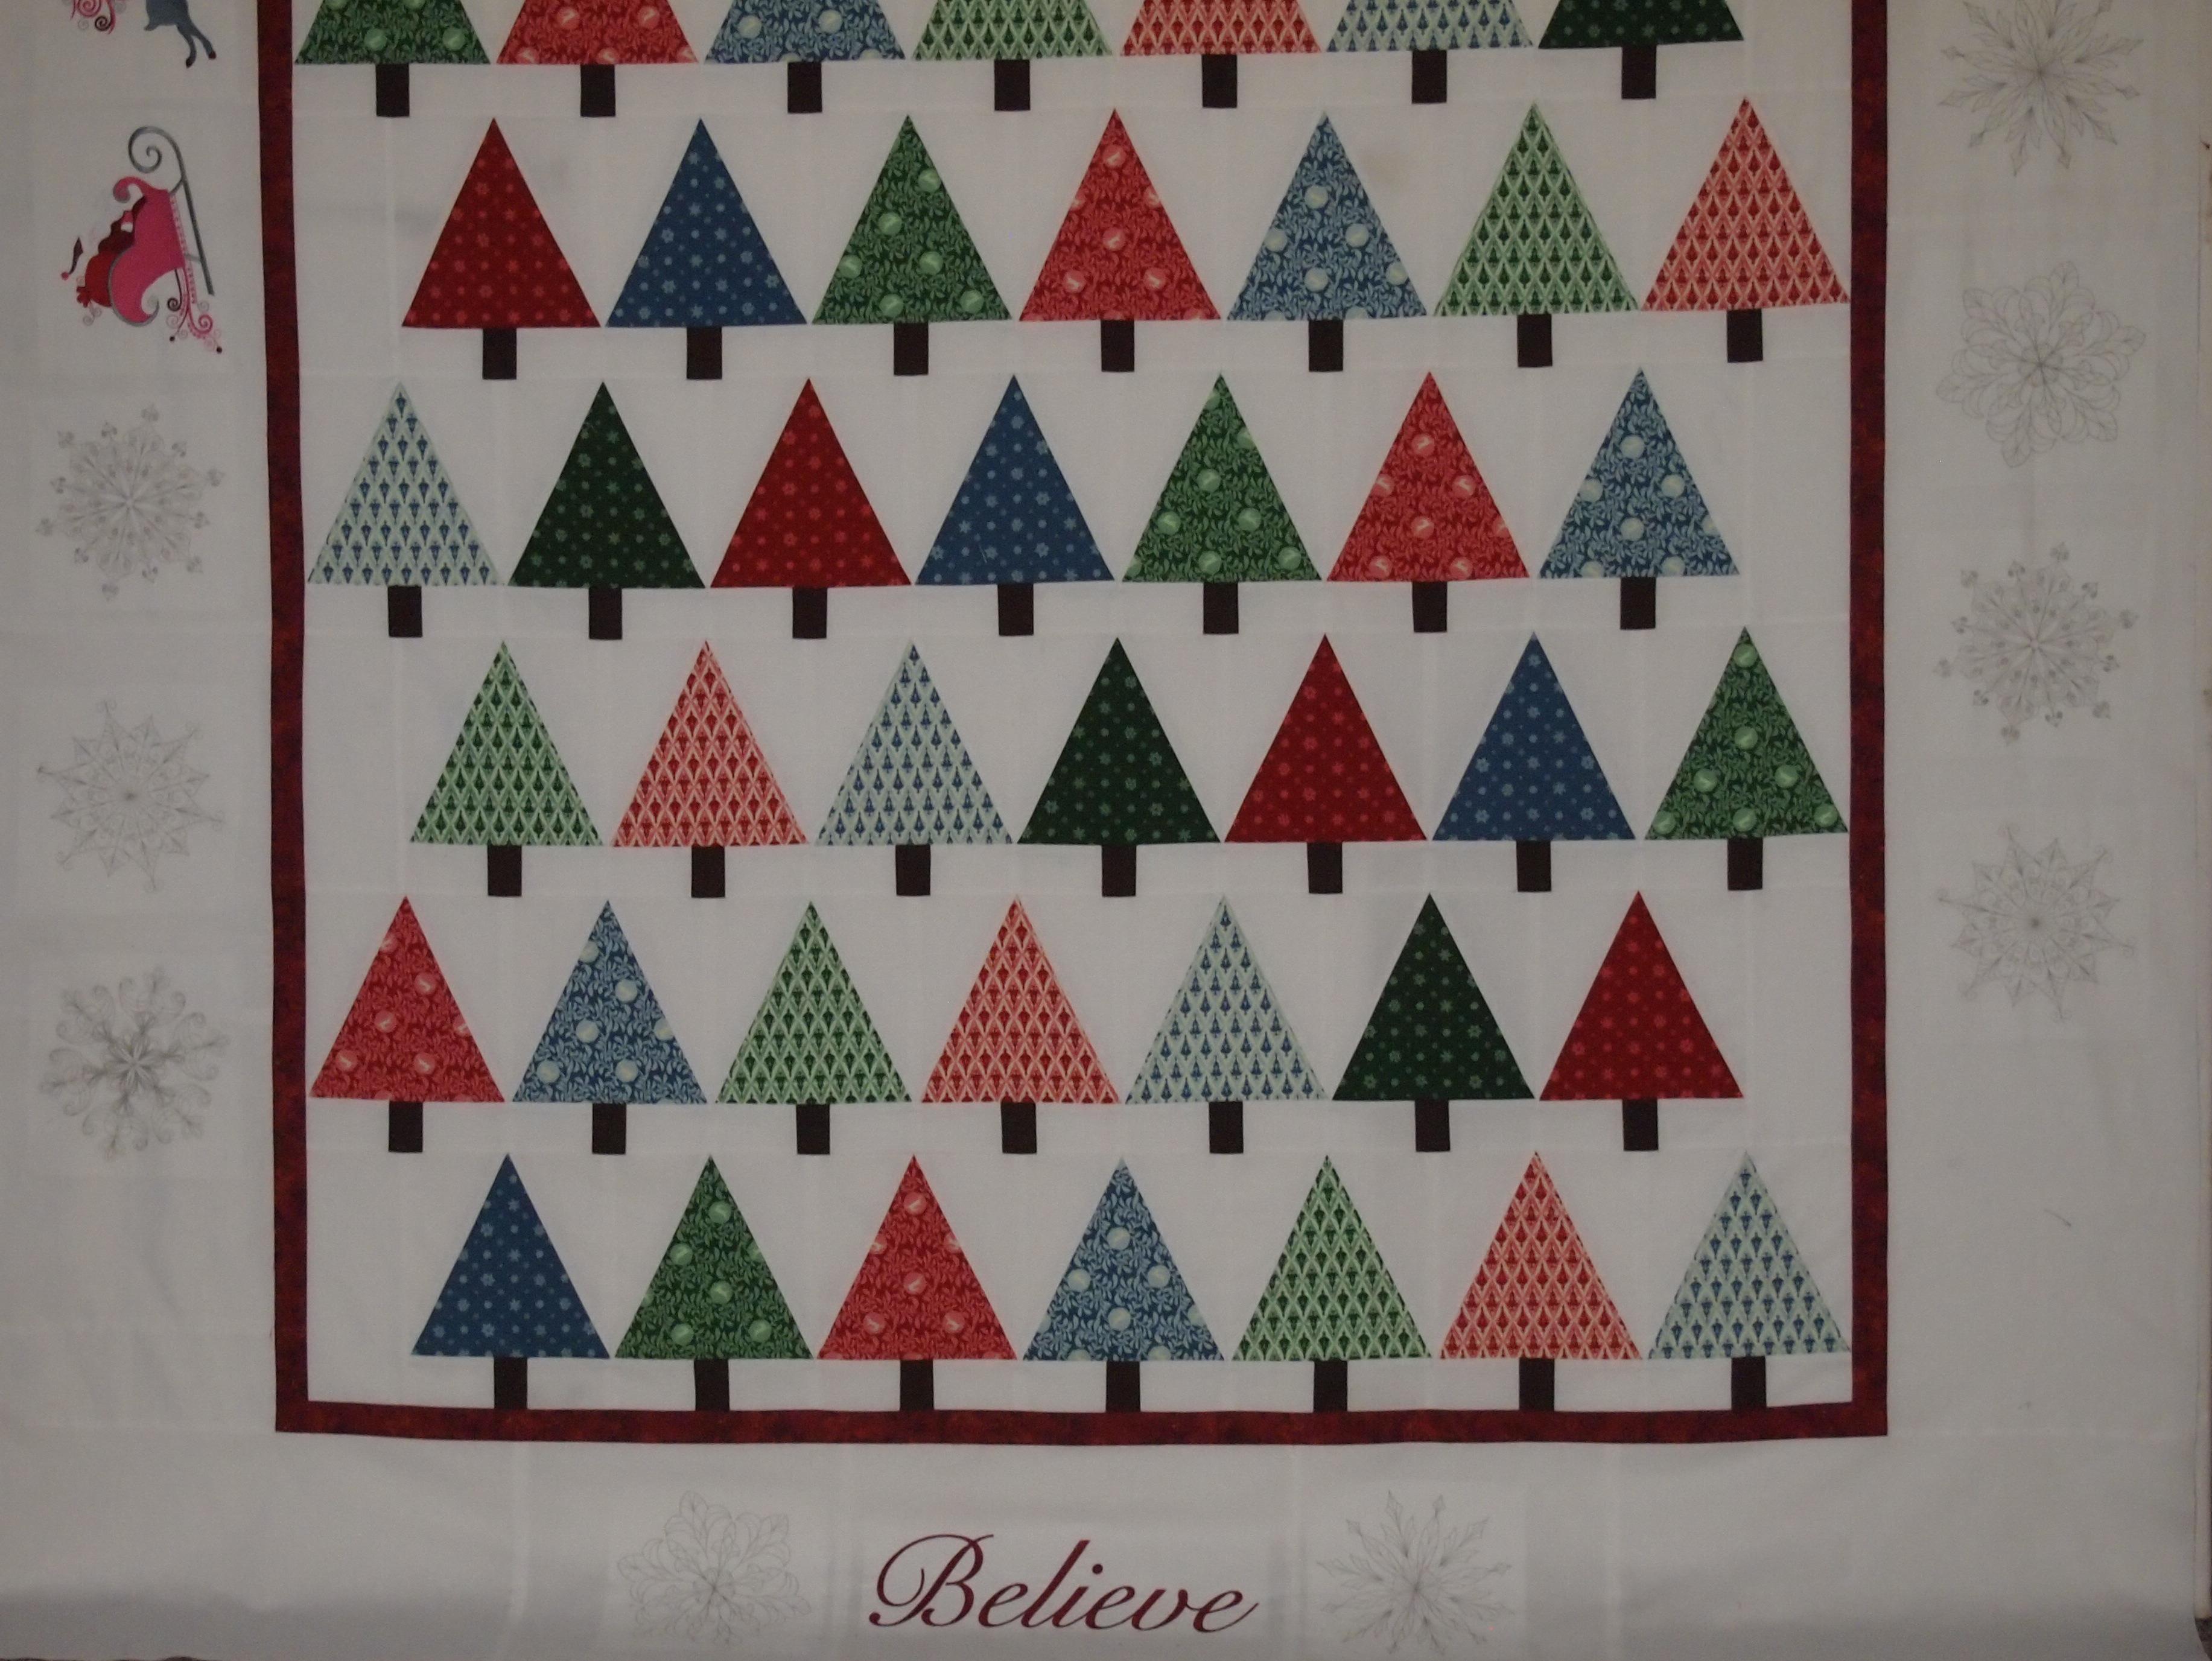
Last year I made four Popped V blocks and loved the secondary pattern that came from putting together the blocks.  Notice the nice sharp points?

img_1261

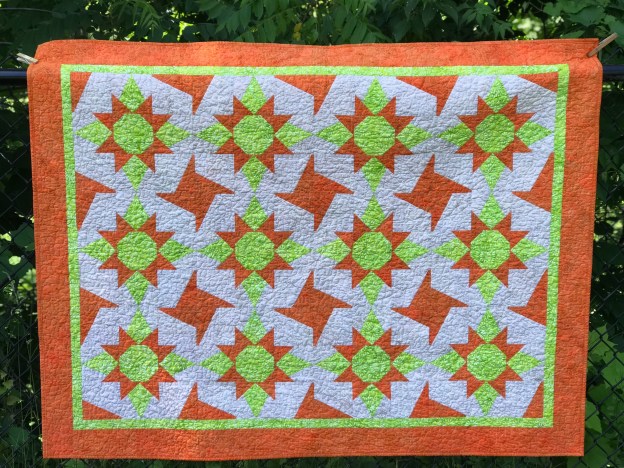
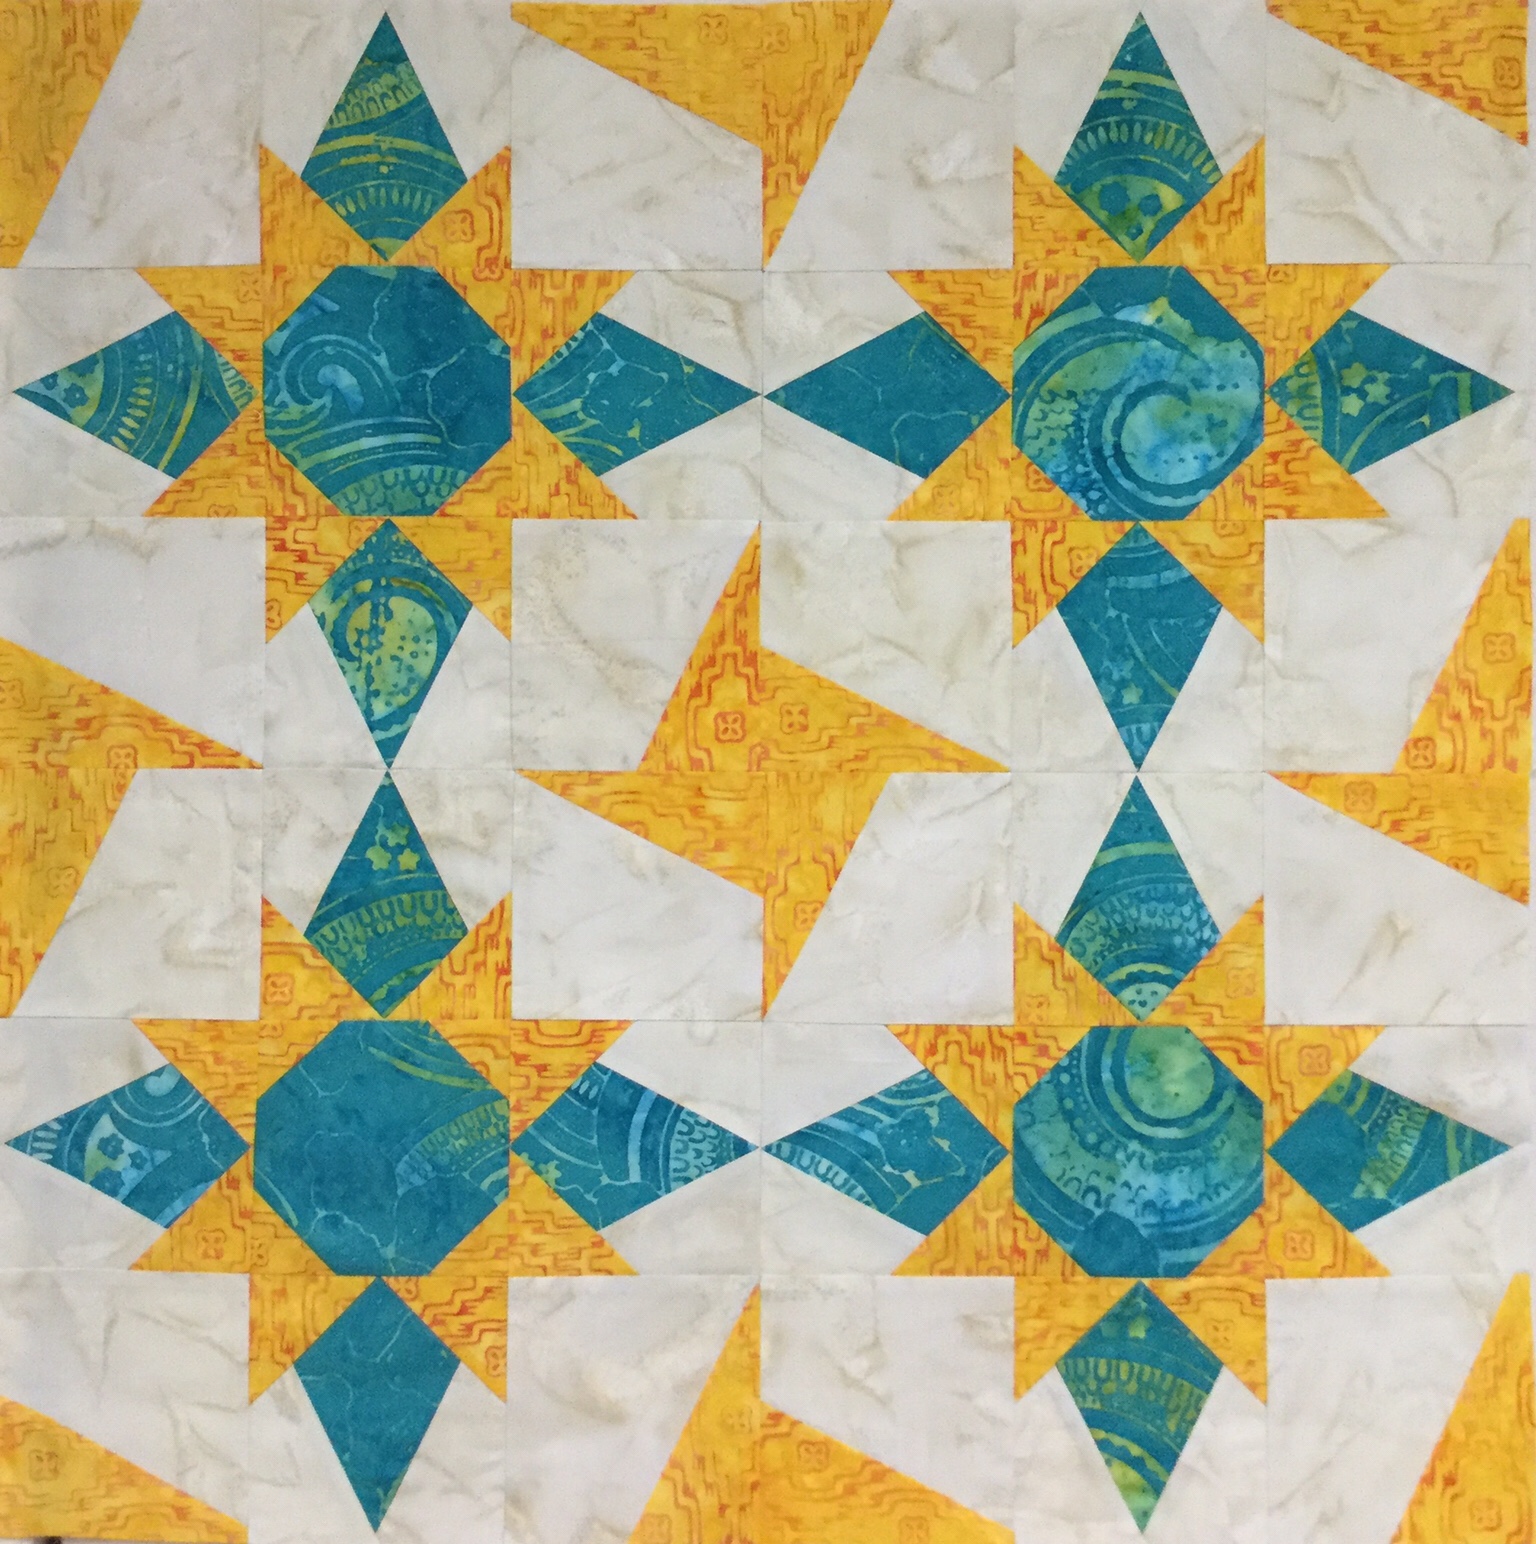
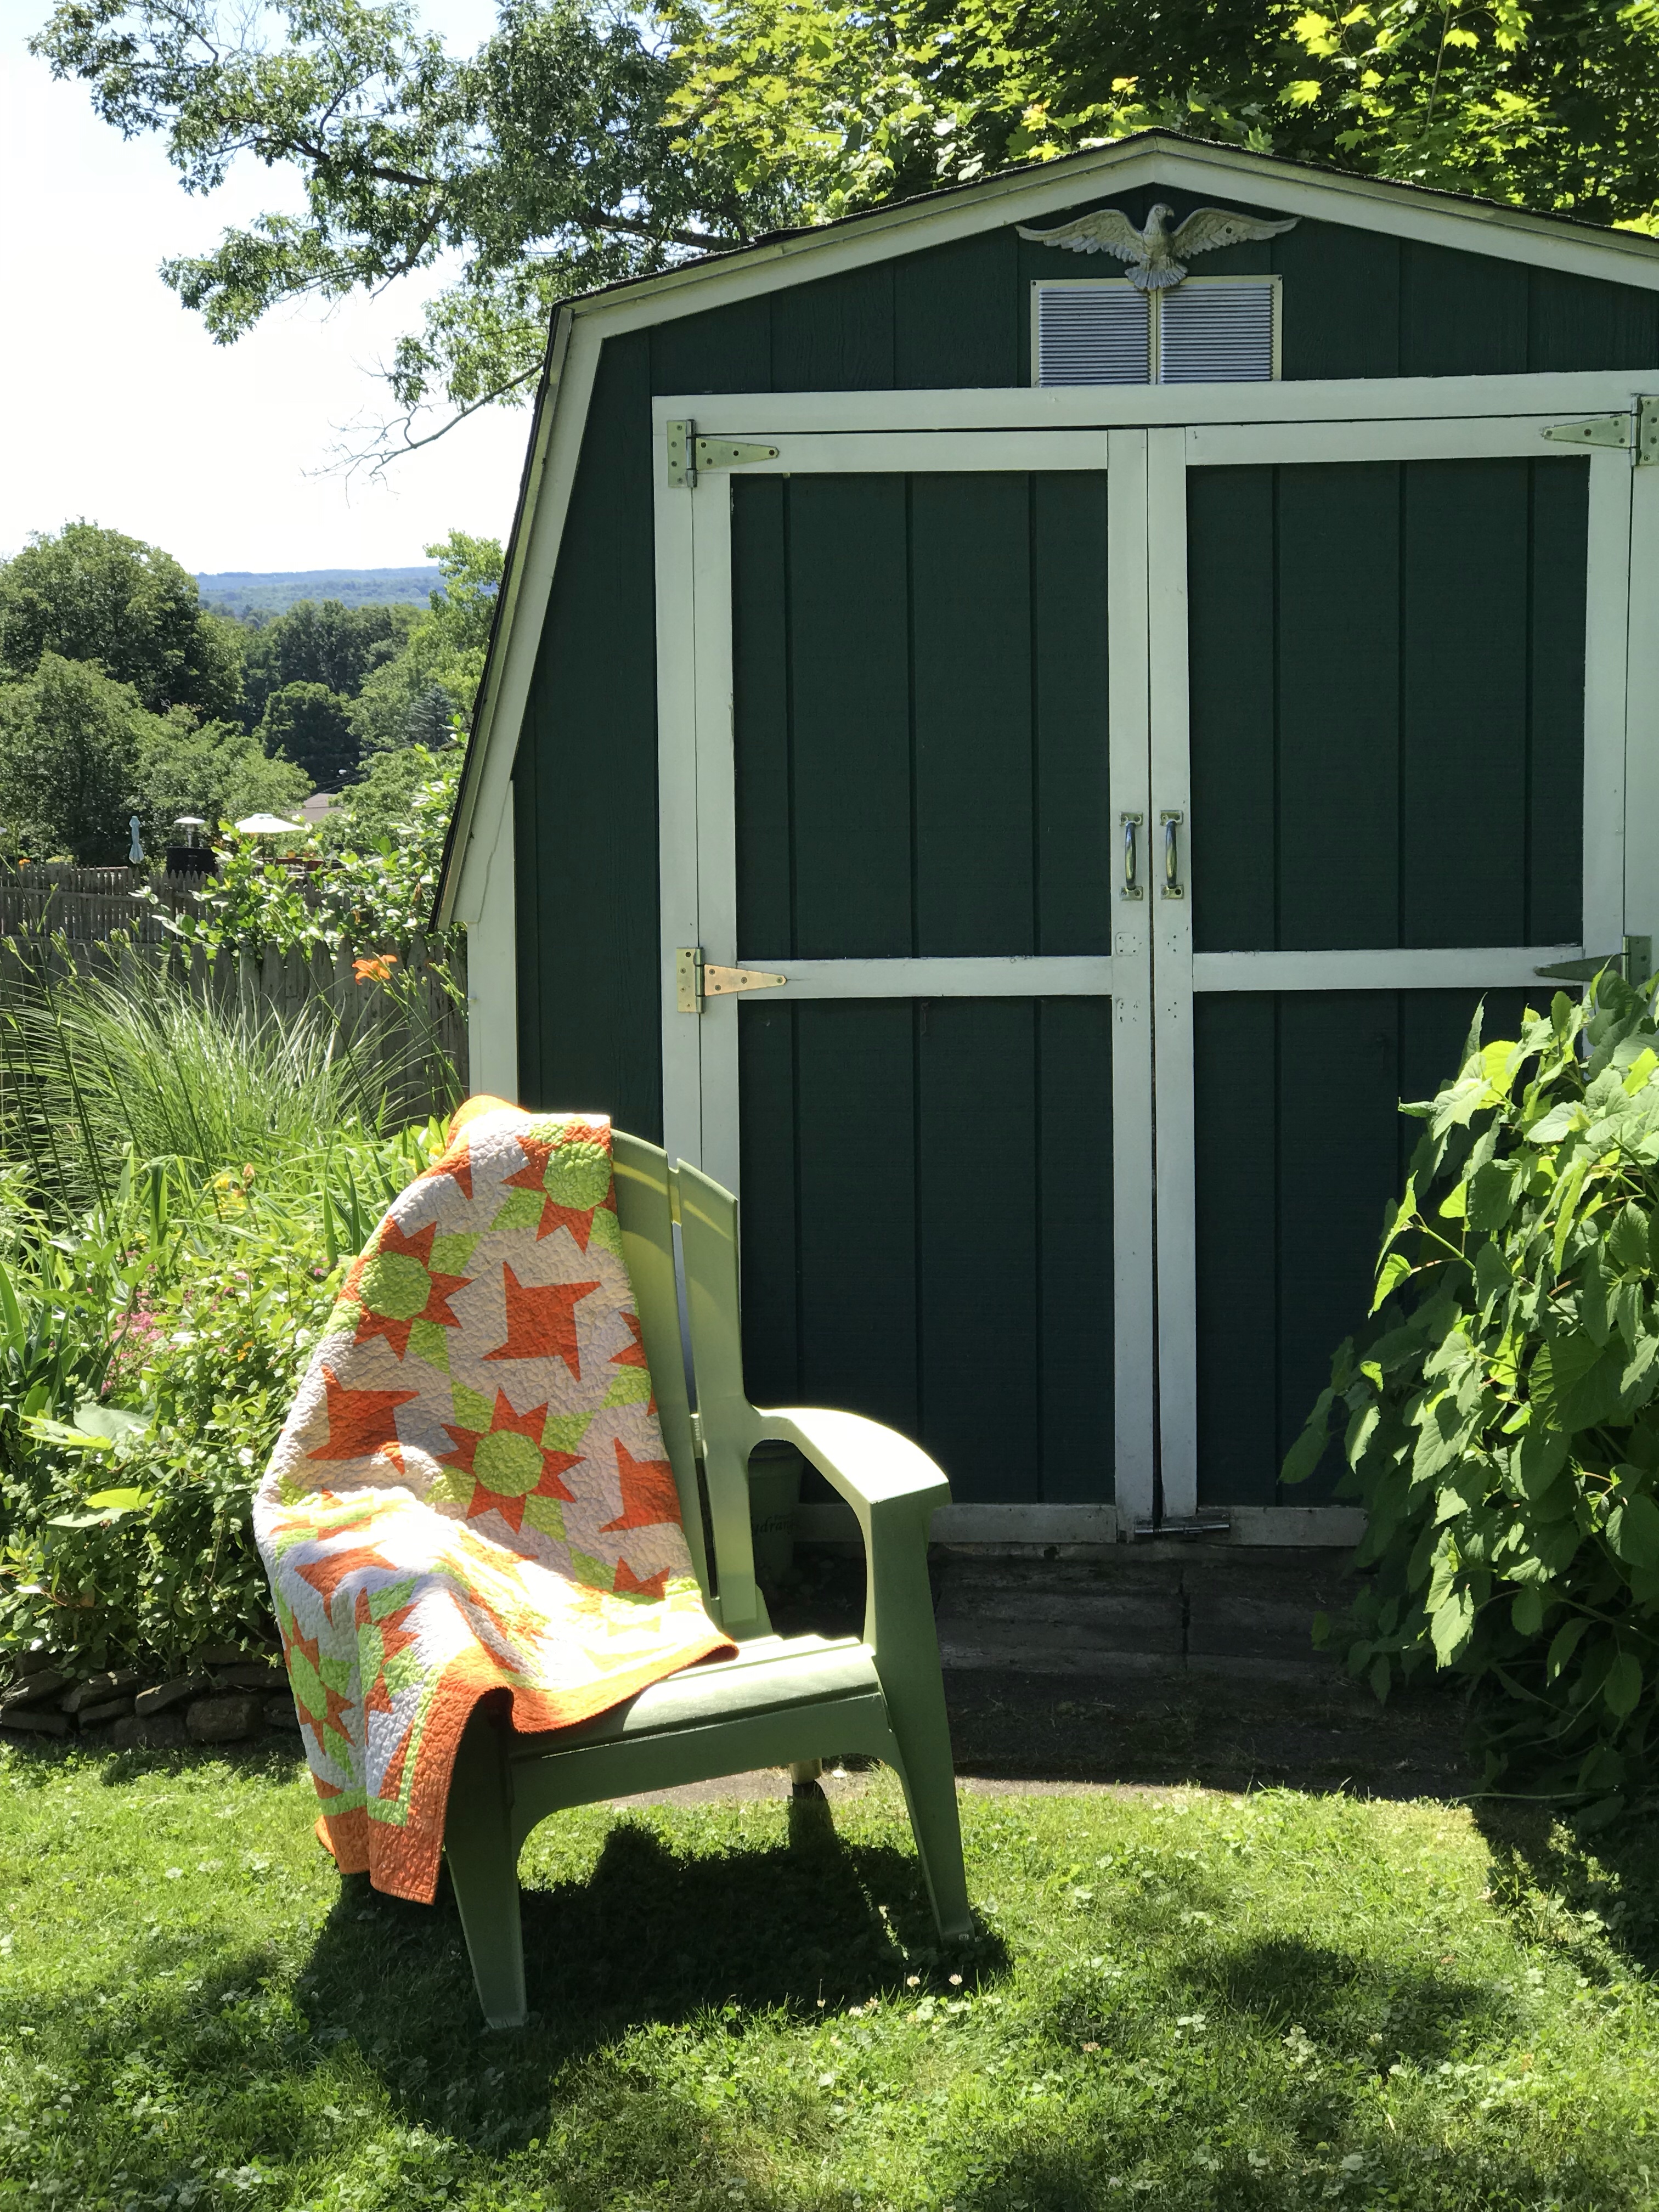
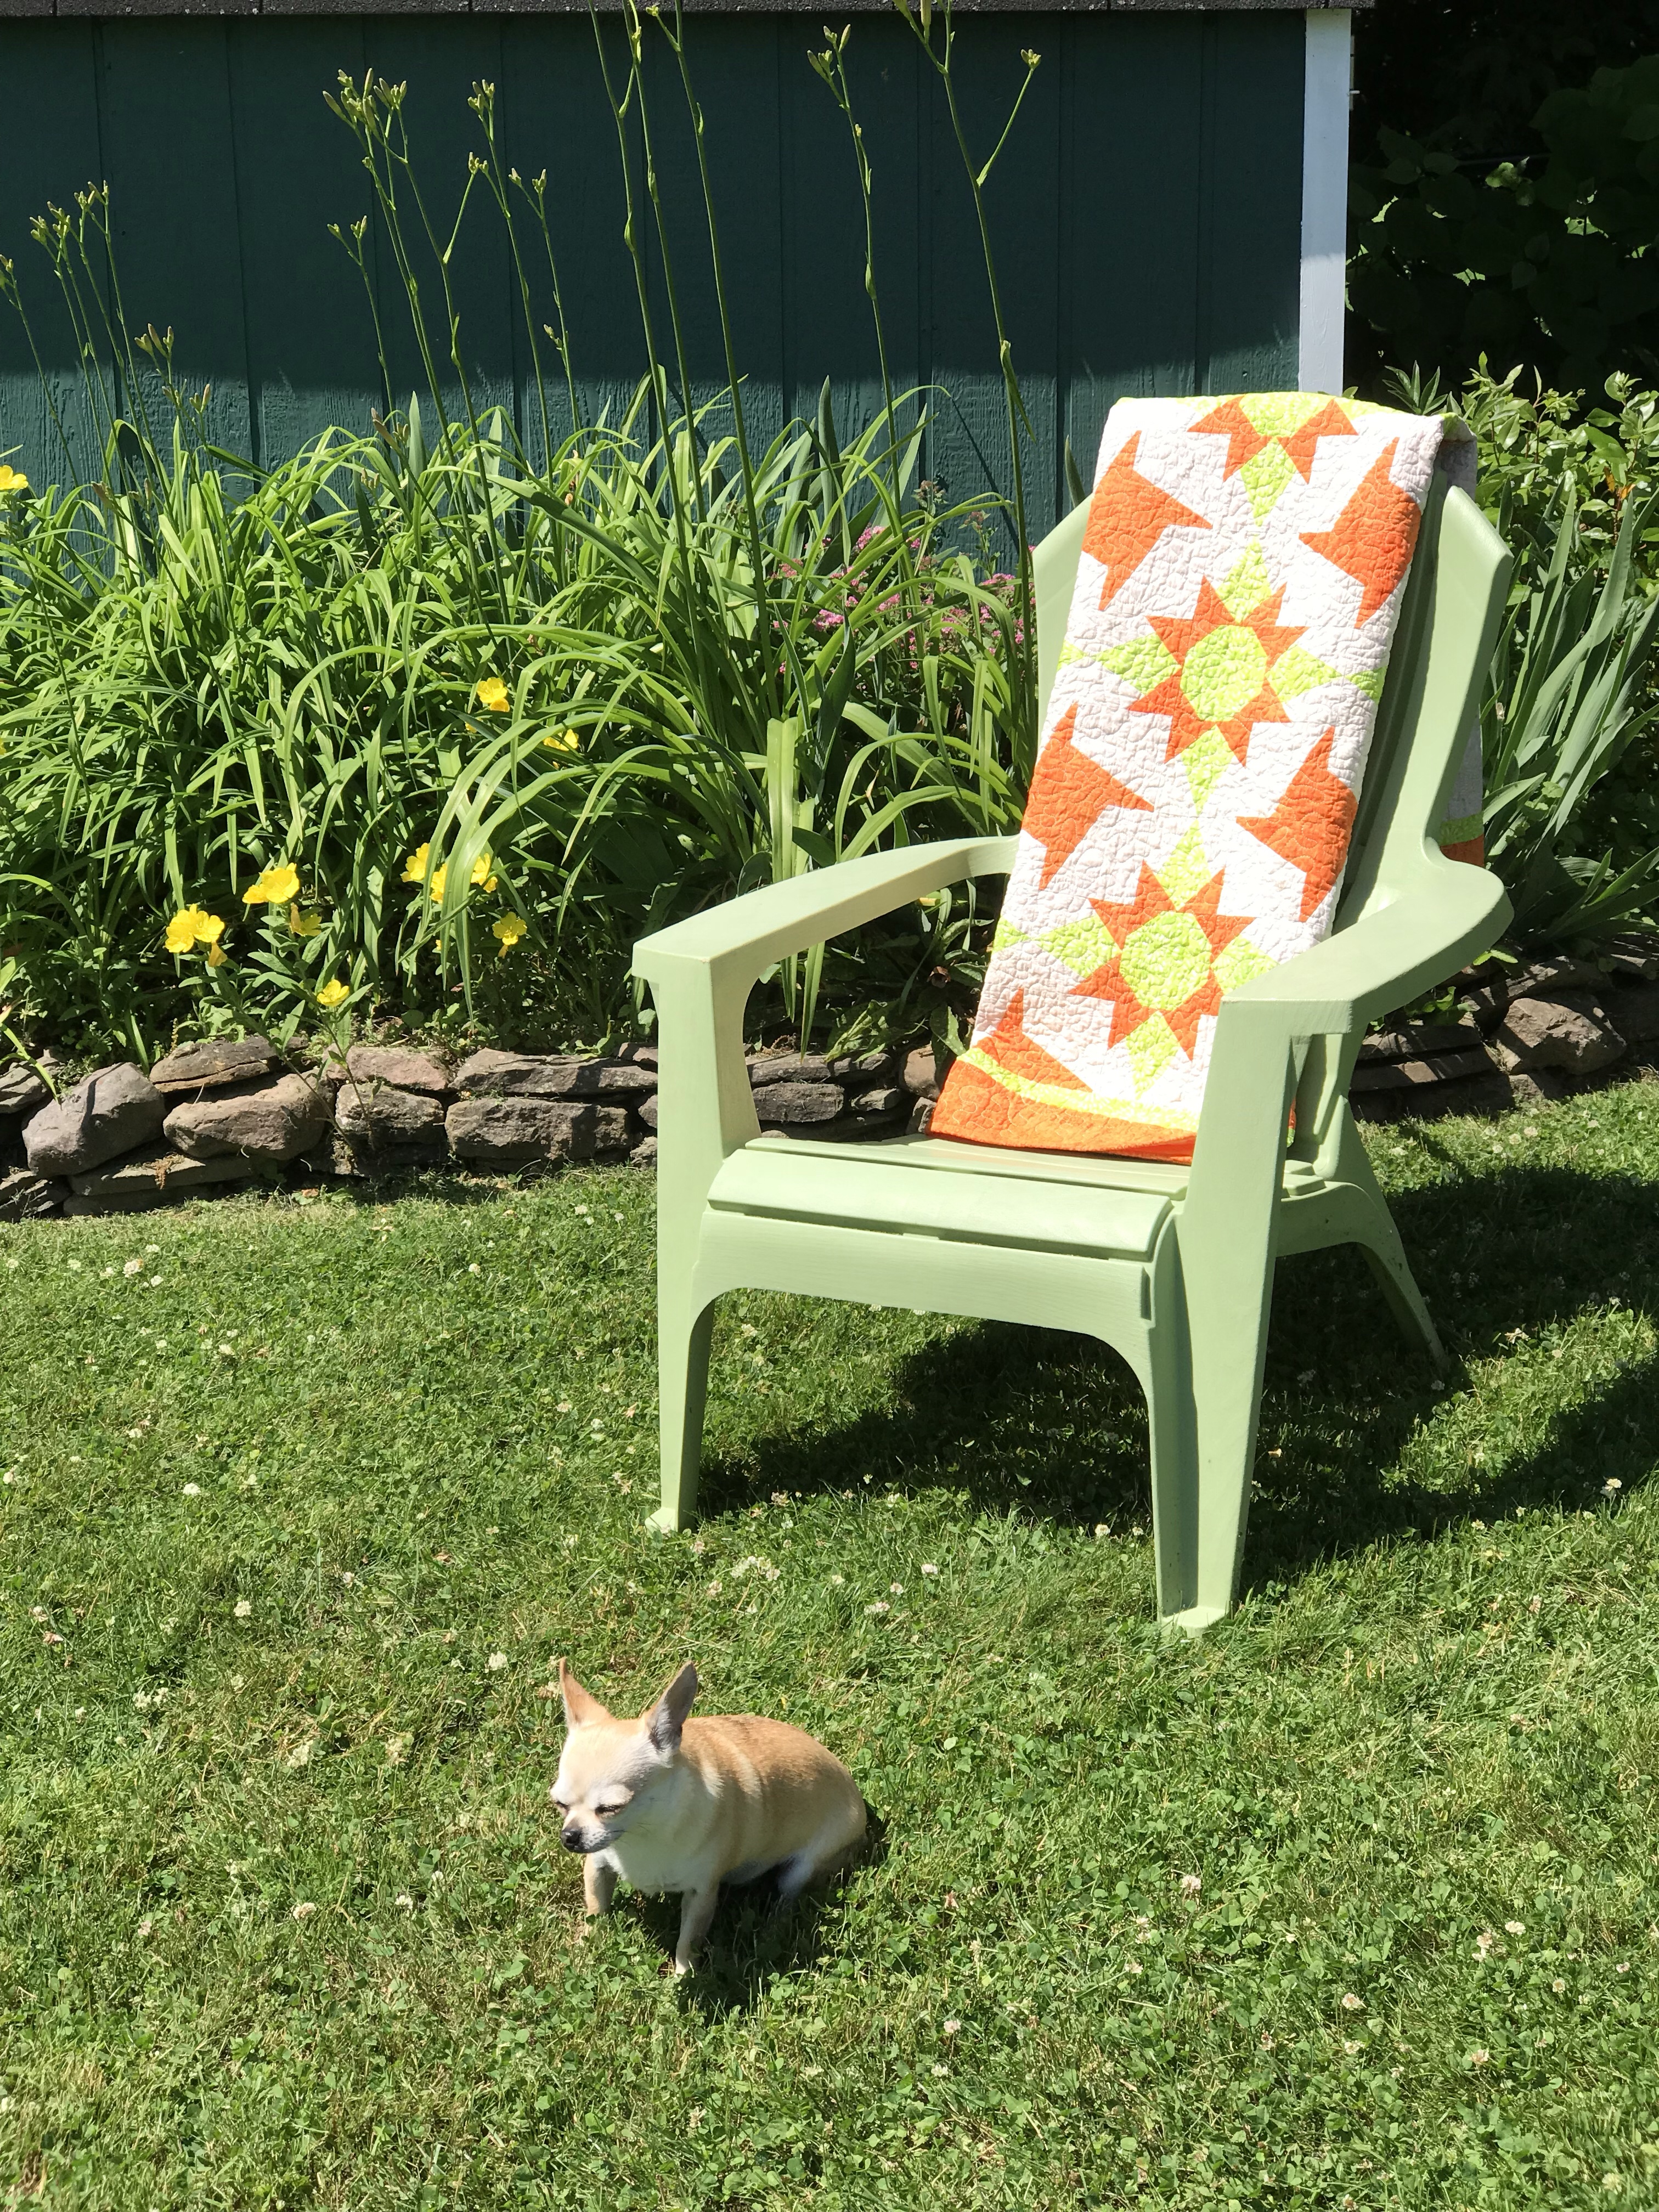
I love my bright orange & green Island Batik fabrics.  But, this time my blocks looked a little different…there’s a story there!  I don’t know about you, but when I’m at a quilting retreat with my quilting buddies I’m usually  talking way too much and that’s how mistakes are made!  My in-attention to detail led me down the primrose path of error!

img_1262

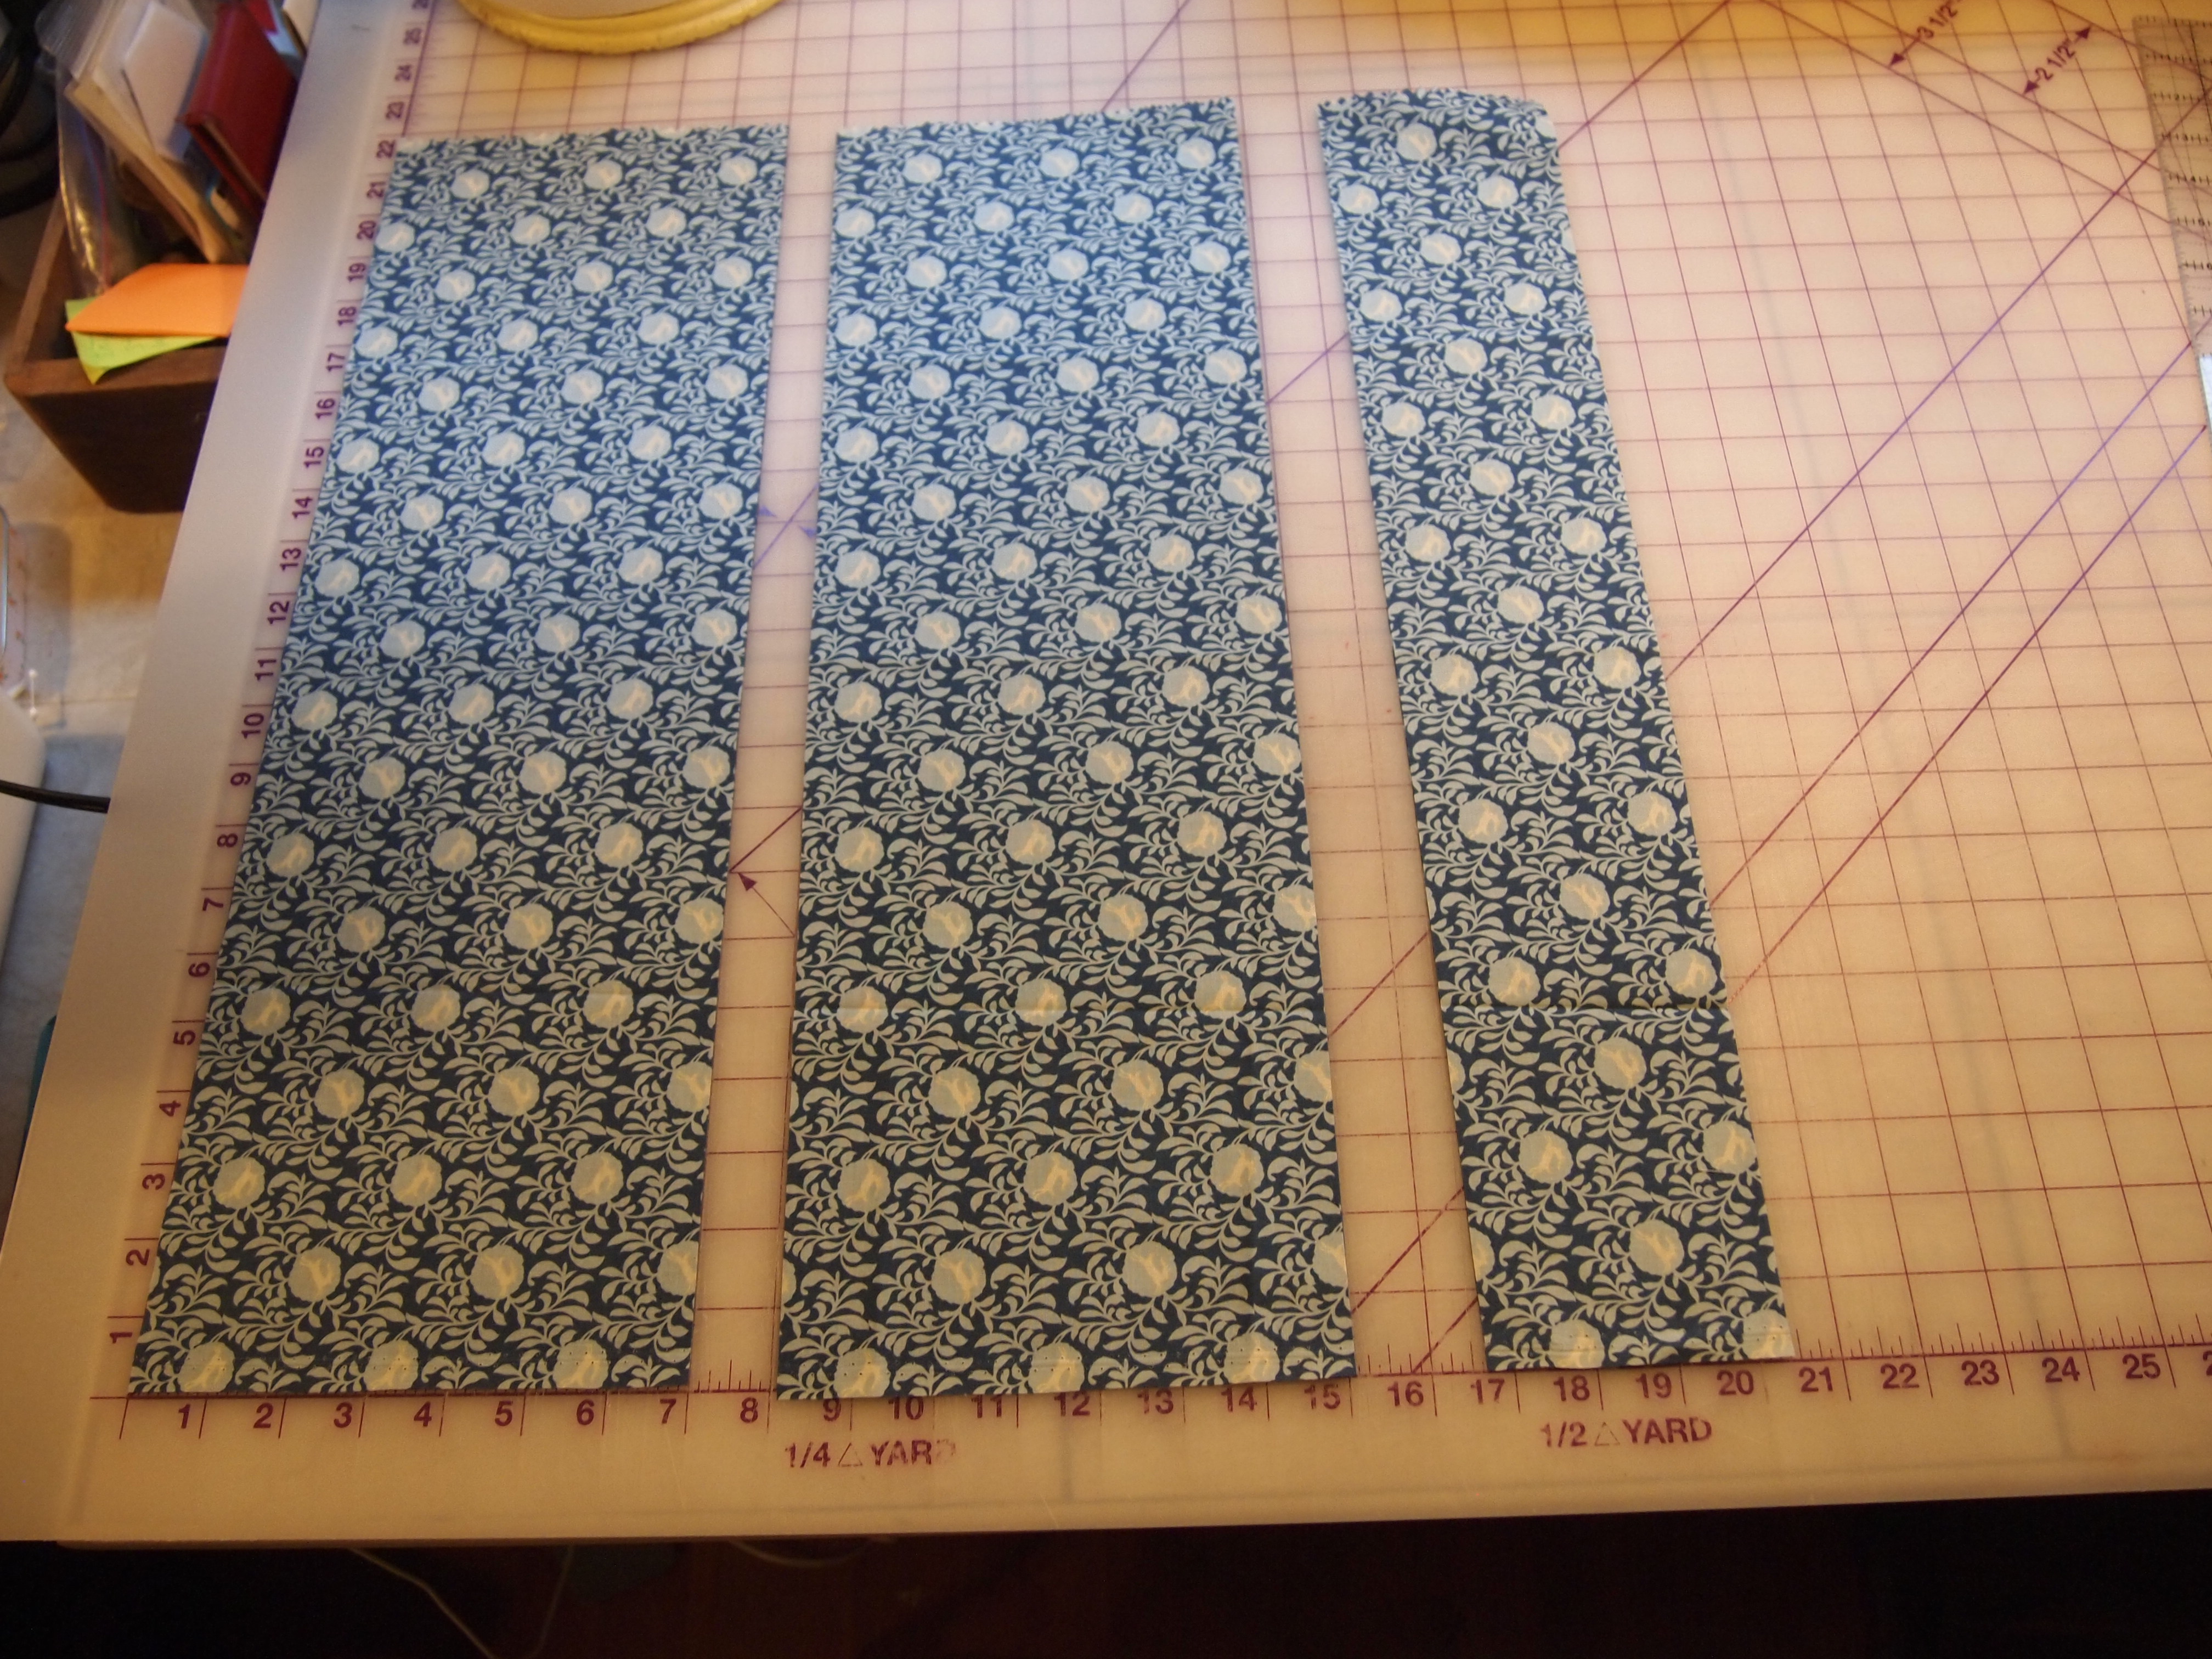
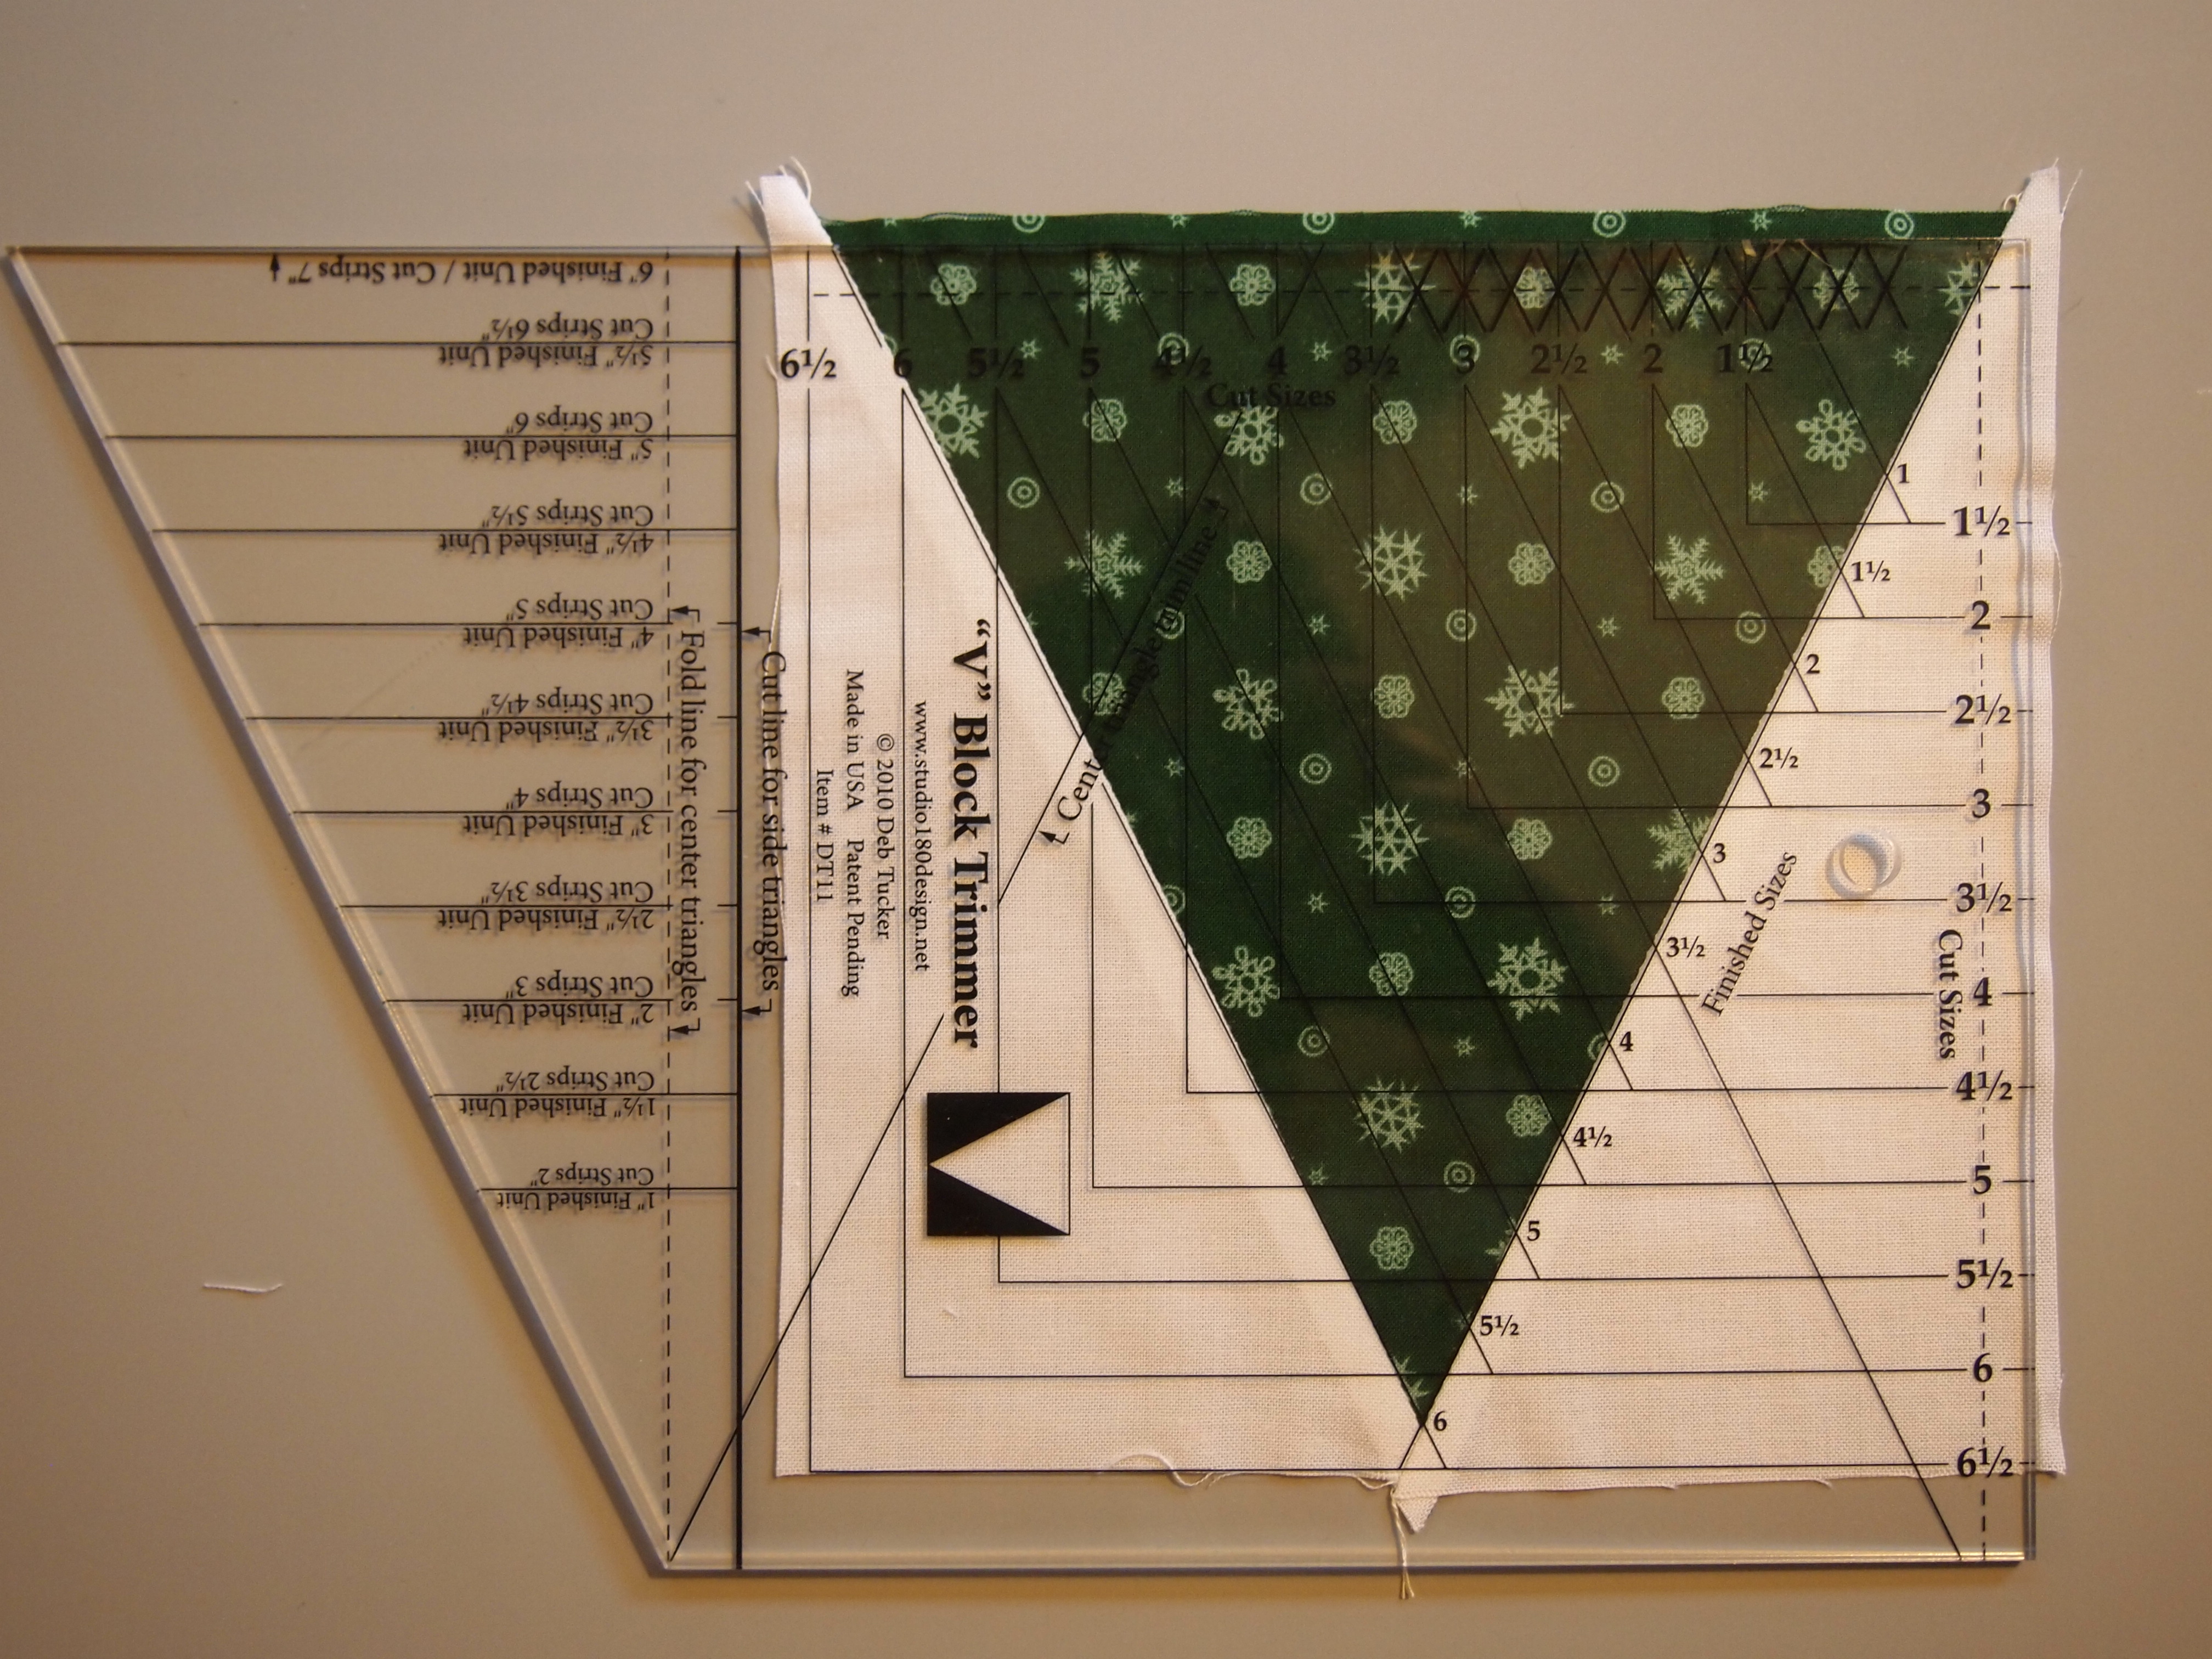
I was organizing my fabrics, I decided to make twelve 12″ blocks.  When making a quilt block, we refer to Finished & Cut size units.  The Finished size is the what the unit measures after it is sewn into the block,  the Cut Size measurement is the size of the unit before it is sewn into the block.  The Cut Size is what size you trim the unit to before sewing it into the block. 

img_6315

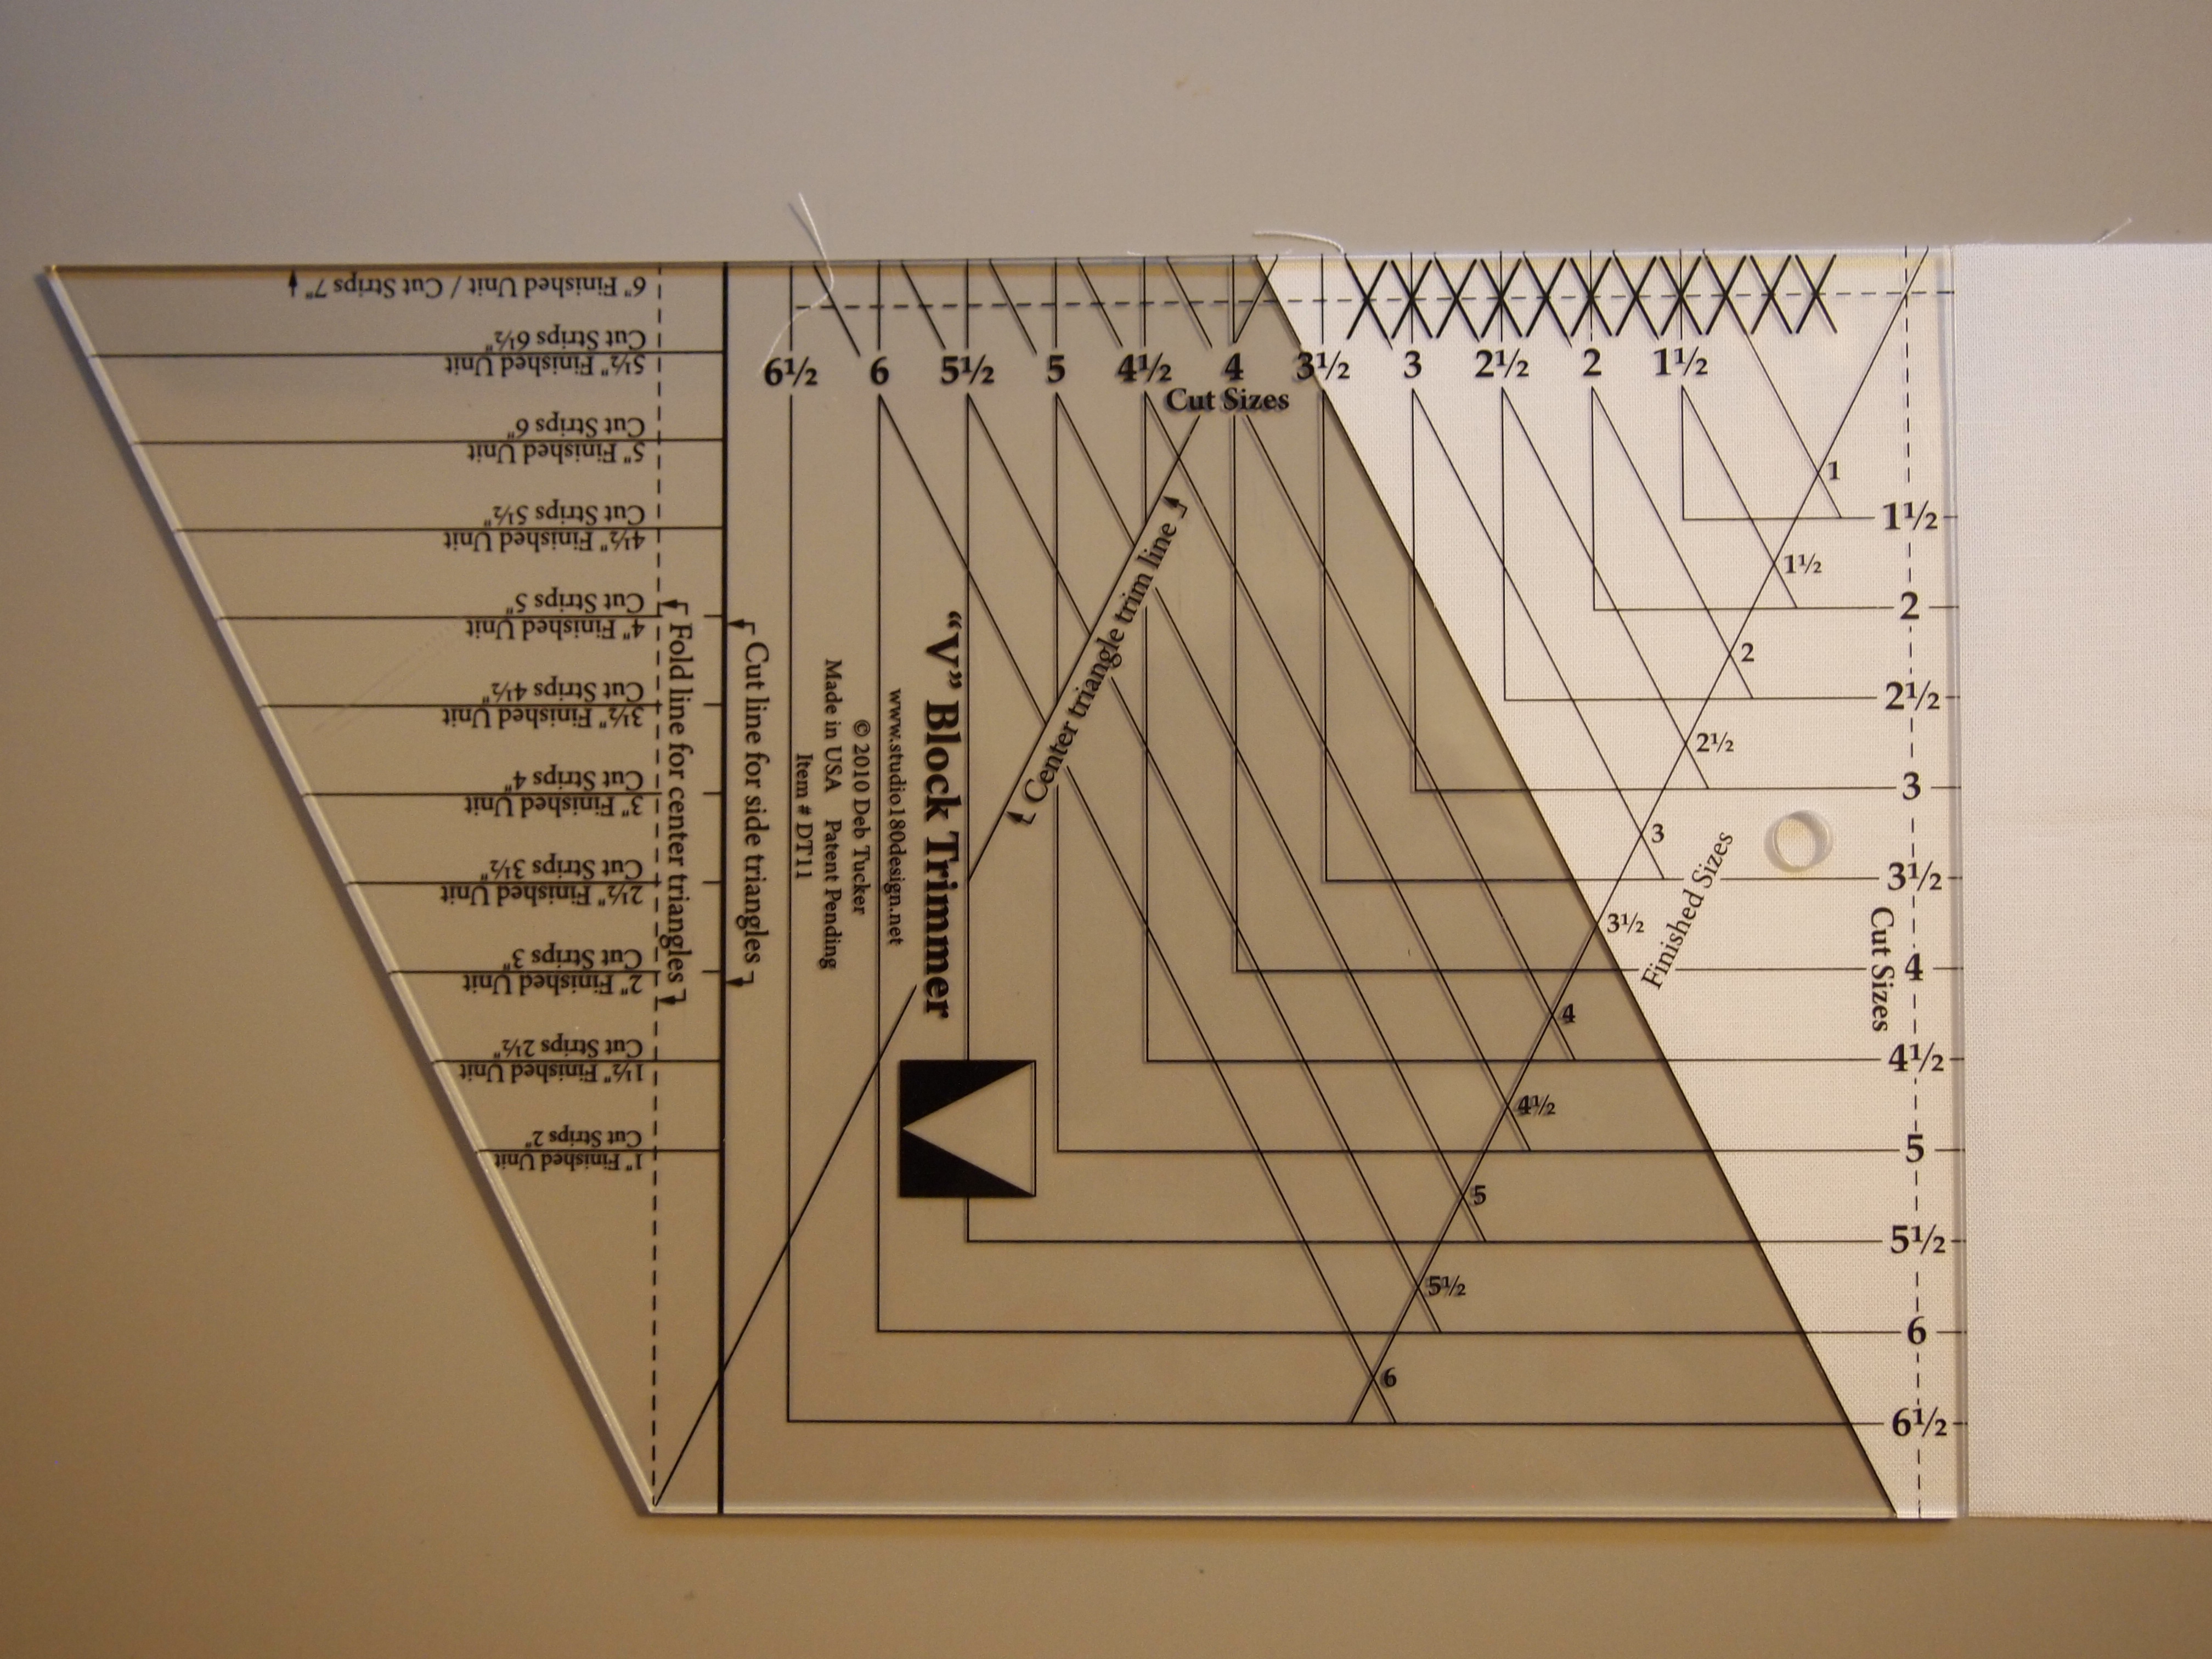
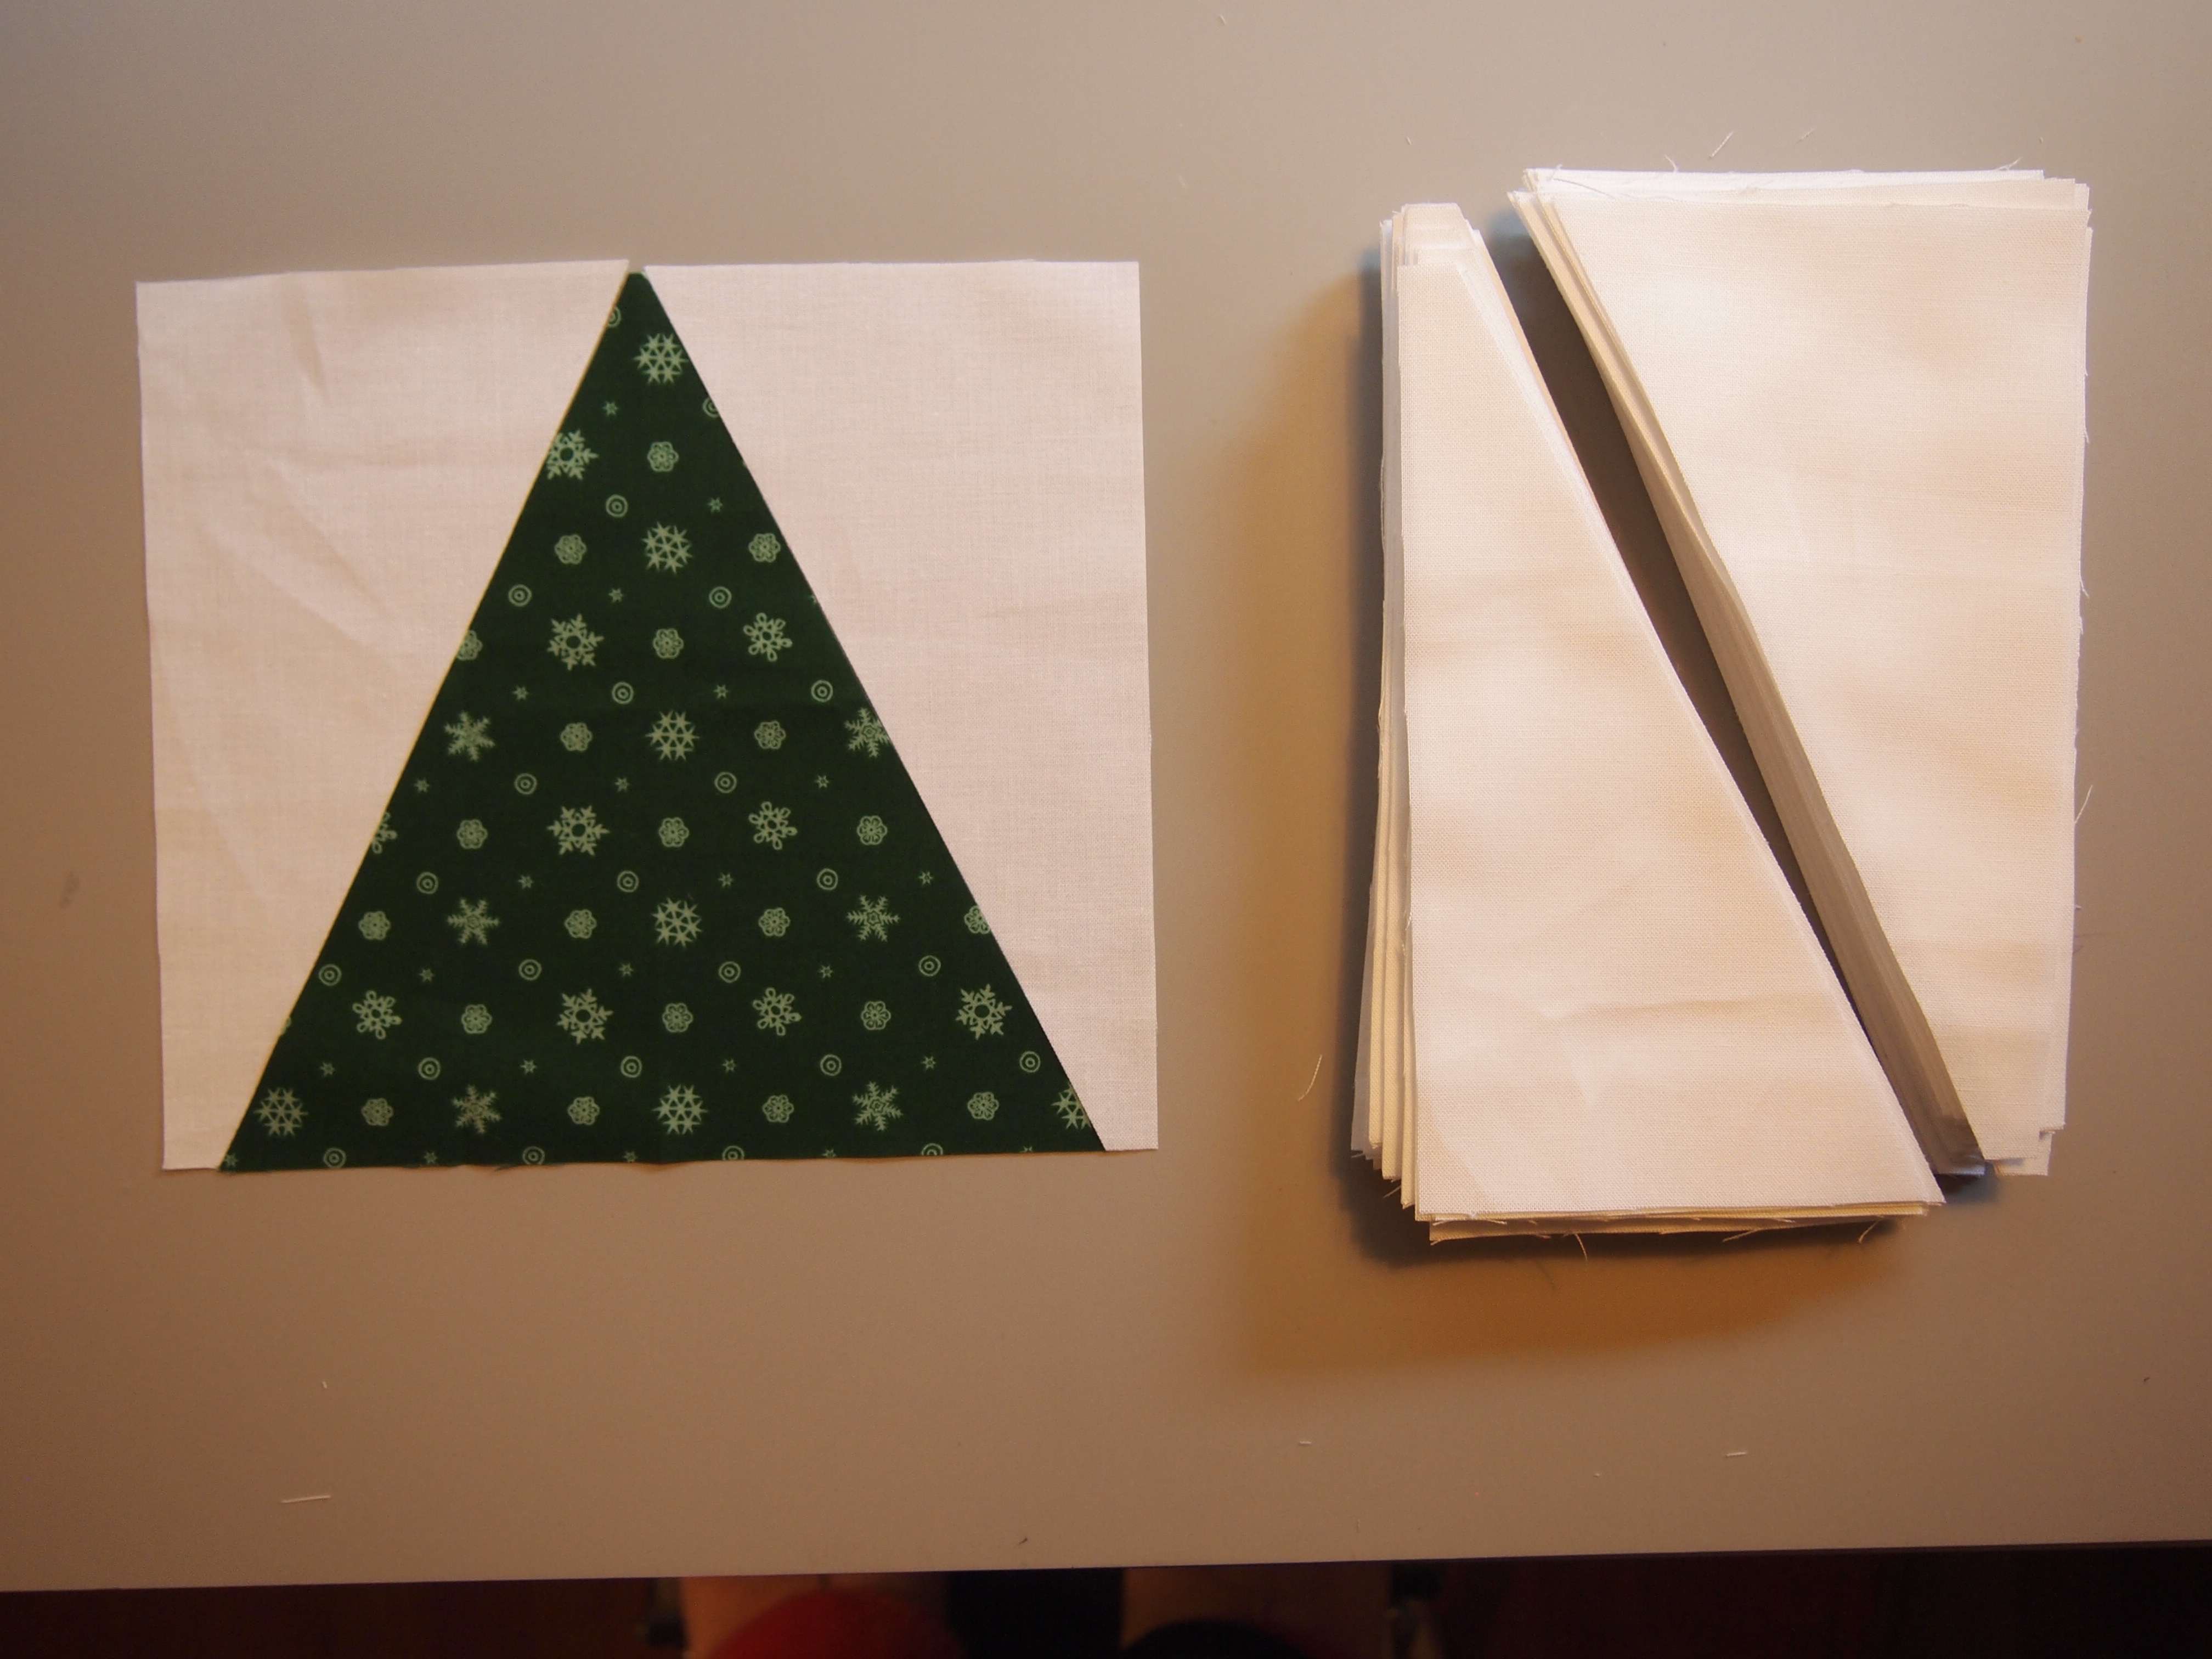
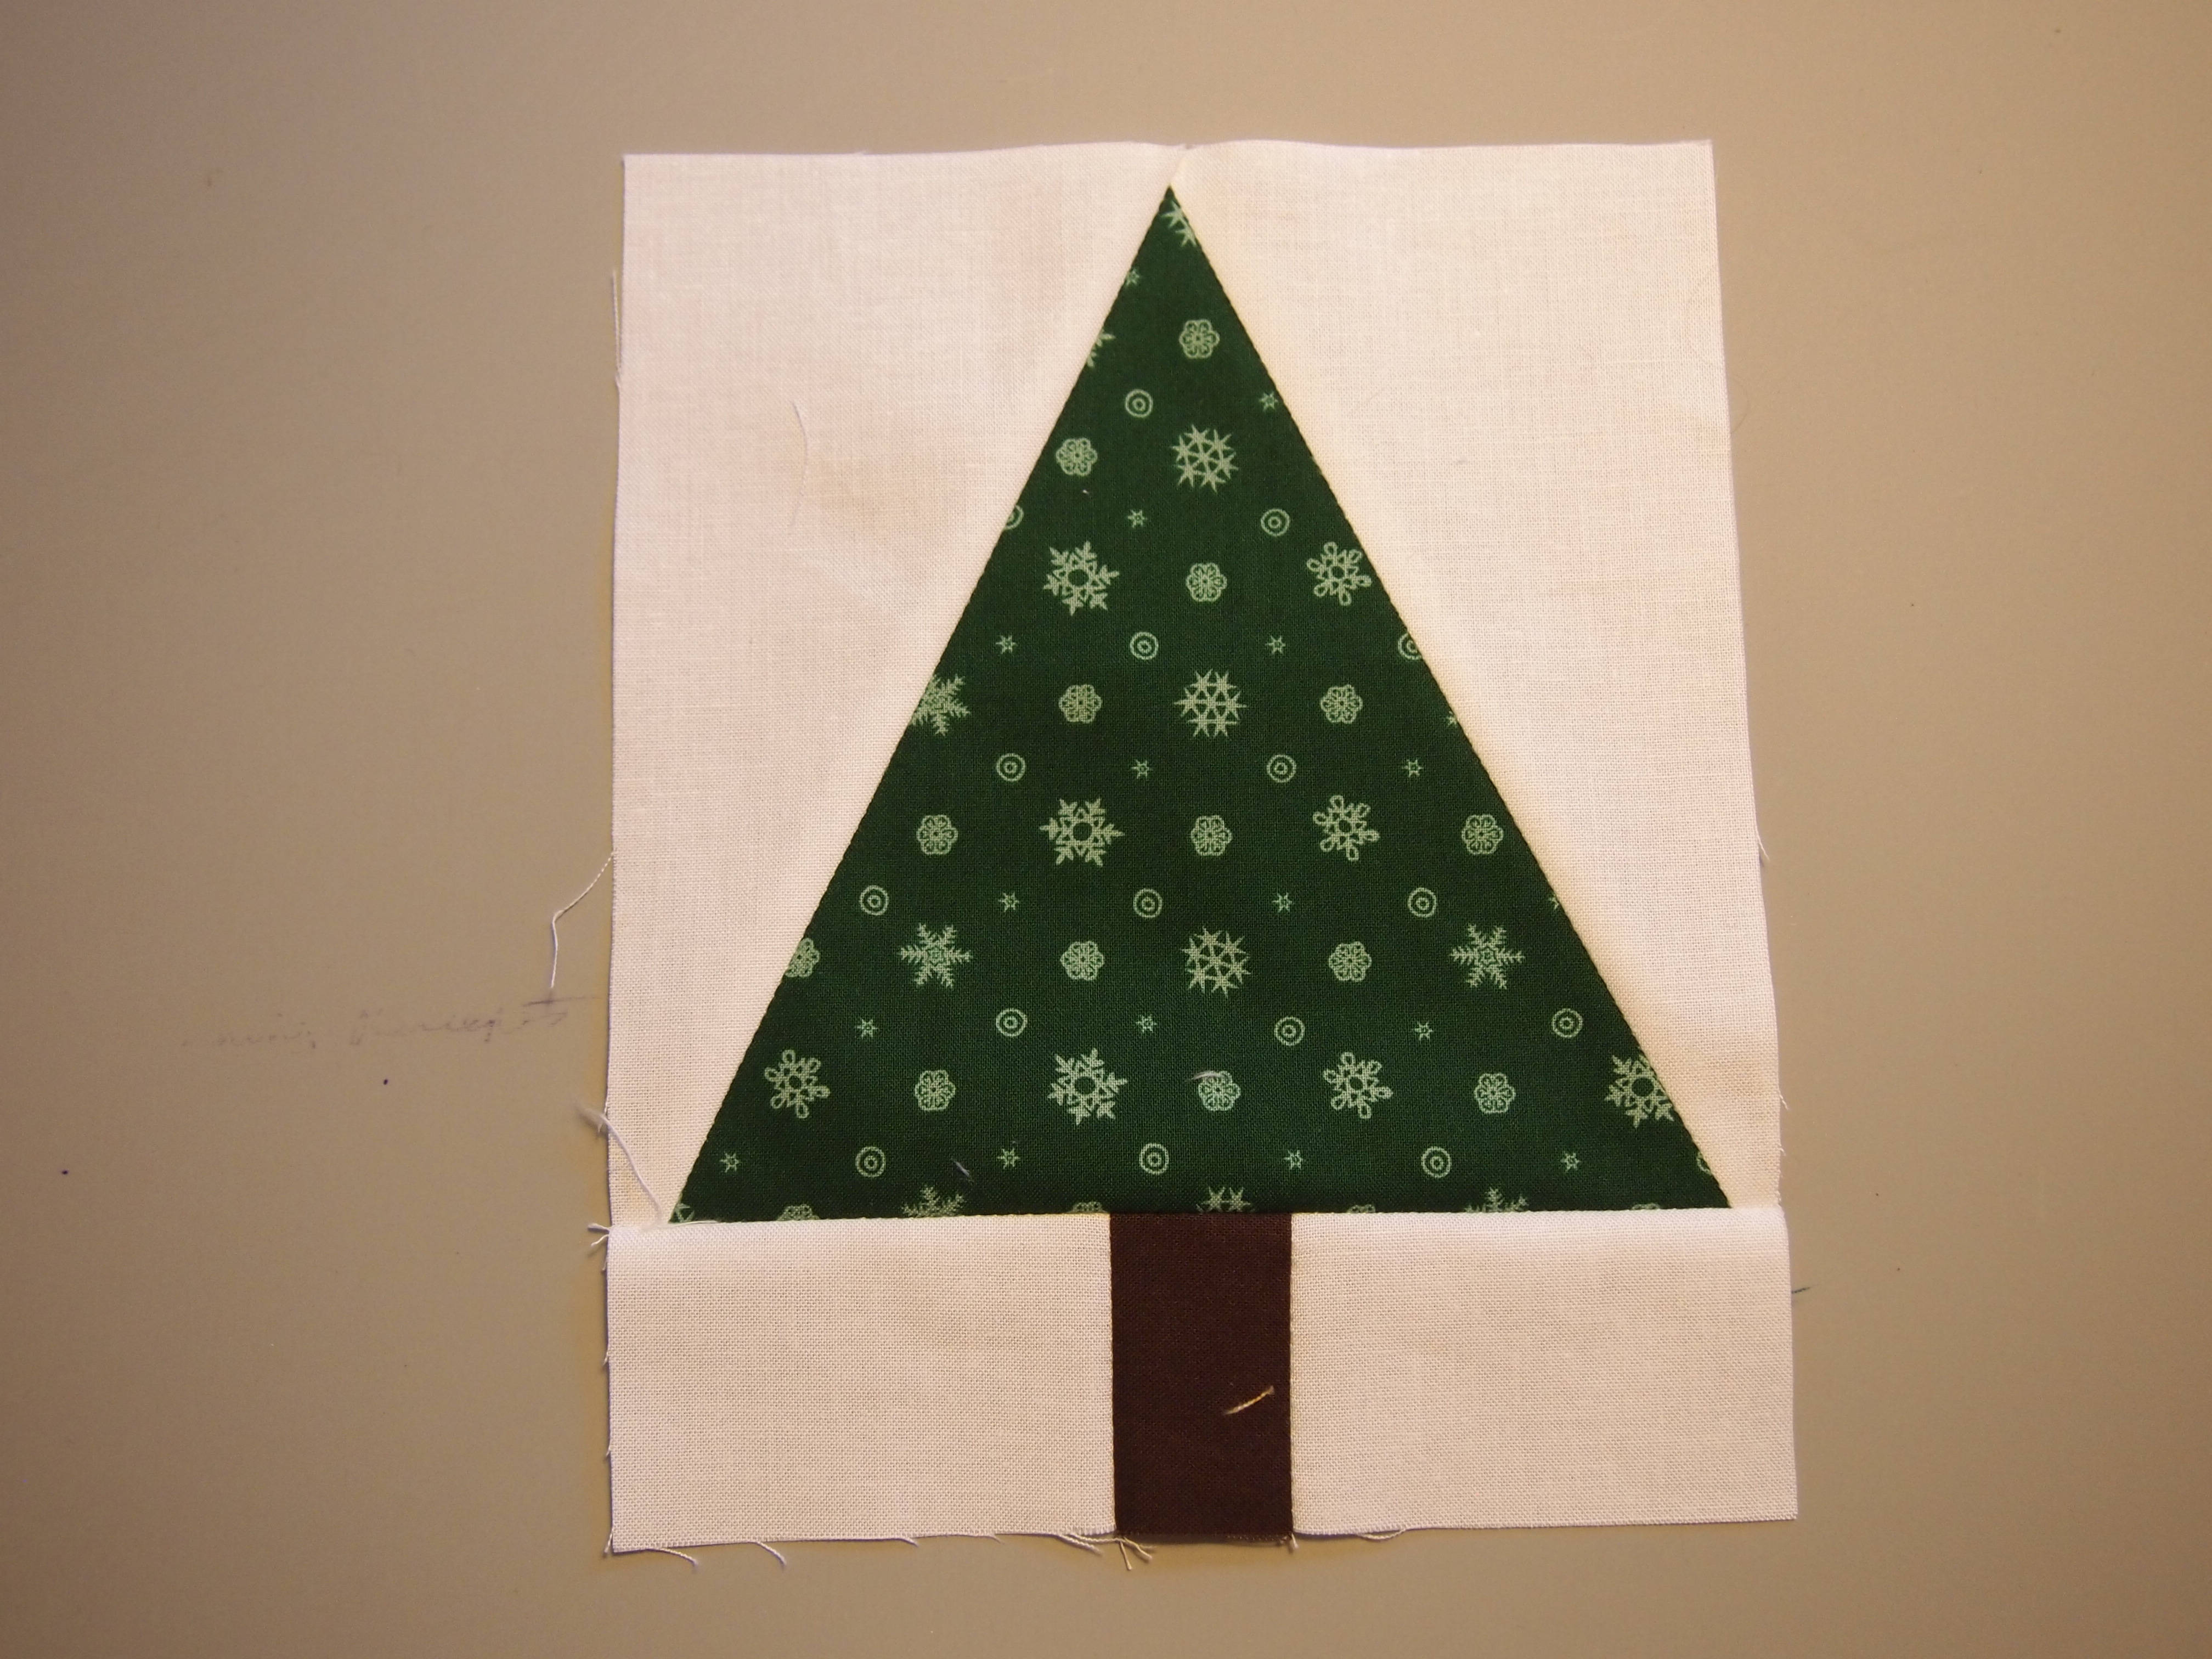
Checking the size chart in my V block instructions, I needed to cut 5″ strips to make 4″ finished V Block units.  So far no problem.  I pop off the corners of my V Block units with my Corner Pop tool and replace the corners with my beautiful orange Island Batik.  I popped off the corners of the center squares and continue on.

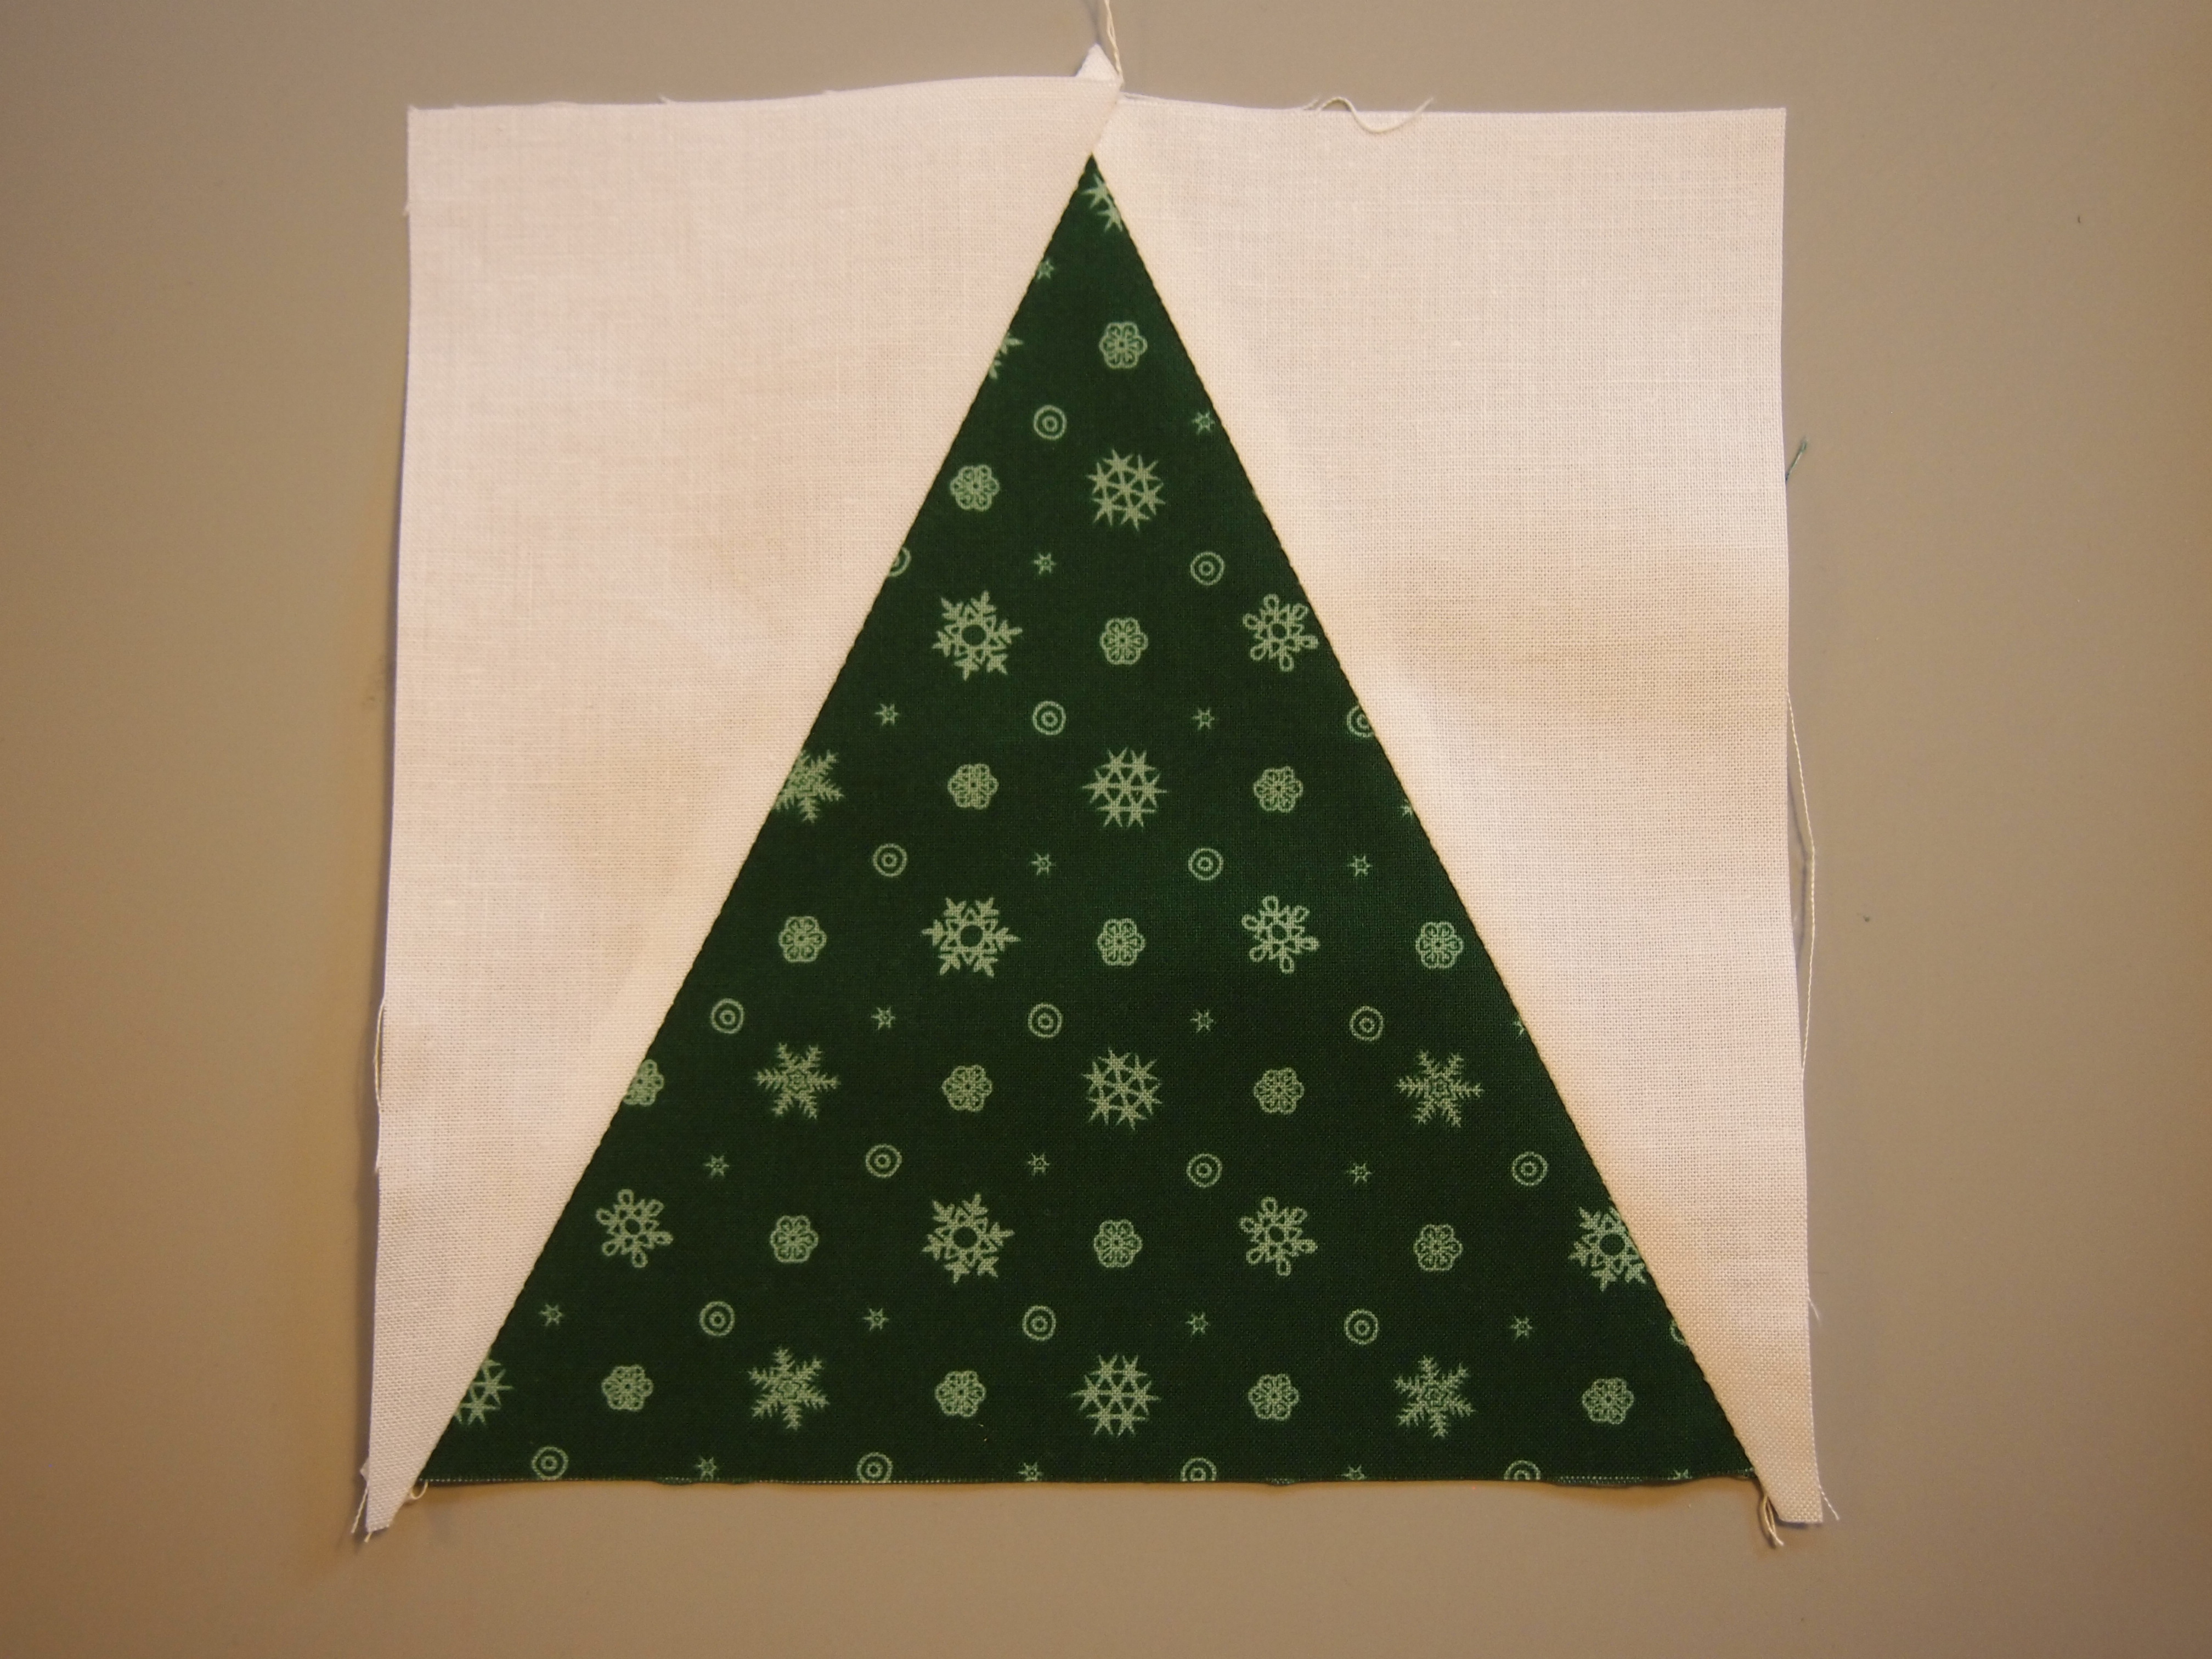
Here was my downfall, I had not cut the starter strips for the Sidekick units.  Instead of checking the technique sheet, I grabbed the Blockbuster pattern and looked at the “Cut Size” of 4 1/2″!  Drat!!!!  I cut all the background squares smaller than they needed to be.  I continued to trim the squares for the replacement side triangles.  I stitched the side triangles to squares, thinking “this doesn’t look right”, but I still kept yapping away, going down the primrose path of error.

img_1297

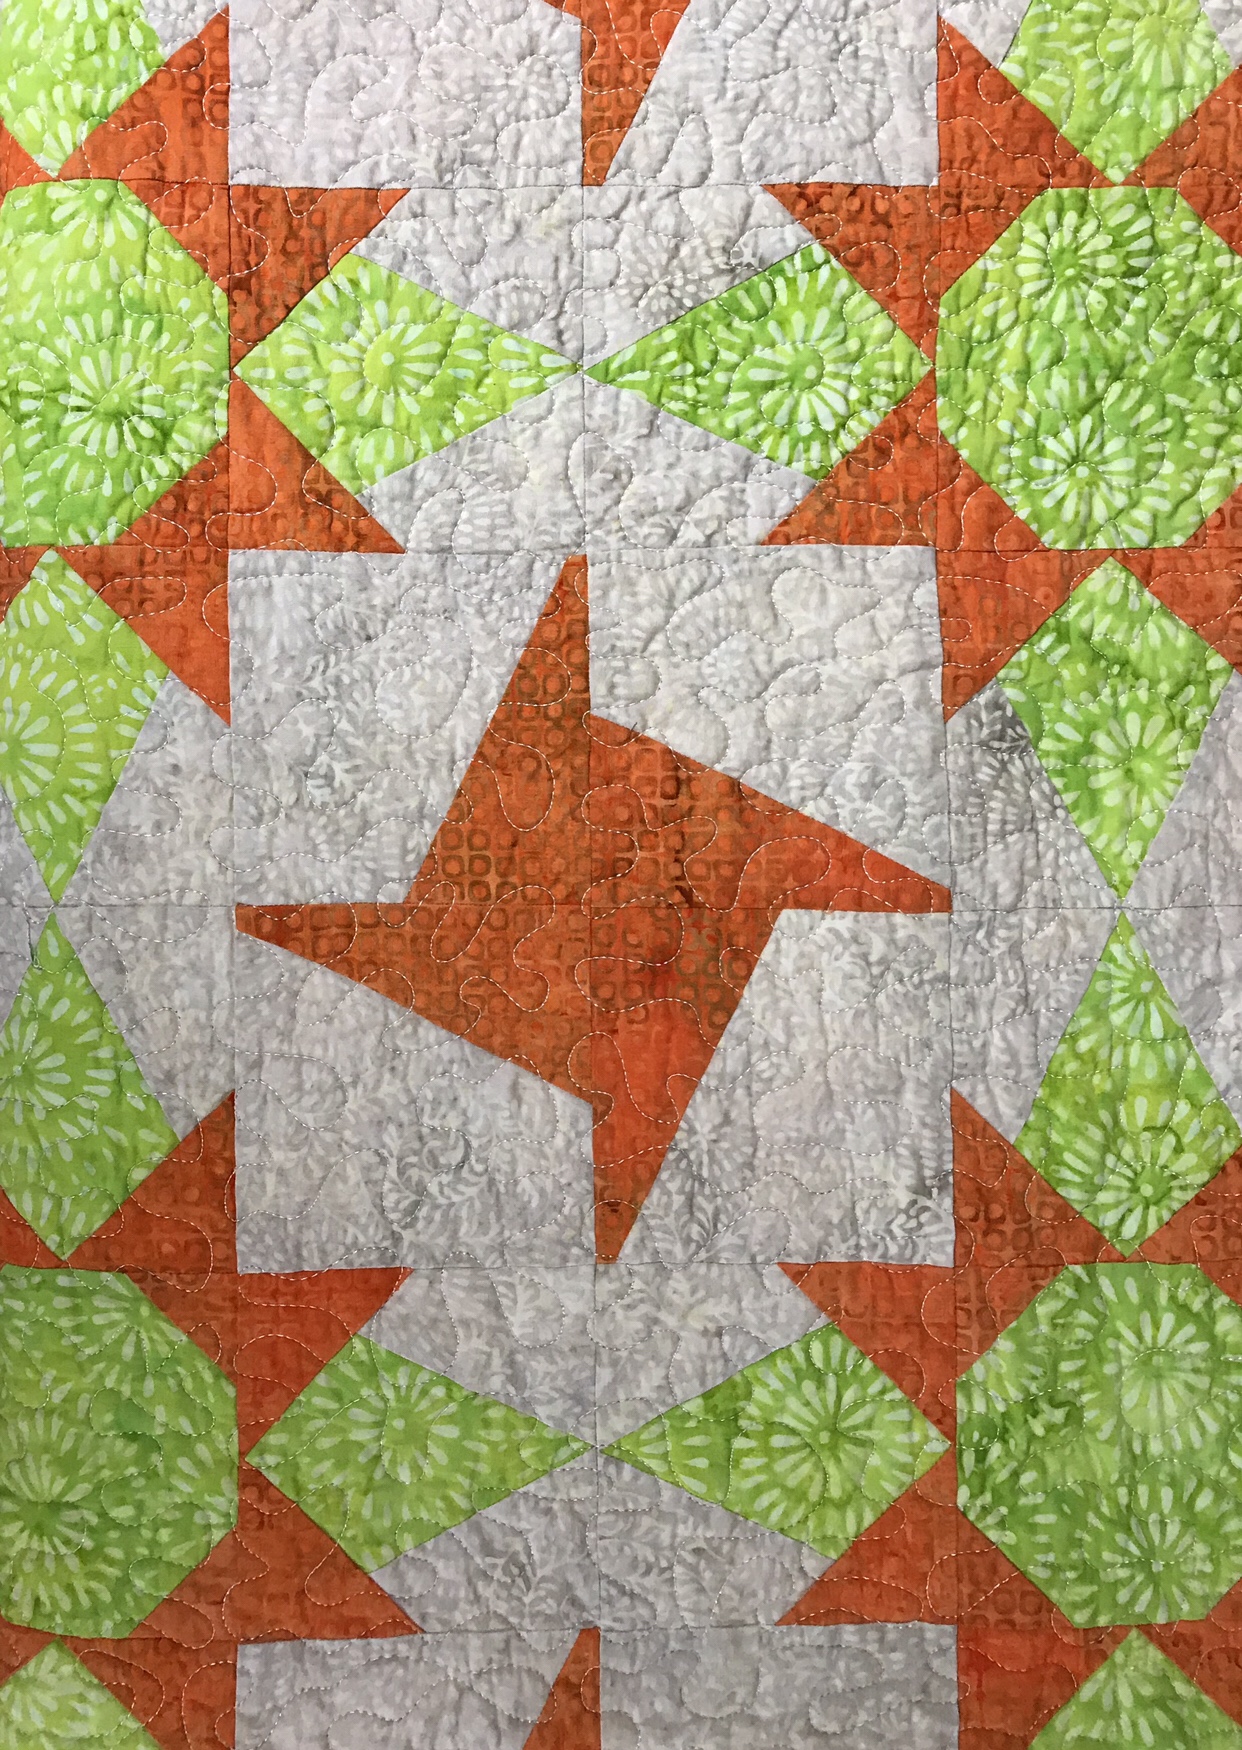
Needless to say my sidekicks lost their points!  That makes me “Pointless”, something I try to avoid at all costs!  I did not have enough fabric to make new sidekick units.  My secondary design has dull points, but it is a lesson learned to pay attention!

img_1272

The moral of this story is, when you find yourself wandering through “A Field of Popped V’s”, don’t end up pointless!

These beautiful fabrics are all from Island Batik and stitched with Aurifil thread.  Quilt measures 45″ x 57″.

#islandbatik #aurifilthread #Debtucker #studio180design #VBlocks #CornerPop #Quiltersdreambatting

OBW #60 and so much more…..

It’s December 15, 2016.  I haven’t blogged in 3 months as there was an illness in my family that took precedence.  My family has received quilts from me for Christmas for many years.  I hadn’t done that in a while, but this year I wanted to show my love for them.   I made my son Josh a One Block Wonder (OBW).  Josh is my very own Grizzly Adams.  This is my 60th One Block Wonder and is named “Camping with Friends”.  Camping with Friends was made with Alexander Henry Fabric with a 12″repeat .

Camping with Friends

Camping with Friends


Josh called me last night.  He loves the quilt.  It has grizzly bears on the back.

I finally completed a King size “Yellow Brick Road” or my oldest son Jason.  He was thrilled. He waited a long time for this quilt.

OLYMPUS DIGITAL CAMERA

Jason’s King Size Quilt.

As you can see, Tuck is always near by.  I made my youngest Granddaughter Samantha, a Minnie Mouse Quilt.  That prompted my sister Mary to get her a Minnie Mouse.  So, I made Minnie  a smaller scale quilt like Sam’s.  The label says “This quilt made for Minnie Mouse, By Sam’s Grandmother Jackie O’Brien”.  Of course everything fit into a tote with Minnie Mouse embroidered on it.

07-minnie

Sam & Minnie’s Quilt

I had the great pleasure to spend a few days with several Studio 180 Design Certified Instructors at Bridle Creek Bed & Breakfast in Hamilton, NY.  We were hosted by Barb Hipsley, proprietor extraordinaire.  What a wonderful time we had.  the photo below shows us all in our Minion pants.

12-group-shot

The “Minionettes” from right to left: Barb Hipsley, Connie Farland, Debbie Thomas, Diane Marvin, Donna Hanley, ending with myself.

This time was totally devoted to quilting.  I was able to make some small quilts for my sister Mary.  She loves to put them on tables.

This quilt measure 39″ by 49″.  It is from Deb Tucker’s book Hidden Treasures.  I made 5″ blocks using the Hunter Star Petite tool.  This size hunter star makes a great baby quilt.

img_0376

Curveball

OLYMPUS DIGITAL CAMERA

Looks great on this old trunk.

I named this “Mary’s Stars. It is my original design. I’m very pleased with it.  I used Studio 180 Design V Block & Corner Pop  tools.  The 6″ finished star blocks are the same block, I just reversed the colors.  It measures 39′ by 45”.

img_0378

OLYMPUS DIGITAL CAMERA

Looks great on this coffee table.

This one is called “Game Board” from a book of antique doll quilts.  It is only 22″ square.  Of course I Tuckerized it and used my Wing Clipper 1 to make all those Flying Geese.

img_0377

OLYMPUS DIGITAL CAMERA

Game Board


OLYMPUS DIGITAL CAMERA

Tucker

Happy Holidays to you all from Tucker and me.

I Believe

I love Christmas Tree quilts. I wanted to try making one with the Studio 180 Design V Block Tool. It was pretty easy.
I Believe Christmas quilt
I started with 9 Christmas fat quarters, 3 green, 3 red and 3 blue. I decided to make 6” blocks, so per the directions on the V Block tool I layered 3 fat quarters and cuts 7” strips.
OLYMPUS DIGITAL CAMERA
I used the V Block Tool and placed the line for the cutting the center triangles on the folded fabric.
OLYMPUS DIGITAL CAMERA
Second cut for center triangles. Keep going until you have used up the strip.
OLYMPUS DIGITAL CAMERA
The 9 fat quarters yielded 72 center triangles.
OLYMPUS DIGITAL CAMERA
I used white Kona Cotton for the side triangles. It took about 1 ½ yards. Per the directions on the tool I cut 7” strips for the side triangles also. There is a line on the tool for cutting the side triangles
OLYMPUS DIGITAL CAMERA
Rotate the tool for the second cut for side triangles, keep going until you have two side triangles for each center triangle.
OLYMPUS DIGITAL CAMERA
Sew on the first side triangle.
OLYMPUS DIGITAL CAMERA
Press toward the side triangle.
OLYMPUS DIGITAL CAMERA
Add the second triangle.
OLYMPUS DIGITAL CAMERA
Press toward the side triangle.
OLYMPUS DIGITAL CAMERA
Square up the V Blocks by pointing it toward you, square up two sides.
OLYMPUS DIGITAL CAMERA
Rotate the block and square up the. other two sides.
OLYMPUS DIGITAL CAMERA
For each tree block I cut two 2″ x 3″ white rectangles and one 1 1/2″ x 2″ brown rectangles for the tree trunk.
OLYMPUS DIGITAL CAMERA
Sew these sashings to the bottom of each block.
OLYMPUS DIGITAL CAMERA
I cut nine 3 1/2″ x 8″ rectangles to be used to stagger the tree blocks. I sewed one rectangle to row 1,3, 5, 7, and 9. And one rectangle to the end of row 2, 4, 6, and 8.

I cut 1 1/2″ red inner borders (1/2 yard). The white outer borders took about 2 yards white Kona cotton. I cut 9″ borders and machine embroidered Santa and his reindeer in reds, blues and pinks. And randomly scattered machine embroidered silver snowflakes around the border. In the center of the bottom of the quilt I embroidered “Believe”. The quilt measures 65″ x 87″ un-quilted. I purchased my embroidery designs from Embroidery LibraryOLYMPUS DIGITAL CAMERA
OLYMPUS DIGITAL CAMERA