Welcome to Stitchin Heaven’s Journeys Month 2. My helper for Month 2 is Amy Lemke, a talented graphic artist for Studio 180 Design. This month you are going to learn to make Half Square Triangles (HSTs) and Combination Units with your Tucker Trimmer I with Prints 1, 2, 5, 10, & 11. Label your fabrics and use your best cutting skills when cutting your starter squares.
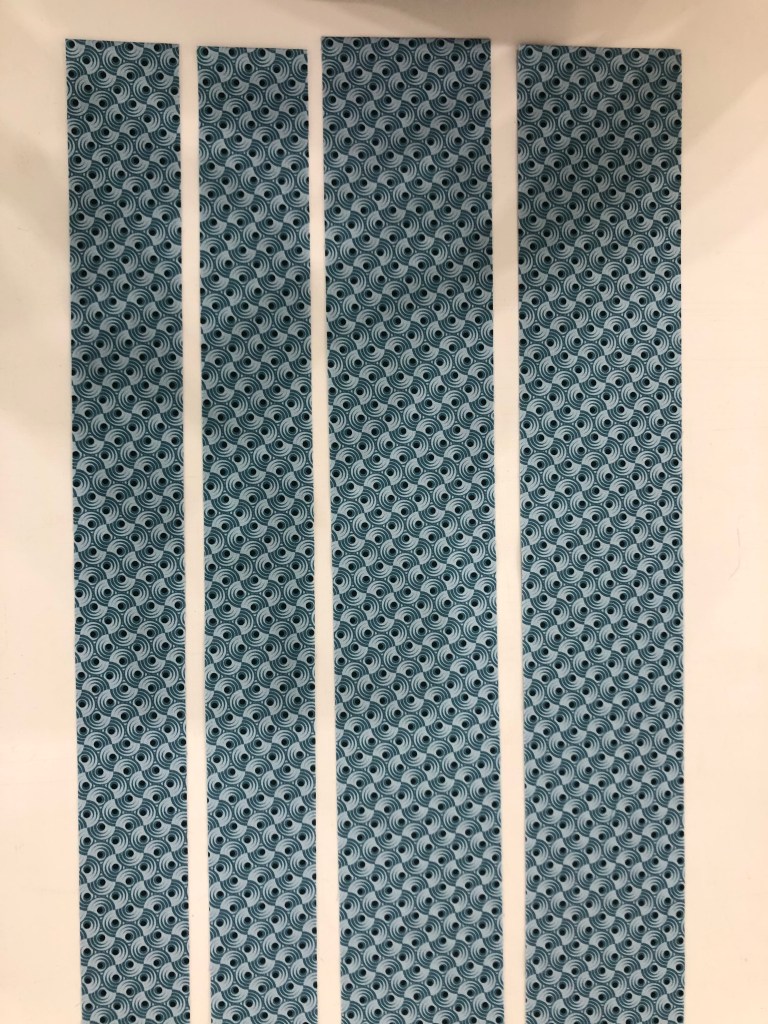
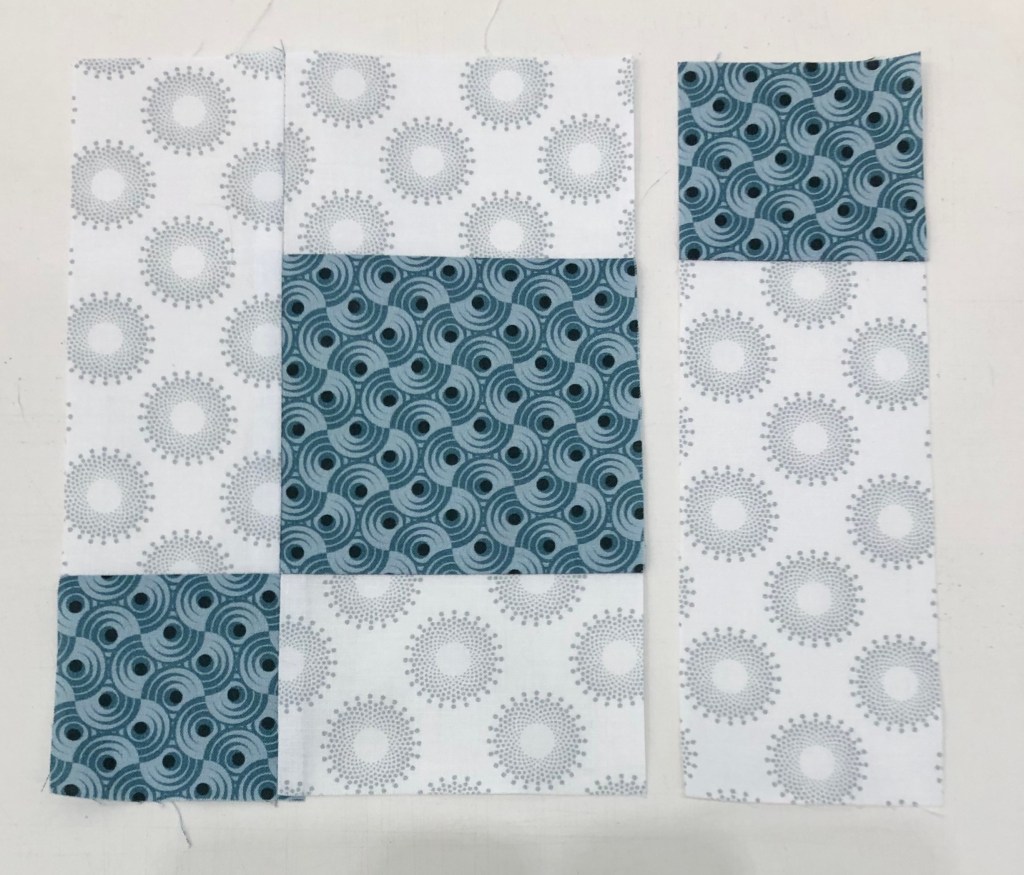
Prints 1, 2, 5, 10 & 11.
Tip: I use plain paper plates and write on them what it is I have cut out. For instance, if you are new to using a Tucker Trimmer, I would label 6 paper plates: one for each print. Using a pen or pencil label the first plate “Print 1, Combination Units (unit D)”, and so on.
Half Square Triangle Construction
Note: For more information and left handed cutting and trimming directions, refer to the instruction that came with your Tucker Trimmer.
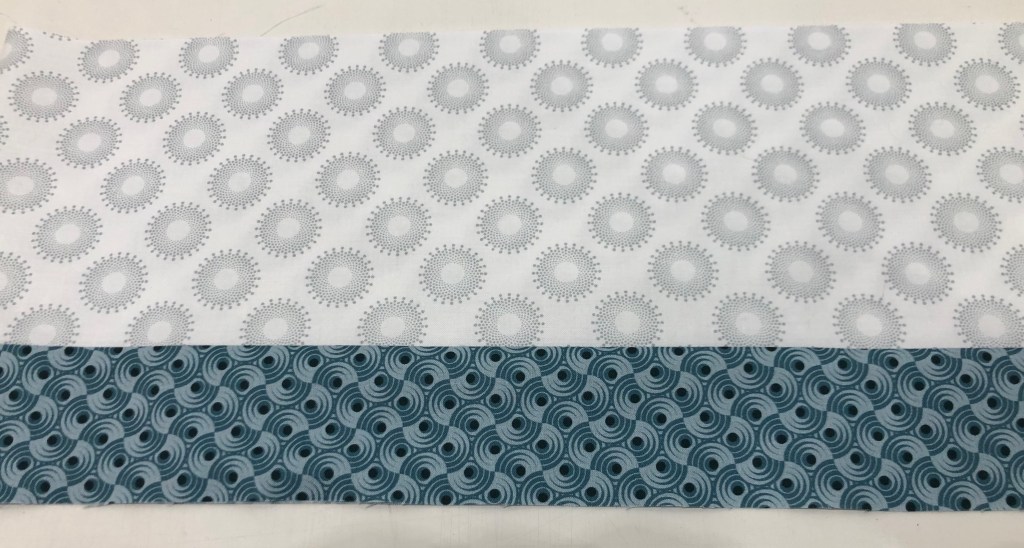
Prints 5, 10, & 11.
Step 1 – Mark two stitching lines ¼” on either side of the center diagonal. Draw the lines on the wrong side of all the 7” squares from Print 11. I like to use my Quilter’s Magic Wand™ for this task.
Mark using a Magic Wand.
Step 2 – Layer the 7” Print 11 squares right sides together with the 7” squares from Prints 5 and 10. Stitch on the lines, then cut down the middle. Press away from Print 11 or open.
Layer.
Stitch and cut apart.
Press.
Step 3 – Trim the units to 6½” using the Tucker Trimmer® I. Align the 6½” Sizing Diagonal with the seam and trim the first two sides.
First Trim
Step 4 –Rotate the unit 180 degrees and align the 6½” Sizing Diagonal with the seam as well as the 6½” cleanup lines with the outside edge. Trim the remaining two sides to create your precise Half Square Triangle units. Label the units made with Print 5 Unit C, and label the units with Print 10 Unit B.
Second Trim
Make 8 each from prints 10 & 11 and prints 5 & 11.
Combination Unit Construction
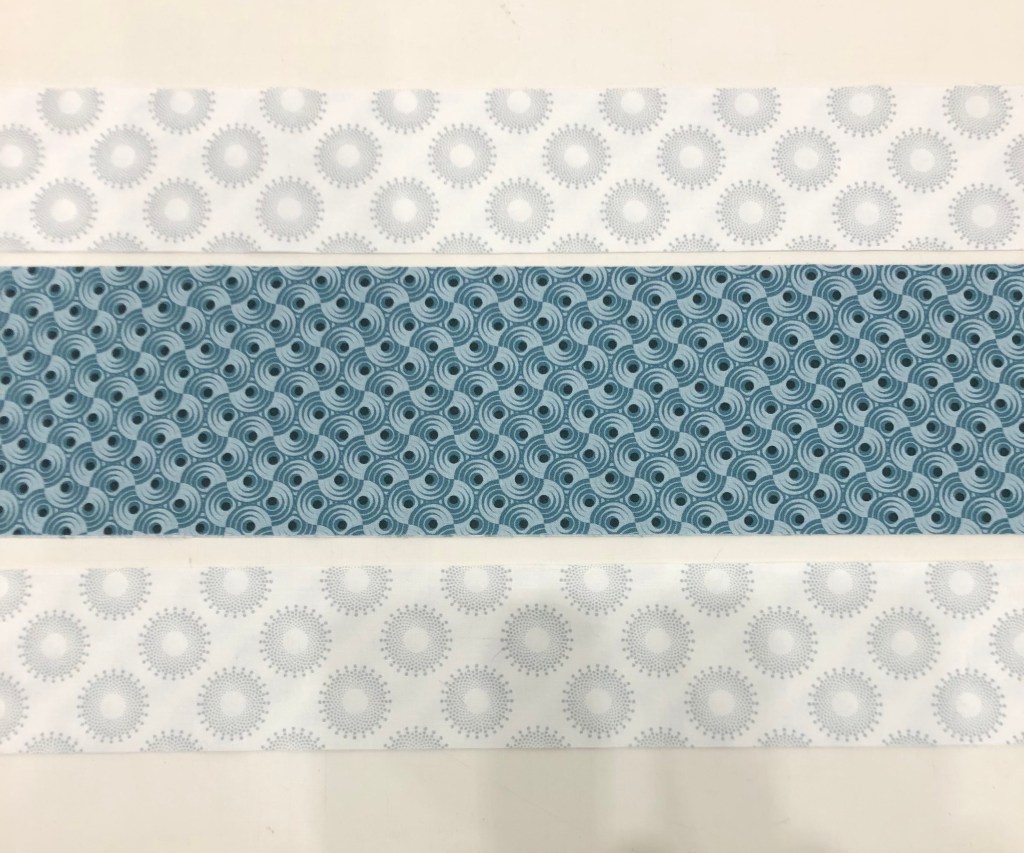
Prints 1, 2 & 11
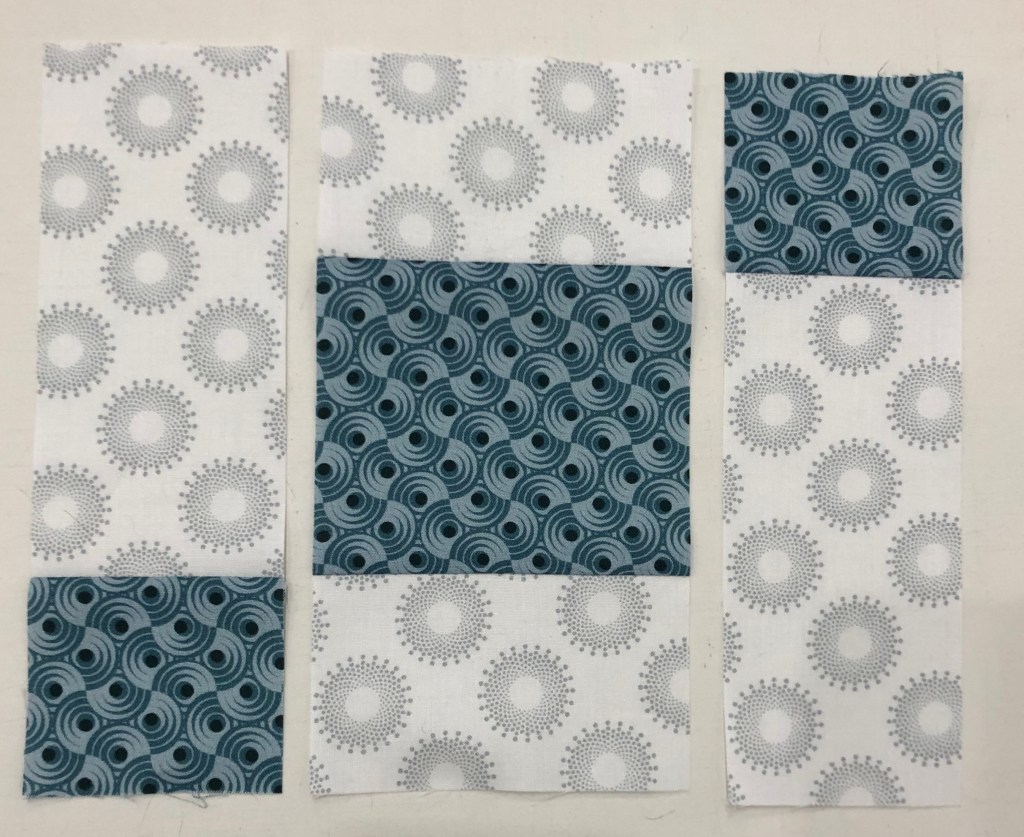
Step 5 – Repeat steps 1 and 2 using the 7½” squares from Print 1 and Print 2 to make 4 Half Square Triangles. Press away from Print 2 or open. Do not trim!
Starter Squares
Step 6 – Mark two stitching lines ¼” on either side of the center diagonal line of the pieced Half Square Triangles.
Mark back of HSTs
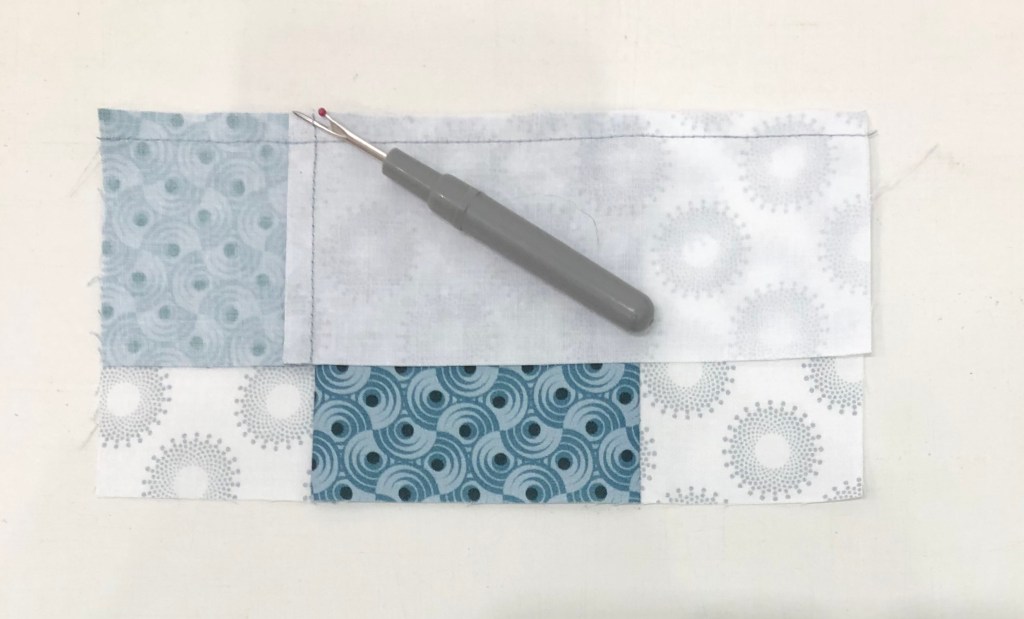
Step 7 – Position the pieced squares right sides together with the 7½” Print 11 squares. Note that the edges are not intended to match. Stitch on the lines, then cut down the middle. Press toward the large triangle.
Stitch, cut apart & press.
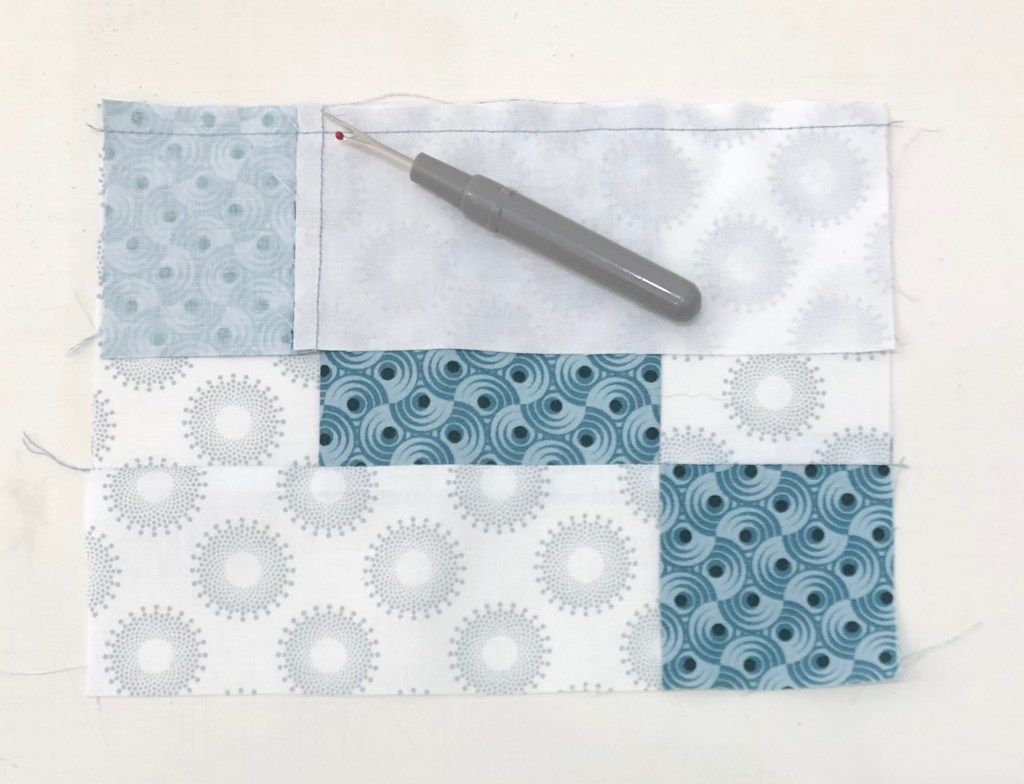
Step 8 – Trim the units to 6½” using the Tucker Timmer® I. Align the 6½” Sizing Diagonal with the long seam and the Common Diagonal with the short seam. Trim the first two sides.
First Trim
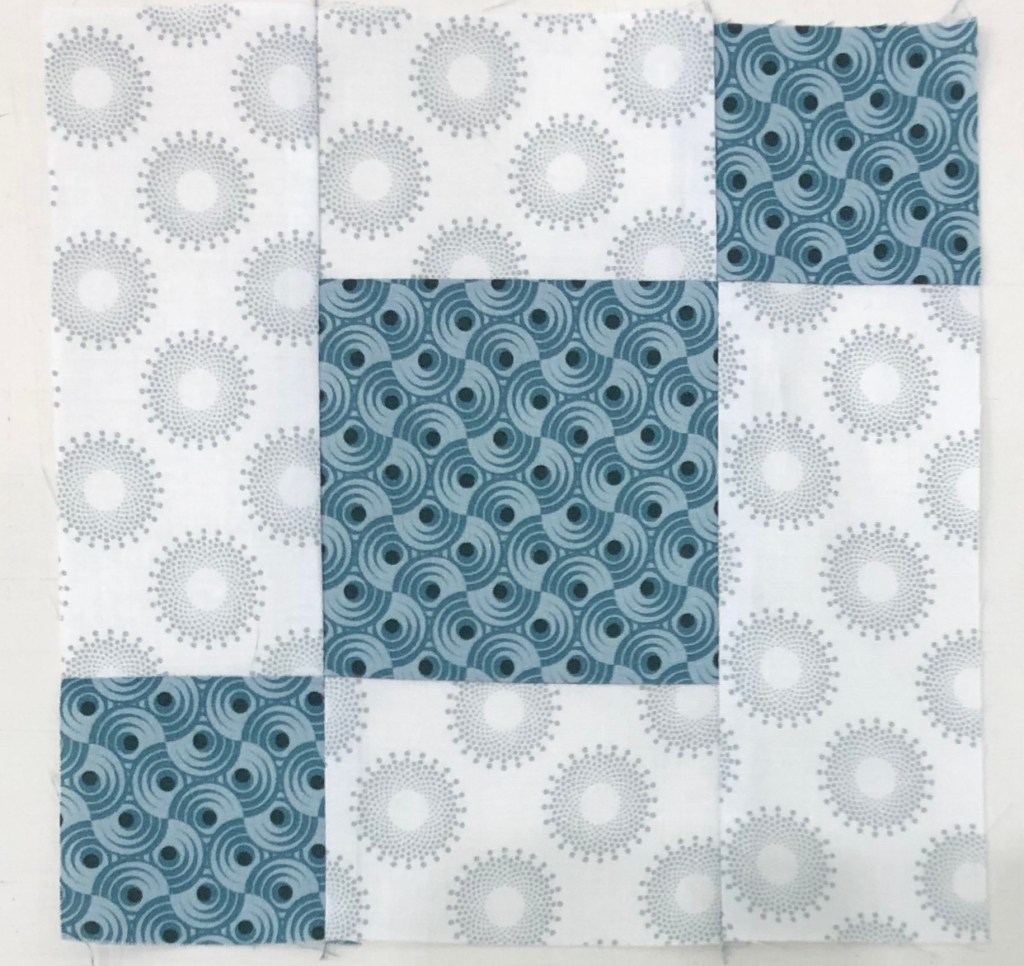
Step 9 – Rotate the unit 180o and align the Sizing and Common Diagonals with the seam as well as the 6½” cleanup lines with the trimmed edge. Trim the remaining two sides to create your precise Combination units. Label them Unit D.
Second Trim
Congratulations, you have learned to make half square triangles and combination units using your Tucker Trimmer I.
Hi everyone and welcome to Stitchin Heaven’s “Journeys” Block of the Month (BOM). I will be here to guide you through each month’s process, but not without some help from my friends. I was asked to participate in this BOM back in May. I had already tested the pattern design by Deb Tucker. In June I was diagnosed with breast cancer. I am so blessed to have friends that are helping me. They are each taking a month and creating the units and taking photo’s as they go. They are sending the photo’s to me so I can give you guidance here at “If These Threads Could Talk”.
Remember that there are video tutorials on our website (Studio180Design.net) for each tool.
Label, label, label! We cannot say it enough; you will want to be sure you label your completed units each month so that everything is easily identified.
Be sure to save the fabric left over from each month so that you have it in case you make a mistake.
In your pattern instructions, on the back of “General In formation”, you will find two fabric keys. One will identify the print number above a grayscale swatch. This swatch is what you will see throughout the pattern to identify the fabric when it is being used.
By now you have received your first month of Journeys from Stitchin Heaven. Uneven Chains is a great unit that is easily made using Studio 180 Design’s Four Patch Square Up tool. This month my special helper was Diane Marvin, a good friend and fellow Studio 180 Design Certified Instructor.
For these Uneven Chains units you will be using Print 3 and Print 11. You will be cutting strip sets from each fabric. Following the cutting instructions and organize your strips into sets “A” and “B”.
Piecing Instructions
Step 1 – Stitch your strips together into Strip Sets A and Strip Sets B. Position two strips right sides together and align the long edges. Stitch with your best ¼” seam.
Above is Strip Set A and Strip Set B.
Step 2 – Press your strip sets. In all strip sets, press the seams toward Print 3. A helpful pressing tip: whatever you are pressing toward goes on top.
Step 3 – Sub-cut the strip sets. Make sure to use the correct sub-cut size for the strip set you are working with. Strip Set A is sub-cut at 2¼” increments and Strip Set B is sub-cut at 3½” increments.
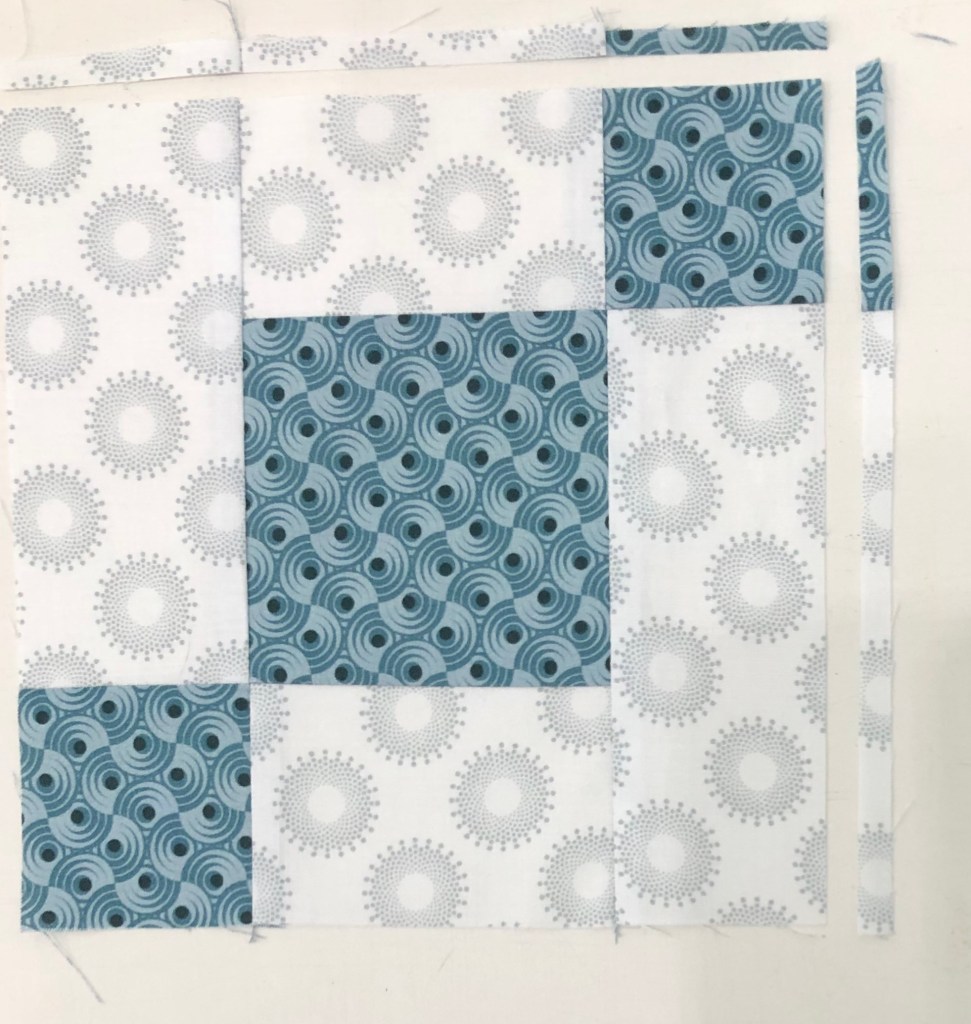
Step 4 – Lay out the pieces from Strip Set A and Strip Set B as shown in the diagram. Stitch an A sub-cut to each side of a B sub-cut.
Save time by chain stitching Strip Set A’s to one side of Strip Set B.
Now add the second Strip Set A to the Strip Set B unit.
Remove 2 or 3 threads.
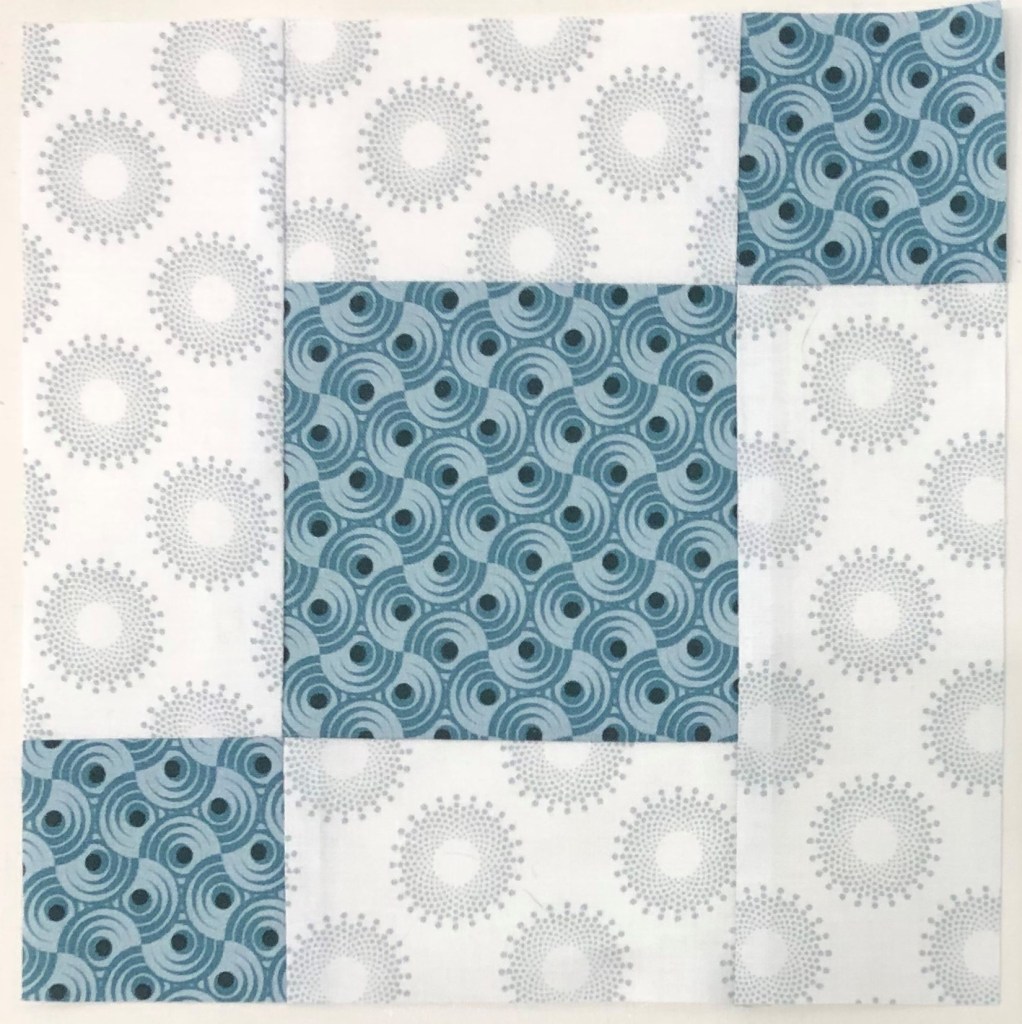
Step 5 – Press the units so that the seams spin. To spin the seams, lay the last sewn seam east to west on the mat, remove the two or three threads in the center on both sides that run north to south, and press so all the seams go in the same direction.
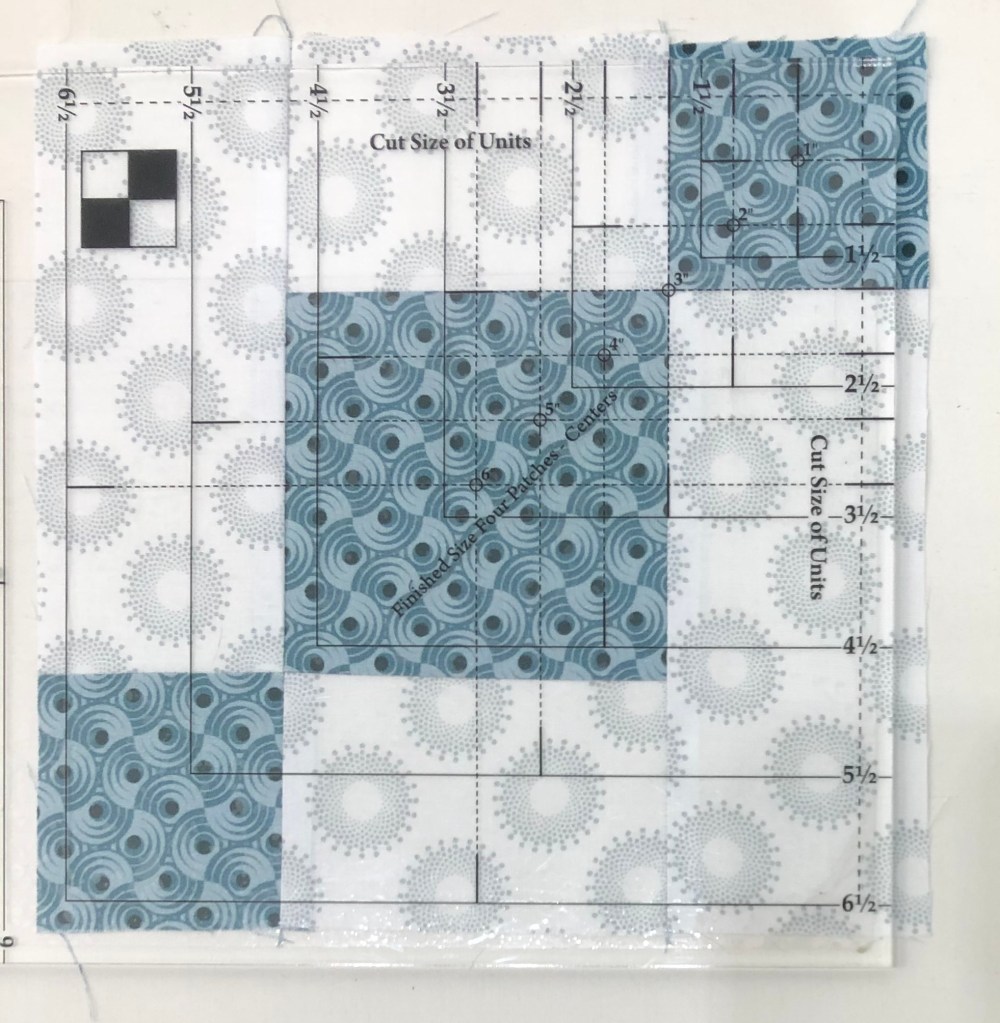
Step 6 – Trim the units to size. Position the unit as shown on your cutting mat and locate the circle for the 3” finished size on your Four Patch Square Up® tool. The finished sizes are located above the words Finished Size Four Patches – Center. Position the circle over the seam intersection between a small square and the large square as shown. Make sure that the dashed lines radiating from the circle align with your seams. Trim the first two sides of the unit.
Step 7 – Rotate the unit 180 . Align the 3” finished size circle over the intersection of the remaining small square and the large square as shown. Make sure that the dashed lines align with your seams. Also align the 6½” clean up lines on the previously trimmed edges. Trim the remaining two sides. Once all the units are made, label them Unit A.
Once you have completed and trimmed 16 Uneven Chain units, label a paper plate “Unit A” Uneven Chains and set aside. Congratulations, month is done and you have learned to use the Four Patch Square Up tool.
And now, a special surprise for those of you who have read all the way through….
This message from Deb Tucker and Studio 180 Design:
Hi, Everyone!
I hope you’re all excited about your journey with Journeys! I’ve had such a thrill designing this pattern for you and working with Marie Bostwick to coordinate the quilt and the novella, and with Jason Yenter on the fabric. And many thanks to Deb Luttrell for coming up with the great idea for all of us to work together!
We are thrilled that Stitchin Heaven chose Jackie O’Brien to help you with your journey. Jackie was part of our first class of Certified Instructors 7 years ago, so we’ve worked together for a while. We wanted to do something extra to thank her for her participation in this and also to thank her for all of her contributions to Studio 180 through the years.
And we wanted to do something for you for your enthusiastic support for our first block of the month.
Here’s what we’re going to do. As many of you know, Studio 180 is all about education and skill development, so we’re going to give each of you the chance to get additional practice with your tools. Each month we will offer special pricing on two downloadable patterns that go with that month’s tool or other tools you have used in the BOM. We will post a link and a code each month in the Journeys FB group that gives you exclusive $9.00 pricing per pattern (over 20% discount). Jackie will receive 100% of the proceeds from your purchases as our thanks for a job well done. This is also a way for you to say thank you to Jackie for her help. We hope you find something in our offerings each month that excites you to use your tool on another project.
Journey’s Month 1 will start shipping September 29th. I will post the Month 1 blog on October 6th, 2020. In the meantime if you haven’t used your Four Patch Square Up tool yet watch Deb Tucker’s Four Patch Square Up Video:
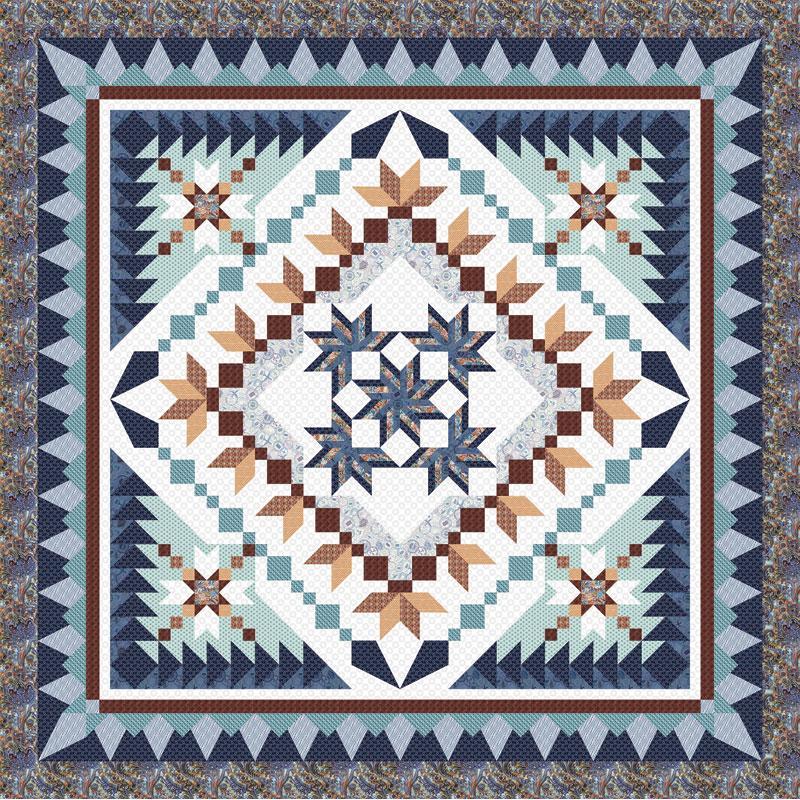
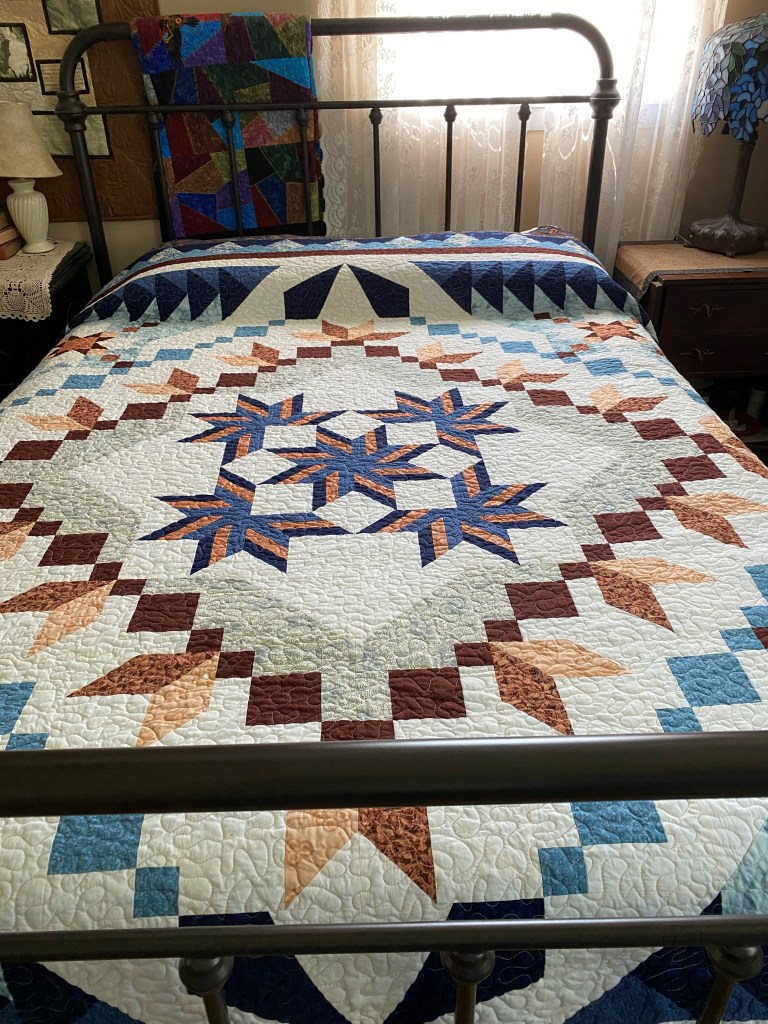
Are you Ready for Journey’s BOM? We are getting close. I am shooting for Journey’s Month 1 to be posted September 29th, IF everything is in place by then. I will keep you posted (get it, LOL). The photo above is the Journey’s I made to test the pattern last Spring. It was not made with the beautiful fabrics you are getting from Stitchin Heaven & Jason Yenter.
Stitchin Heaven Quilt Shop is excited to announce a new collaboration of a unique BOM program from Deb Tucker (Studio 180 Design), NYT and USA Today best-selling author Marie Bostwick (Between Heaven and Texas, Hope on the Inside, and the Cobbled Court Quilt Series, including A Single Thread), Deb Luttrell (Stitchin’ Heaven), and Jason Yenter (In the Beginning Fabrics). In this 12-month program you will take your own Journeys through an exclusive novella written by Marie Bostwick. Each month you will receive a chapter from the book which is exclusive to this program. It is a page-turning tale of love, loss, and new beginnings for PJ Lloyd, an adventurous young woman who defies her family and risks her future to make a difference after the attack that plunged America into the second World War.
I will be your guide on this “Journey”. Every month I will post a tutorial showing you how to use the tools required for this beautiful quilt and answering your questions.
Throughout the Journeys BOM you will be on your own journey to learn how to use 8 of the tools from Studio 180 Design. Tools include: V Block, Corner Pop, Four-patch Square Up, Tucker Trimmer, Rapid Fire Lemoyne Star, Square Squared, Wing Clipper, Corner Beam. The final quilt measures 102″ x 102″. A beautiful collection of fabrics have been designed by Jason Yenter of In The Beginning Fabrics, that will make this project an heirloom favorite.
I tested the pattern with fabrics from Deb Tucker’s stash. It is truly a beautiful quilt I can’t wait for you to make your own! The Journey’s BOM program is due to start in September 2020. We will be sure to keep you up to date and informed on all the details.
A conversation with Deb Luttrell, Deb Tucker & Marie Bostwick