I’m sitting here in Tuckerville, watching TV, looking at my ceiling. I pin orphan blocks on my drop ceiling.
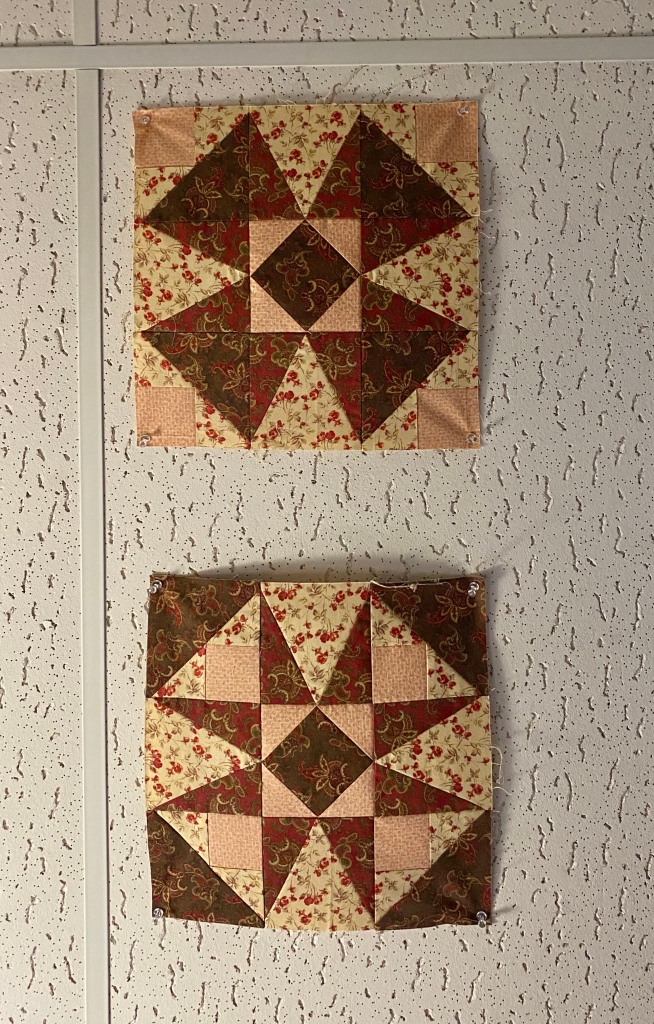
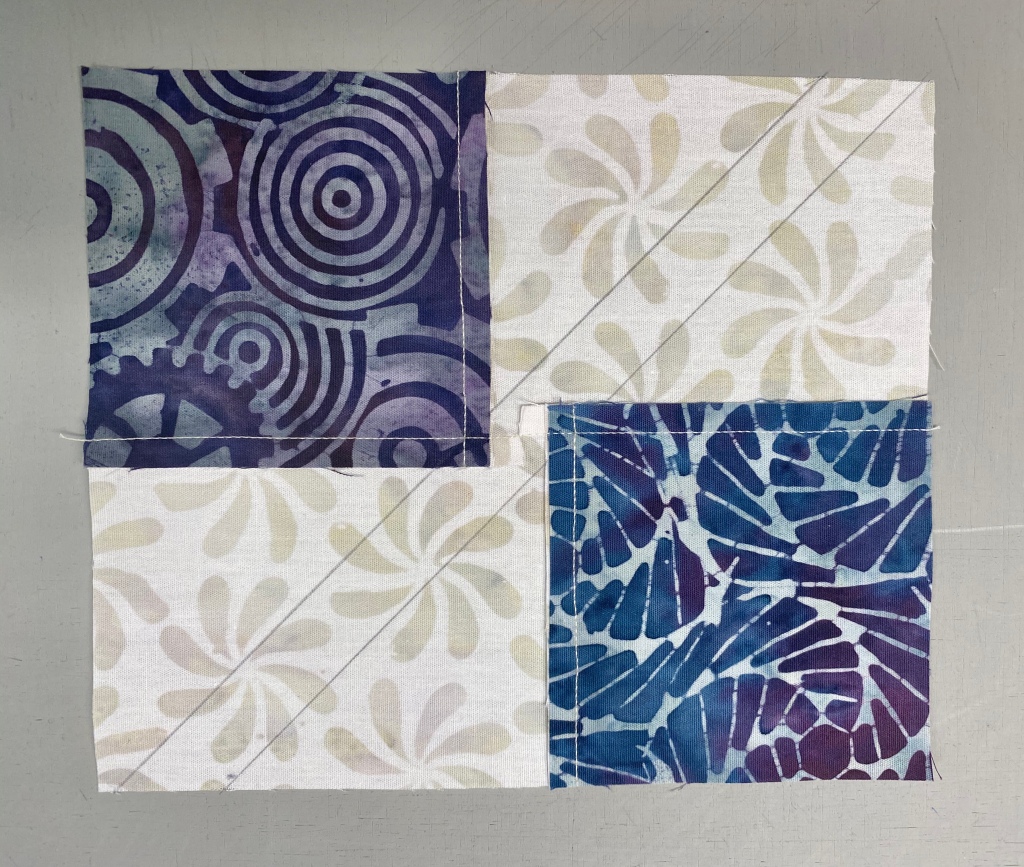
Two of a Kind
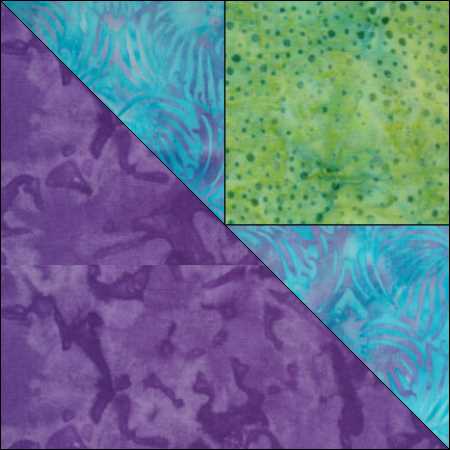
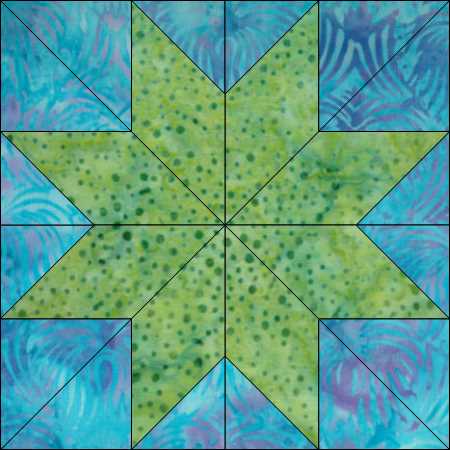
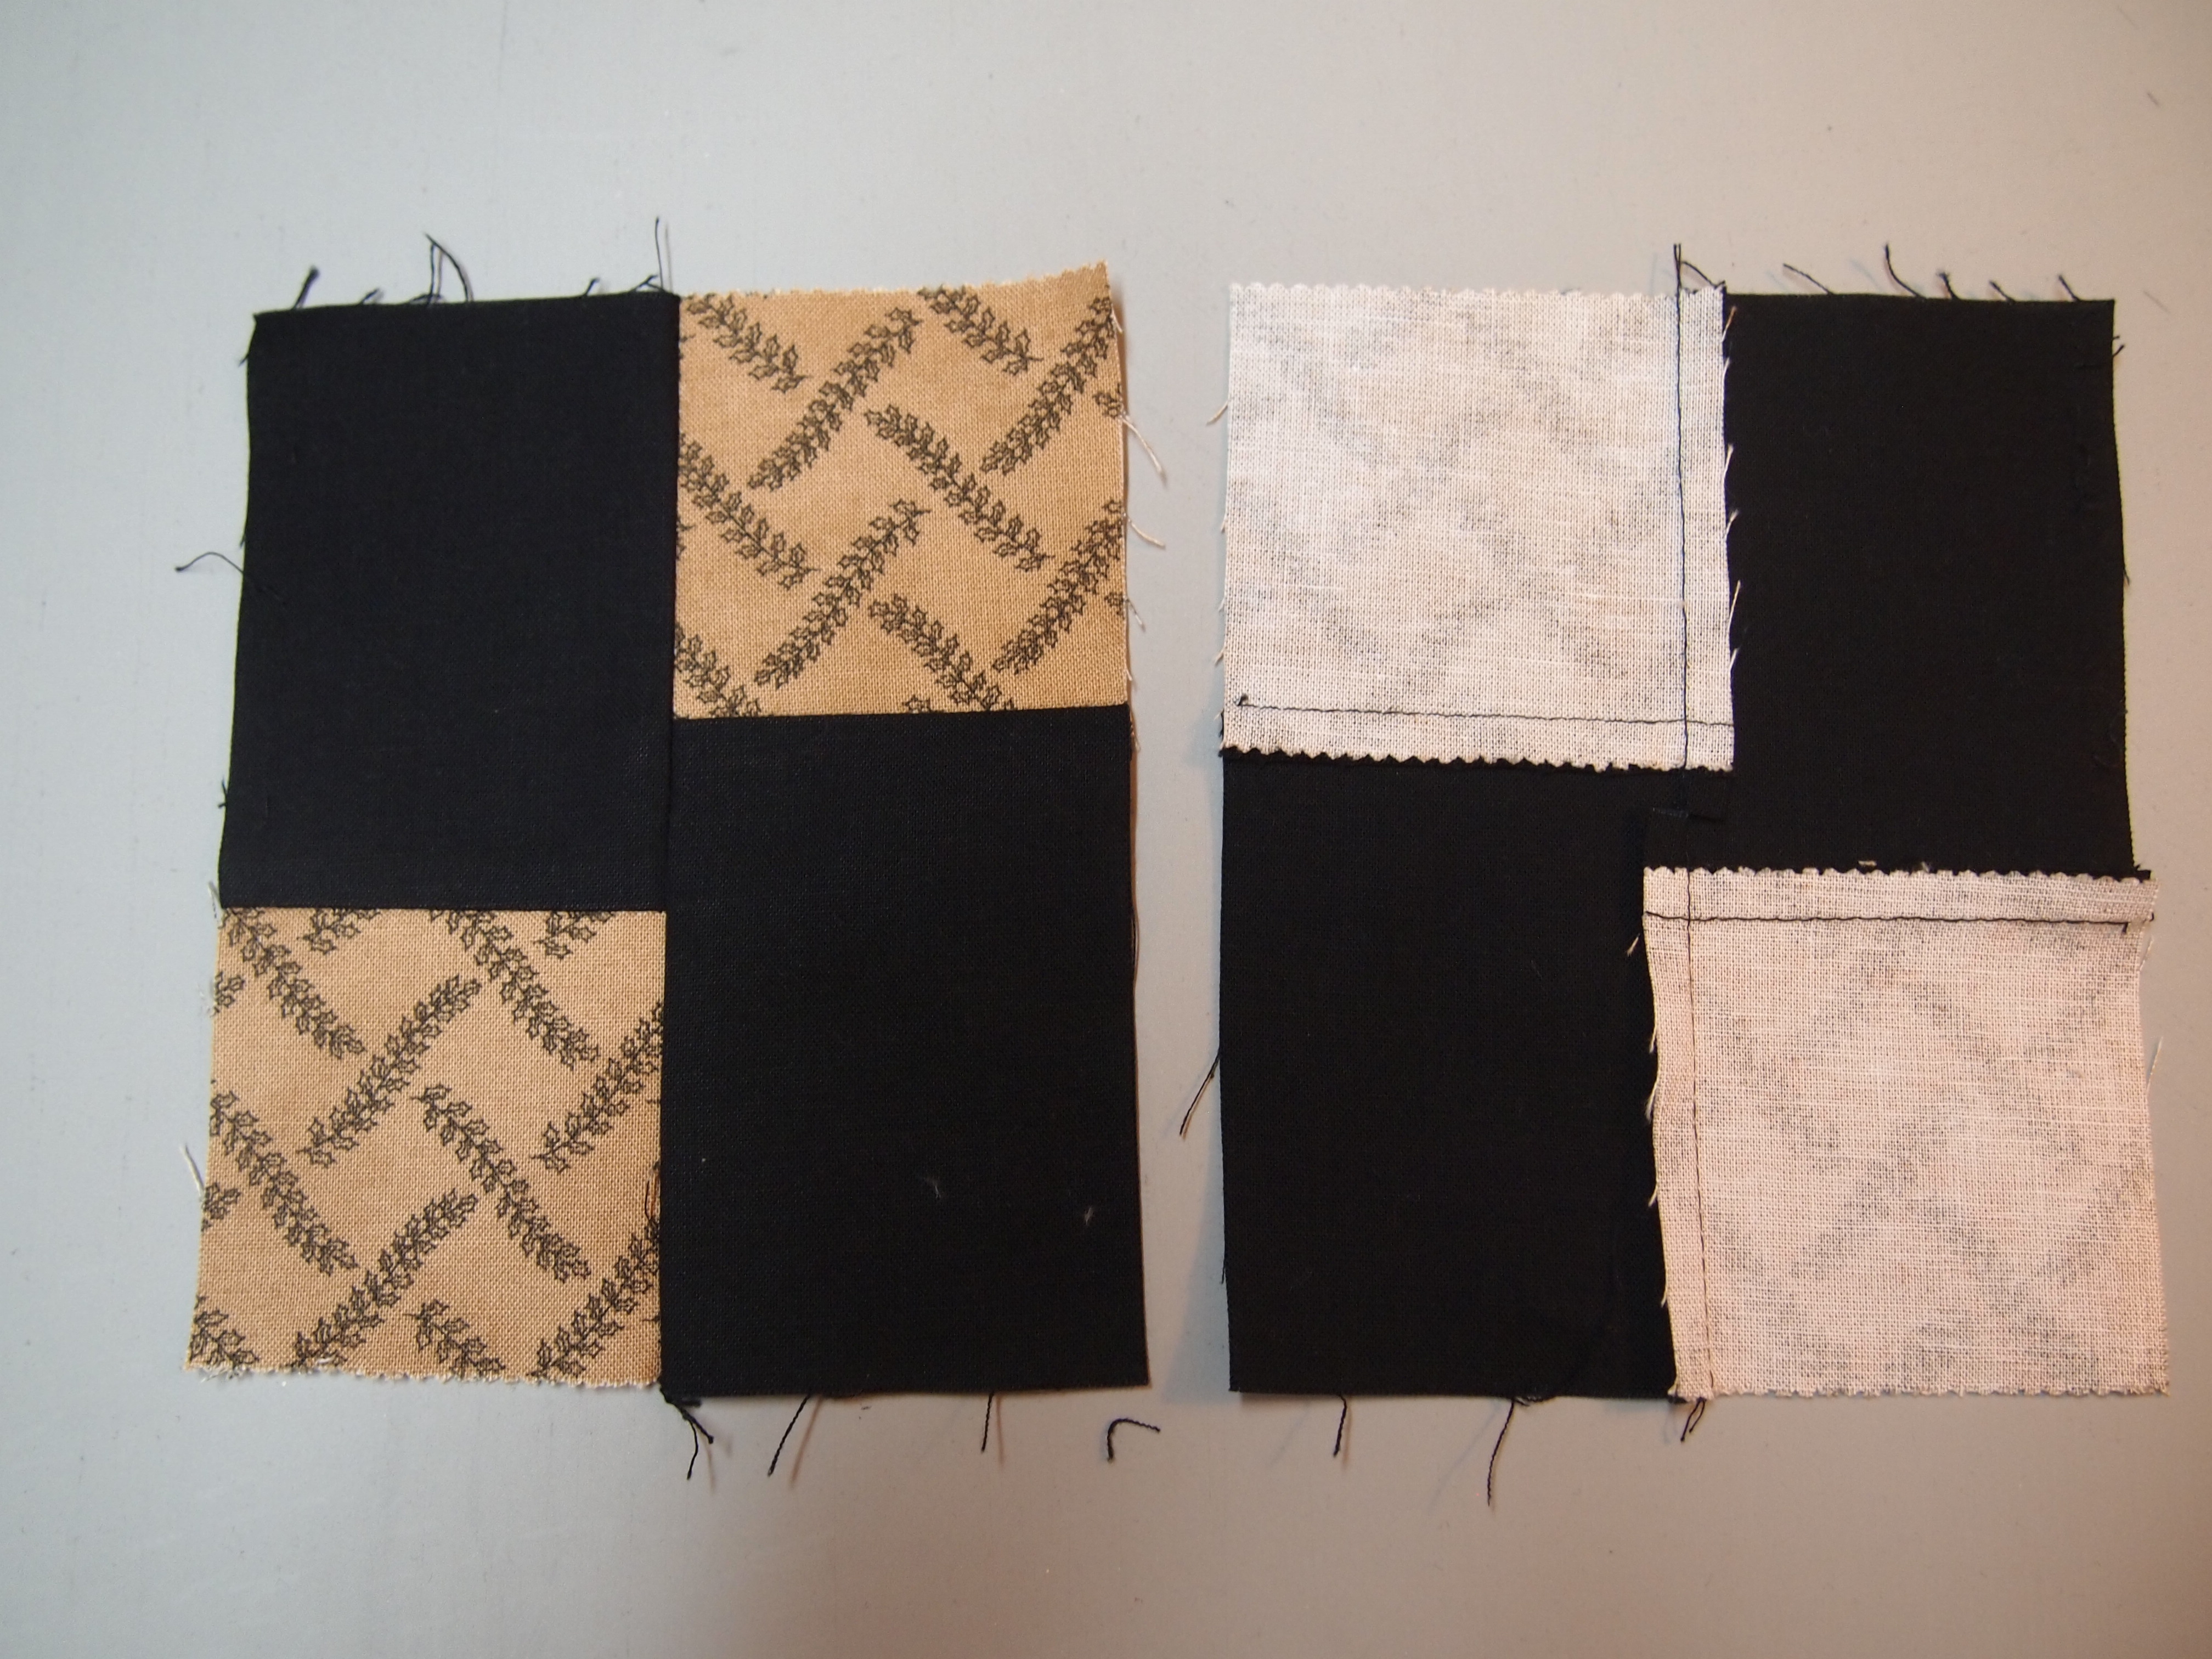
These two blocks are made from the same fabric and units. They both have a Square Squared for the block center, 4 V Block units for the star points and 4 Shaded Four Patch Units (with the Tucker Trimmer I) in the block corners. The top block has the Shaded Four Patch unit small square facing out, while the bottom block has the Shaded Four Patch unit small square facing in. Two very different looks from the same block.
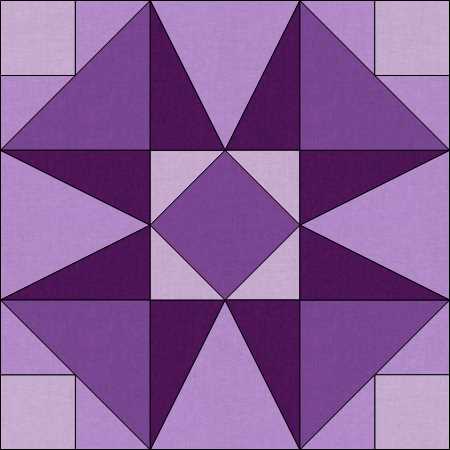
As I stared at these blocks on the ceiling I wondered what the secondary design would be if I put them in a quilt. Time to break out EQ8!
I used shades of purple and lavender because I thought my sister may like it. This is pretty cool. EQ8 is fun to use and brings quilt designs to life. Time to break out my Studio 180 Design tools get busy!
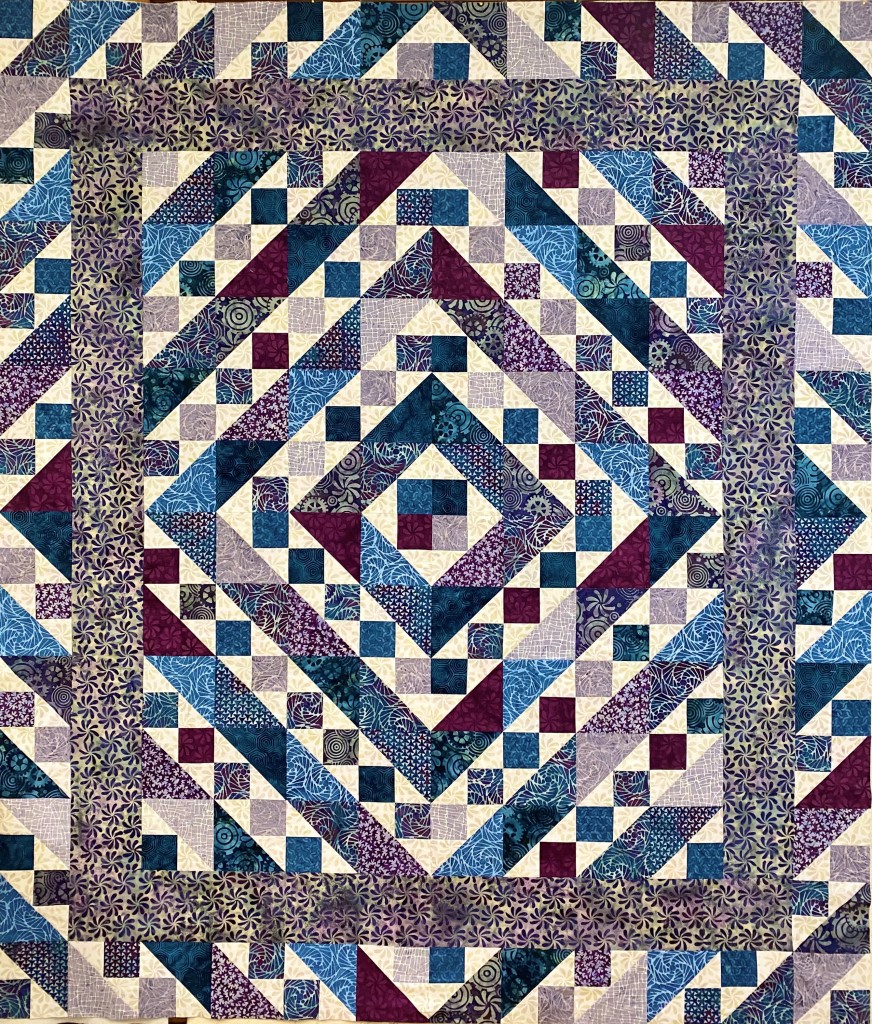
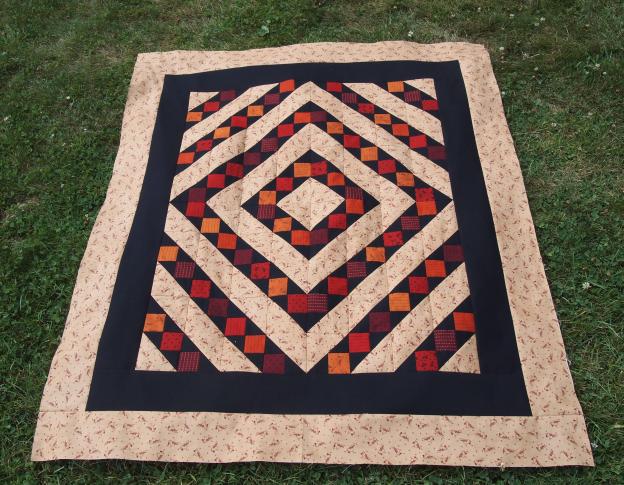
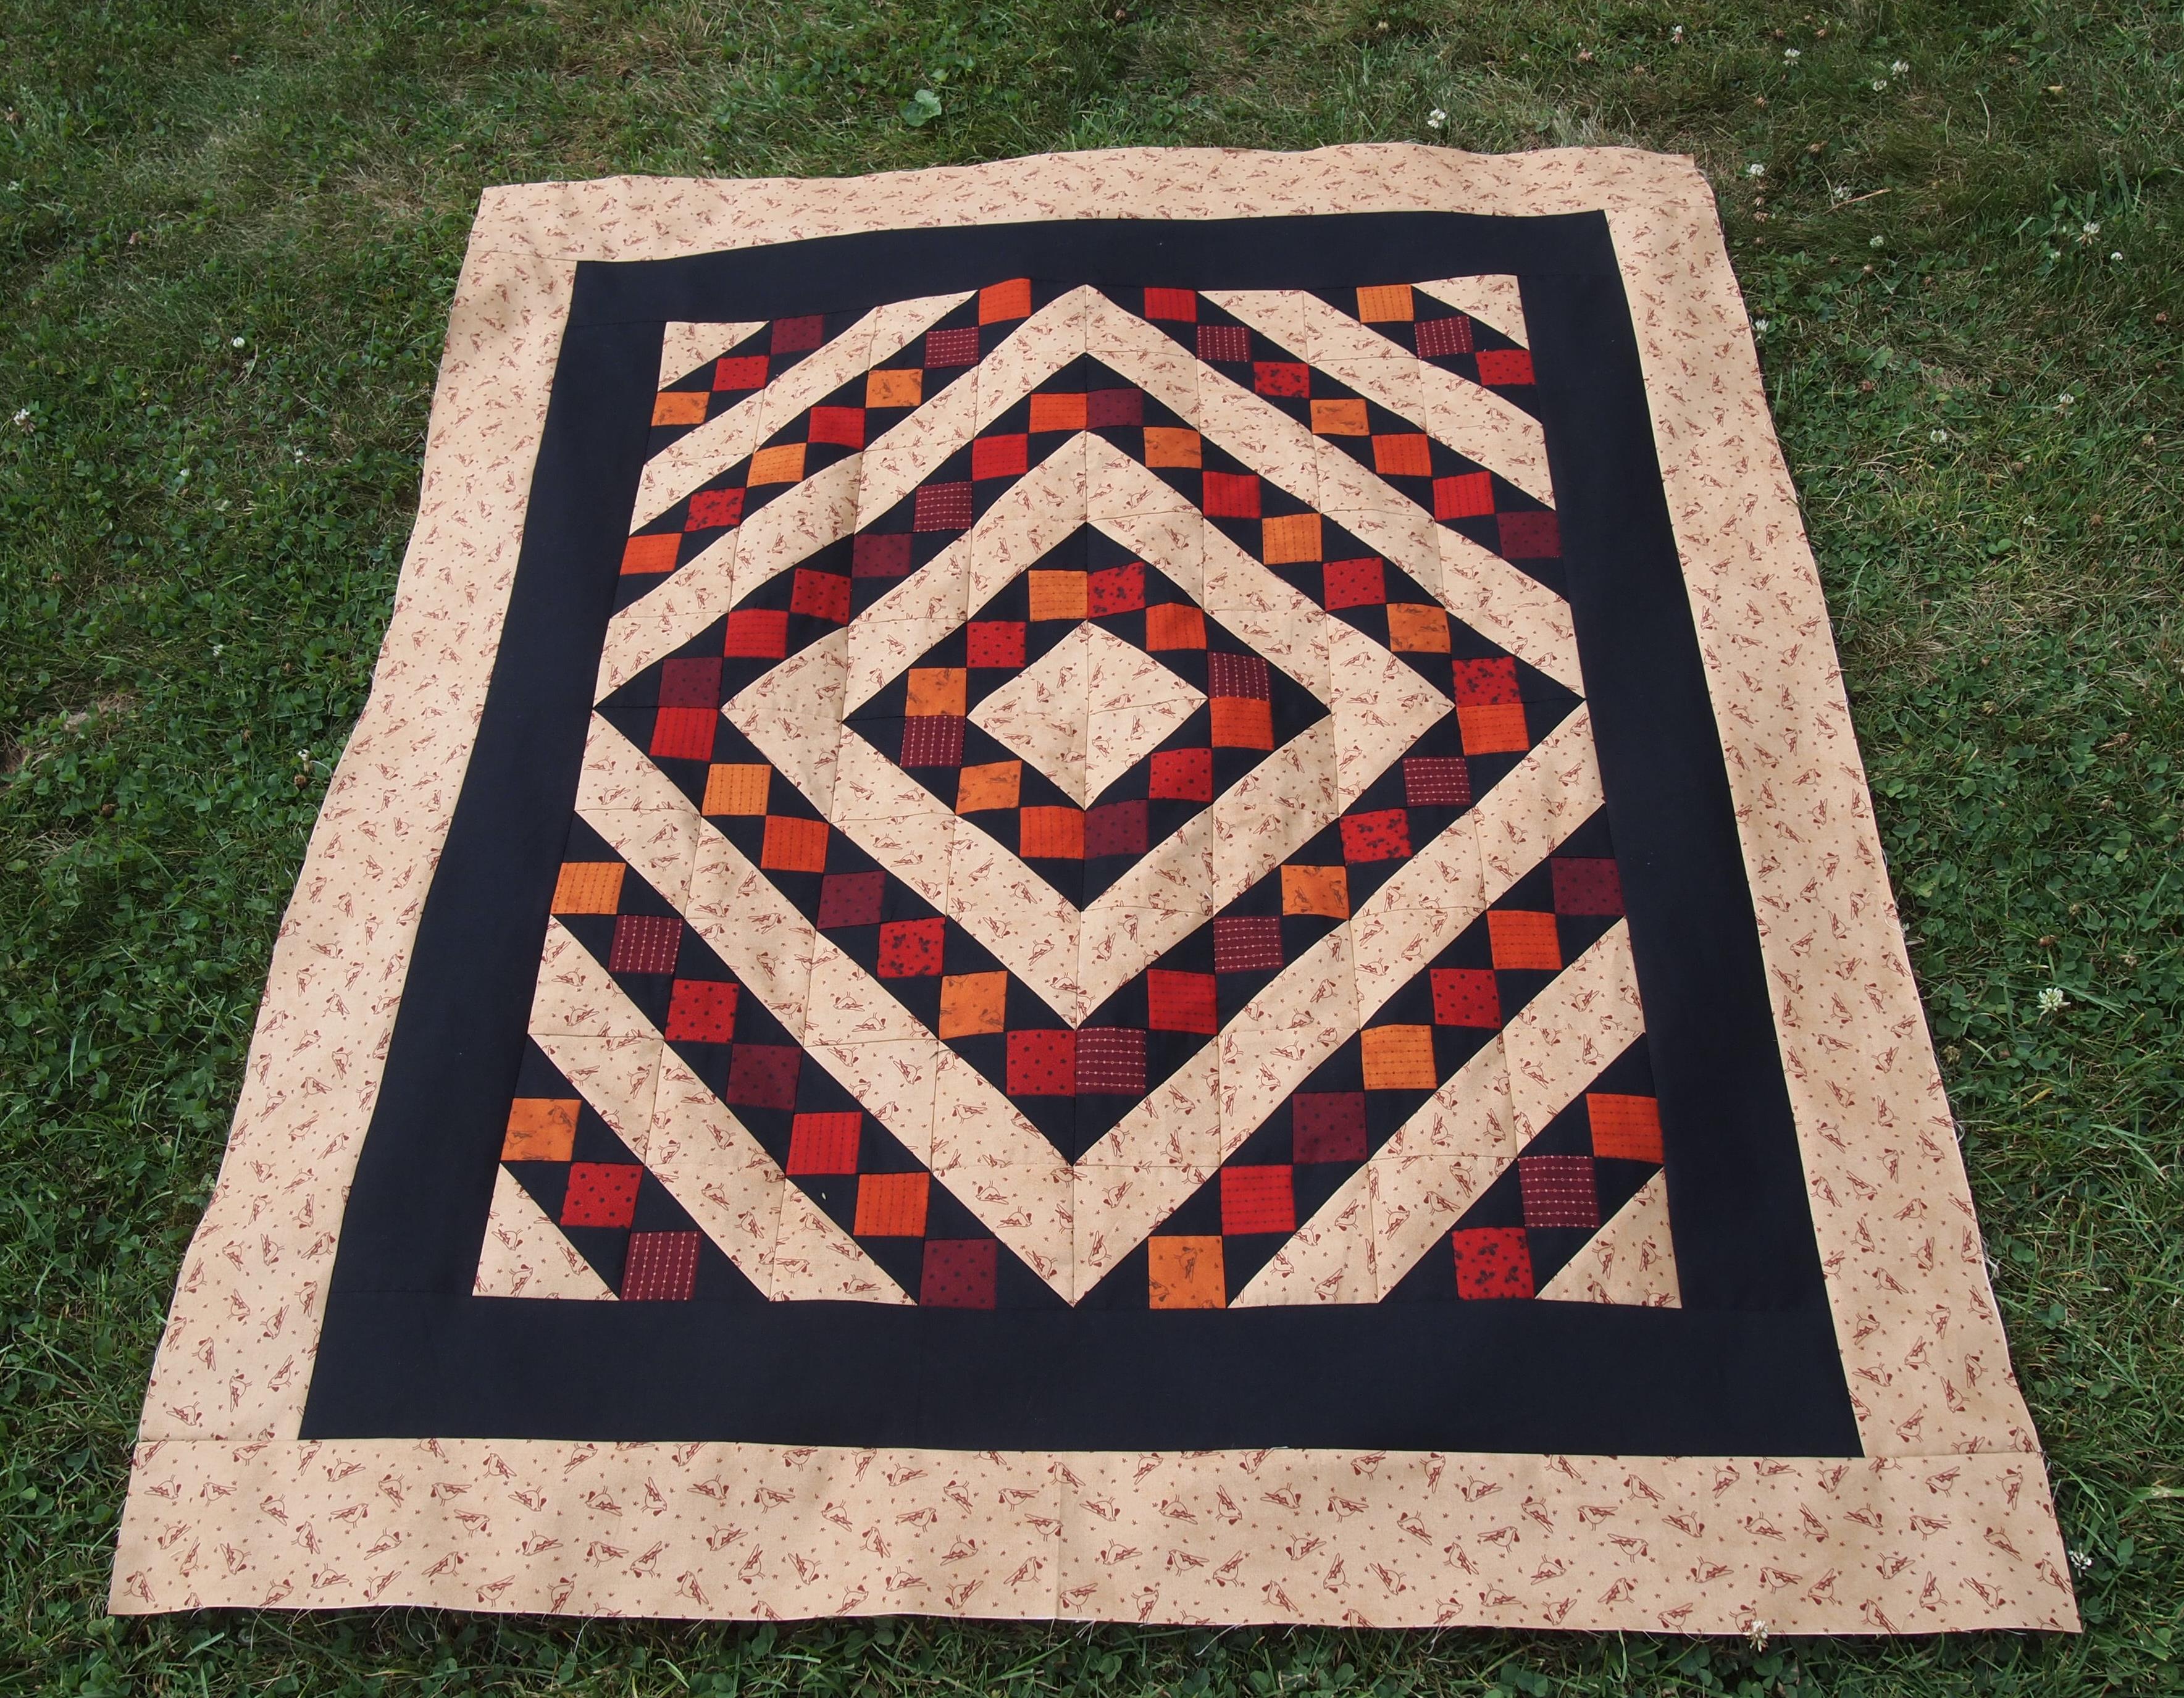
Got some fat quarters? Deb Tucker has many free patterns for you and this one is called Twilight Paths. It uses 14 fat quarters and a background with the Tucker Trimmer I. Twilight paths uses 5″ finished Shaded Four Patch units (5.5″ unfinished). The Shaded Four Patch Technique Sheet shows you haw to make this unit in 21 sizes! This whole quilt is made with Shaded Four Patches!
This is Twilight Paths using Deb Tucker’s Twilight Chic fabric line from Island Batik!
Download your pattern and let’s go!
Group 1
Group 2
To get a great scrappy quilt, Deb suggests that you split your fat quarters into two groups. Group 1 along the 22″ side, cut two 3 1/4″ strips and one 6″ strip, sub-cutting into 3 – 6″ x 7″ rectangles. Group 2 along the 22″ side, cut one 3 1/4″ strip and two 6″ strips, sub-cutting each into 3 – 6″ x 7″ rectangles. Cut one more 3 1/3″ strip from leftover from Group 1.
From your assorted dark fat quarters you will need 22 – 3 1/4″ strips, and 64 – 6″ x 7″ rectangles. From your background you will need 22 – 4 1/4″ strips.
Step 1 – Position each 3 1/4″ strip right sides together with a 4 1/4″ wide background strip and stitch lengthwise. Press seams toward the wider strip.
Step 2 – Pair two of the pieced strips right sides together with the narrow strips on opposite sides, so that each narrow strip faces a wide background strip. Sub-cut the strip sets every 3 1/4″ units until you have 128 rectangles.
128 – 3 1/4″ units Pick up each unit the same way when stitching one side.
Step 3 – Keep the two rectangles paired; stitch each pair of cut pieces together along one long side. Note the seams are not supposed to nest.
Snip
Snip the seam allowance at the half way mark between the two squares all the way to the seam.
Press each half of the seam allowance away from the square as shown above.
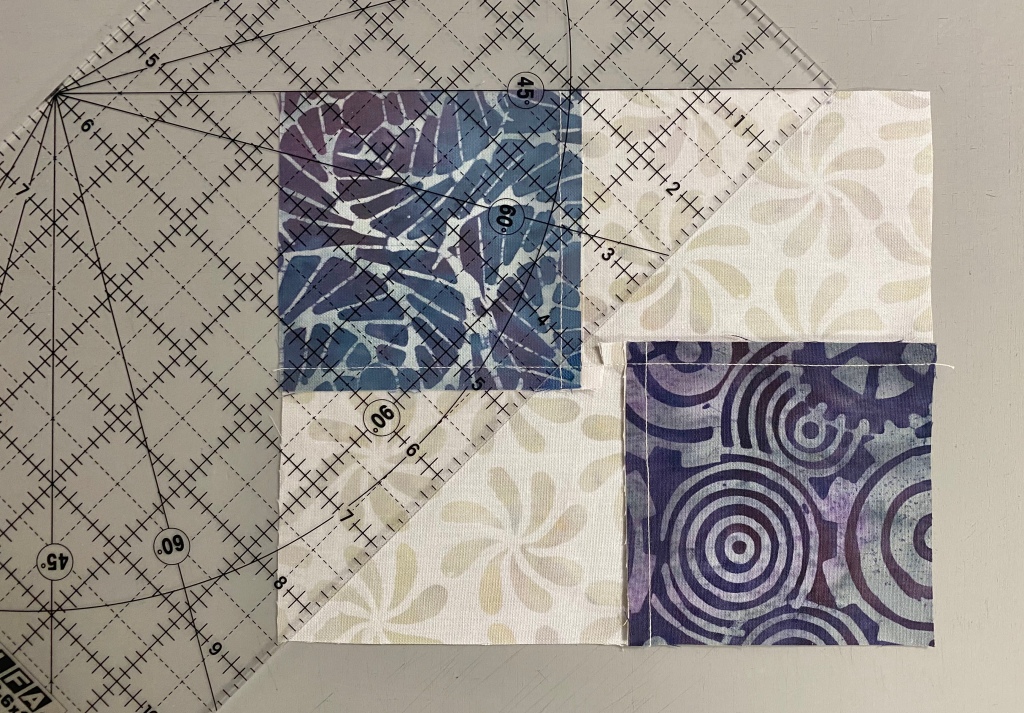
Step 4– Mark stitching lines. Select a ruler with a 45 degree angle marked on it. Draw a 45 degree sewing line from top to bottom, through the corner of the square where the stitching lines meet. Draw a 2nd line through the corner of the other square.
Step 5 – Center each marked, pieced rectangles right sides together with a 6″ x 7″ rectangle.
Stitch on both lines.
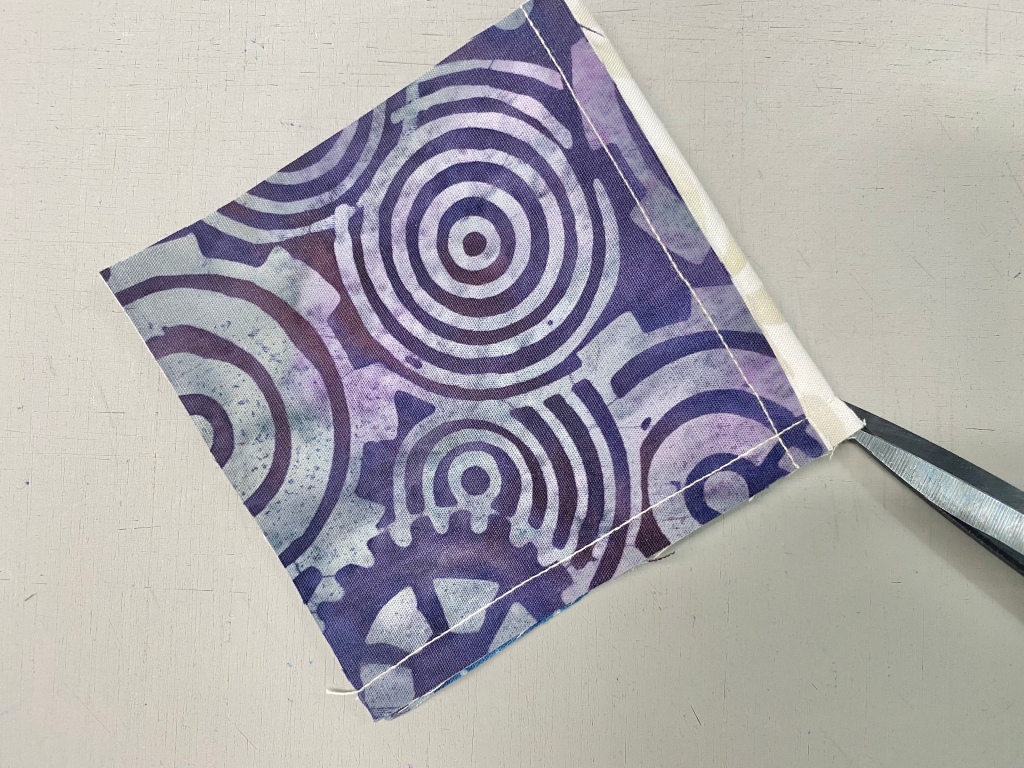
Trim seams 1/4″ from the stitching lines.
Press all seams toward the large triangles.
Step 6 – Trim the 128 oversized units with your Tucker Trimmer I to 5 1.2″ x 5 1/2″. Align the 5 1/2″ Sizing Diagonal with the diagonal seam of the unit. Position the common diagonal so it passes through the center of the unit. Trim the two sides.
Step 7 – Rotate the unit and line up the 5 1/2″ cut size lines on the tool with the previously trimmed edges, align the sizing diagonal and the common diagonal as before and trim the other two edges.
Step 8 – Layout 80 units according to the diagram on page 5 to create the quilt center.
Stitch the units into rows and then stitch the rows together. Press all seams open.
Step 9 – Attach the Inner Border. Stitch the inner border strips to the quilt center.
Step 10 – Assemble the Outer Border. Stitch the remaining units together into 4 border strips containing 12 units each. Make sure you orient the units as shown in the pattern. Press all seams open. Finish as indicated.
My top is not yet quilted. I used Deb Tucker s Steam Engine fabric line by Island Batik in my quilt top. So I guess I will call mine Steam Engine on the Tracks!
The beautiful fabrics featured in this post were given to me by Island Batik.
The Island Batik Ambassadors assignment for September is “Childs Play”, make a quilt inspired/designed for a child.
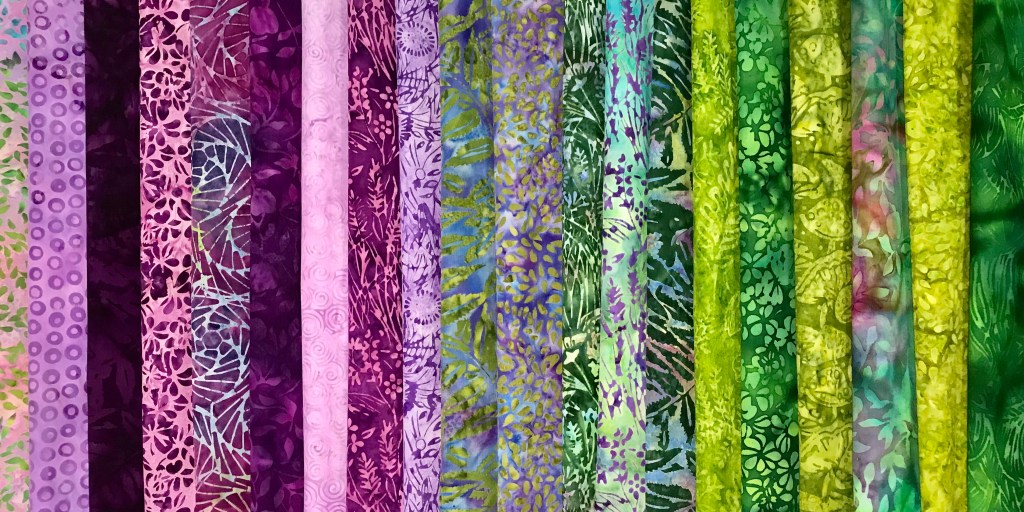
Included in Island Batik Ambassador’s Box 2, I was given a gorgeous fat quarter bundle from the Enchanted Forest line. These fabrics are so beautiful and the name “Enchanted Forest” reminds me of being a child at my grandparents house. My sister Mary and I would go through the backyard, past the little league field, playground and into the woods. For my sister and I, those woods were magical. We imagined we could find a fairy floating by around every tree & magical creatures of all sorts living in our Enchanted Forest along the Saquoit Creek. The many shades of green in the variety of trees and moss were amazing. In the Spring, we couldn’t wait to go hunting for violets, and would come home with beautiful bouquets for our Grandma Bessie.
I pin orphan blocks to the ceiling in my quilt studio. As I was contemplating what to make I spotted a favorite block. For me the creative process usually begins with EQ8, so off I went to see what I would come up with.
I love the flower affect that is created by using Shaded Four Patch & Split Rects units. I decided on a 10″ finished block using 4″ finished Shaded Four Patch units & 2″ X 4″ finished Split Rects Units.
I used all the fabulous fabrics in the fat quarter bundle and made each flower unique. Vivi’s Flowers was constructed with Aurifil Thread and completed with Hobbs Tuscany Silk Blend Batting. This quilt was made for my friend Cher Green’s beautiful Granddaughter Vivi. I named this quilt “Vivi’s Flowers”. It measures 46″ X 58″. If you would like a supply list for this quilt you may download it here:
The fabrics shown in this post were given to me by Island Batik. This quilt was pieced with my favorite thread by Aurifil and completed with Hobbs 100% cotton Batting
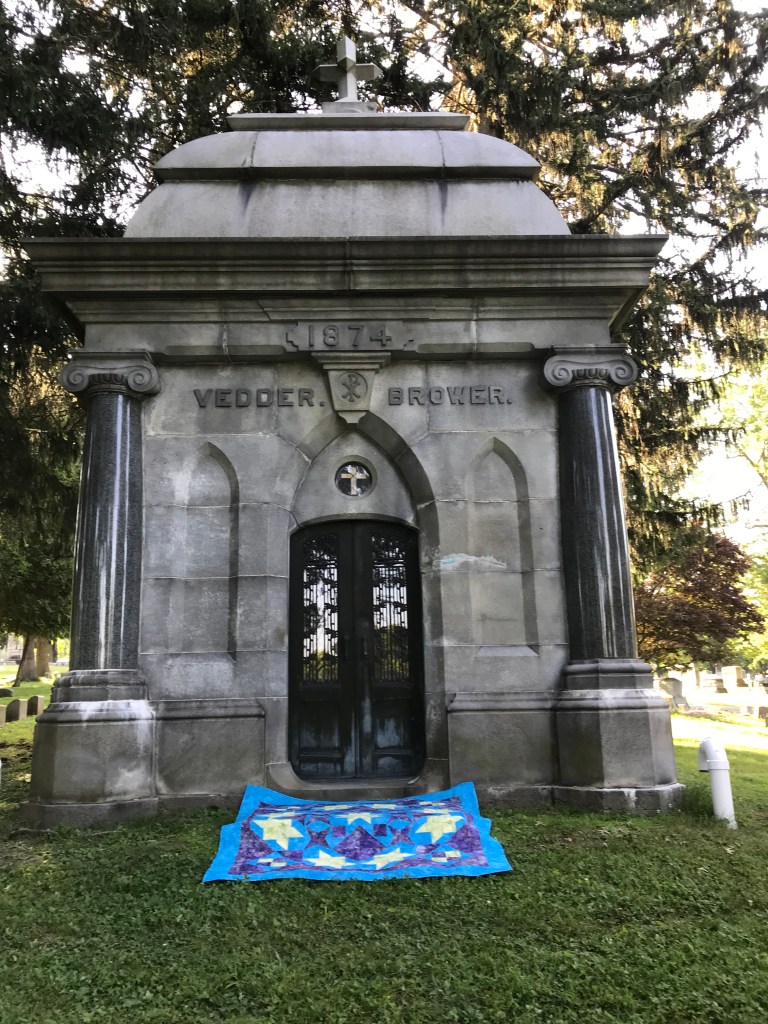
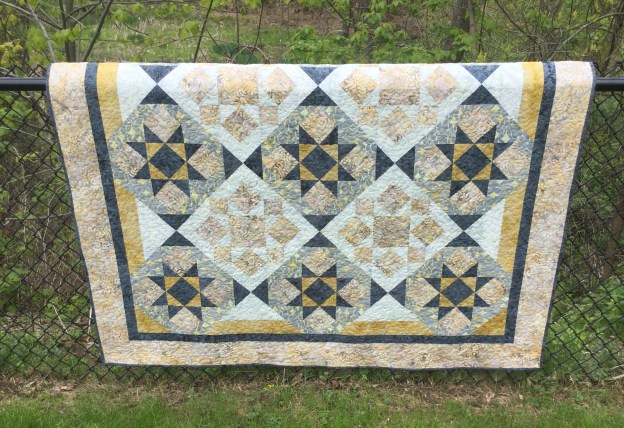
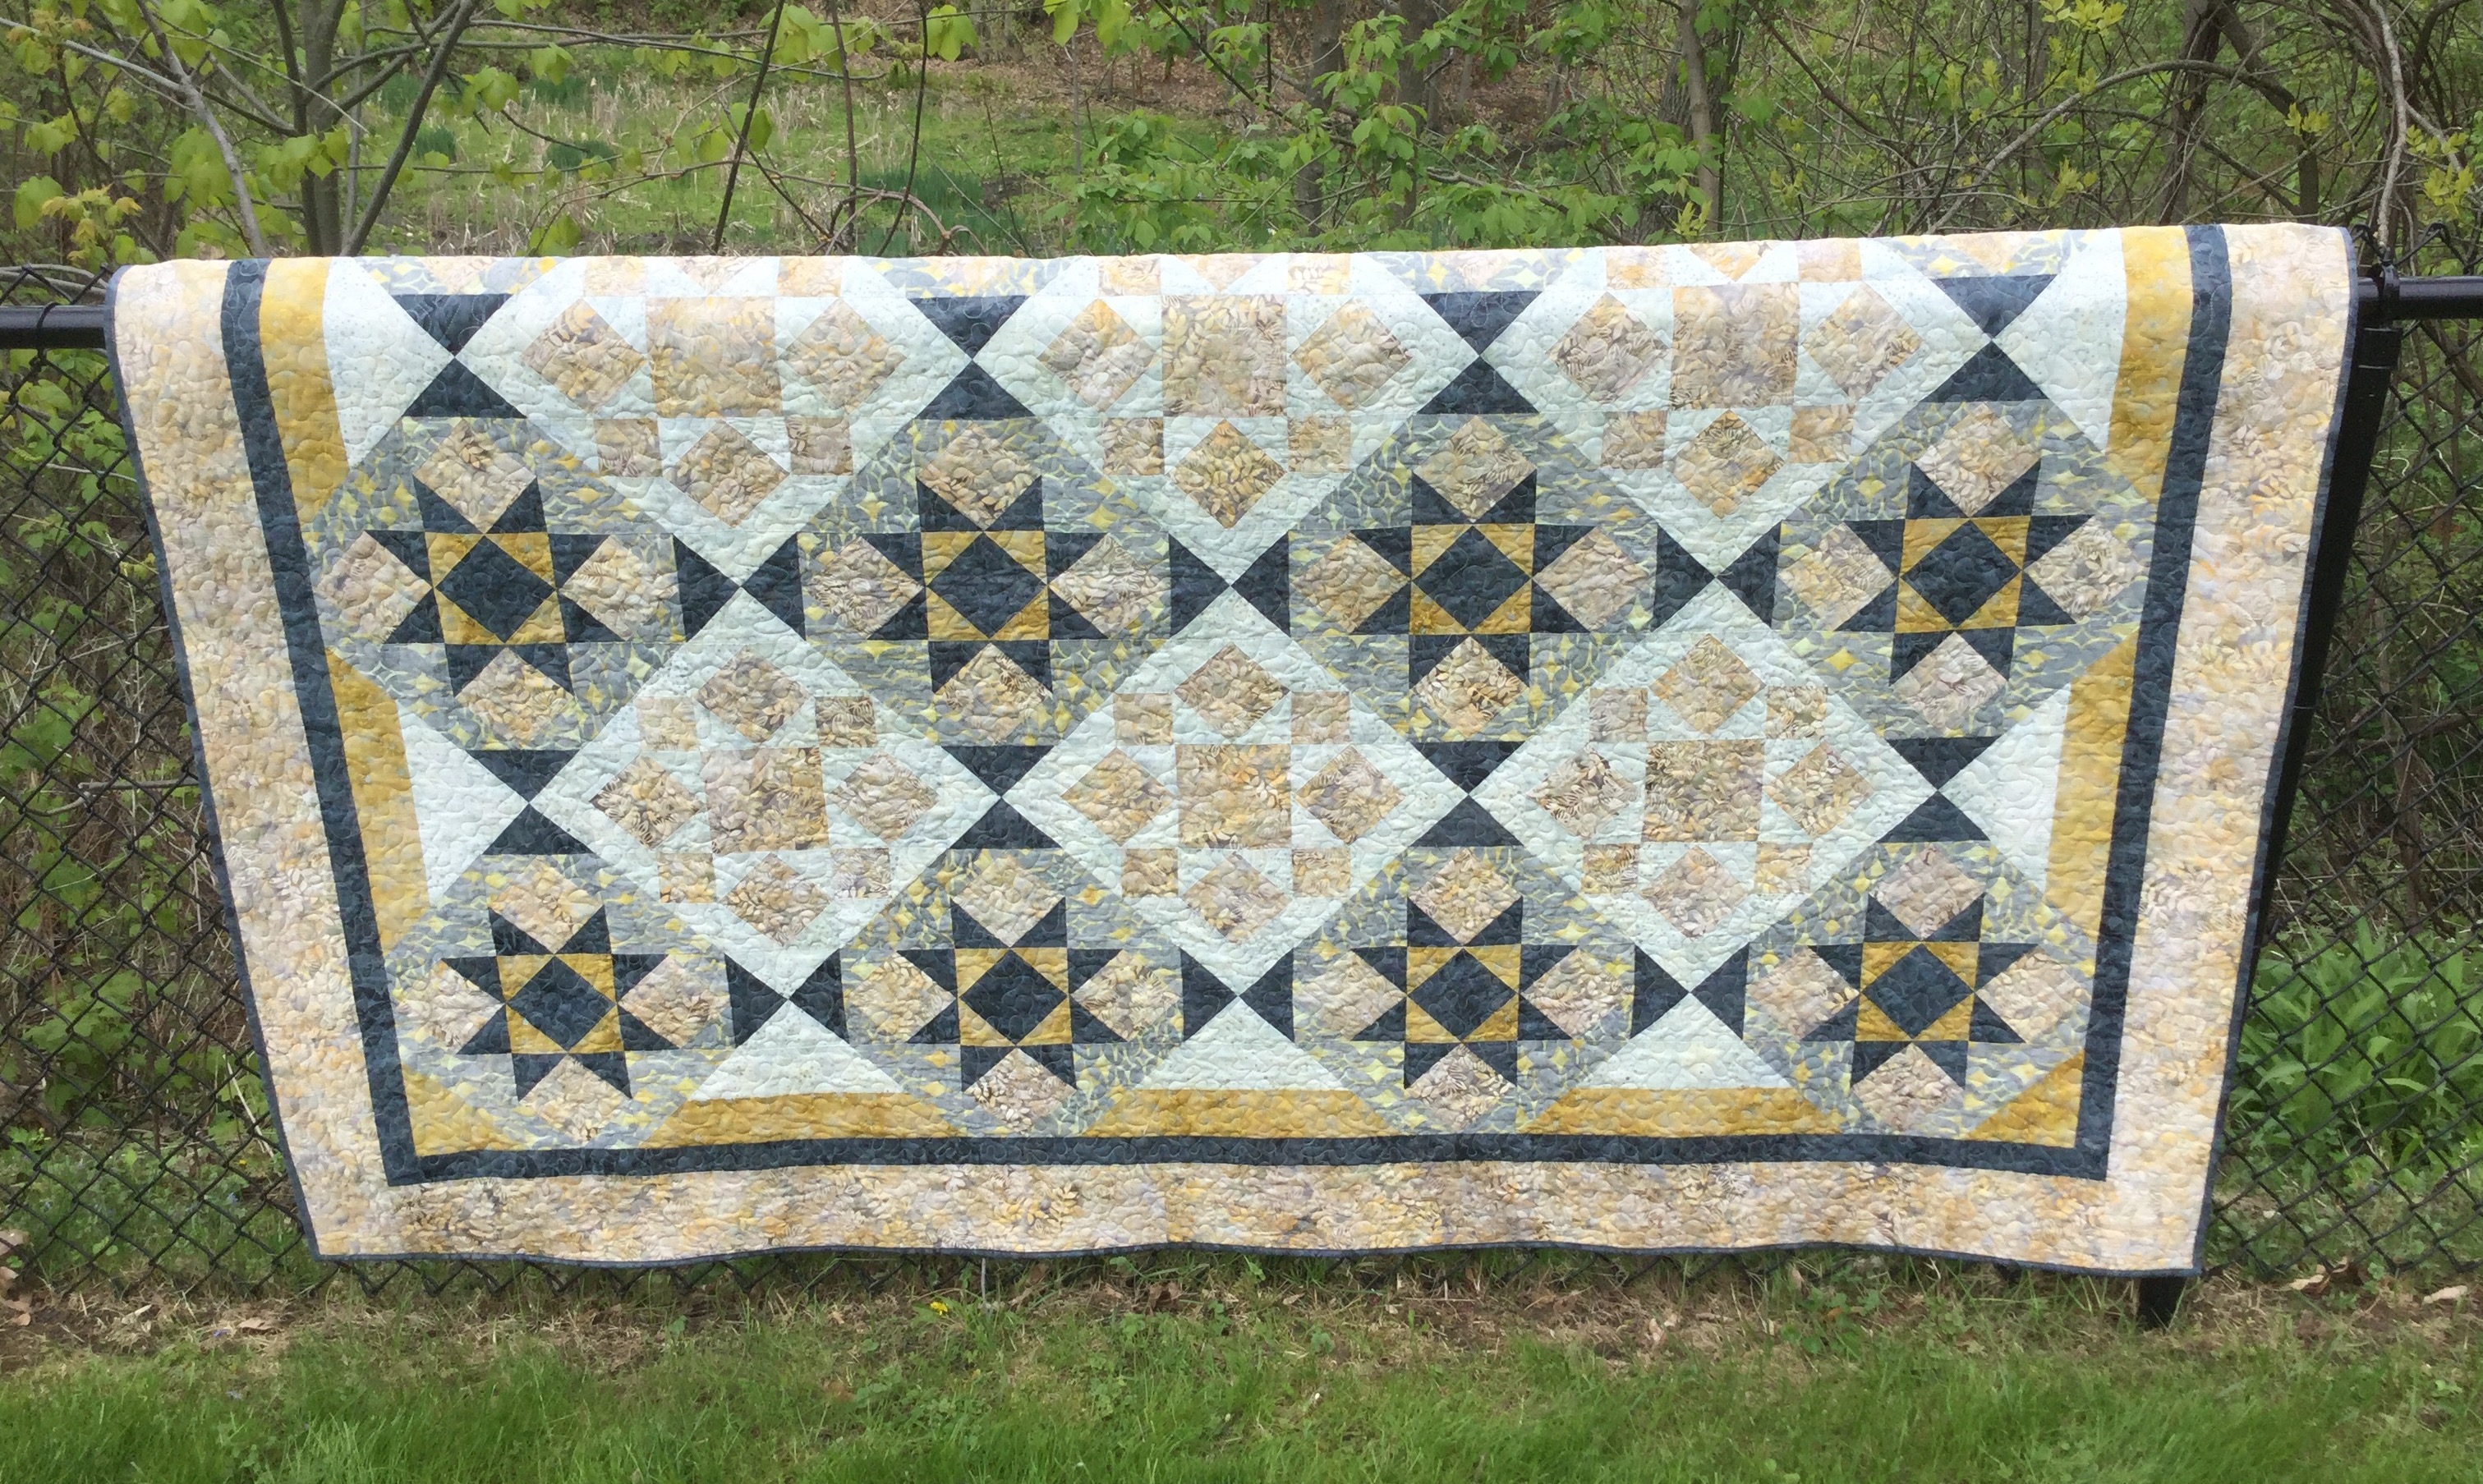
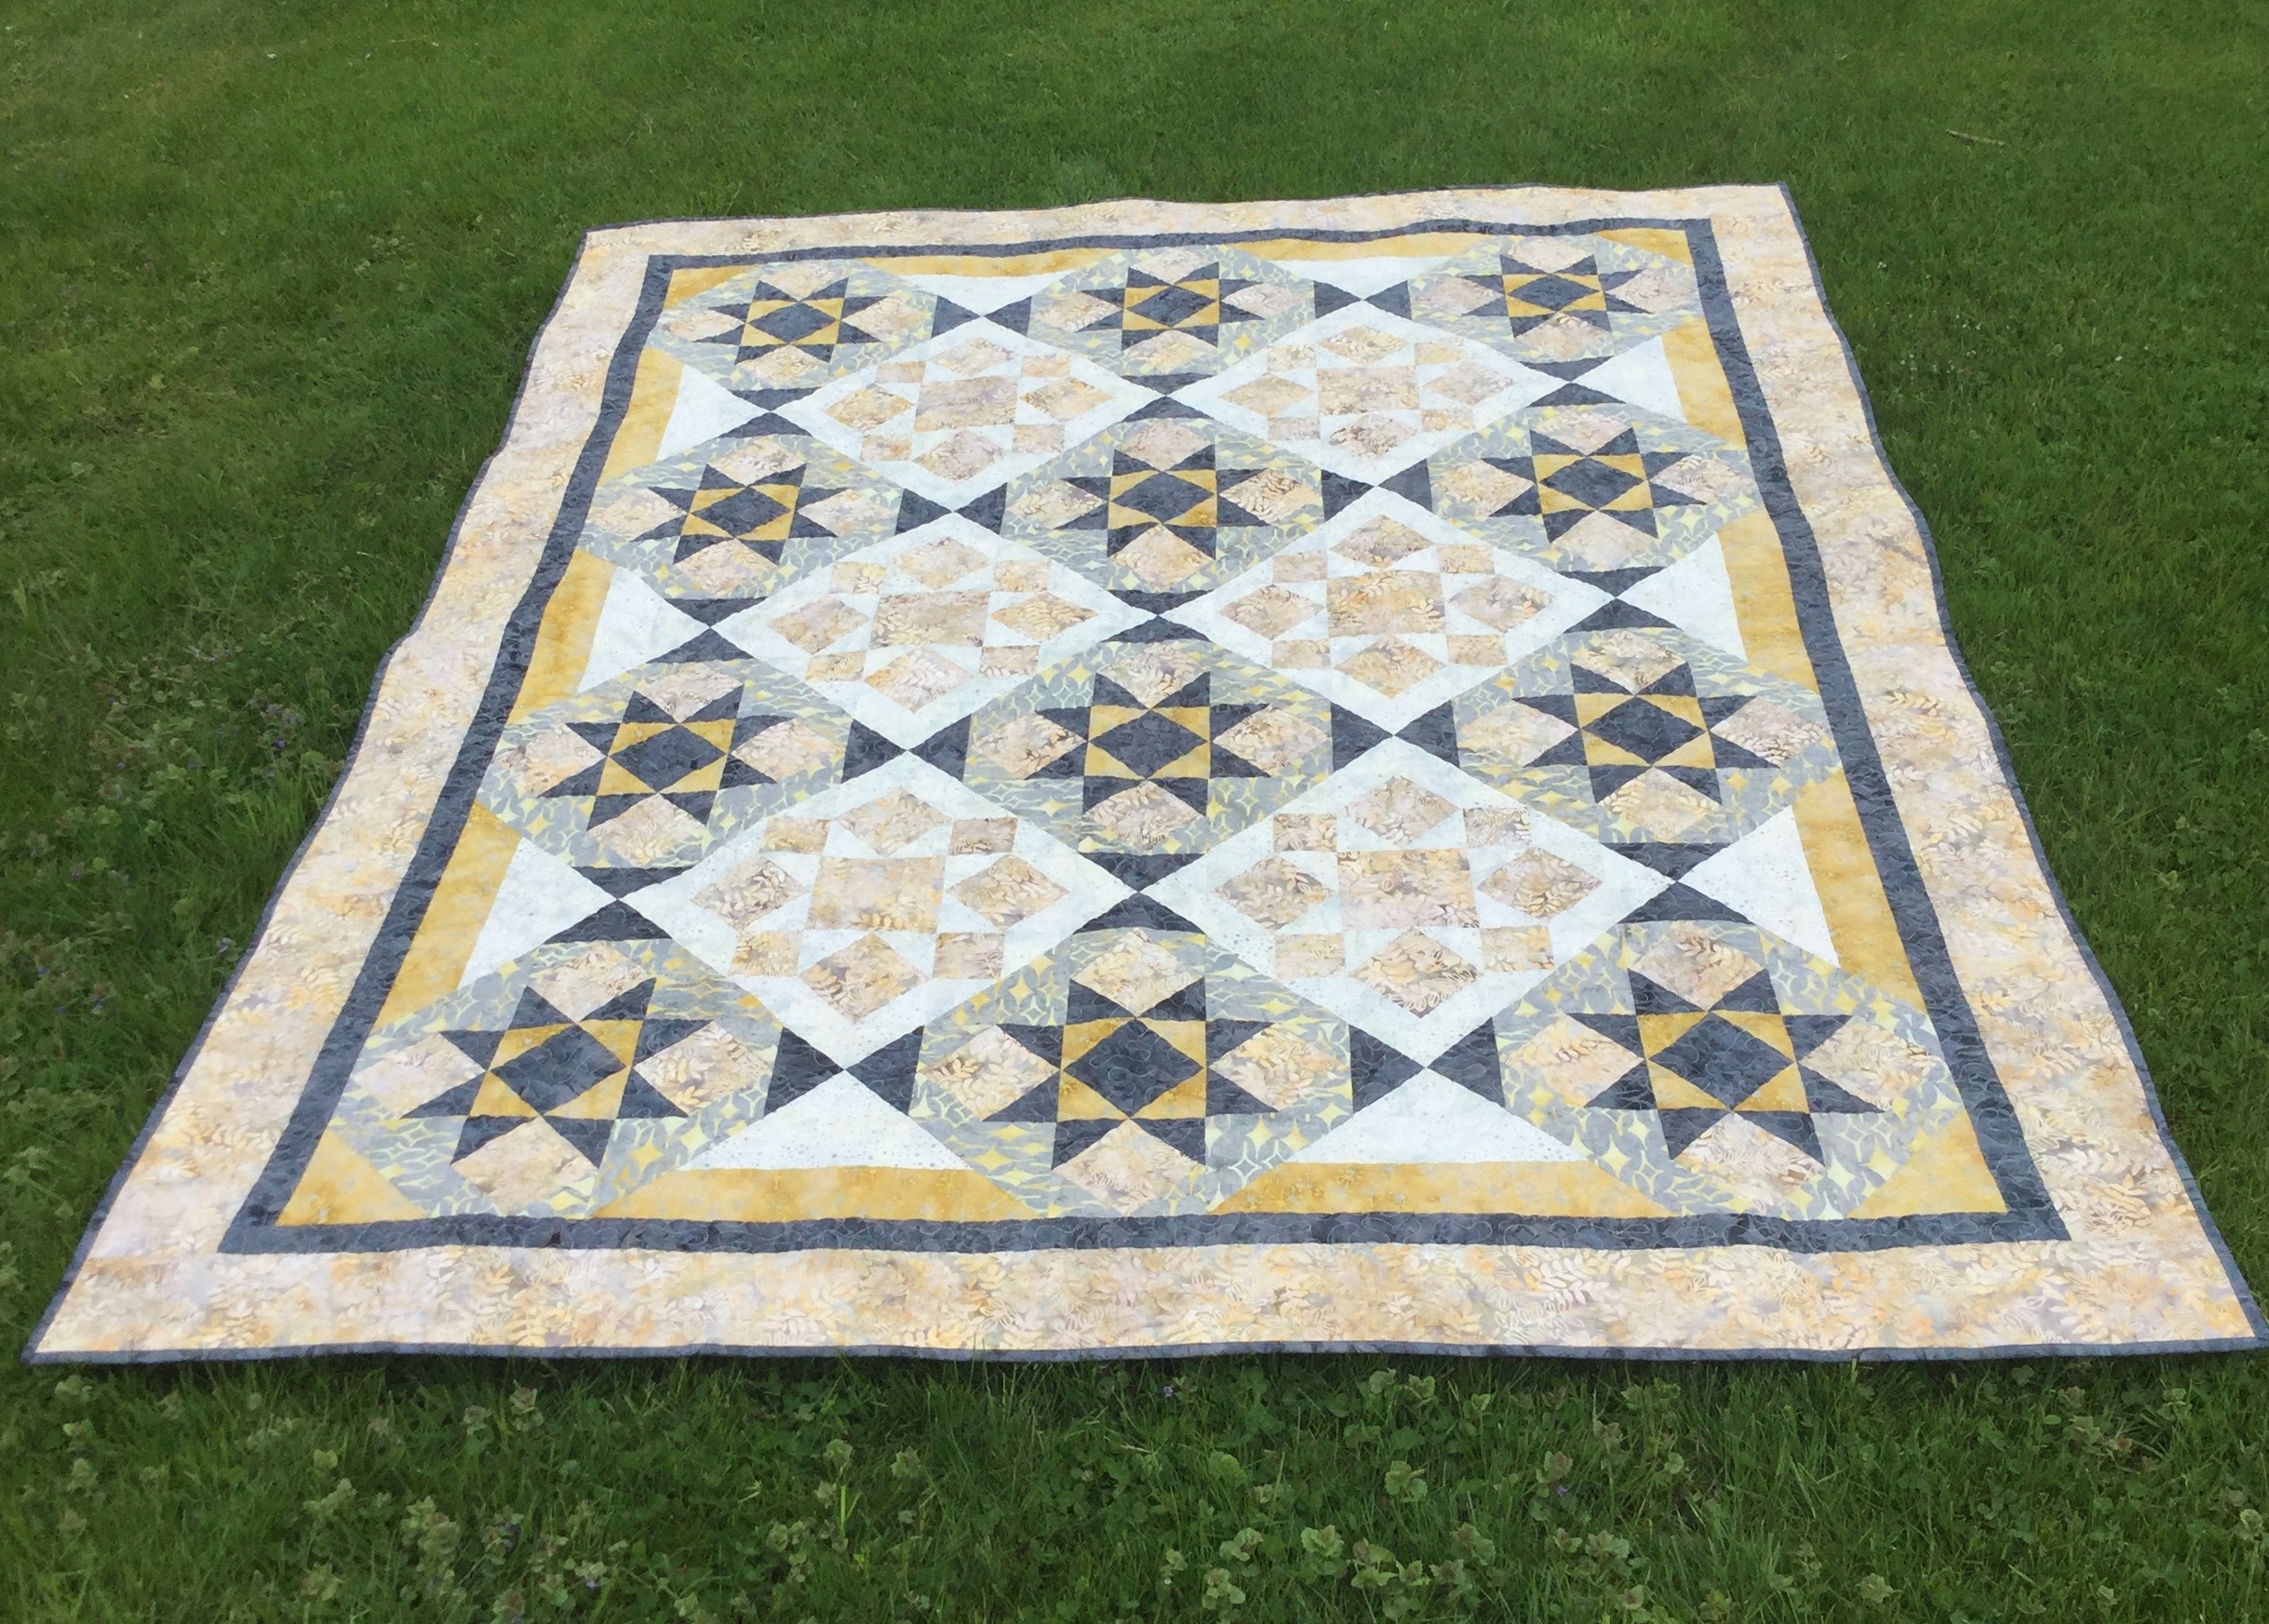
The August Challenge for the Island Batik Ambassadors is to create a quilt featuring Stars. I chose a design I created in EQ8. I love the way the Lemoyne quarters combines with shaded four patch units creates a shooting star effect.
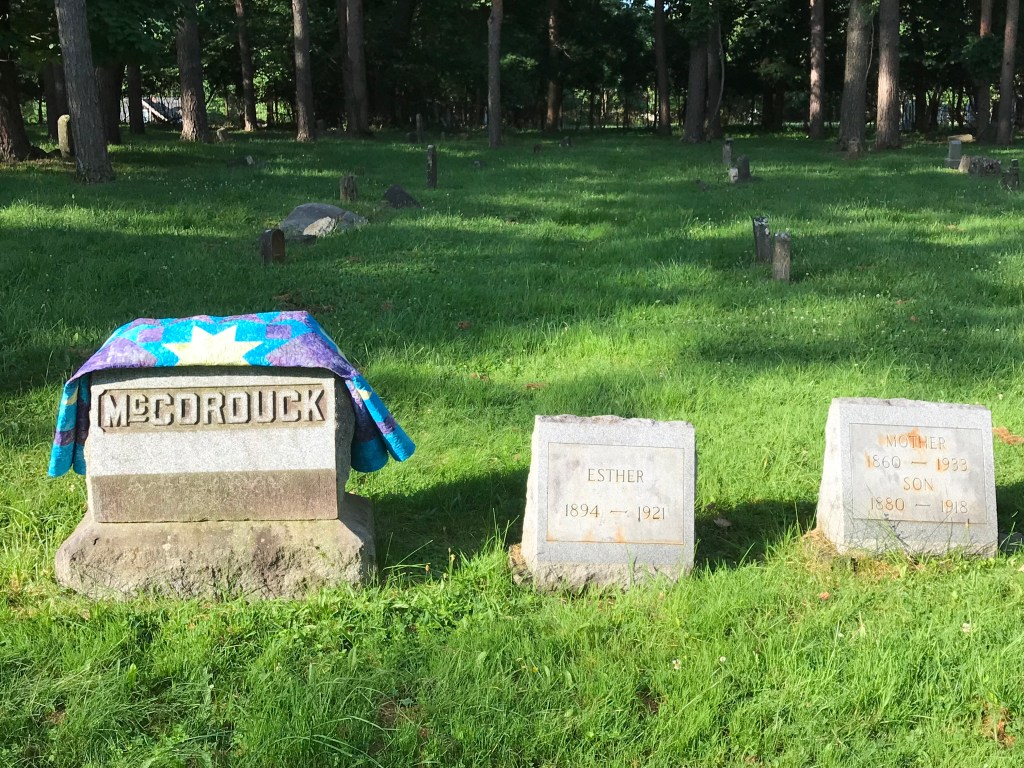
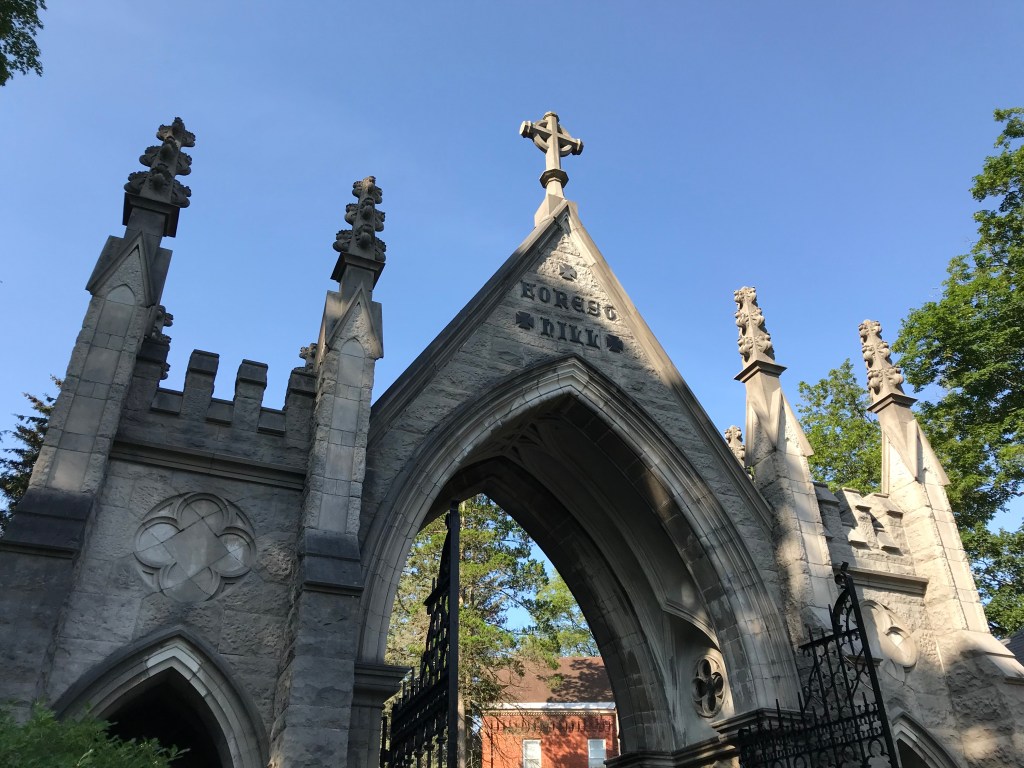
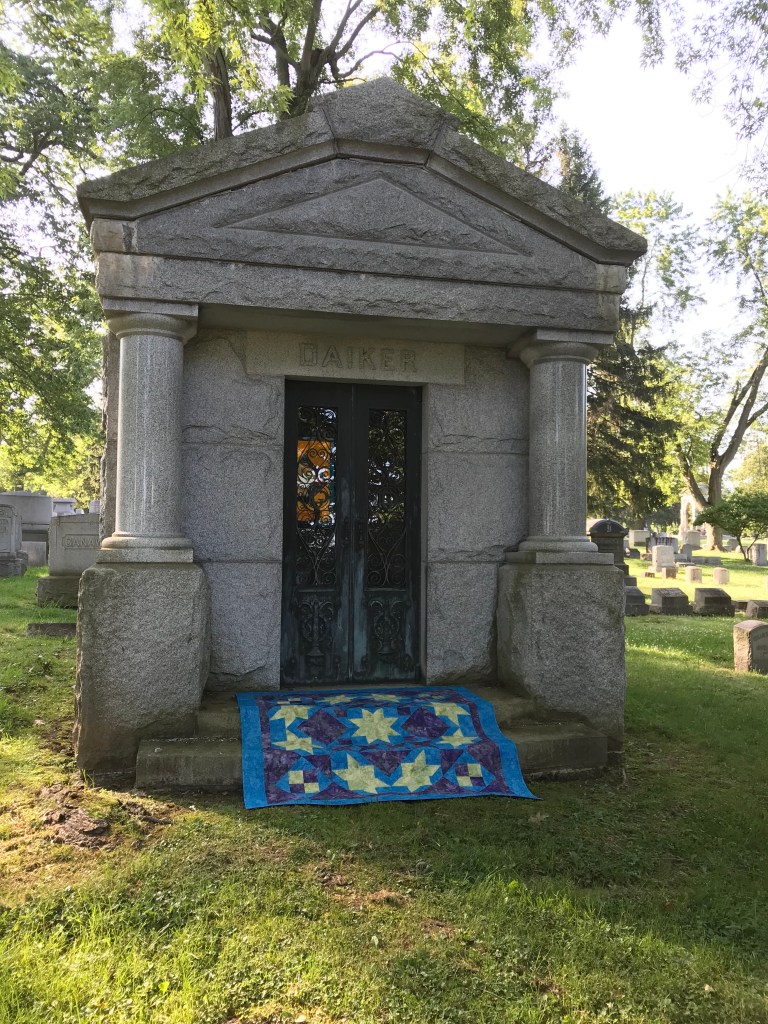
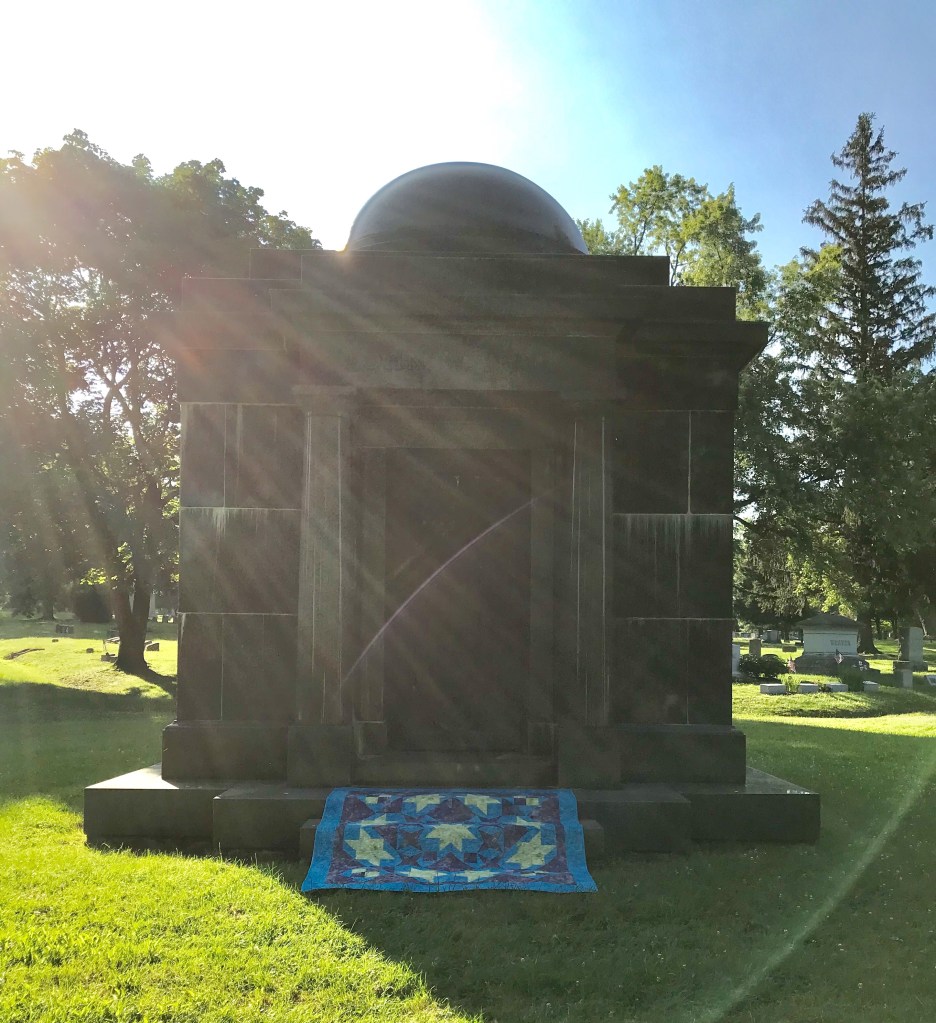
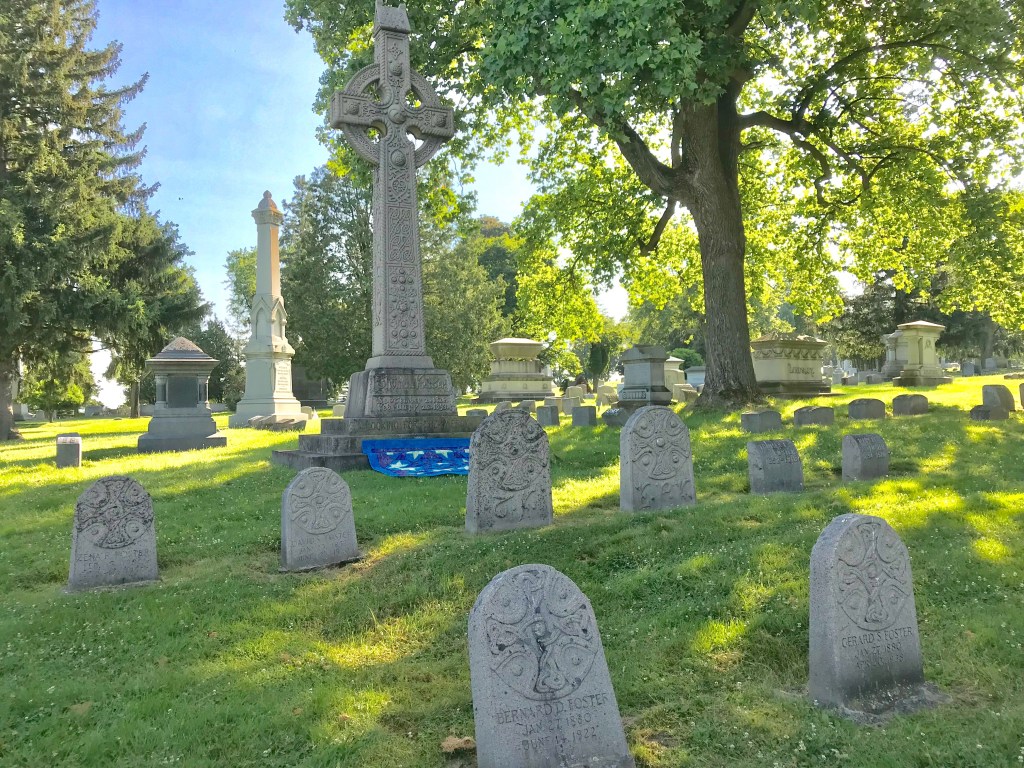
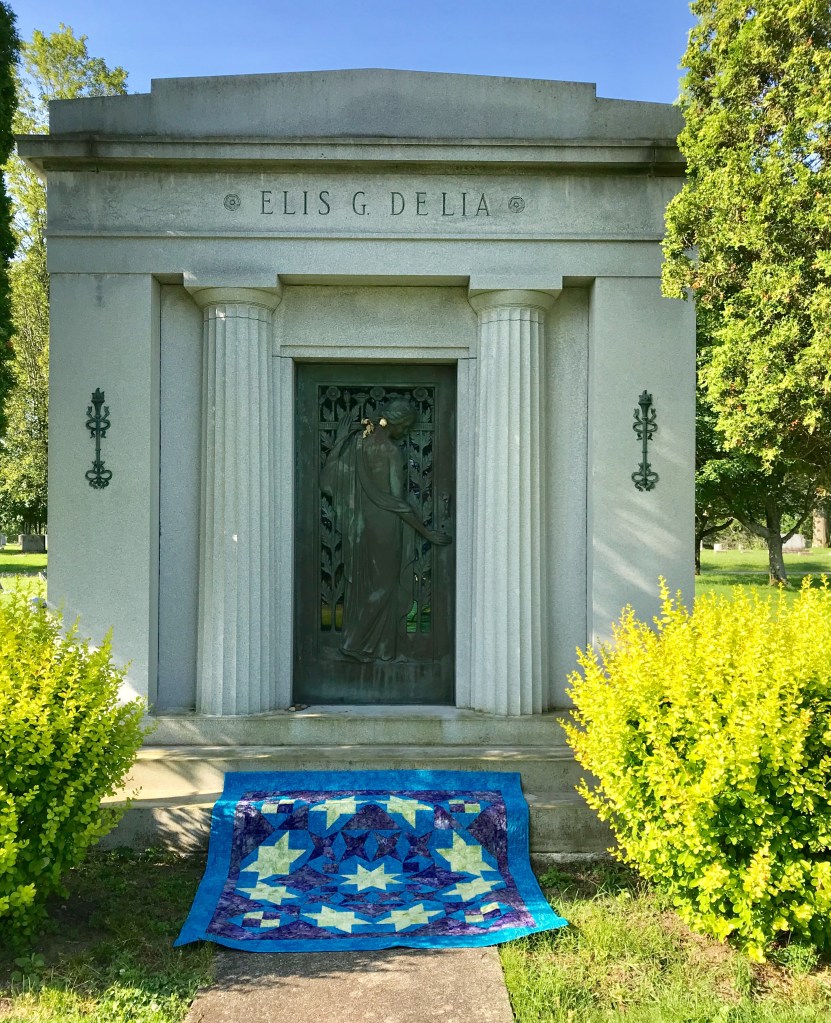
Quilts and mausoleums……what? Who goes on a “Walk & Talk” tour of Forest Hills Cemetery (founded 1848) in my home town of Utica, NY and gets the idea to photograph quilts there? My mind works in mysterious ways. We have family in Forest Hills and visit there often so that is where I began.
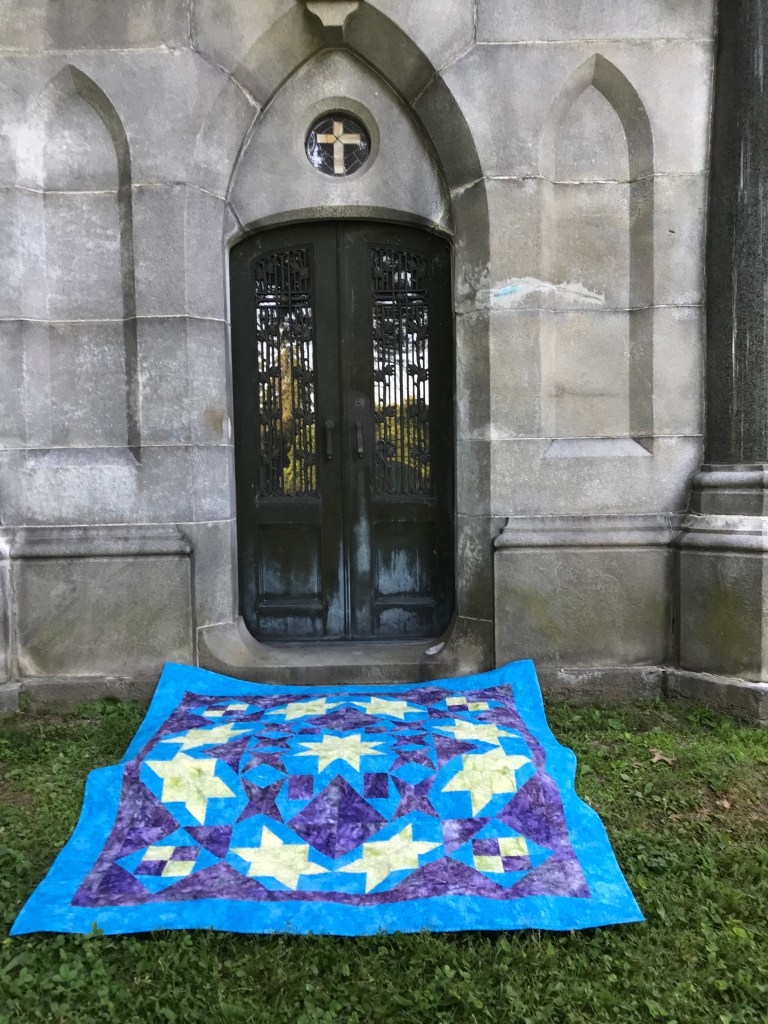
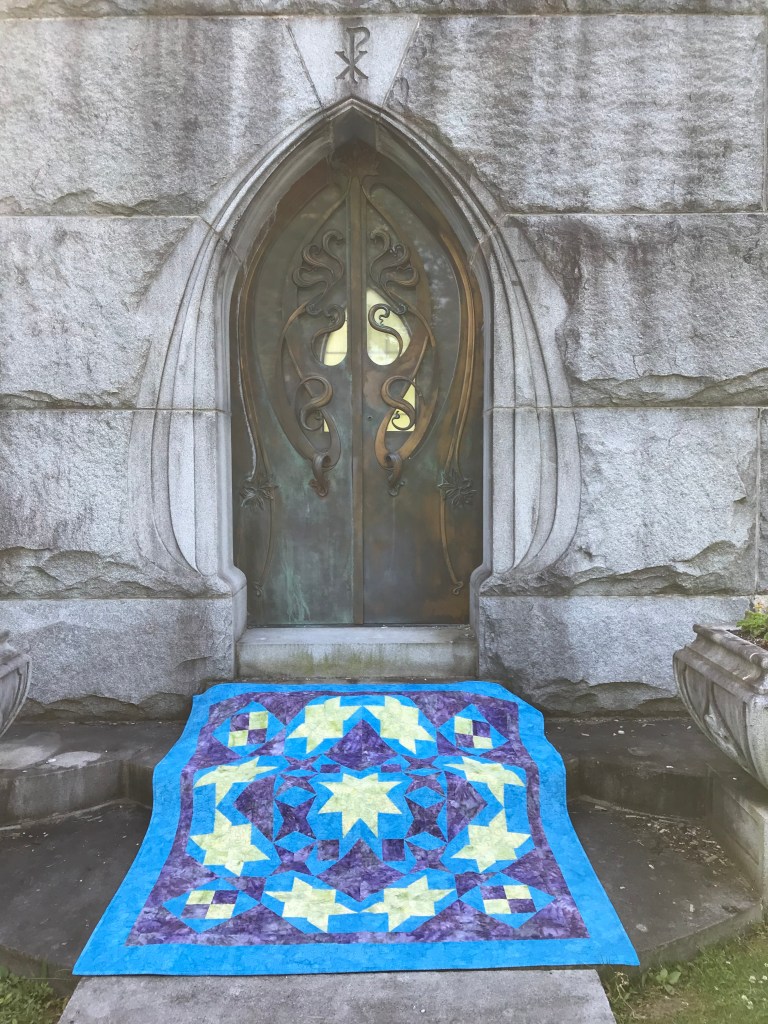
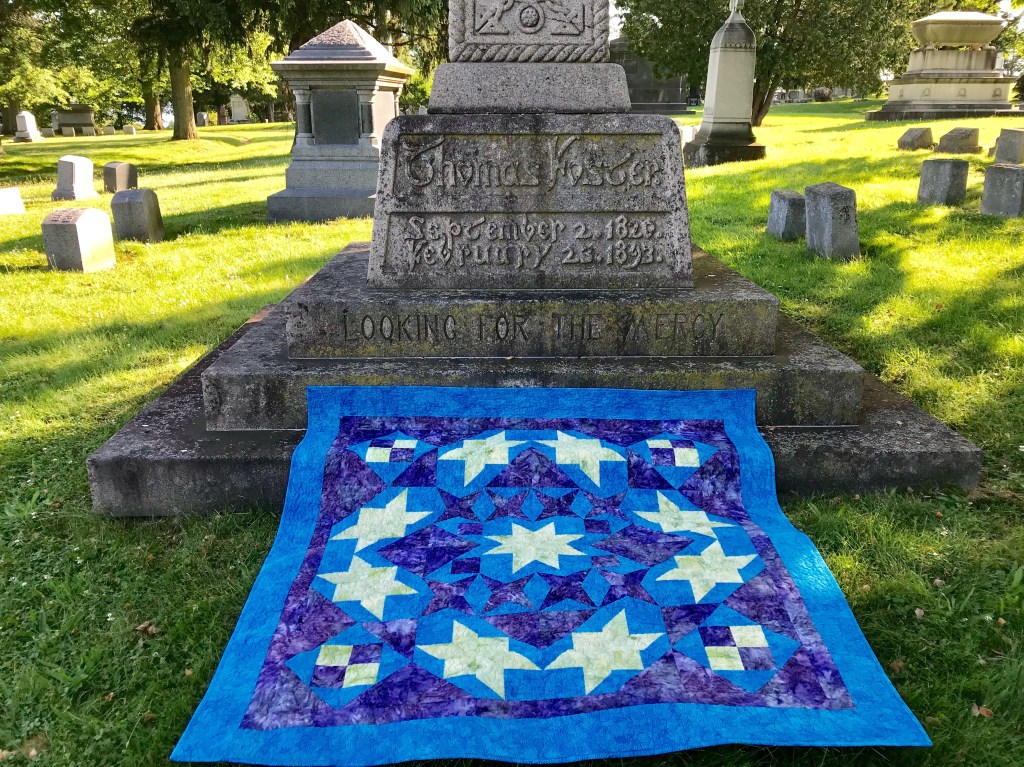
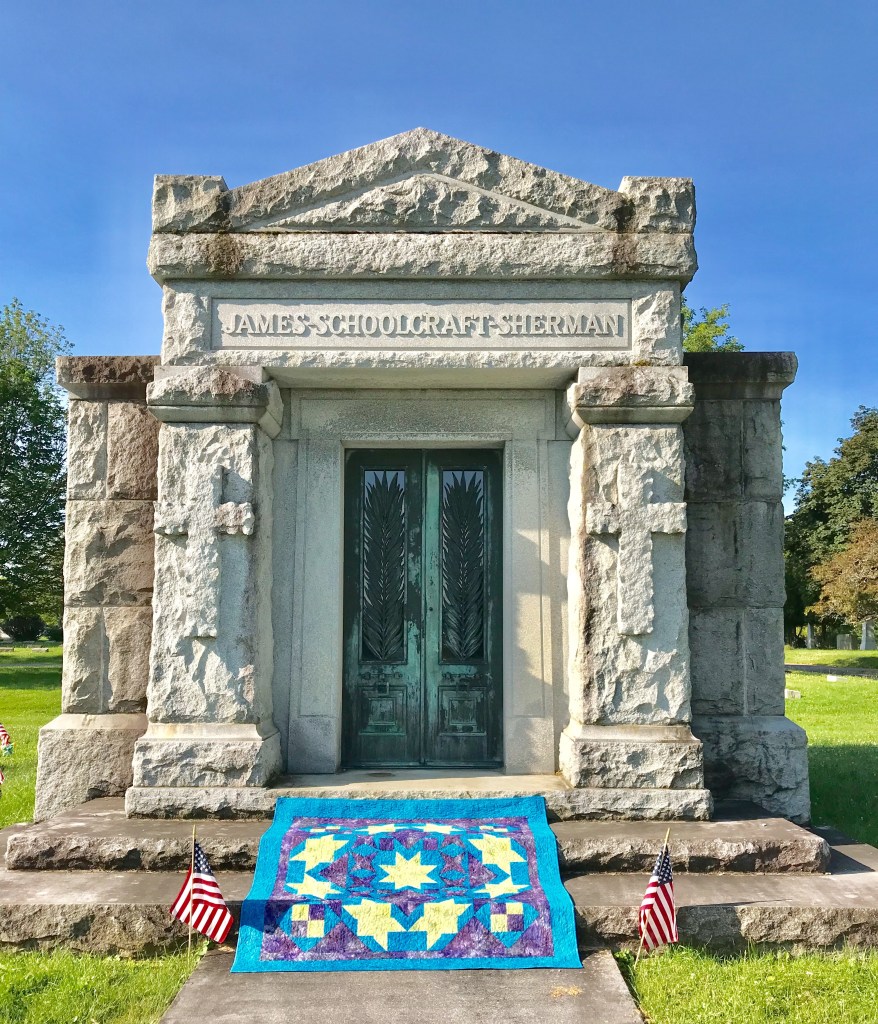
There are so many beautiful mausoleums in Forest Hills. I decided to take photo’s of Shooting Stars in front of them. That may sound weird but I love all the history found in cemeteries. There were so many beautiful doors.
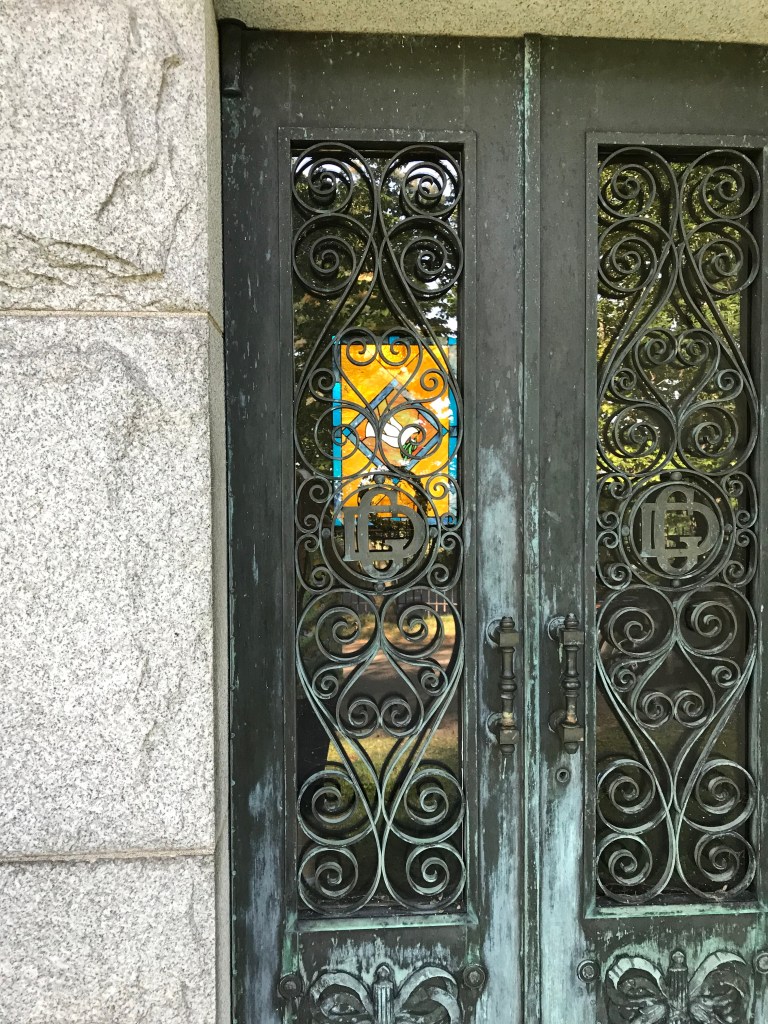
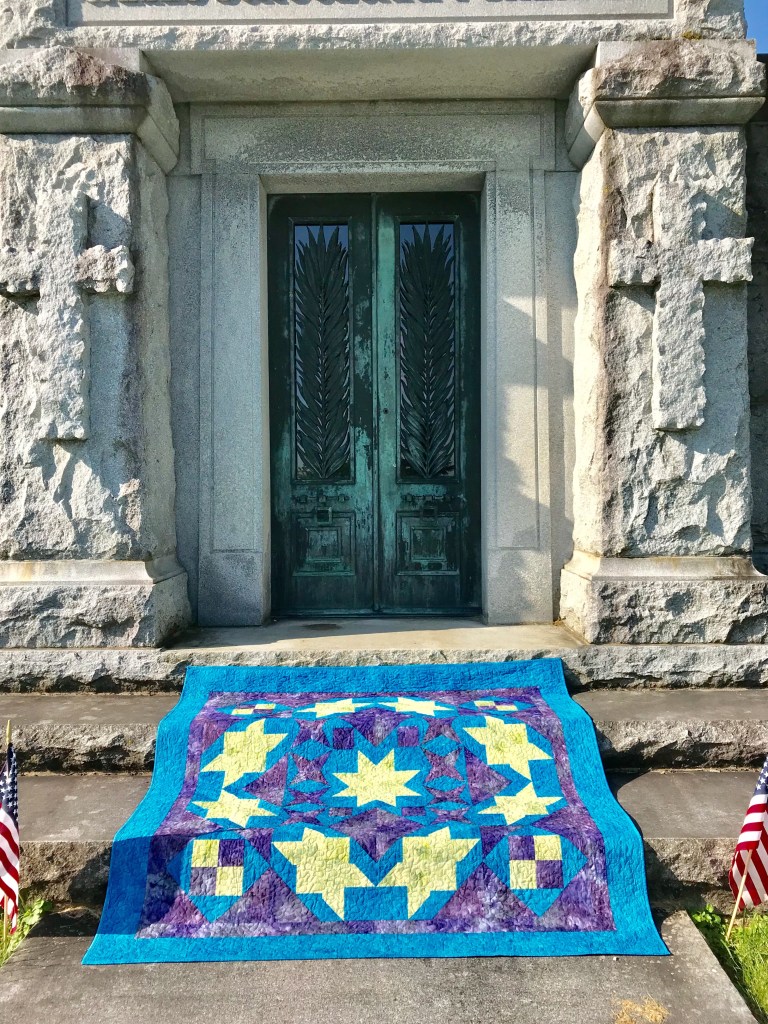
The morning sun was shining through the stained glass.
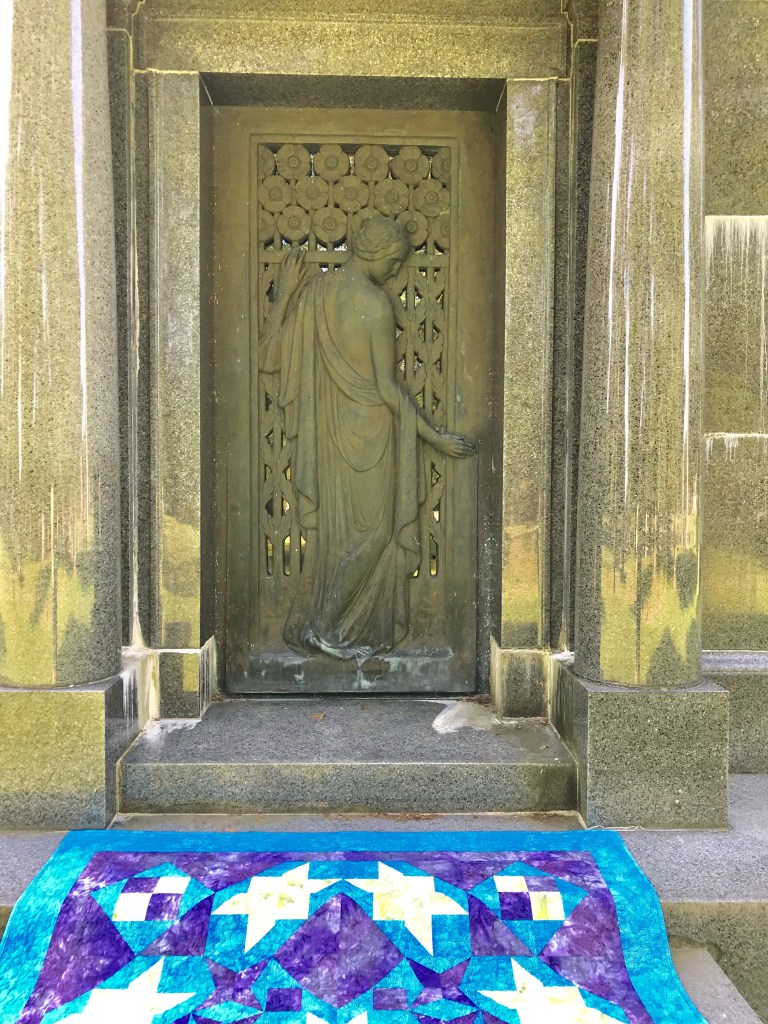
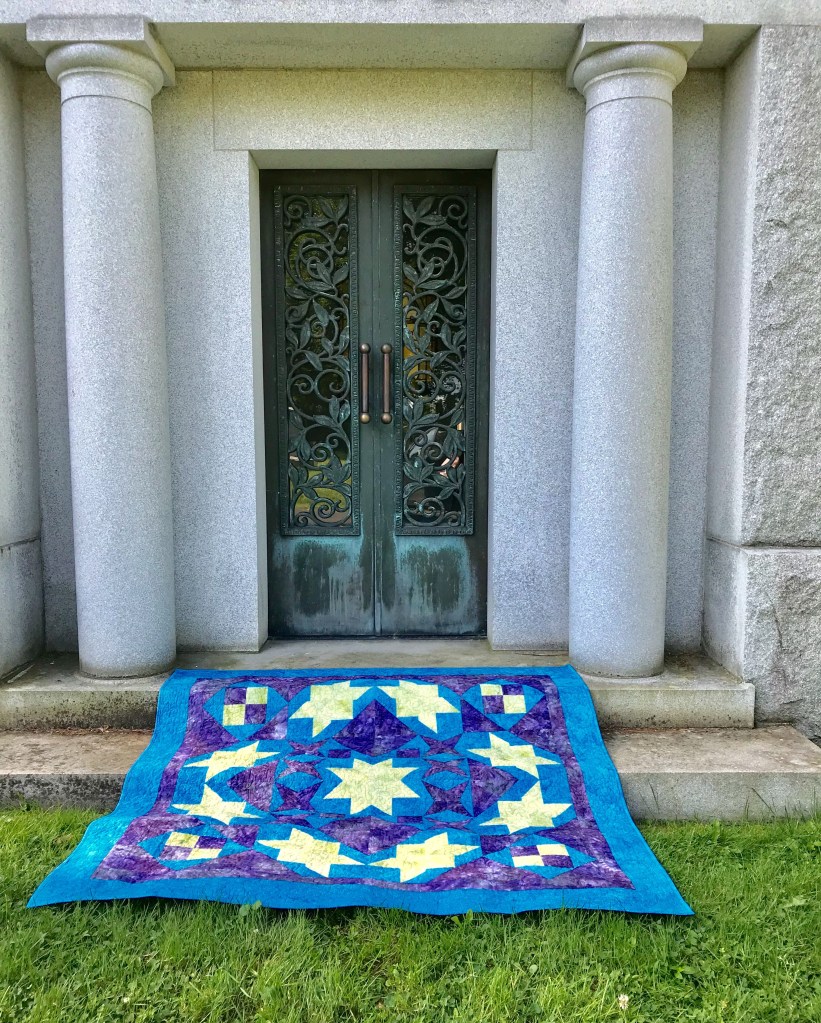
These beautiful brass doors are what gave me the idea to photograph Shooting Stars there.
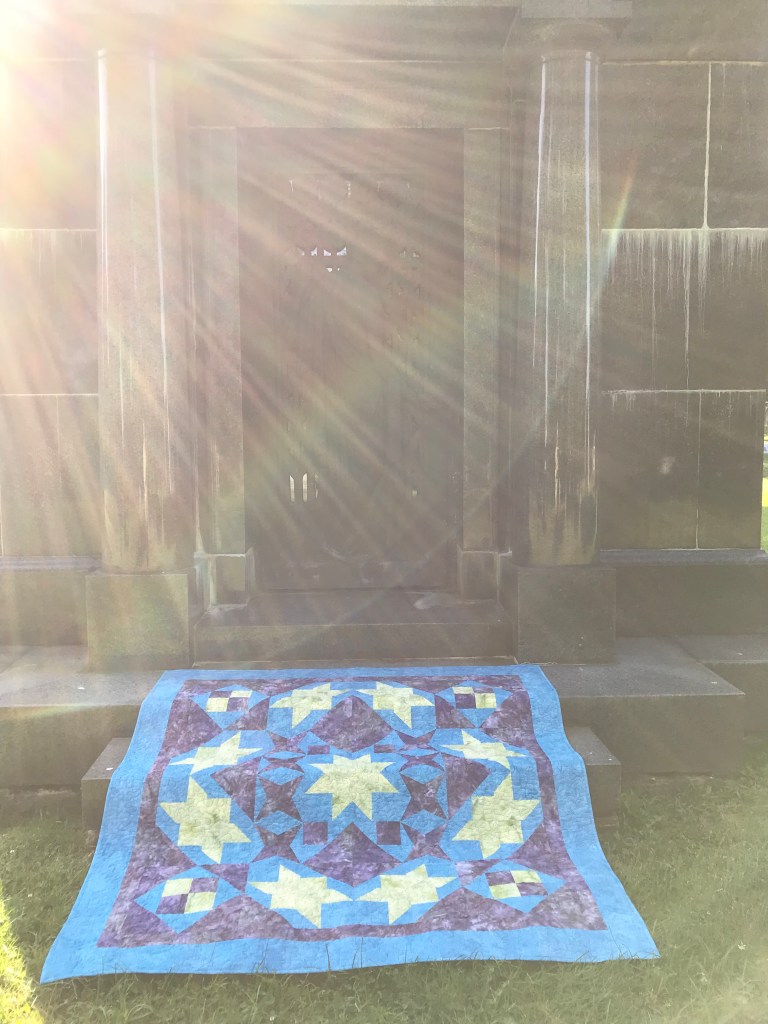
I love the way sun rays were streaming or maybe someone was visiting!
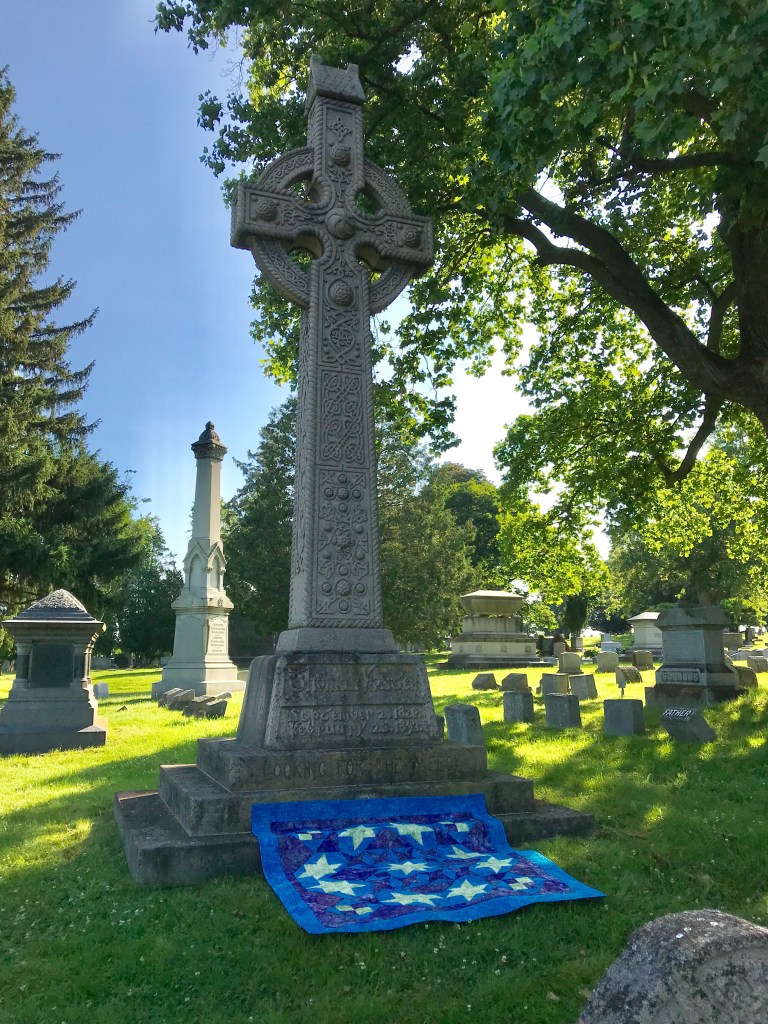
These Celtic Crosses are awesome!
We even have a past Vice President.
I love walking through a cemetery and reading the tributes. If you would like a supply list for Shooting Stars download here.
I have been so busy teaching this Spring, but I did find time today to finish my Grand Illusion’s quilt. Why is it call Grand Illusion? This Studio 180 pattern may look tricky but it is not. It is made up of blocks and sashing in such away that it looks like the blocks are set on point but they are not!
I chose to make this quilt as part of my obsession with Shaded Four Patch units. Can you find them?
Grand Illusion can be made in Twin or Queen sizes and requires the use of Studio 180 Design’s Tucker Trimmer I, Square/Squared and Corner Pop tools.
I love Lemoyne stars, especially when there are no “Y” seams! I have wanted to make this pattern “Lucky Lemoynes” by Deb Tucker since it was released. When you learn Deb Tucker’s process using the Rapid Fire Lemoyne Star Tool you will be able to make a Lemoyne star in 10 sizes from 3″ to 12″ blocks all by strip piecing and NO “Y” seams!
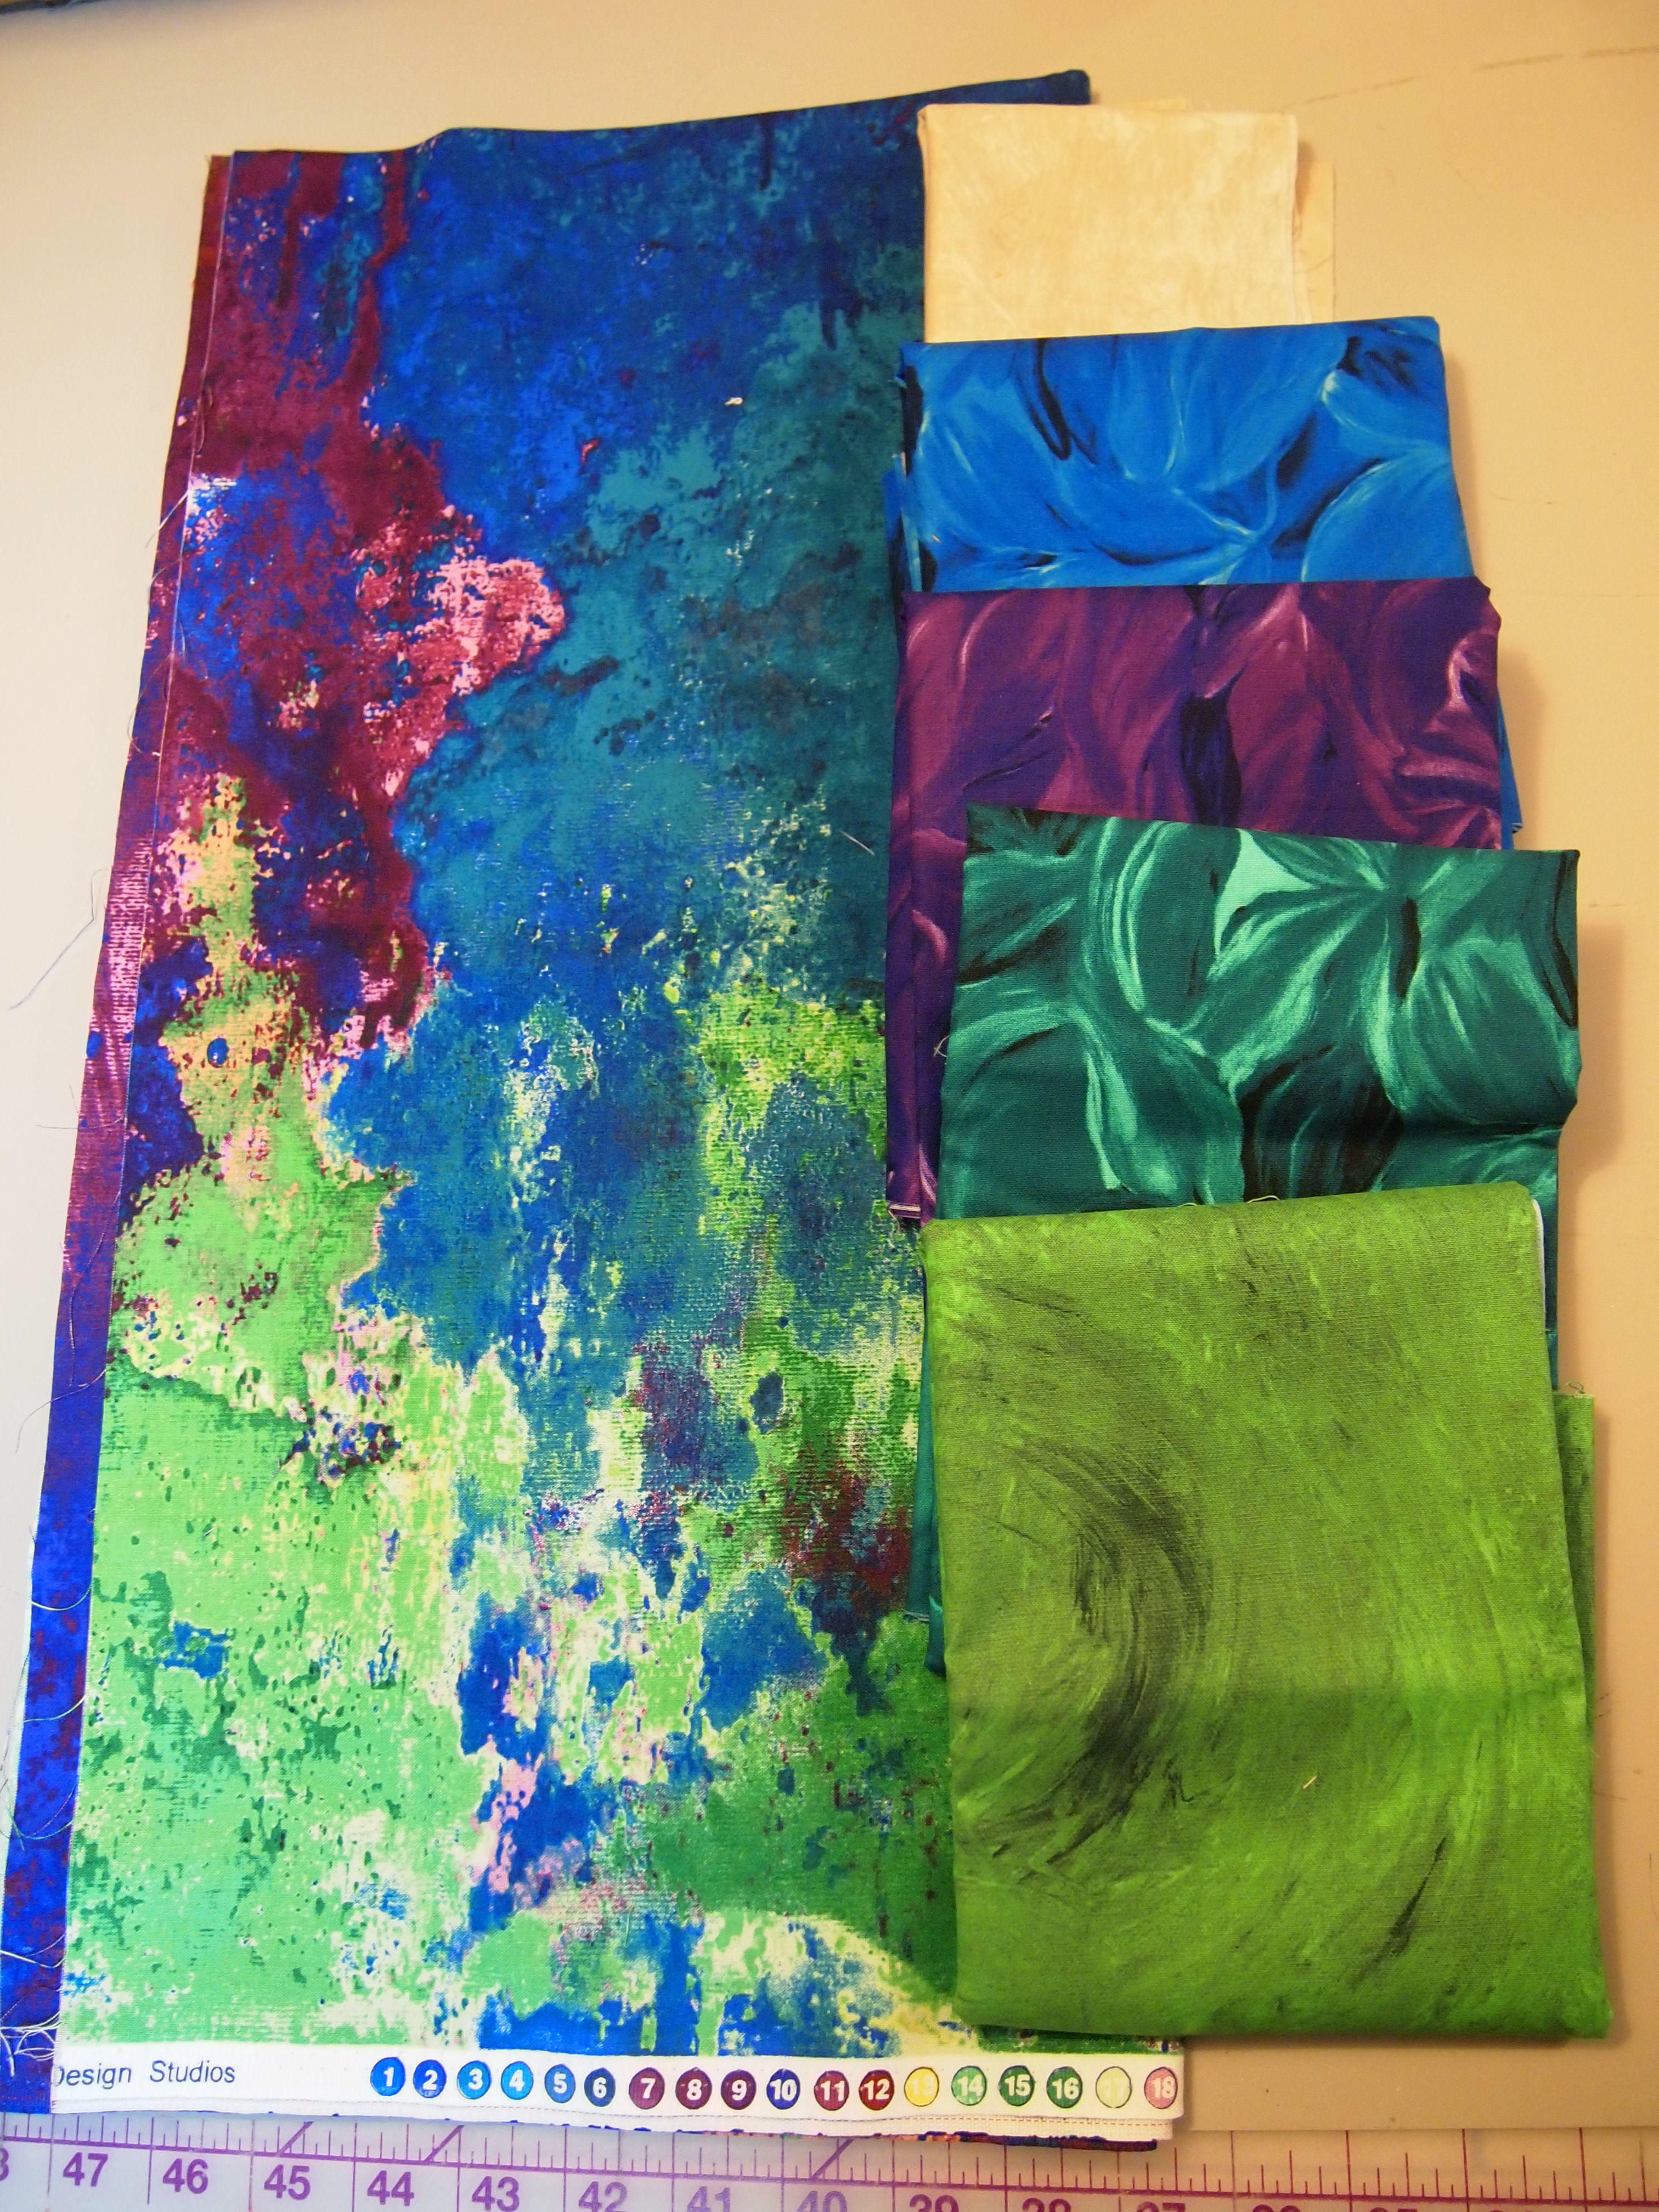
I bought the fabric for it from Delve MIY (Make It Yourself) last August at the AQS show in Syracuse. The fabric is gorgeous. I chose their Plaster of Paris, Zuzu’s Petals & Daydreams IV – Love Blossoms lines.
Fabric by Frond Design Studios
Lucky lemoynes is made with 7″ lemoyne star blocks and Shaded Four Patch units.
Can you identify how the block is put together? Rapid Fire Lemoyne Star and Tucker Trimmer III tools are required fort this project.
Lucky Lemoynes measures 56″ x 70″
I wish I could get outside and get a better picture but the weather is not cooperating today. Carry on and quilt something!
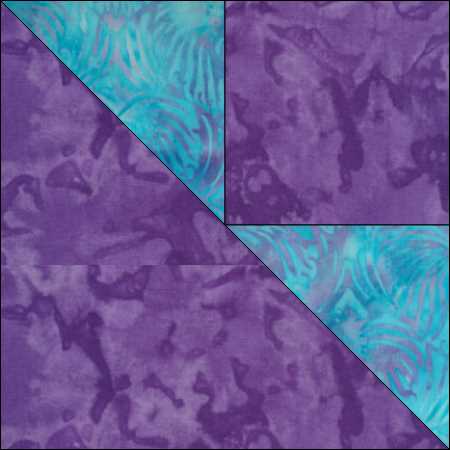
Lately I have been working on Tech Classes for some of the Studio 180 Design Tools. I’m getting ready to teach the Shaded Four Patch and Tucker Trimmer.
I love this basic unit..
Deb Tucker’s Technique Sheet for the Shaded Four Patch gives you fabric requirements for 21 sizes and all the steps needed so you can make these basic units yourself.
Choose the size you want to make and cut 2 narrow strips and two wide strips. Sew along one long edge of each.
Press toward the wide strip.
Pair two of the pieced strips right sides together with the narrow strips on opposite sides.
Trim into units as wide as the narrow strip.
Stitch each pair along one log edge.
Fold each unit in half to find the center and using your scissors snip all the way to the seam allowance.
Press Open.
Place a ruler with a 45 degree angle on the bottom of your unit so the edge lines up where the stitching lines meet as shown above and draw a line horizontally. Rotate your unit and repeat.
Center each marked unit over a large rectangle, (that you cut per the instructions) with right sides together. Stitch on the lines and cut apart.
Press toward the large triangle and trim using your Tucker Trimmer.
Rotate your unit and trim again.
I made this small quilt measuring 42″ x 50″ using only shaded Four Patch Units. You could make this any size you wanted with the instructions included in technique sheet.
I also made this table runner using only Shaded Four Patch Units.
This table runner was also made using only Shaded Four Patch units. It’s all about color and how you position your units.