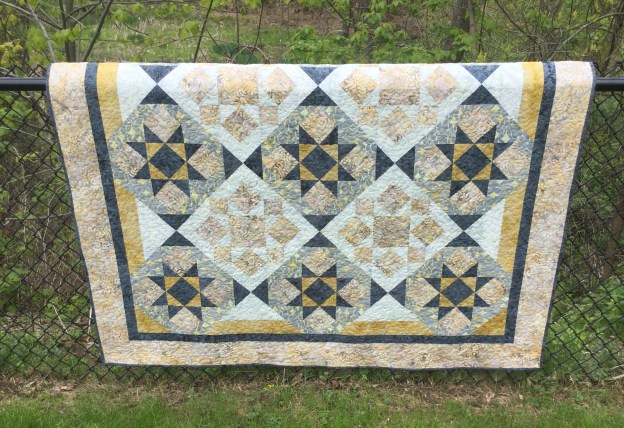
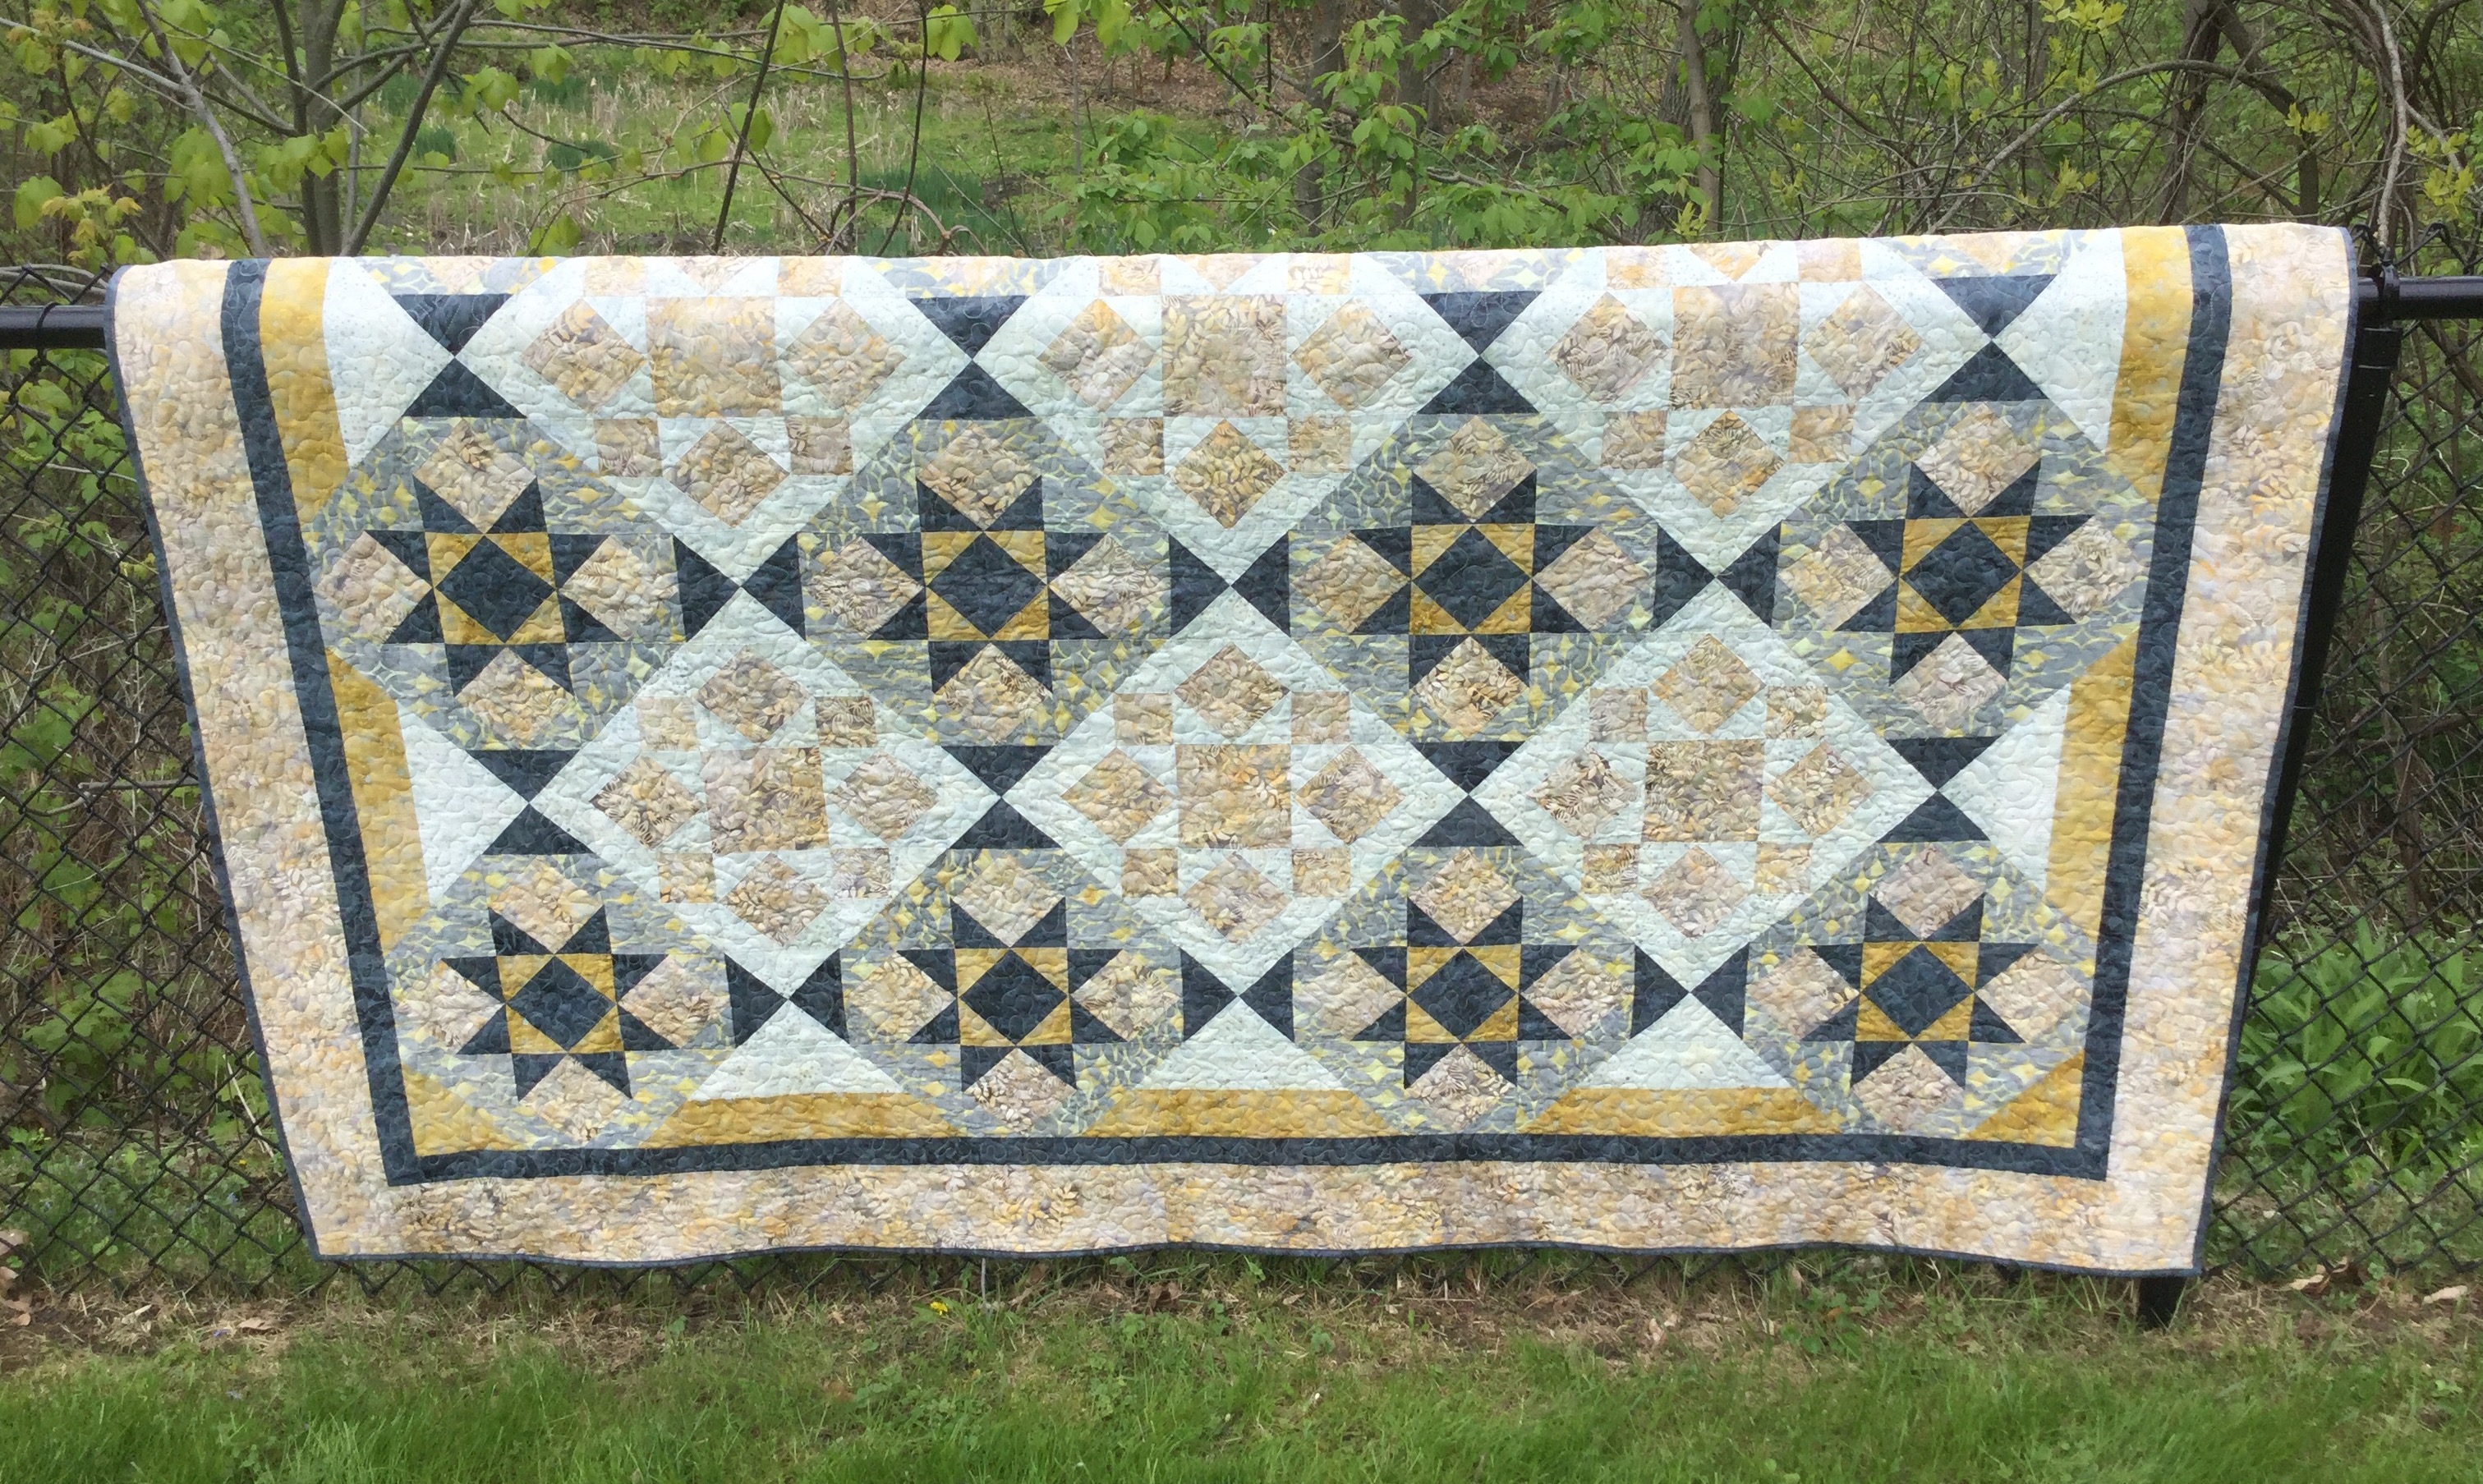
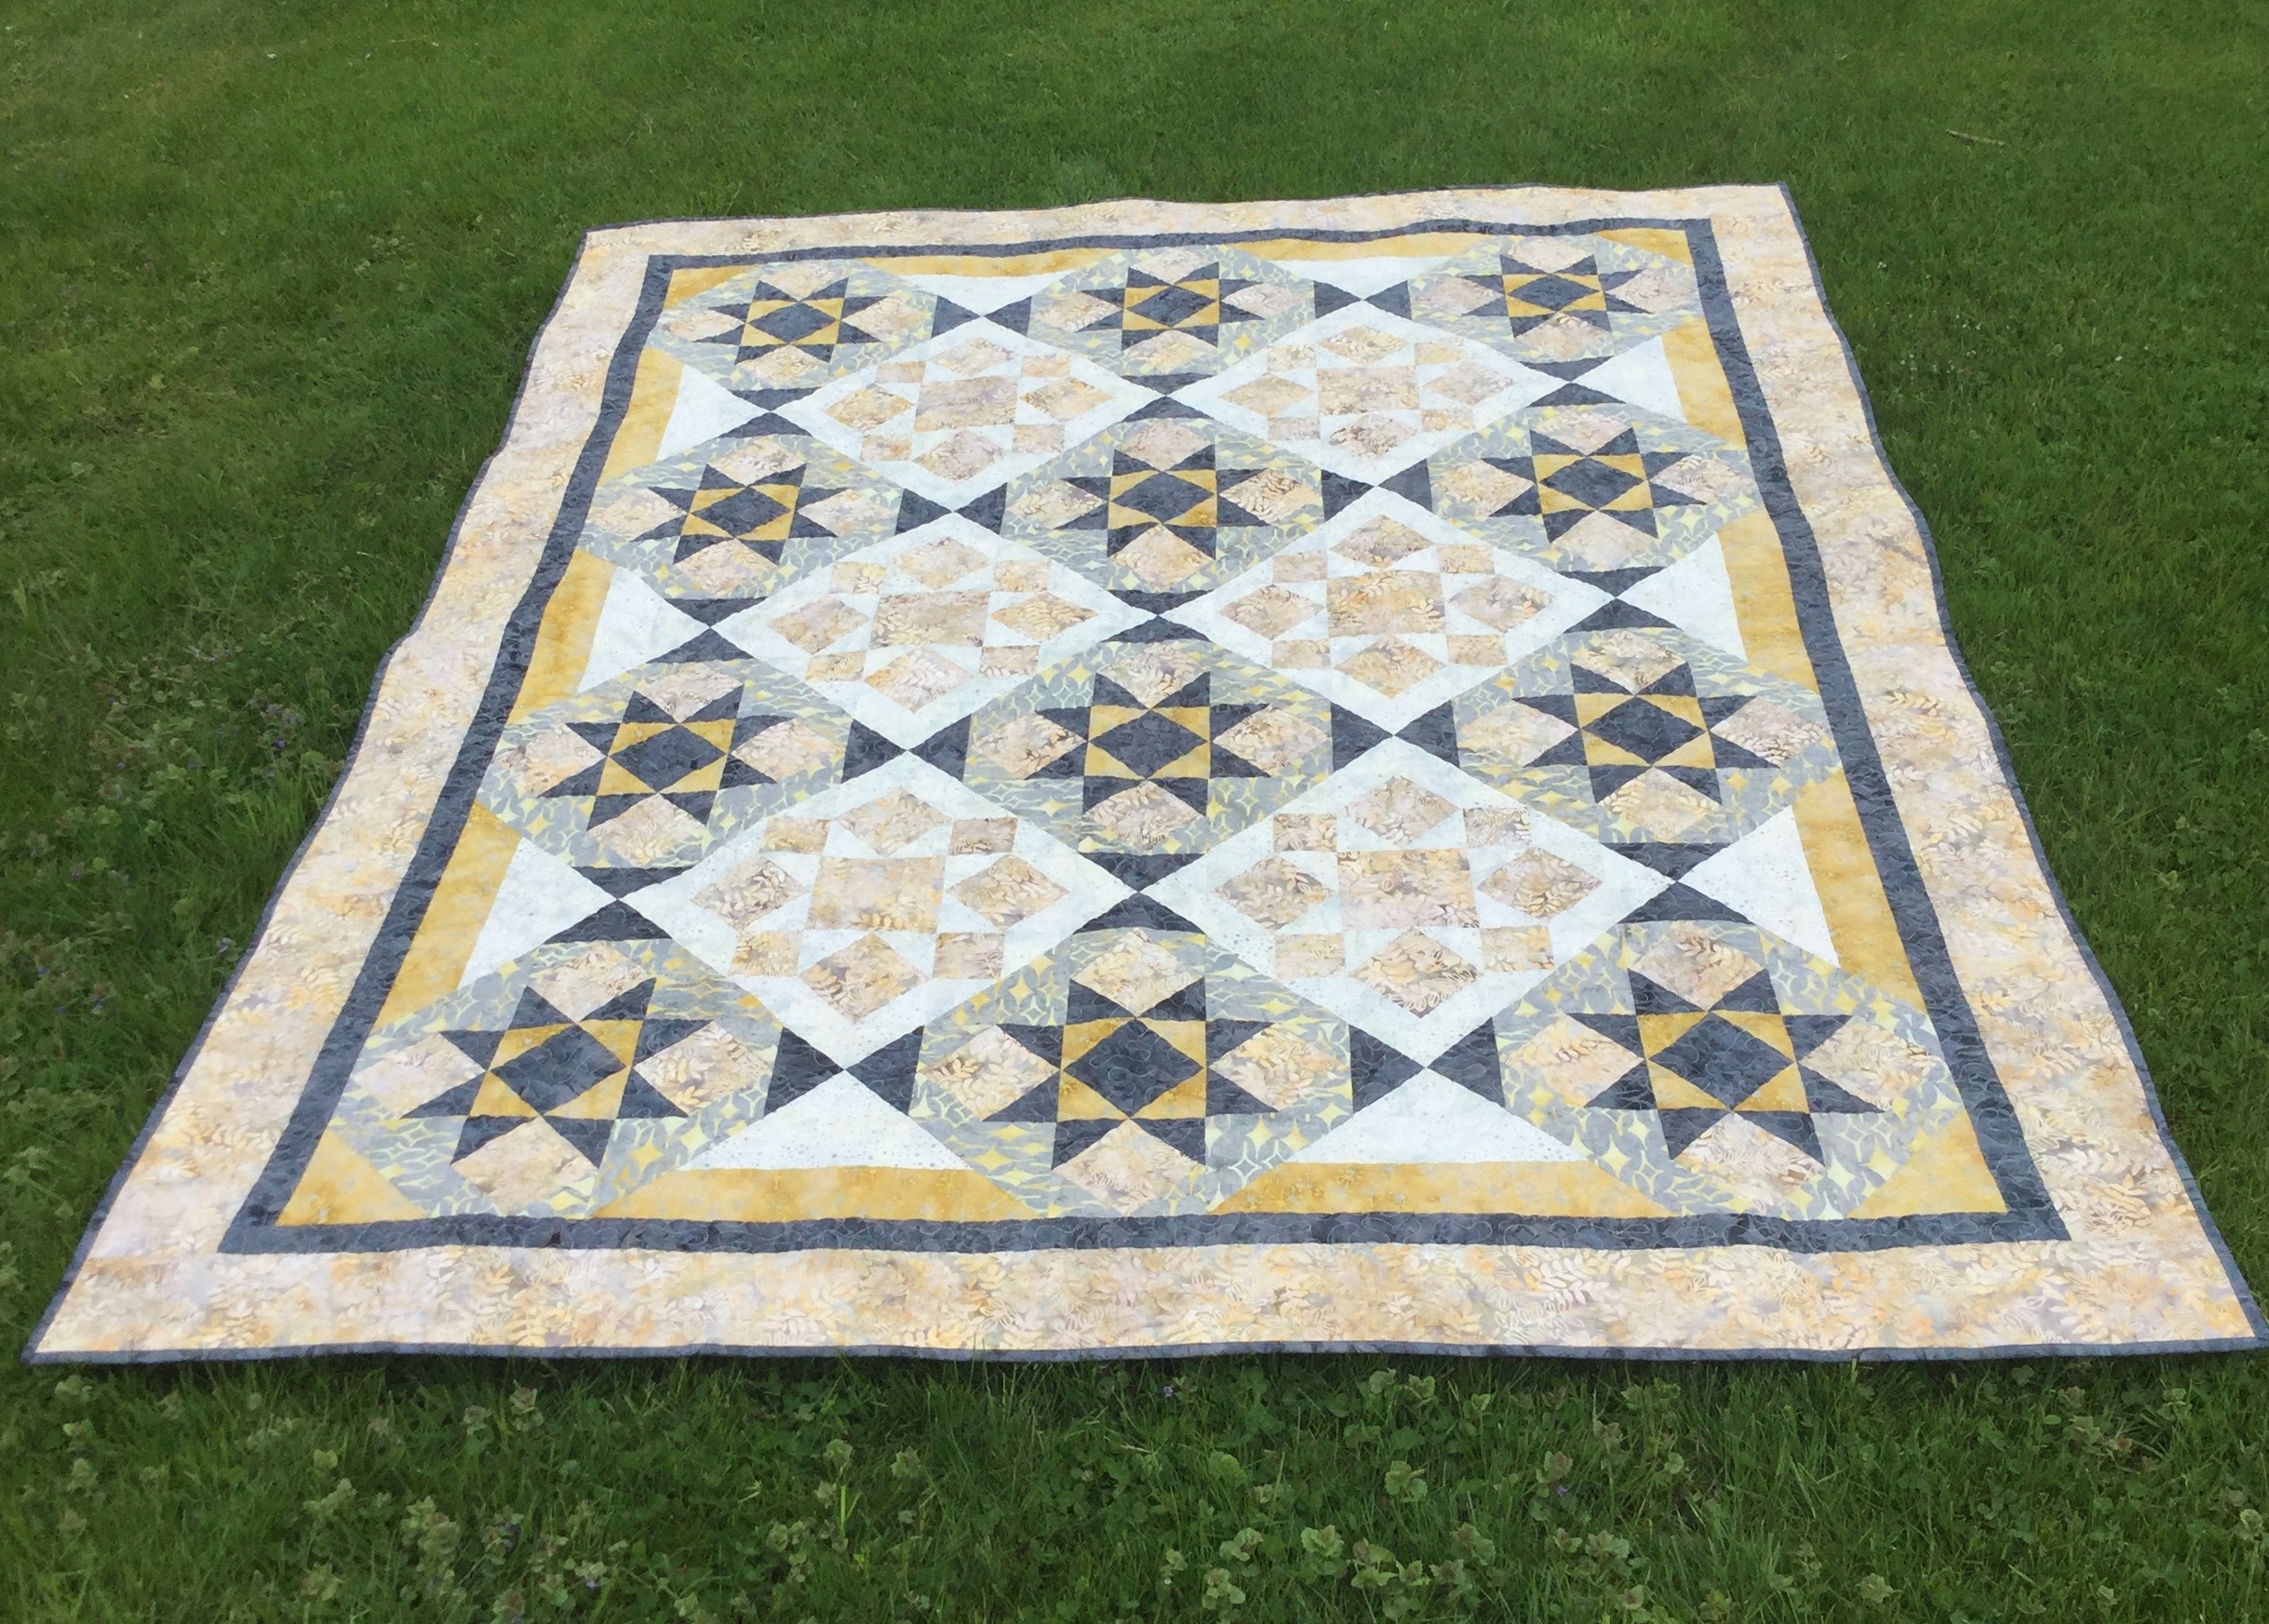
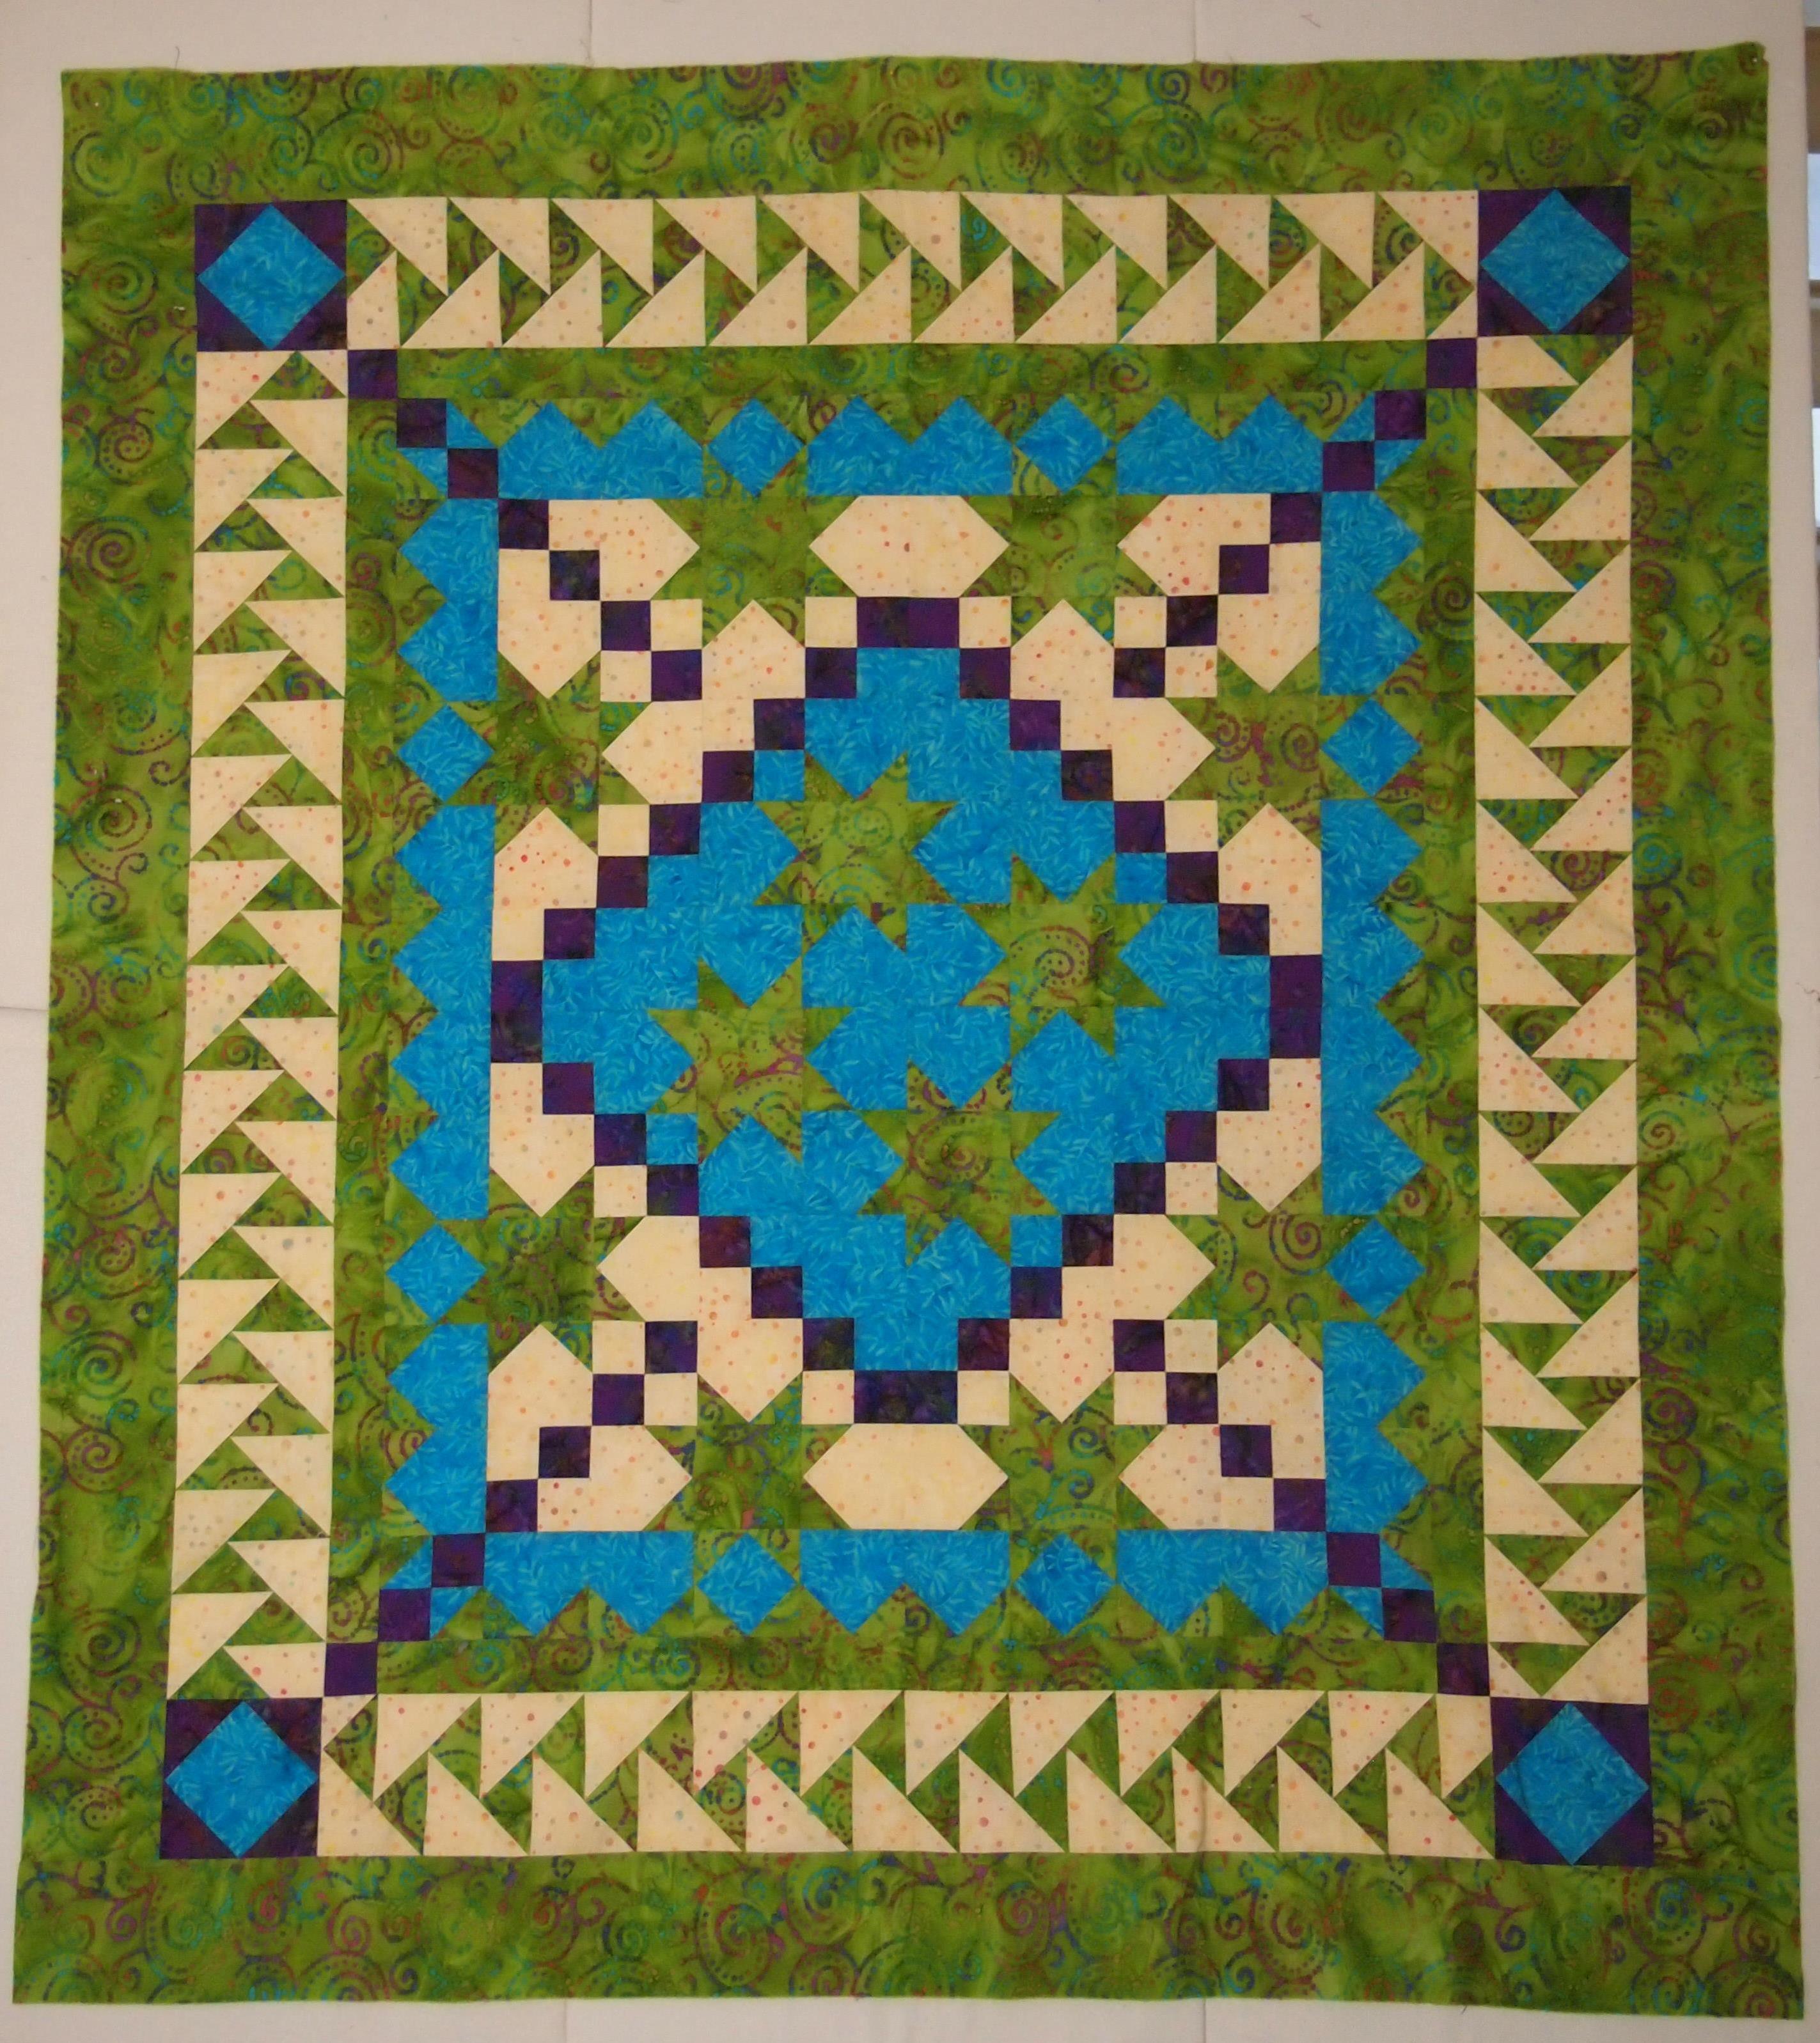
I made this quilt for my sister Mary. She came with me to every doctors appointment and every cancer treatment for nine months. Mary had to wait in the car during these (winter) appointments because of COVID restrictions. She loves this pattern and I was so happy to make it for her.
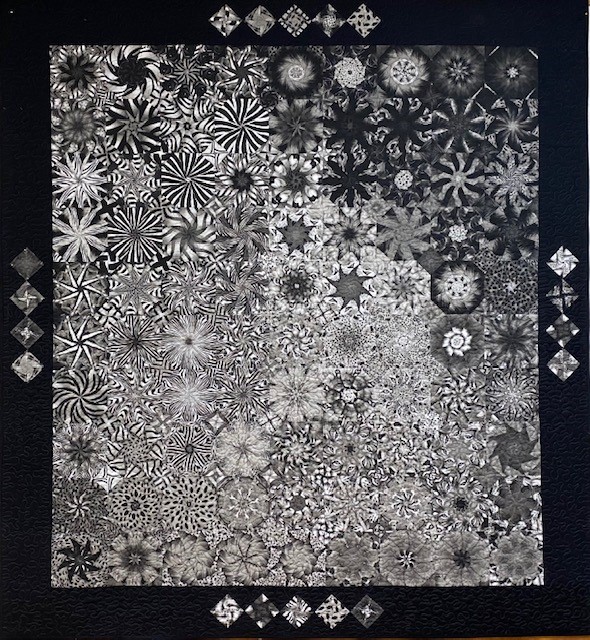
I just finished quilting “Lion Eyes” Octagonal One Block Wonder. I had 18 Sensational Squares sets left over.
Remember, Sensational Squares are the triangles that fill the space between the octagons.
I wanted to add the left over Sensational Squares to the borders of the quilt.
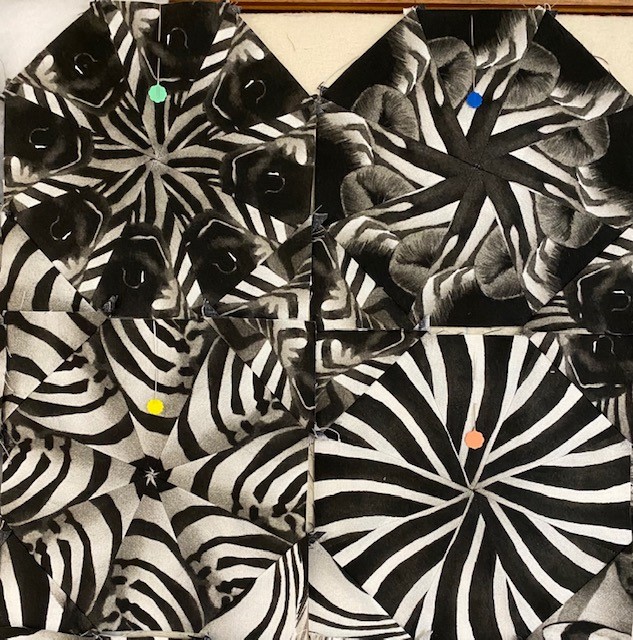
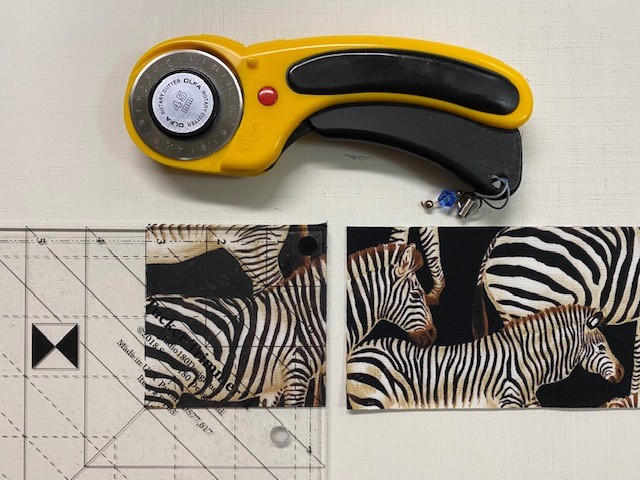
I made my Sensational Squares into Square/Squared units using my Studio 180 Design Square/Squared tool.
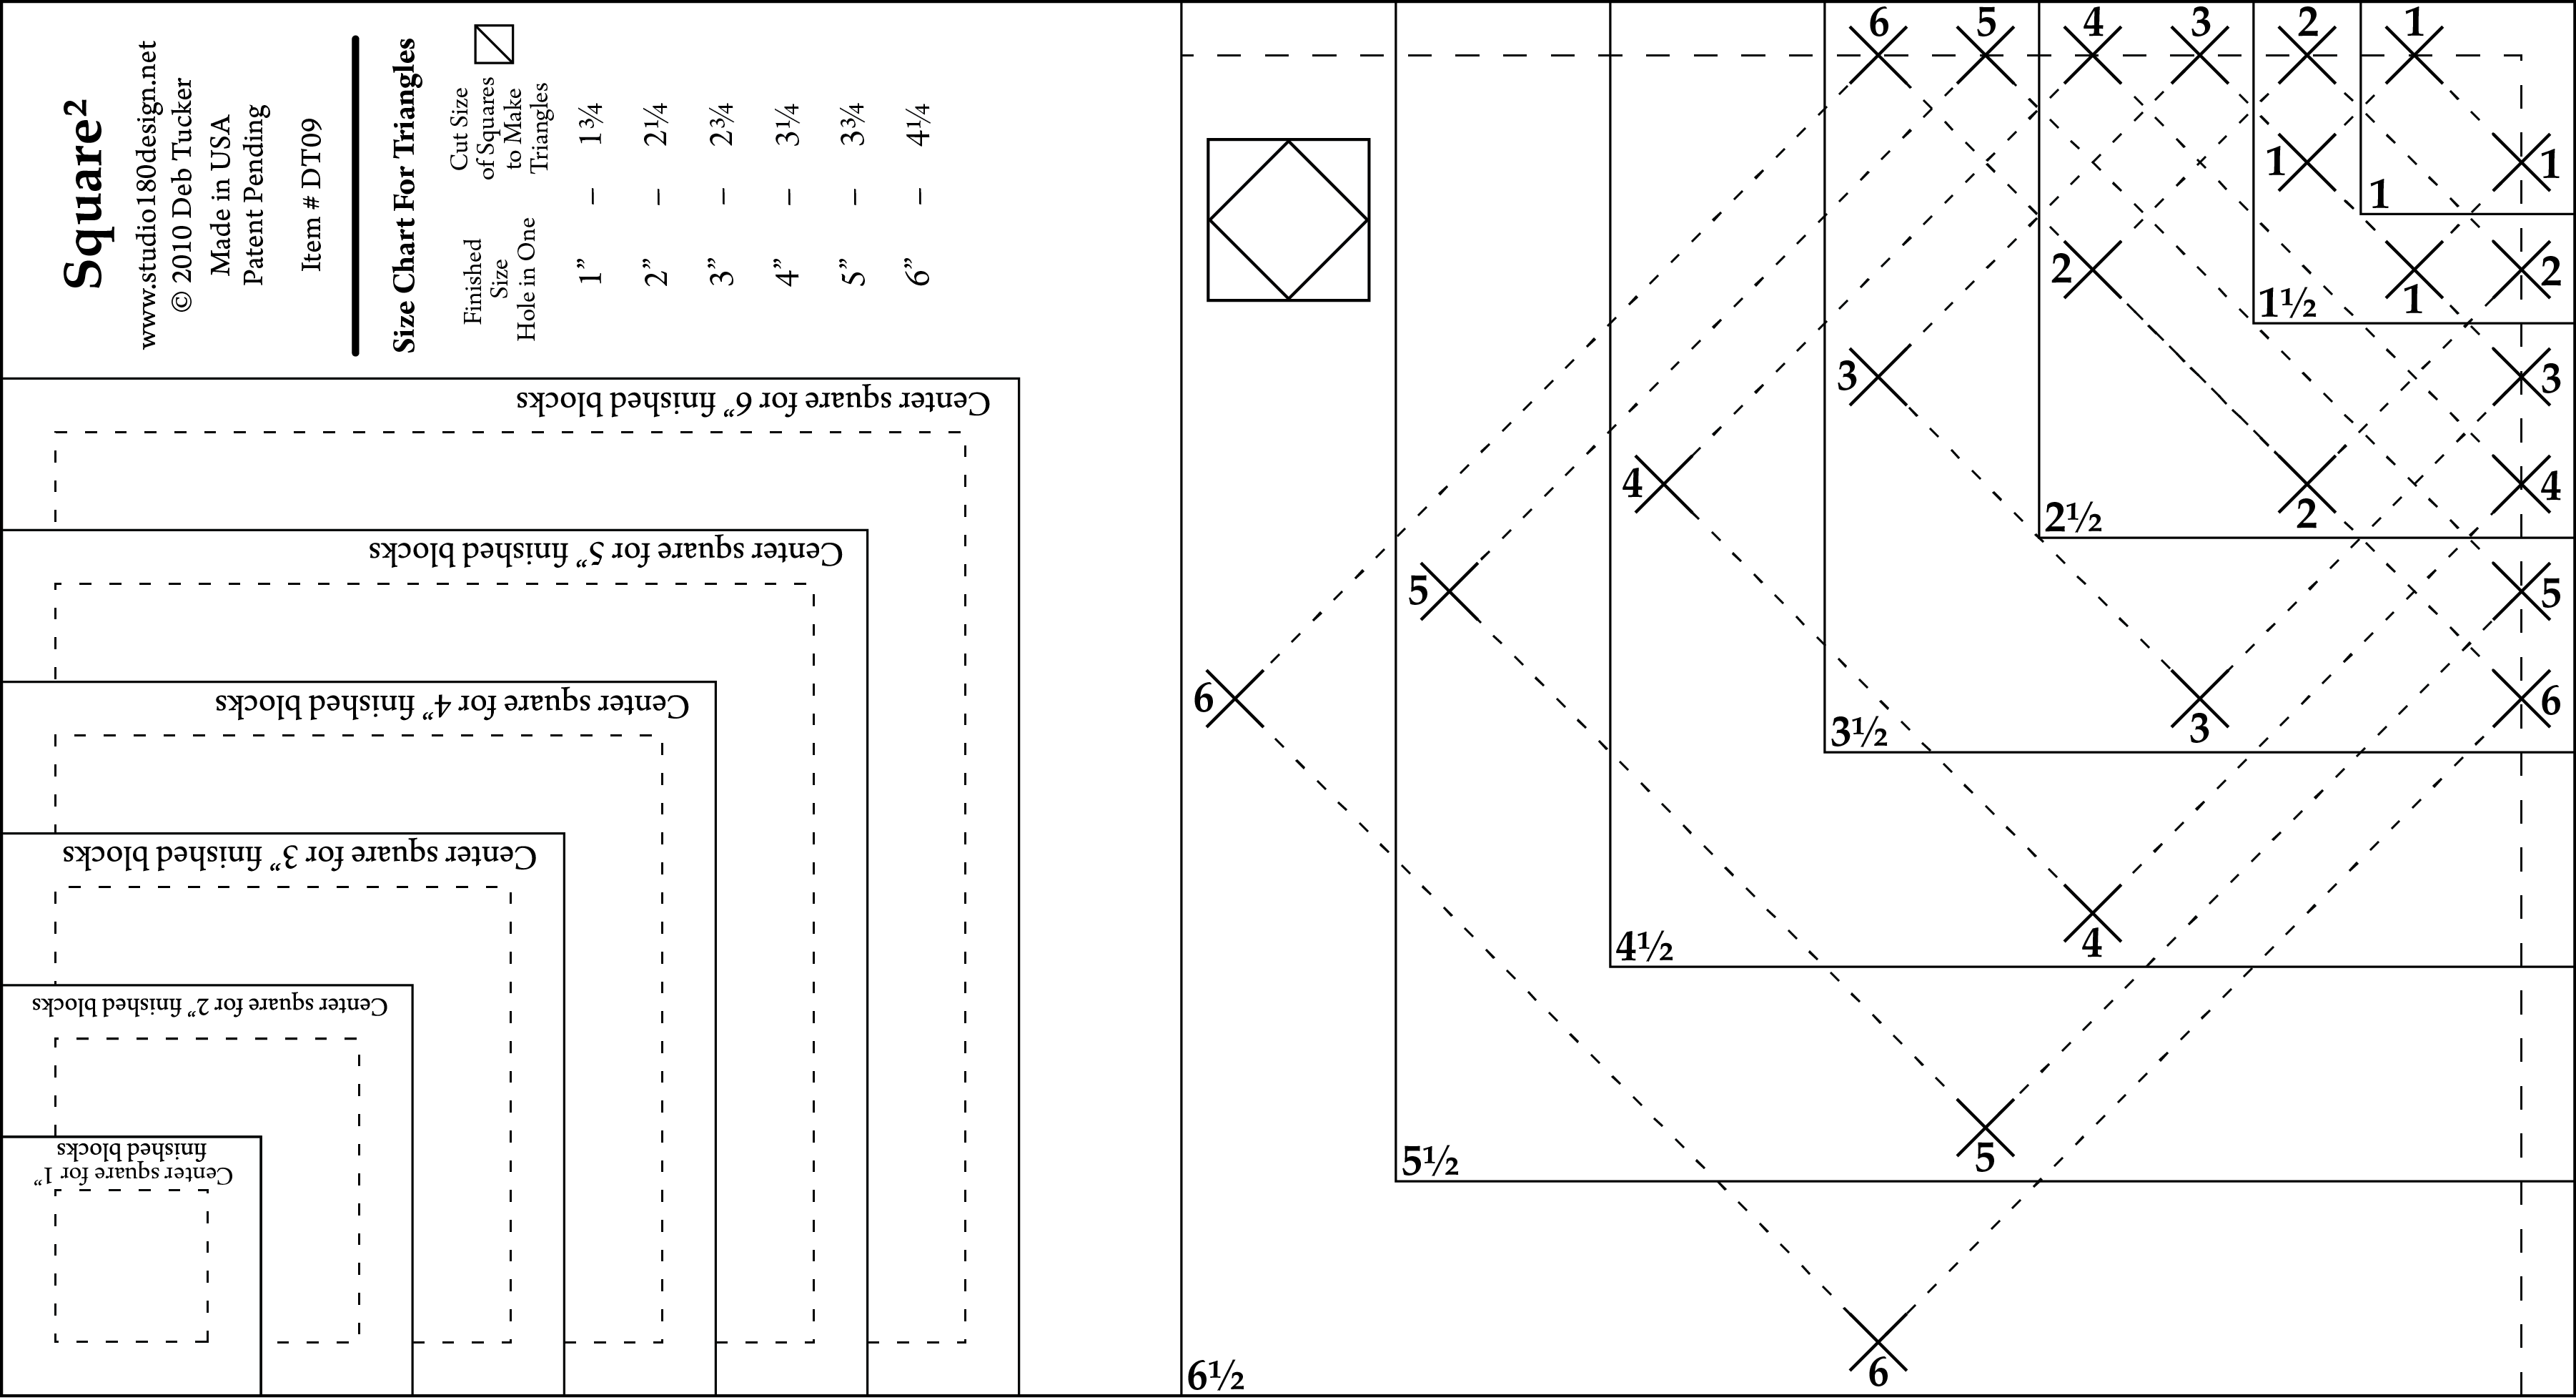
There are 3 parts to this tool.
TheCenter Square Section, which gives you a series of squares that are precisely drafted so that their diagonal measurement is exactly the finished size of the Square²™ unit.
The Trim Down Section gives you guide lines to align with the seams of the pieced Square²™ unit so you can trim each to a precise size with a proper ¼” seam allowance on all sides.
The Size Chart for Triangles gives the recommended size squares to cut that when cut in half diagonally will yield two slightly oversized triangles for constructing the unit.
Note: The fabric in the photo is different from the Lion Eyes.
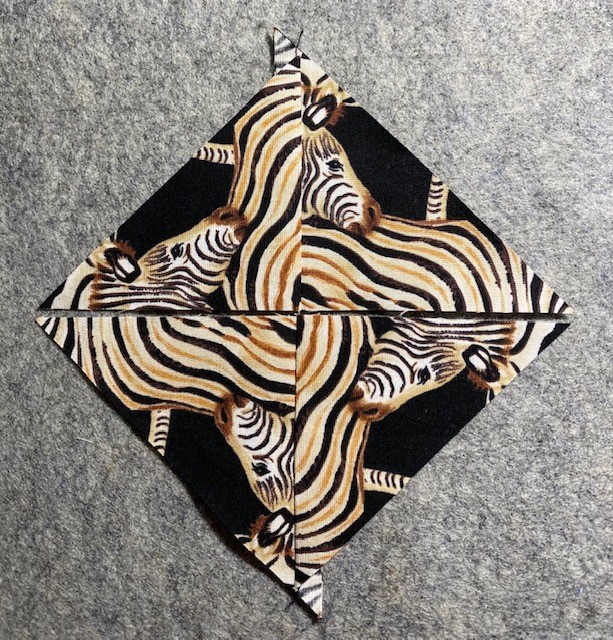
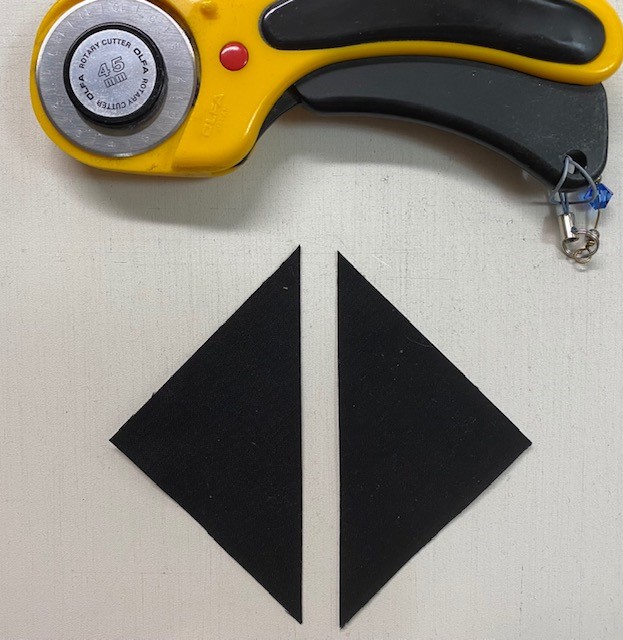
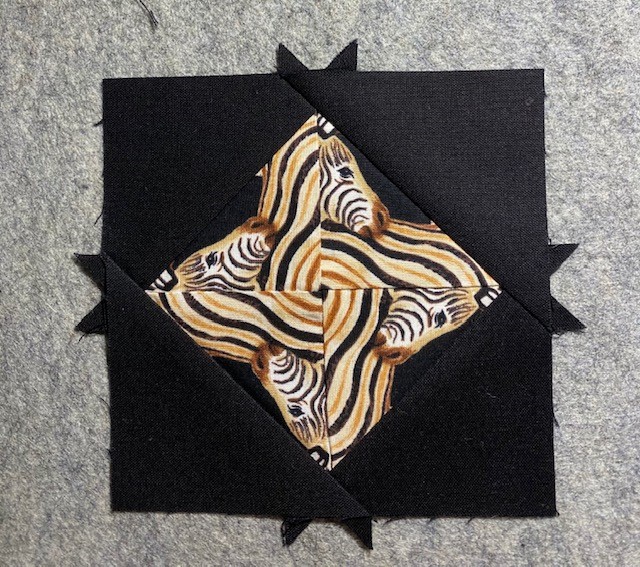
Per my Wedge Star Instructions I had cut my Large Wedges from 4″ strips and my Corner Squares from 3″ strips (you must have at least 4 aligned repeats). Cut 3″ square sets.
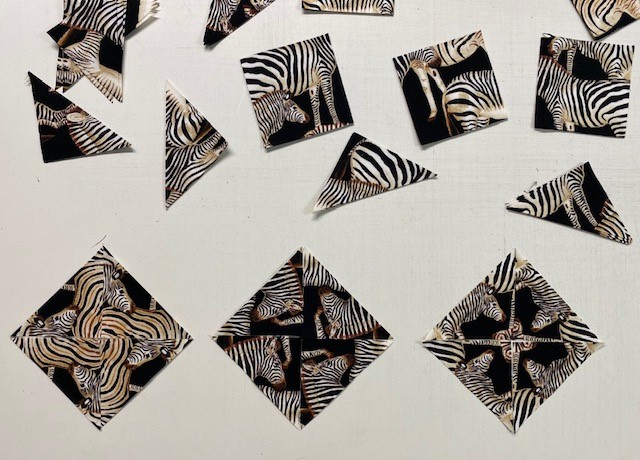
Cut your square sets once diagonally.
Each stack of 4 half square triangles will give you one 4 Patch Posie.
Stitch 2 triangles together and press the seams the same way on both halves.
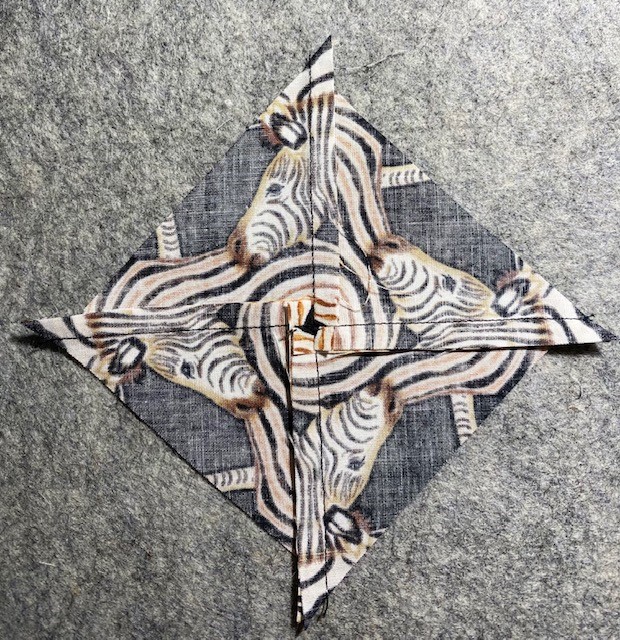
The seams will nest when stitching the halves together.
Swirl the seams and press.
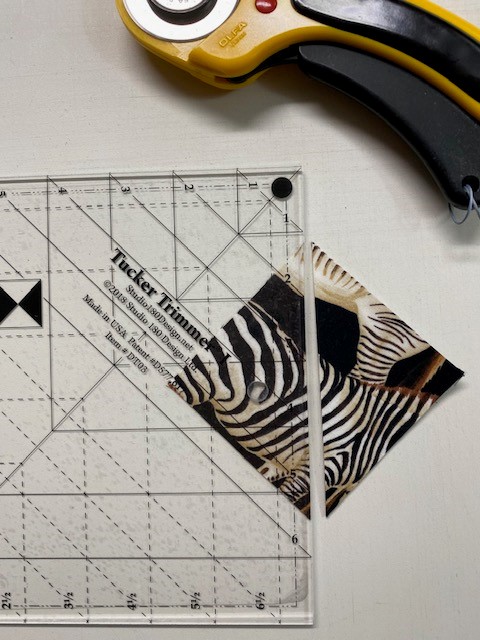
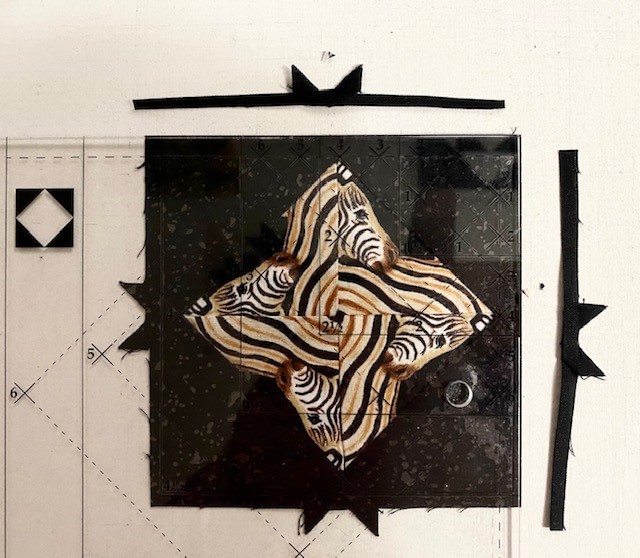
Use your Square²™ ruler to precision cut your center squares from your 4 Patch Posie. I lined up the diagonal line on the tool with the diagonal seam centering the lines for a 4″ finished square making sure I had fabric to trim on all 4 sides. Trim up the side and across the top. Rotate the unit lining up the just trimmed sides with the size lines and the diagonal line with the diagonal seam and trim up the side and across the top. The Square²™ unit looks great with a fussy cut square in the center or simply cut chosen fabric as usual. Just remember that this square will be diagonal in the pieced unit.
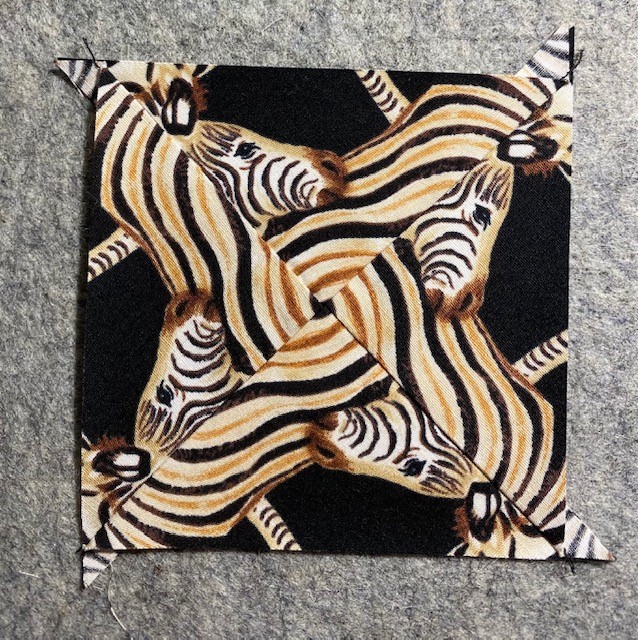
The 4 Patch Posie is now trimmed and ready for oversized triangles.
Check the chart on the Square/Squared Tool for strip size to cut squares for side triangles. I’m making 4″ finished units so I cut my strips from a folded strip 3 1/4″ wide.
Cut once diagonally.
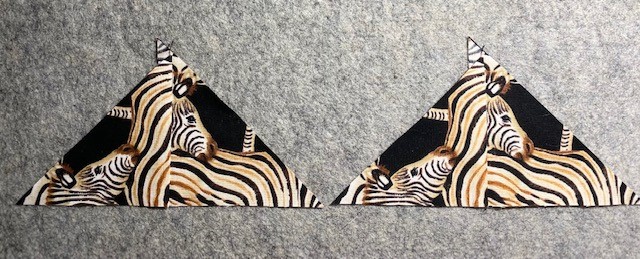
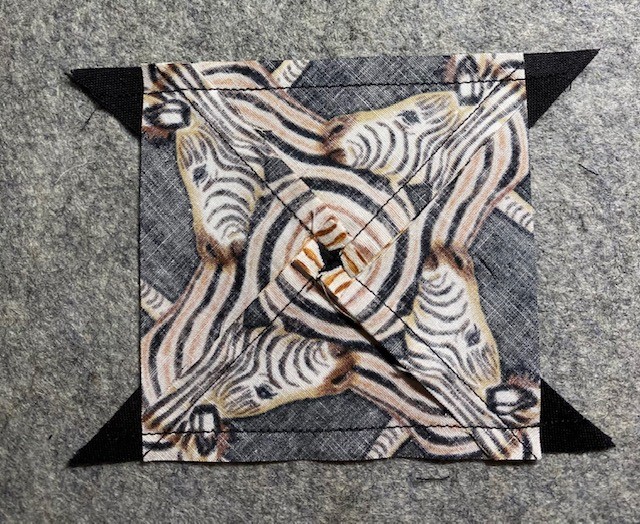
Position two triangles on opposite sides of the center square. No need to fuss with matching the middles as the triangles are larger than they need to be. Just basically center them and try to keep the raw edges aligned.
Press seams away from the center square.
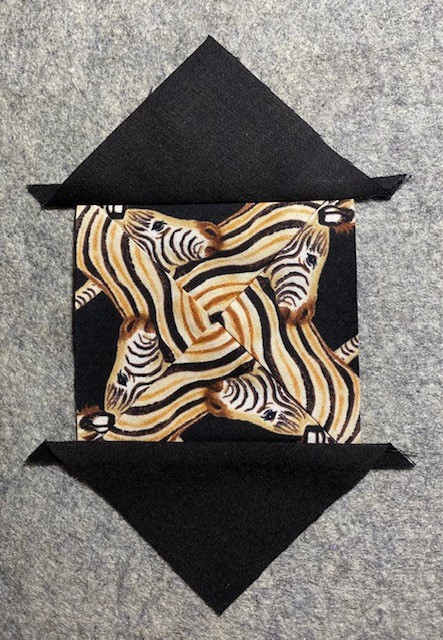
Position remaining two triangles on the remaining two sides of the center square. Again, don’t fuss too much with aligning the centers, just get them close. Stitch and press the triangles away from the center square.
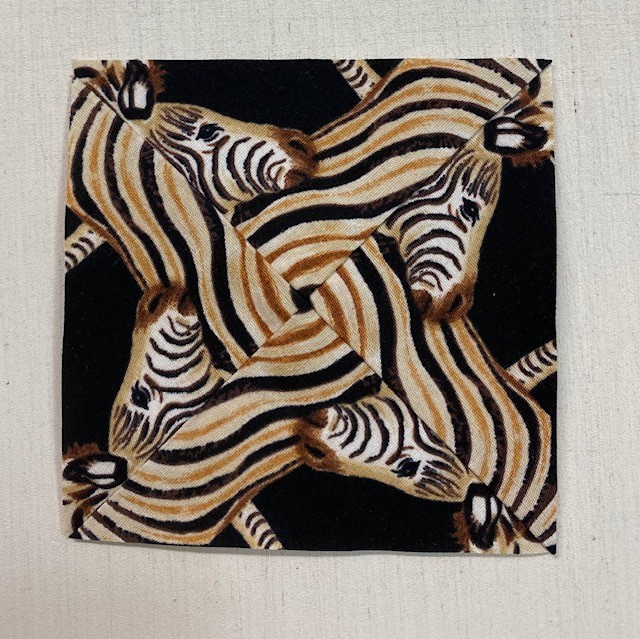
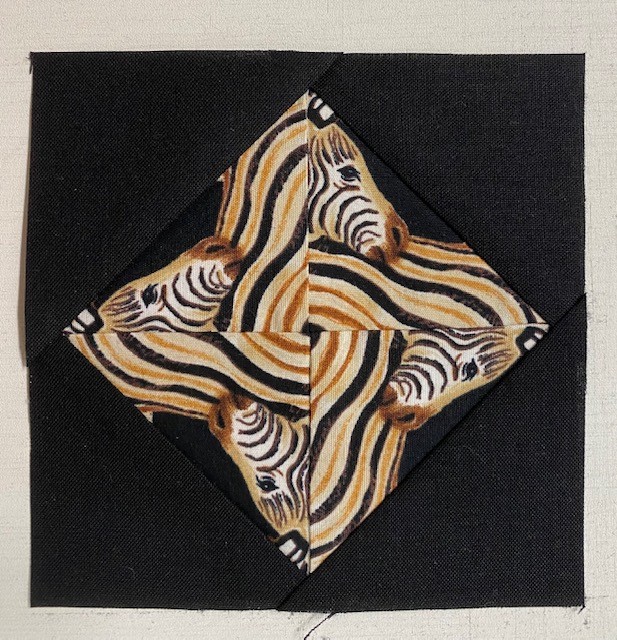
Ready for the trim.
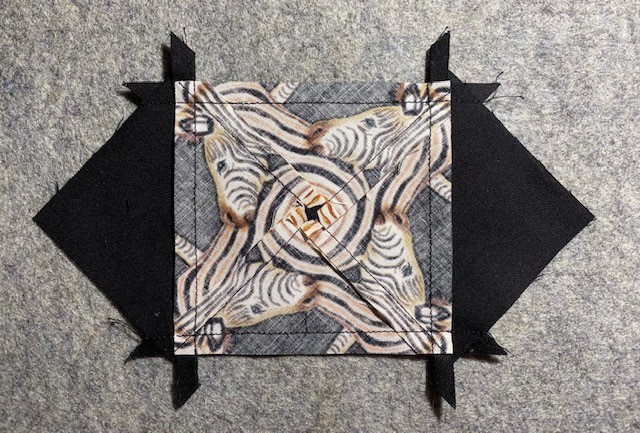
Position the Trim Down Section of the Square²™ ruler over the pieced unit. Focus on aligning the “X’s” for your particular finished size unit over the sewn seams. If they do not line up exactly, simply center the ruler over the area by finding the middle ground of all four marks. Trim up the side and across the top. For the second cut, rotate the unit, position the ruler on top of unit again lining up the “X’s”, and also lining up the cleanup lines on the ruler with the edges previously trimmed.
This ensures that you end up with a square that has proper ¼” seams on all sides and is exactly the correct size to use in your quilt project. I added 1″ strips to two sides of the units to make the units measure 4 1/2″ by 6 1/2″. I did this so when I add the binding I won’t lose the points on my square/squared unit. Measuring the correct lengths I cut the 6 1/2″ strips to add to my border additions.
The Square/Squared tool makes finished diamond in square units in six sizes from 1″ to 6″. If you require mores sizes you can purchase the Large Square/Squared Tool which can make them in sizes from 1″ to 12″.
I’m sitting here in Tuckerville, watching TV, looking at my ceiling. I pin orphan blocks on my drop ceiling.
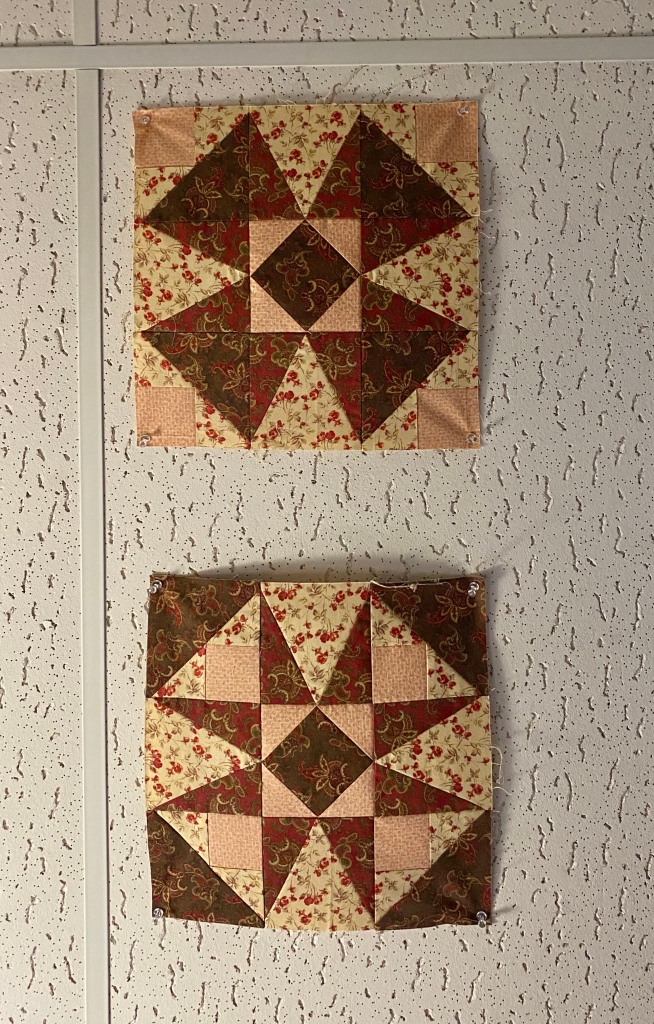
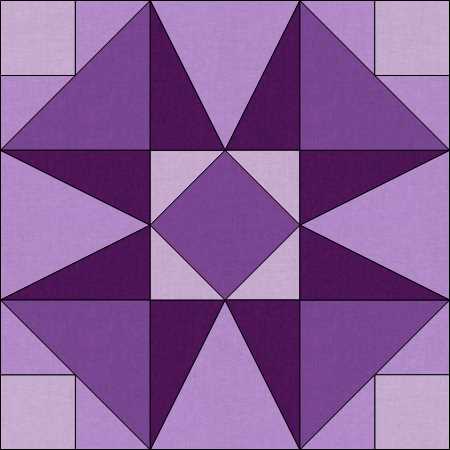
Two of a Kind
These two blocks are made from the same fabric and units. They both have a Square Squared for the block center, 4 V Block units for the star points and 4 Shaded Four Patch Units (with the Tucker Trimmer I) in the block corners. The top block has the Shaded Four Patch unit small square facing out, while the bottom block has the Shaded Four Patch unit small square facing in. Two very different looks from the same block.
As I stared at these blocks on the ceiling I wondered what the secondary design would be if I put them in a quilt. Time to break out EQ8!
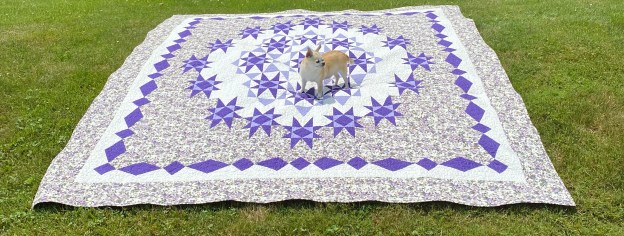
I used shades of purple and lavender because I thought my sister may like it. This is pretty cool. EQ8 is fun to use and brings quilt designs to life. Time to break out my Studio 180 Design tools get busy!
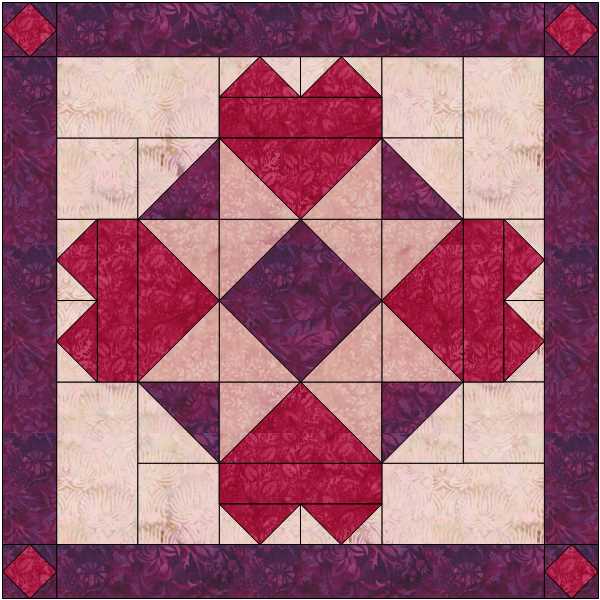
Last Valentines day I posted my Hearts Abound Wall Hanging for Island Batik. Today I taught this class and posted the photo of the wall hanging again. Everyone wants the supply list, So I am posting it here. Remember I’m a Dyed in Wool, Drank the Kool Aid Studio 180 Design Certified Instructor and this Supply List is based on Studio 180 Design Tools: Square Squared, Wing Clipper I, Tucker Trimmer I & Magic Wand. Enjoy
I have been so busy teaching this Spring, but I did find time today to finish my Grand Illusion’s quilt. Why is it call Grand Illusion? This Studio 180 pattern may look tricky but it is not. It is made up of blocks and sashing in such away that it looks like the blocks are set on point but they are not!
I chose to make this quilt as part of my obsession with Shaded Four Patch units. Can you find them?
Grand Illusion can be made in Twin or Queen sizes and requires the use of Studio 180 Design’s Tucker Trimmer I, Square/Squared and Corner Pop tools.
Not that I have anything against paper piecing, but…if I can get the same results without having to paper piece, I’m all for it! Earlier this year Deb Tucker introduced her new tool “The Large Square Squared” and it is teriffic! It operates like the original Square Squared, but the original was limited to 6 sizes whereas the large Square Squared gives you high precision for 12 different size units from 1″ to 12″. As always it offers minimal waste and right & left handed instructions. With it’s improved guidelines it takes two tools, Part A and Part B to accomplish all this.
But wait, there’s more! Deb has a new pattern about to be released called Peach Melba. It is a Studio 180 Design companion pattern for the Large Square Squared tool that makes a beautiful pineapple block.
I only have one block done so far. But with this great Kaffe Fassett fabric I can’t wait to finish it. This is a 12″ finished block. The Large Square Squared tool made the process easy. I would never have guessed I could make a pineapple quilt so perfect with out paper piecing! The pattern gives you the choice of Lap, Twin or Queen size quilts.
I did finish “Filigree” another Studio 180 Design companion pattern for the Large Square Squared & Corner Beam tool. It was design by fellow Certified Instructor Sarah Furrer. This pattern also gives you the choice of Lap, Twin or Queen size quilts.
Filigree
I made the Lap size, 54″ x 70″. I love this pattern. It is a great way to get to know your new Large Square Squared tool.
There are only two blocks. The first is the Snail Tail that uses the Large Square Squared tool, the second uses the Corner Beam tool.
See why I call it perfectly paperless piecing? What a beautiful back of a block! Both Peach Melba & Filigree are not yet released, so be sure to sign up for the Studio 180 Design Newsletter at www.studio180design.net so you get news first.
Fellow Studio 180 Design Certified Instructor, Michelle Hiatt has also just released a new companion pattern for the Large Square Squared and Diamond Rects tools called Jenn’s Journey!
You can find Jenn’s Journey at many local quilt shops or go to Michelle’s Etsy shop “Sew On the Go“.
I have my fabric picked out and ready to cut for Jenn’s Journey!
I’m getting ready for some upcoming trunk shows and decided to make some Studio 180 Design Tool samples. There are 8 Fundamental Tools (not counting Tucker Trimmer 2 & Wing Clipper 2). The Tucker Trimmer 1 makes Half Square Triangles, Quarter Square Triangles & Combination Units in 11 sizes from 1 inch to 6 inches.
Above are Quarter Square Triangles in 11 sizes.
The Wing Clipper 1 makes Flying Geese in 10 sizes from 1 inch to 10 inches.
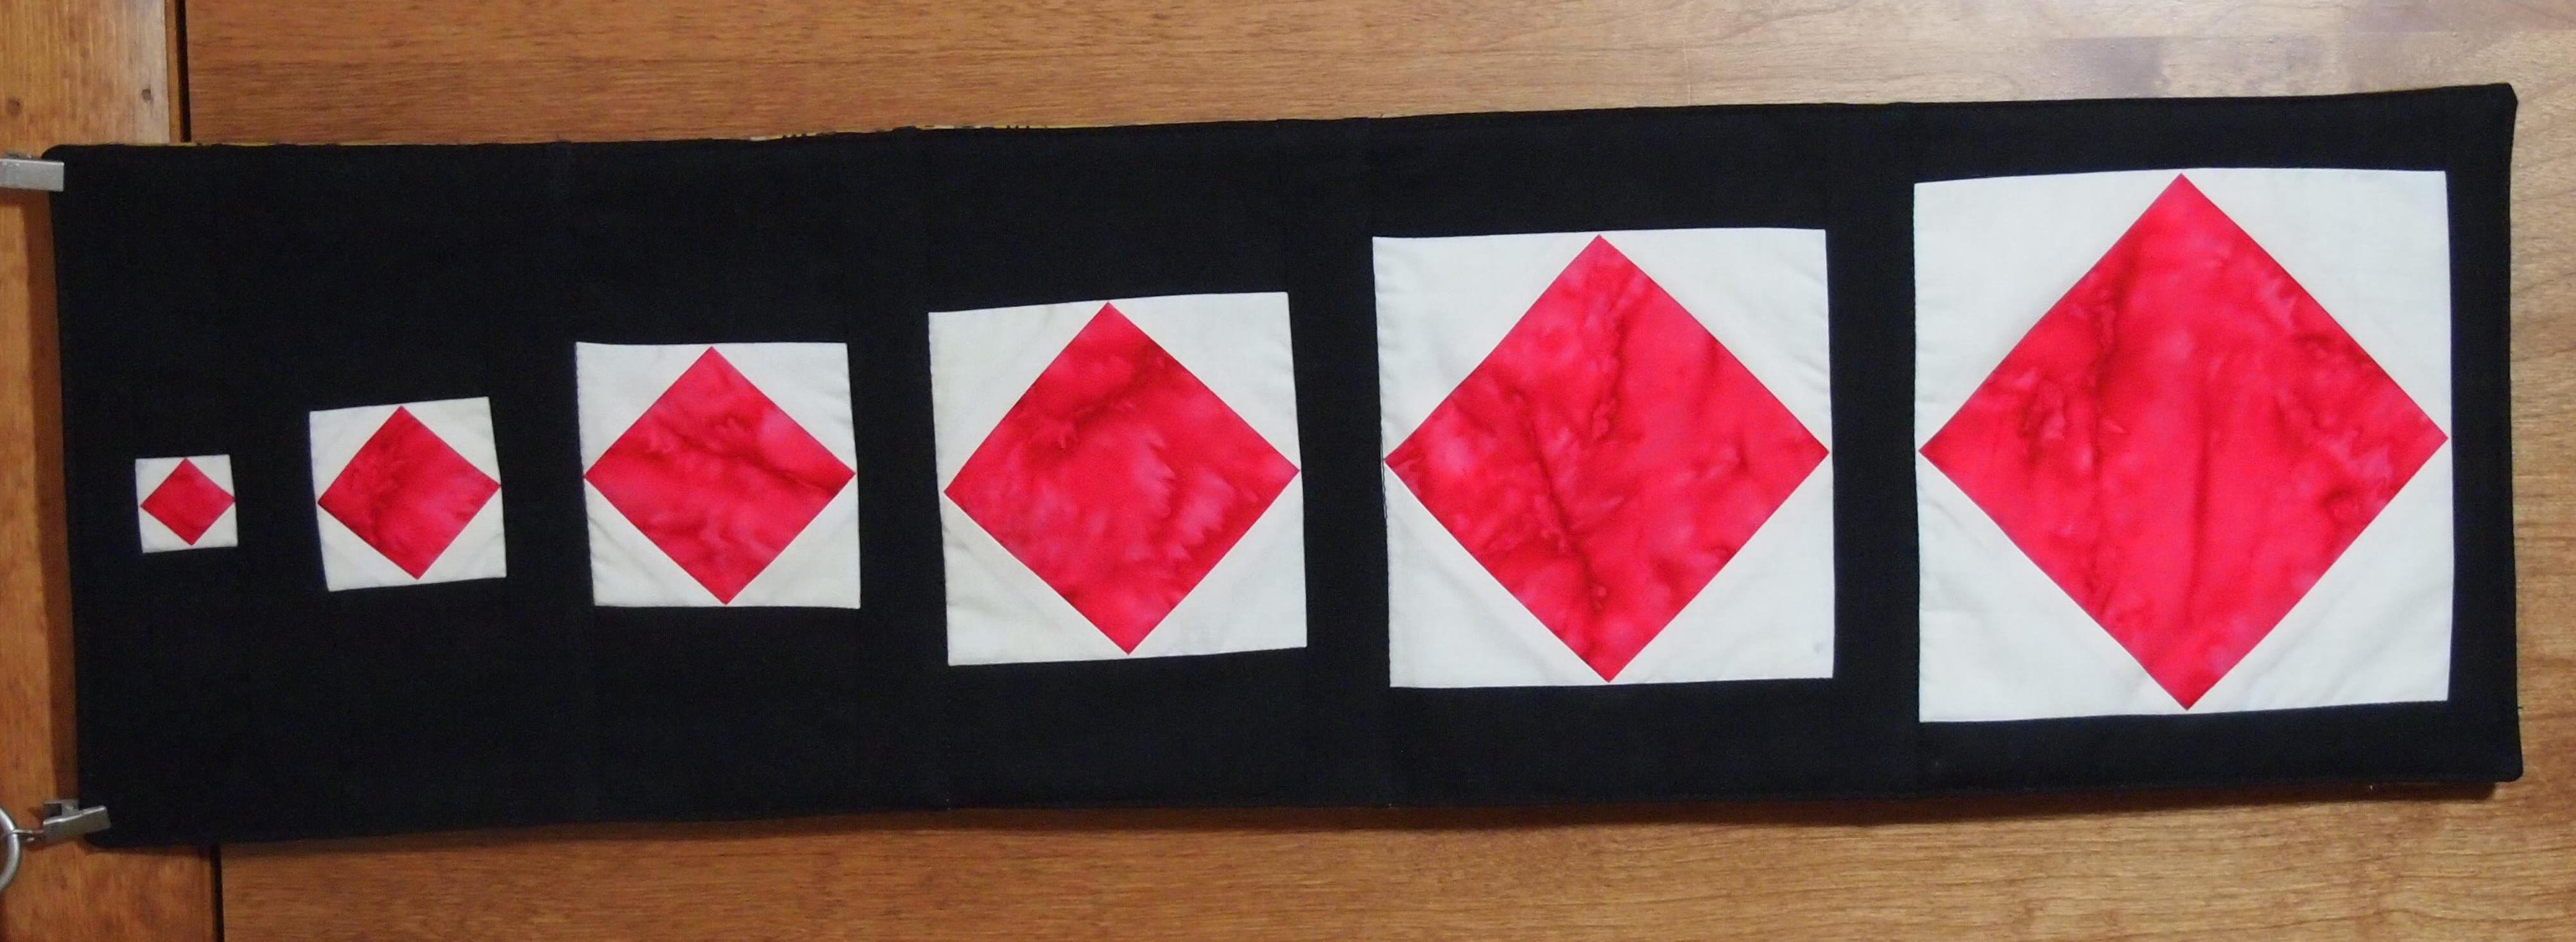
The Square Squared Tool makes 6 sizes from 1 inch to 6 inches.
The Corner Beam Tool makes 11 sizes from 1 1/2 inches to 6 1/2 inches
The V Block Tool makes 11 sizes from 1 1/2 inches to 6 1/2 inches
The Split Rects Tool makes 8 sizes from 1 inch to 8 inches.
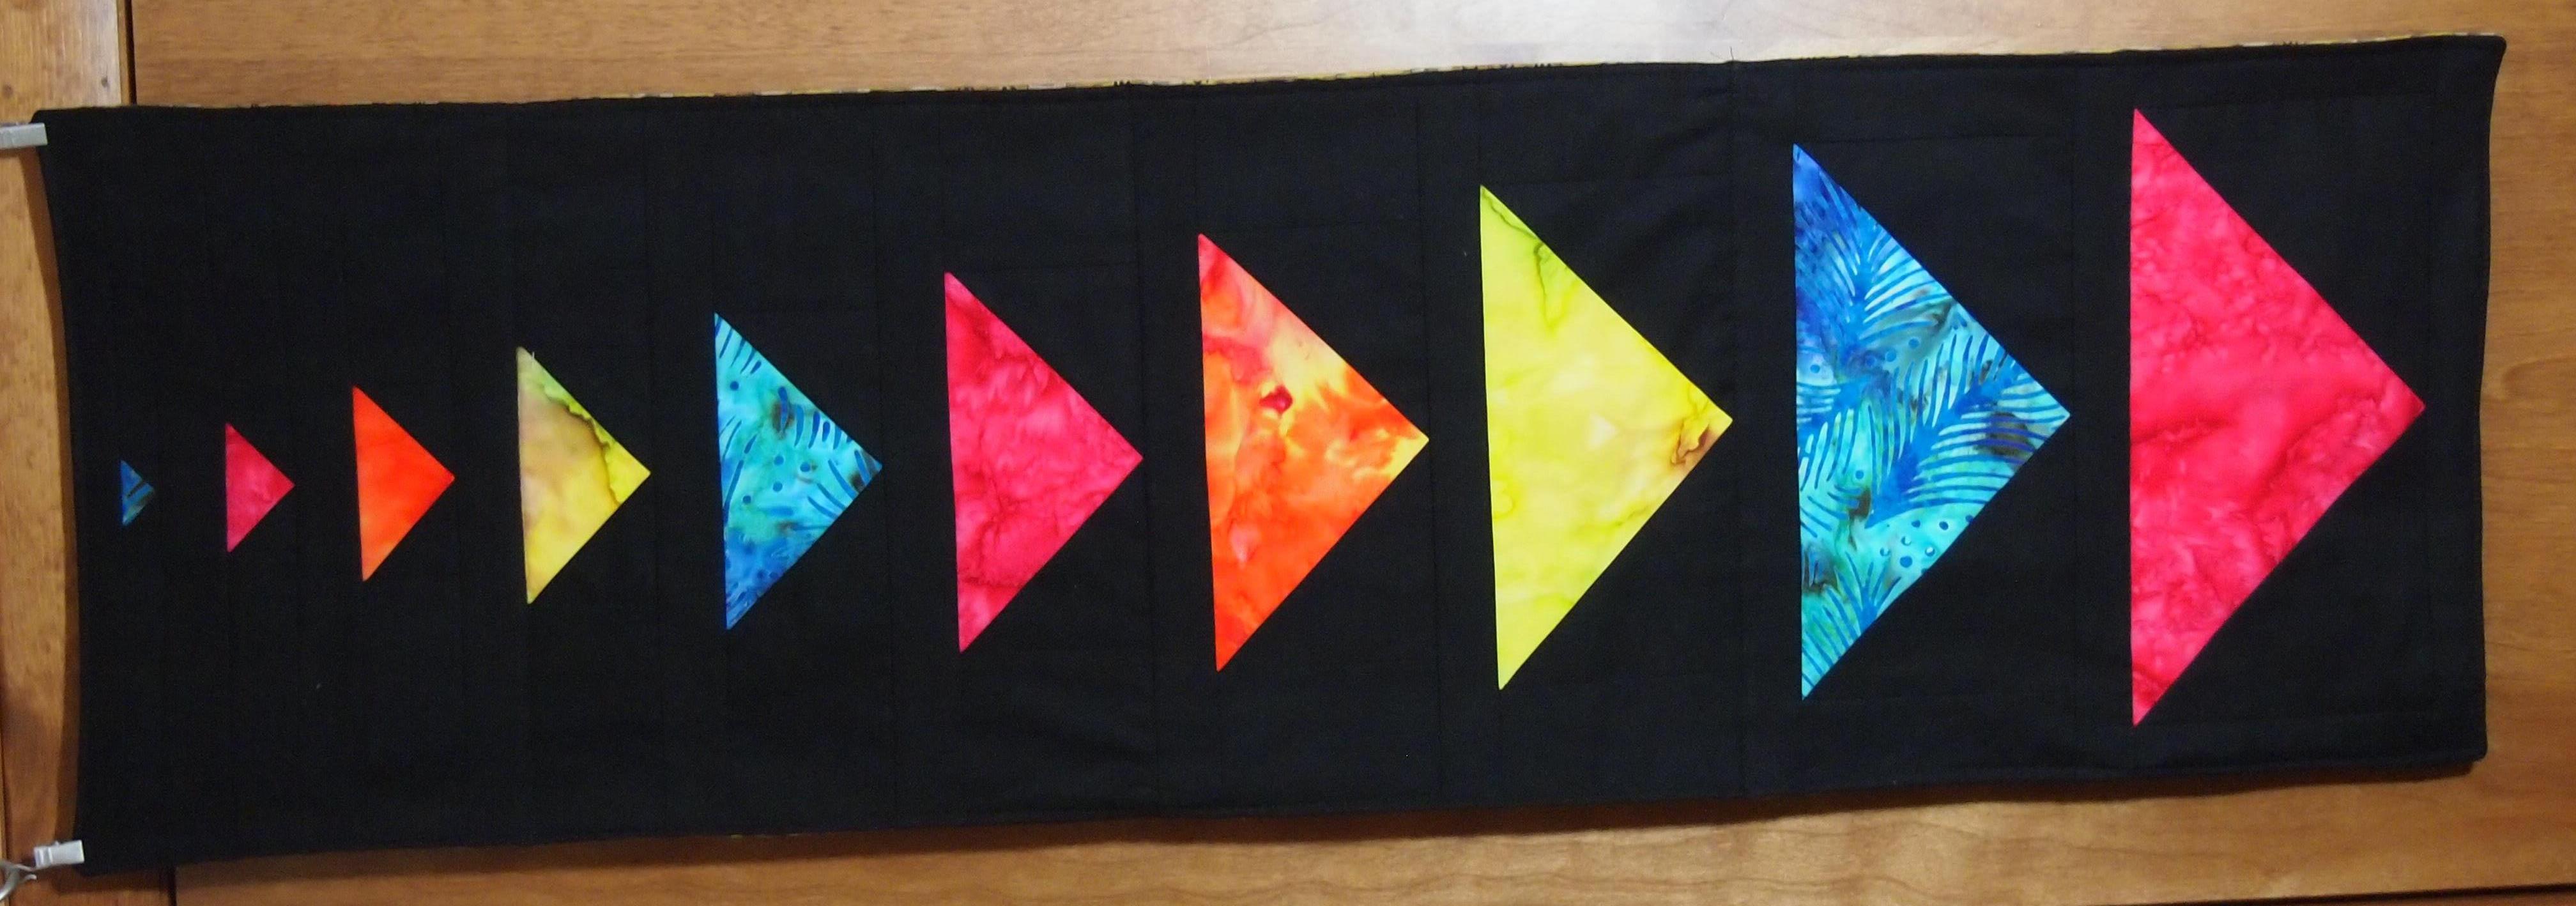
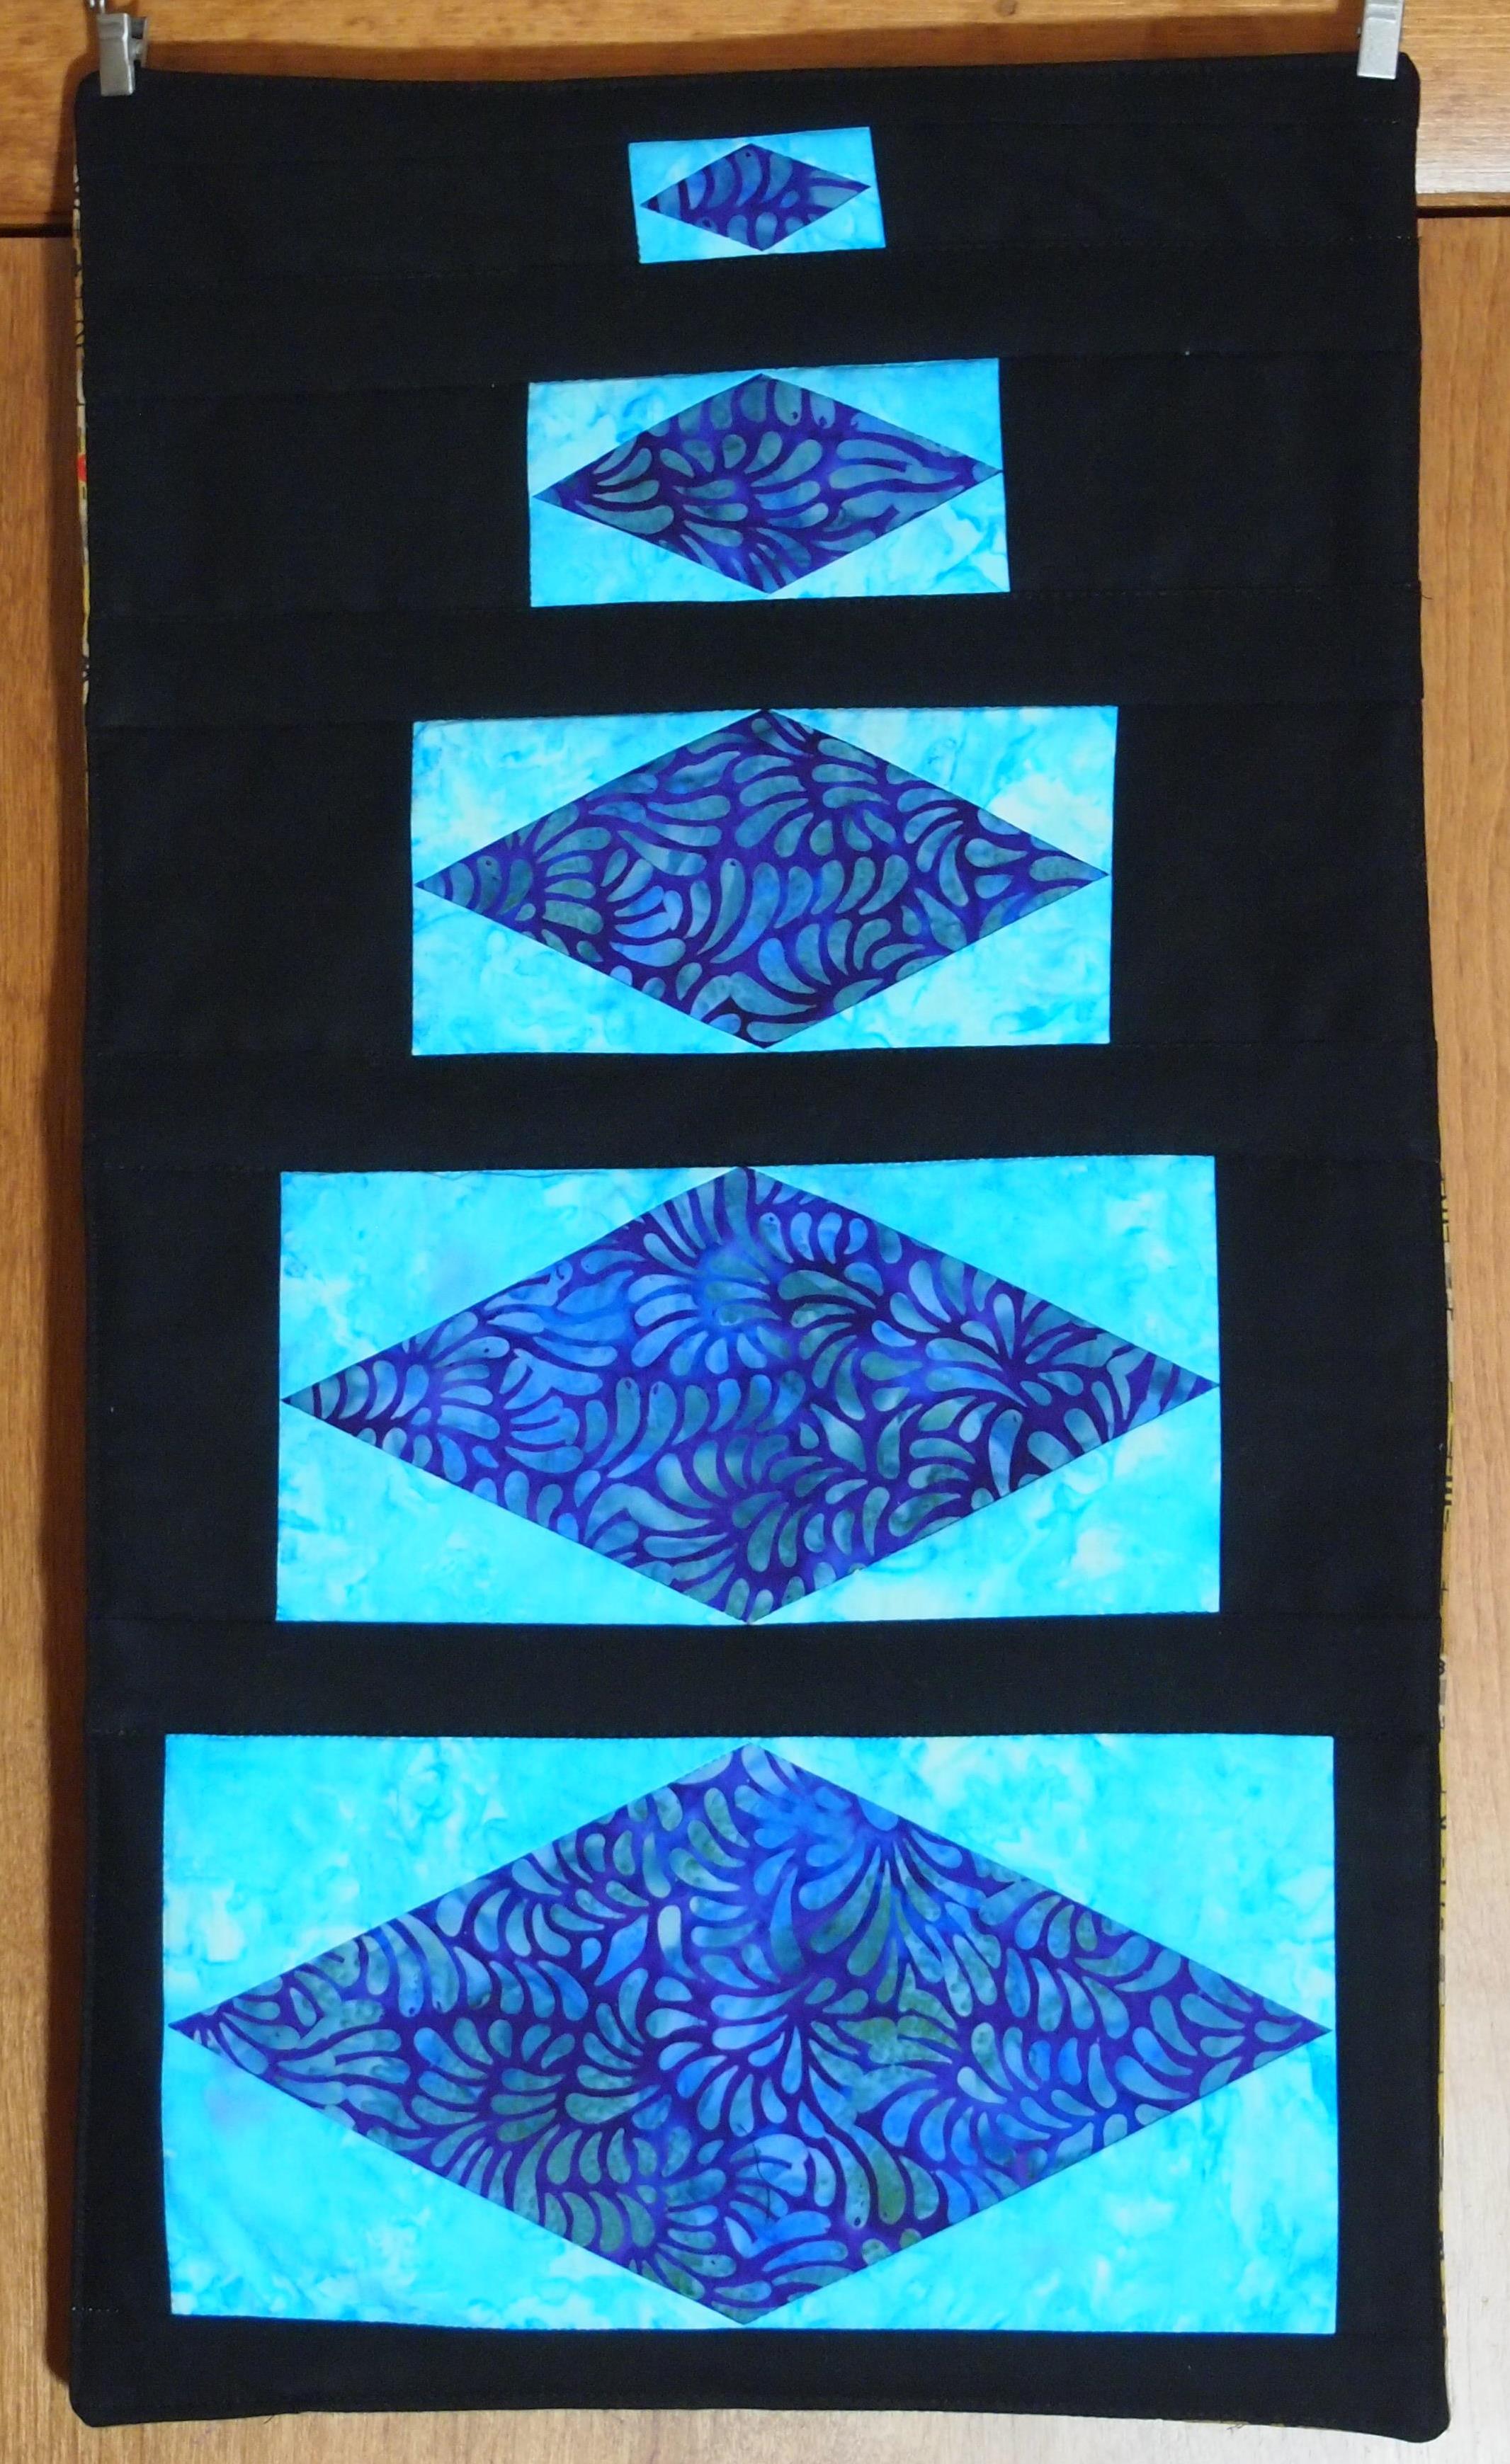
The Diamond Rects Tool makes 5 sizes from 2 1/2 inches wide to 10 1/2 inches wide.
With the Corner Pop Tool you can choose from any of the 22 size options and remove a corner from a base shape such as a square, rectangle, pieced unit or block and leave the necessary 1/4″ seam allowance in tact.
The block above is made from V Block and Corner Beam Units.
I made 4 of the blocks but this time I popped of corners of the V Block & Corner Beam units before I put the blocks together, making this very interesting wall hanging.
Next I need to make samples for the Rapid Fire Hunters Stars and Lemoyne Star Tools. Happy quilting!
Well, I got her done! What do you think? I really like this pattern. I made this using the Studio 180 Design Square/Squared and the Tucker Trimmer I. The center of the quilt is not difficult at all. Either are the migrating geese, but you must use your best skills and a true 1/4″ seam. I will be adding this to my class list.
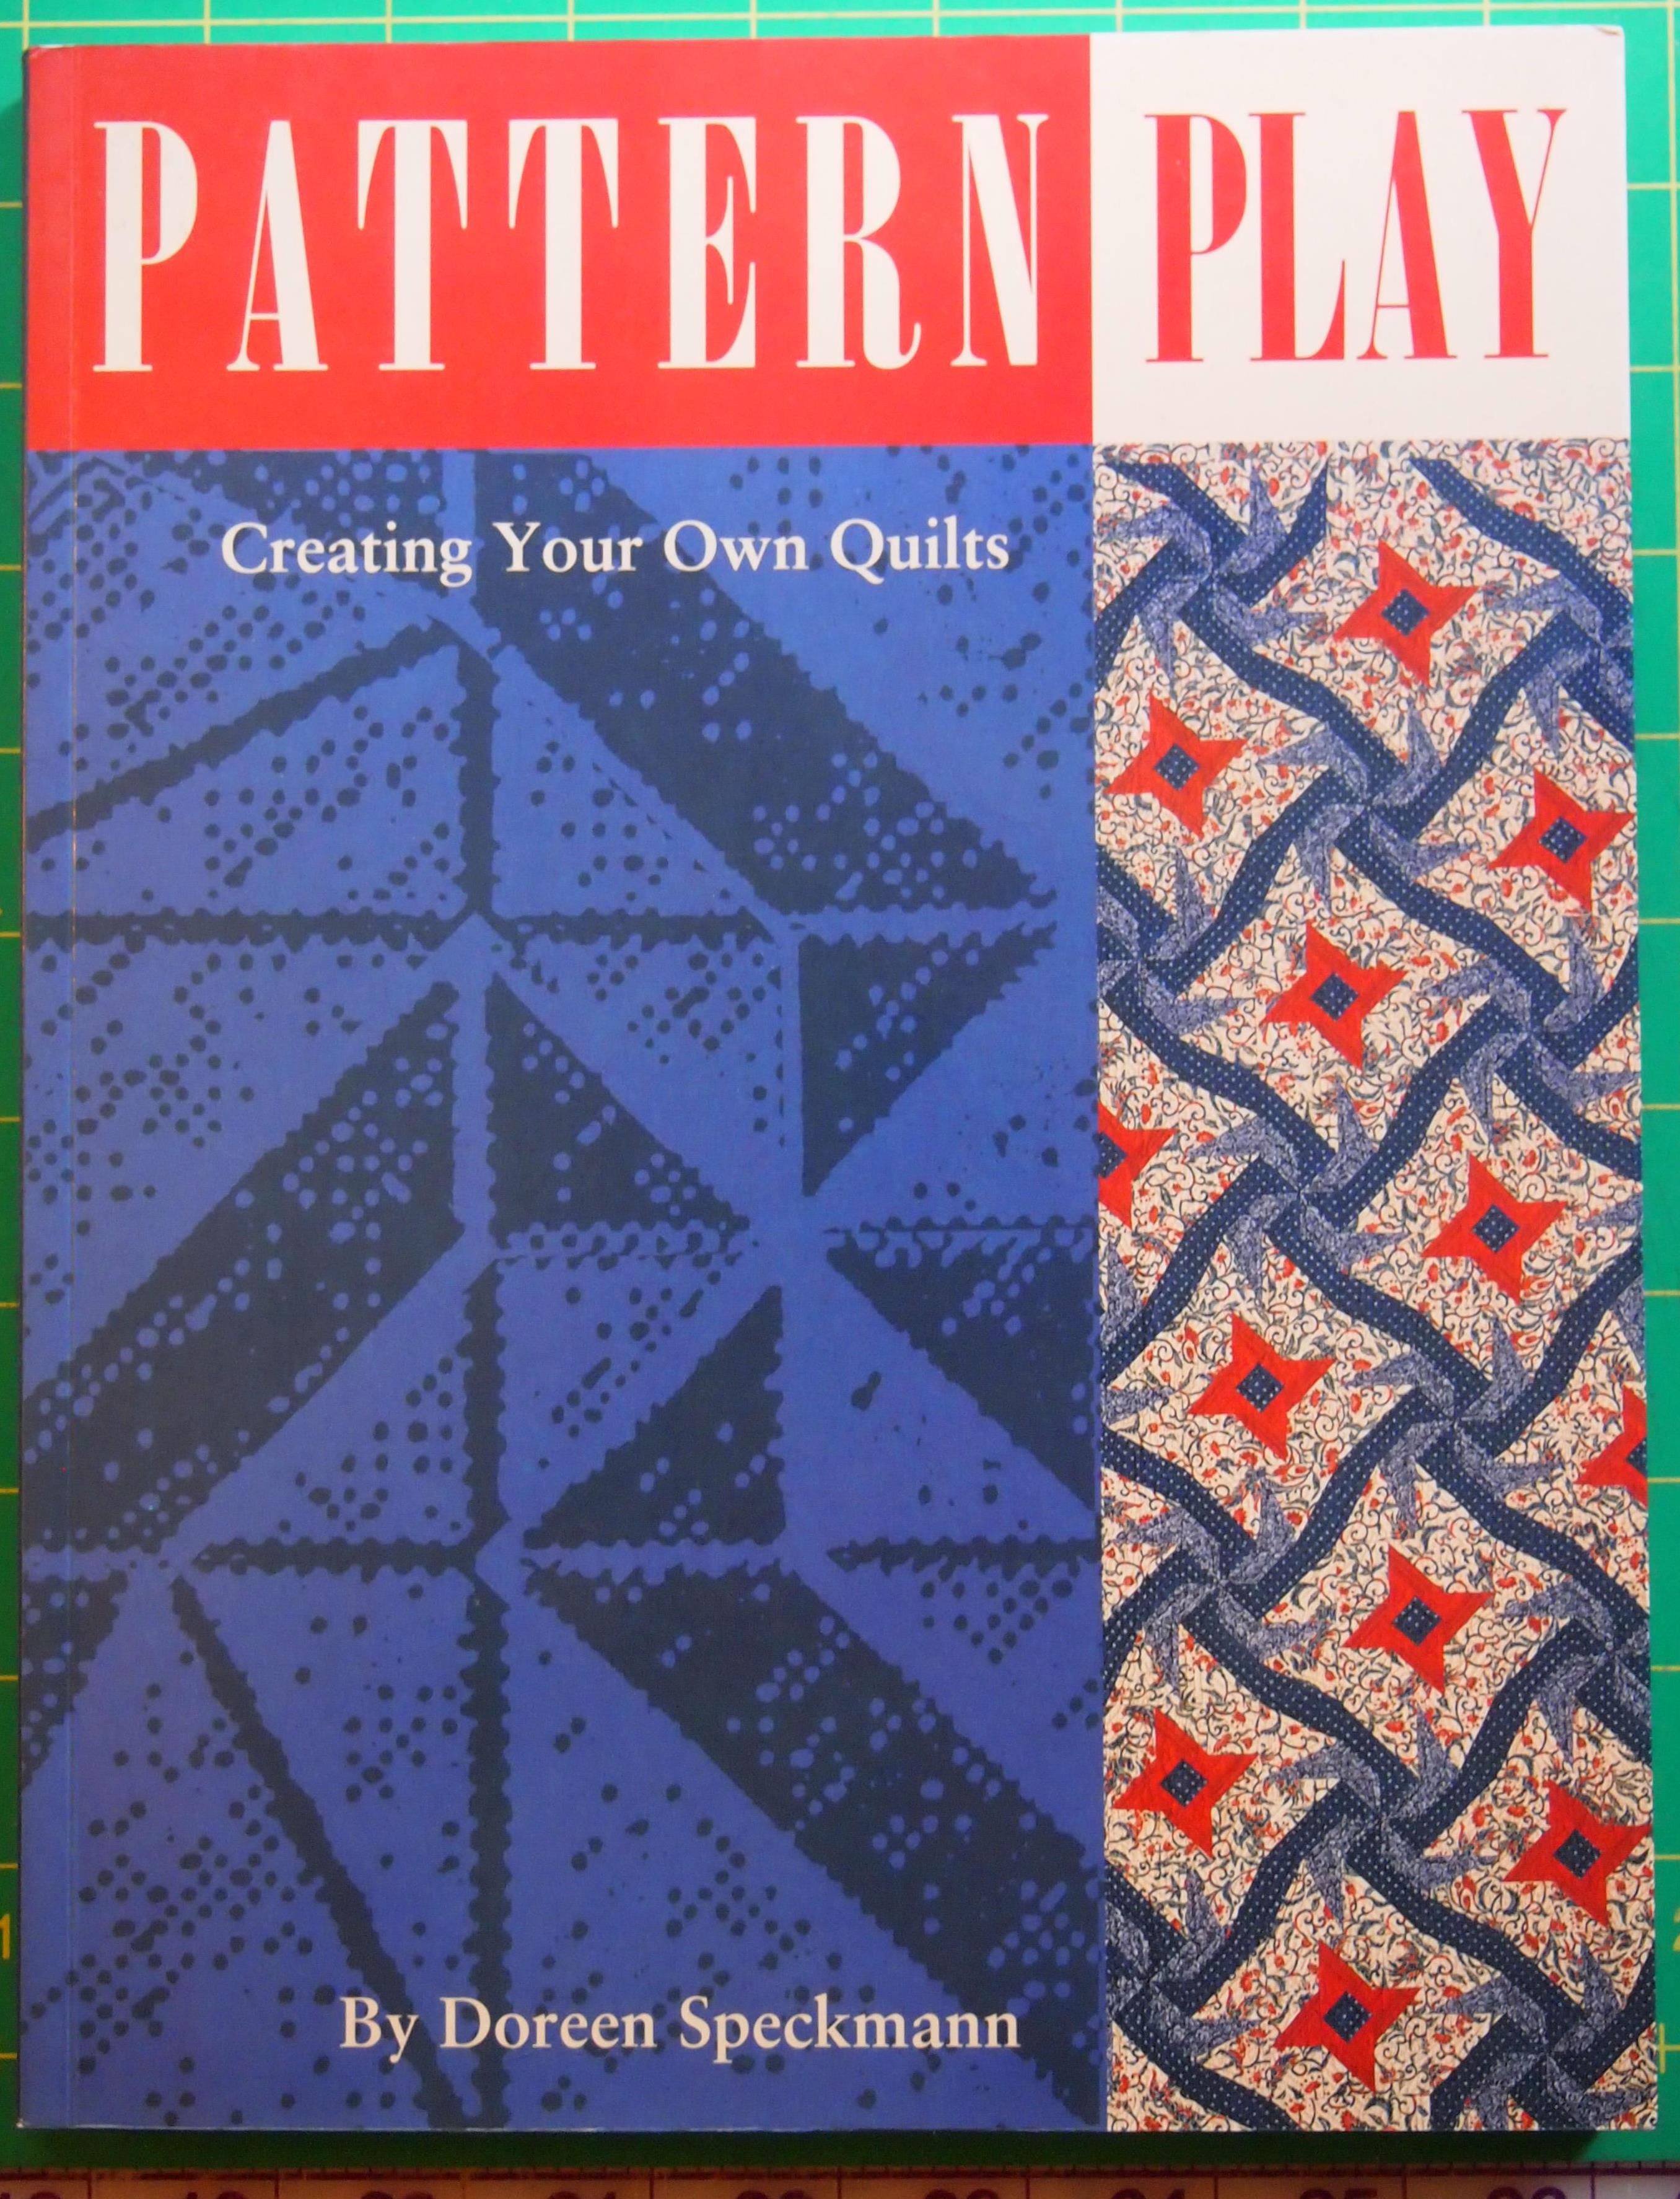
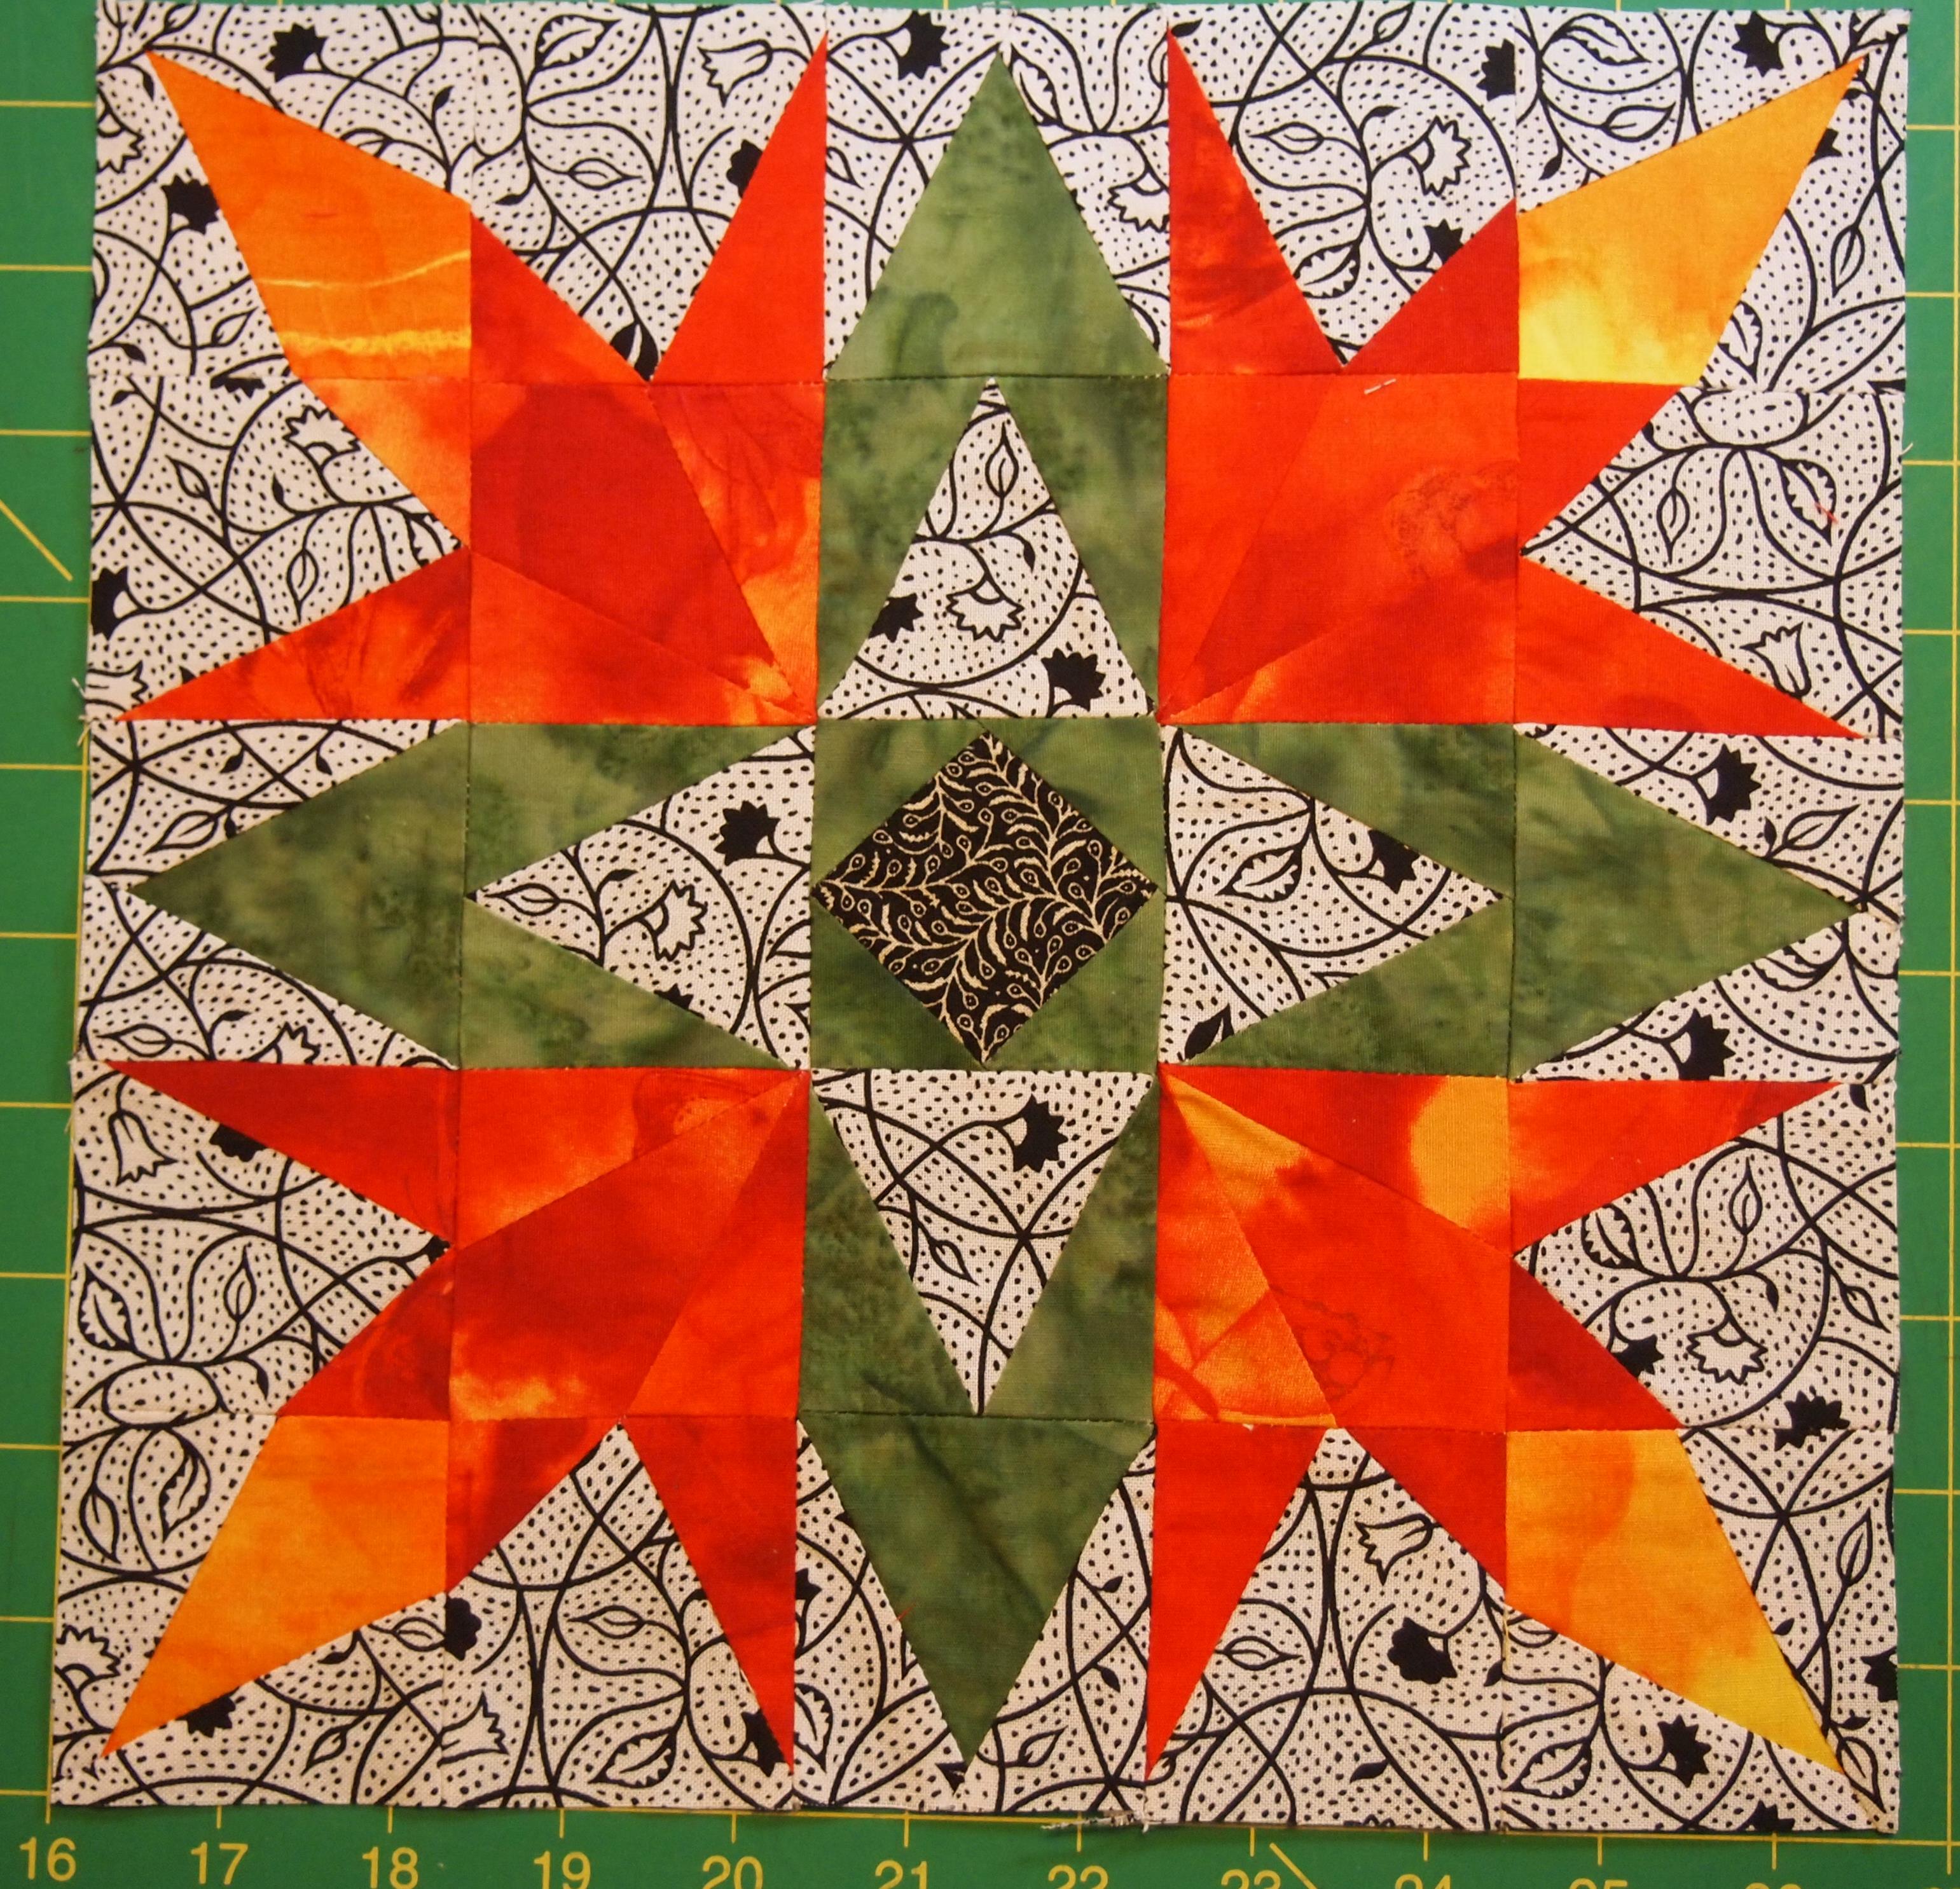
During the Studio 180 Design Teacher certification we participated in a skill building exercise, “Quilt Block Detective”. Various quilt blocks were displayed and we had to identify the units that made up the blocks. It was great fun and very educational. There are many fundamental units that are used to make a variety of quilt blocks. In the book “Pattern Play” by Doreen Speckmann, she introduces us to those basic units.
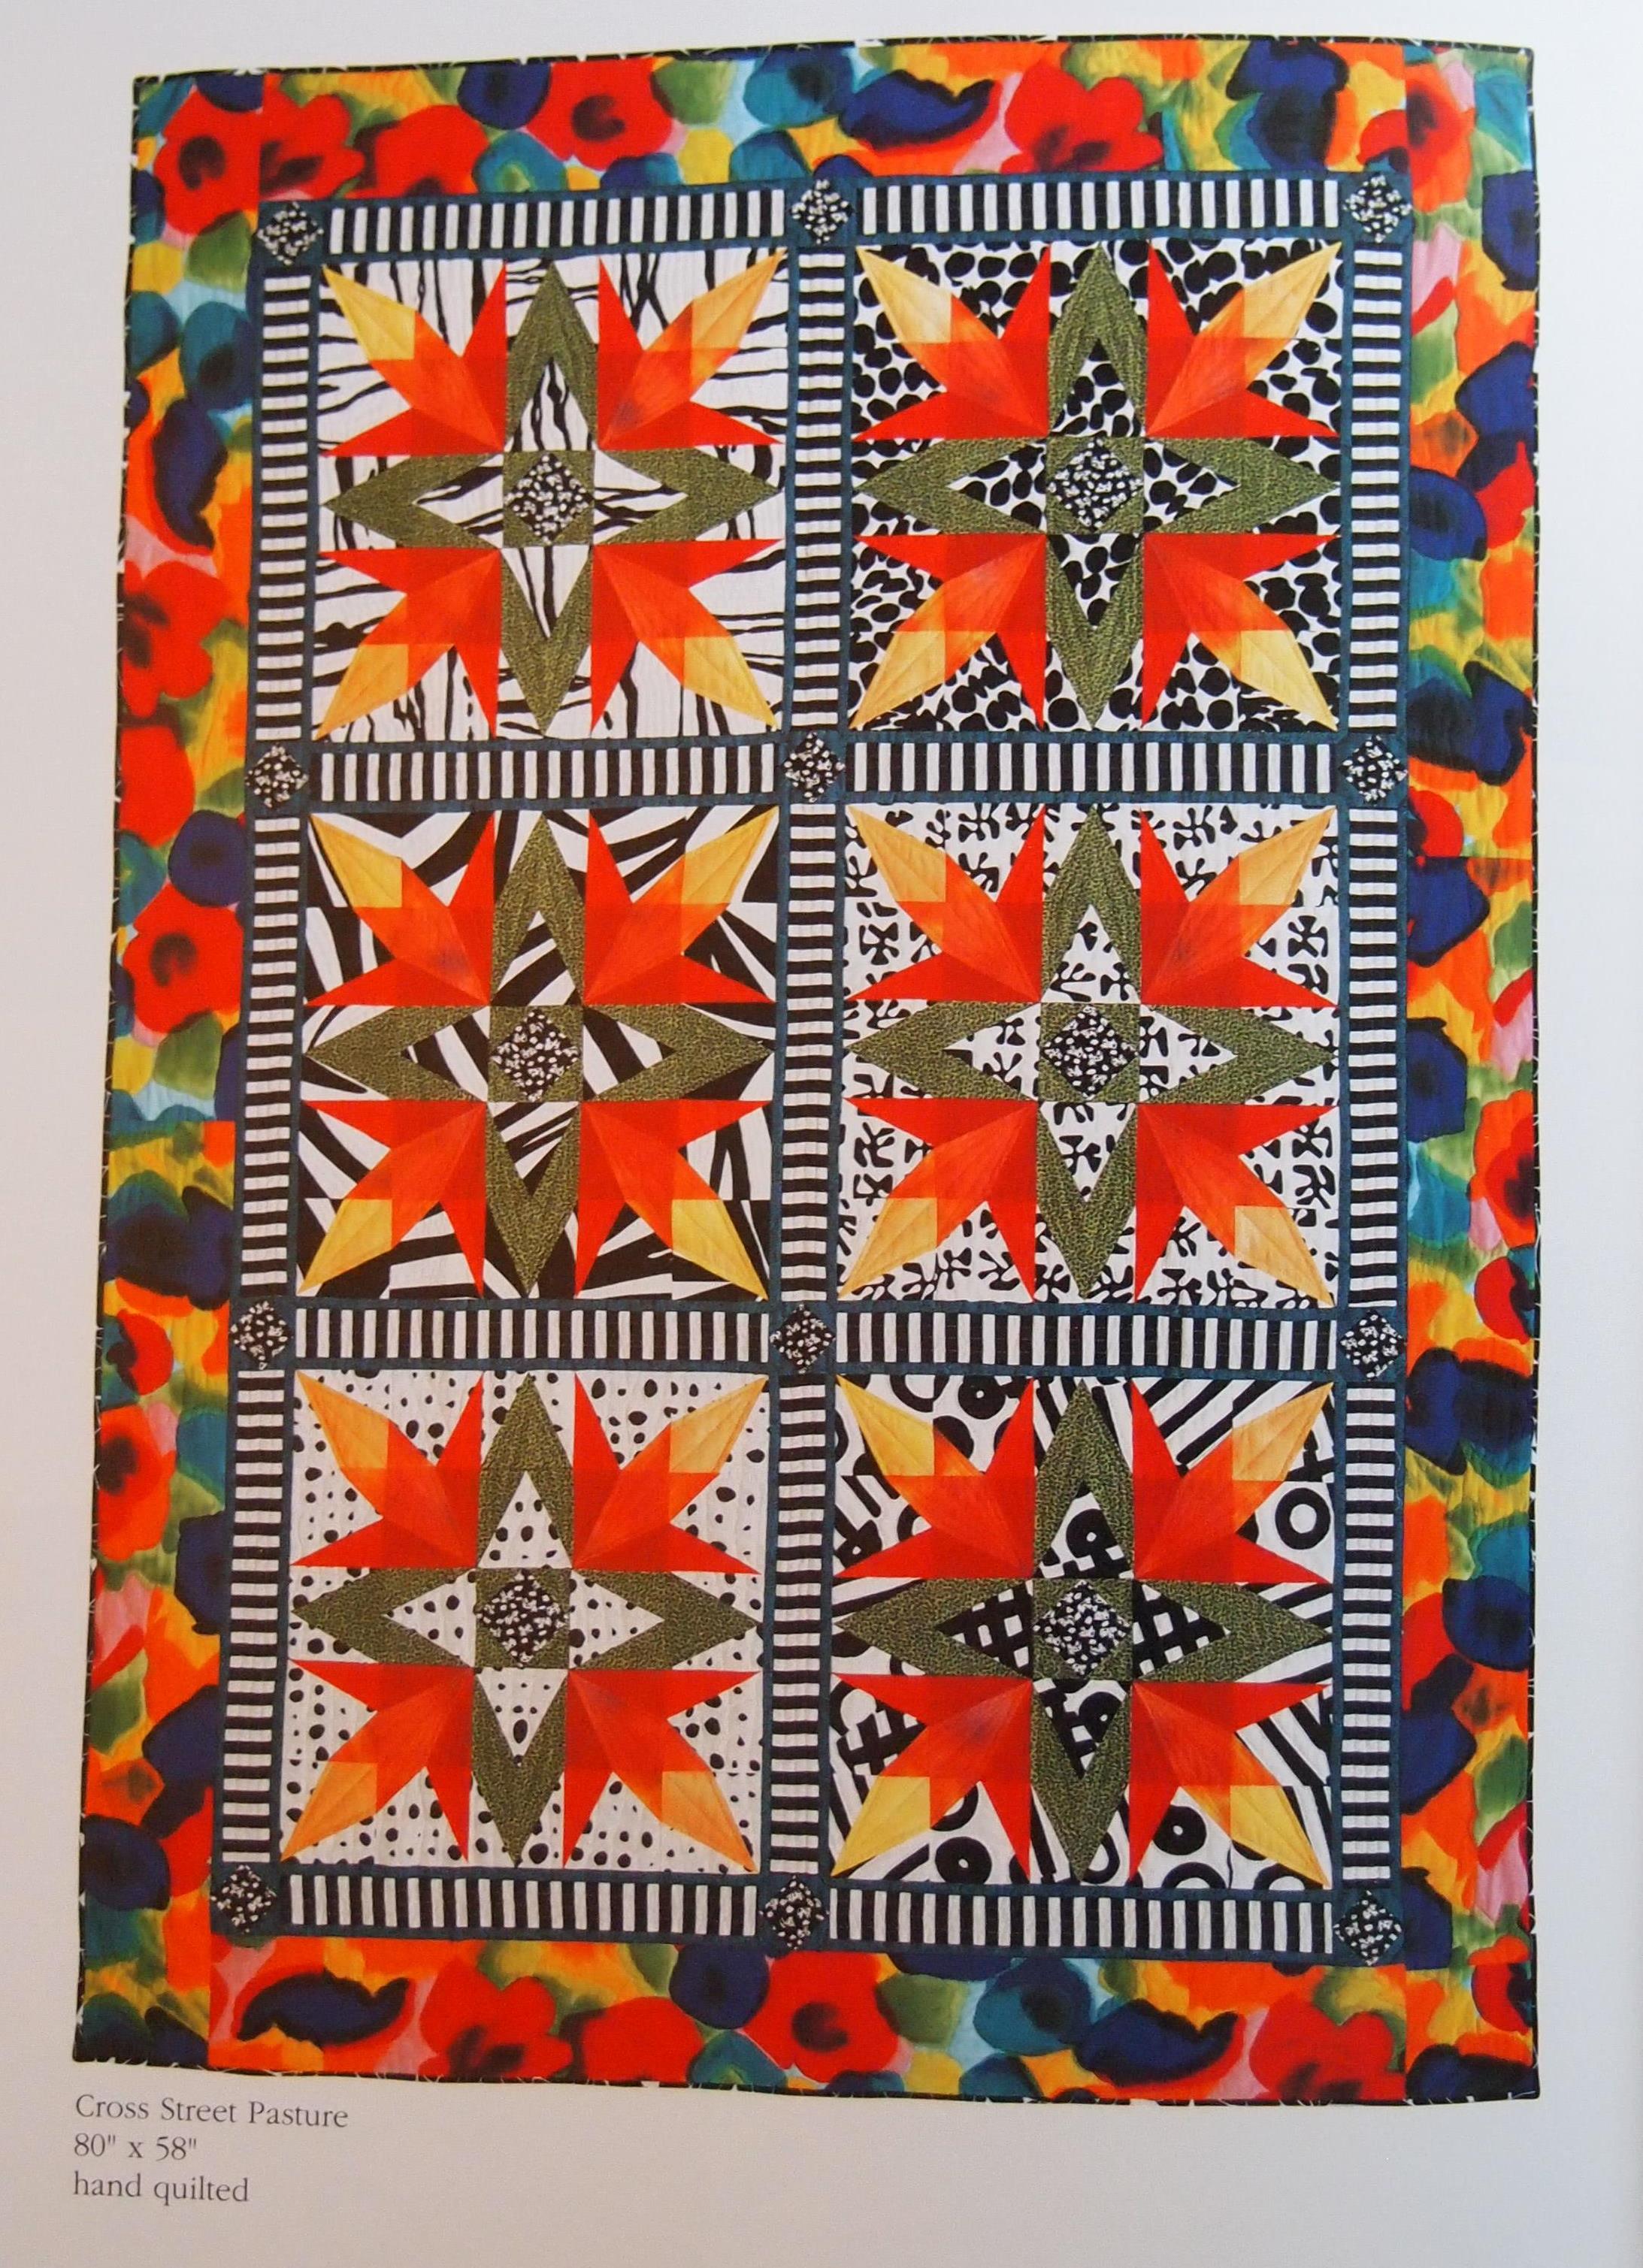
I wanted to practice, so I thumbed through the book. It contains fabulous quilts. I chose to investigate “Cross Street Pasture” below.
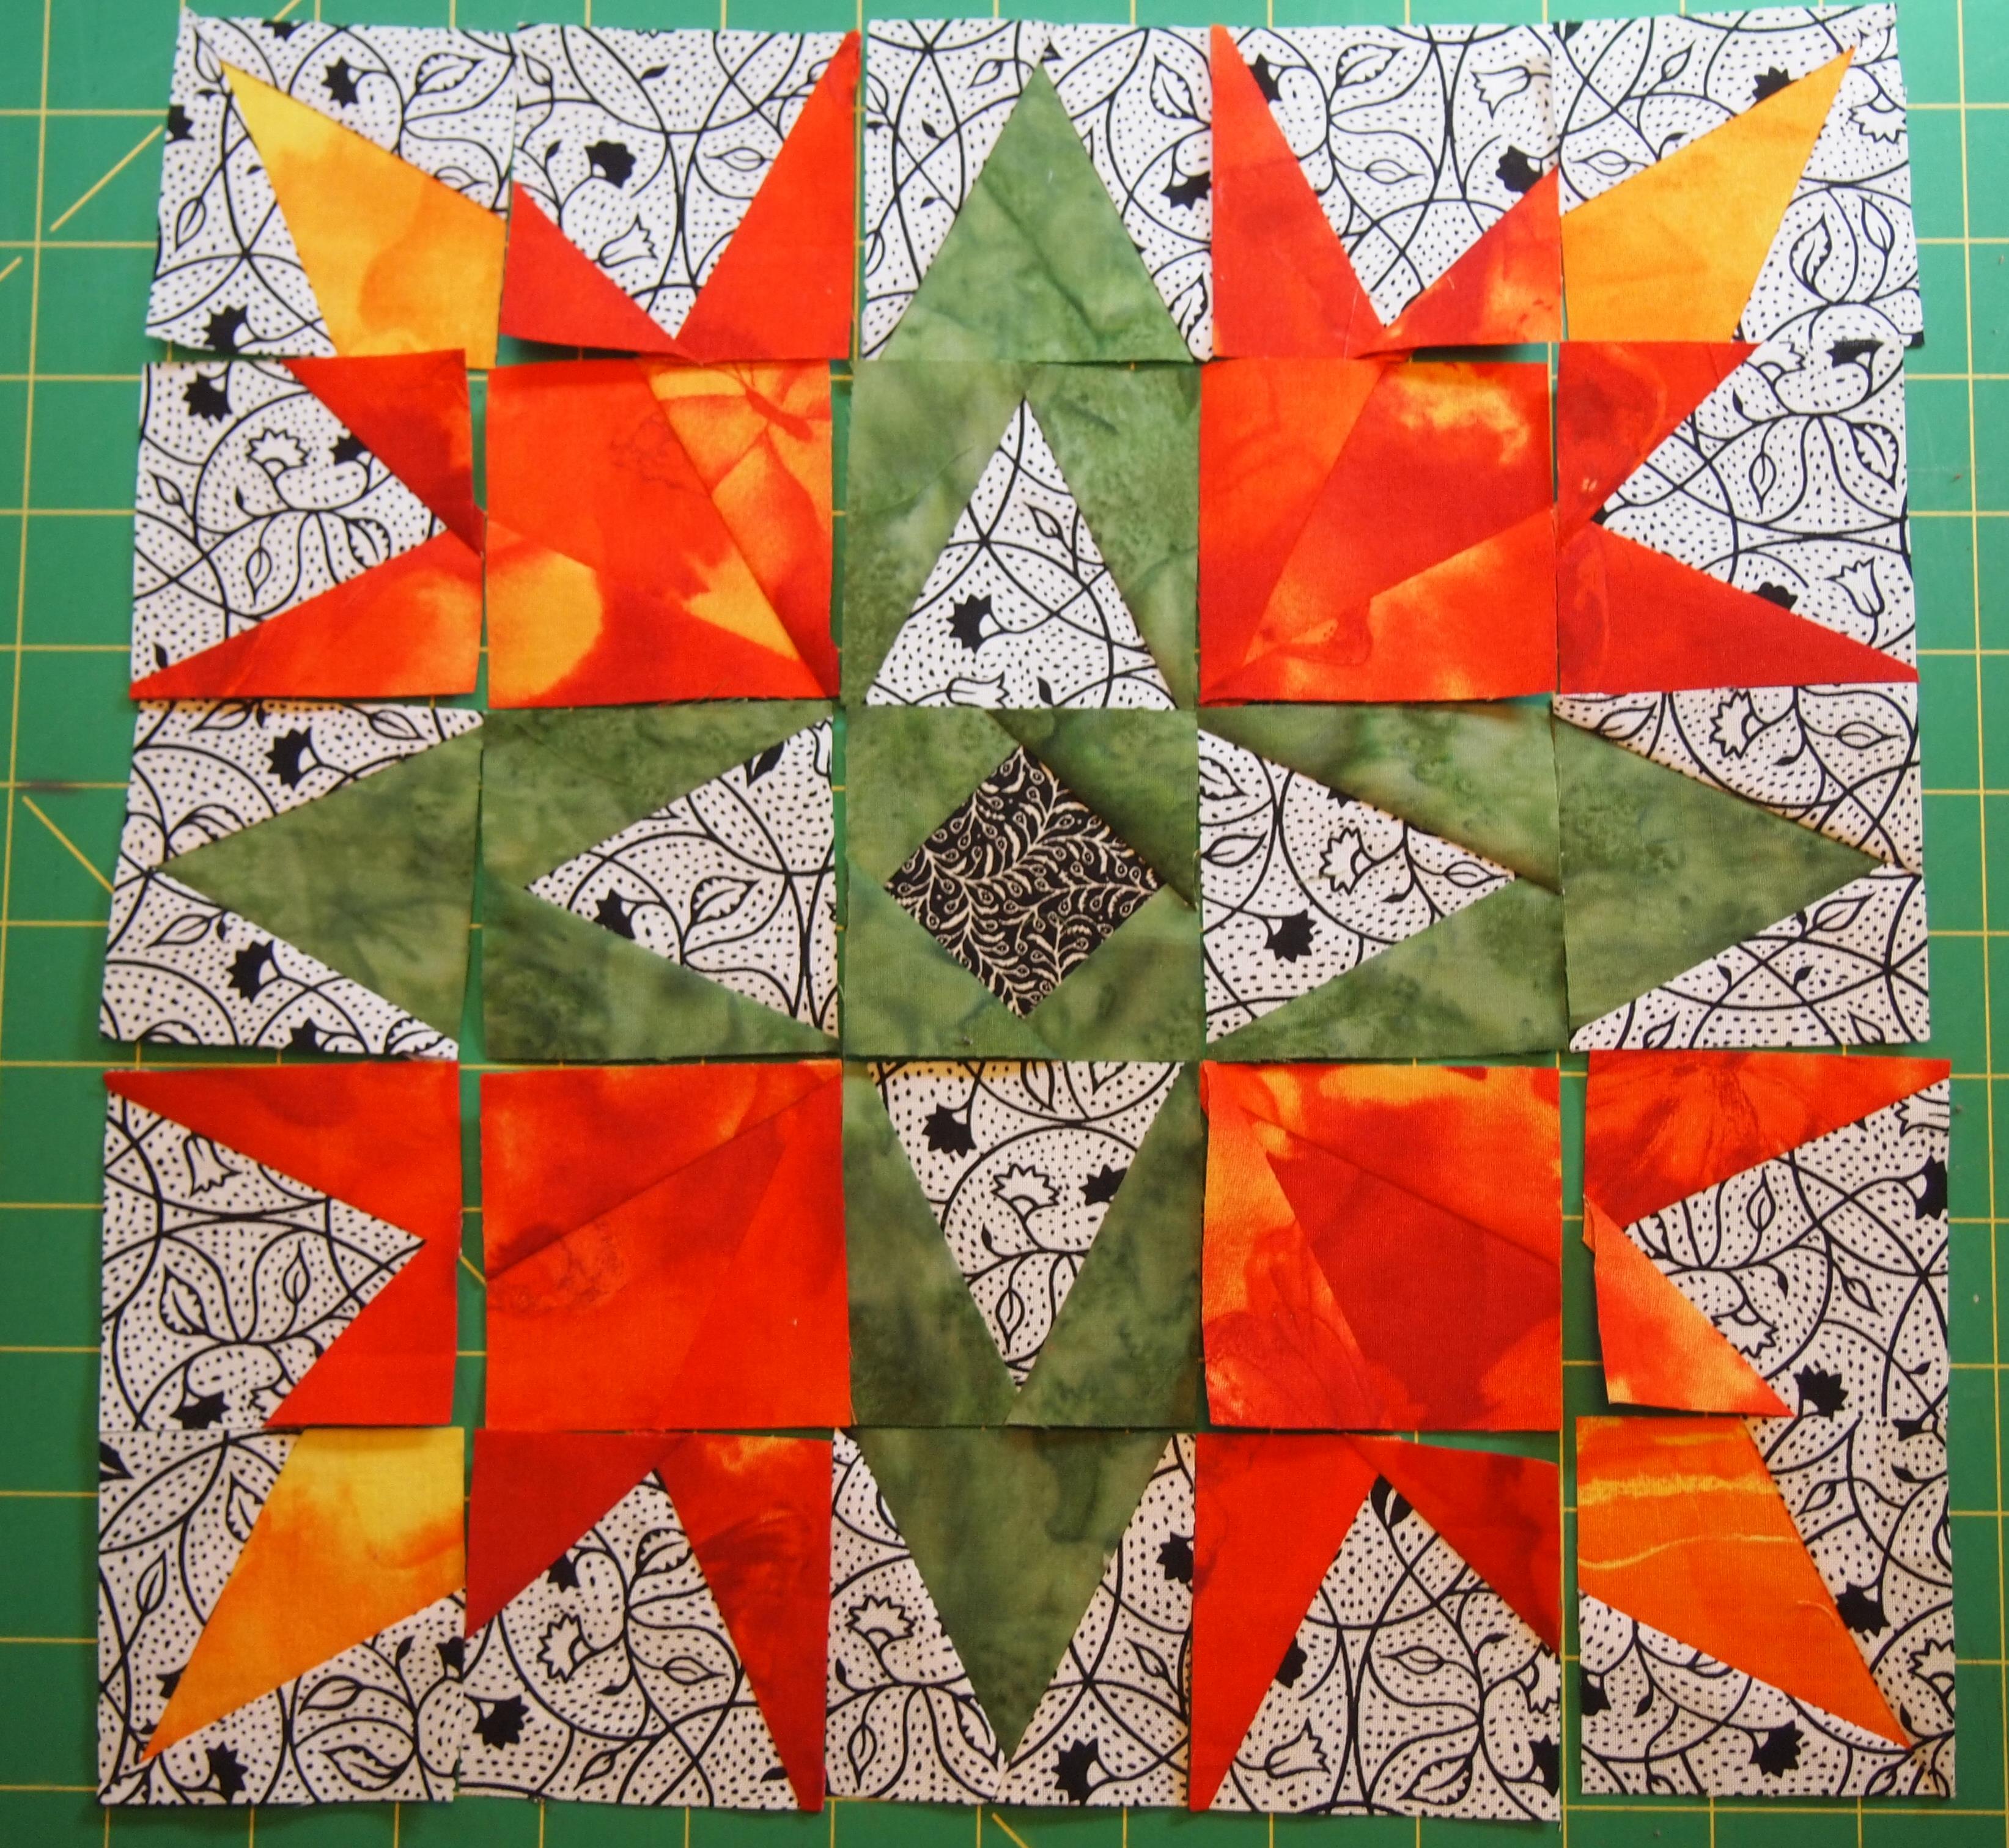
Doreen uses templates. Studio 180 Design tools can make the same units without templates. I identified Square/Squared, V Block, High/Low Left, High/Low Right, and the Corner Beam.
I decided to make 2″ finished units making it a 10″ finished block. This block could be made bigger by making the units bigger.
I really liked this block.