
The Island Batik challenge for November is to incorporate a log cabin block or variation into my project. I decided to use Studio 180 Design’s Geese on the Edge Technique Sheet. This is a variation on the Log Cabin block and is a fun way to use your Square/Squared tool, Tucker Trimmer I & Wing Clipper I.
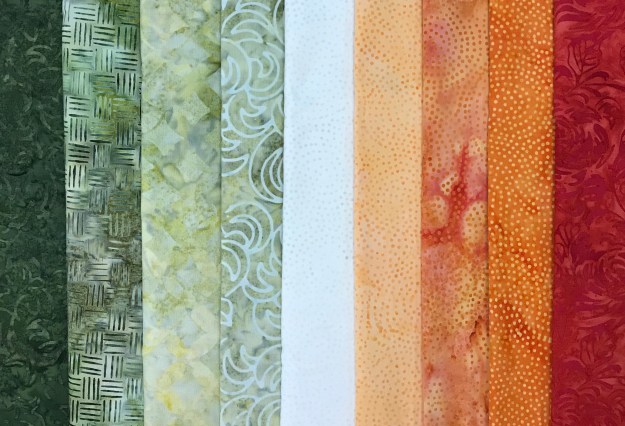
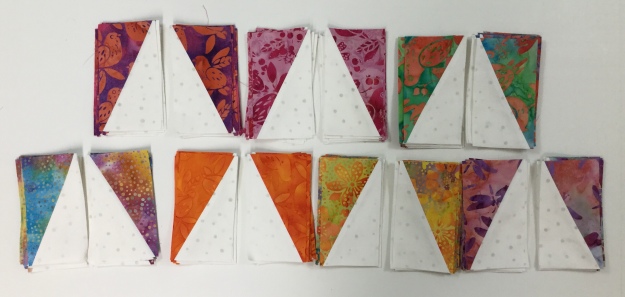
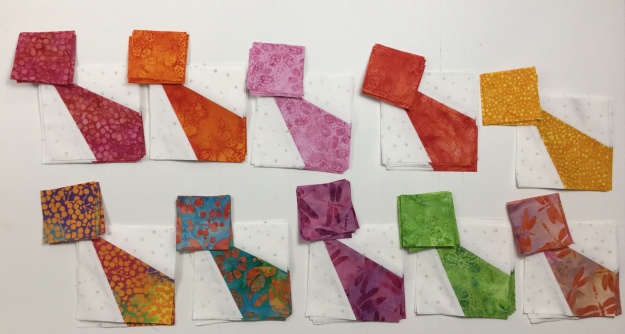
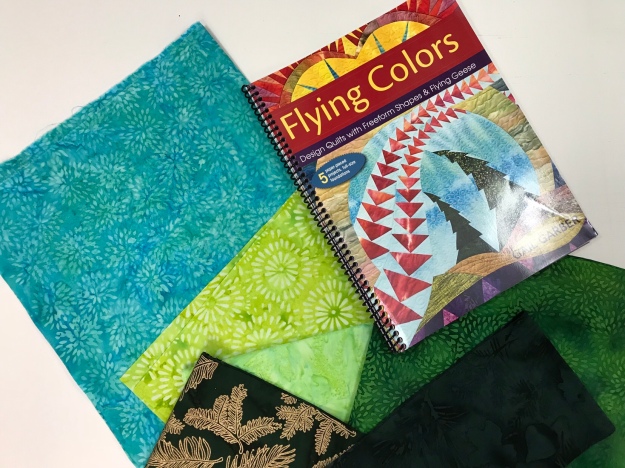
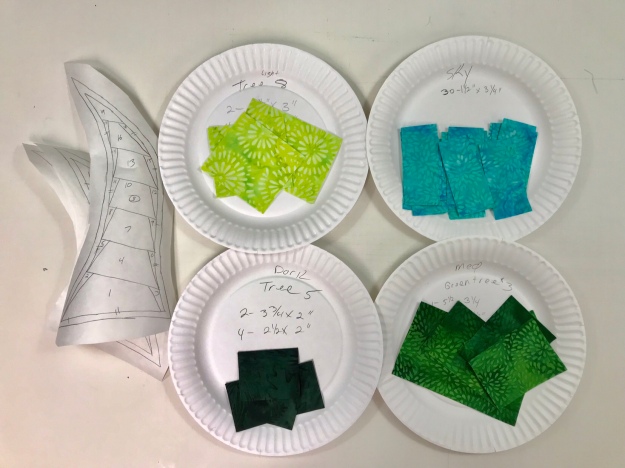
My beautiful Island Batik fabrics from left to right: Mr. T Blocks: Arc Pine Needle, Dash-Grasshopper, Seed Circle Custard, Arc Waves Grasshopper, & Sprinkles Playful Pachyderm, & Paisley Dot: Apricot, Candy Corn, Nasturtium, & Item number 121412189.


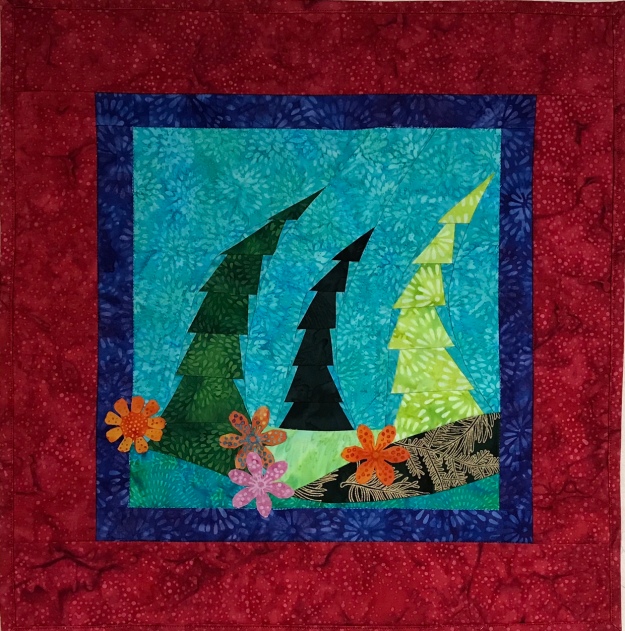
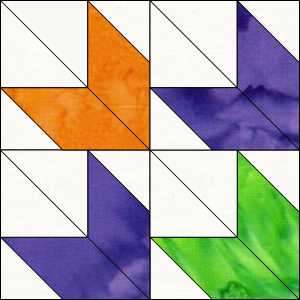
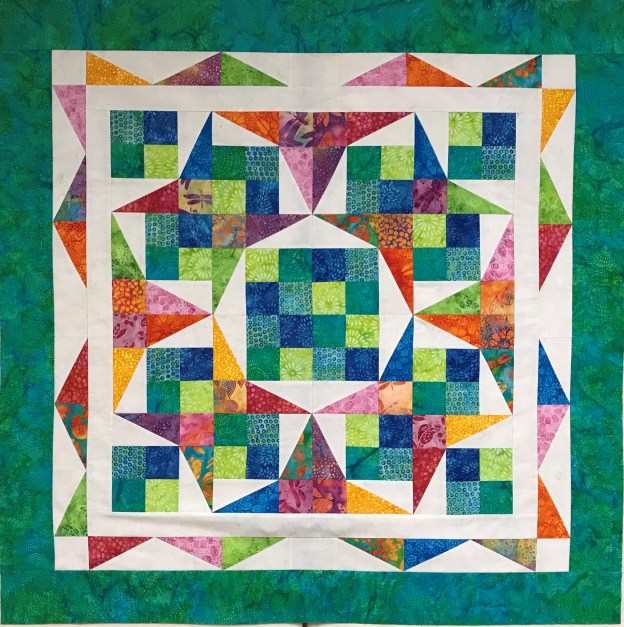
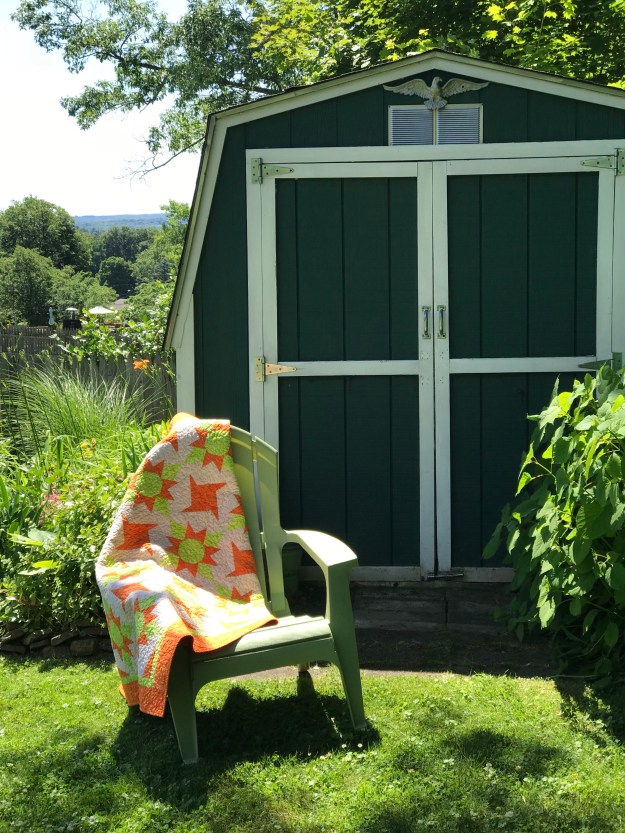
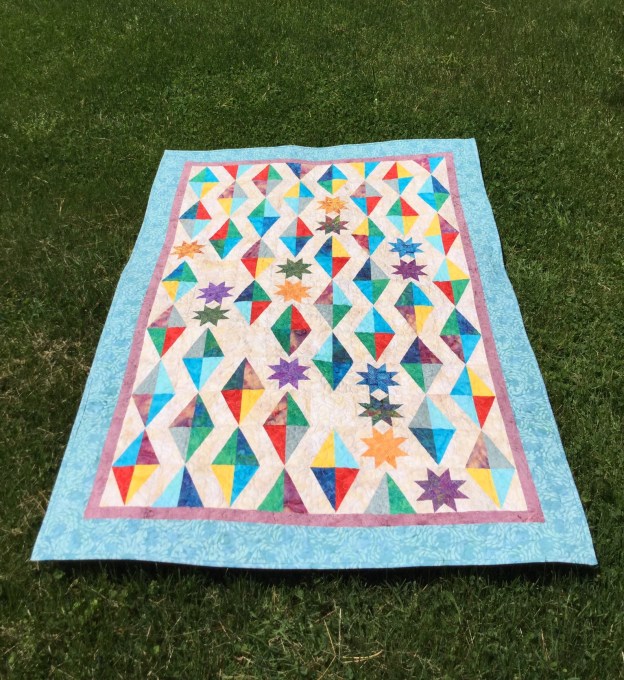
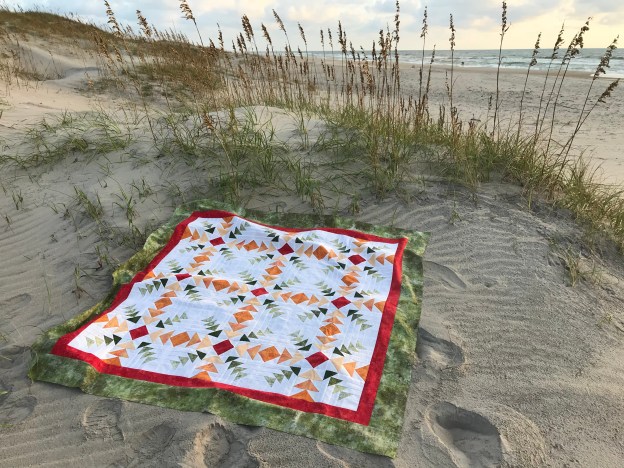
I have named my original design “Converging Geese” because each block has Flying Geese & Geese on the Edge units, along with Square/Squared units.

Each 16″ block contains 12 – 2″ x 4″ finished flying geese, 4 – 6″ finished geese on the edge & 1 square/squared unit. These Geese on the Edge units are soooo much fun to make! The technique sheet gives instruction for making geese on the edge in 10 sizes from 3″ to 12″!


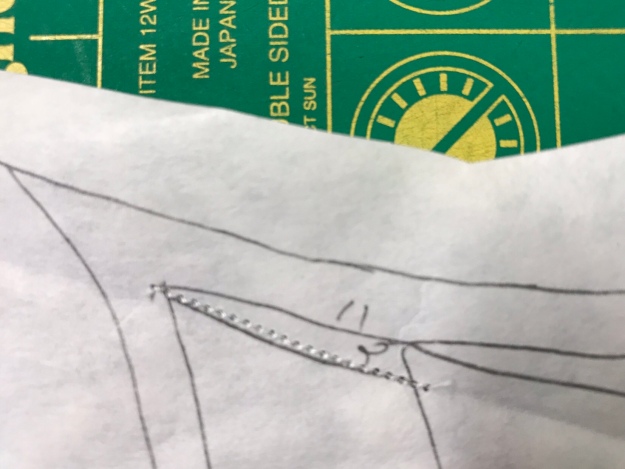
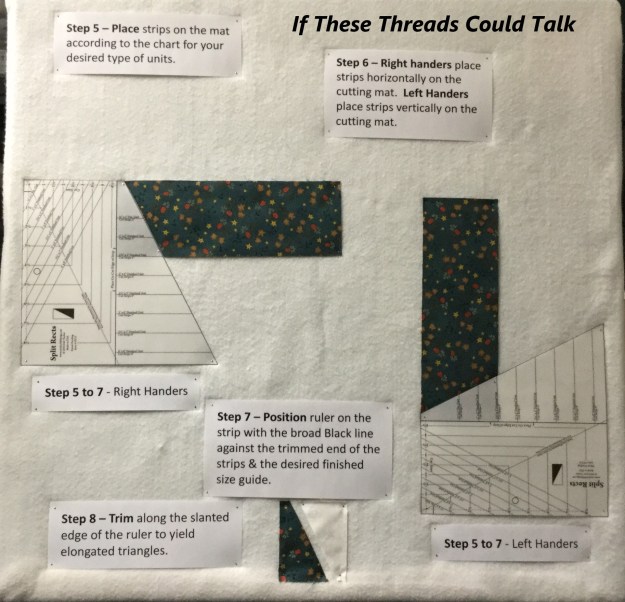
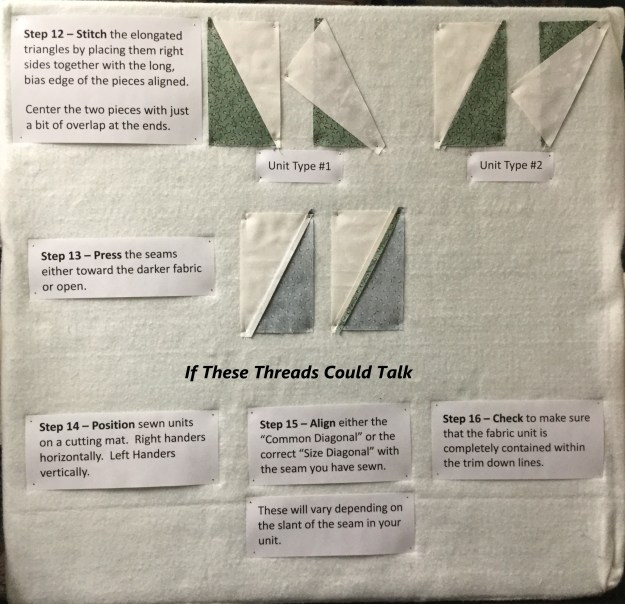
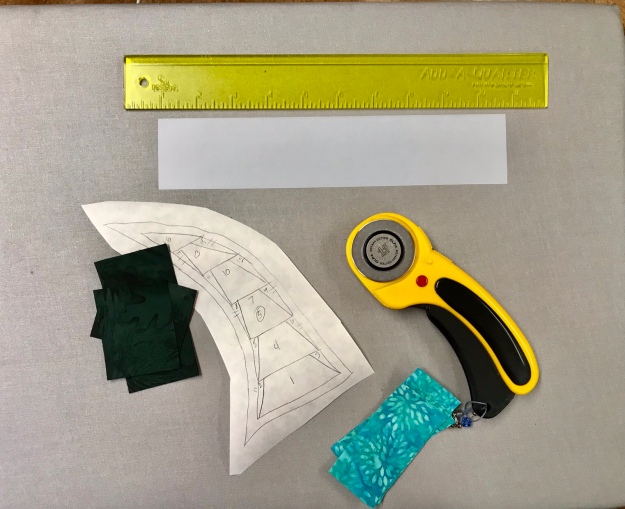
You begin with starter squares, add logs by chain stitching, square up two sides with your Tucker Trimmer.


Trim apart.


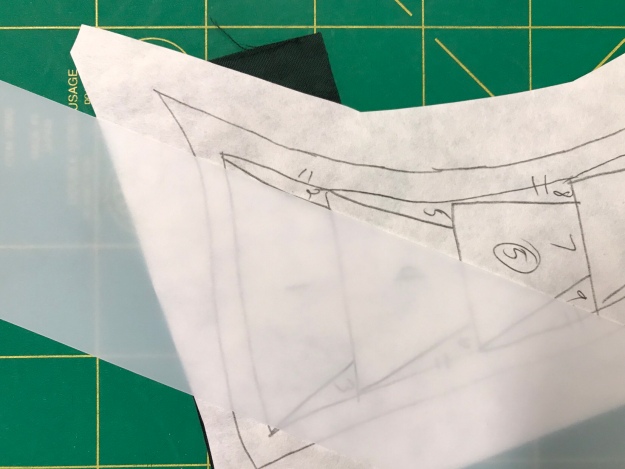
Using your Wing Clipper trim the corner leaving a 1/4″ seam allowance.


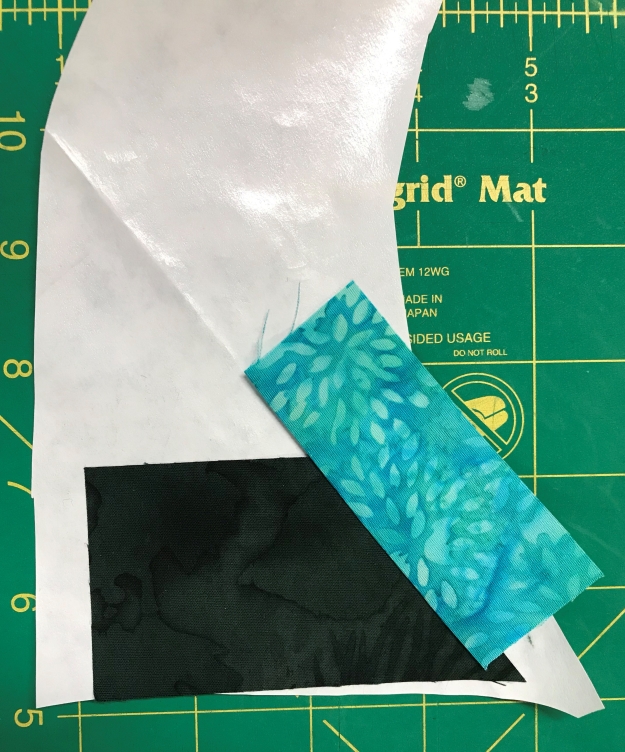
Add a replacement triangle and press toward the triangle.


Trim after every addition of a replacement triangle. Add more logs.


The final trim down is performed when I have four rounds of logs for a 6″ finished geese on the edge unit.

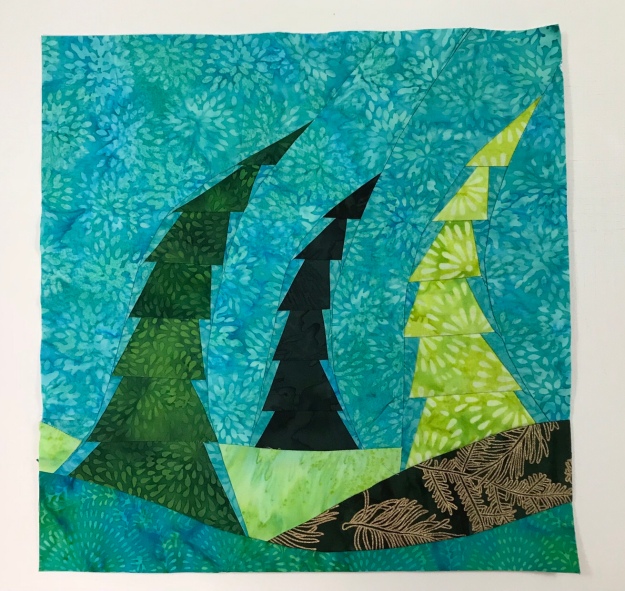
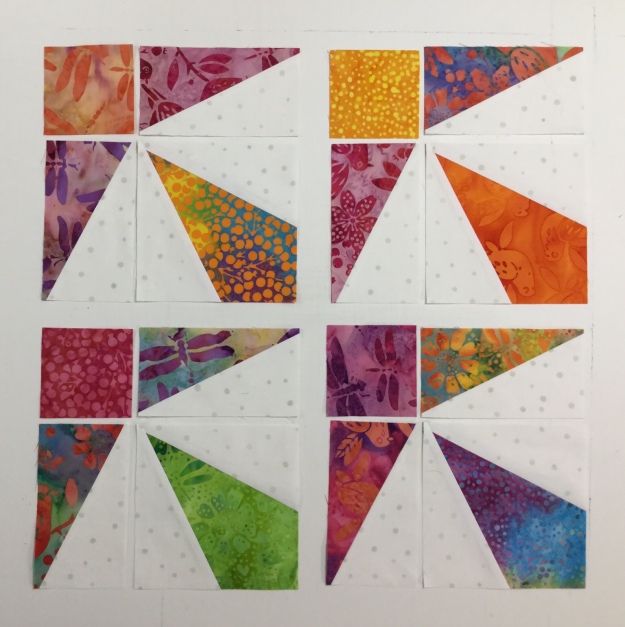
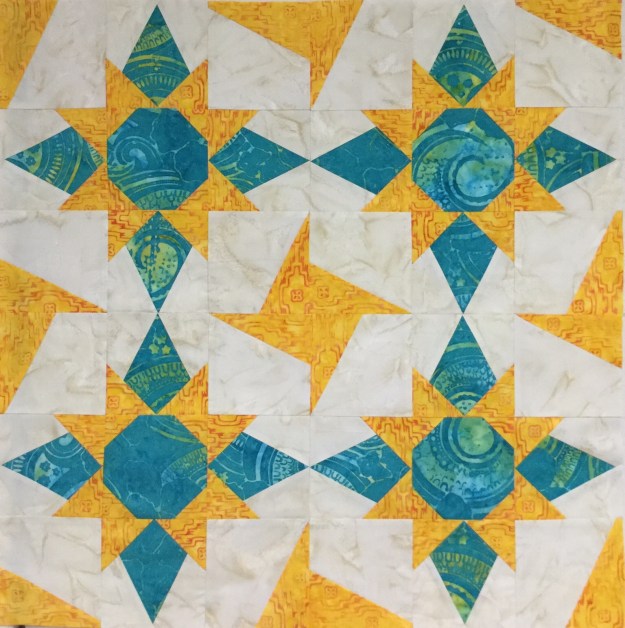
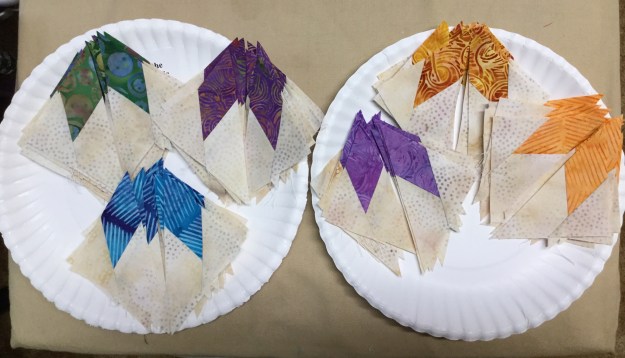
Stitch the flying geese units into sets containing 3 each.
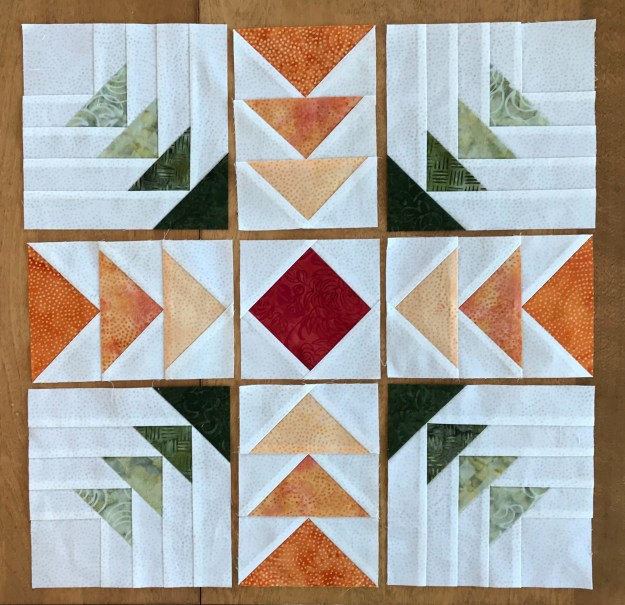
Block layout.
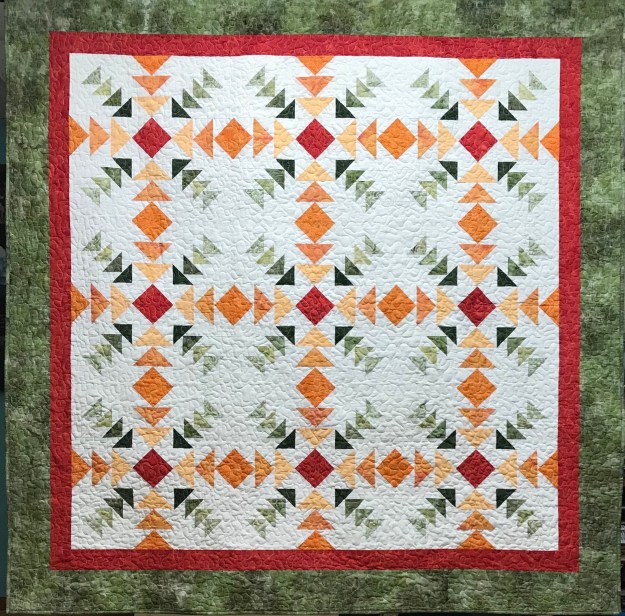
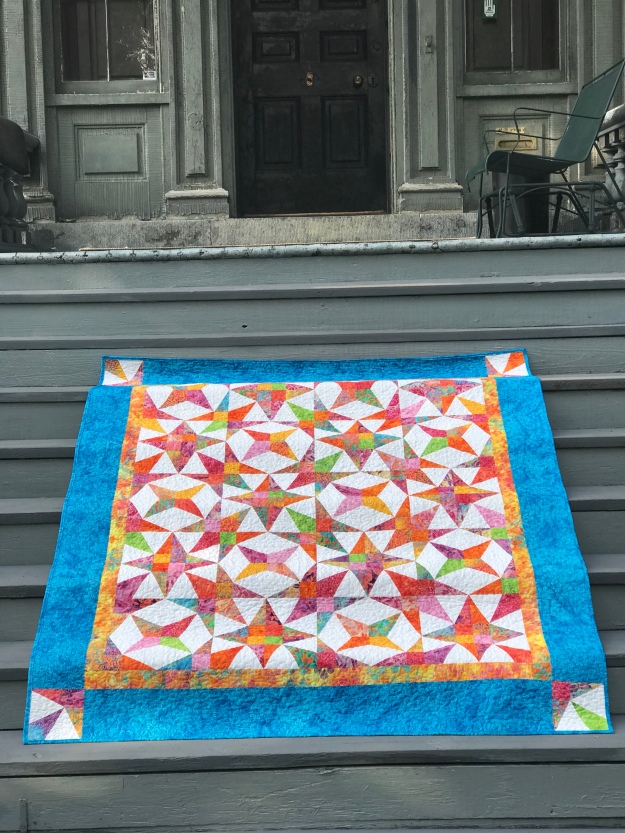
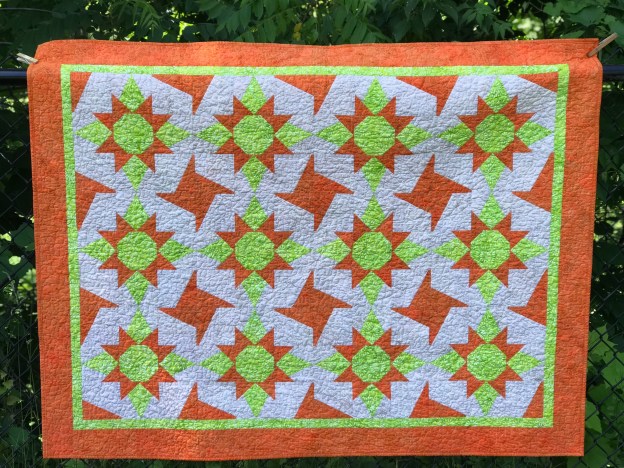
I have created a down loadable pattern for Converging Geese (measures 60″ x 60″) that can be purchased on my If Threads Could Talk Etsy Shop.
#islandbatik #bestofbali #studio180design #debtucker #geeseontheedge


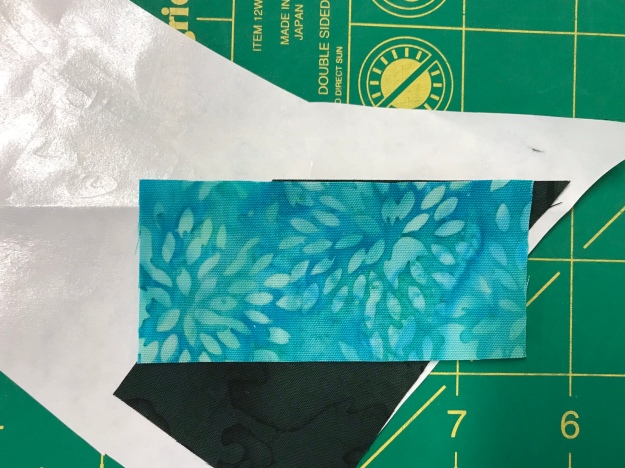 Align fabric piece 2 to the raw edge that has just been trimmed, placing the fabrics right side together.