Life is good! Here I am in Central, NY making a very special cactus quilt for a newly discovered sister. I have a half sister (Mary) whom I have known my entire life. Two years ago Mary wanted to submit our DNA to Ancestry.com to see if we really did have Native American ancestor’s as our mother said. Turns out we don’t.
My mother used to tell me in a hushed voice “you have sisters in Canada”! I always wondered if that story was true. Turns out it is true! I have two sisters on my Father’s side. My sister Marti contacted me and we have been emailing, Facebooking and messaging each other for the last 2 years! And get this, Marti is also a quilter. You can’t make this stuff up! We have not met each other yet. Marti lives in Arizona and as I said, I’m in Central NY. Marti is one determined quilting sister. She has been trying to get a local Arizona quilt guild to schedule a class with me so we can finally meet. She did it! The Havasu Stitcher’s Quilt Guild is bringing me to Lake Havasu, AZ in January 2020 to teach a One Block Wonder Workshop at their event “Quilting at the Lake”! I am beyond excited.

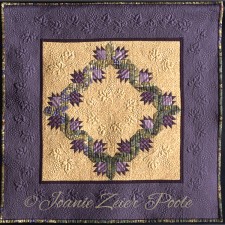
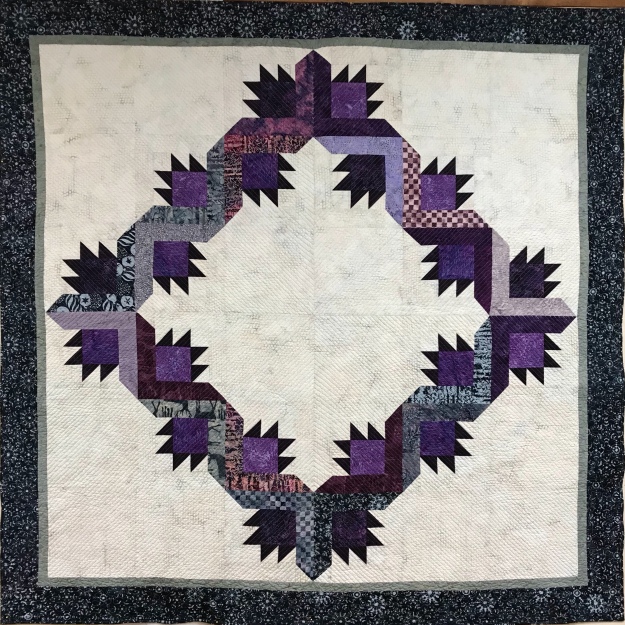
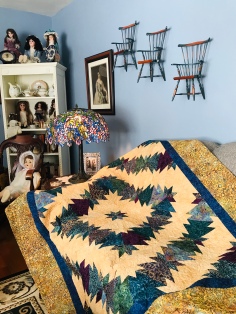
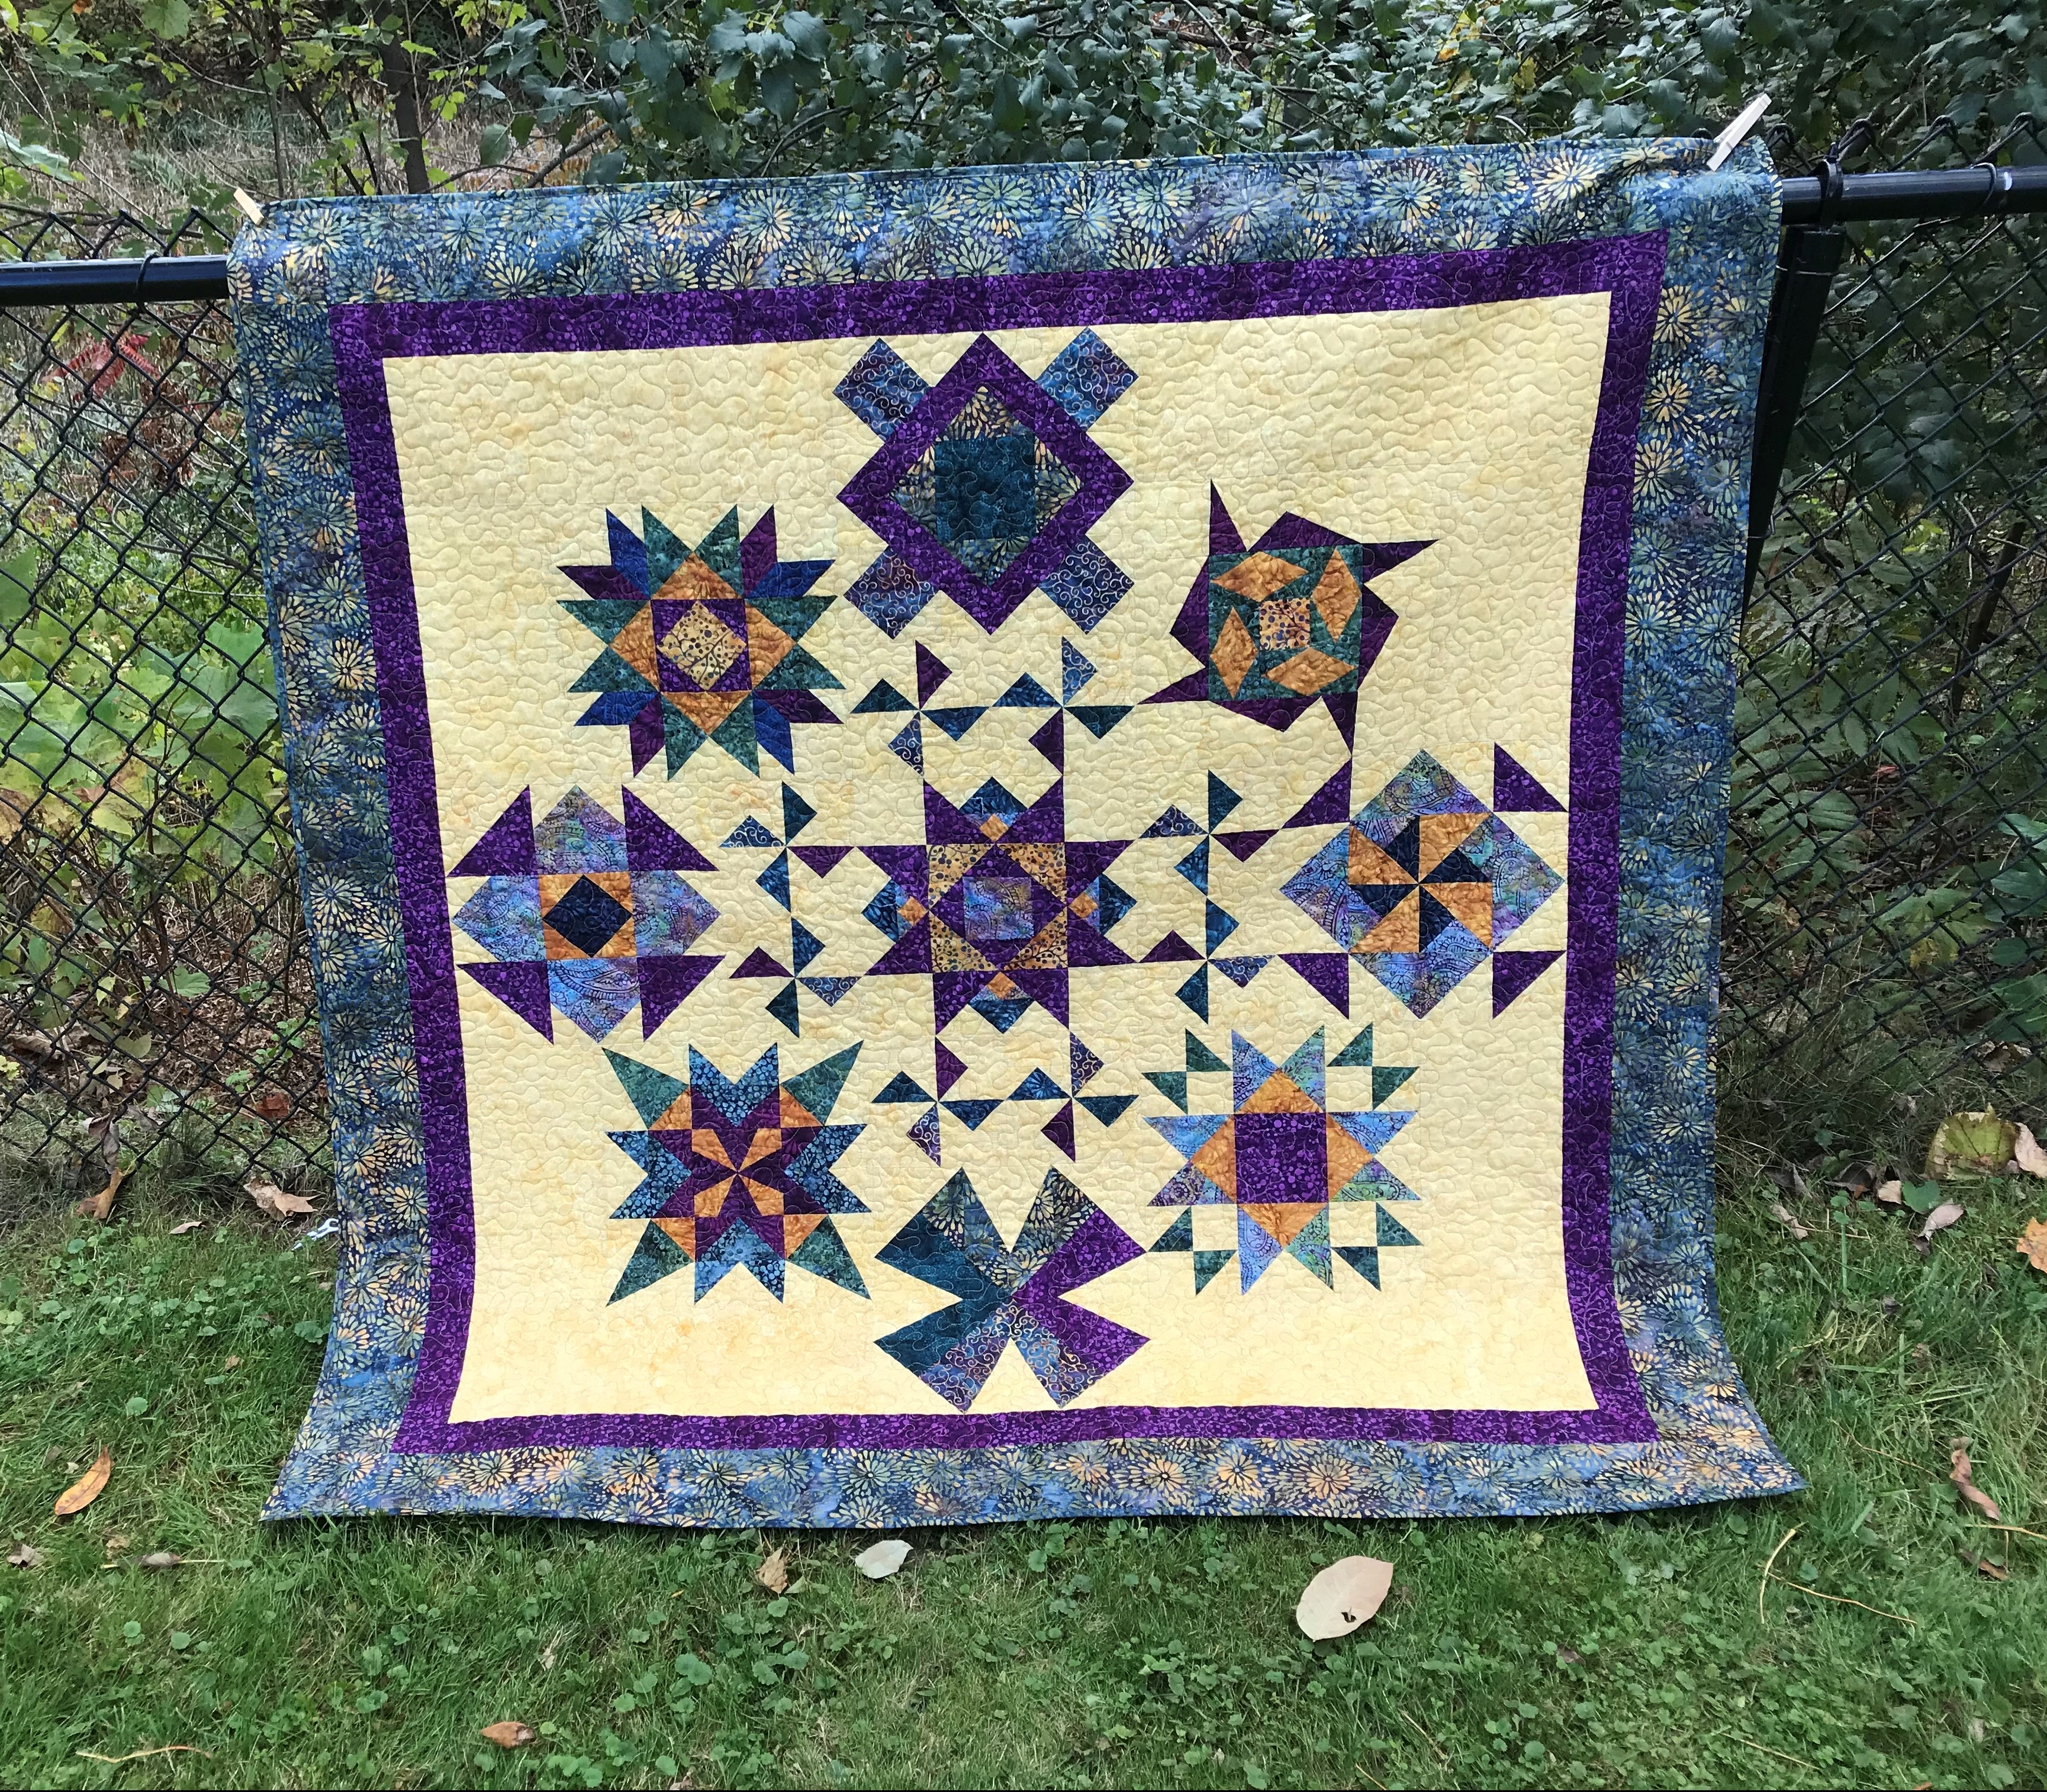
I was looking through my quilt book library and saw this quilt by Jean Biddick from her book “Blended Quilt Backgrounds”, and just had to make it for Marti. I know that this type of cactus only grows near and around Tucson but it is such an iconic cactus that always makes me think of Arizona.
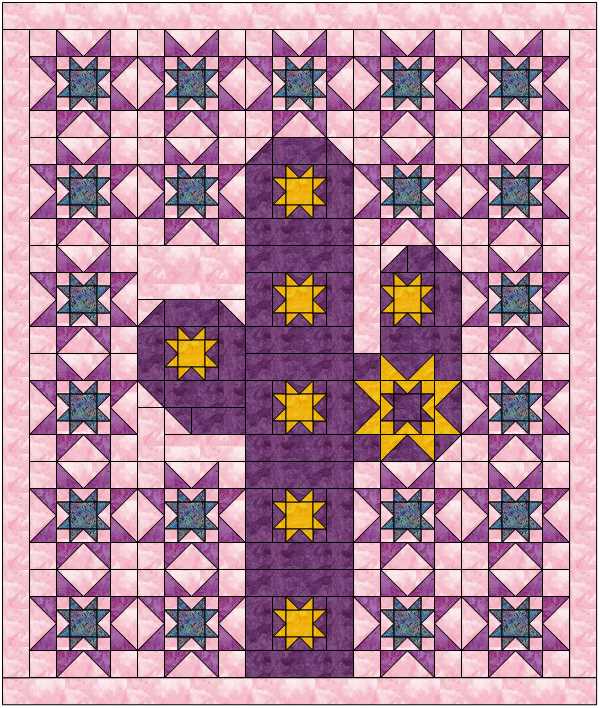
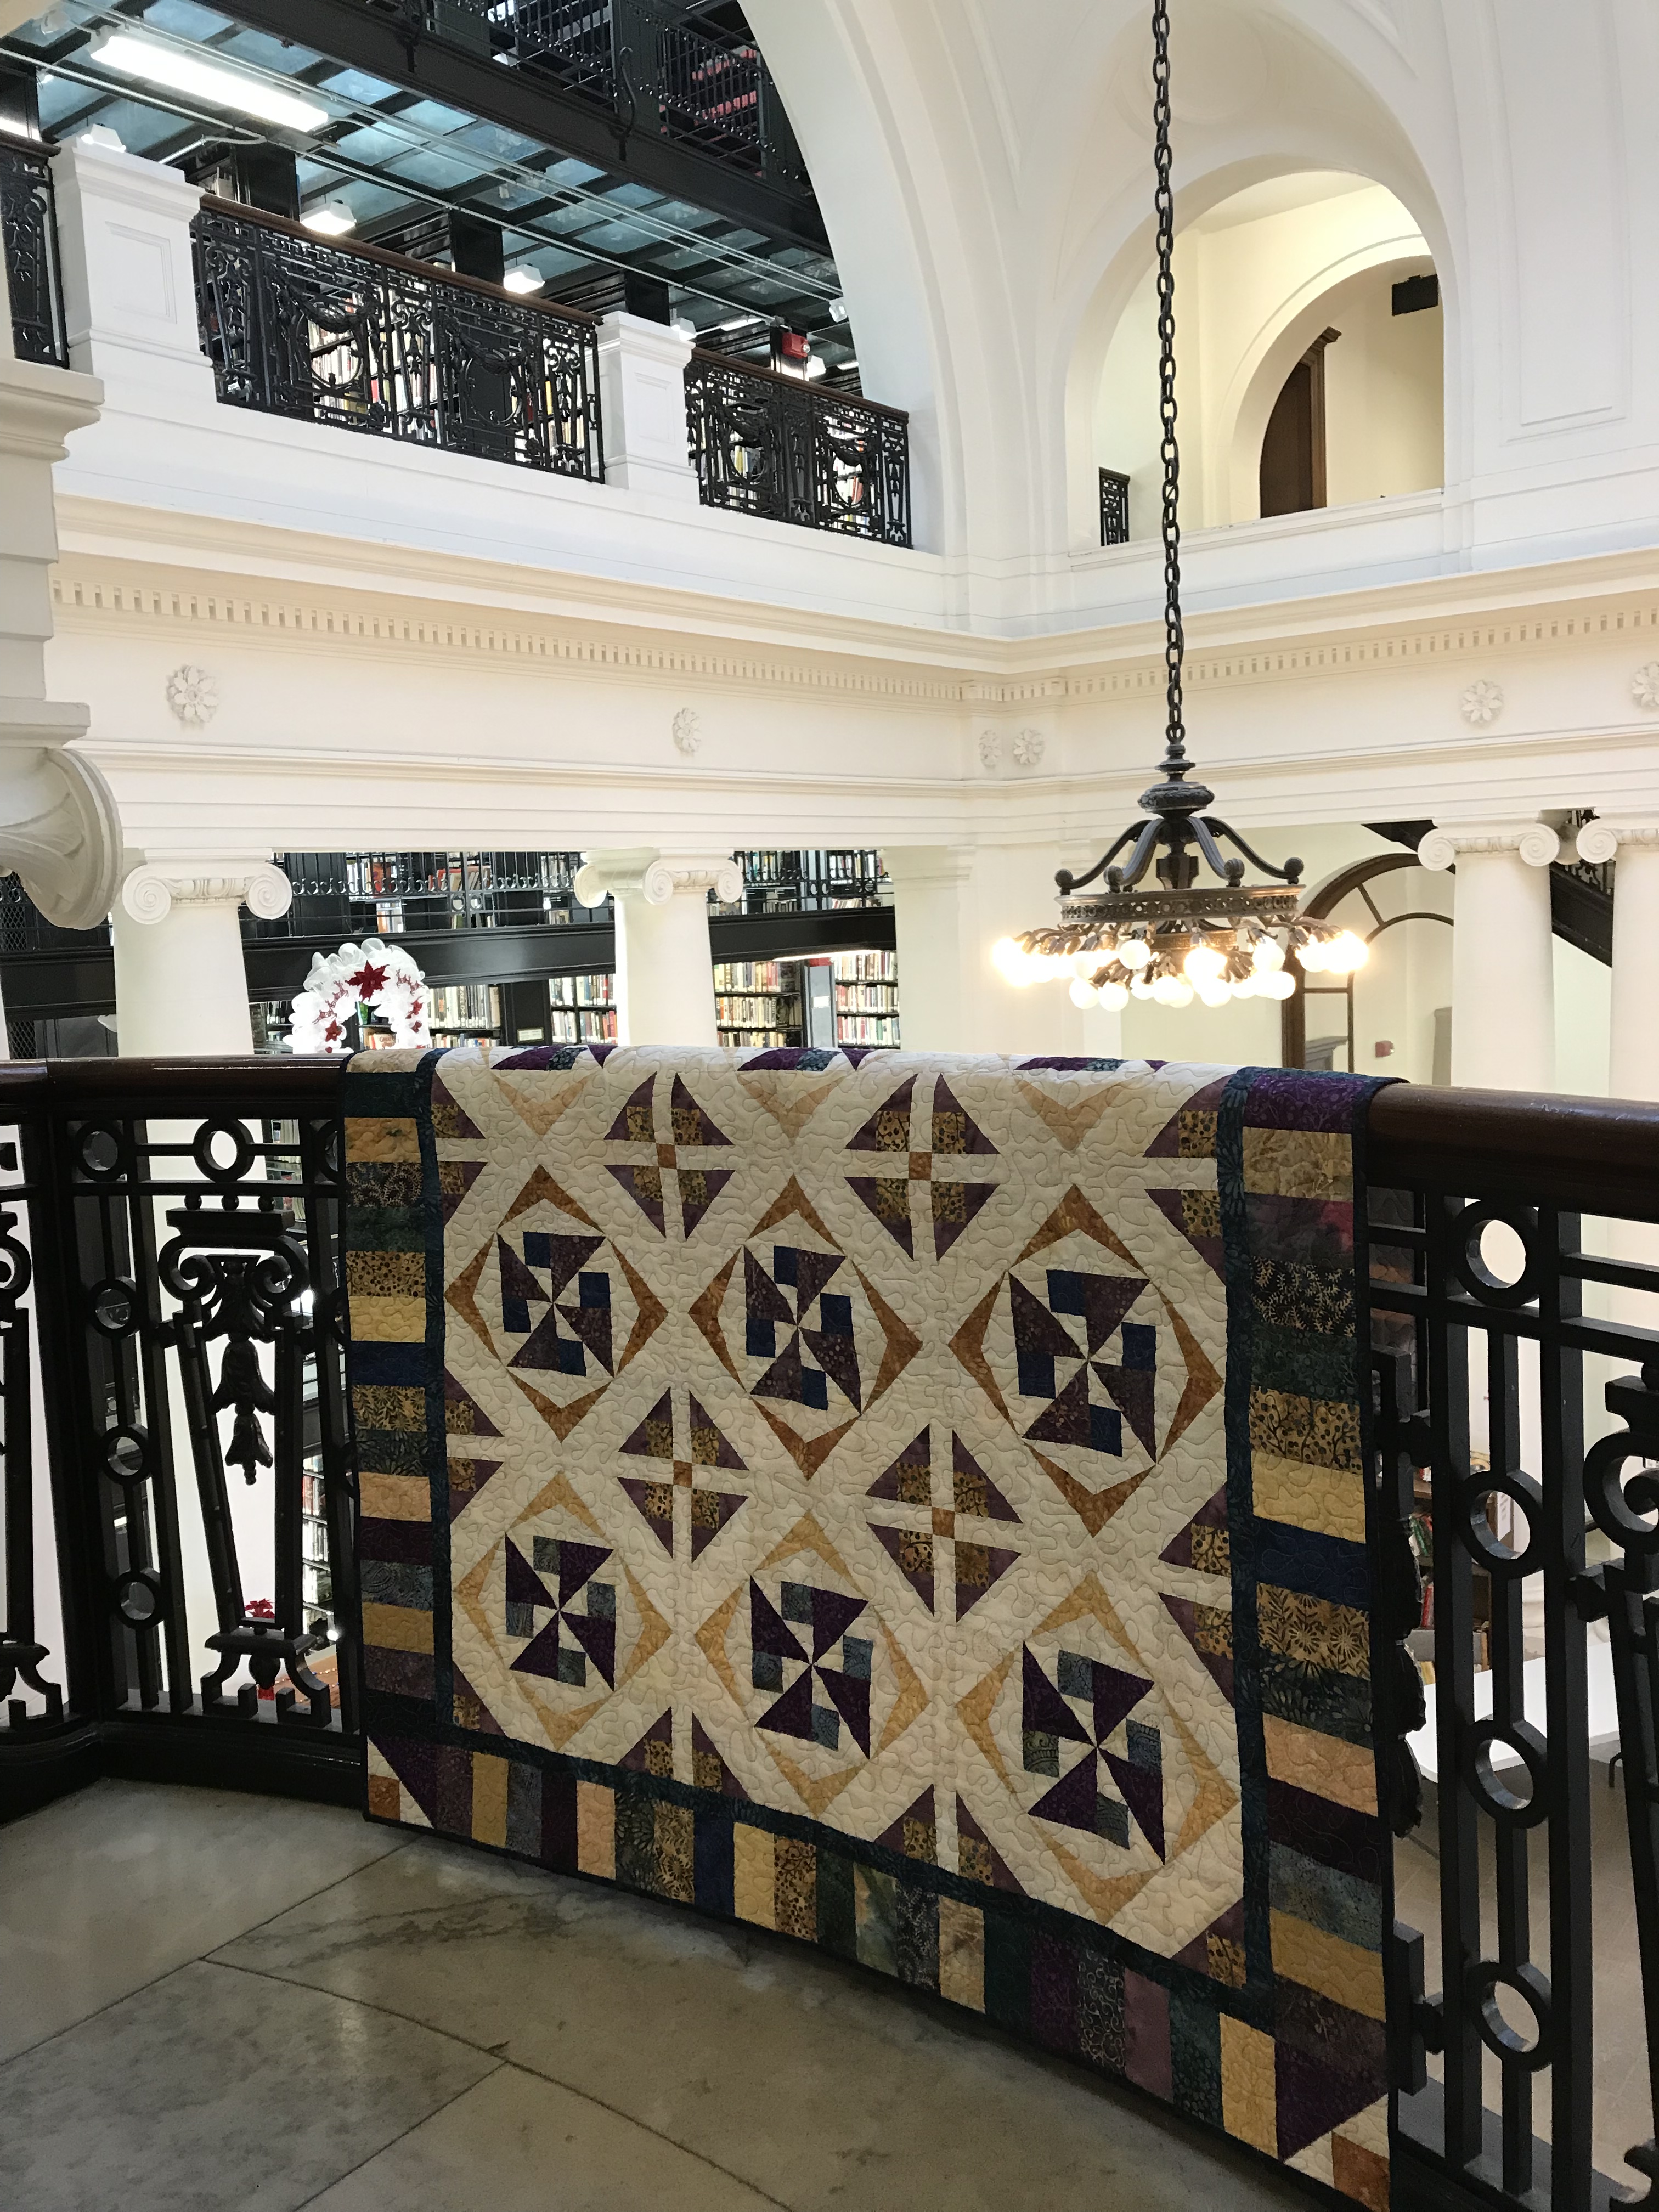
So, of course I opened up my EQ8 to redesign & Tuckerize it. I made a few changes. I decided on 12″ finished blocks,

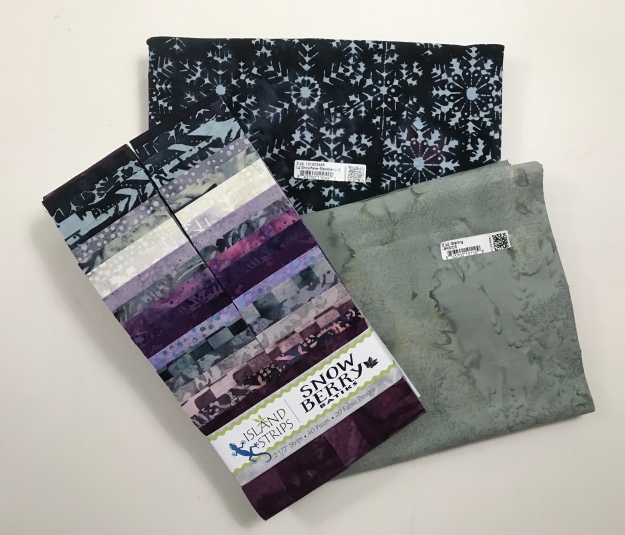
and of course varying shades of purple from Island Batik!


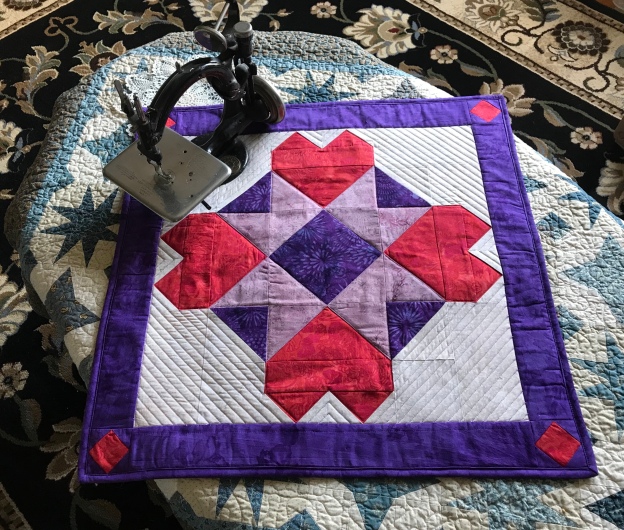
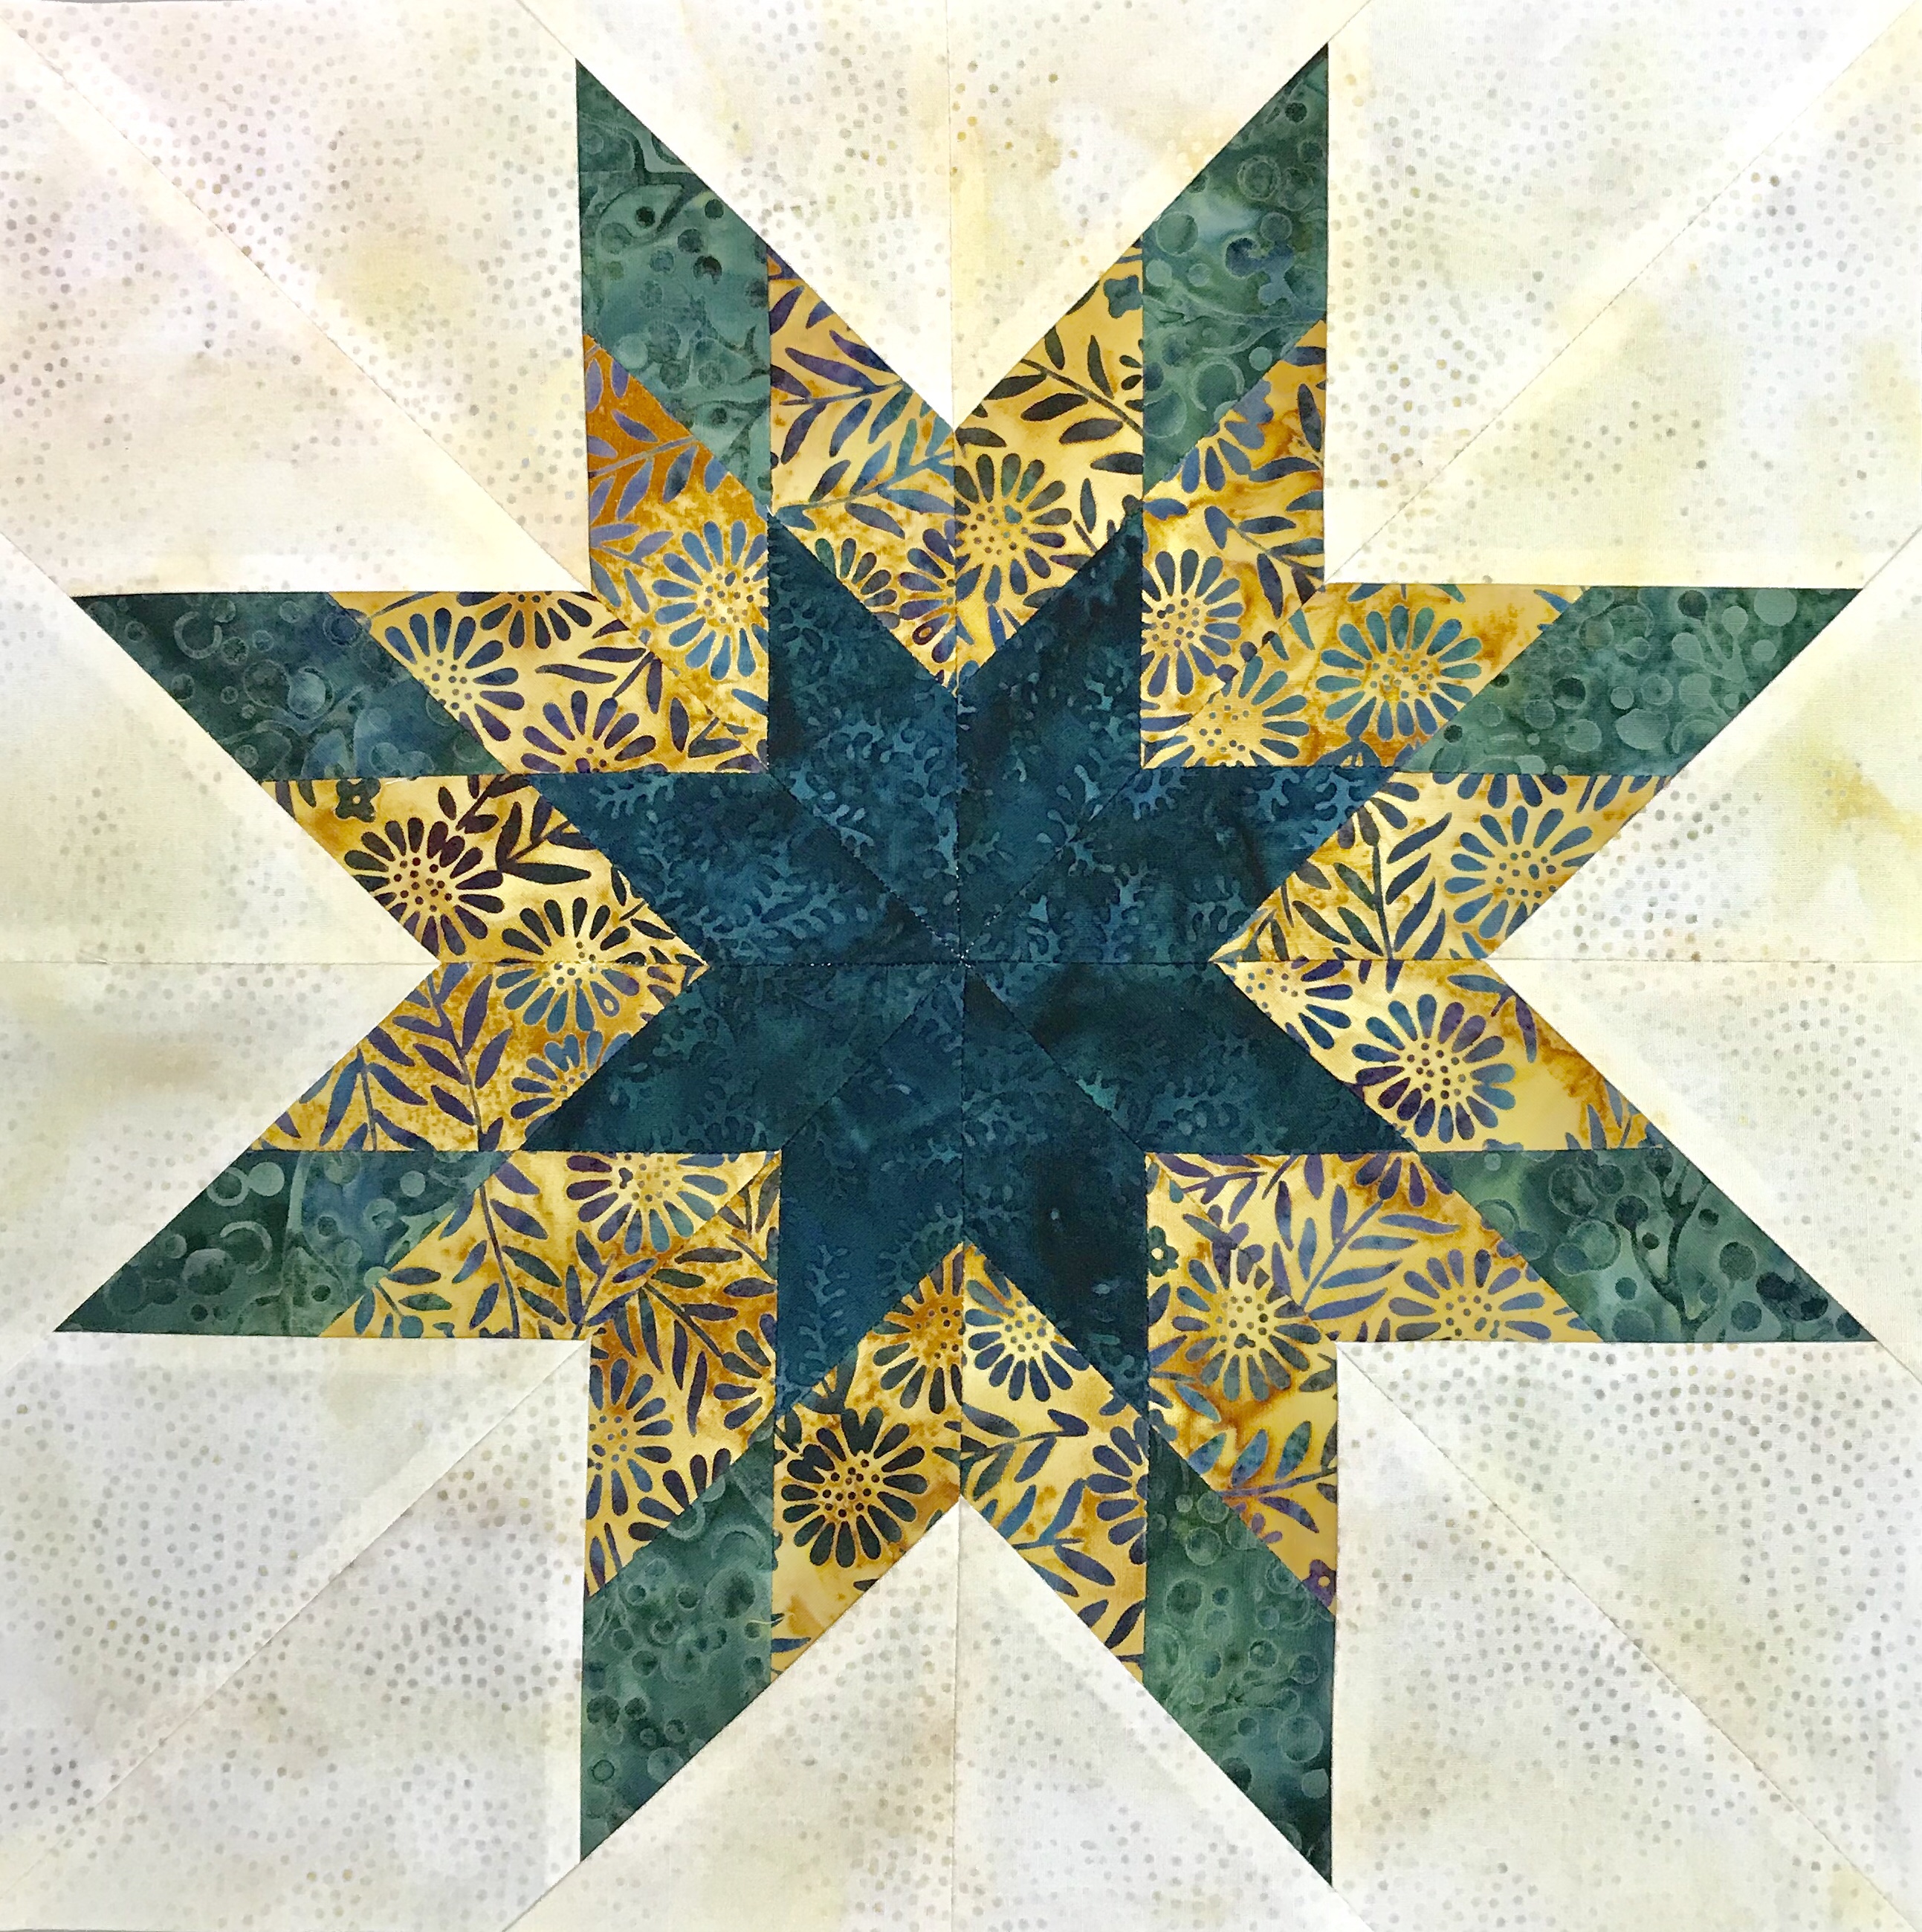
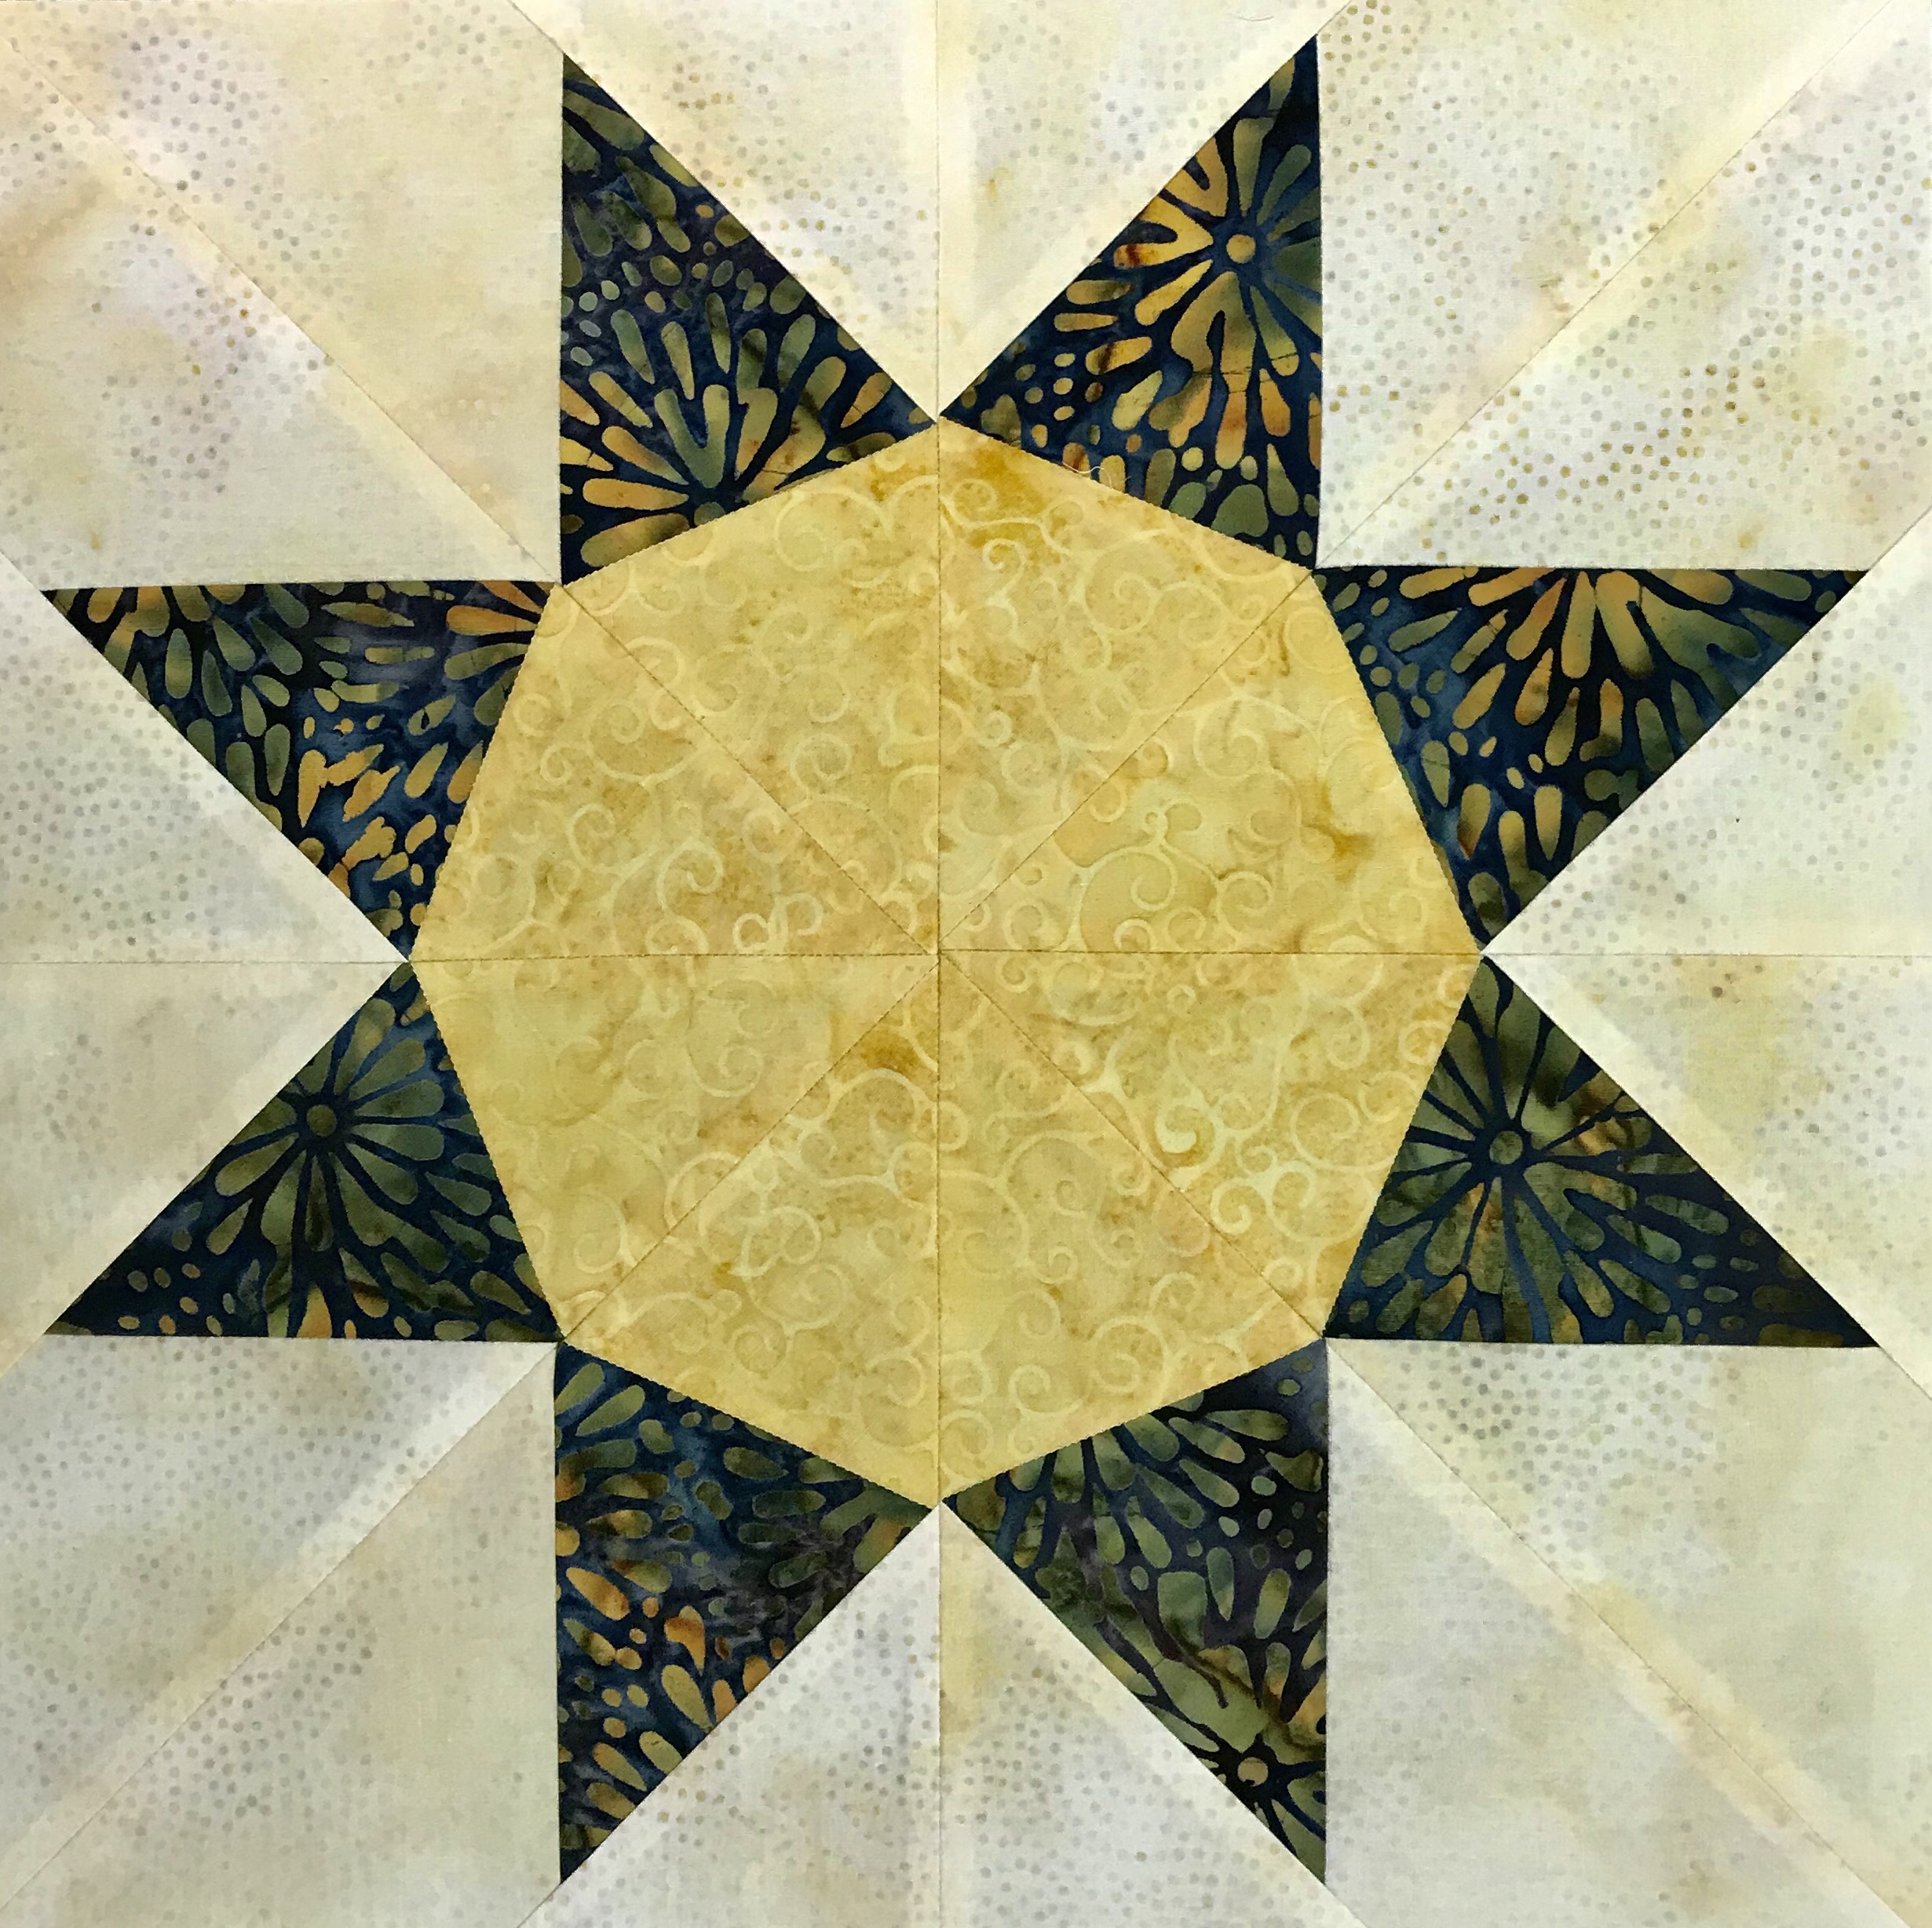
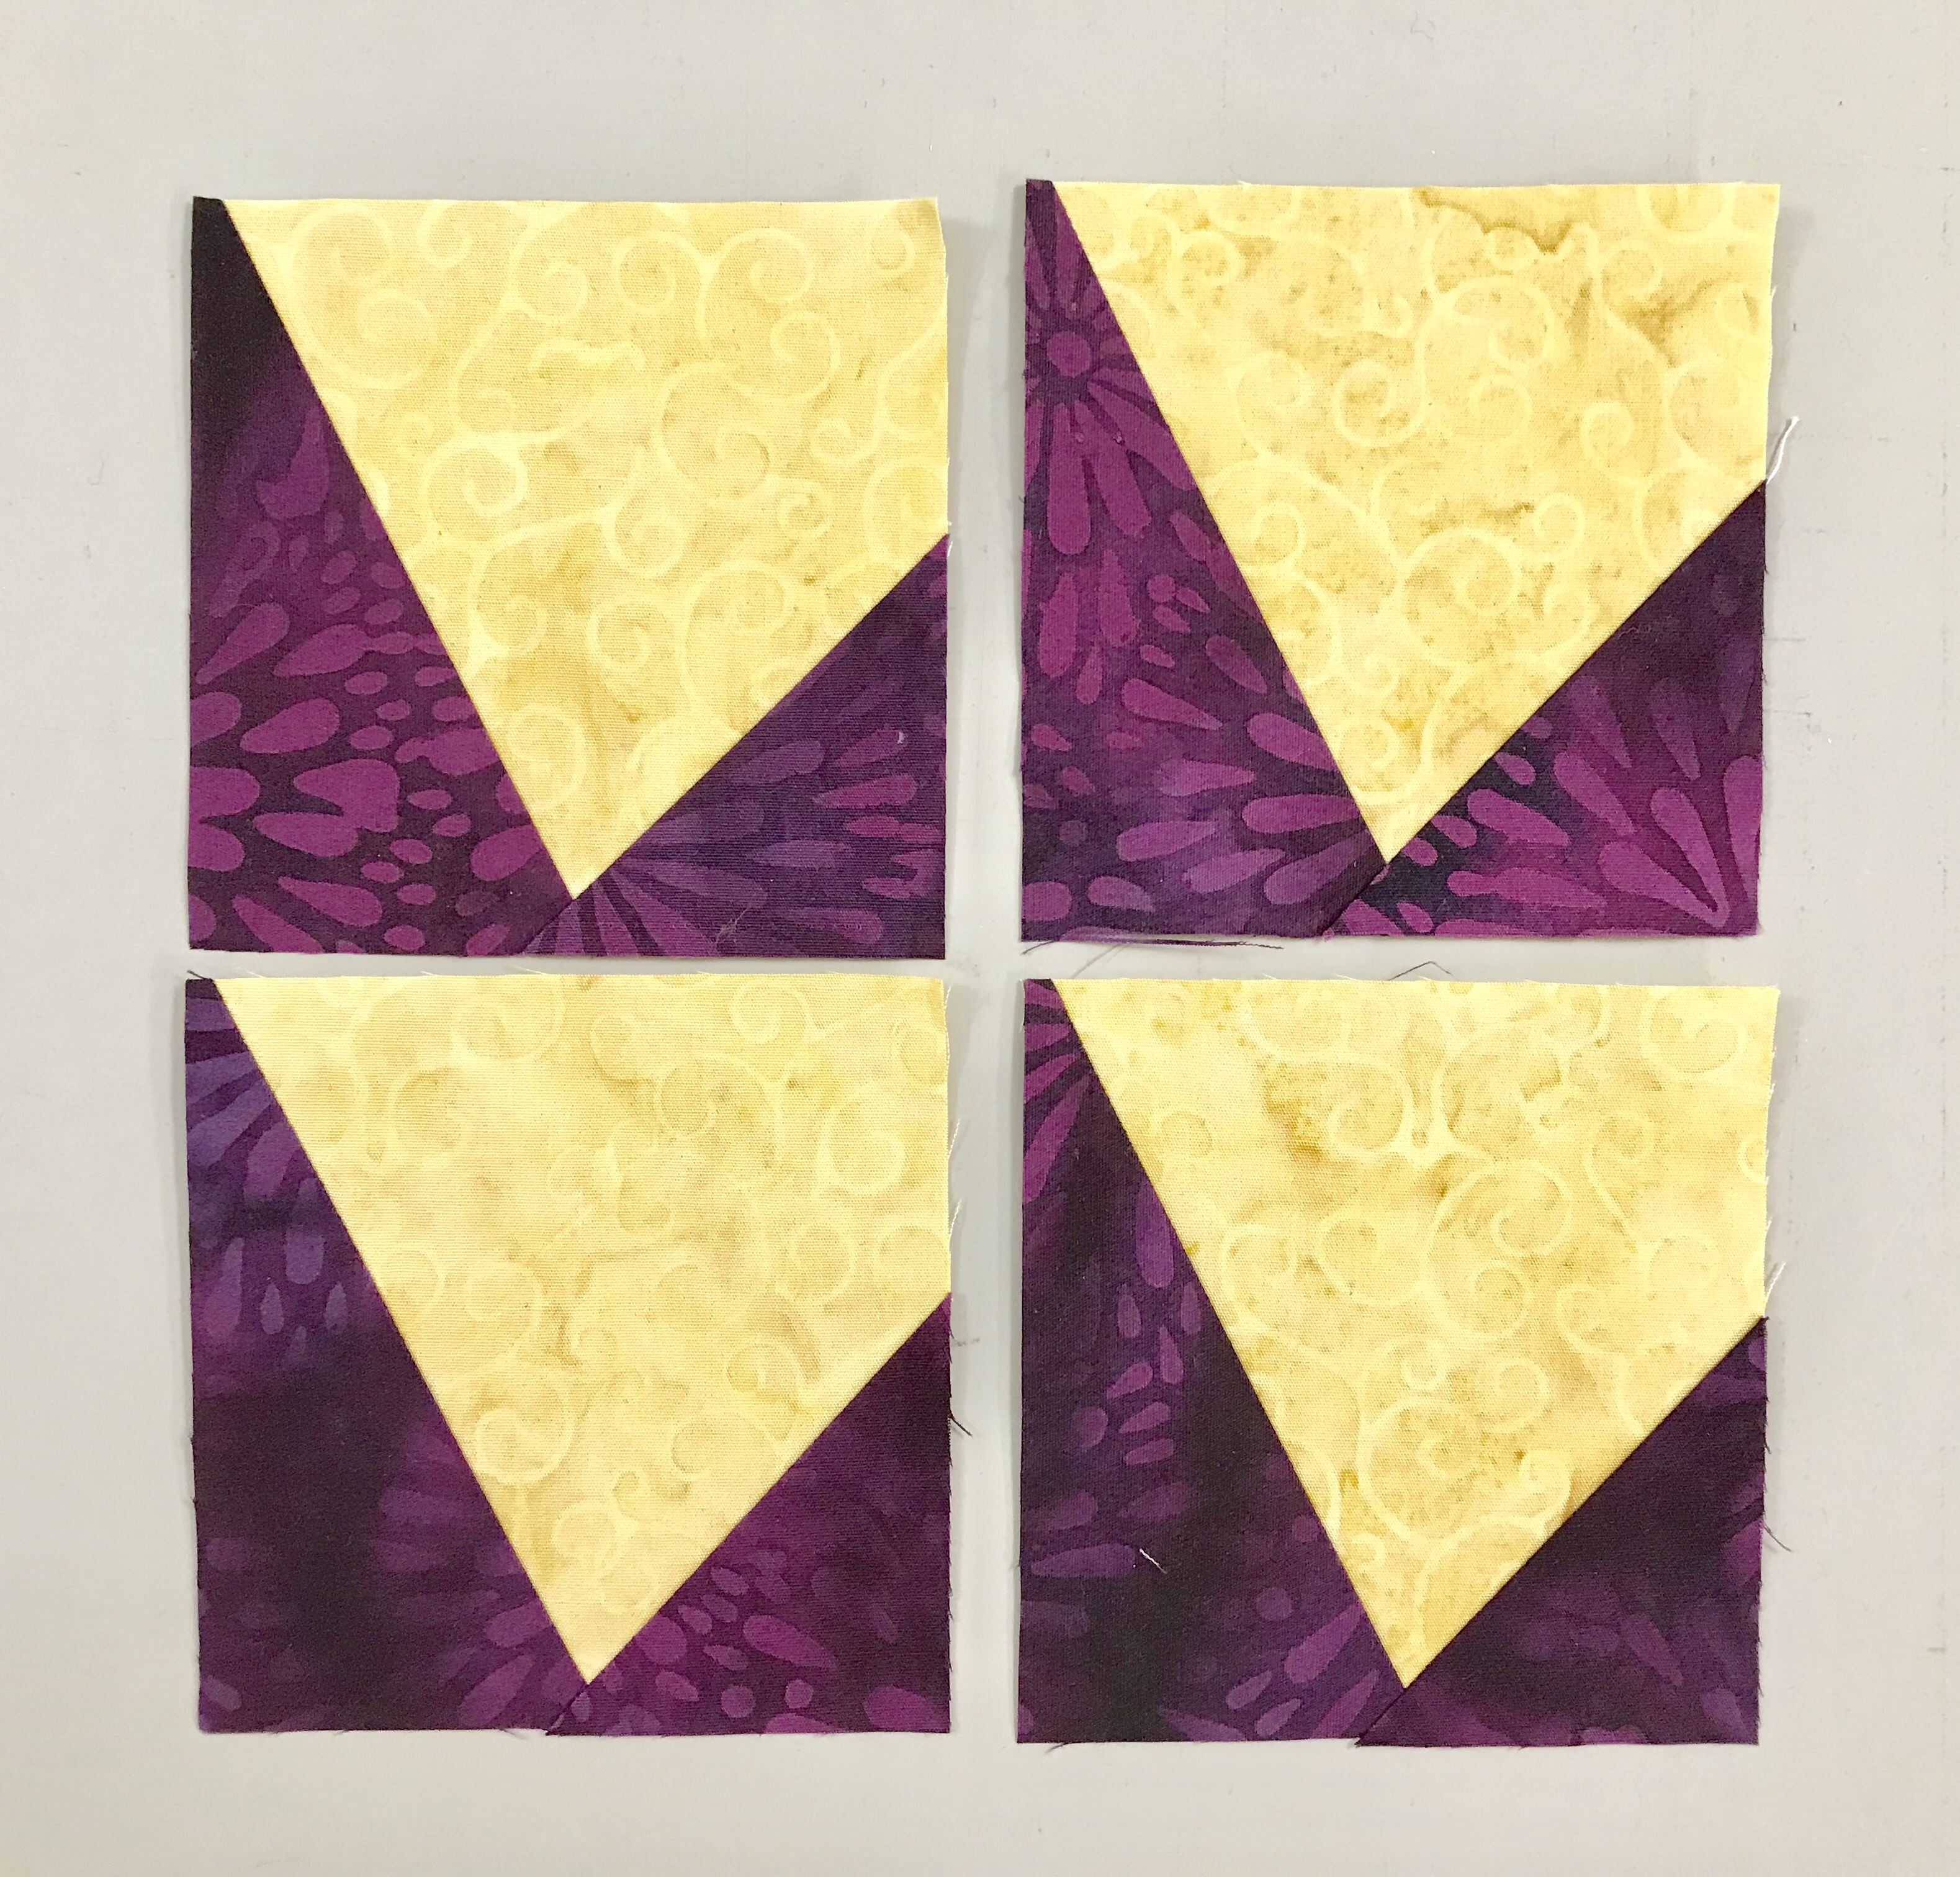
The star points are made using Studio 180 Design’s Wing Clipper I. Tuckerizing a pattern is one of my favorite things to do, and the Wing Clipper is the best way to make flying geese!


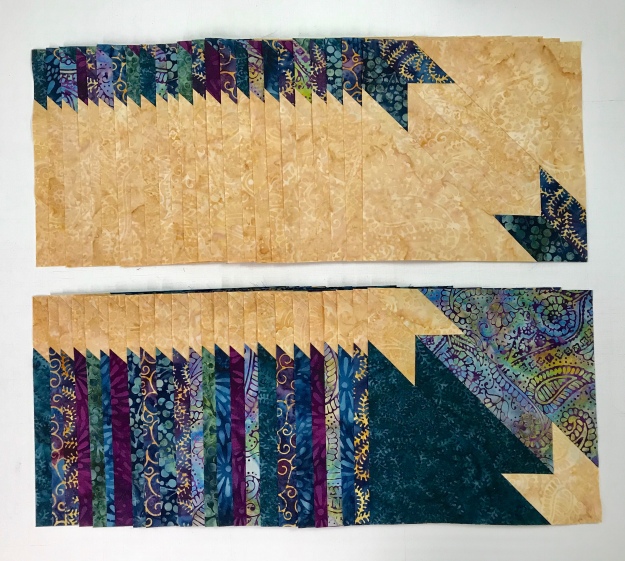
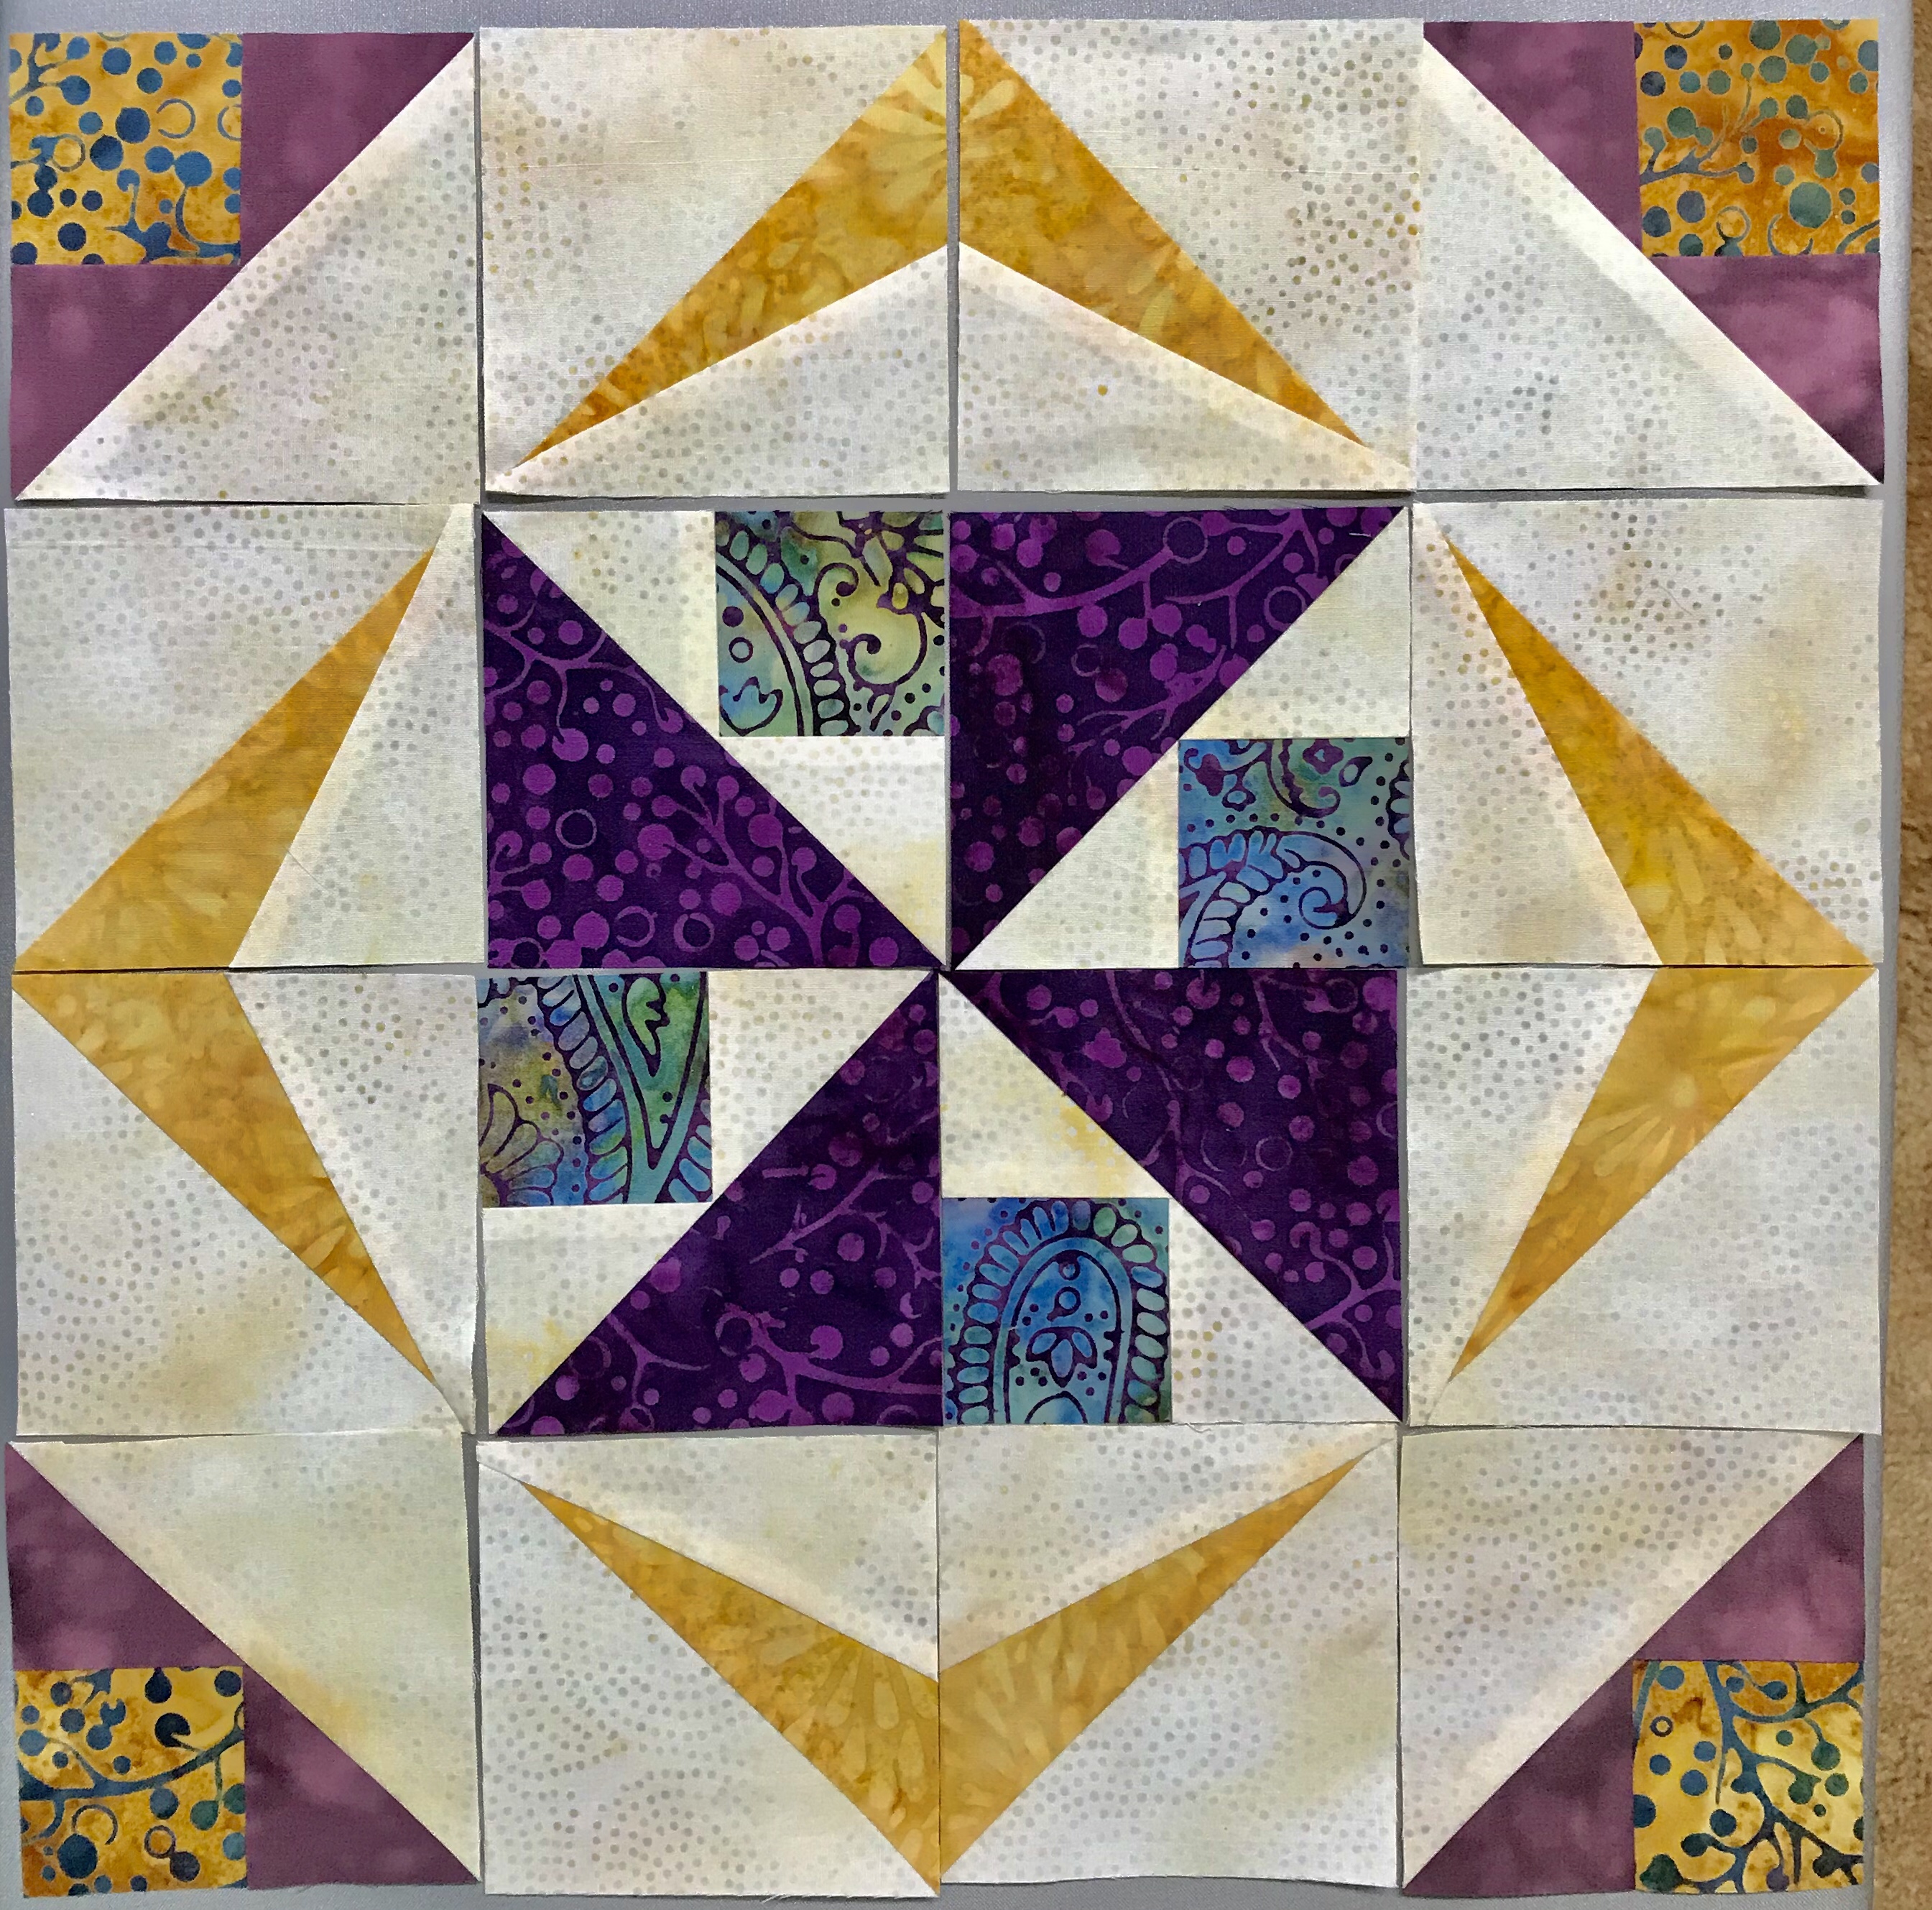
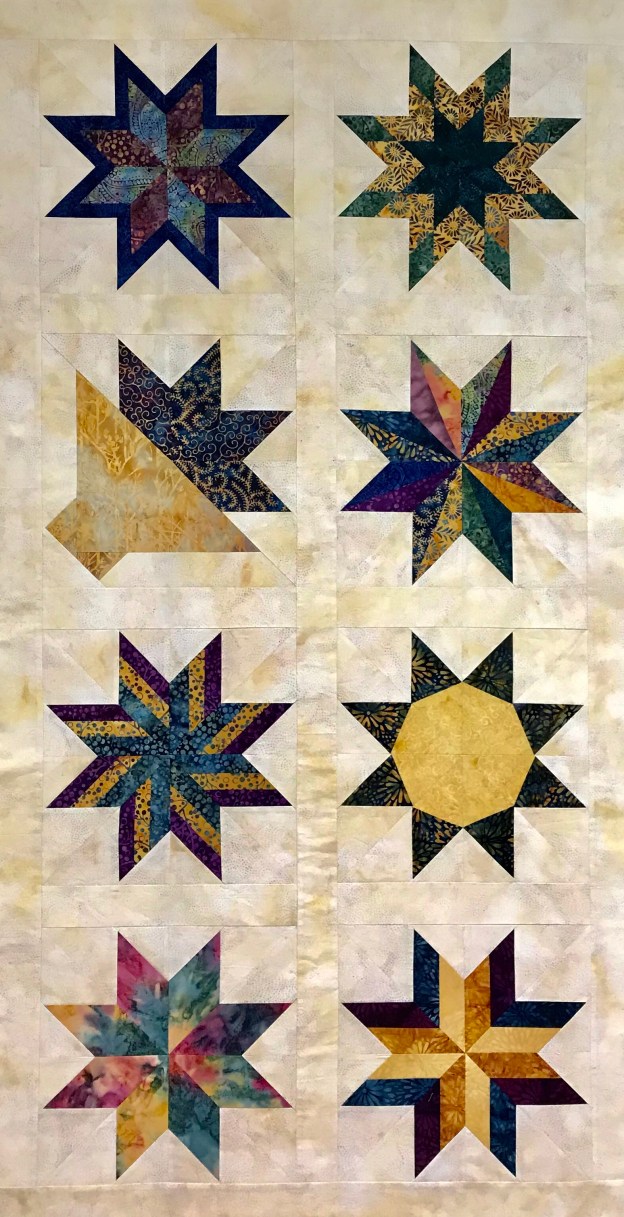
Start by making the small stars that form the center of the large stars. There is a link to a complete supply list at the end of this blog post. Make 21 of these double star blocks.


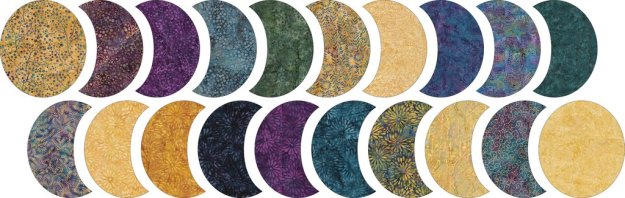
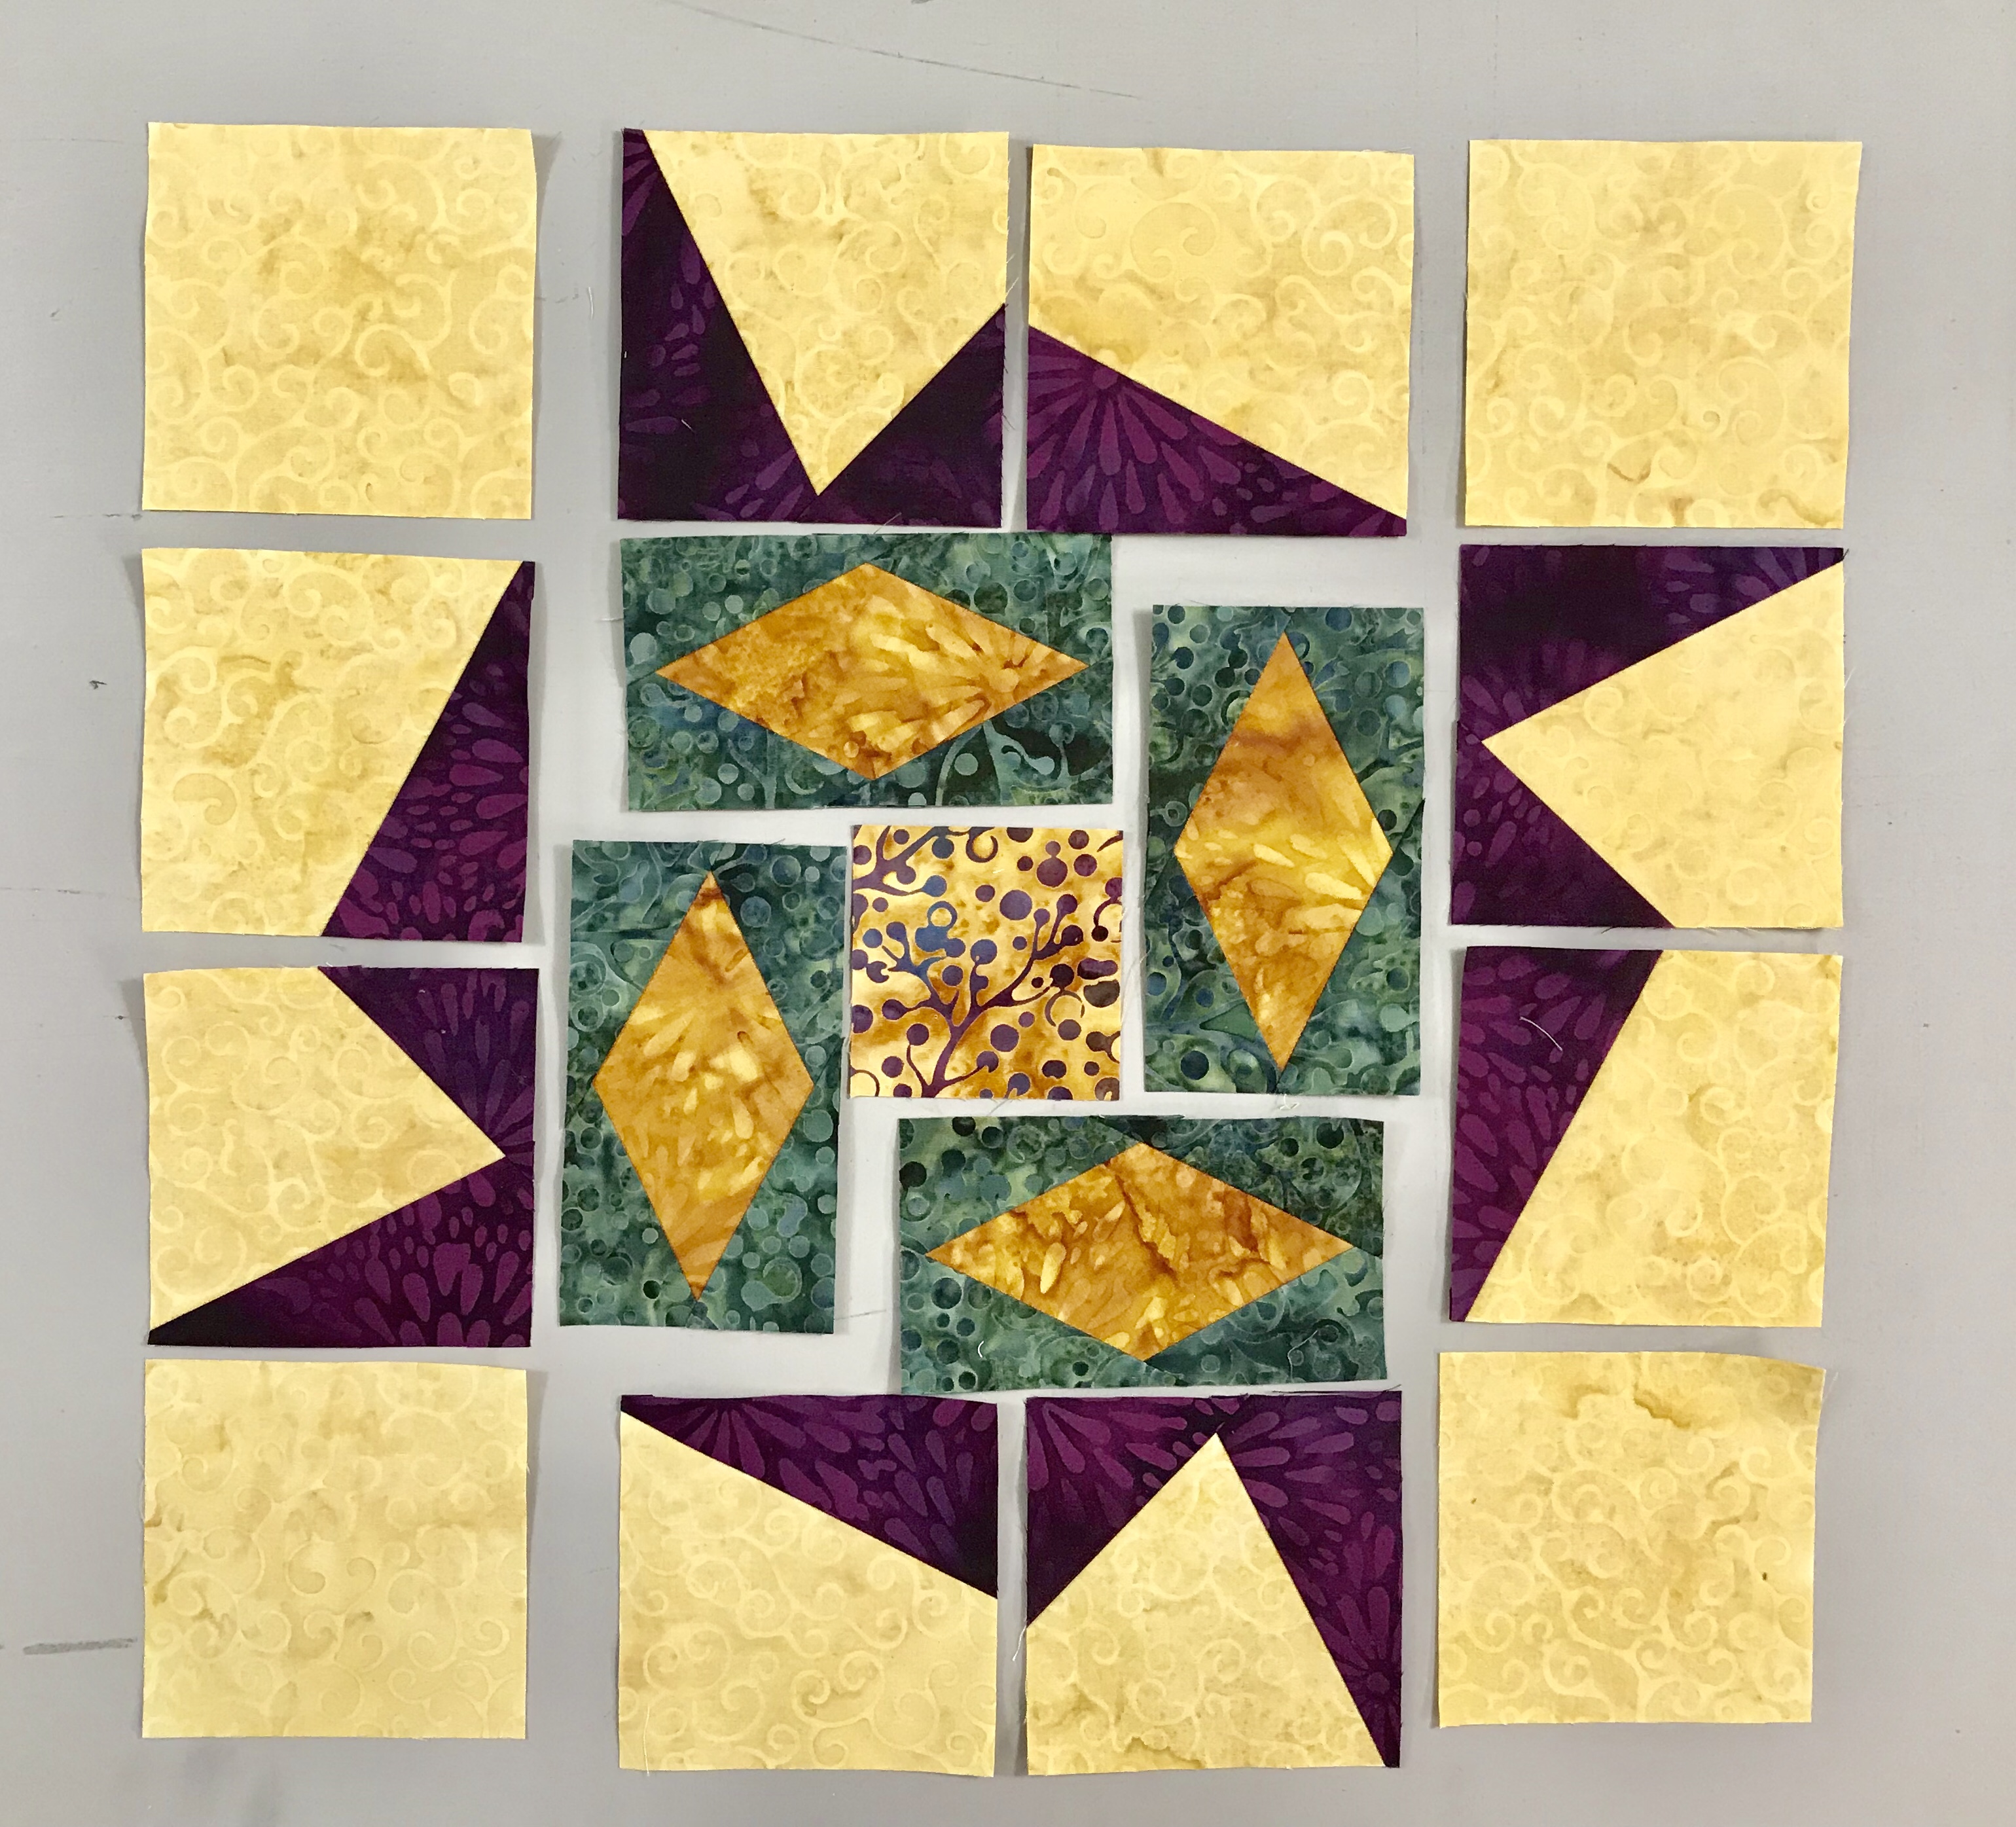
Once the star blocks were made I started to work on the cactus.


These blocks make up the cactus. (See link below for a complete supply list.)


Marti this quilt is just a simple hug from me to you. Can’t wait to meet you!

This quilt is also Tucker approved! Click here for the Stars Over Tucson Shinning on Lake Havasu Supply List.