Tag Archives: Deb Tucker

Studio 180 Academy

A week ago it was cold here Central NY.  This week summer has arrived in full force.  I don’t know where the time has gone.  I have been busy pulling up carpet and embroidering signs for the corners of vendor booths.

image

These double sided signs are the size that would fit on small garden flag holders. When you hang them on the corners of your booth it helps customers find your booth when they look down the long, busy isles.

Tuck just popped down to Tuckerville to see what I was up to.

image

She is so much fun. Tucker is a little over 4 months old and is a spit fire, she is running the joint.  She is keeping the Doxies on their toes!

News, News, News:

13403211_1055147374564753_5674505522304970971_o

I’m so excited the Certified Instructors from Deb Tucker’s Studio 180 Design will be hosting a 3-day Academy from September 20, 2017 through September 24, 2017 at the White Eagle Banquet and Conference Center in Hamilton, New York. Save the dates in your calendar now.

All the lodging and meals are on site. Attendees can reserve their lodging and meals at the same time as they pick their classes. Attendees will have the opportunity to take 3 full-day classes from Certified Instructors. There is no better way to master as many Studio 180 Design tools and techniques as you desire than from direct instruction from those that have been trained by Deb Tucker herself.

Bookmark the Studio 180 Academy website so that you can be the first to know final pricing for the Academy, who the instructors will be (announced in September 2016), what classes will be offered (October 2016), AND to be the first to register in March 2017. The website is www.studio180academy.com.

If you have any questions about the Studio 180 Academy, feel free to email them at studio180academy@gmail.com.

I know it over a year away, but special occasions take planning!  I hope to see you there!

So, this is Tuckerville

Spring has finally sprung here in Central New York.  I spent the last week in March in North Carolina with Deb Tucker and my fellow Studio 180 Design Certified Instructors (CI’s).  We meet up every year to continue our Studio 180 education.  It is one of my favorite gatherings.  It is so good to see everyone again.  We learn so much from each other.  We are more like a family than CI’s.

image

This is Carla Alexiuk and I with Dan Perkins photo bombing us!

image

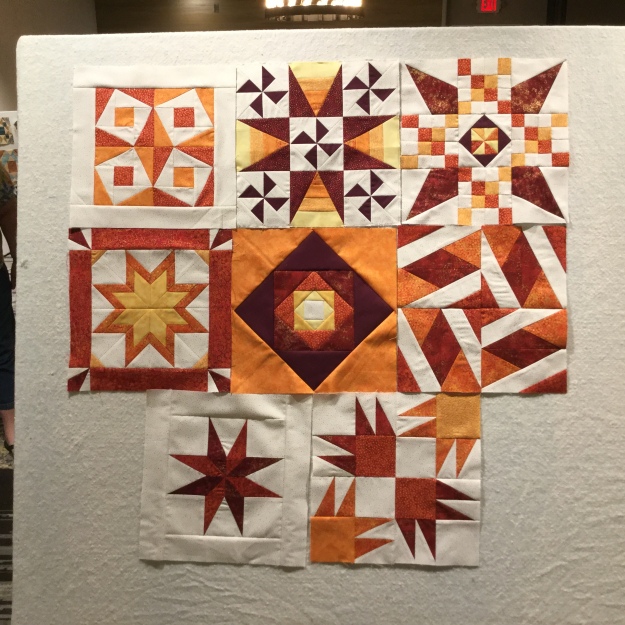
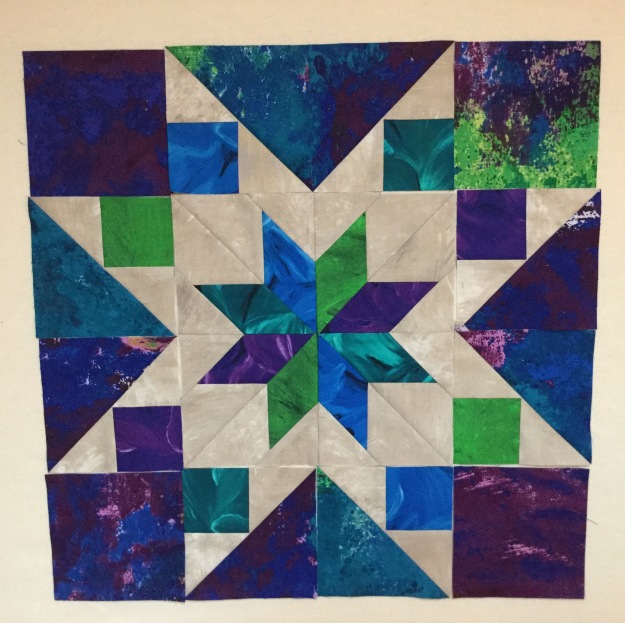
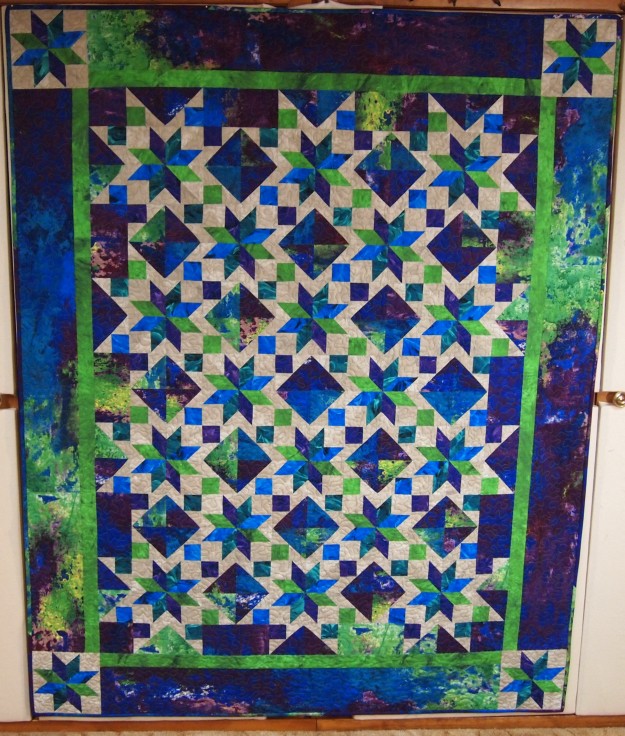
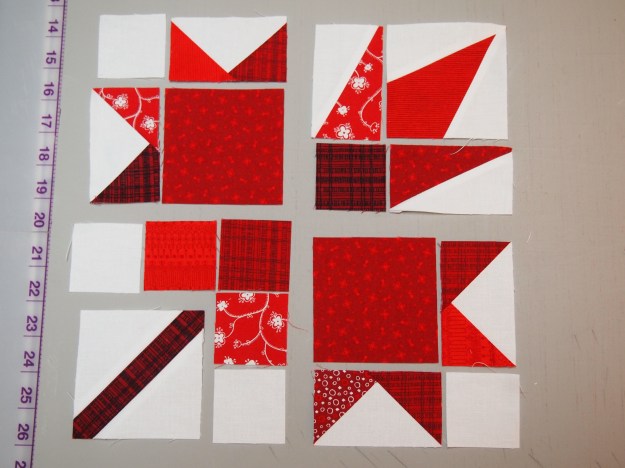
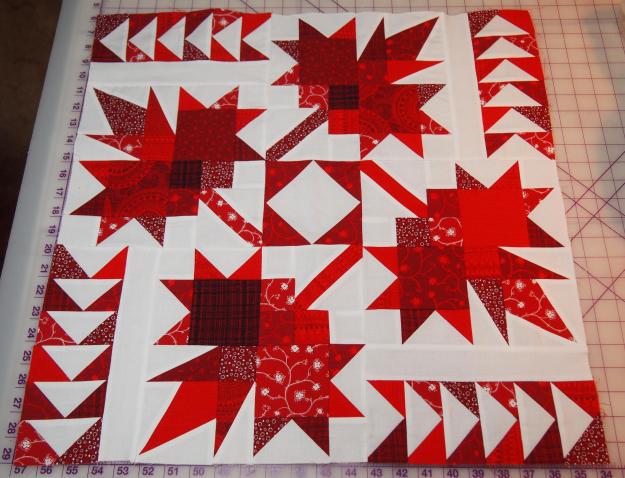
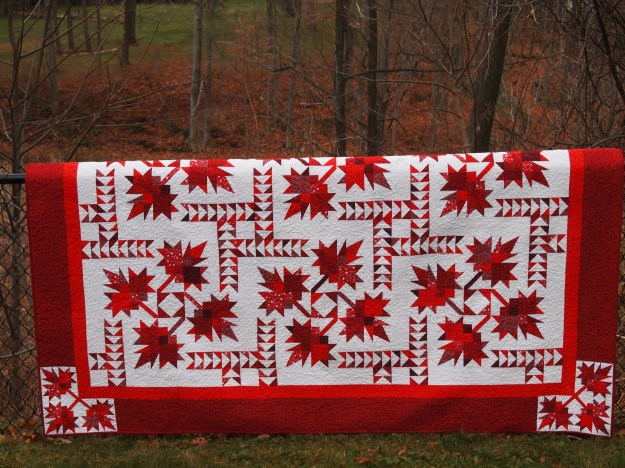
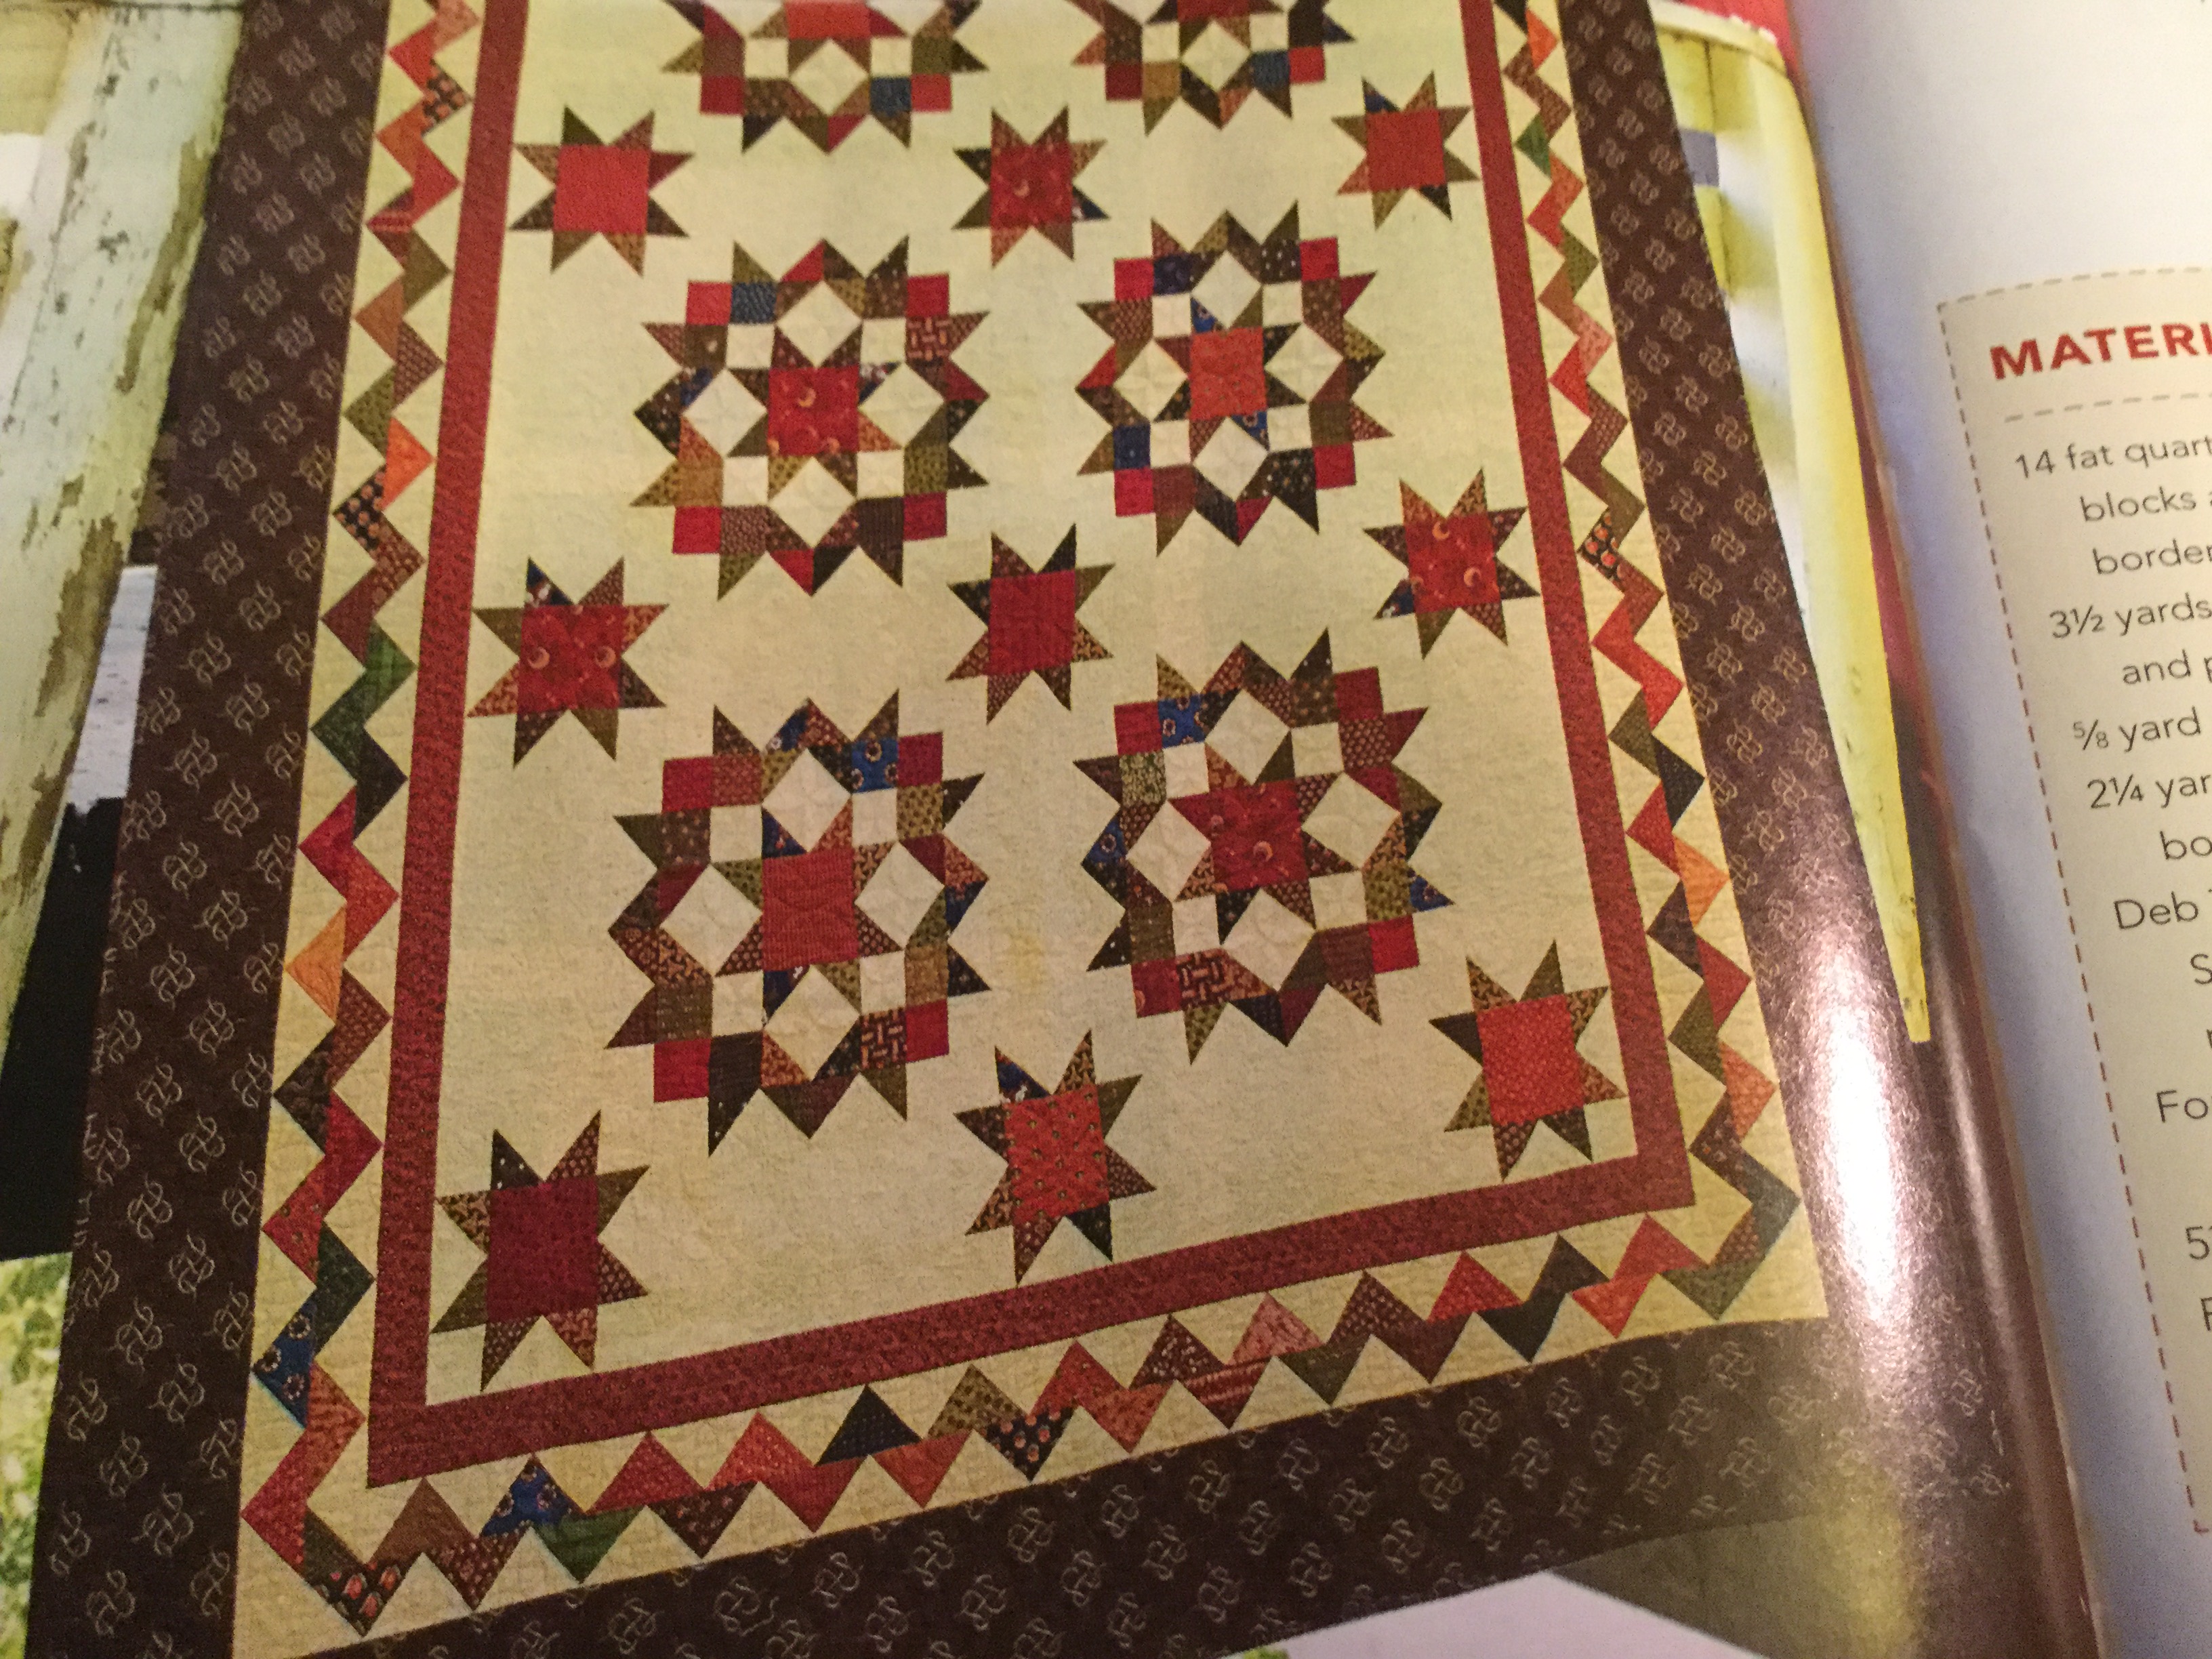
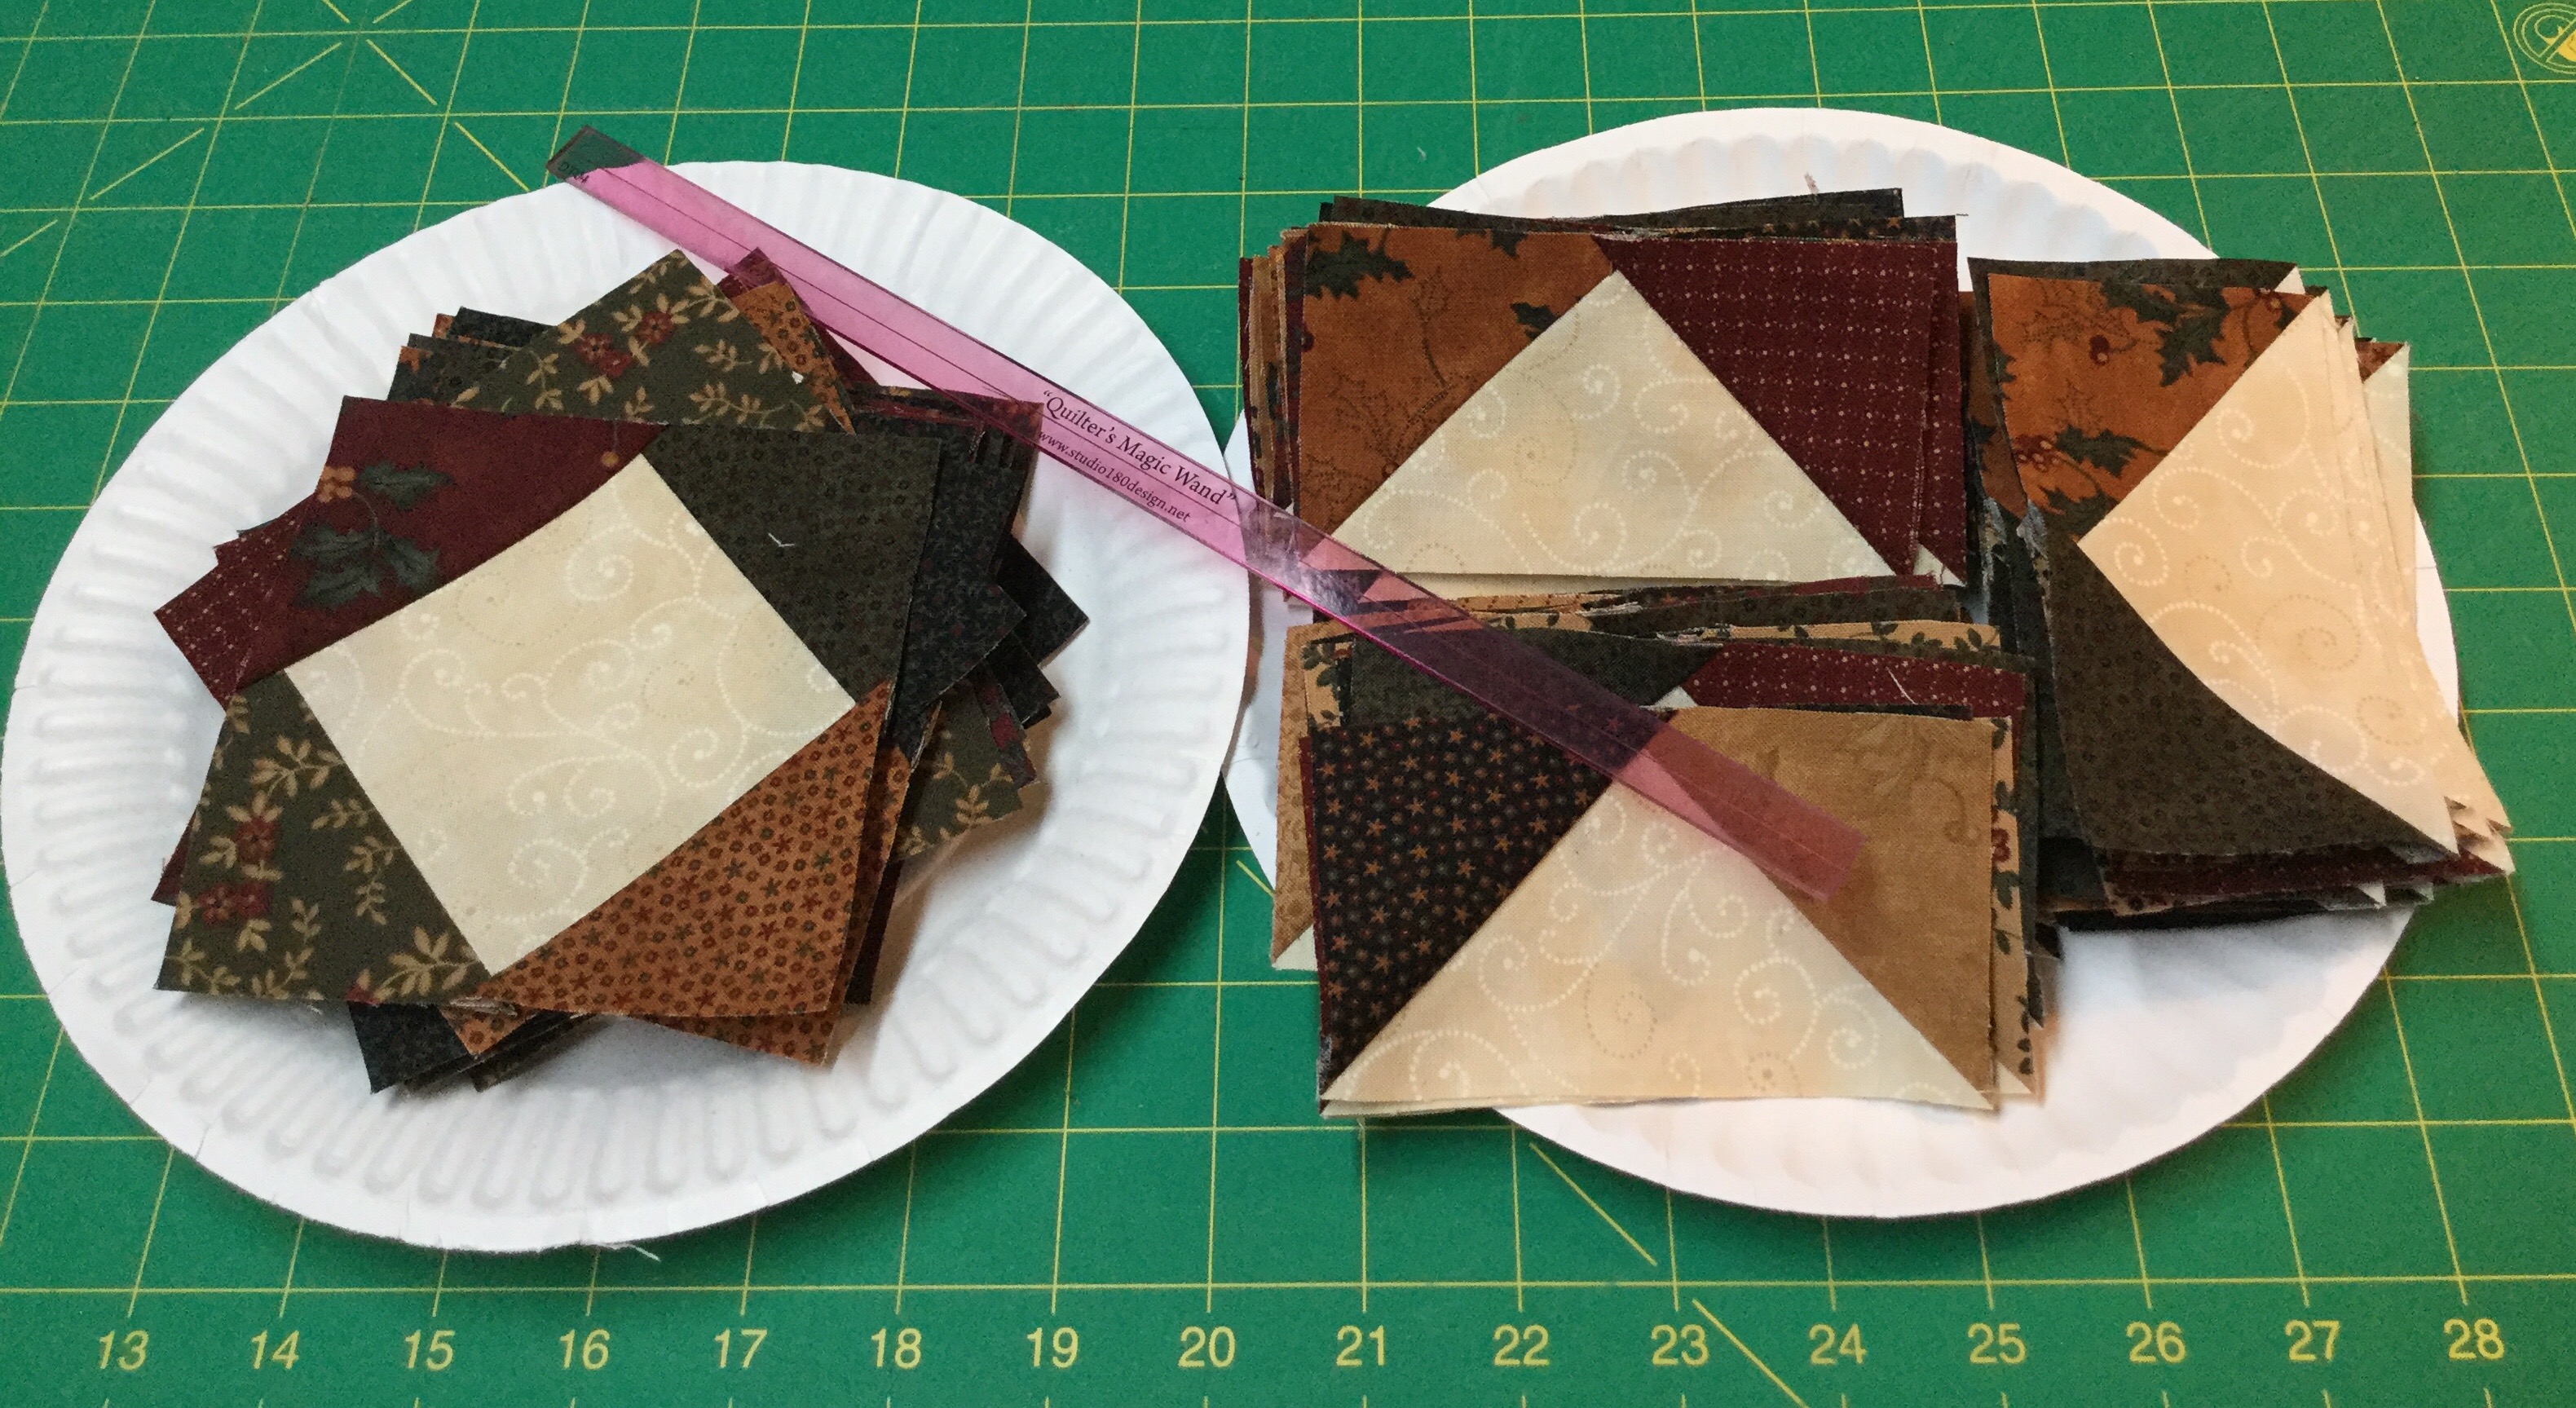
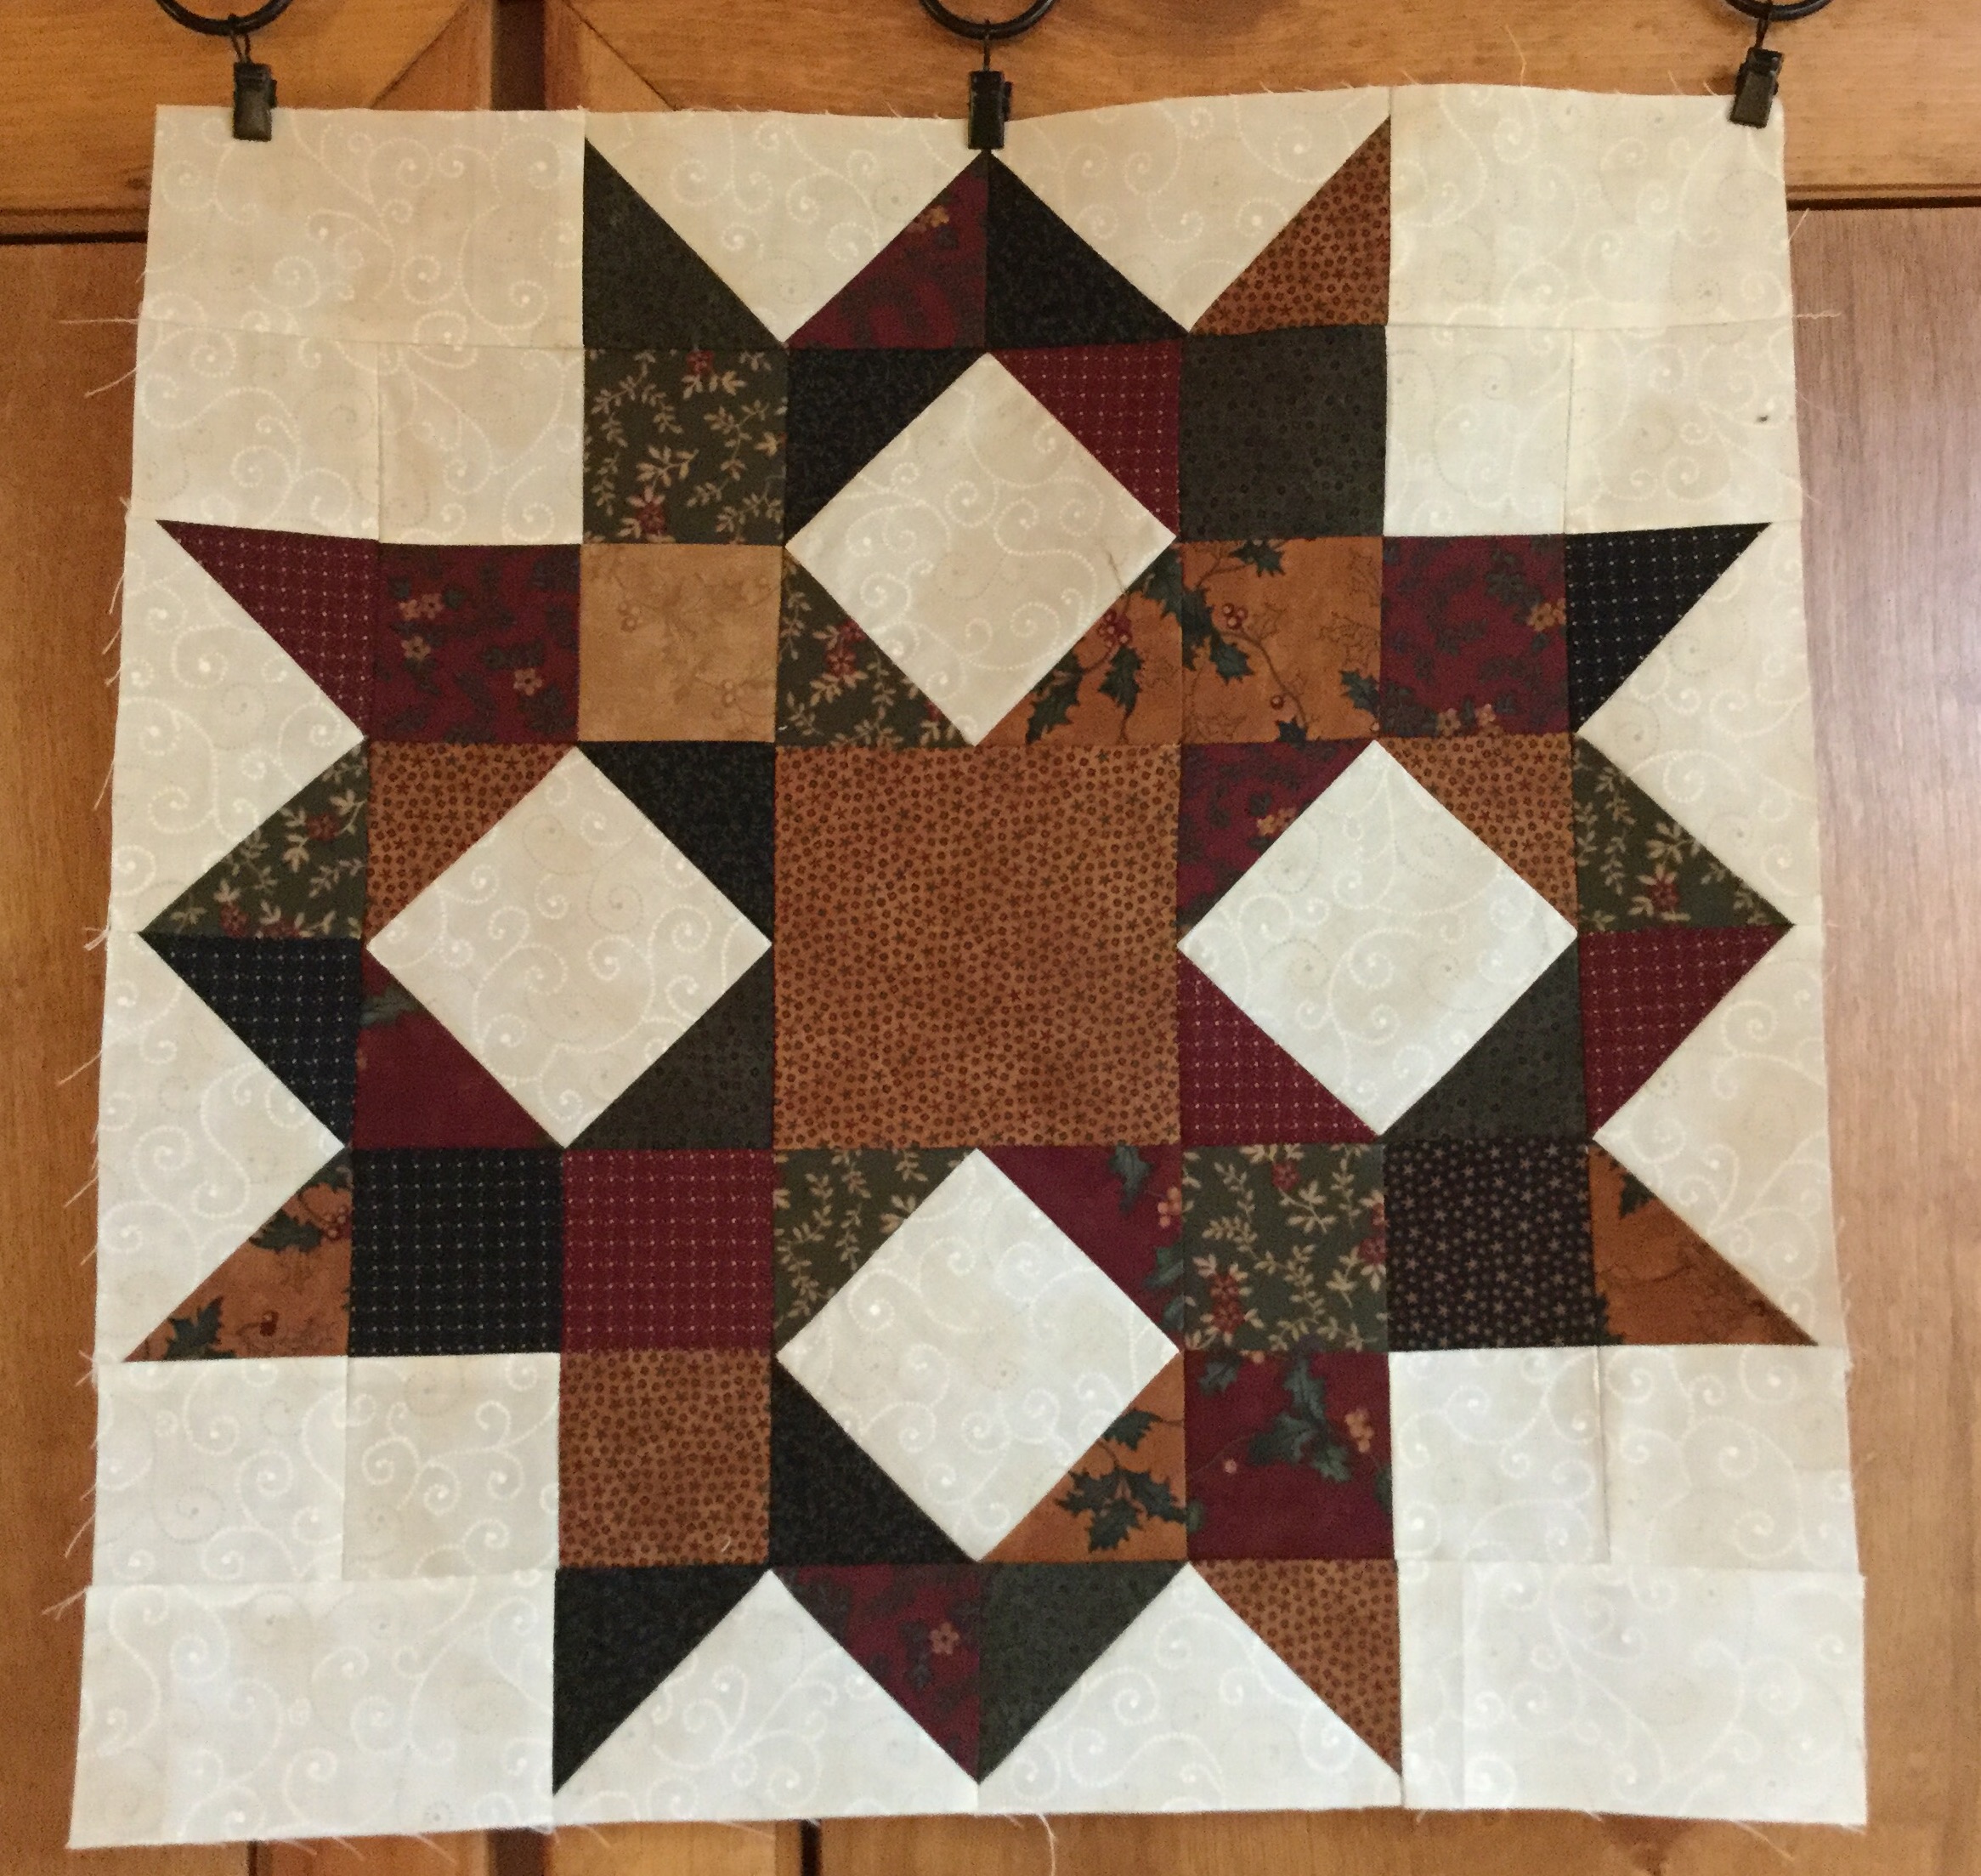
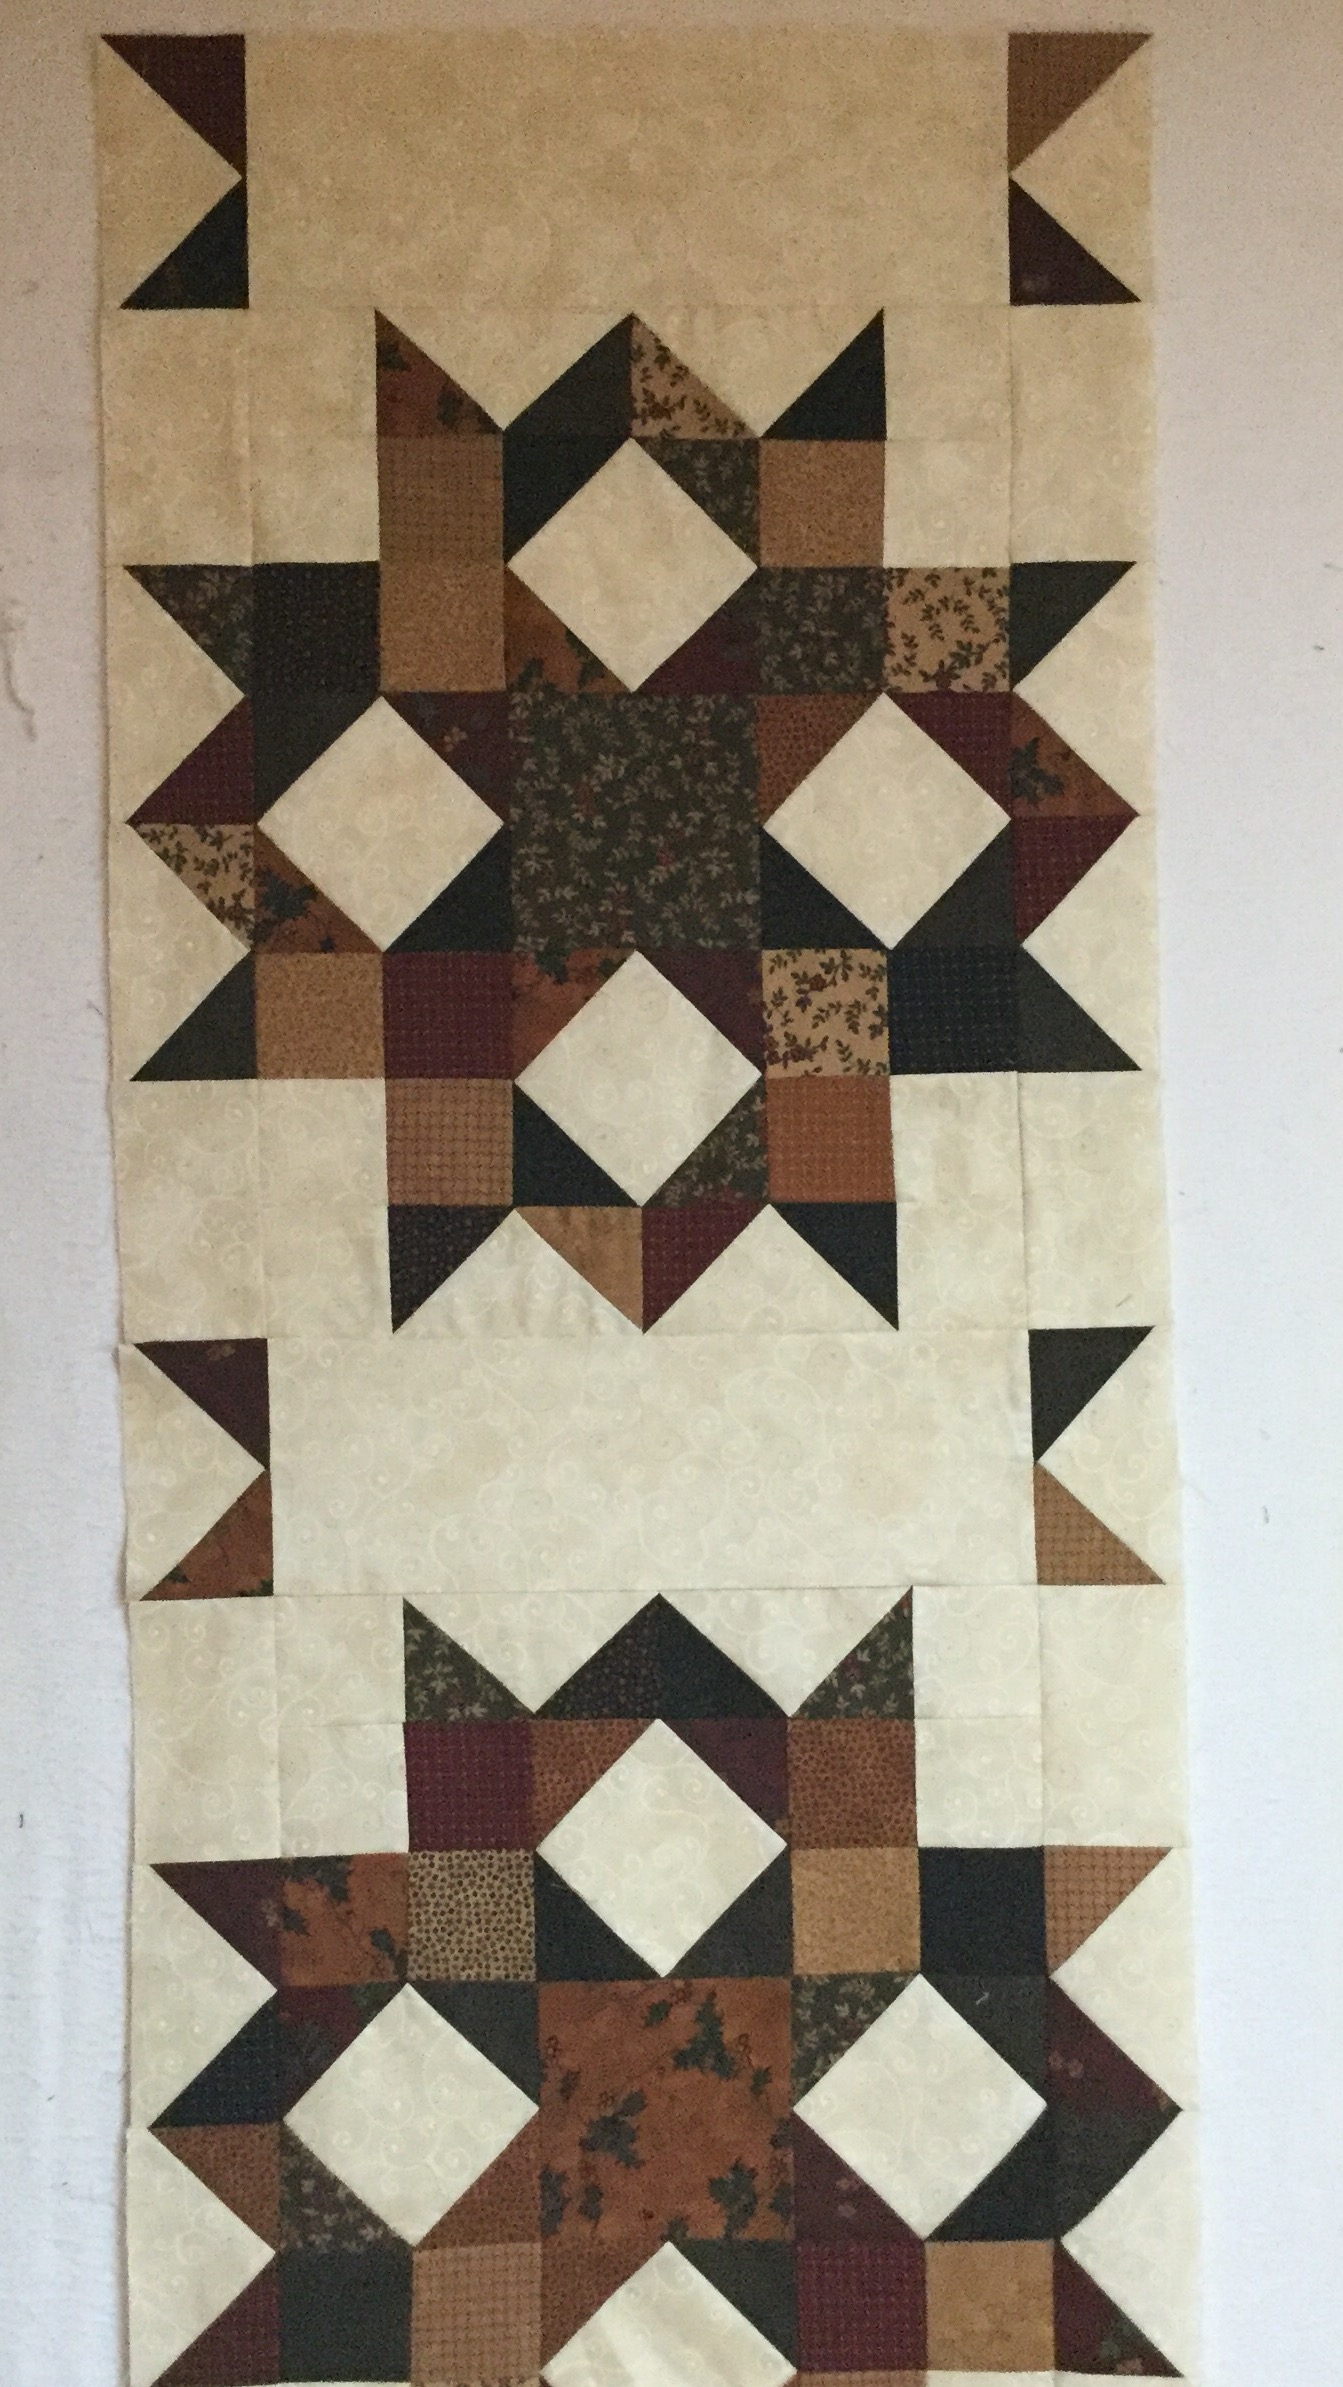
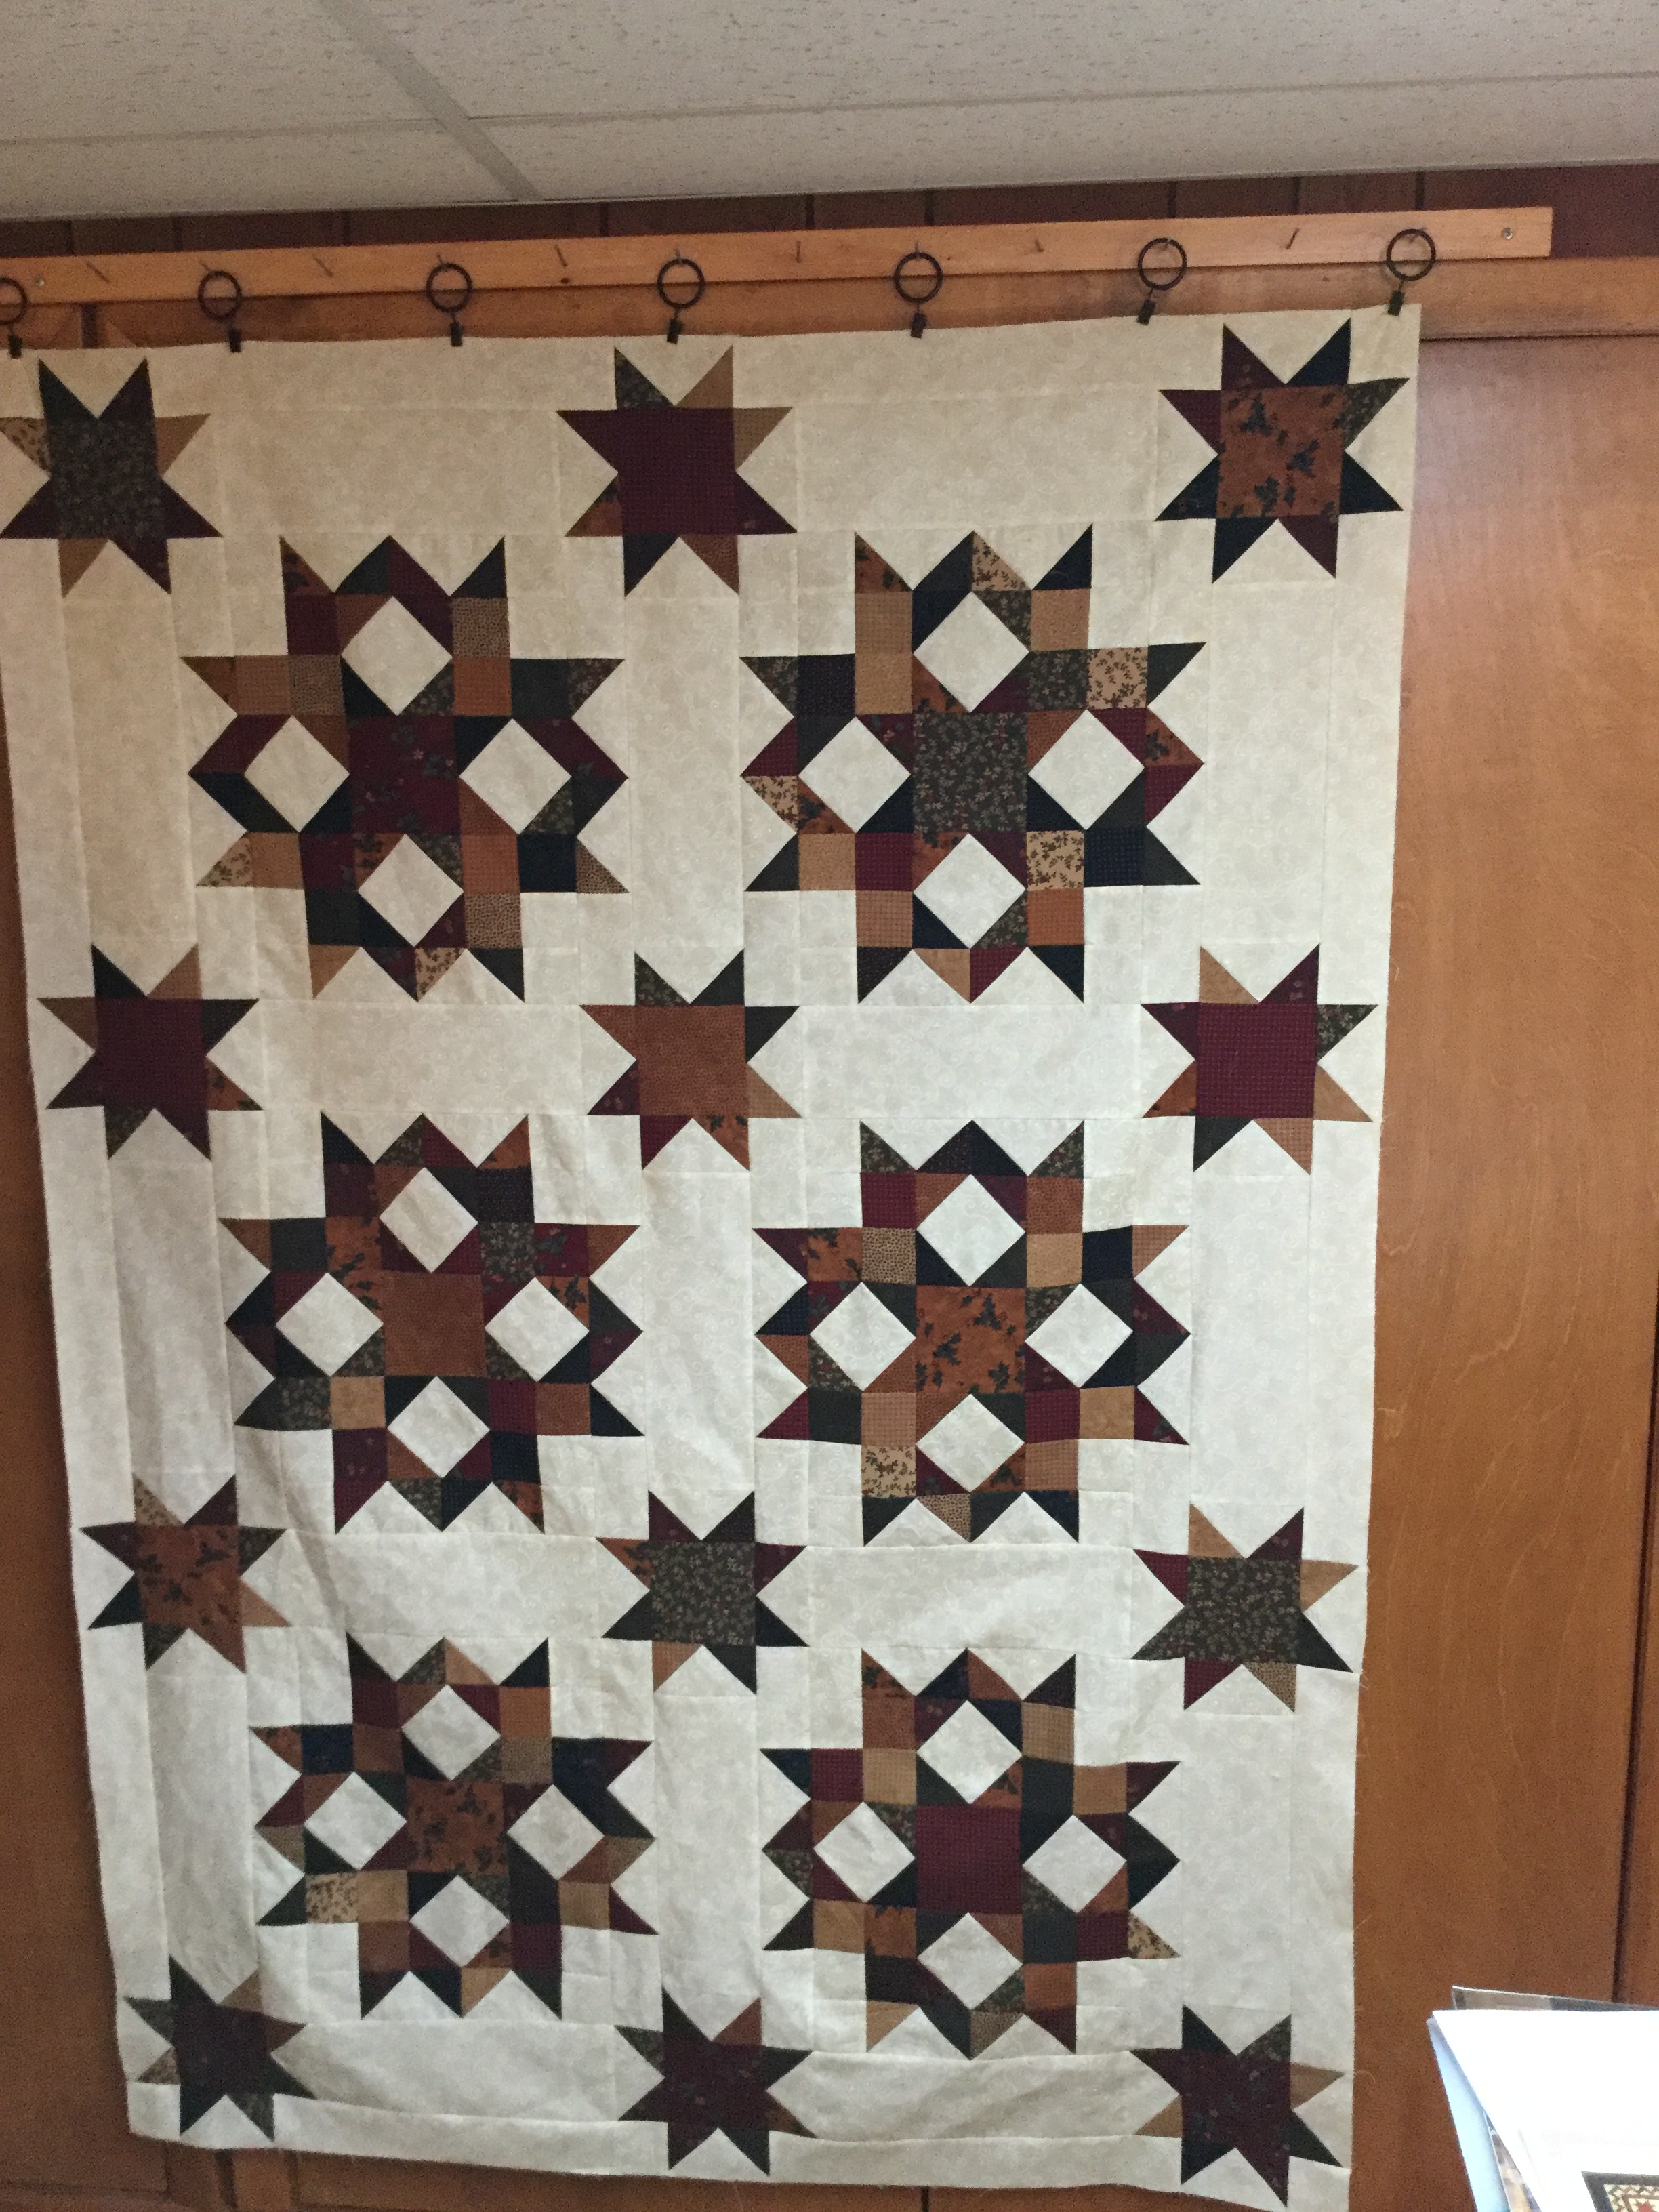
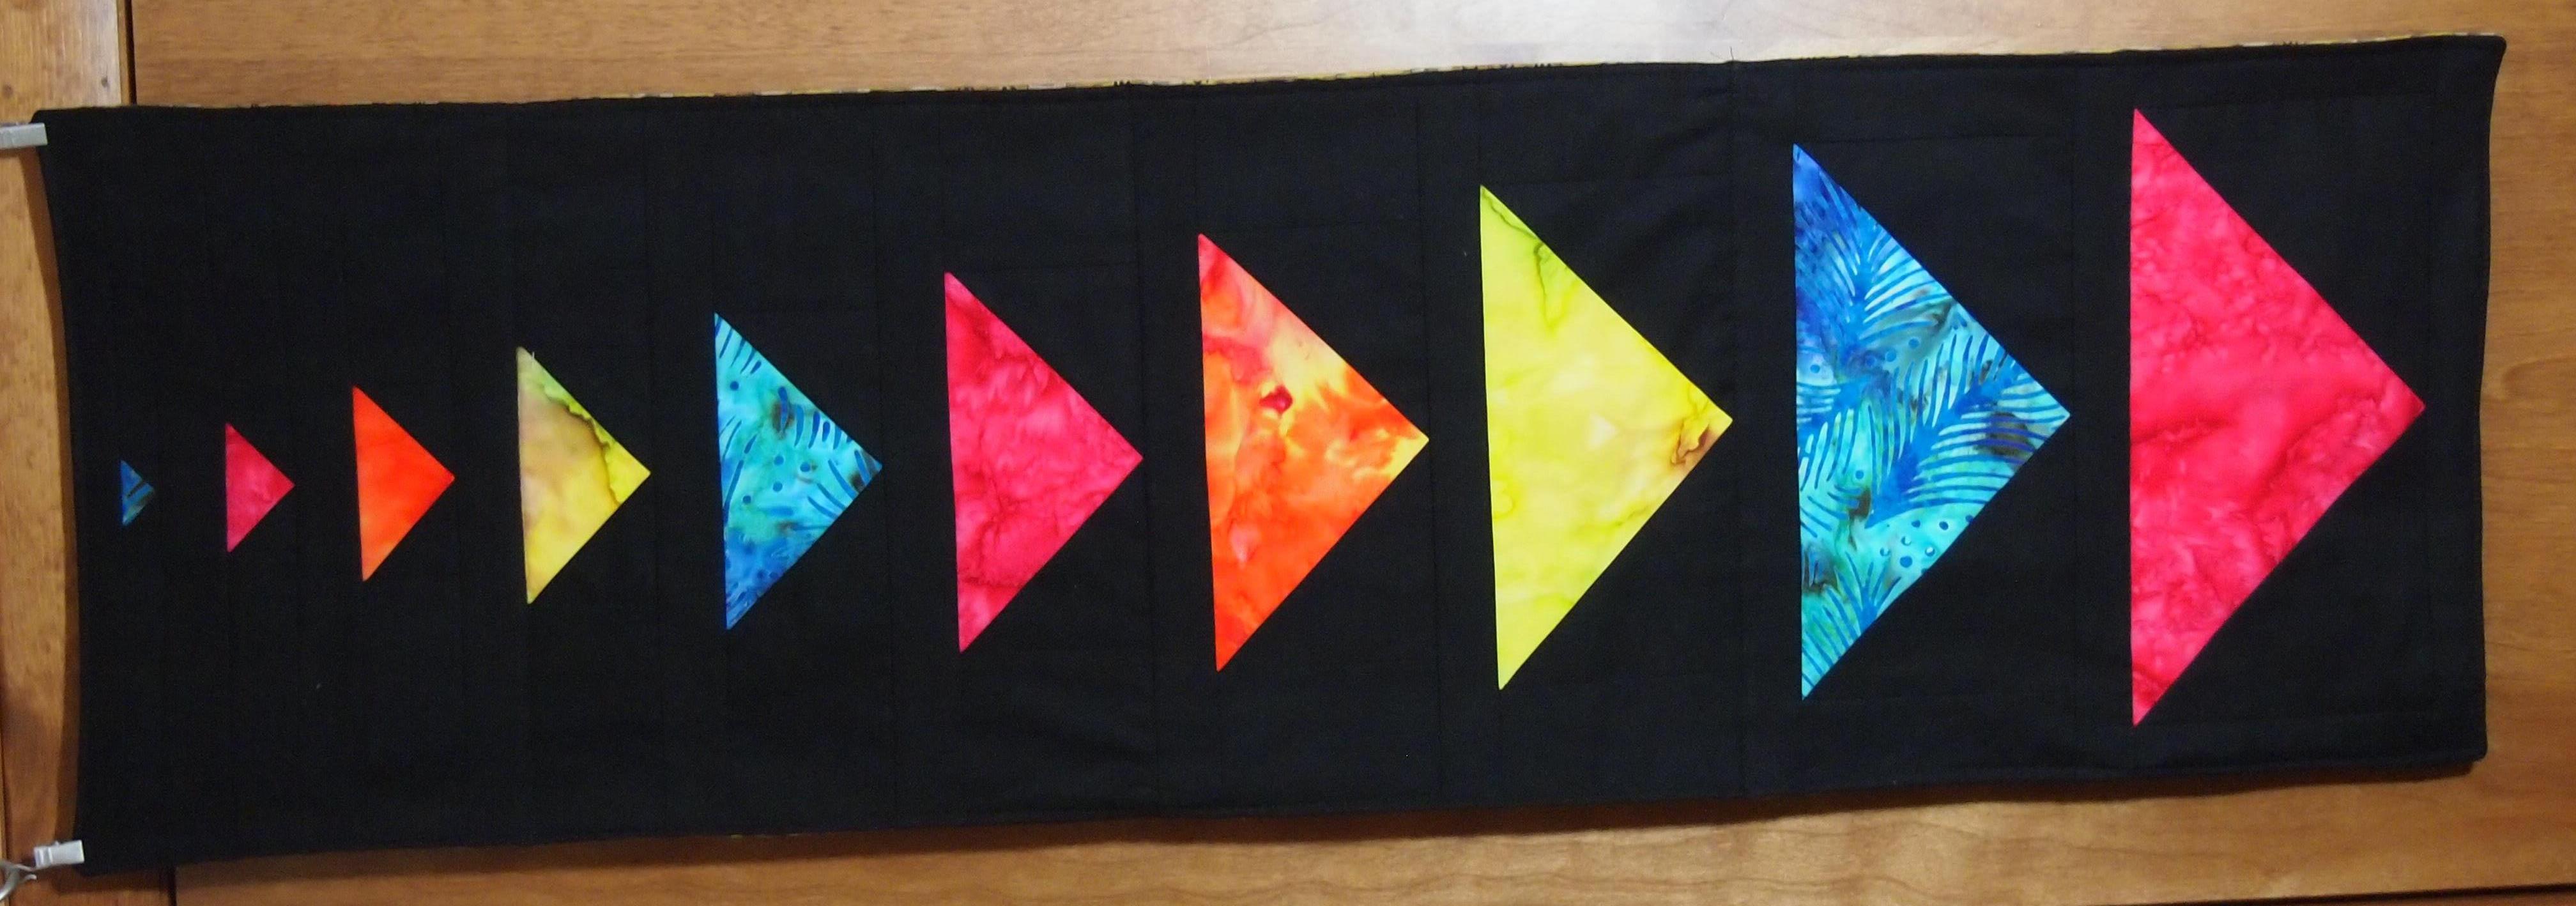
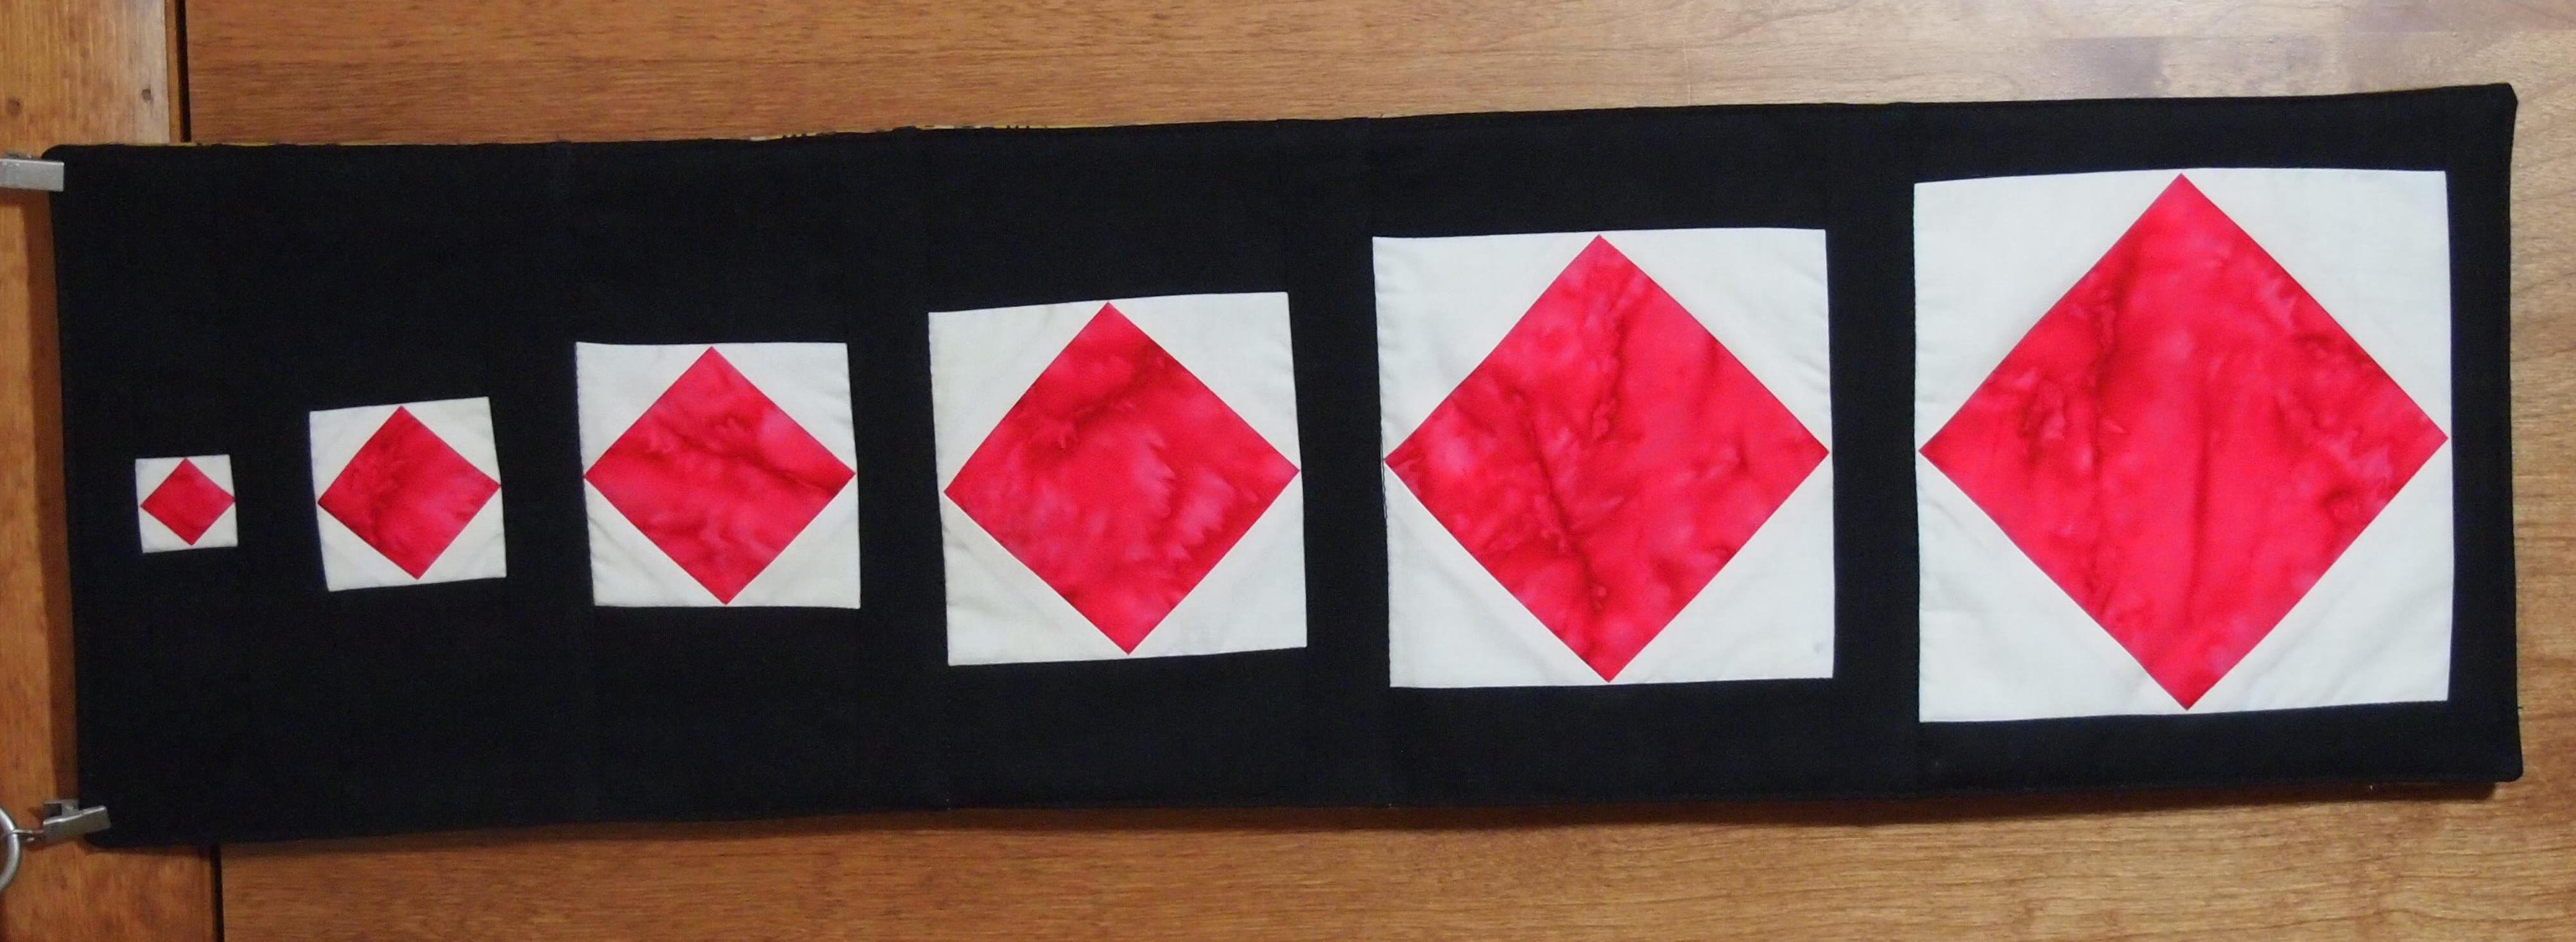
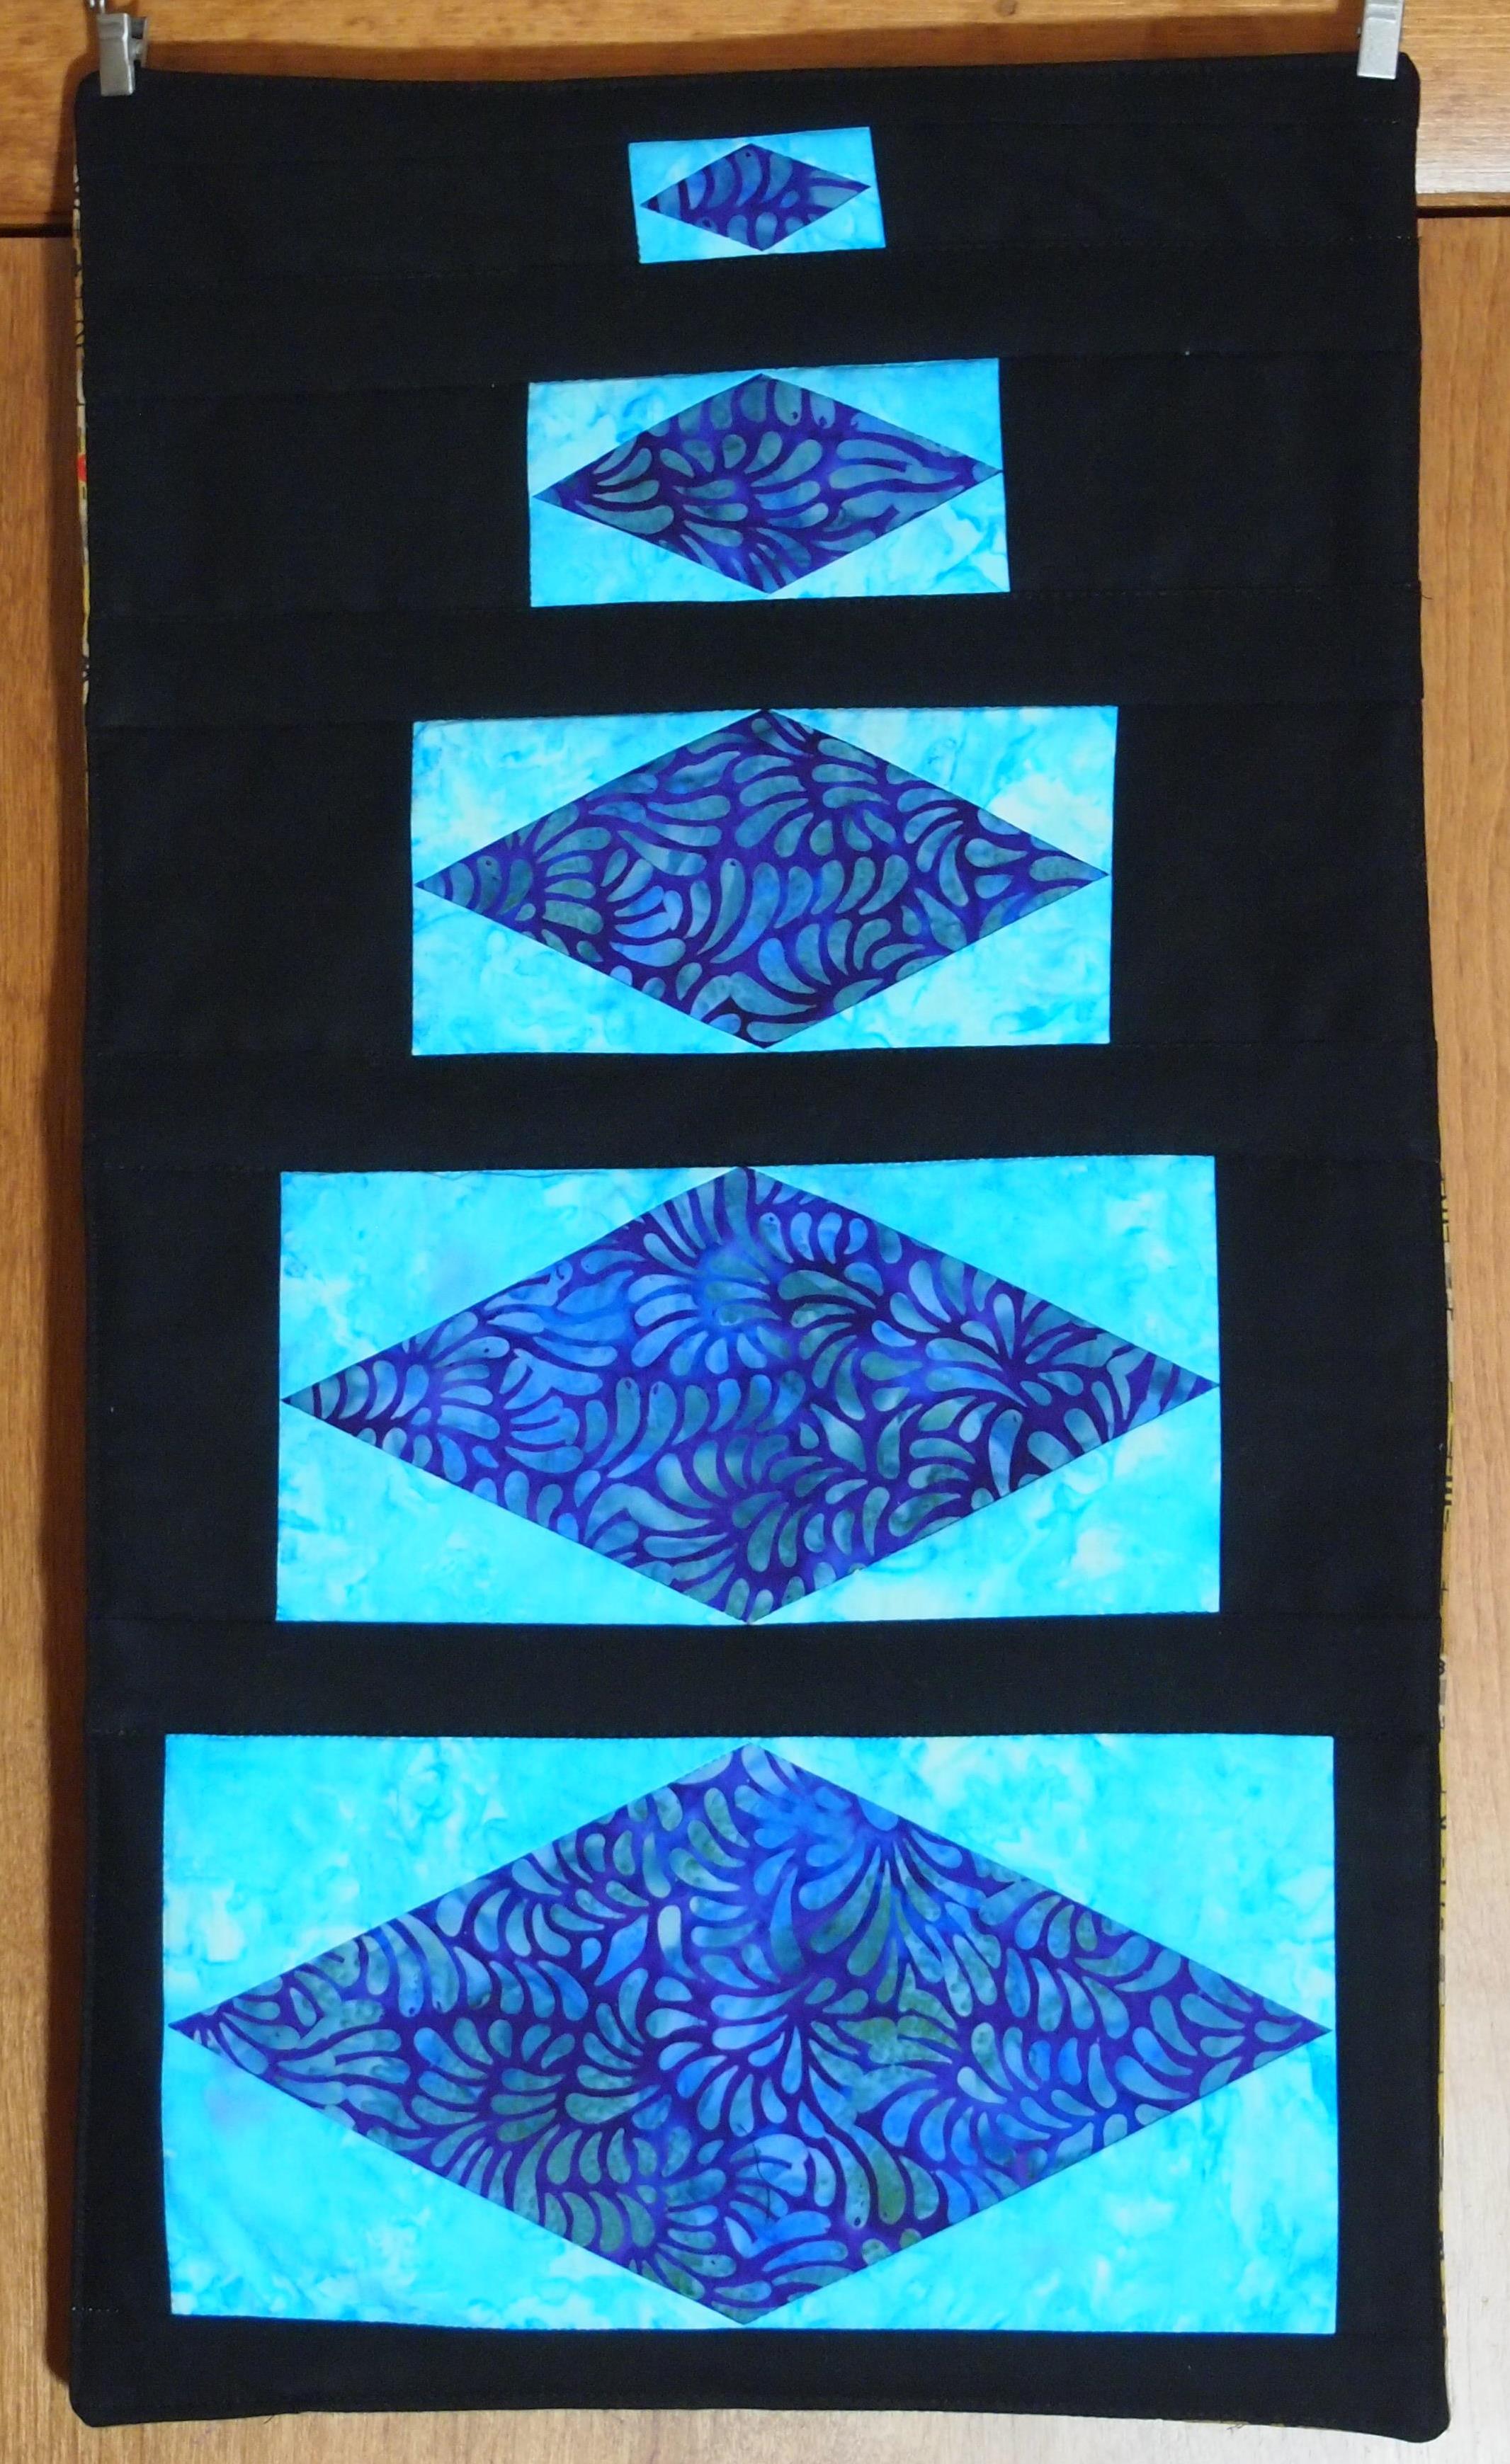
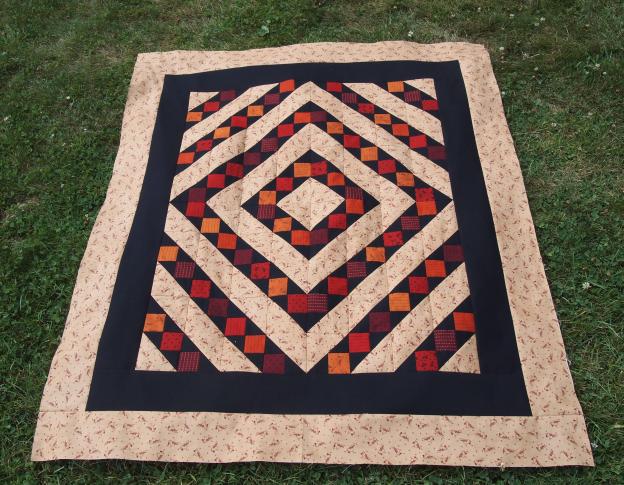
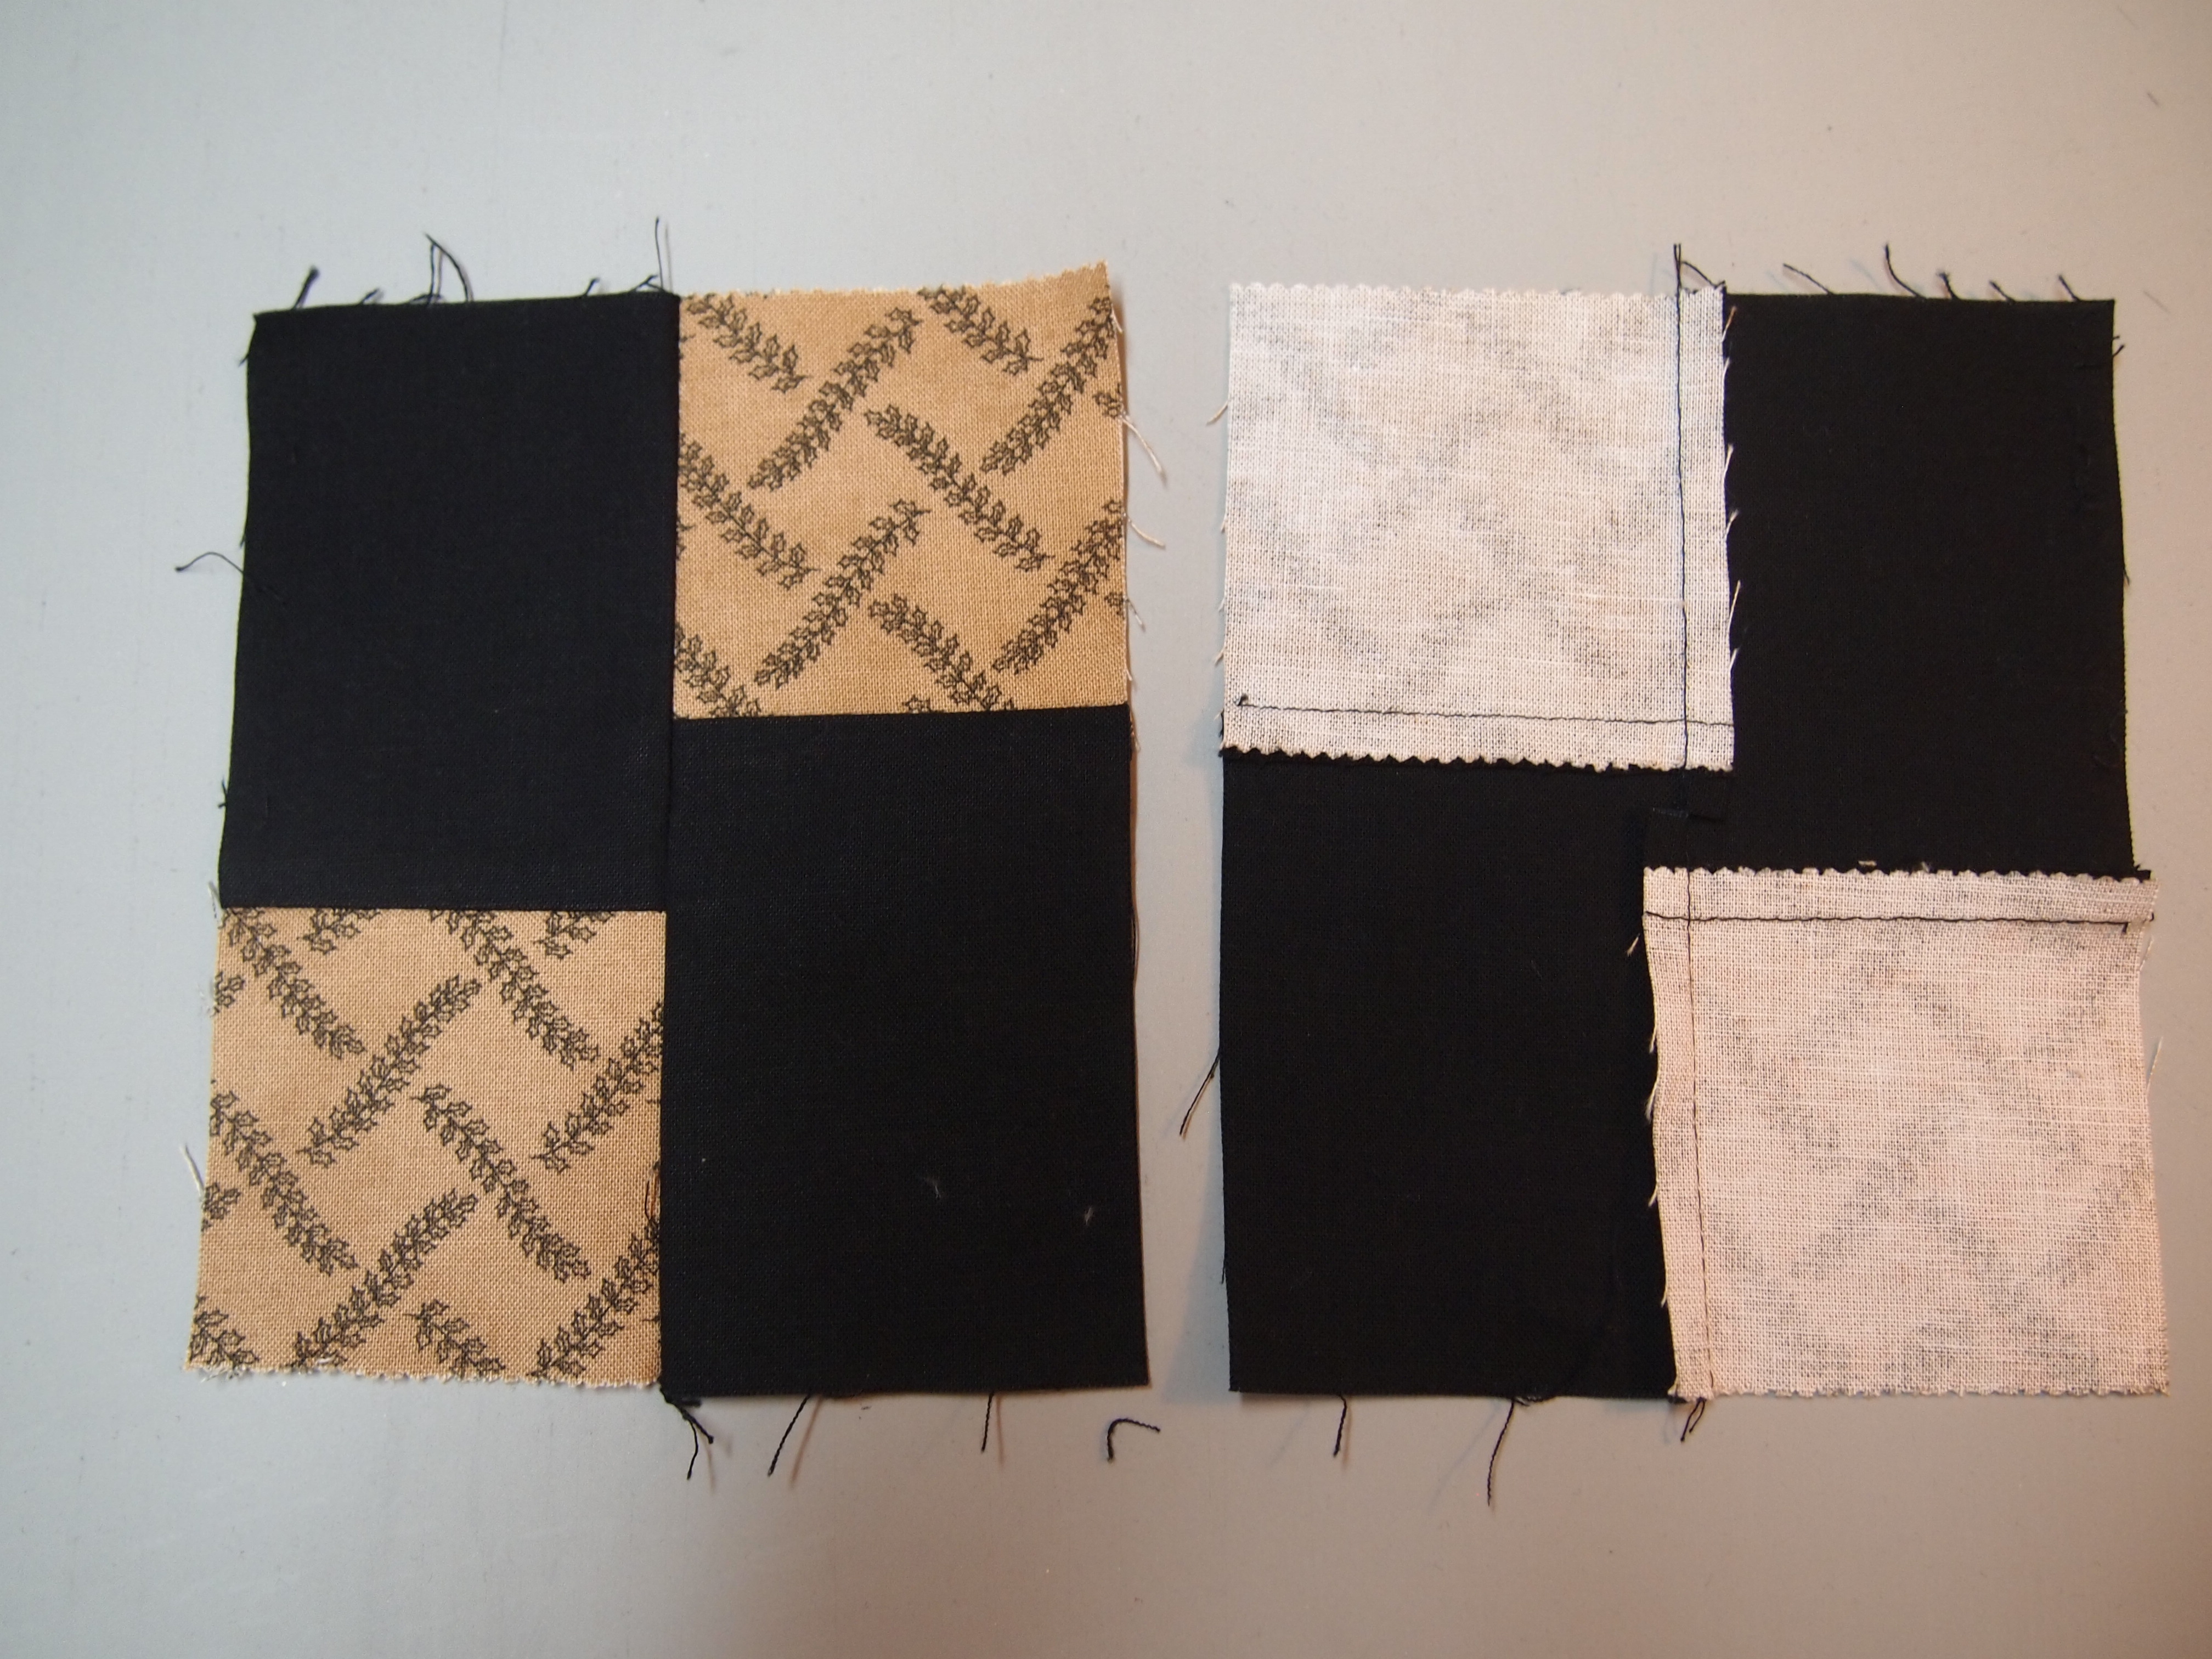
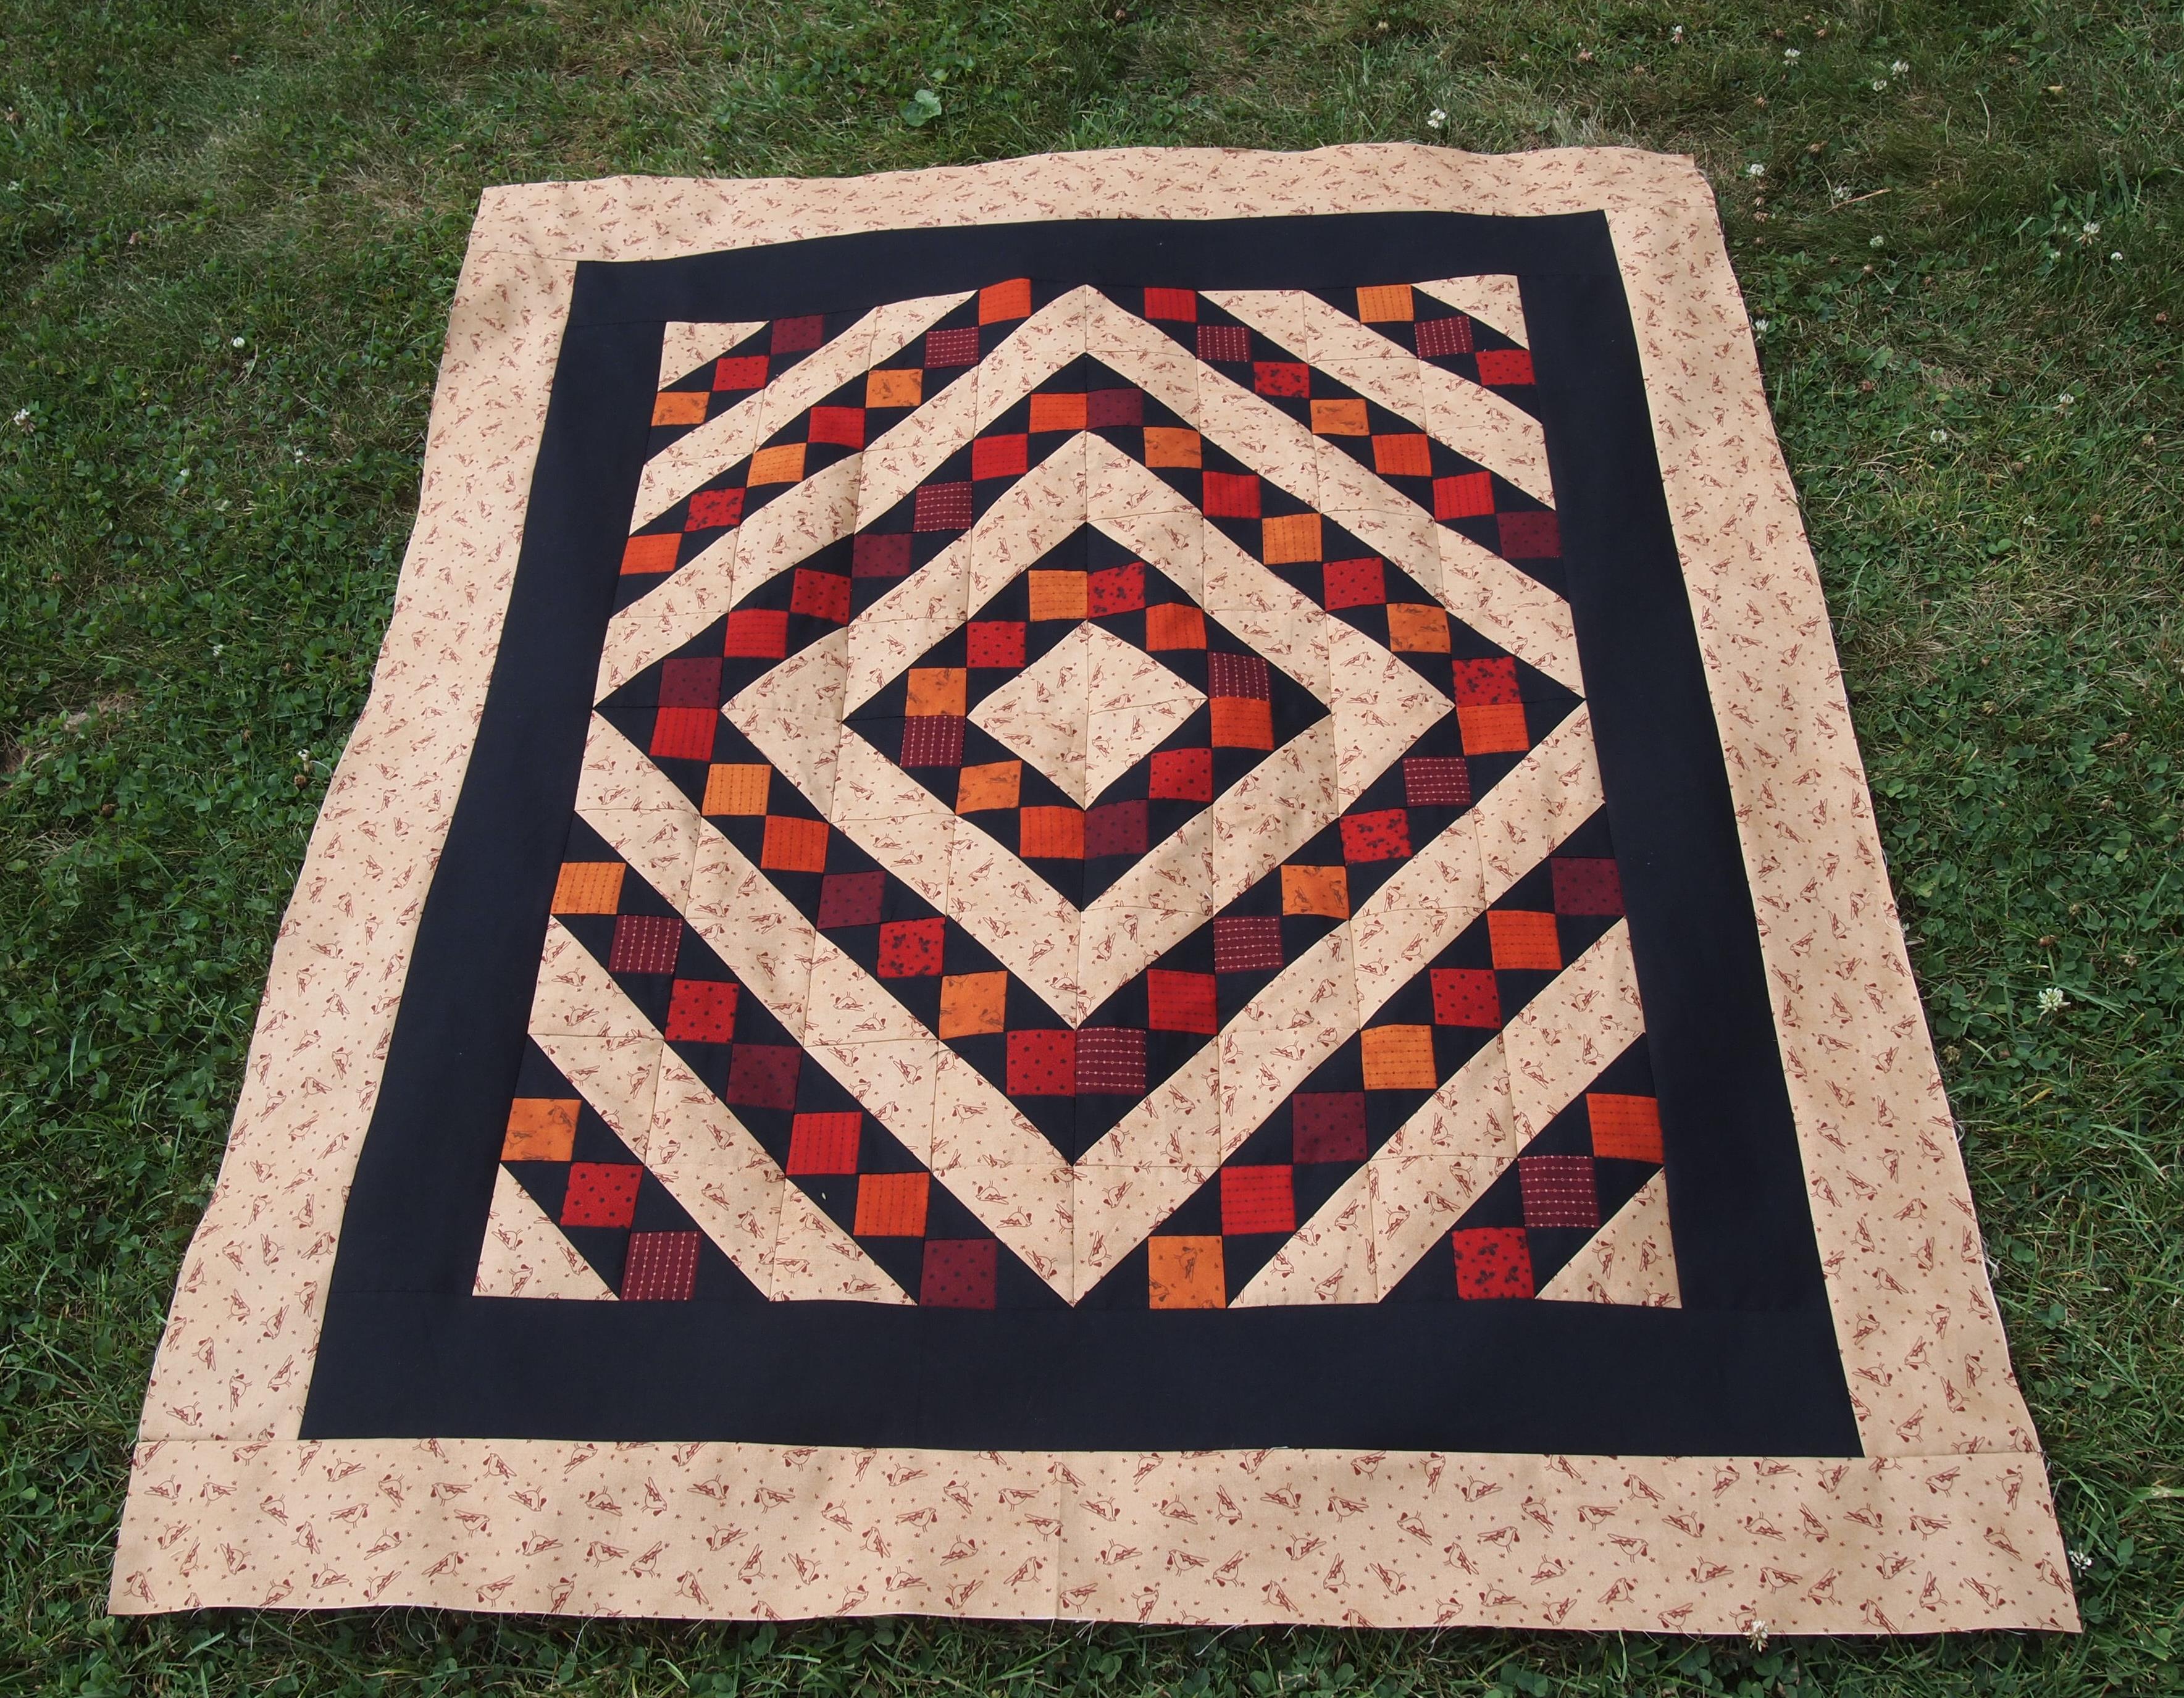
Some blocks from a pre-cut challenge.

The best part was we got to play with Deb’s new tool coming out at Spring Market, it’s fabulous!

The other best part of my trip was spending time with my Sons Jason & Josh, whom I love and adore!

On the way home I stopped in Virginia Beach and taught a Northern Neighbors class.  We had such a good time!

I sure miss you guys!

When I got home it was my determination to paint my quilt studio aptly named “Tuckerville”!

image

Painting paneling is horrible!  But this room was so dark I couldn’t stand it anymore.  I chose what I consider to be a happy color “Aqua Chiffon”!

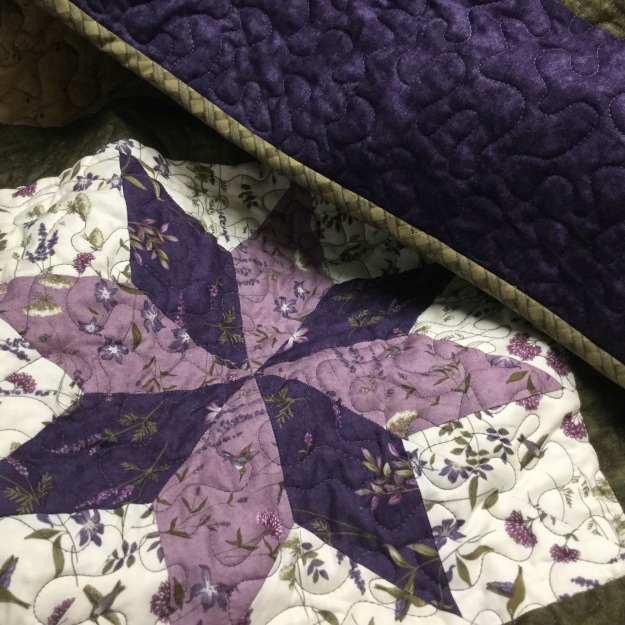
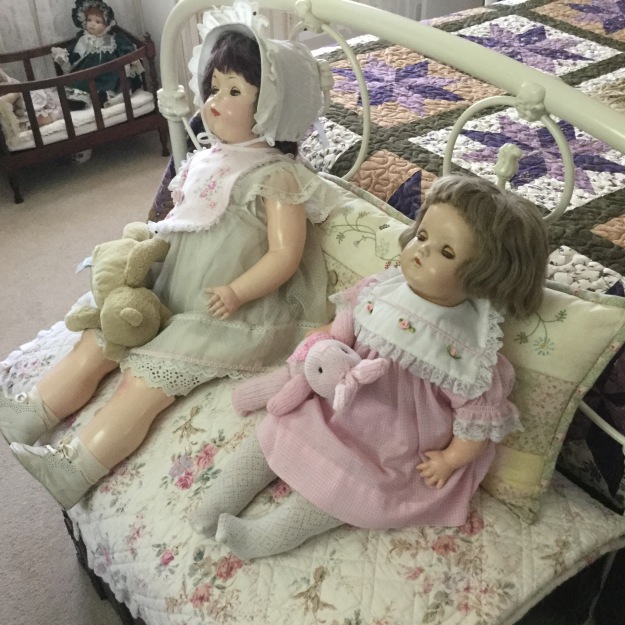
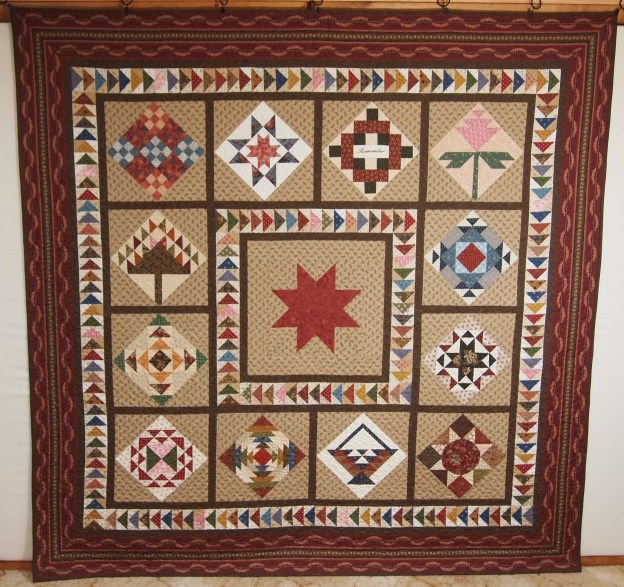
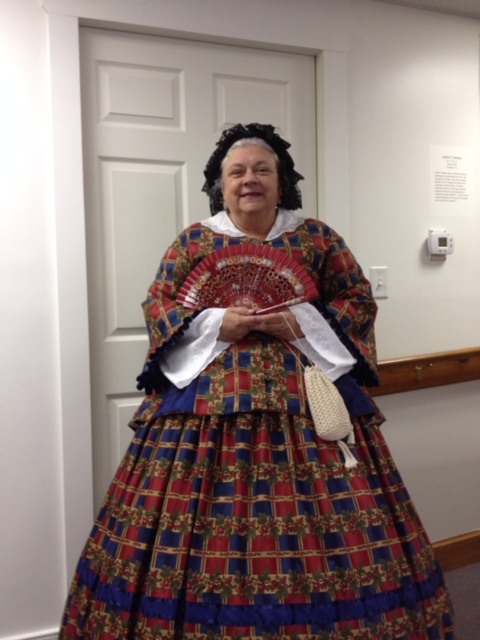
The stairwell is bright now!  You can see the Joyce McCorduck (my mother) memorial Shultz & Dooley display.  The girls to welcome you at the bottom of the stairs, along with one of my brooms for a fast get away!  And, Grandma Bessie’s quilt watching over me!

It is a long room, with places to sew and 2 cutting stations, a design wall, not to mention a comfortable couch and big TV.  I love the new color.

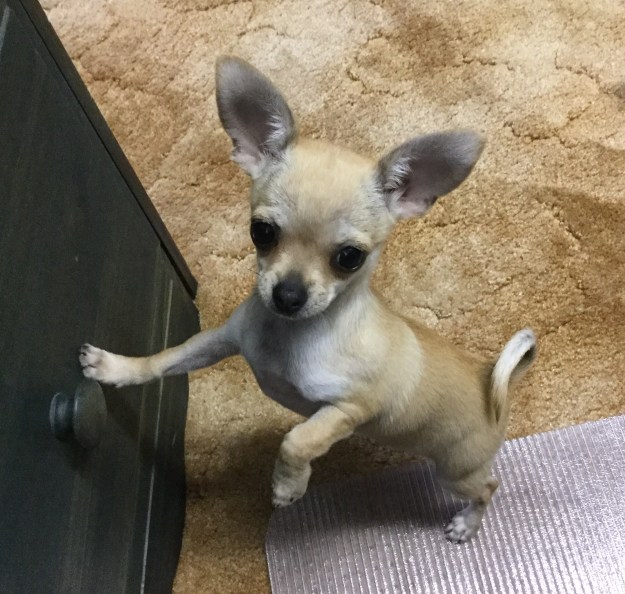
I want to introduce you to the “Mayor of Tuckerville”

image

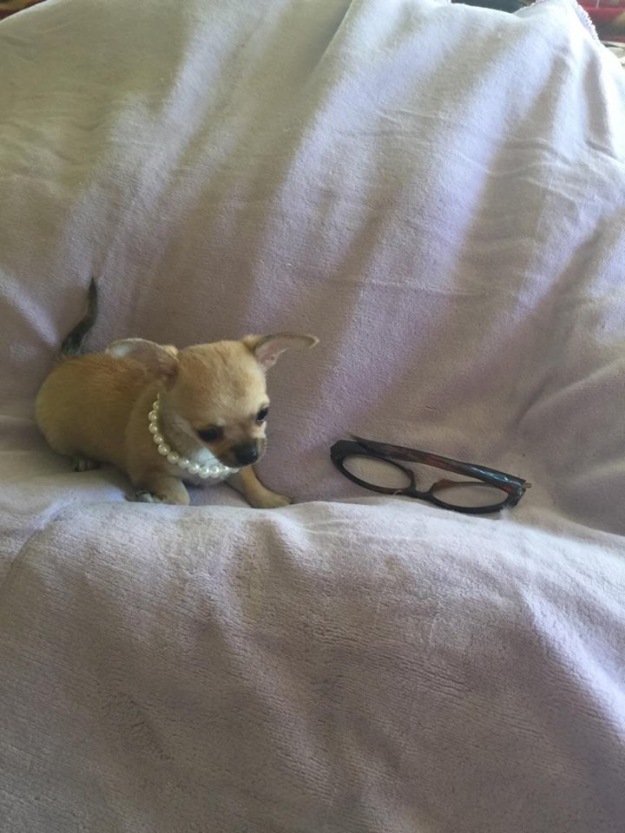
Her name is Tucker, Tuck for short, because she has already tucked herself in my heart.  I pick her up in a few weeks, there will be more pictures to follow.

Go quilt something!

Aunt Pitty Pat’s Sampler

I have been working tirelessly on getting class samples done.  The other night I dreamt about a quilt I started almost 8 years ago.  I had the 12 blocks done and had the fabric needed to complete it all together.  So I made it a priority to “get her done”!

I think it was in 2008 that I and my friend Judy signed up for a class at What’s Your Stitch “N” Stuff Quilt Shop in Virginia Beach.  It was called “Aunt Pitty Pat’s Sampler.  Taught by Sue Troyan and her alter ego “Aunt Pitty Pat.

Sue Troyan

Sue Troyan has been quilting for nearly 30 years, and teaching for nearly as long.  Sue specializes in teaching technique classes to quilters of all levels of experience.  She does “almost everything, except machine quilting”, and especially enjoys hand applique’. A charter member of the 19th Century Patchwork Divas, Sue has had a number of her reproduction quilts exhibited at Quilts, Inc. shows including Houston, Chicago, and Long Beach, CA as well as the Rocky Mountain Quilt Museum in Colorado. Her deep interest in antique quilts and American history caused her to create the character of “Aunt Pitty Pat”, a lady of a certain age from the nineteenth century who teaches the needle arts to young ladies and gentlemen.  Her specialty is, of course, quilting.  Sue, and Pitty, take great pleasure in visiting quilters guilds and shows, where Pitty shares her experiences and insights into the art we all love.  Currently residing in Virginia Beach, VA, Sue lives with her husband Bill.

It was a great class, we had loads of fun.  So this is for you Sue, I finally finished “Aunt Pitty Pat’s Sampler. I just love it!  I must say, making the 200 flying geese was much easier using Studio 180’s Wing Clipper I.

OLYMPUS DIGITAL CAMERA

Aunt Pitty Pat’s Sampler

Lucky Lemoynes

I love Lemoyne stars, especially when there are no “Y” seams!  I have wanted to make this pattern “Lucky Lemoynes” by Deb Tucker since it was released.   When you learn Deb Tucker’s process using the Rapid Fire Lemoyne Star Tool you will be able to make a Lemoyne star in 10 sizes from 3″ to 12″ blocks all by strip piecing and NO “Y” seams!

image

I bought the fabric for it from Delve MIY (Make It Yourself) last August at the AQS show in Syracuse.  The fabric is gorgeous.  I chose their Plaster of Paris, Zuzu’s Petals & Daydreams IV – Love Blossoms lines.

OLYMPUS DIGITAL CAMERA

Fabric by Frond Design Studios

Lucky lemoynes is made with 7″ lemoyne star blocks and Shaded Four Patch units.

image

Can you identify how the block is put together?  Rapid Fire Lemoyne Star and Tucker Trimmer III tools are required fort this project.

OLYMPUS DIGITAL CAMERA

Lucky Lemoynes measures 56″ x 70″

I wish I could get outside and get a better picture but the weather is not cooperating today.  Carry on and quilt something!

Northern Neighbors

Deb Tucker’s Northern Neighbors pattern features intricate maple leaves and flying geese.  The pattern makes two sizes: Twin (70″ x 95″) & King (104″ x 104″).  I bought the fabric for this quilt over a year ago and had the units cut and ready to sew together into blocks but I became overcome by events!  It was my goal to “get her done” before the year end and I did!

OLYMPUS DIGITAL CAMERA

Northern Neighbors Maple Leaf

This is my favorite leaf block.

OLYMPUS DIGITAL CAMERA

Deconstructed Maple Leaf

The leaf block is made using Studio 180 Design Wing Clipper 1 for flying geese, Corner Beam and Split Rects tools for great leaf point definition.

OLYMPUS DIGITAL CAMERA

One Block

I made the twin size, so I made 6 of these blocks.

OLYMPUS DIGITAL CAMERA

Northern Neighbors

It really is a beautiful quilt.

OLYMPUS DIGITAL CAMERA

Northern Neighbors Label

Can’t wait to see what next year brings.

Smooth Sailing with Sugar & Spice

I tried two new quilt patterns in October.  The first one was Smooth Sailing by Pam Goggans.

OLYMPUS DIGITAL CAMERA

Smooth Sailing

Pam designed this as a companion pattern for Studio 180 Design’s Diamond Rects and Square Squared tools.  I had never made a Storm at Sea before and I was very pleased with this pattern.  Using the Diamond Rects & Square Squared tools made it easy.  The pattern makes two sizes, 49″ x 58″ and 89″ x 107″.  You can buy Smooth Sailing from Studio 180 Design or from Pam Goggans at Sager Creek Quilts

I just finished making Sugar & Spice by Deb Tucker.  I love, love, love the Lemoyne star. This is a companion pattern for the Rapid Fire Lemoyne Star and Tucker Trimmer 1 tools.

OLYMPUS DIGITAL CAMERA

Sugar & Spice

This pattern was easy and fun. It measures 45″ x 62″.

Sew many quilts to make sew little time!

Jackie’s Folly, AKA Country Fair

Has this ever happened to you?  Deb Tucker’s pattern Country Fair was just featured in Fon’s & Porter Love of Quilting Nov/Dec issue.  I have been wanting to make this quilt for quite awhile, so I thought “this is the time”.

image image

image

I make my Square Squared and Flying Geese units (using my Wing Clipper 1 & Square 2 tools of course really makes the process fly).

image

I get one block done. I feel real good, love the block.

image

I get the blocks done and begin making the sashings.  Oops I have them facing the wrong way, out comes the seam ripper.

image

I get the center of the quilt together and begin working on the borders.

OLYMPUS DIGITAL CAMERA

Borders on, feeling accomplished so I post a picture on Facebook…Drat, I put the blocks together wrong and didn’t even notice.  Apparently I’ve had this pattern awhile and did not check to see if there were any corrections.  Deb Tucker always posts any pattern corrections on their website http://www.studio180design.net.

OLYMPUS DIGITAL CAMERA

But I decide to finish it anyway and I’m sure glad I did.  I call it Jackie’s Folly.  I still love it.  This is a great pattern no matter how you finish it.  The quilt measures 72″ by 92″.

How Many Geese in that Formation?

I’m getting ready for some upcoming trunk shows and decided to make some Studio 180 Design Tool samples.  There are 8 Fundamental Tools (not counting Tucker Trimmer 2 & Wing Clipper 2).  The Tucker Trimmer 1 makes Half Square Triangles, Quarter Square Triangles & Combination Units in 11 sizes from 1 inch to 6 inches.

OLYMPUS DIGITAL CAMERA

Above are Quarter Square Triangles in 11 sizes.

OLYMPUS DIGITAL CAMERA

The Wing Clipper 1 makes Flying Geese in 10 sizes from 1 inch to 10 inches.

OLYMPUS DIGITAL CAMERA

The Square Squared Tool makes 6 sizes from 1 inch to 6 inches.

OLYMPUS DIGITAL CAMERA

The Corner Beam Tool makes 11 sizes from 1 1/2 inches to 6 1/2 inches

OLYMPUS DIGITAL CAMERA

The V Block Tool makes 11 sizes from 1 1/2 inches to 6 1/2 inches

OLYMPUS DIGITAL CAMERA

The Split Rects Tool makes 8 sizes from 1 inch to 8 inches.

OLYMPUS DIGITAL CAMERA

The Diamond Rects Tool makes 5 sizes from 2 1/2 inches wide to 10 1/2 inches wide.

With the Corner Pop Tool you can choose from any of the 22 size options and remove a corner from a base shape such as a square, rectangle, pieced unit or block and leave the necessary 1/4″ seam allowance in tact.

OLYMPUS DIGITAL CAMERA

The block above is made from V Block and Corner Beam Units.

OLYMPUS DIGITAL CAMERA

I made 4 of the blocks but this time I popped of corners of the V Block & Corner Beam units before I put the blocks together, making this very interesting wall hanging.

Next I need to make samples for the Rapid Fire Hunters Stars and Lemoyne Star Tools.  Happy quilting!

OLYMPUS DIGITAL CAMERA

The Shaded Four Patch Unit

Lately I have been working on Tech Classes for some of the Studio 180 Design Tools.  I’m getting ready to teach the Shaded Four Patch and Tucker Trimmer.

OLYMPUS DIGITAL CAMERA

I love this basic unit..

Deb Tucker’s Technique Sheet for the Shaded Four Patch gives you fabric requirements for 21 sizes and all the steps needed so you can make these basic units yourself.

OLYMPUS DIGITAL CAMERA

Choose the size you want to make and cut 2 narrow strips and two wide strips. Sew along one long edge of each.

OLYMPUS DIGITAL CAMERA

Press toward the wide strip.

OLYMPUS DIGITAL CAMERA

Pair two of the pieced strips right sides together with the narrow strips on opposite sides.

OLYMPUS DIGITAL CAMERA

Trim into units as wide as the narrow strip.

OLYMPUS DIGITAL CAMERA

Stitch each pair along one log edge.

OLYMPUS DIGITAL CAMERA

Fold each unit in half to find the center and using your scissors snip all the way to the seam allowance.

OLYMPUS DIGITAL CAMERA

Press Open.

OLYMPUS DIGITAL CAMERA

Place a ruler with a 45 degree angle on the bottom of your unit so the edge lines up where the stitching lines meet as shown above and draw a line horizontally.  Rotate your unit and repeat.

OLYMPUS DIGITAL CAMERA

Center each marked unit over a large rectangle, (that you cut per the instructions) with right sides together. Stitch on the lines and cut apart.

OLYMPUS DIGITAL CAMERA

Press toward the large triangle and trim using your Tucker Trimmer.

OLYMPUS DIGITAL CAMERA

Rotate your unit and trim again.

OLYMPUS DIGITAL CAMERA

I made this small quilt measuring 42″ x 50″ using only shaded Four Patch Units.  You could make this any size you wanted with the instructions included in technique sheet.

OLYMPUS DIGITAL CAMERA

I also made this table runner using only Shaded Four Patch Units.

OLYMPUS DIGITAL CAMERA

This table runner was also made using only Shaded Four Patch units.  It’s all about color and how you position your units.

A Goose of a Different Feather

I was going through some magazines from last year and saw a quilt made by Catherine Hughes that had a block in it that contained different kind of Flying Geese units, the background of the geese were half square triangles.  I decided to Tuckerize it, which meant  I would use my favorite Studio 180 Design Tools.

I decided to make a 10″ finished size block containing a 5 1/2″ center square. The Studio 180 Design method of making flying geese using the Wing Clipper 1 uses one large square and four small squares.  For this project the small squares would be half square triangles instead of just squares.  The cut size of the flying geese would be 3″ by 5 1/2″.  To determine what my large square and small squares should be I checked the chart that comes with the Wing Clipper 1. I cut the large square 6 1/2″. The cut size of the small squares should be 3 1/2″.  Now I went to the chart that comes with my Tucker Trimmer I.  For half square triangles that finish 3″ the cut size is 3 1/2″ which meant my starter squares should be 4″. Whew that was a mouthful!  For 3 blocks I cut 6 red – 4″ squares and 6 black – 4″squares.

OLYMPUS DIGITAL CAMERA

On the back of the red squares use your Magic Wand and draw diagonal lines on either side.

OLYMPUS DIGITAL CAMERA

Place 1 red square on each black square.

OLYMPUS DIGITAL CAMERA

Sew on the lines.

OLYMPUS DIGITAL CAMERA

Cut apart between the sewn lines.

OLYMPUS DIGITAL CAMERA

Press toward the dark.

OLYMPUS DIGITAL CAMERA

Square up to 3 1/2″ using your Tucker Trimmer I.

OLYMPUS DIGITAL CAMERA

Using your Magic Wand draw diagonal lines on the wrong side of the half square triangles.

OLYMPUS DIGITAL CAMERA

Place a 6 1/2″ square right side up and position 2 half square triangles wrong sides together as shown nudging the half squares triangles in from the corners about a 1/16″.

OLYMPUS DIGITAL CAMERA

Sew on the drawn lines and cut apart.

OLYMPUS DIGITAL CAMERA

Press toward the small triangles.  Position another half square triangle as shown again nudging away from the corner 1/16′.

OLYMPUS DIGITAL CAMERA

Sew on the lines and cut apart.

OLYMPUS DIGITAL CAMERA

Press toward the small triangle.

OLYMPUS DIGITAL CAMERA

First trim.

OLYMPUS DIGITAL CAMERA

Rotate unit, second trim.

OLYMPUS DIGITAL CAMERA

Block layout. Cut 3″ squares for the block corners.

OLYMPUS DIGITAL CAMERA

Repeat process to make 3 blocks.  Cut one 15 1/2″ square and cut diagonally twice to make the side triangles.  Sew the side triangles to blocks as shown.

OLYMPUS DIGITAL CAMERA

I cut 4 – 1 1/2″ red strips for the inner border and 4 – 2 1/2″ black strips for the outer border.