It all started in 2008. I went to the Virginia Consortium of Quilters (VCQ) “Celebration” at Smith Mountain Lake. That year they were sponsoring an “Apron Contest”.
I chose a sewing themed fabric that was too busy to embroider so I embroidered black Kona fabric and made many pockets including a license plate. Sometimes my brain can be a scary thing. I got an idea to make a pocket like a quiver for my back to hold a ruler & a pocket on the front to hold a rotary cutter.
This video sort of shows my Ninja powers. A friend Lisa Burgess and I were challenging each other to a “Pillowcase Off”. We had a race to see who could make a pillowcase the fastest. I think Lisa won!
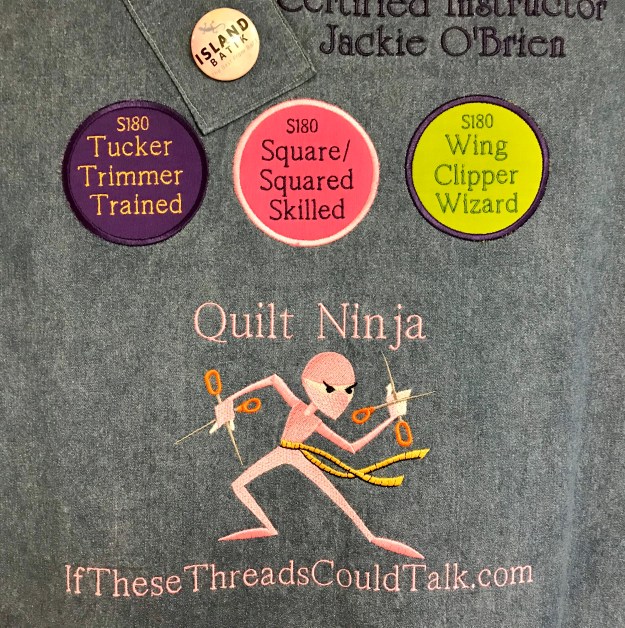
Anyway, back to my story. I won 1st Place in the apron contest and my alter ego was born. Everywhere I went people wanted to see the “Quilt Ninja”. I even named her “Myrtle May, the Quilt Ninja” (said with a deep southern accent)!!!
This photo is hysterical. I was giving a trunk Show to the Deltaville Stingrays Quilt Guild when I whipped out my ruler and it broke! I scared the crap out of myself and everyone else! Just look at my face!
Needless to say Myrtle May the Quit Ninja needs a new wardrobe from time to time. (She even dyes her hair now and then too.)
OLYMPUS DIGITAL CAMERA
OLYMPUS DIGITAL CAMERA
Then there was this version that was later altered…
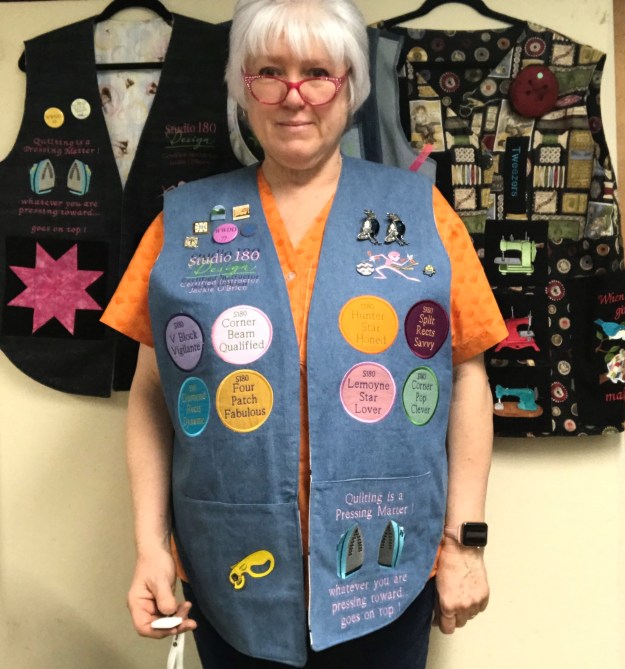
I became a Studio 180 Design Certified Instructor in 2013 and now needed a place for my Magic Wand.
This version is a prototype. I’m playing around with Studio 180 Design Merit Badges for tool expertise!
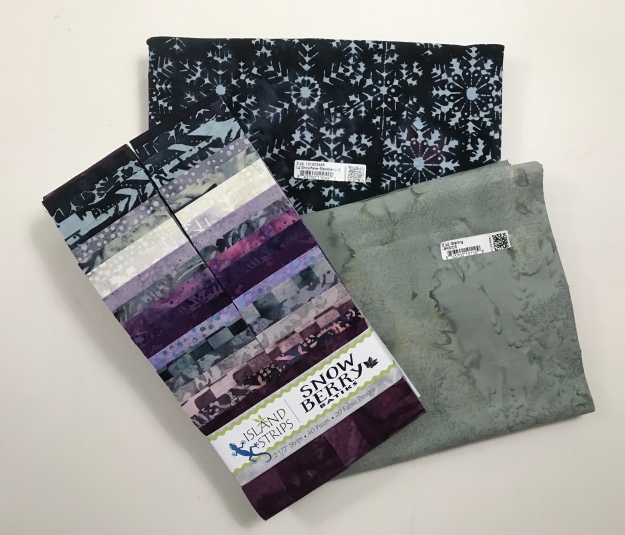
The fabrics in this post were given to me by Island Batik.
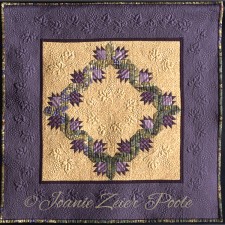
Island Batik Ambassador assignment for March is “Vintage Reimagined”. Hmmmm, I had several ideas, some just didn’t work out. I started to look through my quilt book library. I picked up Harriet Hargraves’ Heirloom Machine Quilting book. I was intrigued by a small quilt, 35″ x 35″ called Bountiful Vineyard by Joanie Poole. Turns out Joanie Poole teaches heirloom quilting. This is ironic (more on this later).
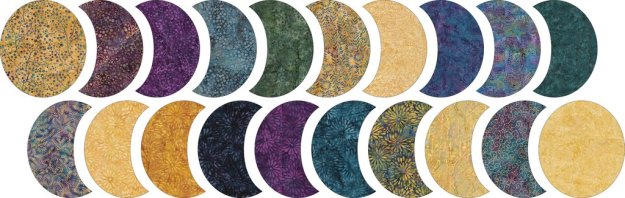
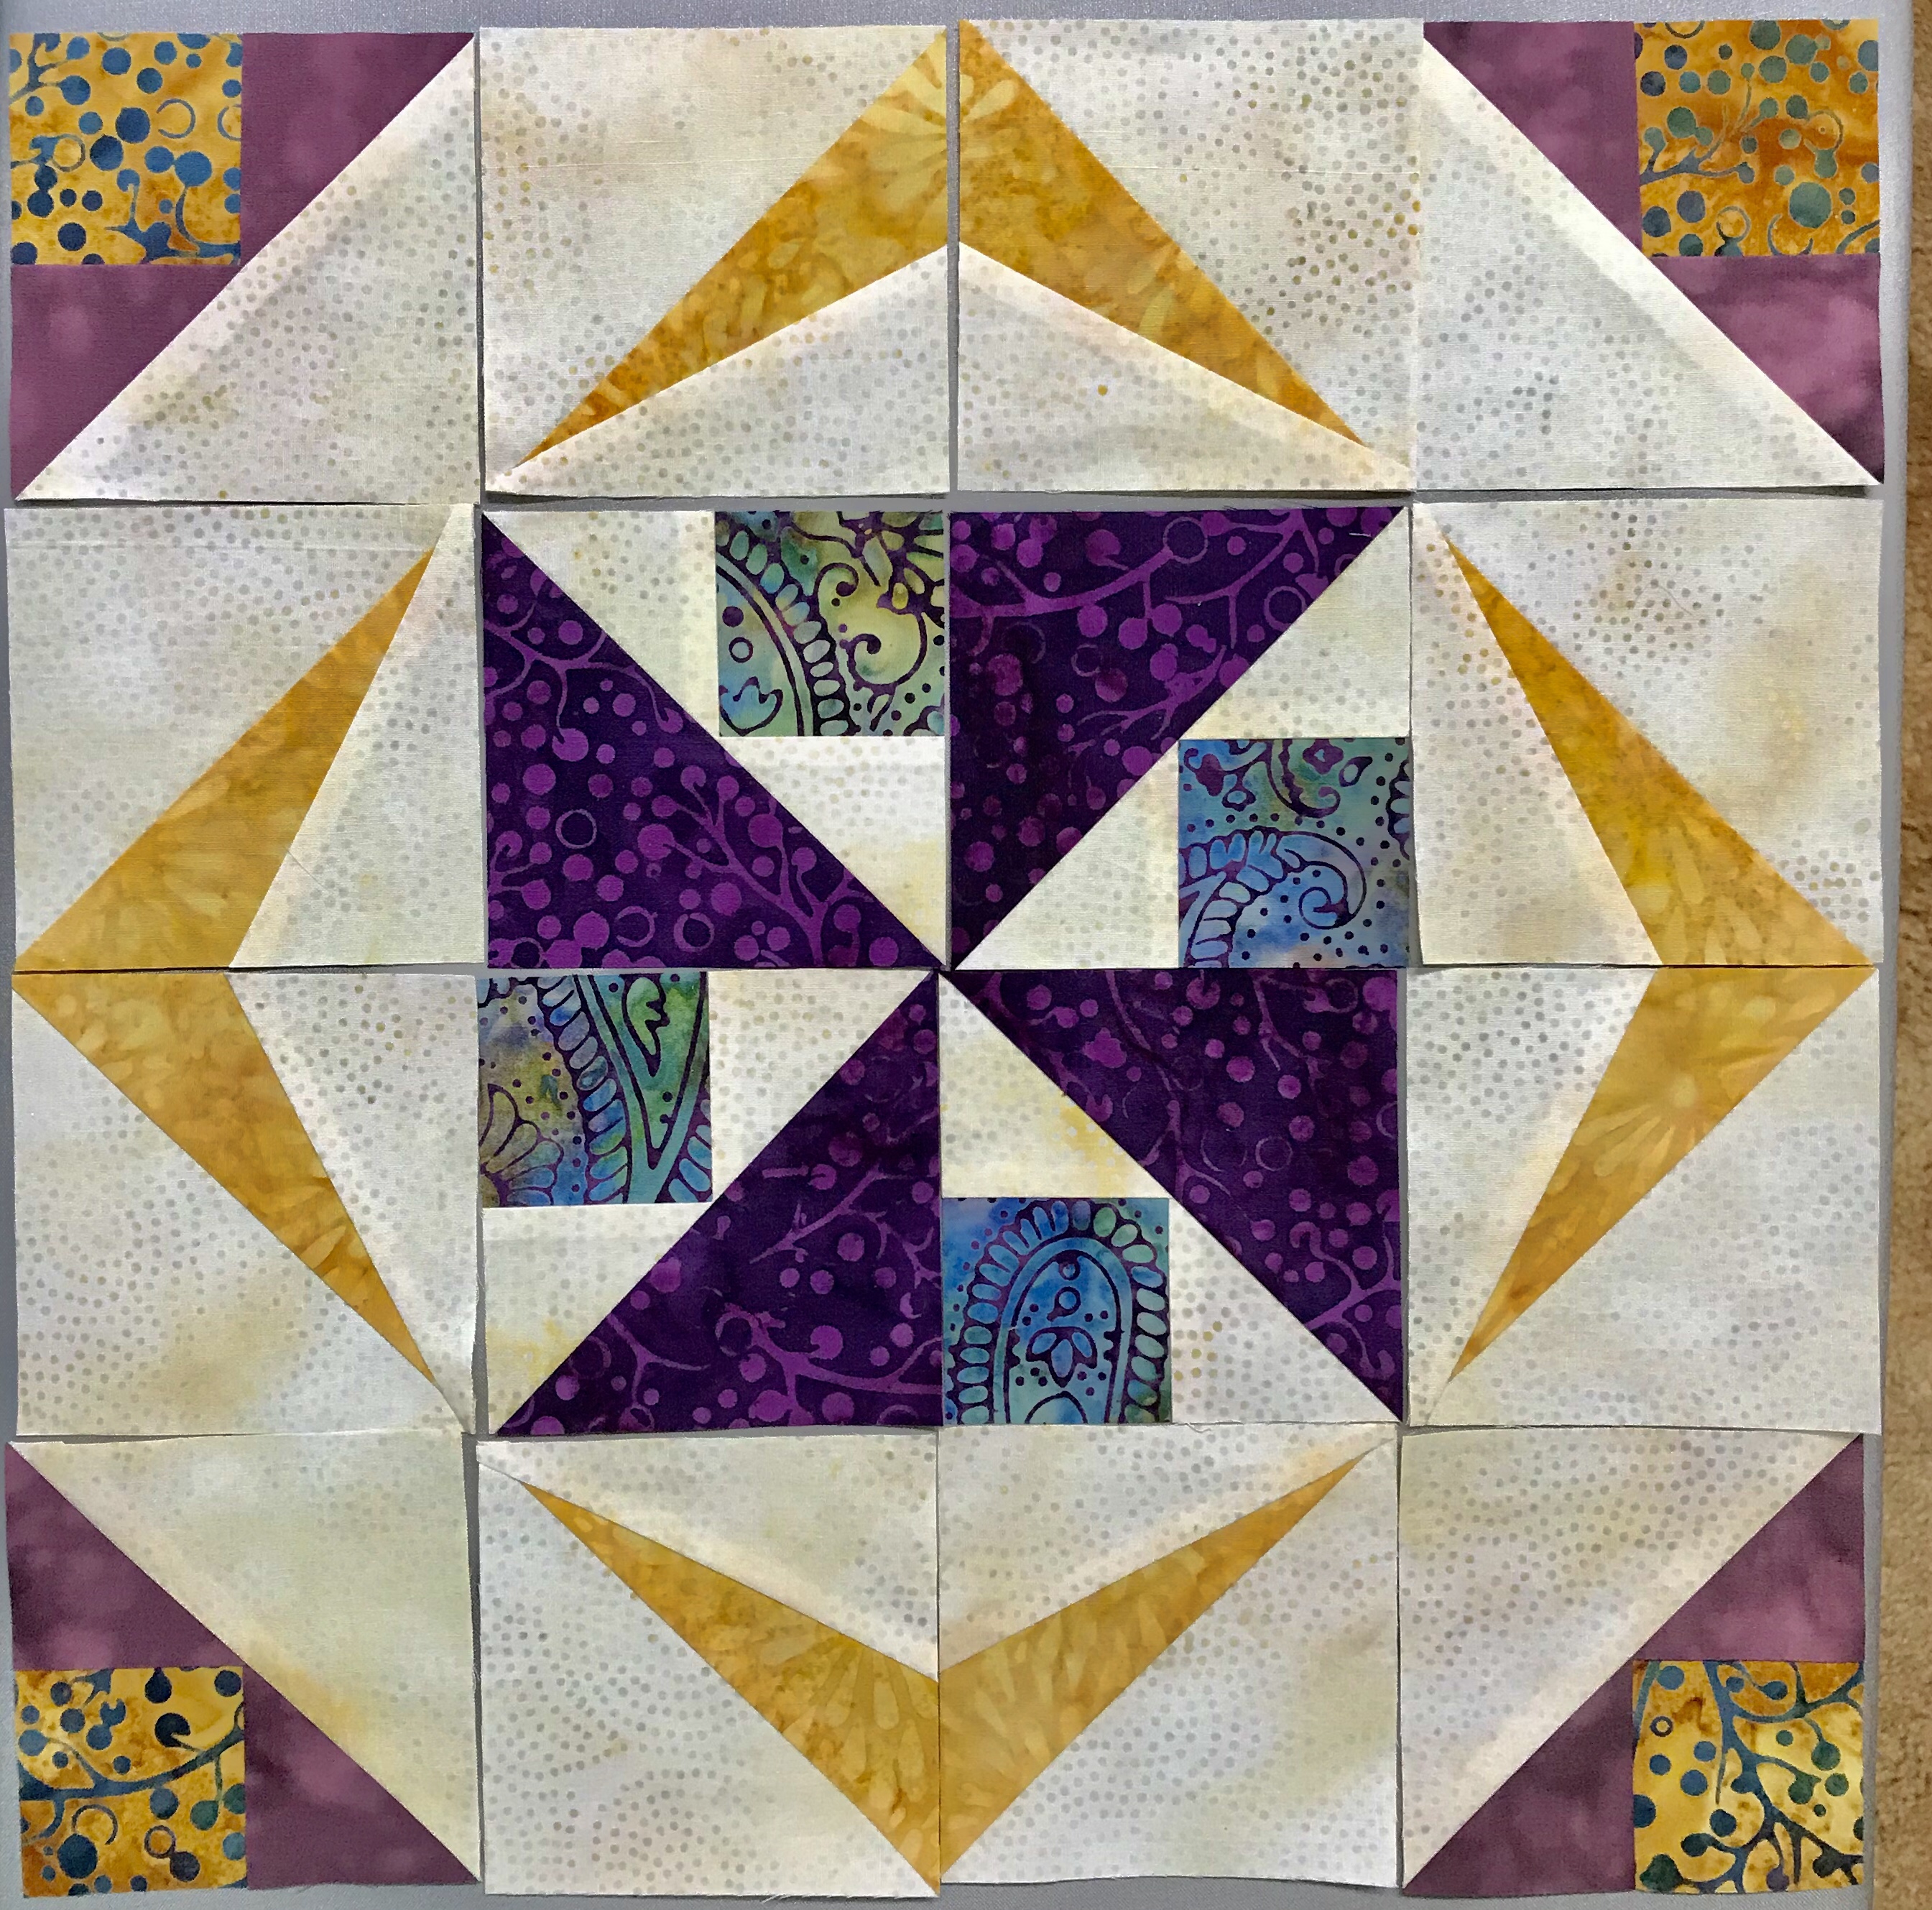
I chose to use the Snow Berry collection, simple gorgeous. I went to my EQ8 and started drawing.
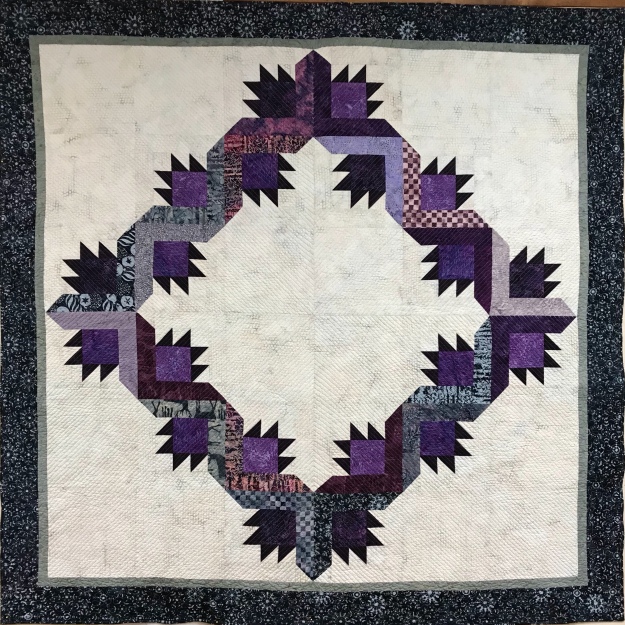
Once I created the block I could also figure out the quilt layout. I love this block!
First I made the Bear Paw unit. I used Deb Tucker’s “Eight at a Time” Technique Sheet to make fast work of 80 Half Square Triangles.
Then add the side rectangles.
Pop off the corner of the rectangles using the Studio 180 Design Corner Pop tool.
Add replacement triangles according to the tool instructions and trim. Easy peasy, the Corner pop tool trims the corner & leaves the seam allowance so adding the replacement triangle is accurate with plenty to perfectly trim.
Stitch the corner popped rectangles to the bear paw unit. Make 20 – 10″ finished blocks.
I laid it out on my design wall, stitched it together and added the borders.
I usually meander my quilts on my Nolting mid arm, but this time I decided to quilt each quarter diagonally with all seams going toward the center with my domestic Bernina 570. It seemed like a good idea. I have never tried this on a large quilt. Bear Tracks measures 70″ x 70″. I stitched in the ditch down the center vertically and horizontally. Then corner to center diagonally. Then stitch in 1/2″ increments, first to the left of the center diagonal then to right. I did this in each quarter stopping at the inner border. What I didn’t realize was how much this close stitching would shrink the center of the quilt, making the borders very wavy. I loaded Bear Tracks onto my quilt frame and meandered the borders to try and shrink them down. It helped a little but the edges of my beautiful quilt are wavy. Drat!
Bear Tracks is wavy, but oh so cuddly. I love it! I think I need a quilting class from Joanie Poole!
This quilt was pieced and quilted with Aurifil thread and finished with Hobbs batting.
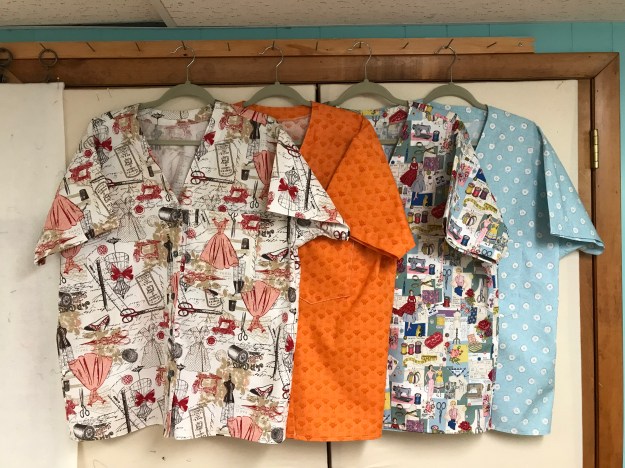
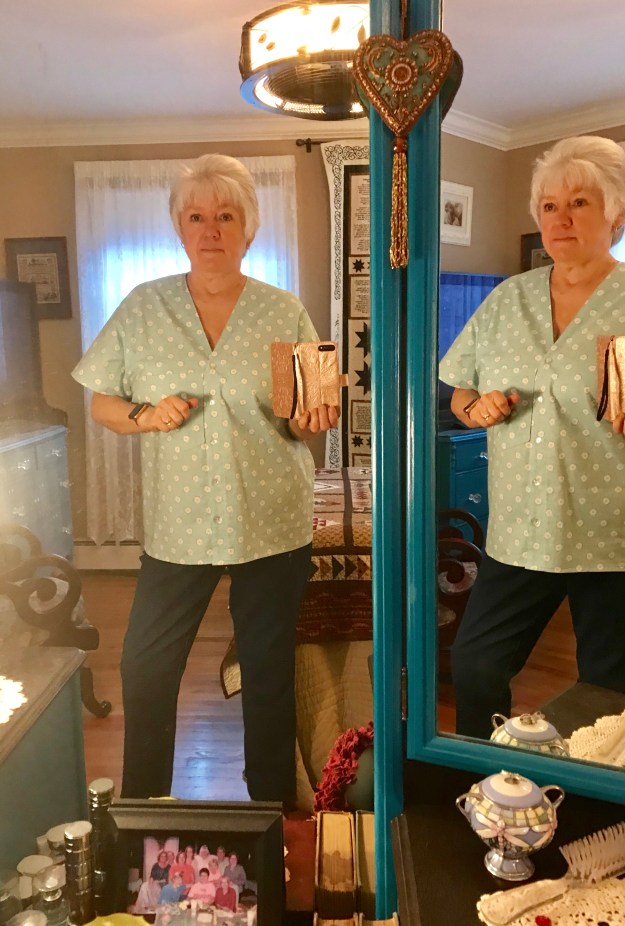
Whaaaaaat? I started making this shirt 20 years ago and love it so much I’m still making it. I learned to sew in high school 50 years ago (boy it hurts to say that out loud)!
I first made this shirt in 1999. I love it.
But, I did alter it. I’m always hot, so I did away with the collar. I folded the pattern front center edge to give a smooth V neck and do away with the collar. But then I needed to create a facing. So I laid the pattern piece on tracing paper and traced the curve, then add 2″ to the width. I also shortened it by folding the pattern up to give it a straight edge.
I decided I didn’t need to add a separate yoke, so I stitched the yoke pattern piece to the back pattern piece to simplify the process.
I love cotton shirts. How lucky that I’m a quilter with access to lots of cotton fabric! After washing the fabric I cut out all the pieces and then serge the edges.
I love that the sleeves are not set in and that the front of the sleeve is the same as the back. It makes it easy to stitch to the front and back pieces, and then stitch the side seams.
The products shown in this post were given to me by Island Batik.
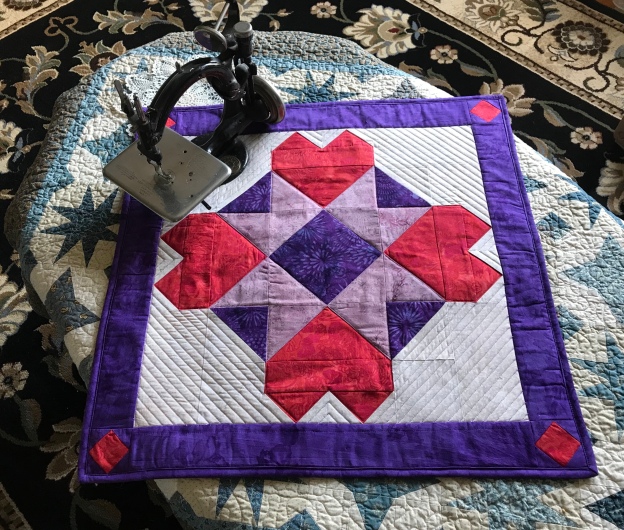
Our assignment for February was to create a “Magnificent Mini” using any technique we chose. The only criteria was the size: 24″ x 24″ or smaller. It seems I’m always collecting quilt blocks for hearts and Christmas Trees. The first thing I do is fire up my EQ8 and start drawing.
Last year I made a heart mug rug. The drawing above consists of mirror image split rects and two squares that have had the corners popped using Studio 180 Design Split Rects & Corner Pop tools.
Welcome to Studio 180 Design’s “Twilight Chic Blog Hop”. I have been lucky enough to make 4 quilts from Twilight Chic line of batiks by Island Batik for Deb Tucker.
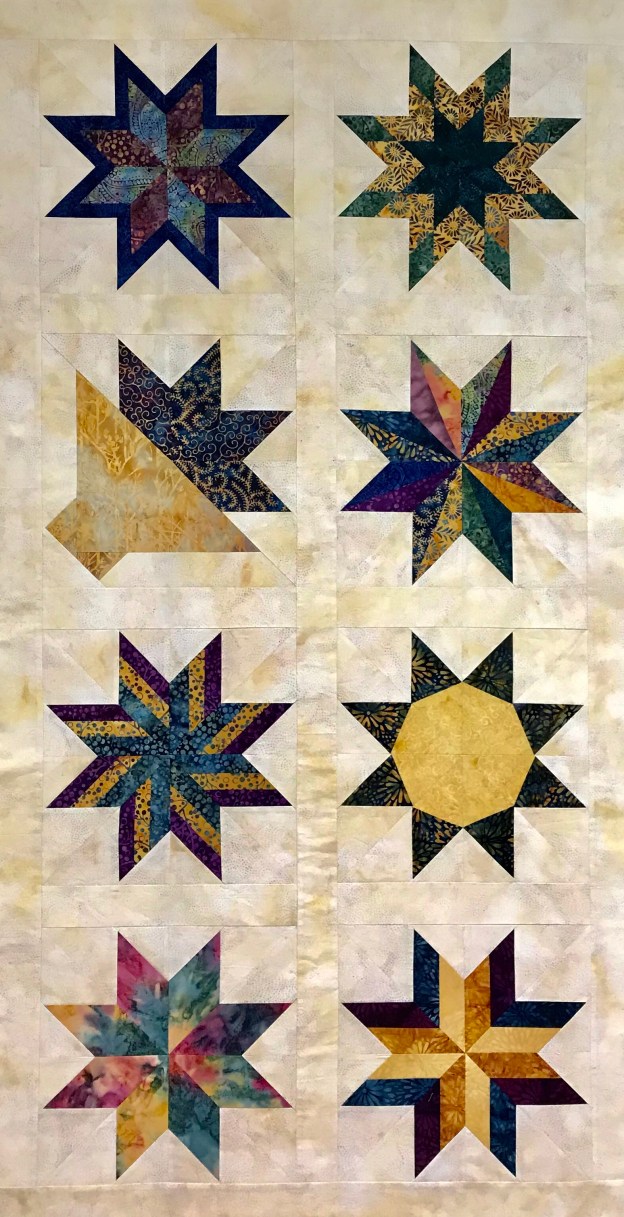
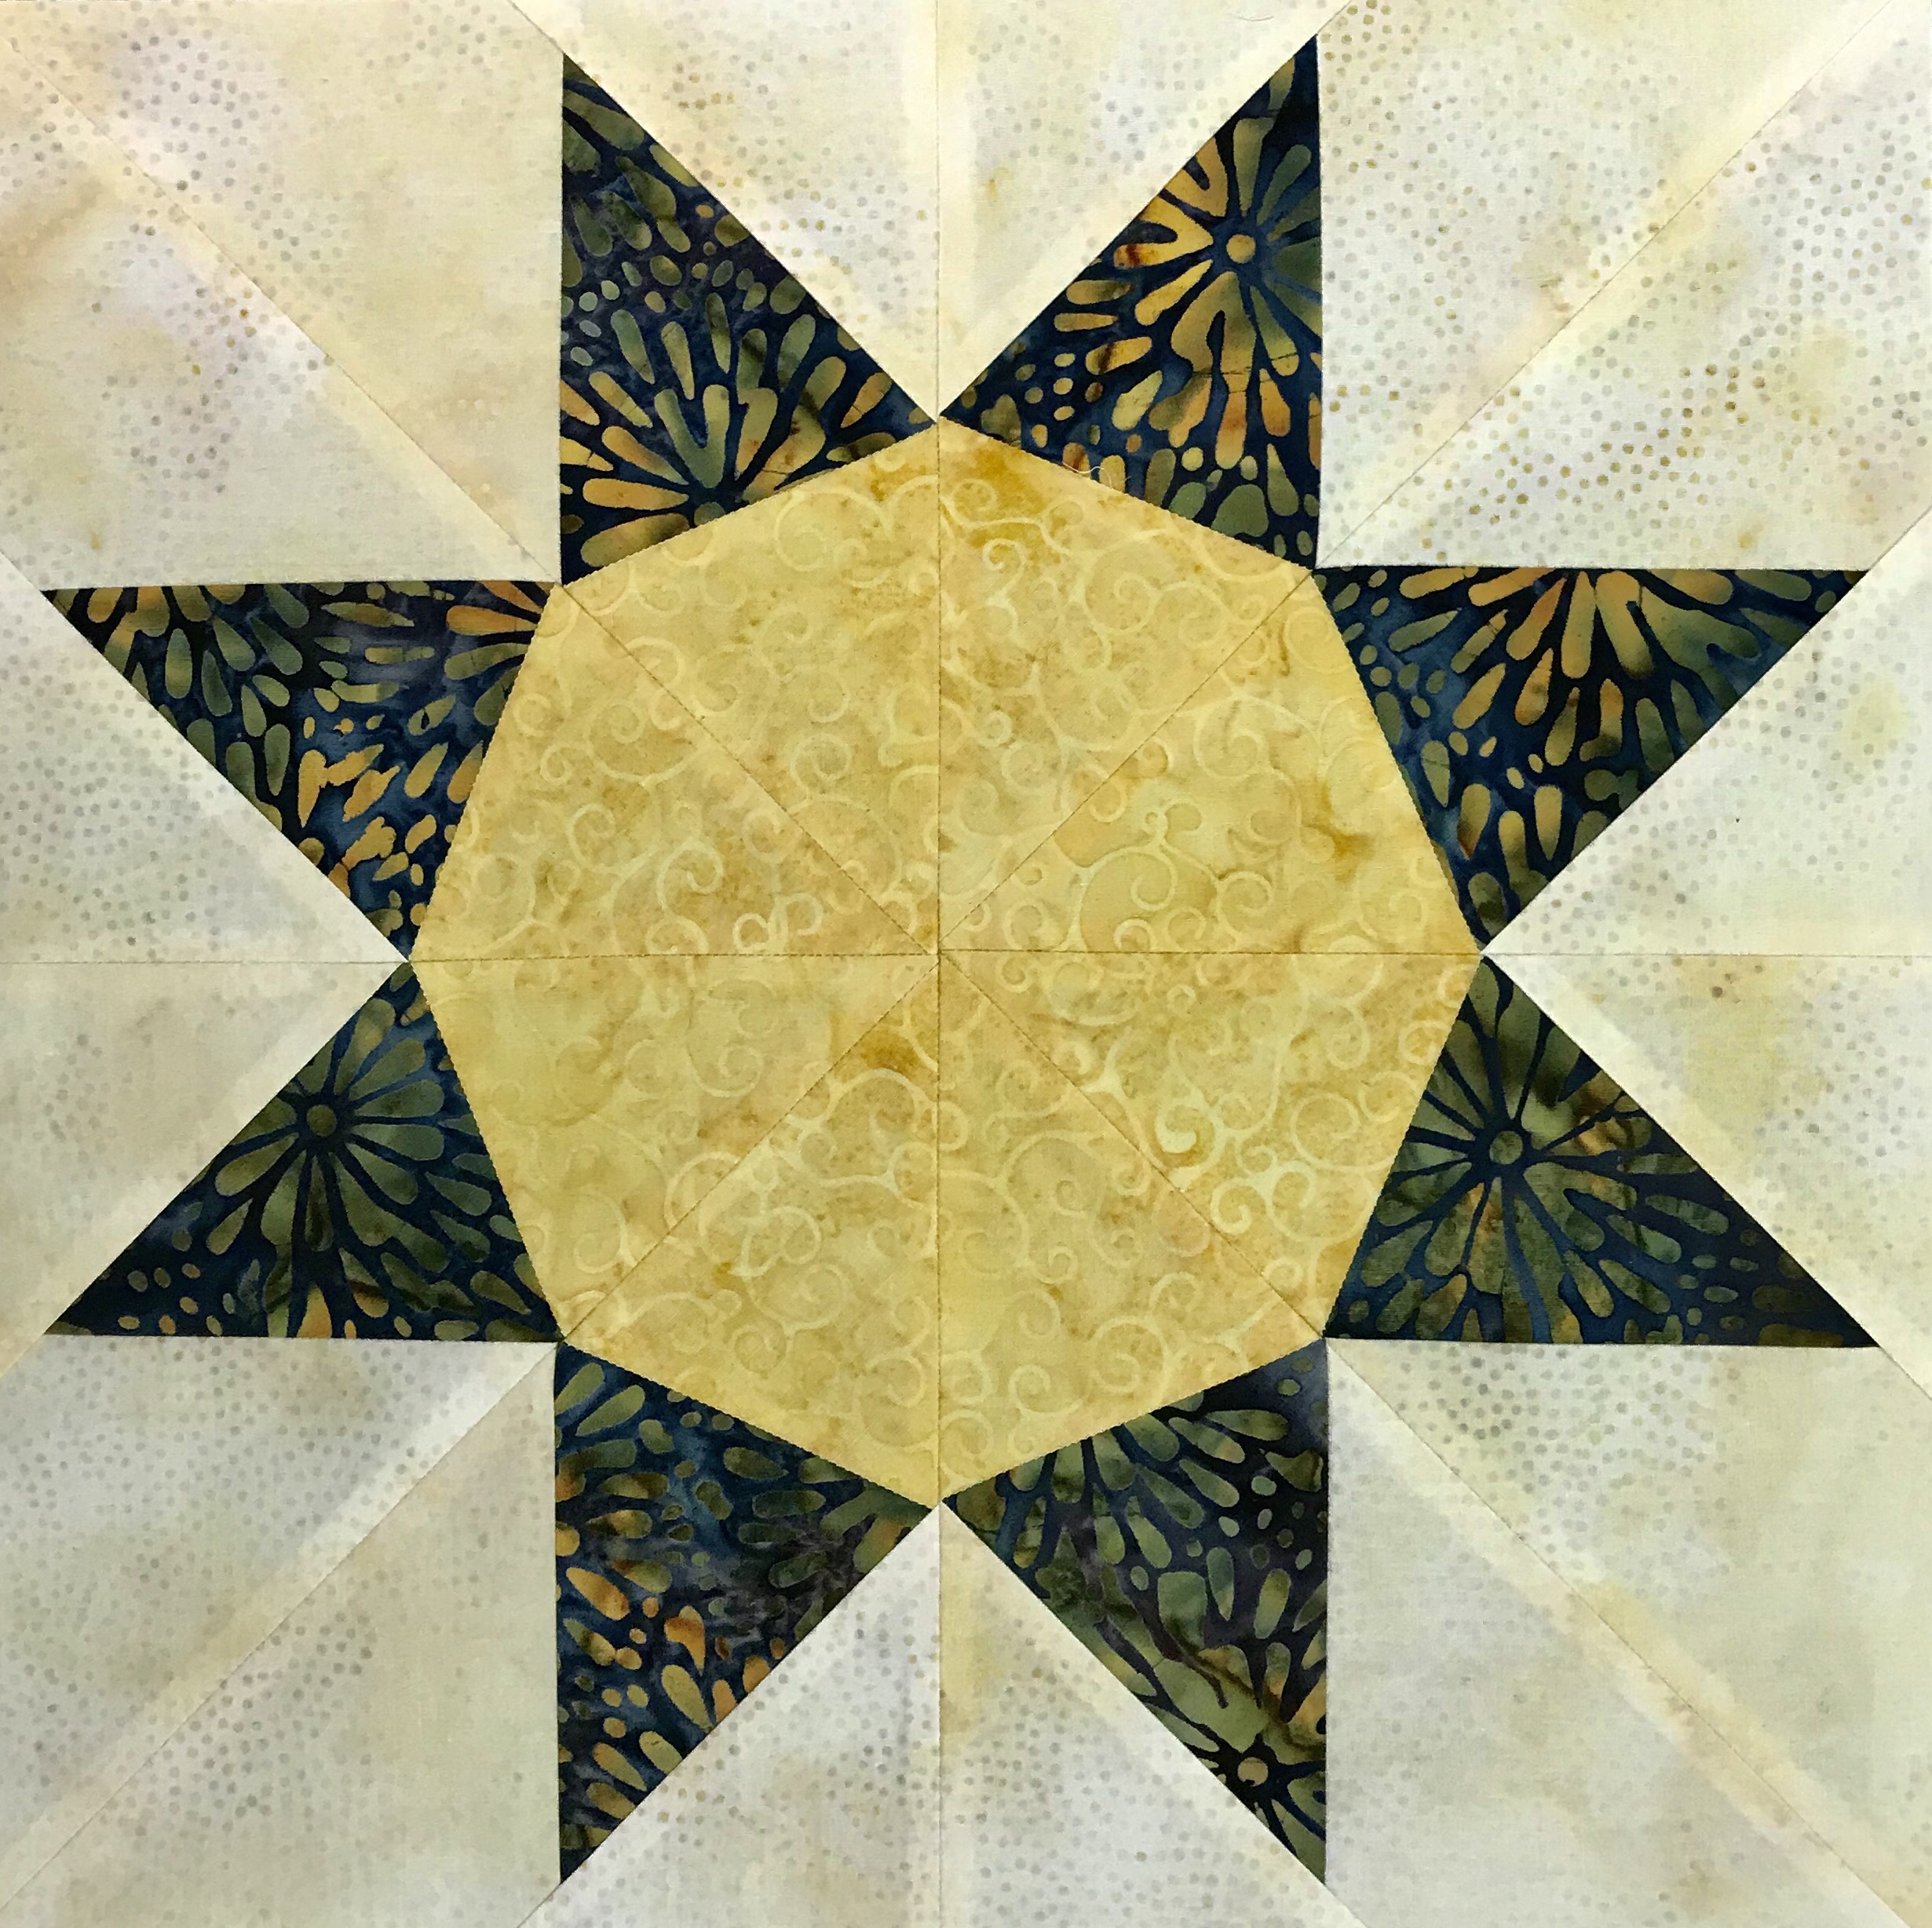
For this challenge I chose to make a hunter star quilt from Deb Tucker’s book “Hidden Treasures” using the Rapid Fire Hunter Star Petite tool. Hidden Treasures offers you 29 different lap size quilt patterns and 7 bed runner patterns for the hunter star.
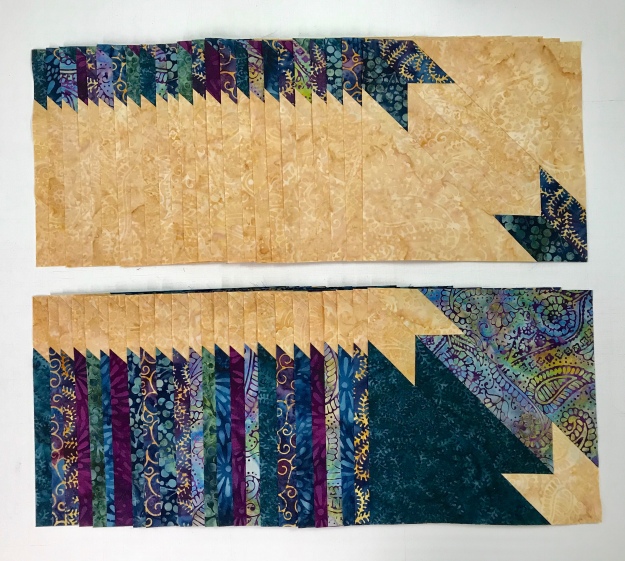
The same pieces can make very different quilts. There are just 3 different block configurations used in these patterns.
The pattern I chose used the first two blocks.
I made 24 of each.
With these blocks I could choose from 16 different quilts or 3 bed runners.
These two are Curveball page 30 and Checkmate page 32.
Strawberry Fields page 40 and Spring Fling page 48.
La Belle page 50 and Pele page 74. These 6 quilts are just a sample of what you can make with these blocks. So what did I choose………
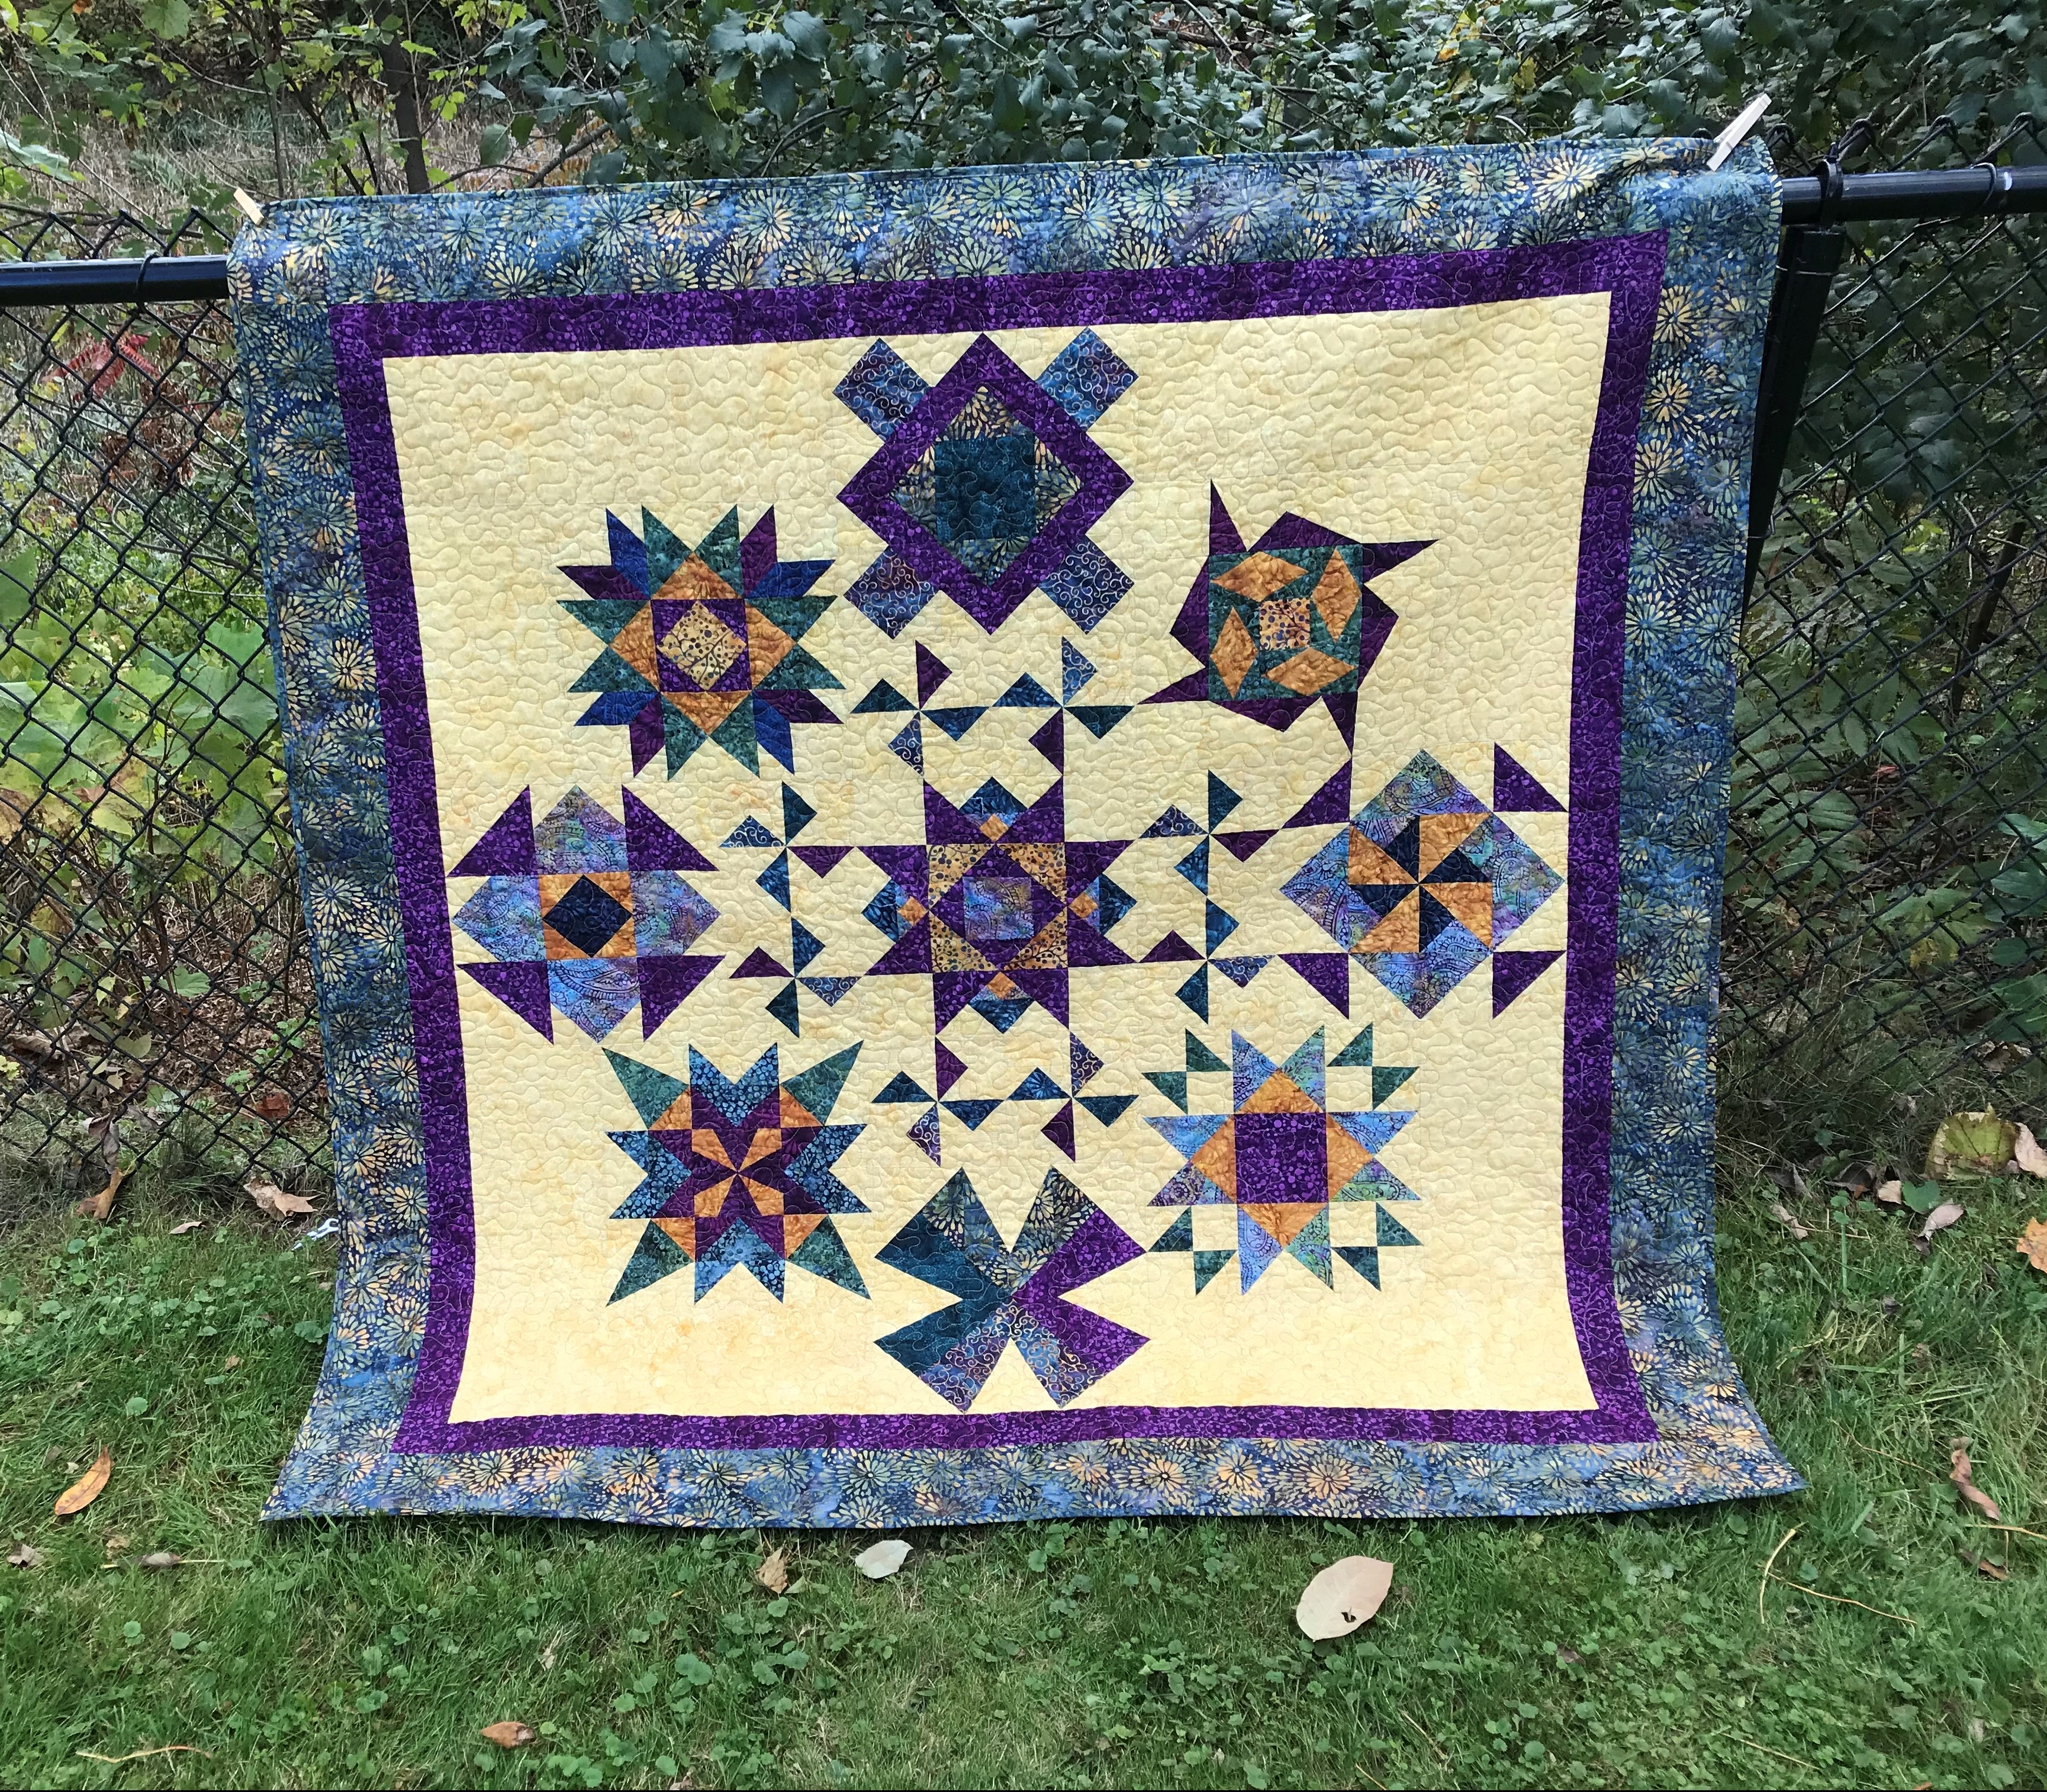
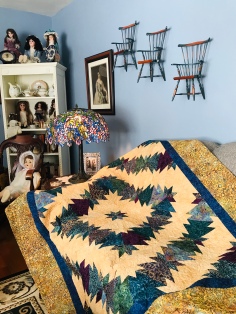
I chose to make Autumn Twilight on page 66. But, I call mine Twilight Treasure!
This book is definitely a treasure!
Click here for a chance to win a Twilight Chic Fat Quarter Bundle.
Be sure to see all the creations by my fellow Certified Instructors:
It’s that time again, a new year of challenges from Island Batik. I’m blown away by the generosity of Island Batik, Aurifil, Hobbs Batting and Accuquilt Go Cutter! We have some great projects to share with you this year. I’m almost done with February and March’s challenges and can’t wait to share. Here is a video of all the products given to me as an Island Batik Ambassador:
The fabrics shown in this post were given to me by Island BatikDeb Tucker’s Twilight Chic by Island Batik
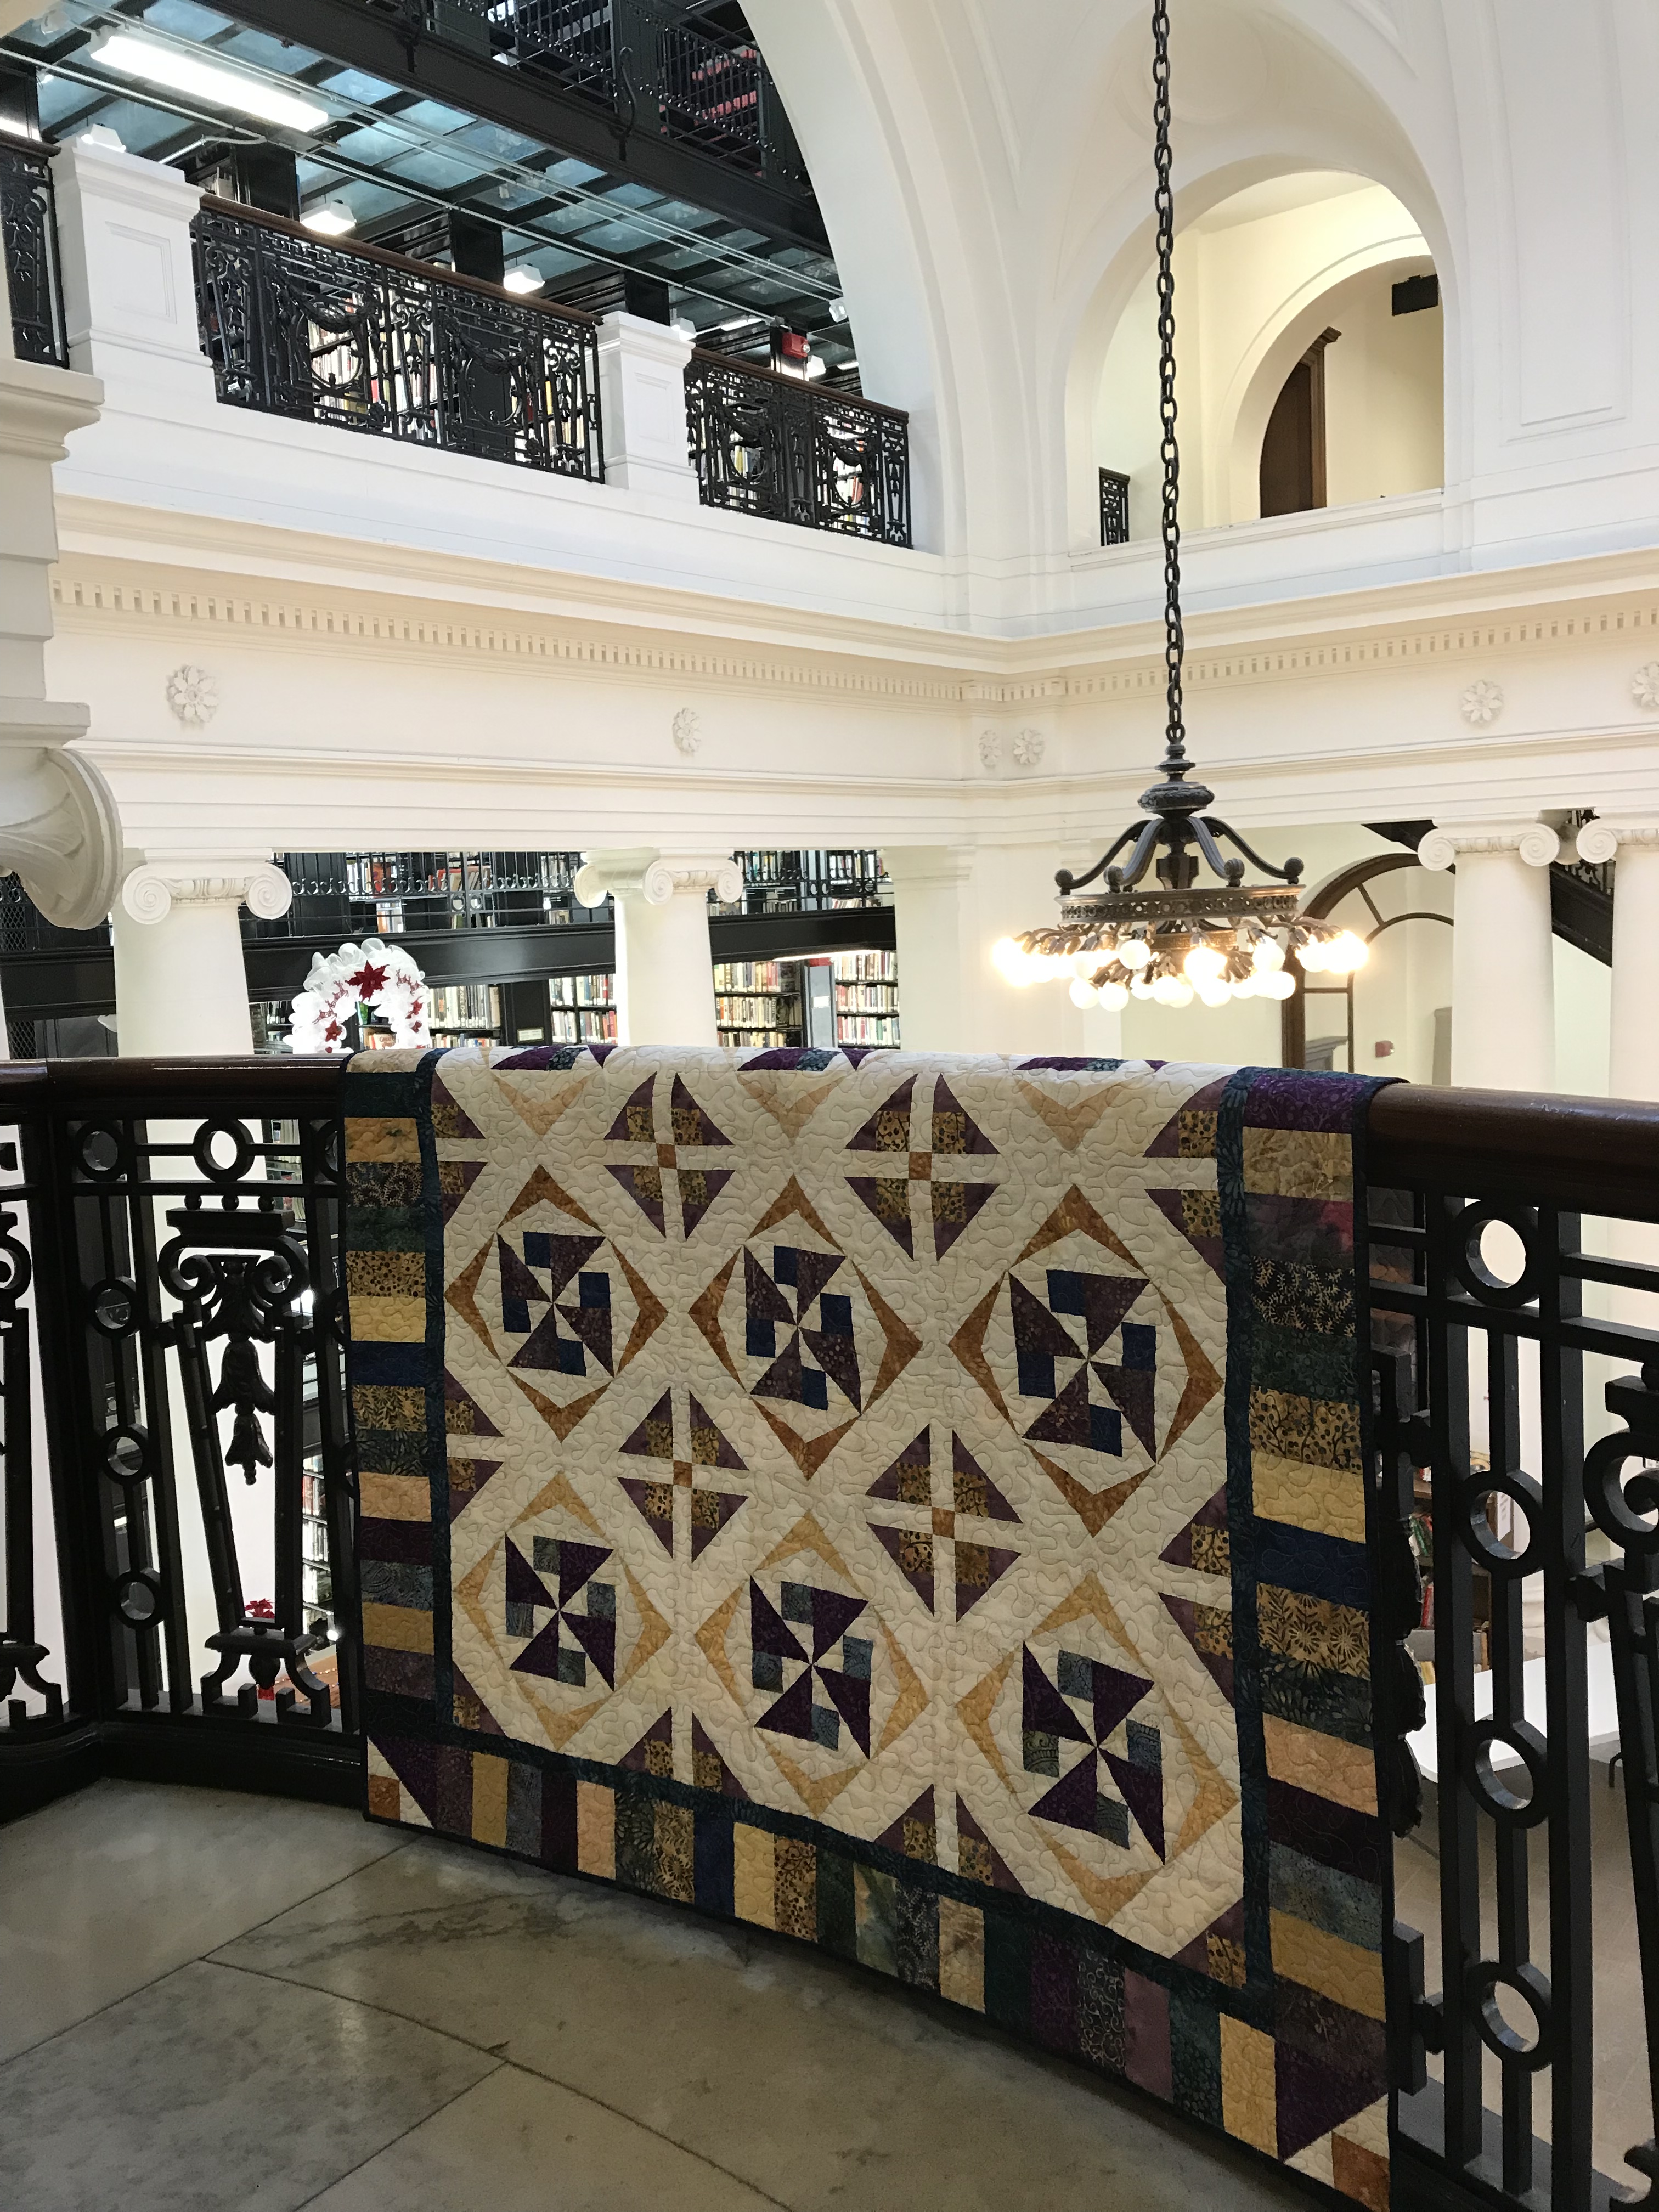
Well, if you can’t getaway, go to the library for a good book! The Utica, NY Public Library opened in 1904. I love the inside of this Library.
Shaded Chic
The upper floors of the Utica Library are made of thick glass. I used to love coming here as a child.
In every box of fabric we Island Batik Ambassador’s receive, there is a secret bundle of the newly released batiks. I was lucky enough to be assigned Twilight Chic by Deb Tucker for Studio 180 Design. This is my third quilt from the Twilight Chic line.
I saw a post on Facebook that asked the question “how many quilts did you make in 2018”. So I went back and started counting.
February included GAlentines day Mug Rug and Mini Love for Island Batik Ambassadors
March included my infamous attempt at a mini tuffet , Hunter Star – Tortola from Royal Treasures Book, Scrapodopolis using the first 6 BlockBuster patterns and Whirling Dervish.
April included Prism and Refraction
May was Pillow Possibilities and The Heron.
June included A Blast form the Past and Crossfire.
July was A Field of Popped V’s & Paris OBW # 64.
August included Split Personality and Firefly.
September was New Years Star & Sue Nami.
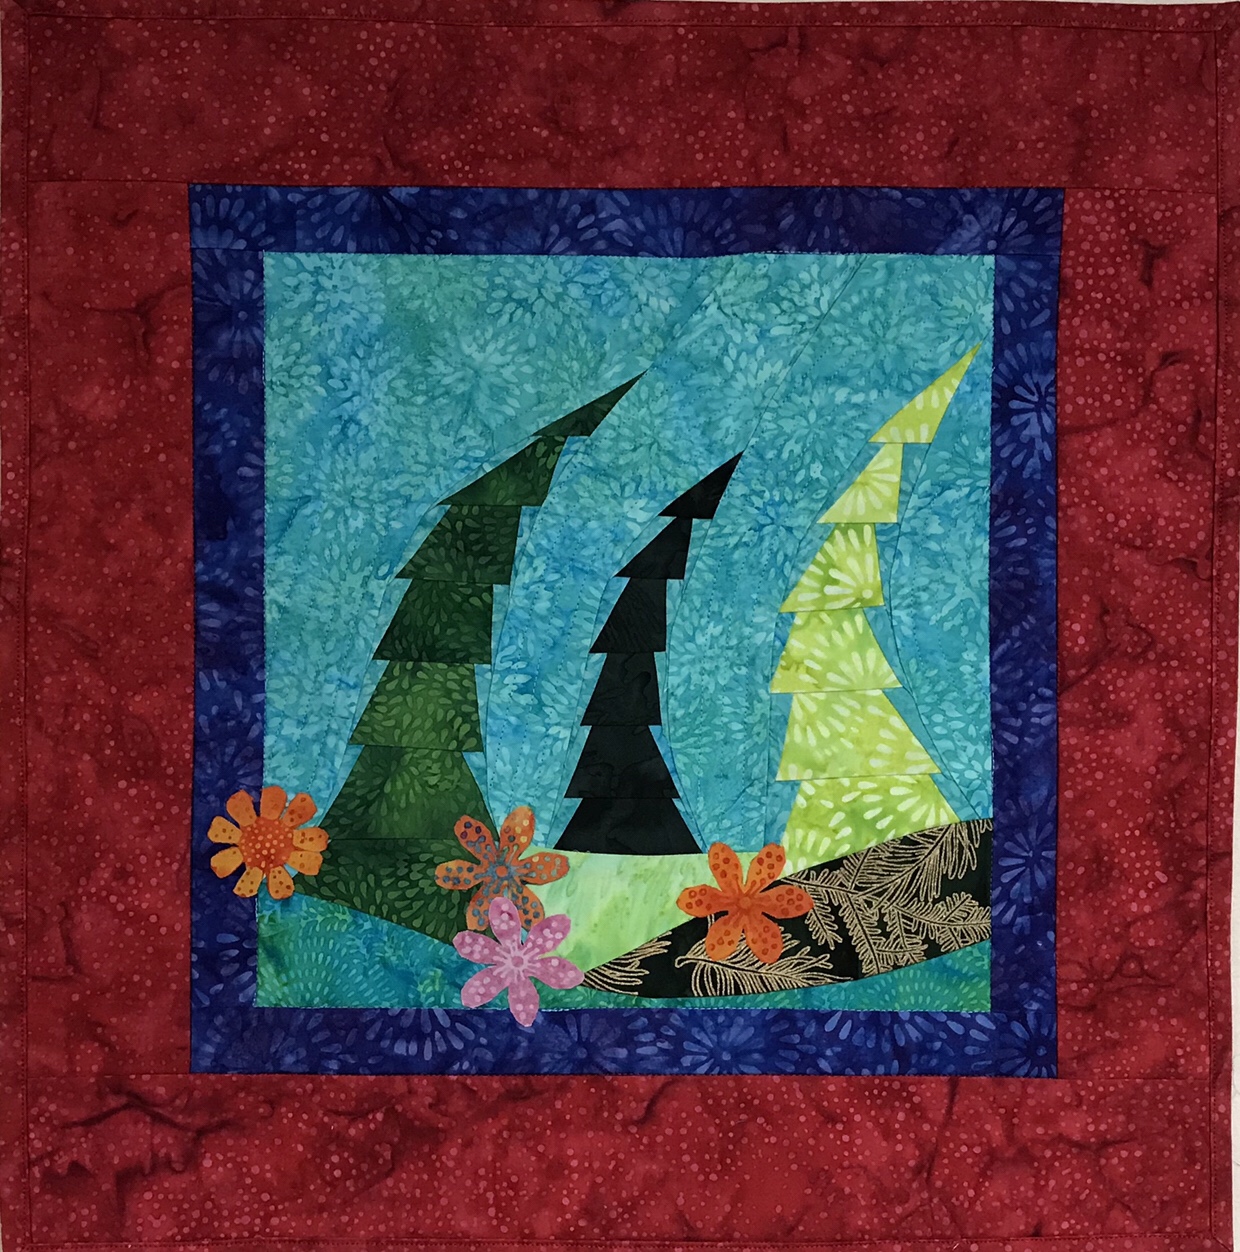
October was paper pieced trees wall hanging.
November included Paisley Cats OBW #65, Evening Elegance & Converging Geese
December ended the year with Plume OBW #66, Calm Seas & Holiday Tipsy Tree .
Phew, I’m tired but I’m already working on more projects.
The fabrics shown in this post were given to me by Island Batik.
Next week, January 7th begins Island Batik’s “Get Away Blog Hop” I’m all ready for my reveal. My secret bundle for this blog hop is Deb Tucker’s Twilight Chic by Island Batik which was introduced at this past fall market.
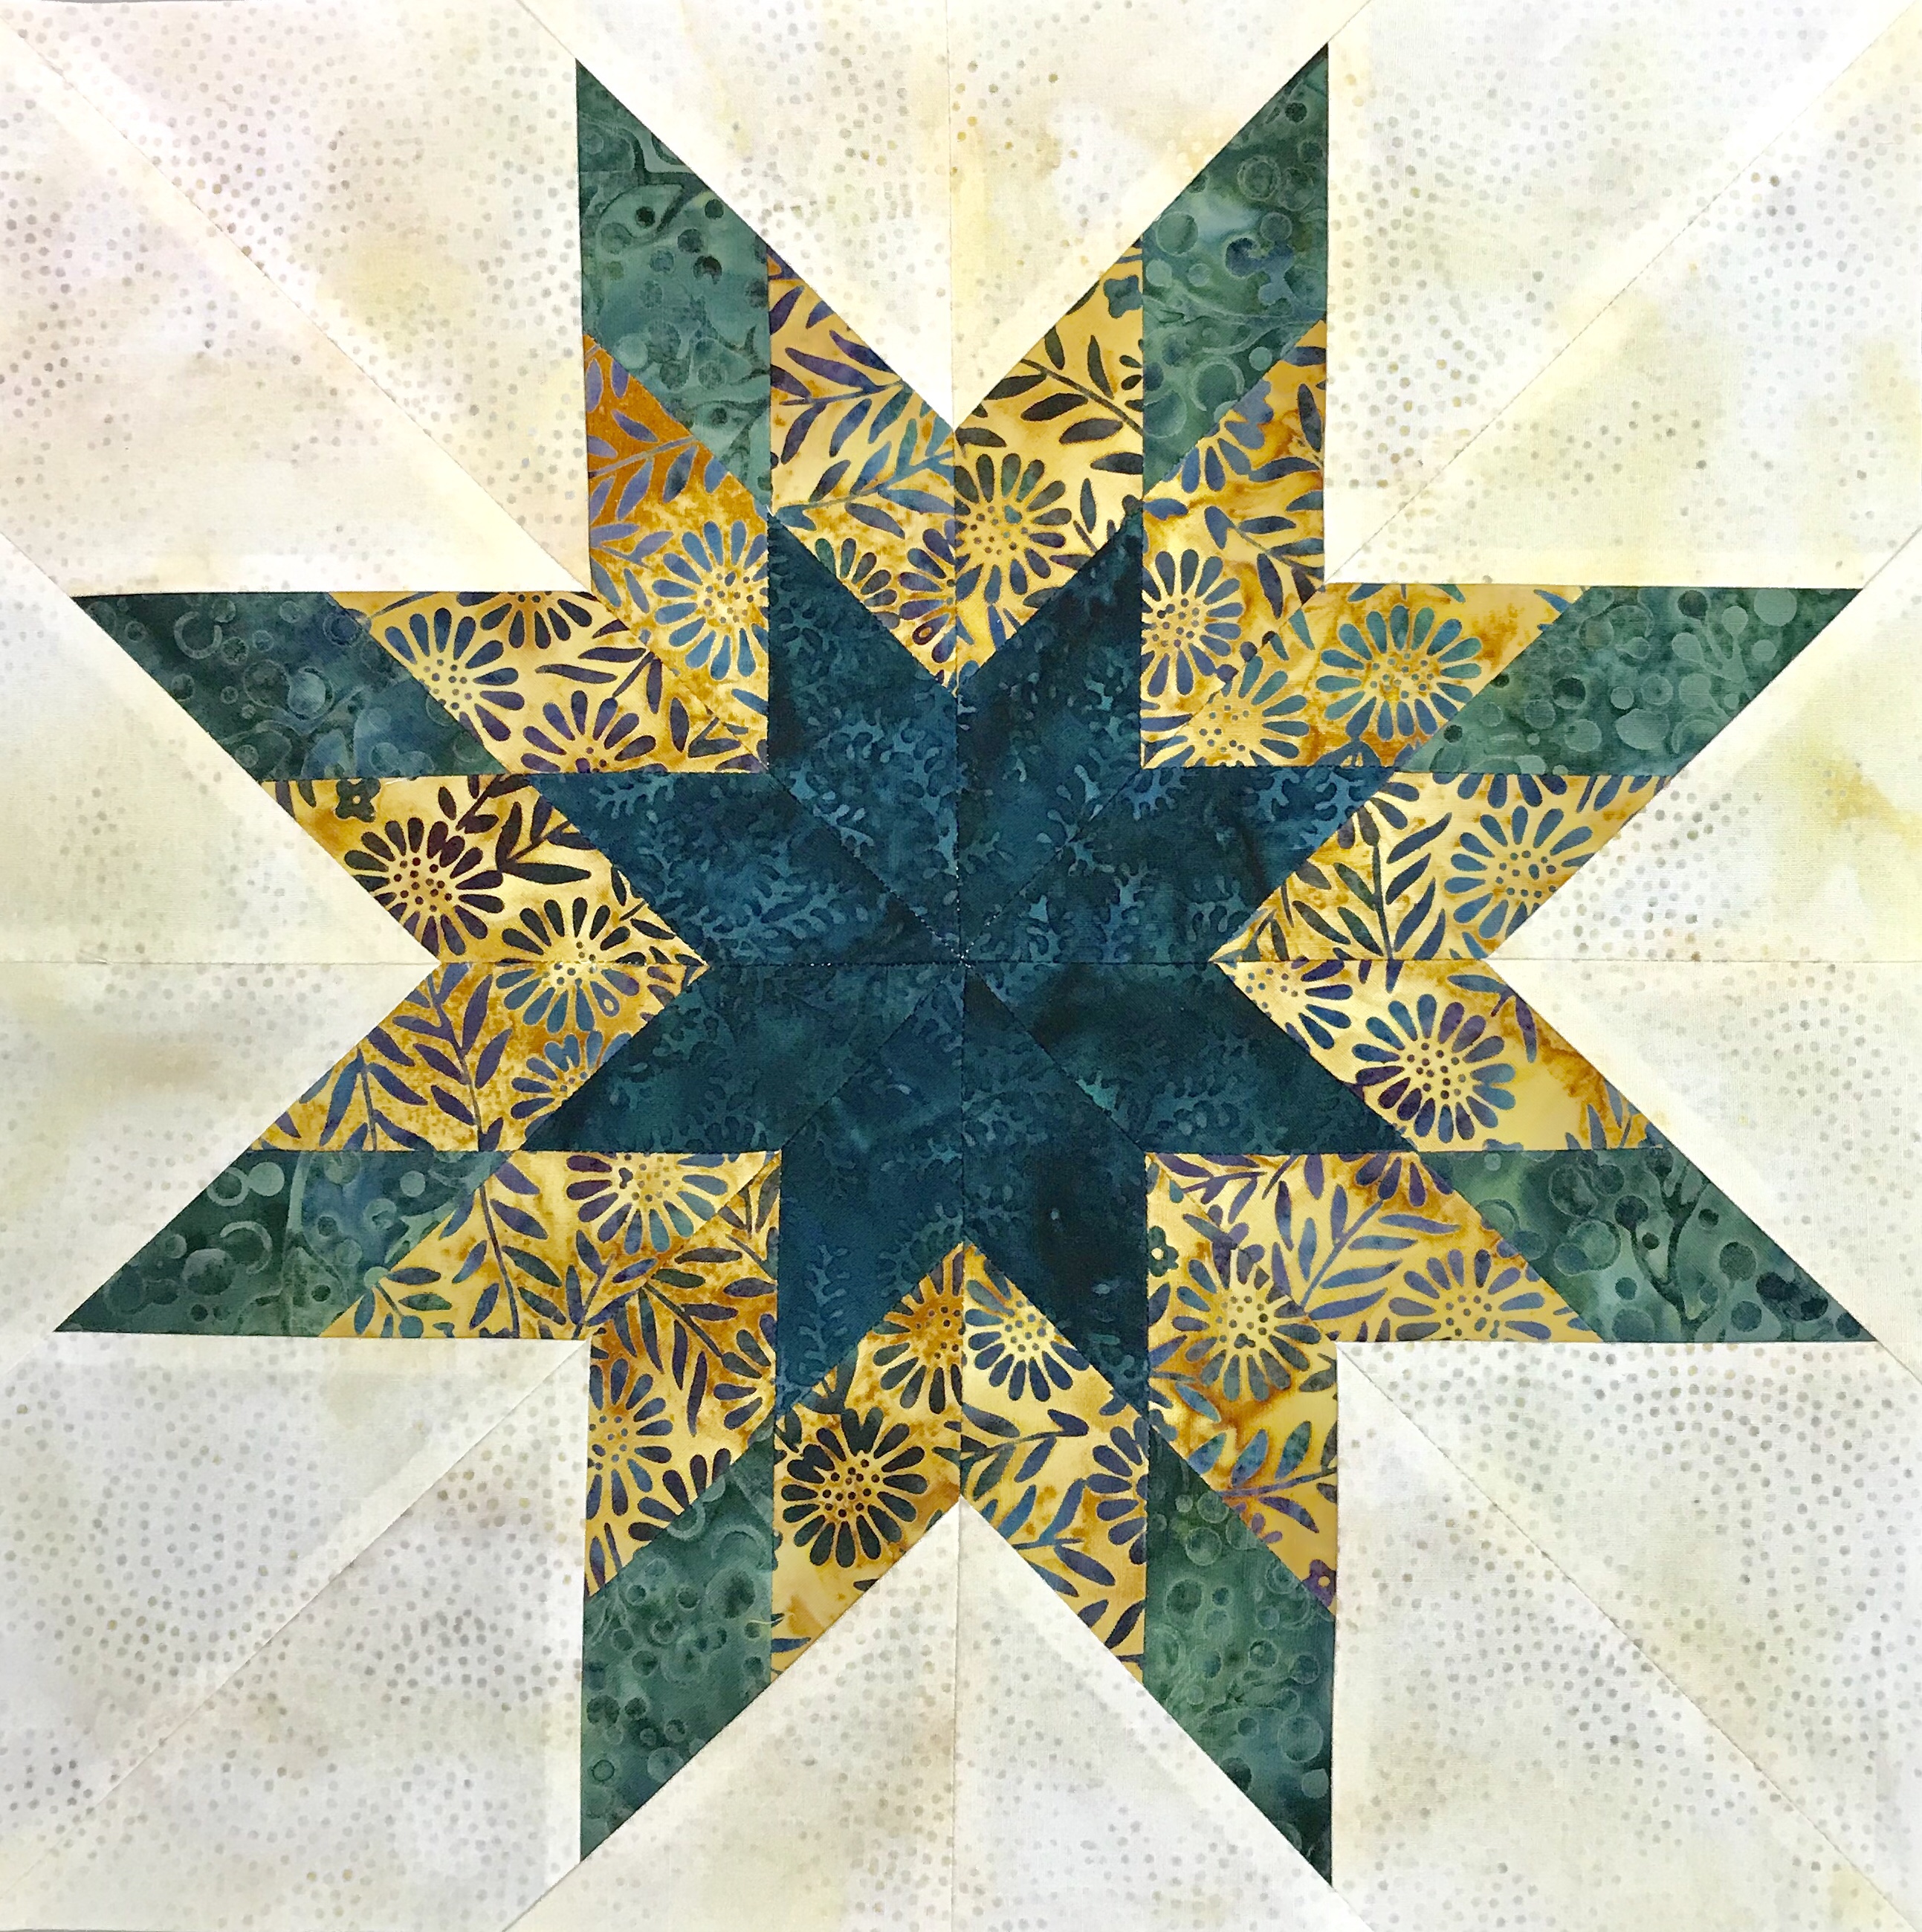
I participated in Studio 180 Design’s blog hop in November in which I made this version of “Evening Elegance” from the Twilight Chic line.
With fabric I had left I wanted to make a quilt to showcase the seven technique sheets created to expand what you can do with the Rapid Fire Lemoyne Star tool.
I am very goal oriented. Today is December 23rd and is One Block Wonder Day for me. Tomorrow I bake!
I used Plume for my example in my post “Using Panels in a One Block Wonder”. I also used it this fall in several OBW workshops. I wanted to get it finished so it wouldn’t get too beat up.
I also cut out two more OBW projects.
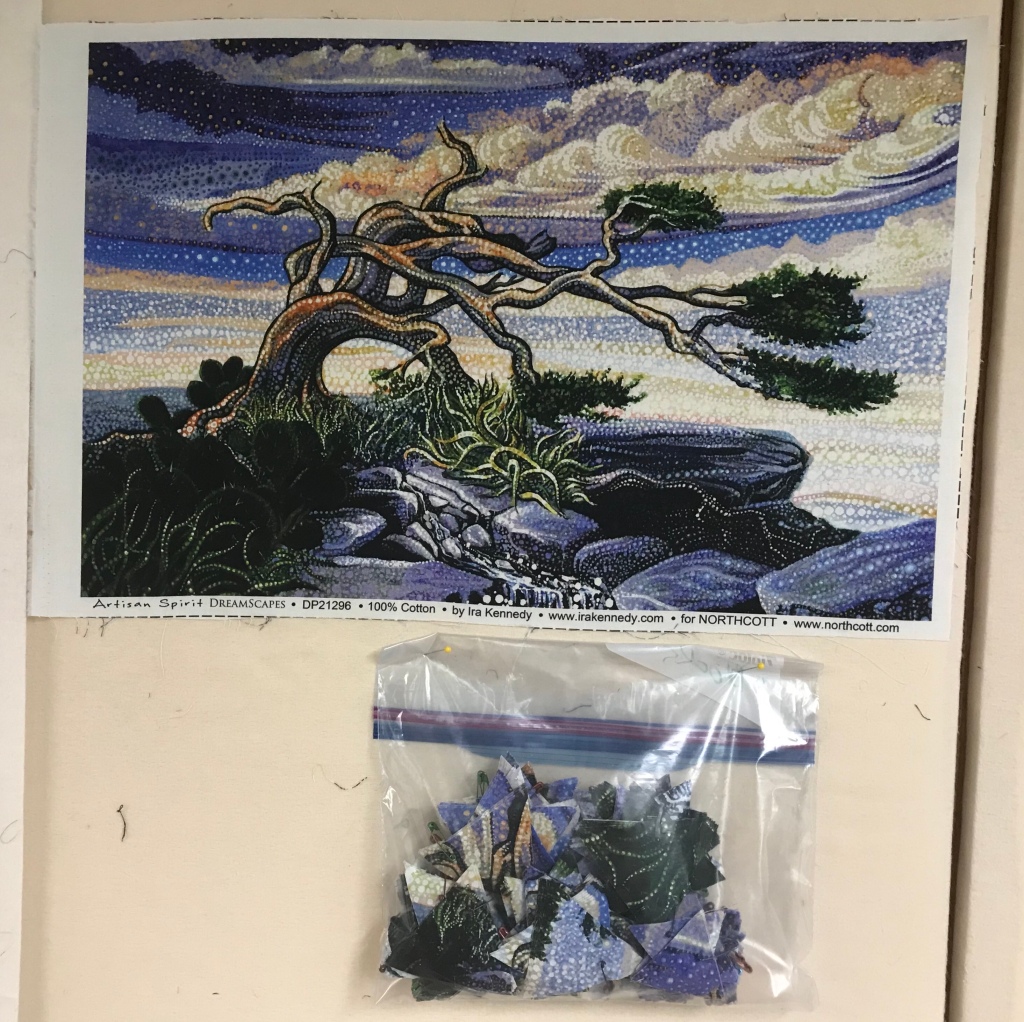
I’m going to use this panel in workshops to show how I integrate the blocks and the panel. It measures about 13″ x 20″ and will be much easier to work with in class than Plume. It is called Dreamscapes by Ira Kennedy for Northcott. I actually bought 14 panels, 7 panels for the class example and another 7 panels so I can finish one for me.
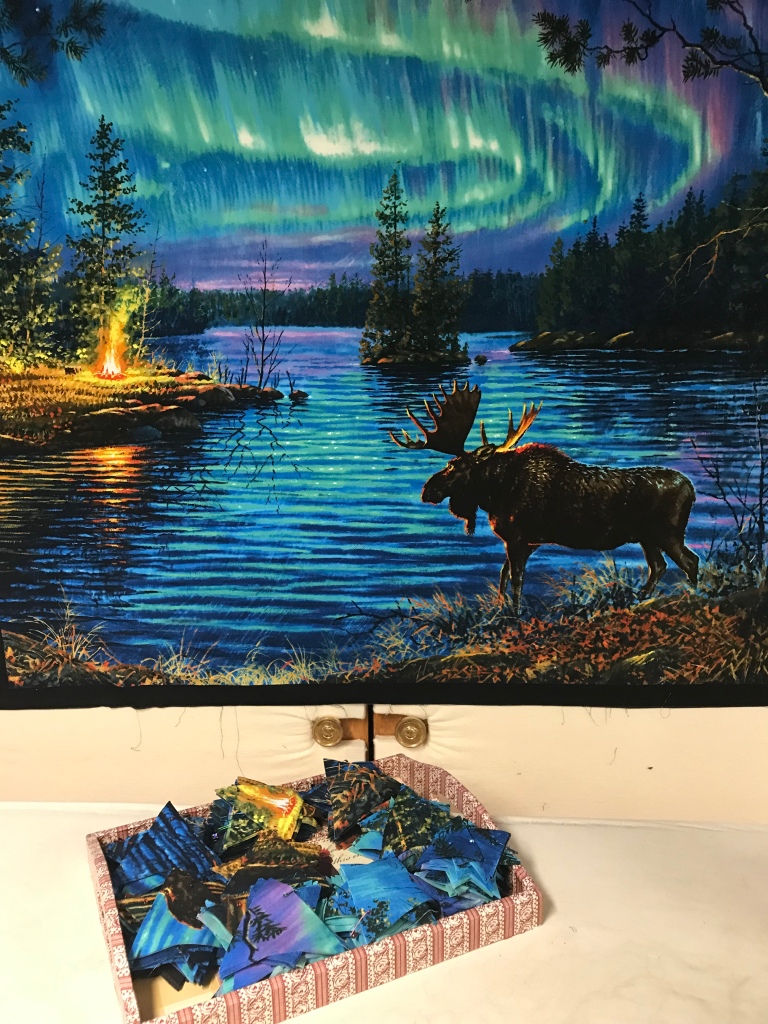
I also cut 6 of these spectacular panels that measure 34″ by 40″. I got 8 strips from these panels which yielded about 144 blocks. This is called Abraham Hunter for Elizabeth’s Studio’s.
Not a bad days work finishing Plume and cutting out two more OBW’s.
Of course I was supervised by Tucker, as always! Happy Holidays everyone!


")