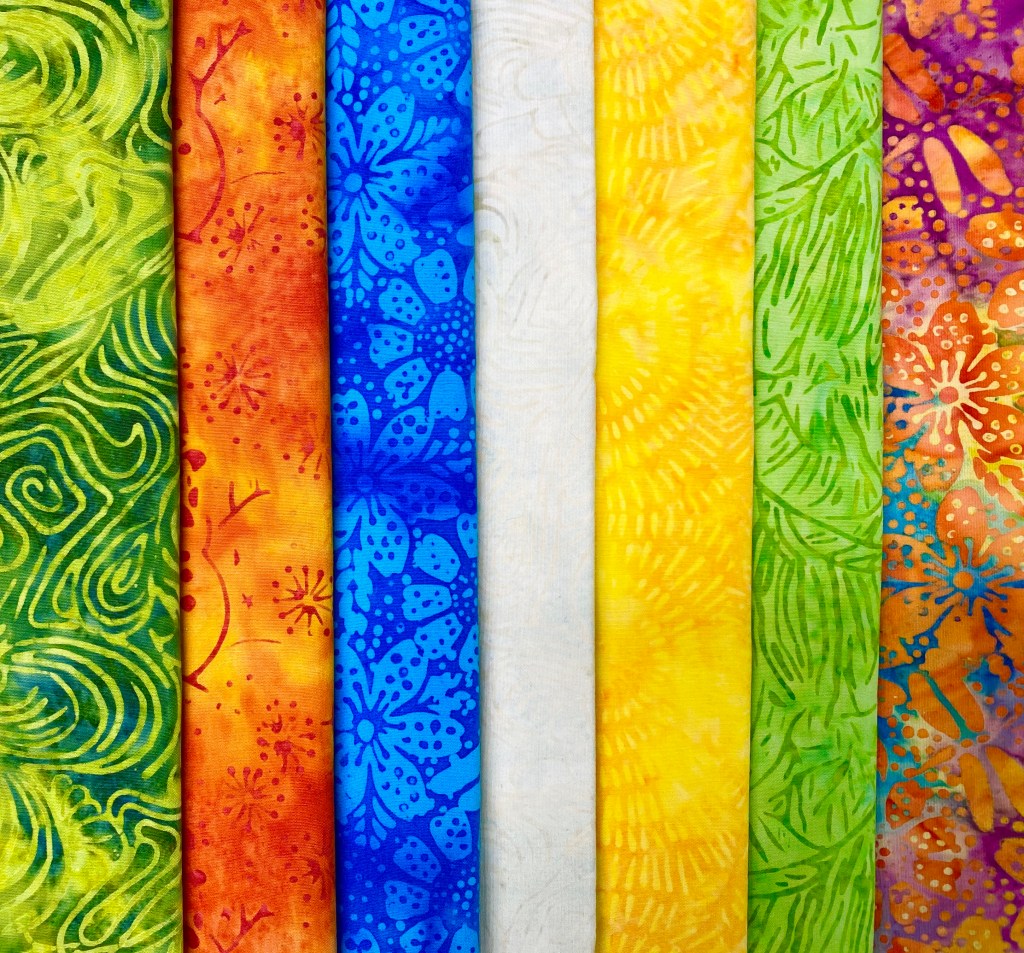
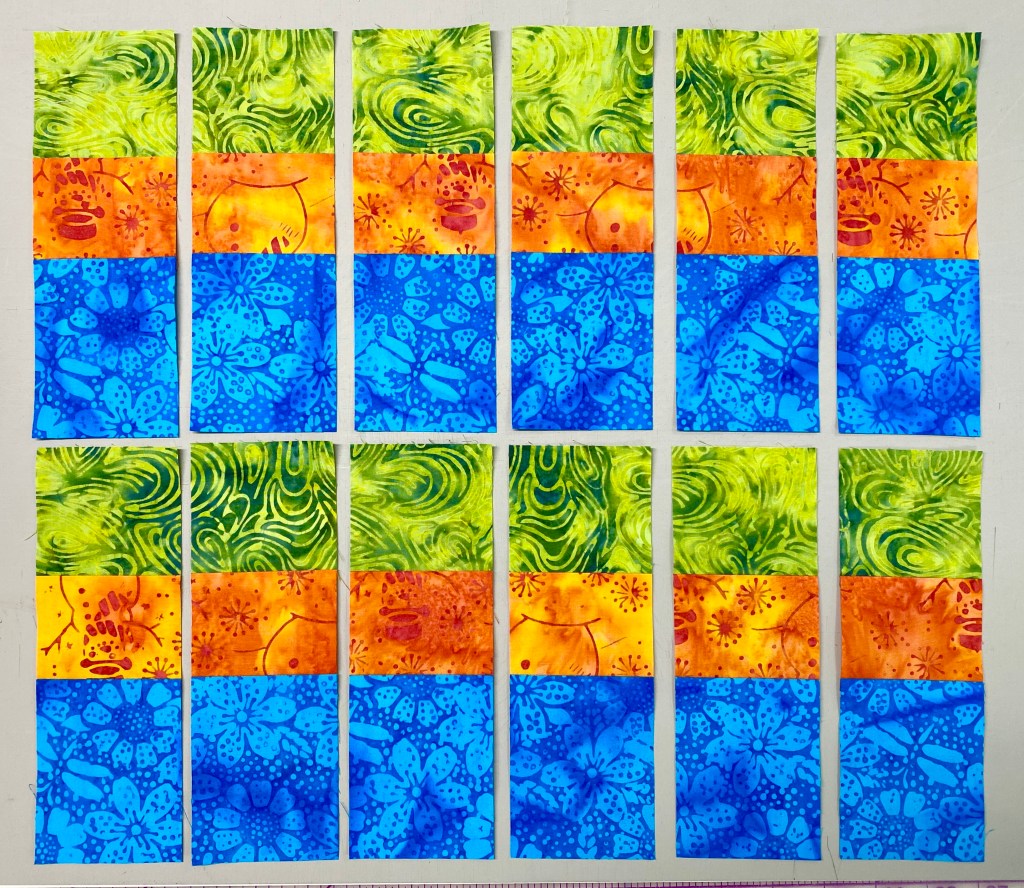
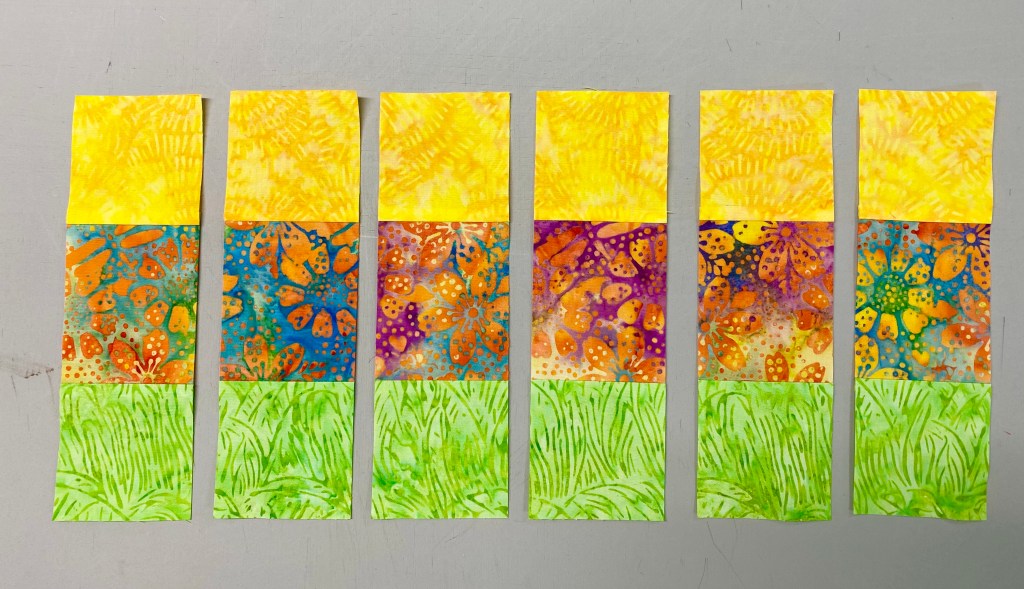
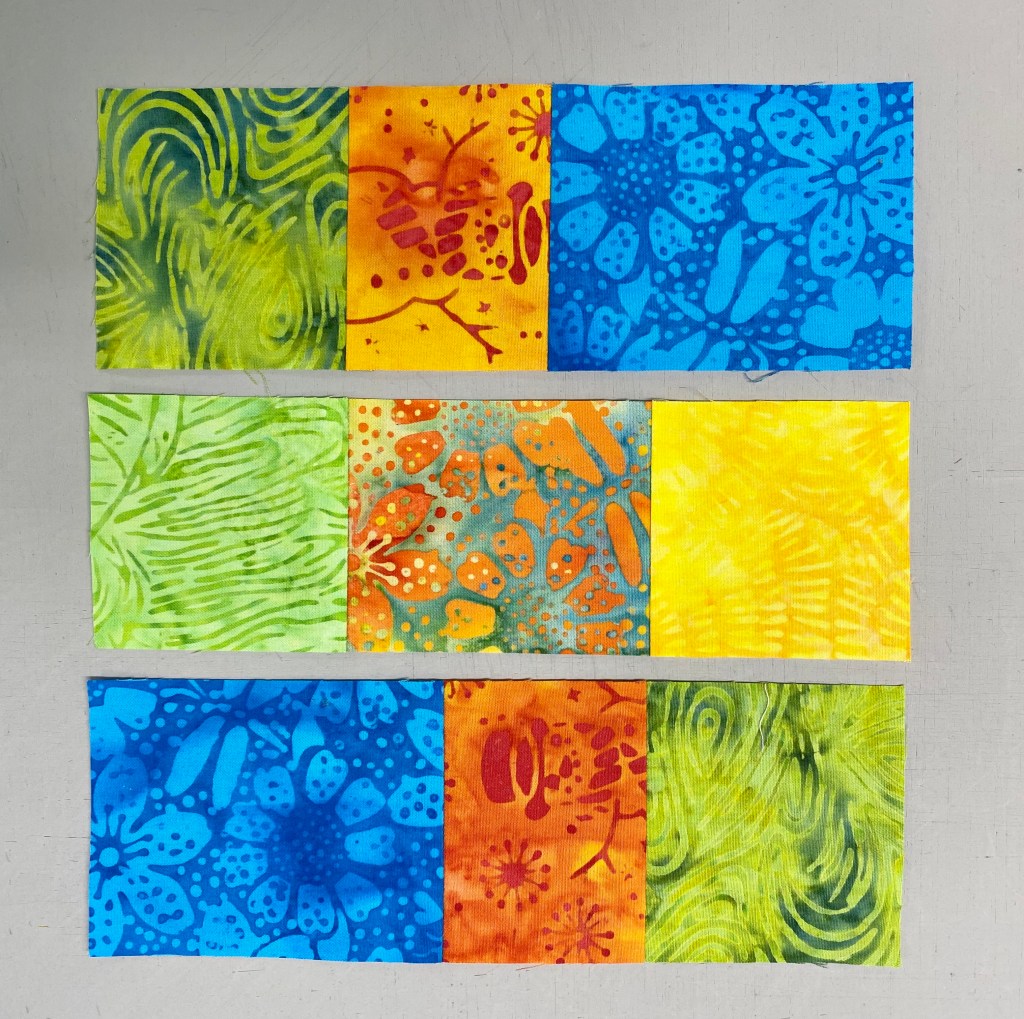
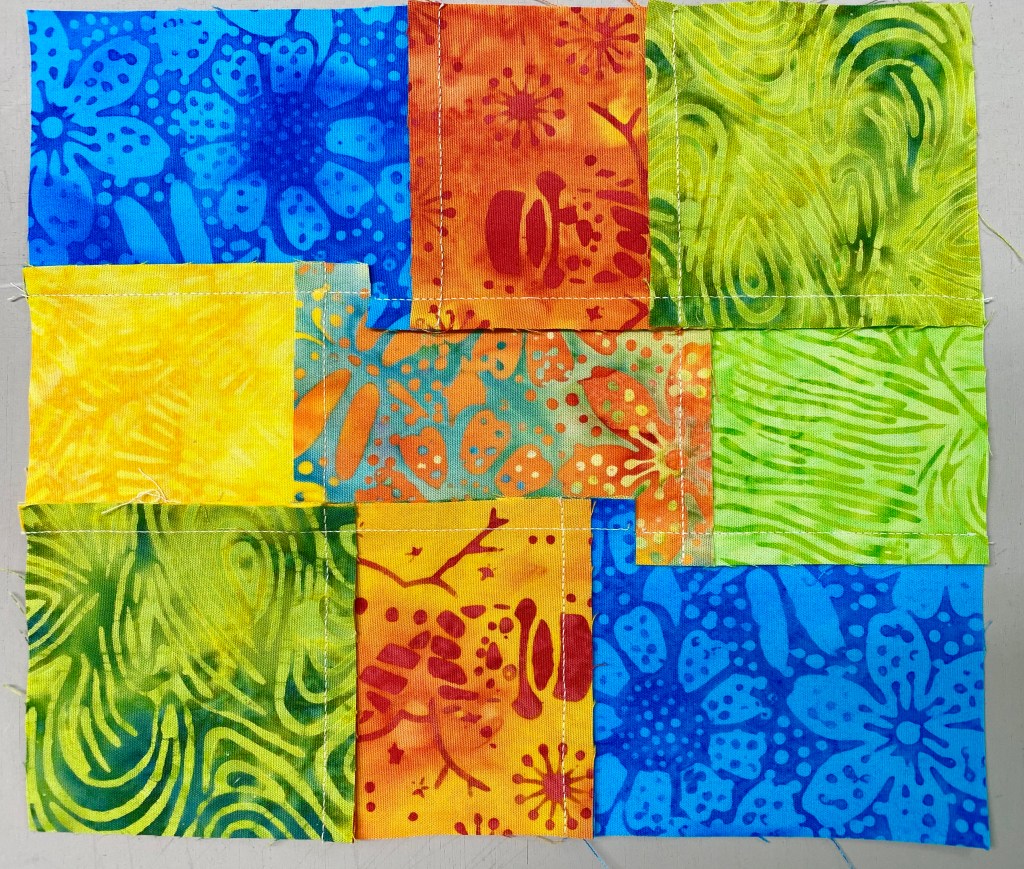
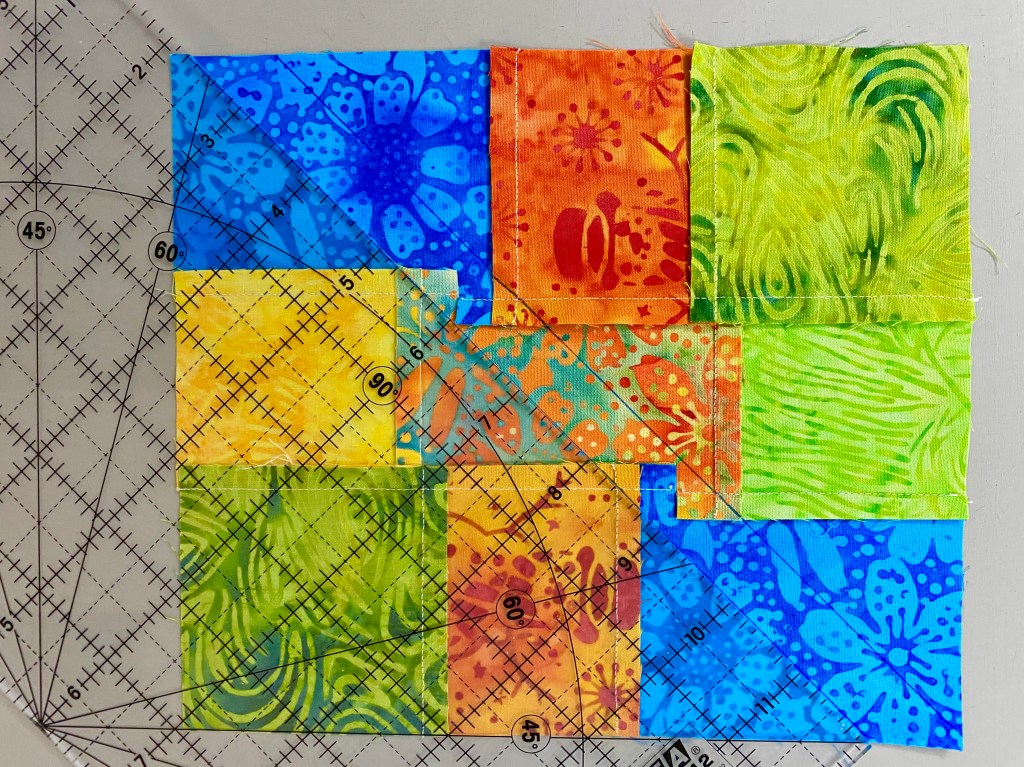
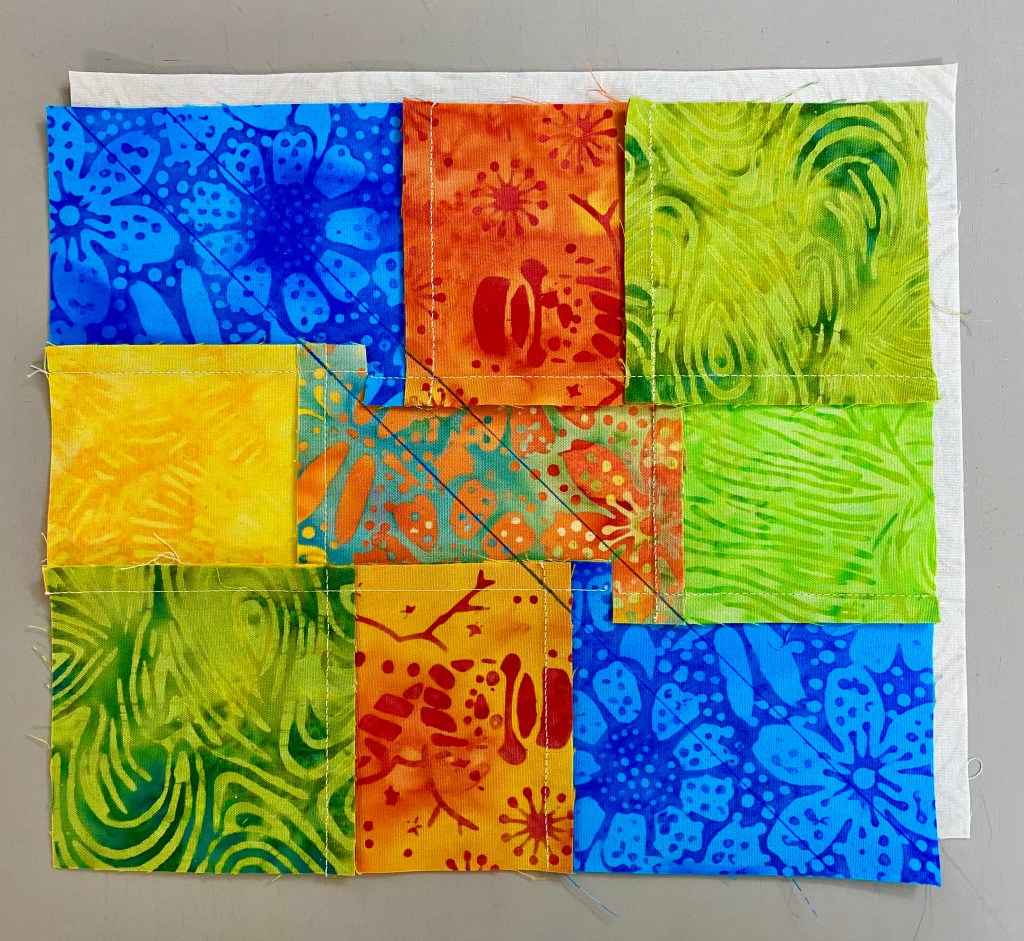
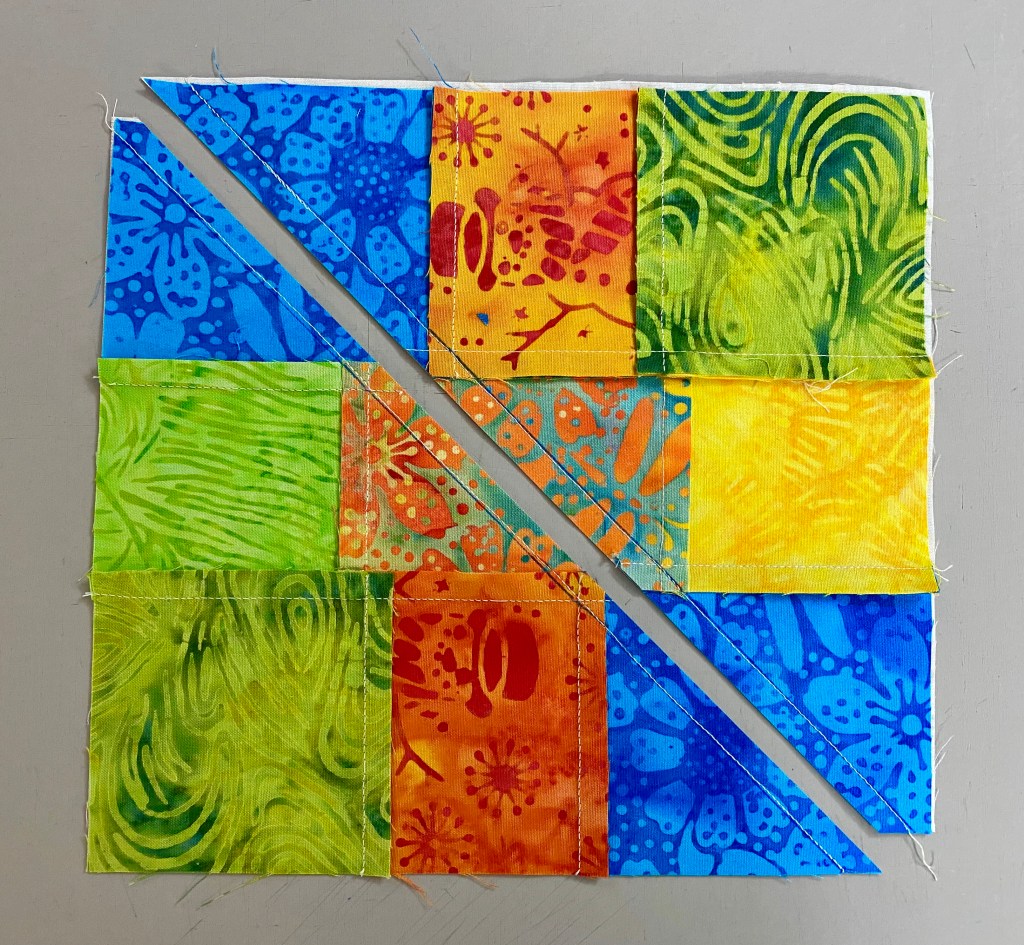
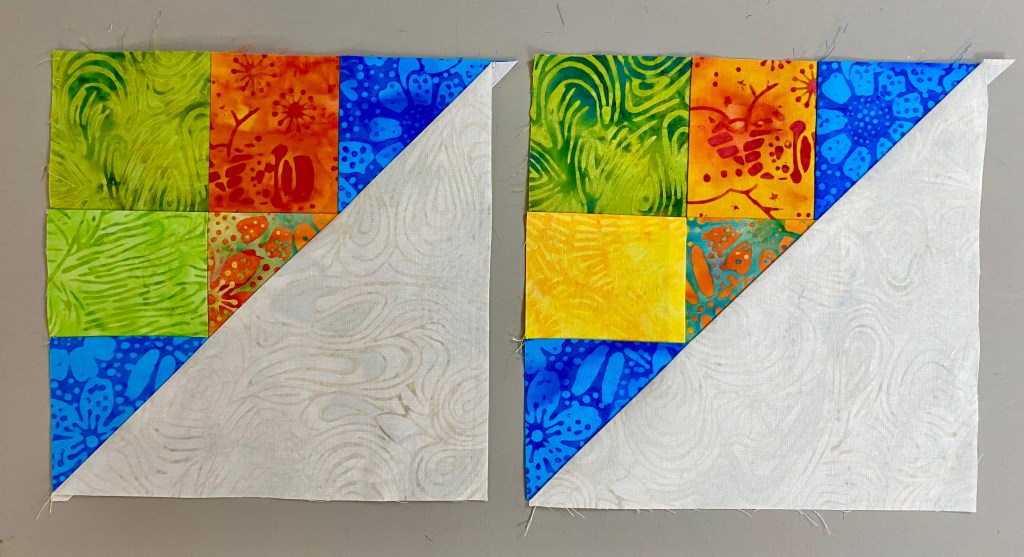
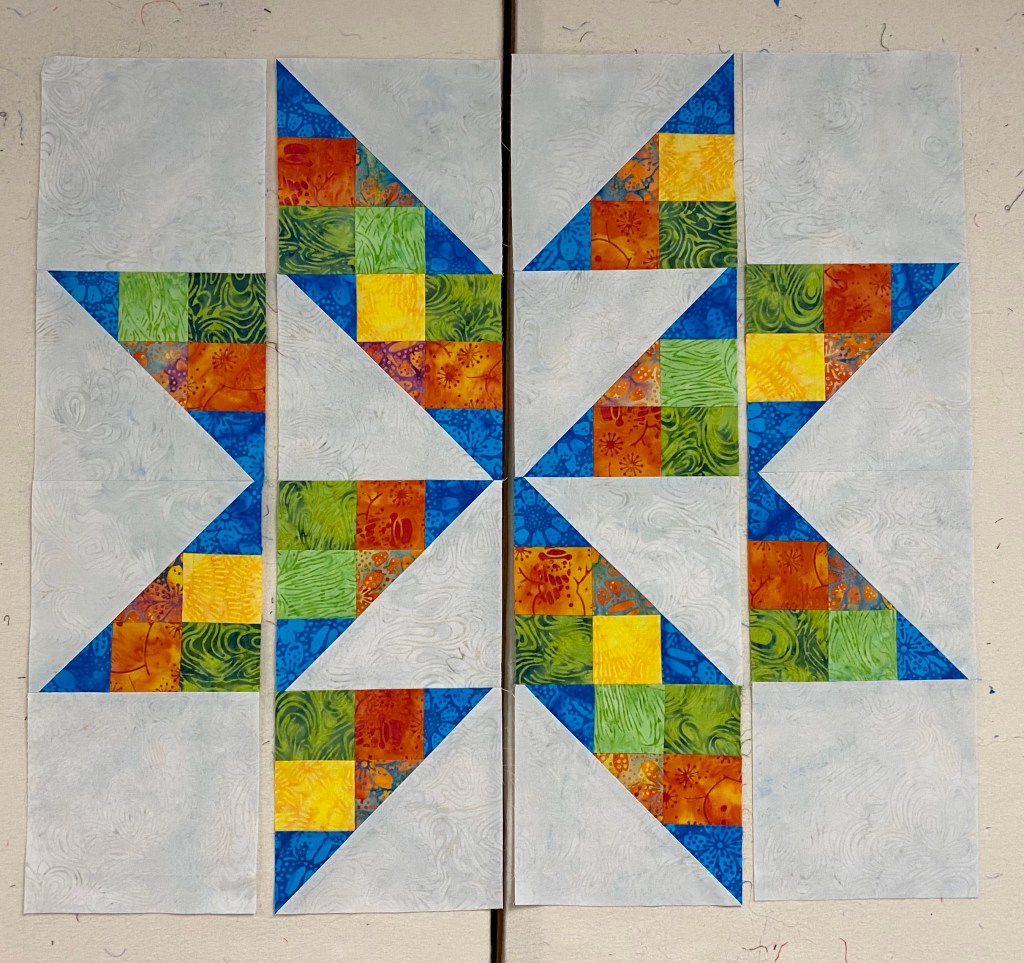
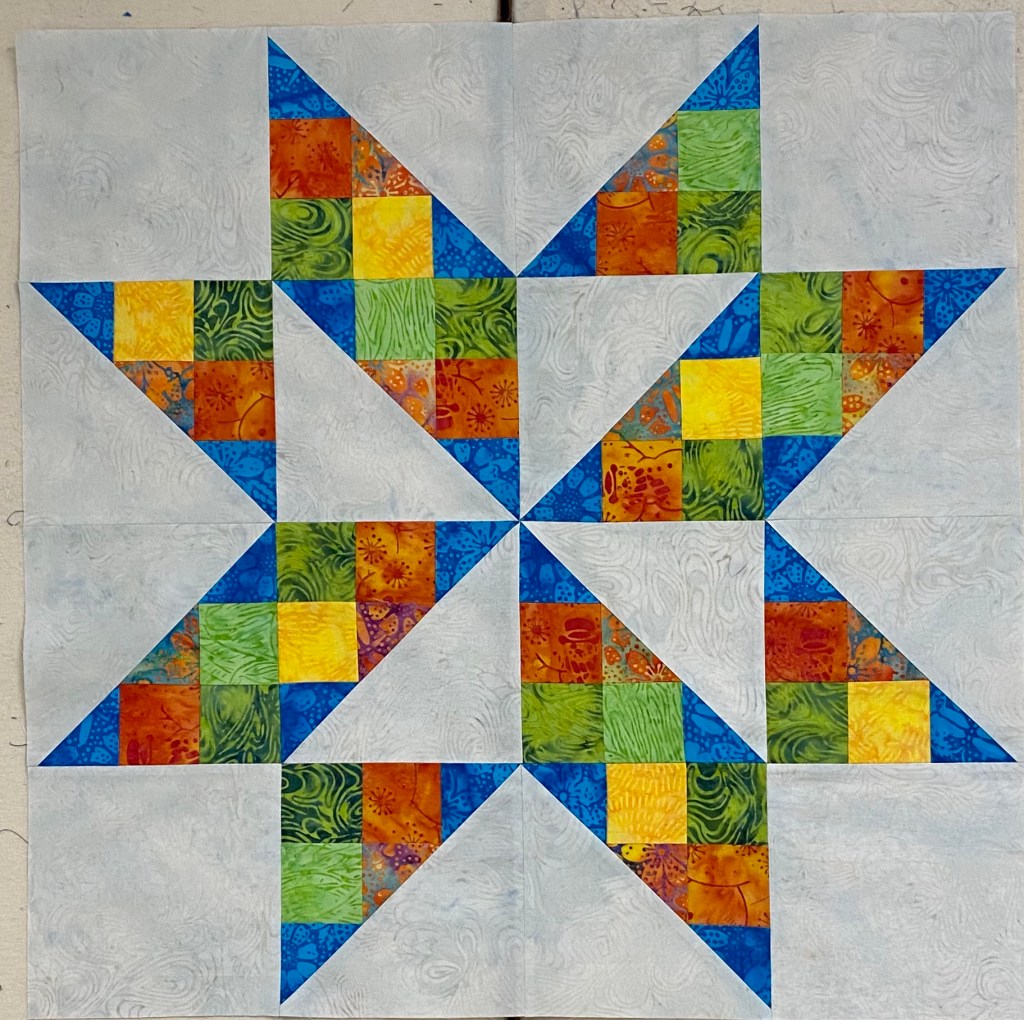
Welcome to Stitchin Heaven’s Journeys Month 2. My helper for Month 2 is Amy Lemke, a talented graphic artist for Studio 180 Design. This month you are going to learn to make Half Square Triangles (HSTs) and Combination Units with your Tucker Trimmer I with Prints 1, 2, 5, 10, & 11. Label your fabrics and use your best cutting skills when cutting your starter squares.
Prints 1, 2, 5, 10 & 11.
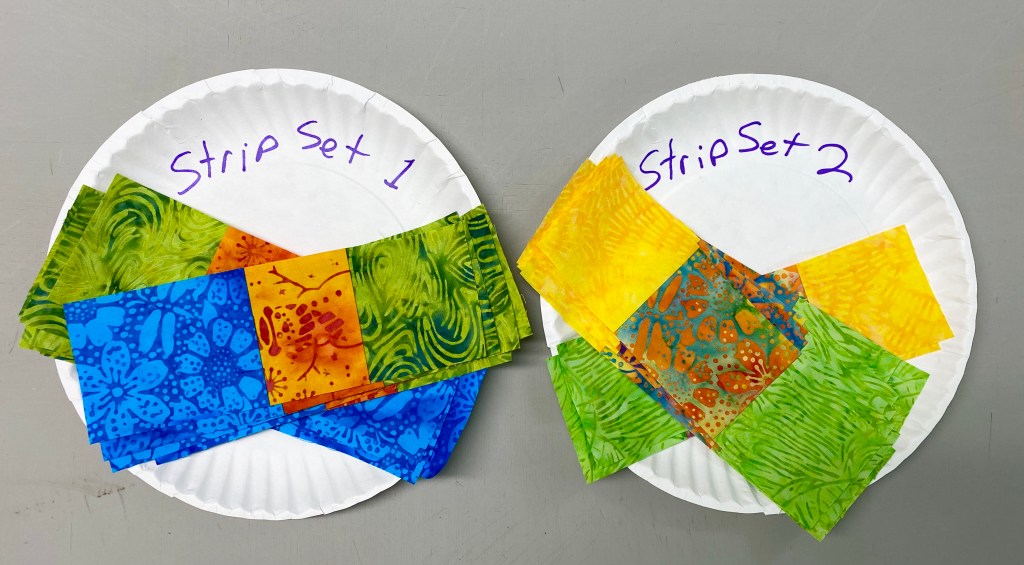
Tip: I use plain paper plates and write on them what it is I have cut out. For instance, if you are new to using a Tucker Trimmer, I would label 6 paper plates: one for each print. Using a pen or pencil label the first plate “Print 1, Combination Units (unit D)”, and so on.
Half Square Triangle Construction
Note: For more information and left handed cutting and trimming directions, refer to the instruction that came with your Tucker Trimmer.
Prints 5, 10, & 11.
Step 1 – Mark two stitching lines ¼” on either side of the center diagonal. Draw the lines on the wrong side of all the 7” squares from Print 11. I like to use my Quilter’s Magic Wand™ for this task.
Mark using a Magic Wand.
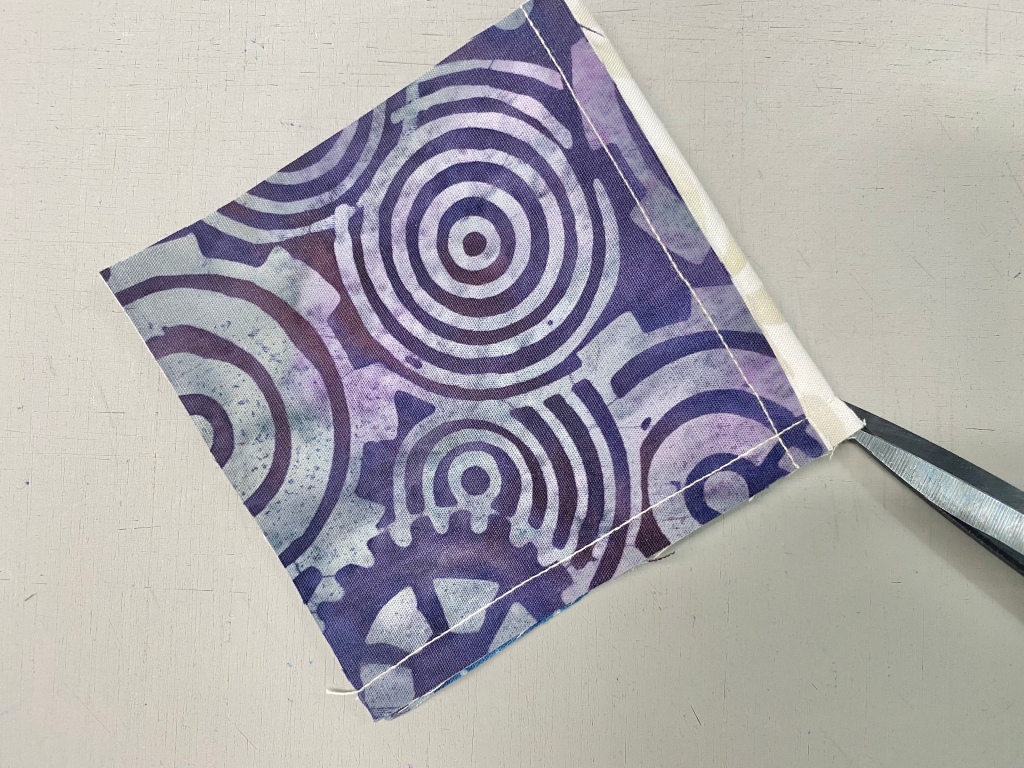
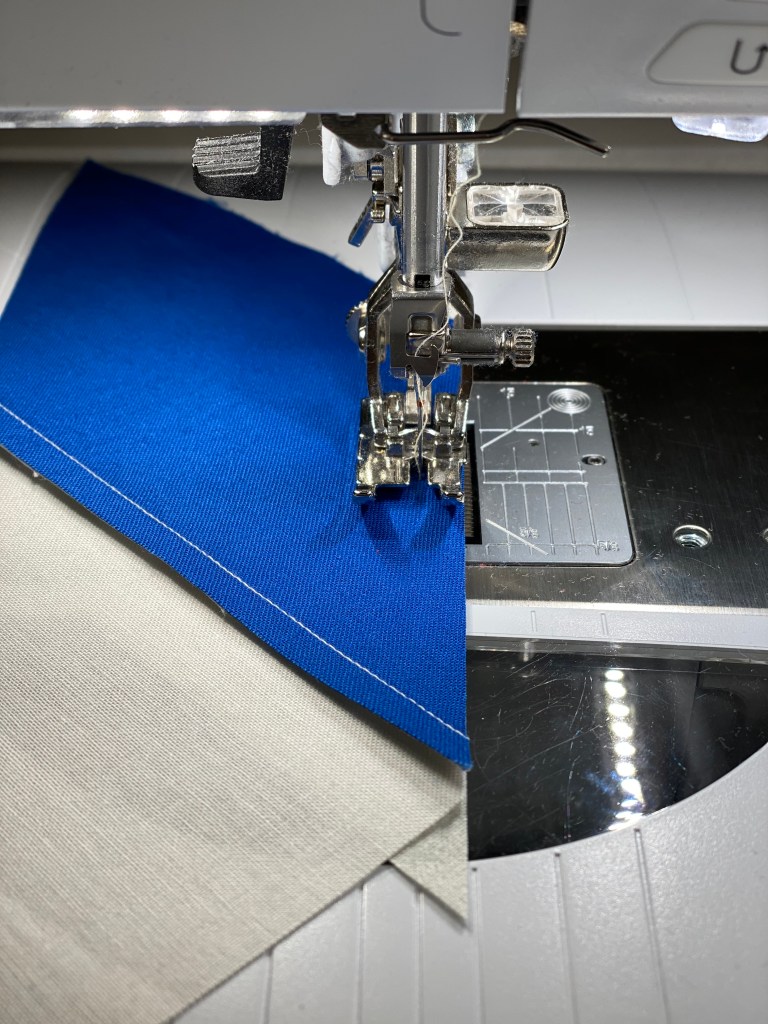
Step 2 – Layer the 7” Print 11 squares right sides together with the 7” squares from Prints 5 and 10. Stitch on the lines, then cut down the middle. Press away from Print 11 or open.
Layer.
Stitch and cut apart.
Press.
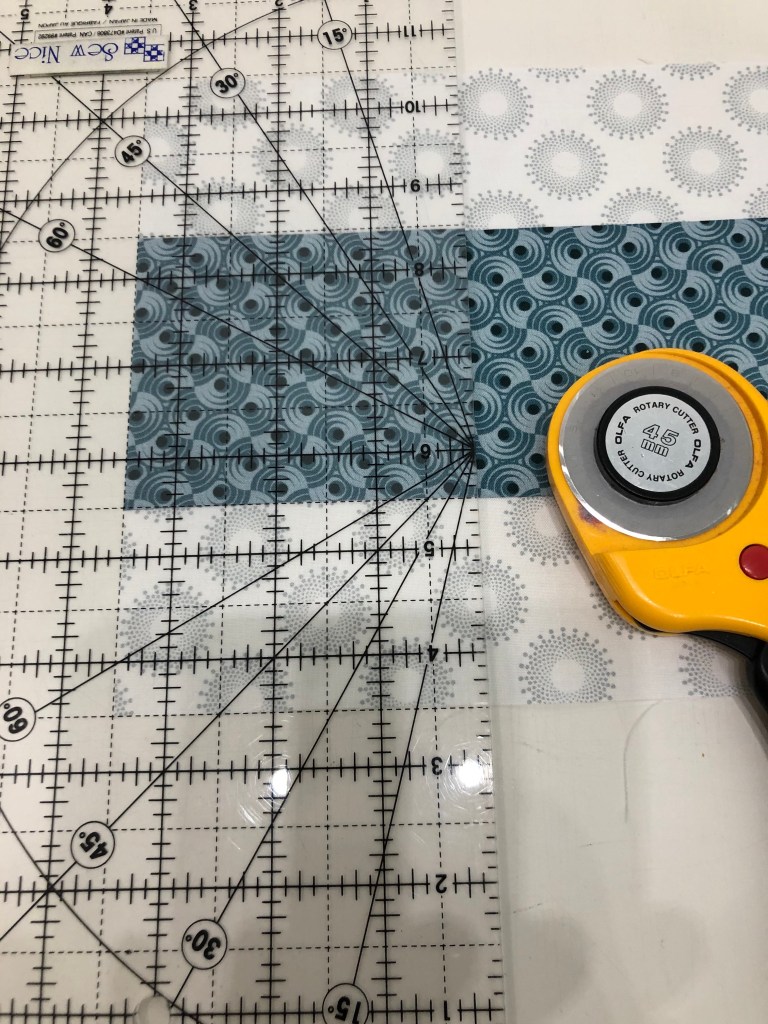
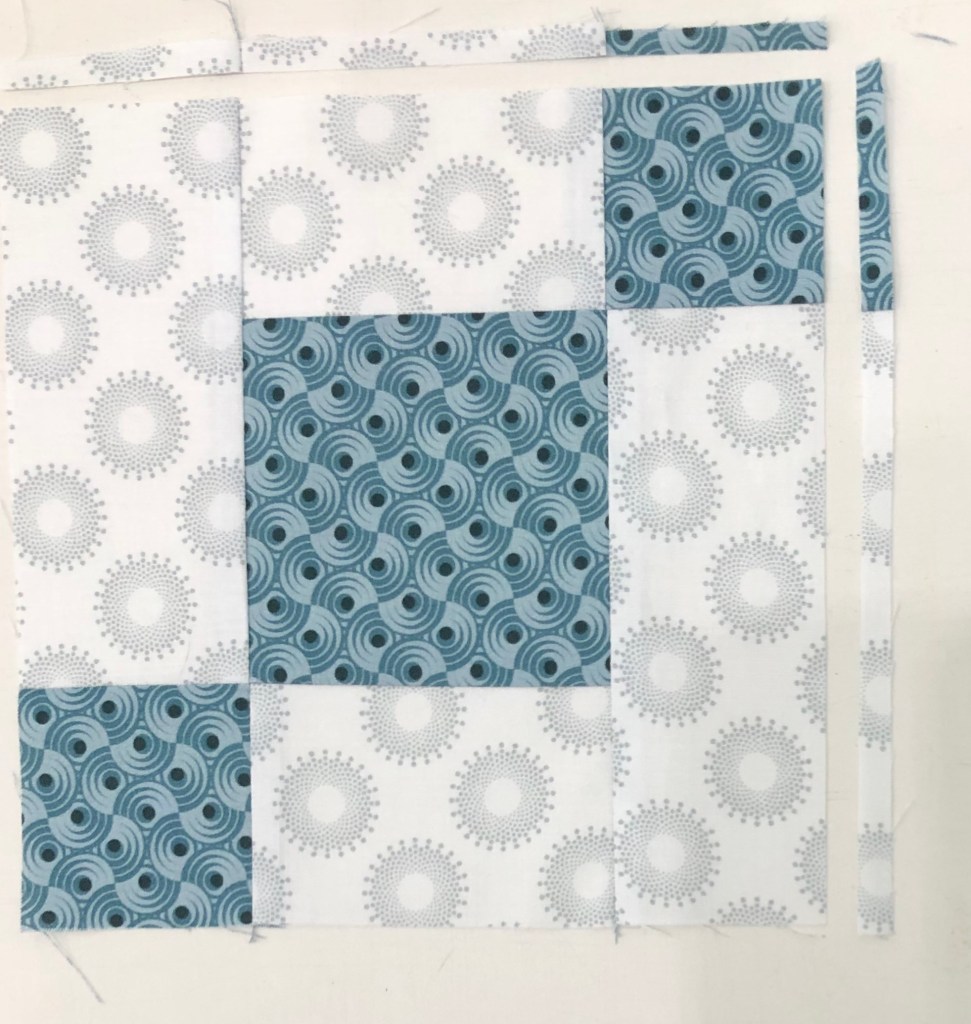
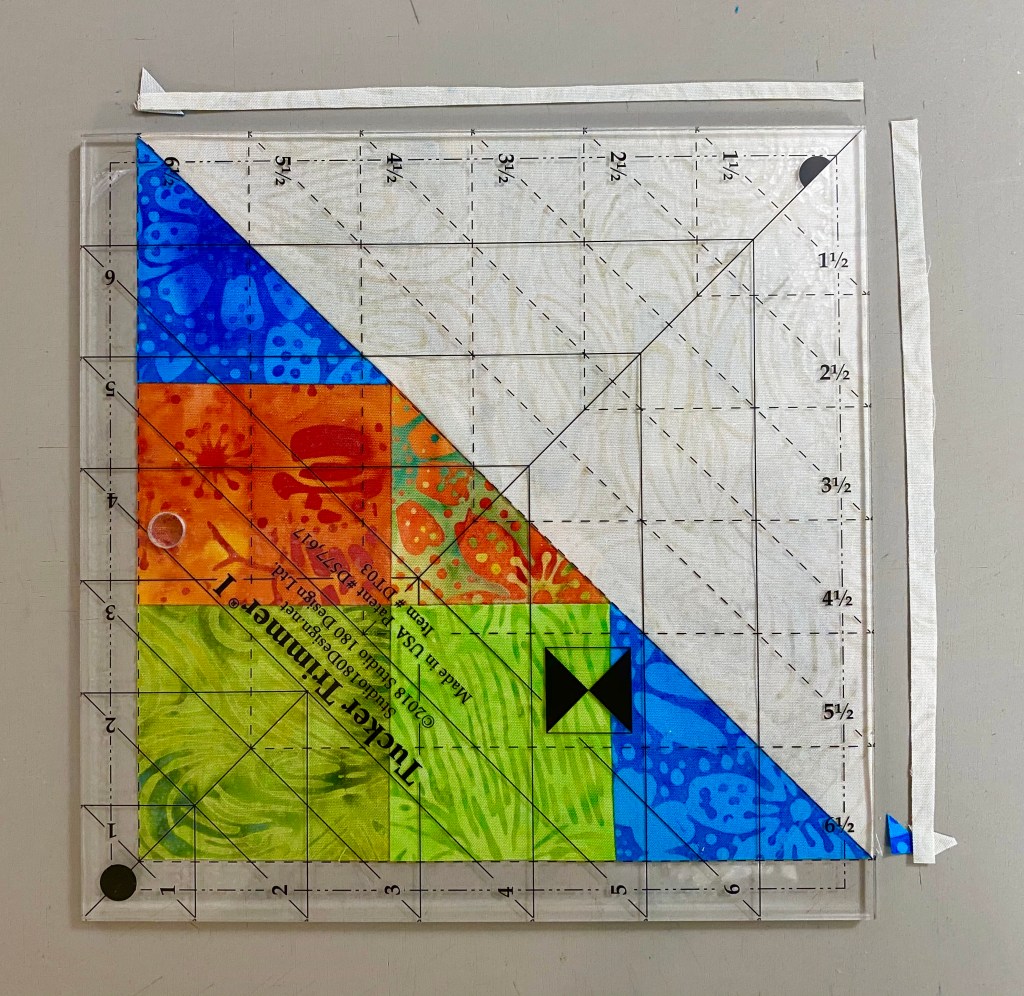
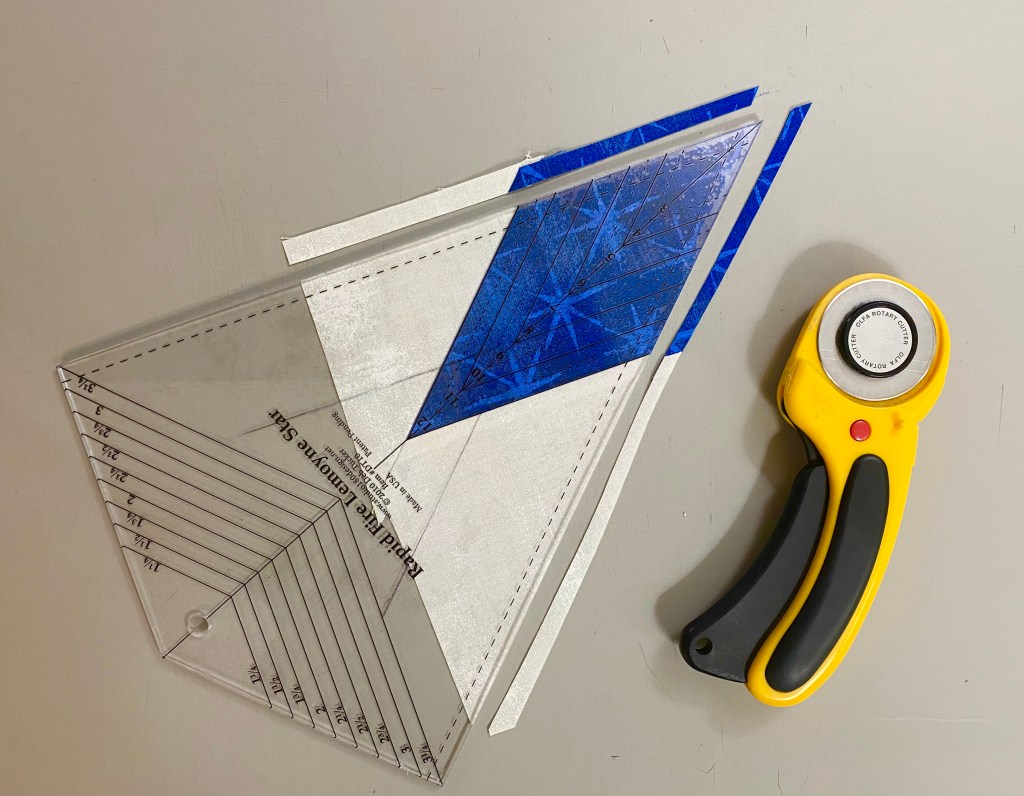
Step 3 – Trim the units to 6½” using the Tucker Trimmer® I. Align the 6½” Sizing Diagonal with the seam and trim the first two sides.
First Trim
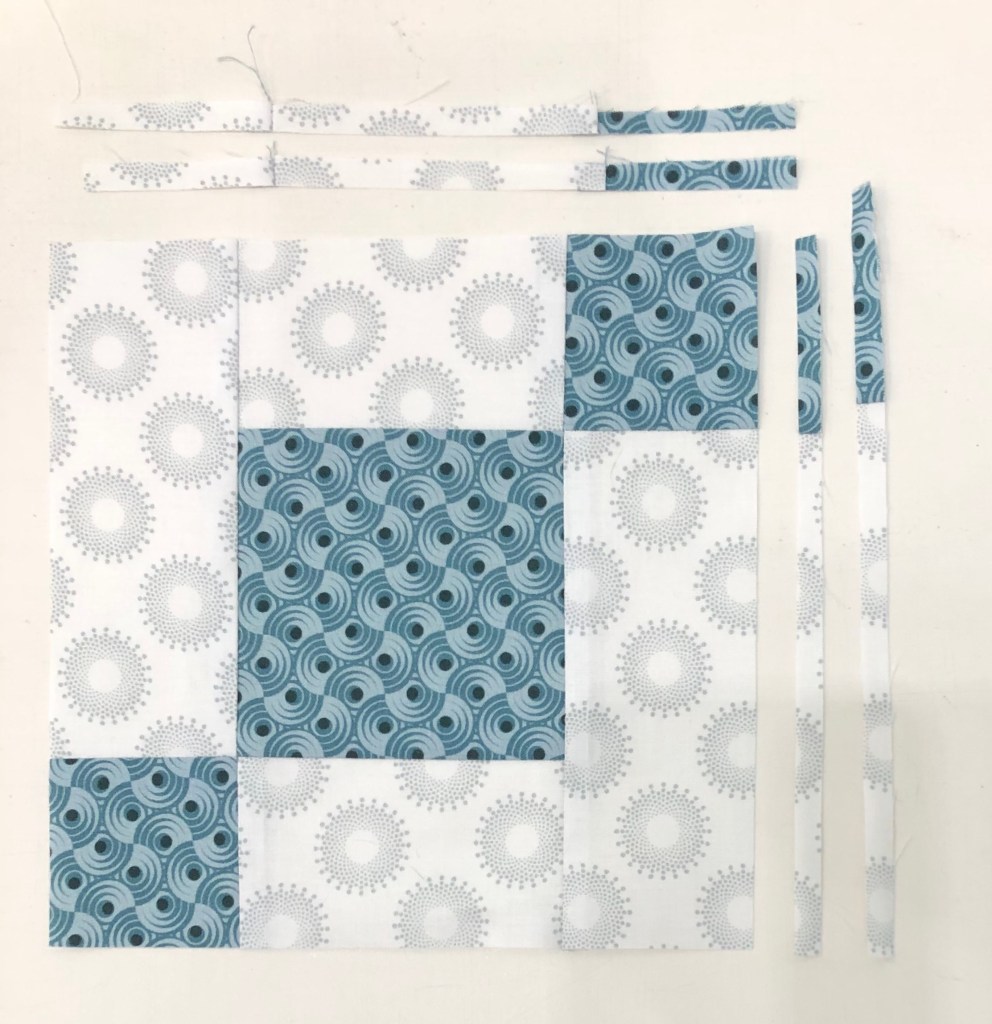
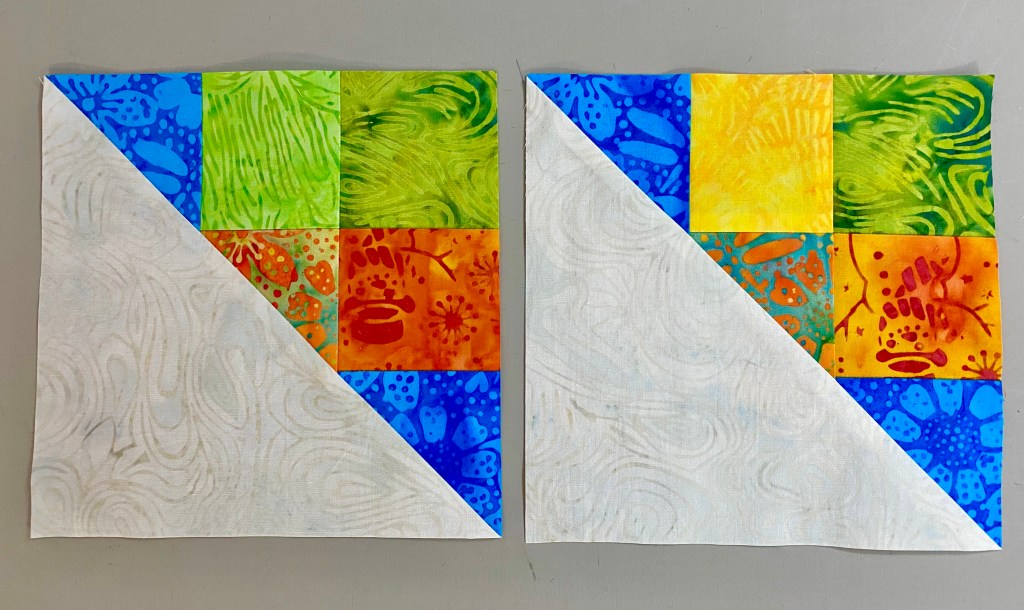
Step 4 –Rotate the unit 180 degrees and align the 6½” Sizing Diagonal with the seam as well as the 6½” cleanup lines with the outside edge. Trim the remaining two sides to create your precise Half Square Triangle units. Label the units made with Print 5 Unit C, and label the units with Print 10 Unit B.
Second Trim
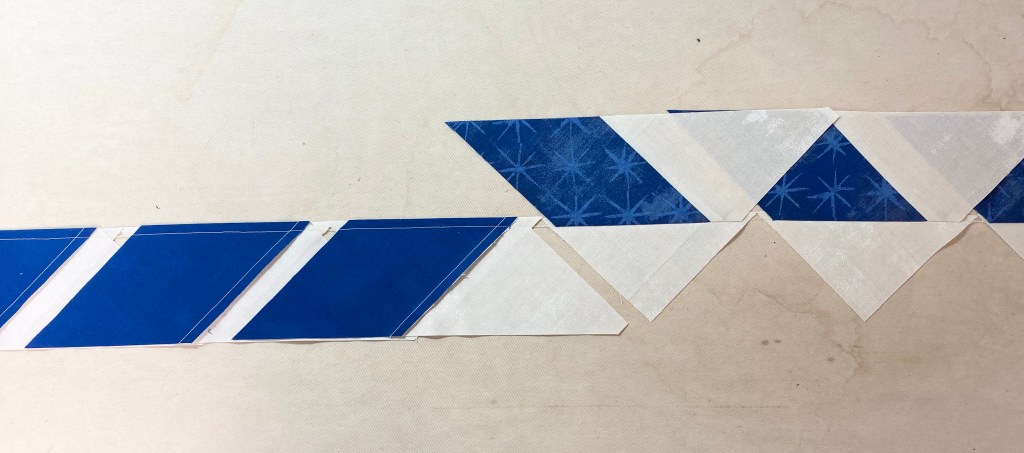
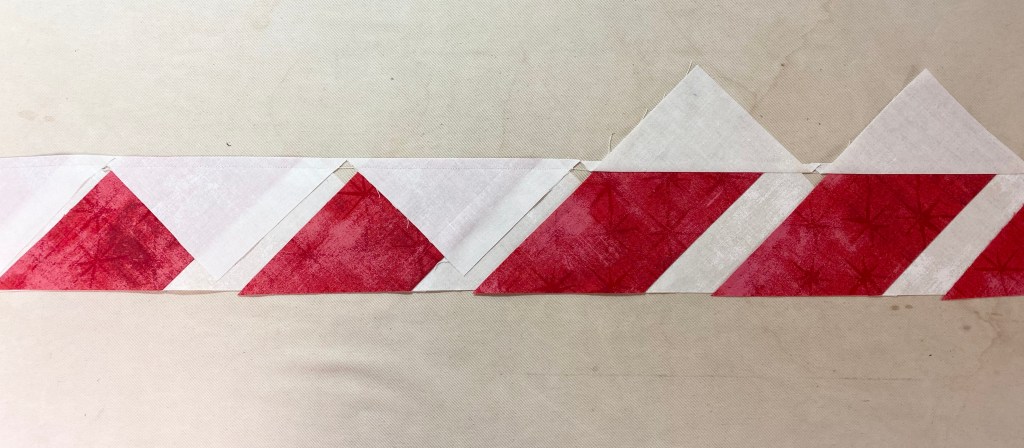
Make 8 each from prints 10 & 11 and prints 5 & 11.
Combination Unit Construction
Prints 1, 2 & 11
Step 5 – Repeat steps 1 and 2 using the 7½” squares from Print 1 and Print 2 to make 4 Half Square Triangles. Press away from Print 2 or open. Do not trim!
Starter Squares
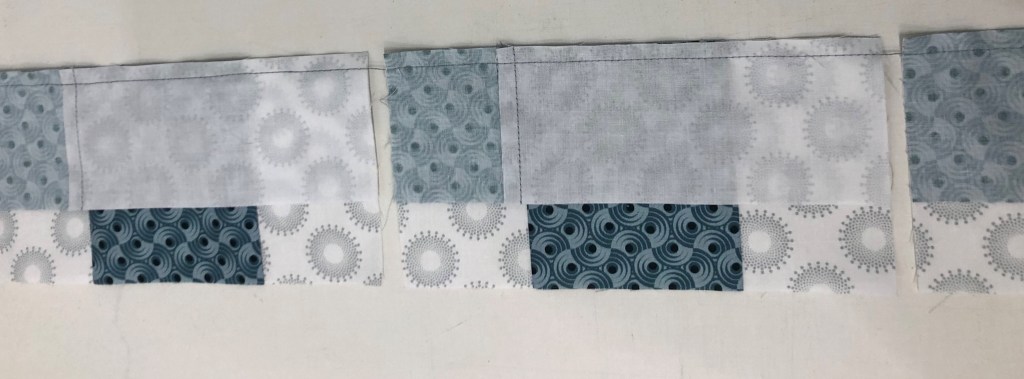
Step 6 – Mark two stitching lines ¼” on either side of the center diagonal line of the pieced Half Square Triangles.
Mark back of HSTs
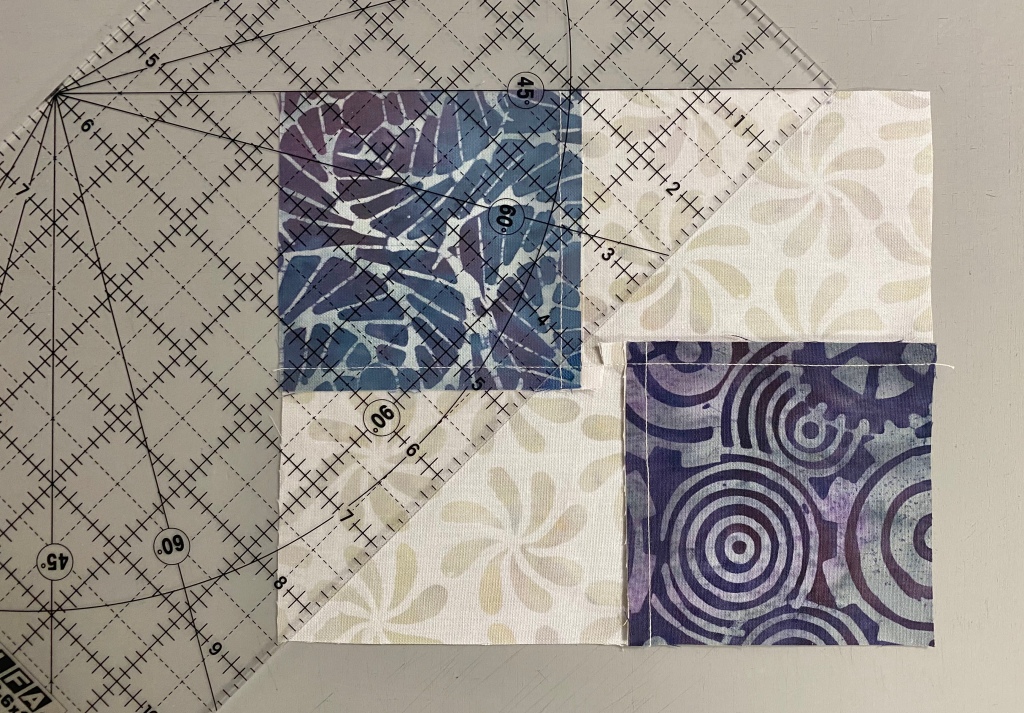
Step 7 – Position the pieced squares right sides together with the 7½” Print 11 squares. Note that the edges are not intended to match. Stitch on the lines, then cut down the middle. Press toward the large triangle.
Stitch, cut apart & press.
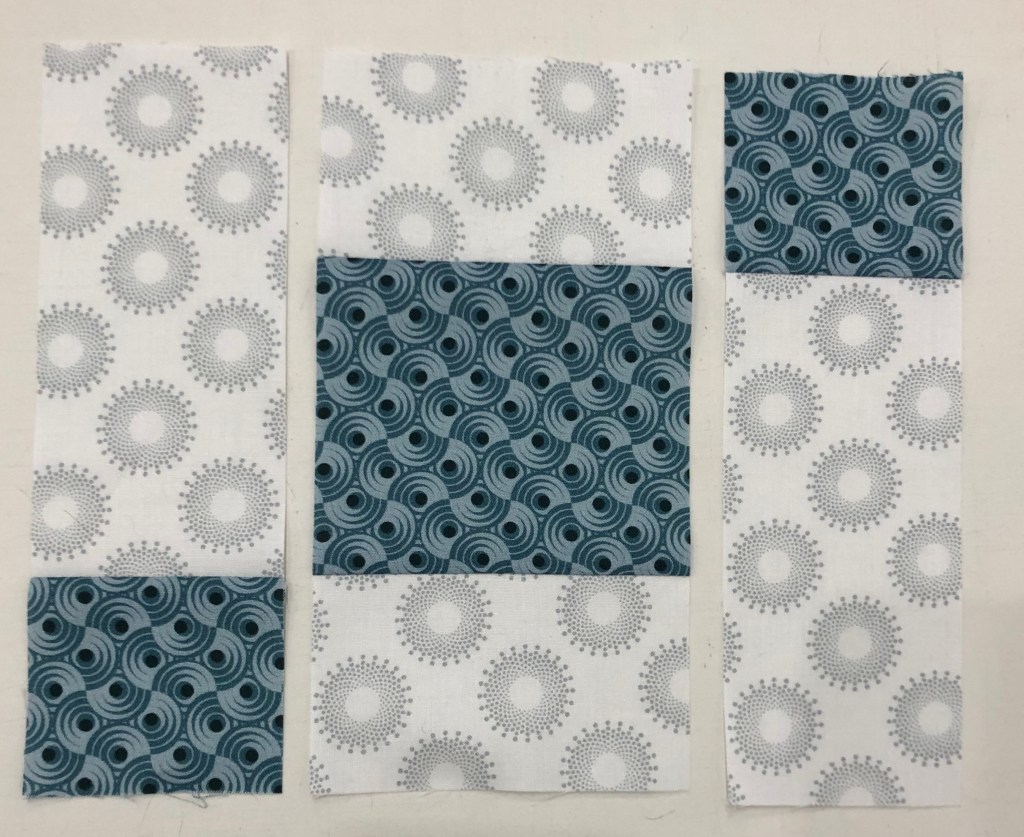
Step 8 – Trim the units to 6½” using the Tucker Timmer® I. Align the 6½” Sizing Diagonal with the long seam and the Common Diagonal with the short seam. Trim the first two sides.
First Trim
Step 9 – Rotate the unit 180o and align the Sizing and Common Diagonals with the seam as well as the 6½” cleanup lines with the trimmed edge. Trim the remaining two sides to create your precise Combination units. Label them Unit D.
Second Trim
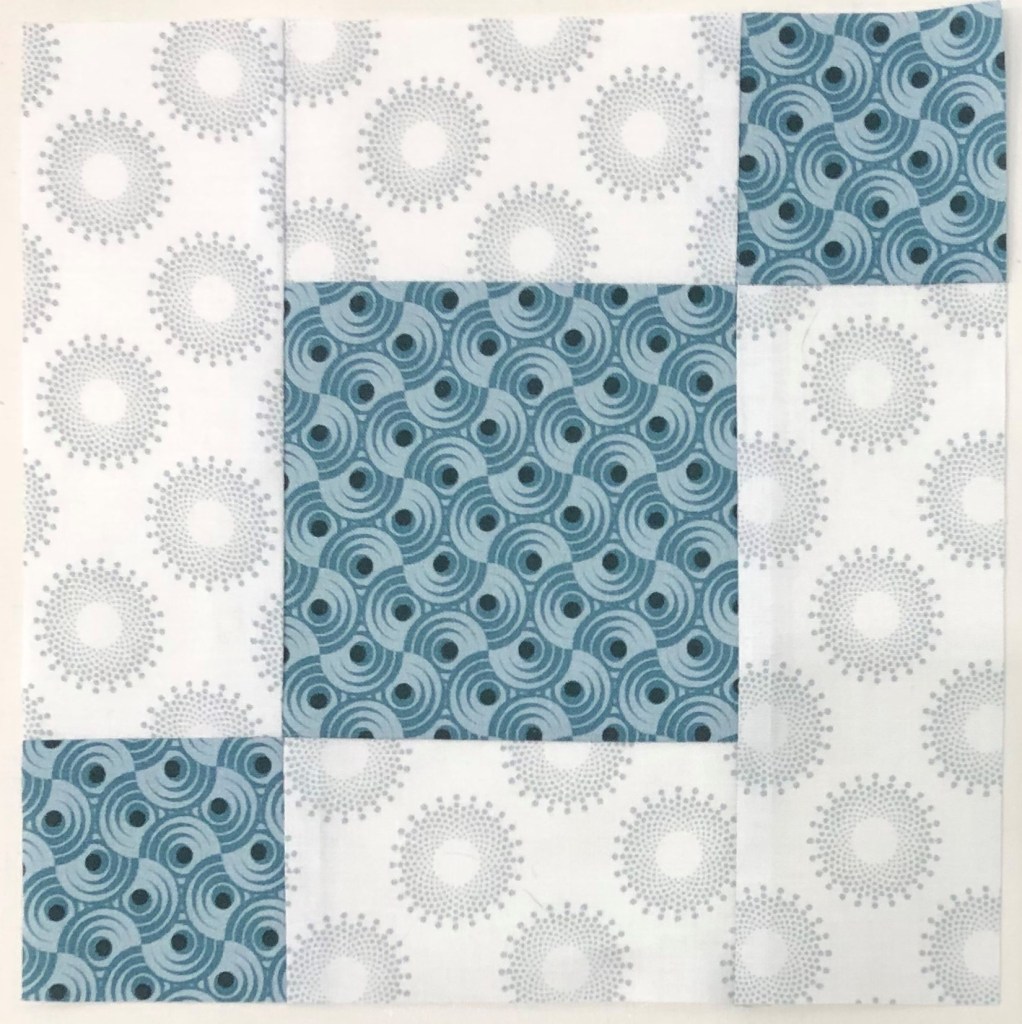
Congratulations, you have learned to make half square triangles and combination units using your Tucker Trimmer I.
Hi everyone and welcome to Stitchin Heaven’s “Journeys” Block of the Month (BOM). I will be here to guide you through each month’s process, but not without some help from my friends. I was asked to participate in this BOM back in May. I had already tested the pattern design by Deb Tucker. In June I was diagnosed with breast cancer. I am so blessed to have friends that are helping me. They are each taking a month and creating the units and taking photo’s as they go. They are sending the photo’s to me so I can give you guidance here at “If These Threads Could Talk”.
Remember that there are video tutorials on our website (Studio180Design.net) for each tool.
Label, label, label! We cannot say it enough; you will want to be sure you label your completed units each month so that everything is easily identified.
Be sure to save the fabric left over from each month so that you have it in case you make a mistake.
In your pattern instructions, on the back of “General In formation”, you will find two fabric keys. One will identify the print number above a grayscale swatch. This swatch is what you will see throughout the pattern to identify the fabric when it is being used.
By now you have received your first month of Journeys from Stitchin Heaven. Uneven Chains is a great unit that is easily made using Studio 180 Design’s Four Patch Square Up tool. This month my special helper was Diane Marvin, a good friend and fellow Studio 180 Design Certified Instructor.
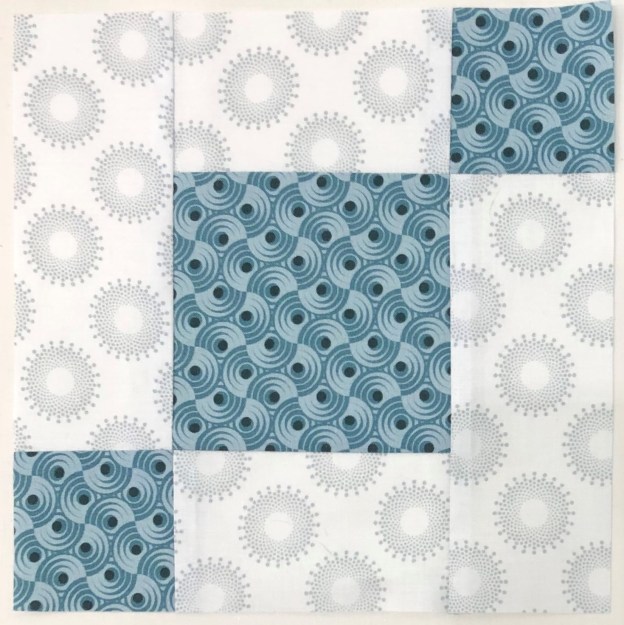
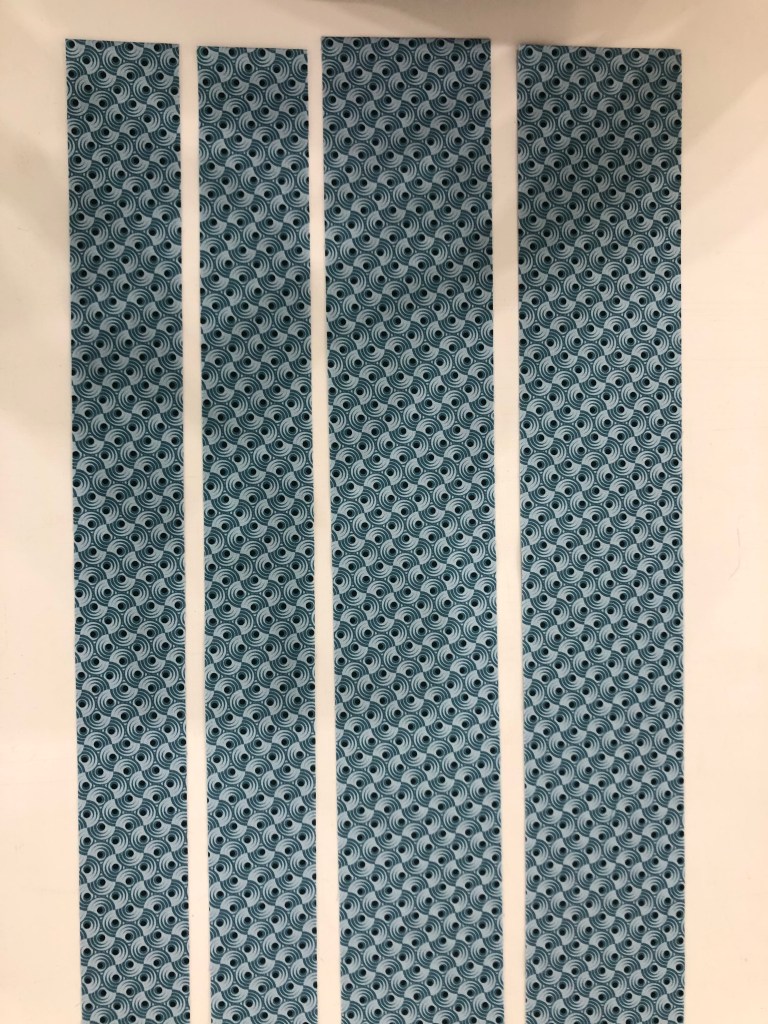
For these Uneven Chains units you will be using Print 3 and Print 11. You will be cutting strip sets from each fabric. Following the cutting instructions and organize your strips into sets “A” and “B”.
Piecing Instructions
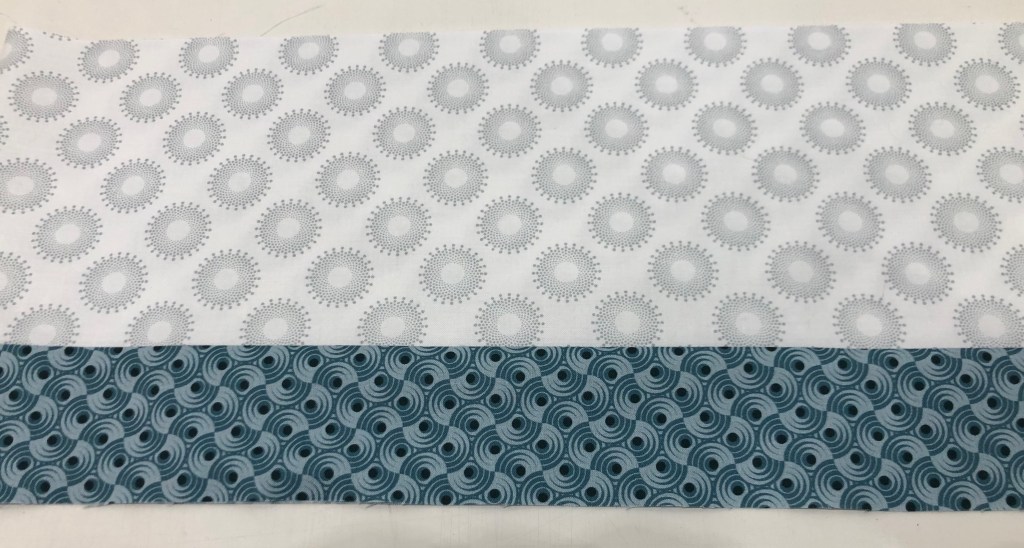
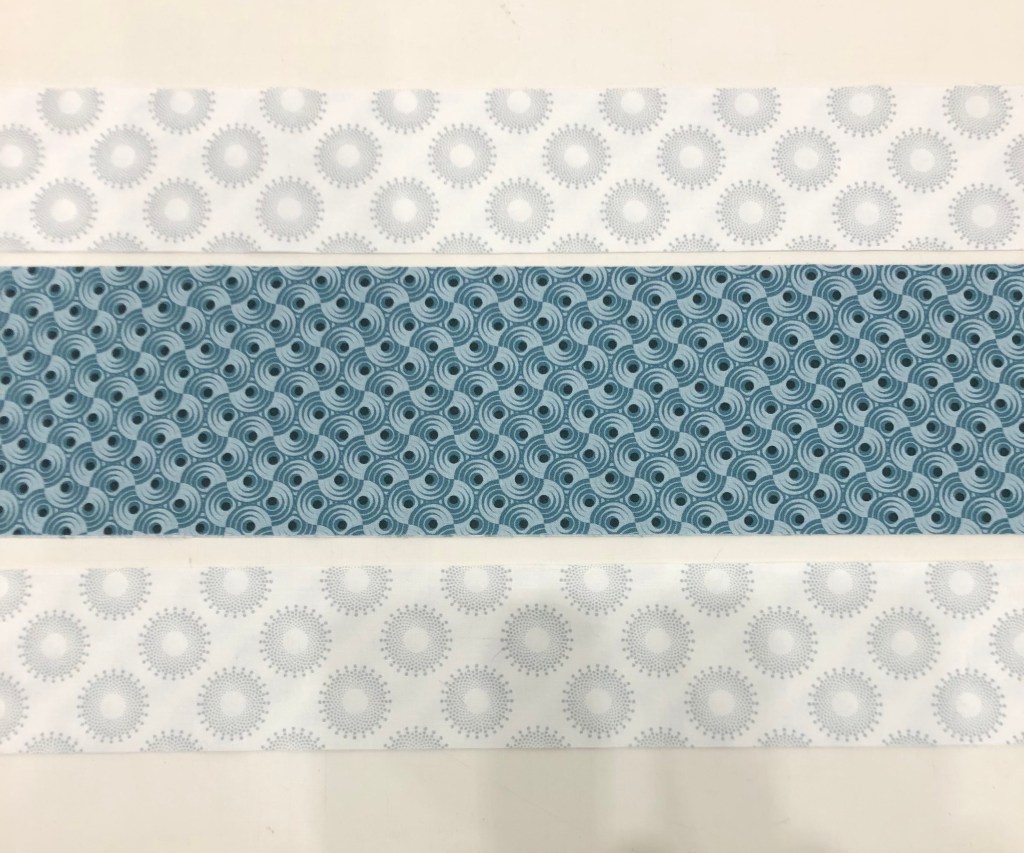
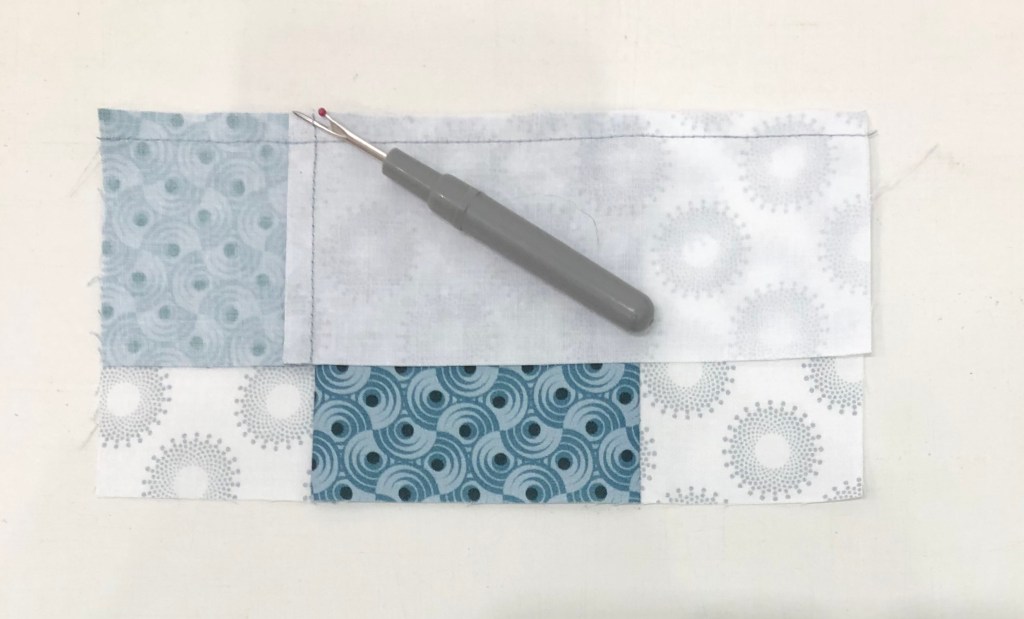
Step 1 – Stitch your strips together into Strip Sets A and Strip Sets B. Position two strips right sides together and align the long edges. Stitch with your best ¼” seam.
Above is Strip Set A and Strip Set B.
Step 2 – Press your strip sets. In all strip sets, press the seams toward Print 3. A helpful pressing tip: whatever you are pressing toward goes on top.
Step 3 – Sub-cut the strip sets. Make sure to use the correct sub-cut size for the strip set you are working with. Strip Set A is sub-cut at 2¼” increments and Strip Set B is sub-cut at 3½” increments.
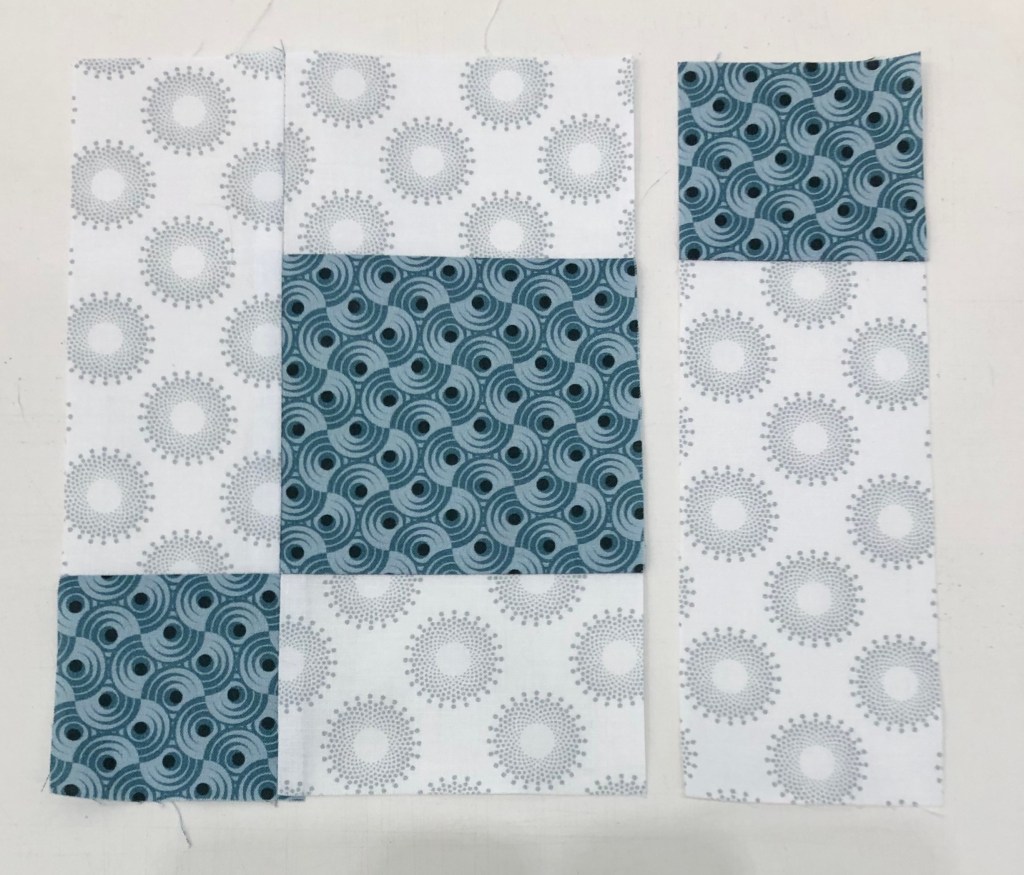
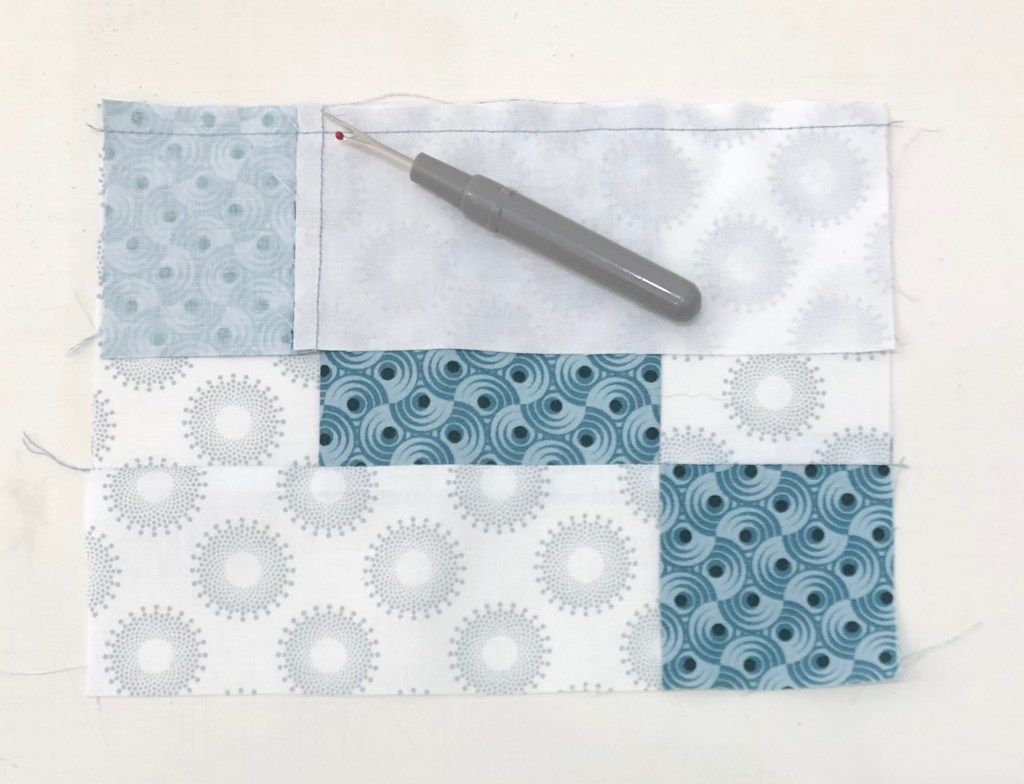
Step 4 – Lay out the pieces from Strip Set A and Strip Set B as shown in the diagram. Stitch an A sub-cut to each side of a B sub-cut.
Save time by chain stitching Strip Set A’s to one side of Strip Set B.
Now add the second Strip Set A to the Strip Set B unit.
Remove 2 or 3 threads.
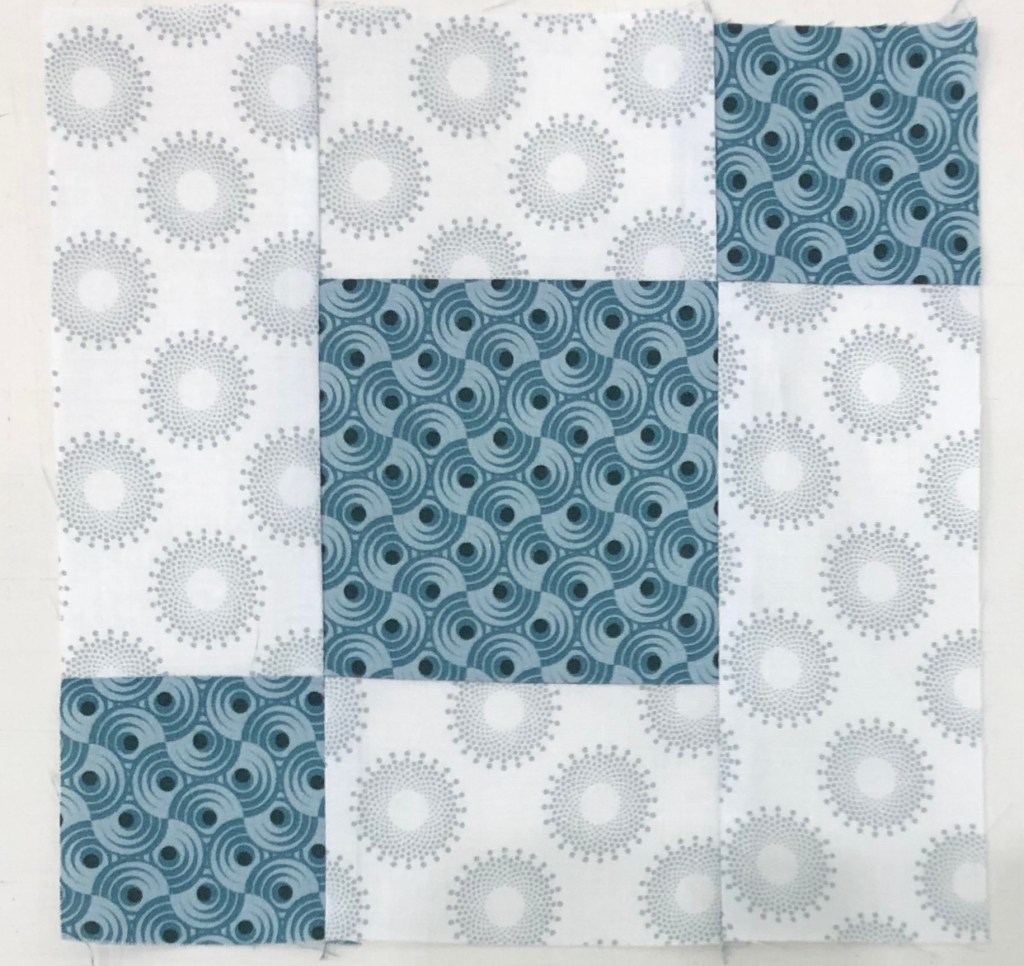
Step 5 – Press the units so that the seams spin. To spin the seams, lay the last sewn seam east to west on the mat, remove the two or three threads in the center on both sides that run north to south, and press so all the seams go in the same direction.
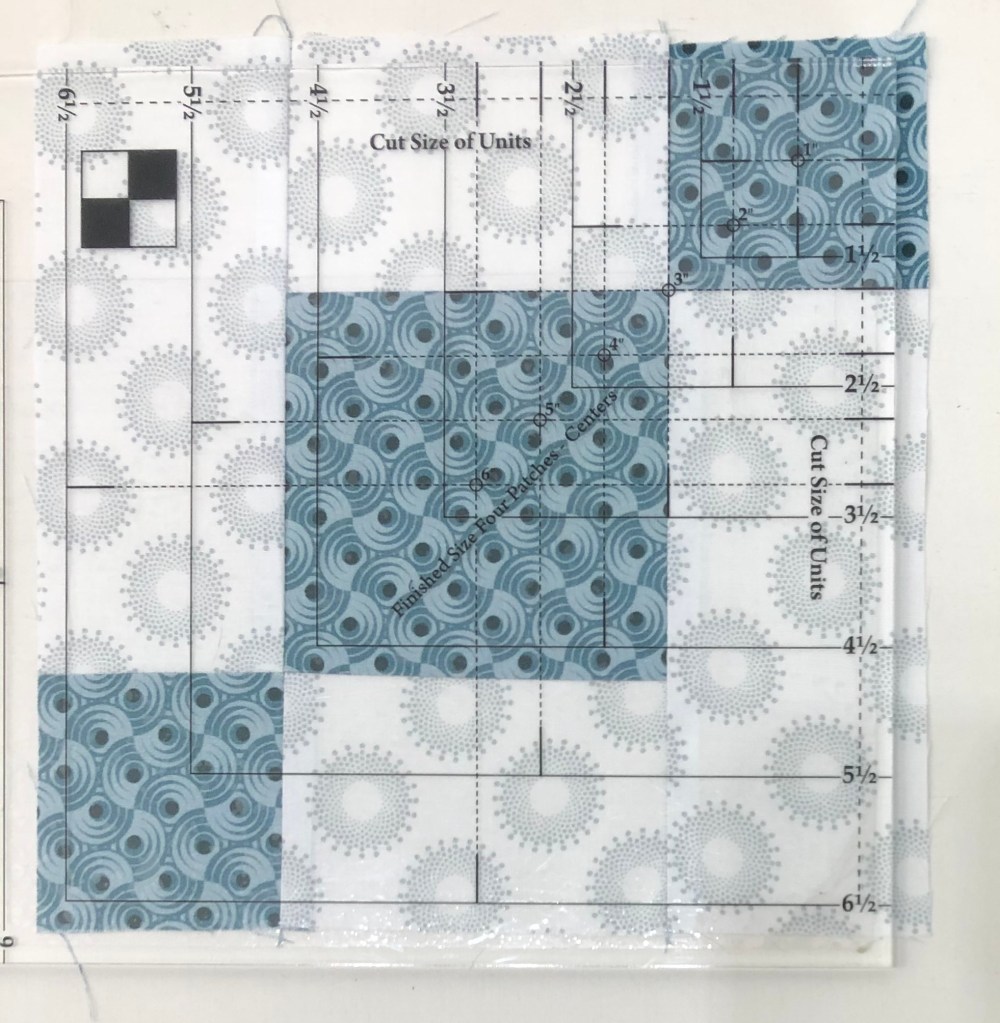
Step 6 – Trim the units to size. Position the unit as shown on your cutting mat and locate the circle for the 3” finished size on your Four Patch Square Up® tool. The finished sizes are located above the words Finished Size Four Patches – Center. Position the circle over the seam intersection between a small square and the large square as shown. Make sure that the dashed lines radiating from the circle align with your seams. Trim the first two sides of the unit.
Step 7 – Rotate the unit 180 . Align the 3” finished size circle over the intersection of the remaining small square and the large square as shown. Make sure that the dashed lines align with your seams. Also align the 6½” clean up lines on the previously trimmed edges. Trim the remaining two sides. Once all the units are made, label them Unit A.
Once you have completed and trimmed 16 Uneven Chain units, label a paper plate “Unit A” Uneven Chains and set aside. Congratulations, month is done and you have learned to use the Four Patch Square Up tool.
And now, a special surprise for those of you who have read all the way through….
This message from Deb Tucker and Studio 180 Design:
Hi, Everyone!
I hope you’re all excited about your journey with Journeys! I’ve had such a thrill designing this pattern for you and working with Marie Bostwick to coordinate the quilt and the novella, and with Jason Yenter on the fabric. And many thanks to Deb Luttrell for coming up with the great idea for all of us to work together!
We are thrilled that Stitchin Heaven chose Jackie O’Brien to help you with your journey. Jackie was part of our first class of Certified Instructors 7 years ago, so we’ve worked together for a while. We wanted to do something extra to thank her for her participation in this and also to thank her for all of her contributions to Studio 180 through the years.
And we wanted to do something for you for your enthusiastic support for our first block of the month.
Here’s what we’re going to do. As many of you know, Studio 180 is all about education and skill development, so we’re going to give each of you the chance to get additional practice with your tools. Each month we will offer special pricing on two downloadable patterns that go with that month’s tool or other tools you have used in the BOM. We will post a link and a code each month in the Journeys FB group that gives you exclusive $9.00 pricing per pattern (over 20% discount). Jackie will receive 100% of the proceeds from your purchases as our thanks for a job well done. This is also a way for you to say thank you to Jackie for her help. We hope you find something in our offerings each month that excites you to use your tool on another project.
Journey’s Month 1 will start shipping September 29th. I will post the Month 1 blog on October 6th, 2020. In the meantime if you haven’t used your Four Patch Square Up tool yet watch Deb Tucker’s Four Patch Square Up Video:
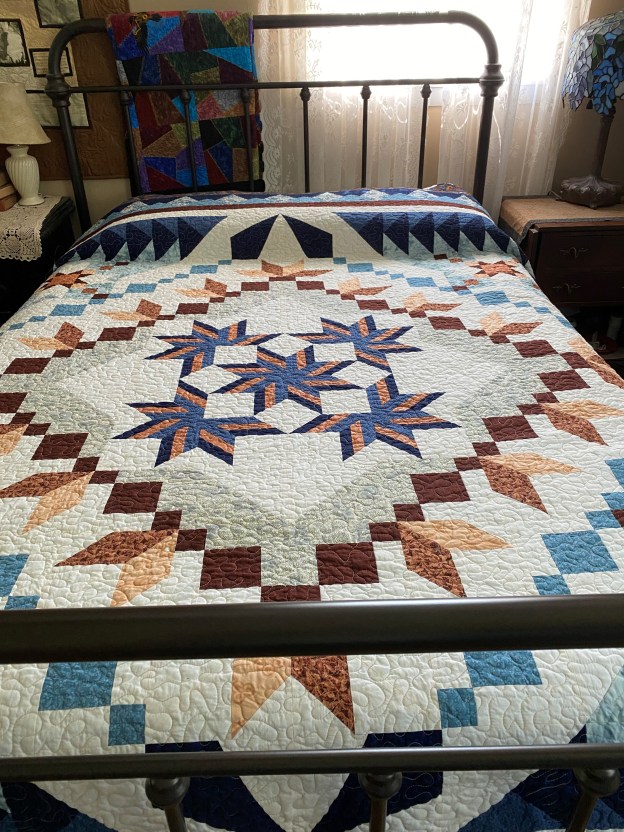
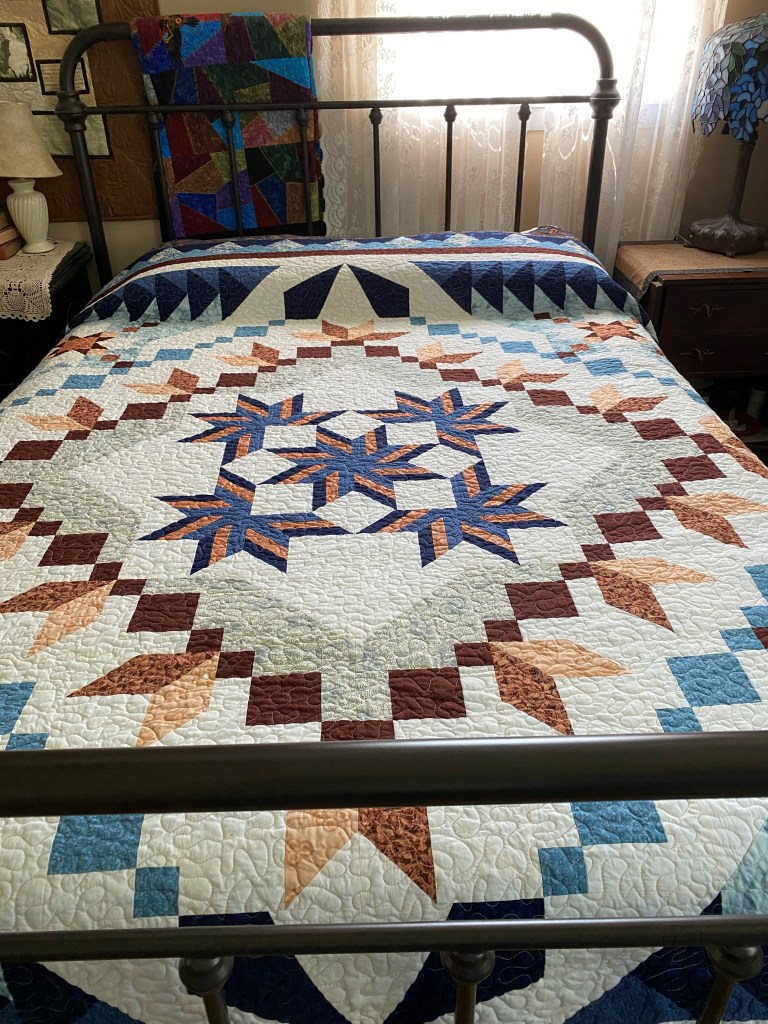
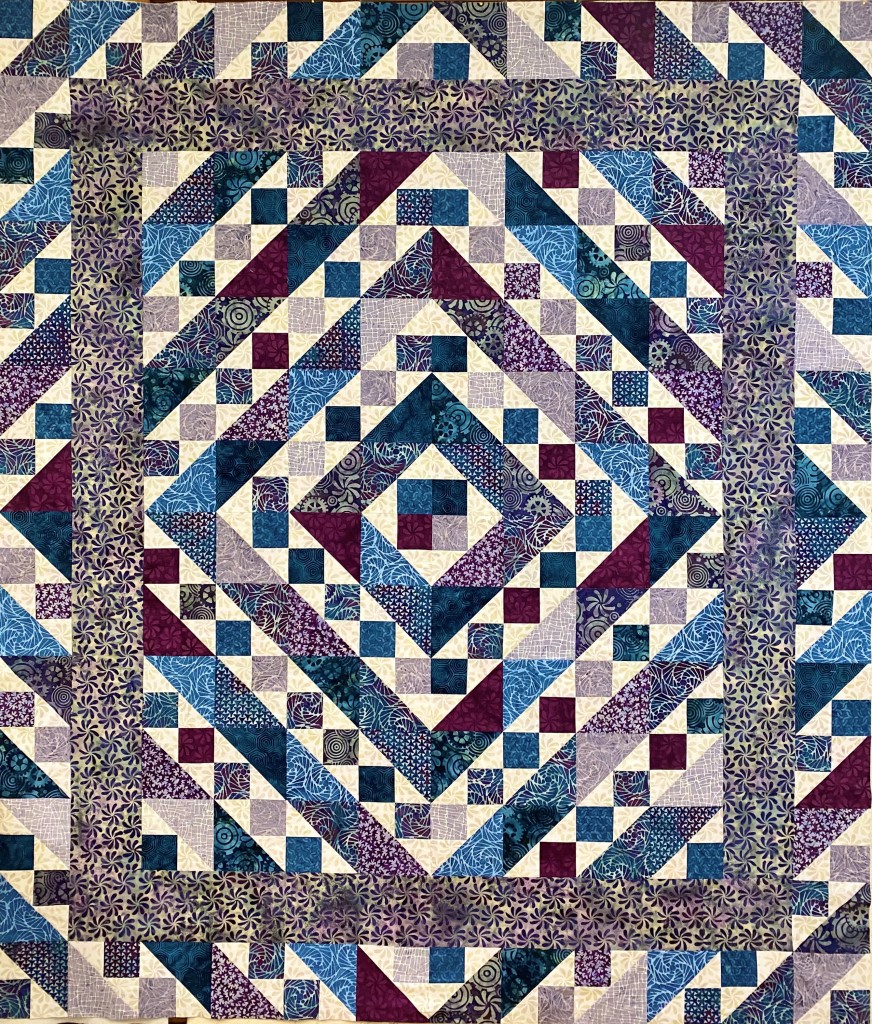
Are you Ready for Journey’s BOM? We are getting close. I am shooting for Journey’s Month 1 to be posted September 29th, IF everything is in place by then. I will keep you posted (get it, LOL). The photo above is the Journey’s I made to test the pattern last Spring. It was not made with the beautiful fabrics you are getting from Stitchin Heaven & Jason Yenter.
Brittany & Jonathon, this is for you in celebration & “anticipation” of the arrival of your daughter!
This is a Hunter Star Quilt from Deb Tucker’s Book “Hidden Treasures”.
Hidden Treasures offers over 30 projects to choose from. Finished quilts are a generous lap size. All the projects in this book are made using the Rapid Fire Hunter Star Petite tool. This book is intended to be a design play book. All the quilts are made using the 7” block size option, and the simplest two color variation where half the pieces are dark value and half are light value pieces. Each project requires 8 light & 8 dark fat quarters, plus border fabric.
Anticipation and the quilt shown above are from the layout called Curveball on page 30. I made the version above using a 5″ block to make a smaller version.
I have now made 3 layouts from Hidden Treasures. I would like to make them all! On the right is Autumn Twilight, page 66. On the left is Painted Desert on page 80.
Stitchin Heaven Quilt Shop is excited to announce a new collaboration of a unique BOM program from Deb Tucker (Studio 180 Design), NYT and USA Today best-selling author Marie Bostwick (Between Heaven and Texas, Hope on the Inside, and the Cobbled Court Quilt Series, including A Single Thread), Deb Luttrell (Stitchin’ Heaven), and Jason Yenter (In the Beginning Fabrics). In this 12-month program you will take your own Journeys through an exclusive novella written by Marie Bostwick. Each month you will receive a chapter from the book which is exclusive to this program. It is a page-turning tale of love, loss, and new beginnings for PJ Lloyd, an adventurous young woman who defies her family and risks her future to make a difference after the attack that plunged America into the second World War.
I will be your guide on this “Journey”. Every month I will post a tutorial showing you how to use the tools required for this beautiful quilt and answering your questions.
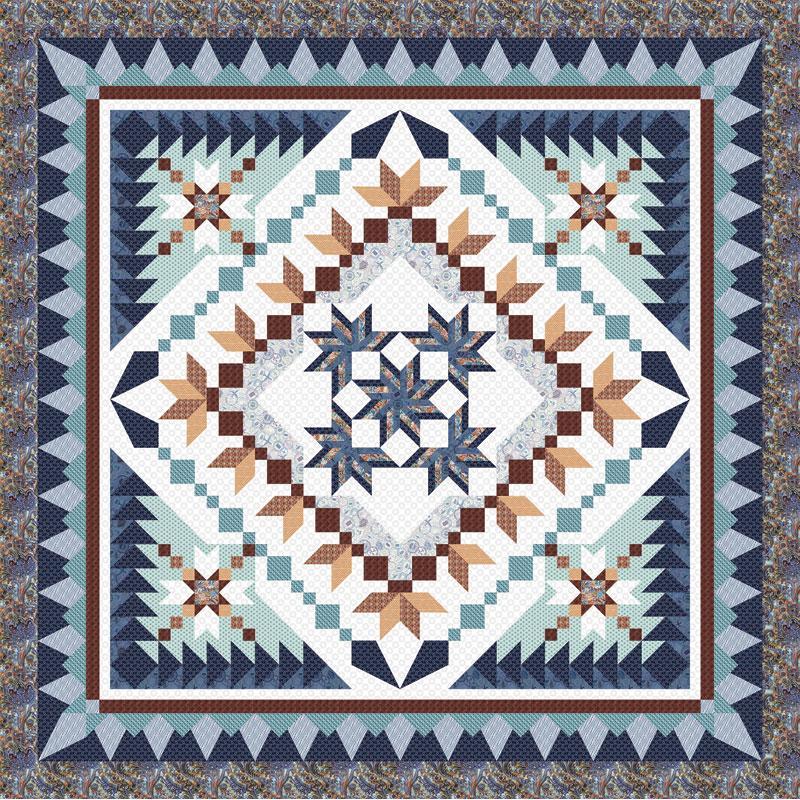
Throughout the Journeys BOM you will be on your own journey to learn how to use 8 of the tools from Studio 180 Design. Tools include: V Block, Corner Pop, Four-patch Square Up, Tucker Trimmer, Rapid Fire Lemoyne Star, Square Squared, Wing Clipper, Corner Beam. The final quilt measures 102″ x 102″. A beautiful collection of fabrics have been designed by Jason Yenter of In The Beginning Fabrics, that will make this project an heirloom favorite.
I tested the pattern with fabrics from Deb Tucker’s stash. It is truly a beautiful quilt I can’t wait for you to make your own! The Journey’s BOM program is due to start in September 2020. We will be sure to keep you up to date and informed on all the details.
A conversation with Deb Luttrell, Deb Tucker & Marie Bostwick
As quilter’s, we all have an angle. Deb Tucker has a new angle and it is 60 degrees! Studio 180 Design will soon be releasing a new Star 60 tool.
Hextravaganza, free pattern included in the Star 60 tool instructions
You all know that I have made many, many One Block Wonders (75). One Block Wonder’s are made by constructing equilateral triangles. An equilateral triangle is created by cutting fabric strips at a 60 degree angle.
Memories of China, by Luana Rubin for Robert Kauffman
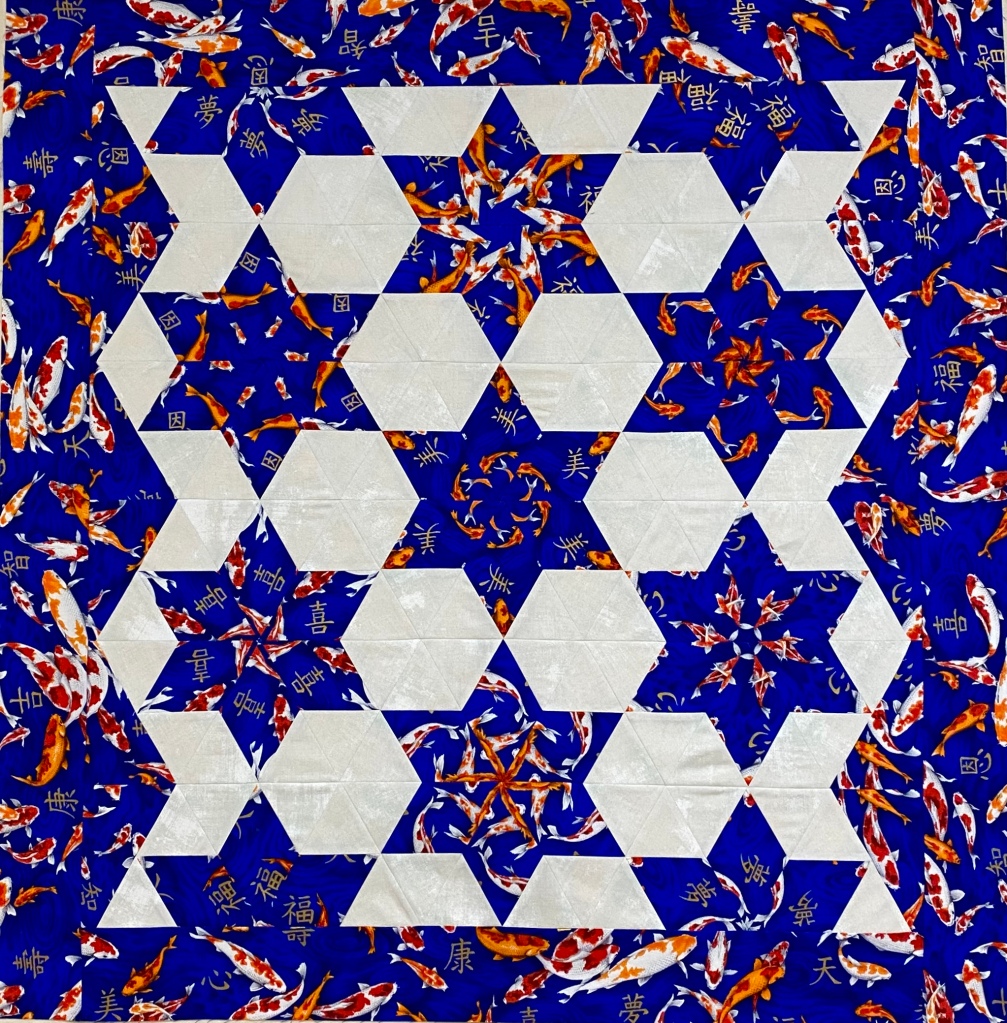
I just finished making “Up Up & Away” OBW yesterday and wanted to play with the Star 60 tool. I’ve had this fabric for at least 14 years. It has a medium size design and a 12″ repeat. I HAD to make a kaleidoscope Star 60 Block. I cut my 6 repeats, aligned them and chose to make 5″ finished units. Following the tool instructions, I cut my strips sets 3 1/4″ wide.
First Cut
This strip set has 6 fabric layers. I put a new blade in rotary cutter and it cut through all 6 layers like butter!
Second Cut
Using the Star 60 tool, I cut the first entire 60 degree diamond. Continue cutting till the end of the strip. I got 10 blocks out of one WOF strip.
OBW 60 Degree Cut
Above, I said “I cut the entire 60 degree diamond”, when cutting for a OBW, we cut triangles. By the way you can use the Star 60 tool to cut equilateral triangles for OBW’s. Just be sure that the tool point is on the edge of the fabric strip. We love dog ears for aligning.
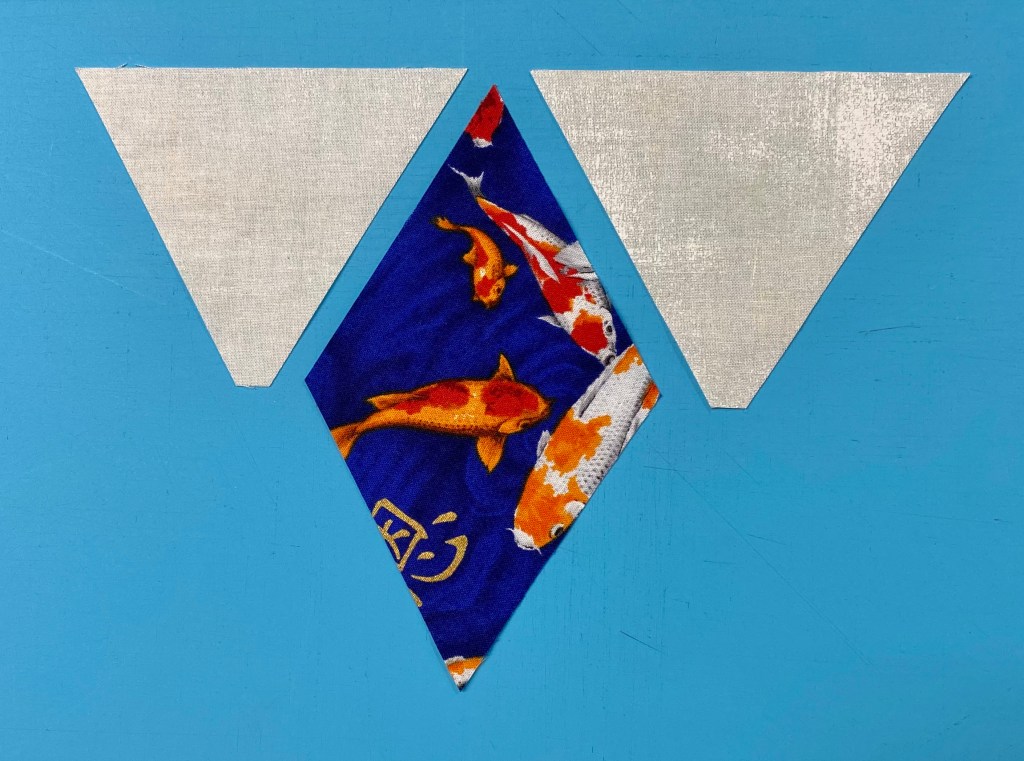
On the left is a block from equilateral triangles. On the right are 60 degree diamonds. Both were cut from 6 repeats of aligned fabric.
For the diamonds we need to add side triangles.
As with a OBW, I did not stitch the center seams. Anyone who has taken a OBW class from me knows I think “Y” seam are of the Devil”! “Y” seams are not required to make these blocks.
Measures 36″ x 36.5″
This was fun. I Love the Star 60 tool. The instructions are wonderful, clear and complete. You will have no trouble creating beautiful & unique 60 degree blocks!
Just look at some of the possibilities! If you are not getting the Deb Tucker Studio 180 Design Newsletter sign up www.studio180design.net so you never miss new pattern or tool releases.
Got some fat quarters? Deb Tucker has many free patterns for you and this one is called Twilight Paths. It uses 14 fat quarters and a background with the Tucker Trimmer I. Twilight paths uses 5″ finished Shaded Four Patch units (5.5″ unfinished). The Shaded Four Patch Technique Sheet shows you haw to make this unit in 21 sizes! This whole quilt is made with Shaded Four Patches!
This is Twilight Paths using Deb Tucker’s Twilight Chic fabric line from Island Batik!
Download your pattern and let’s go!
Group 1
Group 2
To get a great scrappy quilt, Deb suggests that you split your fat quarters into two groups. Group 1 along the 22″ side, cut two 3 1/4″ strips and one 6″ strip, sub-cutting into 3 – 6″ x 7″ rectangles. Group 2 along the 22″ side, cut one 3 1/4″ strip and two 6″ strips, sub-cutting each into 3 – 6″ x 7″ rectangles. Cut one more 3 1/3″ strip from leftover from Group 1.
From your assorted dark fat quarters you will need 22 – 3 1/4″ strips, and 64 – 6″ x 7″ rectangles. From your background you will need 22 – 4 1/4″ strips.
Step 1 – Position each 3 1/4″ strip right sides together with a 4 1/4″ wide background strip and stitch lengthwise. Press seams toward the wider strip.
Step 2 – Pair two of the pieced strips right sides together with the narrow strips on opposite sides, so that each narrow strip faces a wide background strip. Sub-cut the strip sets every 3 1/4″ units until you have 128 rectangles.
128 – 3 1/4″ units Pick up each unit the same way when stitching one side.
Step 3 – Keep the two rectangles paired; stitch each pair of cut pieces together along one long side. Note the seams are not supposed to nest.
Snip
Snip the seam allowance at the half way mark between the two squares all the way to the seam.
Press each half of the seam allowance away from the square as shown above.
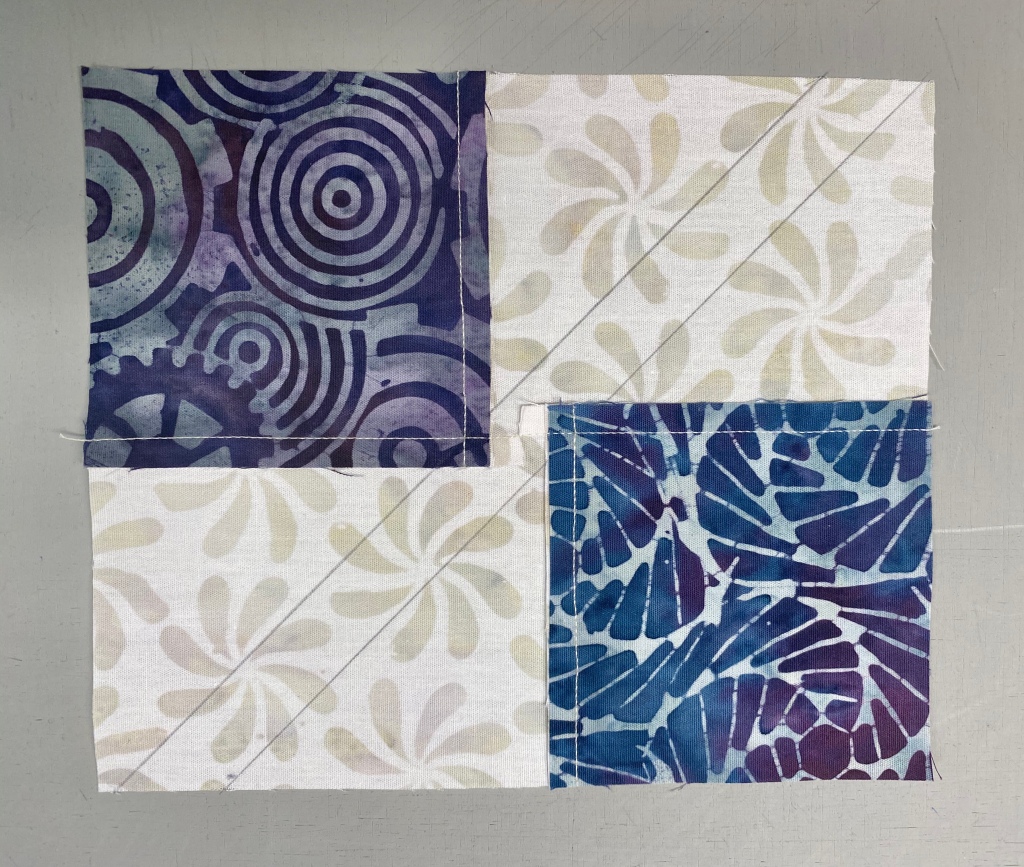
Step 4– Mark stitching lines. Select a ruler with a 45 degree angle marked on it. Draw a 45 degree sewing line from top to bottom, through the corner of the square where the stitching lines meet. Draw a 2nd line through the corner of the other square.
Step 5 – Center each marked, pieced rectangles right sides together with a 6″ x 7″ rectangle.
Stitch on both lines.
Trim seams 1/4″ from the stitching lines.
Press all seams toward the large triangles.
Step 6 – Trim the 128 oversized units with your Tucker Trimmer I to 5 1.2″ x 5 1/2″. Align the 5 1/2″ Sizing Diagonal with the diagonal seam of the unit. Position the common diagonal so it passes through the center of the unit. Trim the two sides.
Step 7 – Rotate the unit and line up the 5 1/2″ cut size lines on the tool with the previously trimmed edges, align the sizing diagonal and the common diagonal as before and trim the other two edges.
Step 8 – Layout 80 units according to the diagram on page 5 to create the quilt center.
Stitch the units into rows and then stitch the rows together. Press all seams open.
Step 9 – Attach the Inner Border. Stitch the inner border strips to the quilt center.
Step 10 – Assemble the Outer Border. Stitch the remaining units together into 4 border strips containing 12 units each. Make sure you orient the units as shown in the pattern. Press all seams open. Finish as indicated.
My top is not yet quilted. I used Deb Tucker s Steam Engine fabric line by Island Batik in my quilt top. So I guess I will call mine Steam Engine on the Tracks!
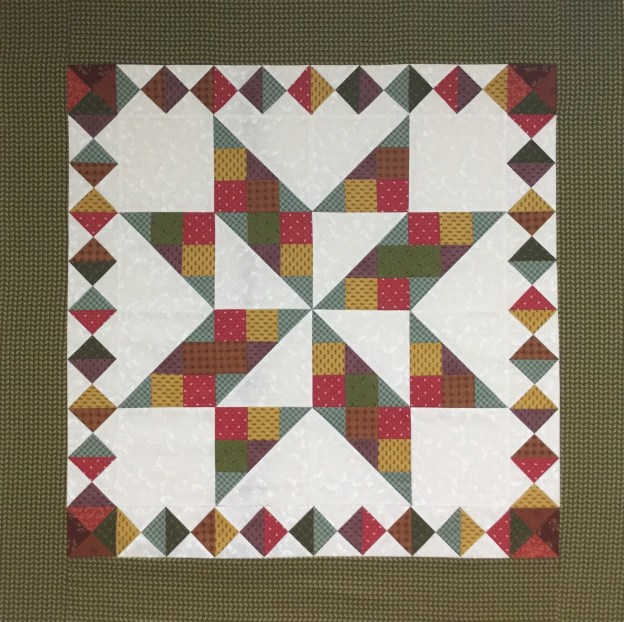
I was scheduled to teach the Shaded Nine Patch Star to the Thread Bears Quilter’s Guild of Sherill, NY in May. But as it doesn’t look like I will be able to, so I am going to teach it here.
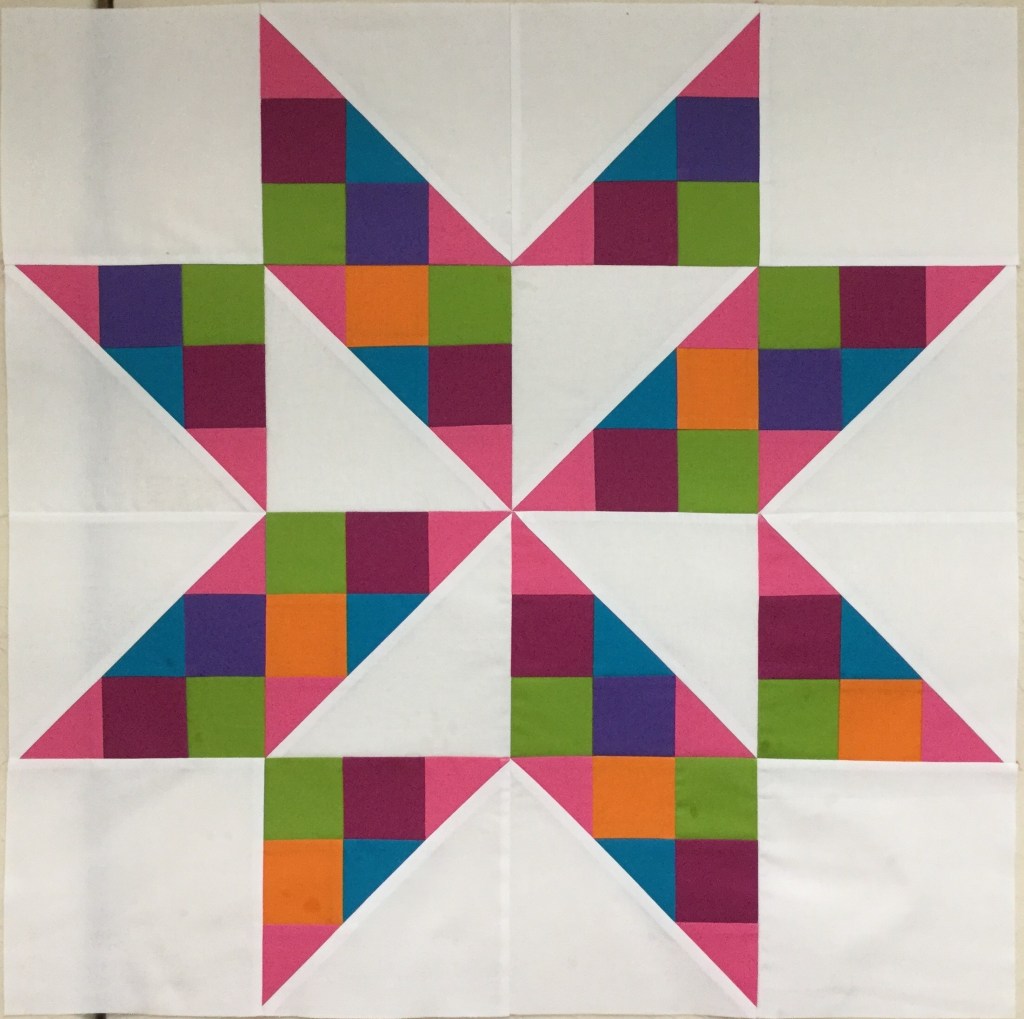
This star was designed by Studio 180 Design Certified Instructor Sarah Furrer. I love it as a fun way to learn the Shaded Nine Patch Unit. The Shaded Nine Patch is an amazing unit that has endless possibilities & can be made in 7 sizes. Maybe Sarah will make it a pattern someday. You will need the Tucker Trimmer I, Magic Wand and Shaded Nine Patch Technique Sheet. Down load the lesson & supply list here:
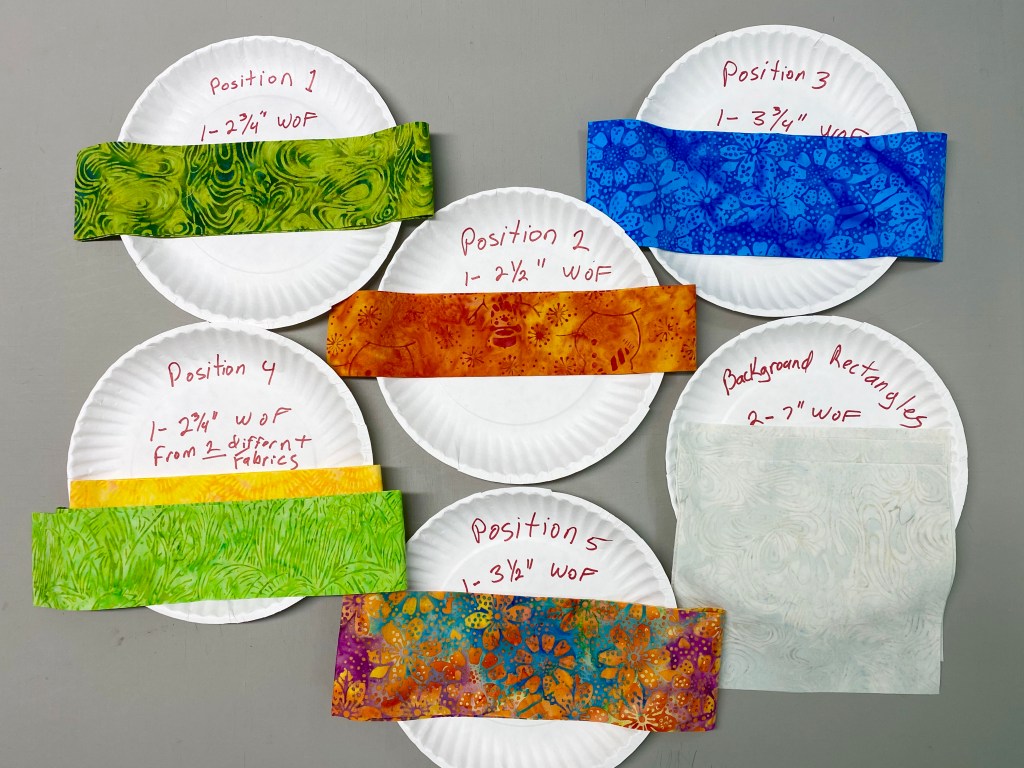
Choose 6 fabrics and a background. You may choose Width of Fabric Strips (WOF) OR Fat Quarters and cut more strips.
Background: 1 Yard
6 different – ¼ yard fabrics or 6 fat quarters
Border & Binding: 1 yard
Cutting Strips for the Shaded 9 Patch Block: We will be making 12 – 6″ finished Shaded Nine Patch Units.
Position 1: Cut 1 – 2 3/4″ WOF strip
Position 2: Cut 1 – 2 1/2″ WOF strip
Position 3: Cut 1 – 3 3/4″ WOF strip
Position 4: Cut 1 – 2 3/4″ WOF strip from 2 different fabrics
Position 5: Cut 1 – 3 1/2″ WOF strip
Rectangles (from background fabric): Cut 2 – 7″ WOF strips. Sub-cut into six 7″ x 8″ rectangles
Background Fabric: (Aside from the rectangles above) Cut 4 – 6 ½” squares for the star corners.
Note: It is a good idea to label paper plates for each Position to keep your strips organized.
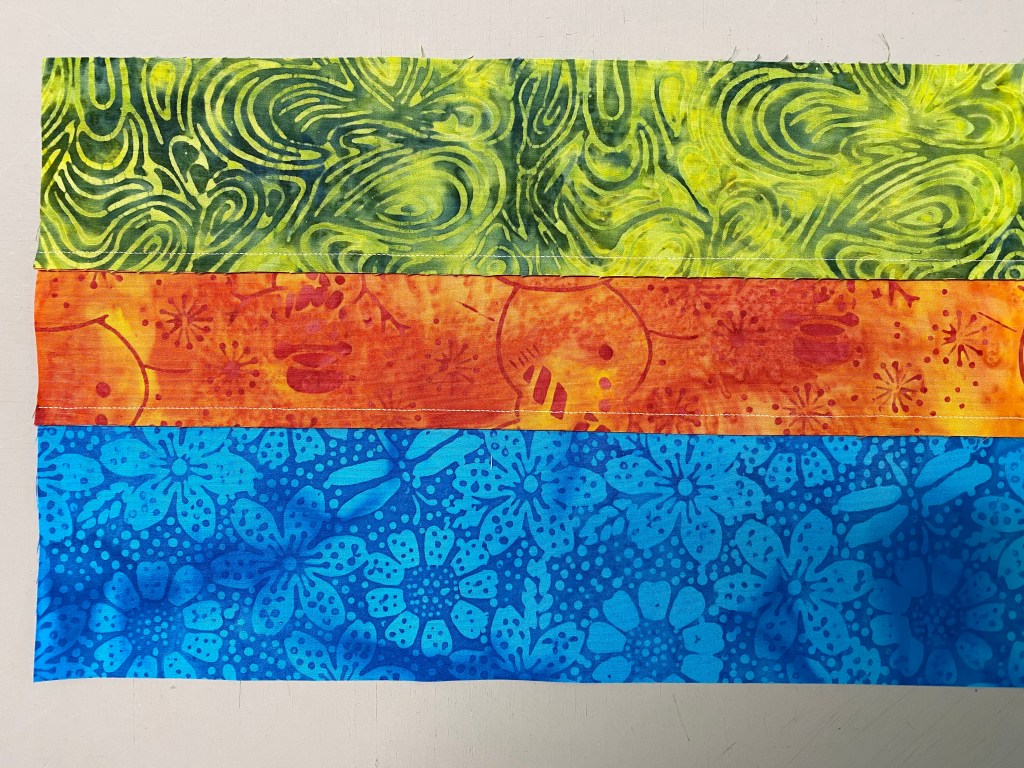
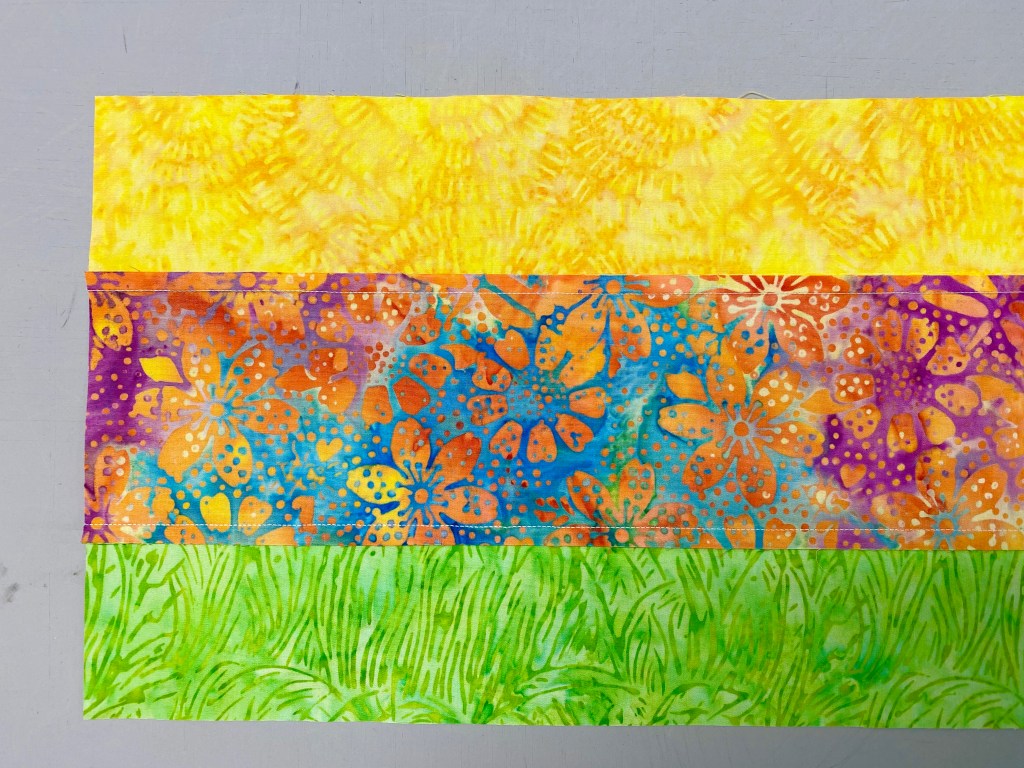
Step 1 – Each block requires two strip sets. You will need to make twice as many of the First Strip Set as you will the Second Strip Set.
Piecing the First Strip Set – take one strip each of the fabrics for position 1, 2 and 3. Sew them together along the long edge, right sides together in the order shown. Press all seams toward position 3.
Piecing the Second Strip Set – take one strip for position 5 and two strips of fabric for position 4. Sew them together along one long edge, right sides together in the order shown. Press seam towards the position 4 strips.
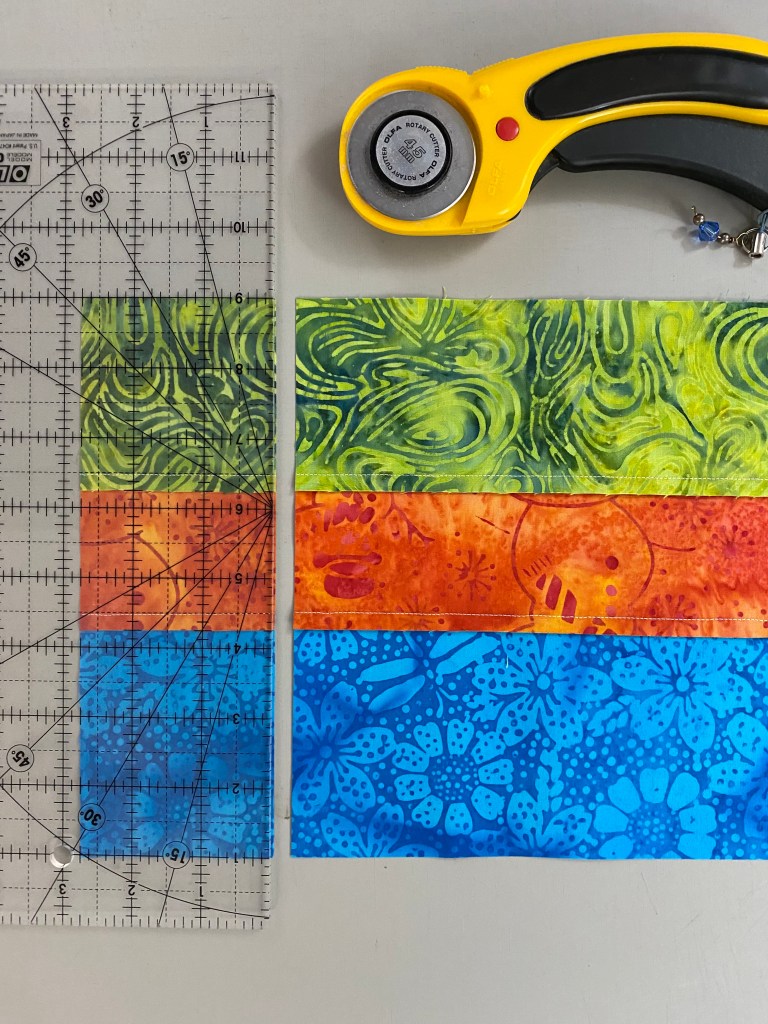
Step 2 – For the First Strip Set only – sub-cut crosswise the width of the strip for Position 1. We are making a 6” finished unit, Position 1 strip is 2 ¾” wide, you will sub cut your sections 2 ¾” wide.
Sub-cut 12 – 2 ¾ wide Strip Set 1” units.
For the Second Strip Set only – sub-cut crosswise the width of the strip for Position 2. We are making a 6” finished unit, Position 2 strip is 2 ½ ” wide, you will sub cut your sections 2 ½ ” wide
Sub-cut 6 – 2 ½” wide Strip Set 2 units.
Tip: To keep organized label plates for Strip Set 1 & Strip Set 2
Step 3 – Stitch the strip set units together. Lay them out as shown. Seams will nest between positions 1 & 4. Note: Row 1 is Strip Set 1, Row 2 is Strip Set 2 and Row 3 is Strip Set 1, but reversed.
Before you press, you will need to snip the seam allowance in two places as shown. Press each half of the unit as shown. (See down loadable lesson and/or Shaded Nine Patch Technique Sheet for detailed description.)
Step 4 – Select a ruler with a long 45 degree angle marked on it. The edge of your ruler needs to be at least as long as the diagonal of the unit. Place you’re your sewn rectangle right side down, horizontally on your work surface and draw a 45 degree line from top to bottom, through the corners of the squares labeled 2 and 4 where the stitching lines meet.
Draw a second 45 degree line through the corner of the other position 2 and 4 squares.
Step 5 – Center each marked unit over a large rectangle, right sides together. They may not be exactly the same size.
Step 6 – Stitch on both of the marked sewing lines. Cut apart.
Press toward the large triangle. Remember: “Whatever your are pressing toward, goes on top!”
Step 7 – Position the 6 ½” sizing diagonal of your Tucker Trimmer on the unit so that it lines up with the diagonal seam line of the Shaded Nine Patch. Position the common diagonal so it passes through the center of position 1 square. Trim your first two sides.
Step 8 – Rotate the unit and line up the 6 ½” size lines on the Tucker Trimmer with the trimmed raw edges. Adjust as needed. Trim both sides.
Make five more sets for a total of 12 blocks.
Take your 12 blocks and four 6 ½” background corner squares & layout your star. Stitch into rows, press seam open. Join your rows, press seams open.
Please see the down loadable lesson plan to complete your Shaded Nine Patch Star.
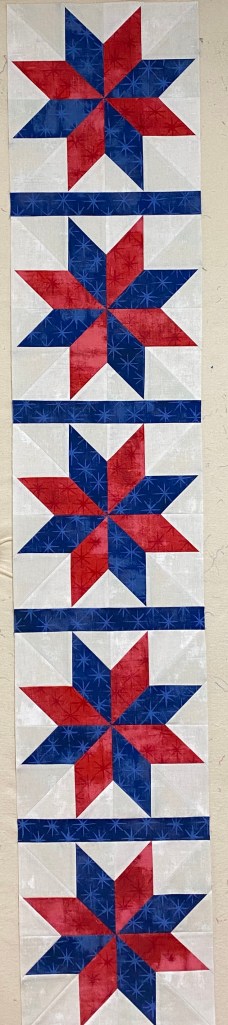
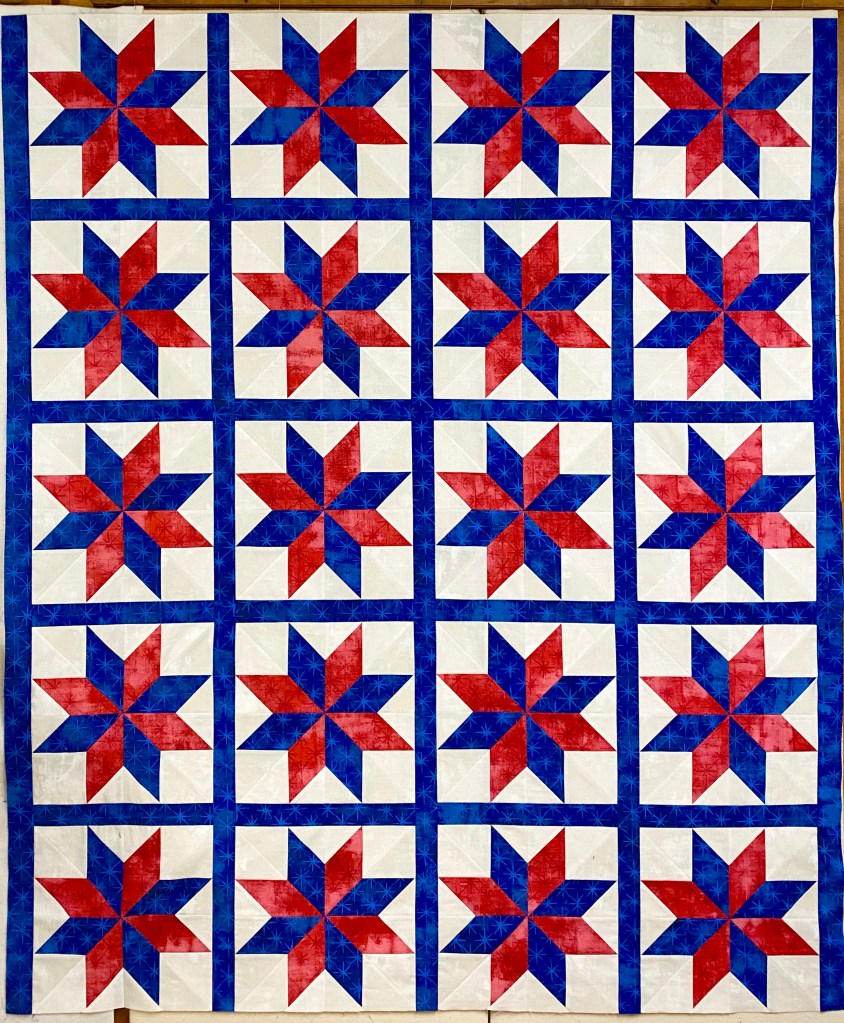
It is late March 2020. Most of us are quarantined inside. At least those of us in New York are! I had planned to schedule a class at Stash away Quilt Shoppe in Rome NY, for a Quilt of Valor using the Rapid Fire Lemoyne Star ruler. I decided to just post the lesson here and share it with anyone who would like to make Patriotic Lemoynes.
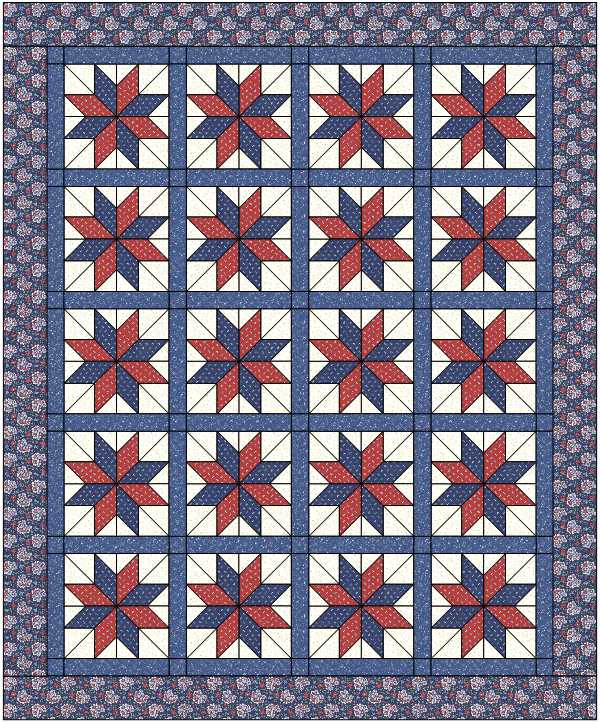
I went to my EQ8 software and designed this quilt for Lynn. This is a great skill builder for those that took the Tucker University Rapid Fire Lemoyne Star class but haven’t made a project yet. This quilt measures 68″ X 82″ with 20 – 12″ finished Lemoyne star blocks. The supply list and instructions are available here for download.
Understanding the “Cutting Chart”. The chart in the tool instructions gives you valuable information for 10 Finished Size Blocks: Cut Size of Star Strips, Cut size of Background Strips, Minimum Strip Length for One Block & Approx. # of Diagonal Cuts from Full WOF strips. For 12” finished blocks, you need a minimum of 24” star & background strips to be able to make one block.
Block Construction: (Width of Fabric – WOF)
Background Fabric: Cut 20 – 4 3/4″ WOF strips
Red Star Points: Cut 10 – 3 1/4″ WOF strips
Blue Star Points: Cut 10 – 3 1/4″ WOF strips
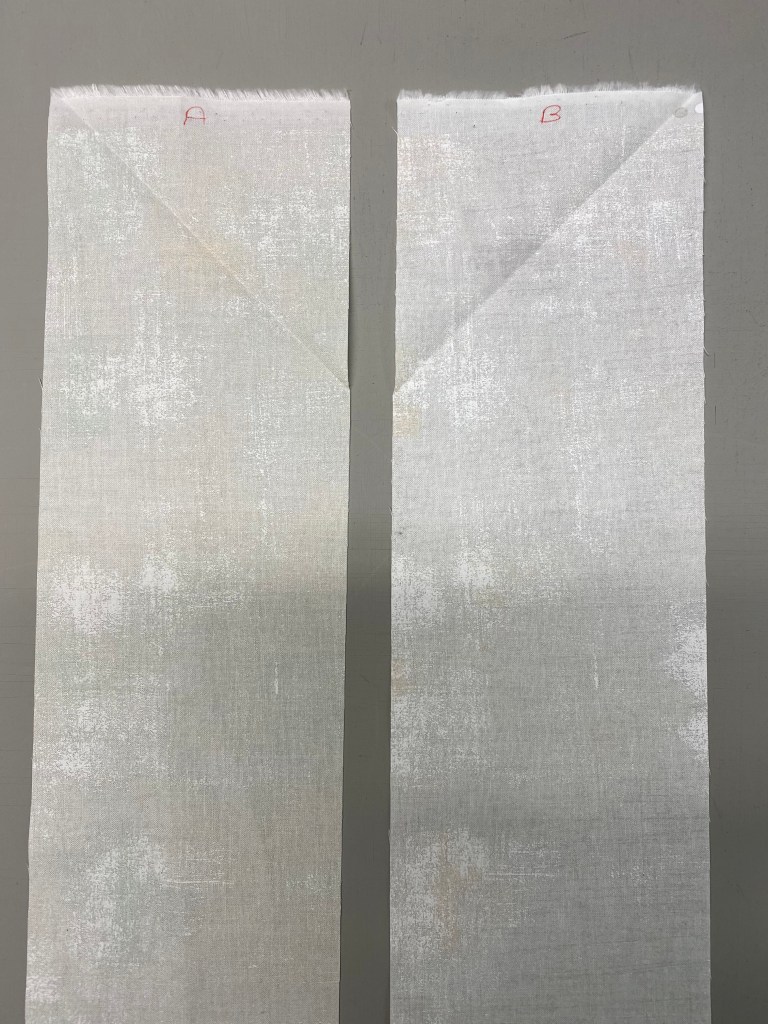
Step 1 – Make 2 piles of 10 background strips right sides up – side by side. At the top, mark 10 “A” & 10 “B”.
Establish the starting point for placement of our star strips by making two additional marks down from the top of the strip, on the inside edges of each strip, the same width as our strip is wide. Our background strips are 4 ¾” wide. OR simply fold top right corner over to the left edge for “A” matching raw edges and top left corner over to the right edge for “B”.
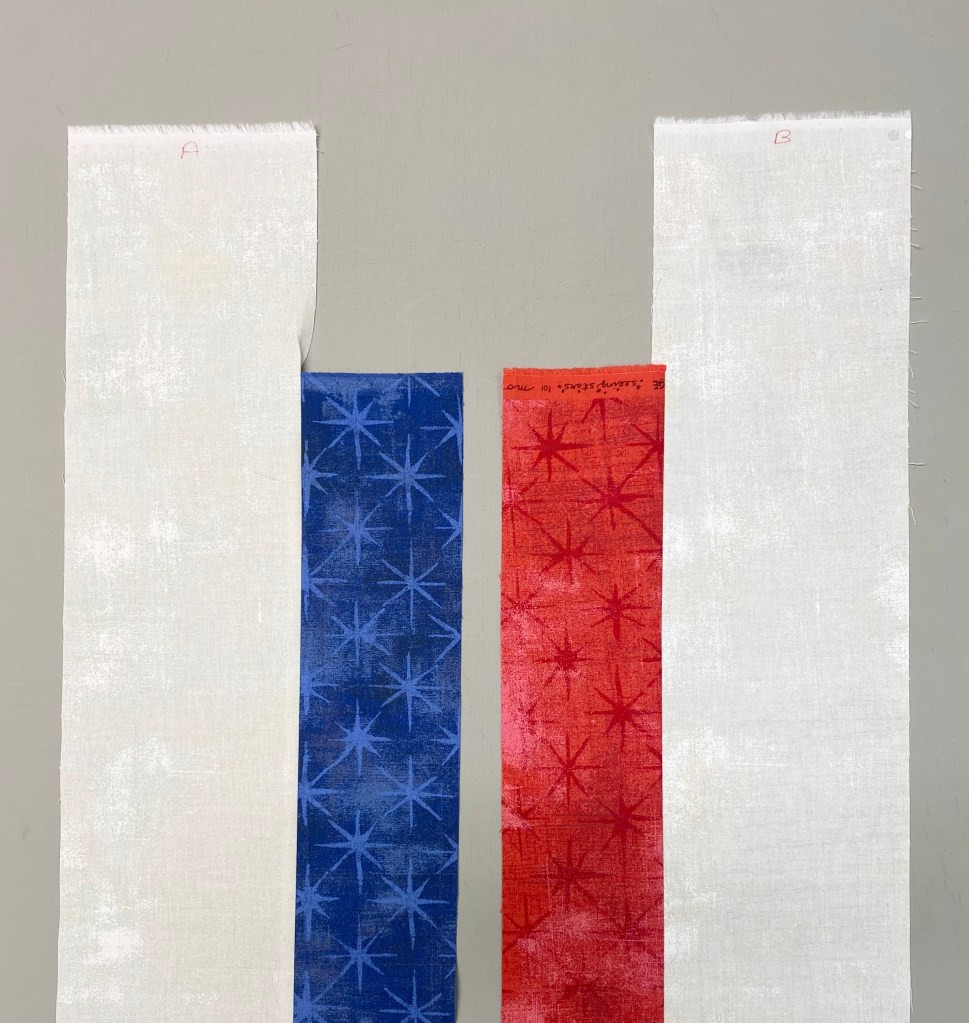
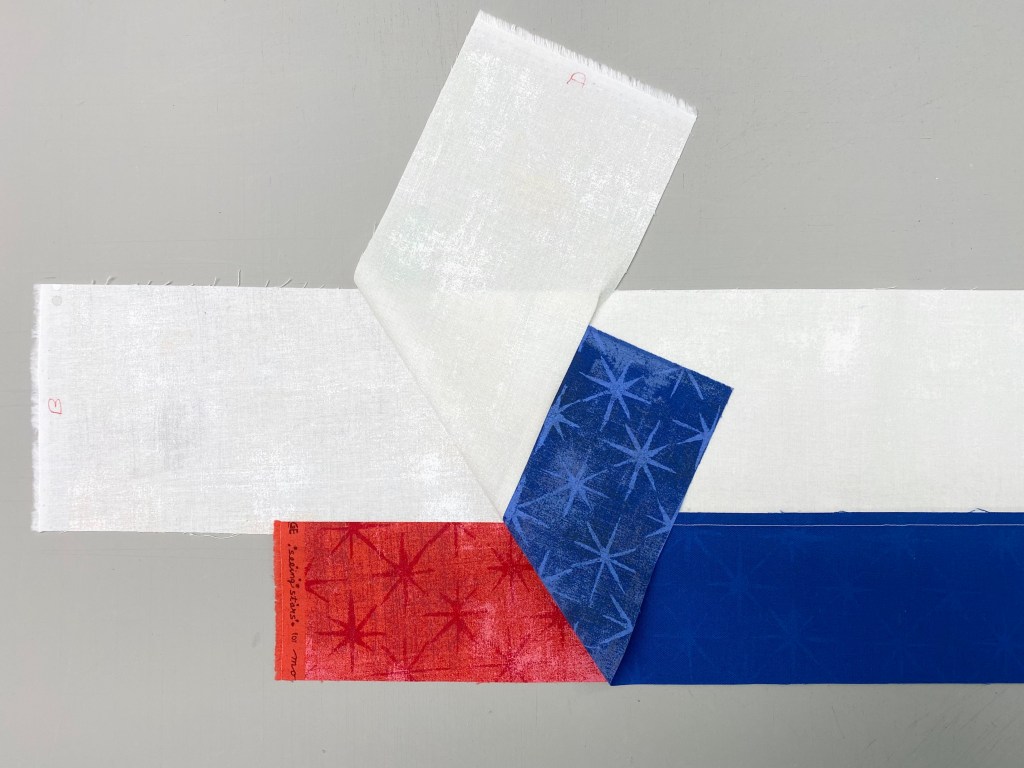
Step 2 – Position a star strip right sides together with each of the background strips starting 4 ¾” down from the top.
Step 3 – Using your Best ¼” Seam, Stitch the “A” strip on the right side & the “B” strip on the left side. (Do not use a scant ¼” seam.)
Step 4 – Press: The “A” strip should be pressed toward the background strip. The “B” strip should be pressed toward the Star Strip. Remember “whatever you are press toward goes on top”!
Step 5 – Position: Move the strips to the cutting mat and layer the strip pairs right sides together, background strip to background strip & and star strip to star strip. The long seams should nest.
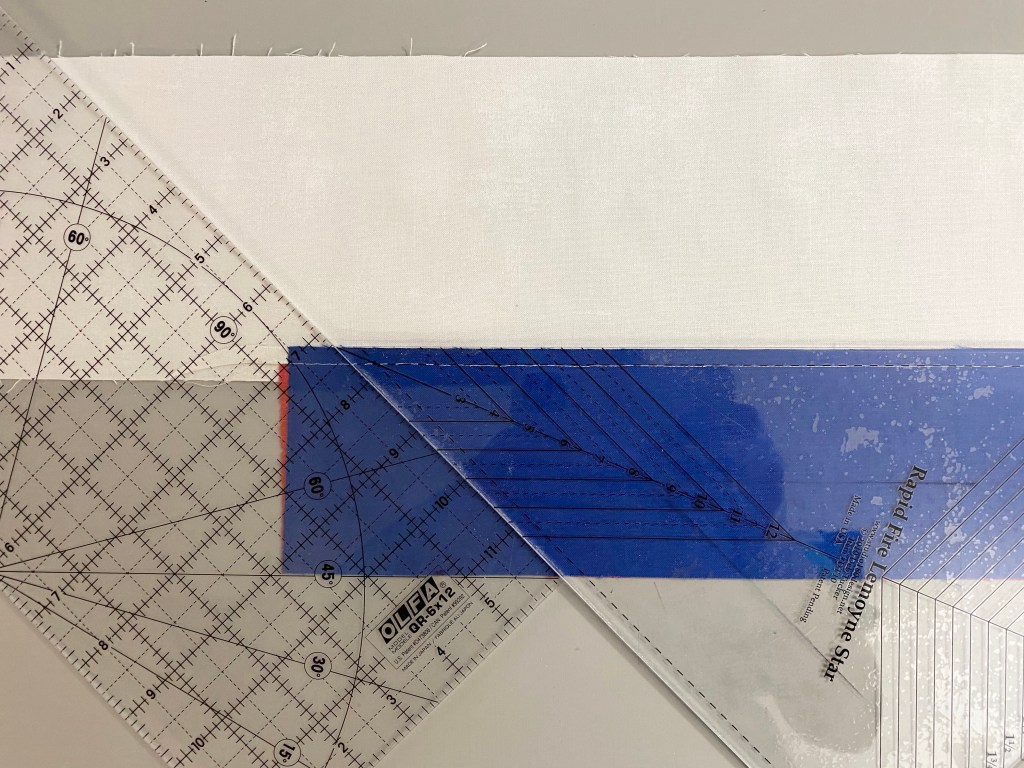
Step 6 – Cut: Make a 45 degree angled cut. Use your Lemoyne Star ruler to help insure you get a good 45 degree angle by lining up the ruler edge with the stitching line and bumping another ruler ap against the angled edge.
Step 7 – Cut the 1st Unit: Each Cut Should be the same measurement as the Star Strip Width (3 ¼” wide).
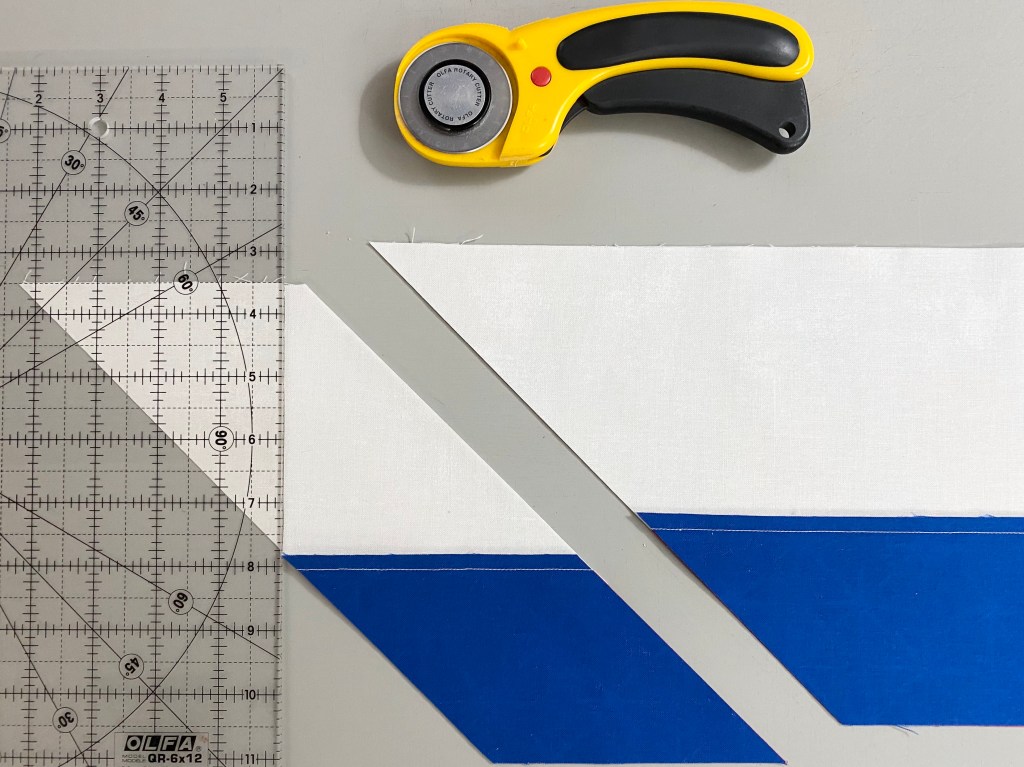
Step 8 – Second Cuts: Cut one set and trim side triangles. Using your 6” x 12” ruler, place a line on the top edge of the just cut unit and slide to the right until the ruler touches point from the star fabric. Trim up the right side of the ruler. See tool instructions for left hand cutting. In the tool instructions you are told cut all the units then trim the side triangles. I find the students are less confused if they cut the unit and immediately cut the side triangle.
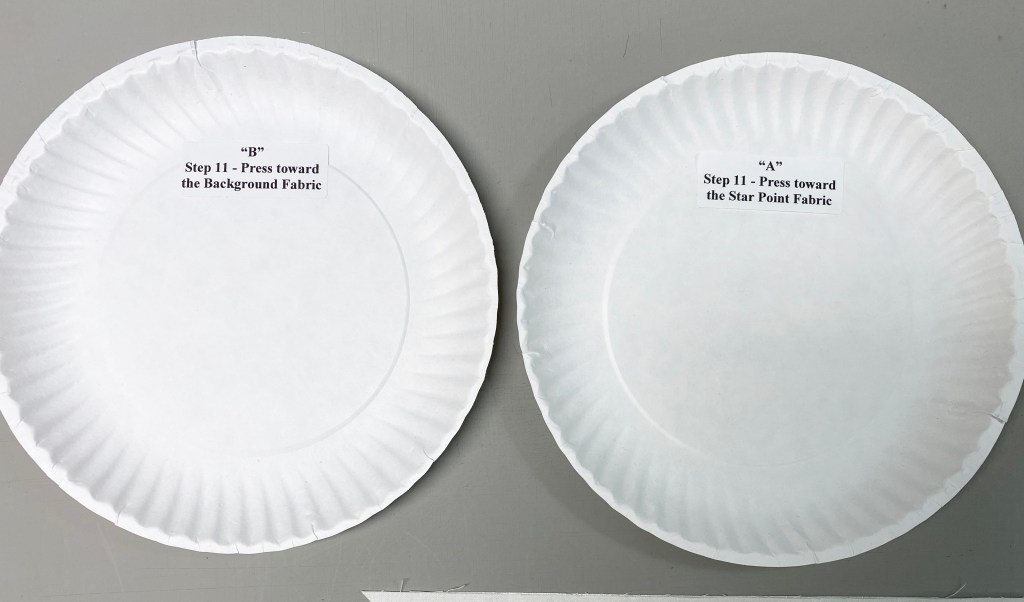
Tip: Label two paper plates One “A” & one “B”. I also add pressing instructions from Step 11: “A” units are pressed toward the star point. “B” units are pressed toward the background fabric.
Righties – “A” strip is on top & “B” strip is on the bottom. Once cut, place “A” unit on plate marked “A” & “B” unit on plate marked “B”.
Lefties – “B” is on top & “A” is on the bottom. Place “A” unit on plate marked “A” & “B” unit on plate marked “B”.
NOTE: IF Left Handed, It will be beneficial to flip each of the pairs over from east to west so that they look like the pairs trimmed by right handed cutters.
Cut side triangles and place one on each plate. Continue cutting sets and side triangles.
Step 9 – Lay Out: Take your plate of “A” units to the sewing machine.
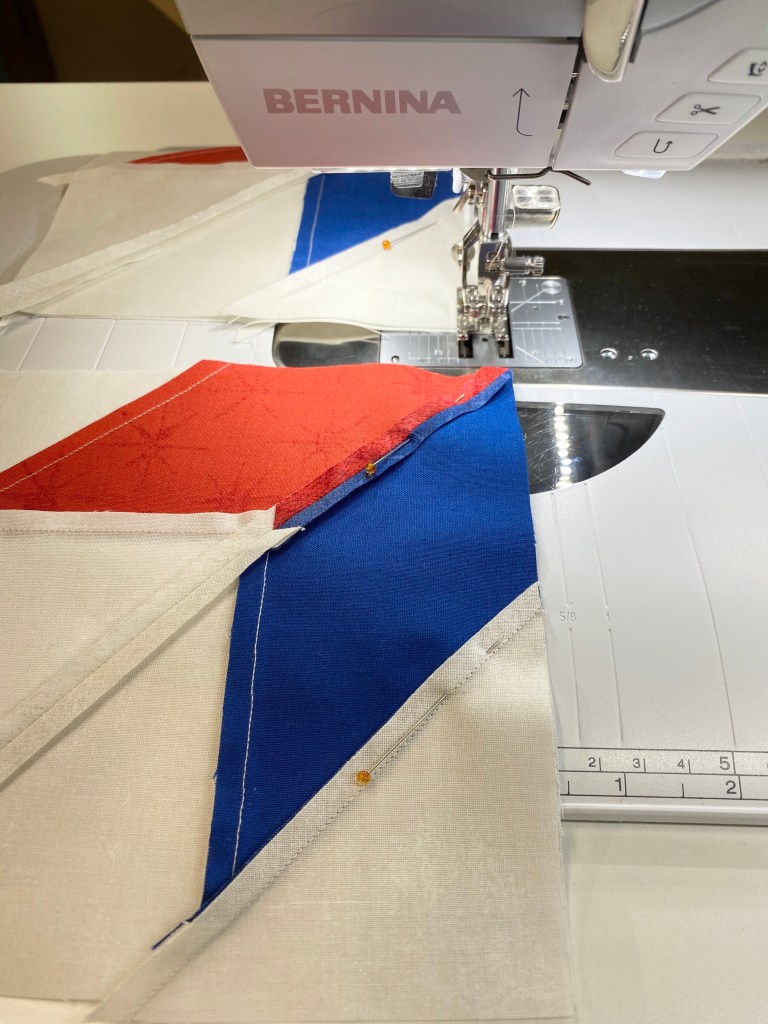
Step 10 – Position & Stitch: Position the side triangle right sides together with the pieced unit. Raw edges even and triangle centered over the pieced unit. Stitch, continue to chain stitch all the “A” units & then all the “B” units.
Step 11 – Press Carefully: Take the “A” units to the ironing board. “A” units are pressed toward the star points, therefore place your chain stitched units with the star points facing up. Trim threads, place back on “A” plate.
“B” units are pressed toward the background fabric, therefore place your chain stitched units with the background fabric facing up. Trim threads, place back on “B” plate.
STOP – BEFORE YOU TAKE ANOTHER STITCH!
Step 12 – Trim: Take all you units to the cutting mat. Place your units at a 2:00 position to be able to comfortable trim the two sides. Trim all your “A” & “B” units to an exact size using the 12” lines.
Step 13 – Examine/Position: You will now have pieced half square triangles that will fit together perfectly. Nest the seams and pin.
Step 14 – Stitch: Stitch the pieced triangle units together, first into pairs, then into half blocks and then into complete blocks. Stitch from the star center outward.
Step 15 – Press: Option #1 press all seams open. Option #2 press seam in the same direction as all the other seams in the unit. I press my seams open. Trim the Dog Ears at the star center.
Lay out four units.
Choose two units. Pin the nested seams and pin star point.
Press seams open.
Join halves pin the nested seams, match & pin the center. Stitch.
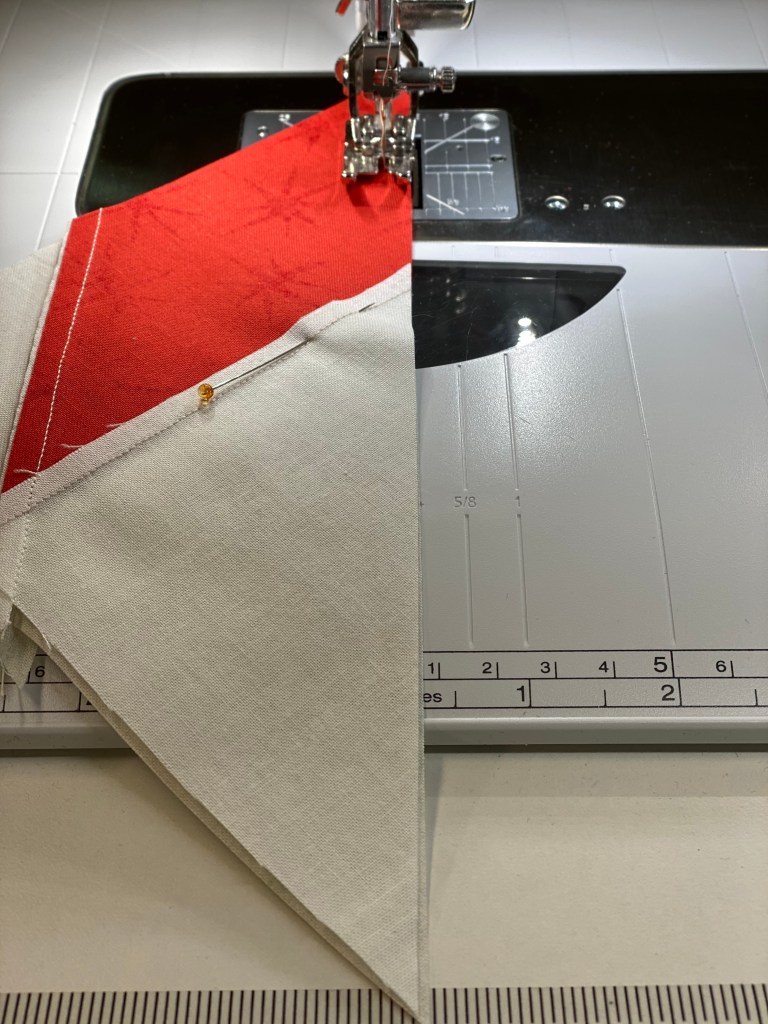
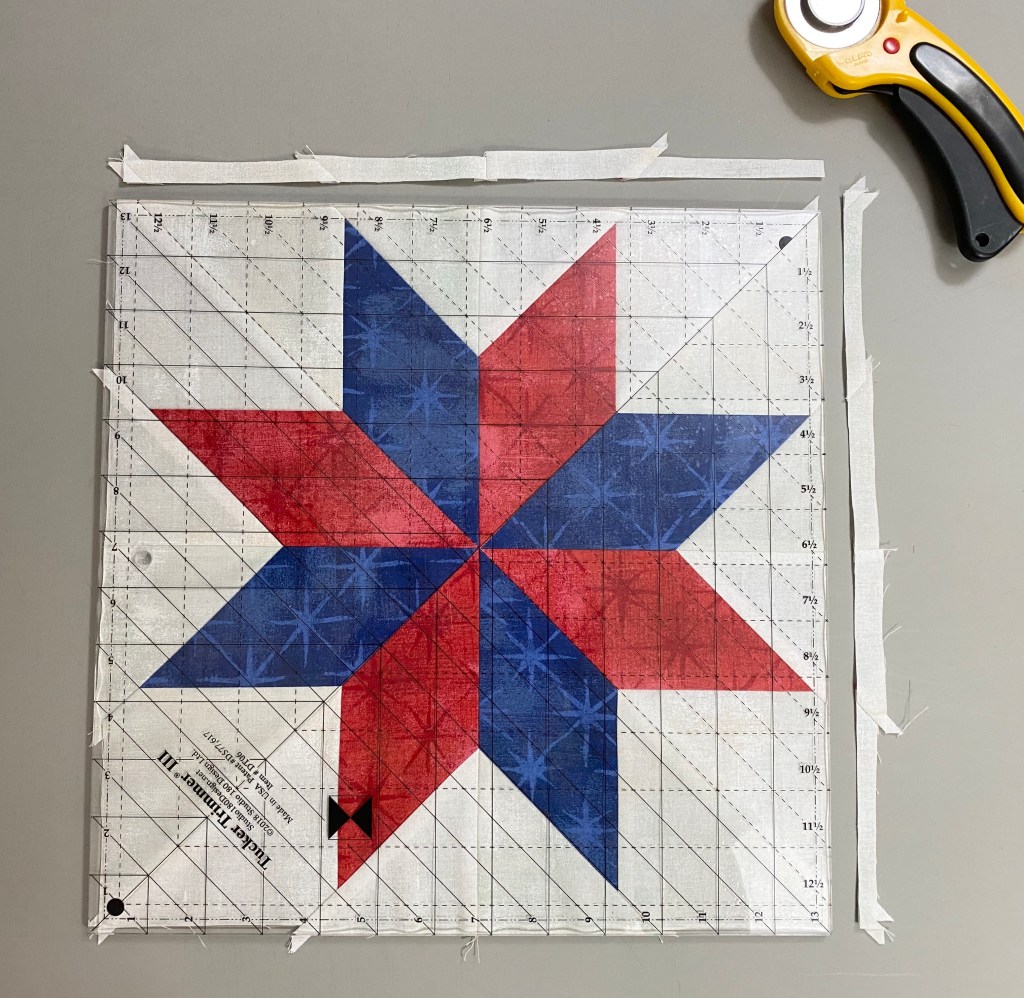
Step 16 – Trim to 12 ½” using your Tucker Trimmer III: If right handed, place the half circle in the upper right hand corner. Center the common diagonal line and the 12 ½”” size diagonal line on the seams of the block. Trim up the right side and across the top. Lift the tool, rotate the block, centering as before but also using the clean up lines on the edges just trimmed. Trim up the right side and across the top. See Tucker Trimmer tool instructors for complete left hand cutting.
Two WOF background strips & two WOF star strips will yield 2 – 12” finished lemoyne star blocks.
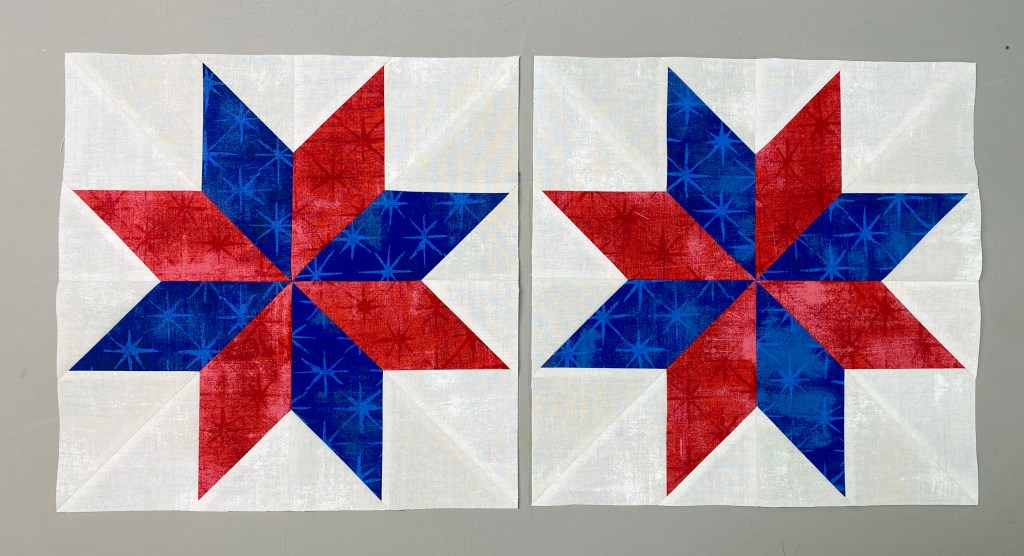
Twenty 12 ½” Lemoyne star blocks done!
Sashing: Cut 6 – 2 ½” WOF strips. Sub Cut into 16 – 12 ½” strips. I stitch four sashing strips between 5 blocks and measure the row length to determine the size of the vertical sashing strips.
Vertical Sashing: Cut 14 – 2 ½” WOF strips. You may need less if don’t mind piecing several together. I just stitched two 2 ½” WOF strips together and cut to fit. Once the vertical sashing is complete and rows are joined, measure the width through the center and cut the top and bottom sashing and stitch to the quilt top.
Cut 8 – 5 ½” WOF. Strips. Measure the length of the top to determine side border length. Once the side borders are stitched, measure the top width through the center to determine the final borders for the top and bottom.
Binding: You will need approximately 8 strips for the binding.